Farmhouse King

Went together nicely. I had to use cedar 4x4s for the posts -they were kind of pricey compared to the pine.


Went together nicely. I had to use cedar 4x4s for the posts -they were kind of pricey compared to the pine.


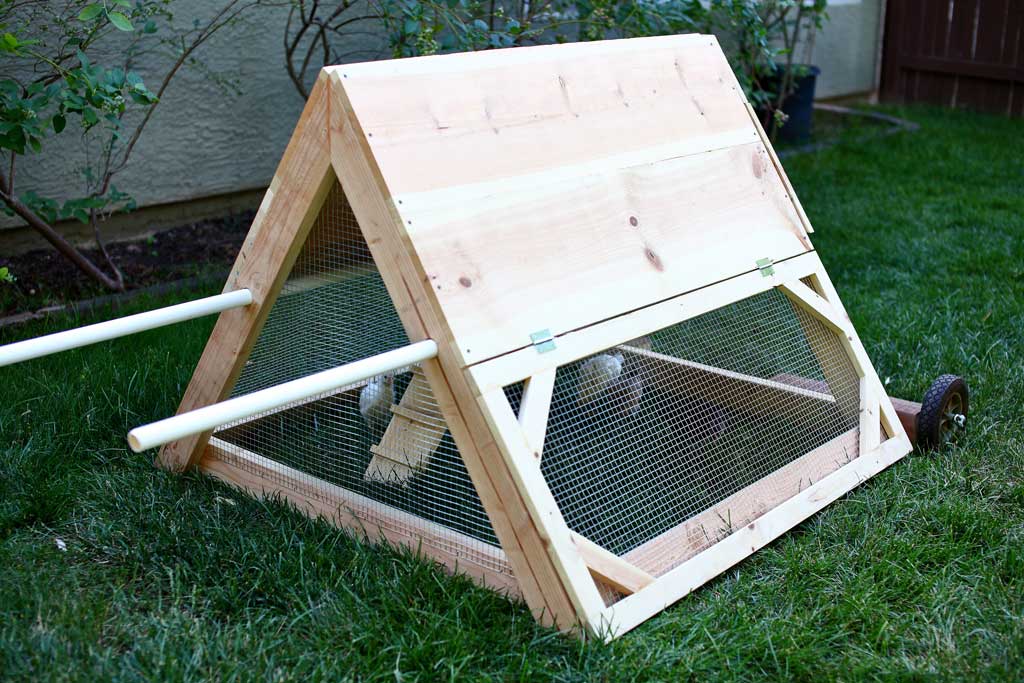
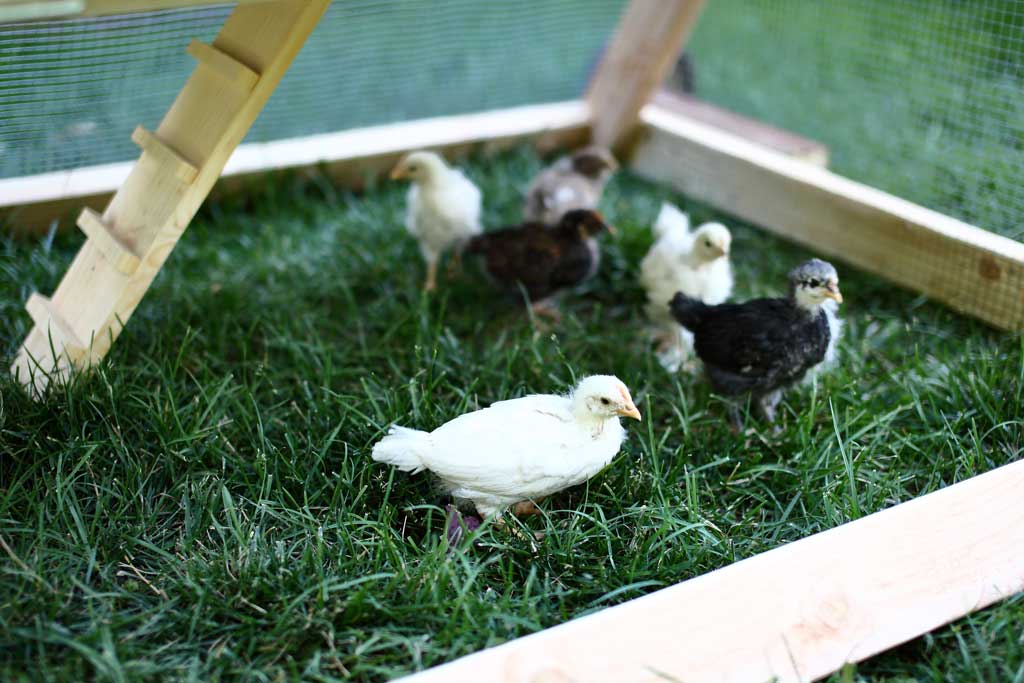
Every so often, we purchase several baby chicks. Our kids really enjoy watching them grow and develop throughout their growth phases. When the chicks were old enough to spend the night outside, I’ve built them a Mobile Triangle-Shaped Chicken Coop to live in. Once they are full-grown, they will be moved to a larger coop. I wanted to have a mobile chicken coop so that I could easily move it around the backyard.
There are so many different chicken coops out there. They come in various shapes and sizes. Most of them are built to be stationed in one place, but I wanted to try a mobile coop.
see my website for additional pictures and how I've built it, href="https://thediyplan.com/mobile-chicken-coop"
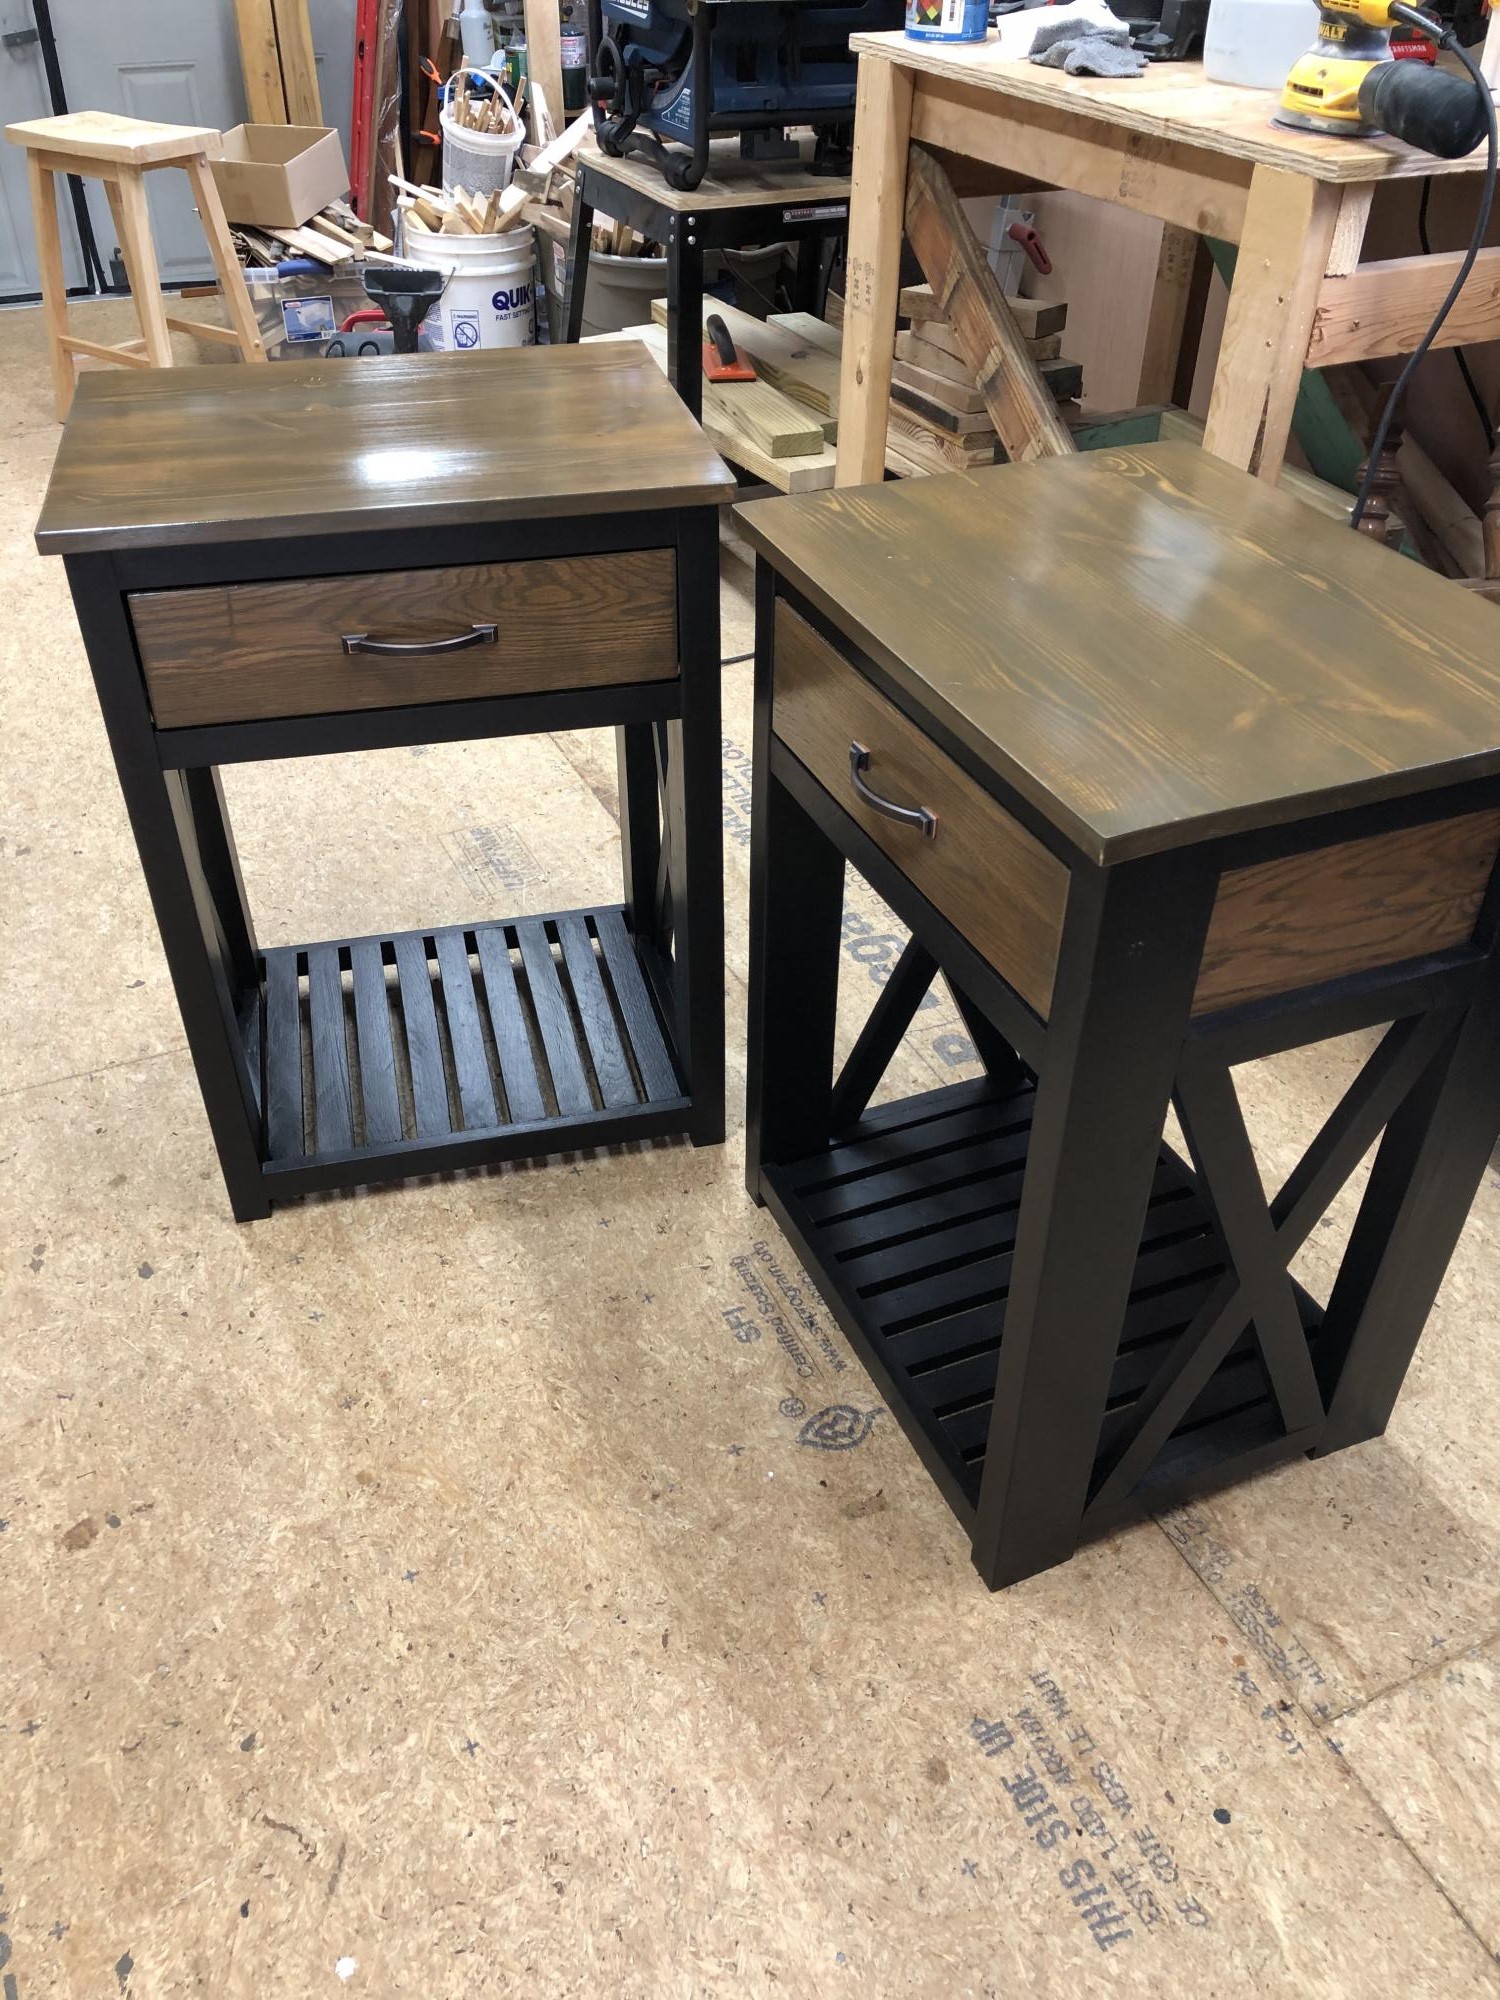
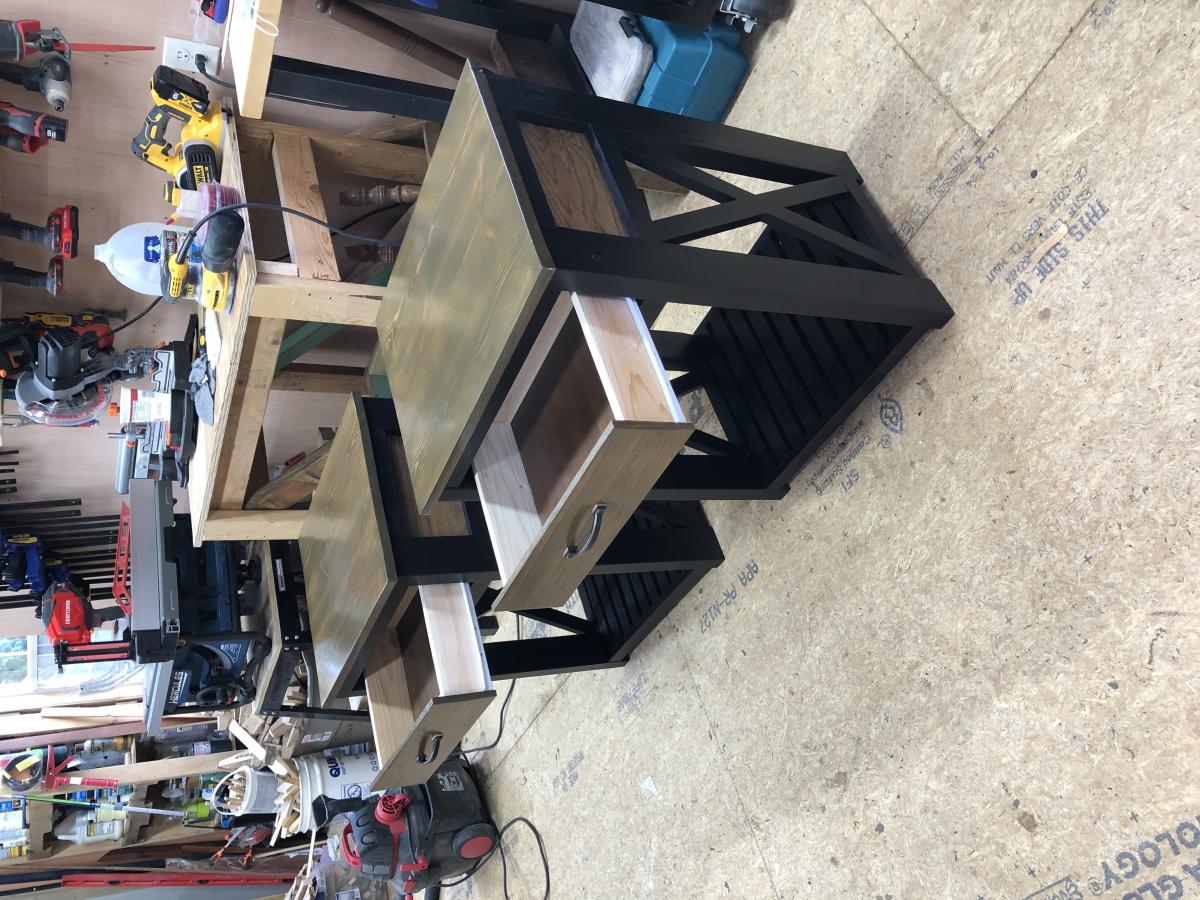
This was my first attempt at a farm table. I found the fancy x plan for inspiration. The length is 6ft. I had to modify all of the measurements. All of the boards came off my grandad's old barn. The posts are laminated together from guide posts from his corral. There is a lot of history and character to the table. I did have to make the bench to match it. I'll post pictures of that soon. Most importatnly, my wife loves it!!!! Happy wife, happy life!!!
Mon, 05/18/2015 - 12:00
Hello, awesome job on the table. Was wondering if you would mind sharing the table top dimensions. I have a smaller space and was thinking of modifying to make something in the 6ft range as well. Thanks
I made these for my granddaughter out of various repurposed wood.
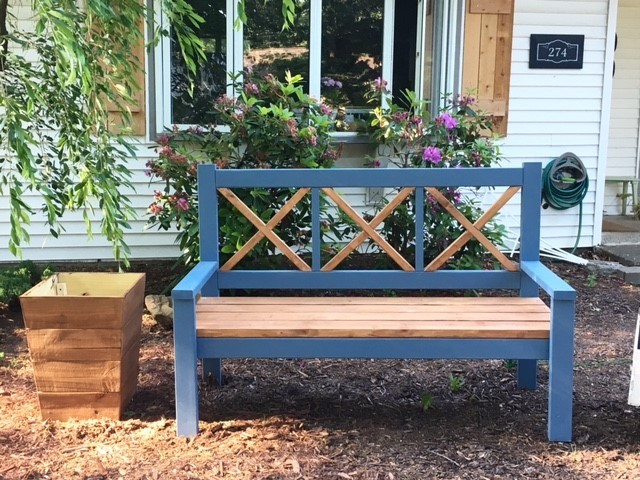
I loved building this bench!! I was able to use only 6 2x4's which cut down the cost a little bit :) For the stain I used Semi-Transparent Chocolate from HD and Wedgewood in a Solid Stain color from HD as well. Building the bench itself was really easy but the X's do take some extra work. I found that using a yard stick vs. a tape measure made the world of difference. I also nailed the X's in vs. using the kreg jig.
I modified these plans just a bit. I added 10 inches to make it 48 inches across. I also used a 1x3 on the top face frame instead of a 1x2. The plan calls for just a 1x12 on the top but I wanted it to be wider so I used my Kreg Jig to add two 1x2's to make the top 15 inches deep. I planned on staining the whole thing but made a few errors and had to paint the bottom as it is more forgiving. I loved how Brooke used the coffee staining technique but didn't like the way it was turning out so I just went with distressing the edges and staining the top like she did on her coffee table with the stain I had on hand. It took only a few hours to make the bench and about 3 days to finish it as I worked in the evenings after work.
Sun, 08/11/2013 - 18:53
I love how the white paint and dark wood look. I like the extra width, and the light distressing looks great.
I wanted a gift for my mom. Something special and unique I think she would really like. Once on a guest post Ana posted a jewelry holder using a board, and some mismatched knobs.
My mom likes to garden. She works so hard on her back yard, and spends a lot of her time there. How could I make this outside proof? A few Pinterest finds later I found my answer: Water Spigots.
Voila! This is what we came up with.
** It's not going to hang by a string. It will be attached to her fence. This is just for picture purposes.
http://www.countryliving.com/homes/makeovers/fast-makeover-projects?src…

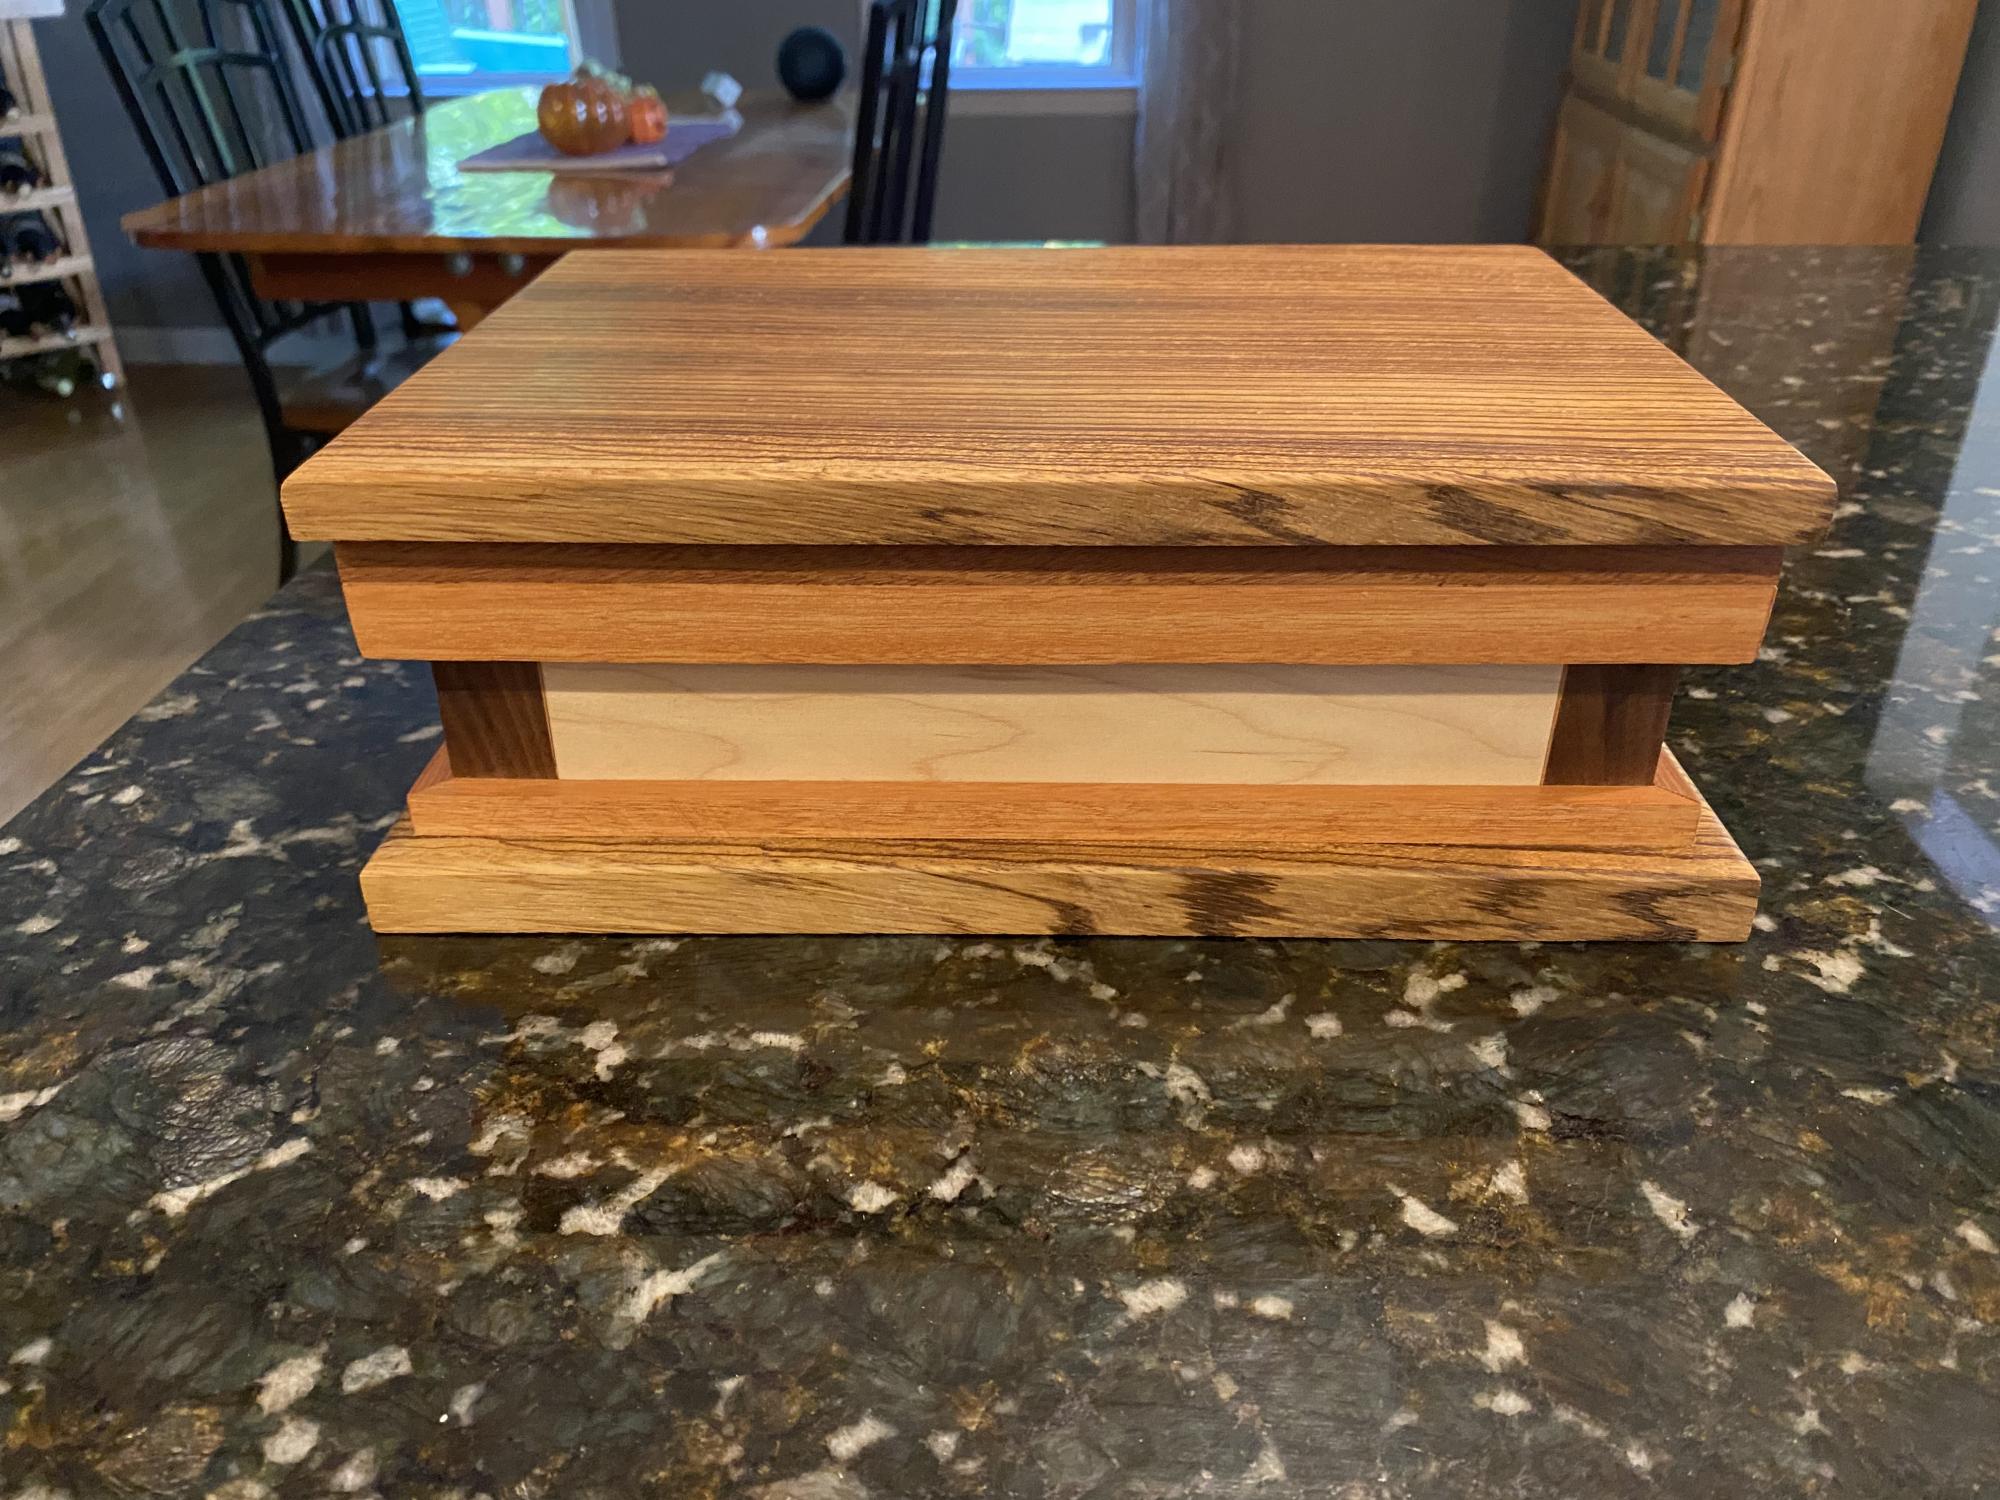
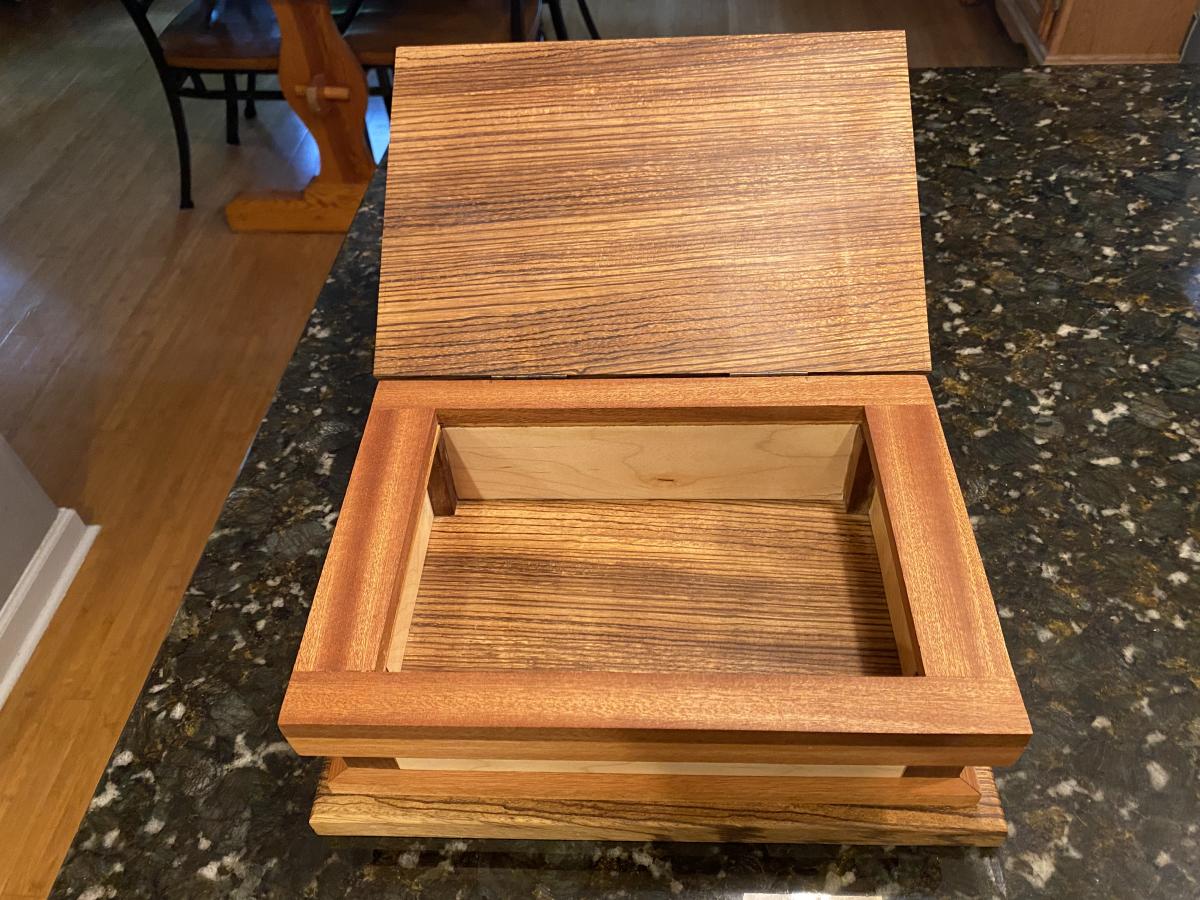
Keepsake box made of maple, black walnut, mahogany and zebra wood.
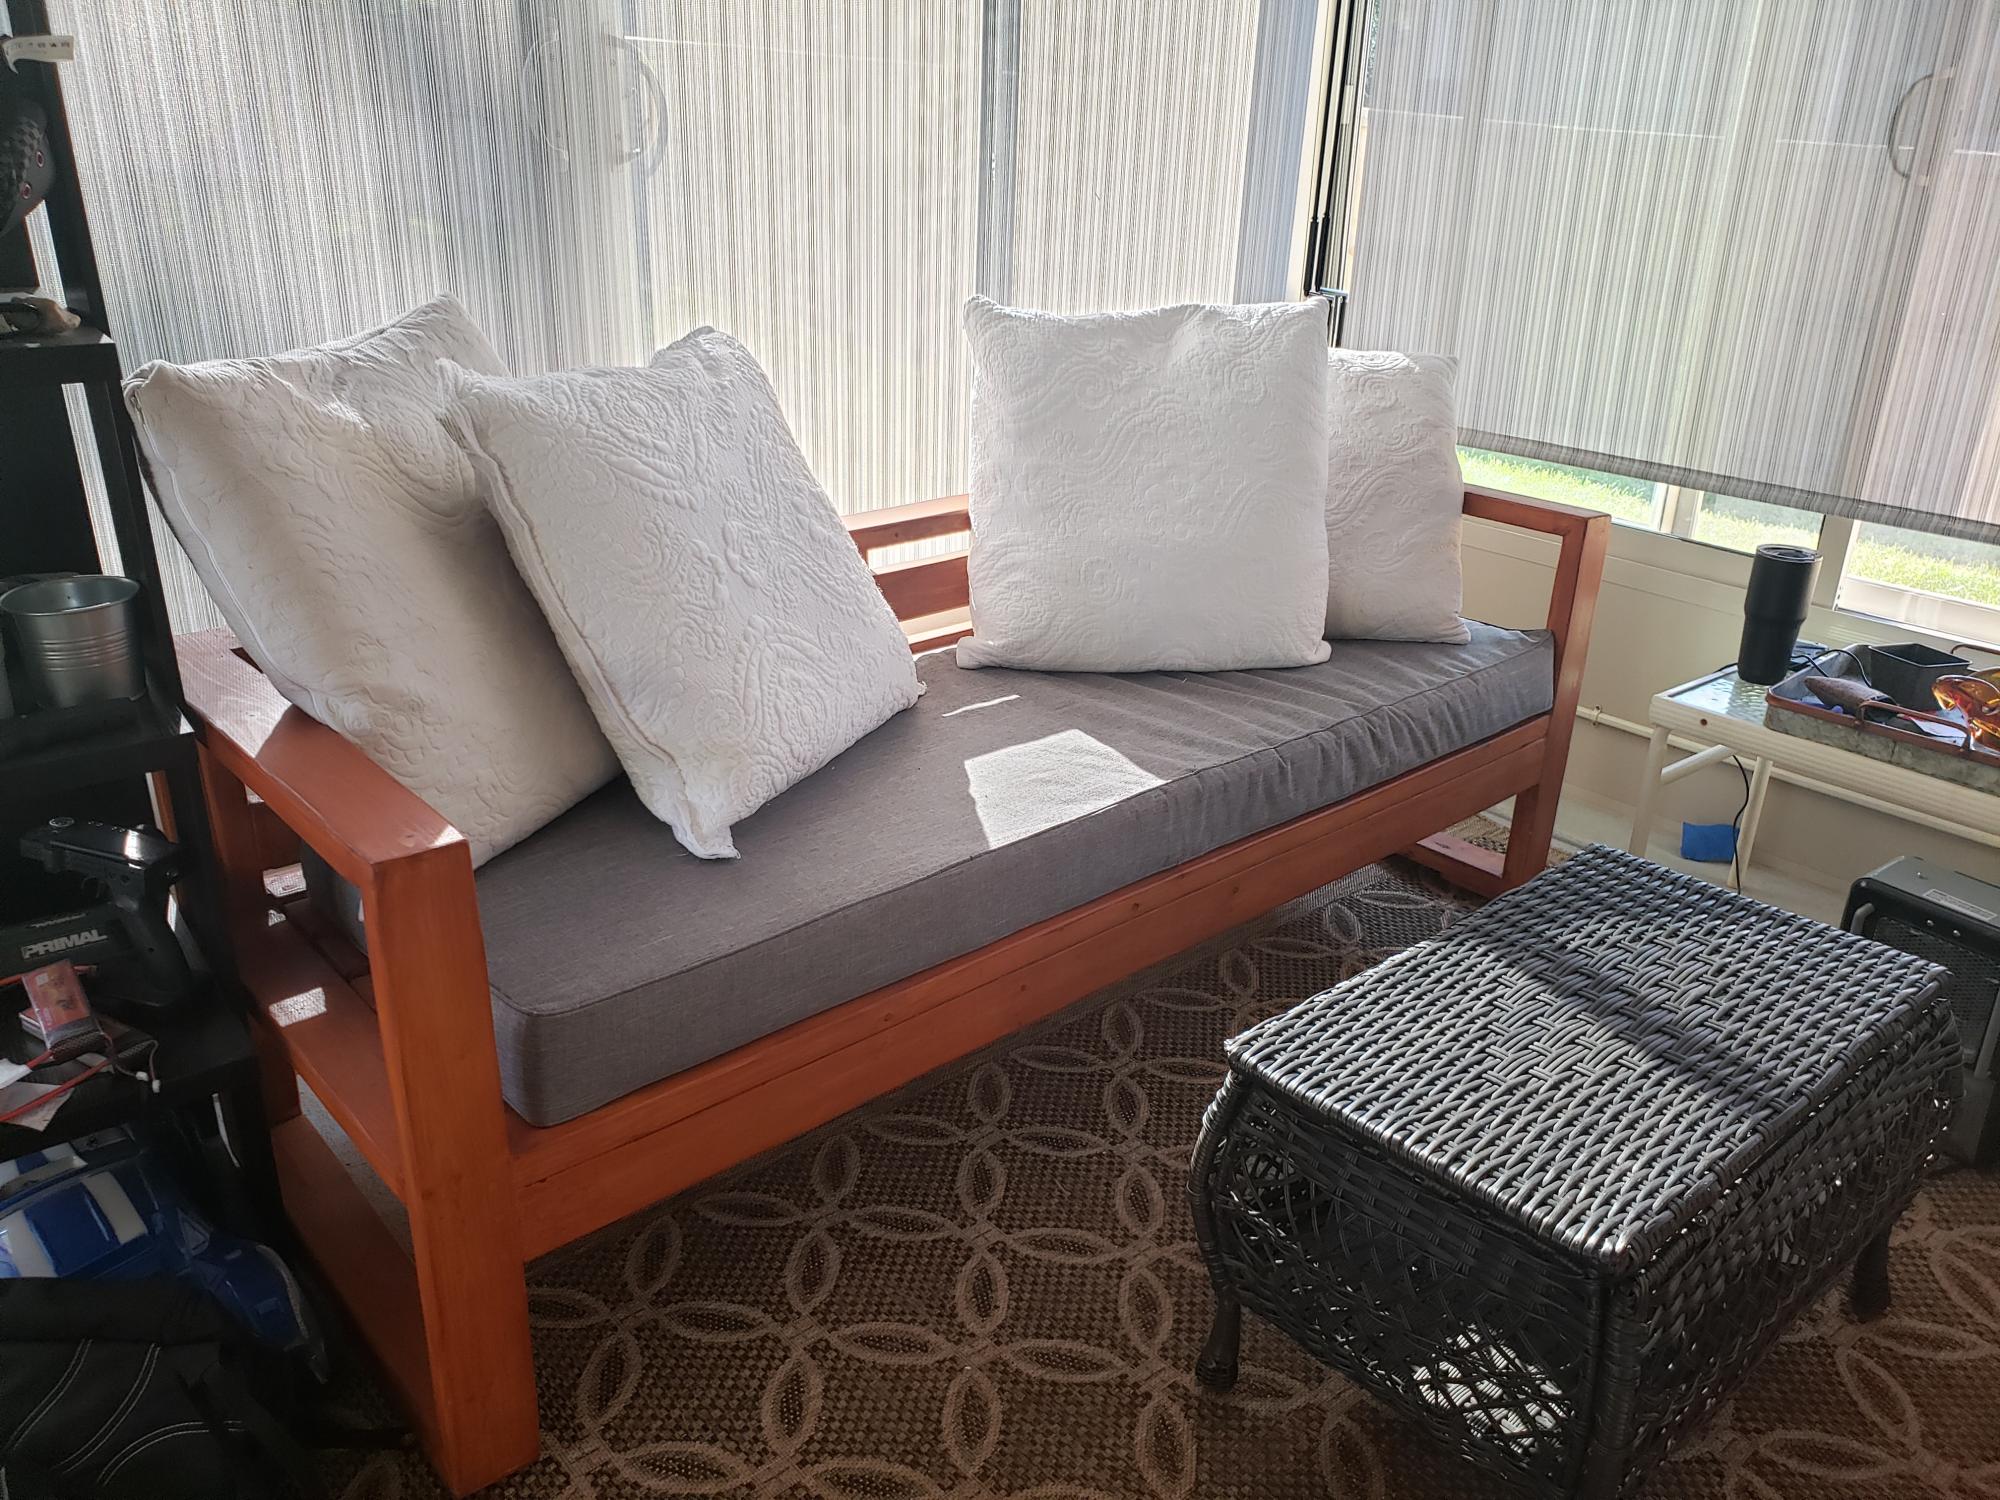
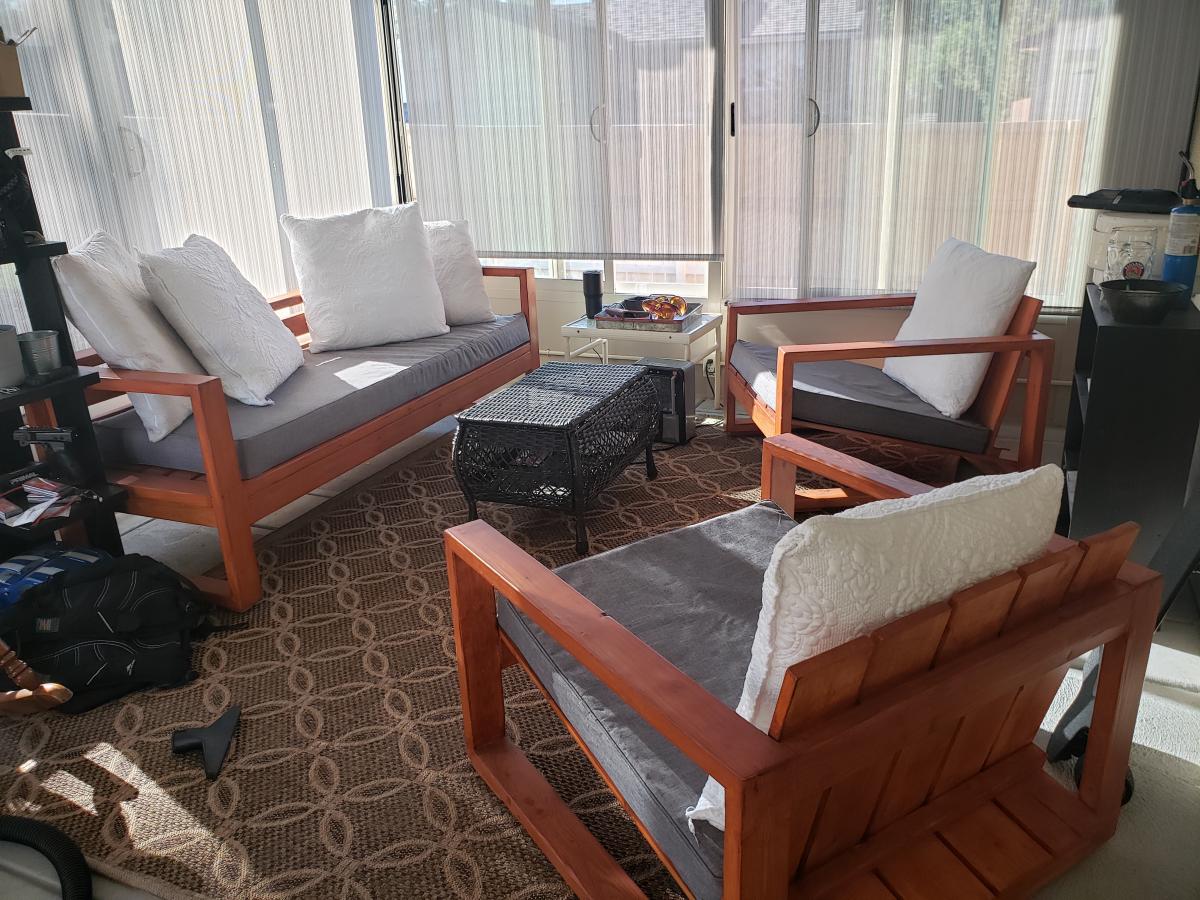
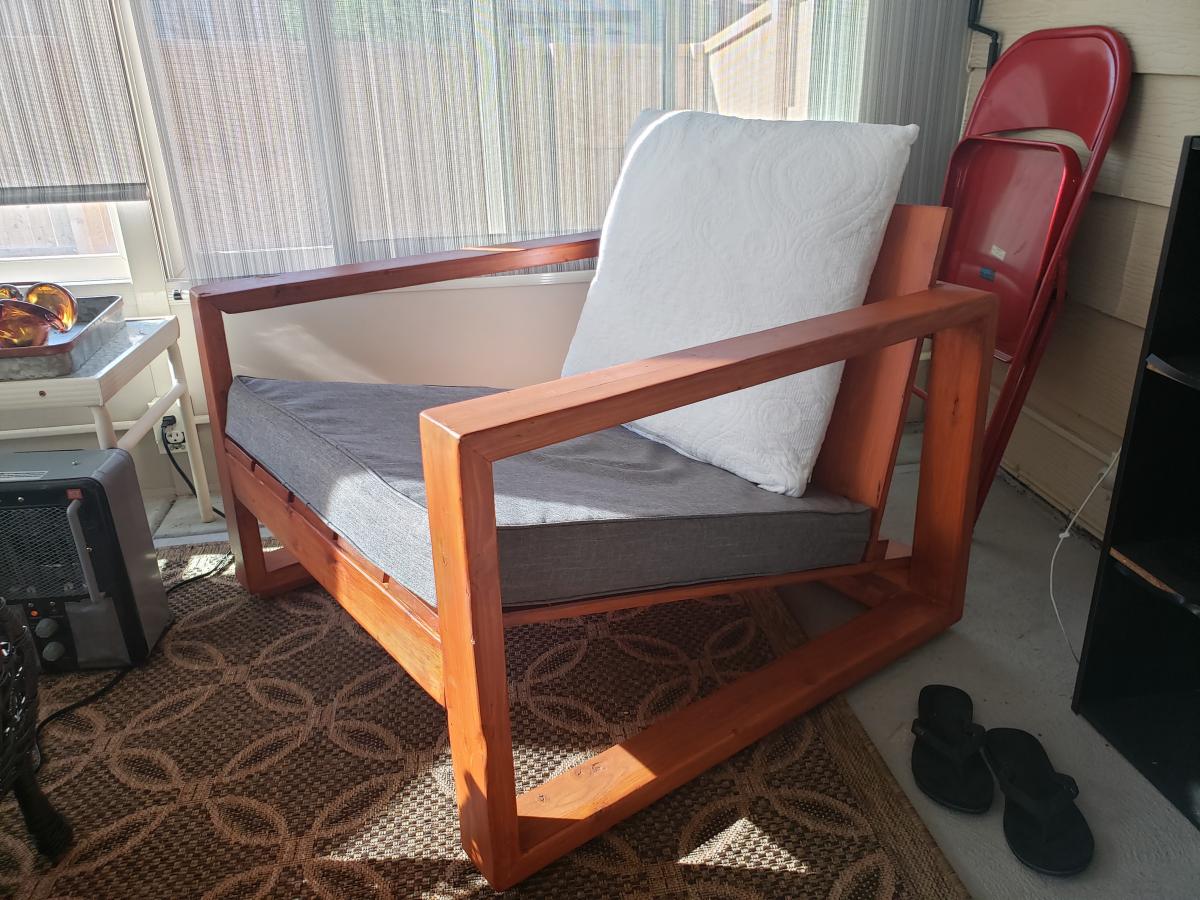
Well, I had just bought a house. We had no furniture for our sunroom, so I took it upon myself to build some while materials were still cheap.
Hindsight, the chairs rear end should have been a level seat instead of trying to build an Adirondack style club chair. I modified the ends to match the modern style so they would match the chairs.
The sofa turned out great, all are solid and built with pocket screws. Sealed with redwood deck sealer, should last forever!
For the covers, we had them made from covers and all, and went to the local Joann and bought 4" thick foam.and wrapped it with with polyfill. Can't tell that they were made in a backyard, but they've been great for 18 months so far!
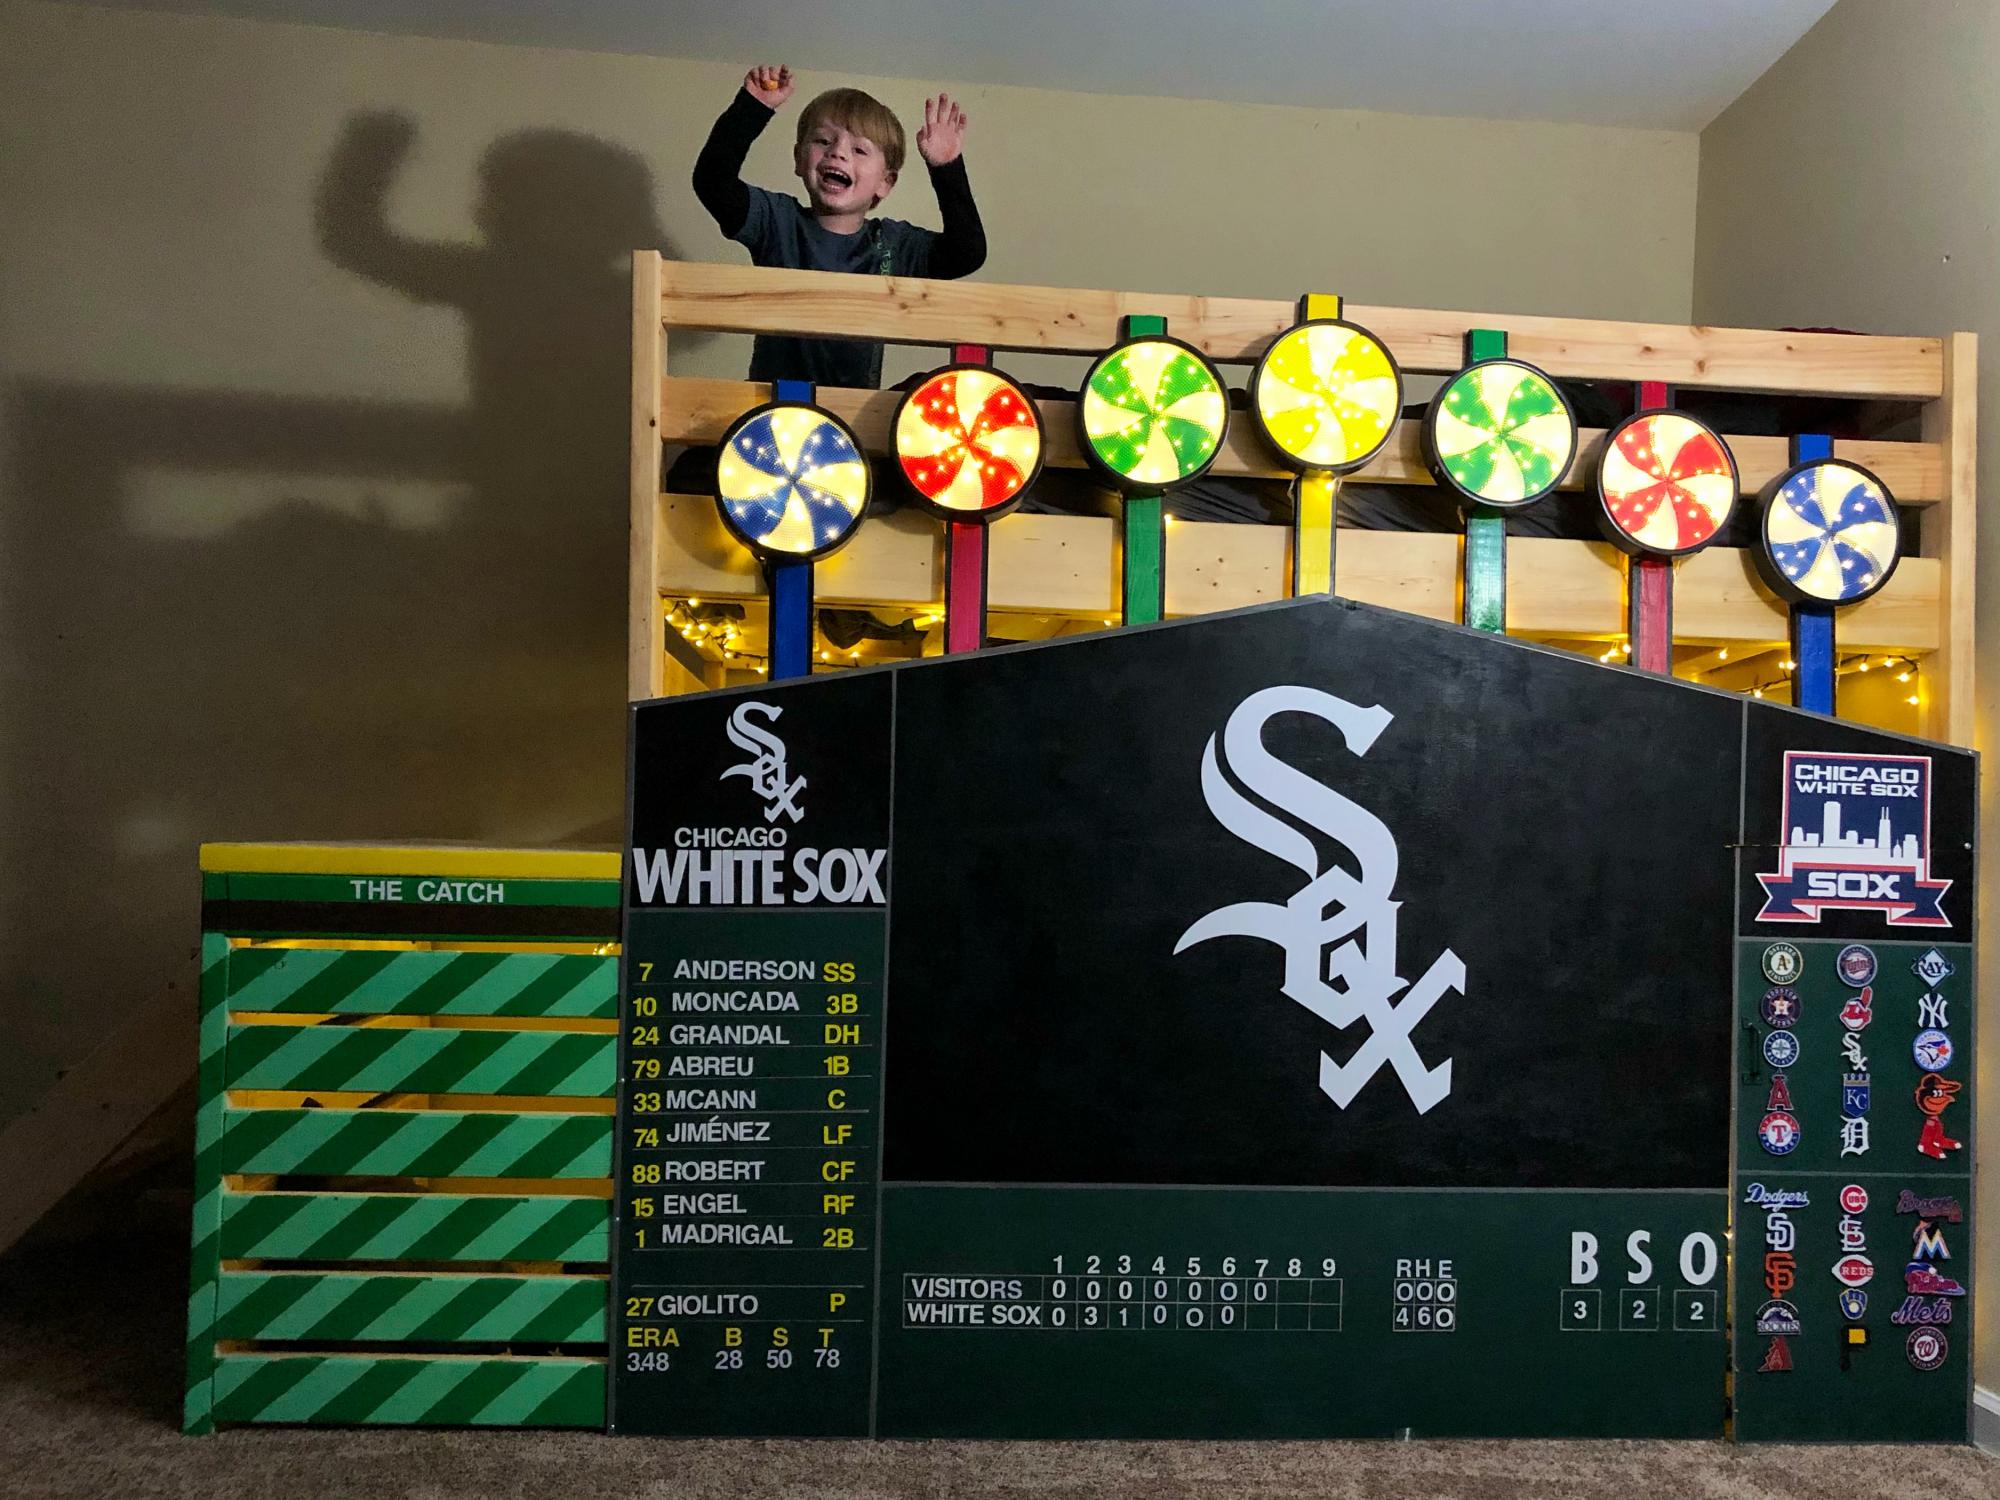
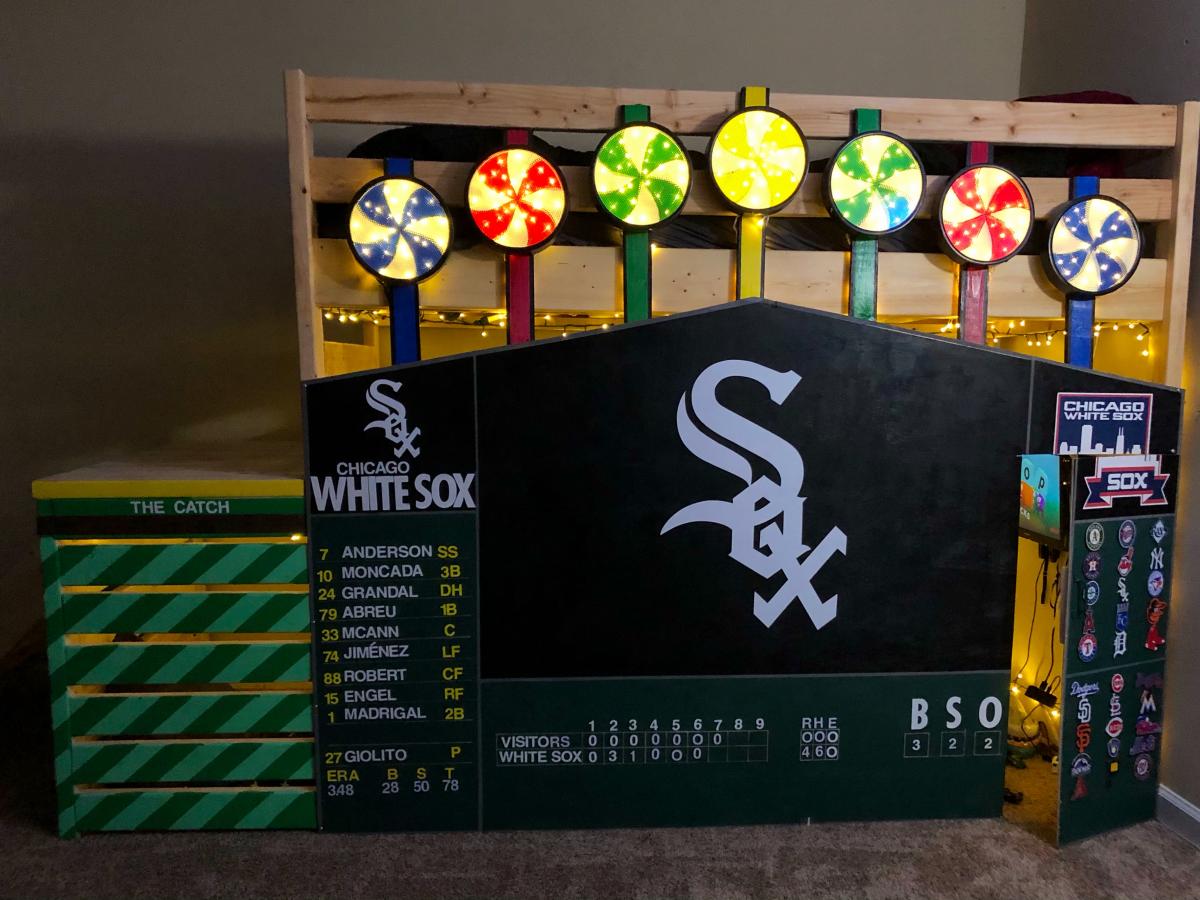
I started off building the loft bed. It was a lot of fun. I cut every single piece of this, and hand everything, other than the white sox and players decals. I made the light up pinwheel signs that light up whenever the white sox hit a home run. I had fond memories of the famous scoreboard going to games at the old comiskey park, and my 5 year old son loves the white sox, and this bed! There is a door as well that opens up and goes into the locker room. Underneath there is a rv, with a chair, and some other cool amenities good enough for a real major league player. I won’t tell the secret of how I designed the pinwheel light boxes, and the led lights. I had to get realllly creative. This was a huge project that completely consumed me for months. I love it though, and wanted to thank Ana for the great plans on the loft style bed! Thank you Ana white!!! Your the best
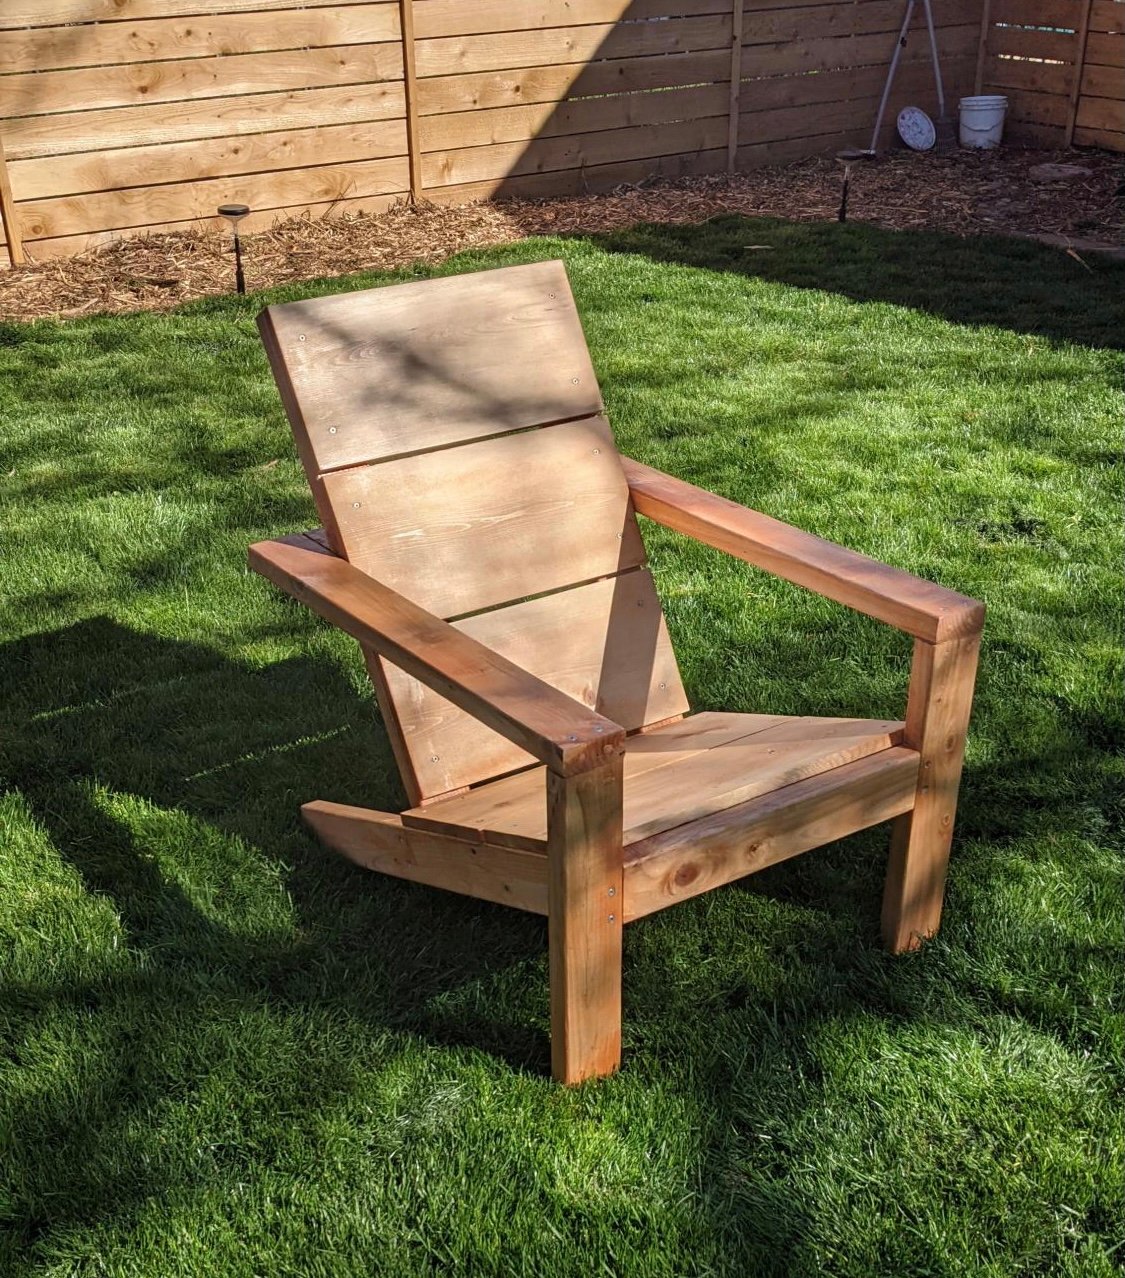
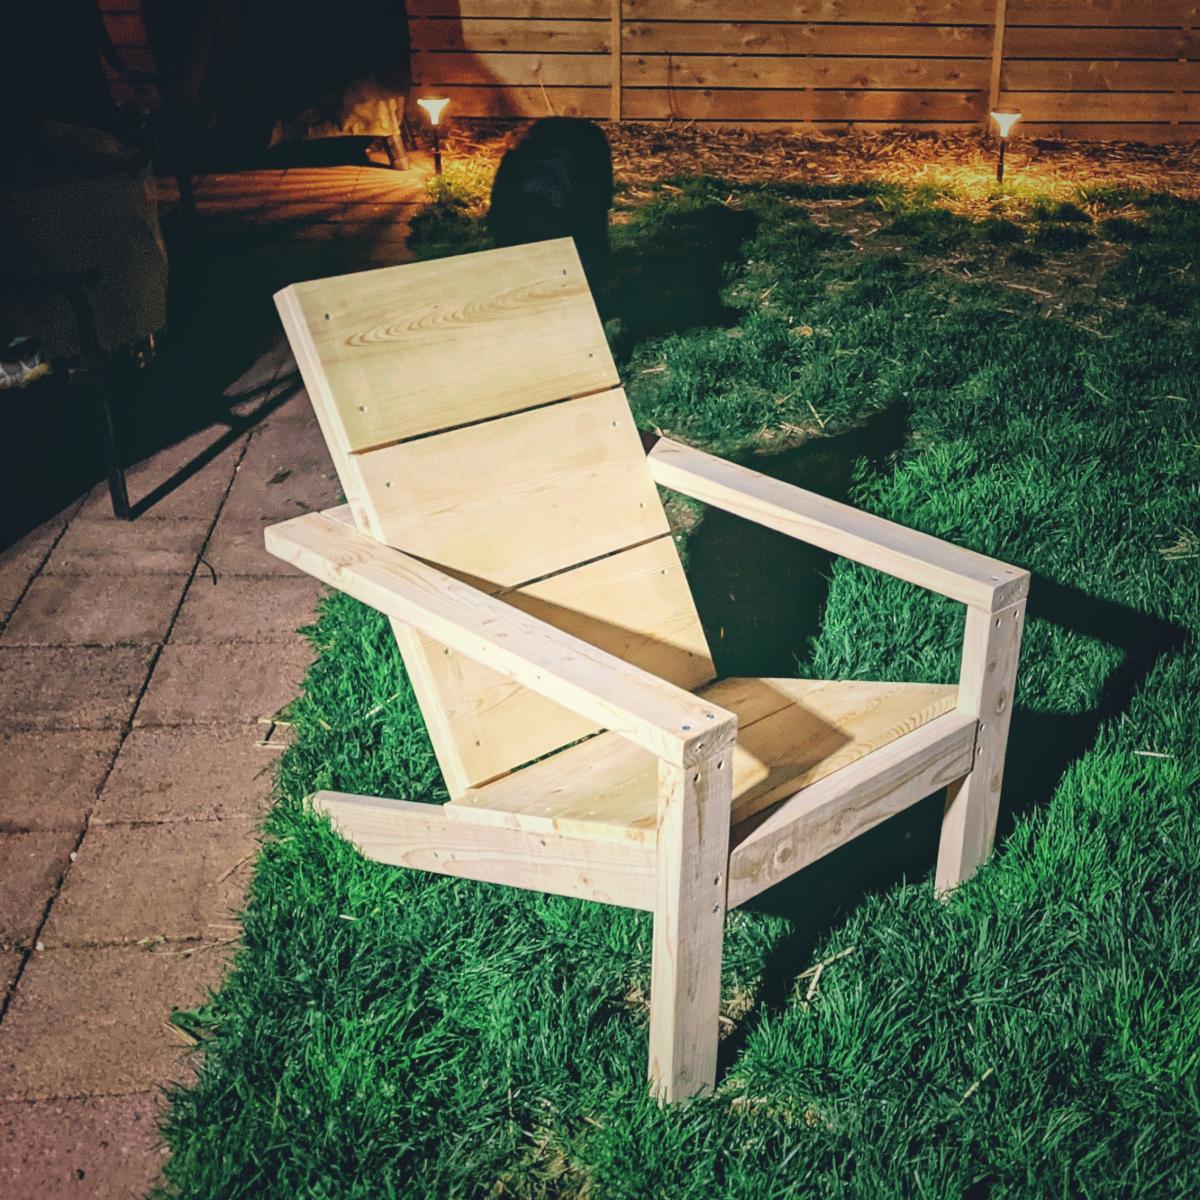
I've made 2 of the Modern adirondack chairs. Really enjoyed the plans and the video for help as I'm new to woodworking. I look for new plans all the time to see what I might build next
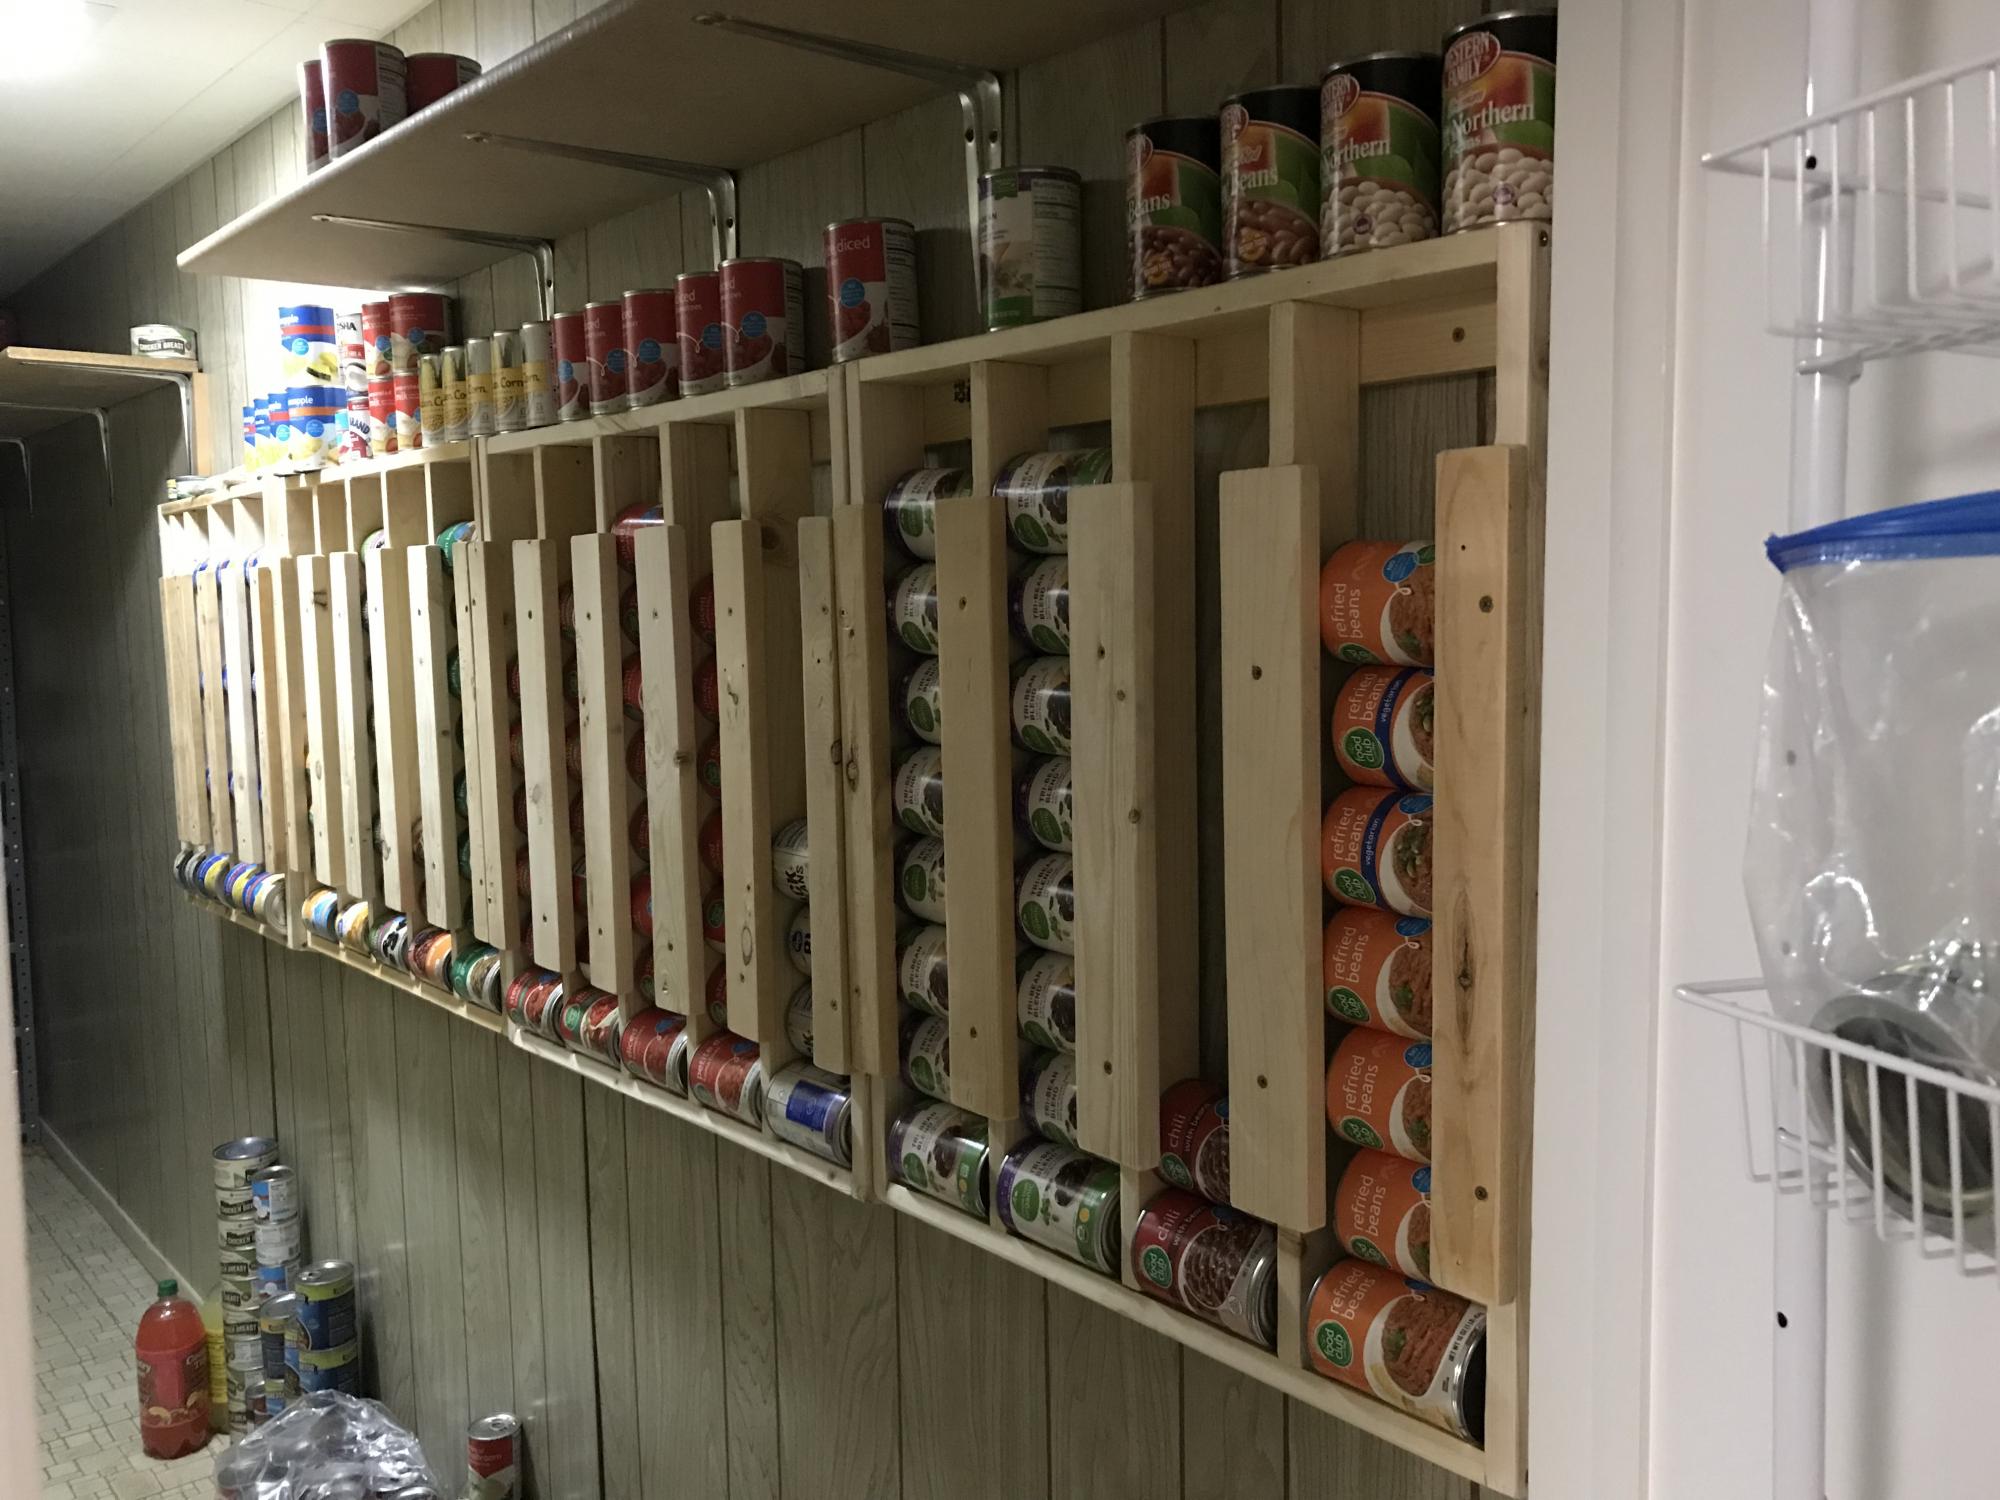
Love this! My husband used this project to help boys learn to use power tools and work with wood. They made one and he did the others. THANK YOU!
Wed, 10/06/2021 - 10:15
Great way to get the kids involved, it looks very nice, organized and functional! Thank you for sharing~
Built this with the help of my Dad! Learned about threads as I've never used them before. Because of all the controversy surrounding having pressure treated wood touch the veggies and because I could not afford or find cedar 4x4's I decided to use the left over cedar to build a little cover around the 4x4's so my soil and veggies will never come into contact with it. Love it and the veggies are growing great!
Fri, 05/31/2013 - 04:22
I'm glad you were able to follow my plans. I'm not a plan writer so I wasn't sure if I gave good enough instruction. It is a shame you can not get all cedar. Sealing the legs will definitly help them last longer and with all that work you certainly want them to last! Just a hint...you can make 3 for not much more than you spent making one....Great job and thanks for the brag post LOVE LOVE LOVE

Built this to go along with my son's new Chelsea loft bed so he'd have a place to set a glass of water and some books. I was able to use almost entirely scrap wood, except for the 1x4. Cutting and assembly took less than an hour, and the thing is rock solid. Sealed it with polycrylic, because it will probably get spilled on many, many times. Probably the easiest project I've done, and I think it would make a great starter project for anyone looking to try out using pocket holes for the first time.

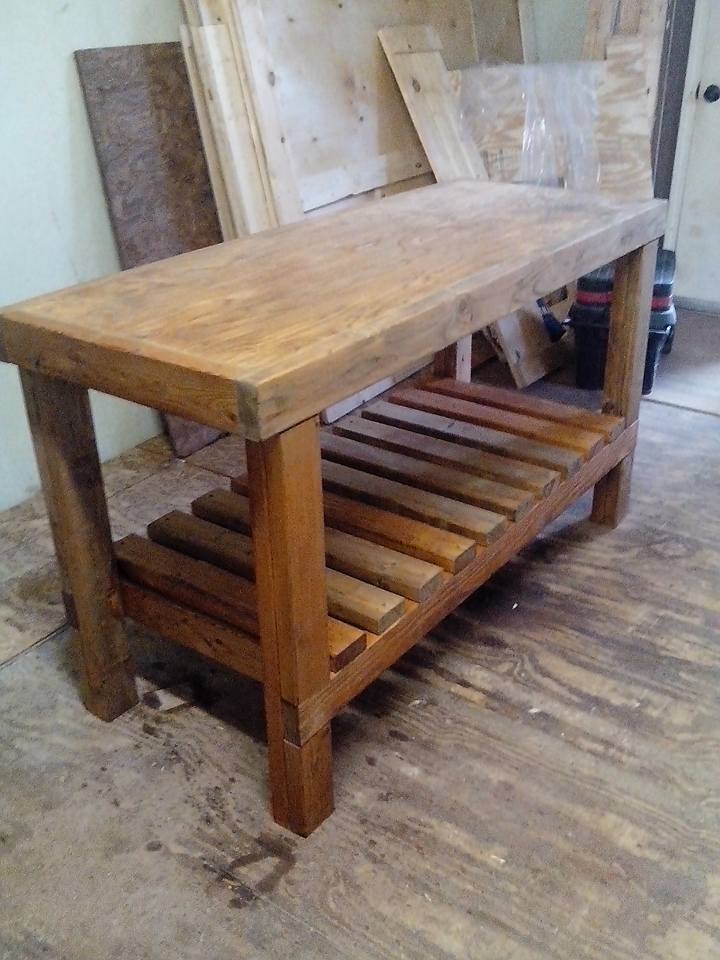
Instead of having the plywood top sit on top of the frame, I sunk it into the frame instead with 2x4 supports underneath.
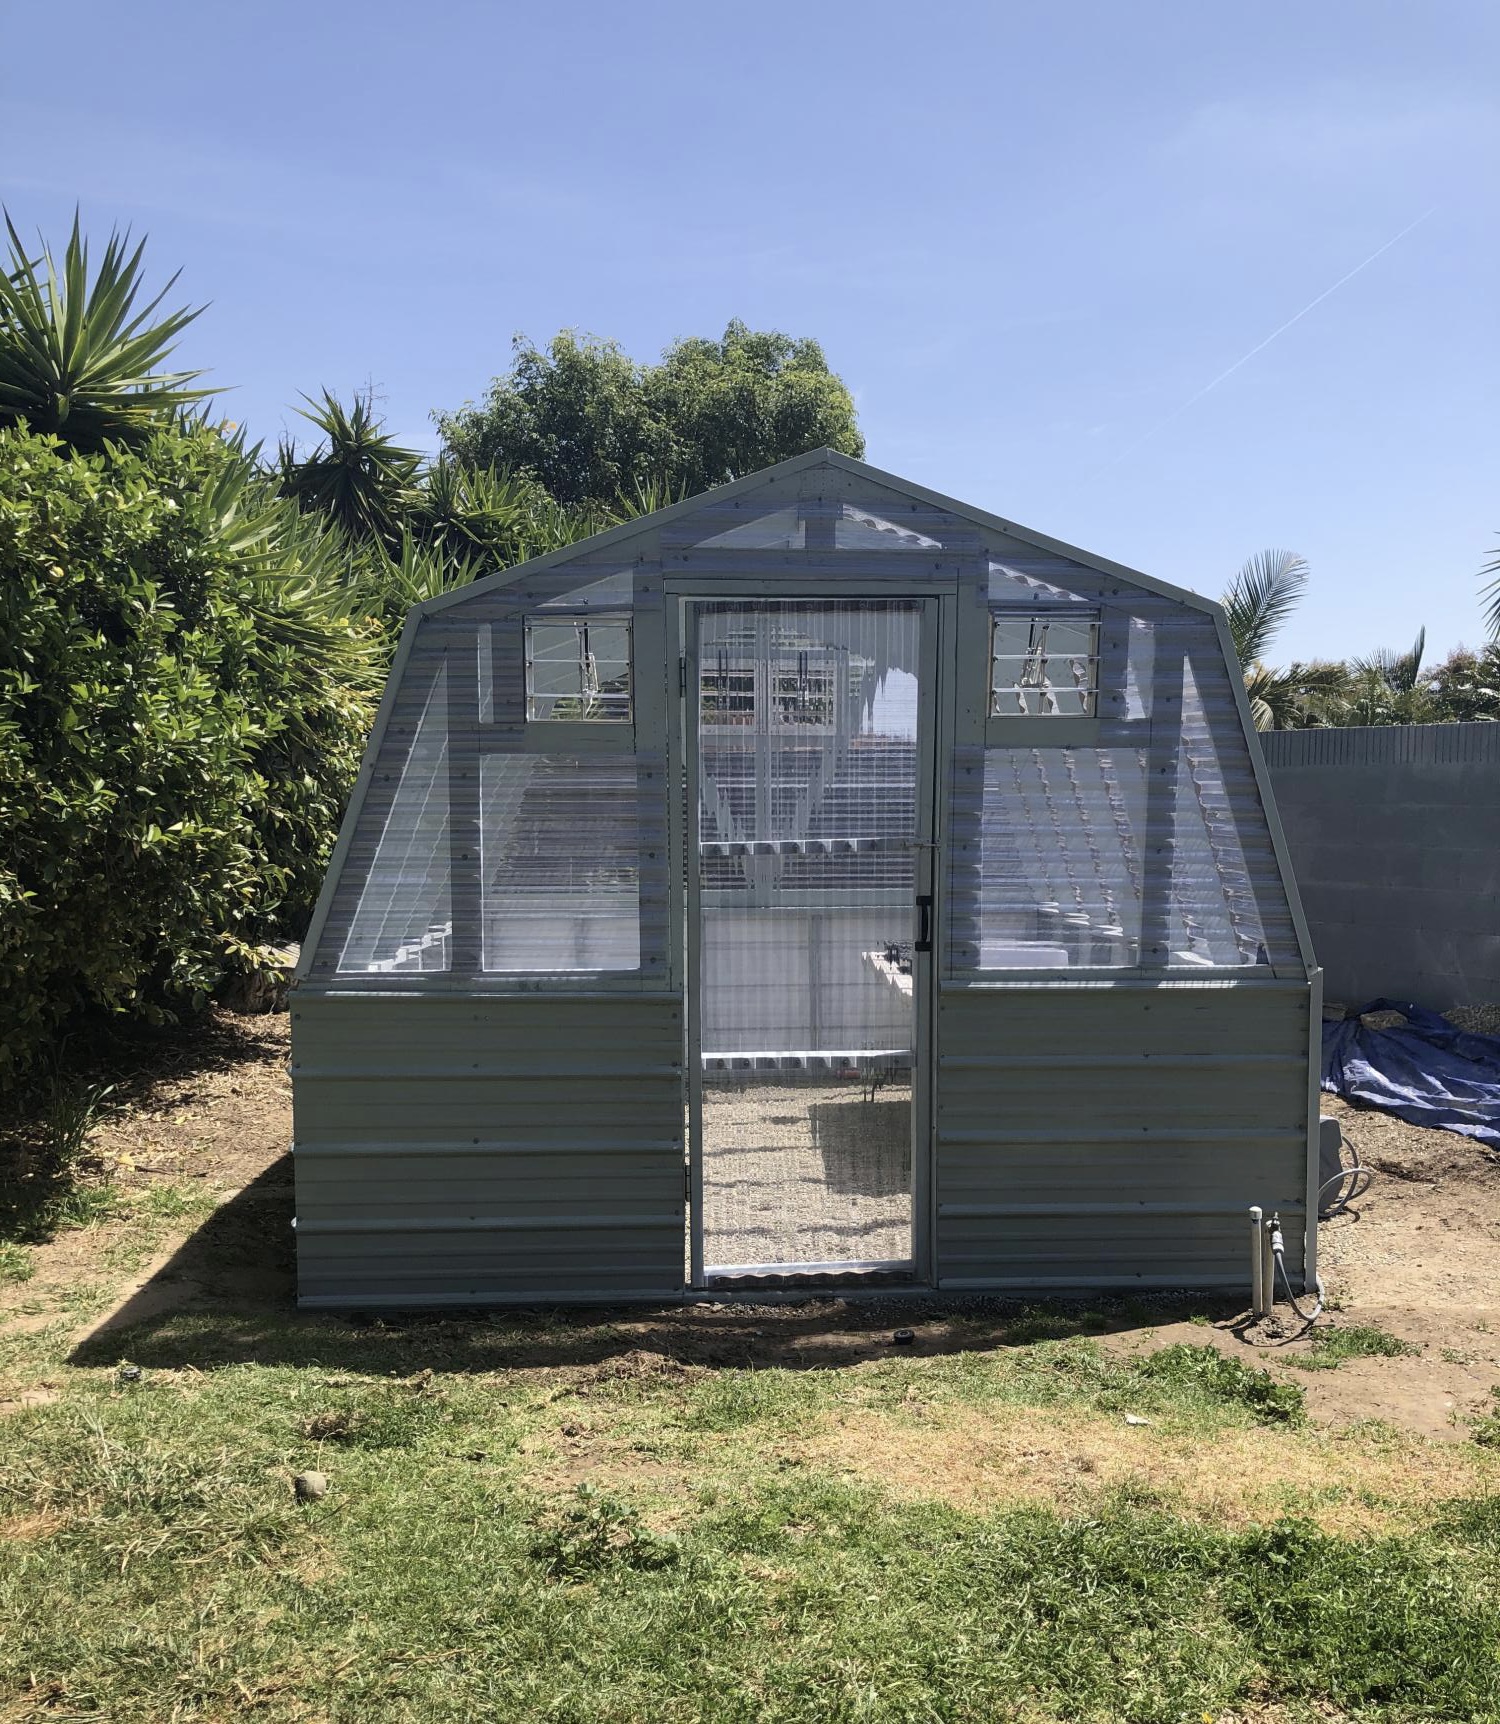
Love my new greenhouse !
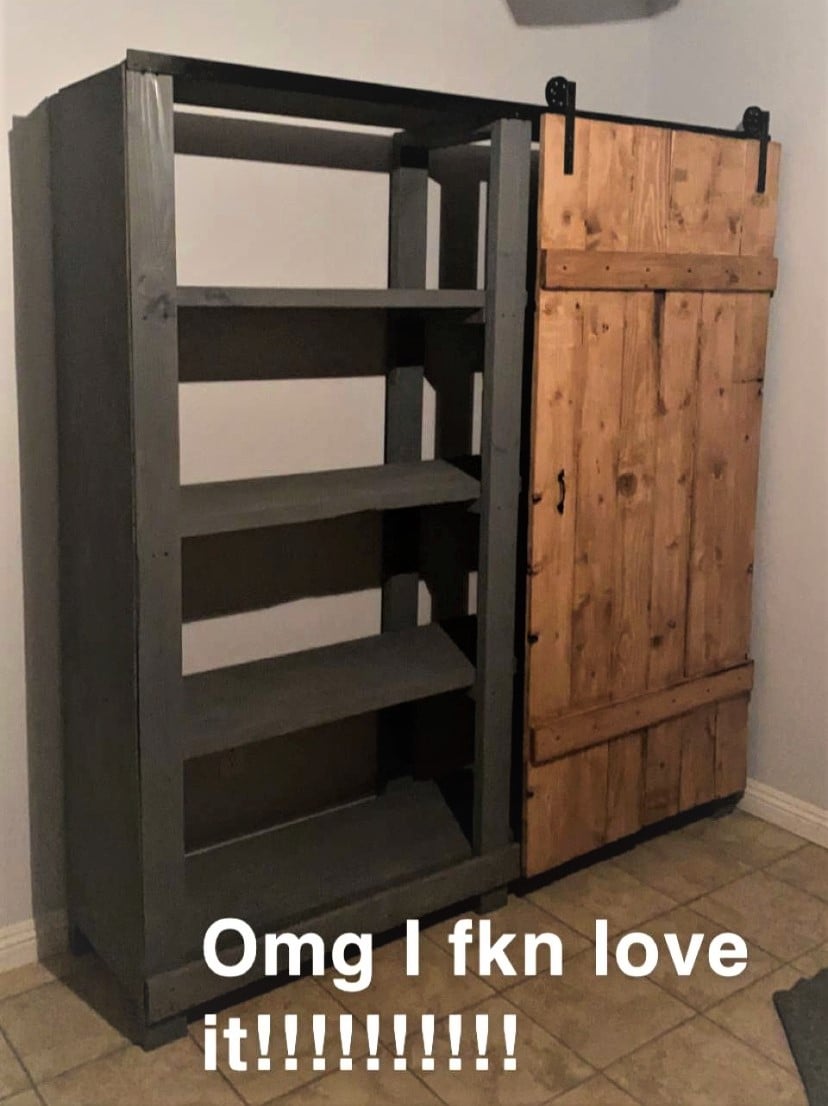
We too you’re 2x4 shelving unit with some small tweaking of measurements and added a barn door!
I followed plans from Woodworking for Mere Mortals. Steve Ramsey has a great build video for the project. You can check out the video on his YouTube channel. This lumber cart replaces a previous one that I built a few years ago. My old lumber rack could not store sheet goods and took up too much floor space in my garage. I disassembled the 2x4s from it and hope to recycle them for a future shop project.
For complete build details continue reading my DIY blog here.
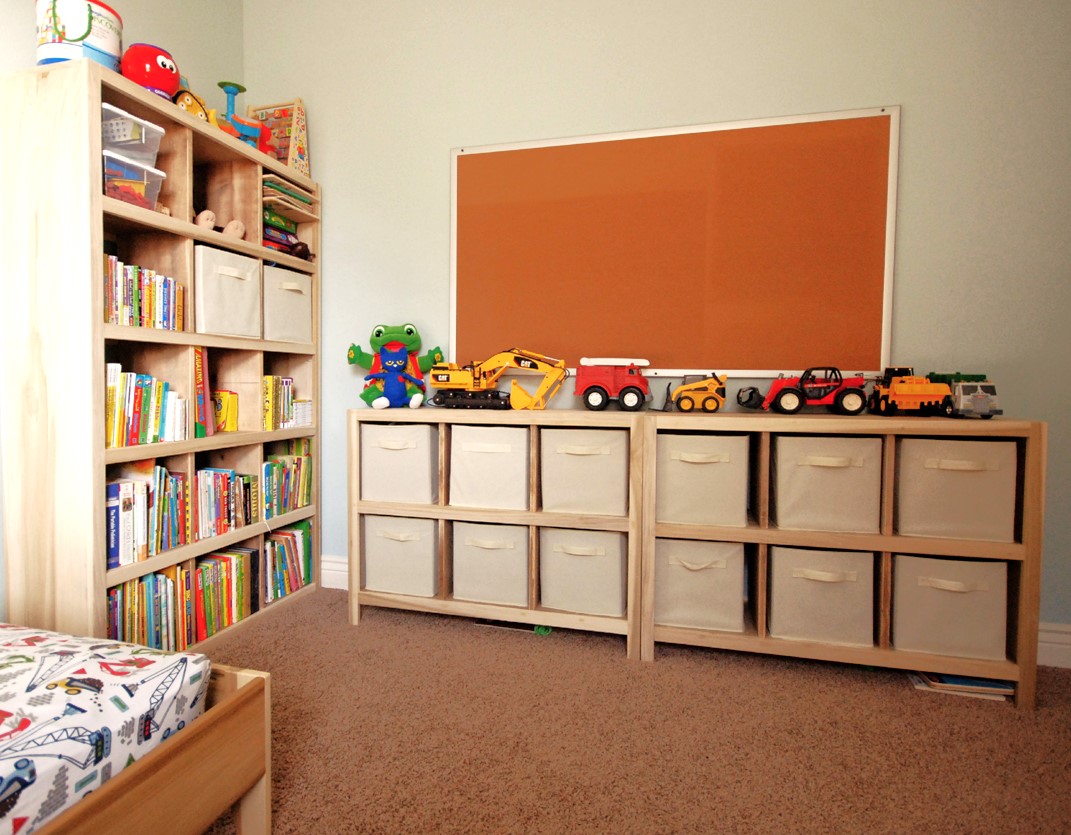
I built this set of cube shelves for my 3 yr old son's room. THANK YOU, ANA! I used poplar as I did not want to paint the wood and I love the irregular pattern of the wood grain. To save money, I used pine for the inner shelves and dividers. I stained it using the oxidized solution (http://www.friendly-home.net/2012/05/oxidized-x-console.html) that Ana recommended from the instructions of the Rustic Console. I added a cup of coffee to the solution to get a darker browner shade and unevenly sanded the wood for the distressed look. It matches the poplar wood more so than keeping the pine wood as is.
I also created a 5-tier version to match the 6 cube shelves but did not include the legs. I thought it would be more stable to keep the lower frame on the ground.
I purchased the storage boxes from Amazon It was around $20 for 6 boxes!
I am ready for the next project!
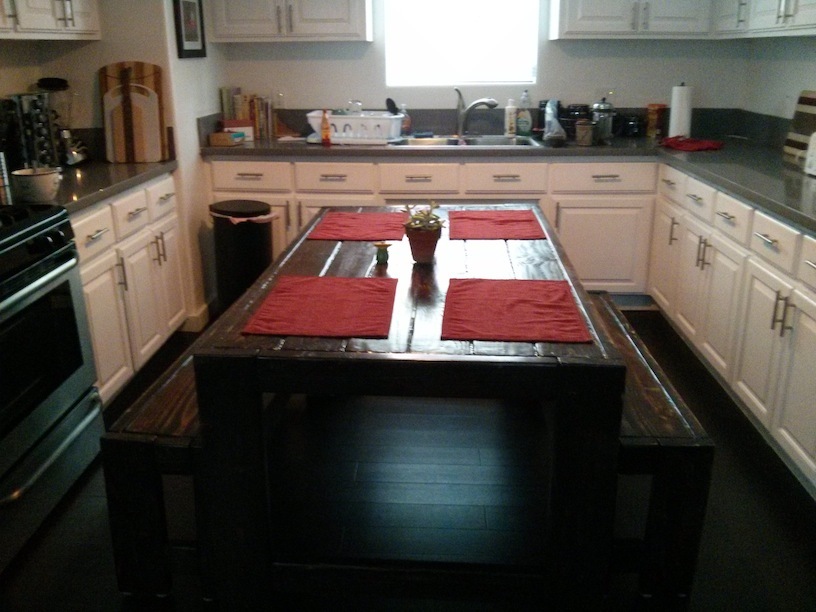
This was my first project. I learned a ton through the process. Ana's directions were very easy and straightforward.
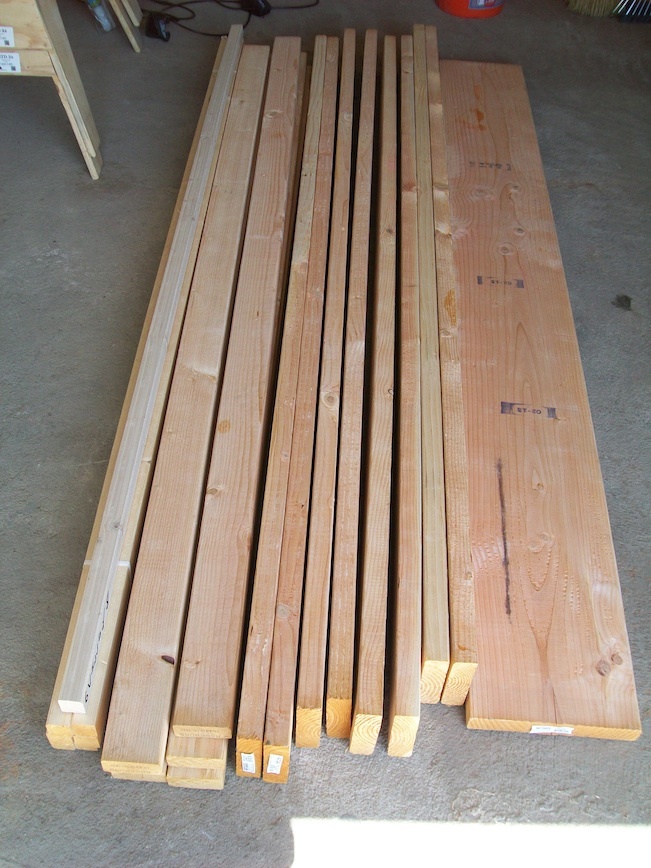
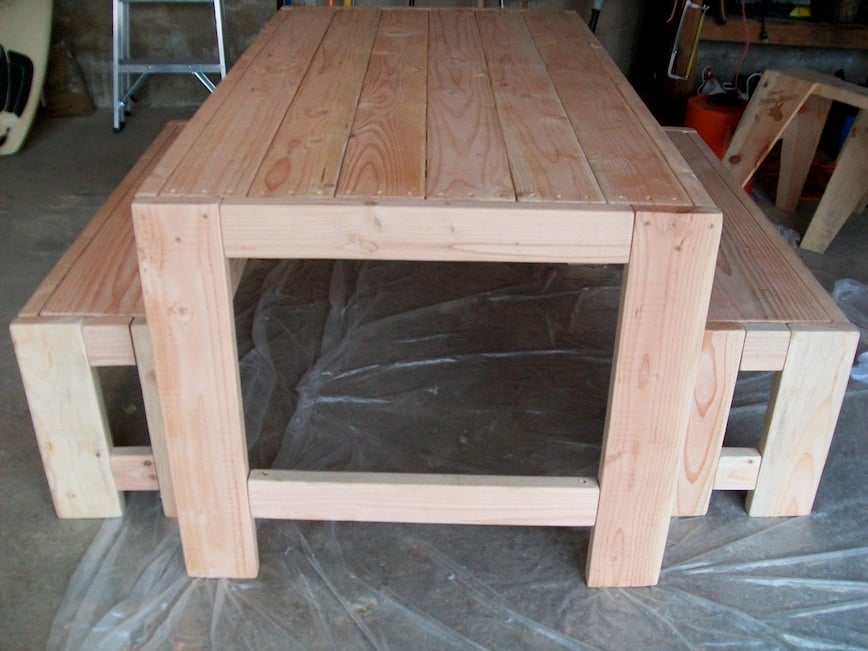
I purchased the wood (Doug-Fir) from Lowe's and cut it at home with a circular saw. I filled the gaps in the table/benches with a crystal clear silicon caulk - I have mixed feelings about this, since it dried kind of shiny. The coats of polyurethane helped to dull the finish a bit. For the stain, I used Rustoleum Kona, and Minwax Helmsman Spar Urethane Semi-Gloss for the finish.
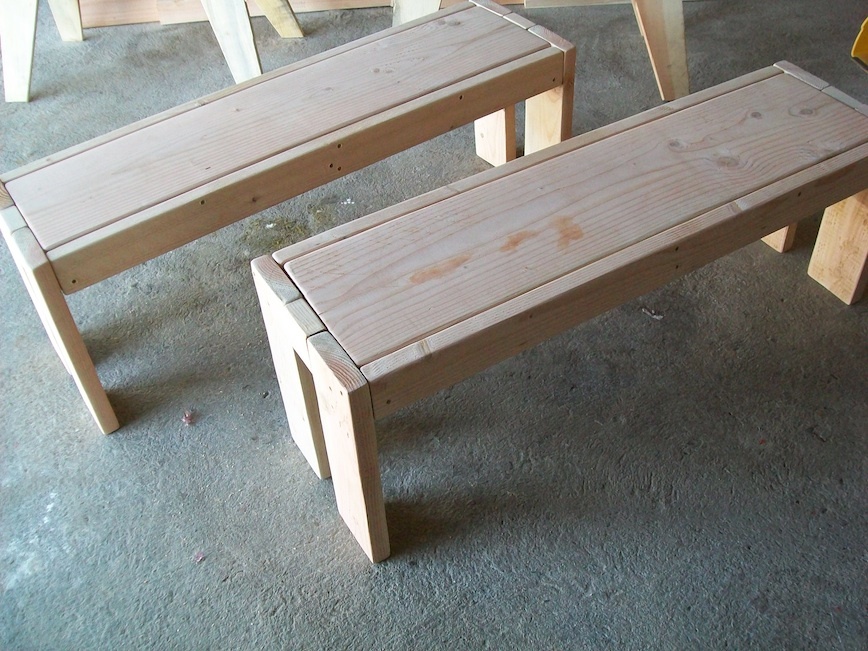
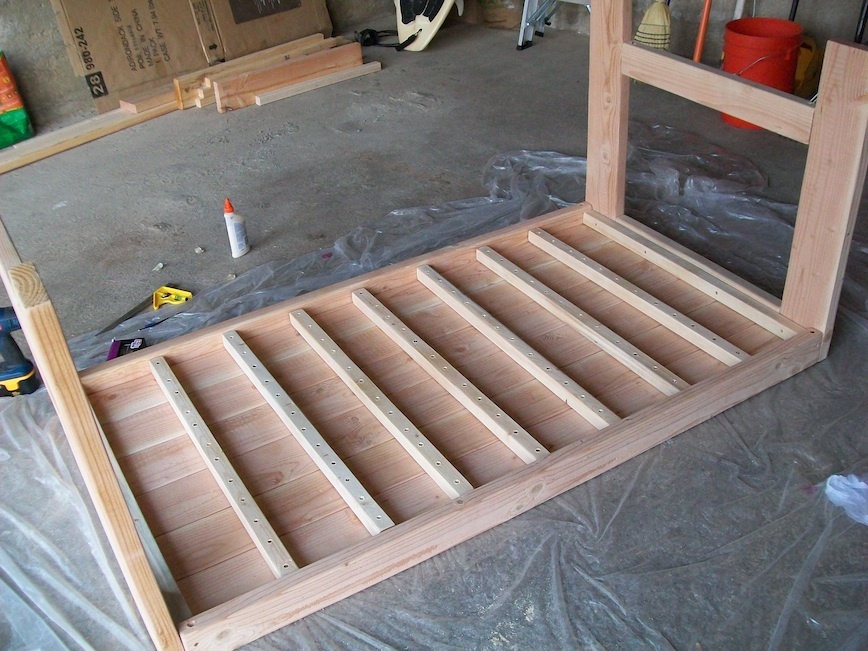
Like others have suggested, I built the benches first, then the table. This was a great tip, since you can learn the design on a smaller model before tackling the beast of table (it's heavy). I also added some horizontal supports on the ends of the tables/benches, not in the original plans. I just duplicated the end aprons of the table and countersinked/screwed them in at an angle.
Cutting and building the project didn't take nearly as much time as the sanding, staining and finishing. The back-end part of the project was very detail-oriented and stretched out over several days.
Overall, very pleased with the finished project. It was very empowering to know that I can build something like this. Thanks Ana and all of the others with their tips and suggestions! My wife and I know have a long list of other projects to tackle :)
When I first saw the outdoor sectional plans from Ana I had to build this! The sectionals at potterybarn cost at least $1500 and that is without the cushions. I chose cedar for the lumber because I wanted a high end stained wood look that would stand up to the pacific northwest weather. I purchased most of the lumber from Orange and some of the smaller boards from a local lumber yard. Every board was cut first then sanded and stained before assembly. This made it look a lot more professional and no drips! There are just too many tight areas to do this after it is assembled. I made 2 Weatherly outdoor sofas and used the plans from the Weatherly loveseat to leave the end off of one of the sofas to make an L-shaped sectional. This fit perfectly for my narrow deck which is the beauty of DIY and Ana's easy to modify plans. I followed the suggestion of another brag post to attach the 2 sofas together with carriage bolts and nuts. It is important to be very accurate with all of the cuts because they have to fit together perfectly for the final product to look straight and measure correctly. Because there a about a million repetitive cuts in these plans I took the idea of another brag post and youtube and created a stop out of leftover lumber which really helped me keep my cuts accurate and saved me a lot of time. I really enjoyed using my new Kreg K5 pocket hole jig on this project which saved me time and my new Ryobi brad nailer that I convinced my husband I needed. I plan on using it on several projects which "require" a brad nailer! I bought six 25" cushions in turquoise from Pier 1 in mid-July which were on major sale and several pillows to match the color. I am somewhat of a beginner so I didn't adjust te plans to fit six 25" cushions so I had to have one cut down to 22" by a local upholstery shop (I could have purchased a 22" cushion but of course they were all sold out). I suggest at least a 3-4" depth cushion that is fairly firm, which Pier 1 cushion were.
I love the outdoor coffee table with built in beer cooler idea that another brag post had suggested.It uses a planter box as the cooler. I used the same stain which worked well and adequately waterproofed the table. It also has a cover for the cooler when it is not in use. I thought it was a nice addition.
I loved this project and how it turned out! Thanks for the plans and inspiration!!!
Comments
Nursetogo
Tue, 03/01/2016 - 12:52
slats
Hello I just finished building the bed, and was wondering if you could give me the dementions for yours? Did you use 1x3, or 1x4's, also how did you attach by the headboard. Thank you so much.