Community Brag Posts

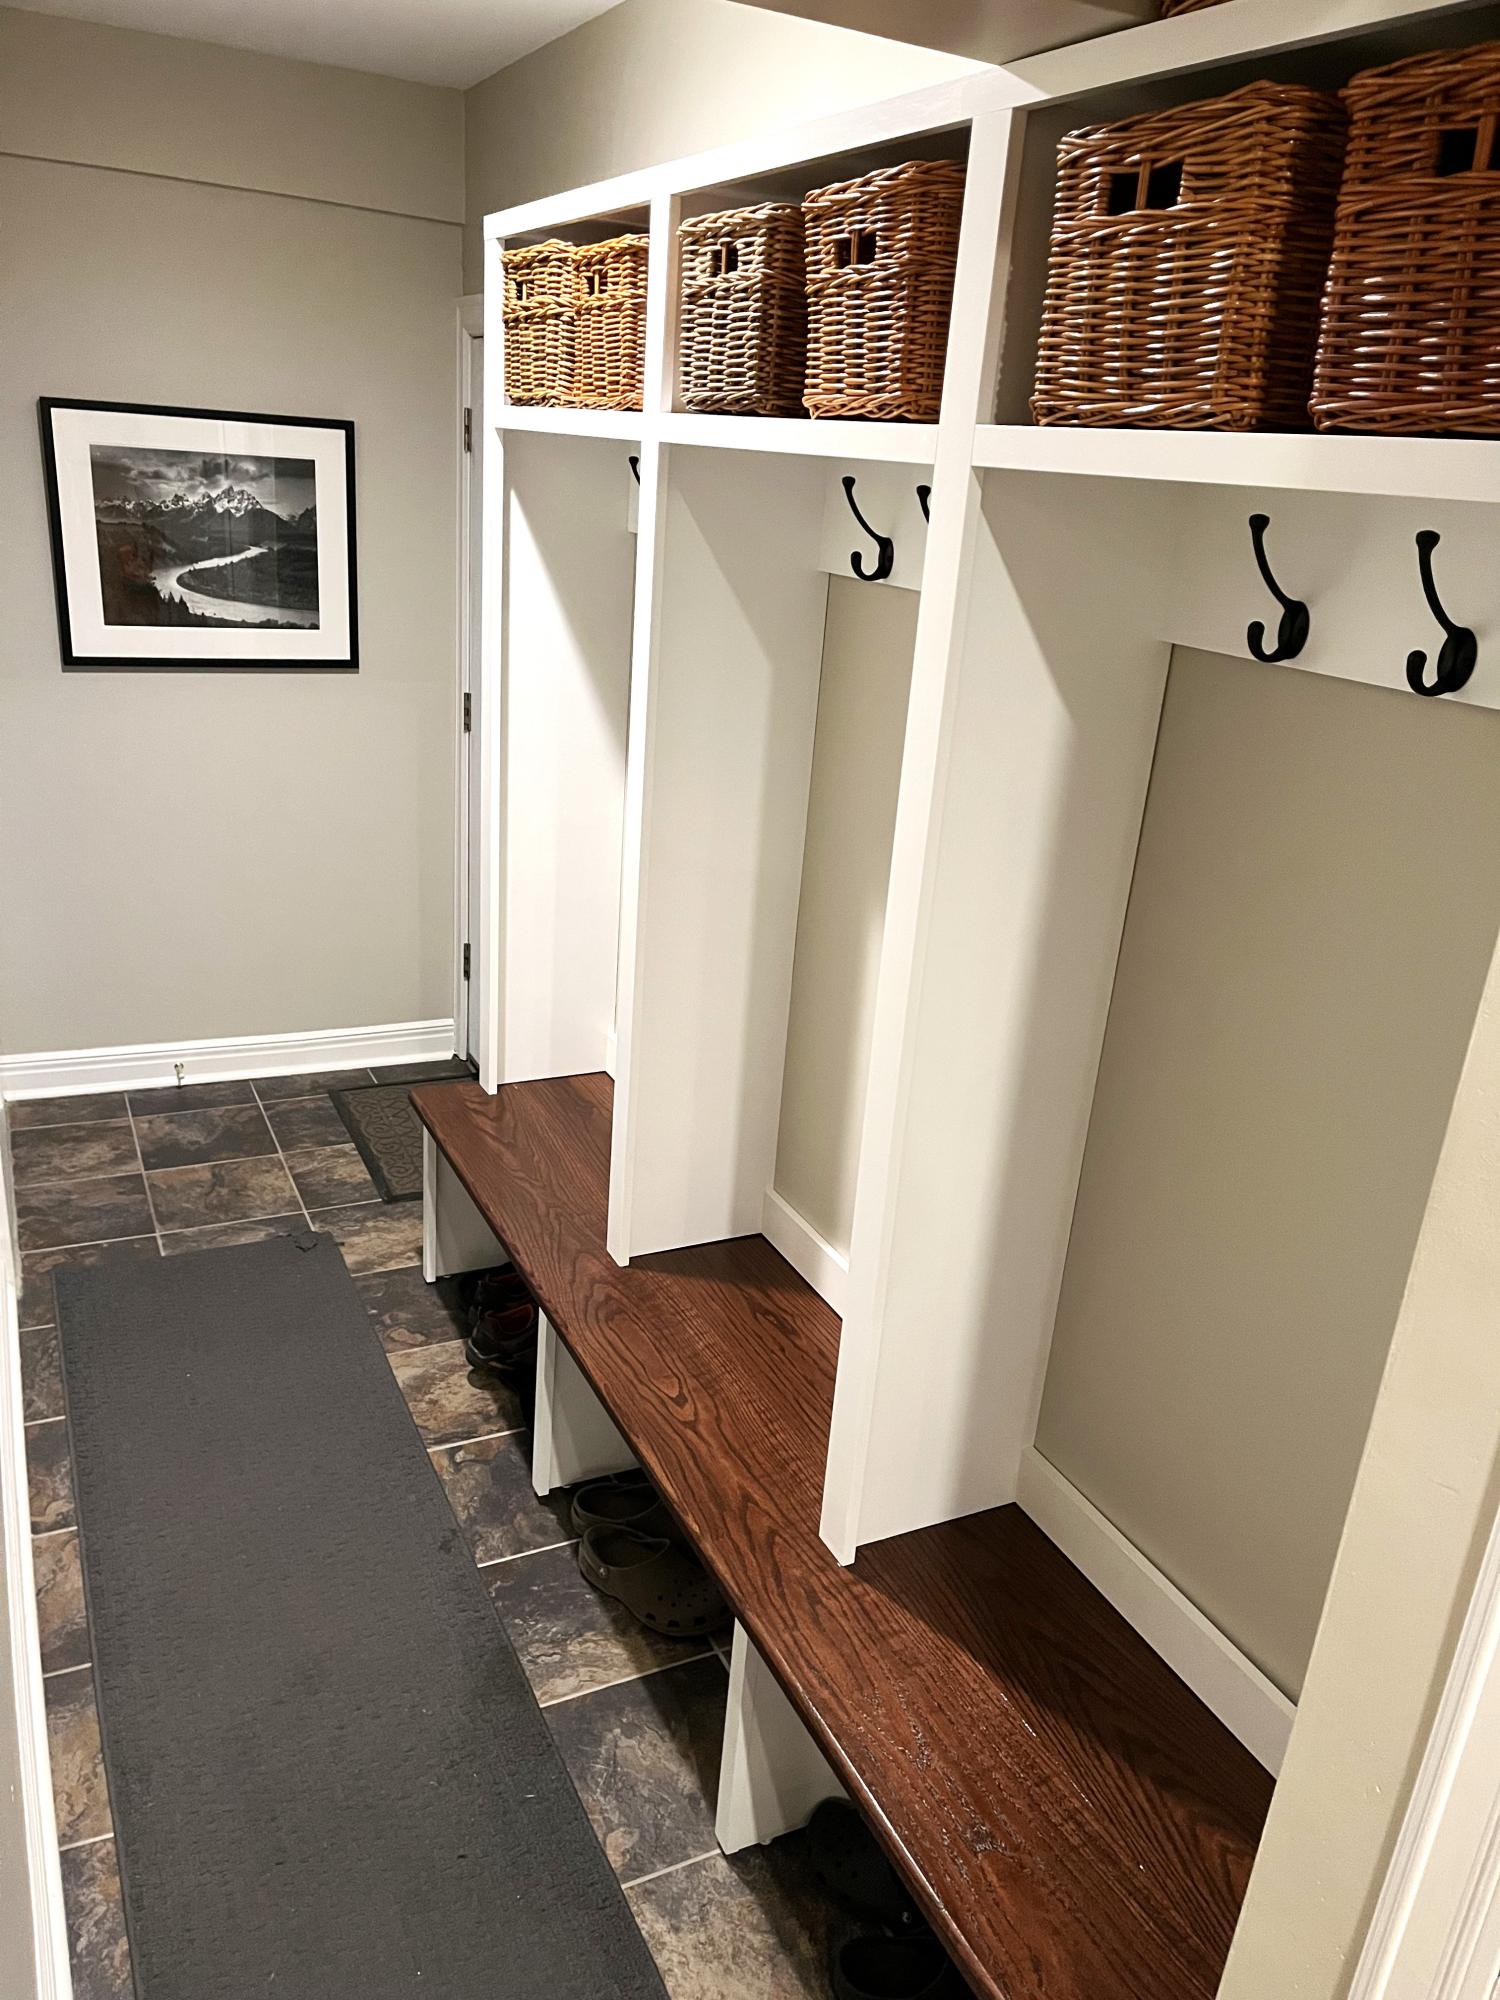
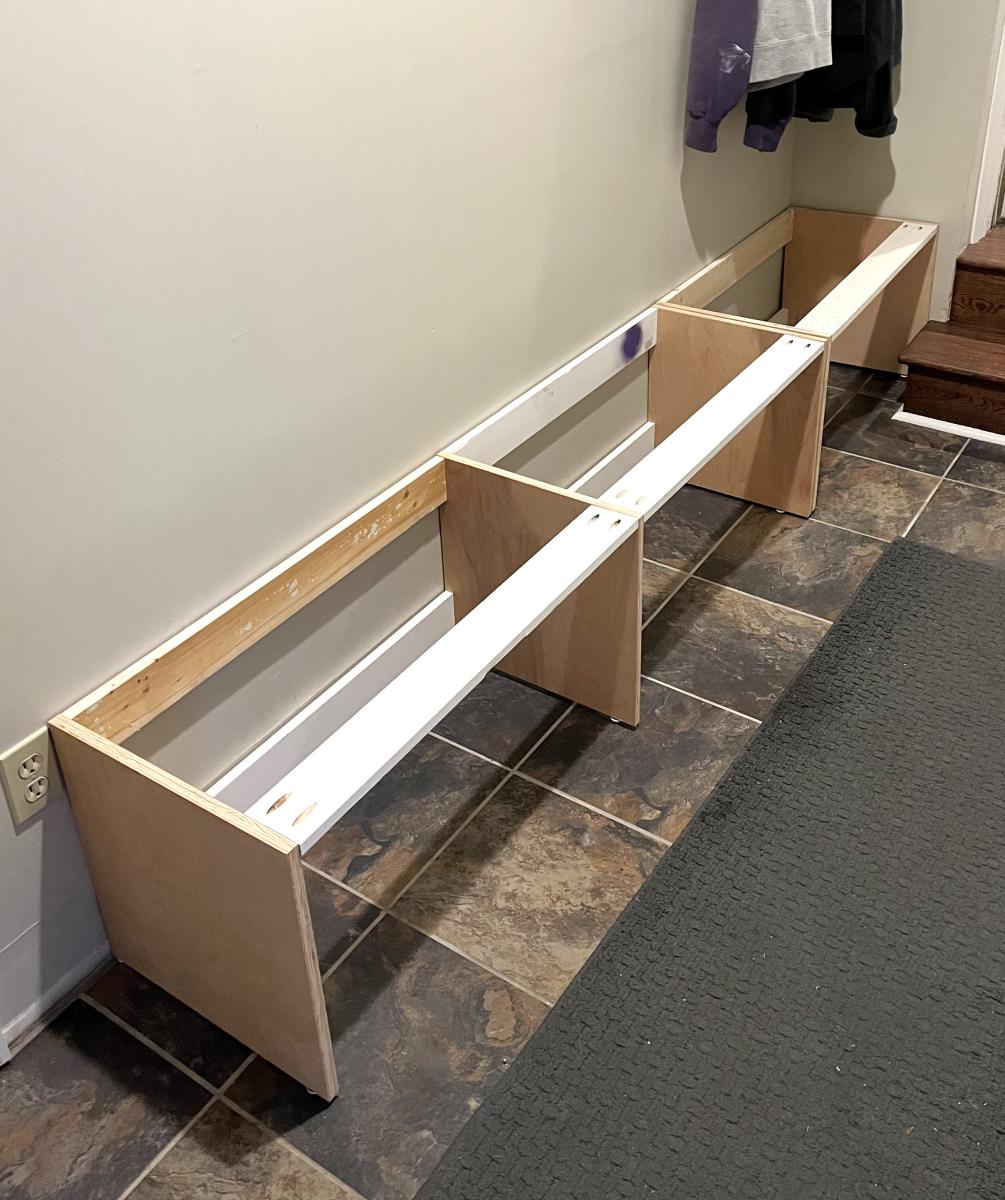
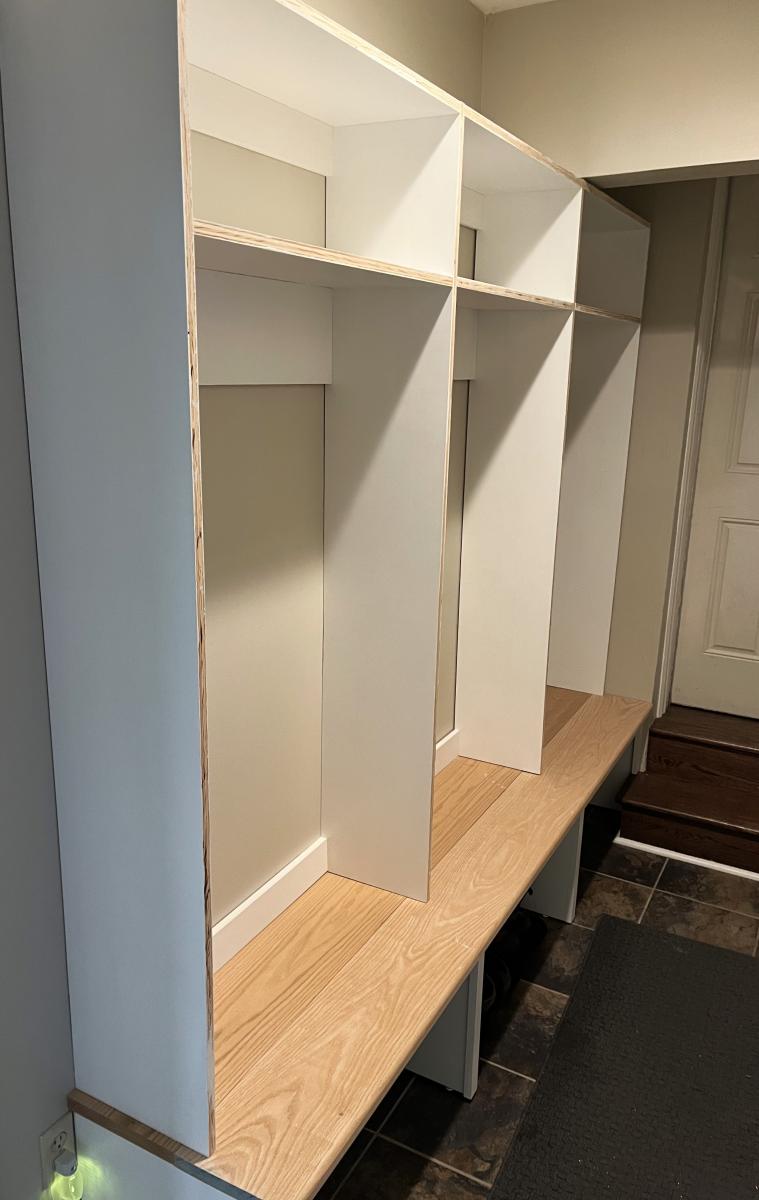
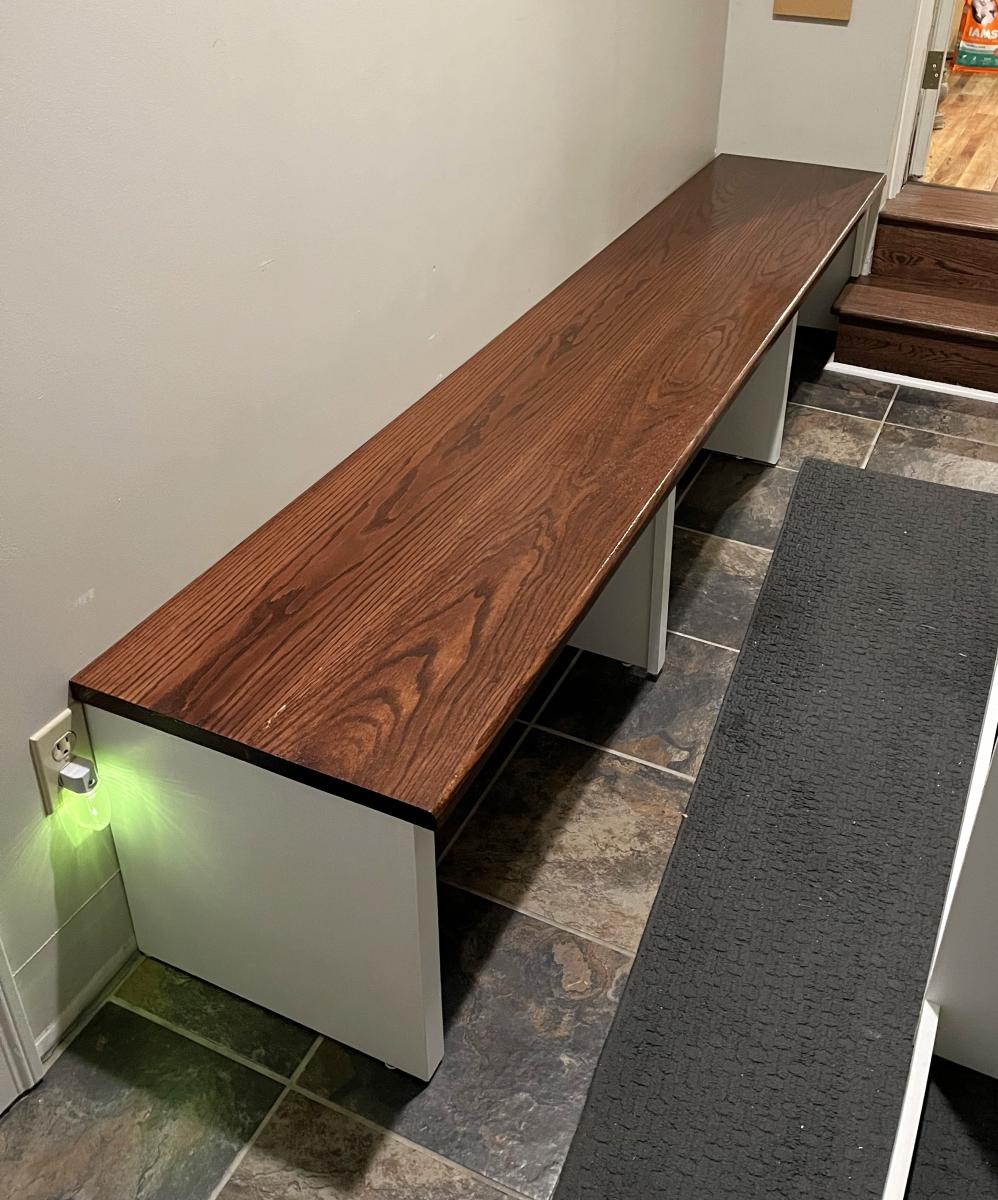
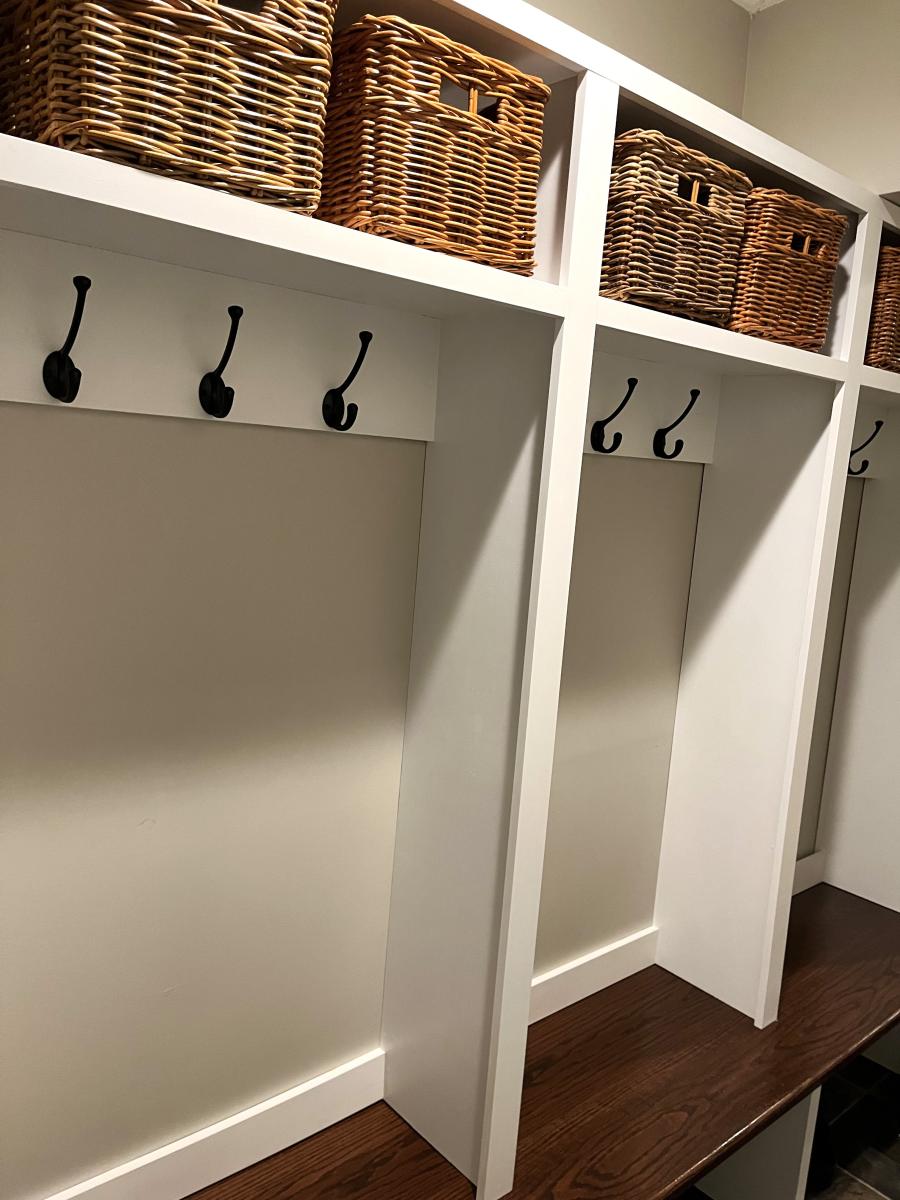
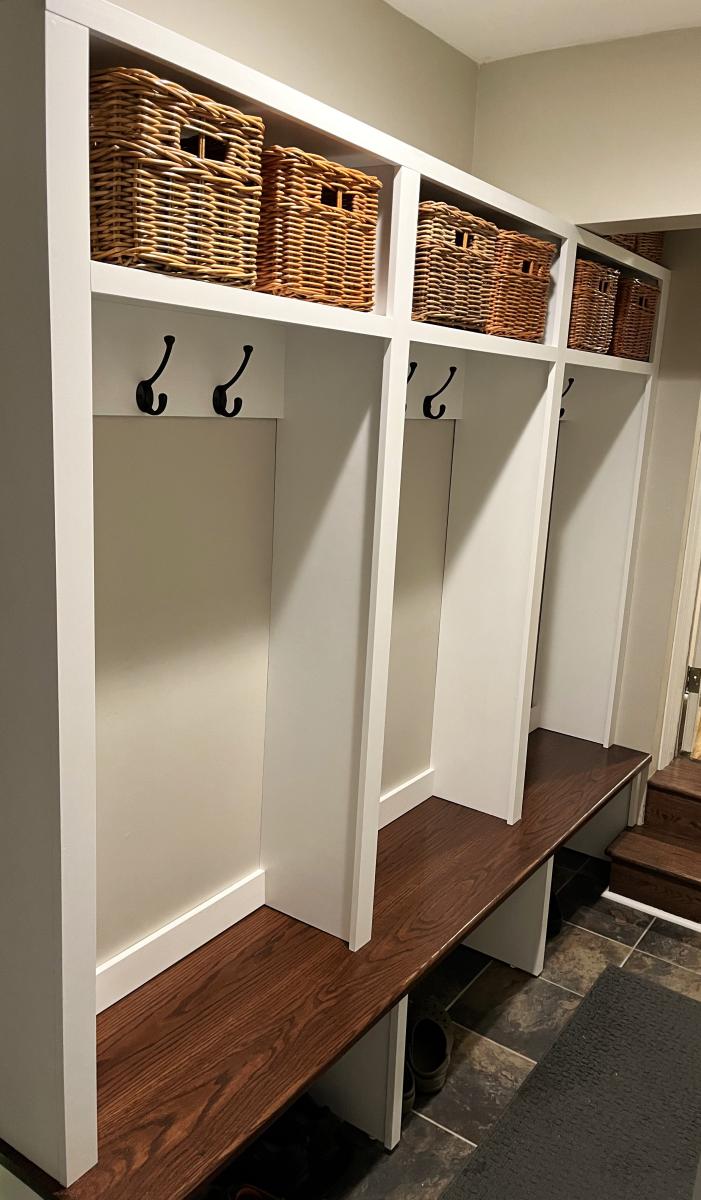
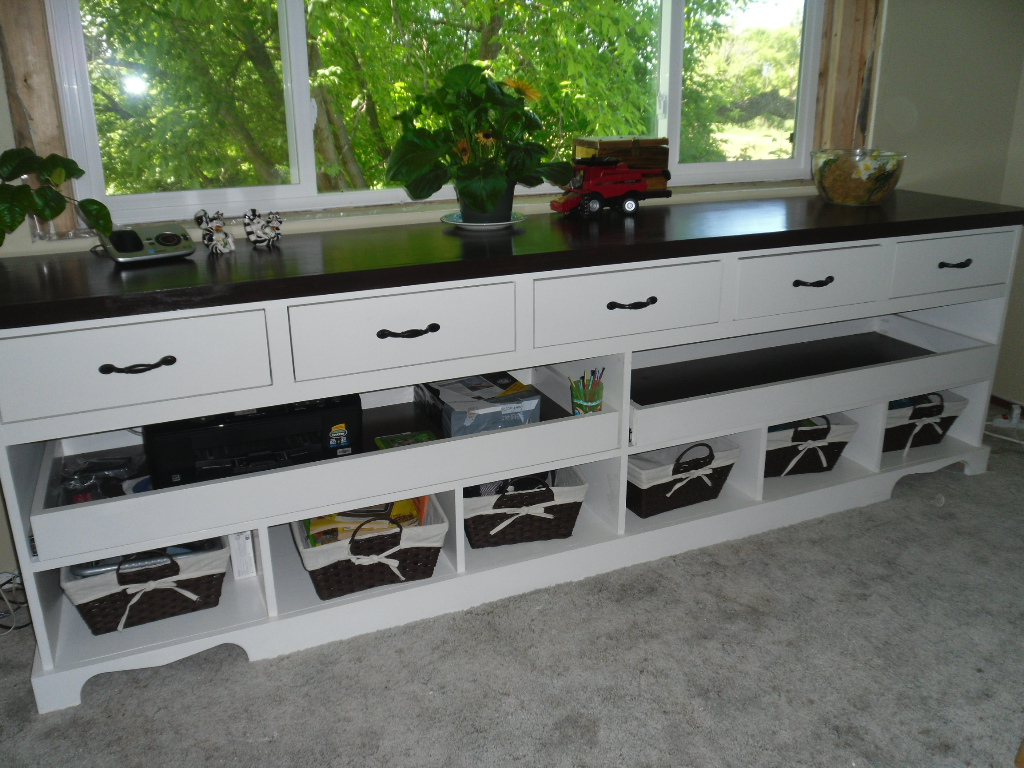
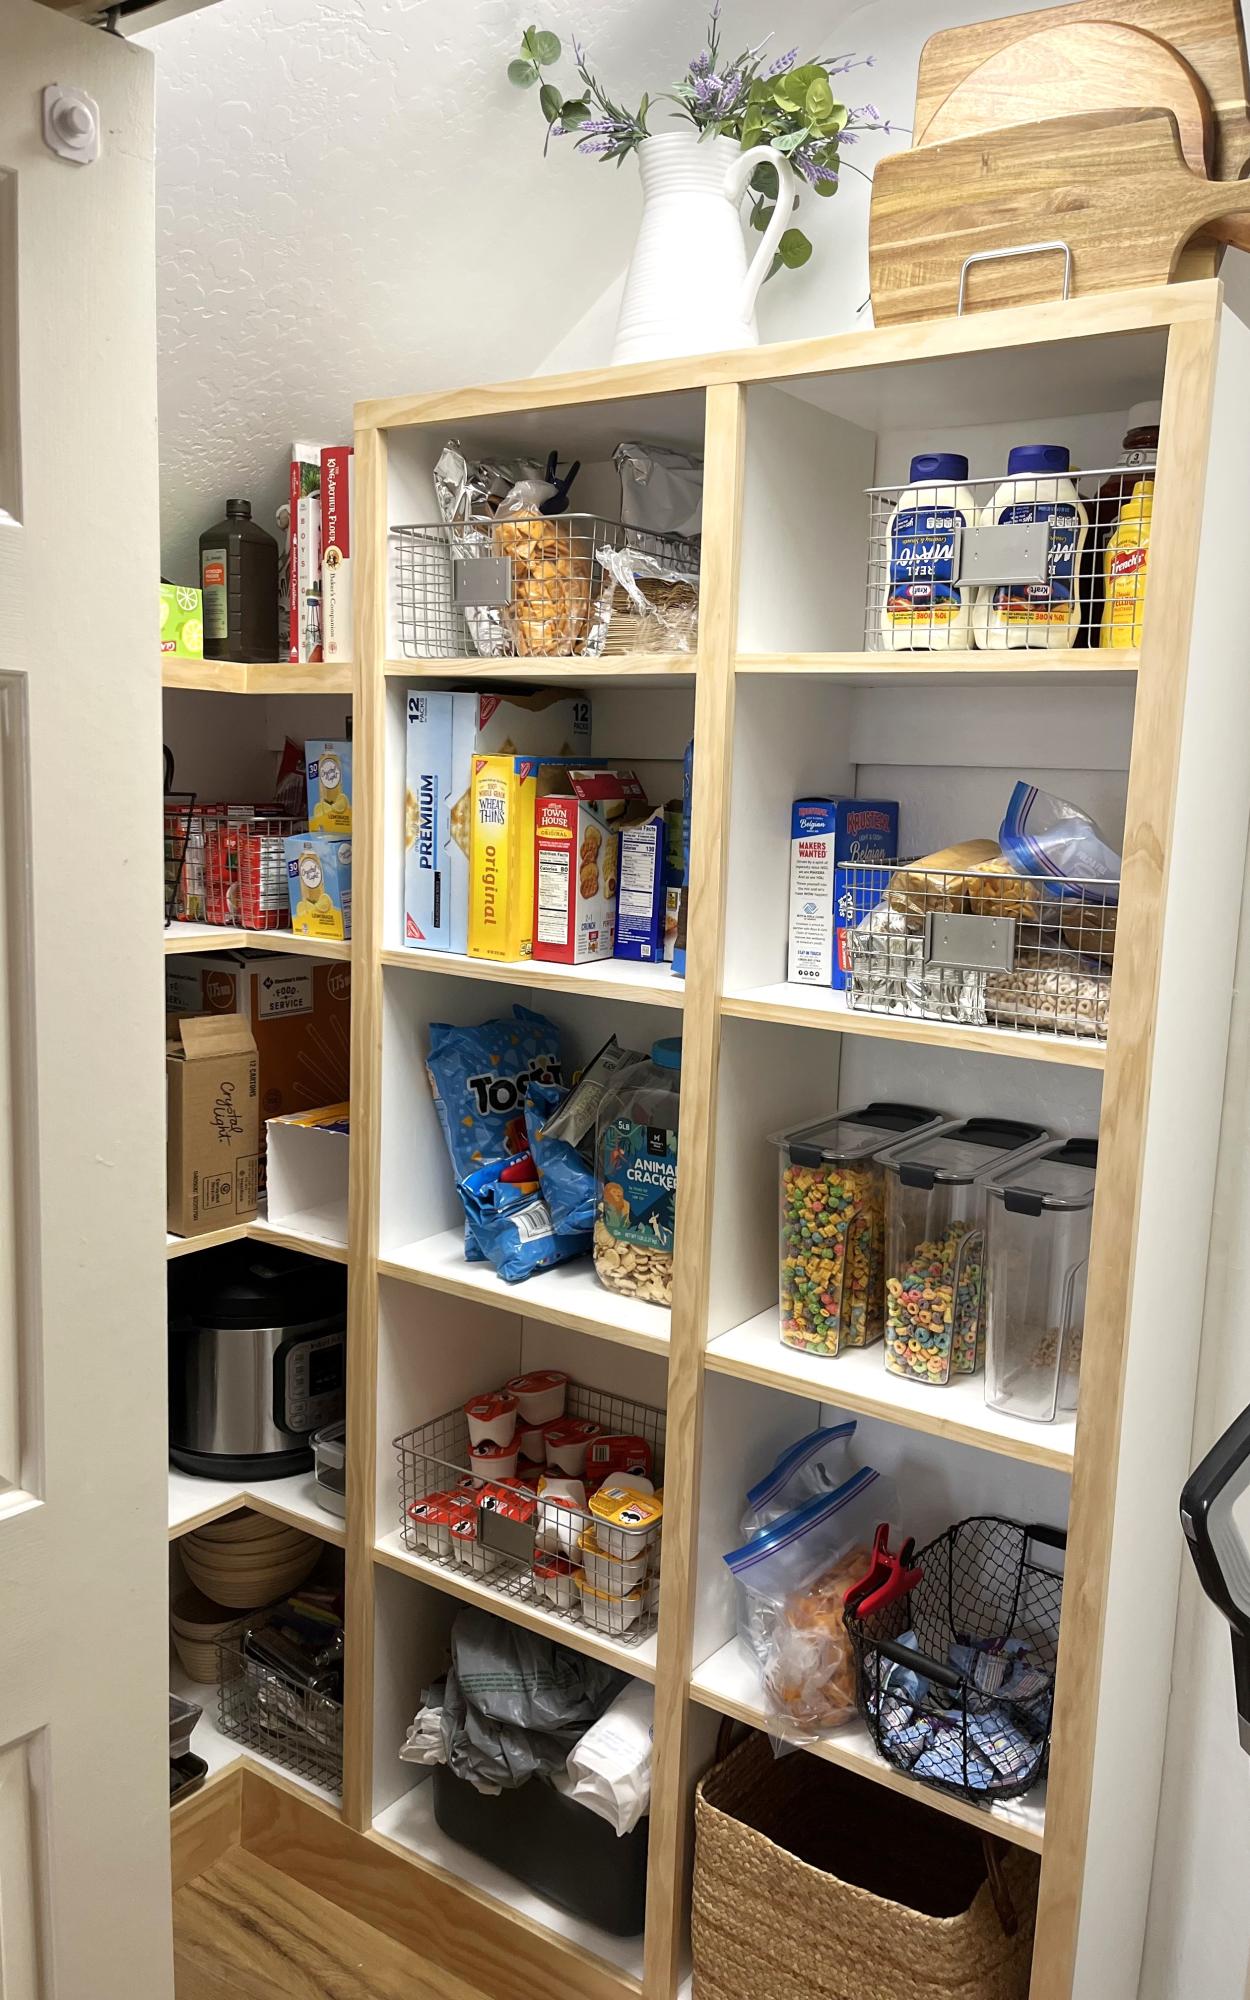
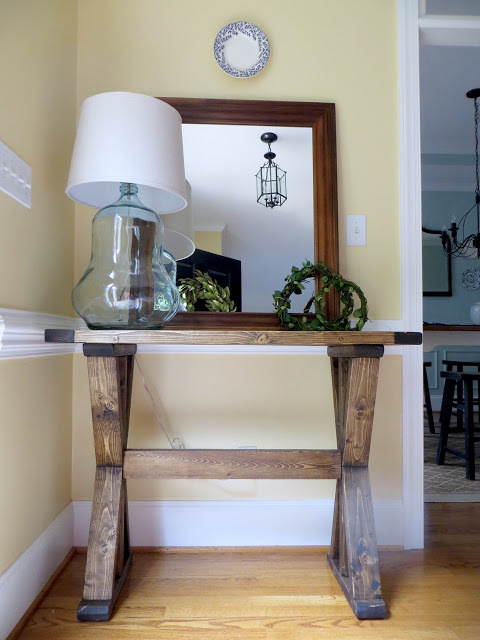
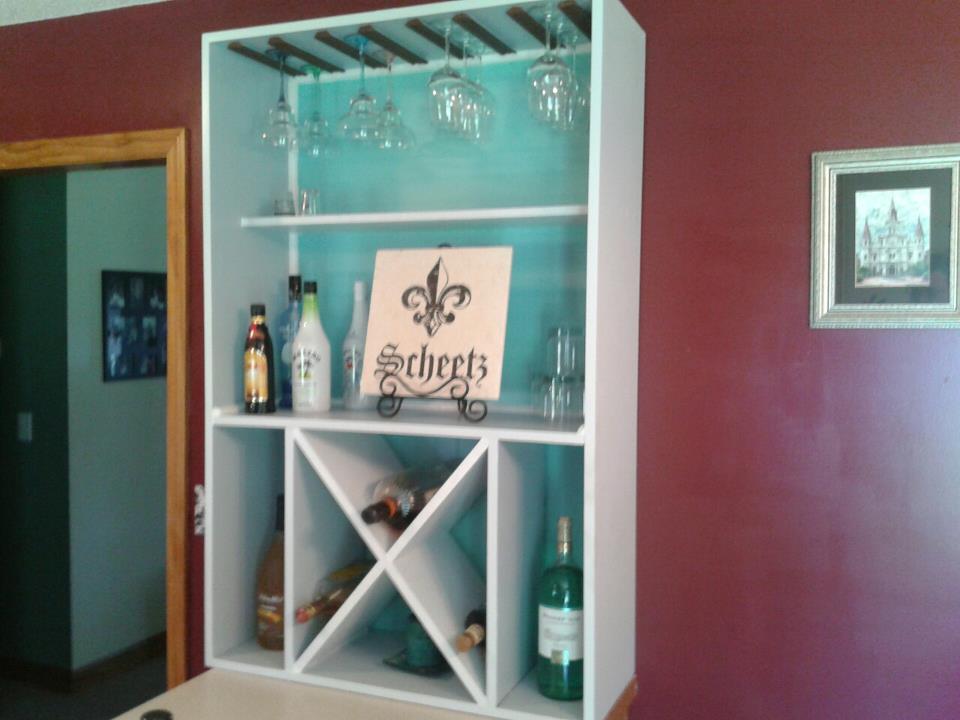
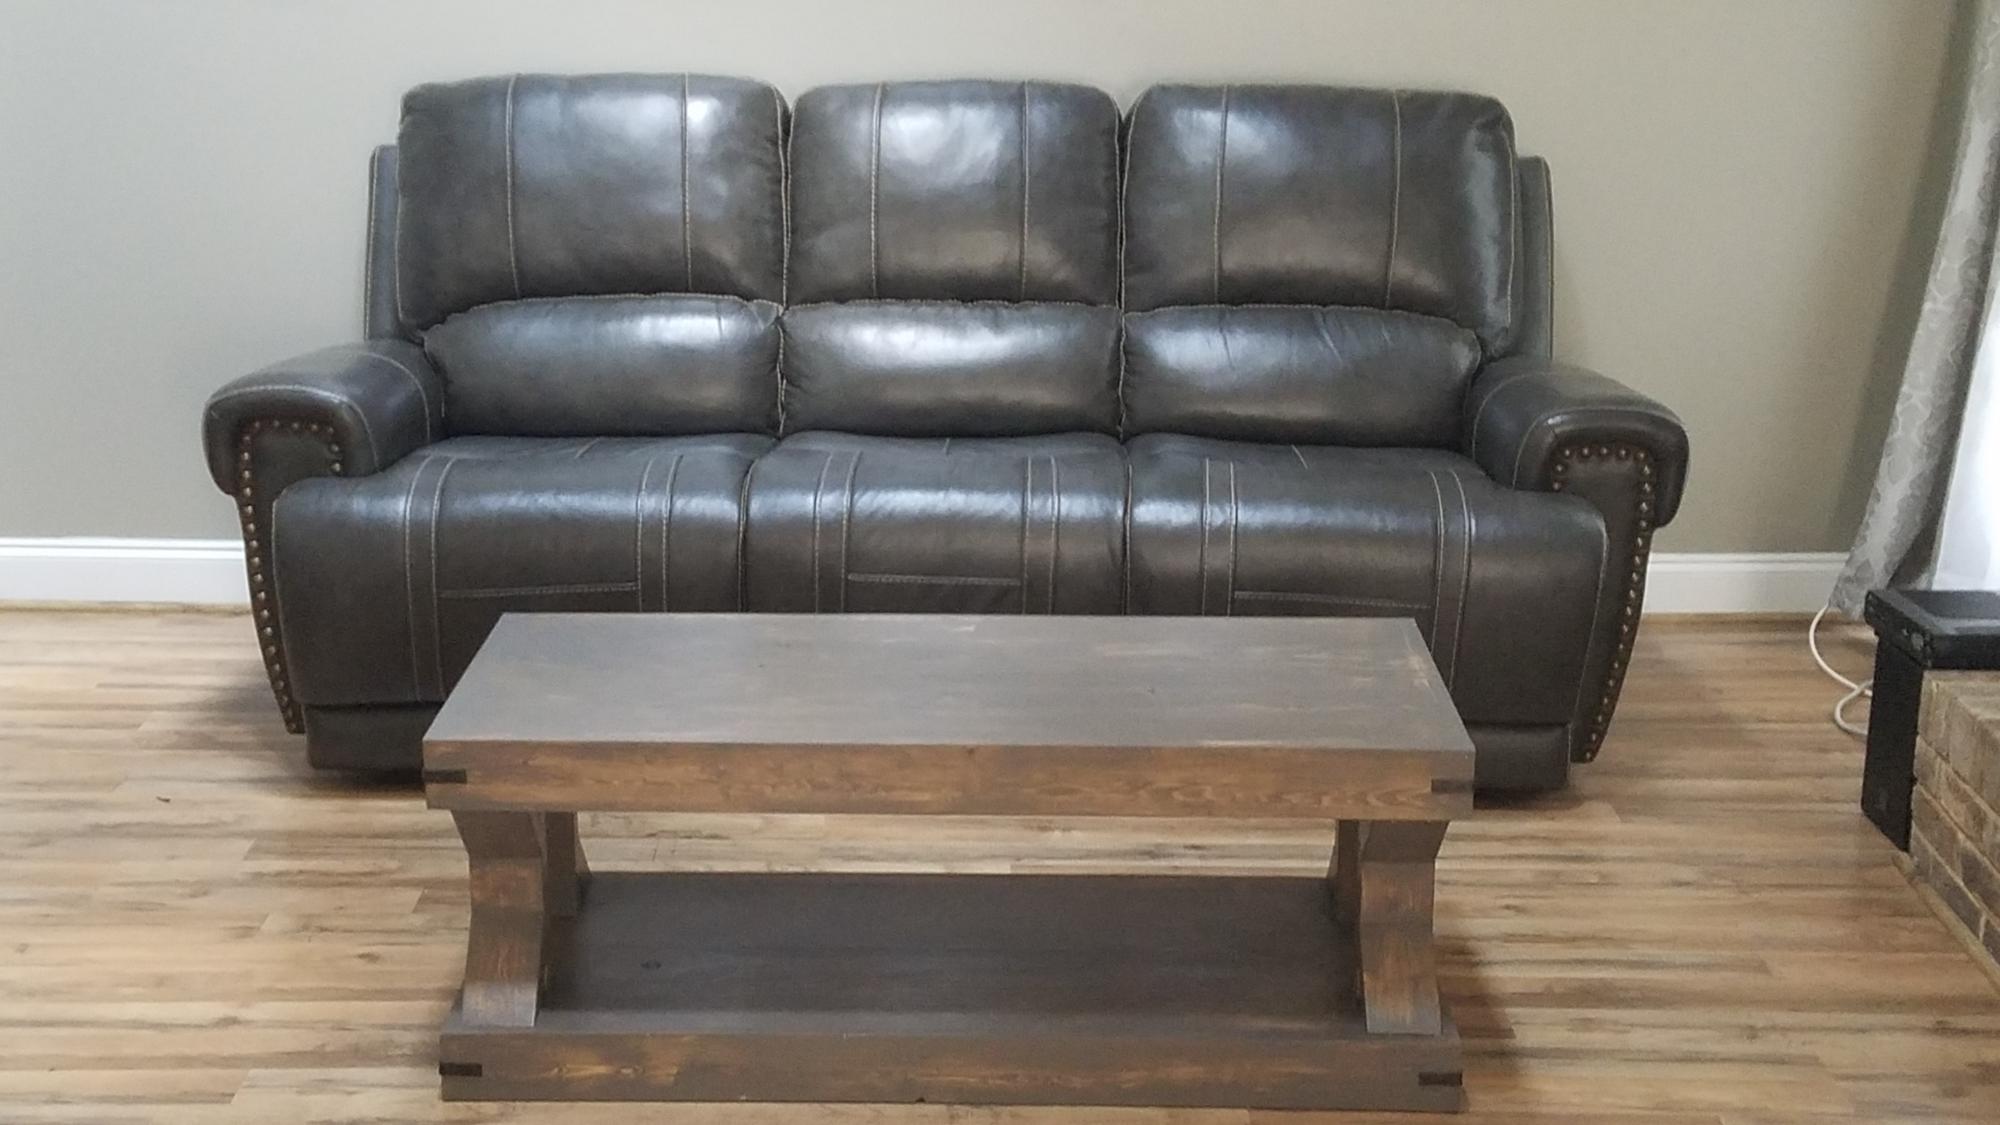
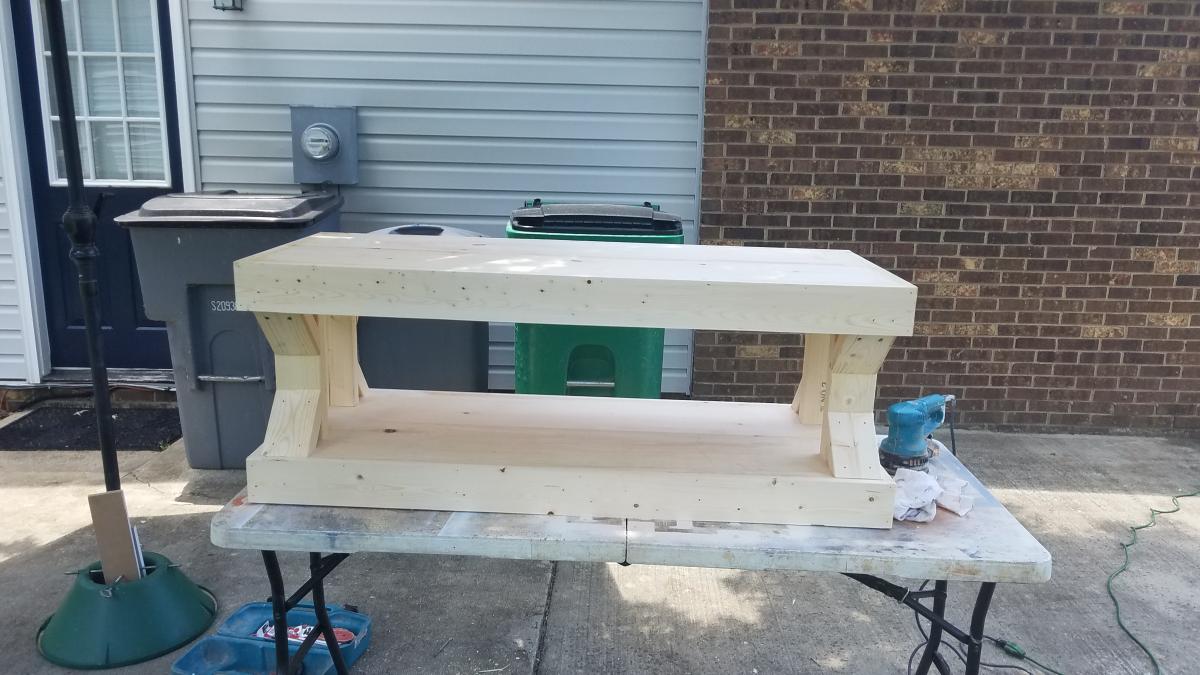
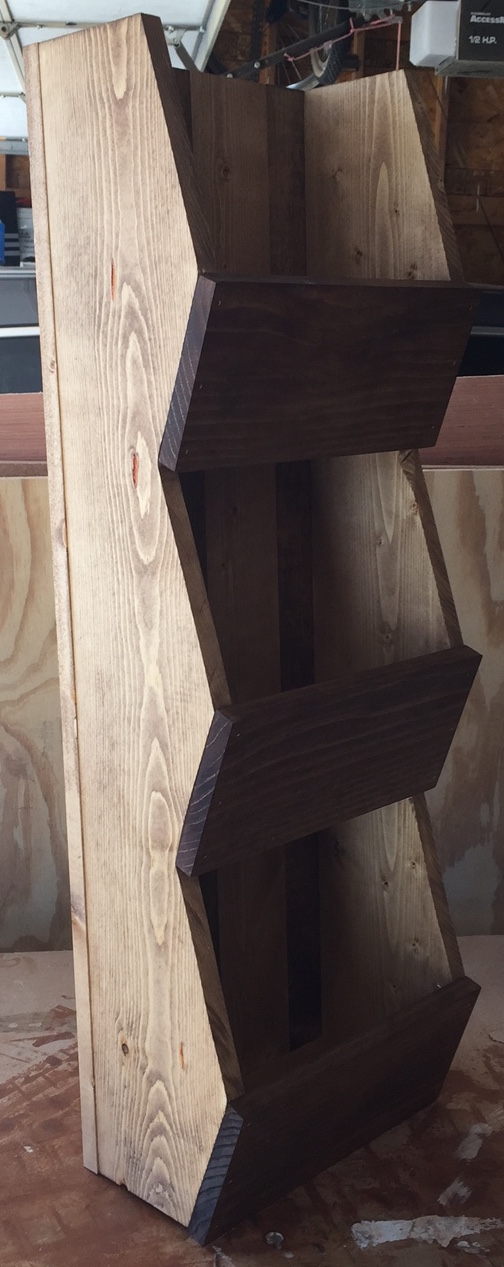
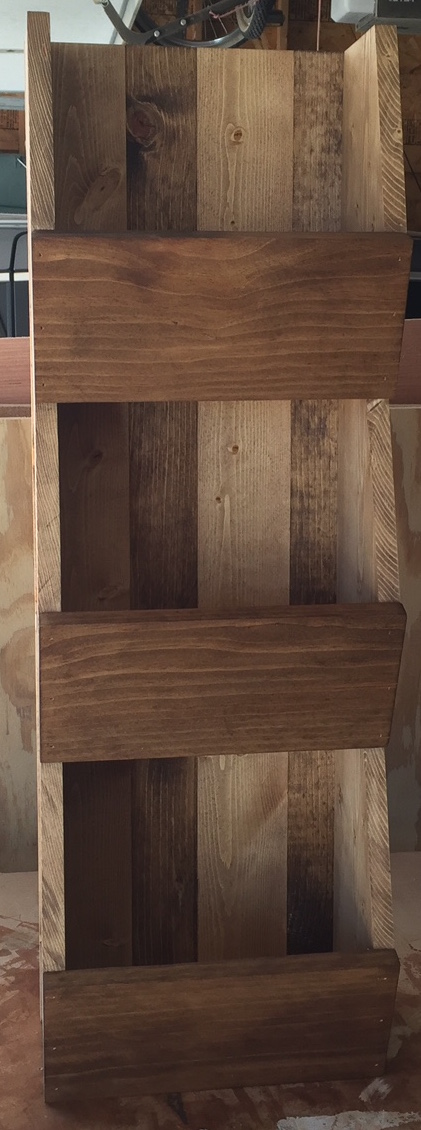
West Elm Wall Cubby Knock Off

Submitted by Mike F on Sun, 09/18/2016 - 06:15

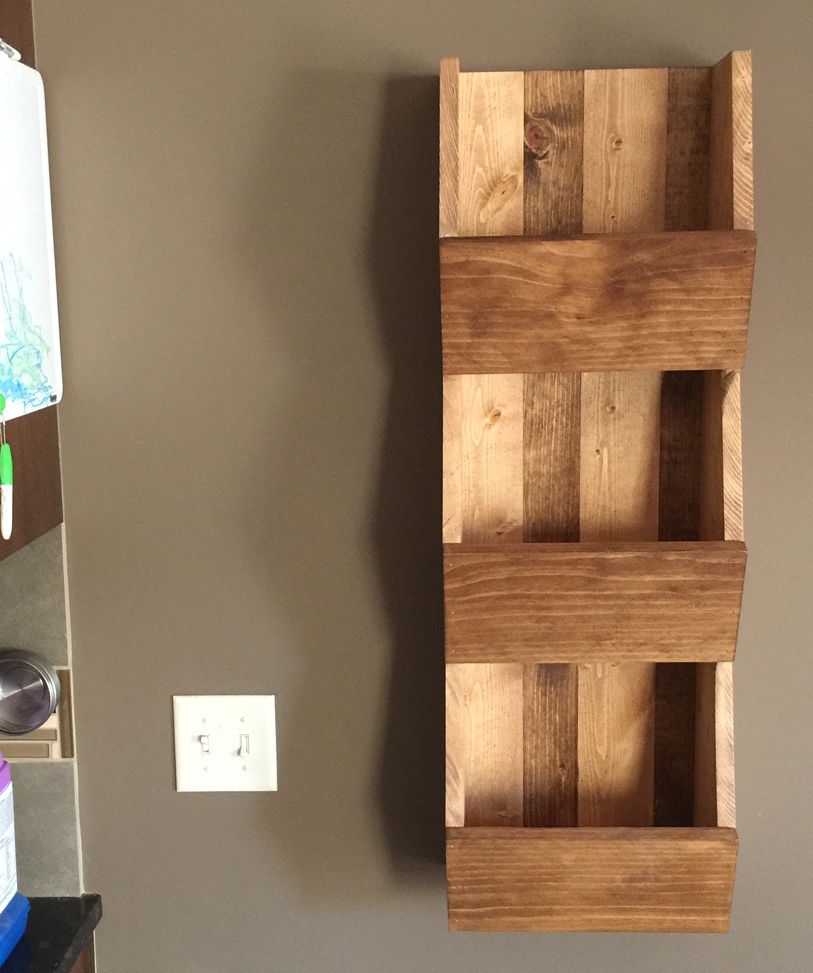
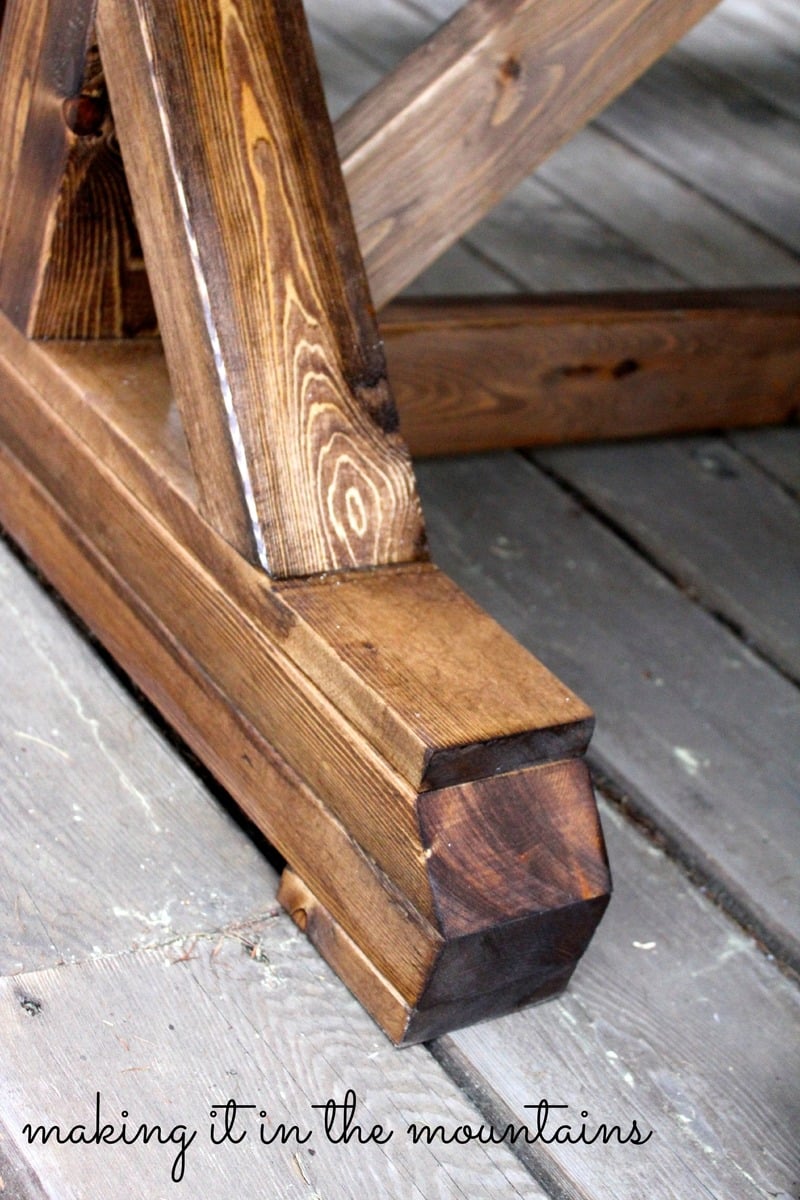
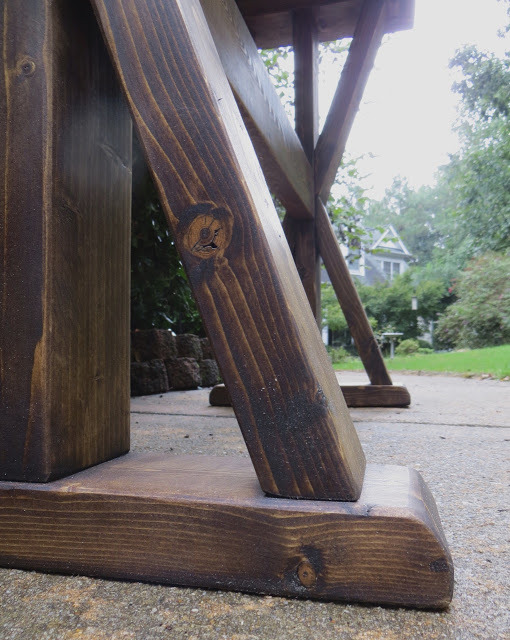
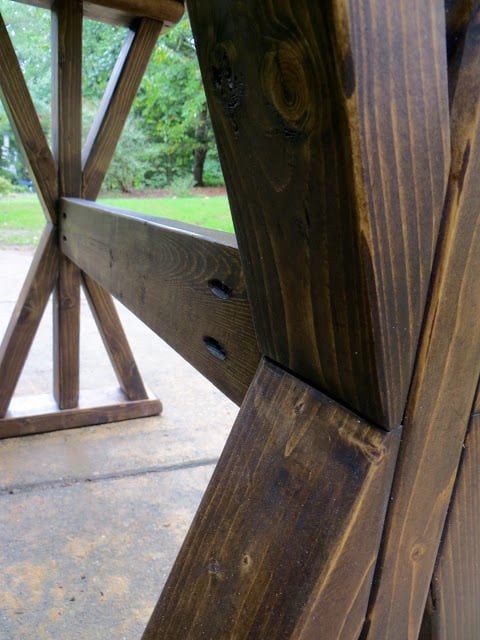
My wife found this post on Pinterest and asked if i could build it.  The hardest part was cuting the angles wit the jig saw because i can never get it to cut square and i have a little OCD about that sometimes.  I ended up using my table saw a little.  I would not recommened that though.  If i had acess to a band saw stand that would have ben perfect.

Estimated Cost
Around twenty dollars
Estimated Time Investment
Afternoon Project (3-6 Hours)
Finish Used
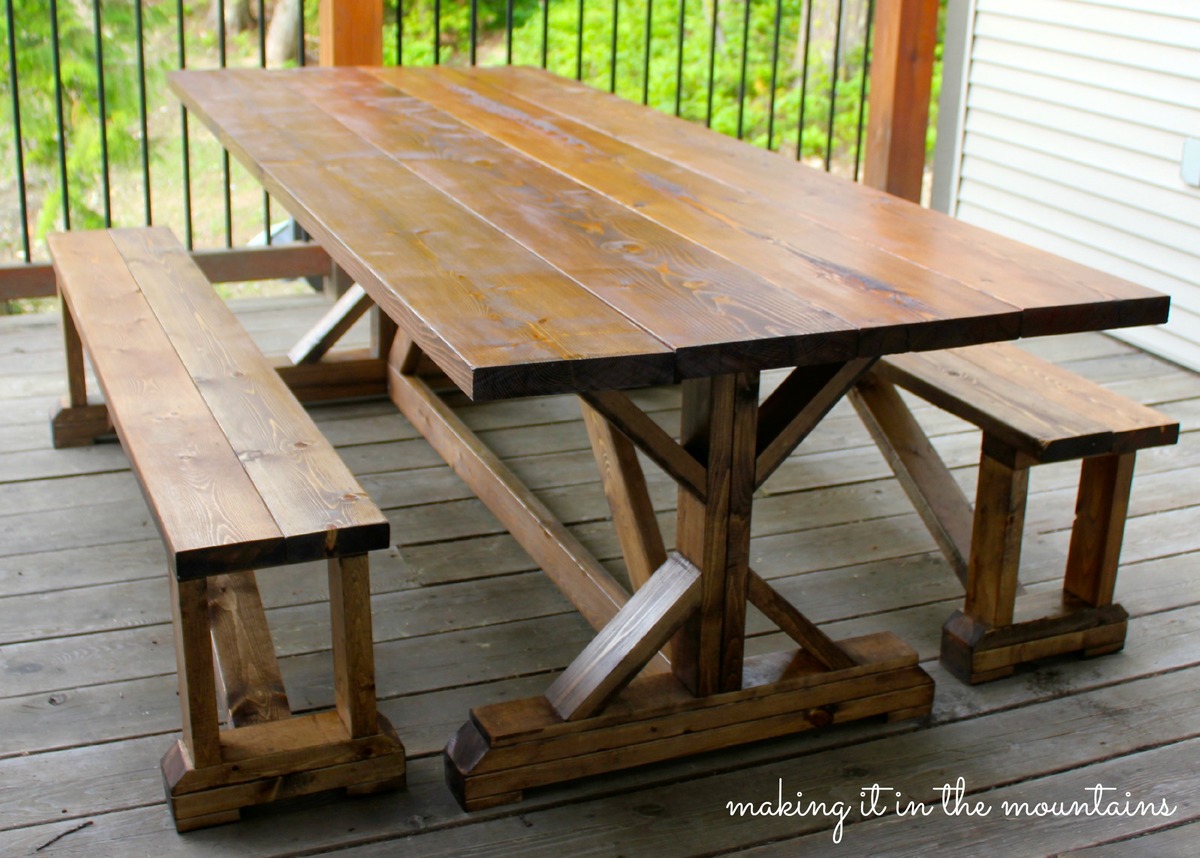
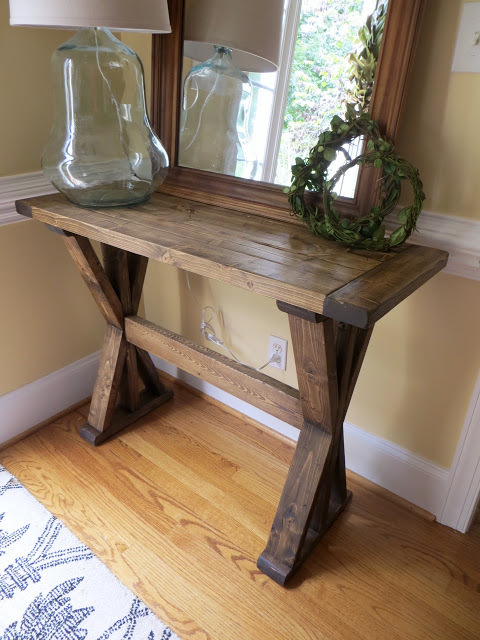
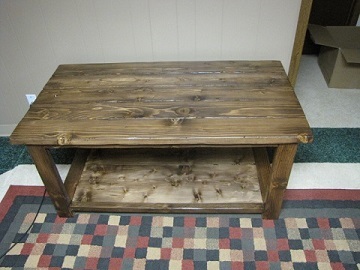
I used two different stains, provincial and special walnut.
Recommended Skill Level
Beginner

Narrow Cottage End Table from Scraps

Submitted by kmgoff30 on Tue, 06/30/2020 - 16:55

I loved this project so much!! The best part of it for me was I didn't spend any money! I literally used scrap boards I had from rehab projects I had completed around my little cozy cottage. Some of the boards were already painted in Polar Bear by Behr in gloss finish. The other boards are unfinished common boards. Including this room I finished 2 weeks ago!

Estimated Cost
0
Estimated Time Investment
Day Project (6-9 Hours)
Finish Used
Some of the boards are natural and some are painted with Polar Bear by Behr in gloss finish.
Recommended Skill Level
Intermediate

Mudroom Storage Lockers and Bench

Submitted by Anonymous (not verified) on Fri, 04/19/2024 - 14:06

I really appreciated your garage/mudroom project guidance. I stumbled on it as I was trying to figure out how to design my project. I basically copied yours!! 😁

You also turned me on to pocket hole joinery. Previously I have used a biscuit joiner and find it very challenging. Thank you, I am a convert!

Don Arrowood

Camp loft with side stair

Submitted by Theresa W on Mon, 08/27/2012 - 16:15

I finally decided I was going to make the fort bed for my daughter and was about to print off the materials list to take to the lumber yard and the junior height camp loft was front and center on the webpage. Though significantly more bed, it looked perfect my little girl. We really wanted her bed high enough to avoid the only heating vent in the room and didn't want to lose the floor space for play, this seemed to be an ideal fit. When I finally put the bed together I realized that keeping the staircase as in the original plans resulted in a bowling alley sort of space left over. It was awkward and really shrunk the room as the 'alley' wasn't usable for much of anything. I played around a little bit and my husband and I decided that we would put it on the side. It fit perfectly to the wall and was much more space efficient for the room. I am a little nervous about the new openness of the deck portion, but both kids have found it a fun place to read and pretend fish. It was my first project of this size and I did everything until the final assembly by myself and I am so glad to have done it. It took more time than I imagined, but again I am a true novice.

I really wanted it stained so that it would camouflage the wear a little better, but I had a great deal of trouble finding a low VOC stain in my town. I used the lowest I could find and a low VOC water based poly. It matches her dressers and trim nearly perfectly. Her older brother likes the bed so much that nearly everyday he tries to convince her that she wants to switch beds with him.

Estimated Cost
$100-$120
Estimated Time Investment
Week Long Project (20 Hours or More)
Finish Used
Zar UltraMax low VOC stain in Golden Oak
Recommended Skill Level
Beginner

Comments

Our first build!

Submitted by helenc on Sun, 06/22/2014 - 04:05

This is our first build. Instructions were easy to follow but we didn't go much on the bottom center drawer runners!
I love the second layer of slide out drawers we use for the printer , paper and electronic gadgets!

Estimated Cost
not sure
Finish Used
birch plywood painted white and top stained walnut and all coated with poly
Recommended Skill Level
Beginner

Comments

spiceylg

Wed, 06/25/2014 - 05:37

Love this. What great mods and you even tackled drawers for a first build?! I'm too chicken and still haven't tried. Especially love how you used slide outs in the middle. Clever!

Farmhouse Table

Submitted by Anonymous (not verified) on Wed, 09/21/2016 - 19:43

We love the look of farmhouse tables but we wanted to try building our own rather than spending over $1500 on one. 

We saw this tutorial on pinterest and we decided to make it our first woodworking project, we love how it turned out!


Estimated Cost
$300-$400
Estimated Time Investment
Weekend Project (10-20 Hours)
Finish Used
We used 1 coat of Minwax wood conditioner, followed by 1 coat of Minwax Early American. We finished it with 2 coats of Minwax Polyurethane, sanding lightly between coat 1 and 2.
Recommended Skill Level
Beginner

Comments

Sofa

I modified the back slightly to have 2 beams across otherwise pretty close to your design

Estimated Cost
£50
Estimated Time Investment
Afternoon Project (3-6 Hours)
Finish Used
Ronseal Dark Oak wood stain

DIY Pantry Shelving

Submitted by Anonymous (not verified) on Fri, 04/26/2024 - 13:56

We have a small pantry as well, so we used the shelving featured on your website to help!
I absolutely love it. They’re not as beautiful as yours but I’m happy with what I made :)

Alison

Built from Plan(s)

Cedar Planters made from Reclaimed Fence Pickets

I built Ana's under $20 cedar planters for free. Or, almost free! I had to buy some more wood glue, but I had some of the wood on hand and took some from a friend's pile of old fence wood. It took me about five hours to build both planters from start to finish. See the blog link below for more info.


Pin For Later!

Cedar Planters made from Reclaimed Fence Pickets

Built from Plan(s)
Estimated Cost
Free
Estimated Time Investment
Afternoon Project (3-6 Hours)
Finish Used
Oxidized the new cedar 2x4s with steel wool/vinegar (http://thefriendlyhome.blogspot.com/2012/07/how-to-oxidize-wood.html). Other than that, no finish.
Recommended Skill Level
Beginner

Comments

Seasonal And Holiday

DIY Pottery Barn Inspired Table

I cannot believe how easy and inexpensive it was to get the Pottery Barn look for SO MUCH less!

Estimated Cost
$150
Estimated Time Investment
Weekend Project (10-20 Hours)
Finish Used
Minwax stain in Special Walnut and Minwax exterior finish.
Recommended Skill Level
Intermediate

'X' Entryway Table

Submitted by danicarby on Sat, 09/24/2016 - 14:32

This table is built out of only 2x4's - that's 5 boards for about $15!  It was pretty easy and took half a day.  If the fancy angles are too hard to cut safely I recommend doing 45-degree angles!  I'm happy to have a nice entryway - first time my whole life! :)

I've created a post on my project blog wth instructions & pictures for anyone to make their own.

Rustic console table

Estimated Cost
$15 for Lumber
Additional for Screws and Wood Finish
Estimated Time Investment
Afternoon Project (3-6 Hours)
Finish Used
Minwax Wood Conditioner, Minwax Dark Walnut Stain then lasly, Paste Wax (Dark Brown).
Recommended Skill Level
Beginner

Comments

danicarby

Tue, 09/27/2016 - 12:16

Thank you Ana!  You made my day!  It was such a treat to see it posted on your Facebook page!  I told my husband that NOW that "I am famous" (haha) that I should be able to get the jointer & planer I've been begging him to let me buy!  I'm thinking maybe a direct message from  you would be just the trick! :)

Richard6959

Wed, 01/29/2020 - 13:54

What angle were the leg cuts? More than 50* because my saw wont go that far. Please let me know. 

Simple Wine Hutch

Made from Pine and great for Wine! A couple lengths of pine, some bead board, and coastal accent paint and ...Boooom! Show it off to all your friends and family.

Estimated Time Investment
Day Project (6-9 Hours)
Finish Used
Coastal Paint
Recommended Skill Level
Beginner

Comments

rustic x coffee table

Submitted by RyanK on Fri, 06/27/2014 - 14:14

I modified the rustic x coffee table plans. I did not need a coffee table, but I loved the looks of this plan. I actually needed a TV stand for our basement, so I made this instead. I kept all of the dimensions the same except I made it 4" taller. I also took out the side "x's".
I used regular pine boards from Lowes. I bought a Kreg Jig, Kreg clamp and screws to get started, so my initial cost was pretty high just gathering all my supplies, as this was my first build.I wanted a rustic, worn look, so I chipped the wood, made fake cracks, etc.
I used Minwax Walnut Gel stain, and then went along the edges, over the cracks and knots with an Ebony stain. 2 coats of satin poly.
Can't believe how well it turned out. Next project is going to be the matching end table. Don't laugh at the size of the tv, it is all we have for the basement. We will be planning on getting an 55" for it and the kids to enjoy.

Built from Plan(s)
Estimated Time Investment
Weekend Project (10-20 Hours)
Finish Used
Minwax "Walnut" Get stain with Minwax Satin poly.
Recommended Skill Level
Beginner

Scrap wood storage bed.

Submitted by Anonymous (not verified) on Tue, 09/27/2016 - 03:32

This bed is perfect for my small house. I used plywood for the drawers and made the 10" deep. I also burnt the wood paneling instead of using a dark stain. I'm so happy with how it turned out!

Estimated Cost
$250
Estimated Time Investment
Day Project (6-9 Hours)
Finish Used
Polyurethane
Recommended Skill Level
Intermediate

Modern Farmhouse Coffee Table

Submitted by rodtinsl on Mon, 07/06/2020 - 18:33

Really enjoyed this build. My wife and I love this table.

Estimated Cost
$60
Estimated Time Investment
Afternoon Project (3-6 Hours)
Finish Used
Briarsmoke

Reclaimed Wood Tidy Up end table

Submitted by baskelding on Mon, 09/03/2012 - 09:24

I was given old reclaimed wood from a house built in the 40's or 50's. Old rough cut pine 1x12's. I cut the wood to size to match the plans, however, I did have to modify the plans due to the actual true dimensions of the wood. After assembly, I appled 2 coats of shellac to the entire table. It may need a few more coats, but not wanting a glossy finish, I left it alone. Splinters were and are an issue, and the shellac did help to hold down the splinters.

Not having the 2x2 legs required glueing the 1x's together and glueing a veneer to the sides. If i had the legs the project would have taken less time.

Estimated Time Investment
Weekend Project (10-20 Hours)
Finish Used
Shellac - 2 coats
Recommended Skill Level
Beginner

Comments

brookifer86

Sat, 09/08/2012 - 14:30

I love what you did with this, and that you used salvaged wood. The legs would totally fool me, I'd never know that they were pieced together!

Haley platform bed/reclaimed wood headboard/rustic x leg table

i made this king size head board using Ana's website and for the bed frame i used Shanty 2 Chic's website. i just had to convert the measurements to king size when cutting the boards. thats a rustic x leg end table next to the bed, i built using Ana's website also.

Estimated Cost
$100-$120
Estimated Time Investment
Afternoon Project (3-6 Hours)
Finish Used
watco danish oil dark walnut
Recommended Skill Level
Starter Project

Farmhouse table and benches

Submitted by Anonymous (not verified) on Mon, 10/03/2016 - 07:51

Built this for my Daughters Birthday!!

Estimated Time Investment
Week Long Project (20 Hours or More)
Finish Used
Gel stain oak
Recommended Skill Level
Intermediate
Back