Community Brag Posts

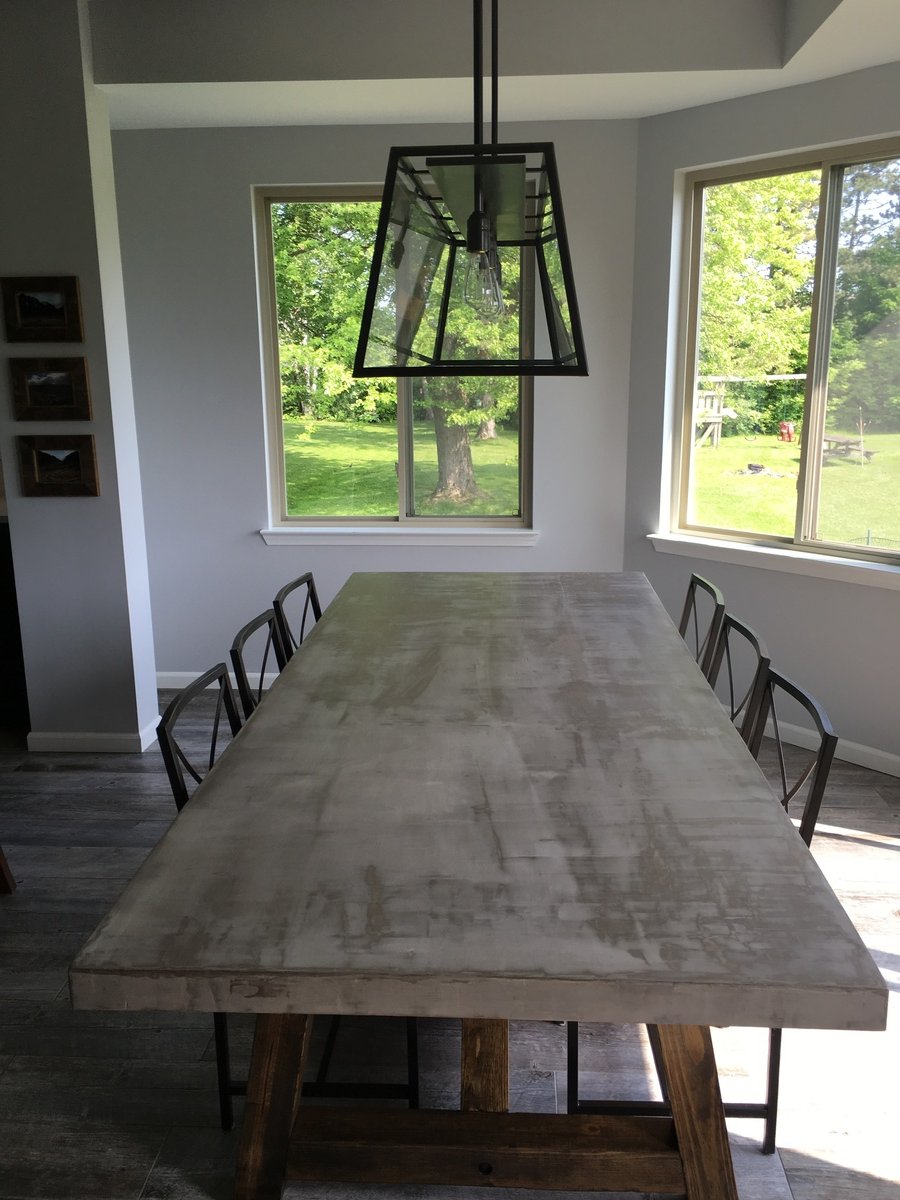
Cement top modification
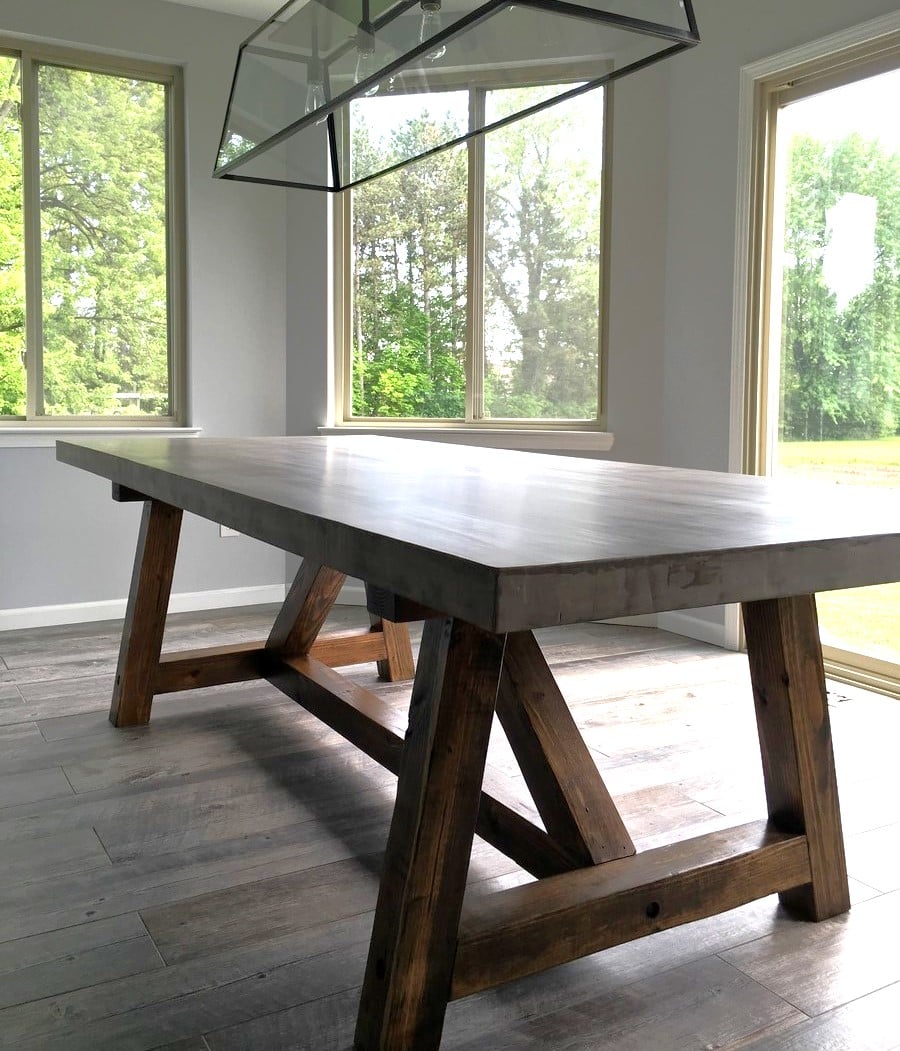
Instead of a wood top I used 2x 3/4" sheets of plywood plus 1/2" backer board to create a thicker top and used Ardex feather finish cement in 4 coats sanded and finished with Mexeseal sealant, recommended 4 coats of semi-gloss plus 2 coats of satin to get a matte finish (recommended by manufacturer) I followed the concrete countertop blog from "Young House Love" but used a different sealant when I contacted the safe coat manufacturer and they recommended their Mexeseal product.
Built from Plan(s)
Estimated Time Investment
Week Long Project (20 Hours or More)
Finish Used
Ardex Feather Finish Cement
Safe coat Mexeseal Sealant (4 coats semi-gloss plus 2 coats satin for a matte finish)
Stain on base: Minwax weathered oak and dark walnut
Poly on base: 2 coats of Minwax satin poly
Safe coat Mexeseal Sealant (4 coats semi-gloss plus 2 coats satin for a matte finish)
Stain on base: Minwax weathered oak and dark walnut
Poly on base: 2 coats of Minwax satin poly
Recommended Skill Level
Beginner
Concealed Wall Desk for Computer
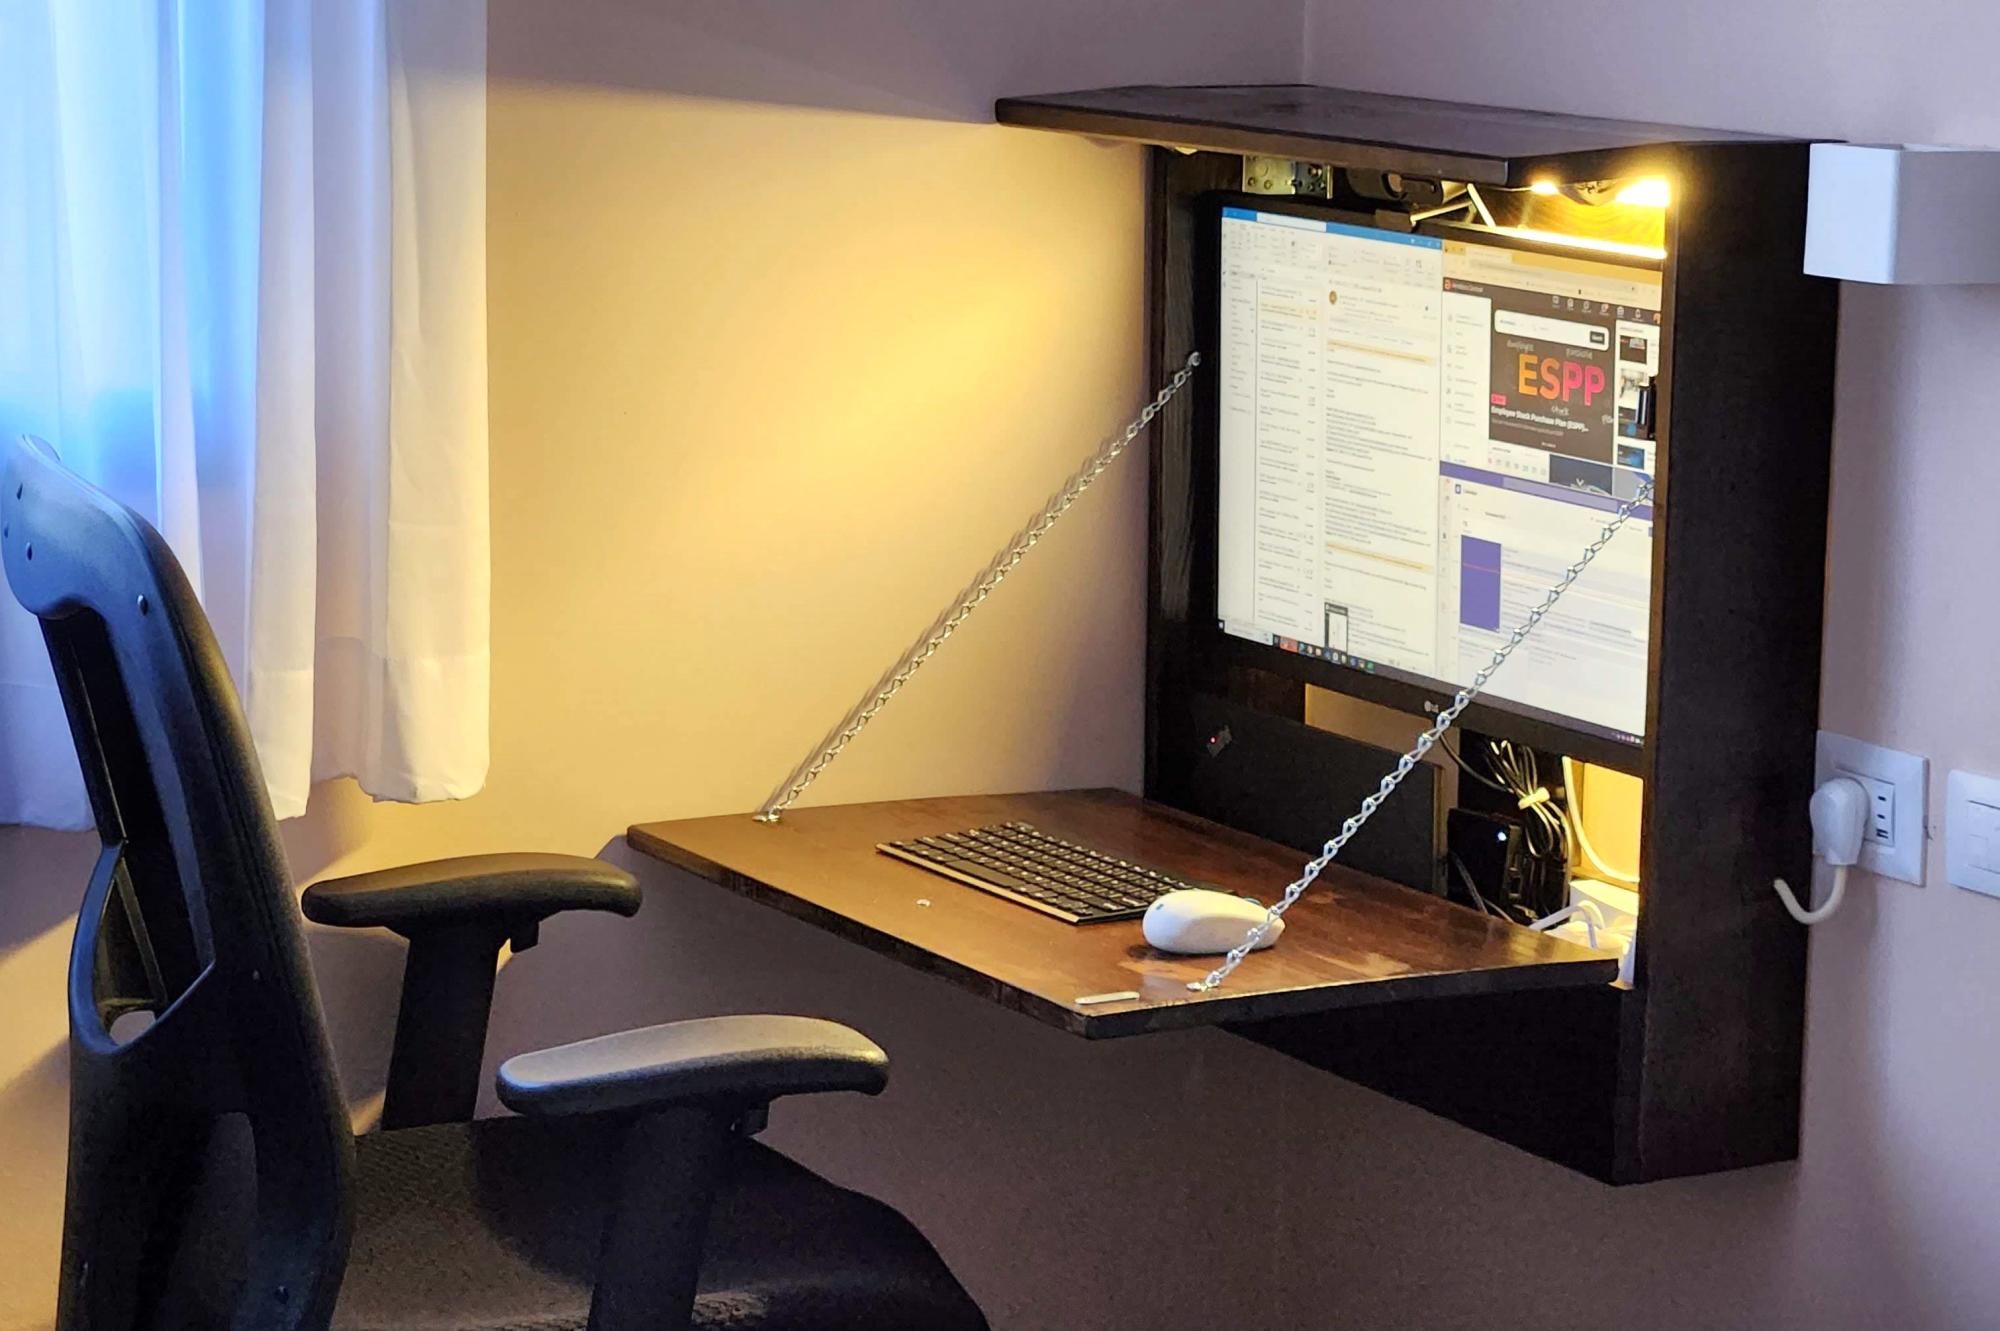
I built this fold-up desk, out of sheer necessity. It's rather unassuming when closed, yet fully functional when open, with built-in power outlets and light, a large screen, a nook for the laptop and the chargers, etc. It's tailored to my needs and specific size limitations, but I think you could make a great general plan of it for anyone needing a small-space hideaway desk.

Barn Door Bookcase/ Side Pantry
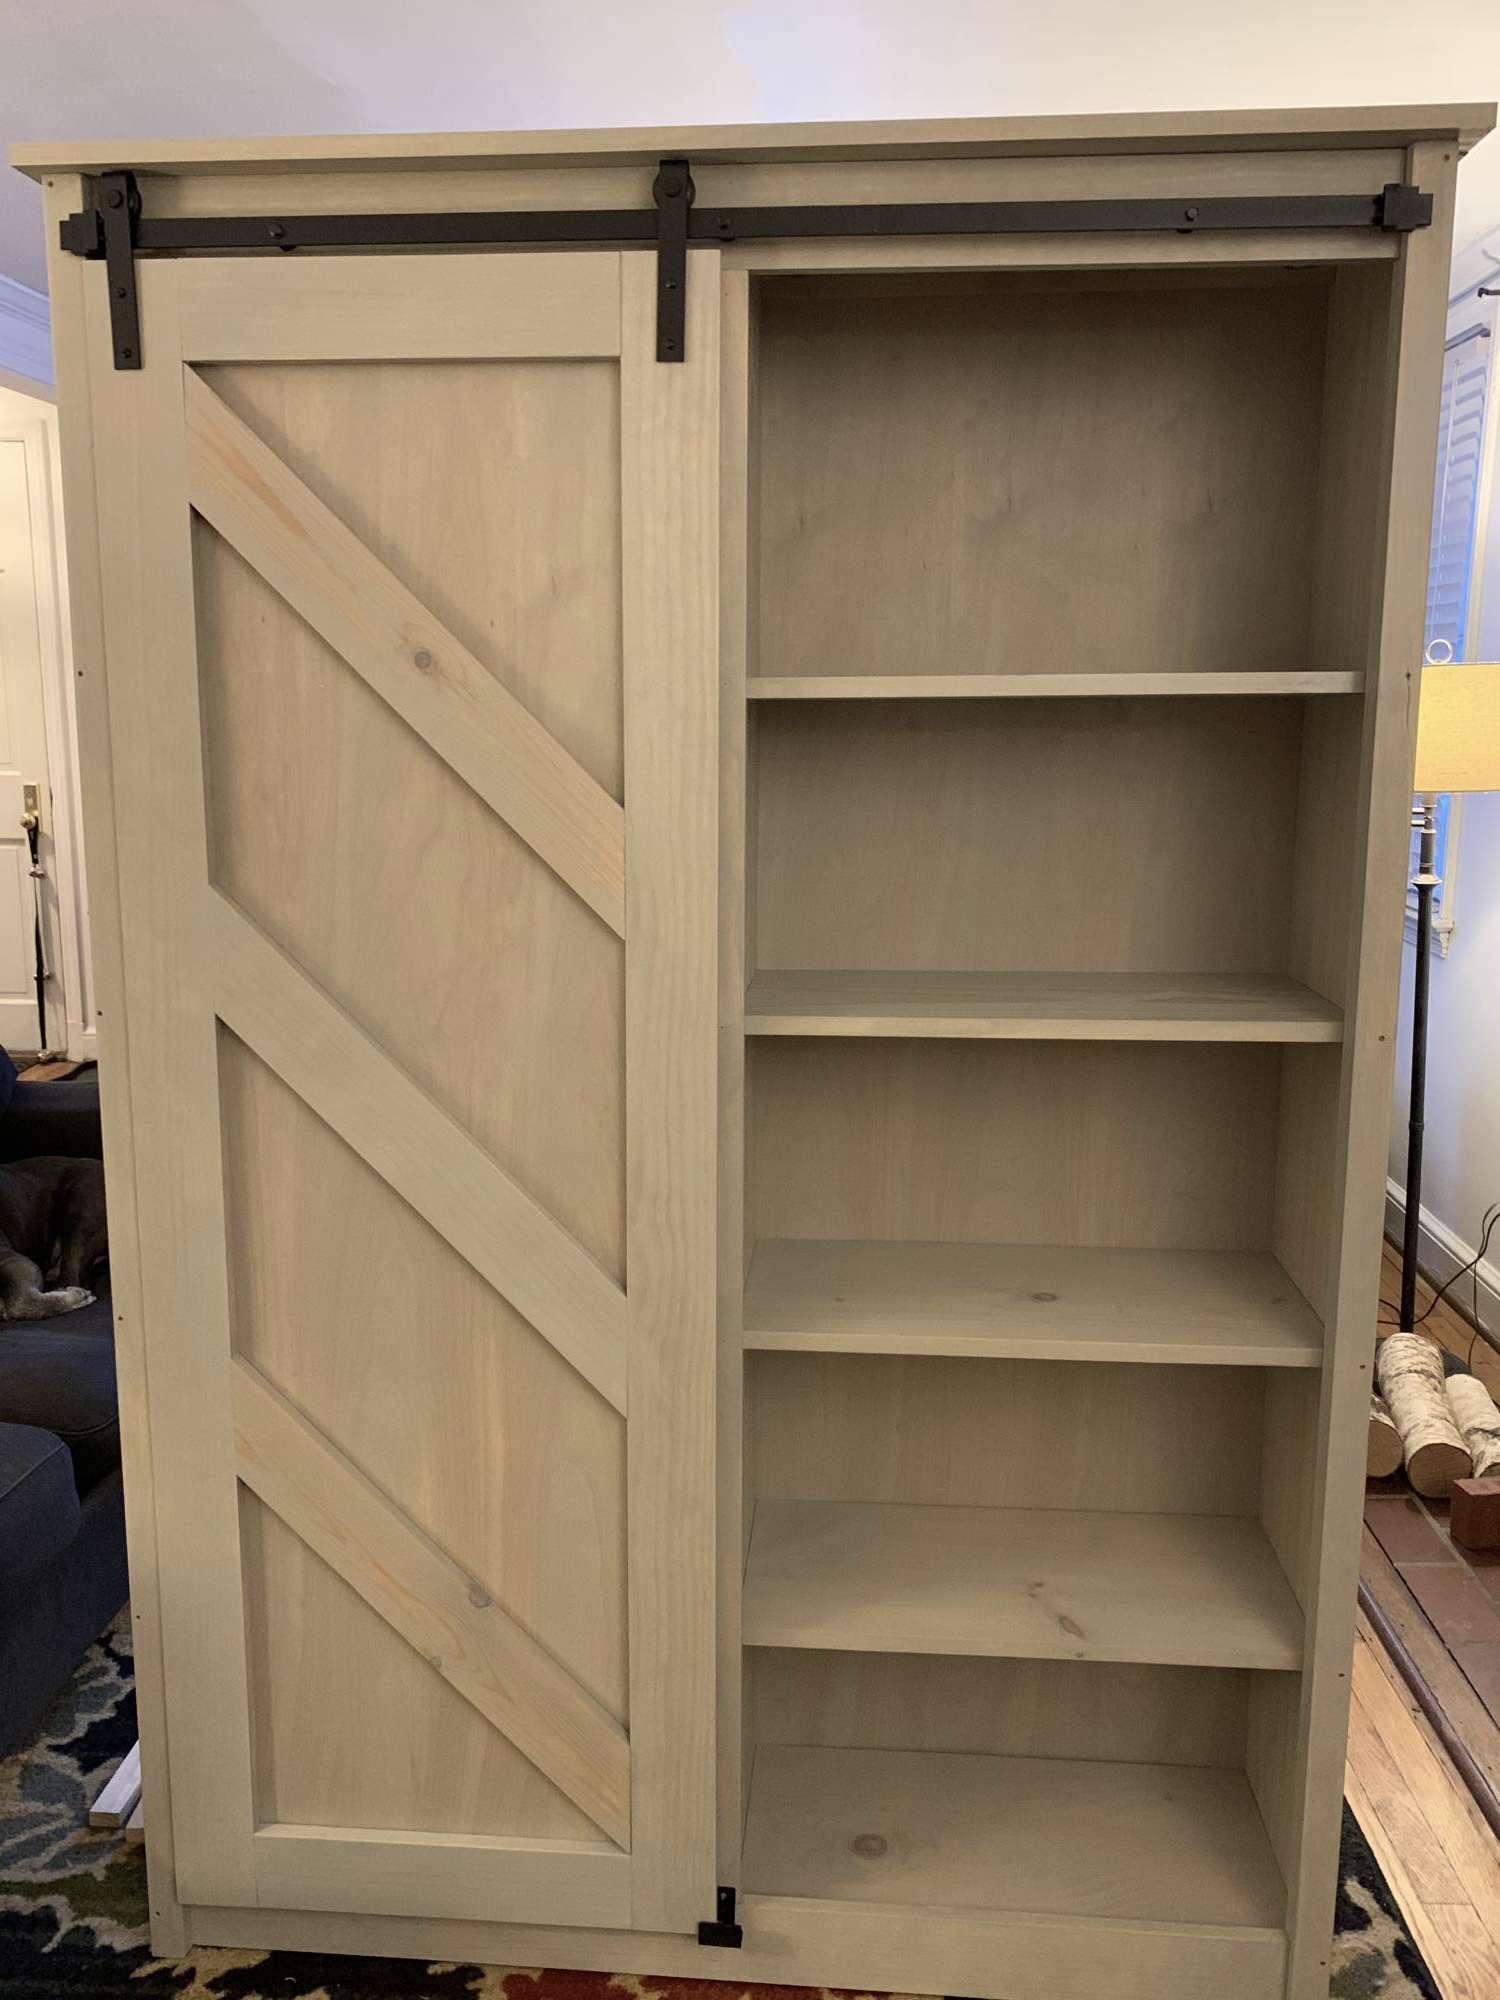
This took a lot of time and money but I like the way it looks. We have 4 kitchen cabinets and one drawer and no room for more so storage is tight.
Built from Plan(s)
Estimated Cost
400
Estimated Time Investment
Week Long Project (20 Hours or More)
Finish Used
Same as Ana’s
Recommended Skill Level
Advanced
Comments

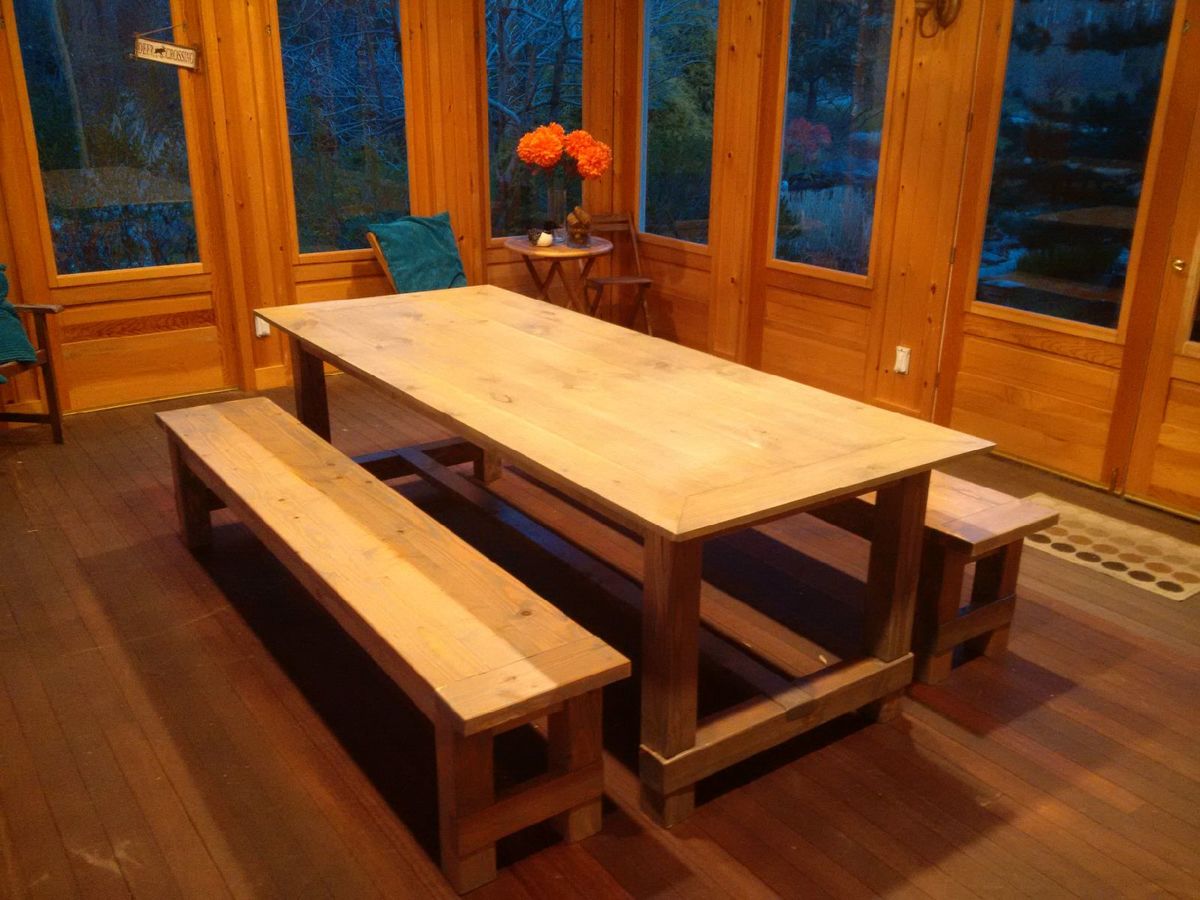
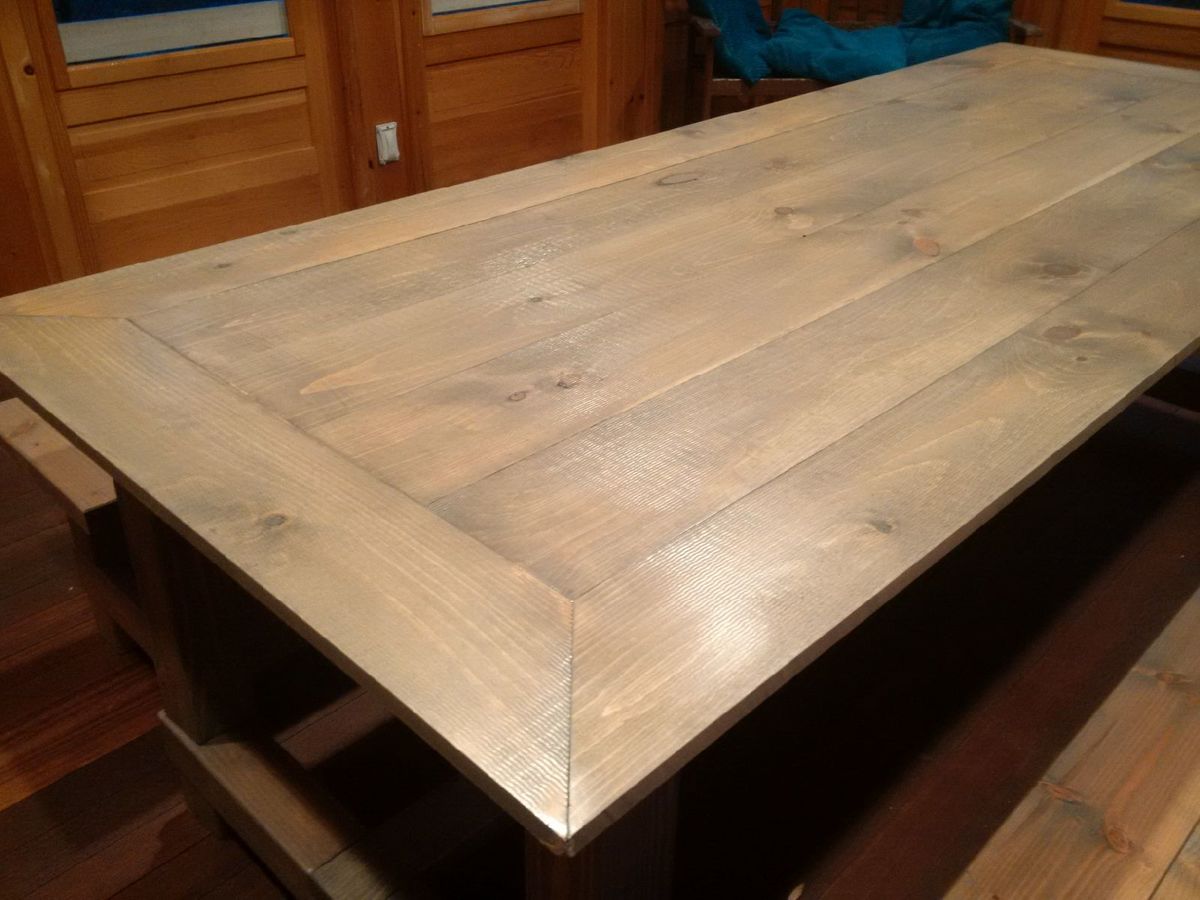
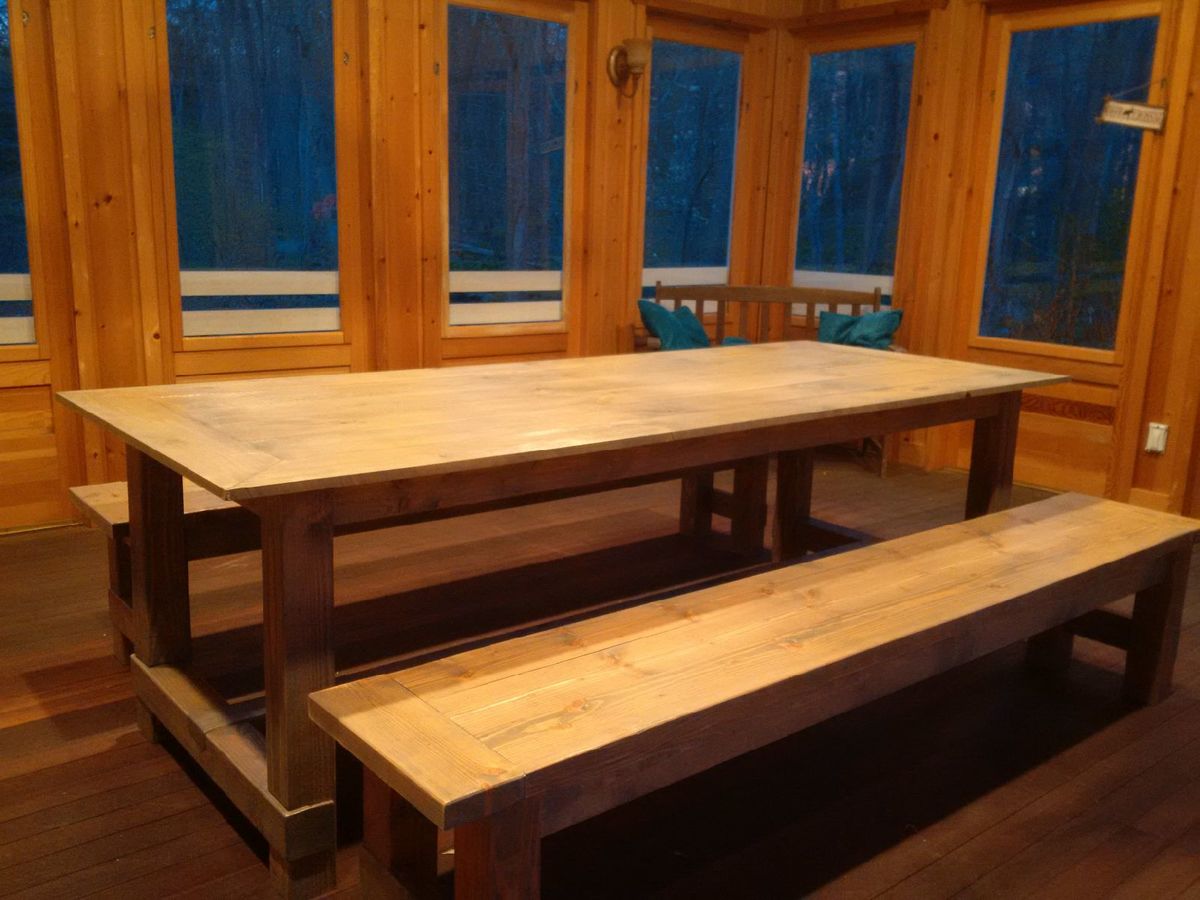
Beginner Farm Table & Benches
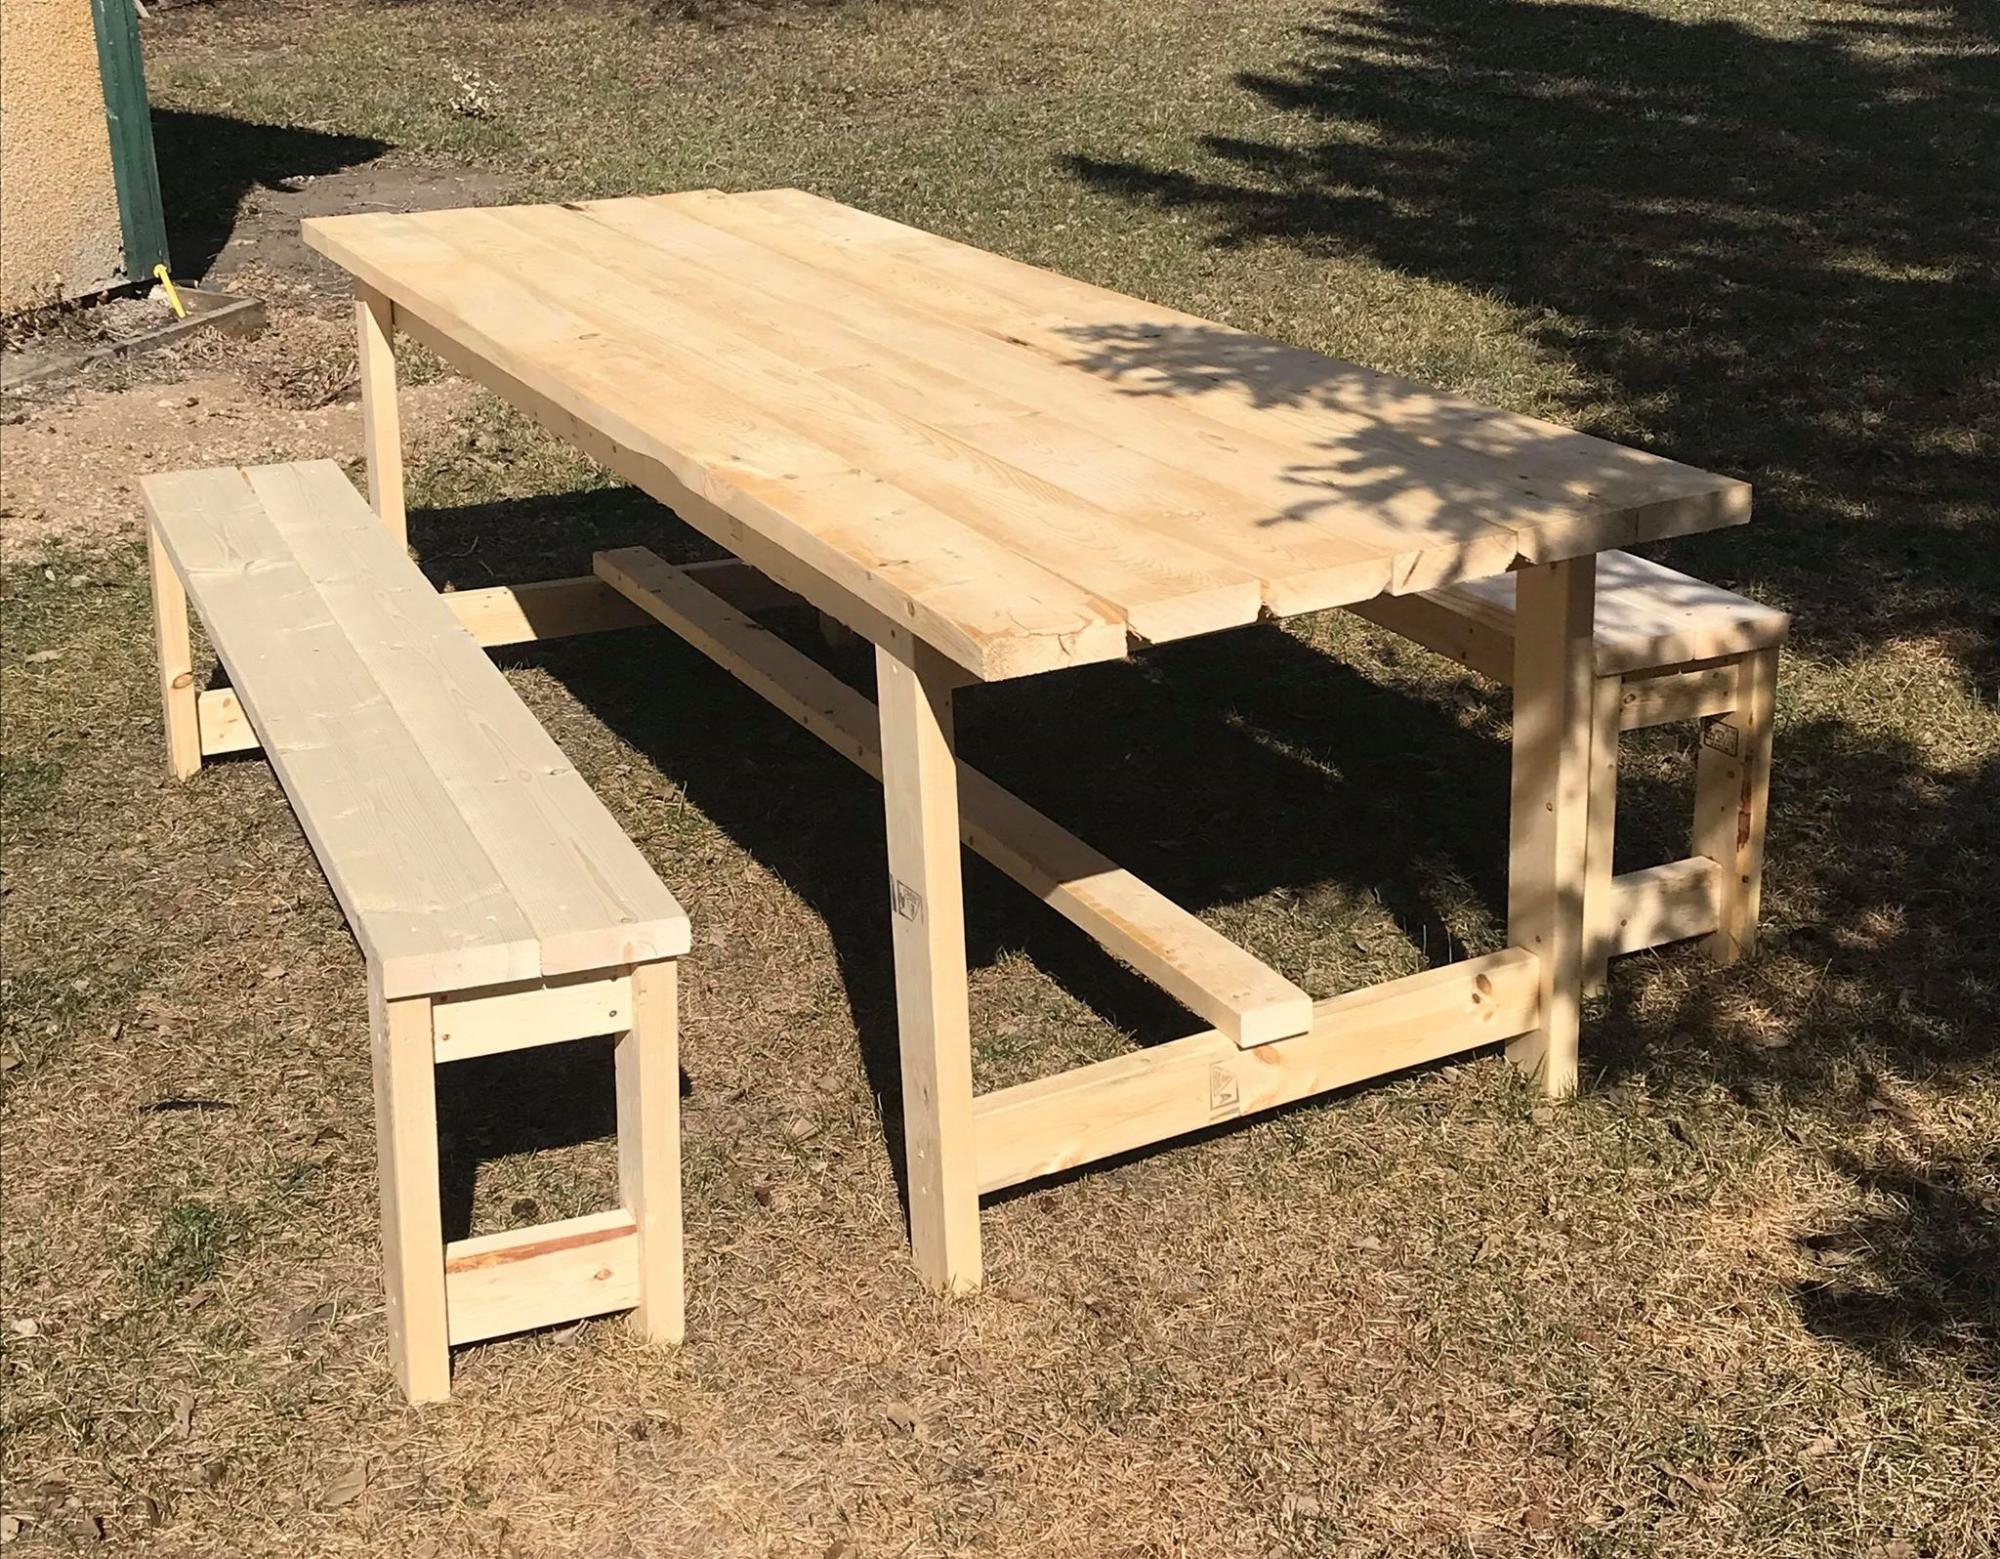
This was my first time building anything! The plans were so easy to follow along! Once I master some things like this, I can work on fine tuning things a bit more so I can build some more intricate plans. Thanks so much for your website! My kids are loving the BBQ's outside at the table!
Built from Plan(s)
Estimated Time Investment
Afternoon Project (3-6 Hours)
Finish Used
I haven't added a finish yet but will be soon.
Recommended Skill Level
Starter Project
Comments
Tue, 06/02/2020 - 15:09
cut list error?
re the farm table. your cut list calls for 8 2 x 4 at 28 1/2 inches but the plan actually only needs 4 of them. The pics do not show you doubling the 2 x 4s for legs. Am I missing something.
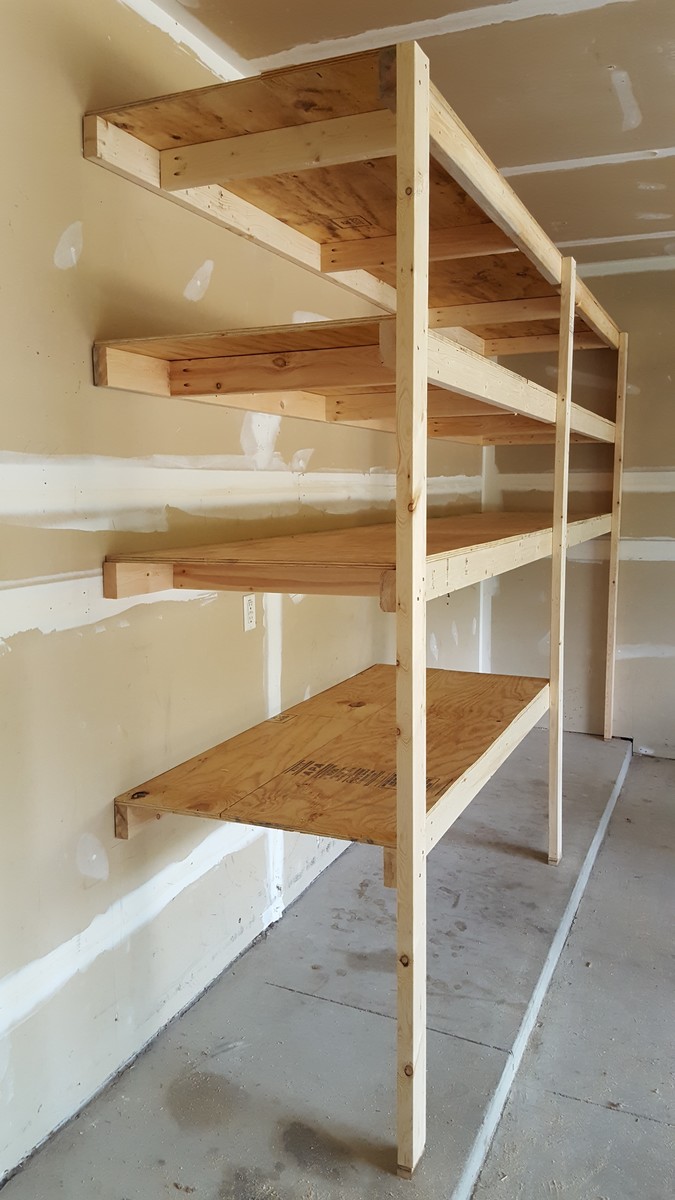
Garage Shelving
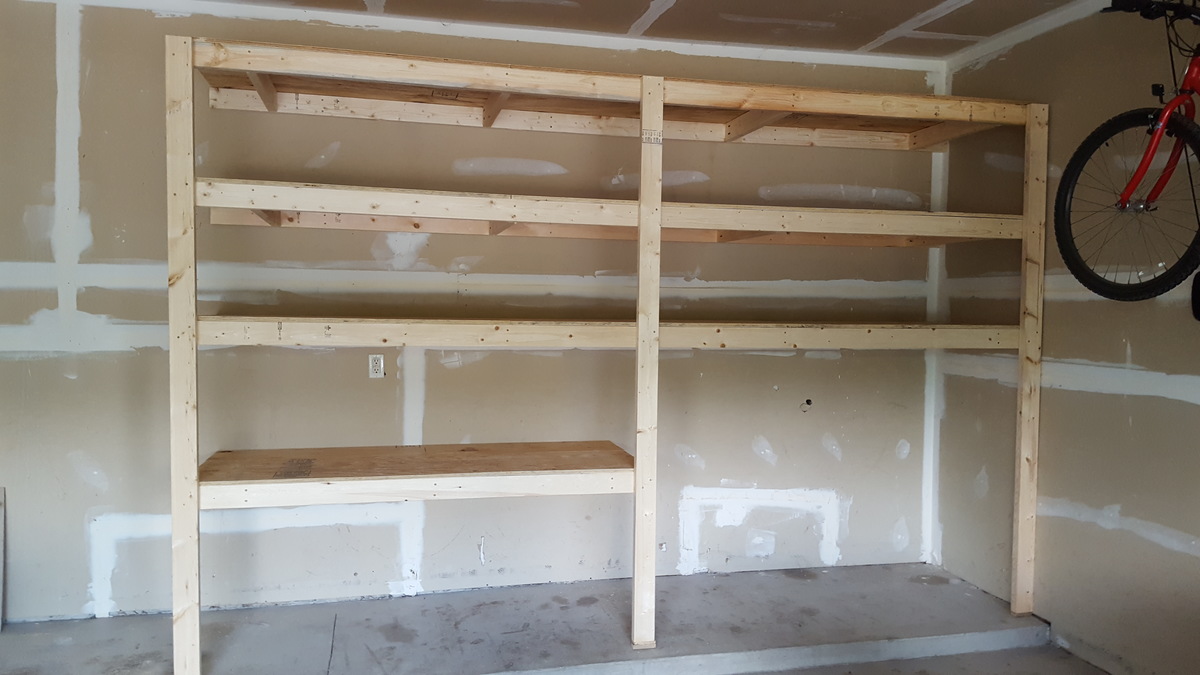
I am a beginner diy'er and this was one of my first projects. Also it was my first time using the Kreg jig and I loved it! My shelving system was around 8 feet tall, 12 feet wide and 30 inches deep. I added some extra cleats to support my deeper shelves (30") and also used thicker (5/8") plywood. This was a fun and easy project to do! Thanks so much!
Estimated Cost
$150
Estimated Time Investment
Day Project (6-9 Hours)
Finish Used
none
Recommended Skill Level
Beginner
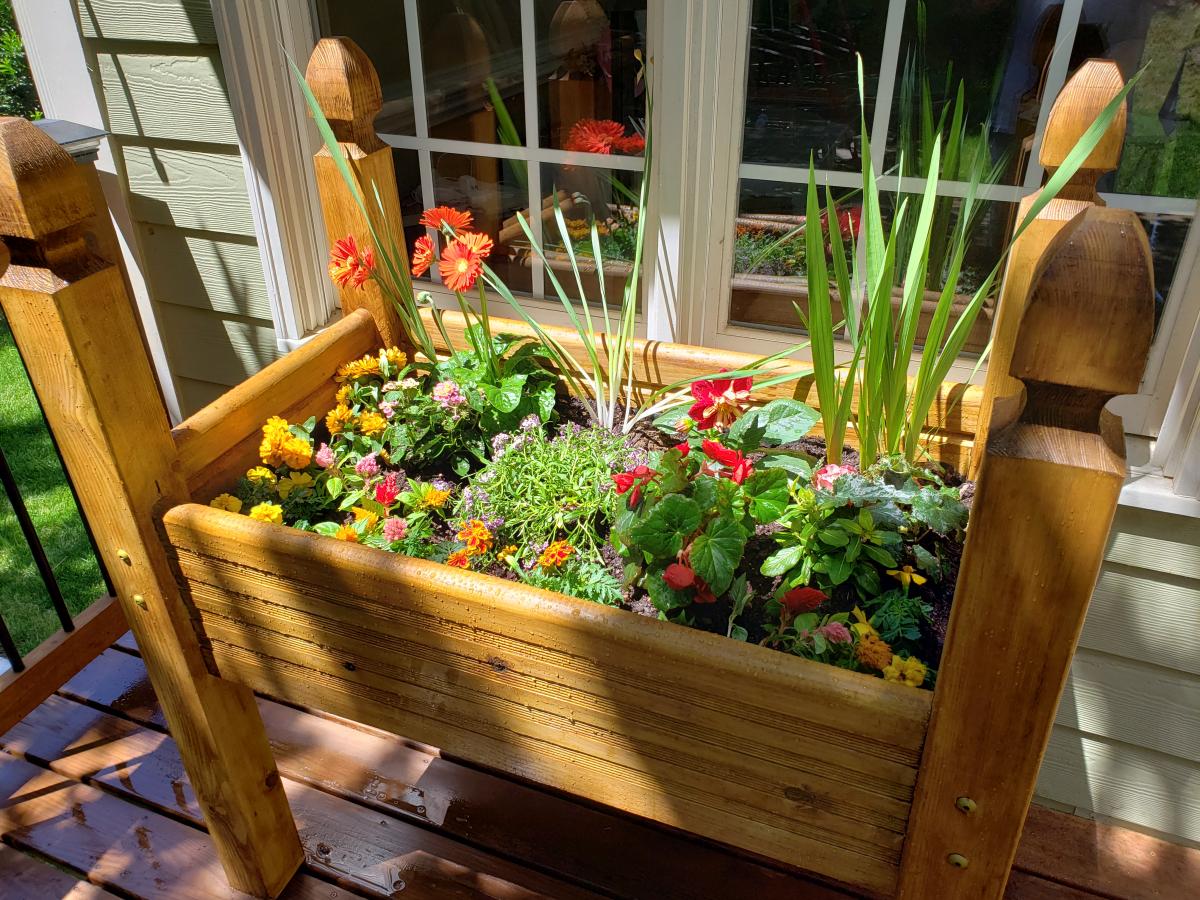
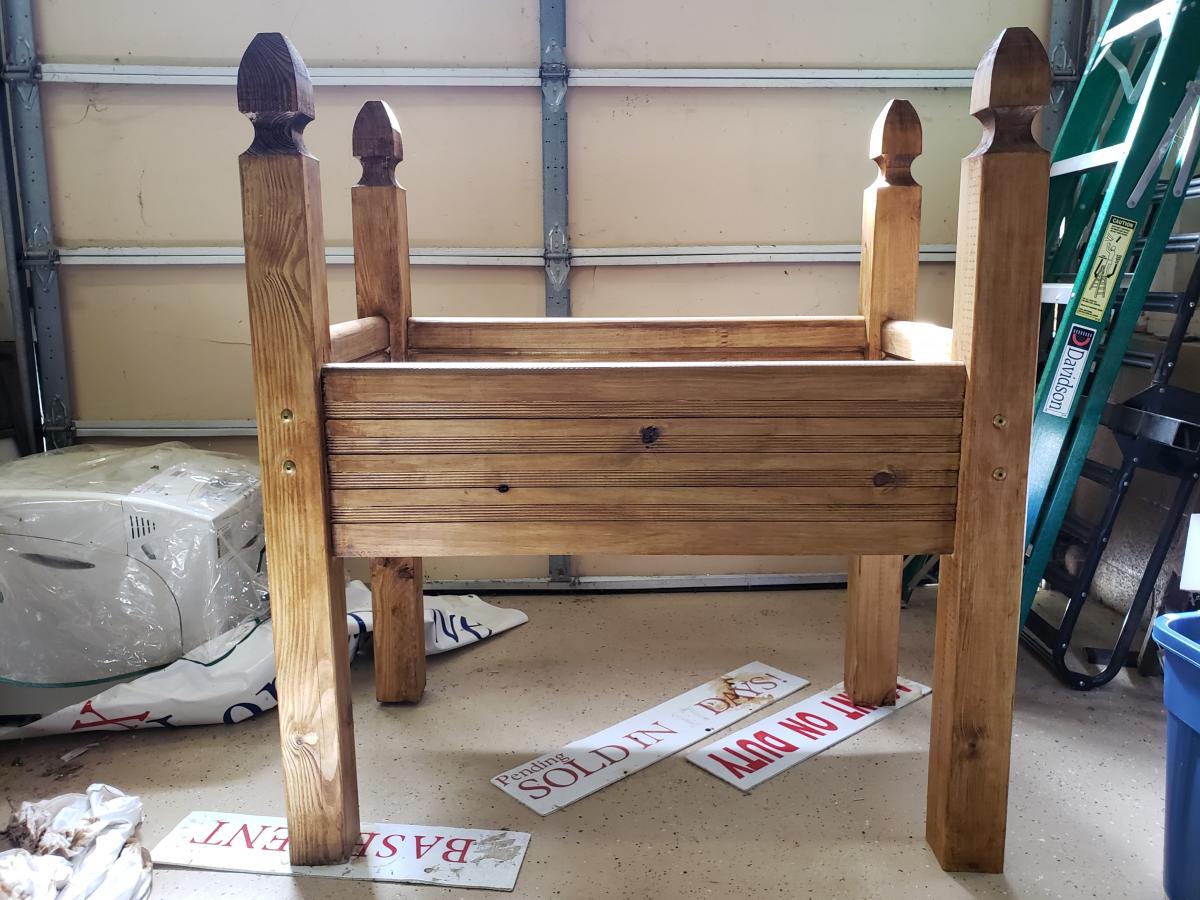
Raised Bed Garden Mother's Day Present
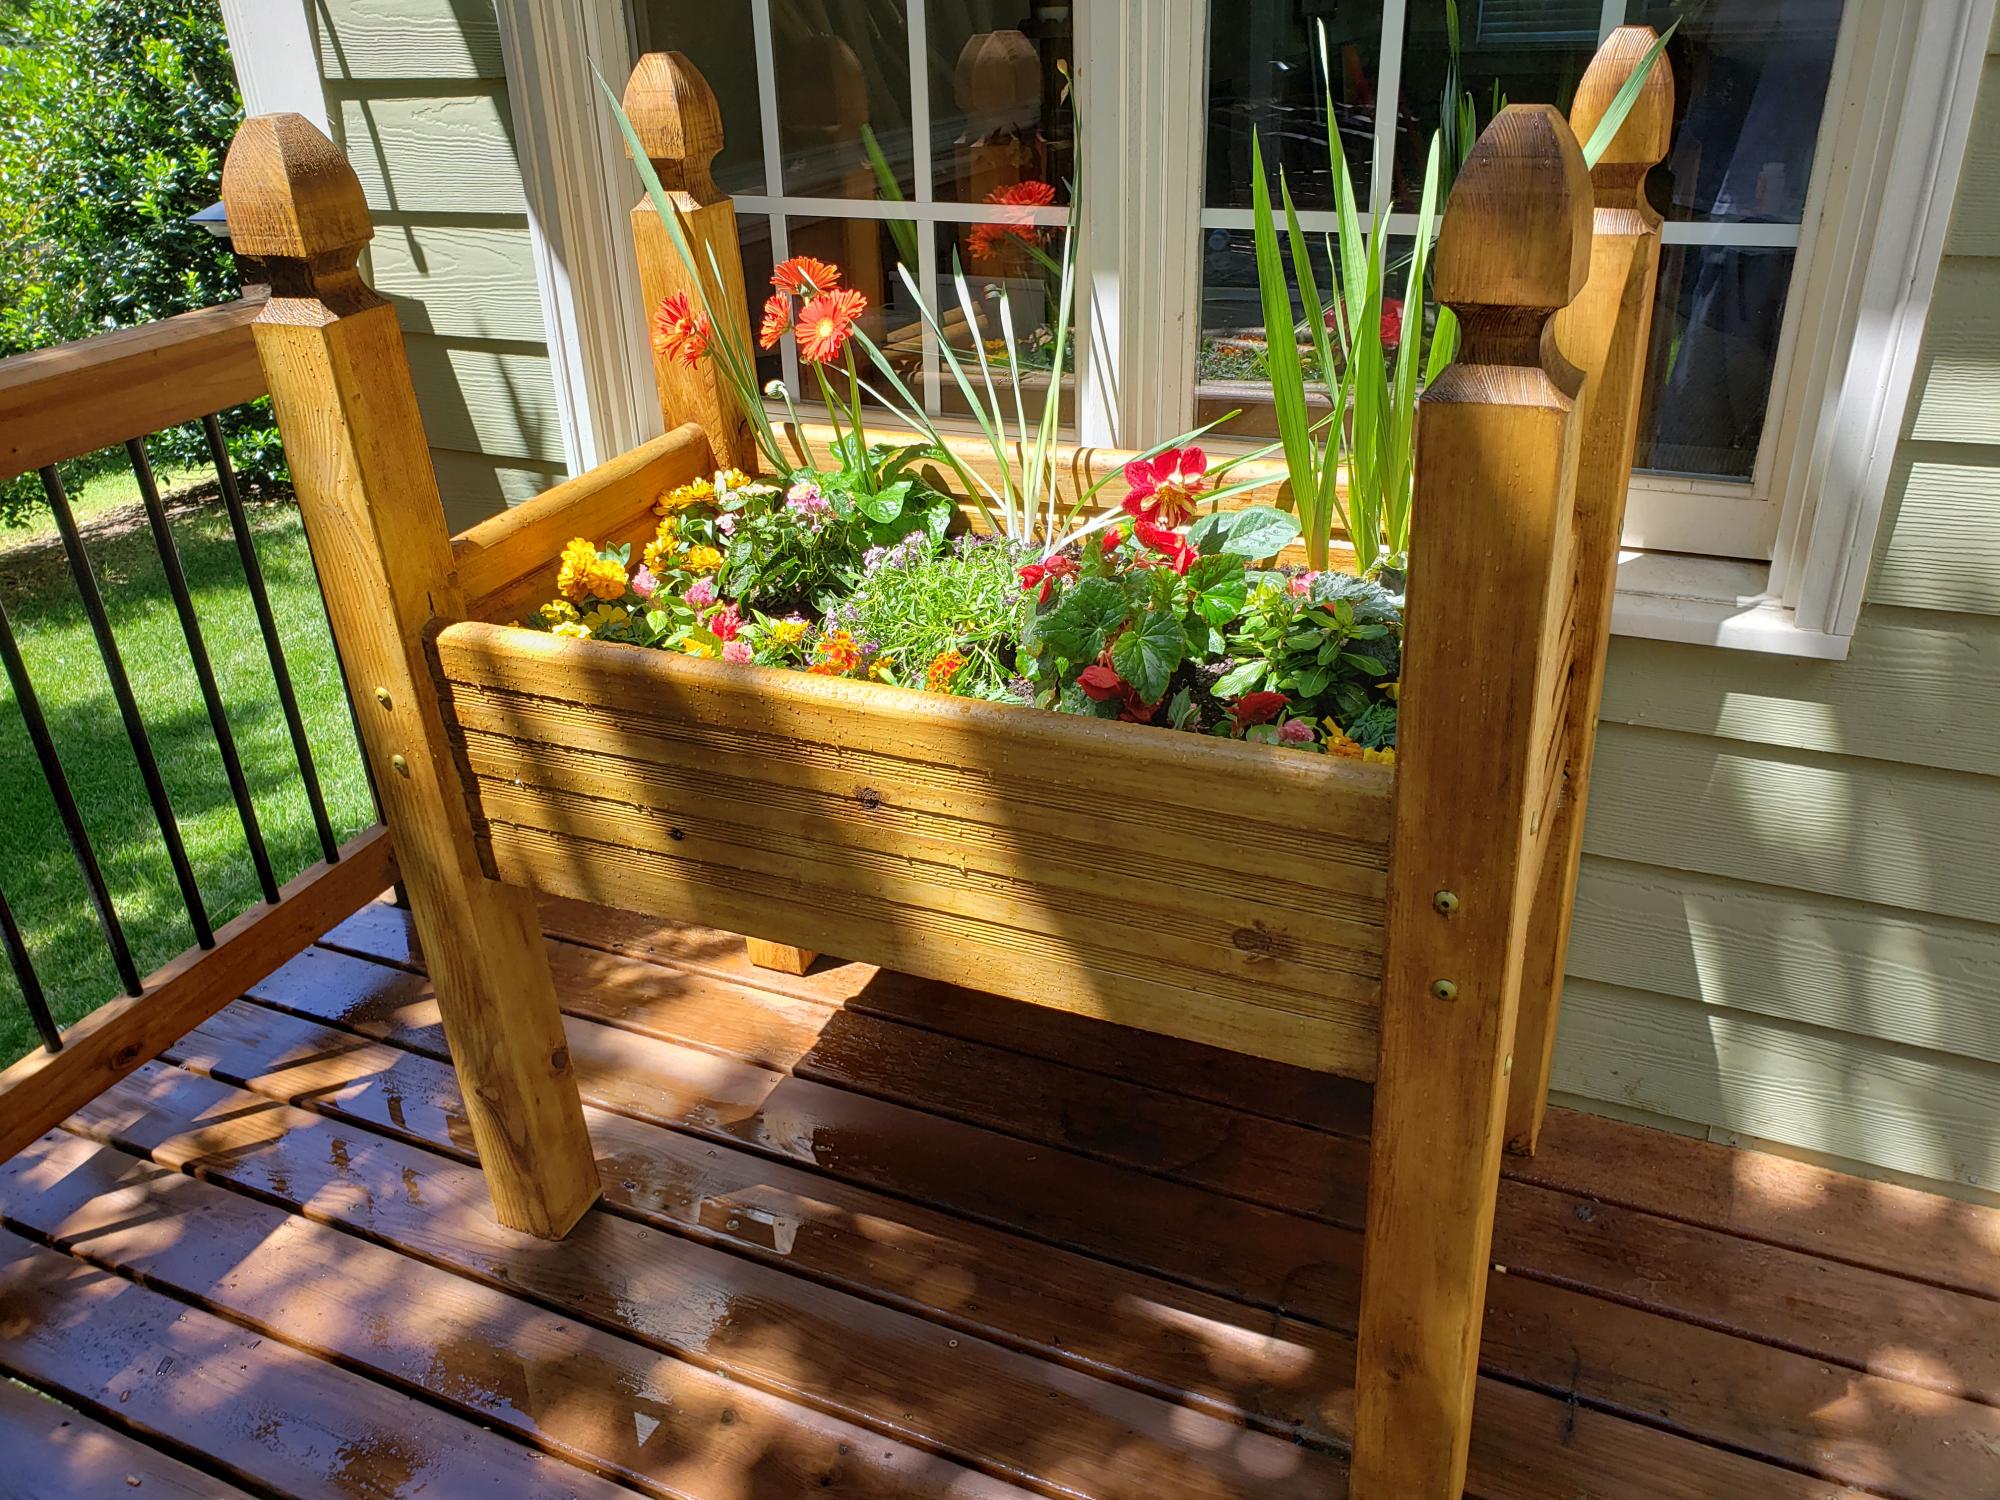
My 15 year old daughter and I built this as a Mother's Day gift. We used basic ideas from plan, but while looking for wood we came across stair treads and decking posts that we thought would work. We were very happy with the results. This thing is very solid and much better quality than the more expensive kits you can buy.

Built from Plan(s)
Estimated Cost
$130 plus plants and dirt
Estimated Time Investment
Weekend Project (10-20 Hours)
Recommended Skill Level
Beginner
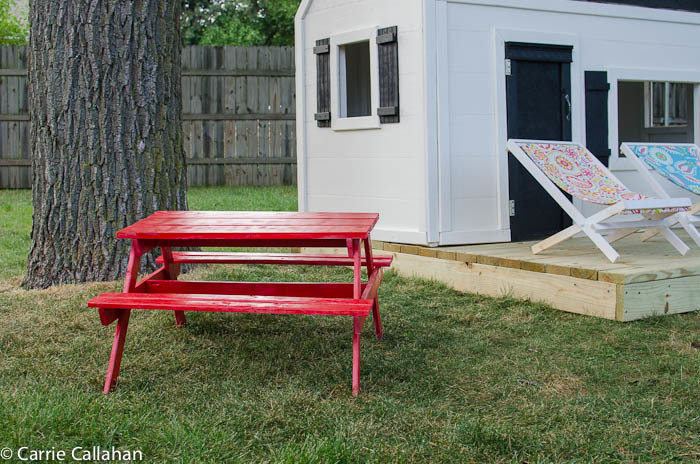
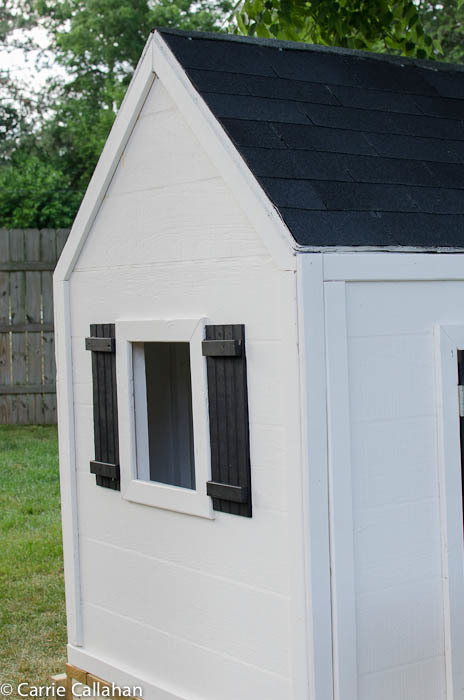
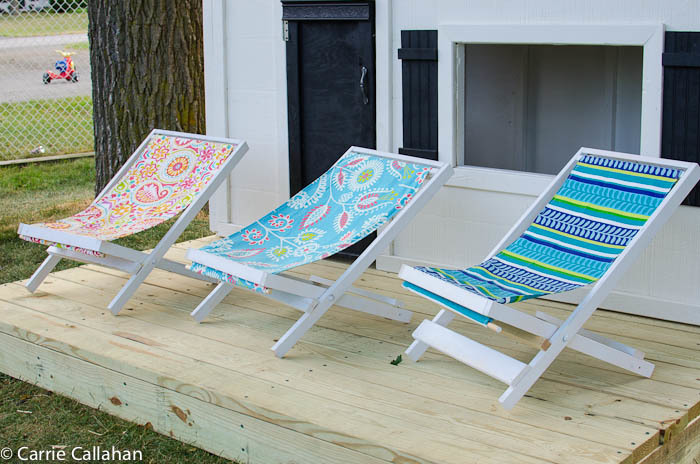
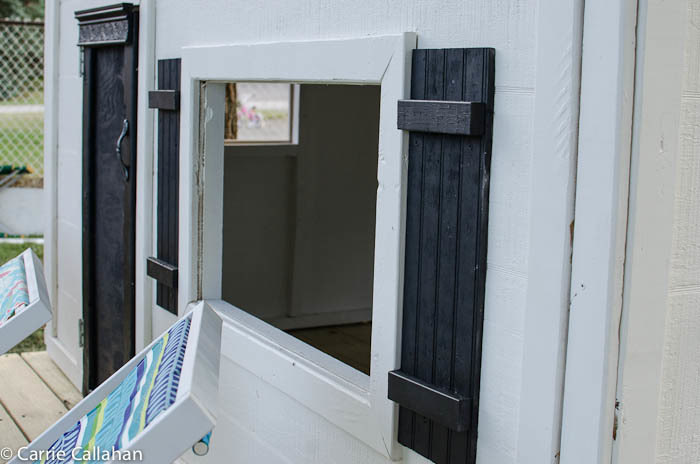
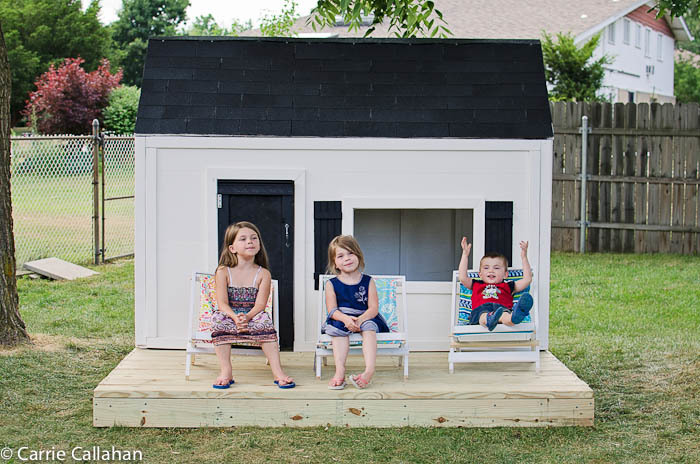
Playhouse big build
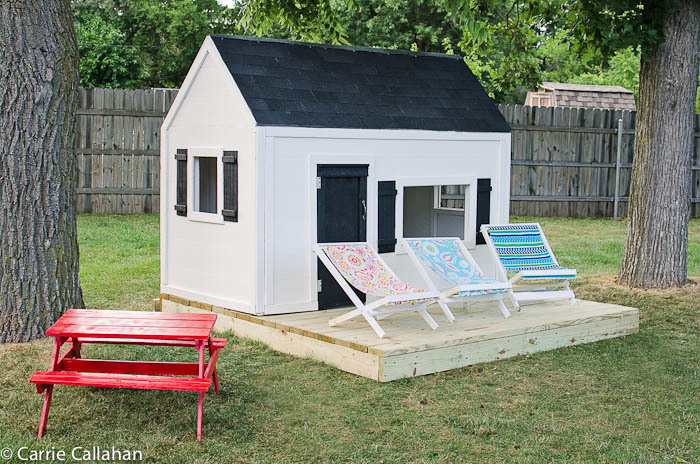
I went a little out of control on the week of the 4th of July - I set out to build a picnic table, 4 sling chairs, a deck and a playhouse - and I did!!!! I owe Ana a great debt of gratitude for these amazing plans and empowering me to do it! I built the picnic table and the sling chairs as I was waiting for primer and paint to dry on the frame, inside and outside of the house. For the shutters - I scrounged around the garage and found some leftover wainscoting, and put a leftover 1x2 on them. The door frame wasn't straight - so I added a piece of leftover trim from my daughters bed I built. My only next step is curtains for the windows. I even moved the full kitchen set I built the kids a few christmas's ago into their. They have only been playing with it for 2 days and I can't drag them out of it!!!
Built from Plan(s)
Estimated Cost
$500-$550
Estimated Time Investment
Week Long Project (20 Hours or More)
Finish Used
Primer and paint
Recommended Skill Level
Intermediate
$.59 Birdhouses!

I needed a couple more birdhouses and this plan was perfect! They were super easy and quick to build and the pickets were on sale for $1.18, so it only cost $.59 for each house!
Built from Plan(s)
Estimated Cost
$1.18 for two houses
Estimated Time Investment
An Hour or Two (0-2 Hours)
Recommended Skill Level
Starter Project
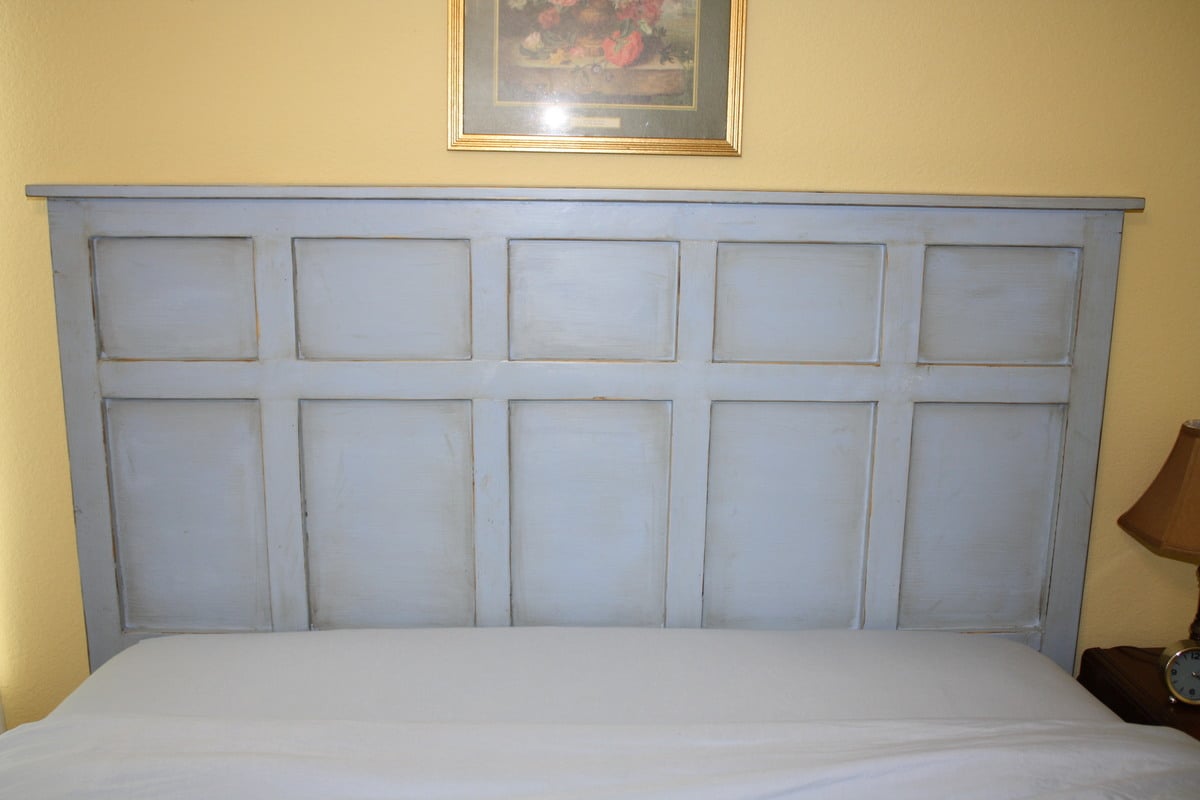
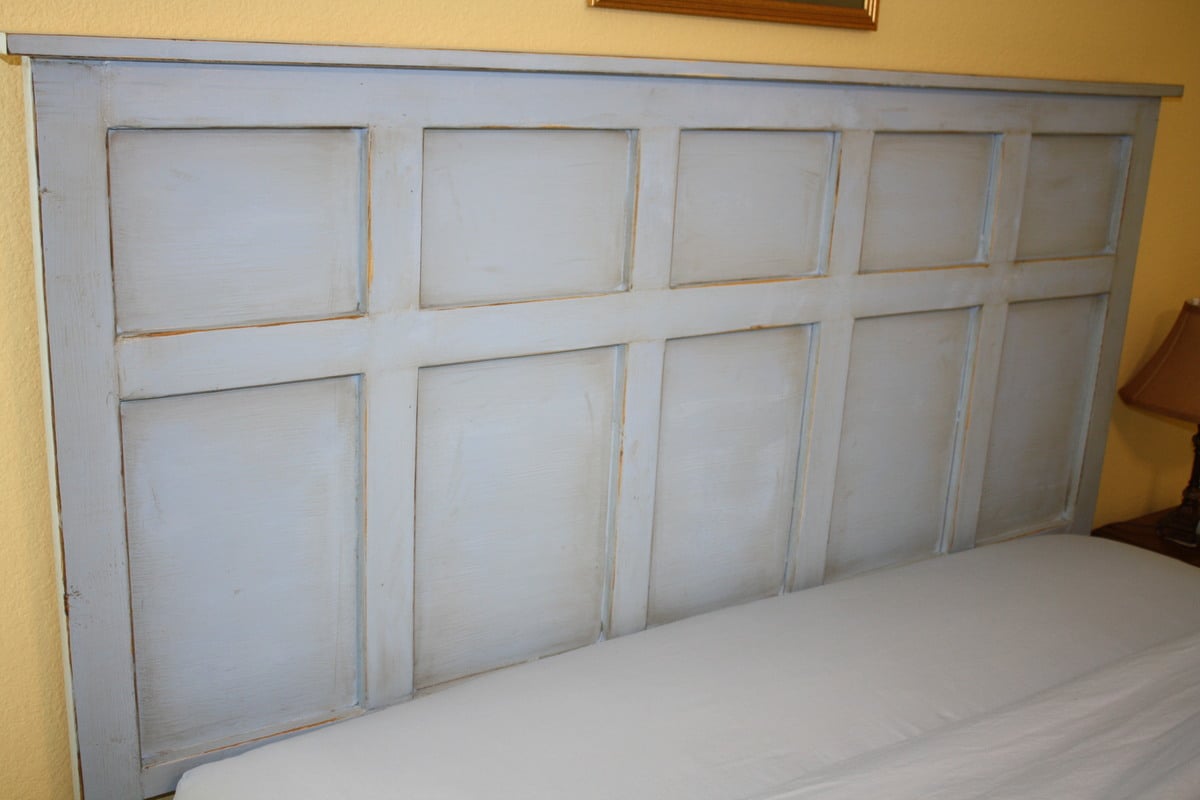
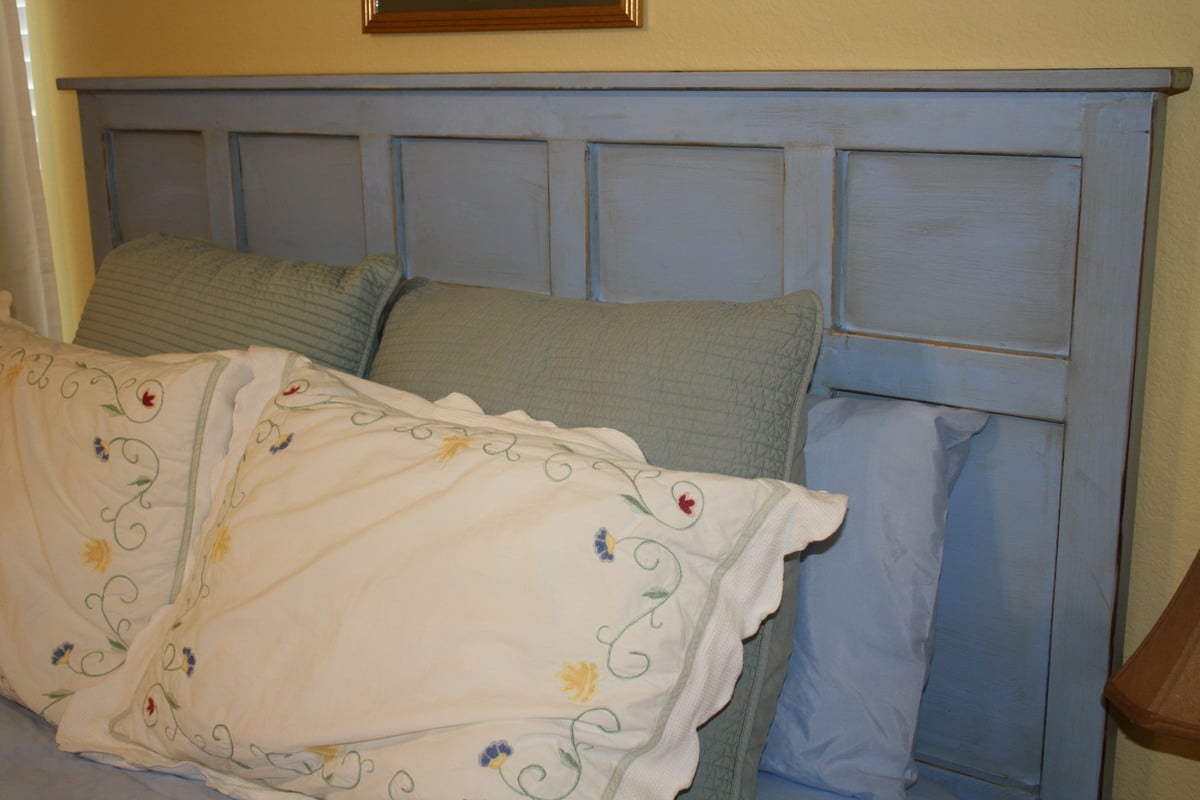
Board & Batten Inspired Headboard
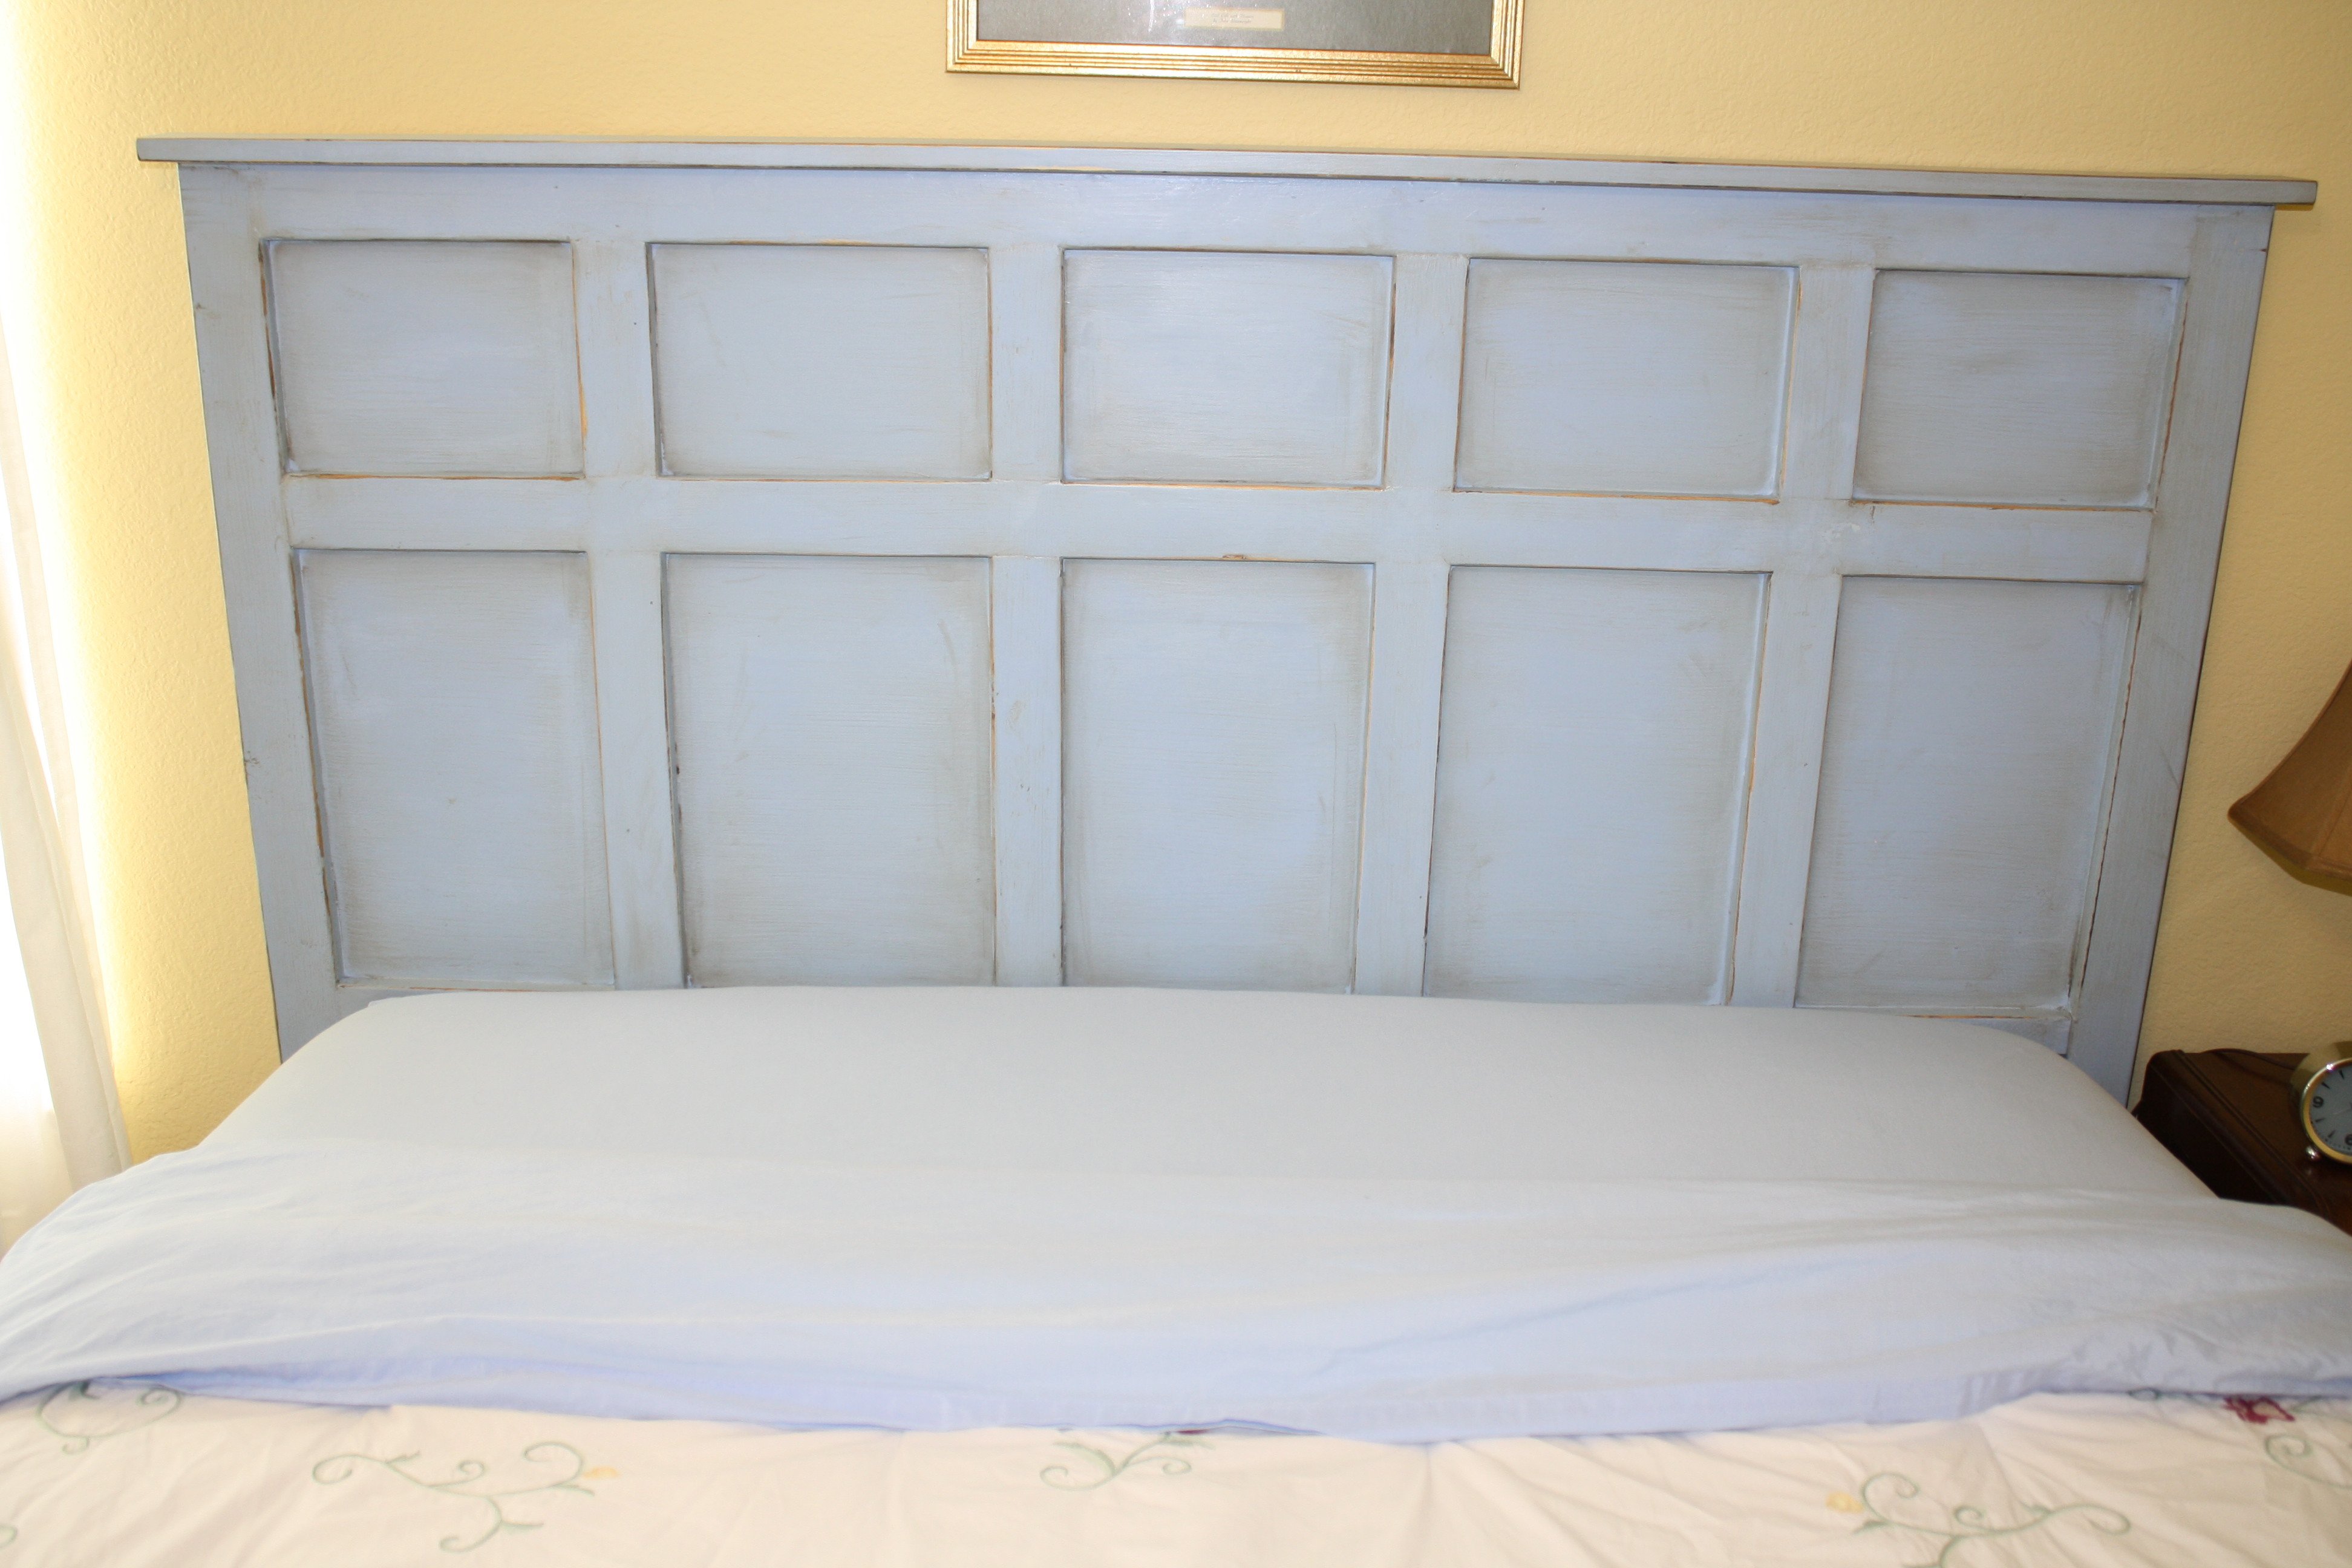
Our guest room finally has a headboard! I put together this queen size headboard using what I had learned building my daughter's headboard (and consulting the plans for the Reclaimed Wood Headboard) using the remainder of the plywood sheet from her headboard project, 2x3s for the legs, a 2x4 to join the legs (and connect to the metal bed frame), furring strips, and a 1x3 to top it off.
Our plywood had been cut to fit our car, so the first vertical furring strip was placed to hide the seam where I joined the two pieces back together. Then we evenly placed them from center as just looked right to us.
We had a great time seeing this come together as we didn't follow a specific plan, but were able to be a bit more creative inspired by various plans.
Estimated Cost
$45 including hardware & paint
Estimated Time Investment
Afternoon Project (3-6 Hours)
Finish Used
We painted with Martha Stewart's Stratosphere in a flat finish, distressed and rubbed on Minwax Provencial stain. Unfortunately, the stain gave the headboard a very green tint, so after a lot more sanding, we were able to finish the project with two quick coats of Minwax water based Poly.
Recommended Skill Level
Beginner
Comments
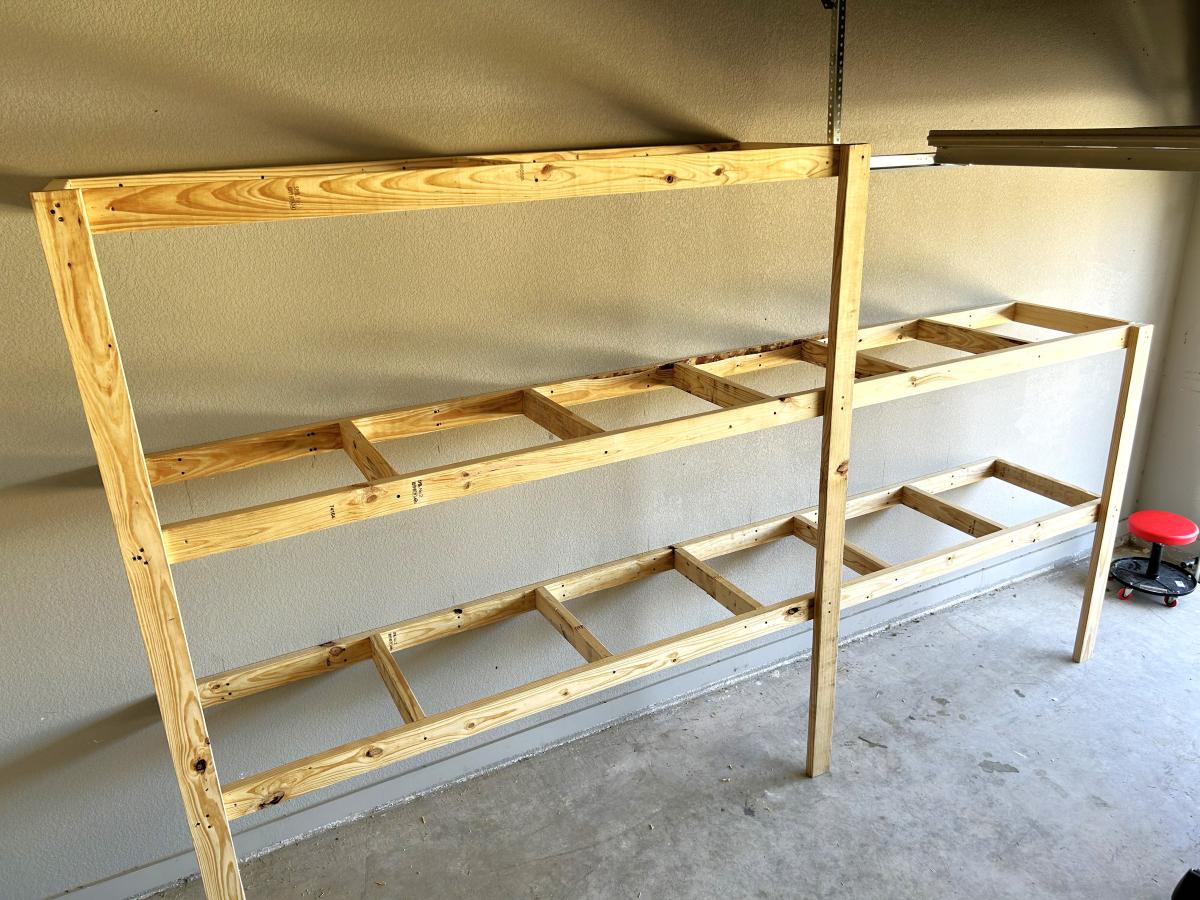
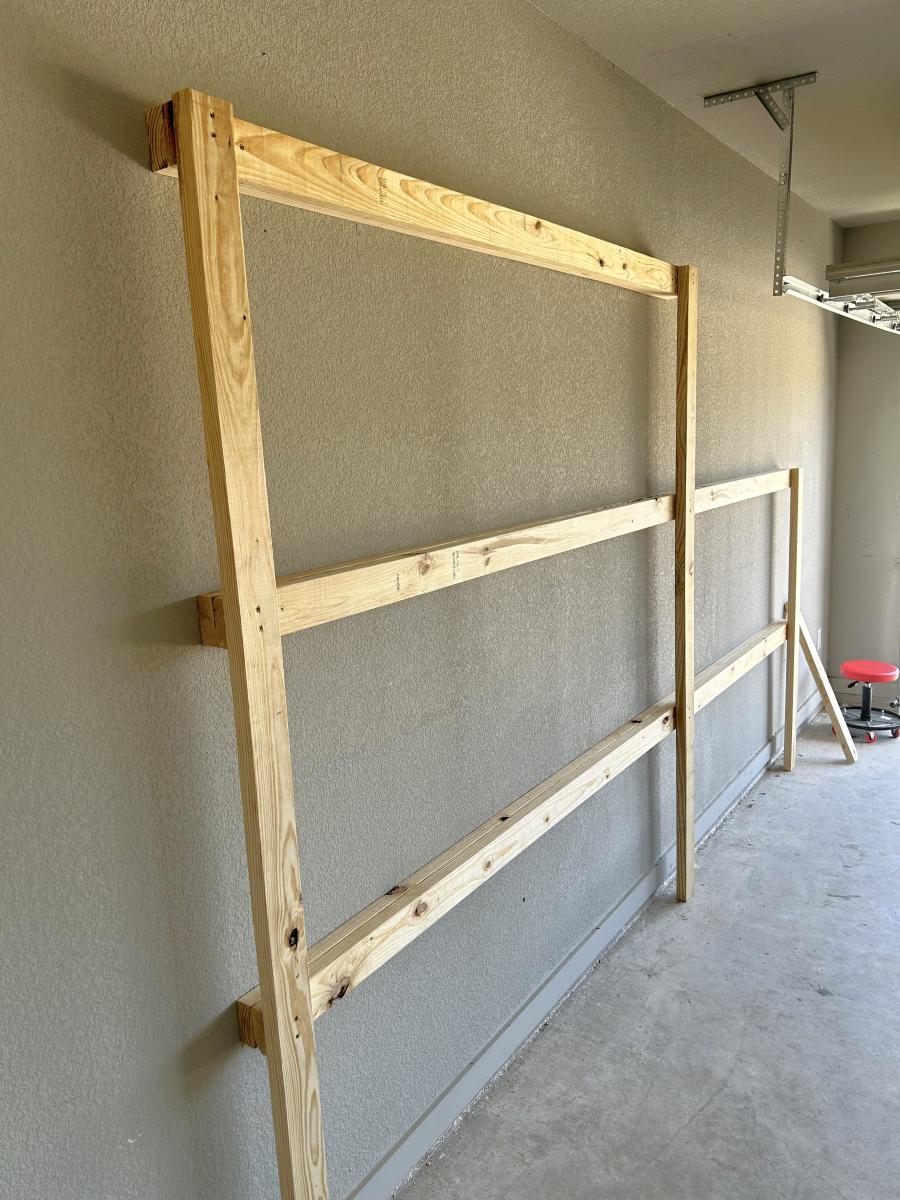
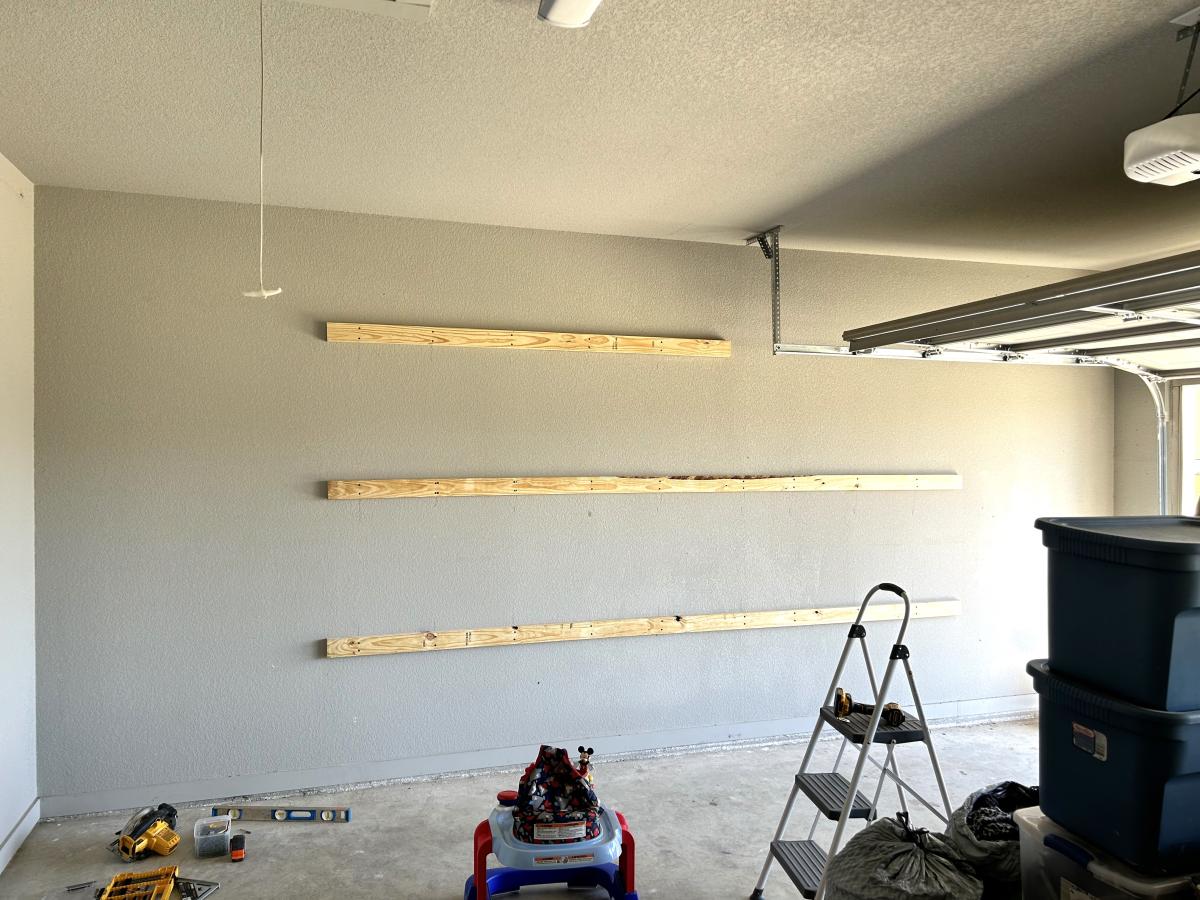
Garage Storage Shelves
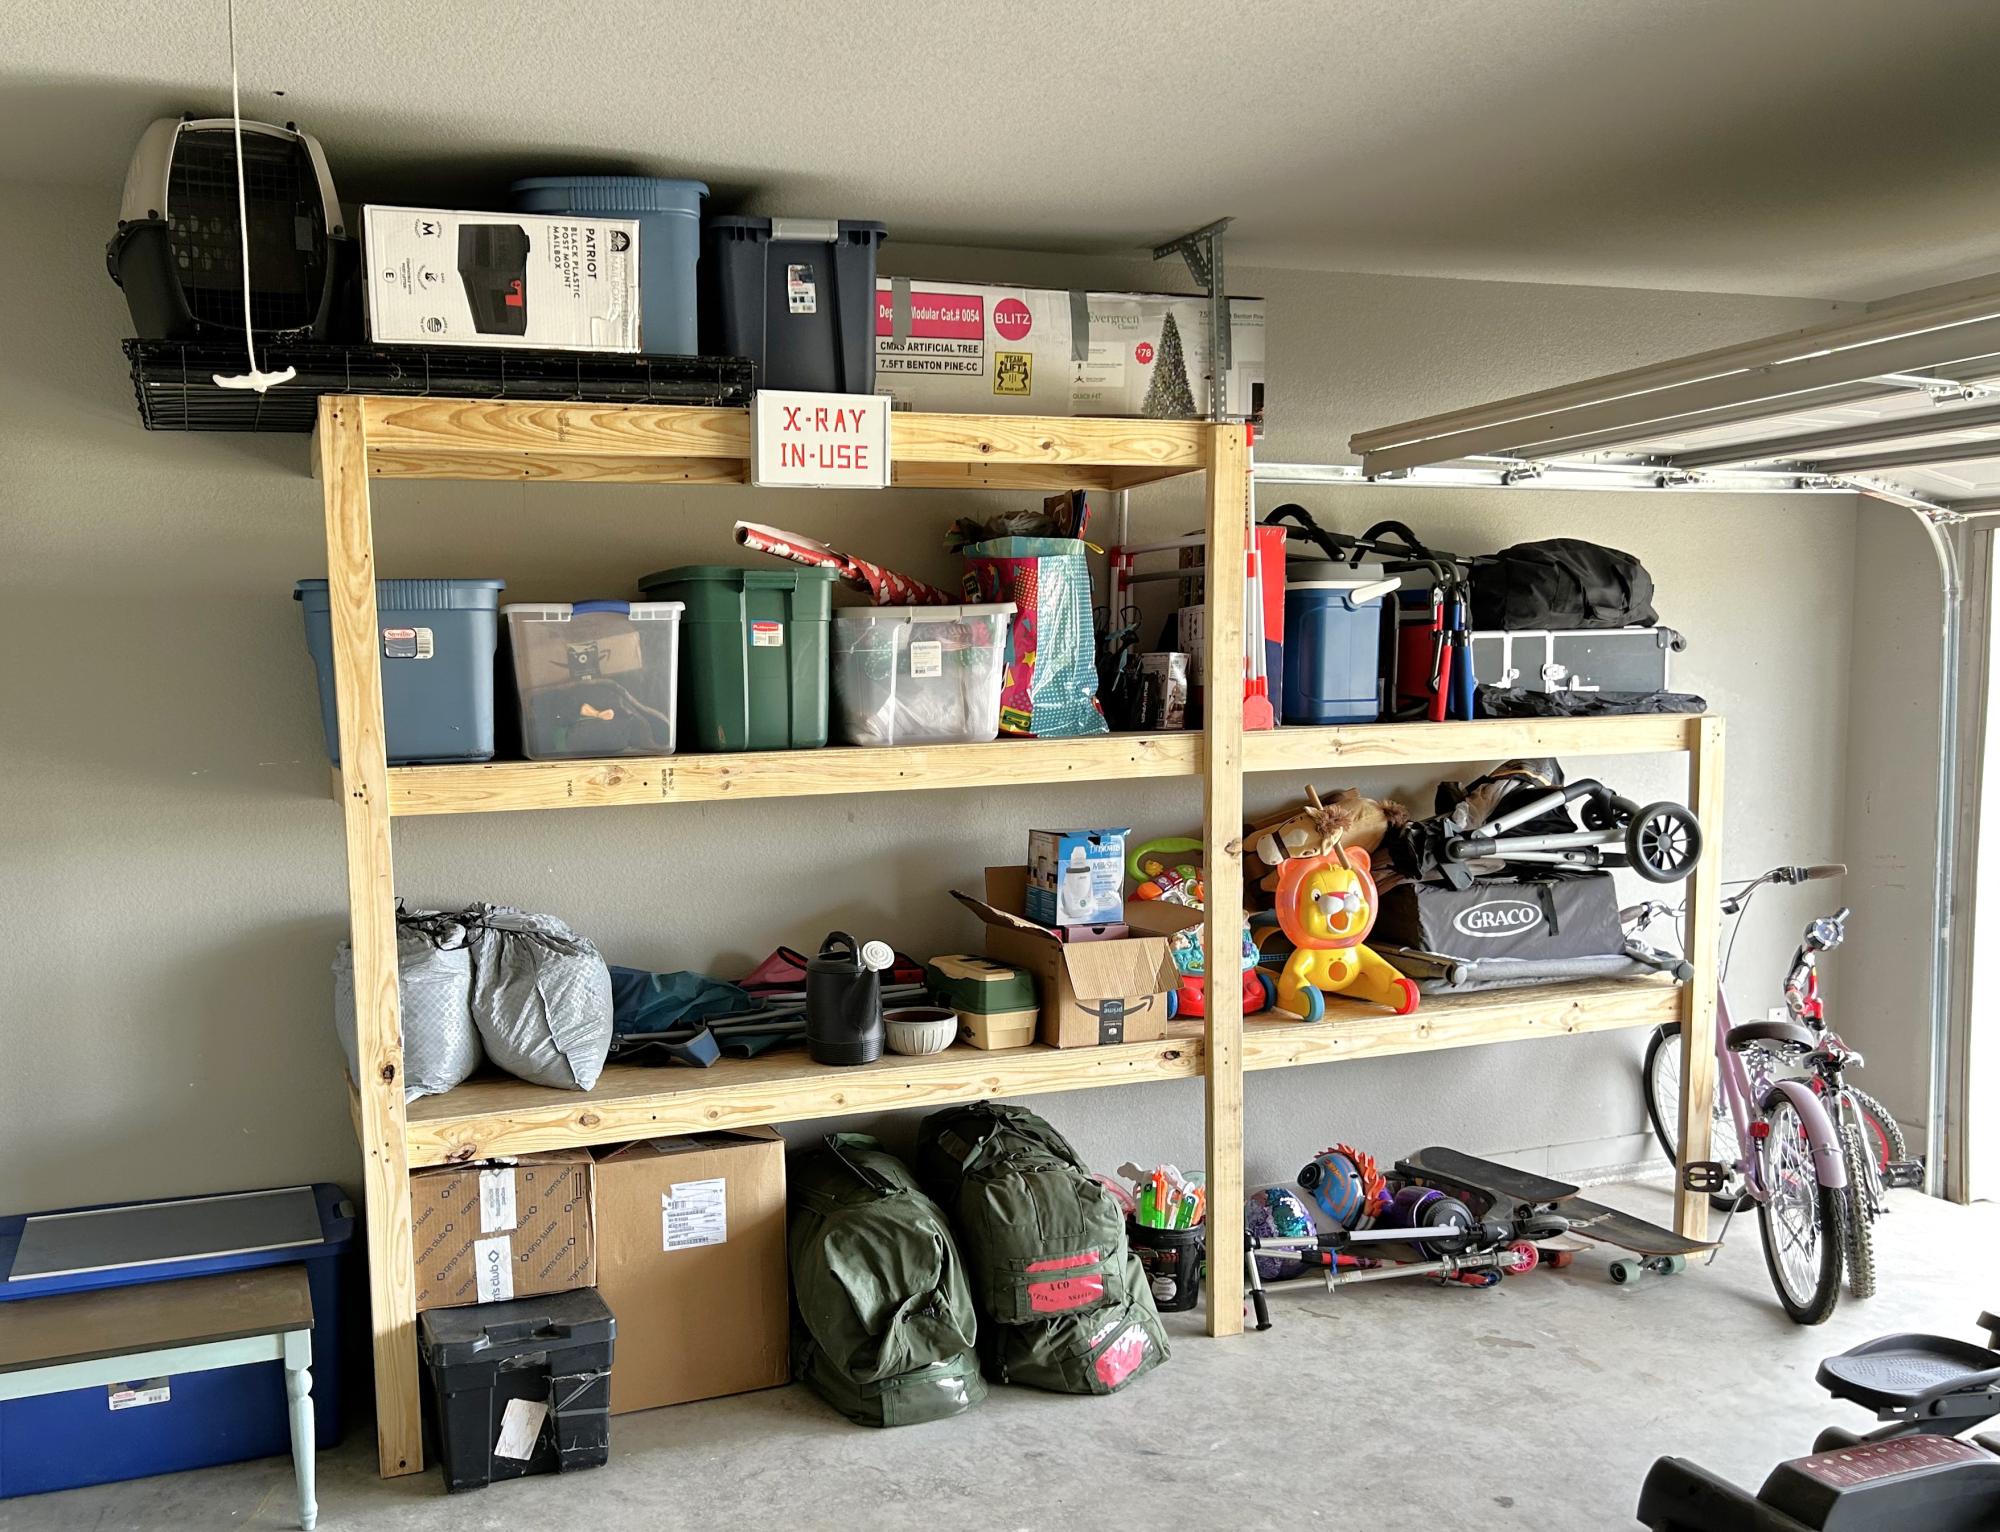
Kinda new at working with wood but I enjoyed this one and did it in under a day. I also just recently built a complete wooden fence before I did this so building frames was fun.
Built from Plan(s)
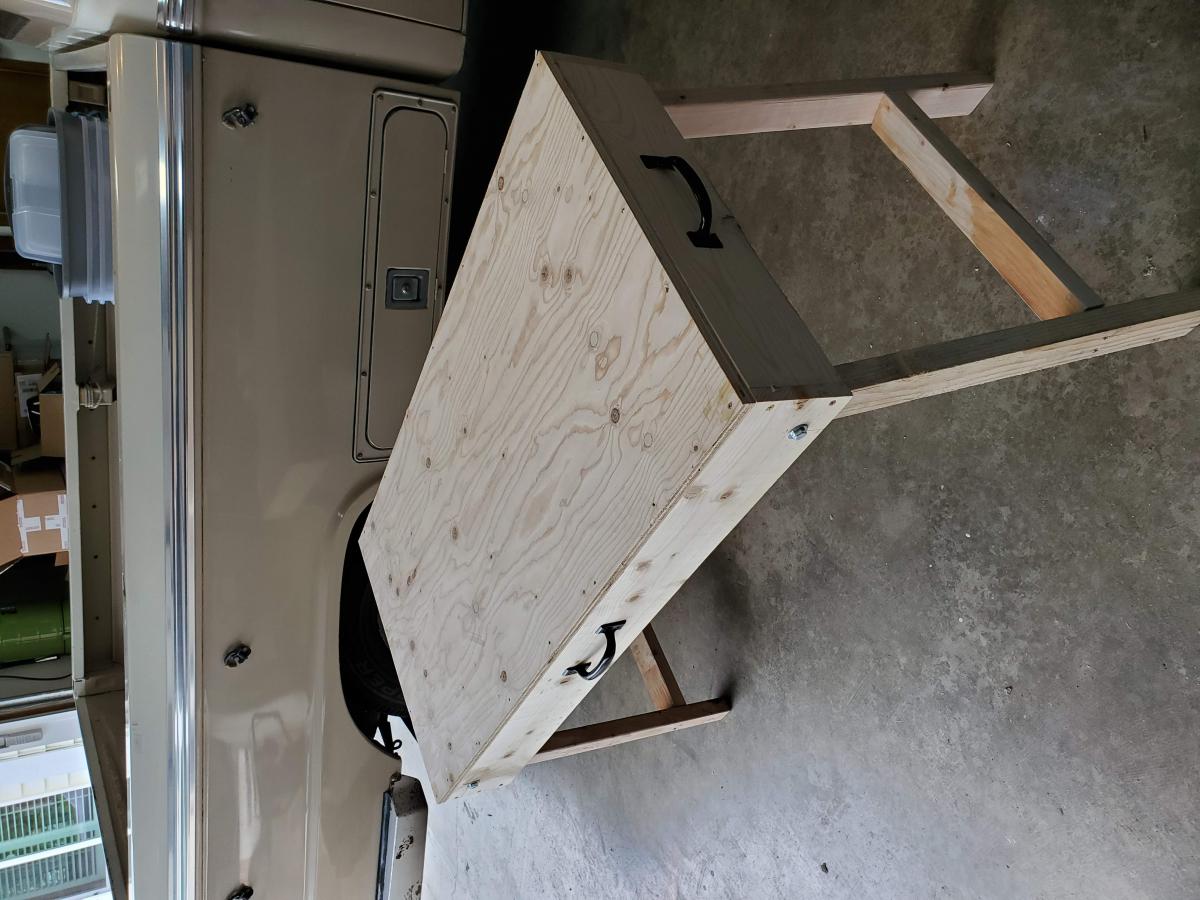
Portable work table
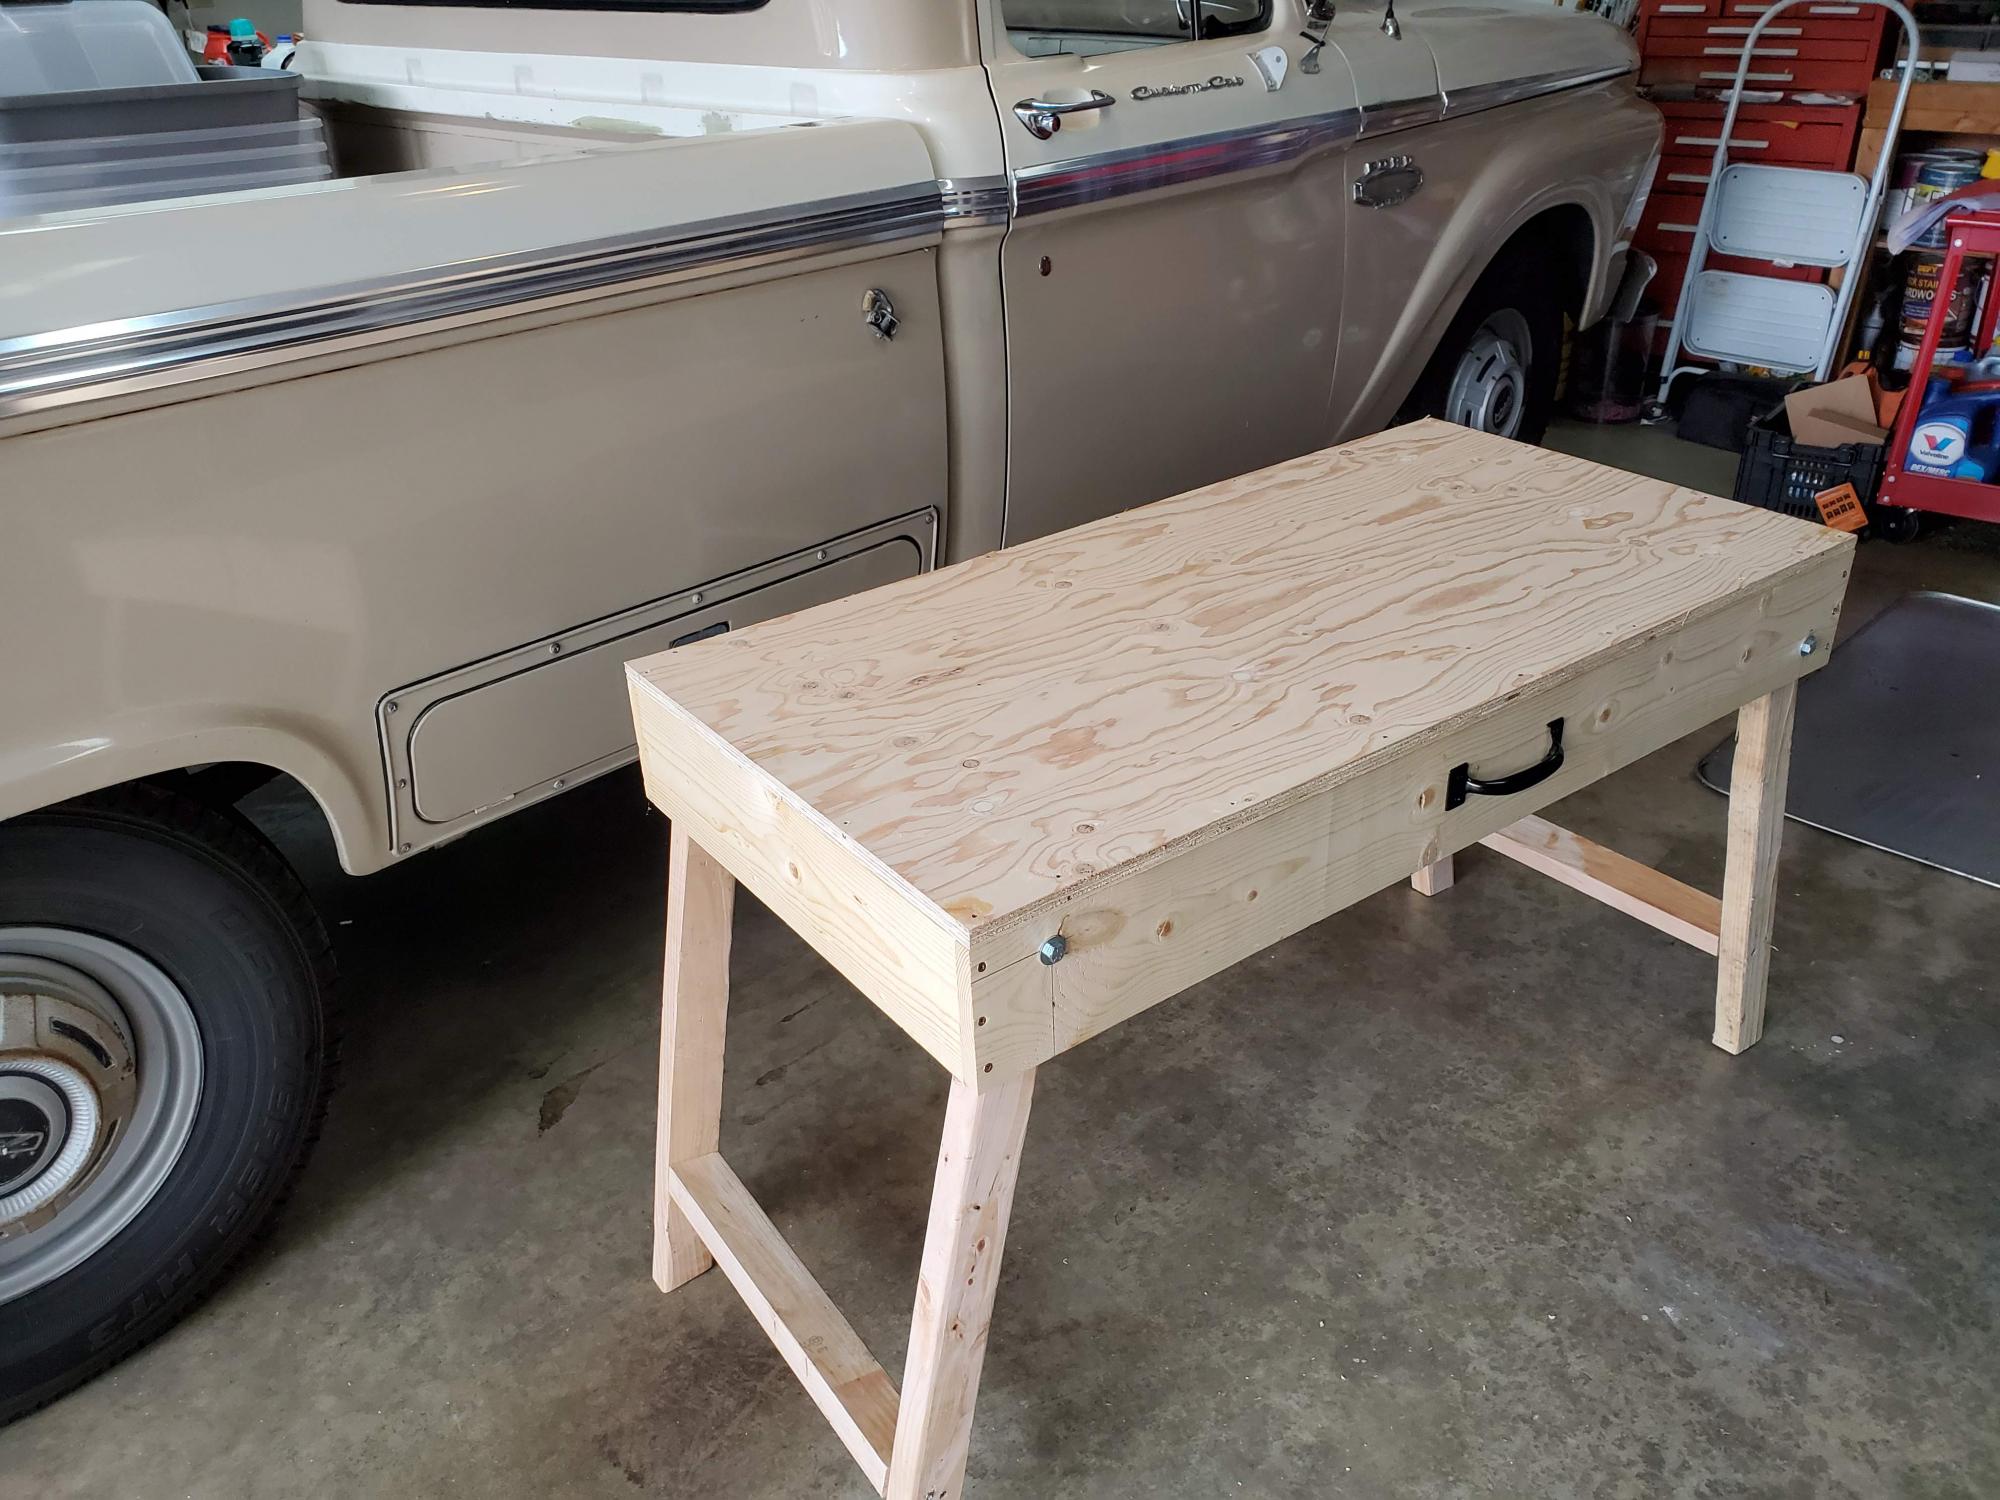
This is my first build. I thought making a work table would be the ideal first project. I'm very happy I came across Ana's Youtube channel and website. I made some rookie mistakes with the cut list. I t was my fault but a good learning experience. In the past I have dreaded any kind of woodworking project. I became very frustrated using the garage floor or some makeshift work table. This sores nicely in the garage and is very functional. I did add a handle on the side of the work table to carry it to the work site. I'm looking forward to many new projects.
Built from Plan(s)
Estimated Cost
$30.00 That includes lumber and hardware.
Estimated Time Investment
Afternoon Project (3-6 Hours)
Finish Used
Unfinished
Raised Planter Box with Bottom Shelf
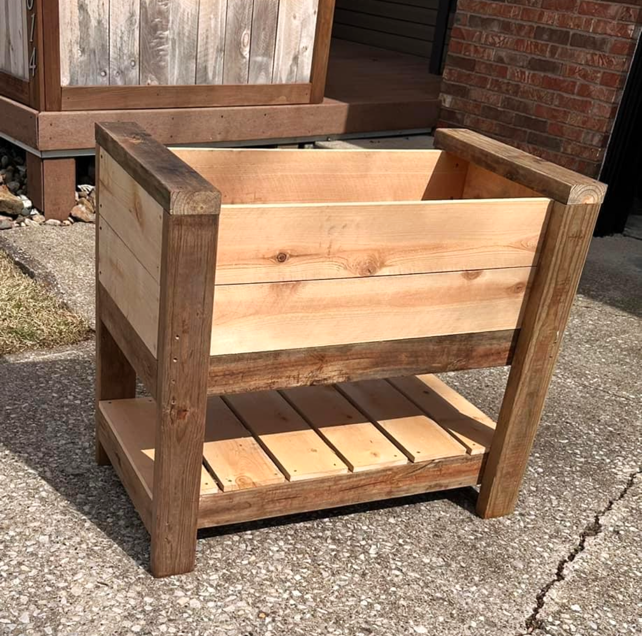
Just built this today, very easy build. I used cedar tone treated lumber for the frame and the cedar pickets. I modified the size some, little smaller than the plans. Total material cost about $70.
Built from Plan(s)
Floor-to-Ceiling Garage Storage
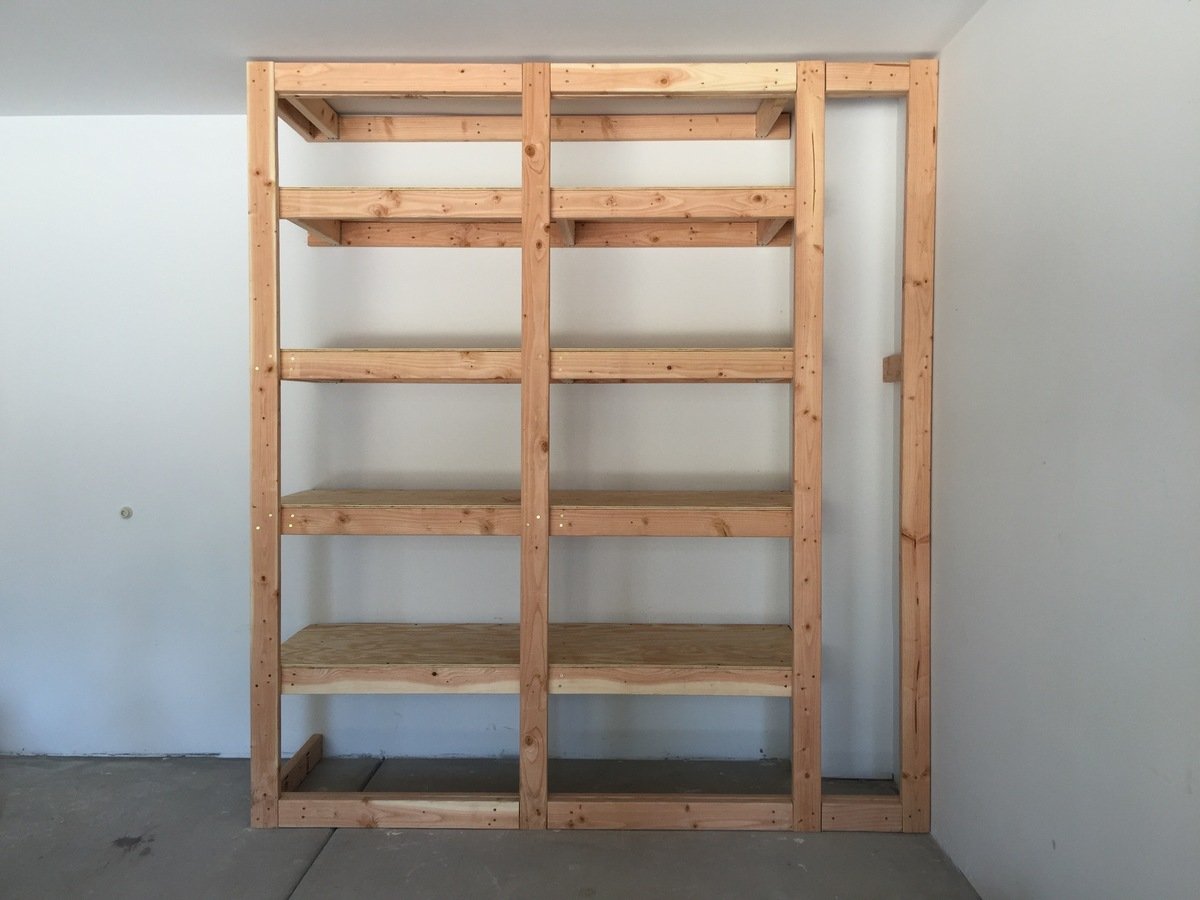
My floor-to-ceiling garage storage is 6' w x 8' h. I wanted to utilize the entire height of the wall for the rack. I also created a small cubby at the end for tall items like brooms, poles, etc. I also added 2x4 pieces on the top, sides and foot of the rack so I can add doors to hide the clutter stored on the shelves.
Estimated Cost
$80: $70 for wood and $10 for screws.
Estimated Time Investment
Day Project (6-9 Hours)
Recommended Skill Level
Starter Project
simple outdoor lounge chair

I made two lounge chairs and two chaise lounge chairs for my pool deck. I think they look great as a set! I did use a 1 x 4 for the back brace instead of a 1 x 2.


Built from Plan(s)
Estimated Cost
$50 for one lounge chair
Estimated Time Investment
Afternoon Project (3-6 Hours)
Finish Used
I left them unfinished for now as cedar weathers well. I may use a transparent stain to keep the natural cedar color from graying.
Recommended Skill Level
Intermediate
Comments
Fri, 06/26/2020 - 20:53
Building plans
I love them. How can i get the plans to build this?
Thank you..
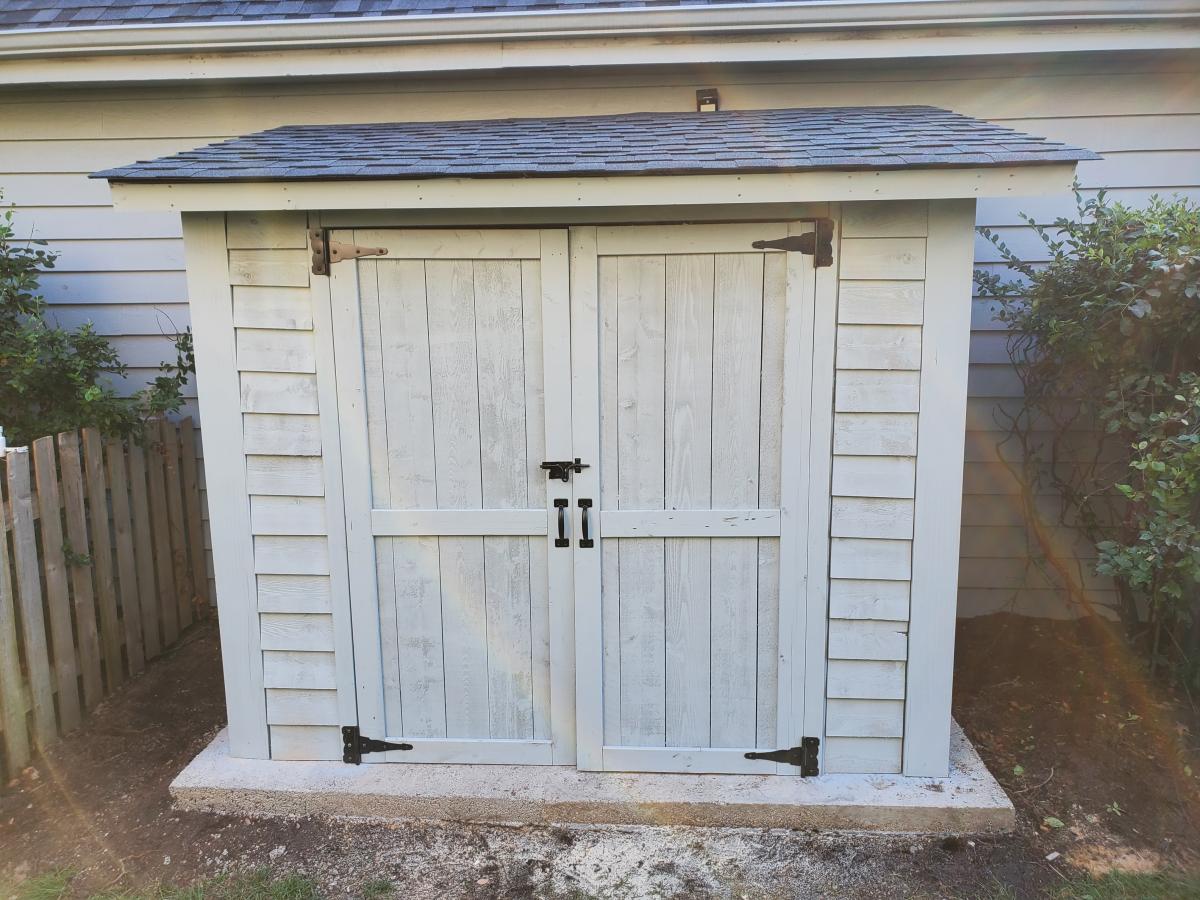
Eric's Cedar Shed!!
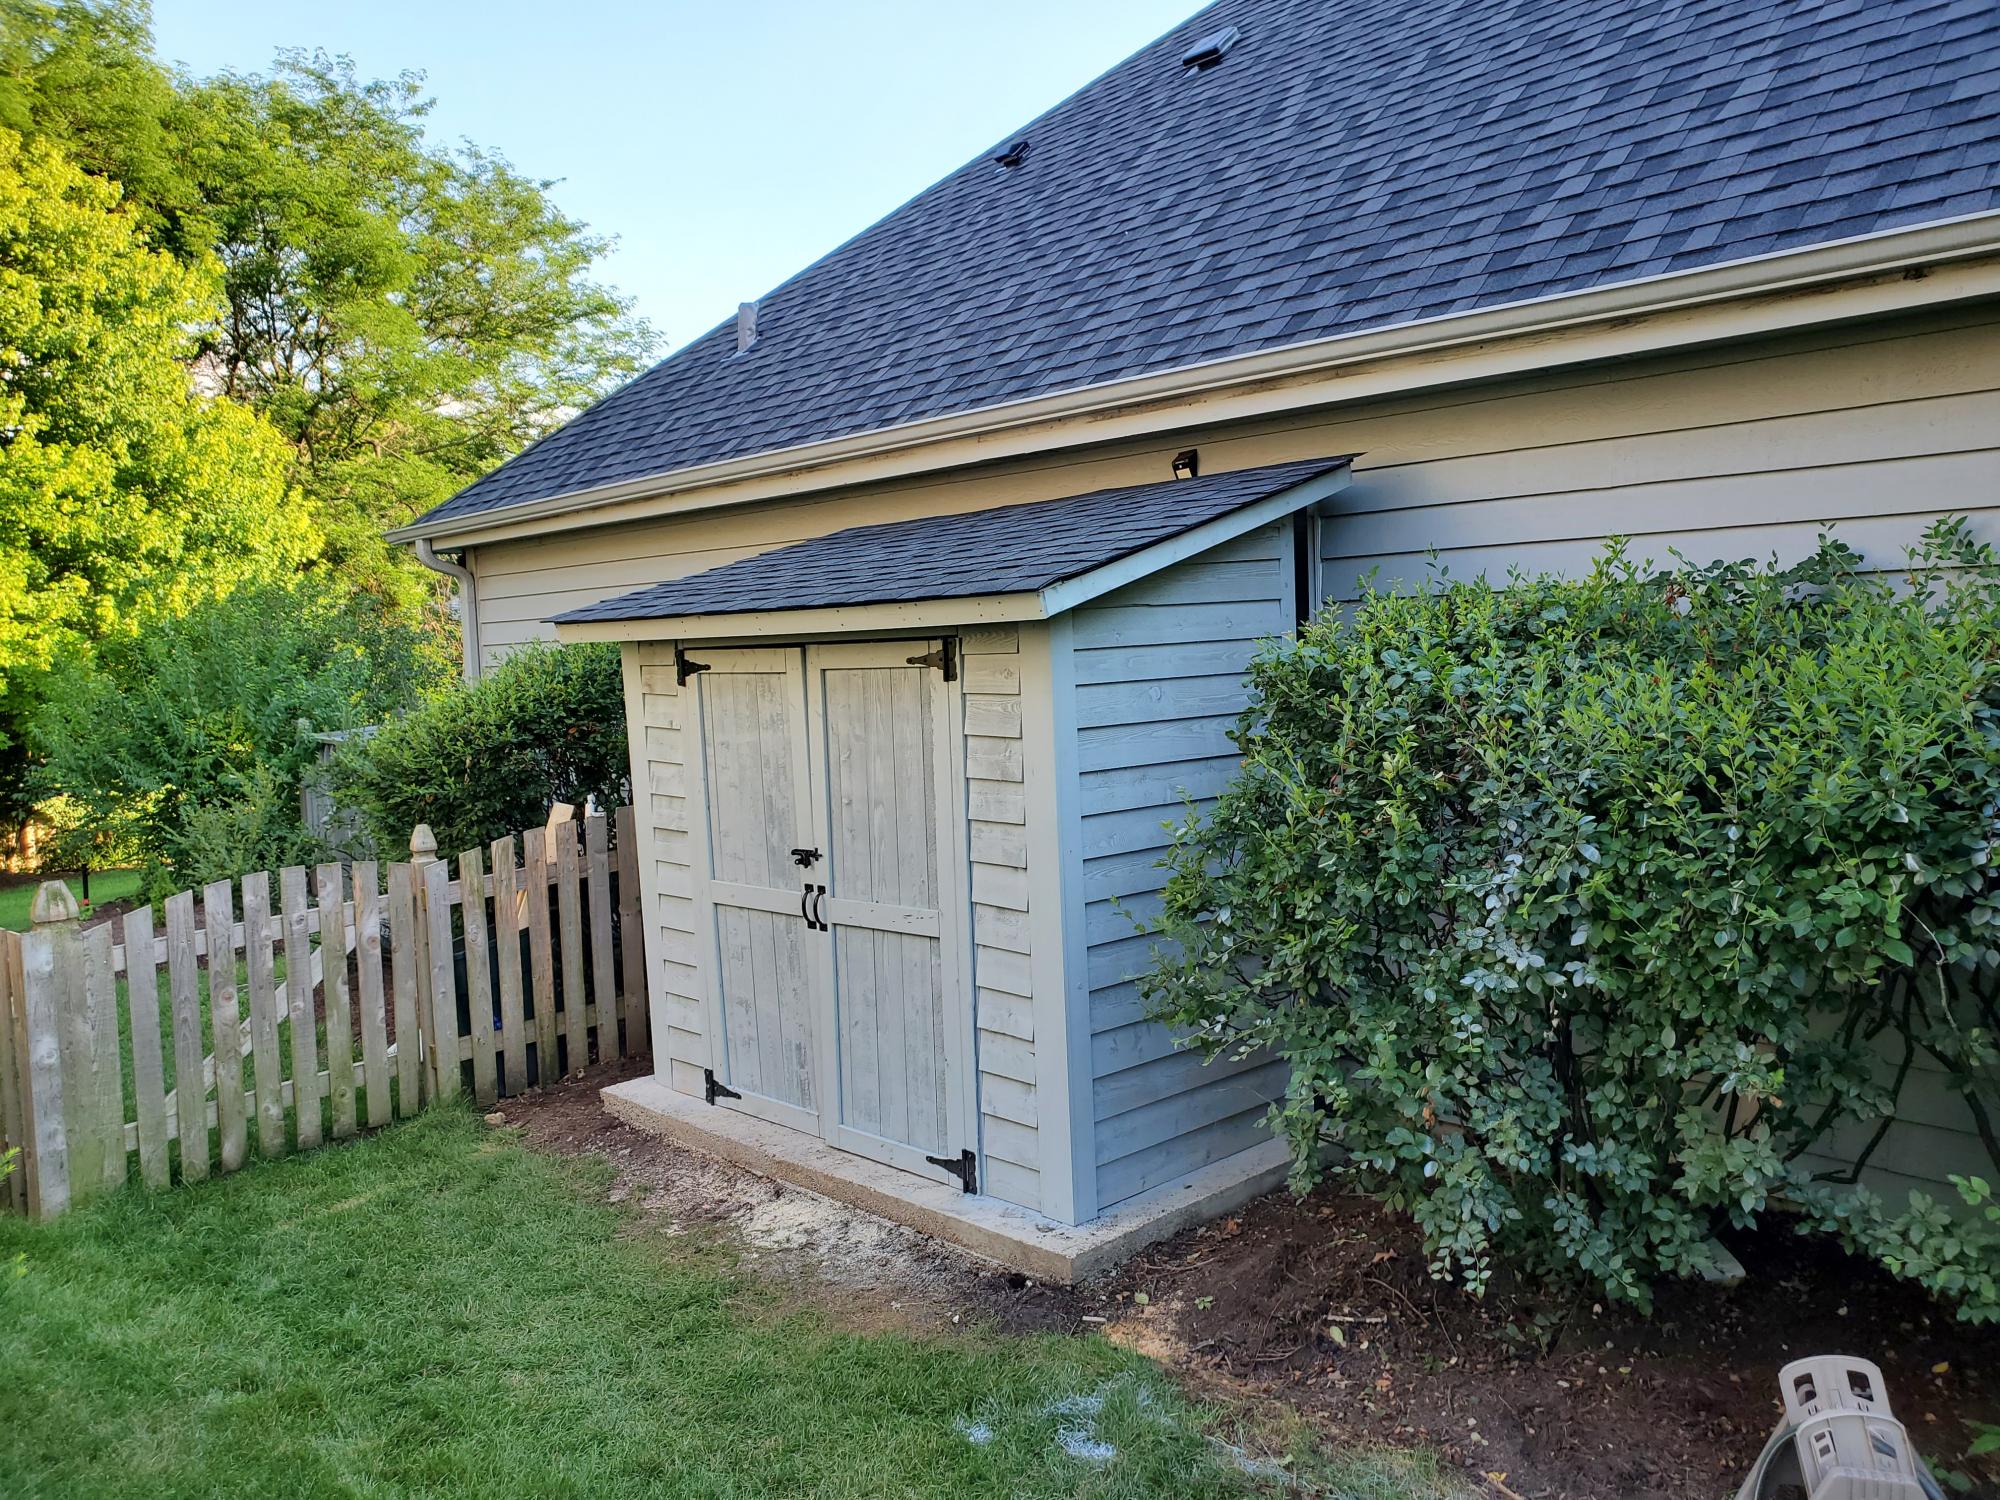
Thank you for the plans, shed turned out great! My association required me to match the siding color, roof color, and anchor to a concrete slab. So I poured 25 bags of 80lbs concrete to make a 9x5 slab. Redid the plans for an 8x4 shed, built the frame with 2x4s and not 2x2's, installed flashing, ice/water shield + felt + matching shingles since I'm near Chicago, and used a flexio finishing sprayer to paint the shed. Saved some $ by using 2 Redwood Grain Fiber siding panels for $22 each at HD.
All in all very happy with my shed and all my dangerous yard tools and woodworking tools can be put away from my toddler.
Built from Plan(s)
Estimated Cost
400
Estimated Time Investment
Weekend Project (10-20 Hours)
Finish Used
Behr Premium Plus exterior paint
Recommended Skill Level
Intermediate
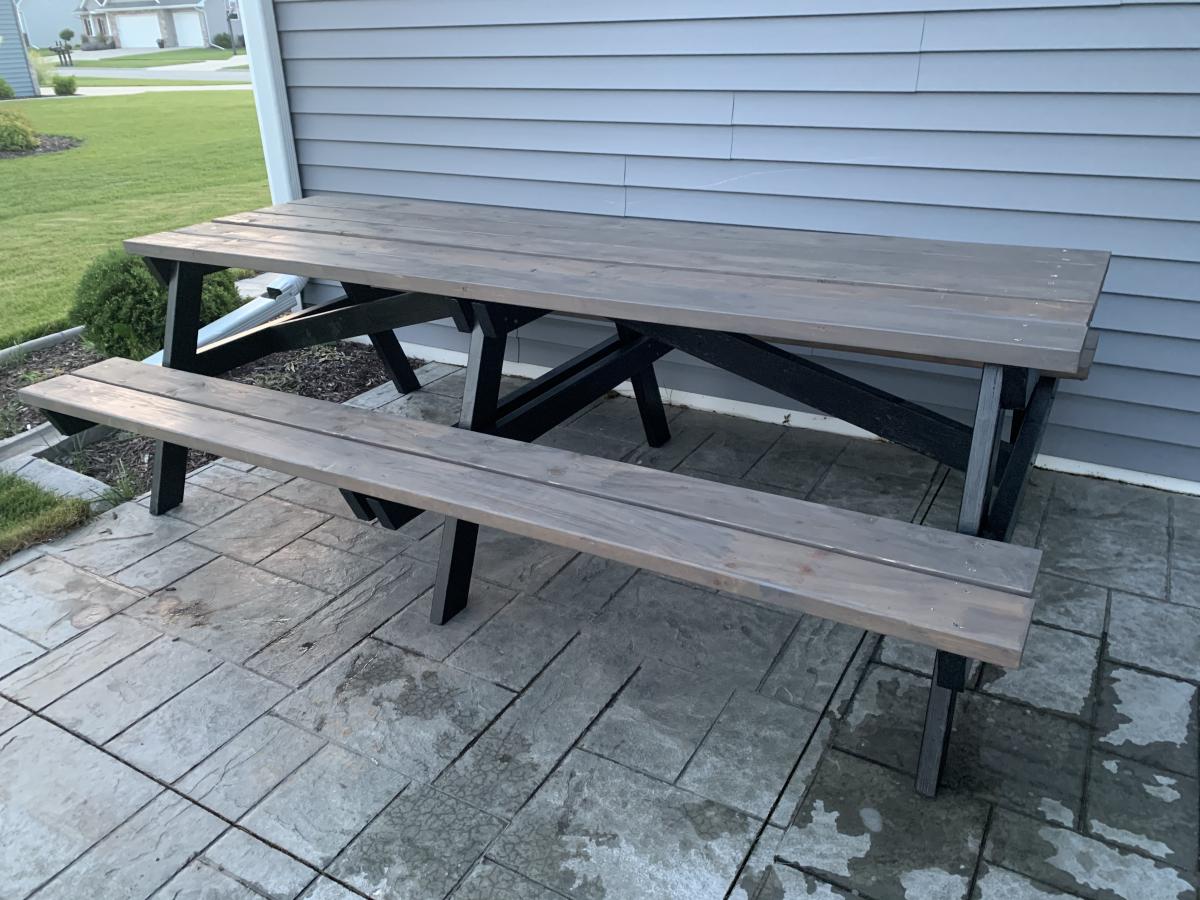
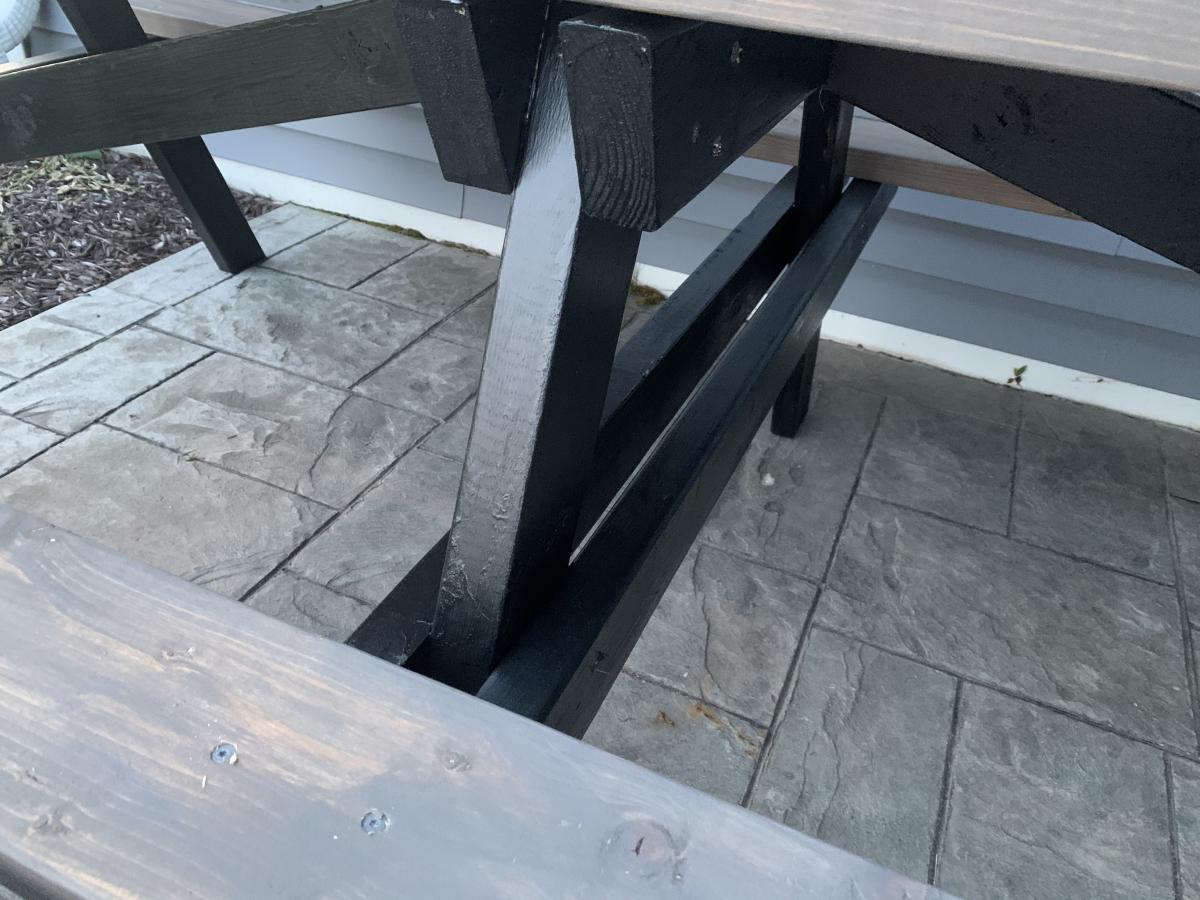
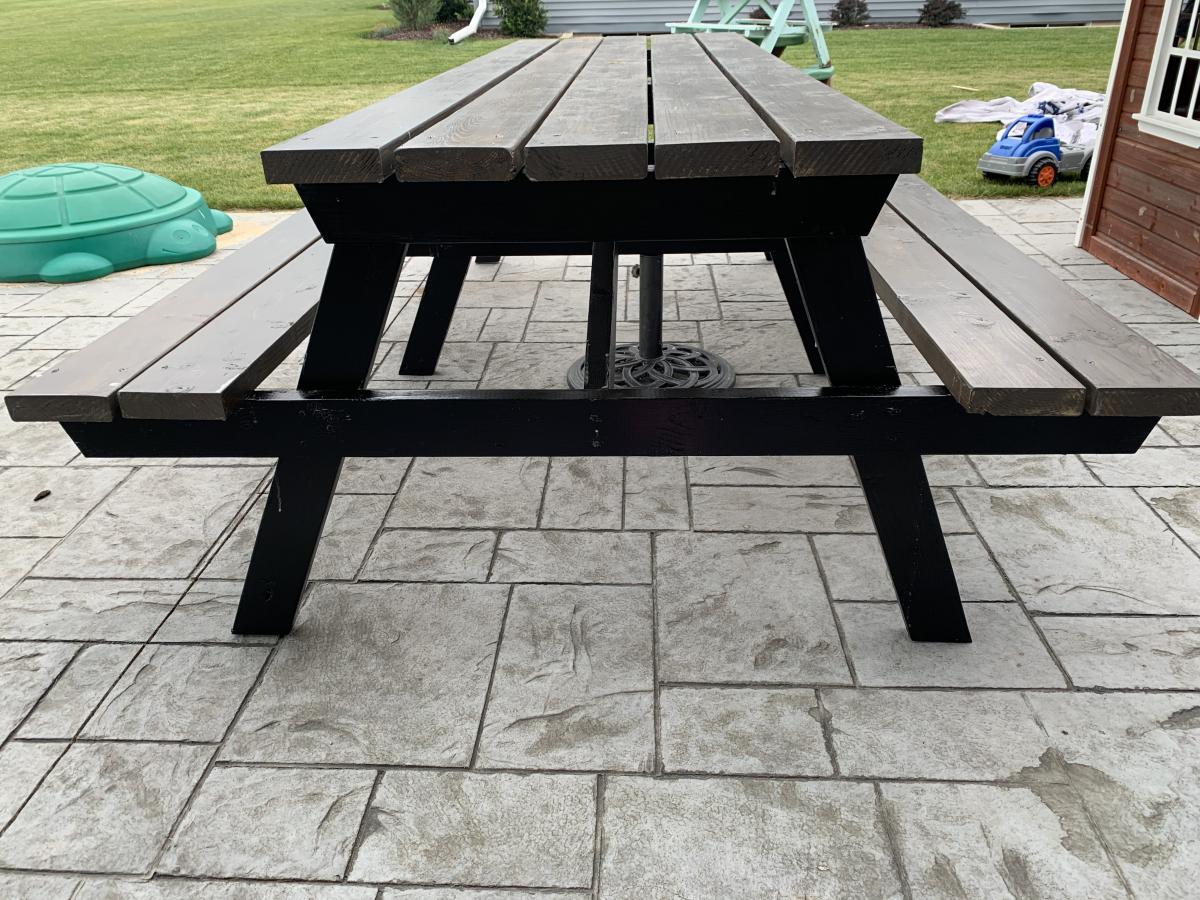
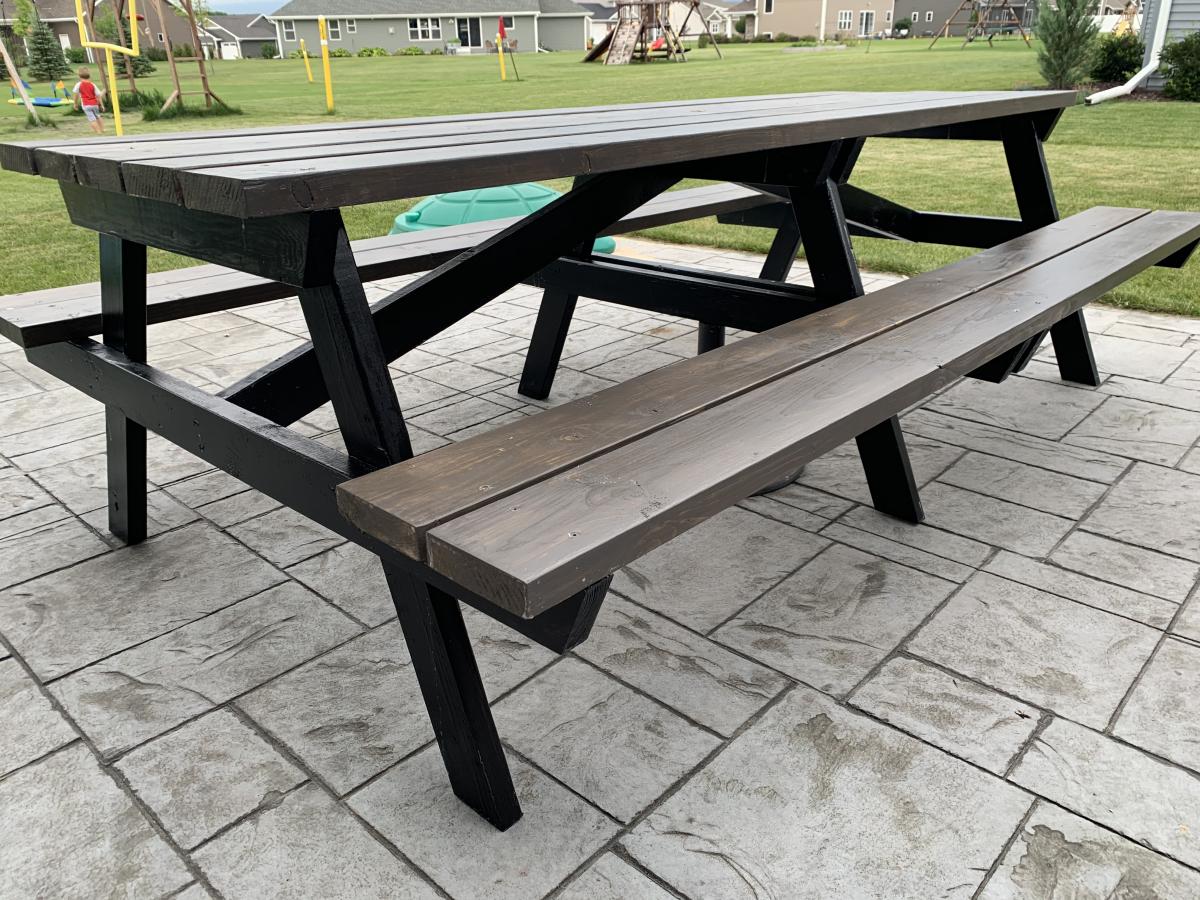
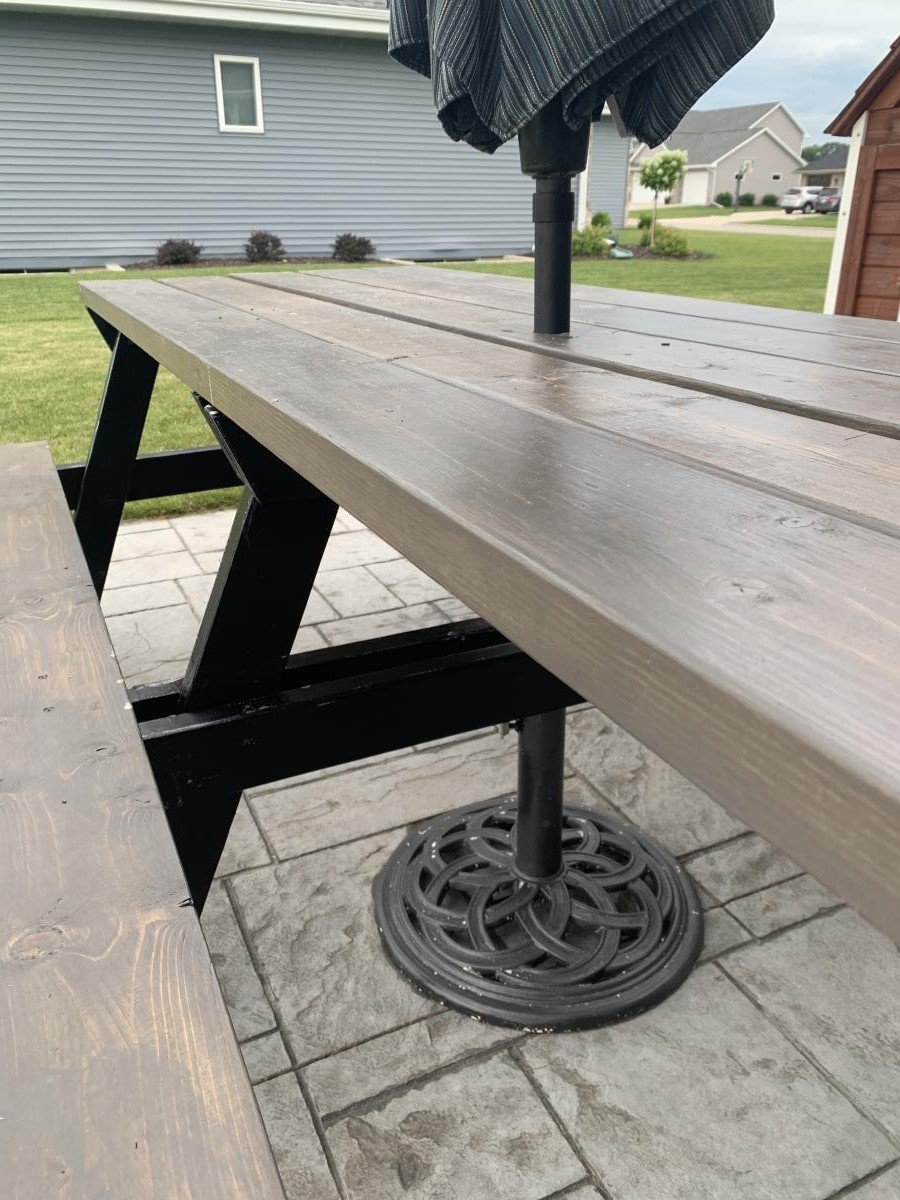
8 foot picnic table
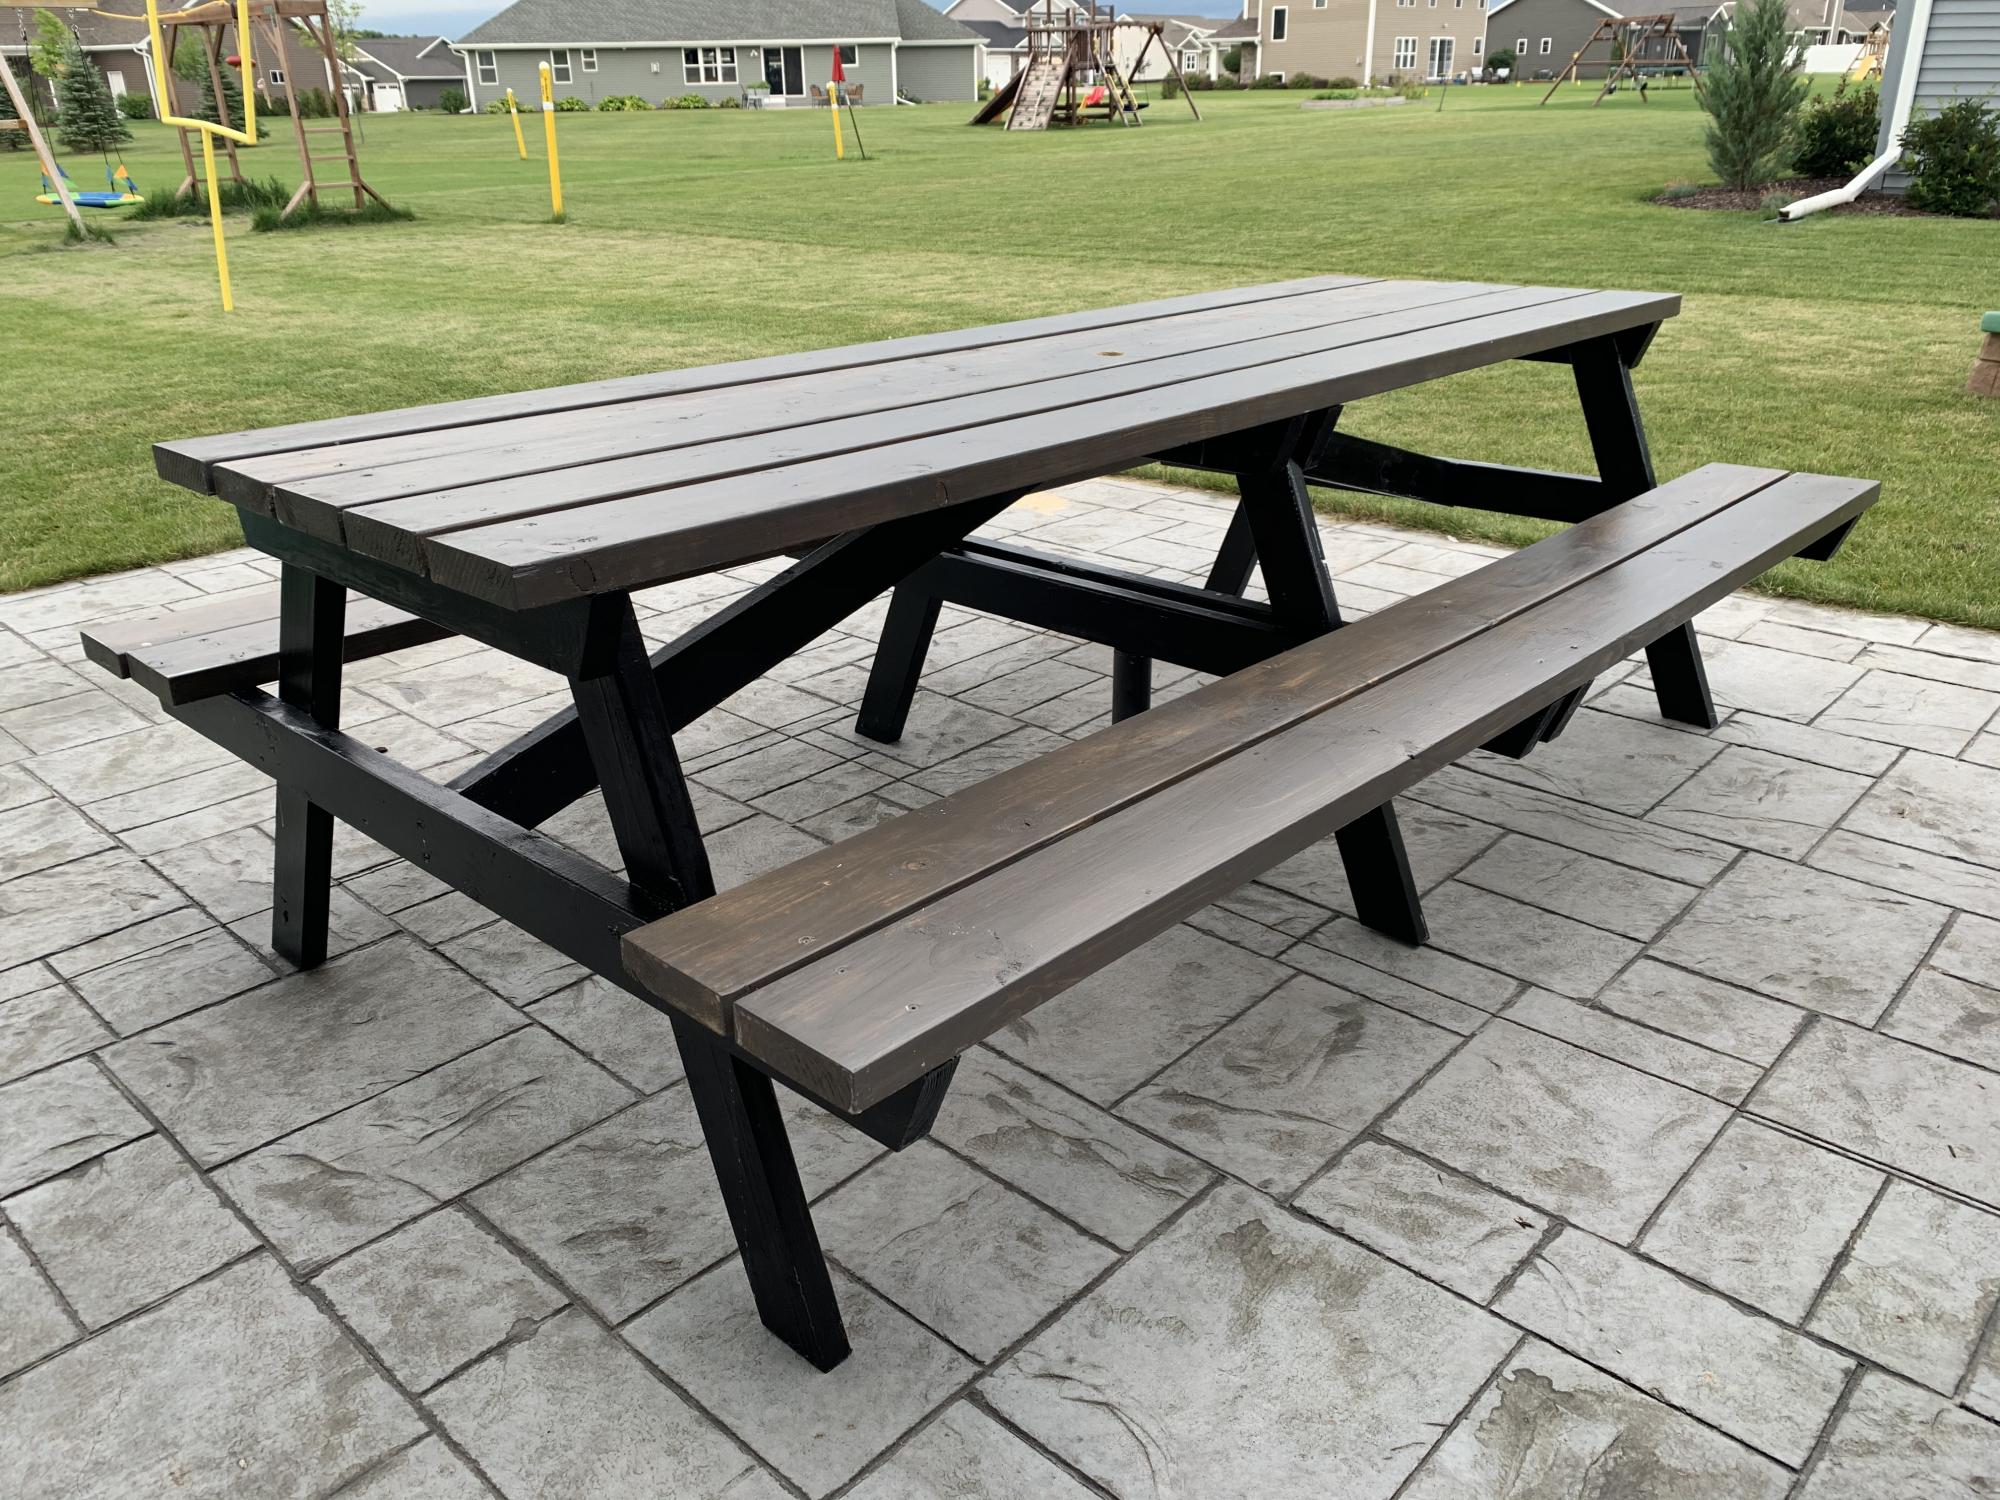
This picnic table was a quick build and turned out amazing. I modified the center base support by adding an extra table top support and seat support board to the opposite side of the center legs to give the table symmetry to accommodate an umbrella hole. I also shortened both cross supports by an inch to make sure the base wouldn’t be longer than the top boards. The space between the center table support boards and seat support boards is the perfect size to fit a standard umbrella. I used a 1 3/4” hole saw to make the umbrella hole. The build and stain/paint took me about 5 hours but additional time is needed to properly seal the table. I used untreated pine. Treated pine may give the table longevity but it would also add a lot of weight to an already heavy table. This was a relatively easy and quick build and is a great size to fit my whole family plus a couple guests! I’m happy with how it turned out and would recommend this build to anyone looking for a budget friendly and simple patio table.
Built from Plan(s)
Estimated Cost
$75
Estimated Time Investment
Day Project (6-9 Hours)
Finish Used
Varathane Briarsmoke for the top and Rustoleum Canyon Black Satin for the base. Sealed with 2 coats of Varathane Helmsman Spar Urethane
Recommended Skill Level
Beginner
Comments

Sat, 07/18/2020 - 13:17
Thank you Abby!!! Your…
Thank you Abby!!! Your picnic table turned out amazing, I love the added umbrella modification!
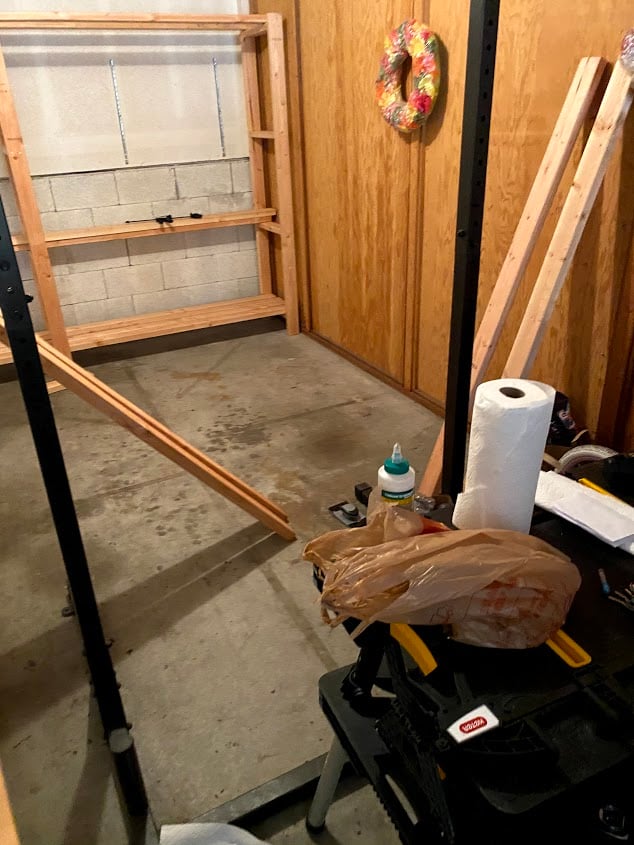
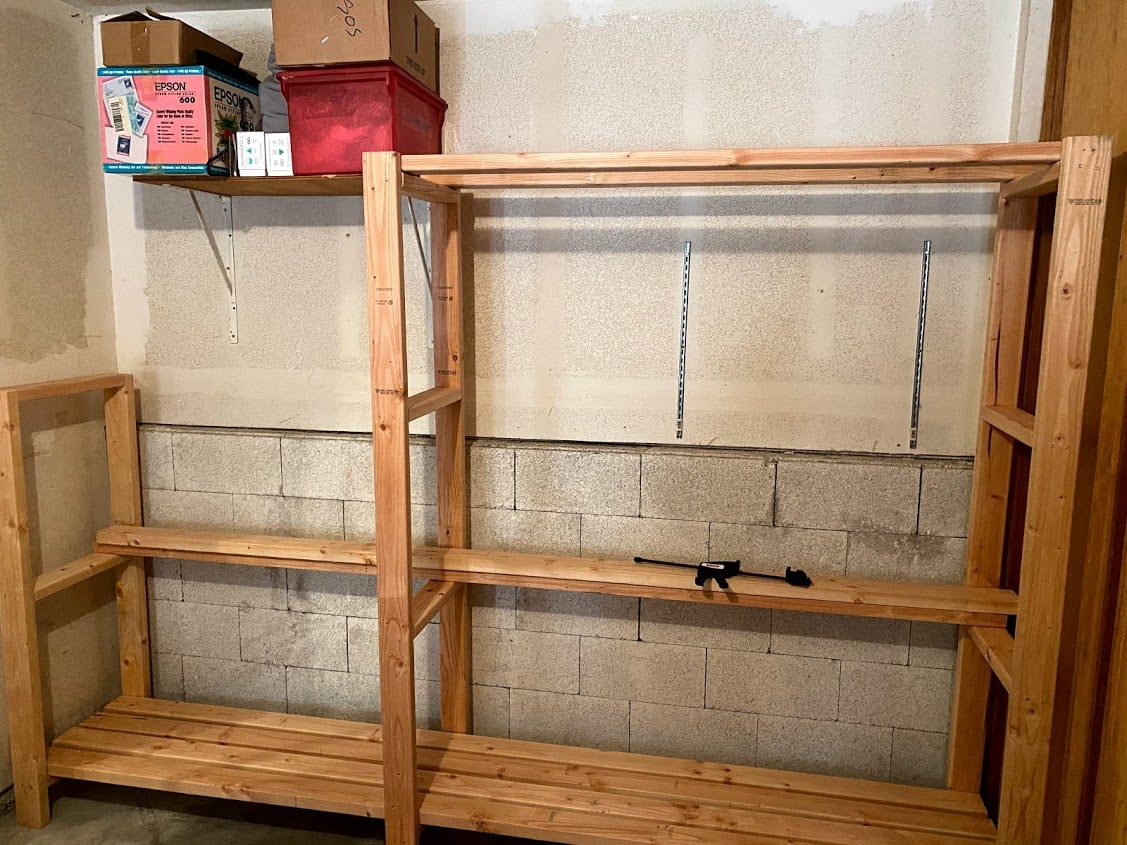
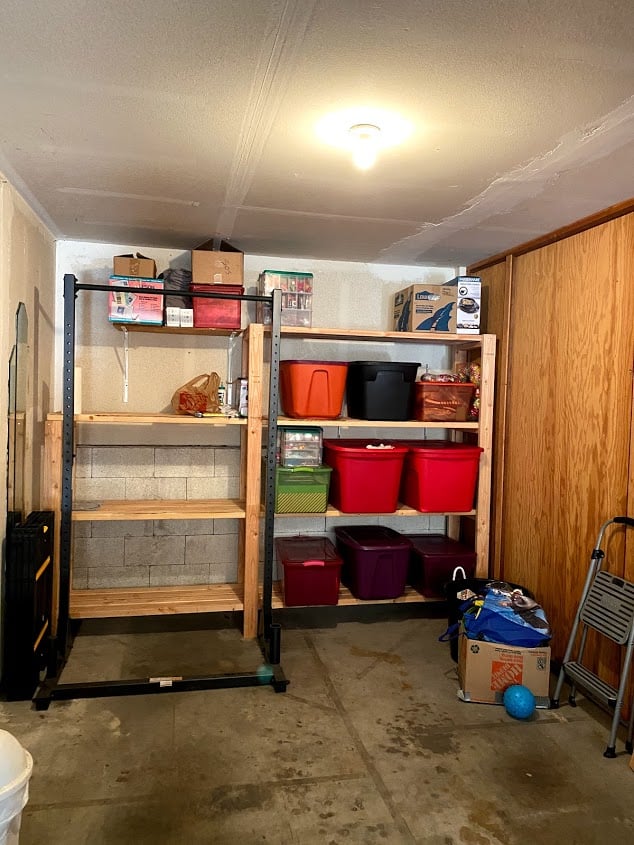
Garage Shelves - Freestanding (Modified)
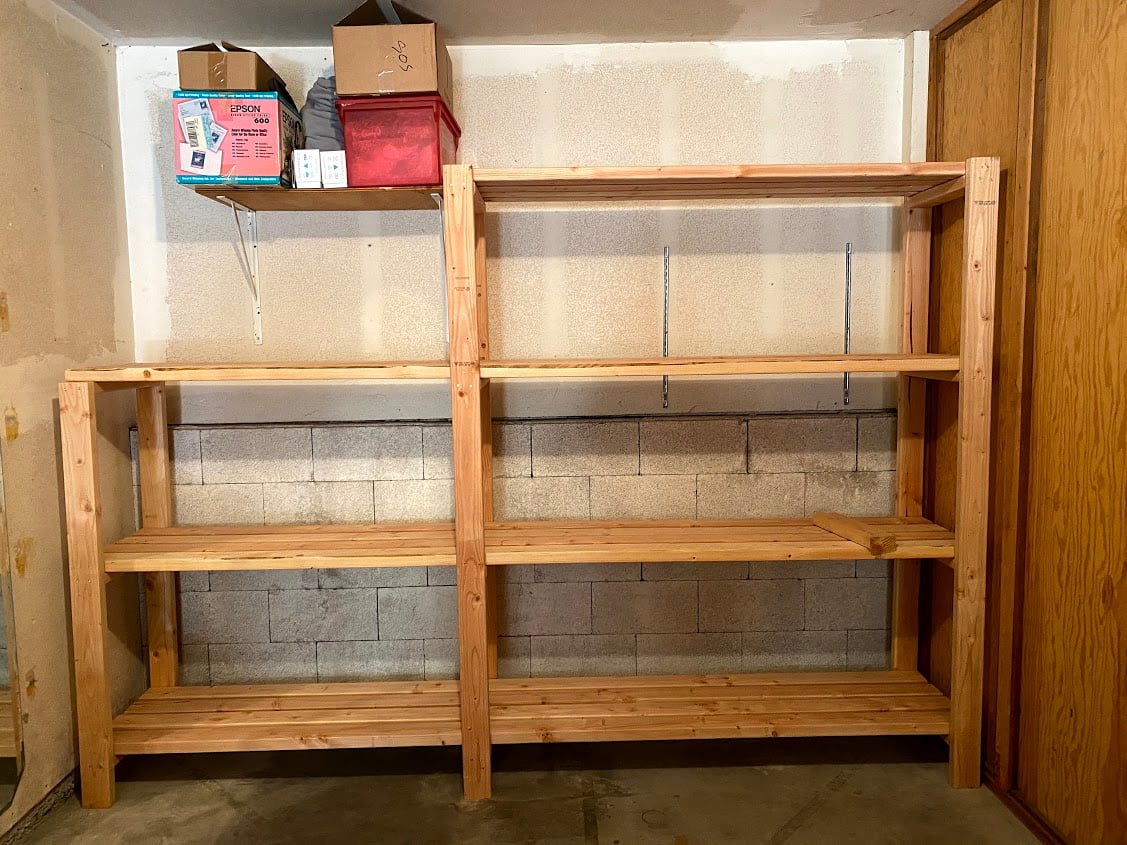
First project ever! I have been planning to build this for at least a year, and I finally did it! I had to modify the plan to fit my space, but it worked out well. They cut the wood for me at the store, so I did not make any cuts myself, just assembled all of the pieces together. I used all 2x4s, 8' and 10', cut down to my measurements. I did not finish the shelves since it is just for the garage, but I did sand rough board edges and some of the faces. I just used an palm sander and coarse sandpaper (80 grit). Please double check all measurements and lists because I forgot to add my shorter shelf supports to the list and had to go back to the store. I also forgot to add the width of the top shelf to those two shorter supports, so the shelf boards are resting on the top instead of nestled into the supports. It turned out not to be a functional problem, but a good lesson to learn. I also learned to make sure my driver battery is charged fully before starting - that took a large chunk out of my first day building and I had to finish the next day. My husband helped with some lifting and holding, but I mostly did this on my own in one weekend, so you CAN do it! Don't wait like I did - it is soooooooo useful and it looks great! All of my friends are really impressed and it feels so good to have made something like this! Thank you Ana!!
Built from Plan(s)
Estimated Cost
$180
Estimated Time Investment
Weekend Project (10-20 Hours)
Finish Used
N/A
Recommended Skill Level
Beginner
Comments
2 tone stackable chairs and table
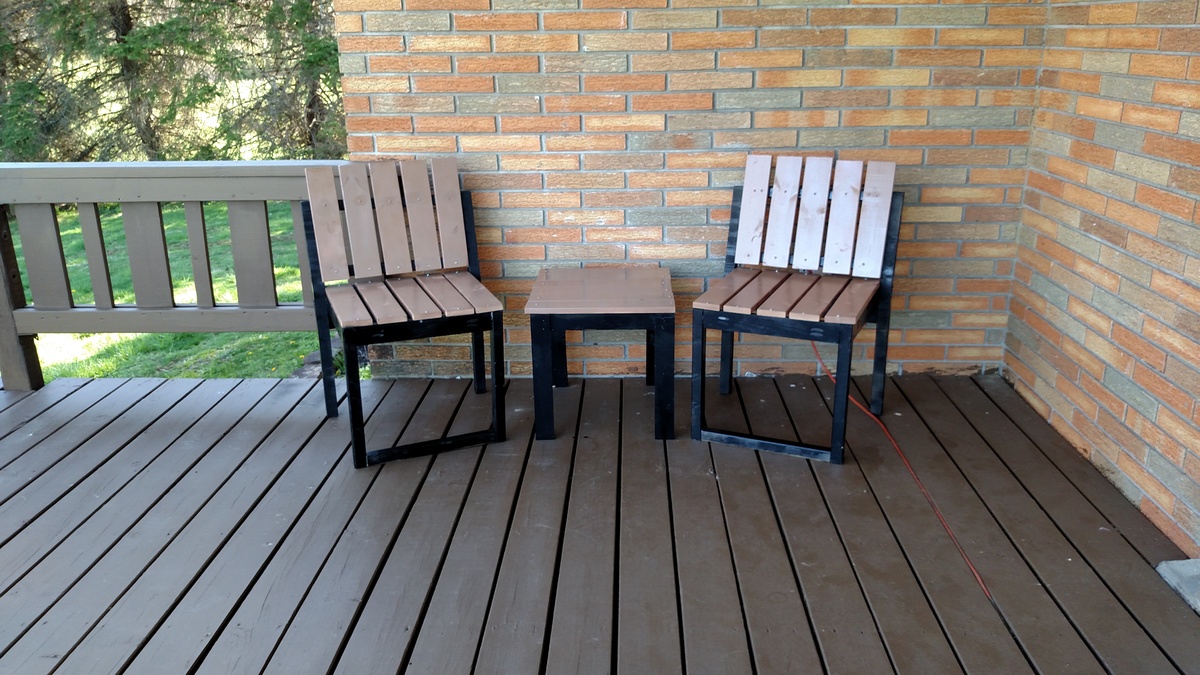
I made them in brown and black
Built from Plan(s)
Estimated Cost
50
Estimated Time Investment
Day Project (6-9 Hours)
Finish Used
Paint
Recommended Skill Level
Intermediate
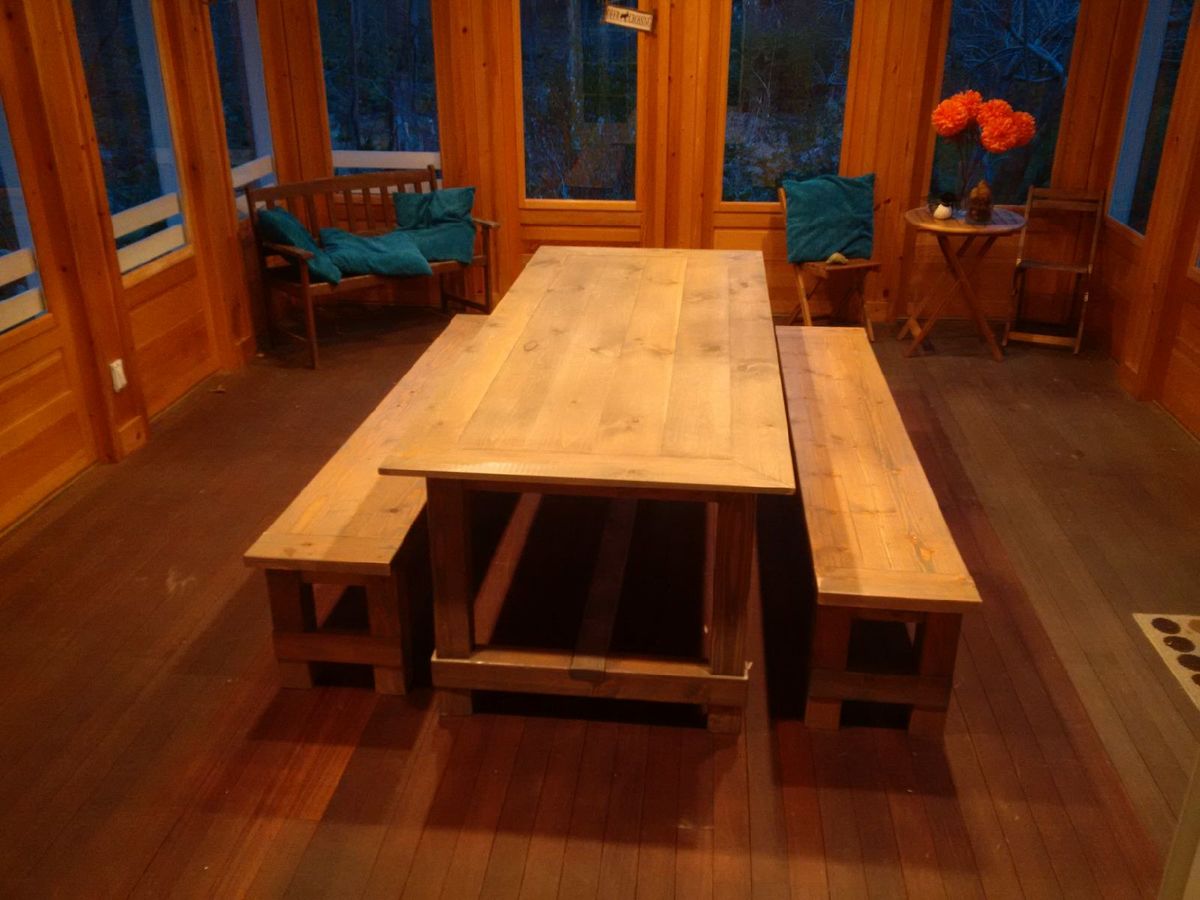
mitered corner farmhouse table - shiplap top.
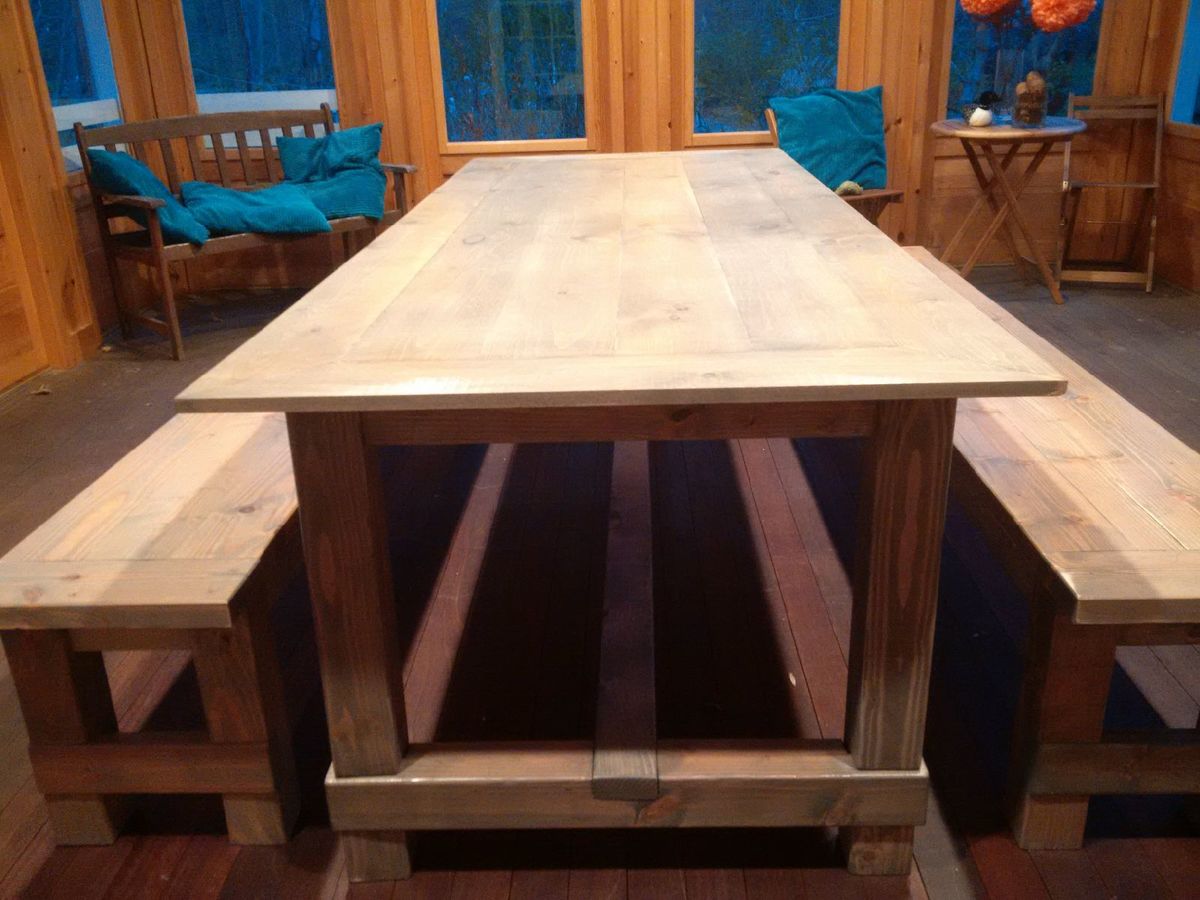
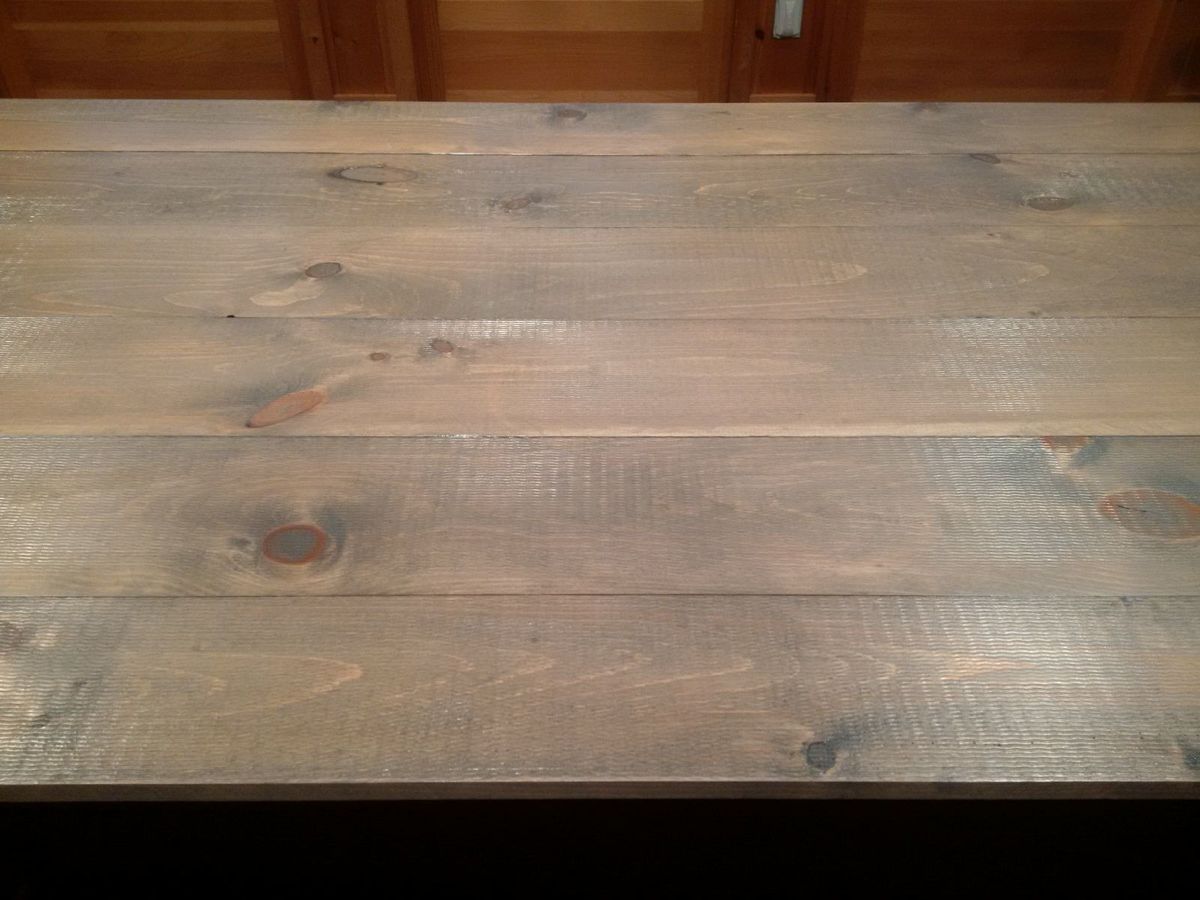
Slightly modified the farmhouse table plans to build the top out of 6 inch pine shiplap, its thinner than the farmhouse plans (its 3/4inch), but I liked the rough cut on the top surface, and overlapping edges made for a great fit.
I cut the outside edge boards down to 4inch wide, and then mitred the corners to act as a frame for the 6 inch boards. I will build copper corner protectors.
Finish was: pre-conditioner on the wood, 3 coats of minwax weathered oak stain, 3 coats of polyurethane. Sanded the benches between coats, but not the table, as the table has a rough surface.
benches are 2x6 fir boards, cut the long edges off on a table saw to make them join better, as I dont have a jointer. Same finish applied as the table.
Table is 8 feet long, 38 inches wide. seats 10 comfortably.
It was half finished in my garage for several months, in which time I used it as a workbench - so it has plenty of authentic weathering dings and dents.
It was my first project, as I have only recently moved into a house with a garage.
Loved the construction part, hated the finishing steps.
thanks!
oz
Built from Plan(s)
Estimated Cost
200 in wood, fasteners, stains, etc
Estimated Time Investment
Week Long Project (20 Hours or More)
Finish Used
minwax pre-conditioner, weathered oak and polyurethane
Recommended Skill Level
Intermediate
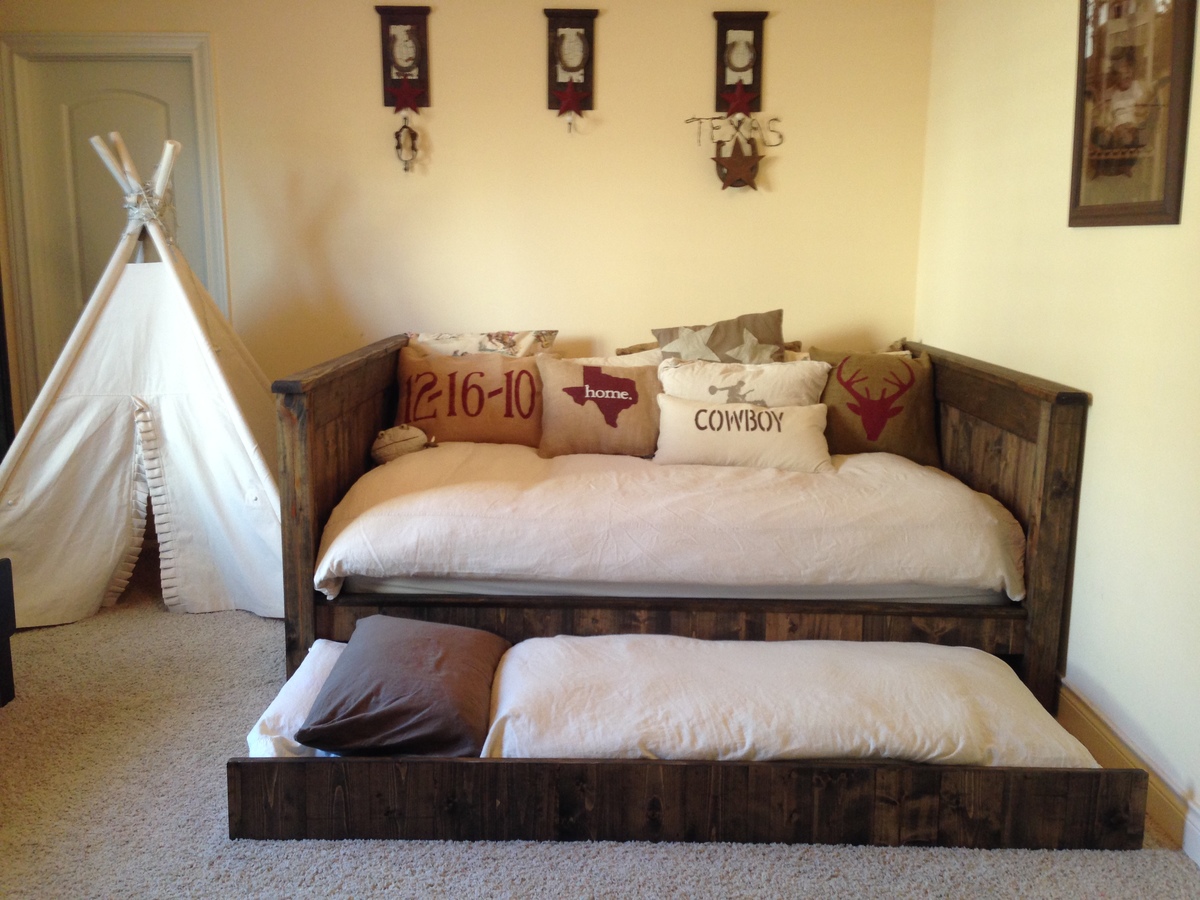
Day Bed
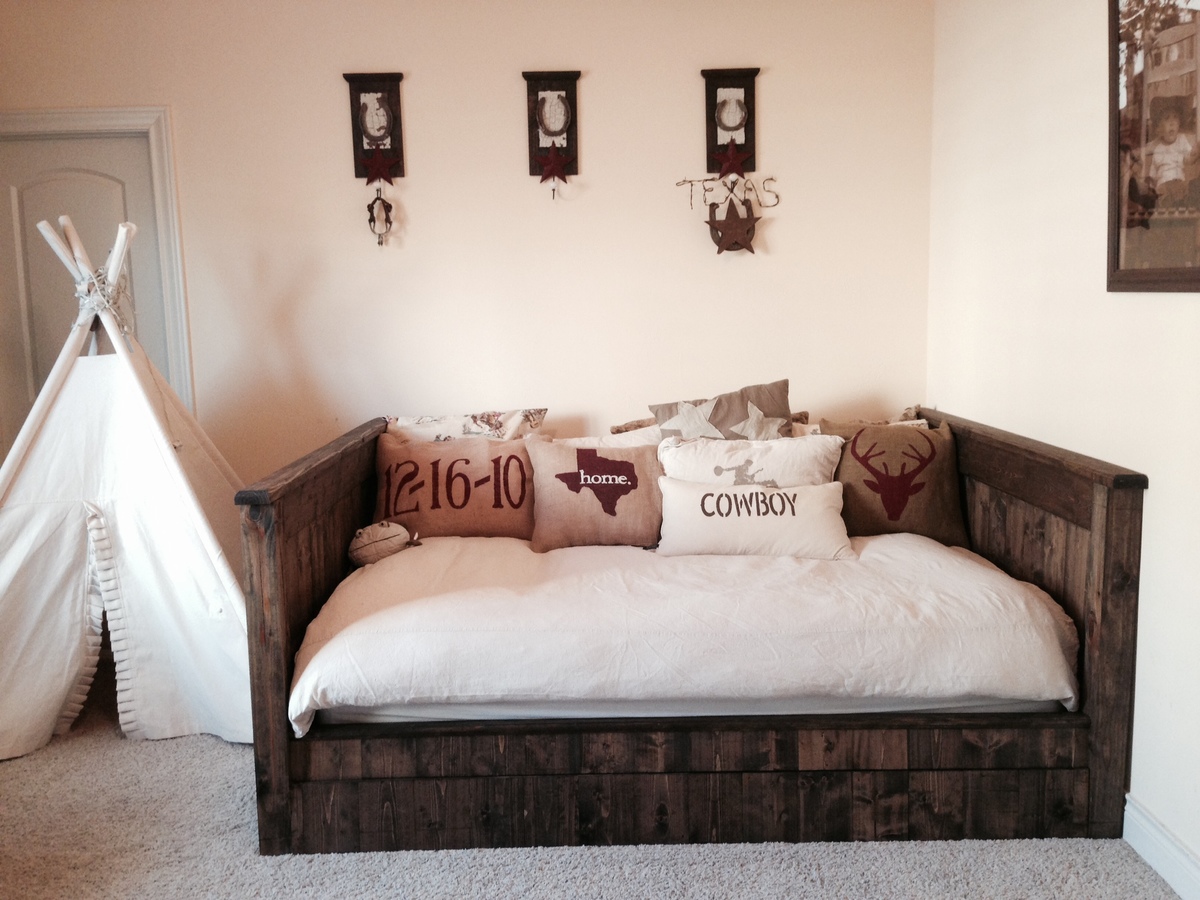
Queen size Day Bed with Full size trundle made of yellow pine and dark stain from Homedepot
Built from Plan(s)
Estimated Time Investment
Week Long Project (20 Hours or More)
Recommended Skill Level
Intermediate
Comments

Wed, 02/11/2015 - 10:37
This is on my "to-do" list,
This is on my "to-do" list, including the trundle underneath, for my guestroom. Glad to see that it turns out so well.
Sat, 10/24/2020 - 00:05
Twin XL daybed with trundle plans?
Please may I have the plans for this bed? I want to build it in a twin XL size. 39x80. The mattresses are 10” thick. I have tried adapting several of your daybed/ farmhouse bed plans to include a trundle and to be long enough to accommodate the XL mattresses and have been stumped. I like the lower arms of the Hailey and simple daybed and wish this bed had a back piece. But this would be the closest “jumping off point” to get what I’m looking for. (I think) Any help would be greatly appreciated.