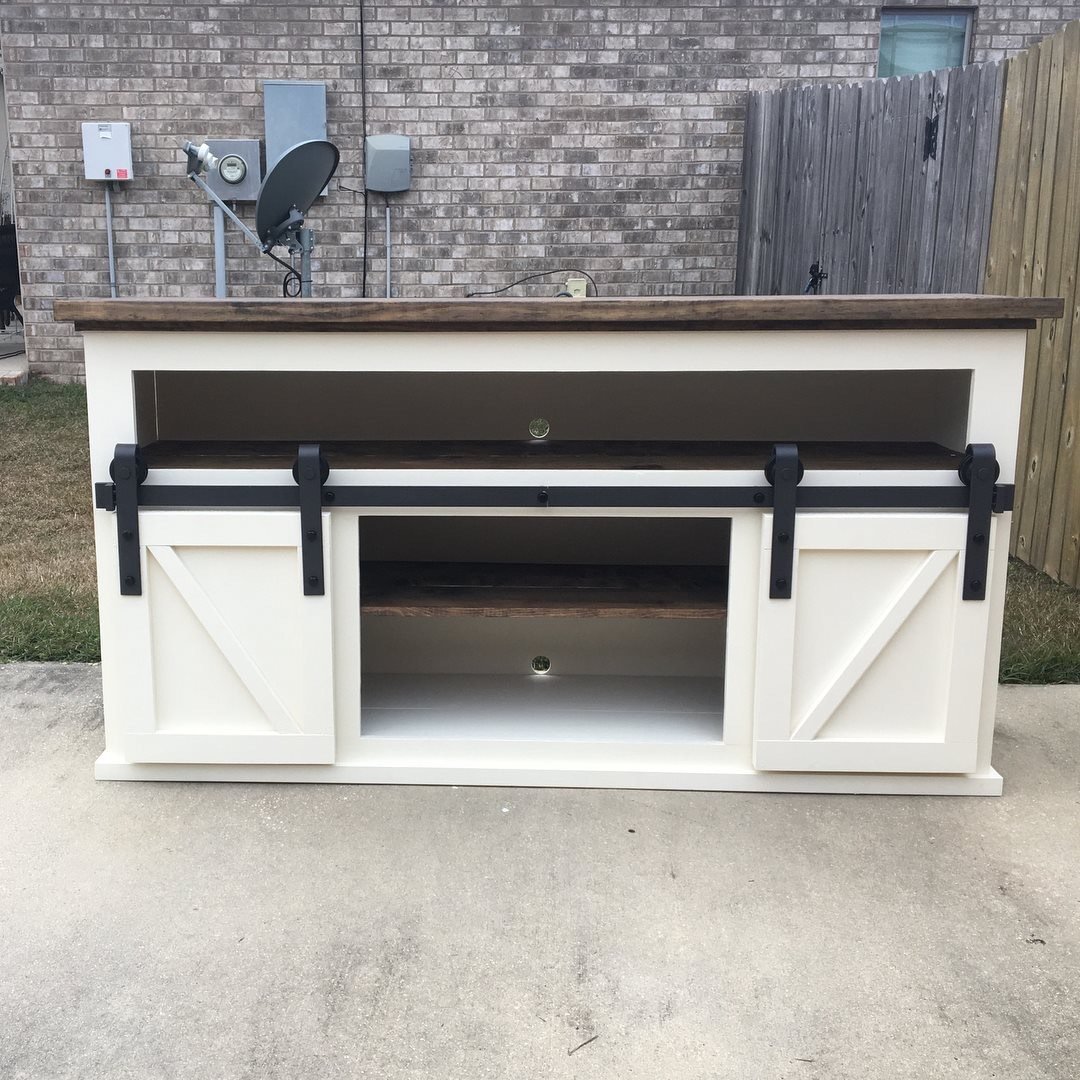
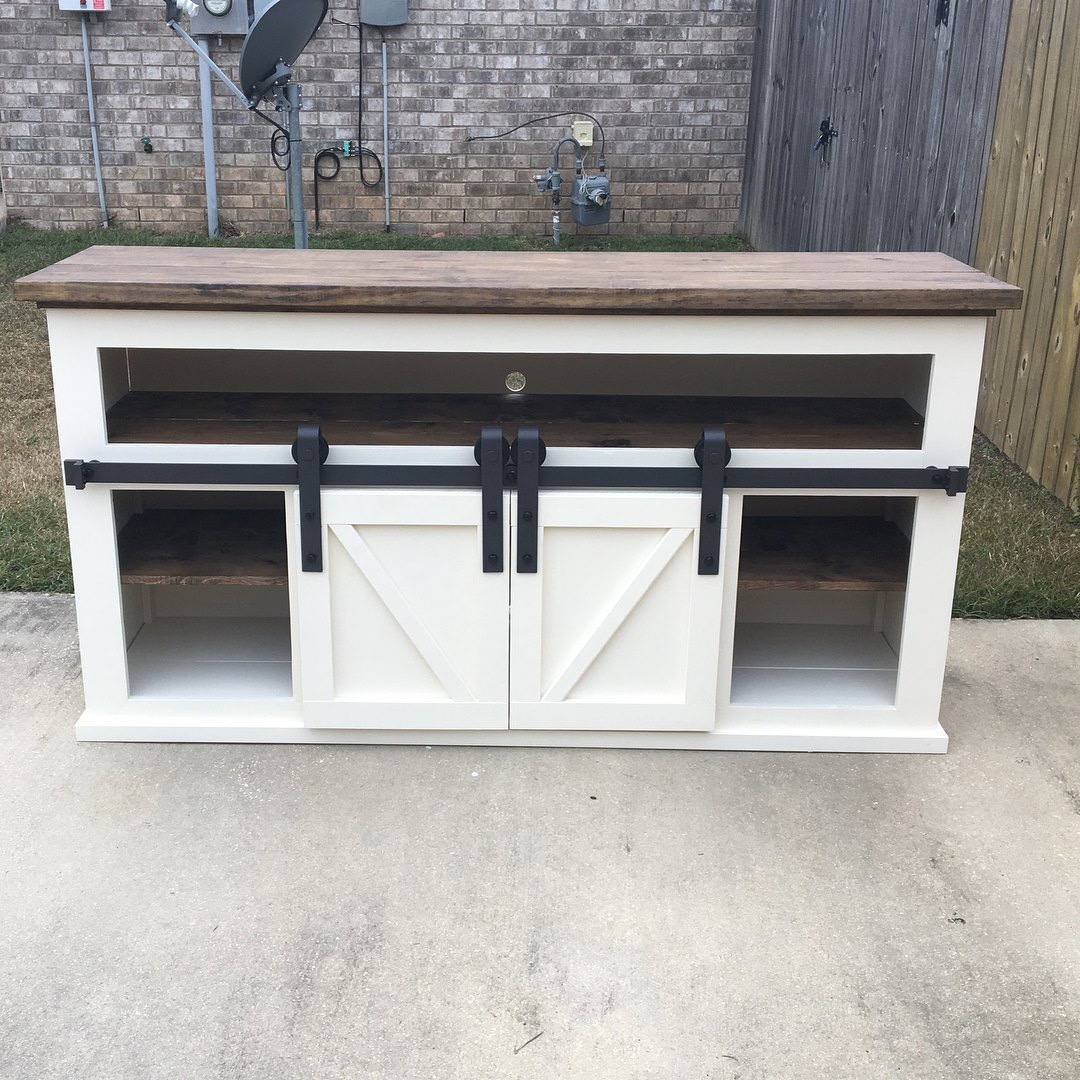
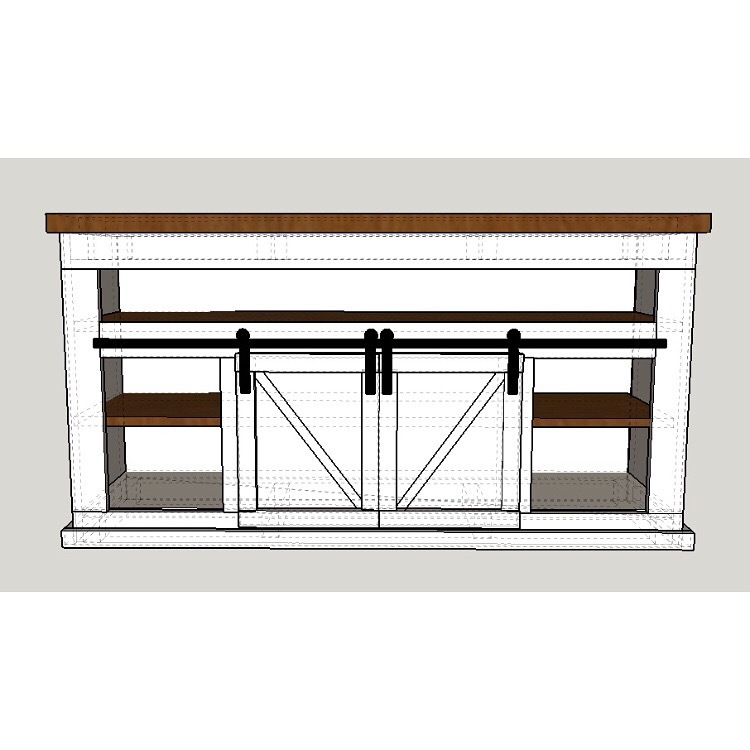
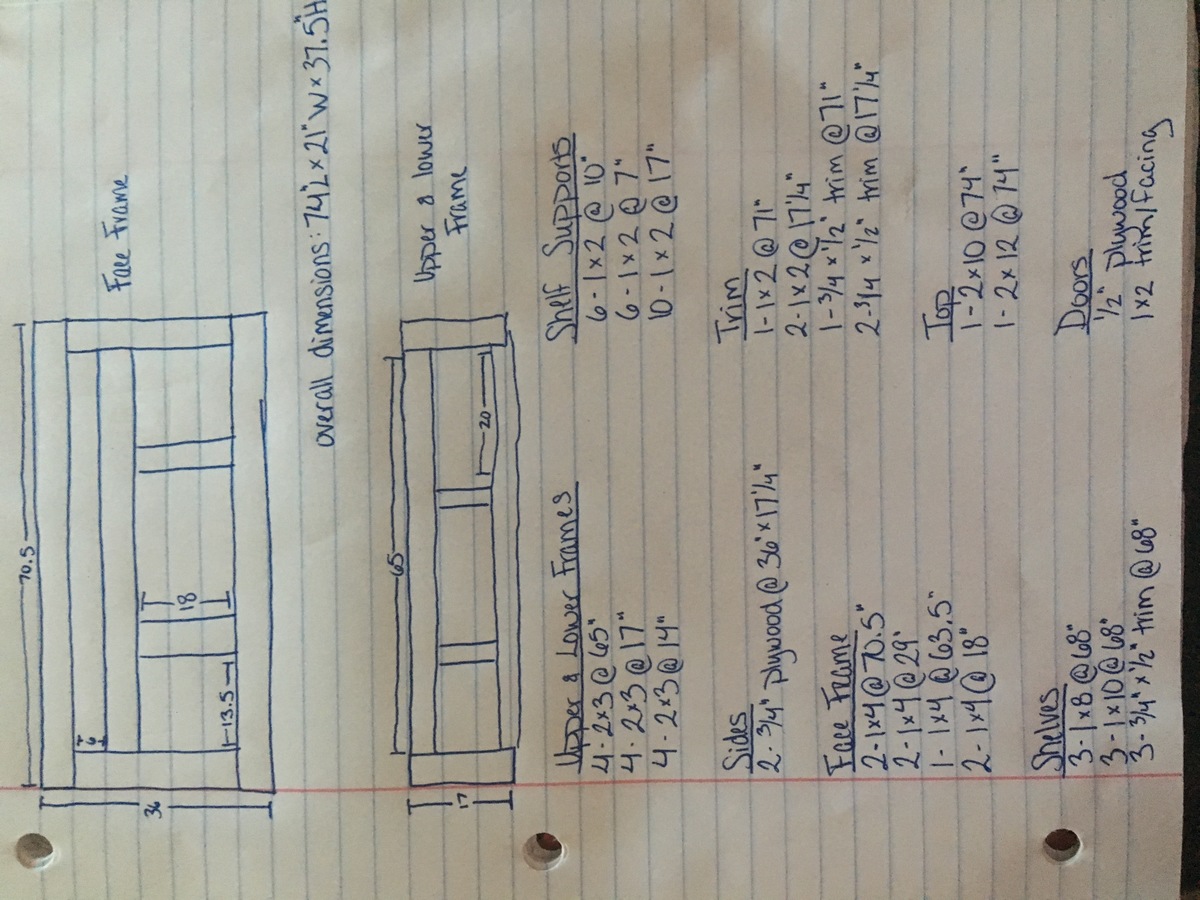
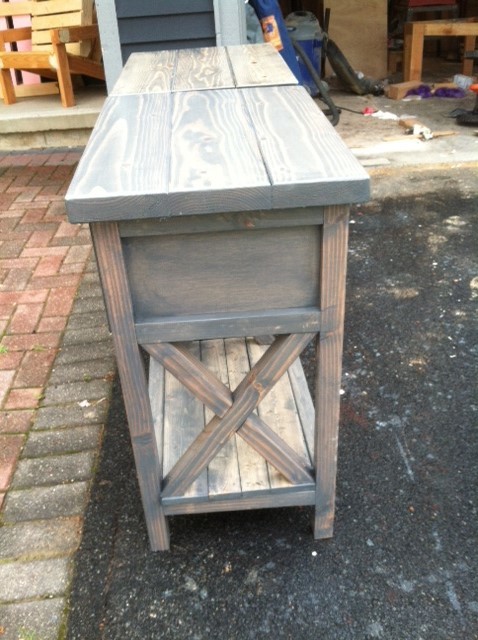
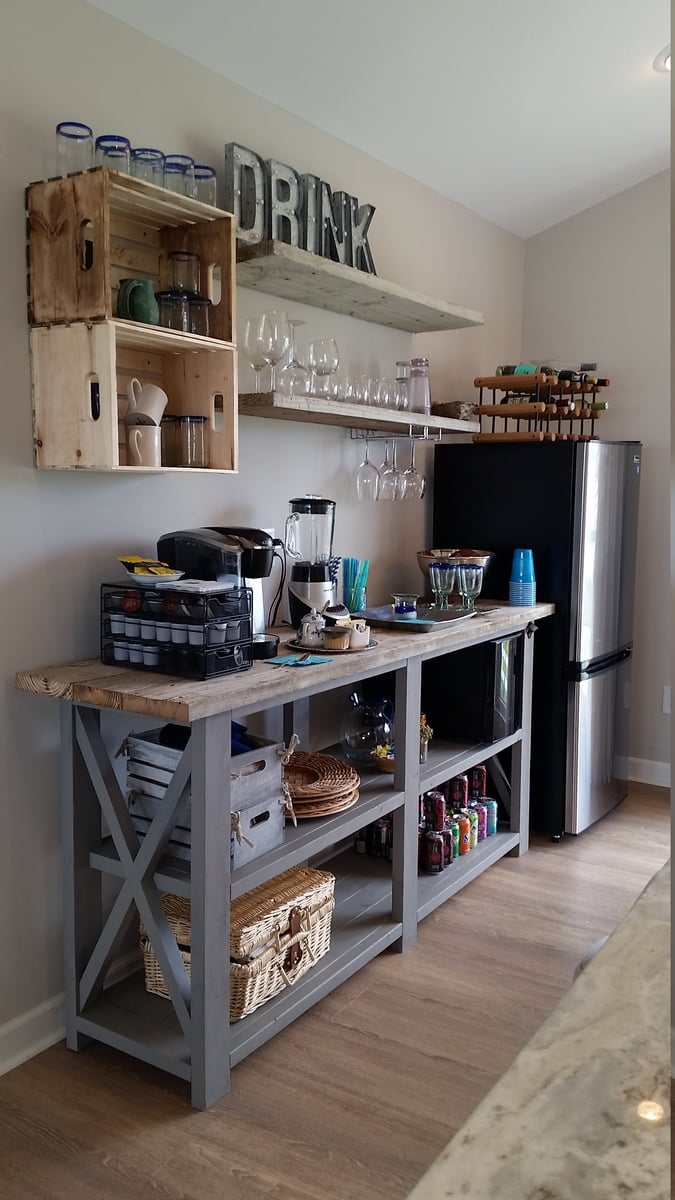
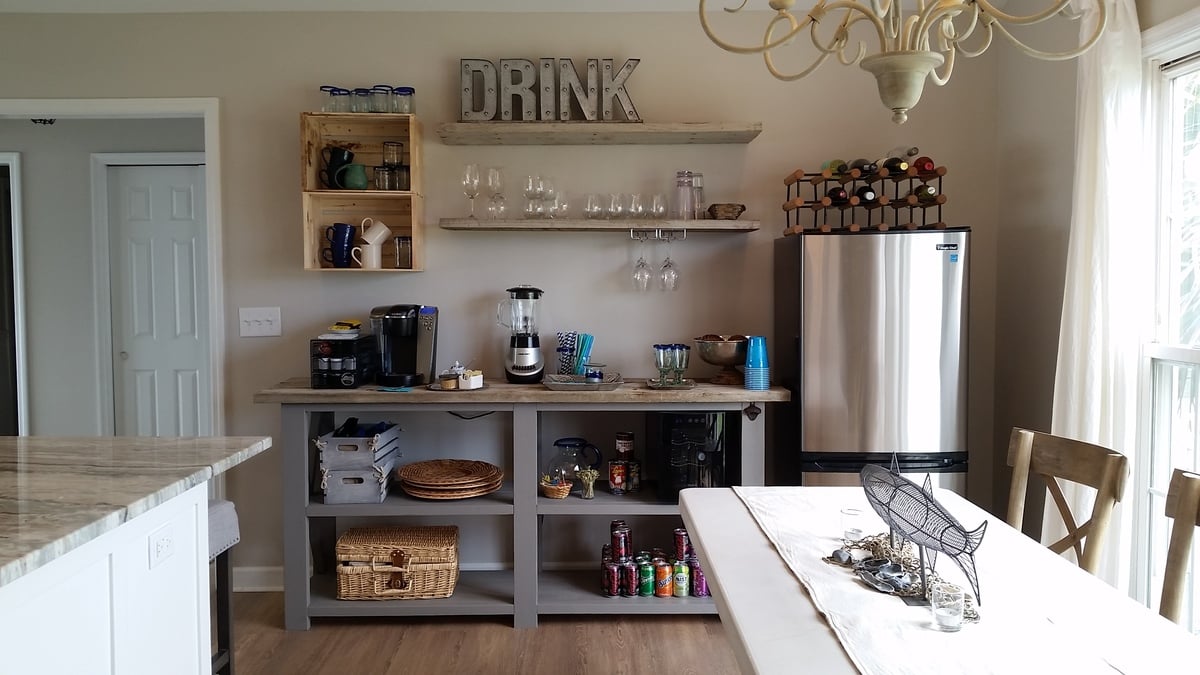
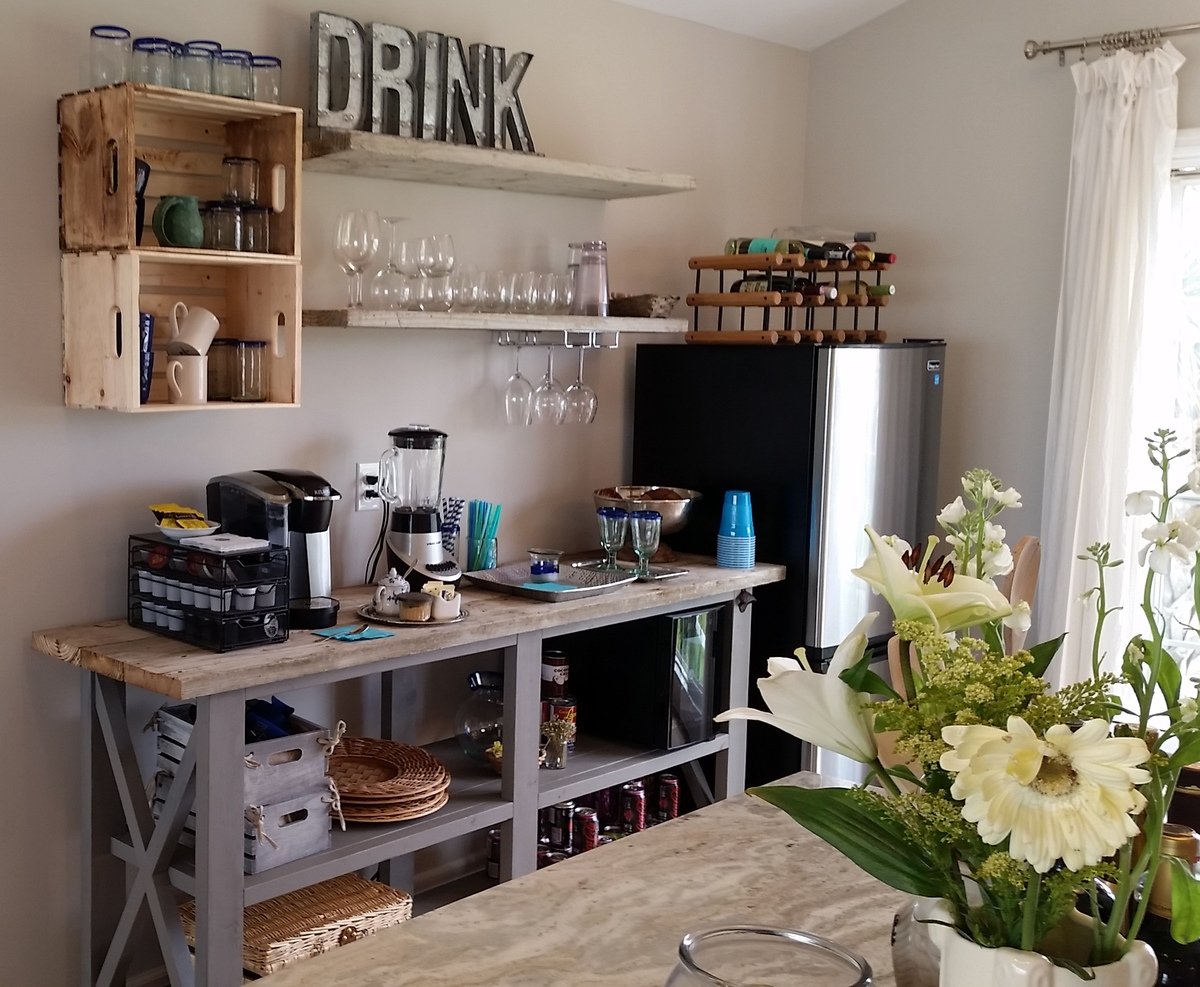
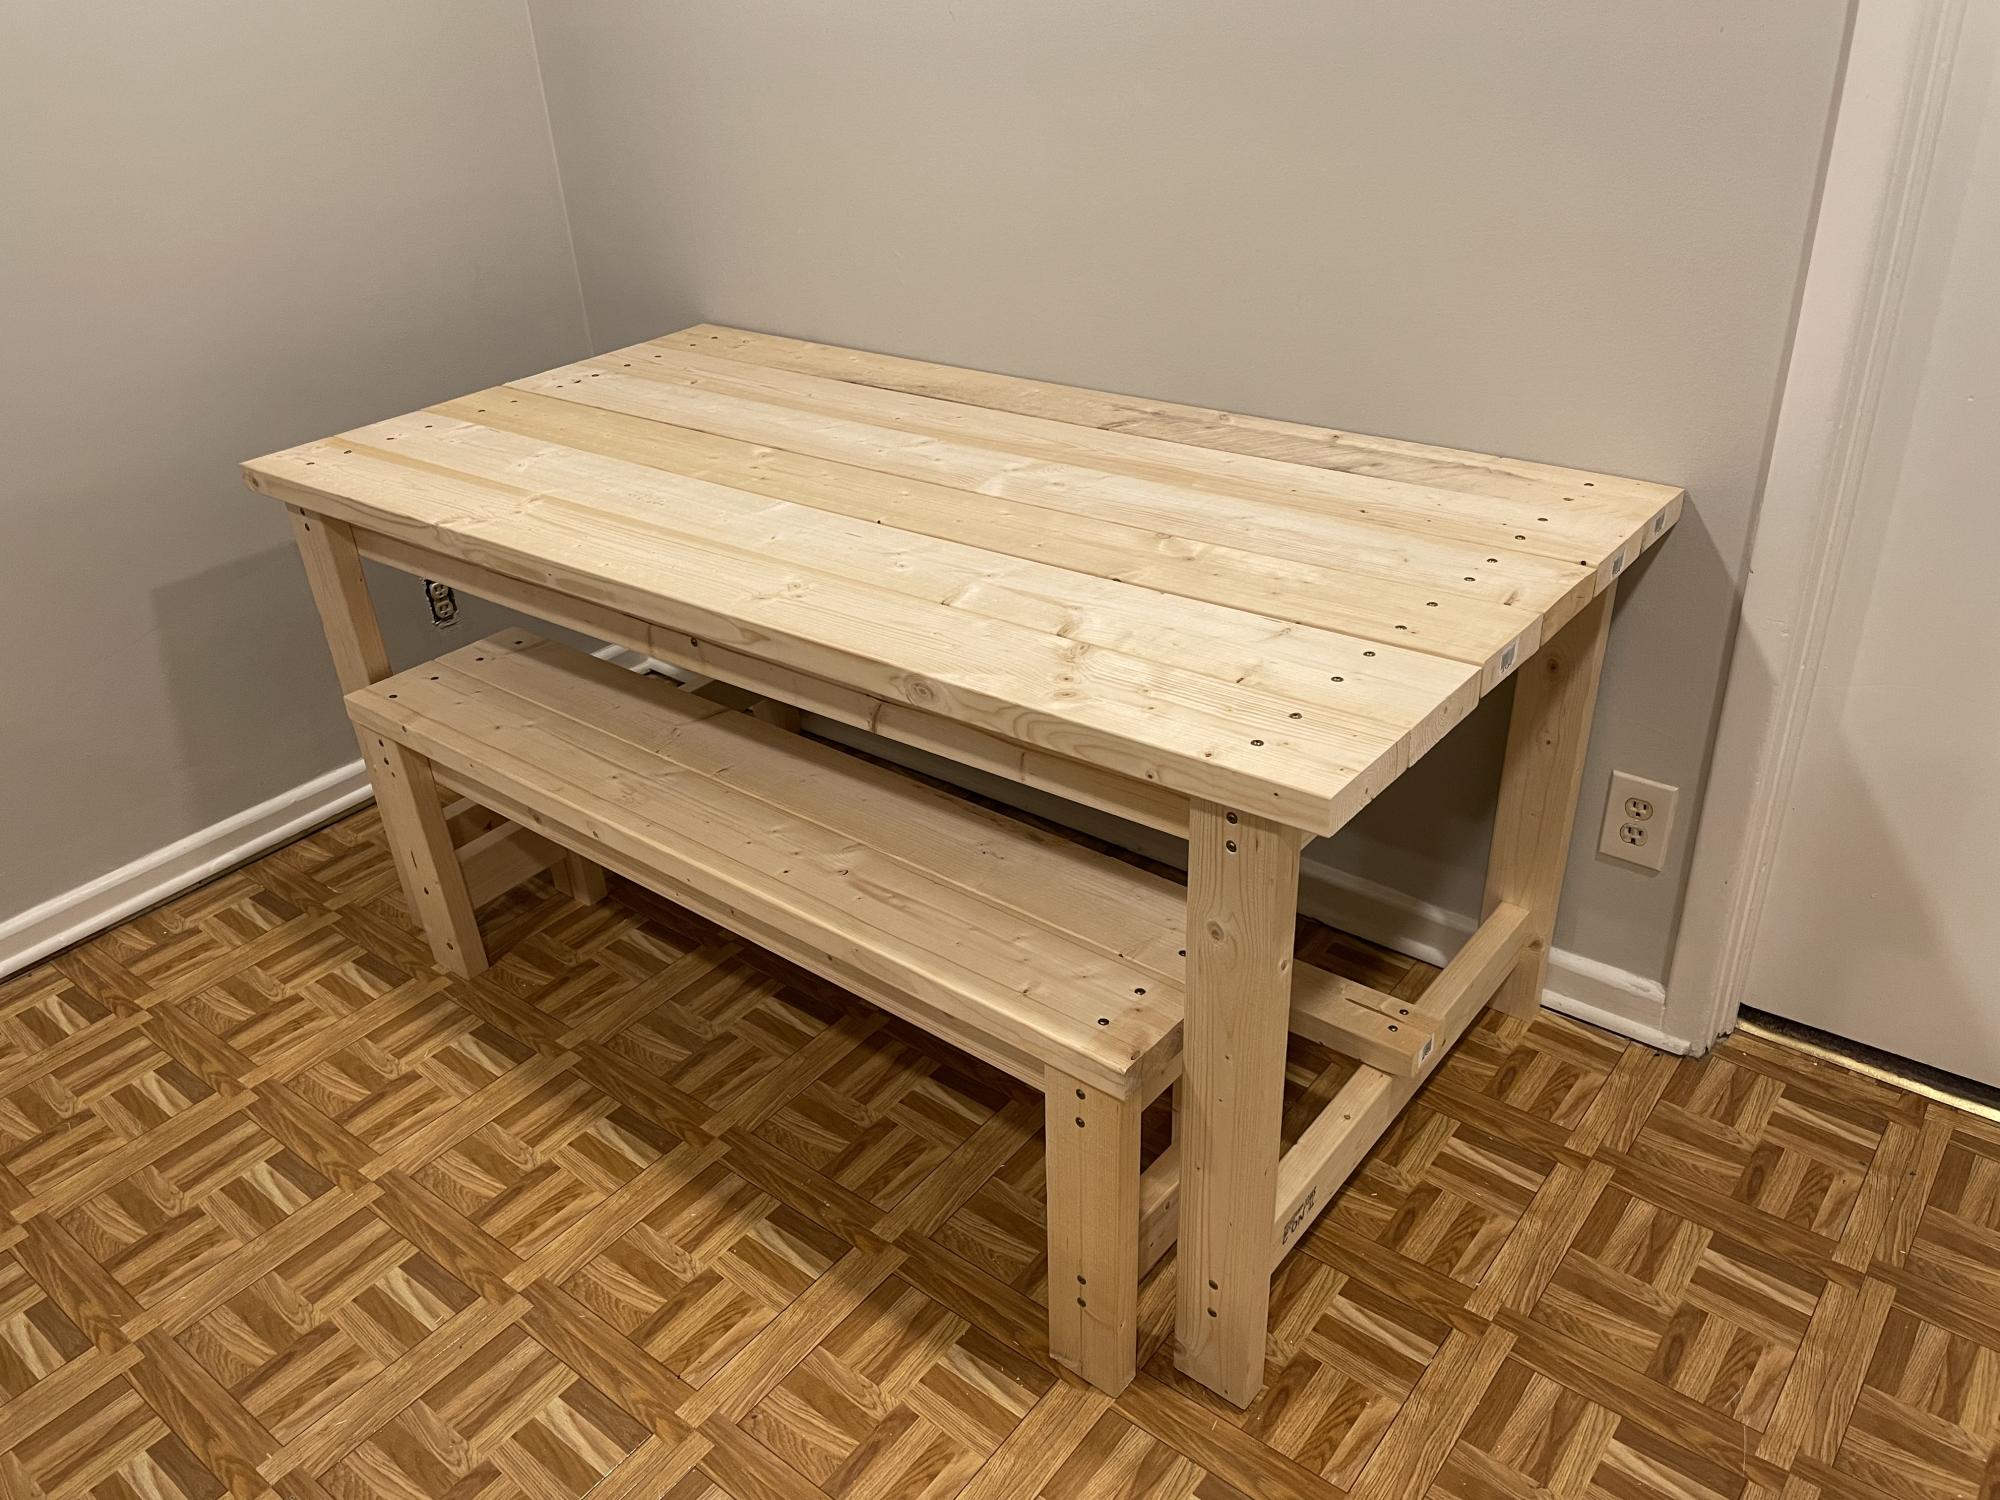
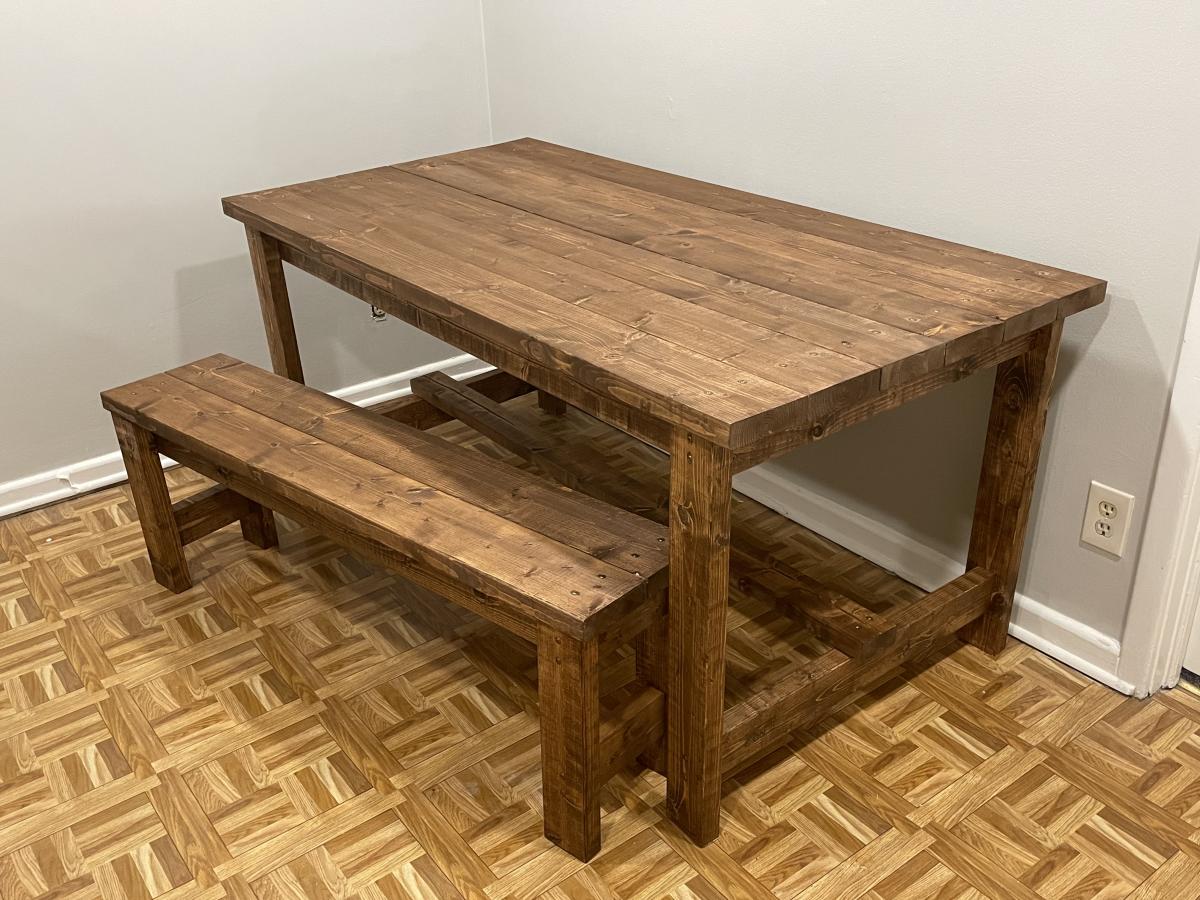
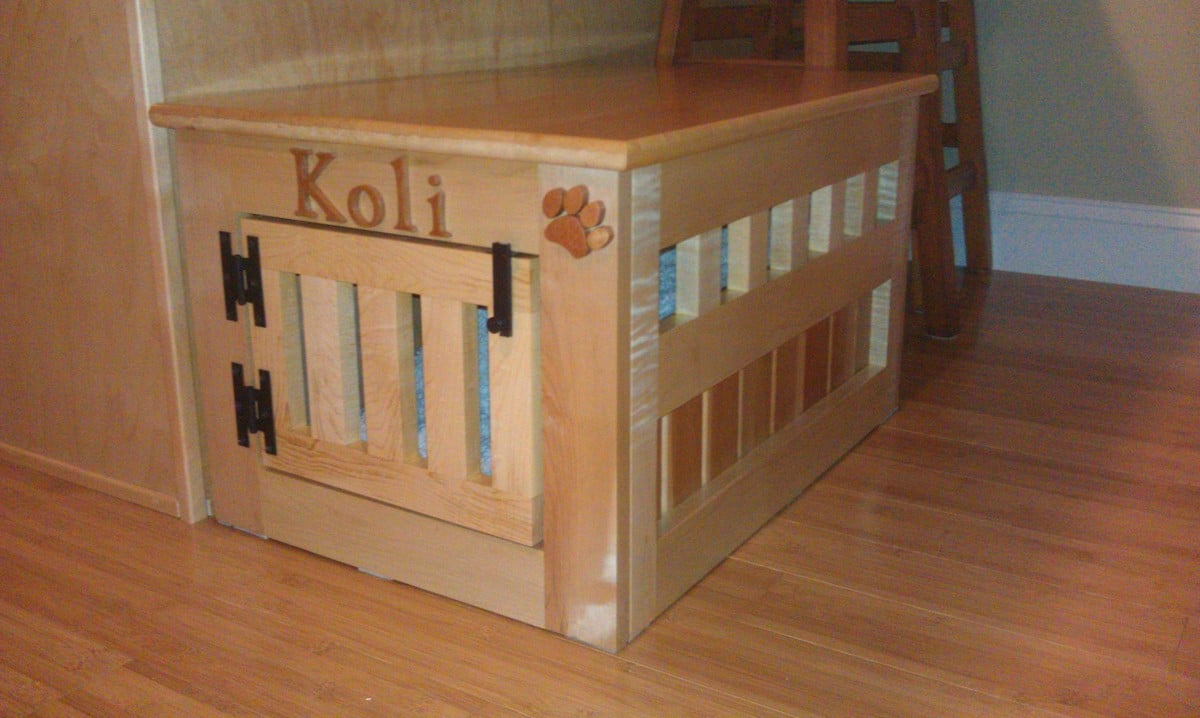
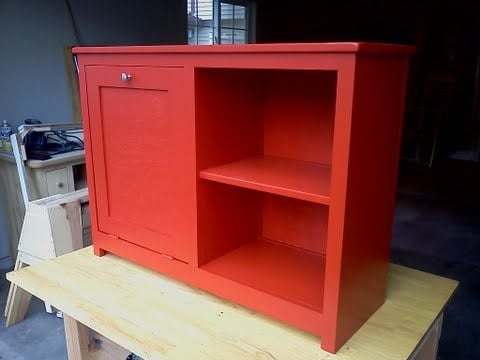
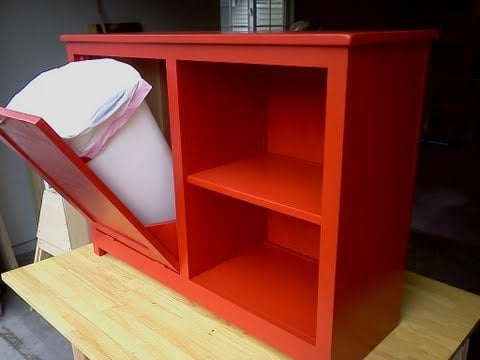
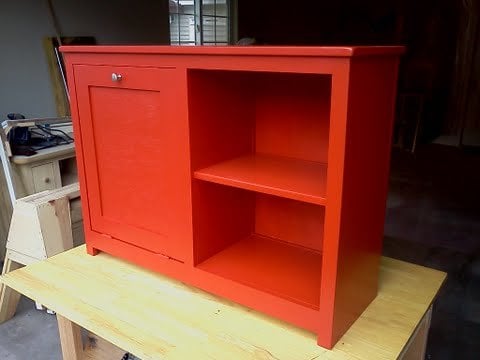
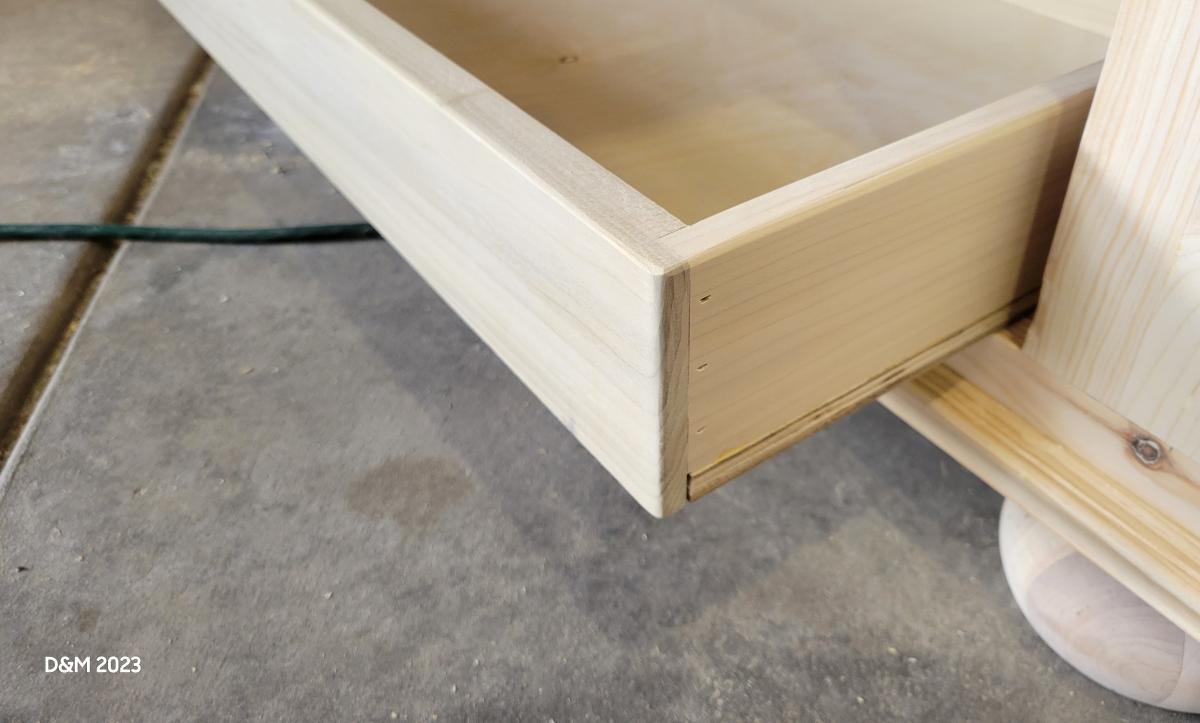
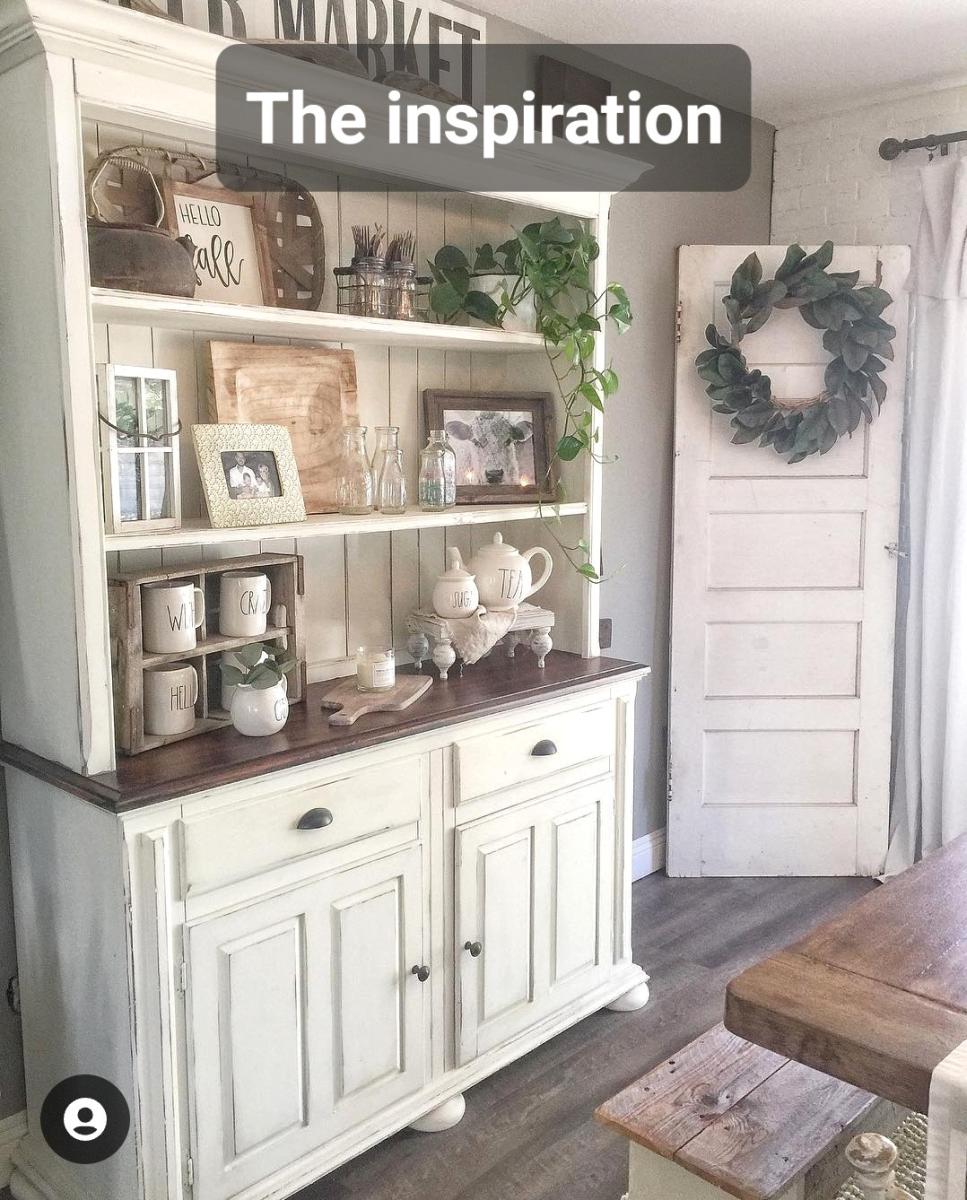
I modified these plans to be a bit smaller and also added an upper shelf area. Overall dimensions for my finished product are 74” long by 21” wide by 37.5” tall. I stained the top, upper trim pieces, and shelves dark walnut. The rest of the project is painted in “Summer White” by Sherwin Williams. To complete this project you will need barn door hardware *plus* an extra door set. I did my best to provide sketches and dimensions, but all wood was cut to size by measuring its space first, so “cut list” may not be exact. In this project it is key to measure as you go and maintain a level workspace so that the furniture remains level. I also added 3/4” by 1/2” trim pieces to the shelves because I did not like the gap in the shelving pieces. I also drilled 1.5” holes in the back in order to accommodate electrical cords.
Upper and lower frames:
4 - 2x3 @ 65”
4 - 2x3 @ 17”
4 - 2x3 @ 14”
Sides:
2 - 3/4” plywood @ 36”x17 1/4”
Face Frame:
2 - 1x4 @ 70.5”
2 - 1x4 @ 29”
1 - 1x4 @ 63.5”
2 - 1x4 @ 18”
Shelves:
3 - 1x8 @68”
3 - 1x10 @ 68”
3 - 3/4”x1/2” trim @ 68”
Shelf Supports:
6 - 1x2 @ 10”
6 - 1x2 @ 7”
10 - 1x2 @ 17”
Trim:
1 - 1x2 @ 71.5”
2 - 1x2 @ 17 1/4”
1 - 3/4”x1/2” trim @ 71.5”
2 - 3/4”x1/2” trim @ 17 1/4”
Top:
1 - 2x10 @ 74”
1 - 2x12 @ 74”
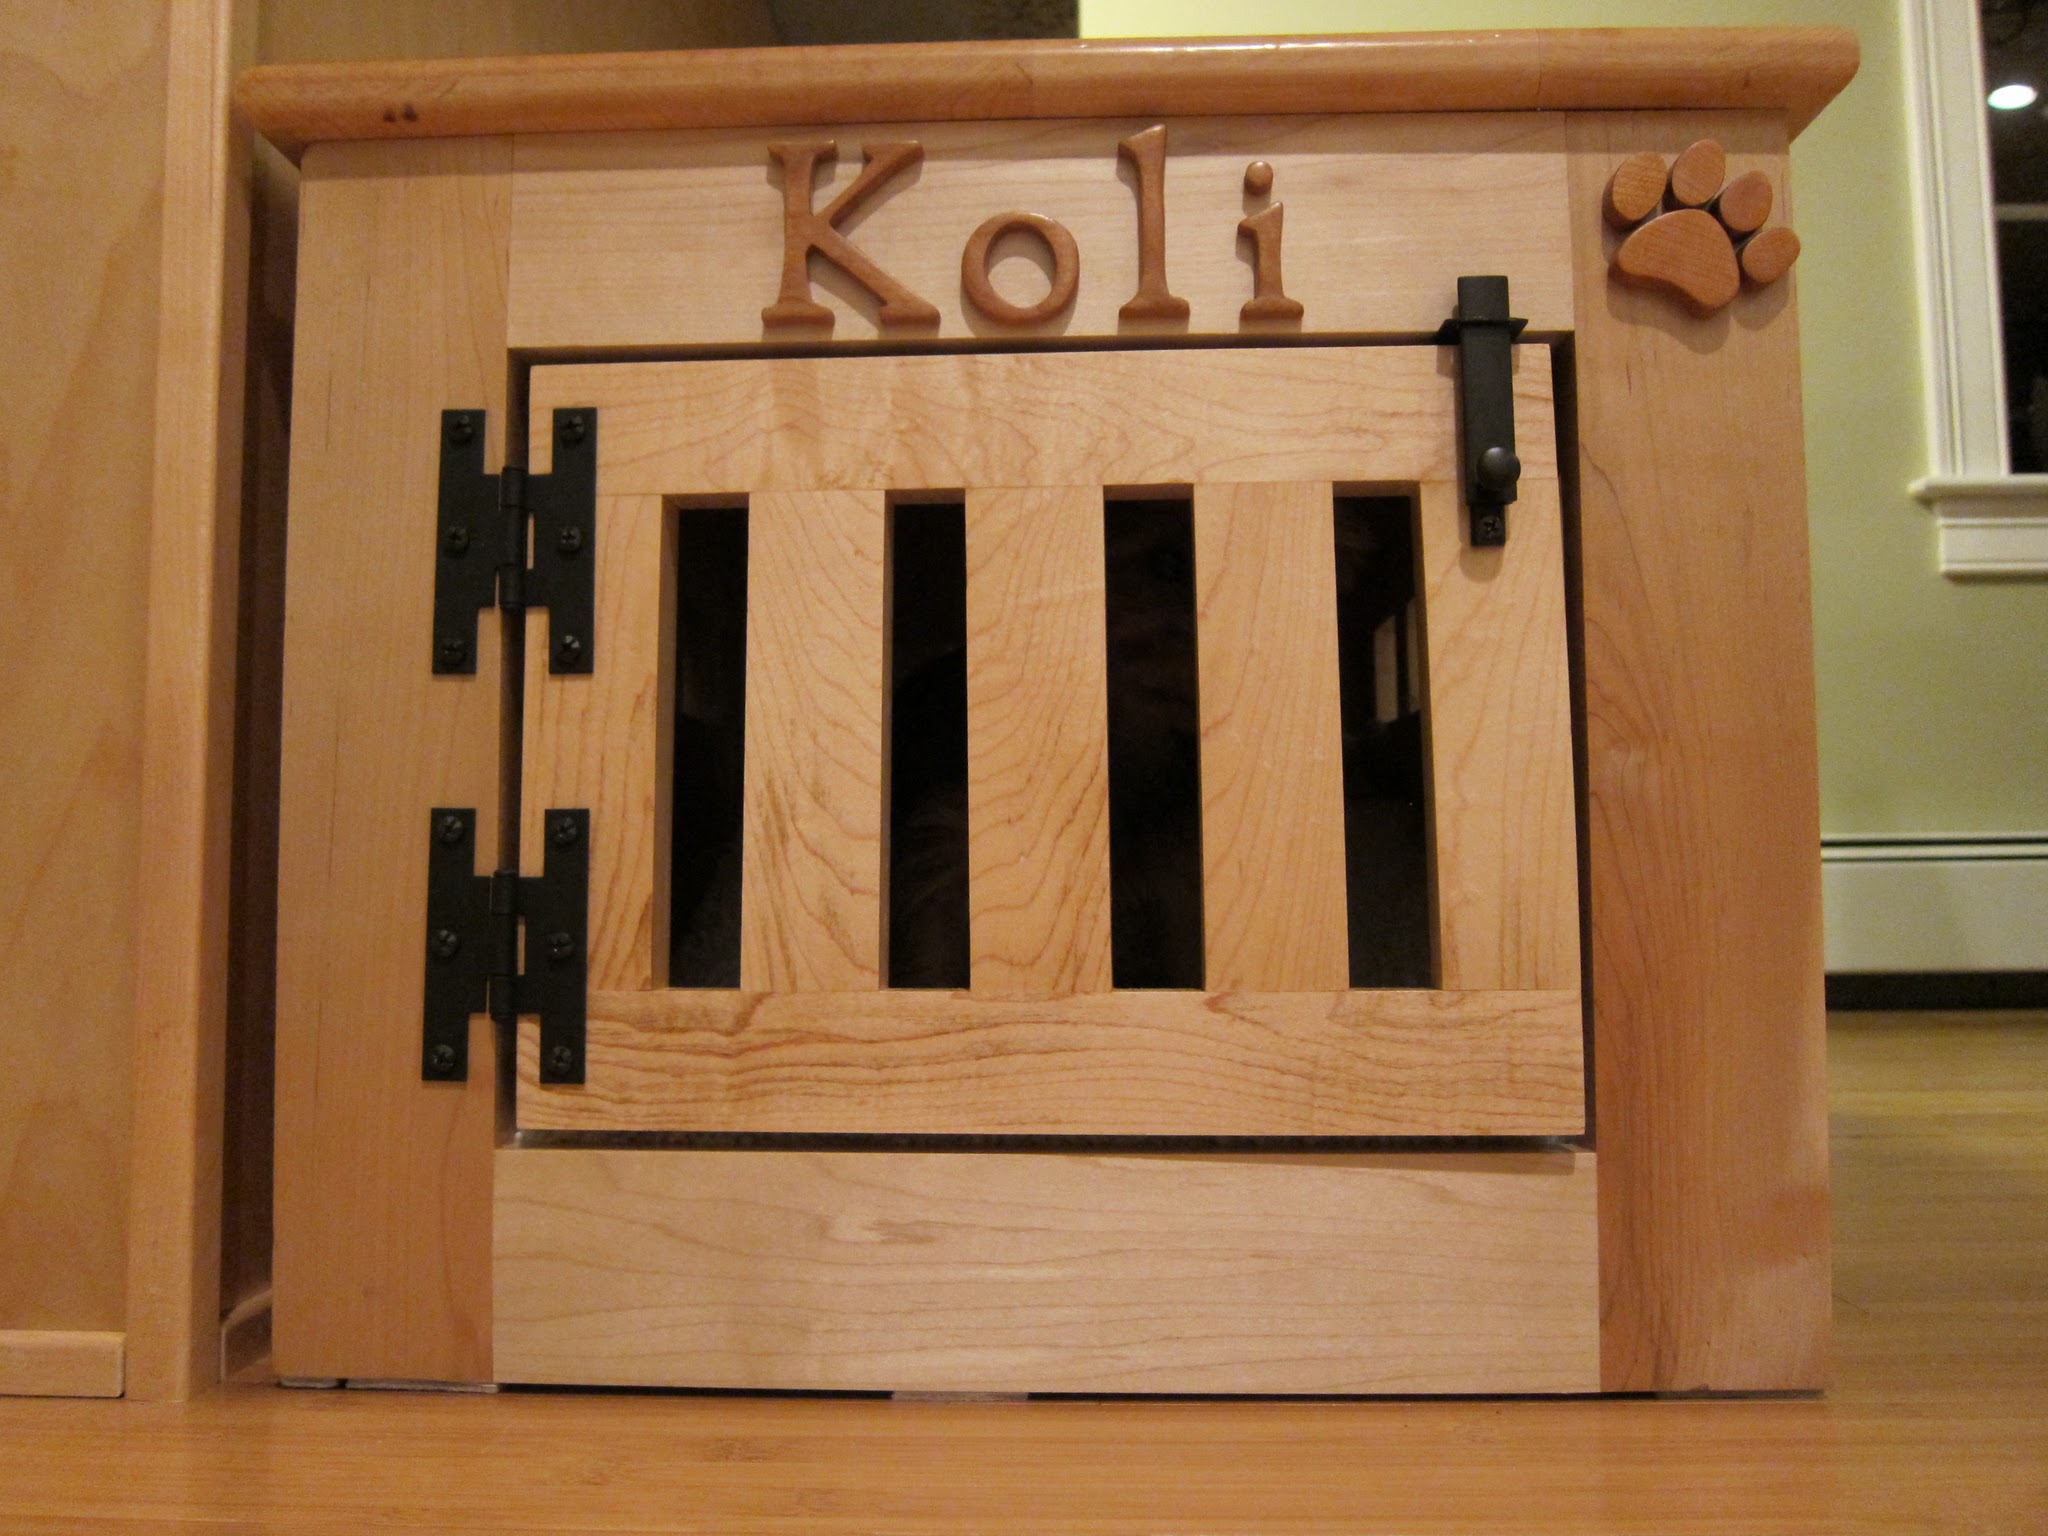
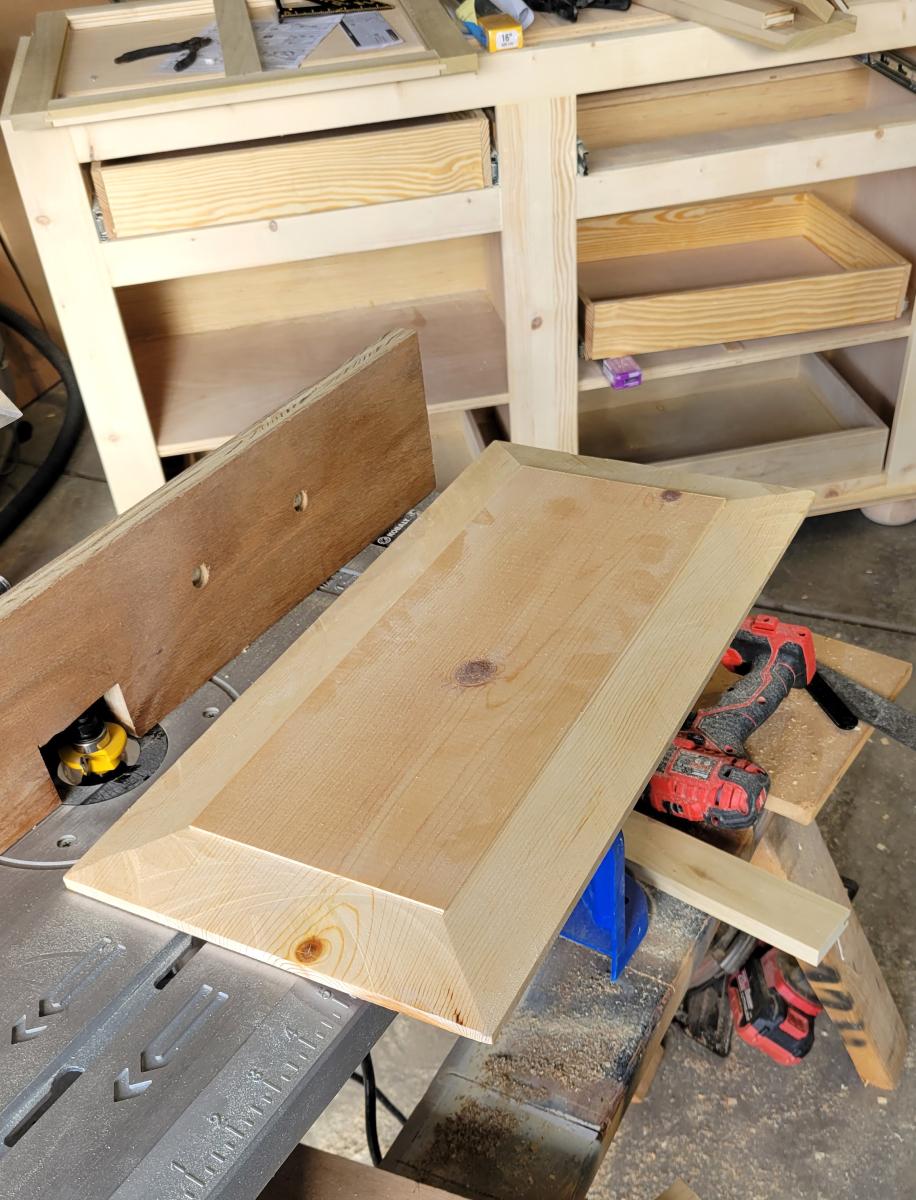
Doors:
1/2” plywood approx 16”x20”
1x2 creates border and diagonal piece
Back:
1/4” plywood approx 36”x69”