Community Brag Posts

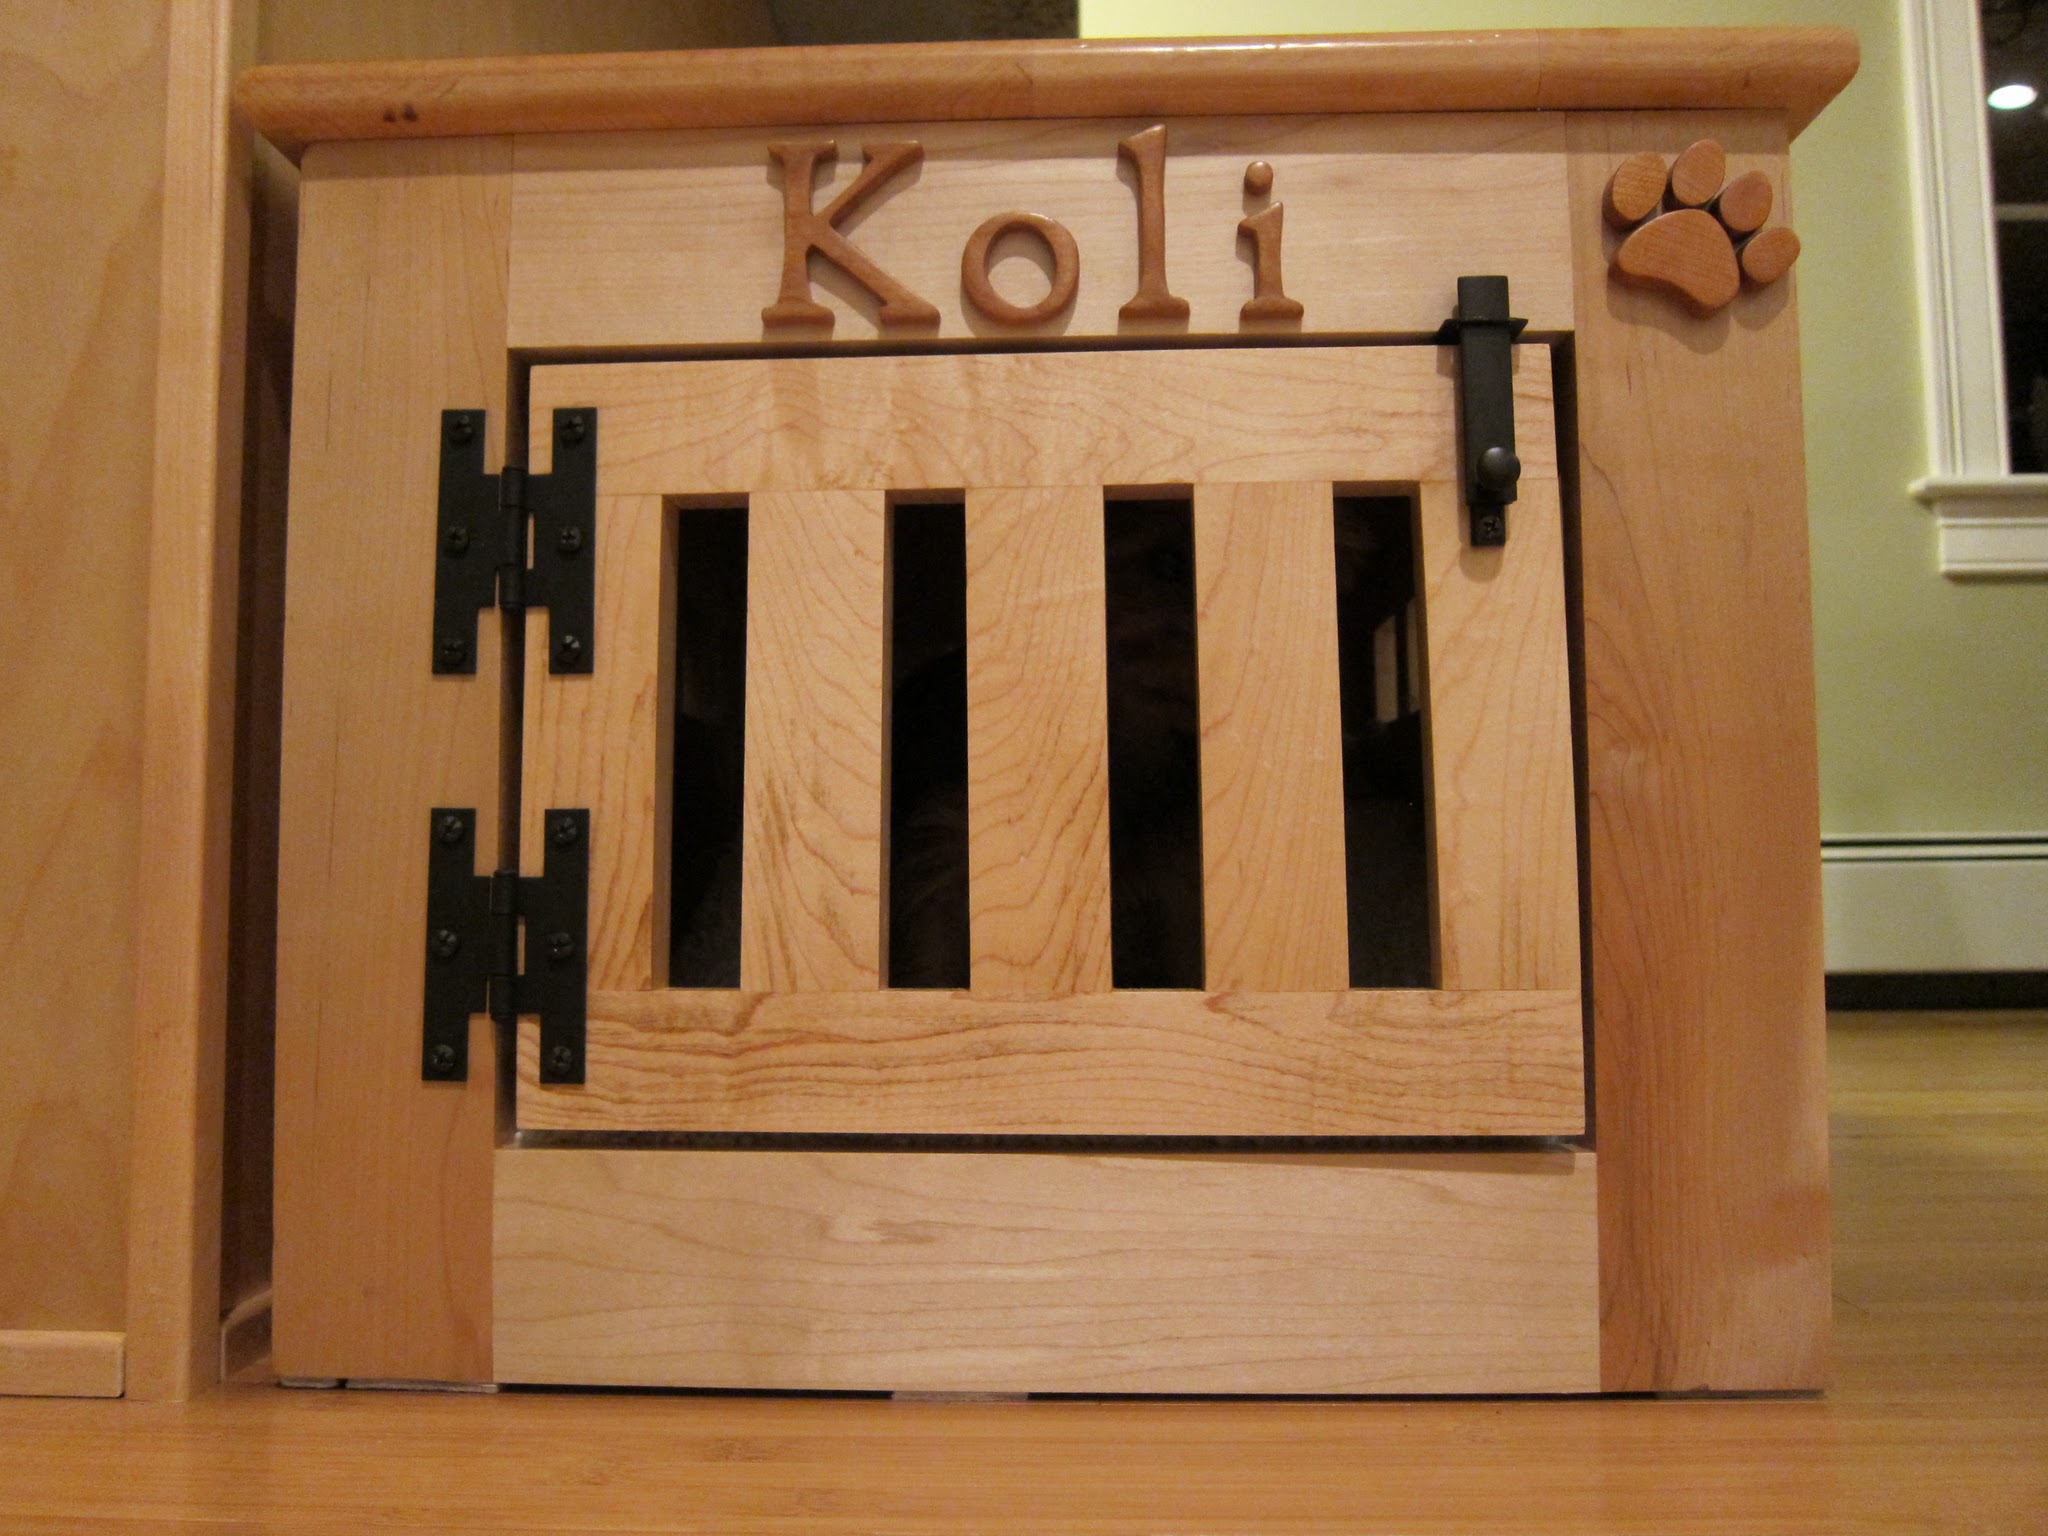
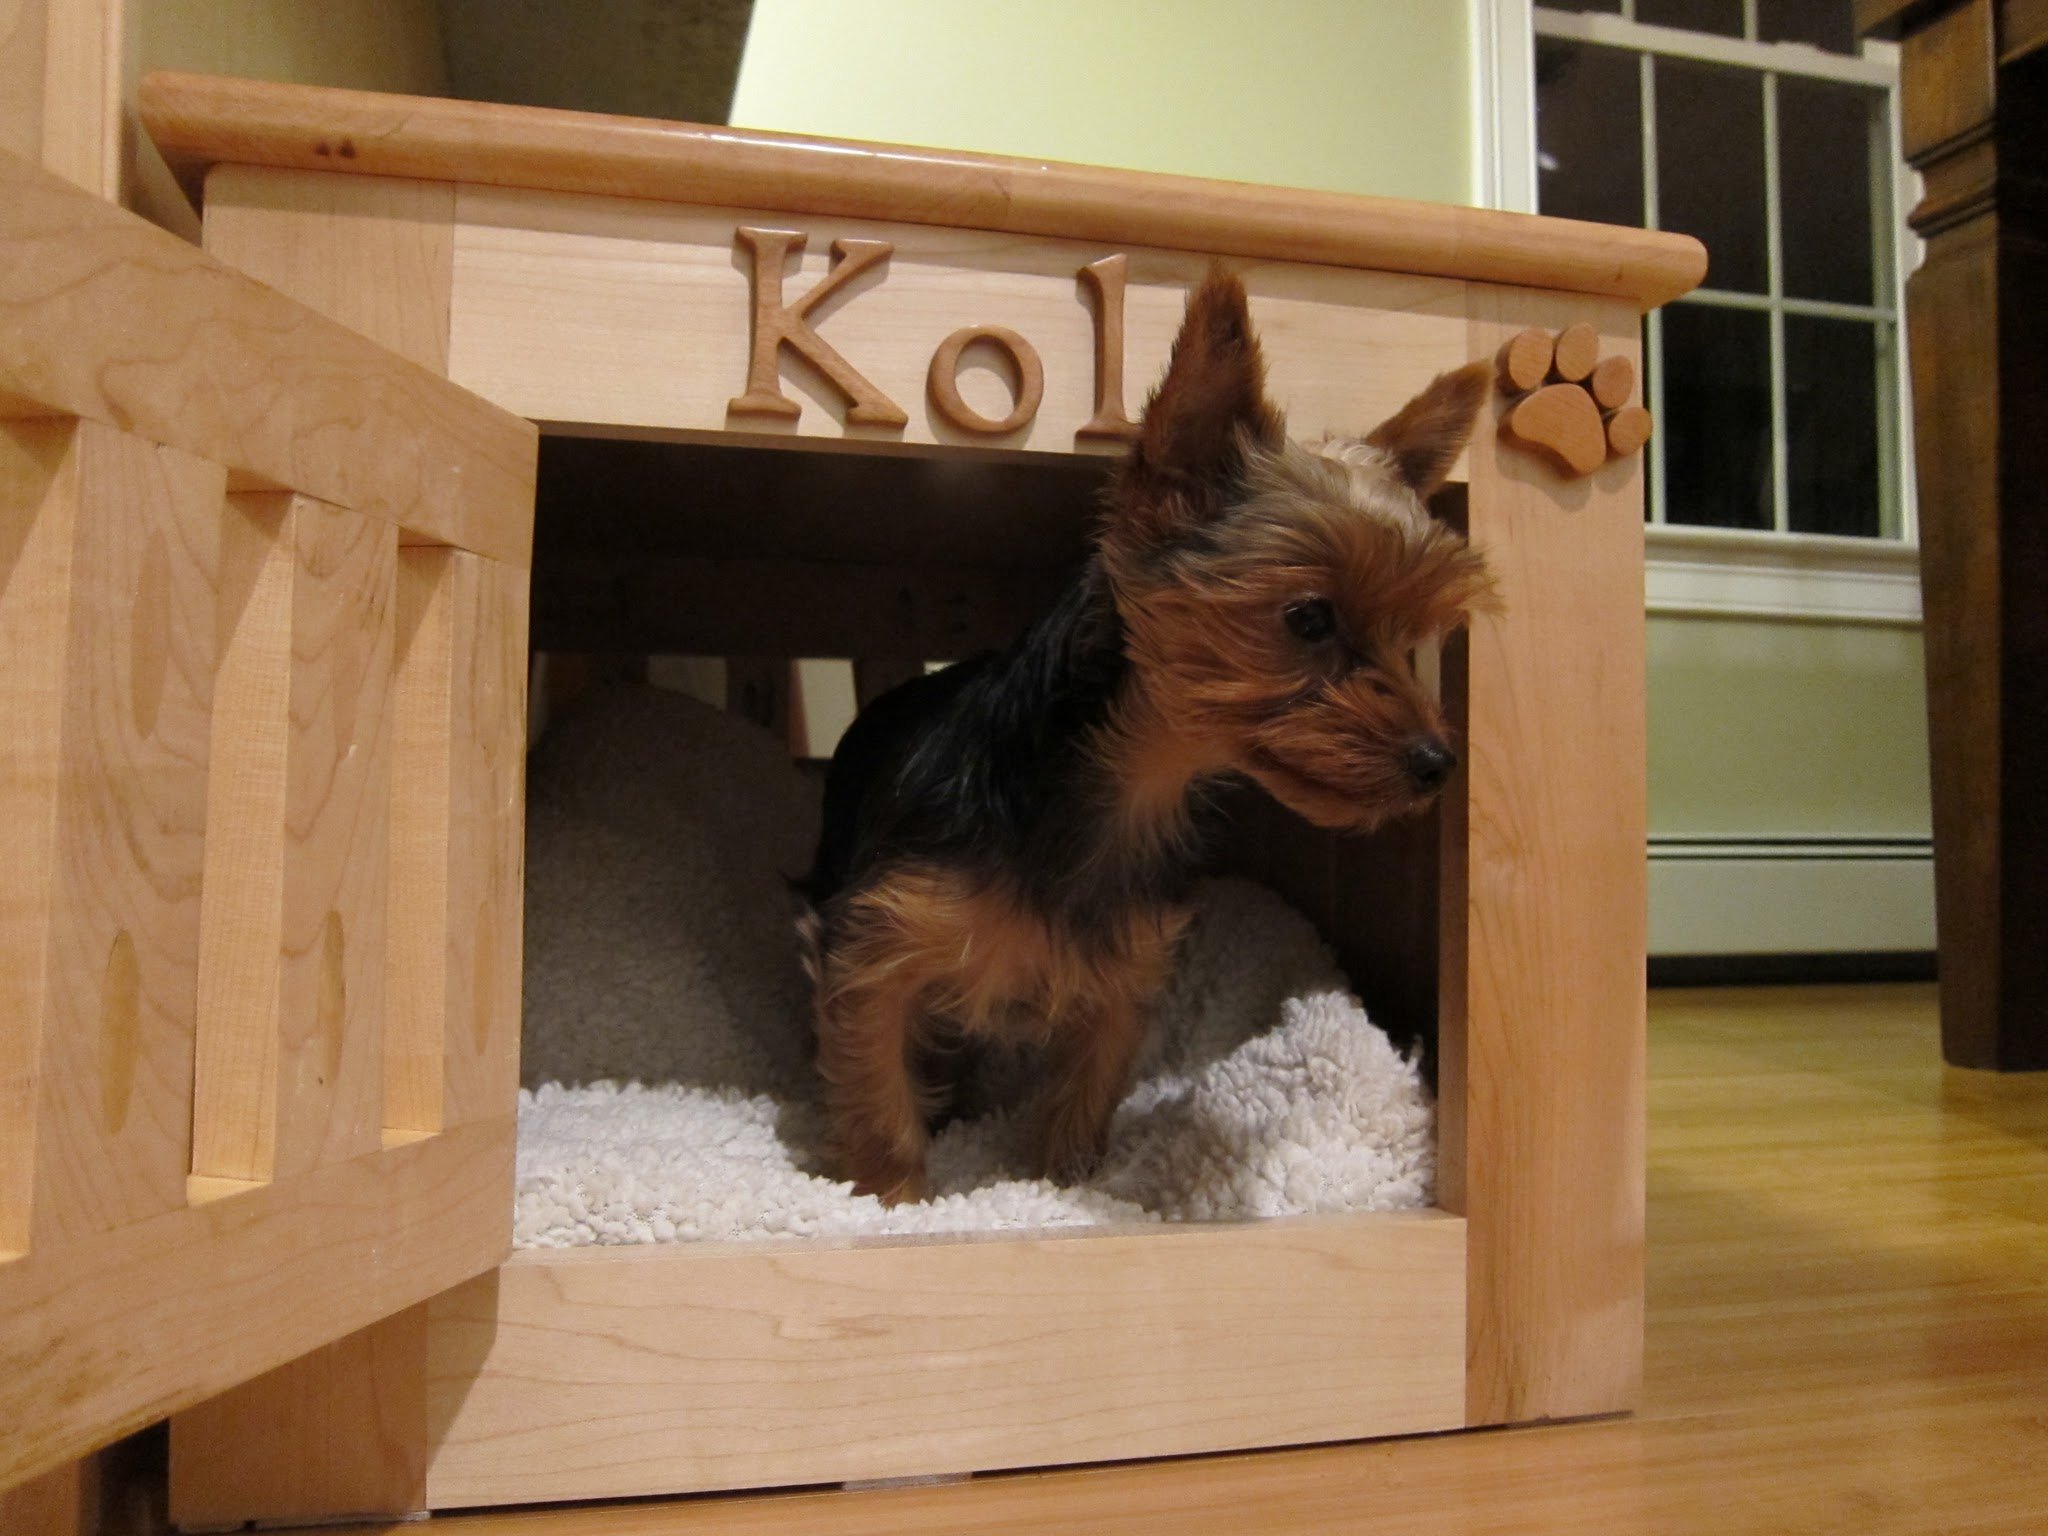
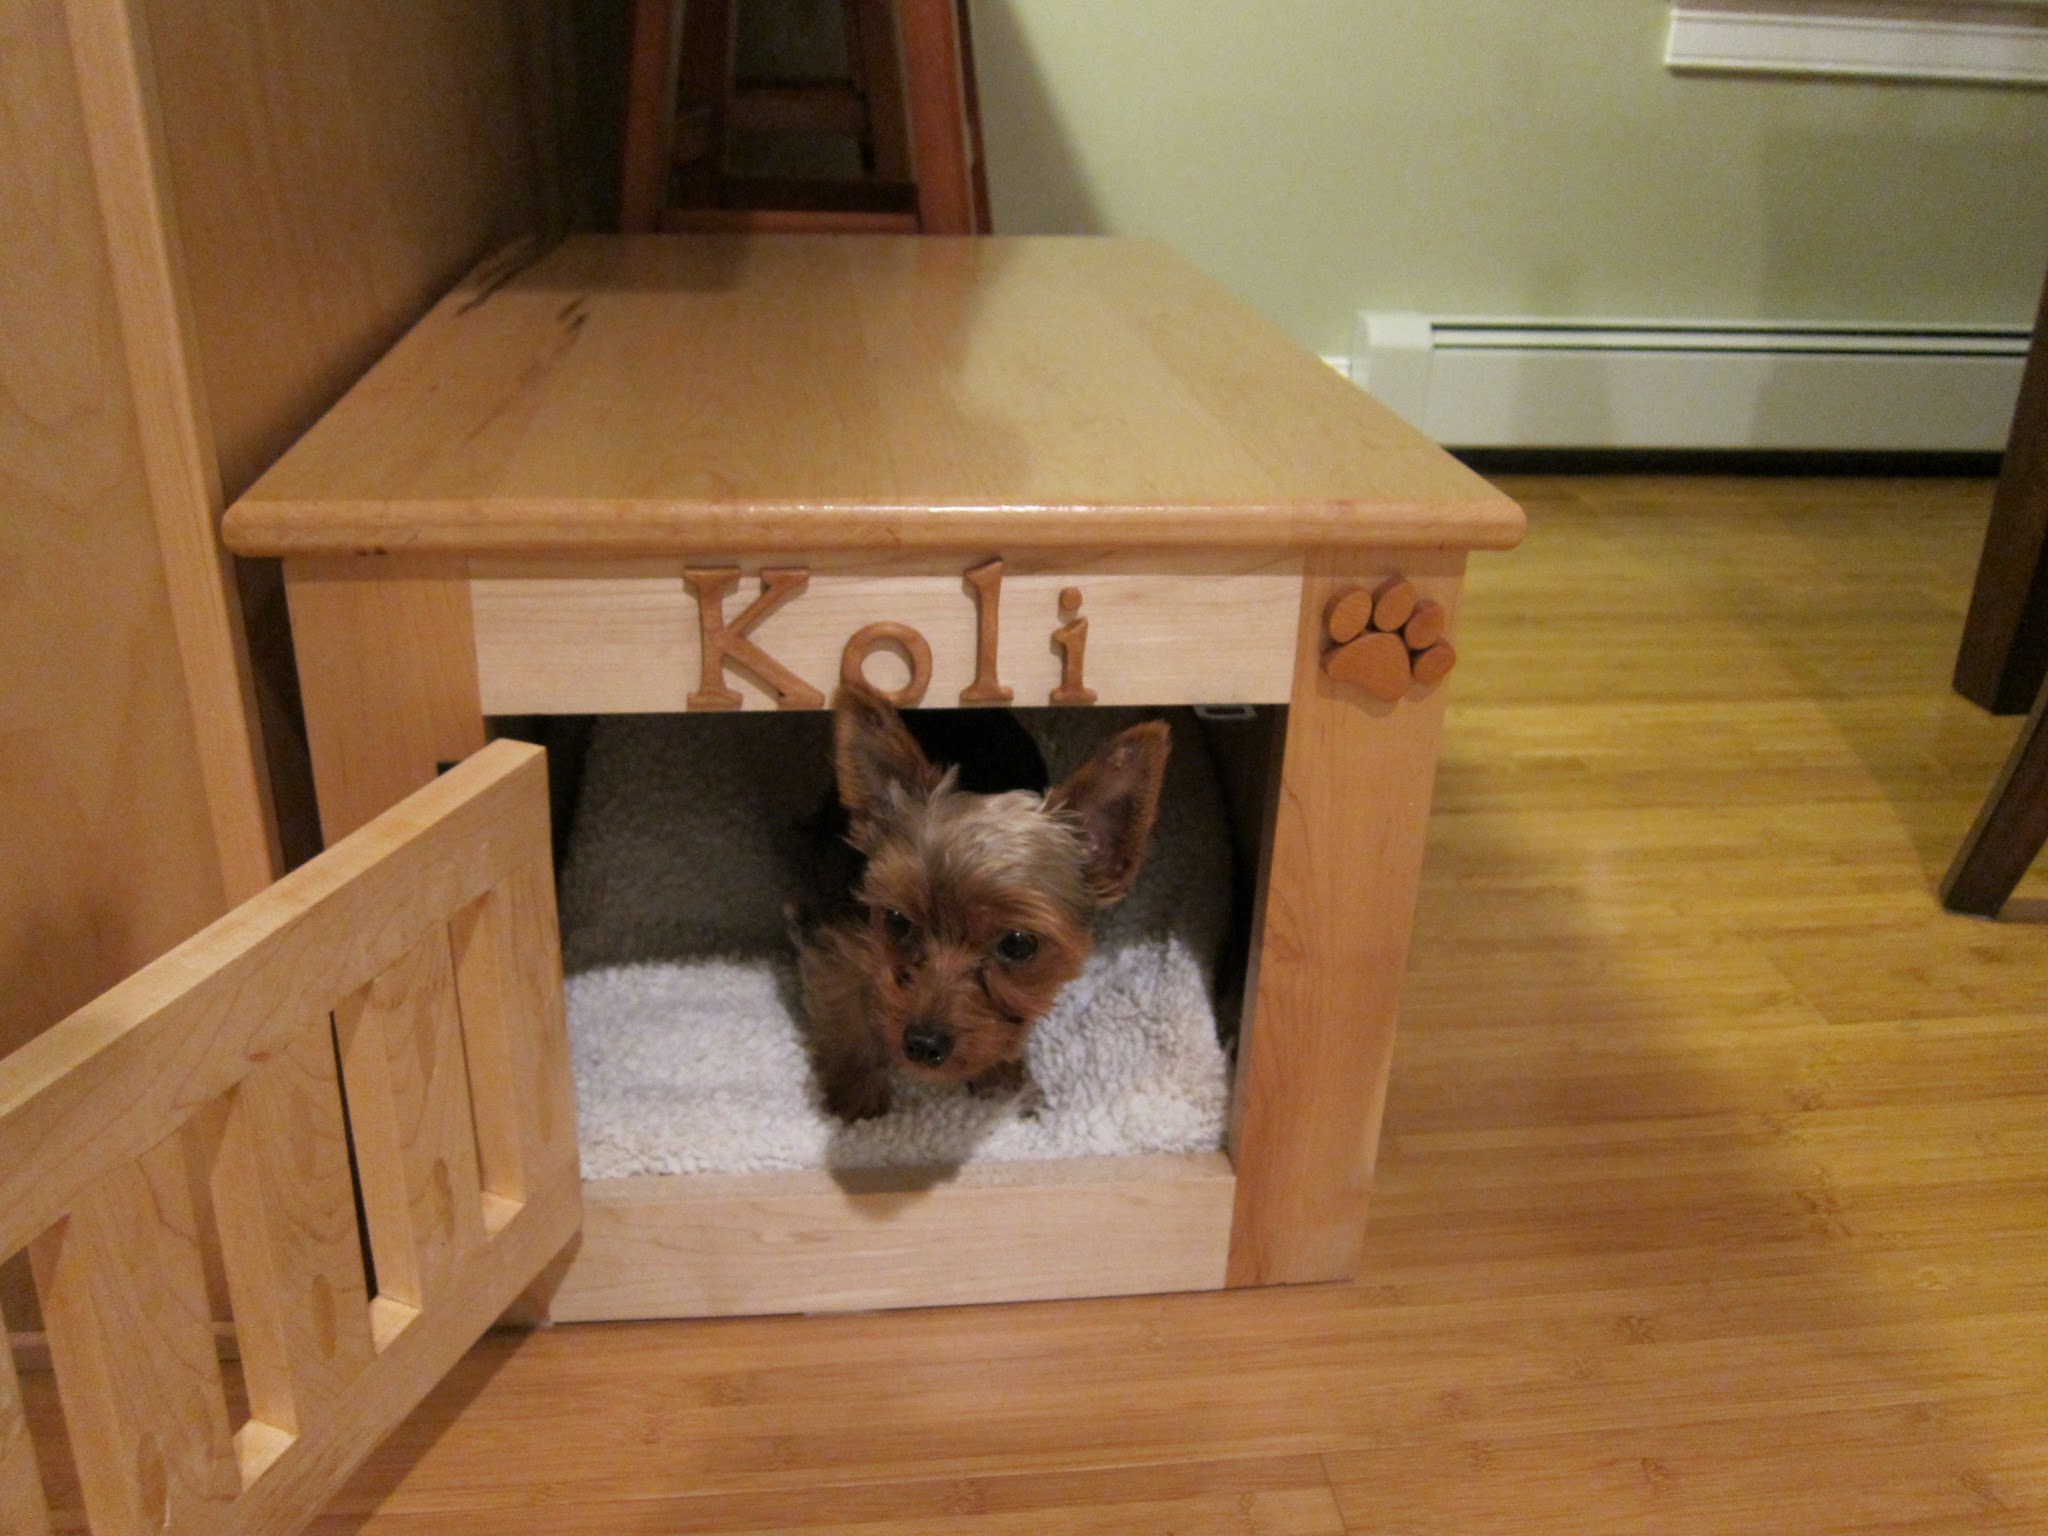
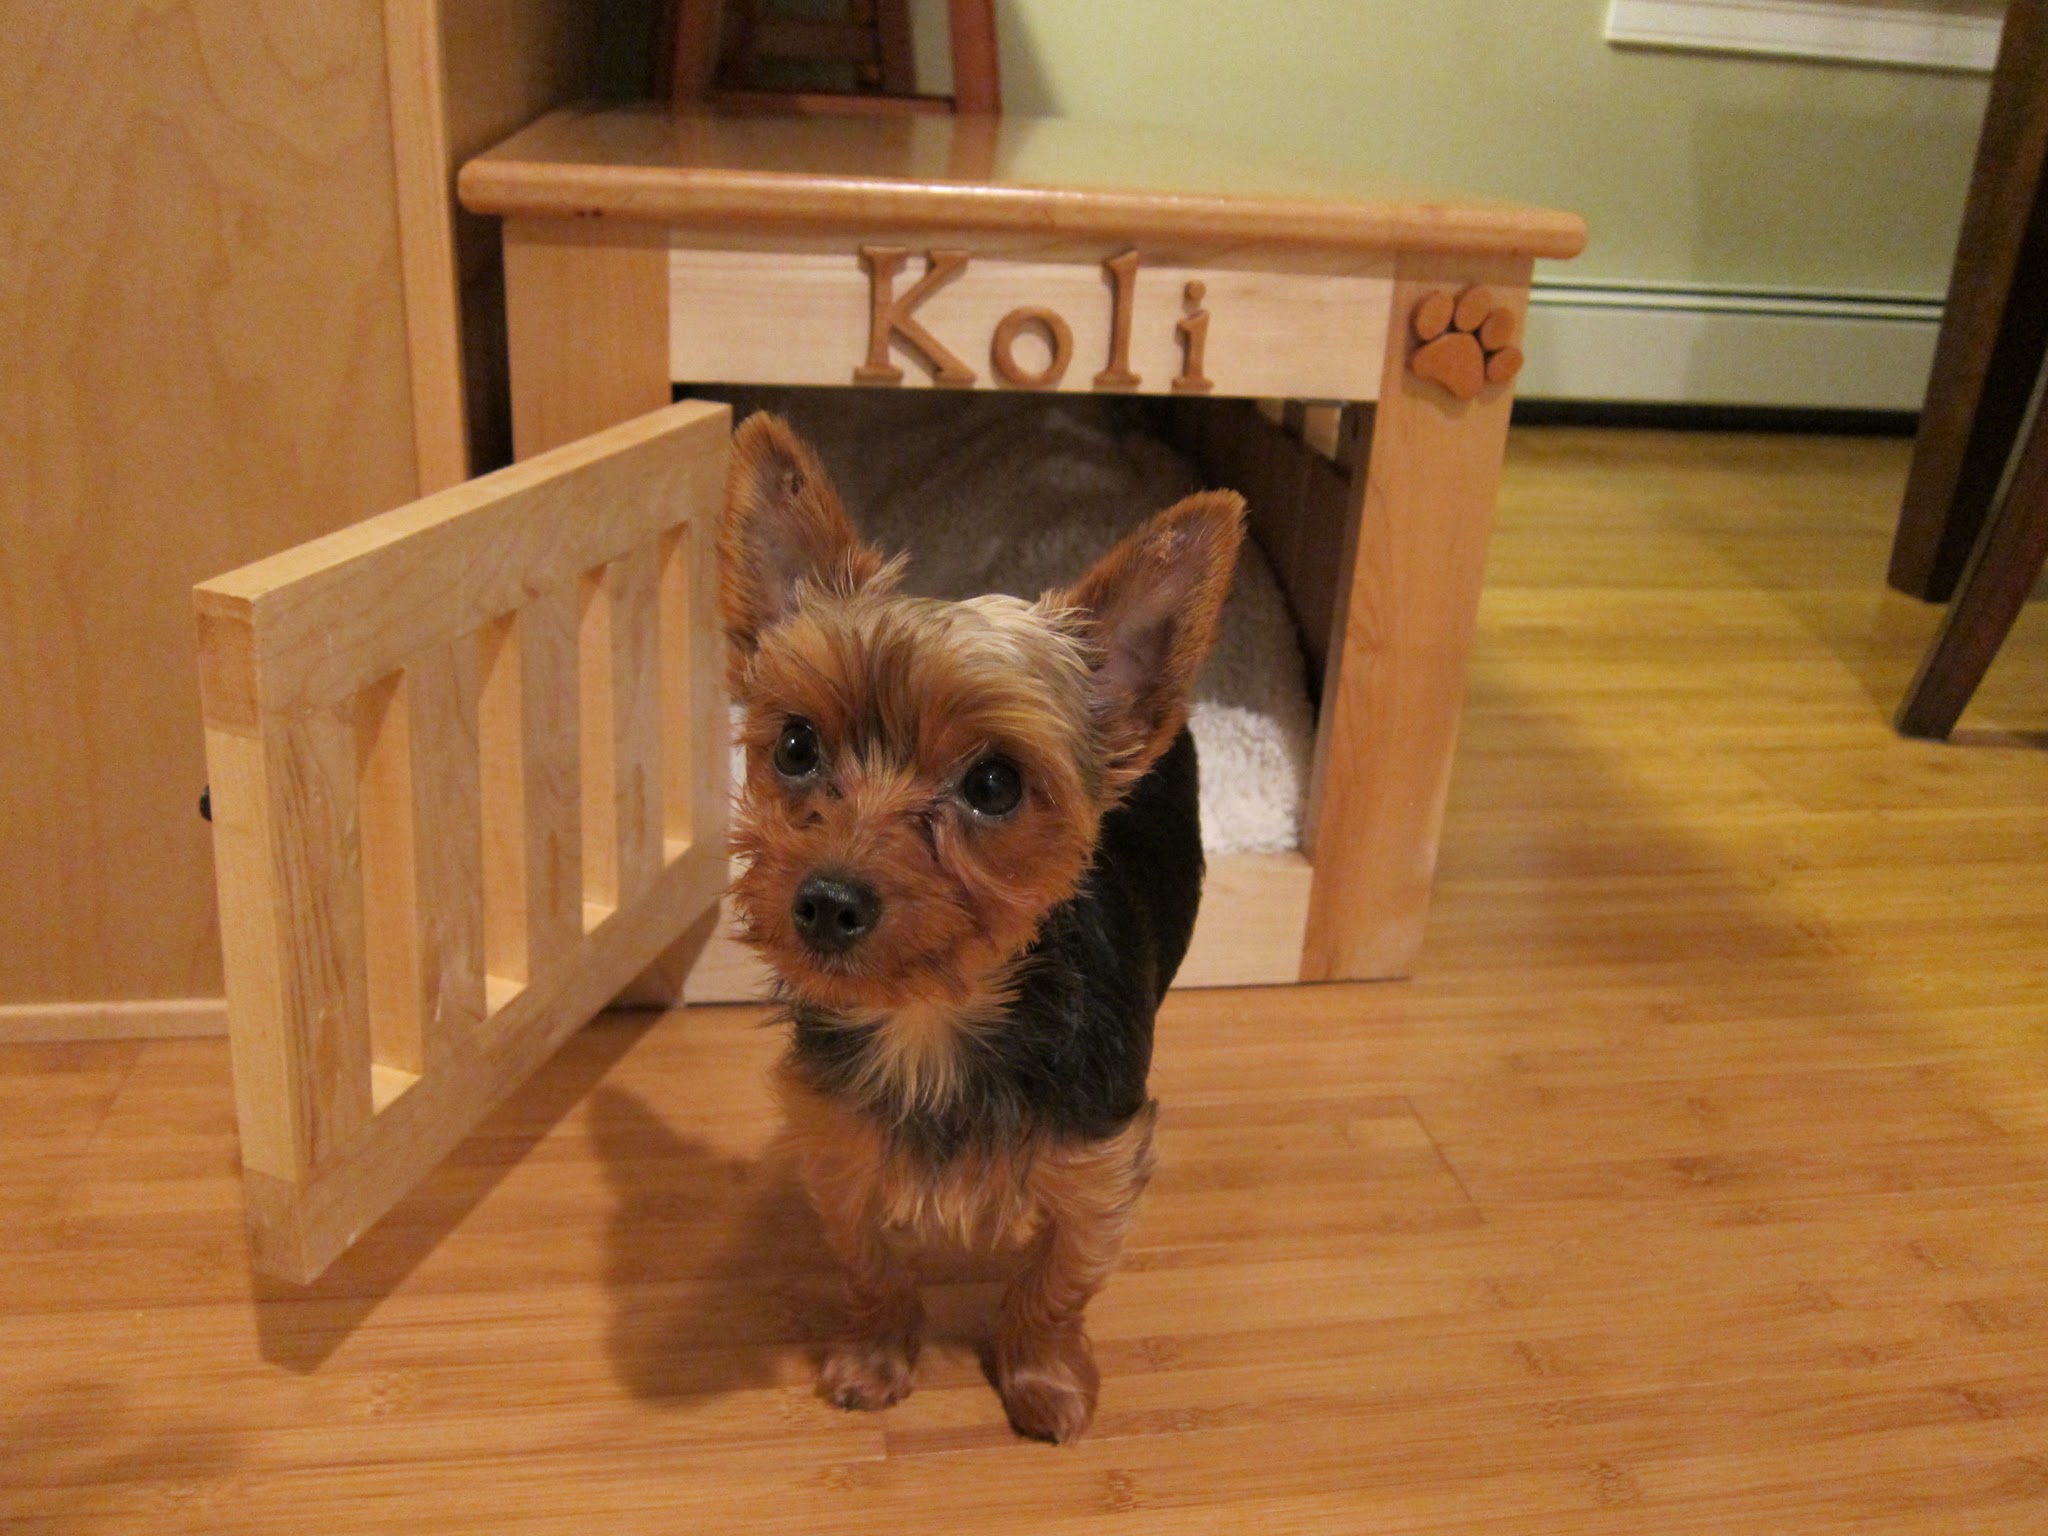
Corner bench with drawers

Submitted by Anonymous (not verified) on Mon, 10/04/2021 - 12:15

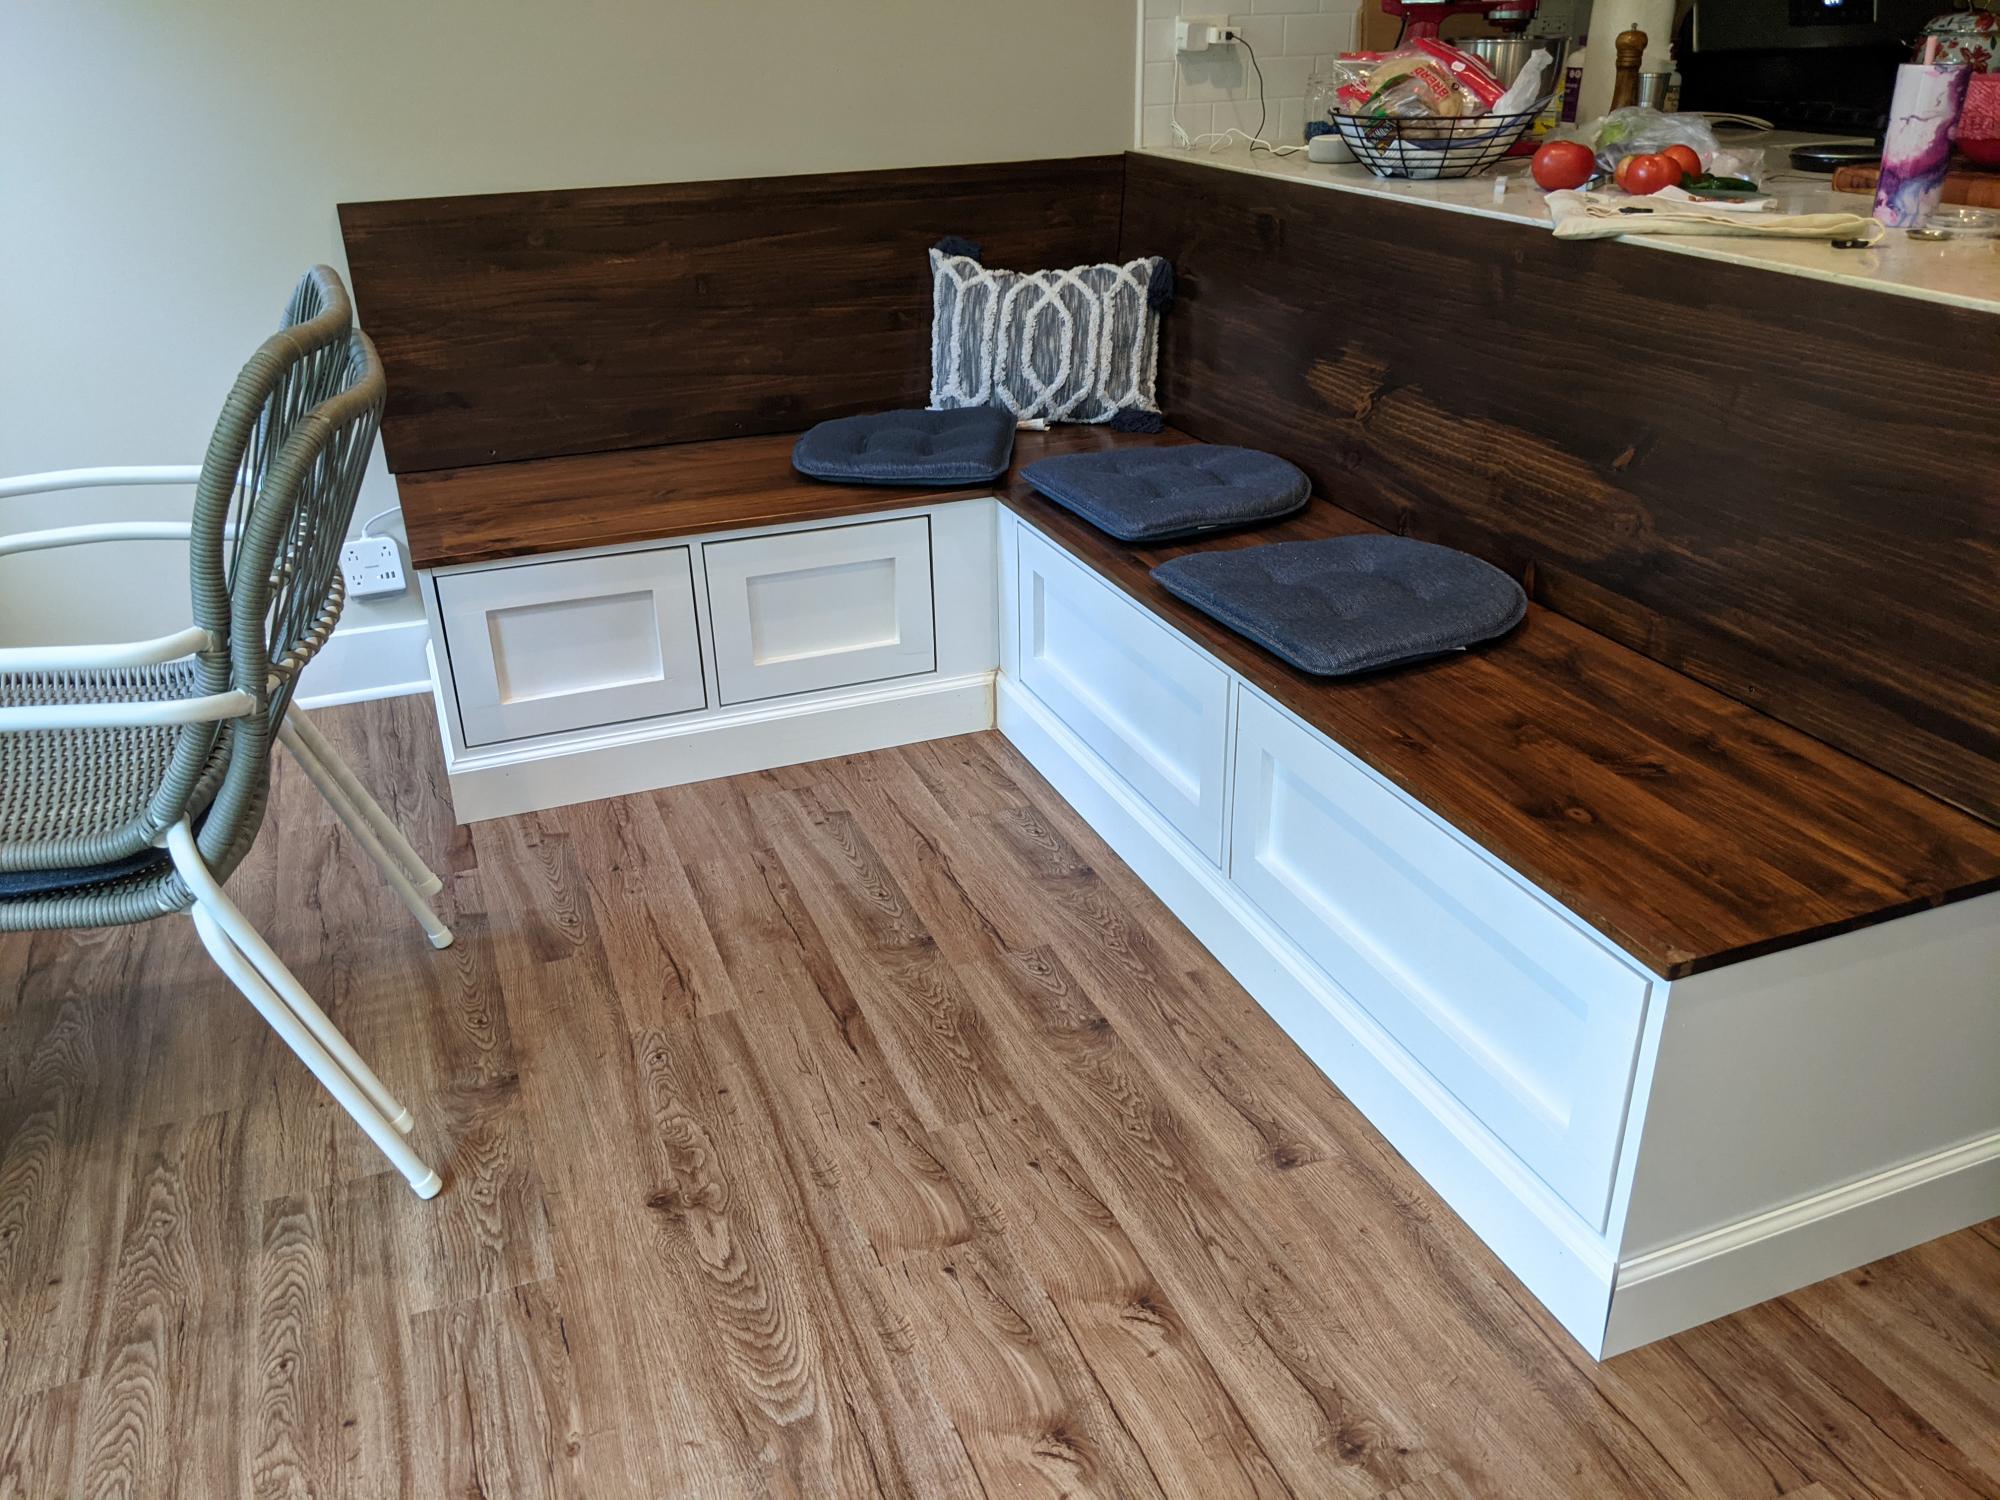
I built the above corner bench based off of the frameless drawer bench plans (they are on the shelf help site) which are very similar to the essential entryway bench plans, but the drawers are included. The long bench is 60", the shorter side 42".
For the carcass i did use the shelf help pre cut plywood.
When I started the project beginning of 2021, there was no tutorial for the corner part yet, so I was very glad to see I did the right way when the corner 'add on' came out, also found on the shelf help site).
The shaker fronts were shown in the barn door console plans, so I adopted that.
I get loads of compliments and obviously even more when people hear I built it myself.
The hardest part about this project were the drawer slides and getting them to line up and work as expected. The I broke the soft close on one of the big drawers during final assembly and still didn't bring myself to exchange the slide to a working one... 😊
But overall I'm really proud of it!

Comments

Junior loft bed

Submitted by Anonymous (not verified) on Thu, 06/29/2017 - 09:55

My very first furniture build! Took me about 5 days, but as a beginner I found it very easy to follow the plans. I did buy a Kreg jog for this project, highly recommend it! Other tools used were a miter saw, circular saw, and drill.

Estimated Cost
$80
Estimated Time Investment
Week Long Project (20 Hours or More)
Finish Used
Ebony stain
Recommended Skill Level
Beginner

Kid-sized reading loft and desk

This project is a modified version of Ana's loft bed. We shortened it and made it a bit more narrow to fit our space and because we only needed a place for our eight year old daughter to read and work, not a place to sleep. We also added a desk to the bottom, making it a full-service work station for our elementary school girl!

Built from Plan(s)
Estimated Cost
$125
Estimated Time Investment
Week Long Project (20 Hours or More)
Finish Used
Sherwin-Williams ProClassic white followed by Minwax Polycrylic.
Recommended Skill Level
Intermediate

Trash recycling bin

Submitted by Lwente on Sat, 09/09/2017 - 05:51

I used Ana's tilt out trash bin plans to help me build this fabulous center for use in my kitchen. I love the way it turned out!

Estimated Time Investment
Week Long Project (20 Hours or More)
Finish Used
For use in my kitchen. One side will be for trash, the other recycling
Recommended Skill Level
Intermediate

Comments

lindsayalbrecht

Sat, 04/18/2020 - 19:04

Can i get the dimensions from you? I’m wanting to create the exact same thing with two bins and drawers.

Farm table

Submitted by Anonymous (not verified) on Mon, 10/11/2021 - 15:33

First attempt ever at building anything! Probably took me a lot longer than it should have, but I'm very proud of the result

Comments

PB & Ana Inspired Hampton Bed

This started out a project driven by inspiration. I wanted a bed similar to the Hampton Bed in the Pottery Barn Teen Catalog, and I wanted a handful of beds from the newest Crate and Barrell Catalog. So, I sat down with a piece of paper, and a felt tip marker, and sketched out the bed. I had just built the farmhouse bed, and knew it was strong, so thats how I designed the frame. Then I used plans from the Simple Bed to get another reference point and for full size dimesniosn. Then I built it. I journaled each step of the way on my blog, if you want more info on how building went, or the learning process. I am truly very proud of this bed. Thank you Ana for giving me the courage to do this one without step by step instruction. You rock. 

Estimated Cost
$100
Estimated Time Investment
Day Project (6-9 Hours)
Finish Used
General Finishes Water Based Stain: Walnut
General Finishes Polyacrylic top coat, 4 coats
Recommended Skill Level
Intermediate

Crib Mattress Wood Sectional

Submitted by Anonymous (not verified) on Thu, 11/09/2017 - 09:55

Submitted by Abigail Marolt on Facebook -


I made a your crib mattress sectional with an extra armless couch to make one large U-shaped design! It was my first project with a kreg jig and a circular saw, but it certainly won't be my last. We love using this couch every day!

Recommended Skill Level
Starter Project

X Frame nightstand

Used the simple nightstand from this site, and modified to add in the "X" on the sides. Finished in a Classic gray minwax to give reclaimed wood look.

Built from Plan(s)
Estimated Cost
50
Estimated Time Investment
Day Project (6-9 Hours)
Finish Used
Classic Grey minwax, rustoleum poly
Recommended Skill Level
Beginner

Comments

Barbara Thomas

Thu, 07/11/2013 - 19:32

Can you please post how you did this. I'm going to make my first project this weekend and I would like it to be this. I know it's based off the simple nightstand but can you give the details on the alters especially how to make the x? Thank you

thefarmerswife

Sat, 02/04/2017 - 13:39

Did she ever post her plans? If so, I can't find them! I prefer this design to Ana White's original, but I don't trust myself enough to try and wing it and make it look like hers. Did you end up making something similar?

thewoodbuilder

Fri, 07/12/2013 - 08:39

Thanks guy's! :0) The only modification from the original nightstand was adding the x. I do my x's different from the the other rustic x way. I will take some pics of how I do it today.

thewoodbuilder

Fri, 07/12/2013 - 08:39

Thanks guy's! :0) The only modification from the original nightstand was adding the x. I do my x's different from the the other rustic x way. I will take some pics of how I do it today.

ShannonEmily93

Sun, 07/24/2016 - 12:38

I am very interested in building these nightstandss, could you post the plans, or where would I be able to locate the plans? Thank you!

Oohlaladesigns

Tue, 08/23/2016 - 05:30

Your nightstands are beautiful and I am working on creating my own! Did you keep with the original plans and use the 1x2 and 1x3's for the legs? Yours look thinner. Did you use 1x2's for the X sides?

sandbox with benches

Submitted by nananana on Fri, 07/10/2015 - 13:18

This sandbox has been around for some time BUT it is still a great project to build The plans were simple to follow and would be an excellent project for beginners. We built this for our grandson and future grandbaby. Was easy to complete in one day, including painting

Built from Plan(s)
Estimated Cost
Estimated cost was $75.00 including the wood, hinges and paint.
Estimated Time Investment
Day Project (6-9 Hours)
Finish Used
We used a flat exterior paint. paint color was Cool Bamboo. We put on two coats to preserve the wood.
Recommended Skill Level
Beginner

Comments

Seasonal And Holiday

RyobiNation workshop carts

Submitted by CarolinaL on Sun, 07/08/2018 - 14:23

The plans were easy enough to follow. I made the miter and table saw carts not as long because of the space I had to work with. These were perfect to provide a stand for my saws while at the same time giving me the additional storage I need. This was the last part of the garage that needed to be organized so I'm extremely pleased. 

Estimated Time Investment
Weekend Project (10-20 Hours)
Recommended Skill Level
Beginner

Comments

Rustic X beach beverage center

Submitted by one wolf on Tue, 09/08/2015 - 06:52

We used old dock wood for the surface of our X table for a nice beach house beverage center (sand bar!).  We adjusted the size to fit our space (a little longer and wider) and used additional studs for the shelves instead of 1" shelving, glued and PH/PS together.  To cut the X pieces I just held the 1x1 on the end of the table where it goes and marked the lines. Then I clamped a guide board at the correct angle on the table saw to make all the cuts, starting a bit long and shaving off until it just fit.  


With all the pocket holes and screws I wouldn't consider this a beginner project. Some additional steps and pictures in your description would help also.  End result is really nice.


Built from Plan(s)
Estimated Cost
$50
Estimated Time Investment
Weekend Project (10-20 Hours)
Finish Used
Patina wood from an old dock for the surface and the base is painted flat gray.
Recommended Skill Level
Intermediate

Comments

2x4 Patio Chairs

Submitted by Anonymous (not verified) on Sun, 05/22/2022 - 13:30

Simple to do with a good saw and drill. Took me about 3 hours to do both.

Comments

Lumber Storage

Submitted by Anonymous (not verified) on Sat, 08/20/2022 - 15:44

We are so excited about have an organized way to store our lumber and scraps. We only had to purchase 4 2x4’s for this project and were able to use a lot of on-hand scrap pieces. The plans were so clear and easy to follow. Thank you for sharing!!

Comments

Beginner Farm Table

Submitted by Anonymous (not verified) on Mon, 09/05/2022 - 16:58

I’m in the process of renovating my kitchen and dining area and needed a rectangular table fitting against the wall. I couldn’t find the dimensions I needed so I set out to build my own! I tweaked the beginner farm house table and bench plans to fit my space and voilà! Perfectly what I needed! Thank you, thank you, thank you!

Comments

Dog Houses

Our local Habitat for Humanity puts on an annual event where they get folks to restore discarded or worn down furniture and sell them at auction. My wife and I participated last year and this year I was asked to build 4 dog houses and then they were going to let local designers/decorators finish them out.

I figured it would be easy to find a good dog house plan, but I was wrong so I had to come up with my own designs. I did not want to use plywood becauase I wanted them to look good. So I used 1x4's and 1x6's. I built them all just a little bit different, but the same basic design on all 3. Since I am not very good with circular cuts, did not do any fancy 1/2 circle doorways!

There are "after" pictures on the Blog. Thanks for looking!

Estimated Cost
$100 each
Estimated Time Investment
Afternoon Project (3-6 Hours)
Finish Used
I didn't finish them out, but did use screws to attach everything, so filled those in with wood putty and sanded down of course.
Recommended Skill Level
Beginner

Comments

Cindy from Indiana (not verified)

Sun, 11/06/2011 - 16:10

Great job for a great cause!

Farmhouse bed

Submitted by Anonymous (not verified) on Sun, 01/15/2023 - 18:51

Needed a bed. After looking in town for premade beds, I wasn’t satisfied with the workmanship or price. I thought I could build one much nicer than what I was seeing. With these plans, I was able to make it happen. It turned out way better than expected. After a couple of strikes with paint, I watched a couple of YouTube videos on painting furniture black and that’s all it took to get exactly what I was looking for. Thanks so much for the plans. I also made the mini farmhouse bedside tables. I’ll put pics of it under the tables category

Comments

Modern outdoor 2x4 chair with modification

Submitted by Anonymous (not verified) on Fri, 03/08/2019 - 13:31

This chair was made off Ana white'smodern outdoor chair with modification to add back support. Without the back support the back pillow would keep falling off.  The cushion are 25x25 but very thick for comfort.

Estimated Time Investment
Afternoon Project (3-6 Hours)
Recommended Skill Level
Beginner

Comments

Brittsiana

Sun, 08/16/2020 - 10:03

Does anyone know what degree angle this is for the back support?
I would like to add it to my newly finished chairs I made over the weekend. The pillow keeps falling down.

Smaller Dog Crate / Kennel

Submitted by pamin on Wed, 11/02/2011 - 12:56

Smaller version of Ana's Dog Kennel. Took me about 3 weeks (working on weekends and few hours after work). Made from maple and cherry.

Built from Plan(s)
Estimated Cost
$70 ( I had the tools, just needed to by the wood)
Finish Used
Semi-Gloss Poly, sanding in between (120 -> 180 -> 220 -> 400 -> 600)
Recommended Skill Level
Beginner

Comments

Cindy from Indiana (not verified)

Sun, 11/06/2011 - 16:07

This really looks fabulous! Great job!

As a 'dog family', we always have rescues and visitors on board. This looks so much better than anything I've seen in stores and for less money, too.

I'm definitely adding this to my to-do list.

P.S. Your pup is adorable, too! ;-)

Ejade

Tue, 12/06/2011 - 16:44

I have 2 yorkies and would LOVE to make this for them, this is sooooo going on my todo list.

Koli is tooo cute as well!!!

Proud2busmc (not verified)

Sun, 07/22/2012 - 06:43

This version looks great, how did you do the sides to make it look fancier? I love the personal touches on this crate!

Farm House Table and Bench

Submitted by Anonymous (not verified) on Fri, 05/05/2023 - 08:52