Community Brag Posts

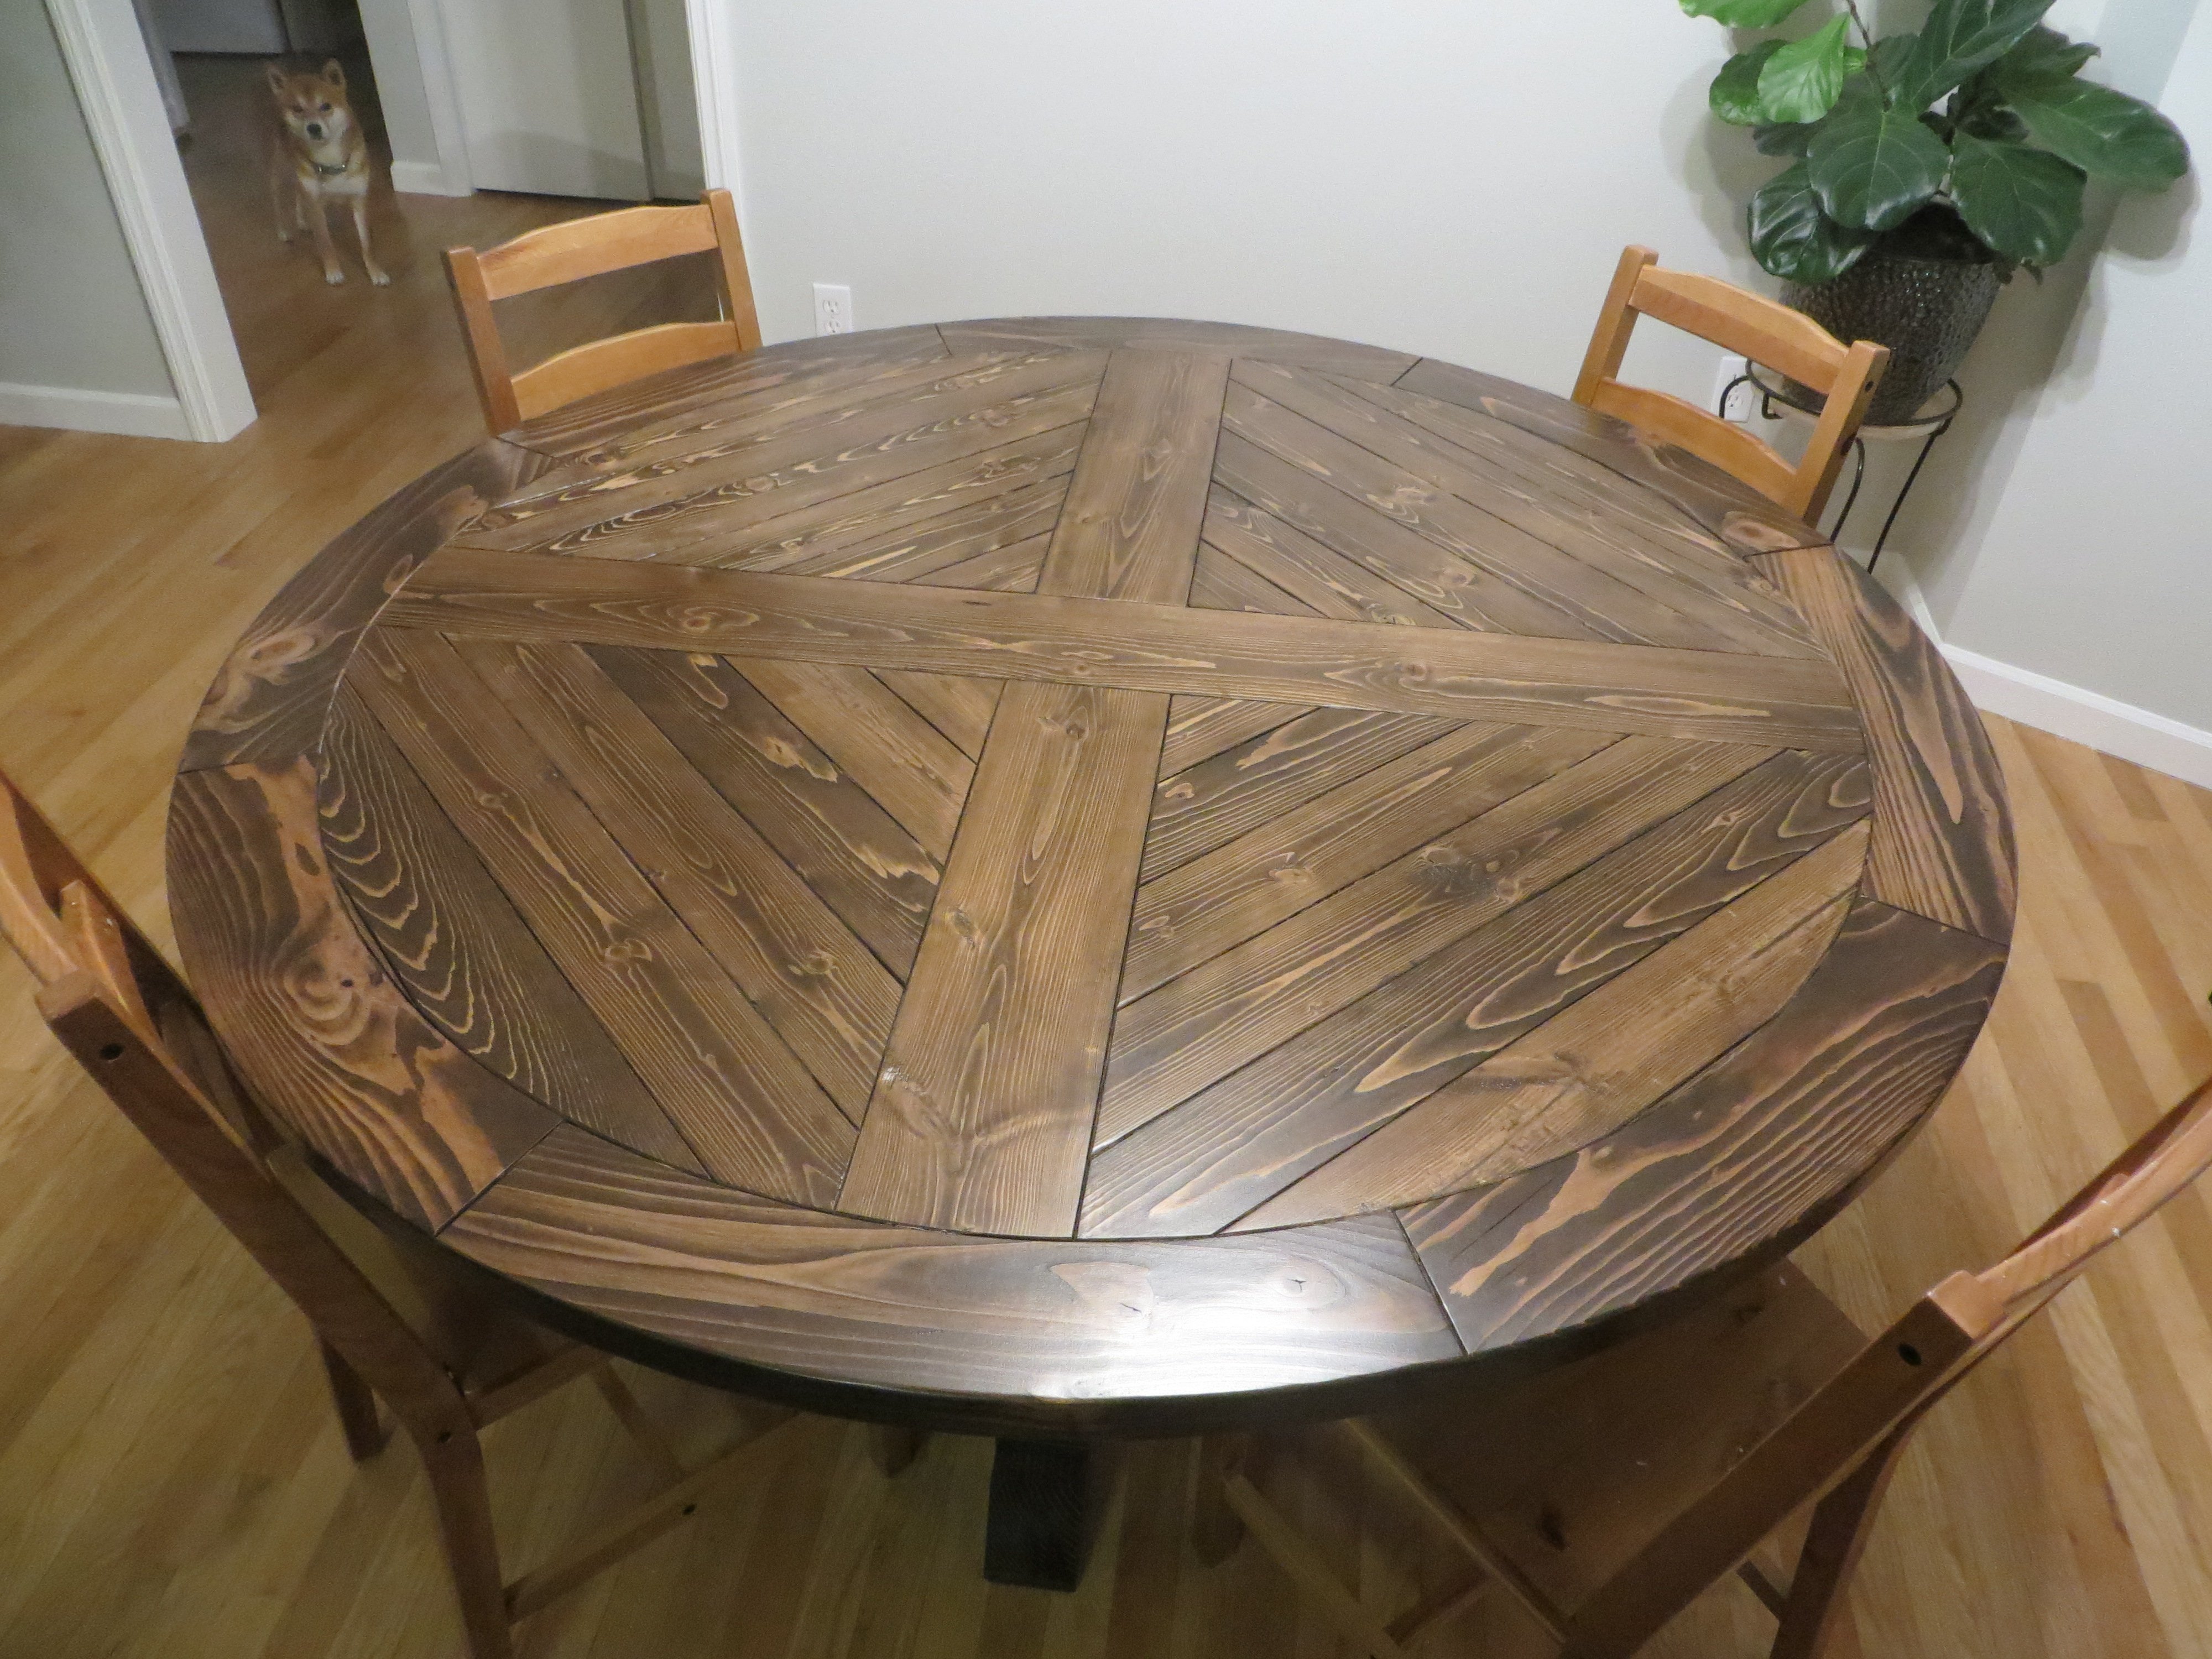
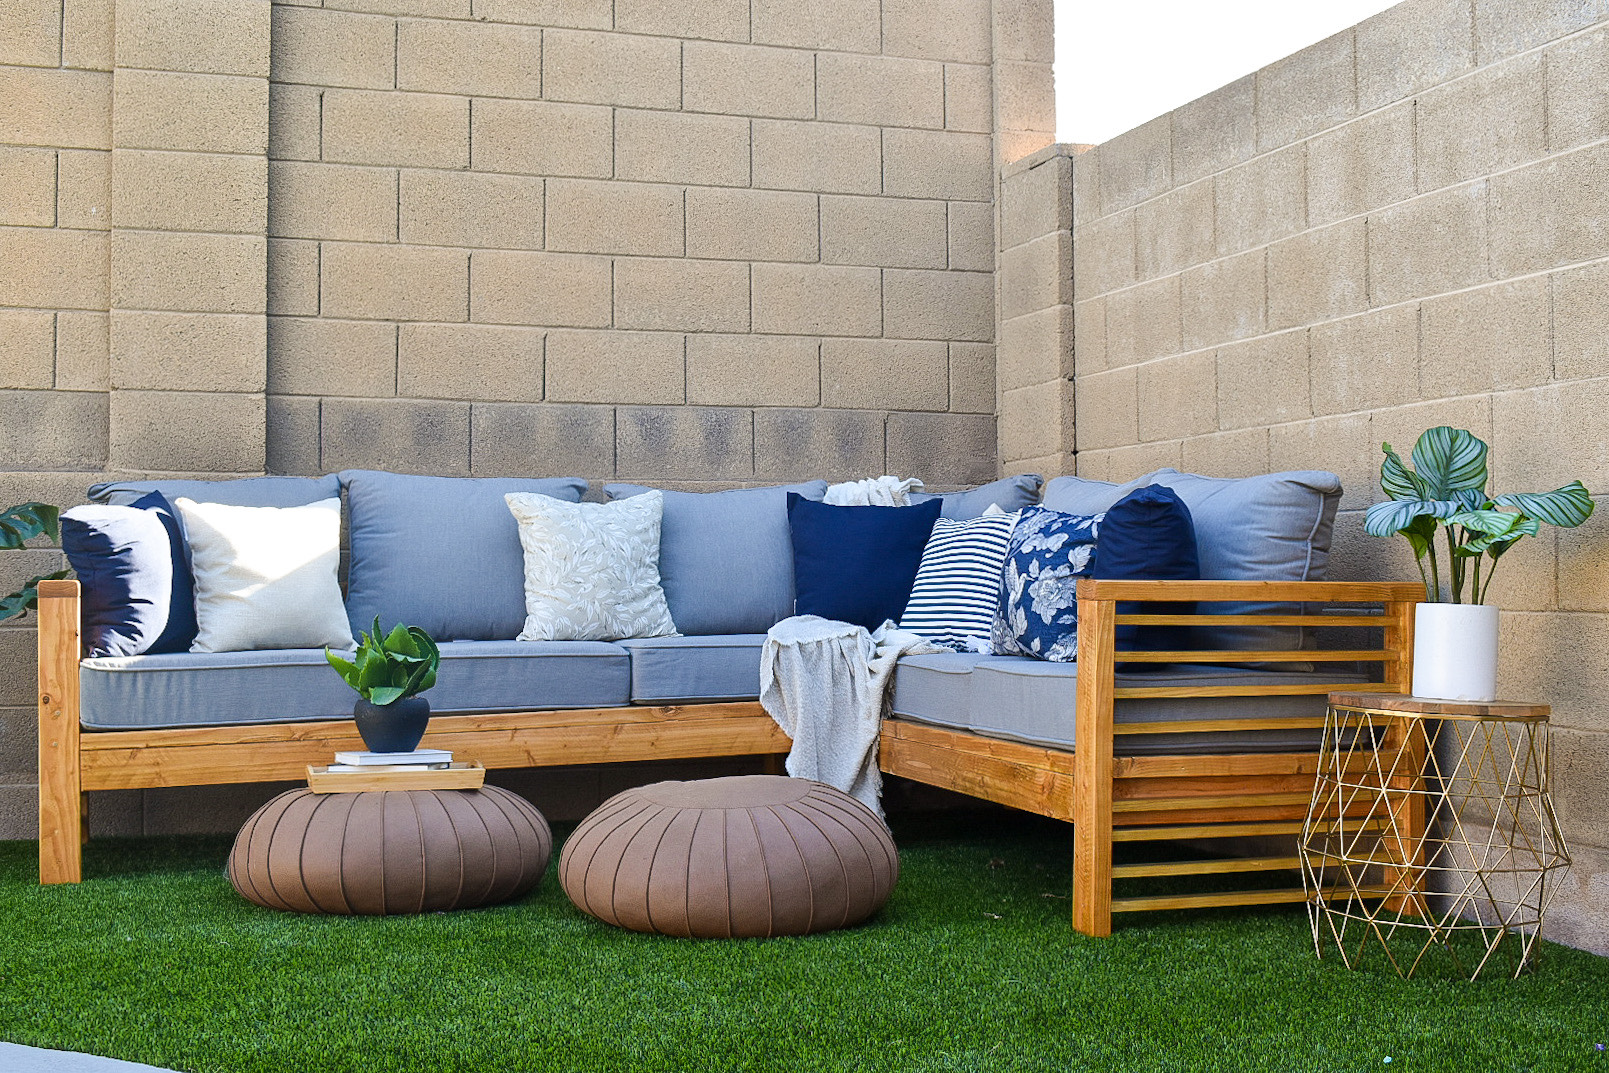
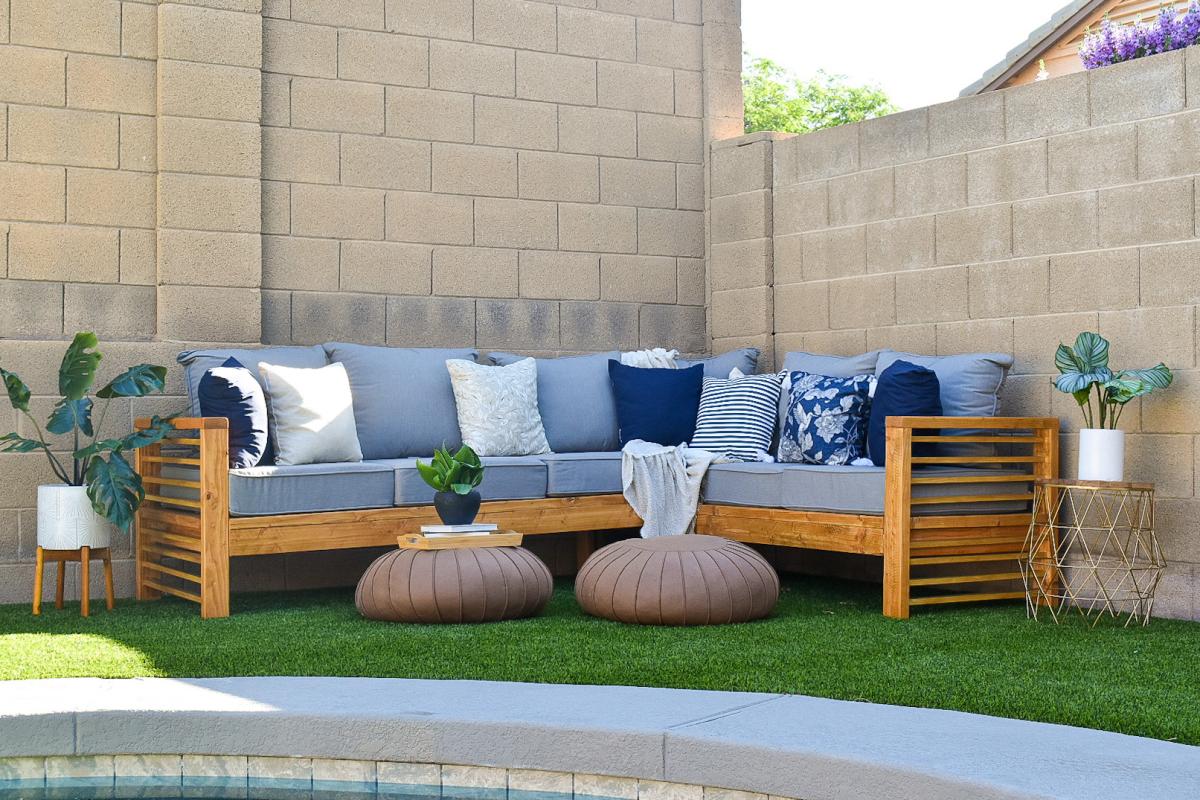
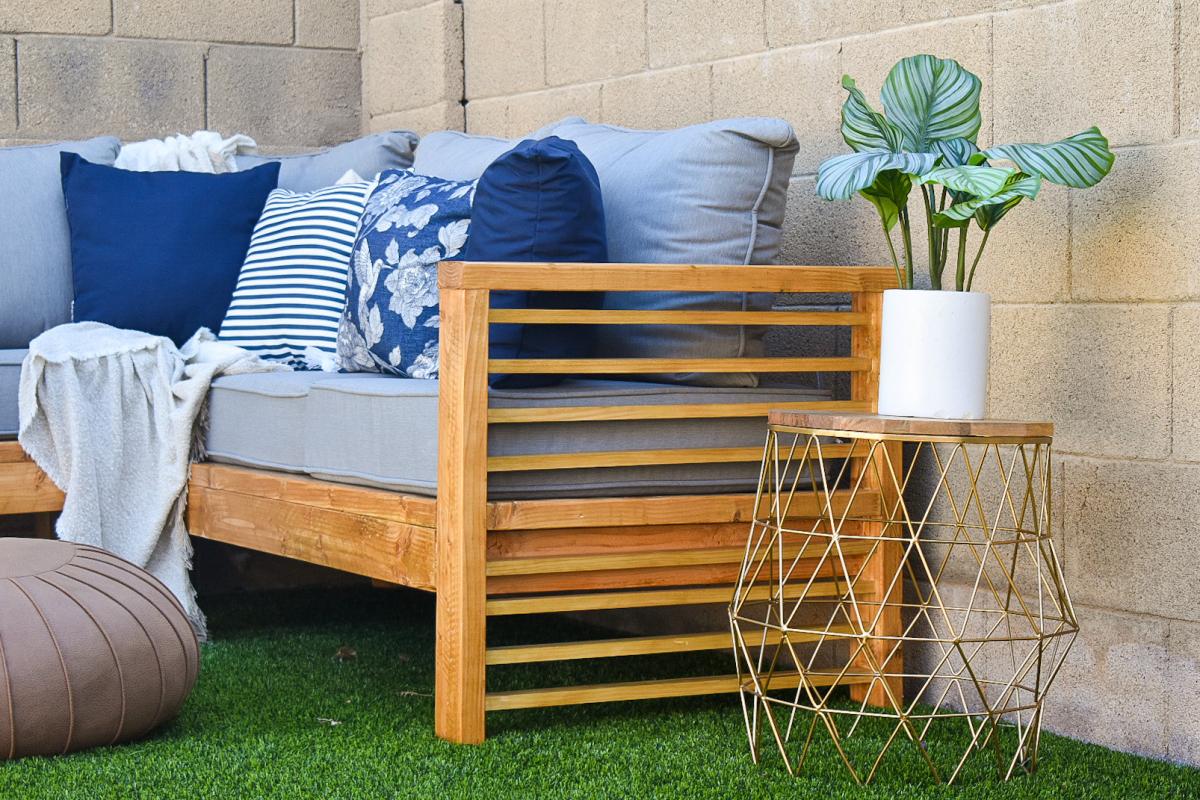
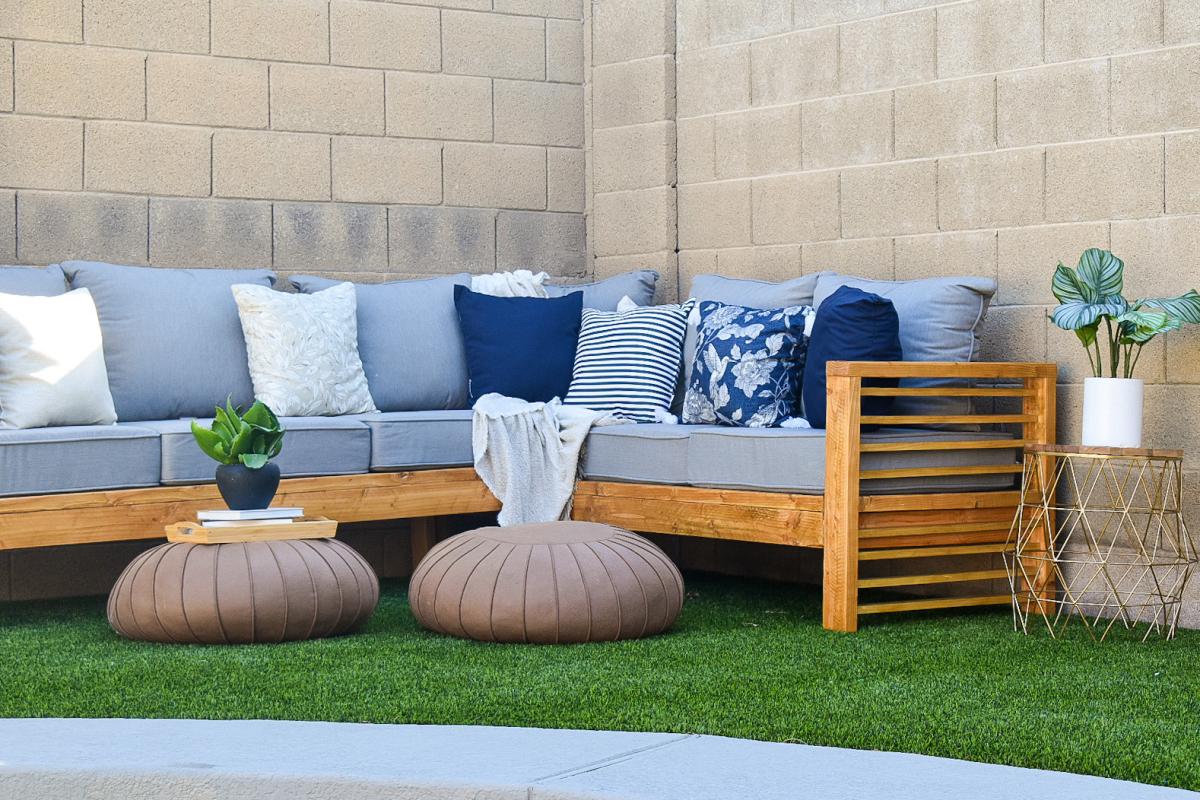
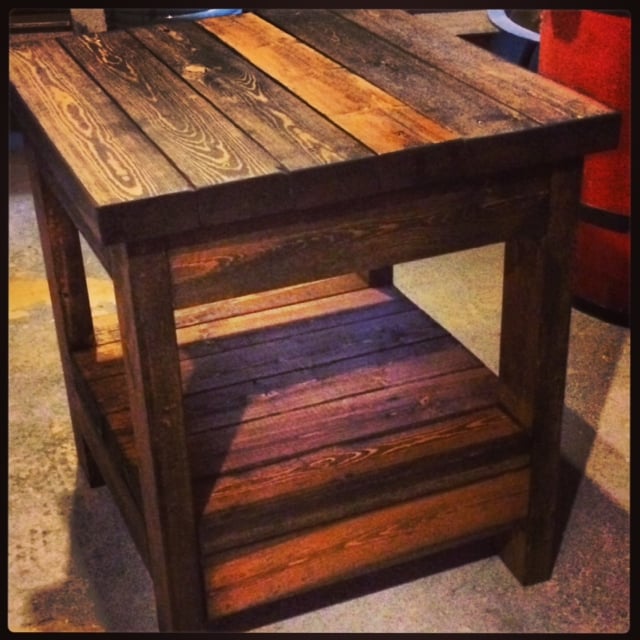
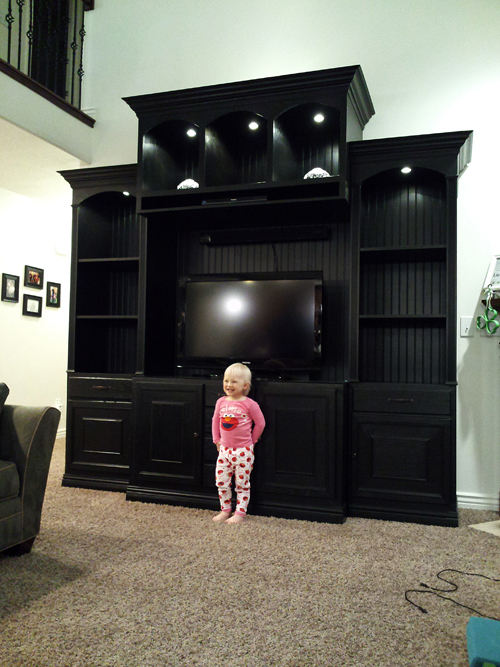
Corner Table for stair landing

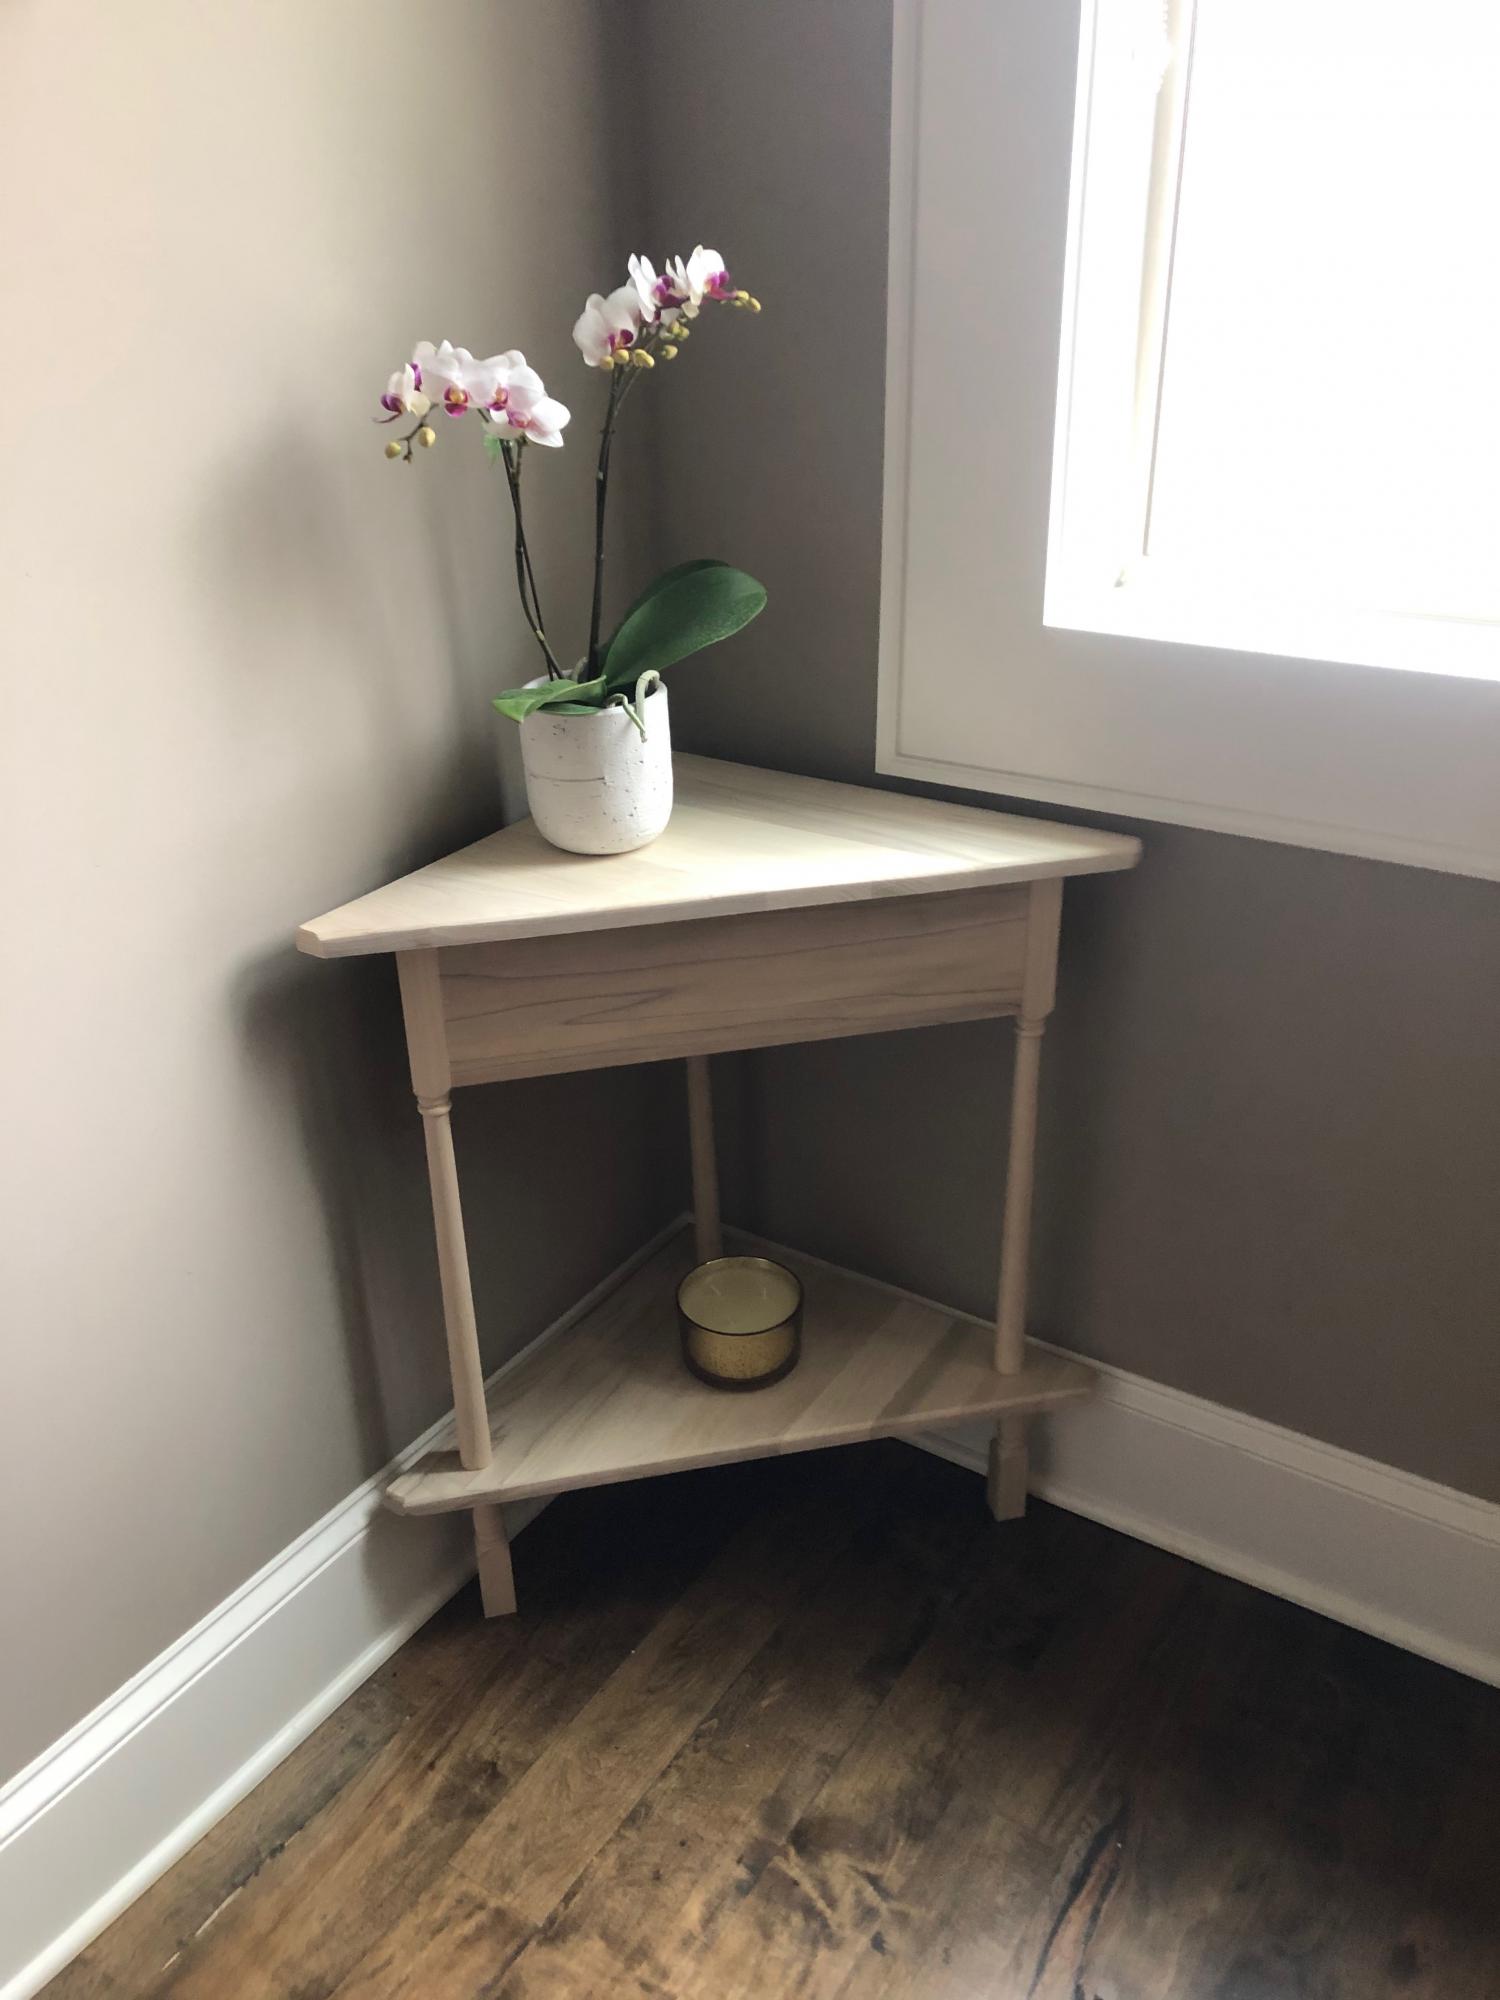
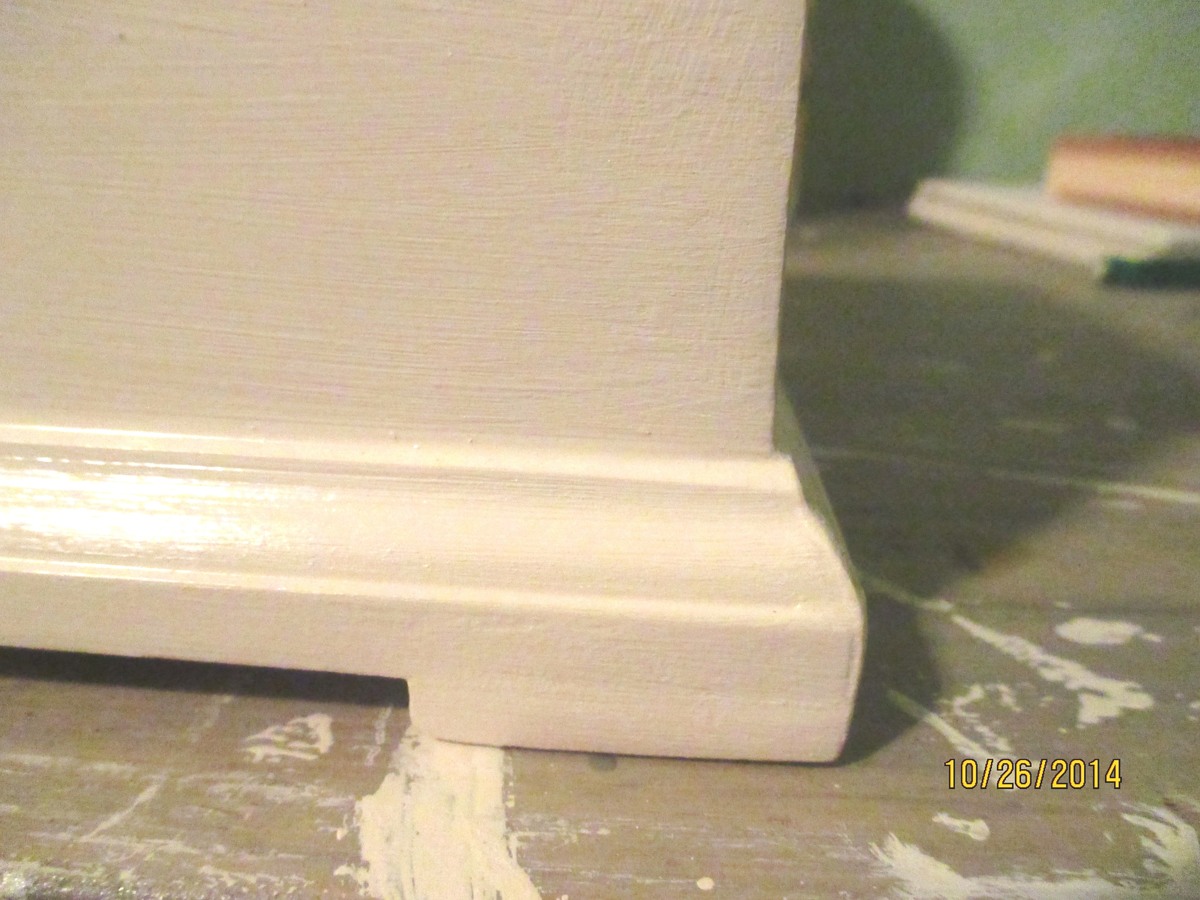
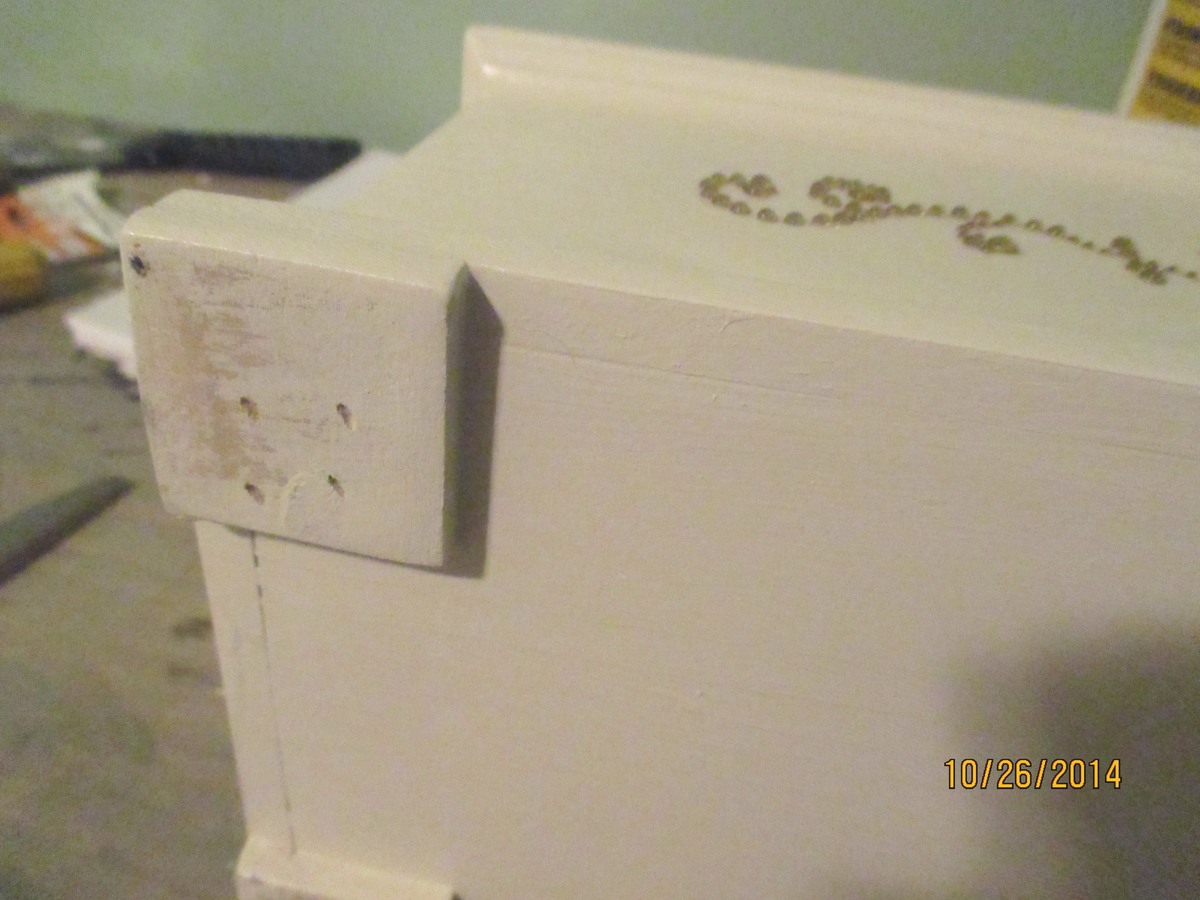
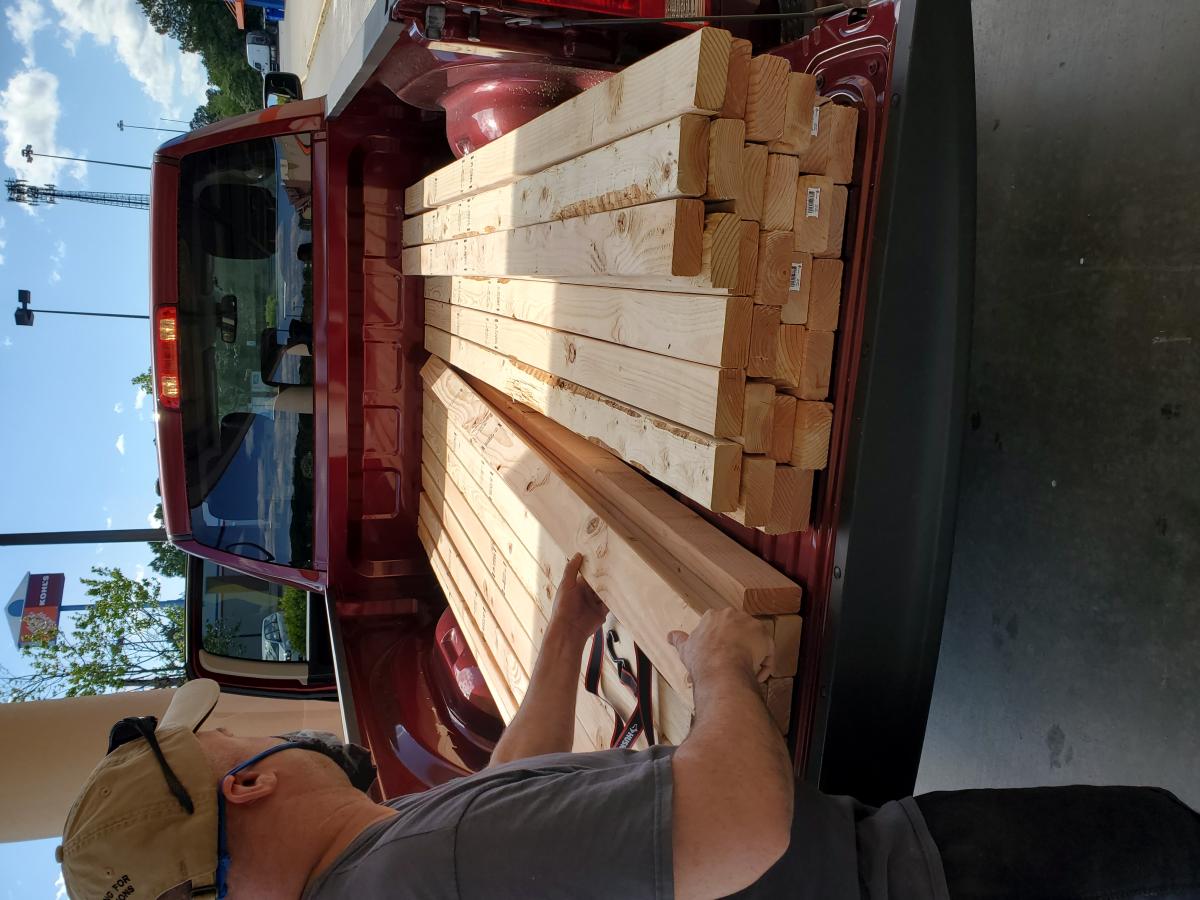
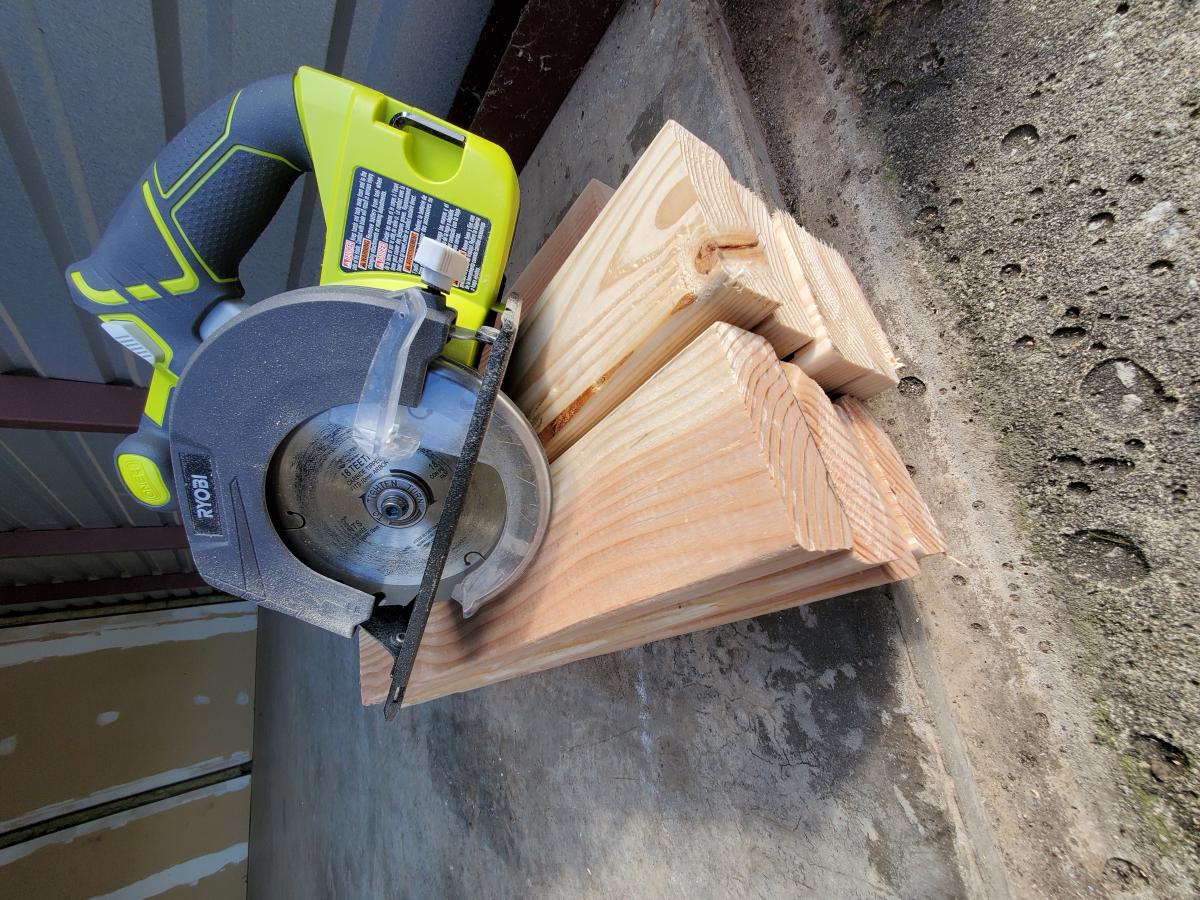
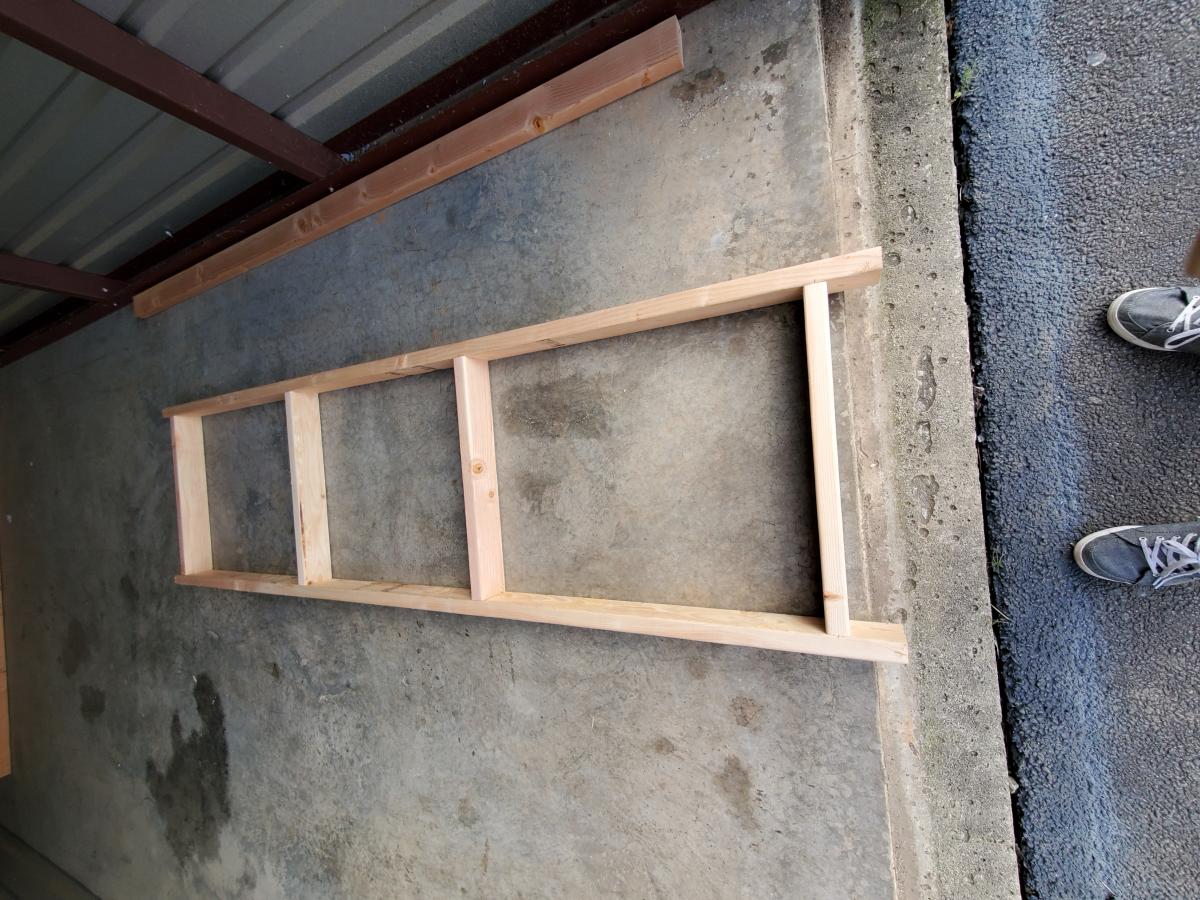
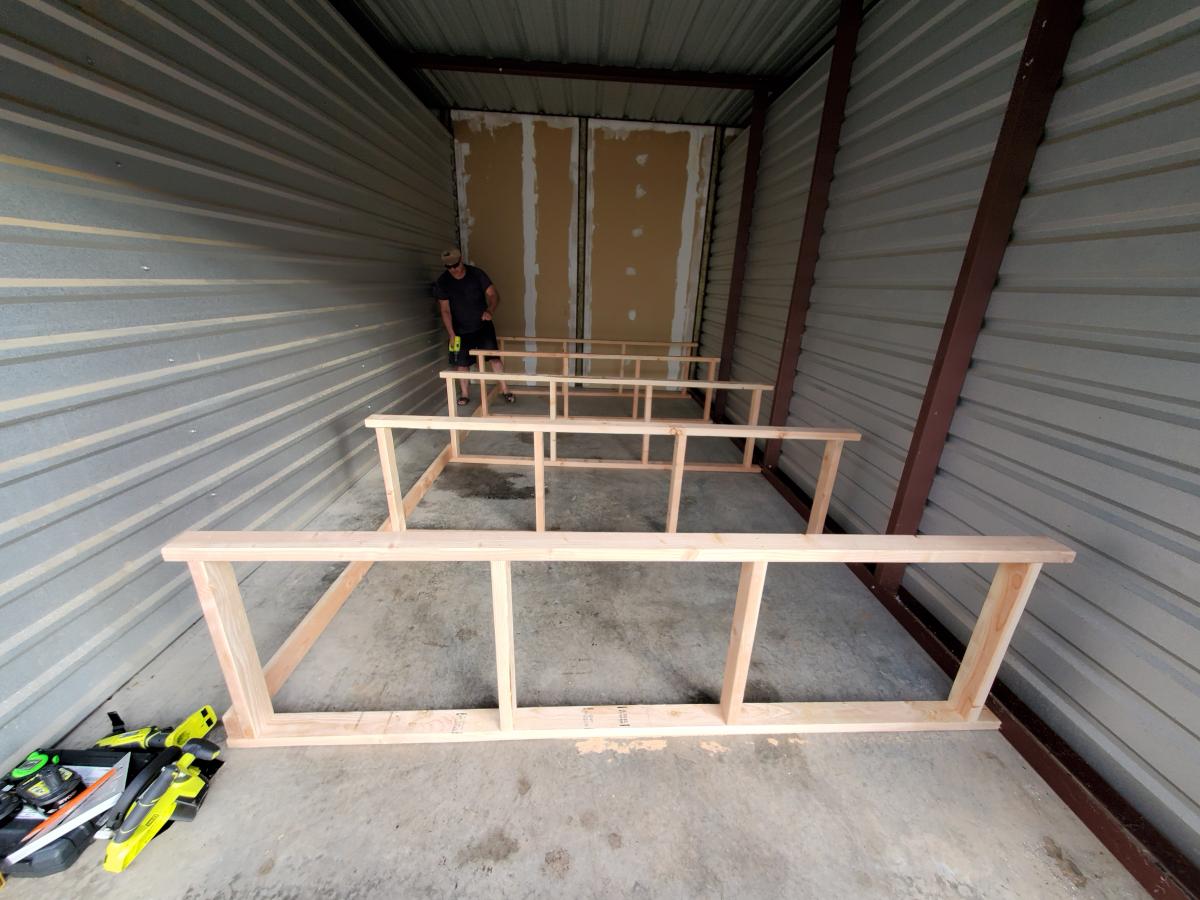
Project for corner of stair landing at my house. Made in an afternoon using poplar wood -- no finish, only water based matte finish polycrylic. No plan used, please let me know if you would like plan supplied.

Estimated Cost
$30
Estimated Time Investment
Afternoon Project (3-6 Hours)
Finish Used
Topcoat only - water based polycrylic
Recommended Skill Level
Intermediate

Comments

Miniature Hope Chest

Submitted by JoanneS on Tue, 10/28/2014 - 18:59

This build is a gift for a friend who is retiring.  It is made from scrap wood and left over finishes, so the only things I had to purchase were the moulding, hinges and “bling”.

Used Georgia’s Jewelry Box plan, with these mods:  made it a little longer with no overhangs; added stop moulding trim around the top and bottom; added some lattice squares for “feet;” added a small sliding tray in aromatic cedar (1/4” cedar closet lining for the tray, stop moulding for the rails), and some self-adhesive rhinestone flourishes (found these at Michaels). 

This would be an afternoon build.  The finish took longer than the build - probably 2 or 3 hrs  (filling, sanding, painting, and attaching the hinges and  “bling”).   It took me much longer to decide how to decorate it, than it did to actually build it ;)

Some squares of sticky-back felt were also added to the bottoms of the feet.

I’m very pleased to say that this gift was a big hit!

Built from Plan(s)
Estimated Cost
$15
Estimated Time Investment
Afternoon Project (3-6 Hours)
Finish Used
Finish is 3 coats of Ace Royal semi-gloss in Crushed Peanut, sanded between coats, and the rhinestones are a champagne gold color. Also added some crystal clear super glue (I used Loctite) around the rhinestones with a tiny artist brush, to make sure the stones stay in place.
Recommended Skill Level
Beginner

Comments

JoanneS

Fri, 10/31/2014 - 15:24

Thank you for the nice comment!  :)  I might build some more of these for Christmas gifts.

:)

Outdoor Furniture Set

Submitted by Anonymous (not verified) on Sun, 11/08/2020 - 16:56

This set was the first thing I've built. I did it completely by myself and am so proud! I started with the coffee table to get a hang of the tools the. Moved on and made the sofa, love seat, and two chairs. I had a little trouble finding cushions but eventually found some at Lowe's. The cushions are just so expensive. I didn't love the color of the stain on the coffee table and the plan was to sand it and retain after staining the rest but I actually like how it stands out. It took a long time to finish because I had to work on it whenever I had spare time but a motivated individual with some building experience could do this all in a weekend or two. Coat of wood and screws for the whole project was $350. All the cushions were $518.

Estimated Cost
$875
Estimated Time Investment
Week Long Project (20 Hours or More)
Recommended Skill Level
Beginner

Comments

Seasonal And Holiday

Round X Base Pedestal Dining Table

Submitted by bRick on Thu, 12/18/2014 - 18:05

We wanted a round table that would seat a full Monopoly game. To do this we needed about a 5' diameter tabletop.  The base was made consistent with the plans.  

A few tips on the base:

  1. Get your angles as close to 45° as you can.  Otherwise, there will be much sanding and puttying in your future.  
  2. If you want to hide your lag screw like I did, I used a spade bit to recess an area for the screw head.  Then I glued in a plug made from dowel and sanded flush.  

If you want to make a round tabletop, here is what I did (there may be better methods).  Keep in mind this was for a ~60" diameter table, I was assuming that the perimeter arc pieces would be about 4.5" wide and that I would cut the inner circle at a 50" diameter.

  1. Picture 1 - I built two 5' slabs of (7) 2x4s pocket-holed together.  
  2. Picture 2 - Then I cut two pieces from each slab that would later make up the 90° "pie slice" pieces.  Make sure to remove the screws that will be in the way your saw blade. Also, you just have to concern yourself with the angle since the radius will be dealt with later.  There is a lot of wood waste with this method, but I think it avoided headaches. 
  3. Picture 3 - I assembled (screwed and glued) the "pie pieces"to the cross pieces. The length of the cross pieces don't matter much since they will also be to cut to a specified radius.  Since I would be cutting a 50" diameter circle, the large cross piece had to be at least 50" and the two small pieces had to be at least 22.25" (subtracting the 2x6 width).  
    1. Picture 3 - I mounted my router to a piece of MDF and drilled a hole at the necessary distance to cut a 50" diameter circle. This distance is 25" + half of the bit diameter.  Since I used a 1/2" straight bit, my point was 25.25" from the center of the router bit.  I screwed this jig to the center of the tabletop assembly so the router could pivot and cut a circle.  As for logistics, I rested this assembly on some scrap wood and kneeled on the tabletop as I was cutting it.  It took a large number of passes with the router since I was cutting through 1.5" of material. 
  4. Picture 4 - The perimeter pieces required some time and geometry. I found that I would need (8) 23" 2x8 pieces (the 23" is approximate because I was a little off for some reason, though I can't recall why).  From those pieces, I used the same router jig to cut the perimeter arc pieces. You will need to make two new radius holes in teh jig to accomplish what you need.  To cut the inner arc you need a hole set at 25" - half of the bit diameter (24.75" for me).  To cut the outer arc, I used a hole that was 29 5/8" from the center of the router bit.  You may need to do some fine tuning to these pieces to get them to fit correctly, but for me it pretty minor.  I trimmed a couple pieces with a miter saw but that was it. 
  5. The rest is screws and glue. 
Estimated Time Investment
Week Long Project (20 Hours or More)
Finish Used
Sanded using 60, then 120 grit. The stain was Rust-Oleum's Ultimate Wood Stain in Dark Walnut. The top coat was General Finishes water-based polyurethane in flat. One coat of stain, six coats of poly, while sanding with grade #0000 steel wool after every other coat.
Recommended Skill Level
Intermediate

Comments

ILoveDIYing

Sun, 03/08/2015 - 10:23

Hi, your table is beautiful! I was wondering if you had to increase the size of your base since your table top is 60". I'm going to be building a round one the same size and wanted to make sure it would be stable at the current size.

bRick

Fri, 03/13/2015 - 20:36

The only modification I made to the base was the to the lengths of the 2x4 pieces that make up the "X" that sits between the base and the tabletop. In the plans, this "X" is made of (1) 32" piece and (2) 14.5" pieces. I believe I increased these to 36" and 16.5", respectively. Truthfully, I don't think this modification added much value.

I did some calculations and at a 60" diameter, it would've taken over 100 lbs placed at the edge of the table. This was also a function of the weight of the table. The heavier the table, the more stable it will be.

Momma Gladden

Sun, 04/05/2015 - 19:21

I want to put a concrete top on this base and increase the diameter to 72". Would I need to increase the size of the base to accommodate the larger and heavier top? Thank you

bRick

Tue, 04/14/2015 - 20:20

It all depends on how much your tabletop weighs. I'm going to take a wild guess that your tabletop will weigh around 500 lbs (~28 sq. ft. at ~18 lbs/sq. ft.). For reference, I think my wood top weighed about 80 lbs. I will also assume the wood base weighs 50 lbs. Using these assumptions, the result is a worst-case scenario (weight placed at edge of table, tipping between two table legs) of tipping at 300 lbs. The lighter the tabletop, the less stable it will be. Since your concrete table is likely to weigh a lot more than my wood top, it will be a lot more stable.

That addresses the design and assumes none of the wood or connections (screws) fail under the increased load (weight of concrete). I can't speak very confident to this aspect. Though I can venture a guess. I will guess that it will be stable under no load, but there will increased loads when under uneven stress (i.e. somebody leaning on one side of the table). Honestly, I don't know how valuable any further speculation would be.

X3cougsp

Tue, 09/06/2016 - 08:14

Can the pedestal hold a 66"- 72" top?  I've been searching for a table that seats 6 comfortably with an occasional squeeze for 8.  I think a 60" would work but my husband thinks 72".  We are struggling to find exactly what we want and are now investigating DIYs .  This is a beautiful table!!  

In reply to by X3cougsp

bRick

Wed, 10/05/2016 - 17:16

This is a conversation that we had in our house as well. My personal opinion is that 60" is big enough for 6 people and good enough for 8 people. What we did to "dry run" it was I cut a board to 72" and set it up at table height and we sat at oppposite ends of the board. I asked my wife if it was too big and we both agreed that not only would really shrink the room, but it also was too big for regular use. We currently have 6 chairs around this on a regular basis. As for the stability of the table itself, you may want to increase the width of the base. I say this because 74 lbs at the edge of the table (in between legs) will cause the table to tip, which is probably a force that will be exceeded by someone leaning on it. 

bRick

Thu, 12/22/2016 - 20:58

I used the jig that I made the large circle but made a couple new radii. The inner edge was the round piece radius minus half of the bit diameter. The other radius is as wide as you want to make it. 


I fixed this jig to my work bench and set it up so that I would be cutting each piece identically. I have a picture that I'll add that shows it better than I can explain it. 

In reply to by Omally83

bRick

Sat, 01/21/2017 - 07:46

I believe my approach was that I cut the 2x8s to the length that would produce the arc length I was looking for. So basically the outer edge was going to (if my jig did its job) be exactly as long as I needed it to be. With that in mind, I used a piece of yarn tied to the pivot point on the jig that I was using and used that to tell me where I needed to make the cut. 

Otherwise, I could've used trig to figure it out but I was all angled out by that point. With 8 border pieces they should each cover 45 degrees (360/8) and the other two angles should be equal ((180 - 45))/2=67.5) resulting in a 67.5 degree angle. The trouble in using that method is it doesn't account for all the little screw-ups that may have thrown off certain measurements. Plus, the yarn-thing was pretty easy. 

SueInVA

Sat, 01/23/2021 - 14:17

We made the table base for a 60" solid walnut top (used the wider measurements). When people get up from the table, my husband thinks the base twists when they push off. Has anyone else noticed this or have a suggestion on how to make the table not twist? Thanks, Sue

Picnic Table

Submitted by Medickep on Mon, 05/06/2013 - 07:39

My wife started looking at expensive patio sets, which I thought were not worth the price, so I decided to build a picnic table. This is not the cheapest table out there, but it's built to last for years!! I used a high quality cedar as I got a price cut from a friend. I also used deck screws, so there would be no rusty screws!! The table top measures 7' long and looks like one you would see at a state park, notHome Depot!

Estimated Time Investment
Weekend Project (10-20 Hours)
Finish Used
Cabot Australian Timber oil: For this project I went with an oil project so I wouldn't have to sand it every year, like so many in my area with their decks. With this product, you simply clean the table and reapply!!
Recommended Skill Level
Beginner

Comments

Medickep

Thu, 09/05/2013 - 13:04

Thank your hanks for the kind words! This was my first real project and I was pleased with the results!

Gerry Czerniawski

Thu, 08/25/2016 - 09:48

Really like the picnic table - do you have plans for this? (I'm new to this site so apologies if they are here but I just could not see where?).

best wishes

Gerry

Patio Revamp, Part 2

Submitted by BrookeEye on Mon, 07/27/2015 - 08:54

We needed a new table for our patio, so we looked no further than Ana's plans. I was going back and forth deciding between various table plans until I saw the plans for the Providence Table and Providence Bench, and it was love at first sight. The whole project turned out to be a relatively easy build for us, and we are just about as "amateur" at woodworking as it gets! We used white pine for the entire project. We shortened the table about 18 inches to fit our space. It is so gorgeous, we have gotten tons of compliments from guests so far and we absolutely love it! Thanks, Ana!!

Estimated Cost
$70 for the wood
$20 for the paint
$15 for the stain
$20 for the Kreg blue kote screws and brushes;

$125 Total.
Estimated Time Investment
Weekend Project (10-20 Hours)
Finish Used
Behr Exterior Paint in Pure White for the bottom;
Minwax Classic Gray stain for the top boards with Minwax Spar Urethane (for exterior use) in Satin as a sealer (on the top only).
Recommended Skill Level
Beginner

Comments

Framed and Tufted Upholstered Headboard

Submitted by marrsgirl on Wed, 08/21/2013 - 17:16

I love the look of diamond tufting, so that's how I did the upholstered insert, which added hours to the project. The frame itself was built in about 3 hours, so this could easily be an afternoon project if you skipped the tufting.

Estimated Cost
$200
Estimated Time Investment
Weekend Project (10-20 Hours)
Finish Used
Behr "White Mocha" with wipe-on poly finish
Recommended Skill Level
Beginner

Corner Hutch Storage Bed for my Girls

Submitted by hawaiitara on Tue, 08/09/2011 - 16:19

I made this bed for my 2 girls who share a room. It was my first real attempt at building anything substantial. They are thrilled. The plans were so easy to follow. The only thing I did different was use 3 inch screws in the hutch base because I felt it made it more sturdy. I used bead board for the outside of the hutch and the back of the book cases. Thanks Ana for such great plans.

Estimated Cost
$525
Estimated Time Investment
Weekend Project (10-20 Hours)
Finish Used
White semi gloss paint with special walnut minwax stain brushed over to age
Recommended Skill Level
Beginner

Comments

sgilly

Tue, 08/09/2011 - 18:31

What lucky little girls to have a mom who can build them beautiful furniture! Great job.

Rachel Stacy (not verified)

Tue, 12/25/2012 - 04:39

I really want to do this for our twins who are about to move to big girl beds. However, I do not see the plans for this. Do you have a pdf to show how to build them? I especially love the hutch!

L shaped loft beds

Submitted by AbiCurrie on Wed, 01/13/2016 - 00:49

We have 12 foot studs in our house so I wanted to make use of the height of our ceiling to provide more space on the floor for the boys to play! With two boys sharing a room, the beds were going to take up a lot of valuable floor space. I found the bunk bed plans in Ana's book and decided to modify them to make loft beds. We had to do two so decided on an L shape so we could fit them into the room! Once we made the first bed we decided we should put only one set of stairs in to save space. The safest way we could think to do this was to place the stairs against the wall so the boys were less likely to fall. The stairs double as book shelves. The coloured rope was an added safety feature we thought up and gives me peace of mind! This was a fun, relatively easy build for two non-builders making their first big project. I bought a Kreg pocket hole jig for this project and it was a life saver. I can't imagine doing this build with out it!!! We completed it in about two to three days while my brother was down on holiday. It was fun and good brother sister bonding time! I am about to embark on phase two of the boys room, this time by myself , adding a storage dresser under one bed. I will modify Ana's laundry dresser plans to fit some plastic storage boxes. Then a day bed/sofa under the other bed using Ana's Alaska cabins day beds plan and finally (if I'm still standing) a shorter version of the craft table for the middle of the room! That's my year planned! Hope you enjoy the pictures, the beds are so big and high it's very hard to get a good photo. 

Estimated Cost
$300-400 NZD
Estimated Time Investment
Weekend Project (10-20 Hours)
Finish Used
Dulux - White paint matte finish. I painted all the wood before assembly, I highly recommend this. It needs another coat post build but I can confess I haven't gotten around to it yet!!!
Recommended Skill Level
Beginner

Bird Houses

I love this pattern of Ana's! My husband and I made these together. We have 3 very tall pine trees close together, planted by my Mum 50 years ago; one for each child. Now a cedar bird house for each tree. An extra for our cottage in Garden of Eden, Nova Scotia.

Thank you for sharing this pattern Ana.

Darlene & Garry

Estimated Time Investment
Day Project (6-9 Hours)
Recommended Skill Level
Starter Project

Tapered Cedar Tall Planter

Submitted by Anonymous (not verified) on Sun, 07/02/2023 - 11:30

My husband made these fabulous tall planters based on your plans and video. We painted them the same color as the trim on our home. We live in Florida so instead of filling the entire planter with potting soil my husband put screening about 1/4 from the top so the plants can drain easily, especially in the rainy season. He made the planters with pressure treated wood which is perfect in south Florida.

Thank you so much for providing us with such a beautiful idea for unique and custom planters. My husband had a great time with this project and the results are just fabulous.

Annemarie

Built from Plan(s)

Tryde End Table w/Shelf

Submitted by Ckb210 on Tue, 12/31/2013 - 08:55

The first of many projects to come. I plan on modifiying the design to create a taller table to join as a bedside nester. Photos soon!

Estimated Time Investment
Afternoon Project (3-6 Hours)
Finish Used
Dark Walnut
Recommended Skill Level
Beginner

The Entertainment Center

Submitted by a.mcdaniel on Mon, 03/19/2012 - 00:34

It took 2 1/2 months and a LOT of wood, but my husband created this masterpeice. Thank you to the inspiration provided by Ana White and Kristen Lotz, we have finally done our biggest project yet!

Estimated Cost
1000.00
Estimated Time Investment
Week Long Project (20 Hours or More)
Recommended Skill Level
Advanced

Comments

a.mcdaniel

Wed, 03/21/2012 - 10:22

Thank you so much, Ana! That comment means a lot to my husband and I! He is so amazing at building things now and your website has been a major inspiration for him - THANK YOU! THANK YOU! THANK YOU! Now our new home is becoming more "ours."

Christie (not verified)

Thu, 07/26/2012 - 20:44

Both yours and Ana's centers are beautiful! I am a little more drawn to yours with the lighting and architectural touches you've added. Did you have a formal plan drawn for it? I would like to make an exact replica of it if possible. It is just stunning and exactly what I am looking for. GREAT JOB!!!

kristenlotz

Wed, 12/19/2012 - 15:58

I love it. I am so glad our project inspired you to build this! You incorporated a lot of the things we considered during the build such as fluted stiles on the bookcases, downlights, and faux raised panel doors. Now, we just need to see pictures with it all decorated.

kristenlotz

Mon, 12/31/2012 - 14:42

I finally got around to making the plans for our entertainment center (well, actually my husband did it). It is very similar to yours with a few exceptions. Hopefully that helps those looking for plans for this beautiful entertainment center. I love finding brag posts of similar entertainment centers because they are absolutely beautiful at a fraction of the cost of buying one. And we love telling people that we built it!

http://www.jrlwoodworking.com/2012/12/furniture-plans-custom-entertainm…

Thanks,

Secretary's Desk Turned Shoe Cabinet

Submitted by sraper2 on Mon, 05/02/2016 - 11:36

I need some shoe storage near my front door that would hide all of our shoes.  I used the plans from the book for the secretary's desk and added an extra shelf.  Check out my blog post for step by step pictures.

Estimated Cost
$100
Estimated Time Investment
Day Project (6-9 Hours)
Finish Used
Paint
Recommended Skill Level
Intermediate

Farmhouse Bed with Storage and Bookshelf footboard

Submitted by rbgreene04 on Sat, 05/21/2016 - 15:50

I altered the plans just a bit so that I could make use of the drawer closest to the headboard, while using bedside tables as well (not the ugly ones in the pictures, but some that only exist in my mind as of now). With the plan as is, I didn't think that first drawer would be able to open if you have a nightstand. So I left about a 17" gap that can be used as an open shelf for storage, and still had room for 3 drawers. I also wanted to include a bookshelf as the footboard to make it multifunctional. We have a ton of books and no place to store them (fear not, a large bookshelf/media center is coming soon!) I also altered the top of the headboard just a bit to give it more texture and visual appeal (hopefully, but beauty is in the eye of the beholder so I've been told). Lastly, I did not put the 1/4" plywood backing on the drawer carcasses. They were pretty sturdy as is, and only got more sturdy as they were attached to the headboard and footboard; I'm not worried about racking at all. Leaving the back off also allows me to pull the drawers out and access some hidden storage in between the two drawer carcasses. 

I wanted a simple finish, so I rubbed it with dark walnut Danish oil. Super simple finish and I think it'll hold up as the bed is not like a desk that needs poly or something. 

Estimated Cost
Cost? Great question! I build things, but don't keep track of receipts. Whoops! It's a major flaw of mine, and I'm working on it. I'd estimate just shy of $300.
Estimated Time Investment
Week Long Project (20 Hours or More)
Finish Used
I sanded to 120 and then lathered on Dark walnut Danish oil. I let it soak into the wood, and boy was the wood thirsty. Then reapplied after about 30 minutes and wiped off the excess, which there wasn't much excess--did I mention the wood was thirsty?
Recommended Skill Level
Intermediate

Comments

ciara5545

Sun, 08/28/2016 - 19:50

This bed turned out amazing.  I love the modifications and agree the first drawer will be more usable.

DIY Shed

Submitted by Anonymous (not verified) on Mon, 11/06/2023 - 11:07

8’ by 12’ shed with extra 15” of height. Thanks for the plans!

Built from Plan(s)

Workbench

Wasn’t too awful bad. The cuts were basic and easy to duplicate. I would recommend having some clamps to hold the supports in place while you try to screw them together. Otherwise, this table is pretty heavy duty and a lot bigger than I thought it would be. I sprung for a more durable and harder wood top, oak so the cost was about $25 more.

Estimated Cost
100
Estimated Time Investment
Day Project (6-9 Hours)
Finish Used
None
Recommended Skill Level
Beginner

Freestanding Garage Shelves

Submitted by Jeanna on Mon, 04/27/2020 - 08:07

This was our first real DIY from scratch project. We somehow made it a bit too tall and so have not put the top shelf planks on. Over all we are pretty happy with it. This was in a rental storage unit. We plan to give it another go in our garage too.

Estimated Time Investment
An Hour or Two (0-2 Hours)
Finish Used
None
Recommended Skill Level
Beginner

Mountain Cabin Bed

Submitted by Anonymous (not verified) on Tue, 01/02/2024 - 13:07

This is Ana’s Farmhouse king bed. We just built a mountain Cabin and I thought I could save a few bucks by making a couple beds. I only made one because just the ability to get the wood transported and moving it all was a bit more than this 50++ lady was counting on. BUT, I’m super proud of how it turned out. The stain was a mixture of 4-5 Minwax samples that we had from the home build.


Back