Rustic X Coffee Table and Side Table
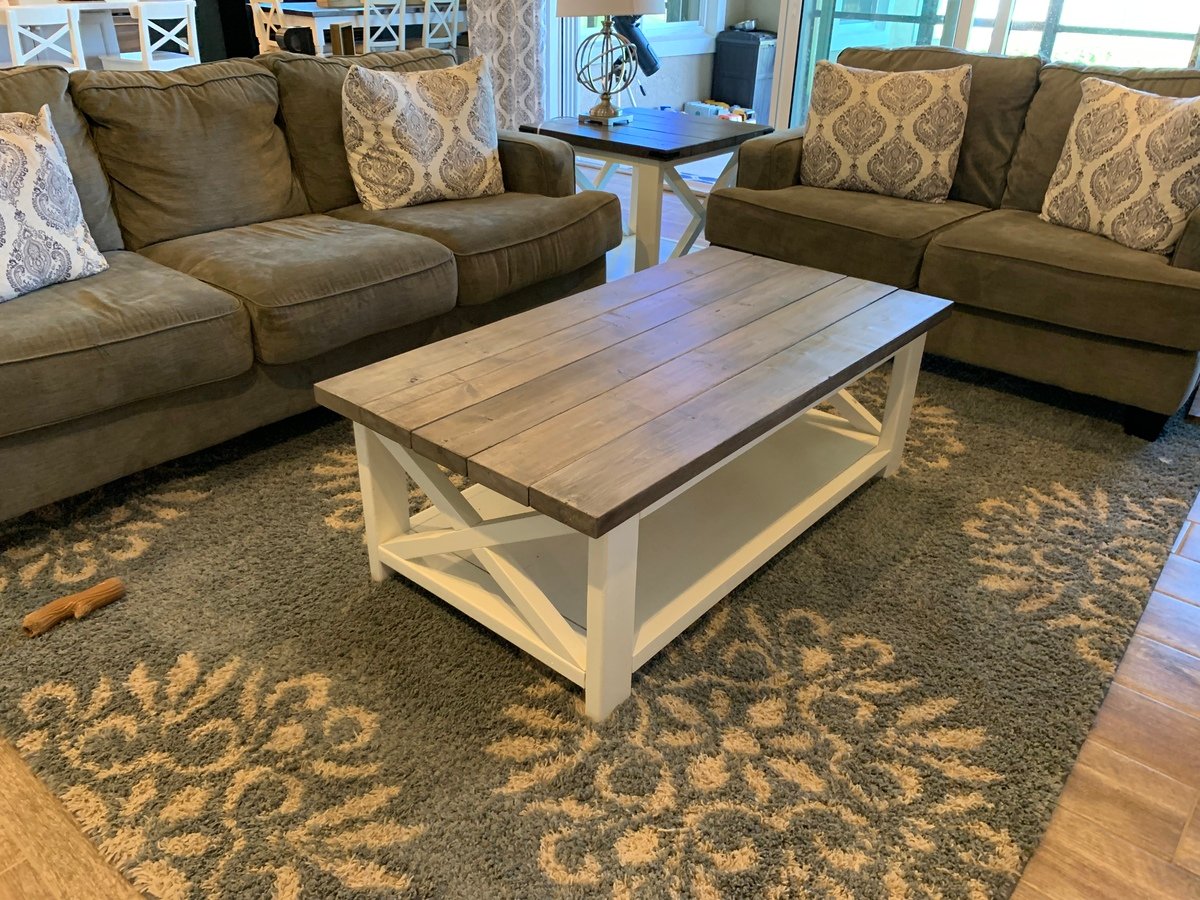
I absolutely love how this coffee and end table set have completed my living room. Each one took me about a day to complete and $80 or less!! Excellent, detailed plans resulting in a gorgeous piece. Thank you!
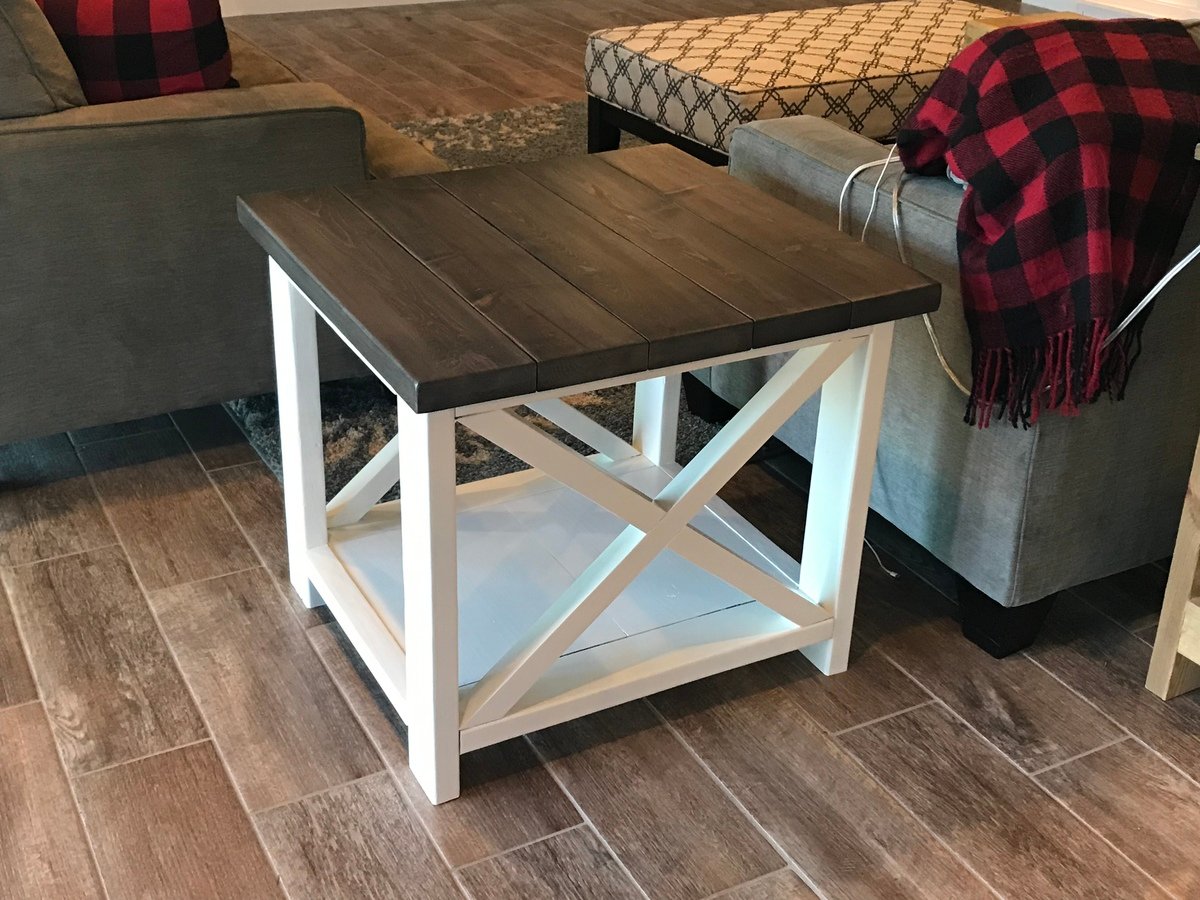

I absolutely love how this coffee and end table set have completed my living room. Each one took me about a day to complete and $80 or less!! Excellent, detailed plans resulting in a gorgeous piece. Thank you!

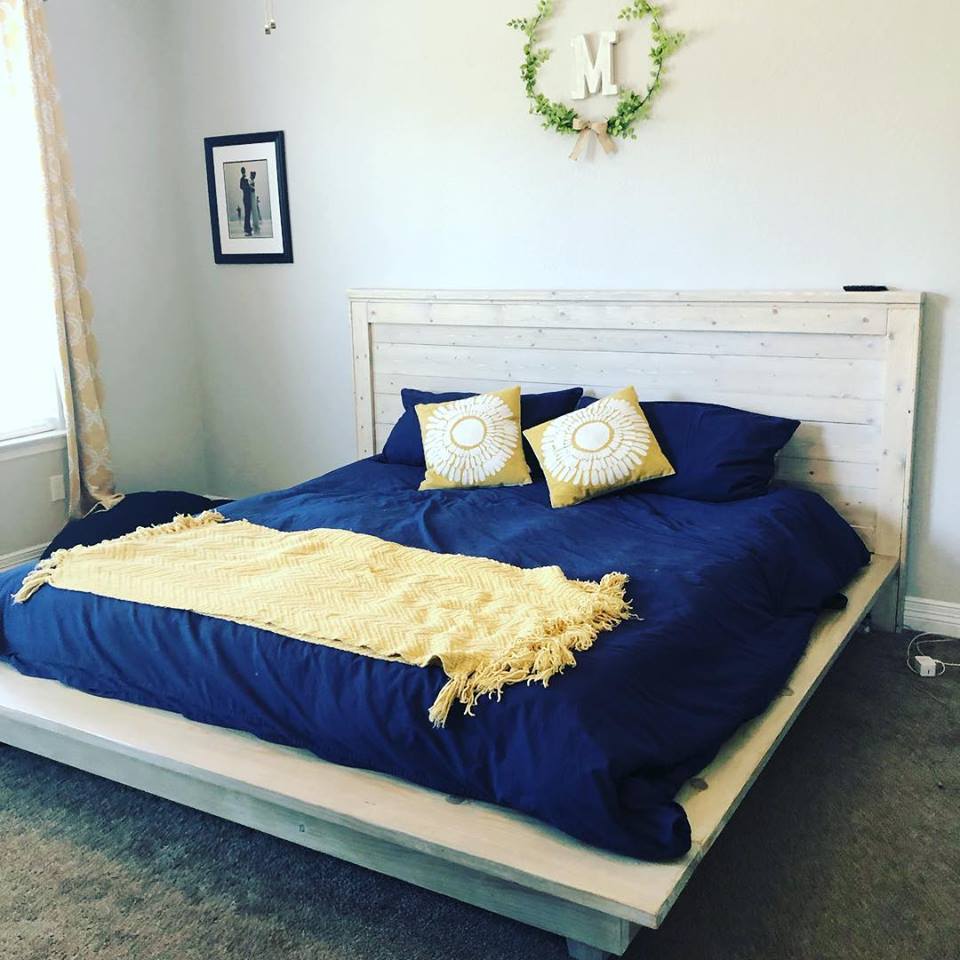
Made wider for a king and modified platform bed. Used a weathered oak stain followed by a 50/50 whitewash.
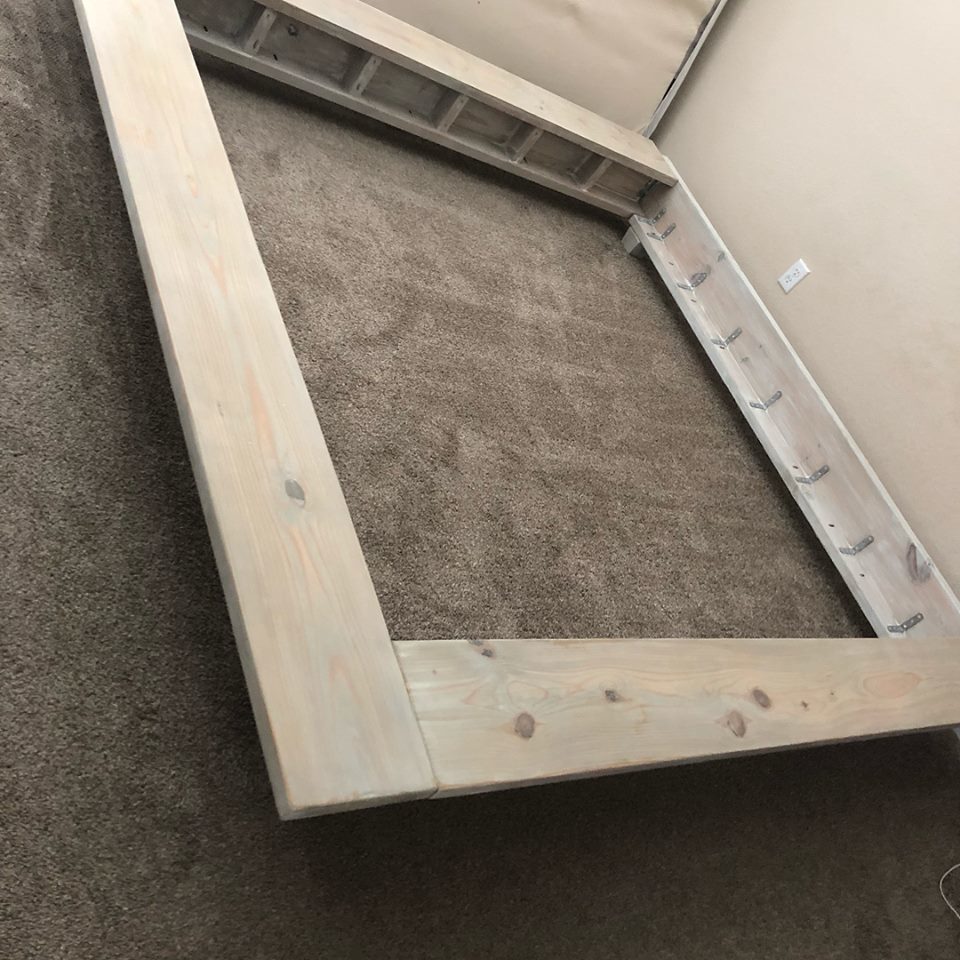
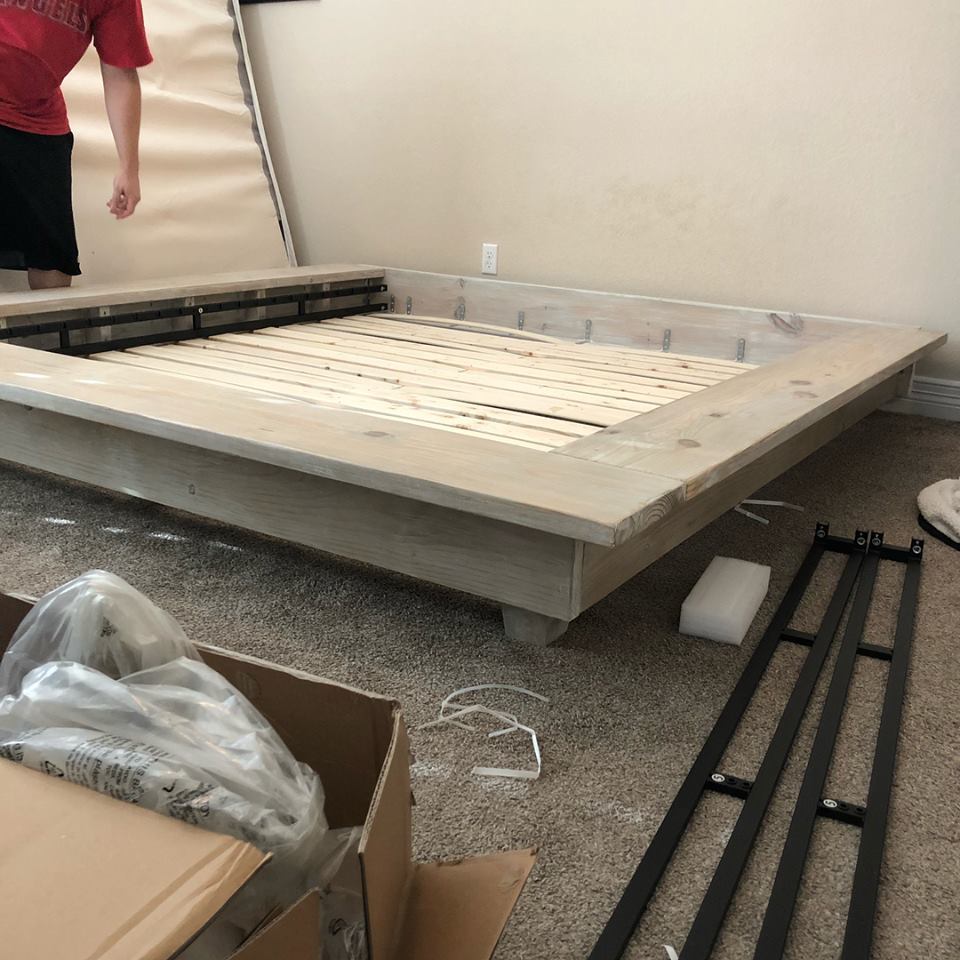
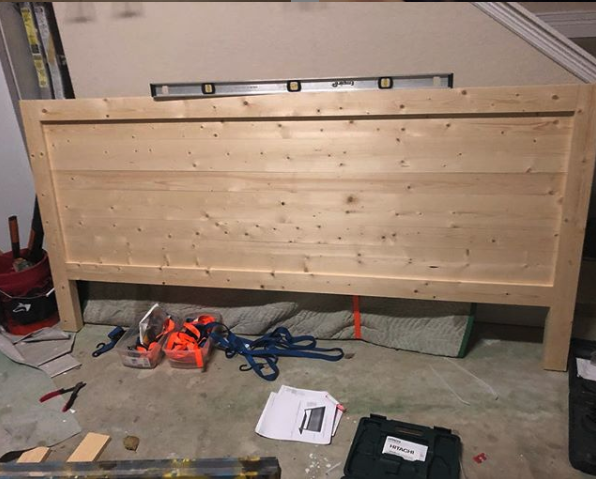
My very first woodworking project and could not have done it without you!!
Mistakes were made and lots was learned but pretty happy with how it turned out in the end.
Wed, 05/24/2023 - 19:54
Absolutely beautiful, can't wait to see what you build next!
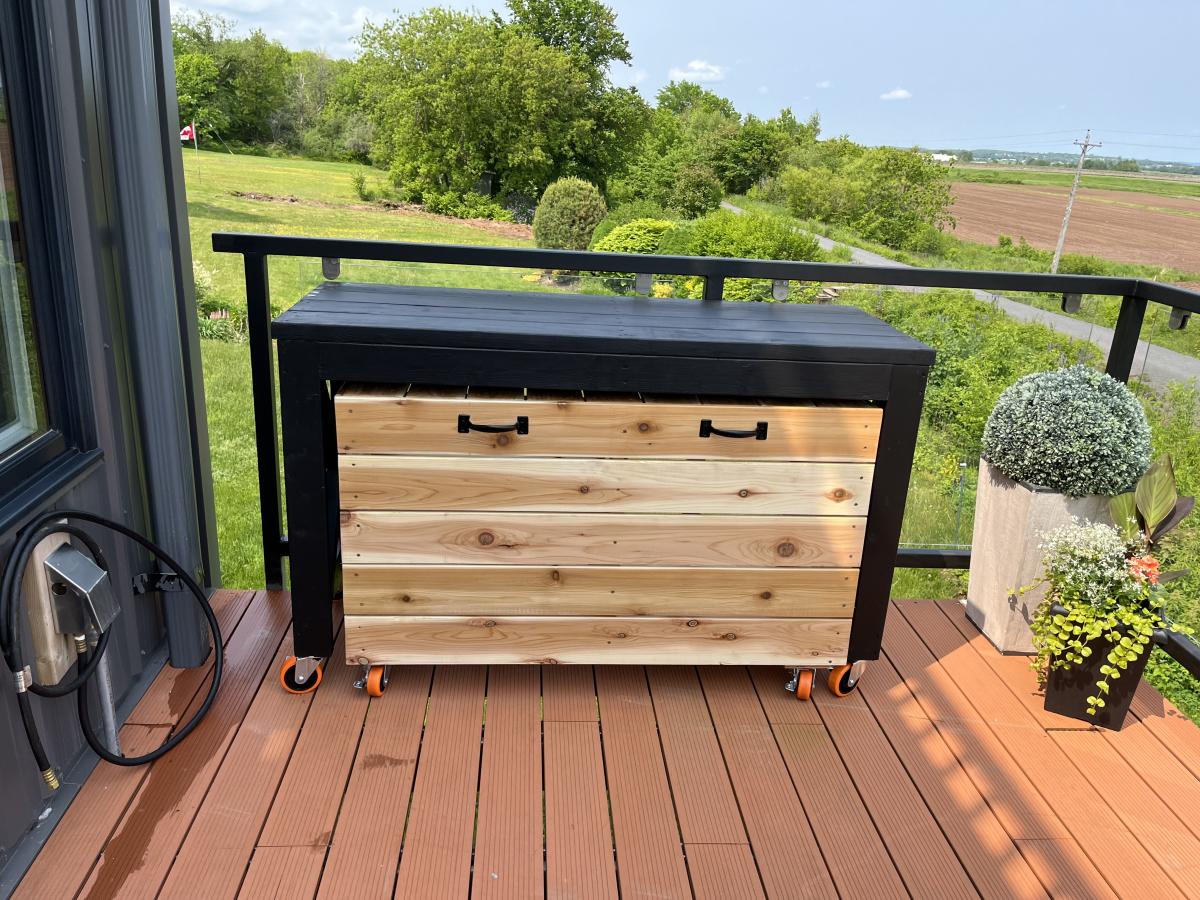
Not quite big enough for Pizza Oven, but love the plans!
Sat, 06/10/2023 - 07:25
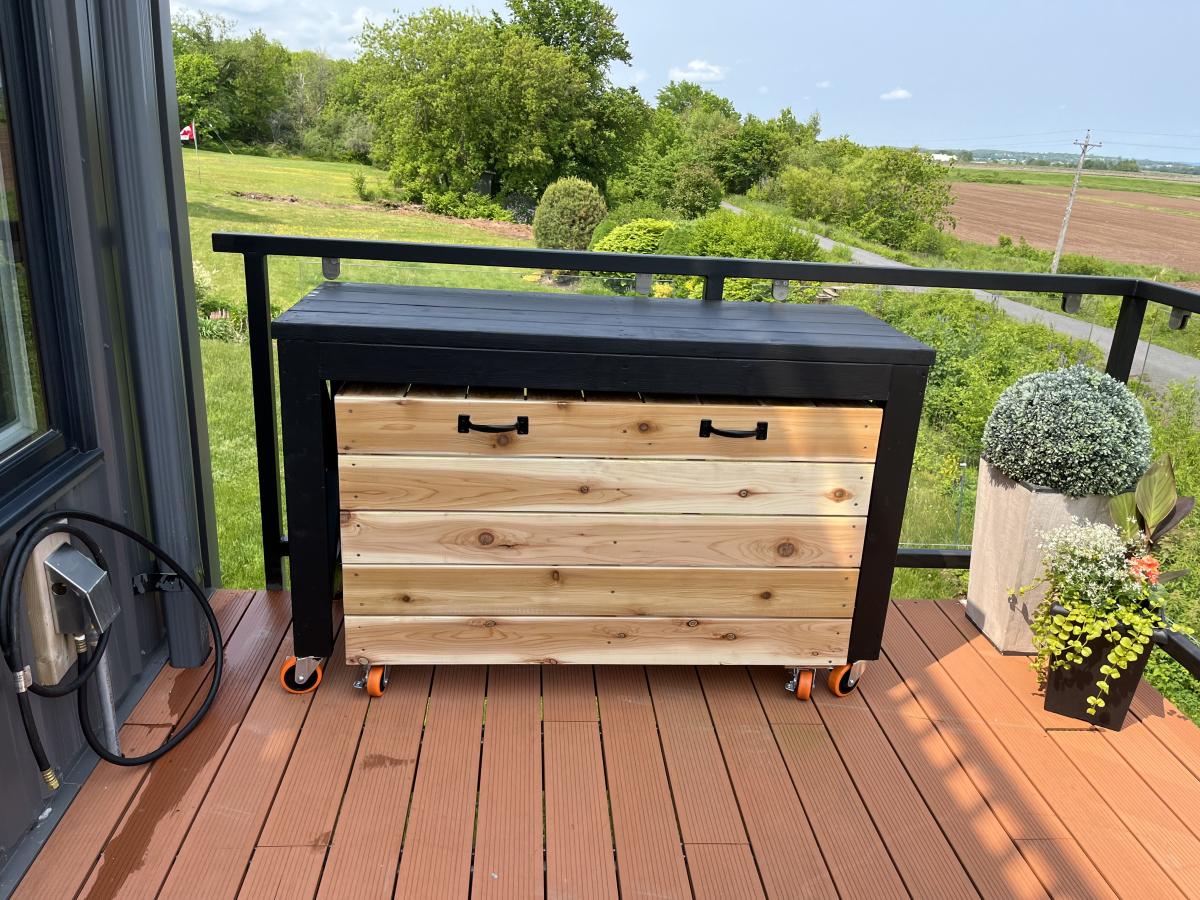
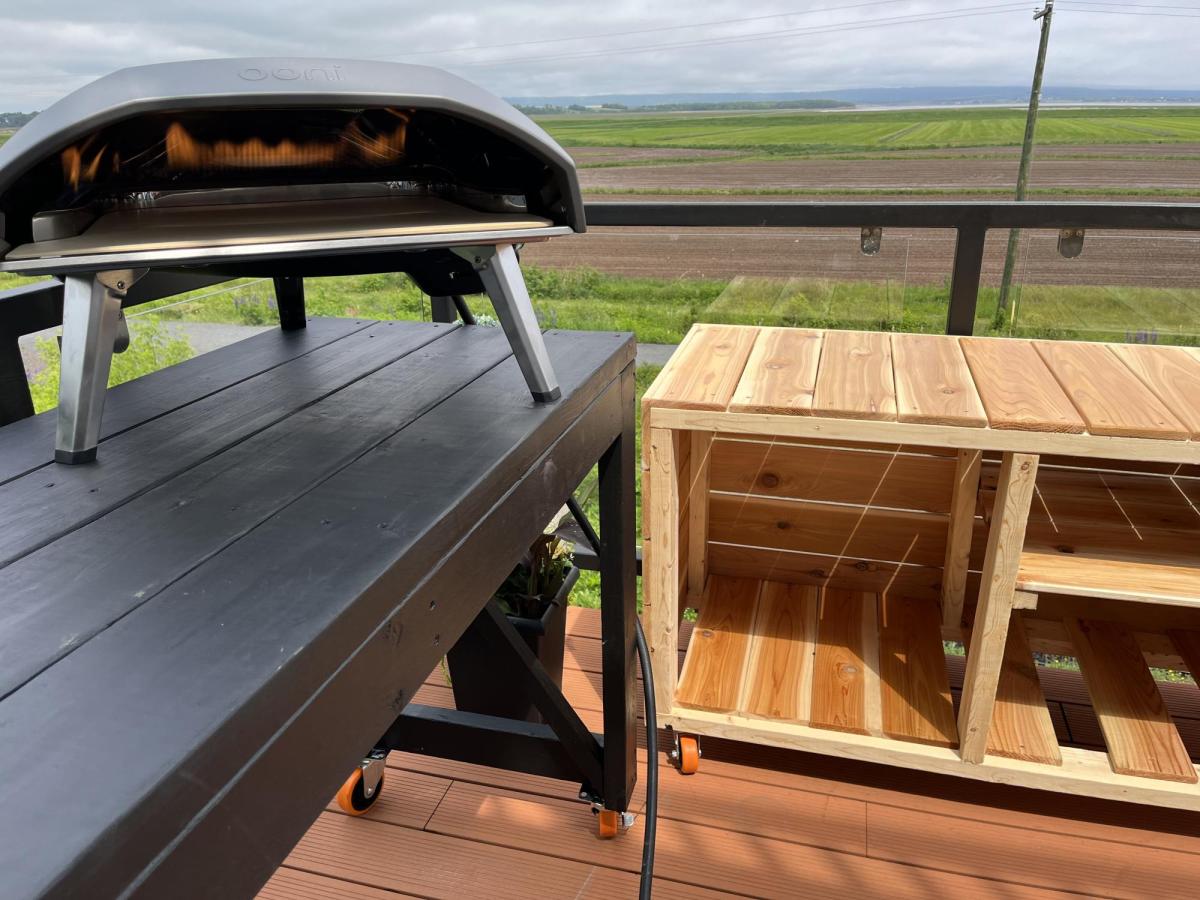
Not quite big enough for Pizza Oven but love the plans!!
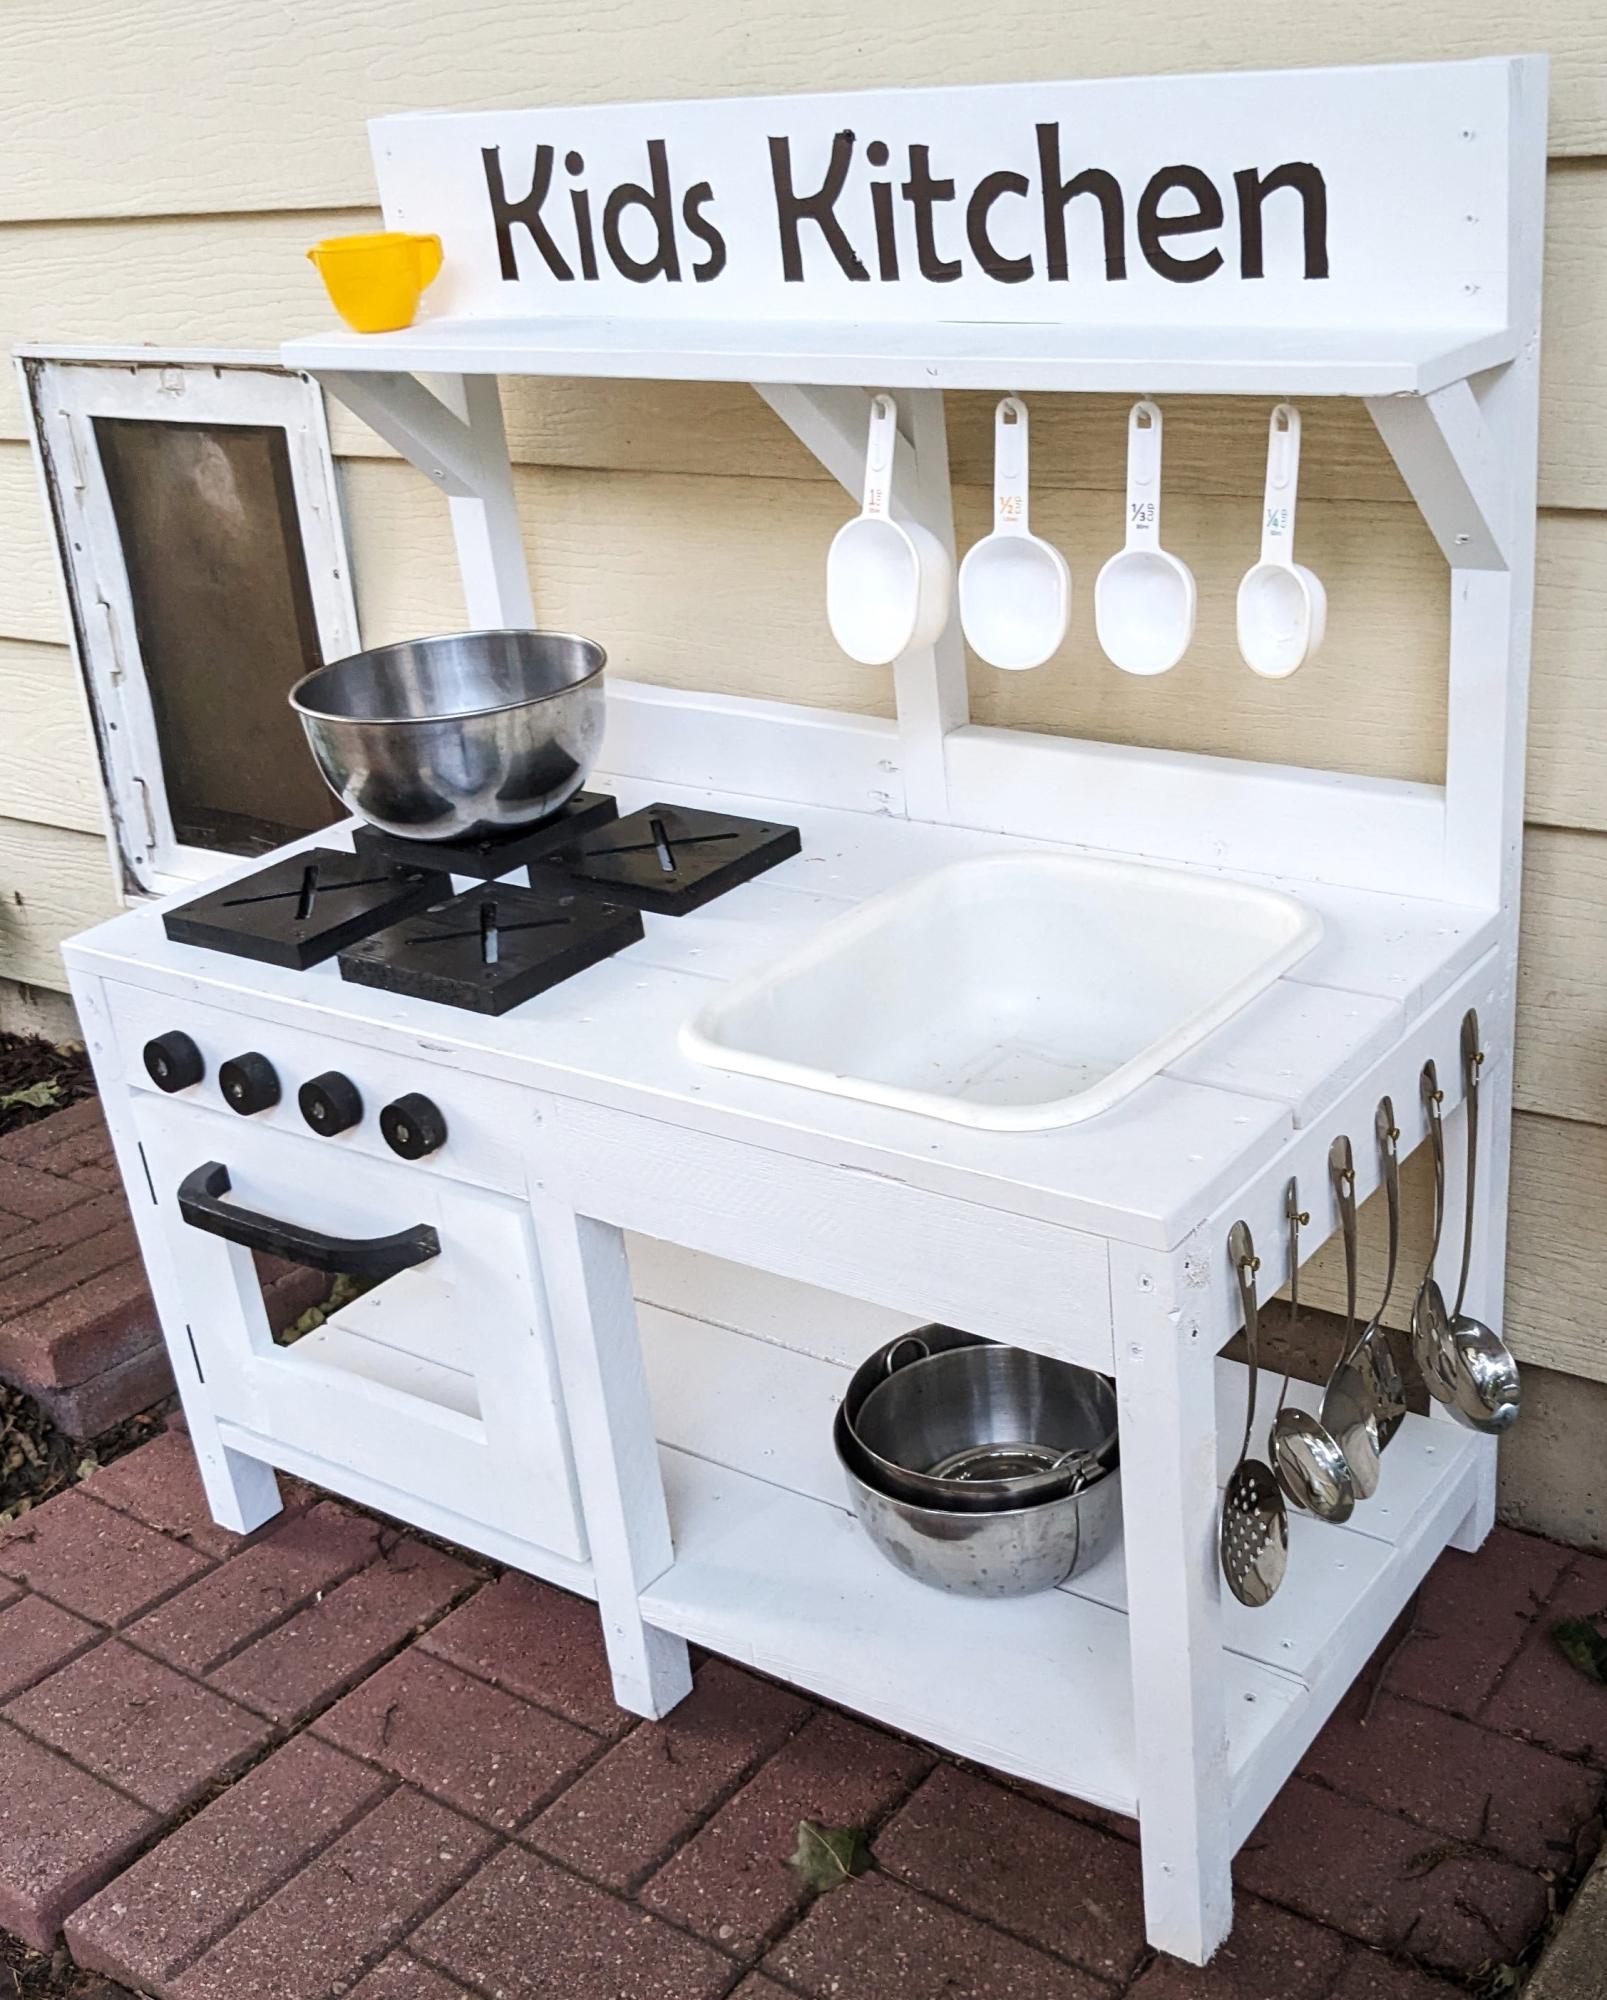
For our 2 1/2 year old granddaughter.
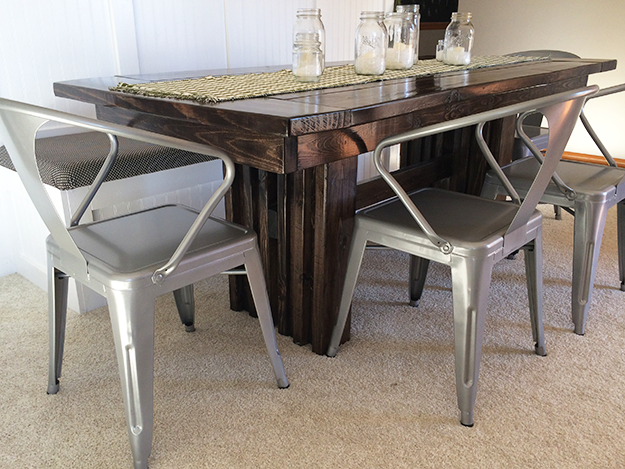
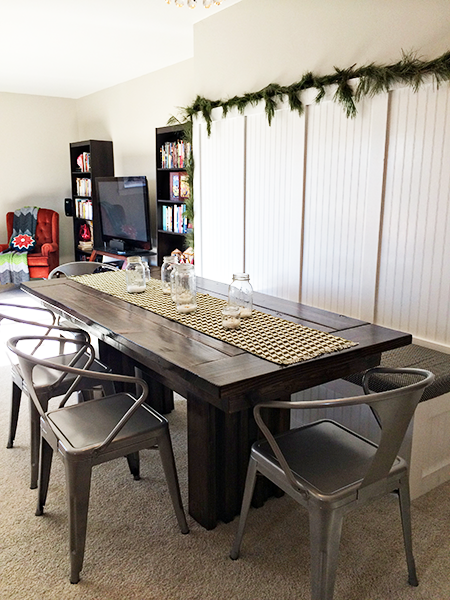
Our extra long living/dining room was just begging for a little definition. So I scoured all of Ana White's plans for some inspiration for the perfect-for-us table. I have never built anything, so I enlisted the help of my genius dad and we got to work!
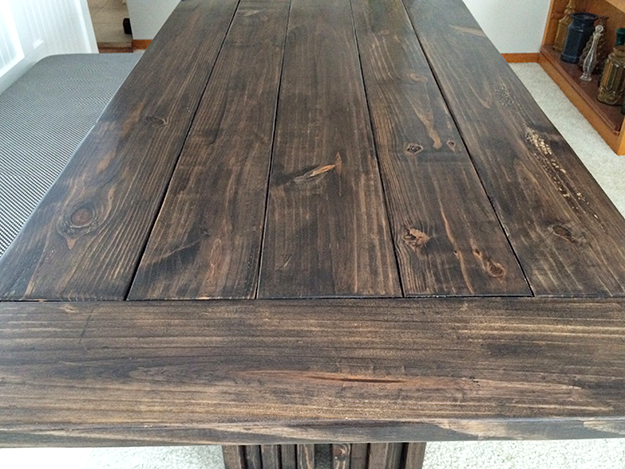
We ended up using elements of the Modern Outdoor Patio Table and the Farmhouse Table. We sized the patio table down to six feet long and used the board layout from the farmhouse table for the table top. We also changed up the table legs a bit to add some visual interest.
After tackling the table, we built the banquette and beadboard wall. I never thought I would learn so much about power tools. Ha! This project was so much fun. Thank you for the free plans!! I can't wait to work on our next project!
You can read more about our table here: http://www.becomingwhitney.com/dining-area-progress/
here: http://www.becomingwhitney.com/it-is-finished/
and here: http://www.becomingwhitney.com/christmas-cheerin-it-up/
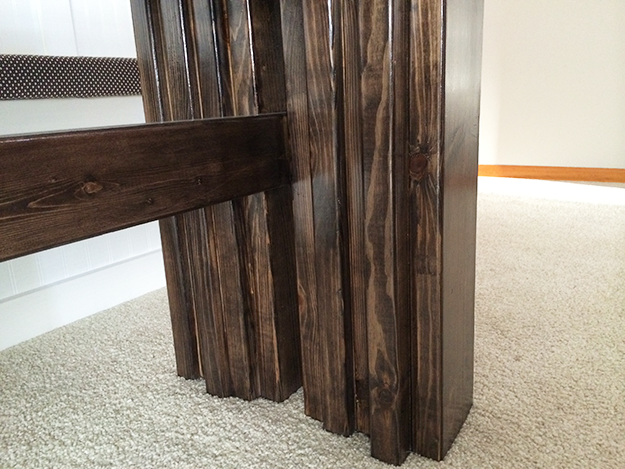
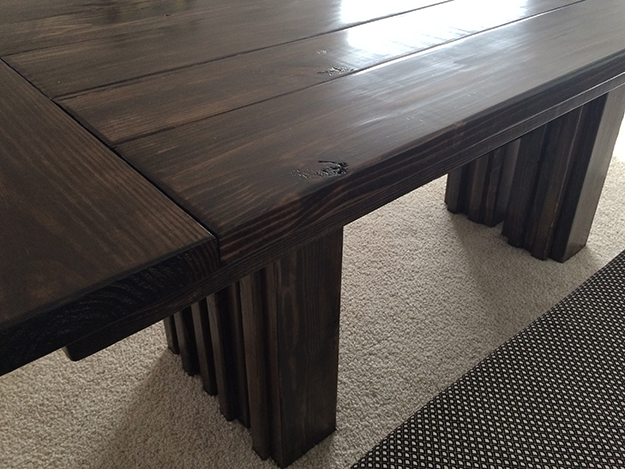
Tue, 01/07/2014 - 10:15
The fabulous thing about DIY is how you can modify a plan to suit your needs. You and your dad have built a one-of-a-kind that can be handed down to future generations. Love the style and finish. Keep up the good work!
Tue, 02/18/2014 - 19:39
can you share the cut list and measurements for your beautiful TABLE?
BIG STEVE
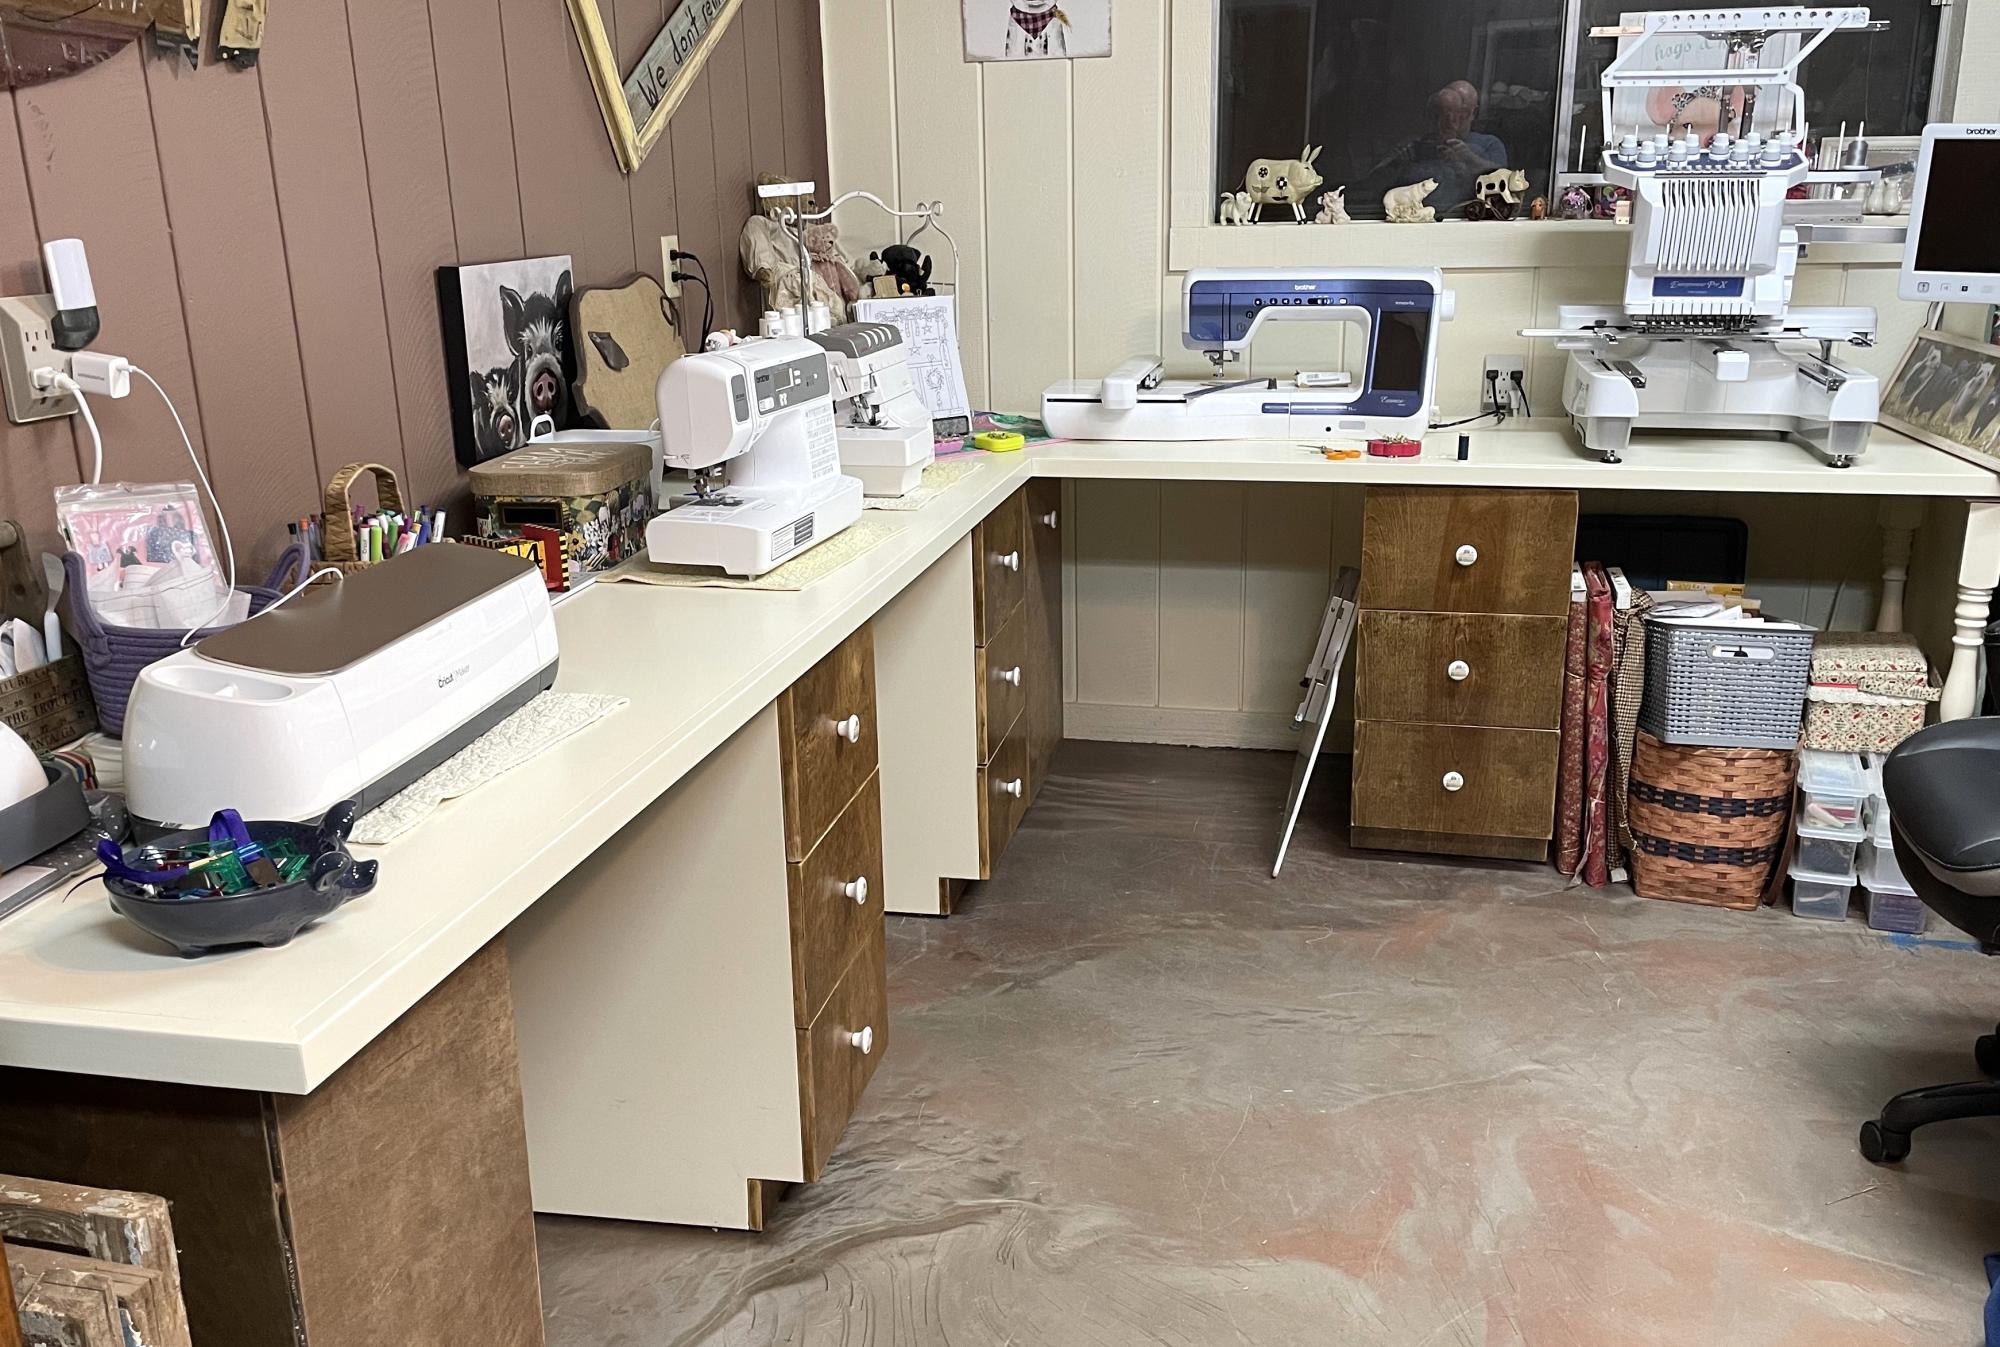
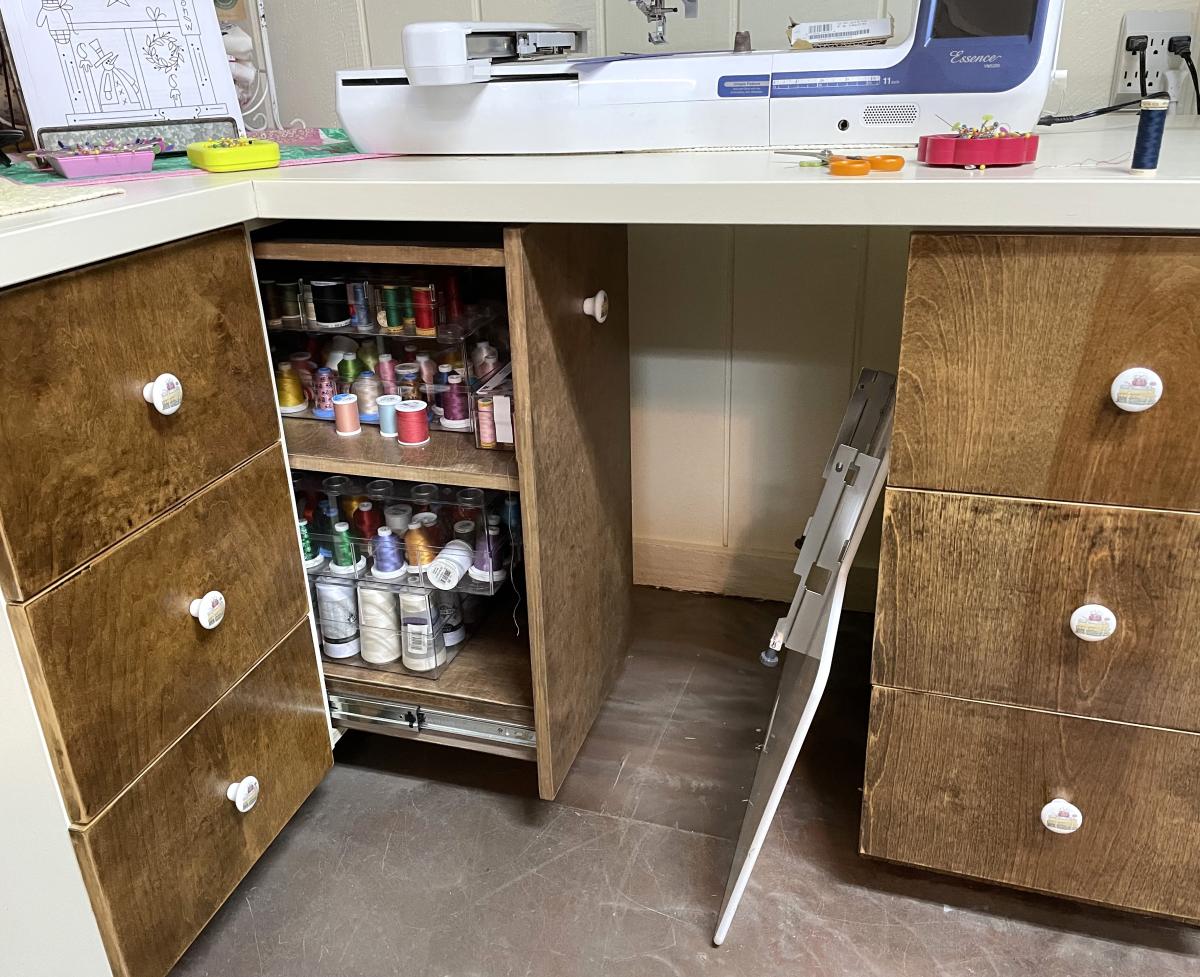
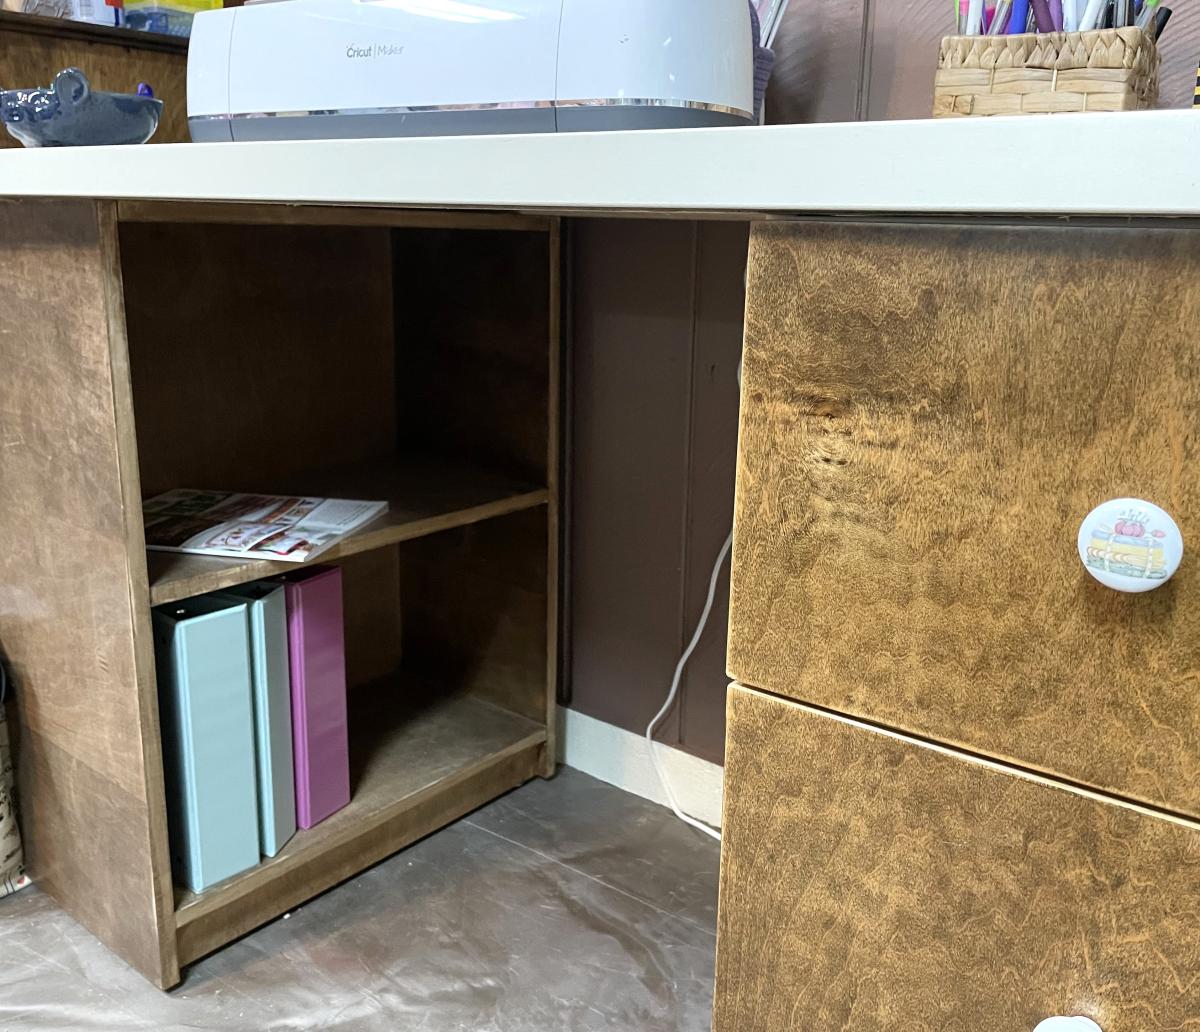
Four station sewing table. Each station separated by a 15” 3 drawer cabinet. Blind corner includes a pull out shelf/book case which doubles as support for the back corner. Long end supported by a bookshelf which is turned 180 from the original design due to other furniture placement that can easily be changed later. Short end supported by temporary legs. 5th station and additional 5ft. of cabinets on the way. Roughly 10ft x 8ft x 26in. x 31in. high. Wife saw similar on Pinterest which was tagged Ana White but only found brag post so used imagination and basic cabinet design plans modified to meet my size requirements.
Pops’ Workshop
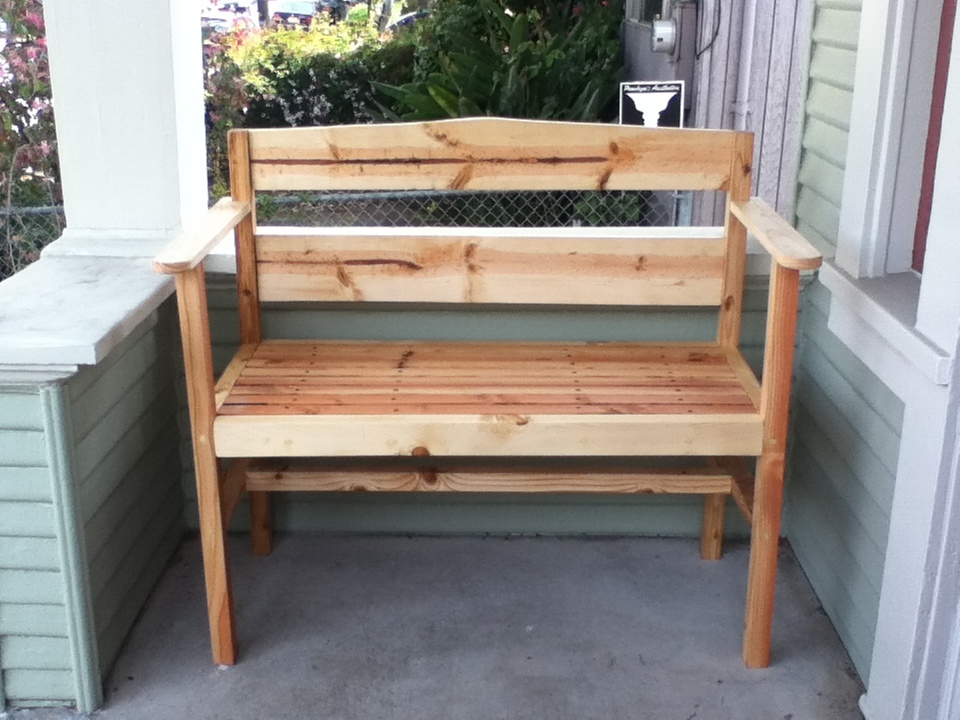
This bench was perfect for our front porch, but after I bought all the lumber I realized how big and substantial it would be. So, I slimmed it down and swapped out the following: seat slats 1x2, posts and supports 2x2, arms 1x3, backrest 1x6, aprons 2x3. Looks great and feels like a better fit for our porch. Enjoying the afternoon sun in style now, thanks!
Wed, 05/01/2013 - 09:31
I would like to make the bench on a diet since my front porch is smaller aswell. Are the cuts the same as original plans?
My mom was looking for a new outdoor table, and asked me to come up with something. I found the link for these plans (http://www.thedesignconfidential.com/2011/04/free-diy-furniture-plans-t…) to knock off Restoration Hardware's $4000 Provence Beam outdoor table. Overall I liked the plan, with the chunkier look of the 4x4's. But there were a lot of errors in the diagrams, and the finished height is 34" which is ridiculously tall for a table. So we took it apart and cut the legs back down to change the finished height to 30". We chose rough-cut cedar for it's look and outdoor properties, not wanting to use treated lumber for a dining table. We couldn't find 2x10's like the plan, so we substituted seven 2x6's just like Ana's plan, but left a 1/2" gap in between so water can drain and not pool on top and rot the wood. Also, since we were working with 4x4's for the legs, we chose heavy duty lag bolts instead of screws to join them together. I love the finished look they give. Overall it's a sturdy, yet lightweight table that my mom loves and has already used for entertaining!


Wed, 04/25/2012 - 10:02
Thanks Brook! It was so much fun to build. I put my dad and husband to work while I was the "project manager" ;)
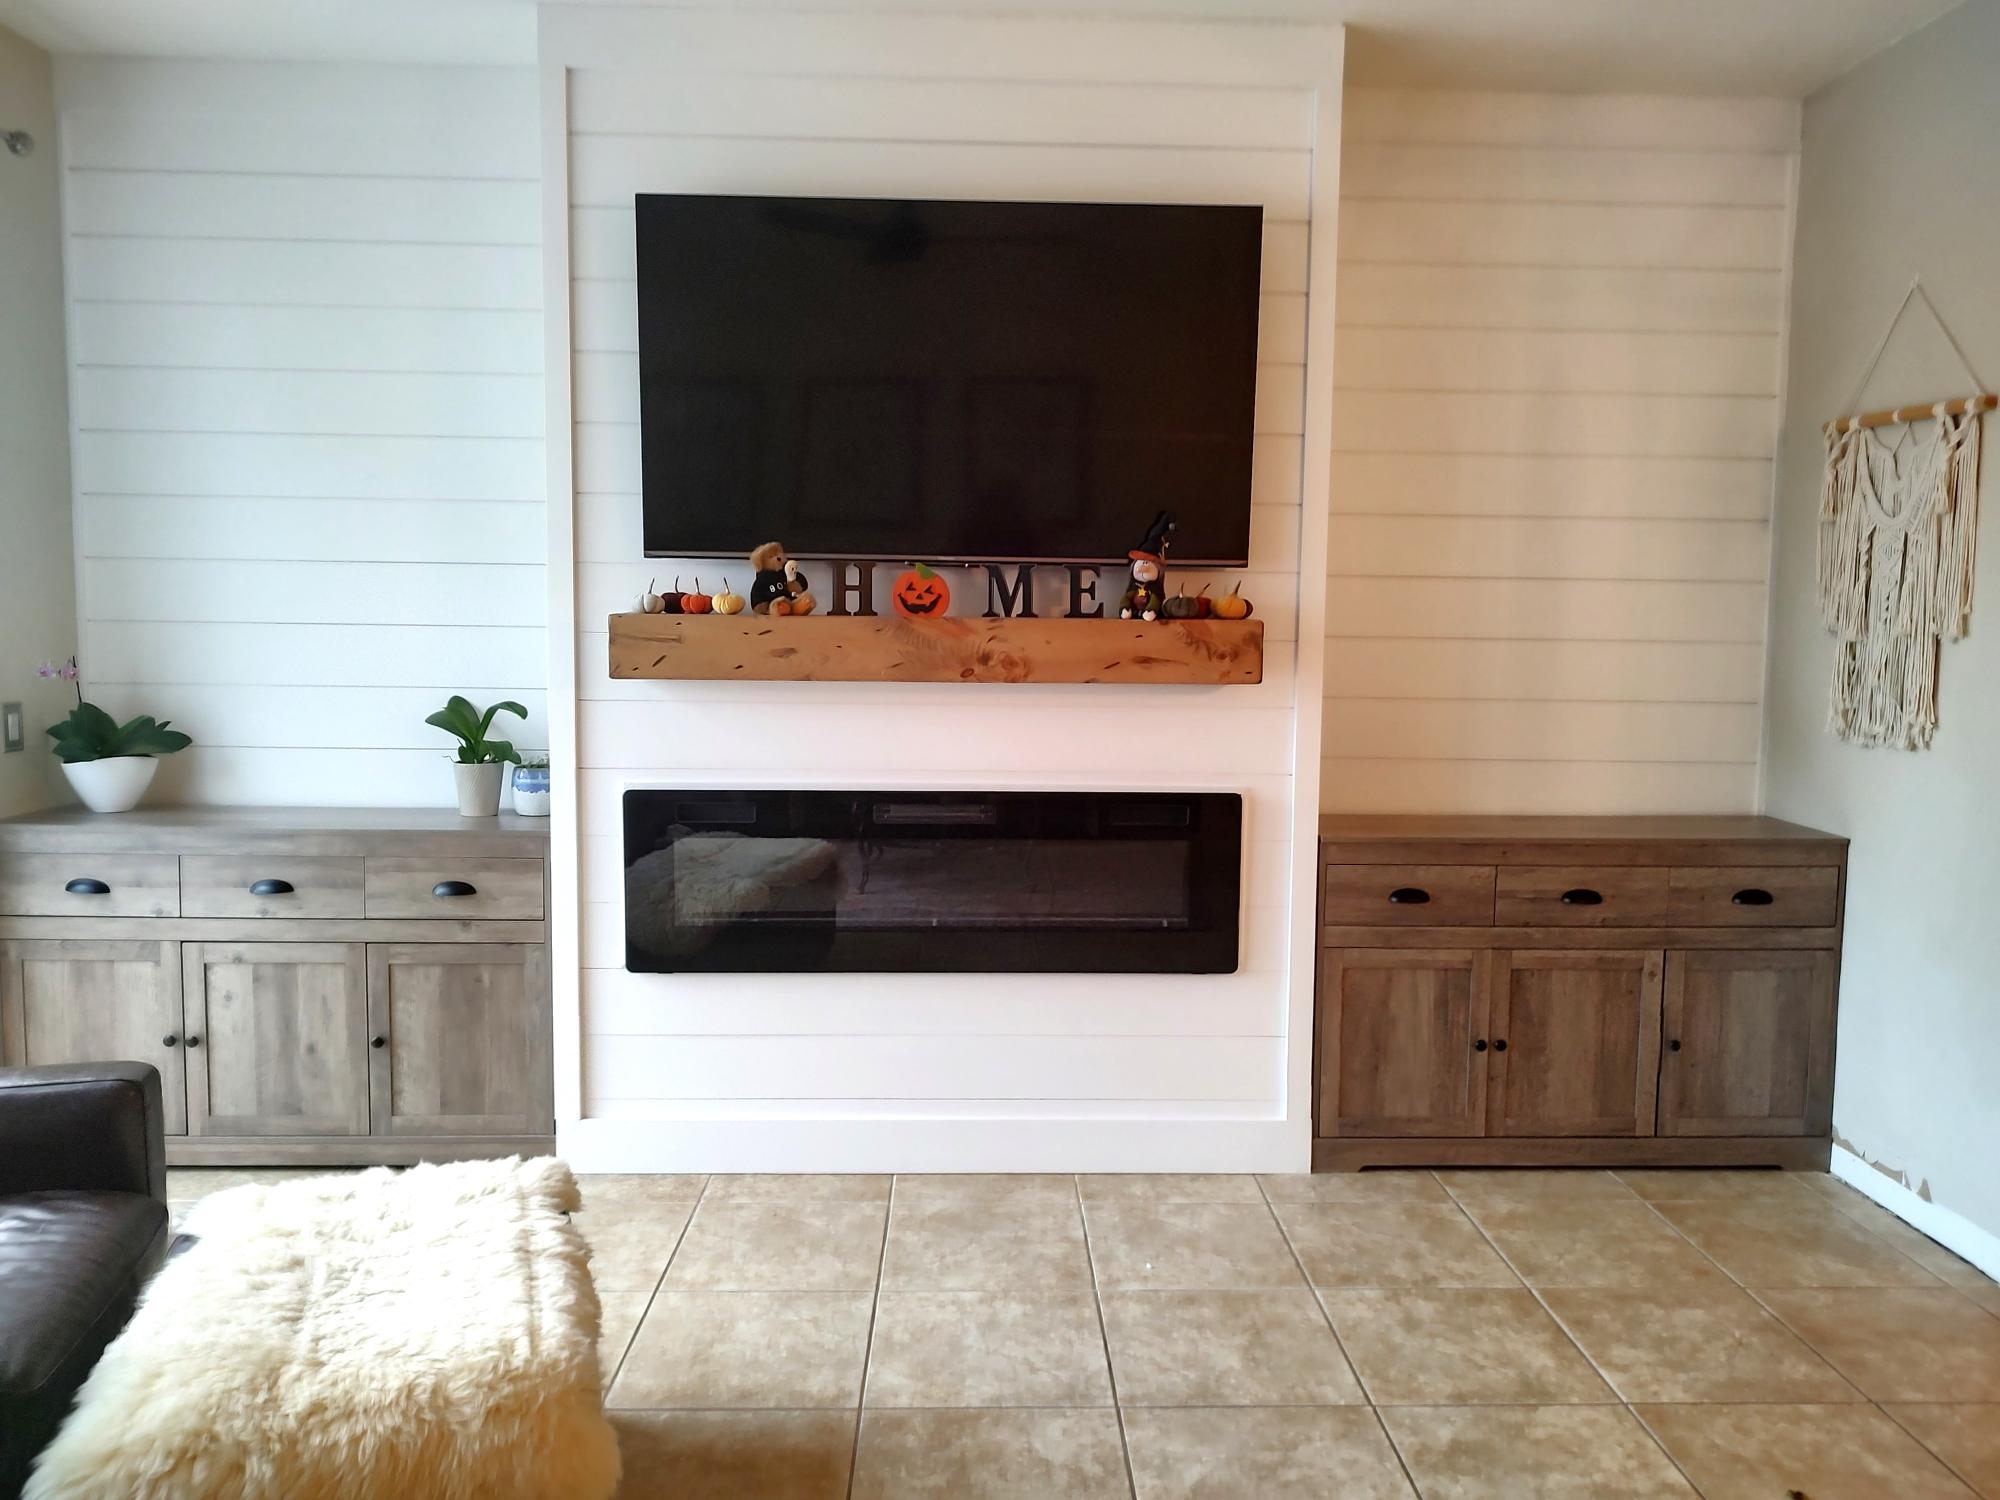
Tweaked your plans slightly but I'm happy with results!
Handy Kandi
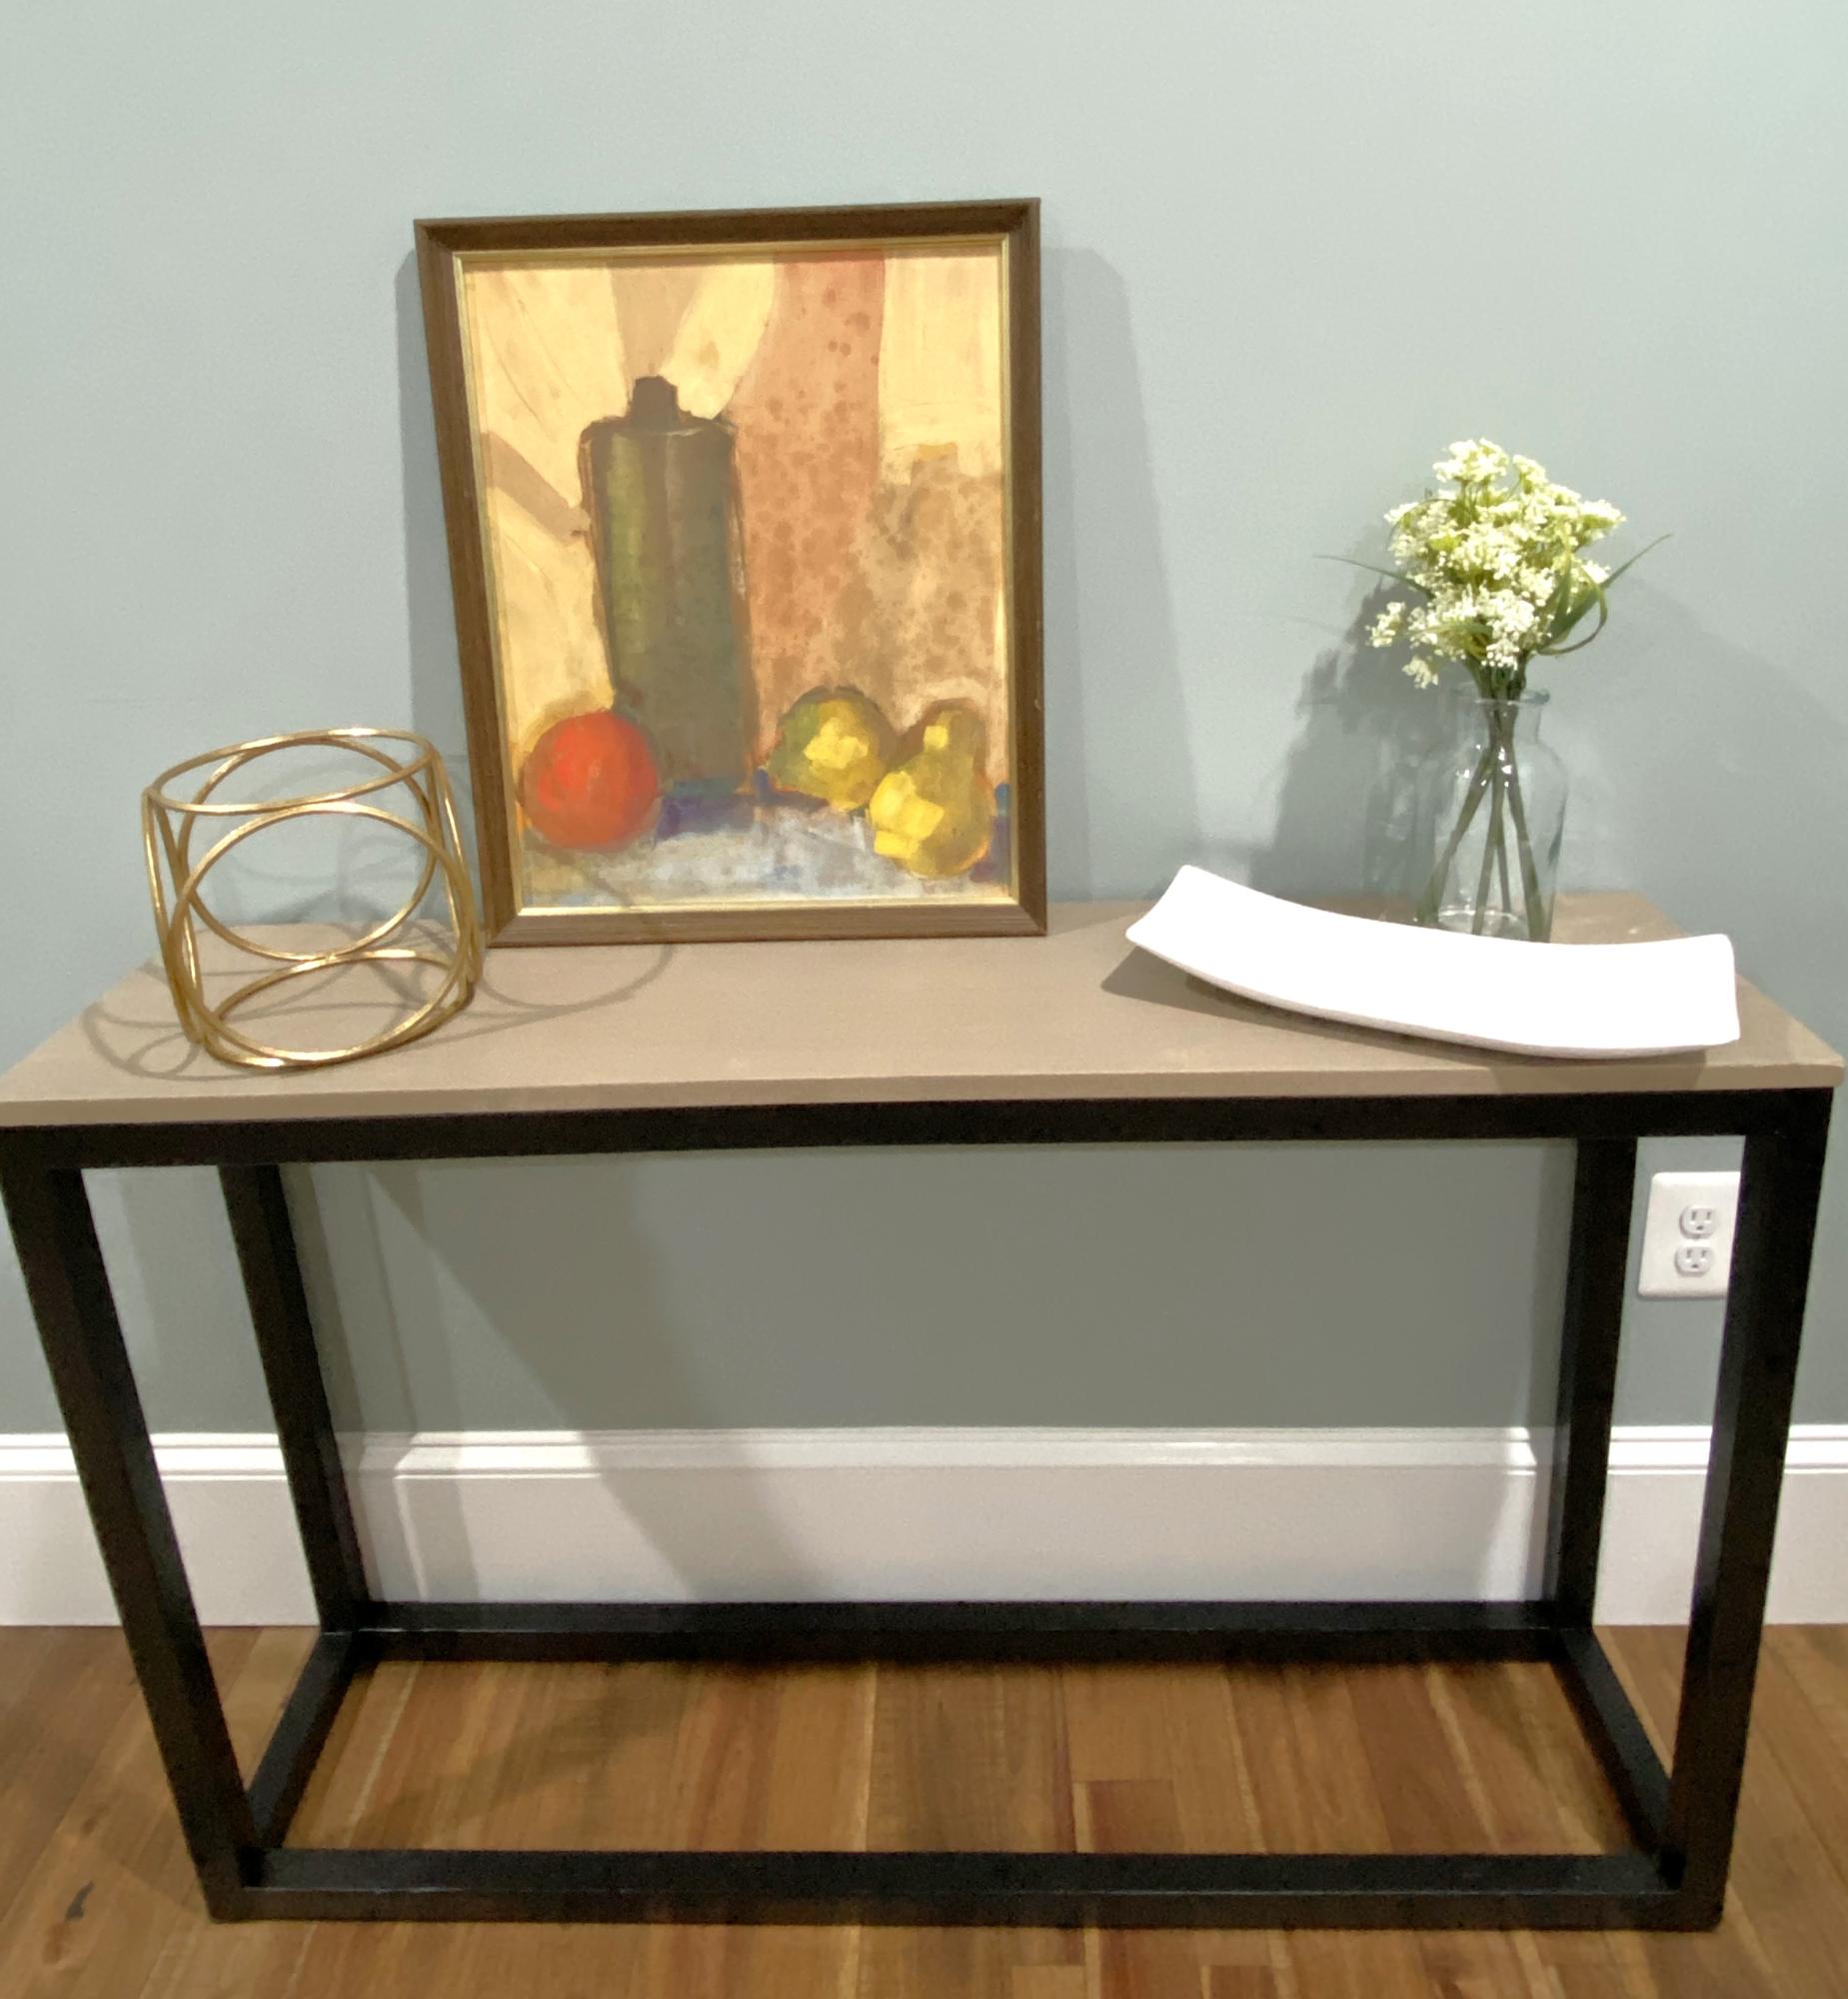
I built Ana’s console table plan to use in staging homes. I paint washed the top and painted the frame black. This is my very first project and I love how it turned out!
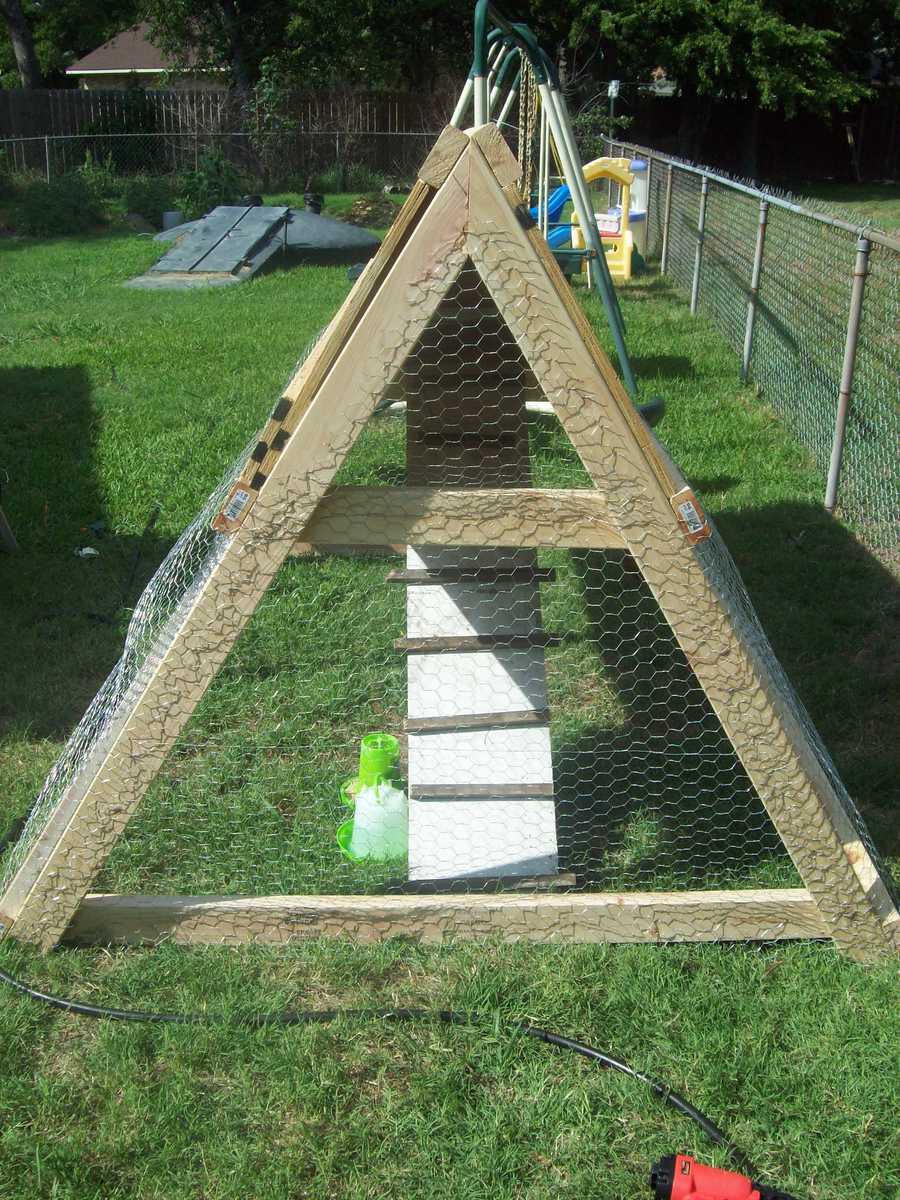
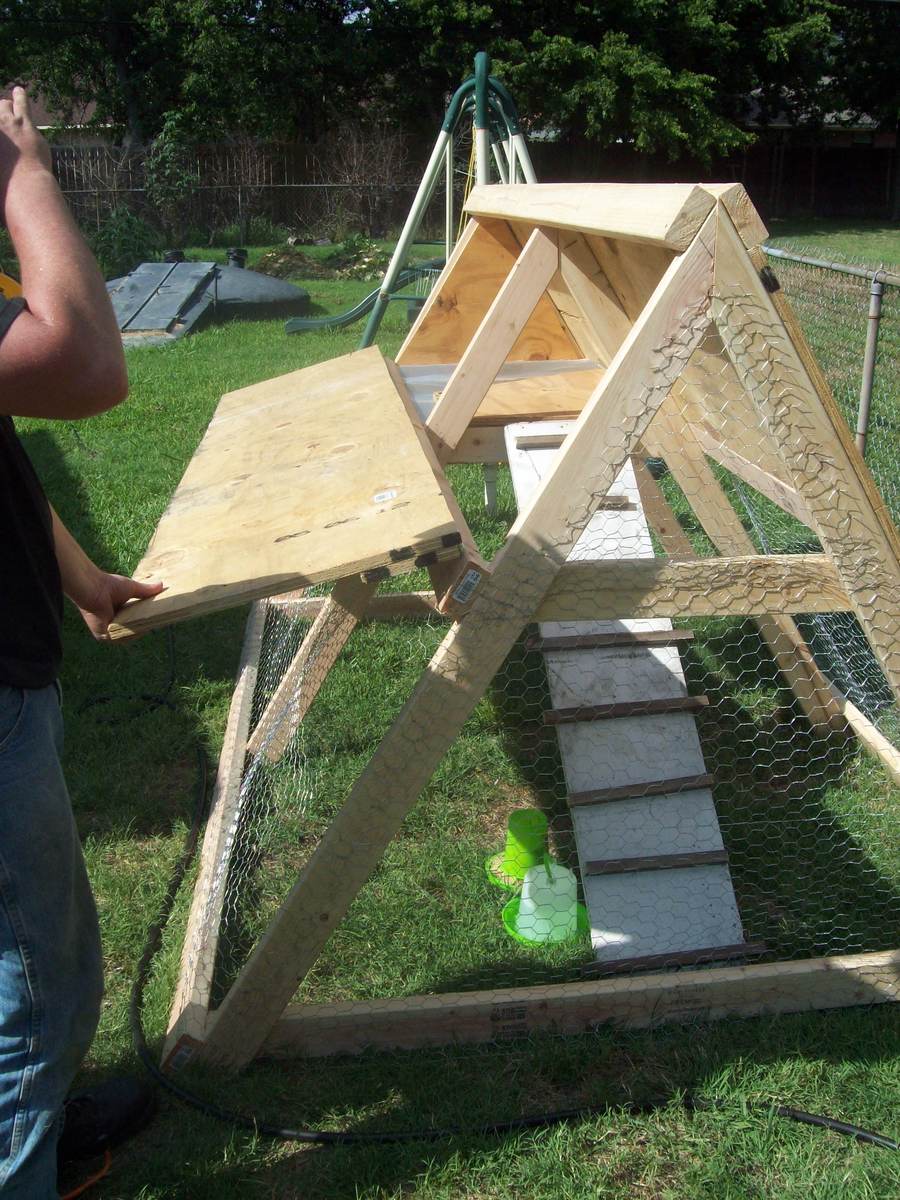
We needed a coop for our son's chicken Penny as she was big enough to move outside. We wanted one that would hold at least 2 chickens as we plan on getting a second soon. We found the plans for the a frame chicken coop here and the next day my husband and 5 yr old son got to work. Took them about 3 hours from start to finish and it turned out great. He plans on spraying the whole thing with outside deck sealer to protect the wood and had some trim on the edges to protect the kids from getting scratched by the chicken wire.
Awesome project
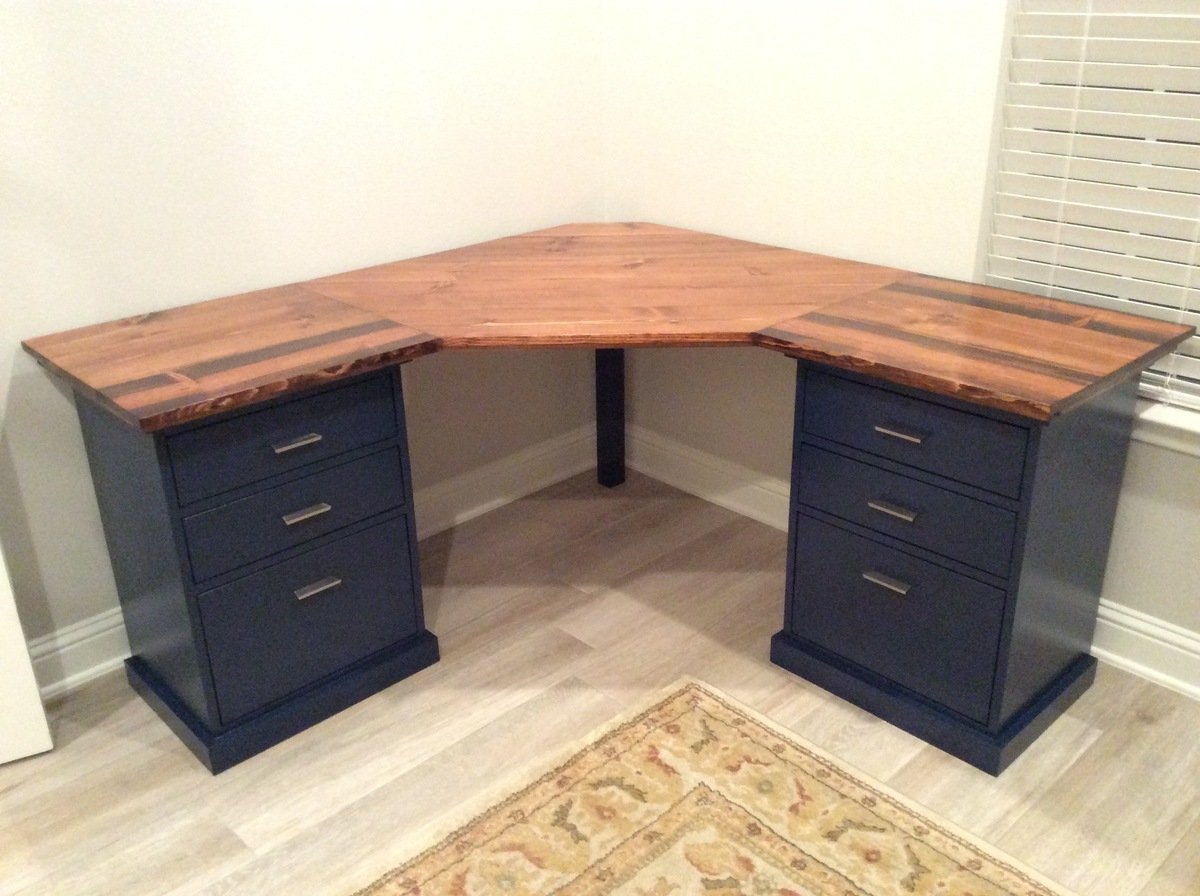
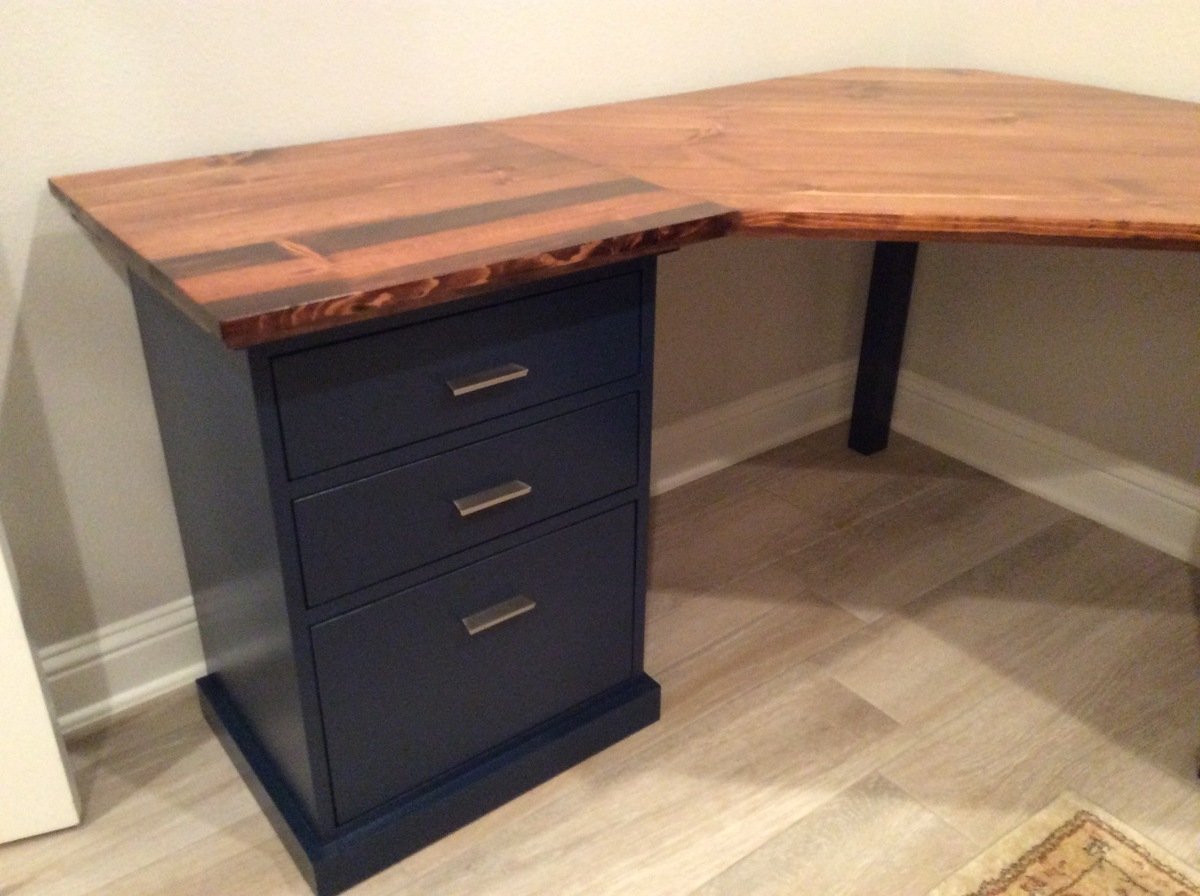
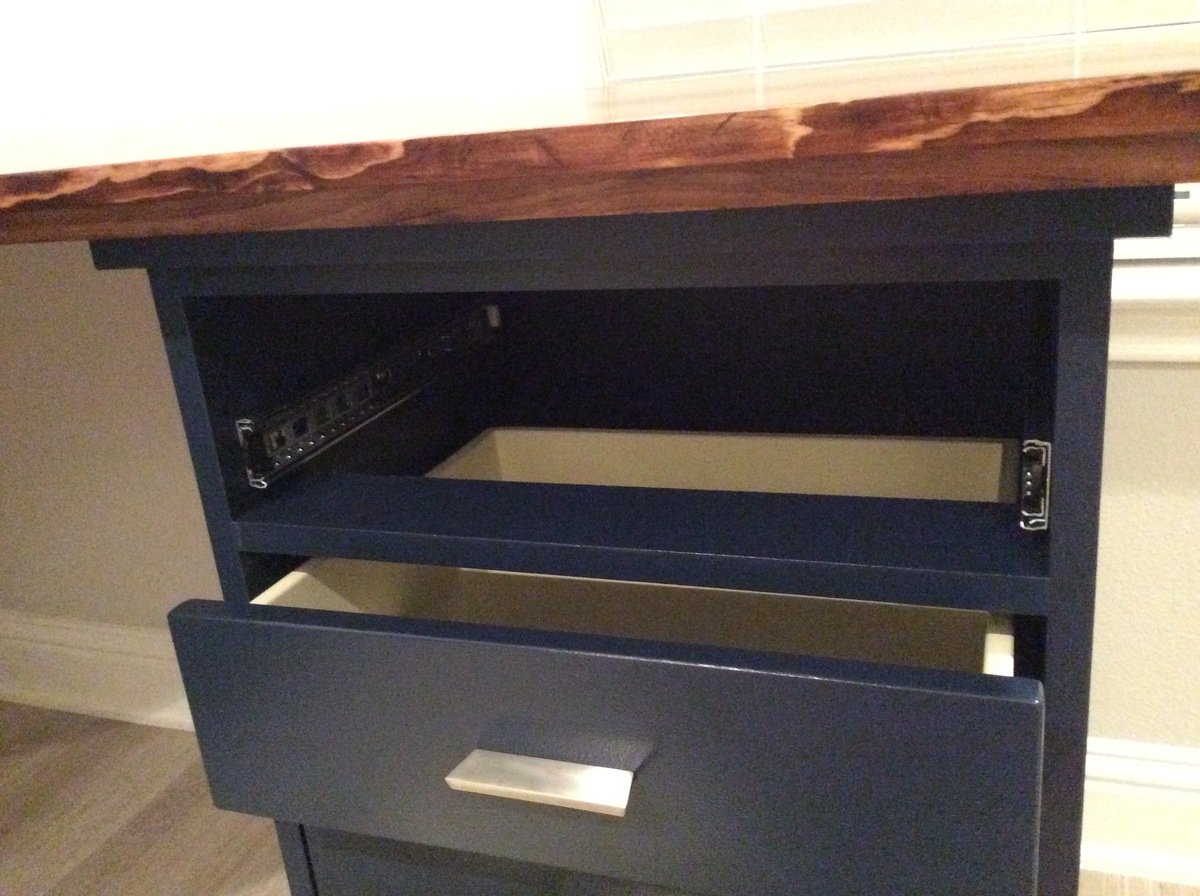
I followed the plans pretty closely. I added dividers to make 3 drawer units but I didn't find it necessary to have the top shelf go all the way to the back since it would never function as a shelf. I used scrap pieces for that and they weren't big enough to be full shelves.
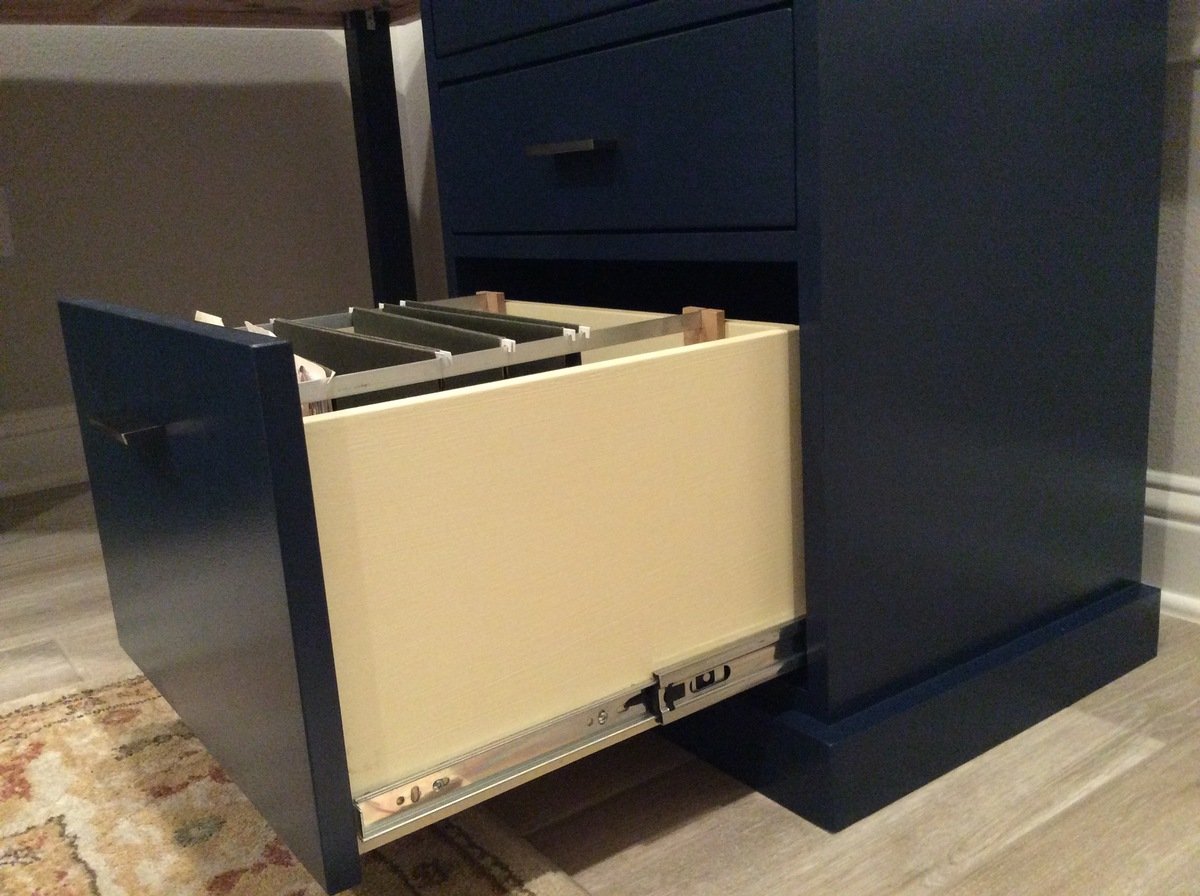
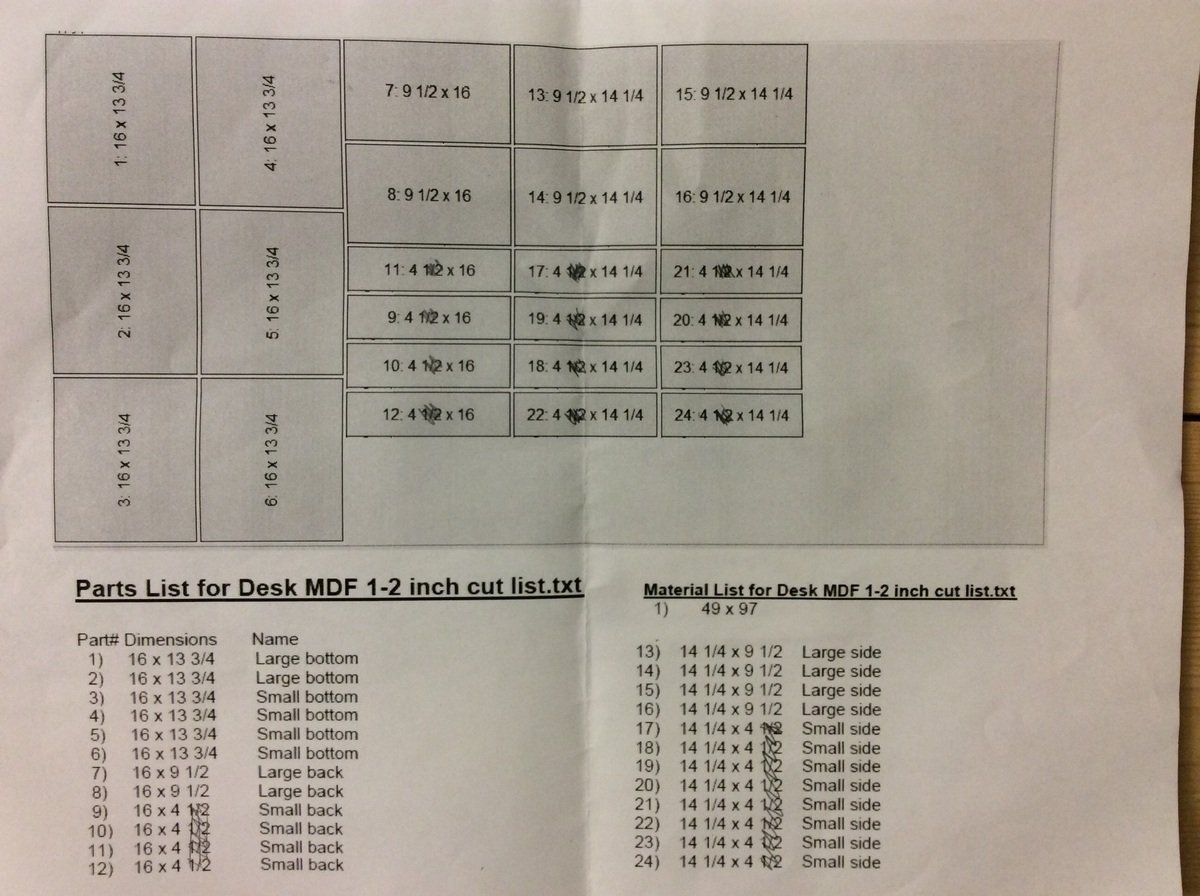
I used 1/2" MDF for the bottom, sides, and backs of the drawers to cut down on weight, cost, and general bulkiness. I used this free app called Cut List to figure out the easiest way to have the guys at Home Depot cut all the drawer panels after I learned I'm not that good with a circular saw. I used a hack saw to cut aluminum bars for hanging files and used scrap wood to make the little brackets to hold the bars upright in the drawer. The full extension drawer slides are functionally and asthetically better but it would have been so much easier to put in basic bottom mount slides.
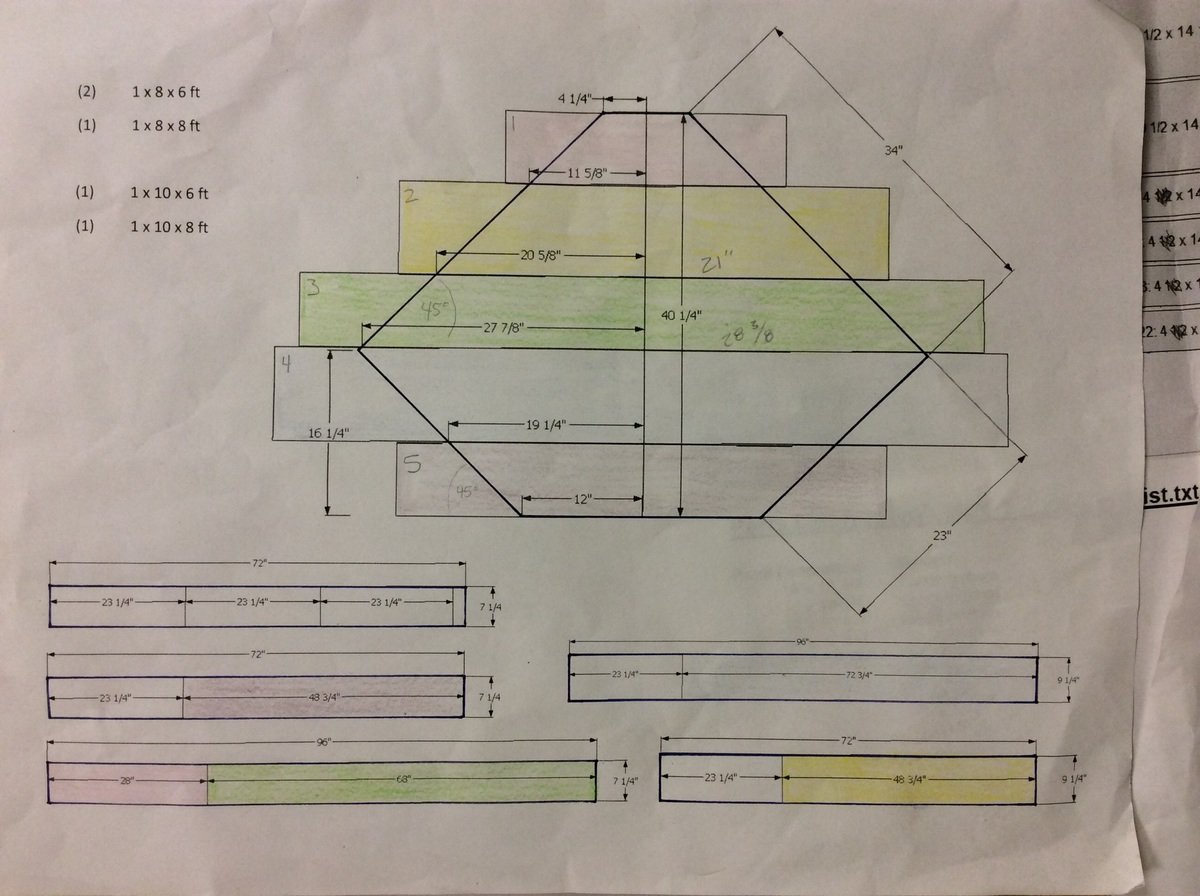
I wanted a wood grain top and ended up with common pine boards over more expensive poplar or oak and I would use pine again without hesitation. I used Google SketchUp to figure out the widths of boards I needed to make the top with minimal cuts. Then joined them with glue and mending plates and sanded the hell out of them. I altered the dimensions slightly to make it the same size desktop as the Bedford desk. My two wing sections are 23" x 23" but I should have made them 23" deep by more like 24" or 25" long. I had to hack the bottom bracing to make a spot for the drawer units to slide into. If you alter the dimensions make sure you can secure a brace between the main body and the wing of the desktop and still have room for the brace at the edge of the wing.
My cost includes things like a Kreg jig, saw blade, clamps, paint brushes etc. so you may be able to do this for less. I could have gone with a middle of the line paint I think. This project was a beast for me because a) I'm not a furniture maker b) I don't own a table saw which would have been amazing c) I picked the hardest way to make the desktop and d) I modified some of the dimensions from the basic plans. I worked on this thing for weeks (granted sometimes I didn't touch it for several days or a week). But it was a fun and rewarding project.
Tue, 08/27/2019 - 19:28
This is AMAZING!!! I'm so sad I did not see this earlier. Thank you so much for sending in pics!
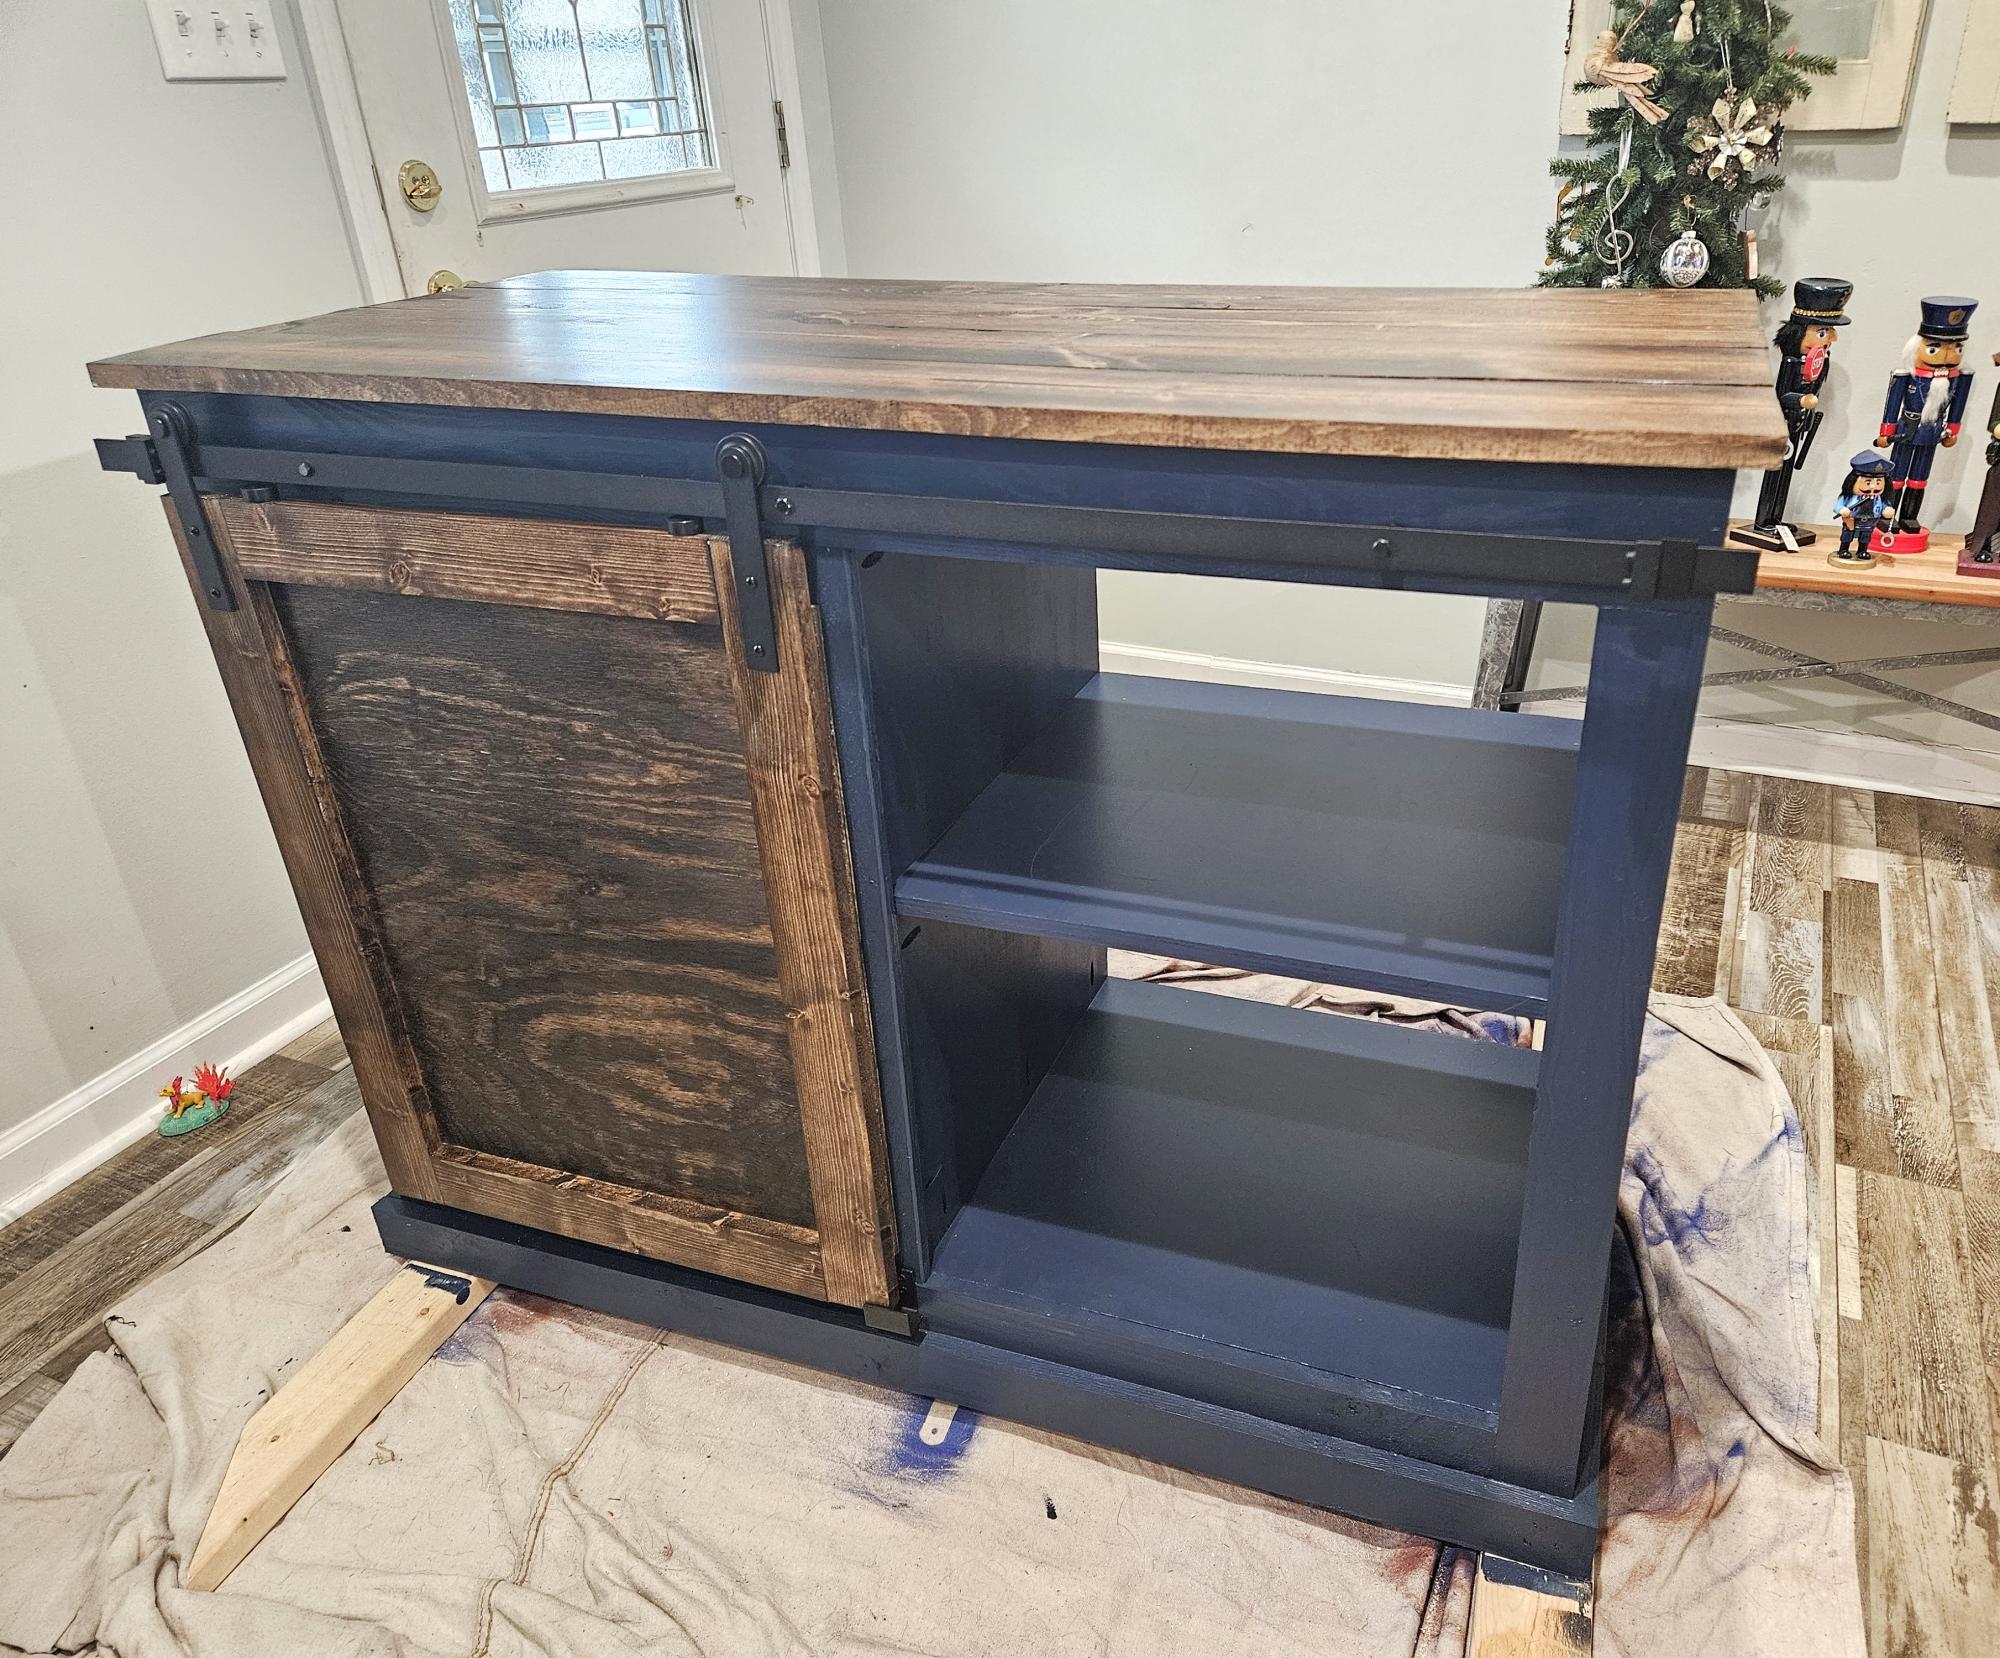
Great barn door cabinet build by Chuck A.
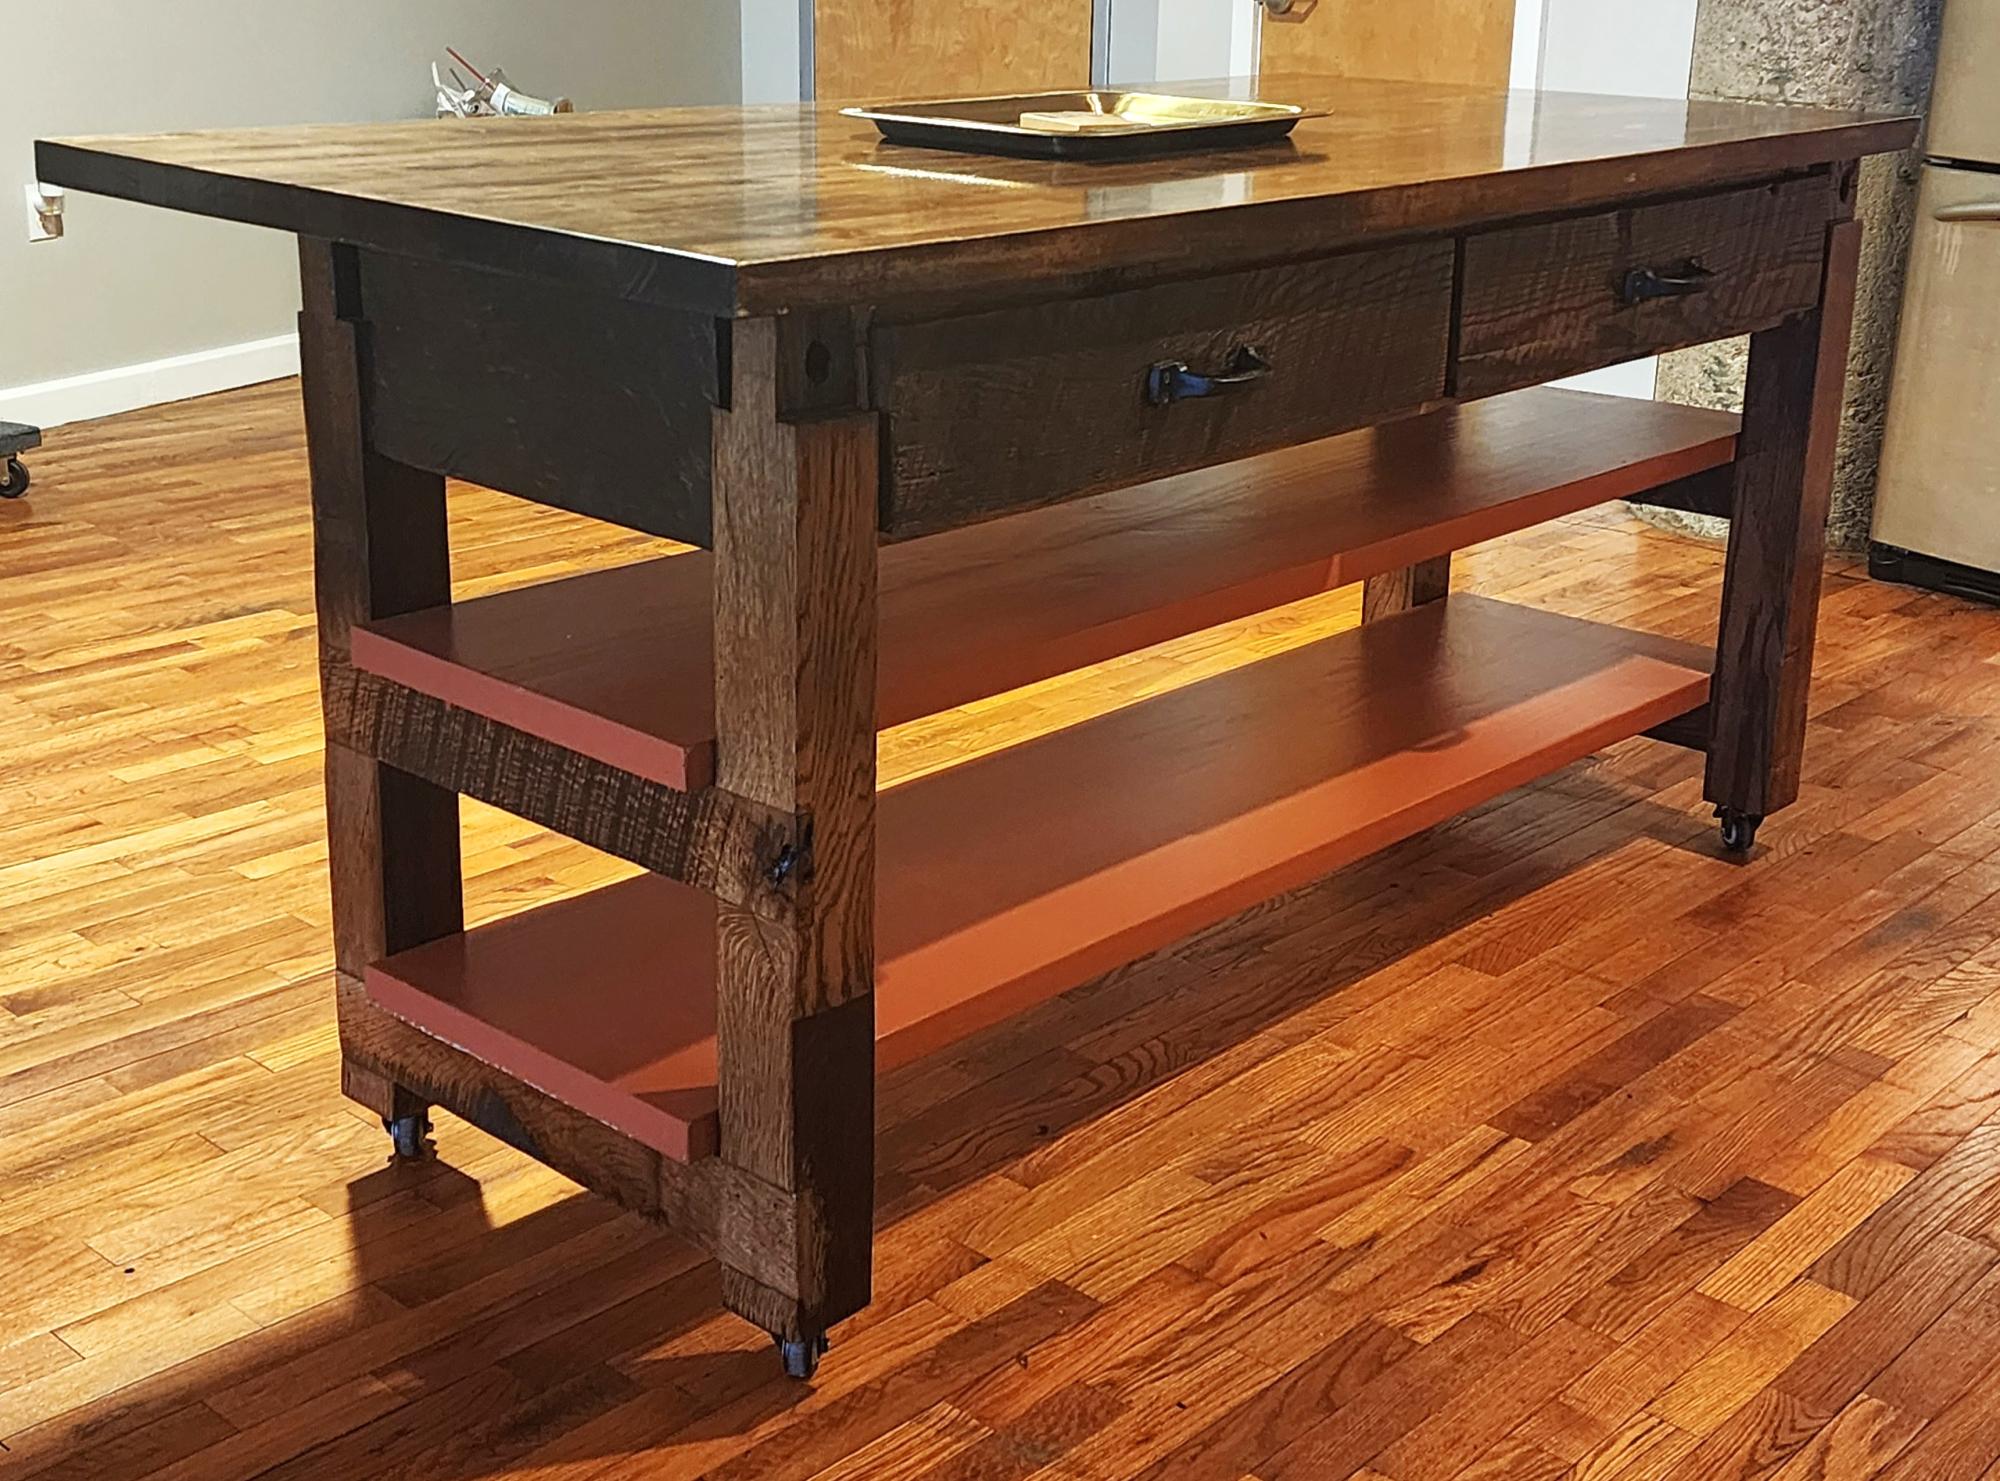
My daughter bought a condo this past summer in St. Louis, MO. It's in an old factory that was rehabbed into condos. It's very industrial looking. Her condo has a lot of open space in the kitchen. She asked me to build her an island. I've previously used several of your plans to build various pieces of very functional pieces of furniture for my daughter, my son, and my wife and me. But this one is one I am especially proud of. I based it off your plan, "Michaela's Kitchen Island" modifying it to meet my daughter's unique needs. The majority of it is oak barnwood reclaimed from my wife's grandparents barns that were torn down to make way for an interstate highway. It is very attractive and user friendly. My daugher couldn't be more pleased. Thanks for all your great building ideas and plans. You've made this dad and daughter very happy.
Greg Winemiller, Mount Carmel, IL
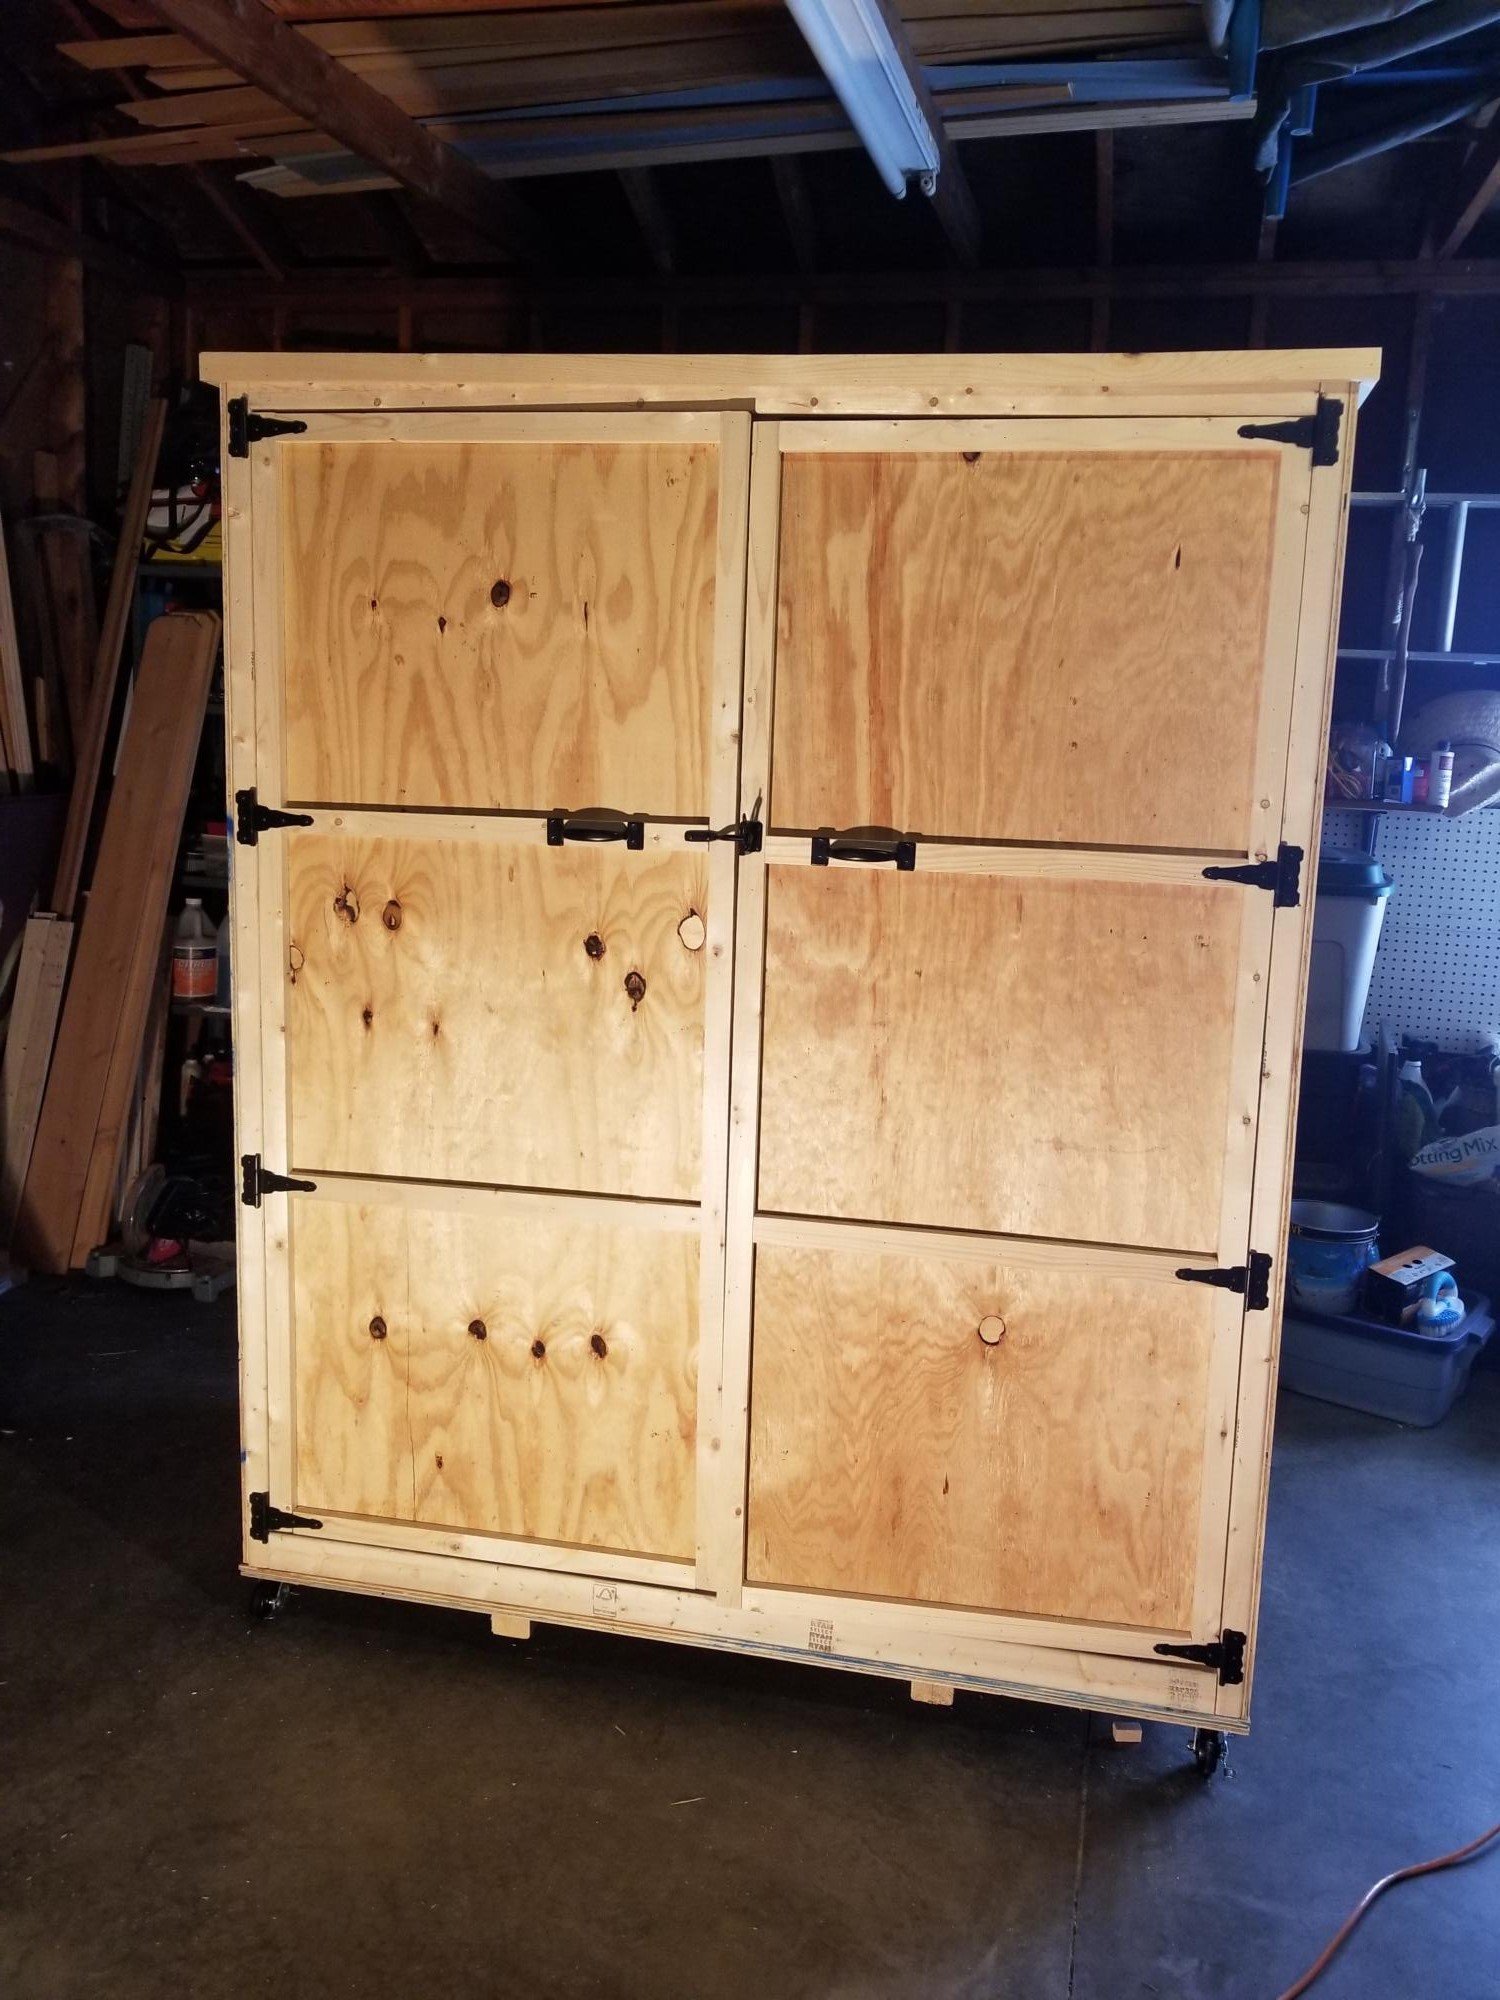
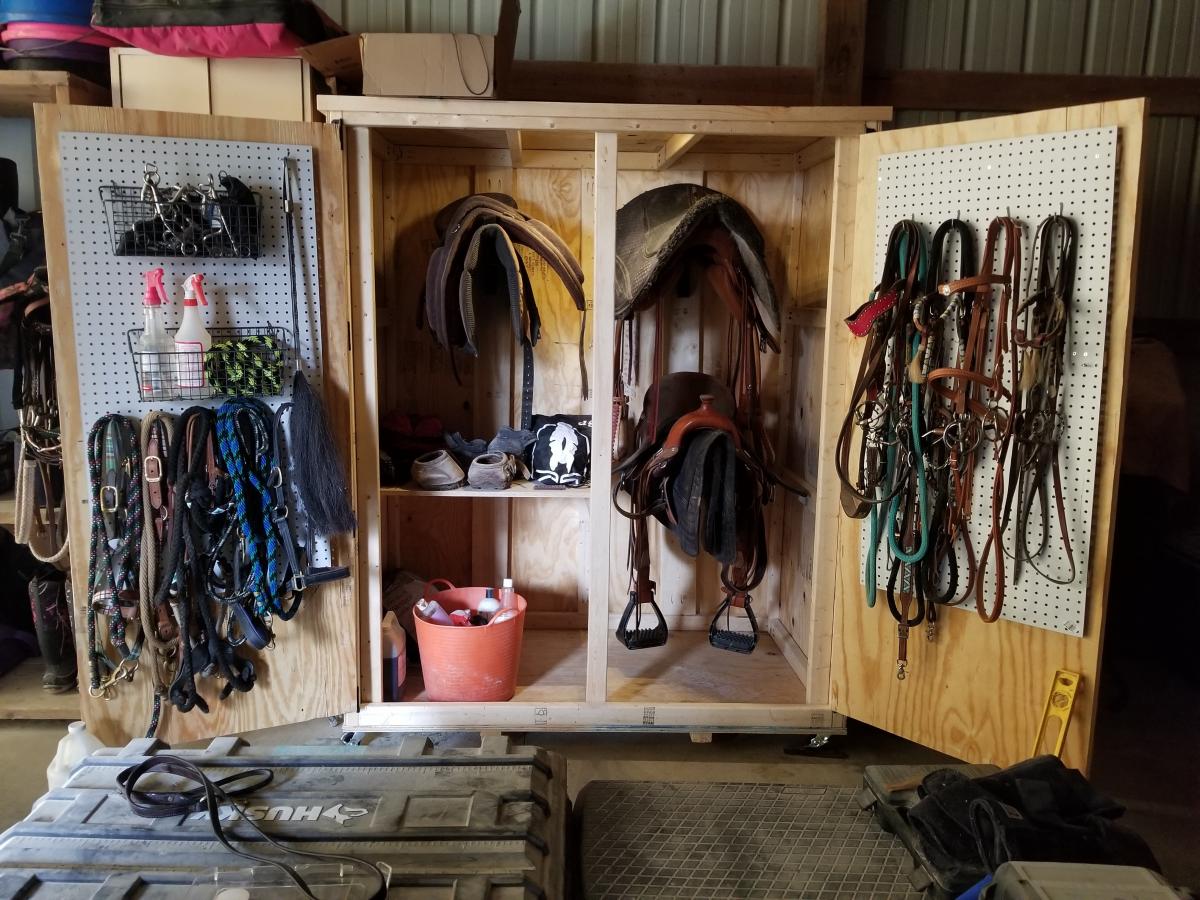
We did some conversions to the smokehouse plans to make a locker for all of my horse tack! :)
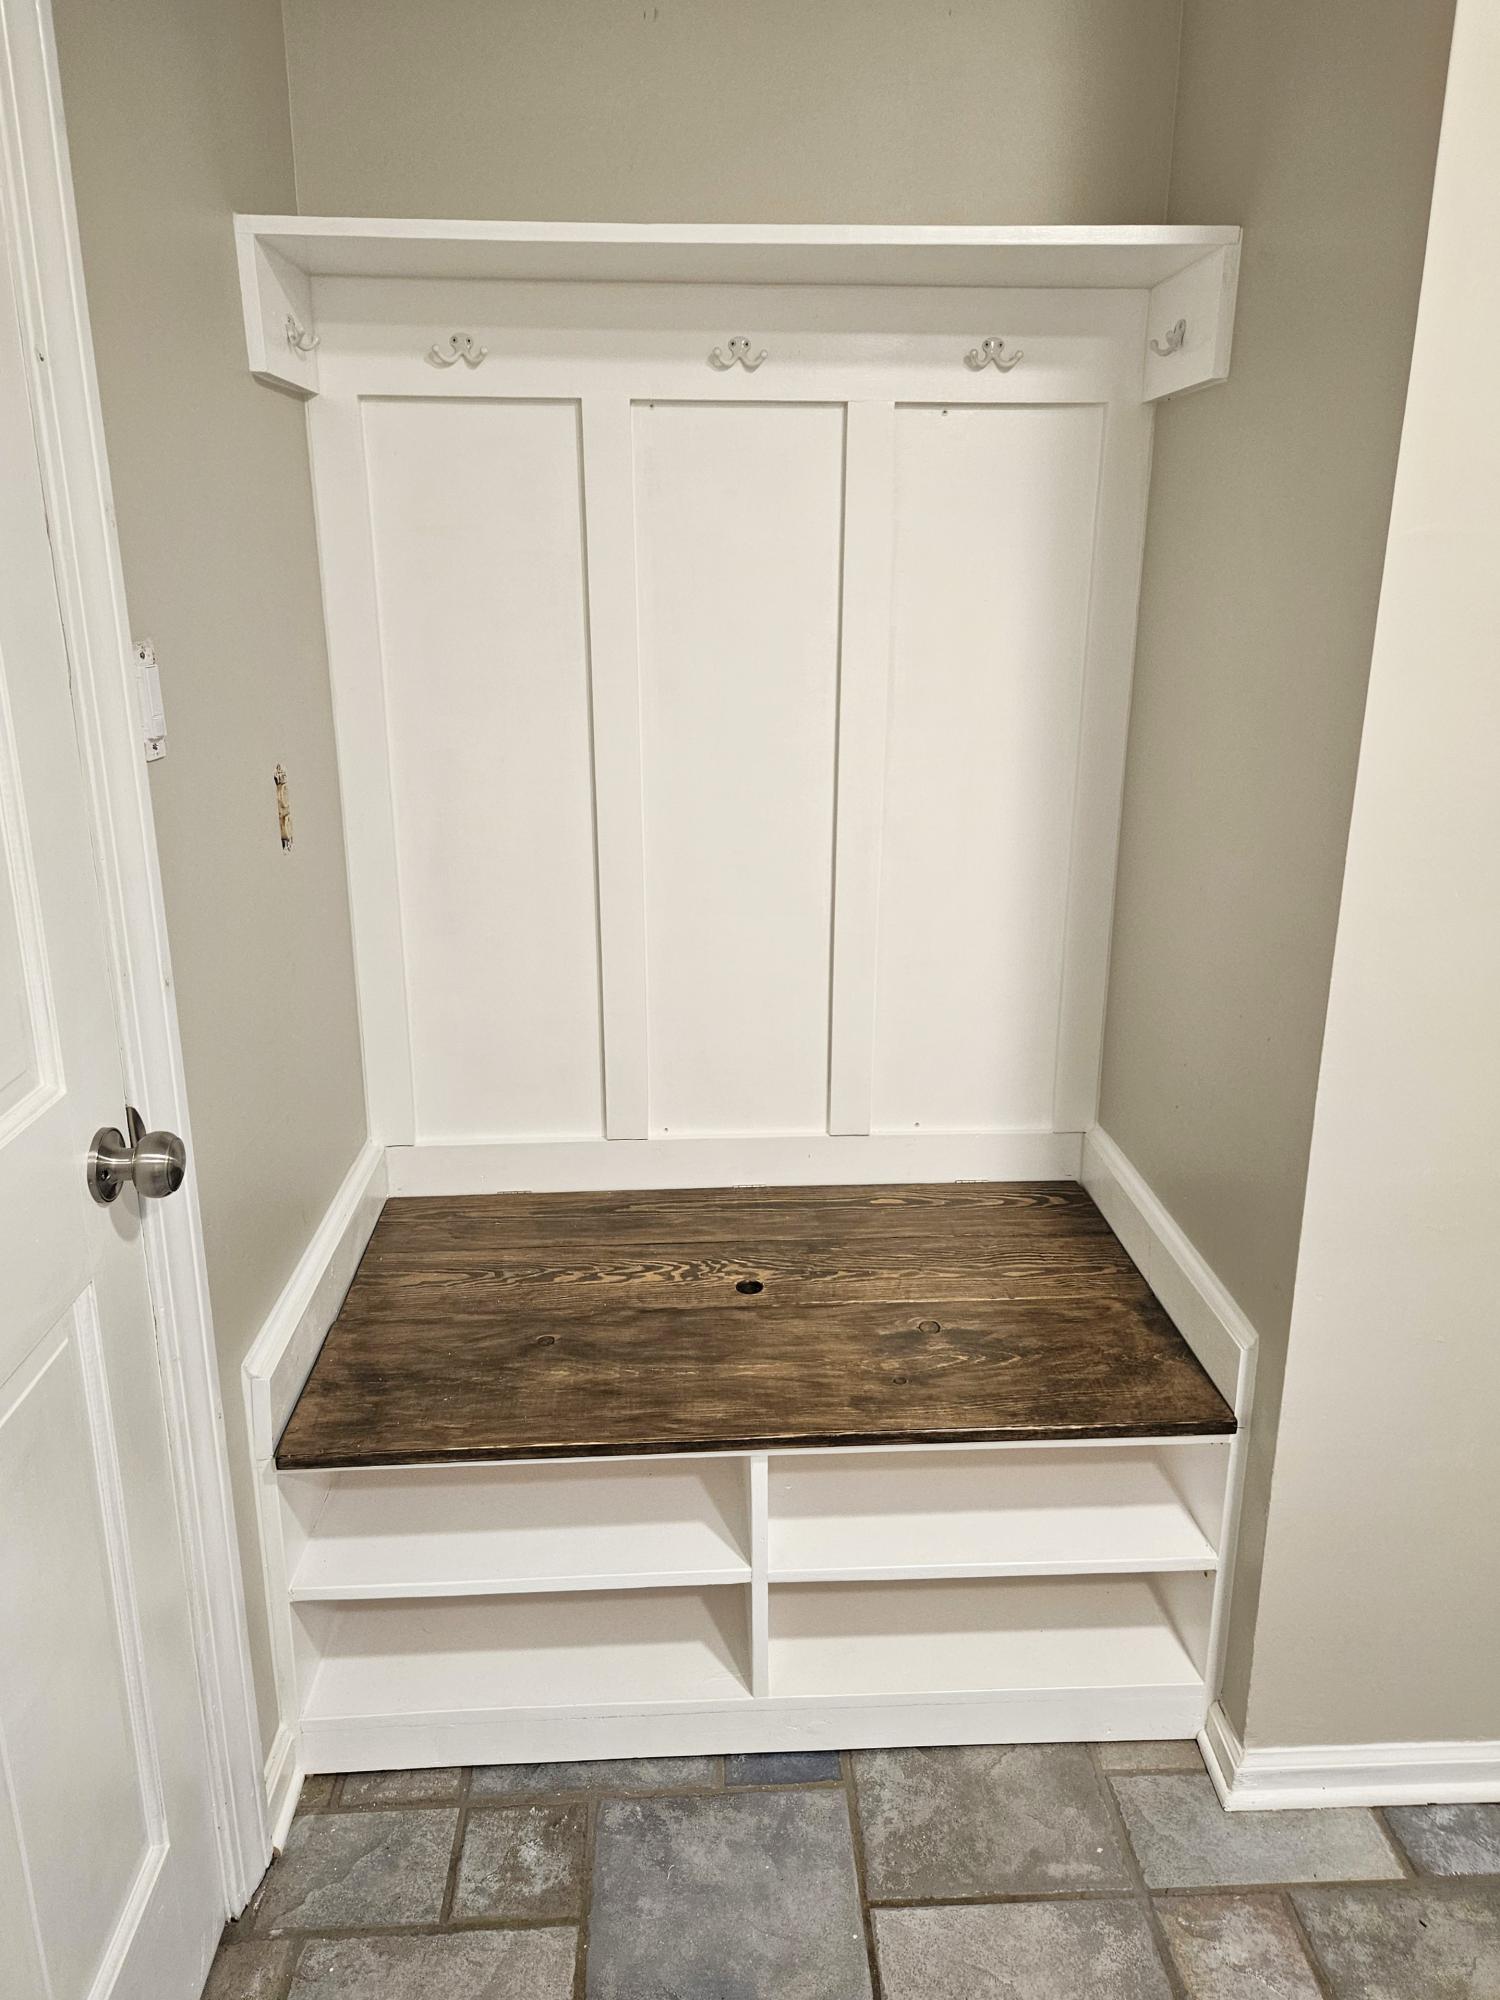
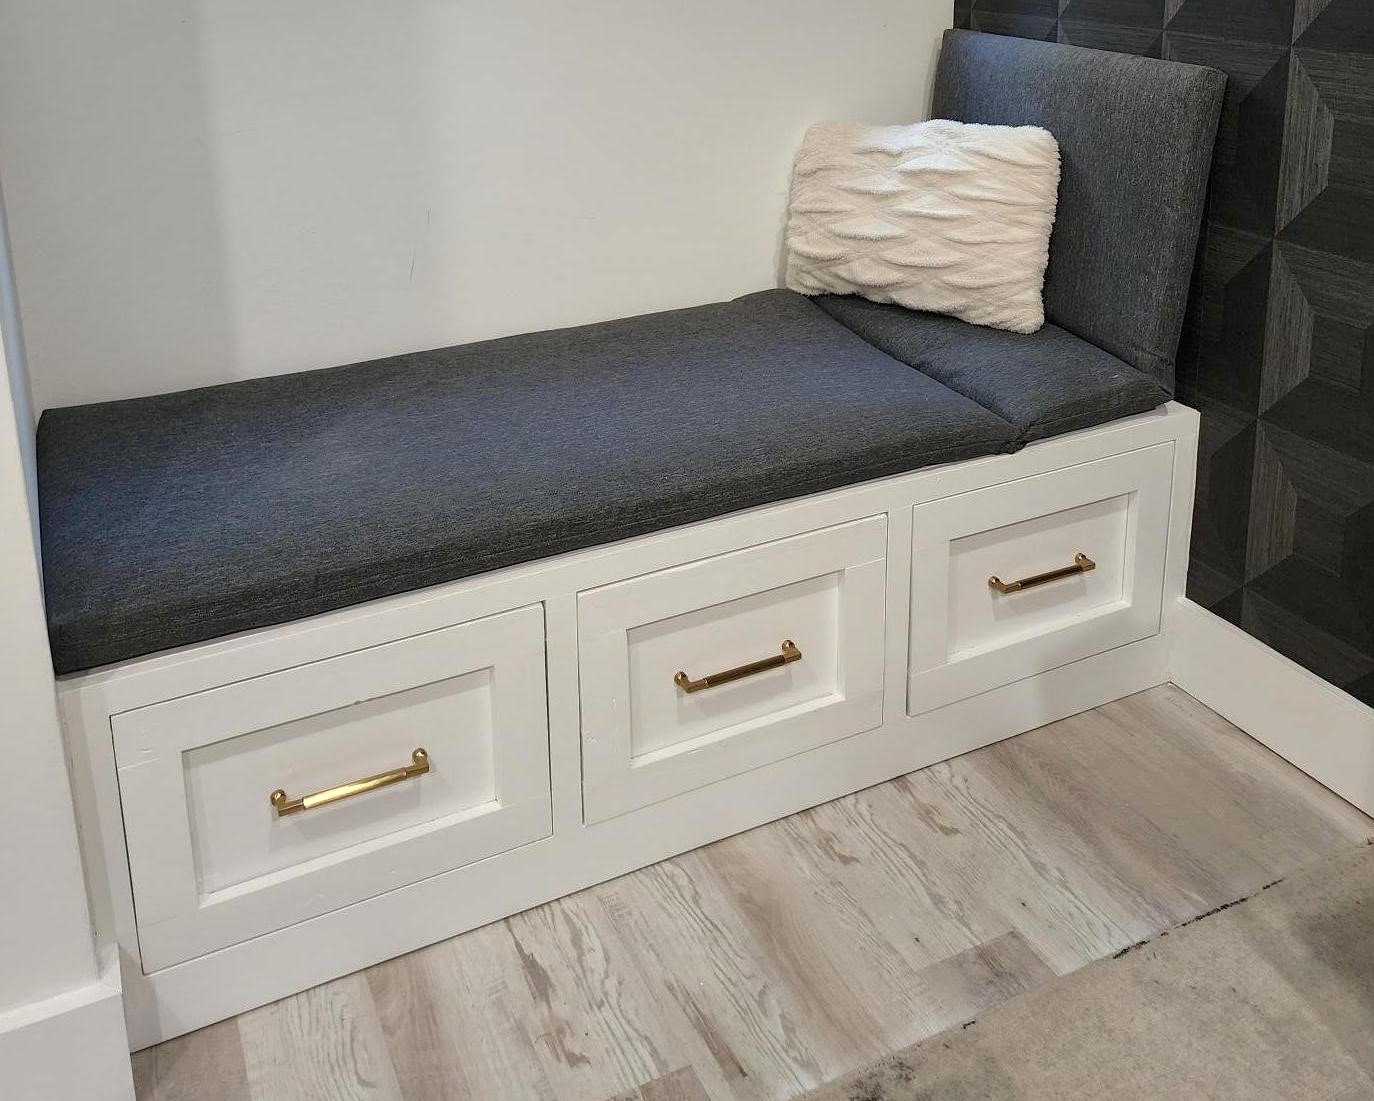
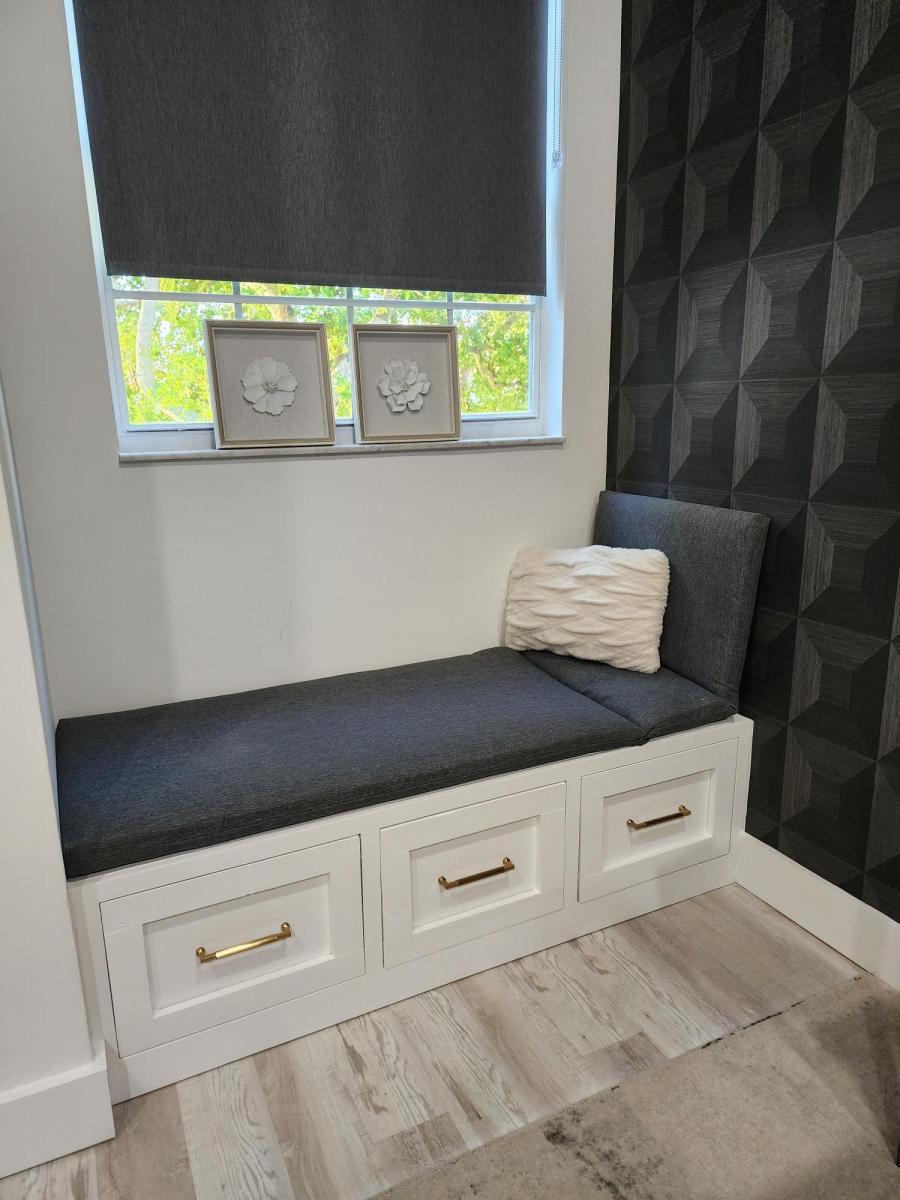
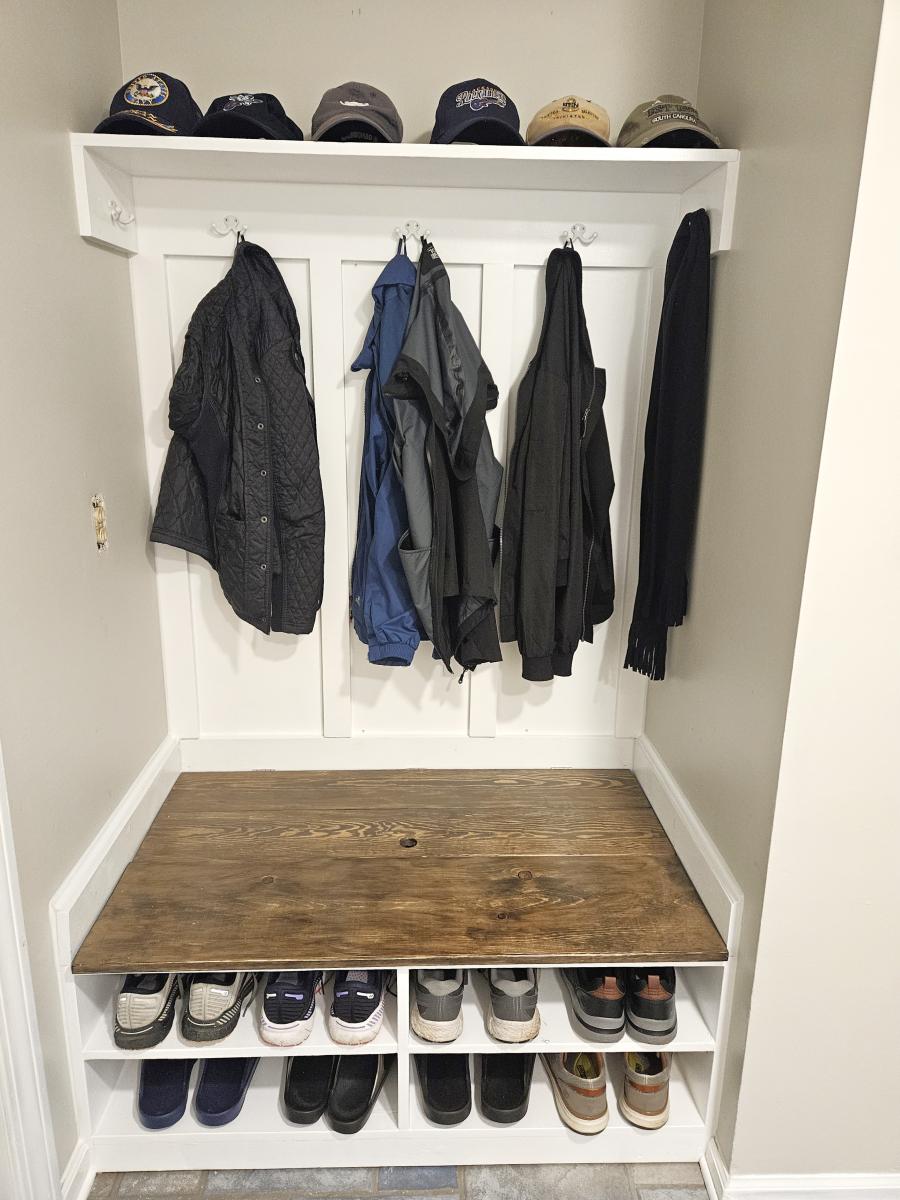
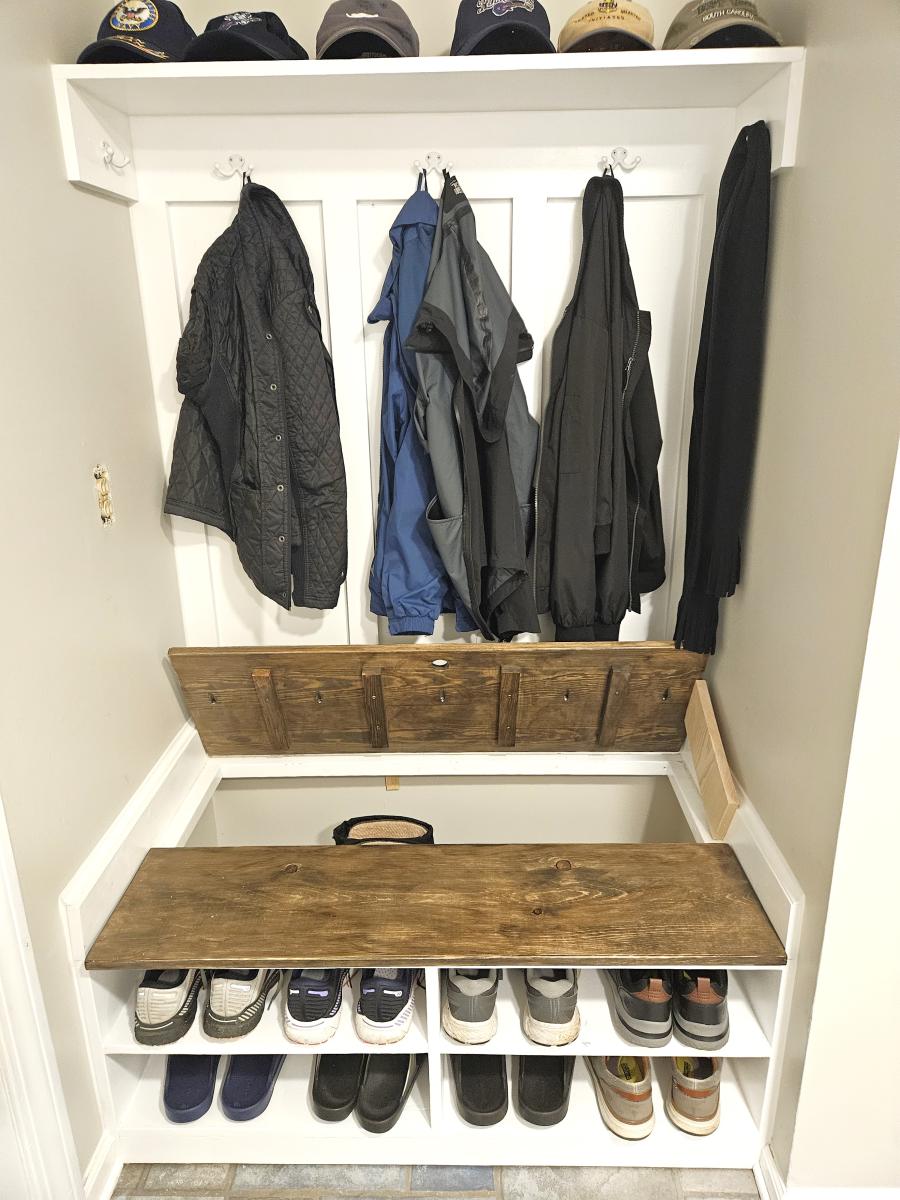
Built the drop zone bench with hidden storage in the laundry room. Modified to fit in 45 inch space where a built-in desk was. A fun and easy build. Thanks Ana for the great ideas and plans.
Don Toy
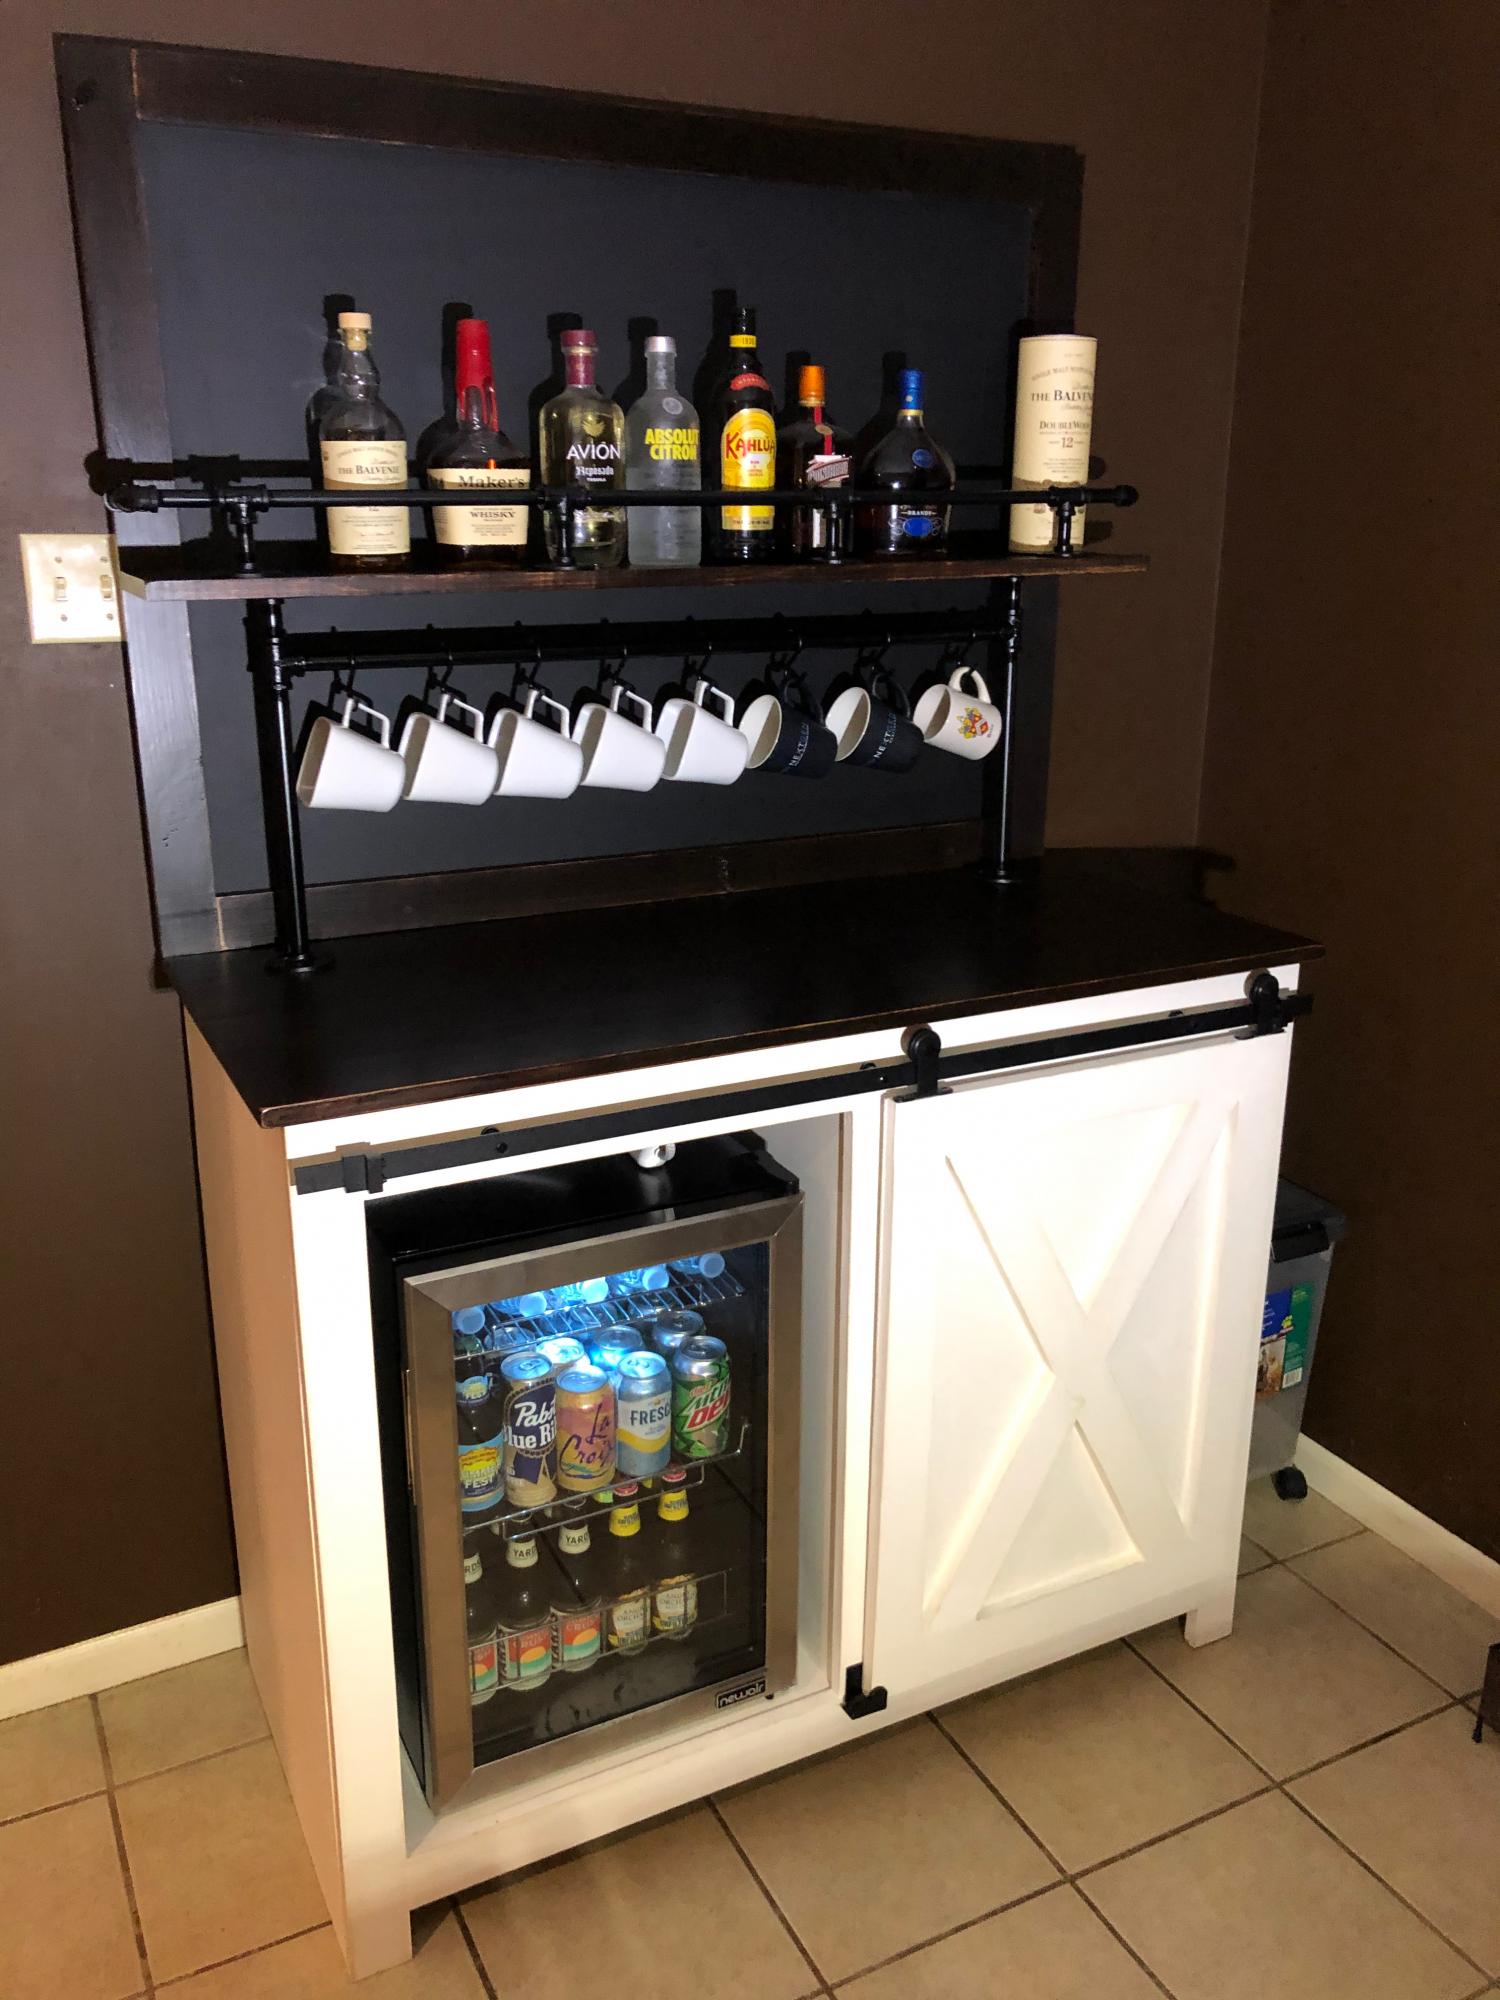
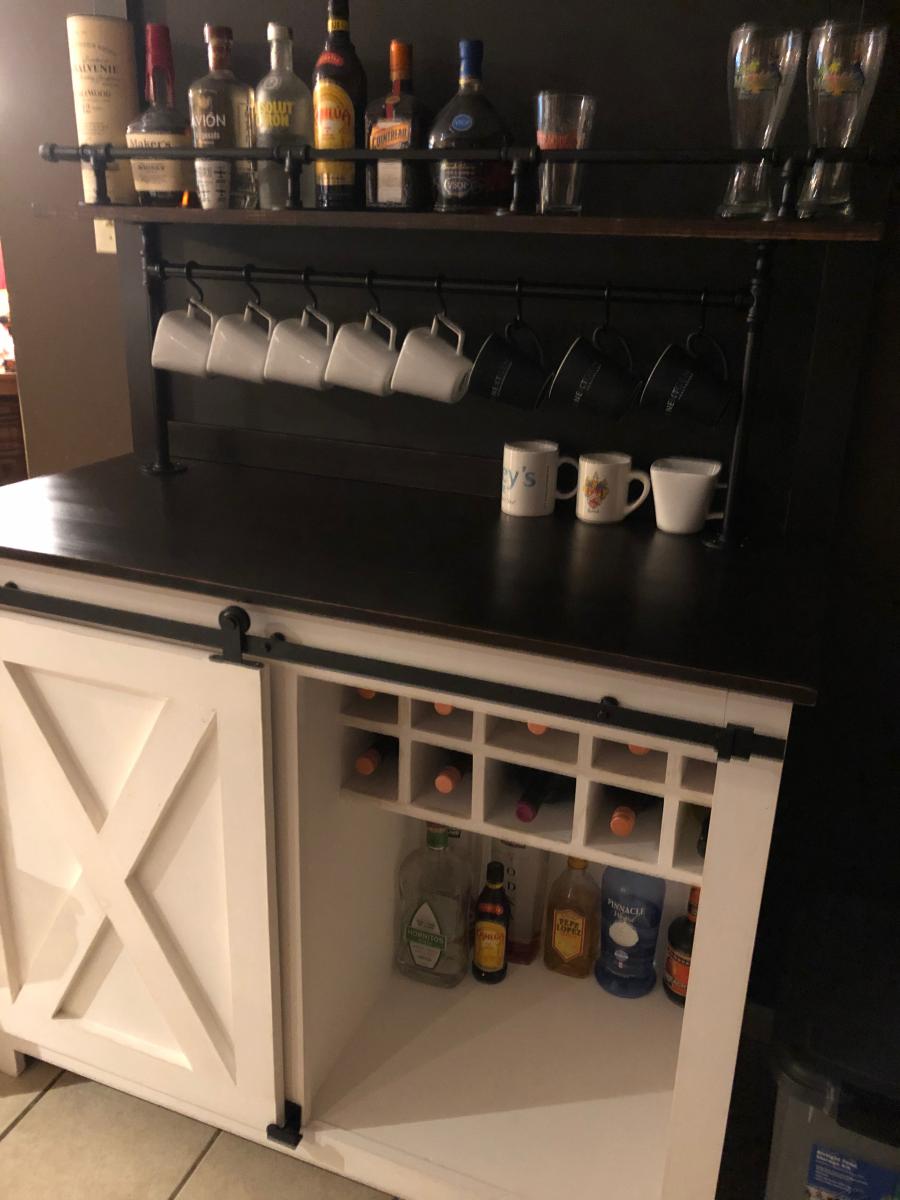
After seeing this same cabinet on Etsy for $2000+ I decided to try building my own. This was built using Ana's plans for the Barn Door Cabinet with Mini Fridge and Microwave. On top of the cabinet is a custom chalkboard which I anchored to the back of the cabinet. Attached to the chalkboard is a shelf for liquor. The rail is made from 3/8" black iron pipe from Home Depot & Amazon. Unfortunately, my Home Depot did not have nipples larger than 6 inches so we had to source 12" from Amazon. The fittings and shorter nipples came from Home Depot. The supports for the shelf and coffee mug rack are made using 1/2" black iron pipe and fittings which were 100% sourced from Home Depot. The finish for the borders of the chalkboard and cabinet top were stained using Varathane Stain + Poly. The color is called "Mission Oak" and it is a satin finish. The hardware for the barn door was purchased from Amazon.
NOTE: If you decide to build a similar version of this I'd consider leaving at least 33.5" on the inside where the refrigerator sits so you can fit a 120-can refrigerator instead. Most are 33.5" tall. I prefer to drink beer from a bottle and the space in a 2.2 cu. ft goes quick when bottles are placed inside.
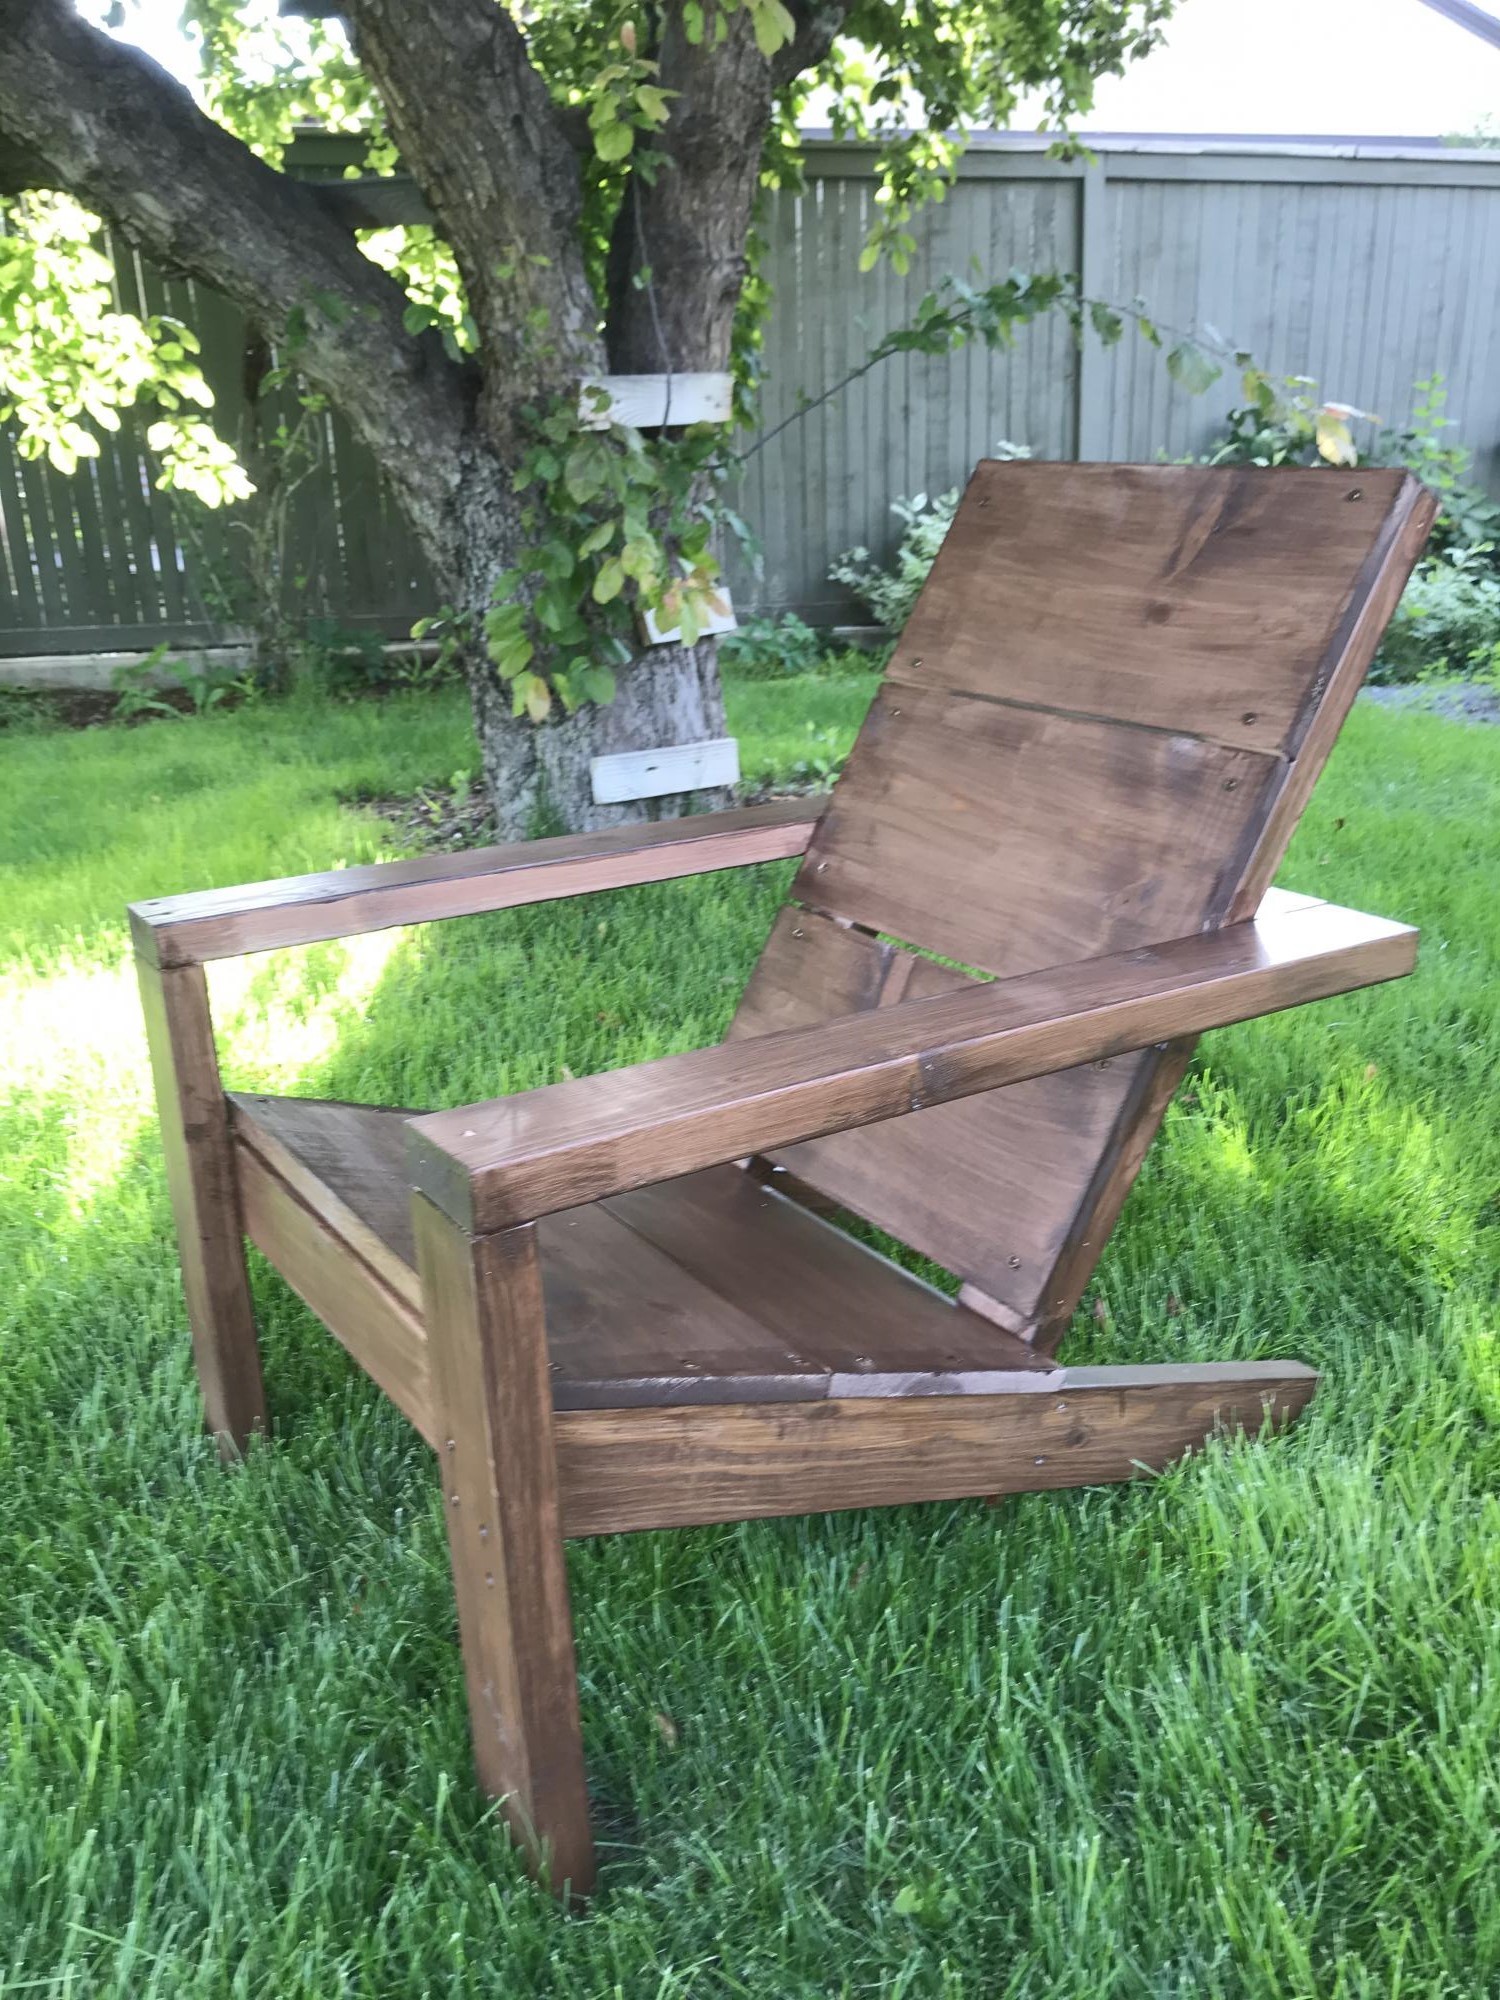
Followed Ana’s plans and turned out great. Stained it after it was assembled but would recommend doing that before assembly. Very comfy.
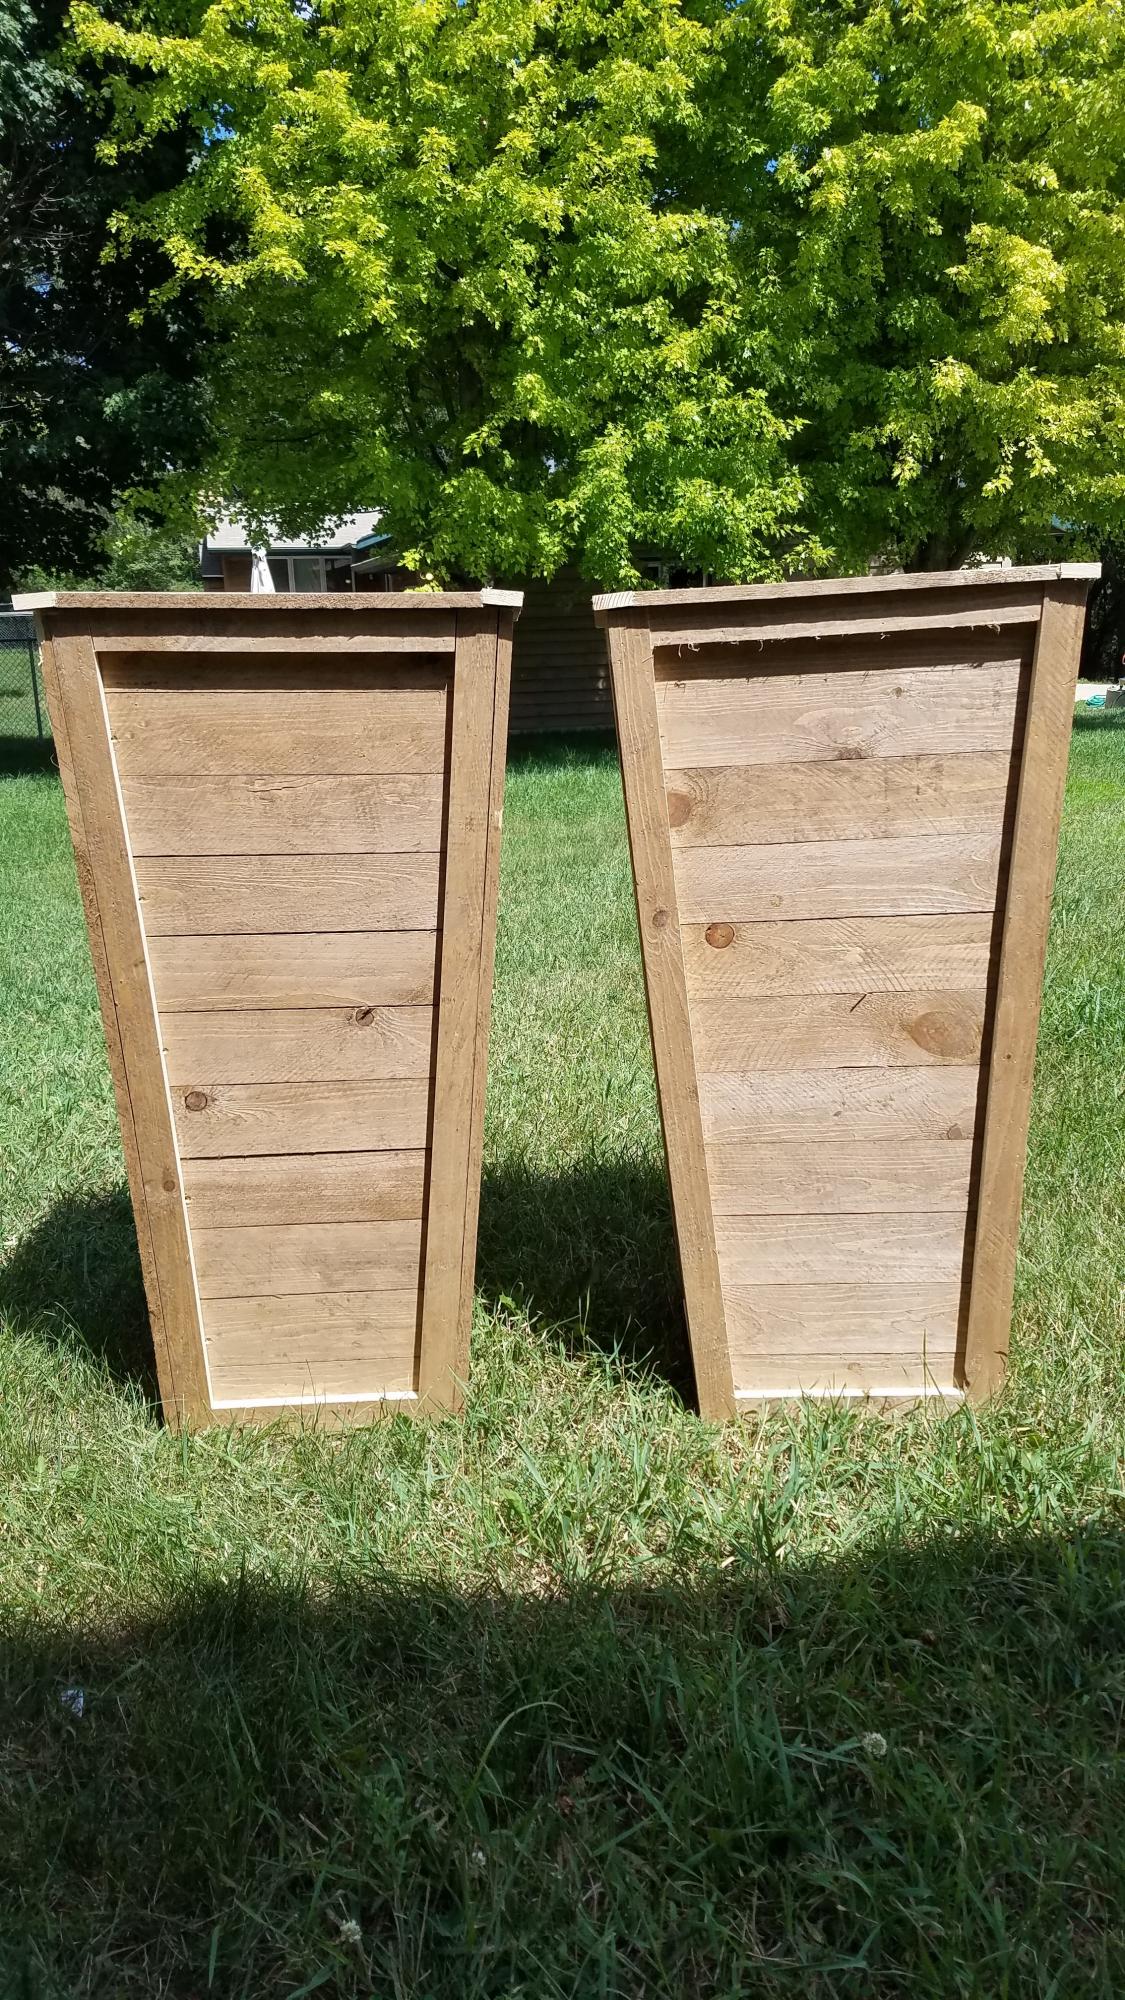
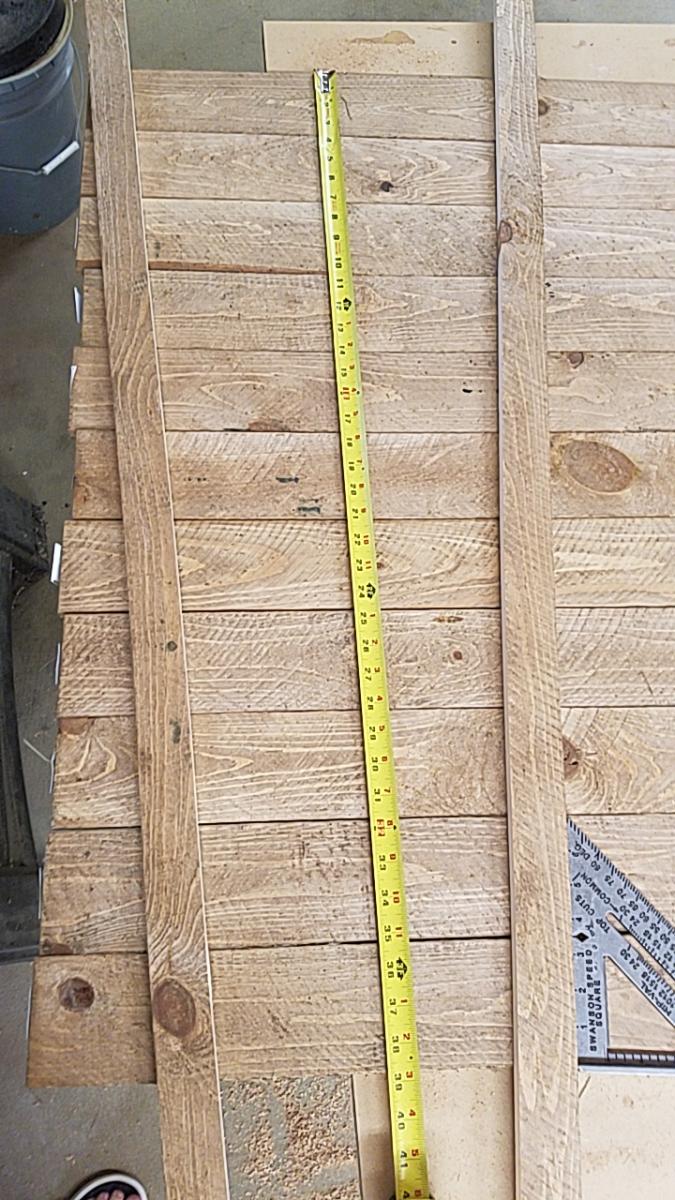
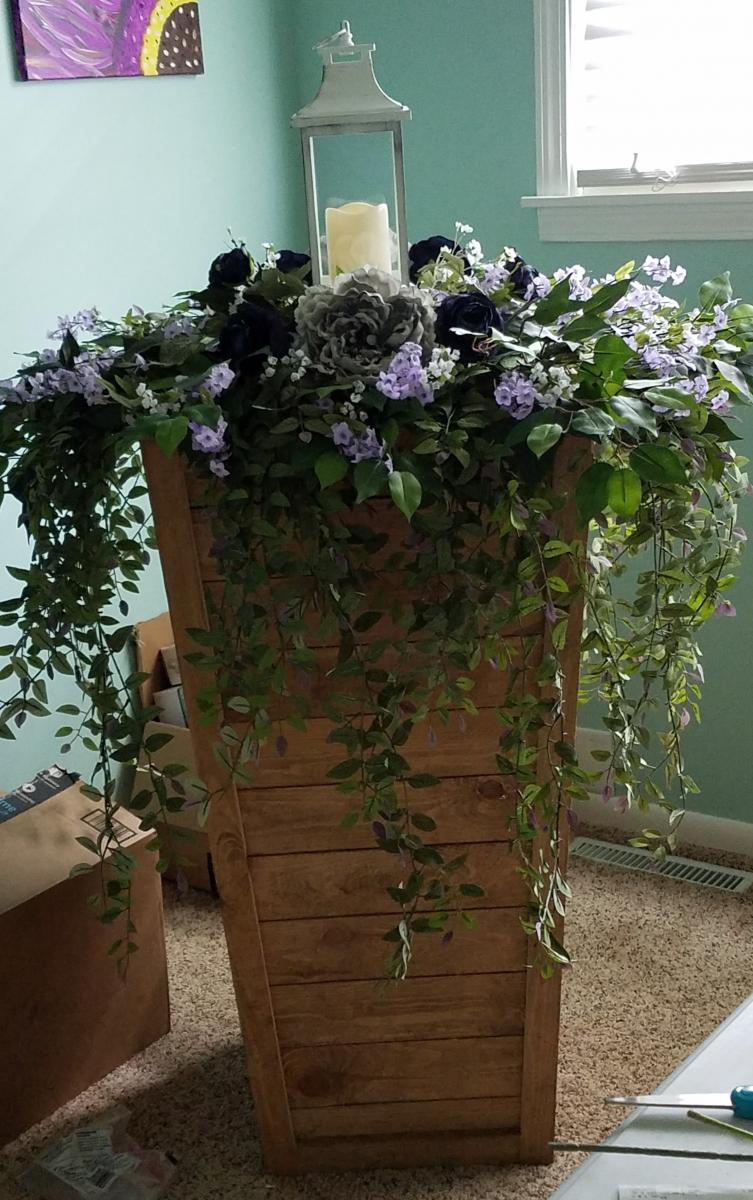
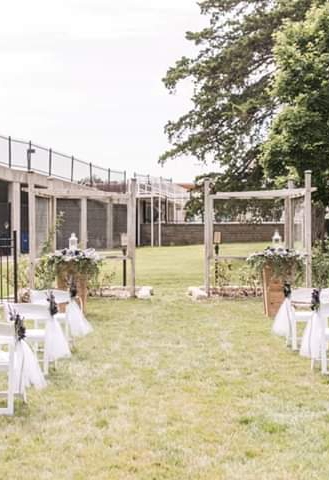
Made the planters to hold flowers for a small garden wedding. Used 3-1/2" wide fence boards as my HD was out of standard 5-1/2" boards. Used 11 boards for finished height of 38" top was 18" wide, bottom 12-1/2" using a 4° angle. Ripped fence boards to size to use in place of 1x2/1x3 boards. Added center trim as on another brag post, as well as, framed the top to finish off the planter.
Comments
LisaM1216
Thu, 02/20/2020 - 11:28
Adapted plans for square rustic x coffee table?
I love these! Plan to build coffee table, end table and console! Ana, any chance you have or could provide adapted plans for a square 44-inch rustic x coffee table? THANK YOU! :)