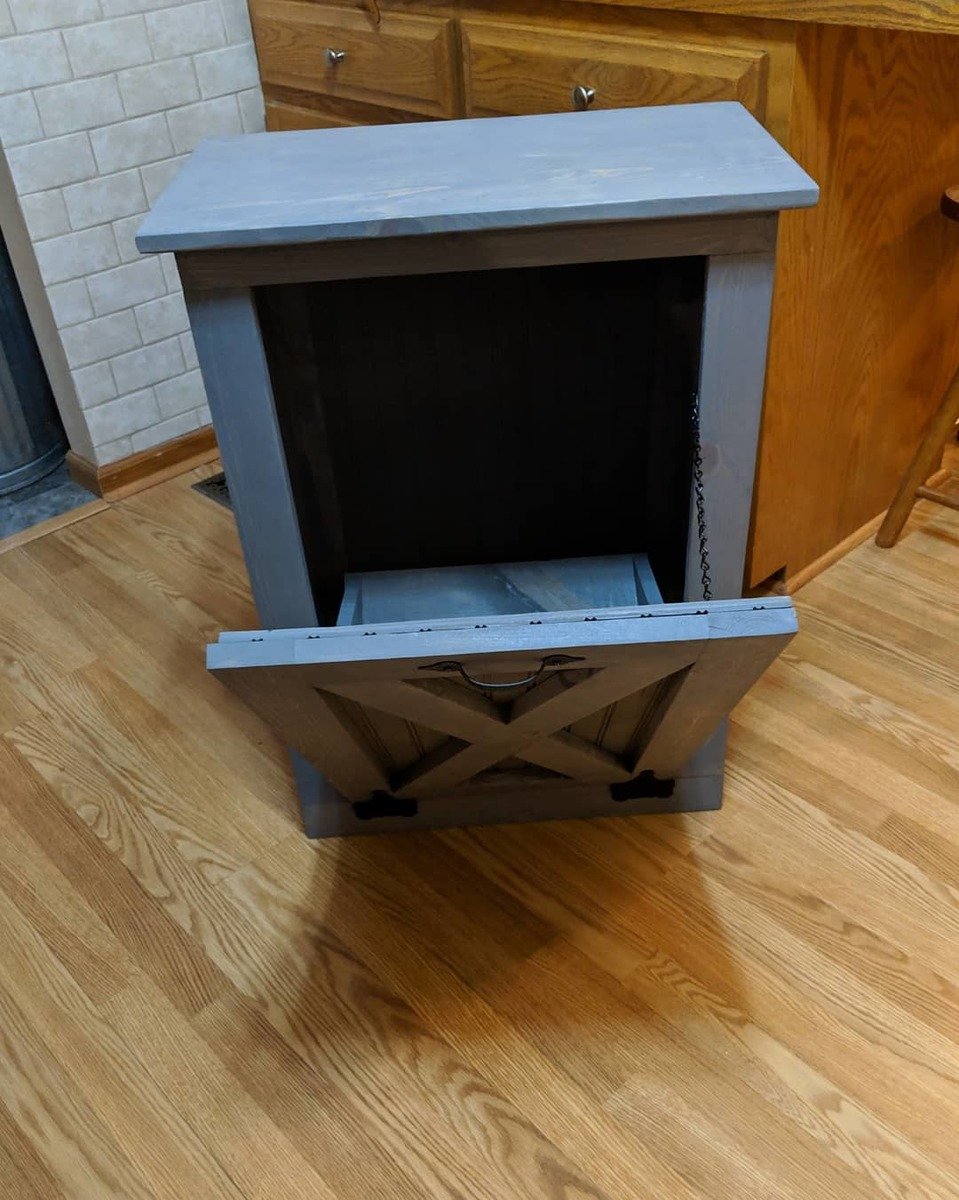
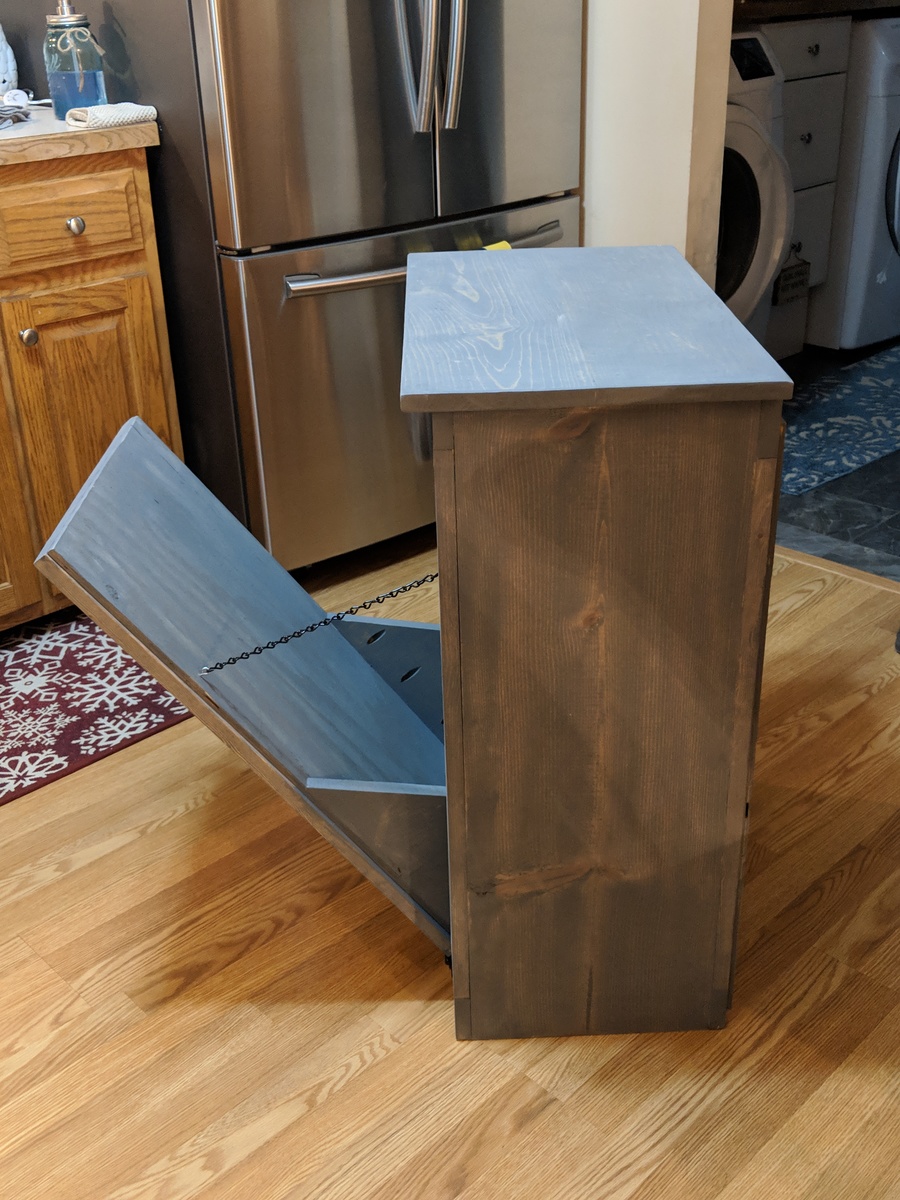
Tilt out trashcan, slight modification.
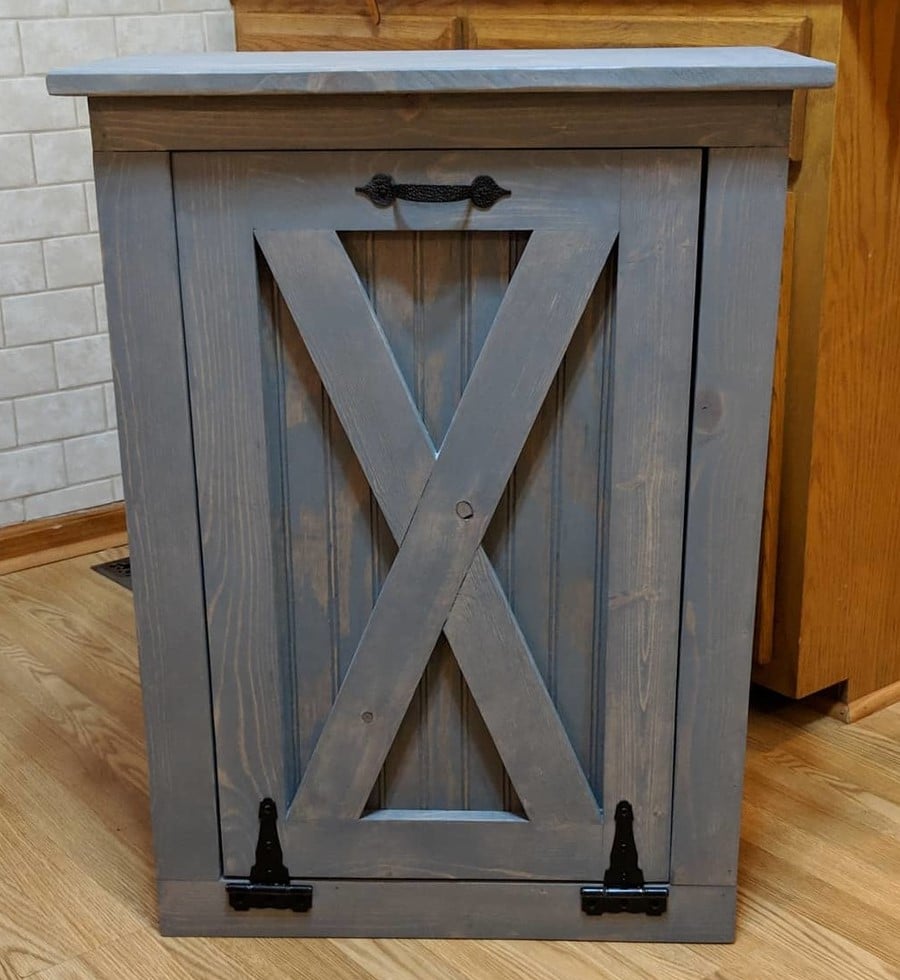
Made it a little taller and a little deeper.
Built from Plan(s)
Estimated Cost
$75.00
Estimated Time Investment
Afternoon Project (3-6 Hours)
Finish Used
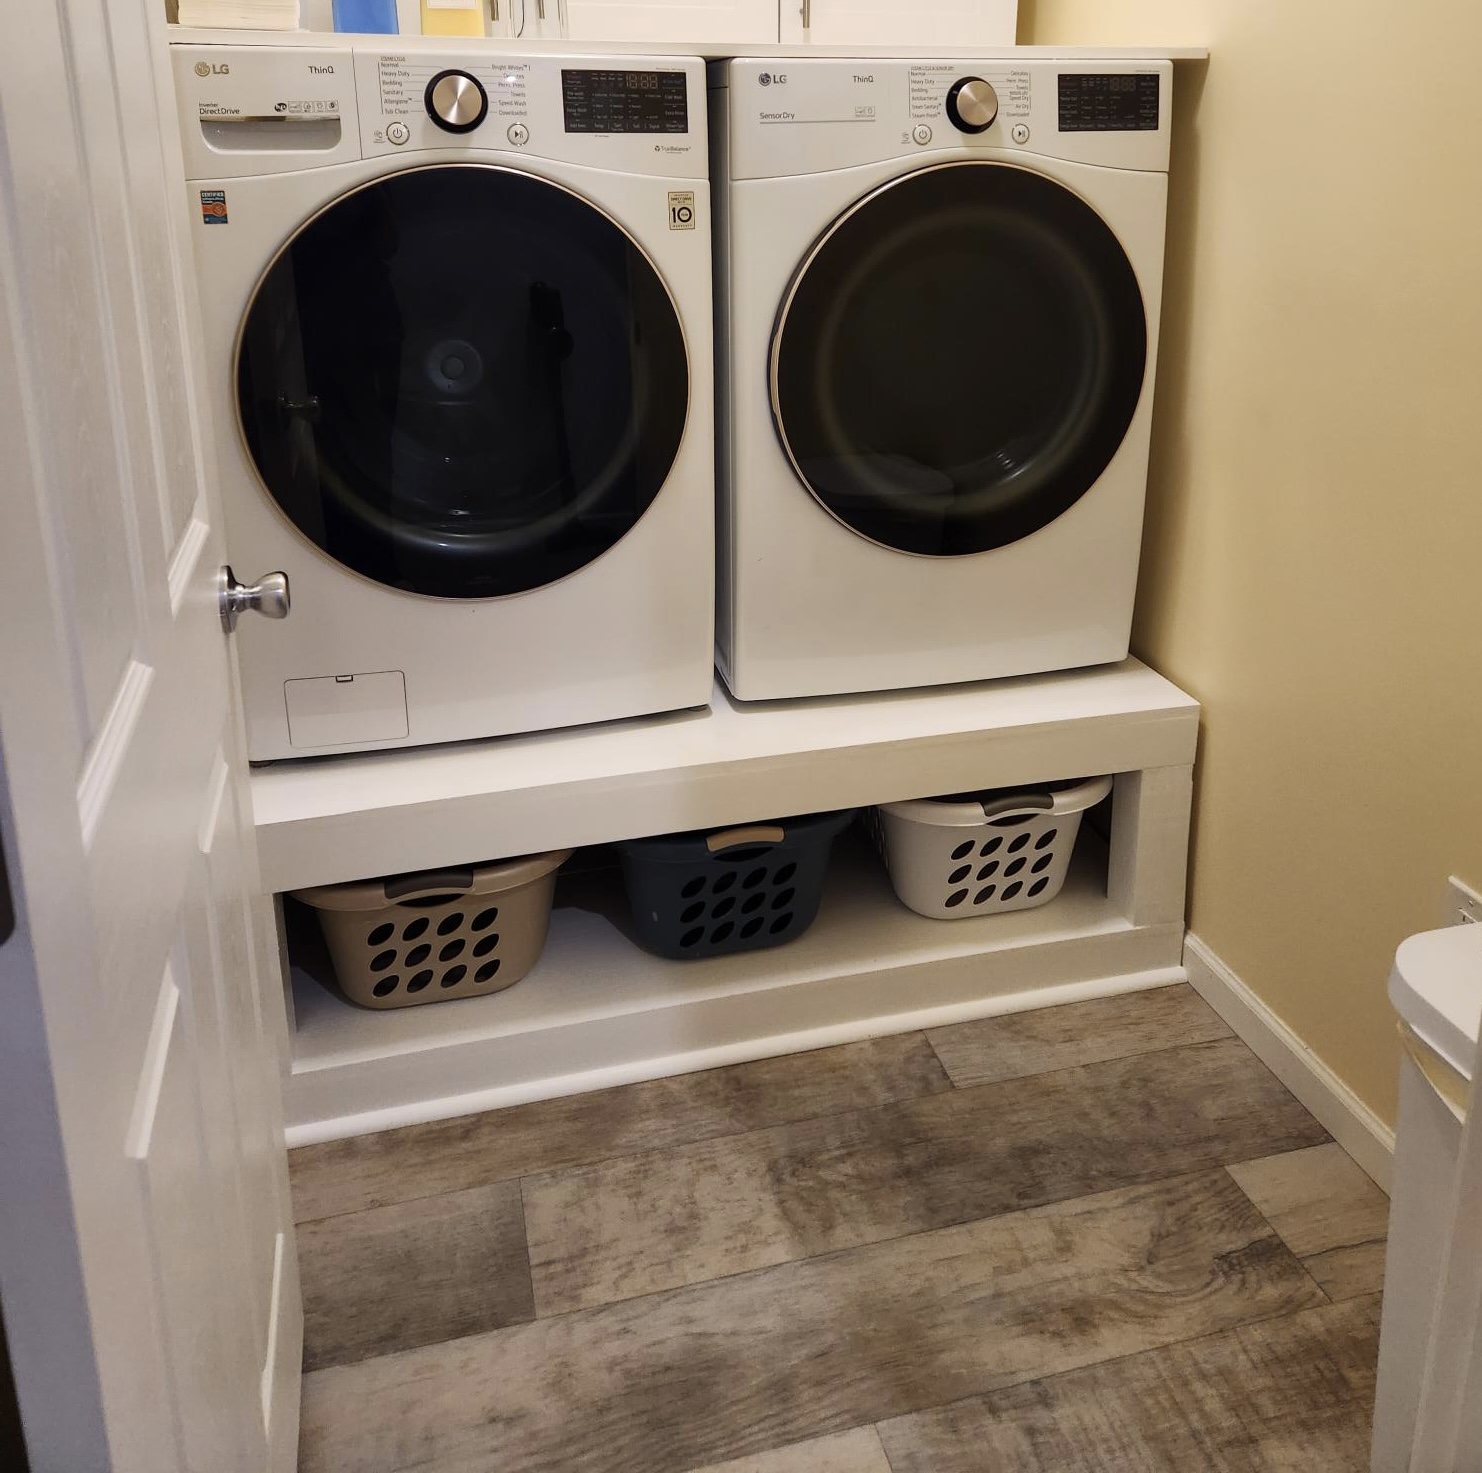
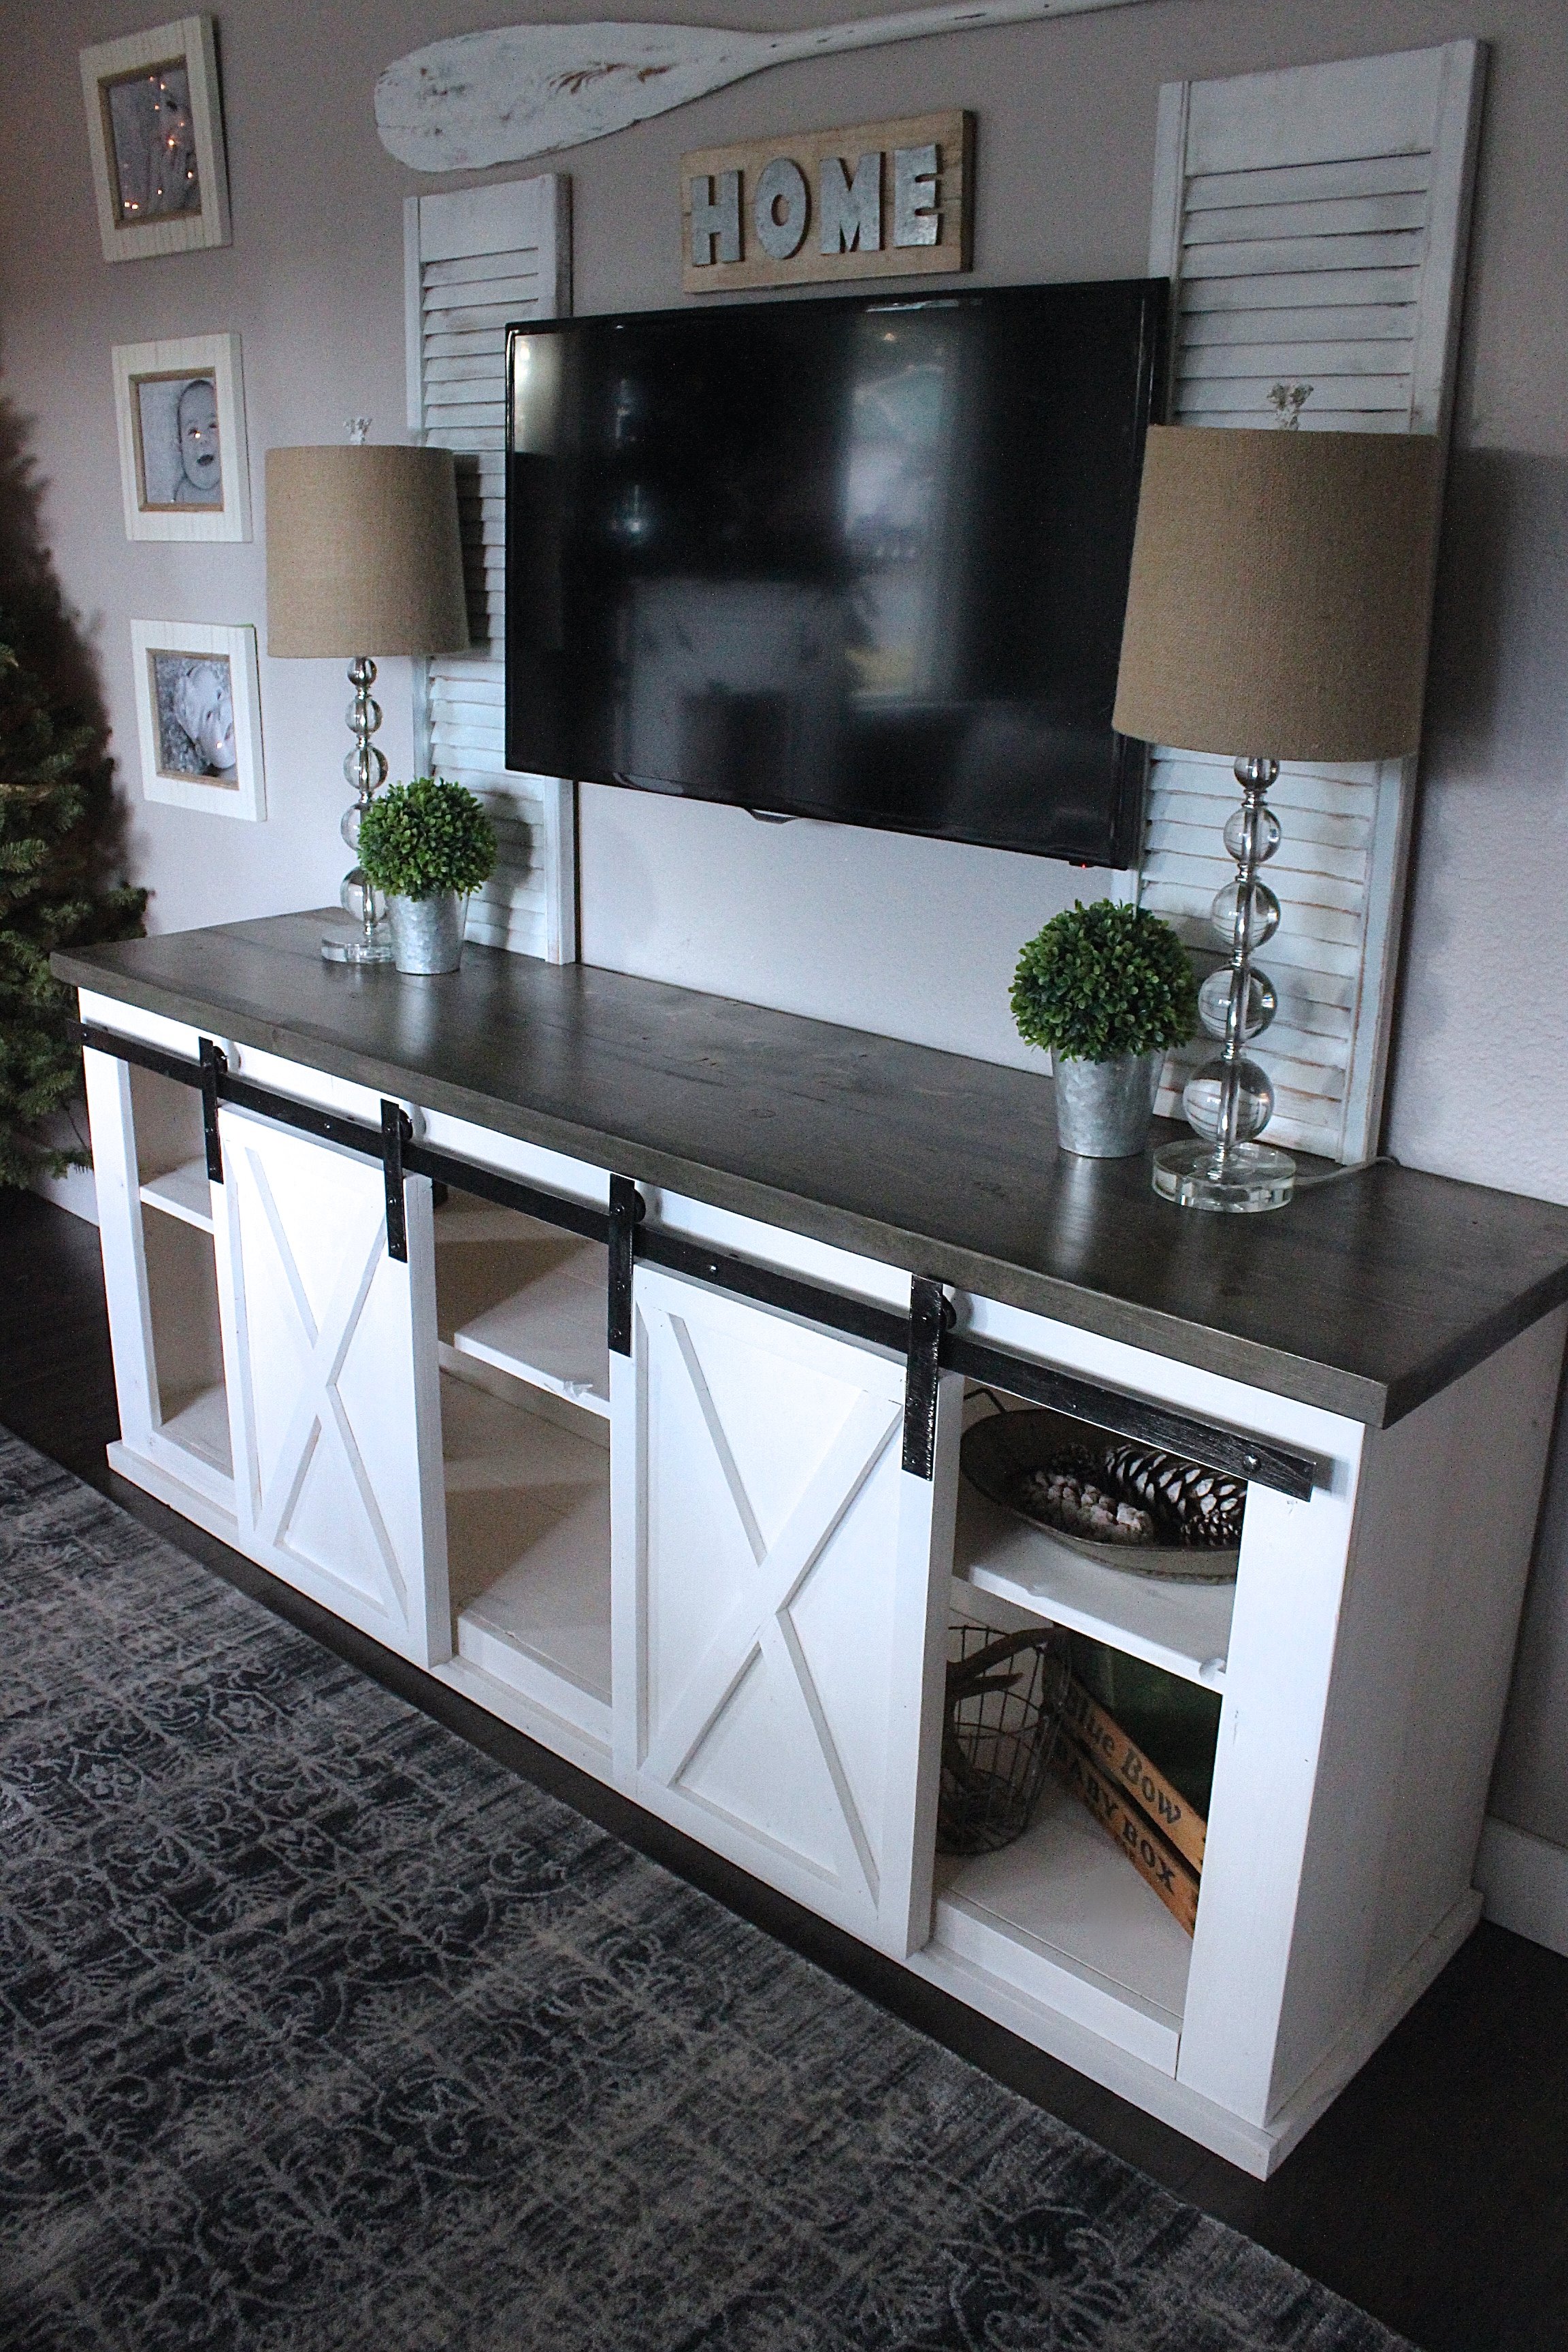
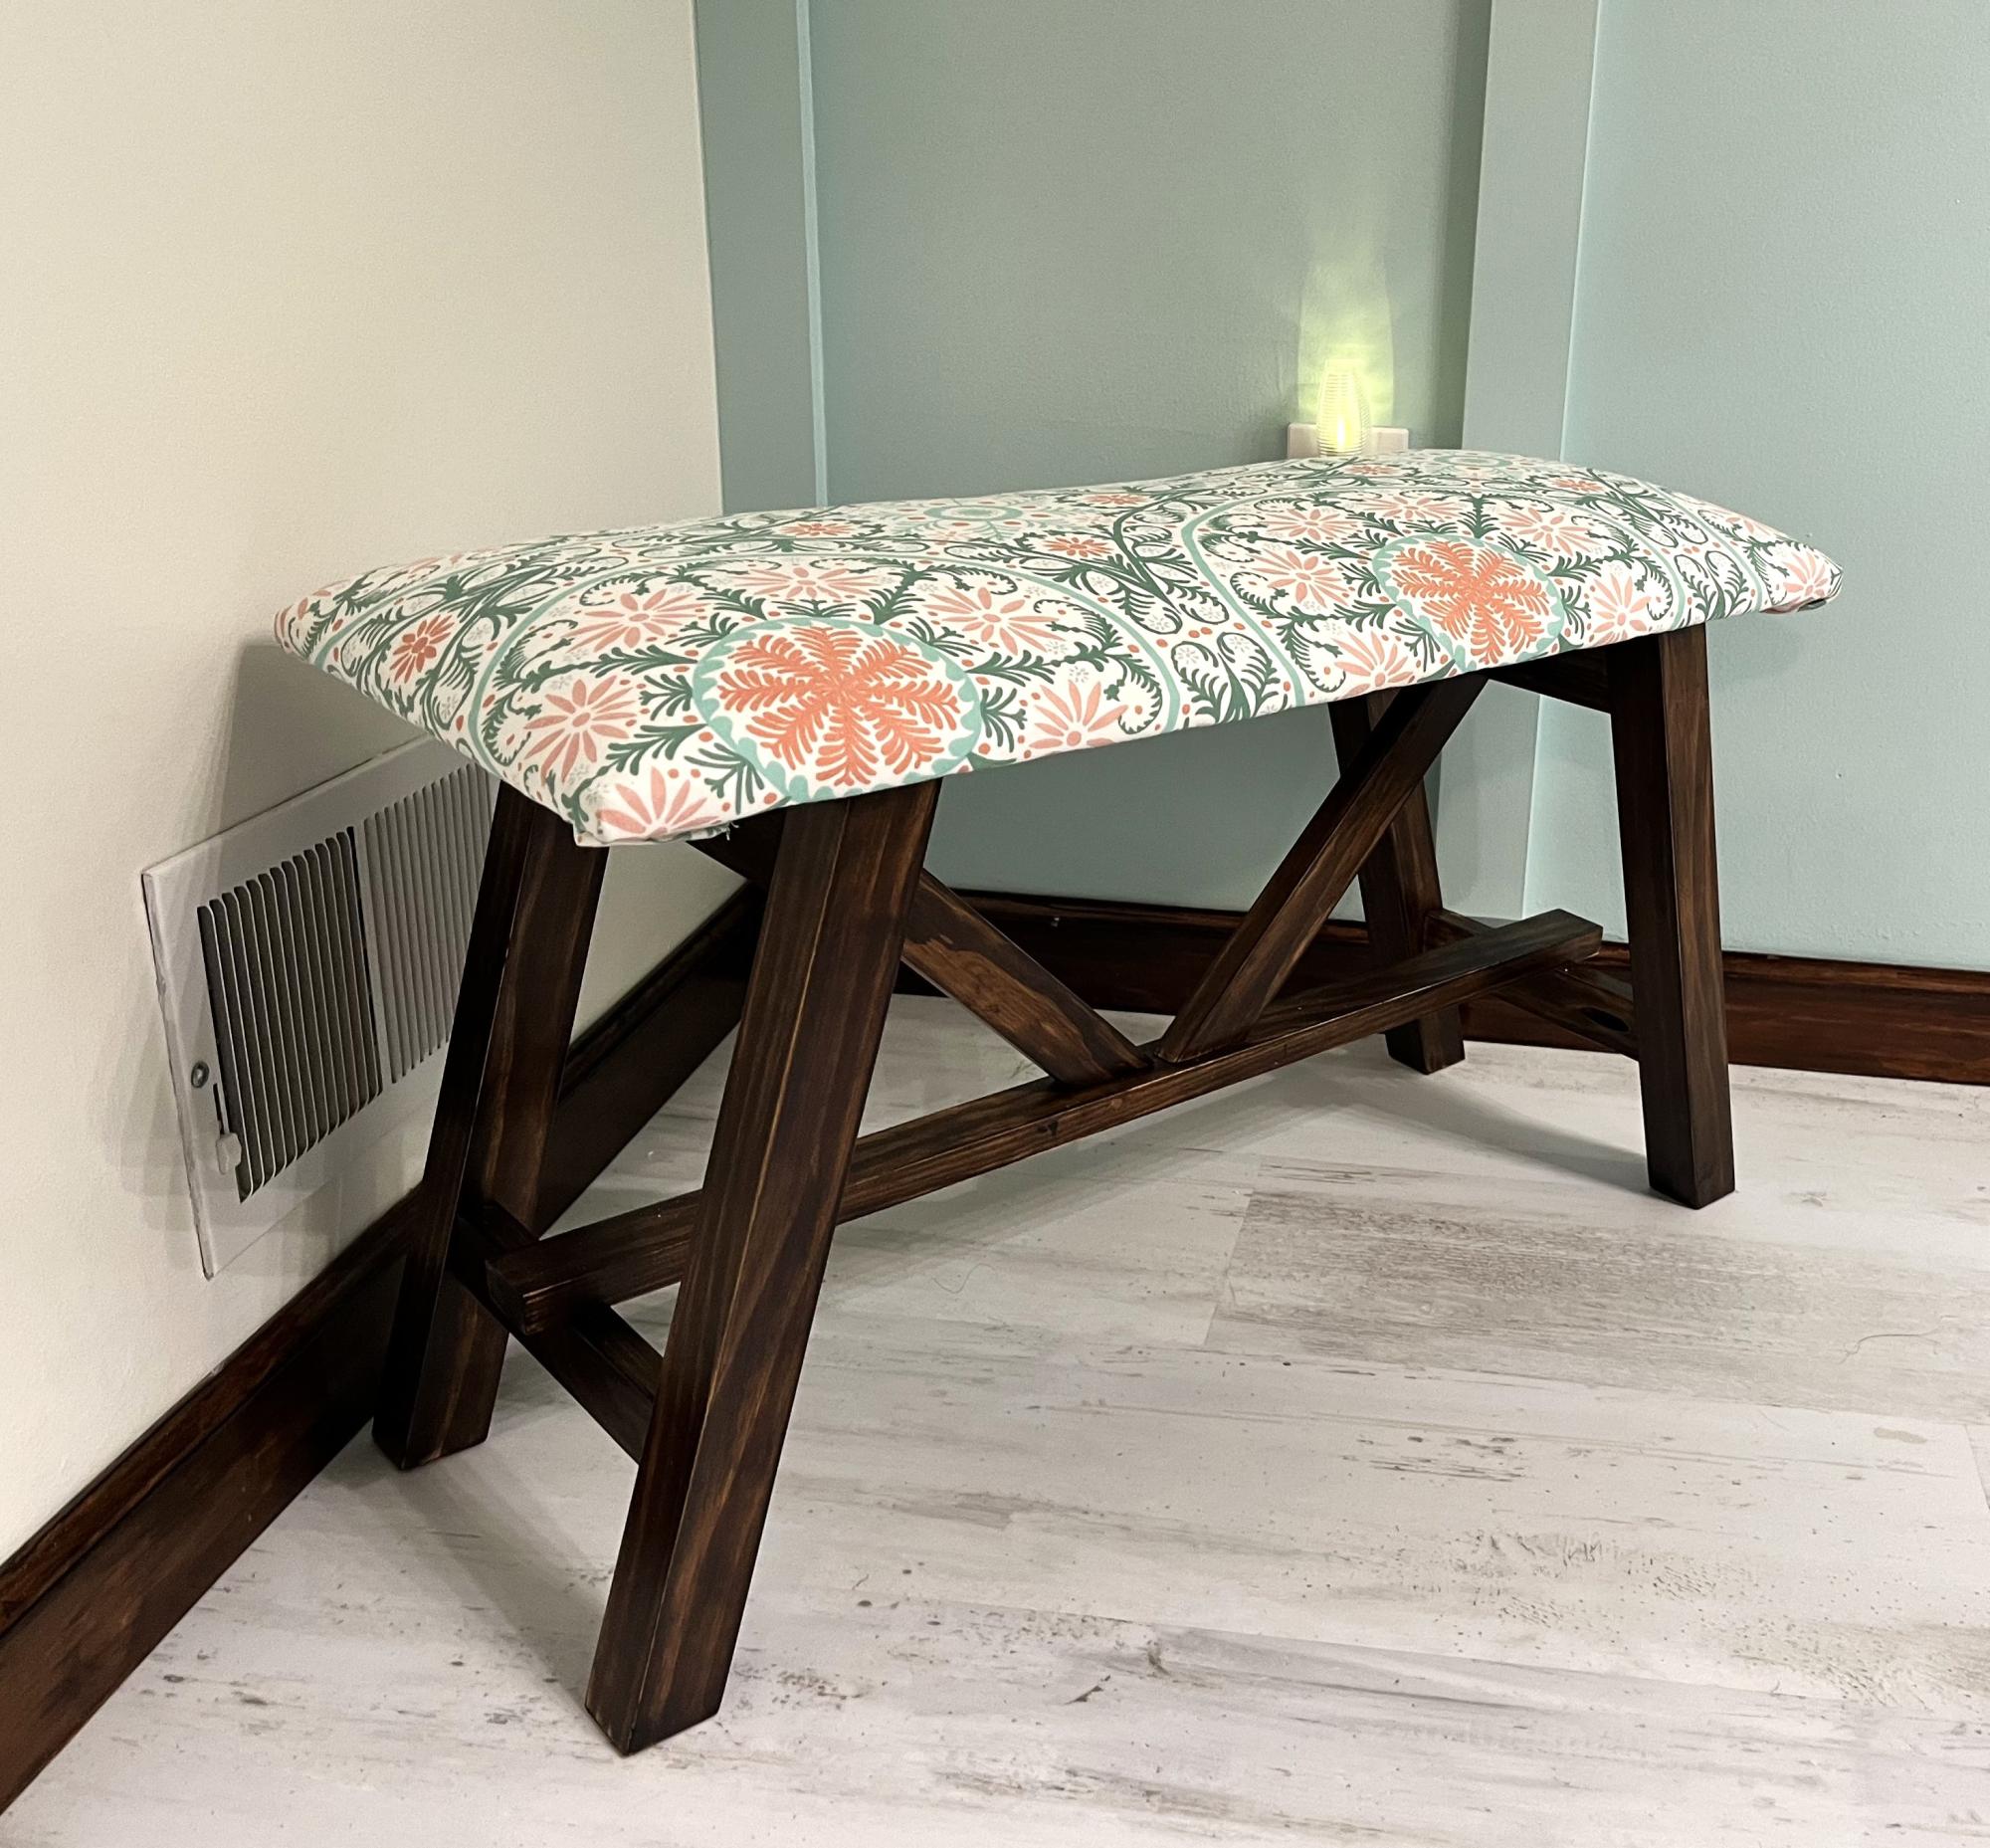
Varathane worn grey.
Recommended Skill Level
Intermediate