Community Brag Posts

RyobiNation workshop carts

Submitted by CarolinaL on Sun, 07/08/2018 - 14:23

The plans were easy enough to follow. I made the miter and table saw carts not as long because of the space I had to work with. These were perfect to provide a stand for my saws while at the same time giving me the additional storage I need. This was the last part of the garage that needed to be organized so I'm extremely pleased. 

Estimated Time Investment
Weekend Project (10-20 Hours)
Recommended Skill Level
Beginner

Comments

Rustic X beach beverage center

Submitted by one wolf on Tue, 09/08/2015 - 06:52

We used old dock wood for the surface of our X table for a nice beach house beverage center (sand bar!).  We adjusted the size to fit our space (a little longer and wider) and used additional studs for the shelves instead of 1" shelving, glued and PH/PS together.  To cut the X pieces I just held the 1x1 on the end of the table where it goes and marked the lines. Then I clamped a guide board at the correct angle on the table saw to make all the cuts, starting a bit long and shaving off until it just fit.  


With all the pocket holes and screws I wouldn't consider this a beginner project. Some additional steps and pictures in your description would help also.  End result is really nice.


Built from Plan(s)
Estimated Cost
$50
Estimated Time Investment
Weekend Project (10-20 Hours)
Finish Used
Patina wood from an old dock for the surface and the base is painted flat gray.
Recommended Skill Level
Intermediate

Comments

2x4 Patio Chairs

Submitted by Anonymous (not verified) on Sun, 05/22/2022 - 13:30

Simple to do with a good saw and drill. Took me about 3 hours to do both.

Comments

Lumber Storage

Submitted by Anonymous (not verified) on Sat, 08/20/2022 - 15:44

We are so excited about have an organized way to store our lumber and scraps. We only had to purchase 4 2x4’s for this project and were able to use a lot of on-hand scrap pieces. The plans were so clear and easy to follow. Thank you for sharing!!

Comments

Beginner Farm Table

Submitted by Anonymous (not verified) on Mon, 09/05/2022 - 16:58

I’m in the process of renovating my kitchen and dining area and needed a rectangular table fitting against the wall. I couldn’t find the dimensions I needed so I set out to build my own! I tweaked the beginner farm house table and bench plans to fit my space and voilà! Perfectly what I needed! Thank you, thank you, thank you!

Comments

Dog Houses

Our local Habitat for Humanity puts on an annual event where they get folks to restore discarded or worn down furniture and sell them at auction. My wife and I participated last year and this year I was asked to build 4 dog houses and then they were going to let local designers/decorators finish them out.

I figured it would be easy to find a good dog house plan, but I was wrong so I had to come up with my own designs. I did not want to use plywood becauase I wanted them to look good. So I used 1x4's and 1x6's. I built them all just a little bit different, but the same basic design on all 3. Since I am not very good with circular cuts, did not do any fancy 1/2 circle doorways!

There are "after" pictures on the Blog. Thanks for looking!

Estimated Cost
$100 each
Estimated Time Investment
Afternoon Project (3-6 Hours)
Finish Used
I didn't finish them out, but did use screws to attach everything, so filled those in with wood putty and sanded down of course.
Recommended Skill Level
Beginner

Comments

Cindy from Indiana (not verified)

Sun, 11/06/2011 - 16:10

Great job for a great cause!

Farmhouse bed

Submitted by Anonymous (not verified) on Sun, 01/15/2023 - 18:51

Needed a bed. After looking in town for premade beds, I wasn’t satisfied with the workmanship or price. I thought I could build one much nicer than what I was seeing. With these plans, I was able to make it happen. It turned out way better than expected. After a couple of strikes with paint, I watched a couple of YouTube videos on painting furniture black and that’s all it took to get exactly what I was looking for. Thanks so much for the plans. I also made the mini farmhouse bedside tables. I’ll put pics of it under the tables category

Comments

Modern outdoor 2x4 chair with modification

Submitted by Anonymous (not verified) on Fri, 03/08/2019 - 13:31

This chair was made off Ana white'smodern outdoor chair with modification to add back support. Without the back support the back pillow would keep falling off.  The cushion are 25x25 but very thick for comfort.

Estimated Time Investment
Afternoon Project (3-6 Hours)
Recommended Skill Level
Beginner

Comments

Brittsiana

Sun, 08/16/2020 - 10:03

Does anyone know what degree angle this is for the back support?
I would like to add it to my newly finished chairs I made over the weekend. The pillow keeps falling down.

Smaller Dog Crate / Kennel

Submitted by pamin on Wed, 11/02/2011 - 12:56

Smaller version of Ana's Dog Kennel. Took me about 3 weeks (working on weekends and few hours after work). Made from maple and cherry.

Built from Plan(s)
Estimated Cost
$70 ( I had the tools, just needed to by the wood)
Finish Used
Semi-Gloss Poly, sanding in between (120 -> 180 -> 220 -> 400 -> 600)
Recommended Skill Level
Beginner

Comments

Cindy from Indiana (not verified)

Sun, 11/06/2011 - 16:07

This really looks fabulous! Great job!

As a 'dog family', we always have rescues and visitors on board. This looks so much better than anything I've seen in stores and for less money, too.

I'm definitely adding this to my to-do list.

P.S. Your pup is adorable, too! ;-)

Ejade

Tue, 12/06/2011 - 16:44

I have 2 yorkies and would LOVE to make this for them, this is sooooo going on my todo list.

Koli is tooo cute as well!!!

Proud2busmc (not verified)

Sun, 07/22/2012 - 06:43

This version looks great, how did you do the sides to make it look fancier? I love the personal touches on this crate!

DIY Farmhouse King Size Bed

Ever since we moved into our current home, our master bedroom headboard has been at the top of our my project list. I knew I wanted a beautiful farmhouse style headboard. What I didn’t want was the heavy retail price tag. I searched high and low at places like Target, Wayfair, Amazon and even Walmart without finding an affordable option for us.

There is this perfect vantage point of our bedroom from the glider in my son’s room. I remember staring at that empty wall space above our bed for years, it felt like, while rocking our son to sleep. Just willing a headboard to appear. I wanted it so bad I could taste it. Something about looking at that same view, night after night, and waiting, waiting, waiting for it to happen just makes me appreciate it so much more now that it’s here, as so often happens in life.

This project inevitably got put on hold over the years after one thing or another got in the way. Either we didn’t have the time to devote to it, or we always had something else to put our money into. Untilllll I stumbled across Ana White’s Farmhouse Headboard Plans.

Built from Plan(s)
Estimated Cost
~ $200
Estimated Time Investment
Weekend Project (10-20 Hours)
Finish Used
Valspar off the shelf white in semi gloss applied with paint sprayer in several, thin coats with sanding in between.
Recommended Skill Level
Intermediate

Volcano Loft Bed

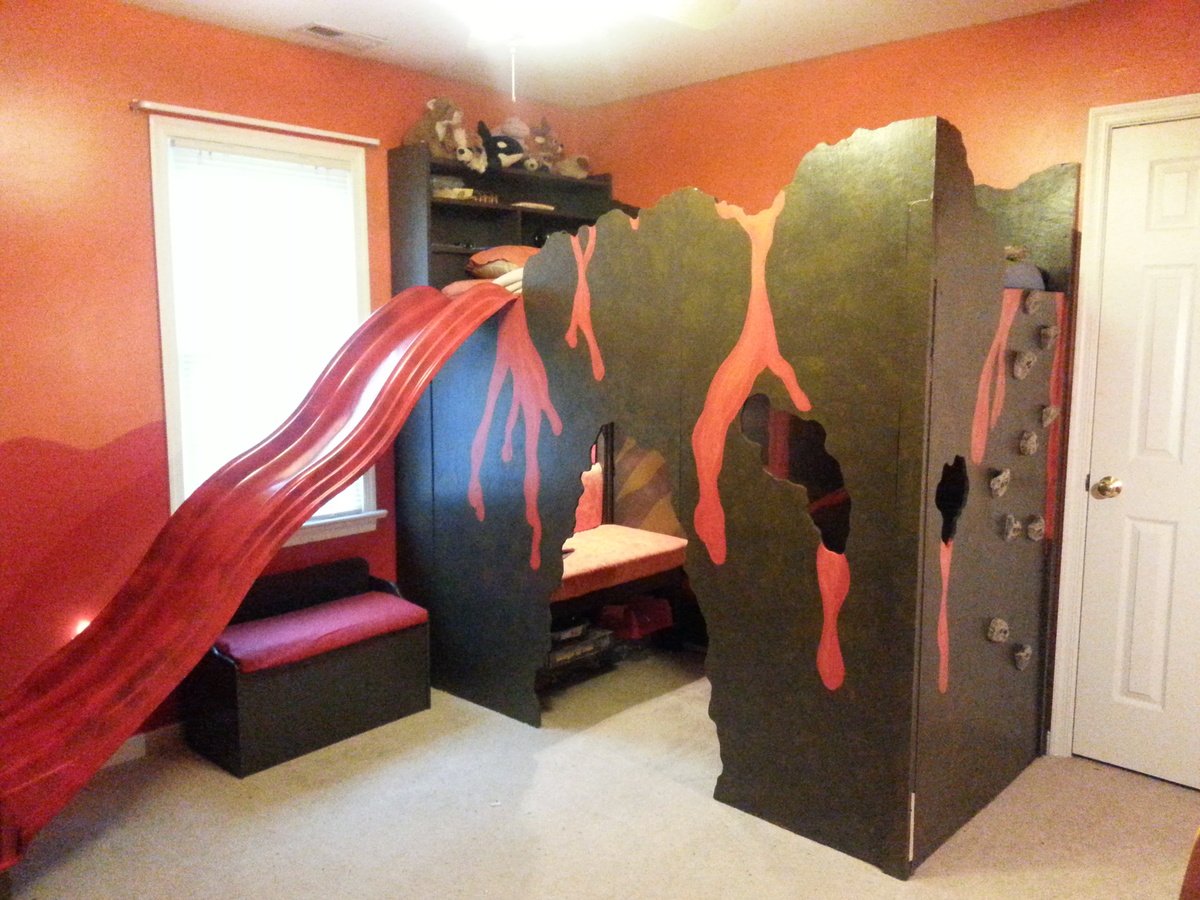
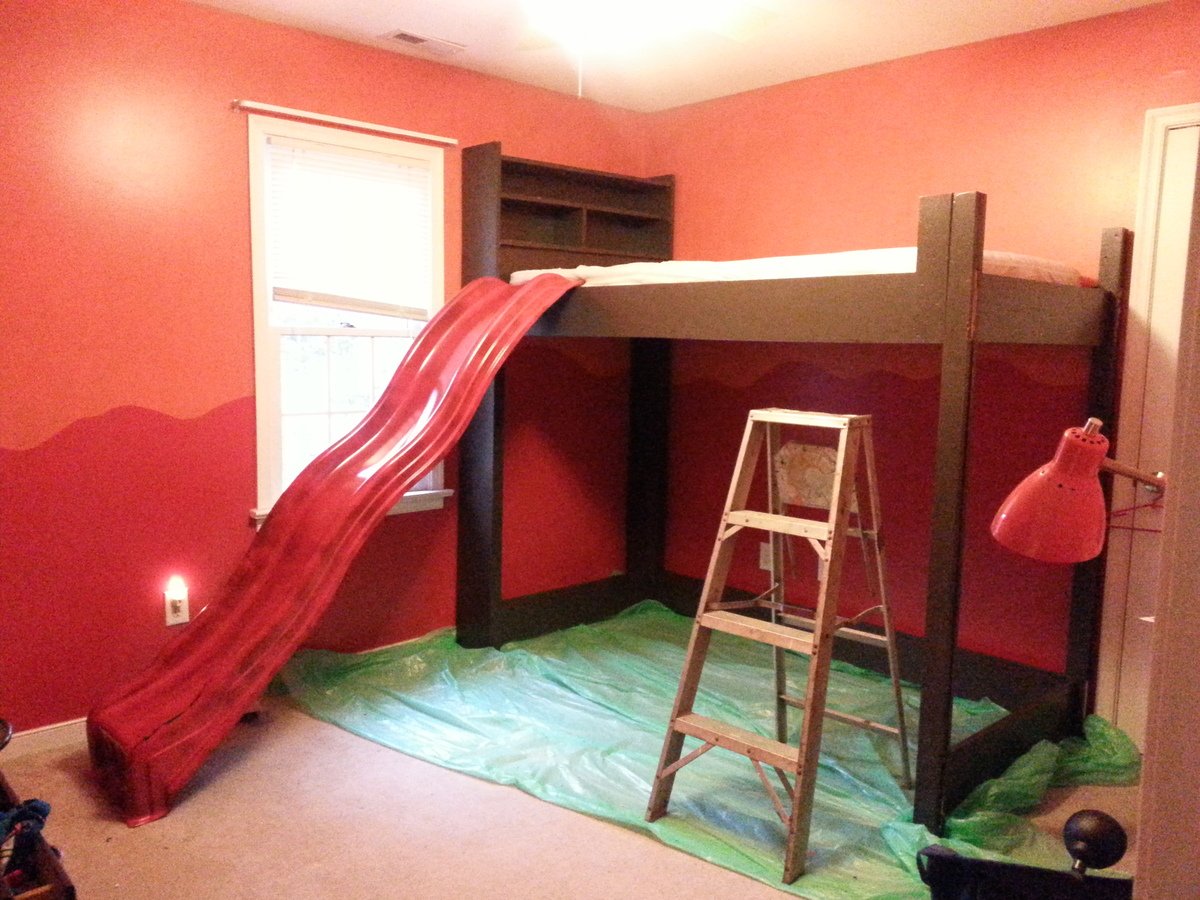
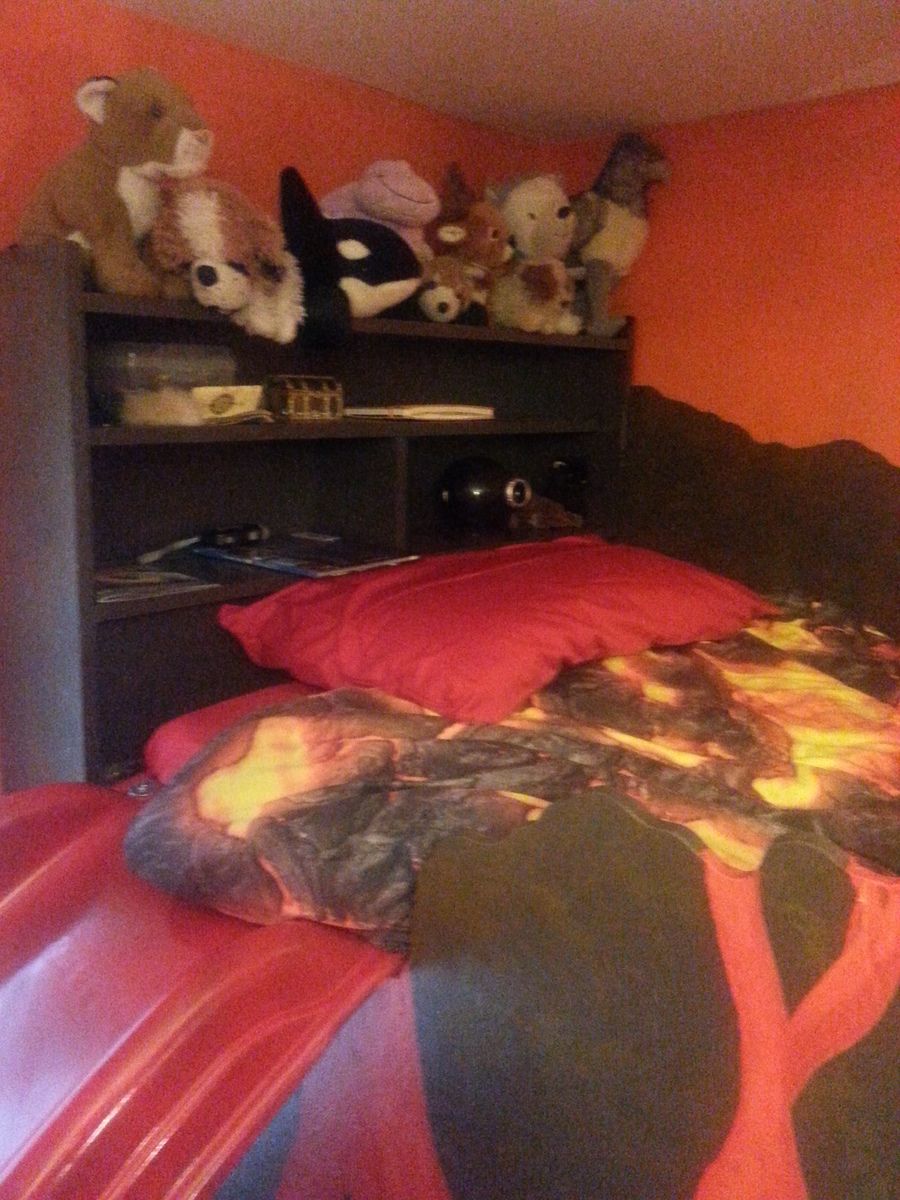
When it was time to re-do my son's bedroom (past time, really), I decided to build him a loft bed to help maximize space in his small room. A quick search to the internet brought me to Ana's site, saving me lots of hassle on trying to design my own loft bed for him from scratch. My son, who loves everything science and is especially fond of volcanoes, wanted a volcano themed room, and I had the bright idea to make the bed itself into a volcano.

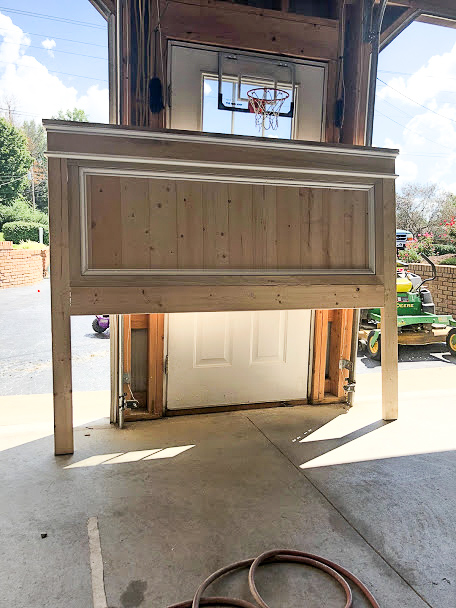
I modified the loft plans slightly to create a bookcase headboard - because I always wonder when looking at loft/bunk beds where the kids put all their STUFF (books, reading lights, glasses, special treasures, etc) - but other than that its just the plans from this site minus the rails and with plywood tacked on to the exterior (the plywood takes the place of the rails). The plywood was cut with a jigsaw after it was put up so I could get all the ridges and holes in just the right spot and height.

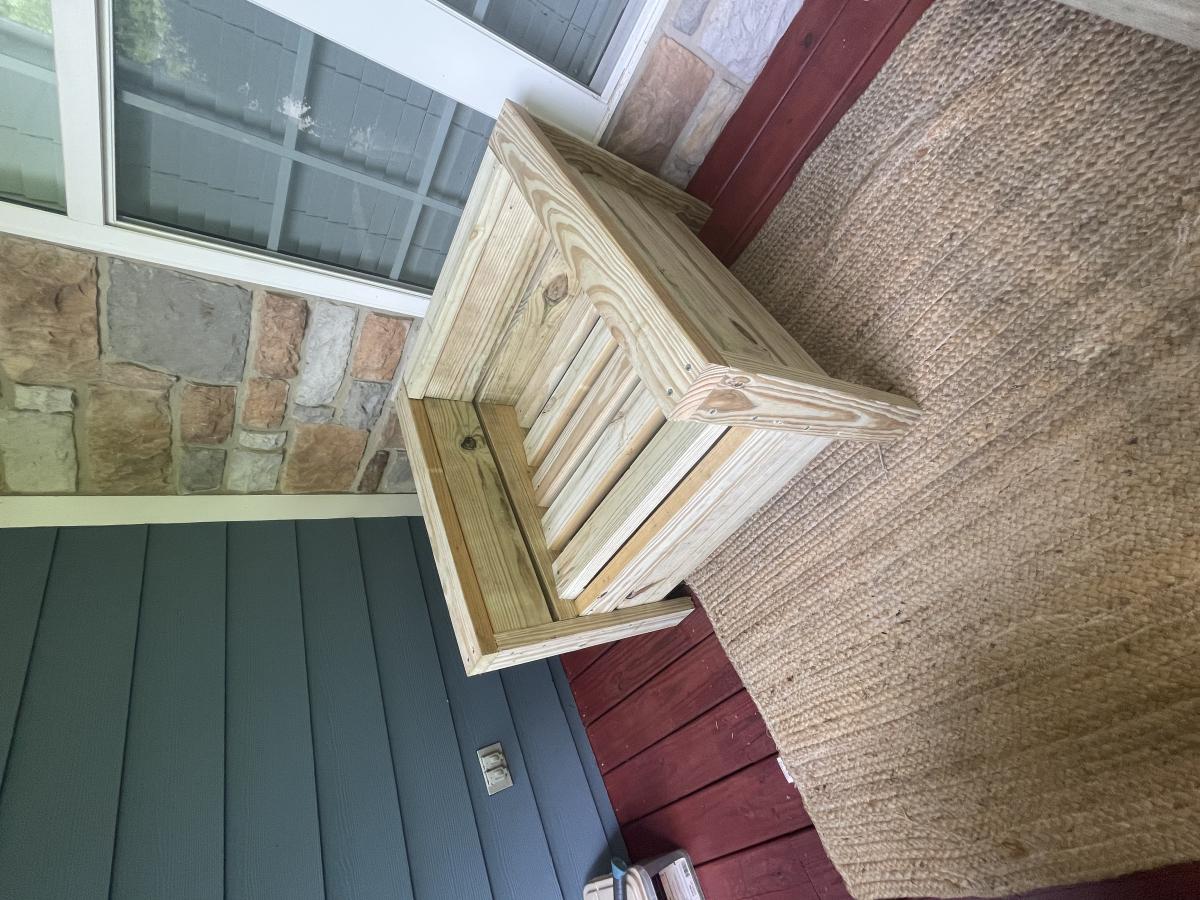
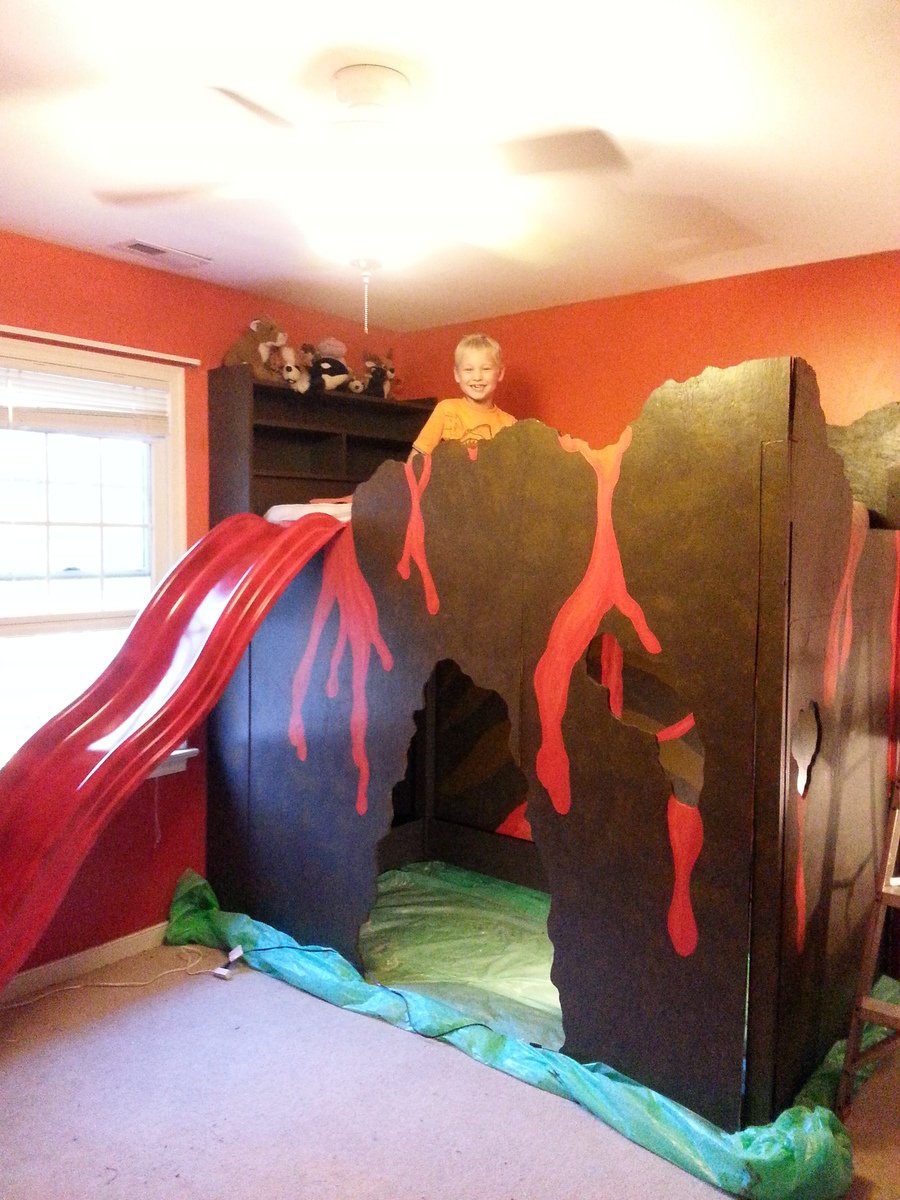
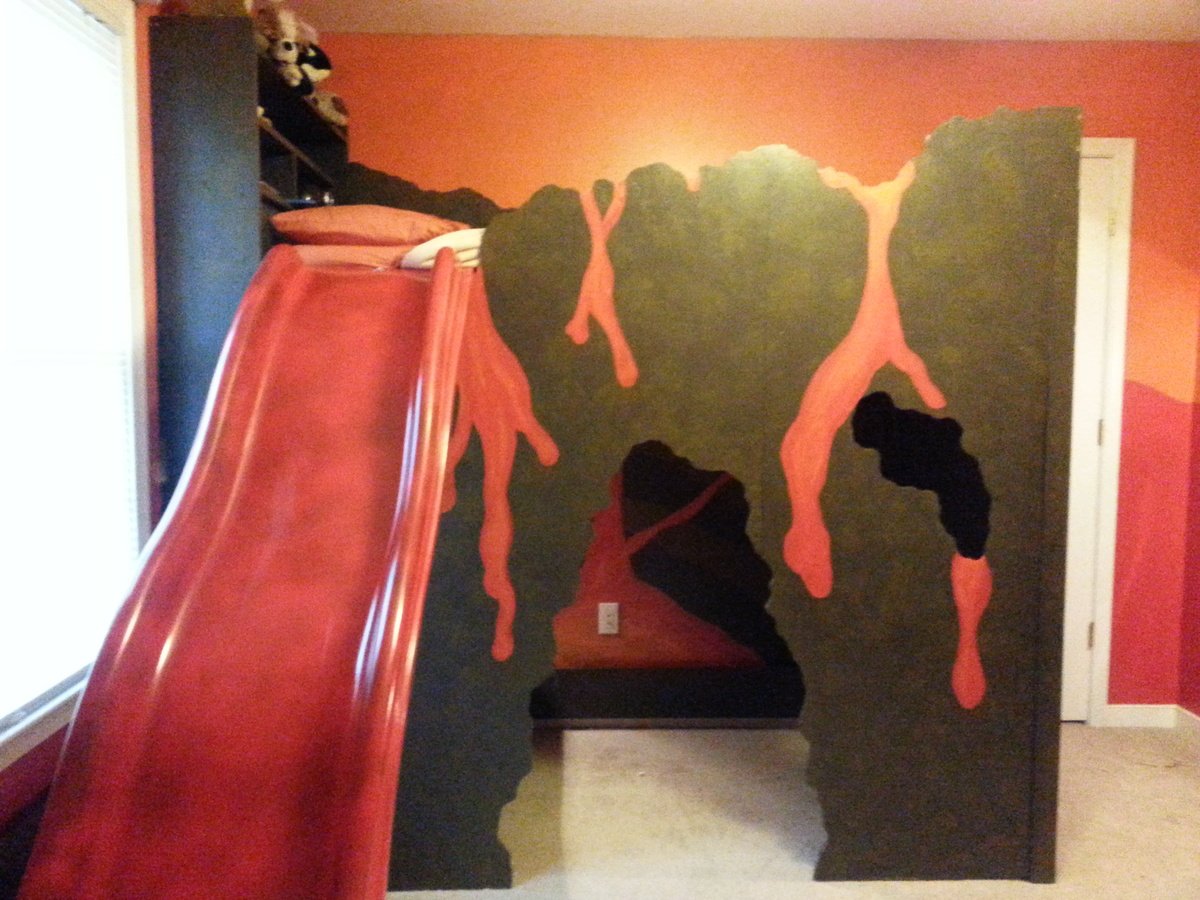
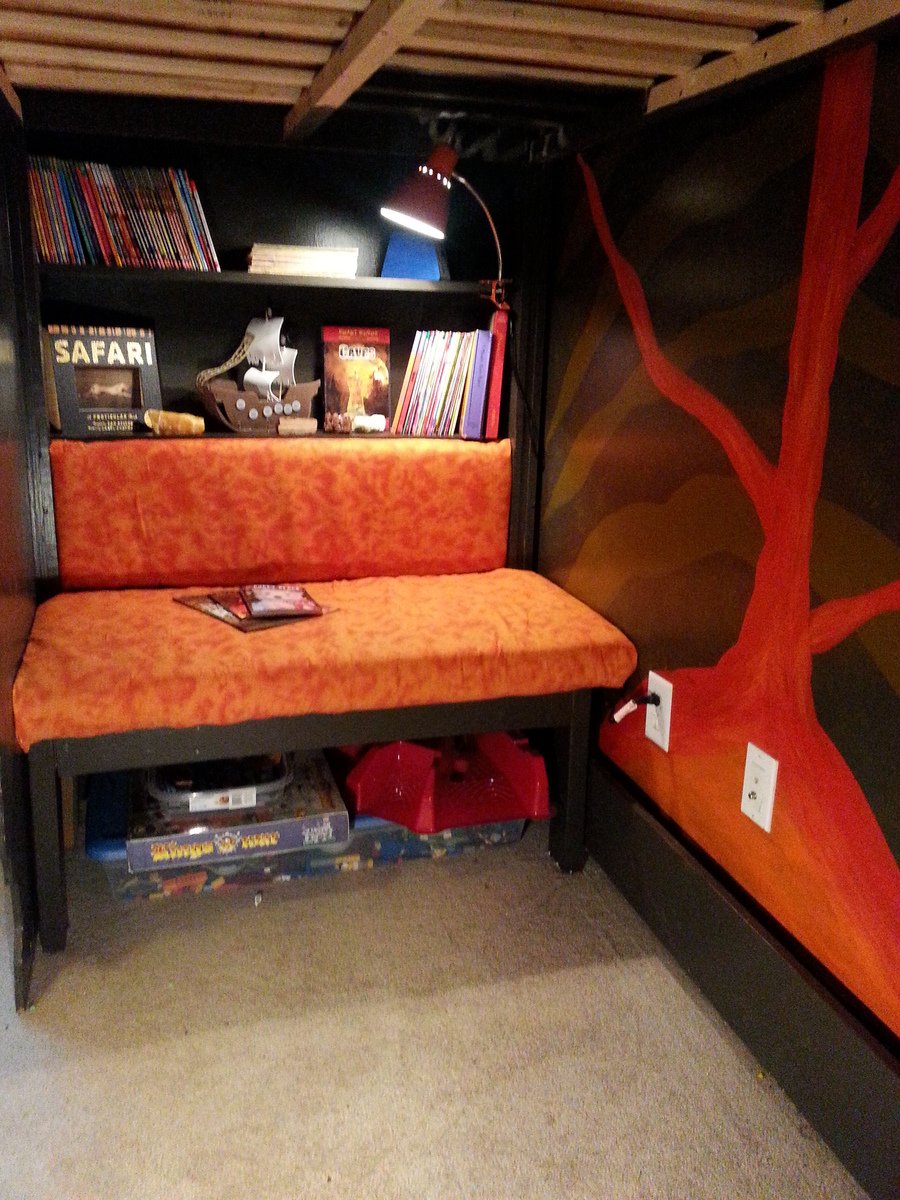
Honestly, the painting took much MUCH longer than cutting and assembling the bed did, but I think it really turned out well. The inside of the volcano on the cave's back wall is my favorite part. There's still a few things left to do, but no project of mine is ever really completely finished anyway! On on end inside the "cave" under the loft I built a cushioned reading bench and bookshelf, but the other end of the cave is still empty. Eventually it will house a built-in desk that looks out of the lava holes in the walls.

The cave under the bed is so cozy, I've found myself sitting on the reading bench more than once while working on the project, enjoying some me-time when the kids are at school!

Built from Plan(s)
Estimated Time Investment
Weekend Project (10-20 Hours)
Finish Used
paint
Recommended Skill Level
Intermediate

Comments

Ccpie77

Sat, 03/22/2014 - 10:49

Hi -

Great job!! I'm planning on adding a slide too for my son. Did you do anything extra to support the slide?

Thanks!

Ccpie77

Sat, 03/22/2014 - 10:49

Hi -

Great job!! I'm planning on adding a slide too for my son. Did you do anything extra to support the slide?

Thanks!

Easy Kitchen Island

Submitted by Anonymous (not verified) on Thu, 06/29/2023 - 09:21

Easy Kitchen Island. This was my first big woodworking project so I bought the top and recycled some old wood. I learnt a lot, it took me about 20hrs to complete including painting and staining. I found the plans easy to follow and I’m super happy with the results.

Anji B

Built from Plan(s)

Espresso stained X Coffee Table

Submitted by Anonymous (not verified) on Thu, 03/24/2016 - 11:17

We loved the dark finish from the Min-wax Espresso stain/sealant, but decided to use white in the X's so we can see the table in low light easier to save our shins.  Came out great and we will do matching end tables, dining table, and a bench outside to draw the five pieces together.


This took me considerably longer than the plans called for, but I have never built any furniture before so I underestimated the sanding required.

Built from Plan(s)
Estimated Cost
About $80 with wood stain and screws.
Estimated Time Investment
Weekend Project (10-20 Hours)
Finish Used
Espresso Min-wax Stain Sealant for back porch use.
Recommended Skill Level
Starter Project

Wrapping Paper Shelf

Submitted by sophie on Fri, 03/23/2012 - 11:42

I made this wrapping paper shelf using spruce wood and painted it the same colour as the wall it hangs on. It was a really simple project. was a bit nervous about cutting the angles for the dowels to slot in but it was actually really simple. A great way for easy access to wrapping paper! I also made some little boxes out of plywood to go on the shelf for ribbons, envelopes etc.

Estimated Time Investment
Afternoon Project (3-6 Hours)
Finish Used
Light blue latex paint to match my walls
Recommended Skill Level
Beginner

Comments

Kandis (not verified)

Wed, 08/08/2012 - 08:42

I love this. I was thinking of making a version of this for the kitchen since I bake a lot. I was going to try this with the parchment and wax paper and maybe the aluminum foil.

Seasonal And Holiday

Cement top modification

Submitted by Anonymous (not verified) on Tue, 06/07/2016 - 00:31

Instead of a wood top I used 2x 3/4" sheets of plywood plus 1/2" backer board to create a thicker top and used Ardex feather finish cement in 4 coats sanded and finished with Mexeseal sealant, recommended 4 coats of semi-gloss plus 2 coats of satin to get a matte finish (recommended by manufacturer) I followed the concrete countertop blog from "Young House Love" but used a different sealant when I contacted the safe coat manufacturer and they recommended their Mexeseal product. 

Built from Plan(s)
Estimated Time Investment
Week Long Project (20 Hours or More)
Finish Used
Ardex Feather Finish Cement
Safe coat Mexeseal Sealant (4 coats semi-gloss plus 2 coats satin for a matte finish)
Stain on base: Minwax weathered oak and dark walnut
Poly on base: 2 coats of Minwax satin poly
Recommended Skill Level
Beginner
Back