Community Brag Posts

Picnic Table

Submitted by Medickep on Mon, 05/06/2013 - 07:39

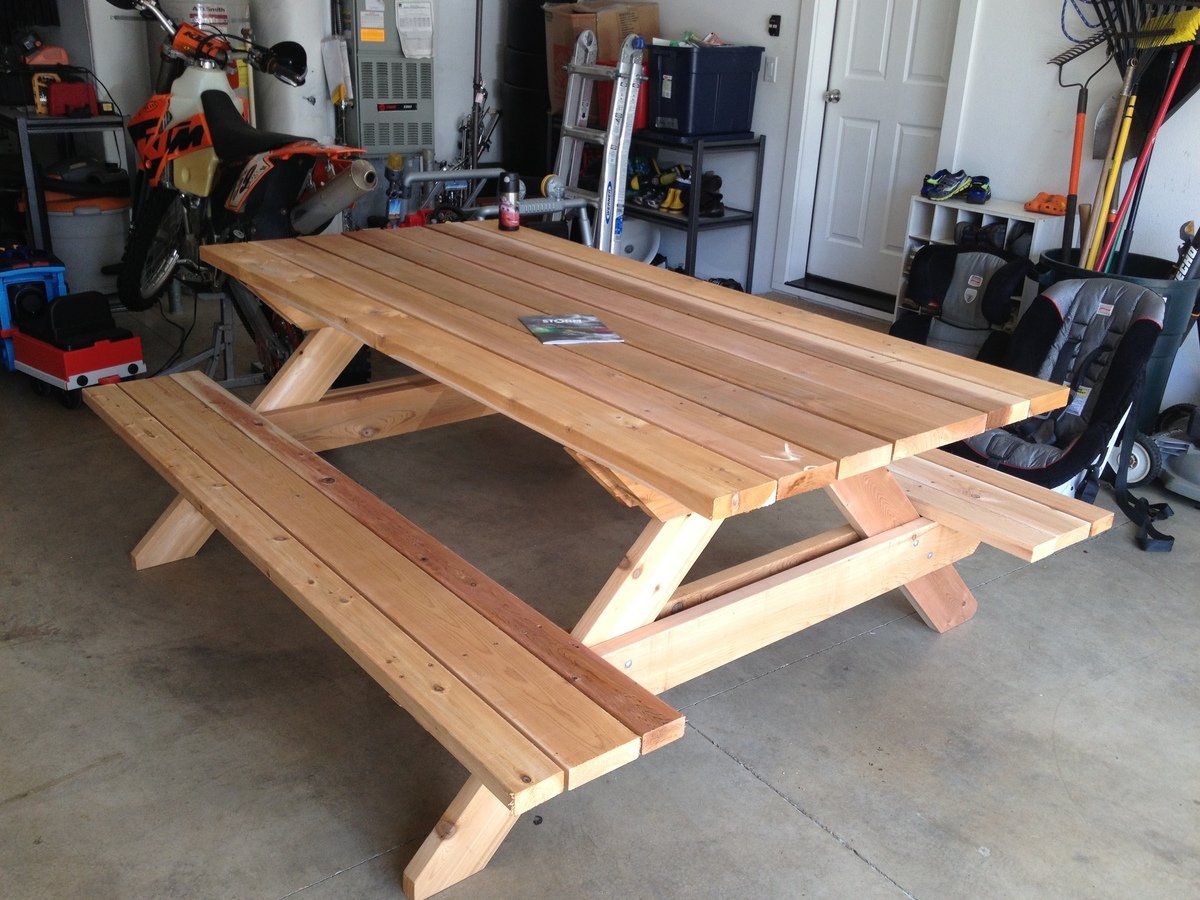
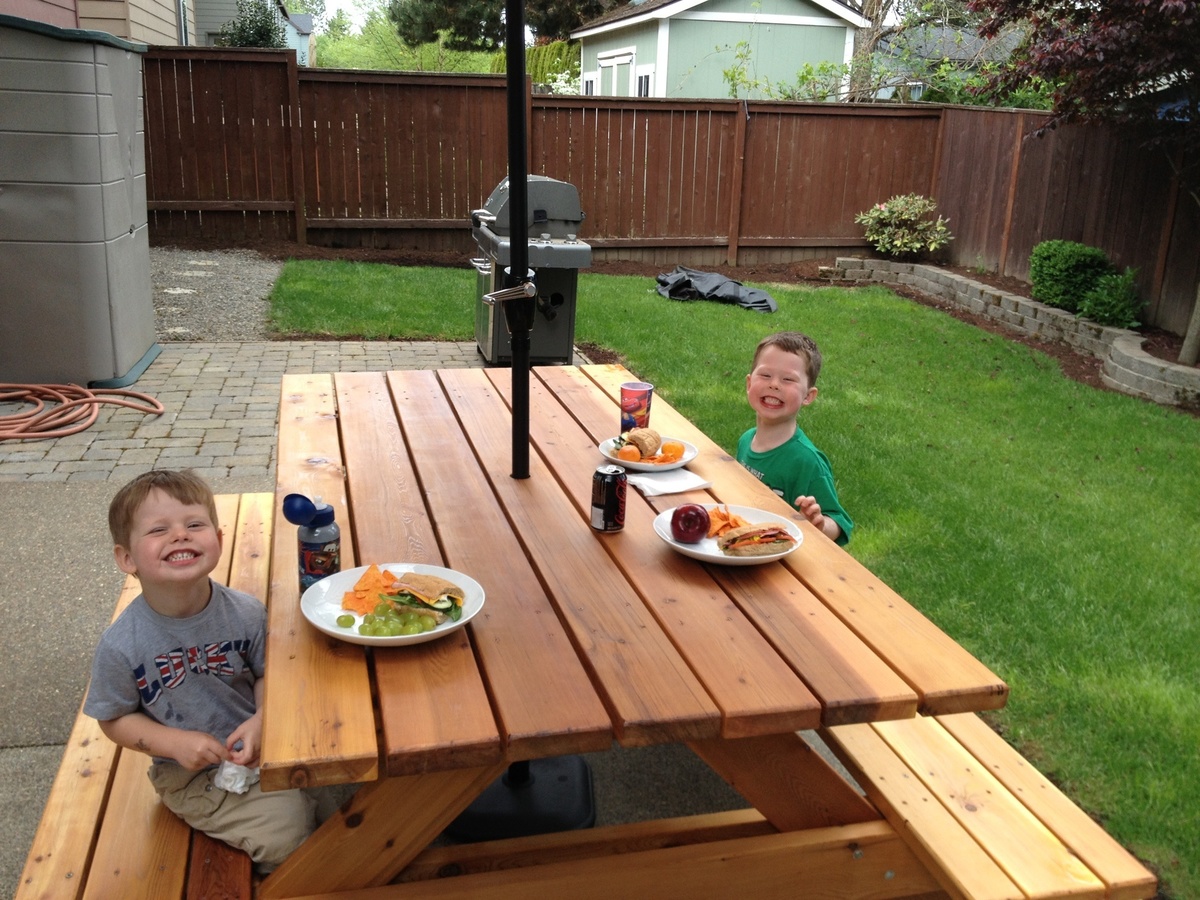
My wife started looking at expensive patio sets, which I thought were not worth the price, so I decided to build a picnic table. This is not the cheapest table out there, but it's built to last for years!! I used a high quality cedar as I got a price cut from a friend. I also used deck screws, so there would be no rusty screws!! The table top measures 7' long and looks like one you would see at a state park, notHome Depot!

Estimated Time Investment
Weekend Project (10-20 Hours)
Finish Used
Cabot Australian Timber oil: For this project I went with an oil project so I wouldn't have to sand it every year, like so many in my area with their decks. With this product, you simply clean the table and reapply!!
Recommended Skill Level
Beginner

Comments

Medickep

Thu, 09/05/2013 - 13:04

Thank your hanks for the kind words! This was my first real project and I was pleased with the results!

Gerry Czerniawski

Thu, 08/25/2016 - 09:48

Really like the picnic table - do you have plans for this? (I'm new to this site so apologies if they are here but I just could not see where?).

best wishes

Gerry

Patio Revamp, Part 2

Submitted by BrookeEye on Mon, 07/27/2015 - 08:54

We needed a new table for our patio, so we looked no further than Ana's plans. I was going back and forth deciding between various table plans until I saw the plans for the Providence Table and Providence Bench, and it was love at first sight. The whole project turned out to be a relatively easy build for us, and we are just about as "amateur" at woodworking as it gets! We used white pine for the entire project. We shortened the table about 18 inches to fit our space. It is so gorgeous, we have gotten tons of compliments from guests so far and we absolutely love it! Thanks, Ana!!

Estimated Cost
$70 for the wood
$20 for the paint
$15 for the stain
$20 for the Kreg blue kote screws and brushes;

$125 Total.
Estimated Time Investment
Weekend Project (10-20 Hours)
Finish Used
Behr Exterior Paint in Pure White for the bottom;
Minwax Classic Gray stain for the top boards with Minwax Spar Urethane (for exterior use) in Satin as a sealer (on the top only).
Recommended Skill Level
Beginner

Comments

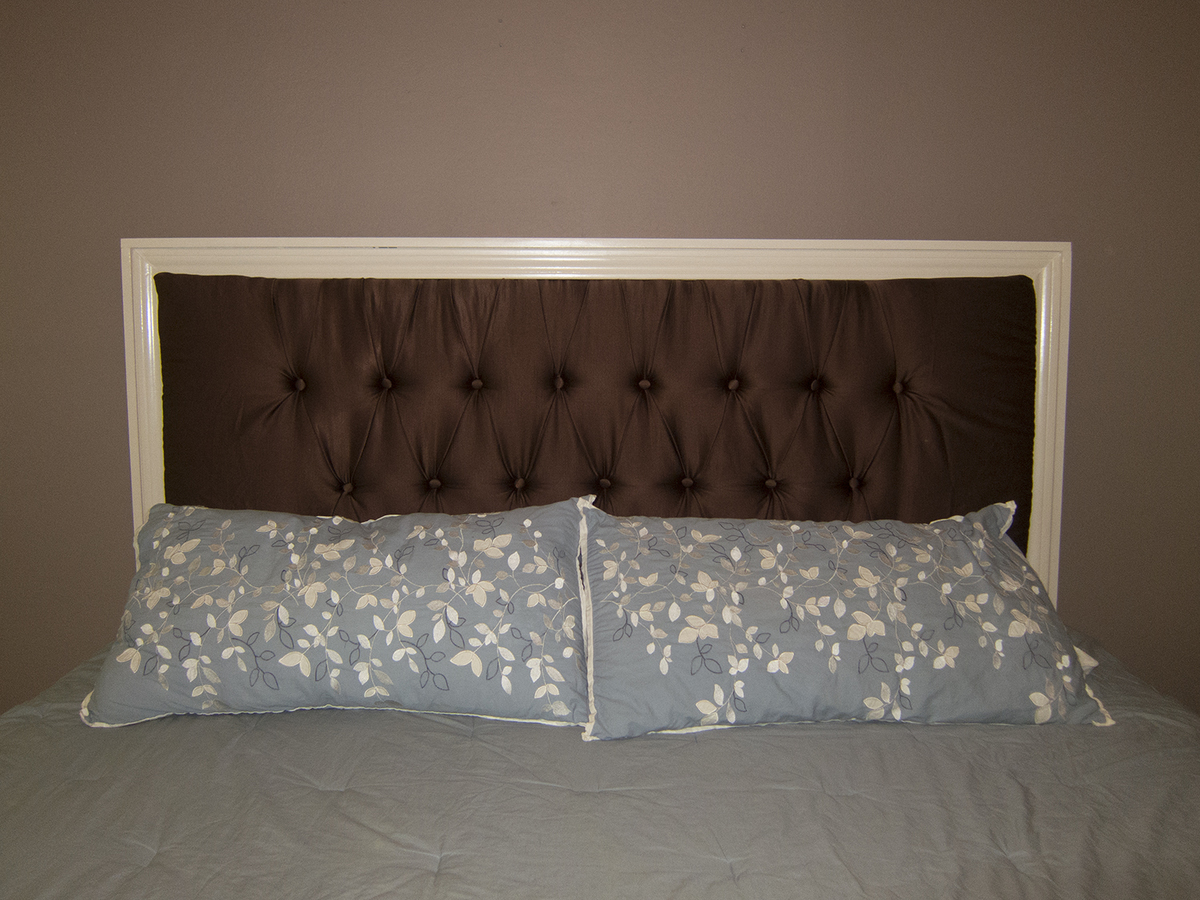
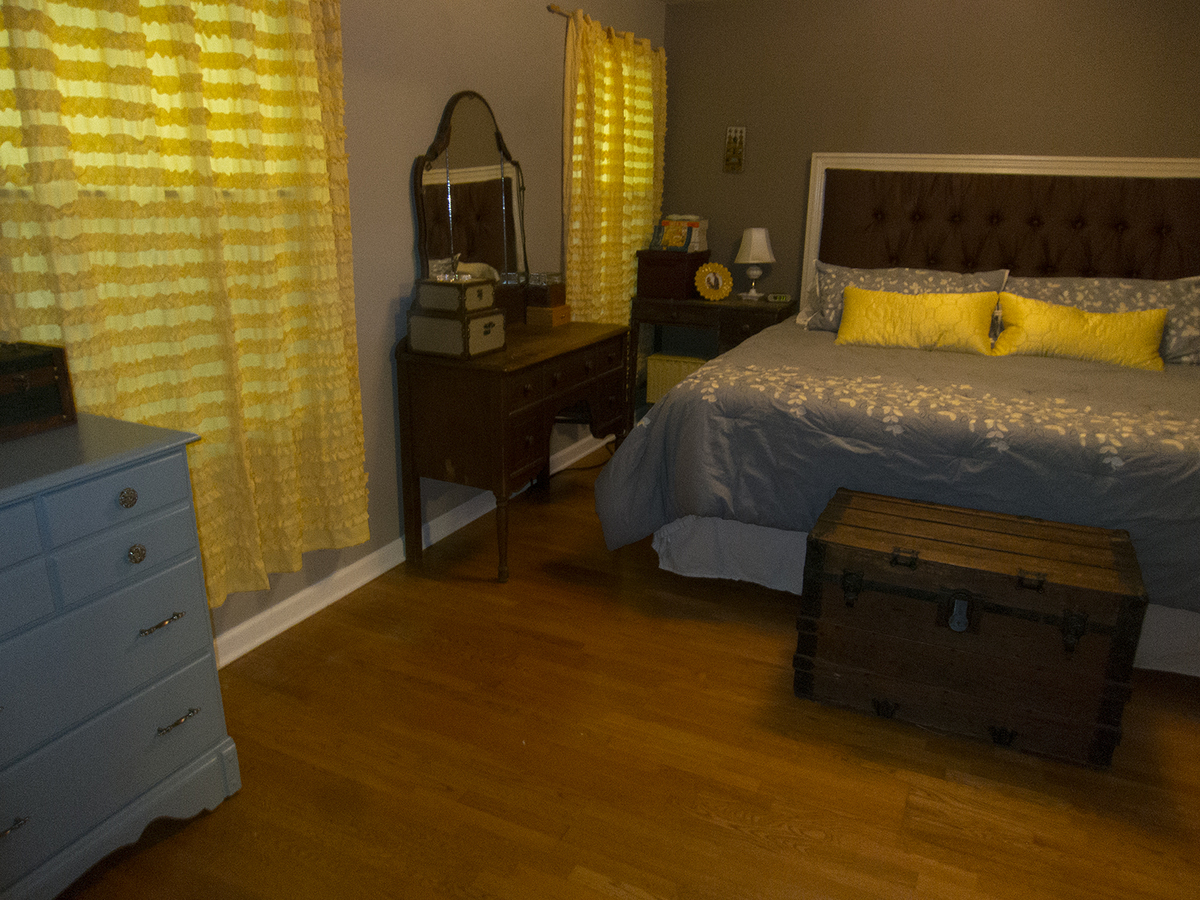
Framed and Tufted Upholstered Headboard

Submitted by marrsgirl on Wed, 08/21/2013 - 17:16

I love the look of diamond tufting, so that's how I did the upholstered insert, which added hours to the project. The frame itself was built in about 3 hours, so this could easily be an afternoon project if you skipped the tufting.

Estimated Cost
$200
Estimated Time Investment
Weekend Project (10-20 Hours)
Finish Used
Behr "White Mocha" with wipe-on poly finish
Recommended Skill Level
Beginner

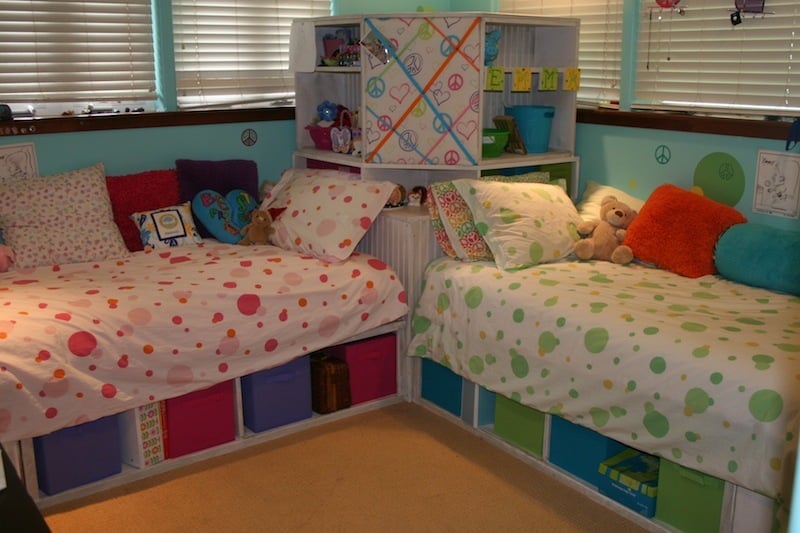
Corner Hutch Storage Bed for my Girls

Submitted by hawaiitara on Tue, 08/09/2011 - 16:19

I made this bed for my 2 girls who share a room. It was my first real attempt at building anything substantial. They are thrilled. The plans were so easy to follow. The only thing I did different was use 3 inch screws in the hutch base because I felt it made it more sturdy. I used bead board for the outside of the hutch and the back of the book cases. Thanks Ana for such great plans.

Estimated Cost
$525
Estimated Time Investment
Weekend Project (10-20 Hours)
Finish Used
White semi gloss paint with special walnut minwax stain brushed over to age
Recommended Skill Level
Beginner

Comments

sgilly

Tue, 08/09/2011 - 18:31

What lucky little girls to have a mom who can build them beautiful furniture! Great job.

Rachel Stacy (not verified)

Tue, 12/25/2012 - 04:39

I really want to do this for our twins who are about to move to big girl beds. However, I do not see the plans for this. Do you have a pdf to show how to build them? I especially love the hutch!

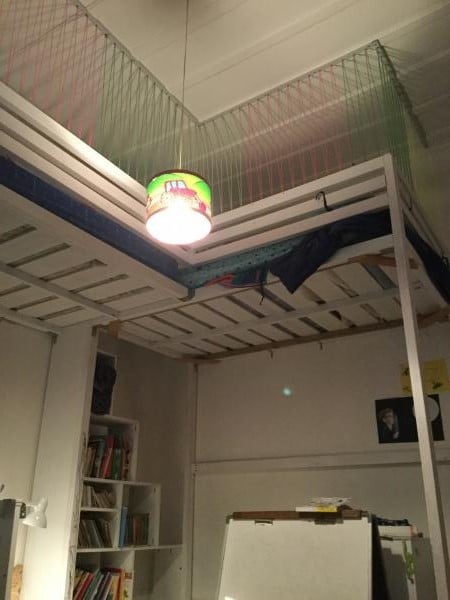
L shaped loft beds

Submitted by AbiCurrie on Wed, 01/13/2016 - 00:49

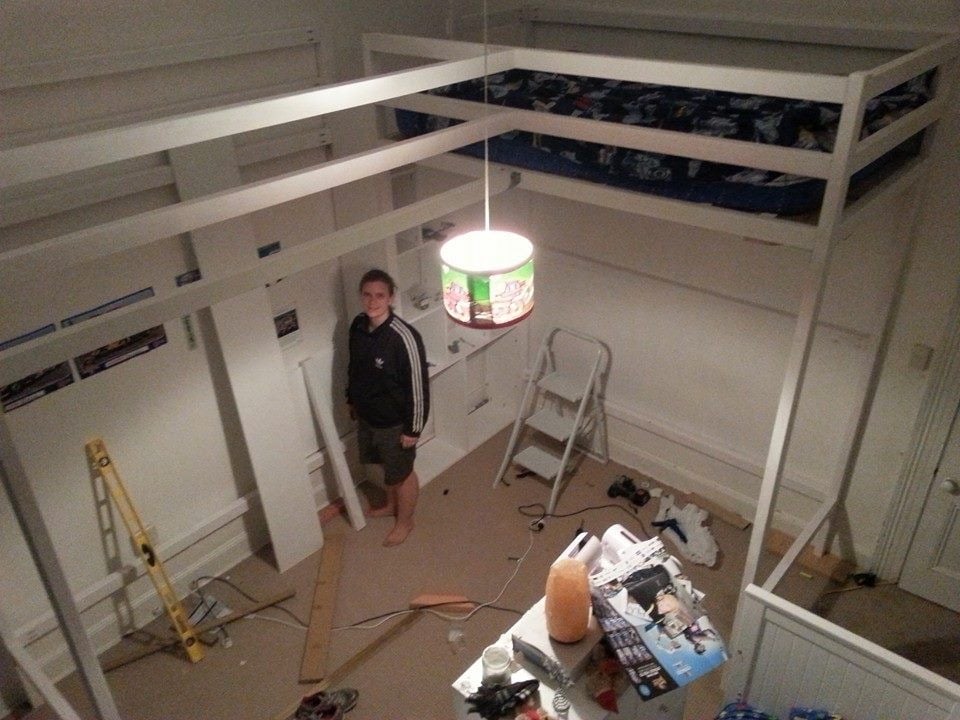
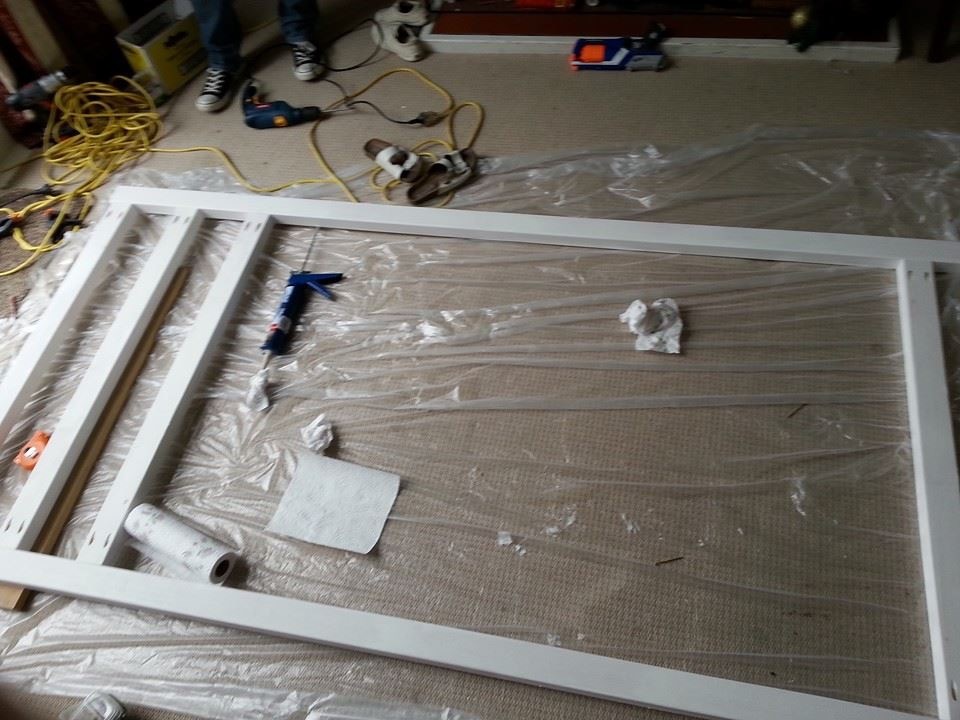
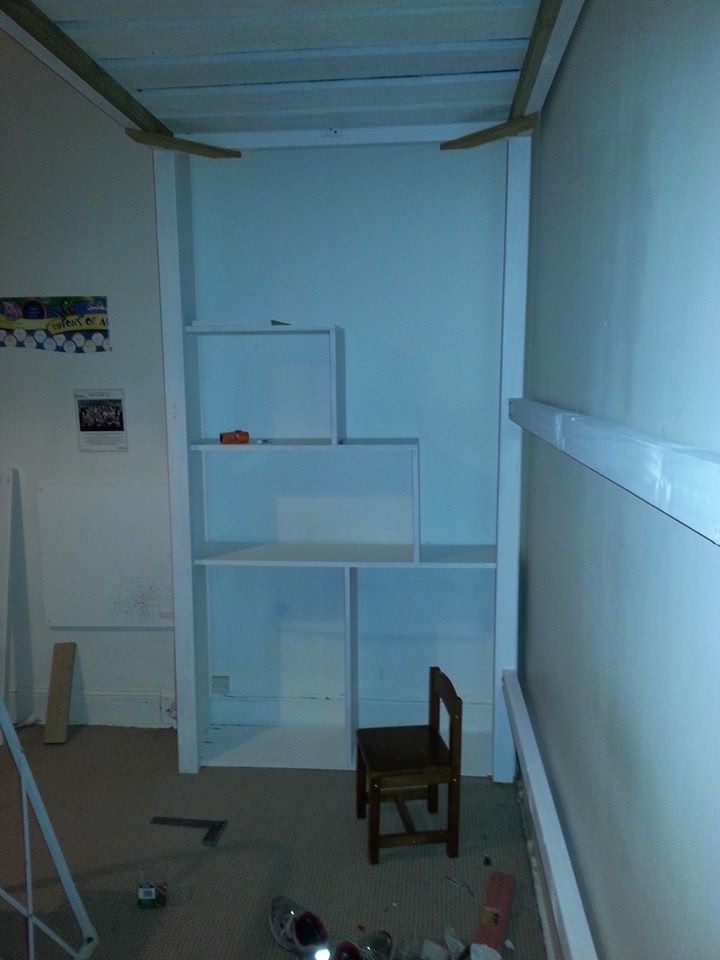
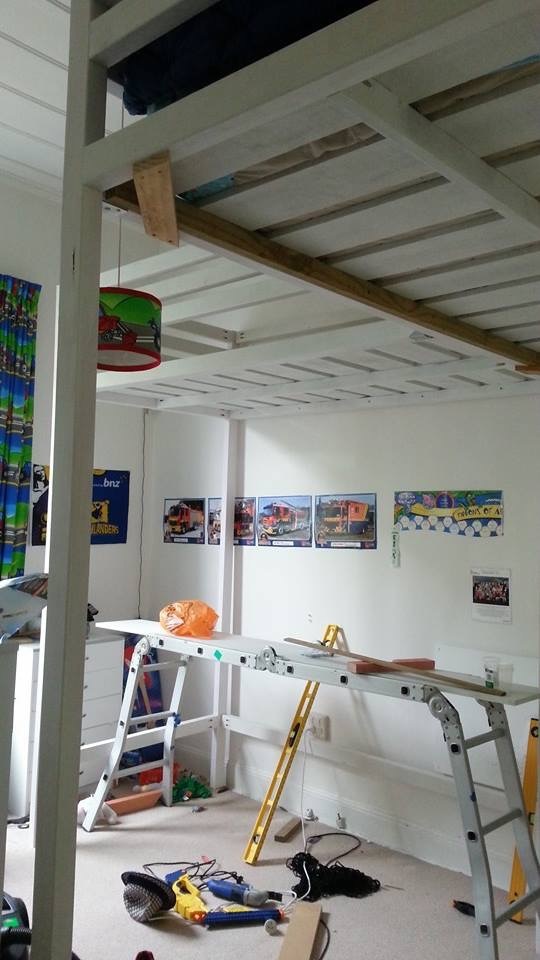
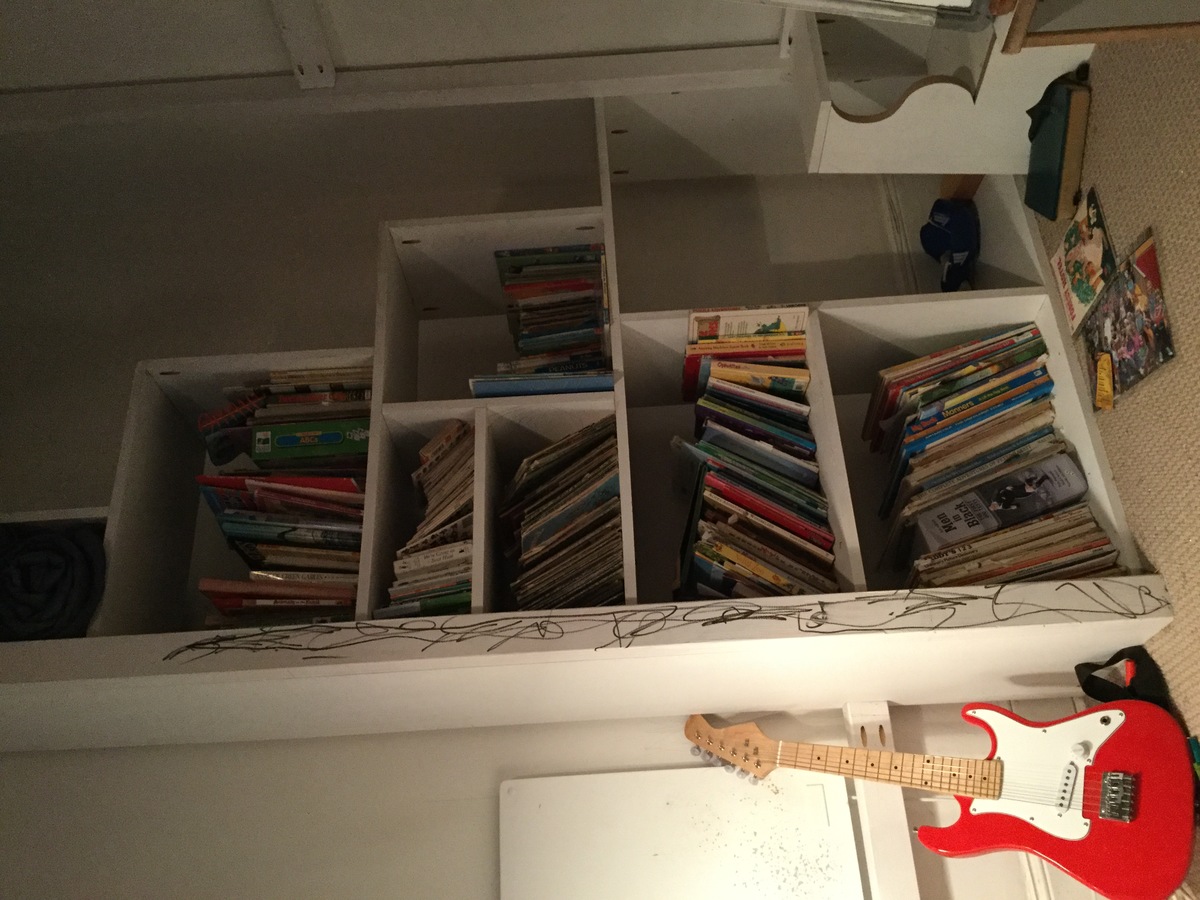
We have 12 foot studs in our house so I wanted to make use of the height of our ceiling to provide more space on the floor for the boys to play! With two boys sharing a room, the beds were going to take up a lot of valuable floor space. I found the bunk bed plans in Ana's book and decided to modify them to make loft beds. We had to do two so decided on an L shape so we could fit them into the room! Once we made the first bed we decided we should put only one set of stairs in to save space. The safest way we could think to do this was to place the stairs against the wall so the boys were less likely to fall. The stairs double as book shelves. The coloured rope was an added safety feature we thought up and gives me peace of mind! This was a fun, relatively easy build for two non-builders making their first big project. I bought a Kreg pocket hole jig for this project and it was a life saver. I can't imagine doing this build with out it!!! We completed it in about two to three days while my brother was down on holiday. It was fun and good brother sister bonding time! I am about to embark on phase two of the boys room, this time by myself , adding a storage dresser under one bed. I will modify Ana's laundry dresser plans to fit some plastic storage boxes. Then a day bed/sofa under the other bed using Ana's Alaska cabins day beds plan and finally (if I'm still standing) a shorter version of the craft table for the middle of the room! That's my year planned! Hope you enjoy the pictures, the beds are so big and high it's very hard to get a good photo. 

Estimated Cost
$300-400 NZD
Estimated Time Investment
Weekend Project (10-20 Hours)
Finish Used
Dulux - White paint matte finish. I painted all the wood before assembly, I highly recommend this. It needs another coat post build but I can confess I haven't gotten around to it yet!!!
Recommended Skill Level
Beginner

Bird Houses

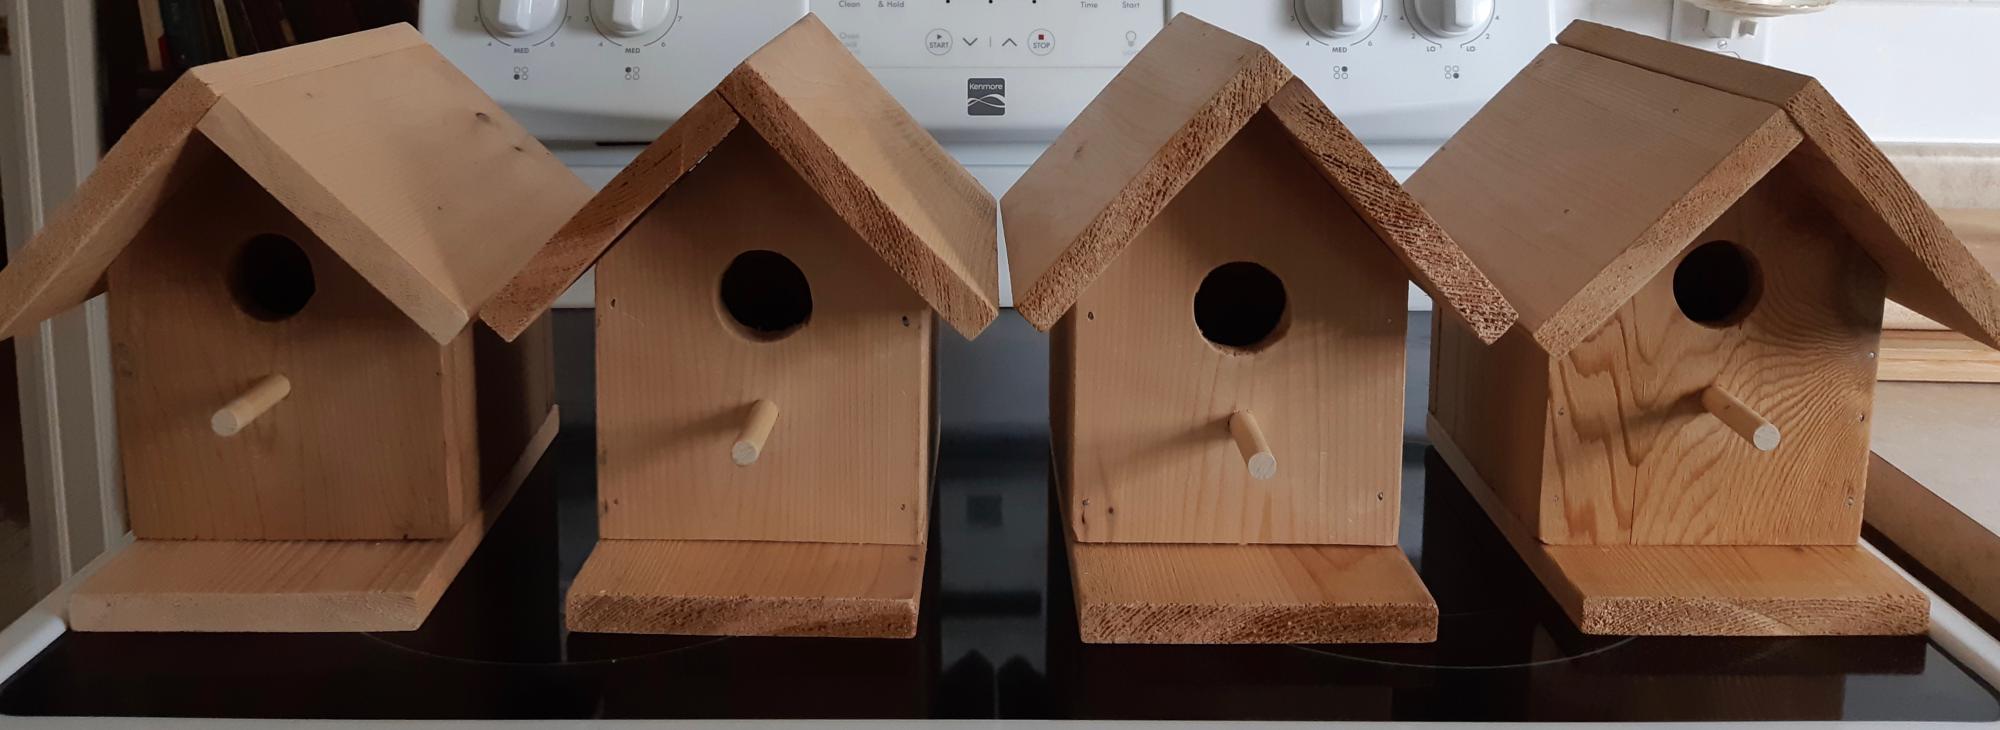
I love this pattern of Ana's! My husband and I made these together. We have 3 very tall pine trees close together, planted by my Mum 50 years ago; one for each child. Now a cedar bird house for each tree. An extra for our cottage in Garden of Eden, Nova Scotia.

Thank you for sharing this pattern Ana.

Darlene & Garry

Estimated Time Investment
Day Project (6-9 Hours)
Recommended Skill Level
Starter Project

Tapered Cedar Tall Planter

Submitted by Anonymous (not verified) on Sun, 07/02/2023 - 11:30

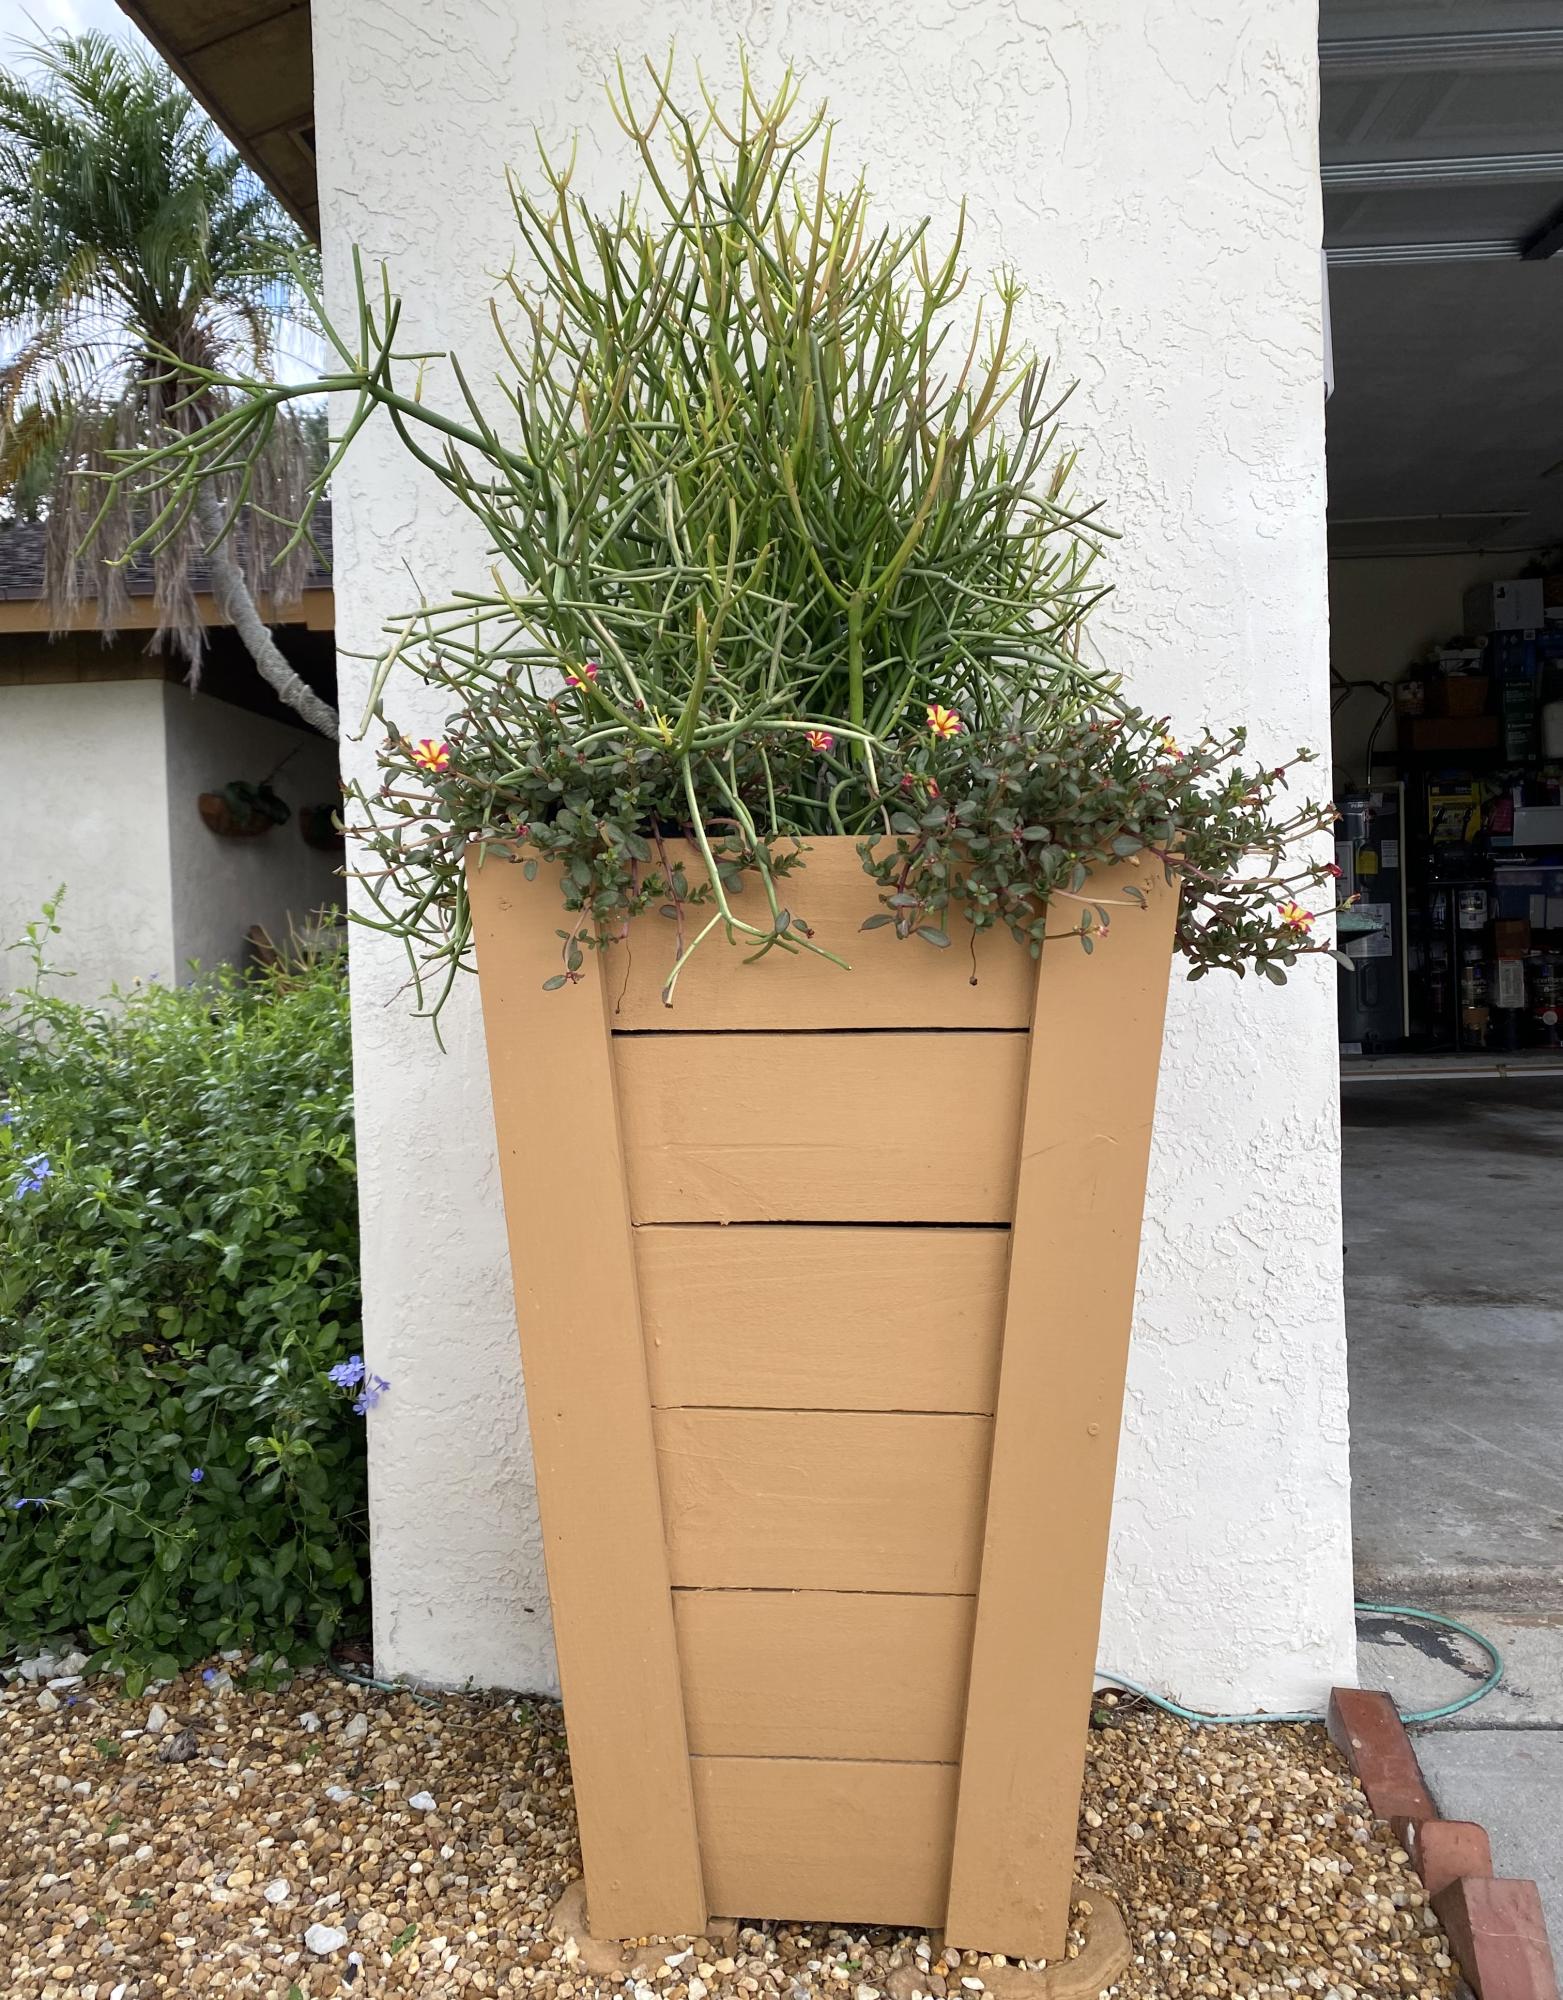
My husband made these fabulous tall planters based on your plans and video. We painted them the same color as the trim on our home. We live in Florida so instead of filling the entire planter with potting soil my husband put screening about 1/4 from the top so the plants can drain easily, especially in the rainy season. He made the planters with pressure treated wood which is perfect in south Florida.

Thank you so much for providing us with such a beautiful idea for unique and custom planters. My husband had a great time with this project and the results are just fabulous.

Annemarie

Built from Plan(s)

Tryde End Table w/Shelf

Submitted by Ckb210 on Tue, 12/31/2013 - 08:55

The first of many projects to come. I plan on modifiying the design to create a taller table to join as a bedside nester. Photos soon!

Estimated Time Investment
Afternoon Project (3-6 Hours)
Finish Used
Dark Walnut
Recommended Skill Level
Beginner

The Entertainment Center

Submitted by a.mcdaniel on Mon, 03/19/2012 - 00:34

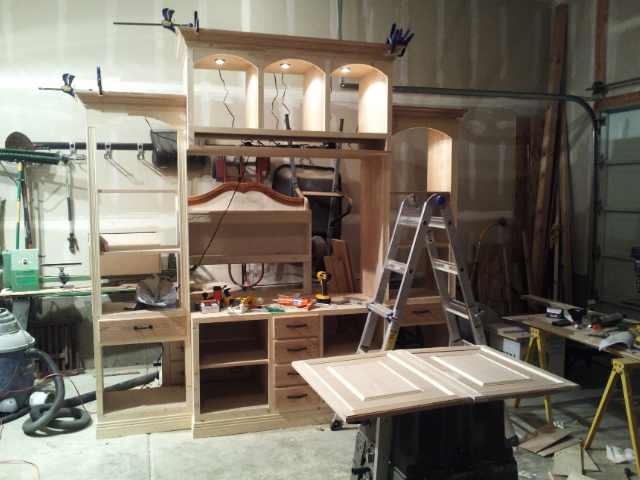
It took 2 1/2 months and a LOT of wood, but my husband created this masterpeice. Thank you to the inspiration provided by Ana White and Kristen Lotz, we have finally done our biggest project yet!

Estimated Cost
1000.00
Estimated Time Investment
Week Long Project (20 Hours or More)
Recommended Skill Level
Advanced

Comments

a.mcdaniel

Wed, 03/21/2012 - 10:22

Thank you so much, Ana! That comment means a lot to my husband and I! He is so amazing at building things now and your website has been a major inspiration for him - THANK YOU! THANK YOU! THANK YOU! Now our new home is becoming more "ours."

Christie (not verified)

Thu, 07/26/2012 - 20:44

Both yours and Ana's centers are beautiful! I am a little more drawn to yours with the lighting and architectural touches you've added. Did you have a formal plan drawn for it? I would like to make an exact replica of it if possible. It is just stunning and exactly what I am looking for. GREAT JOB!!!

kristenlotz

Wed, 12/19/2012 - 15:58

I love it. I am so glad our project inspired you to build this! You incorporated a lot of the things we considered during the build such as fluted stiles on the bookcases, downlights, and faux raised panel doors. Now, we just need to see pictures with it all decorated.

kristenlotz

Mon, 12/31/2012 - 14:42

I finally got around to making the plans for our entertainment center (well, actually my husband did it). It is very similar to yours with a few exceptions. Hopefully that helps those looking for plans for this beautiful entertainment center. I love finding brag posts of similar entertainment centers because they are absolutely beautiful at a fraction of the cost of buying one. And we love telling people that we built it!

http://www.jrlwoodworking.com/2012/12/furniture-plans-custom-entertainm…

Thanks,

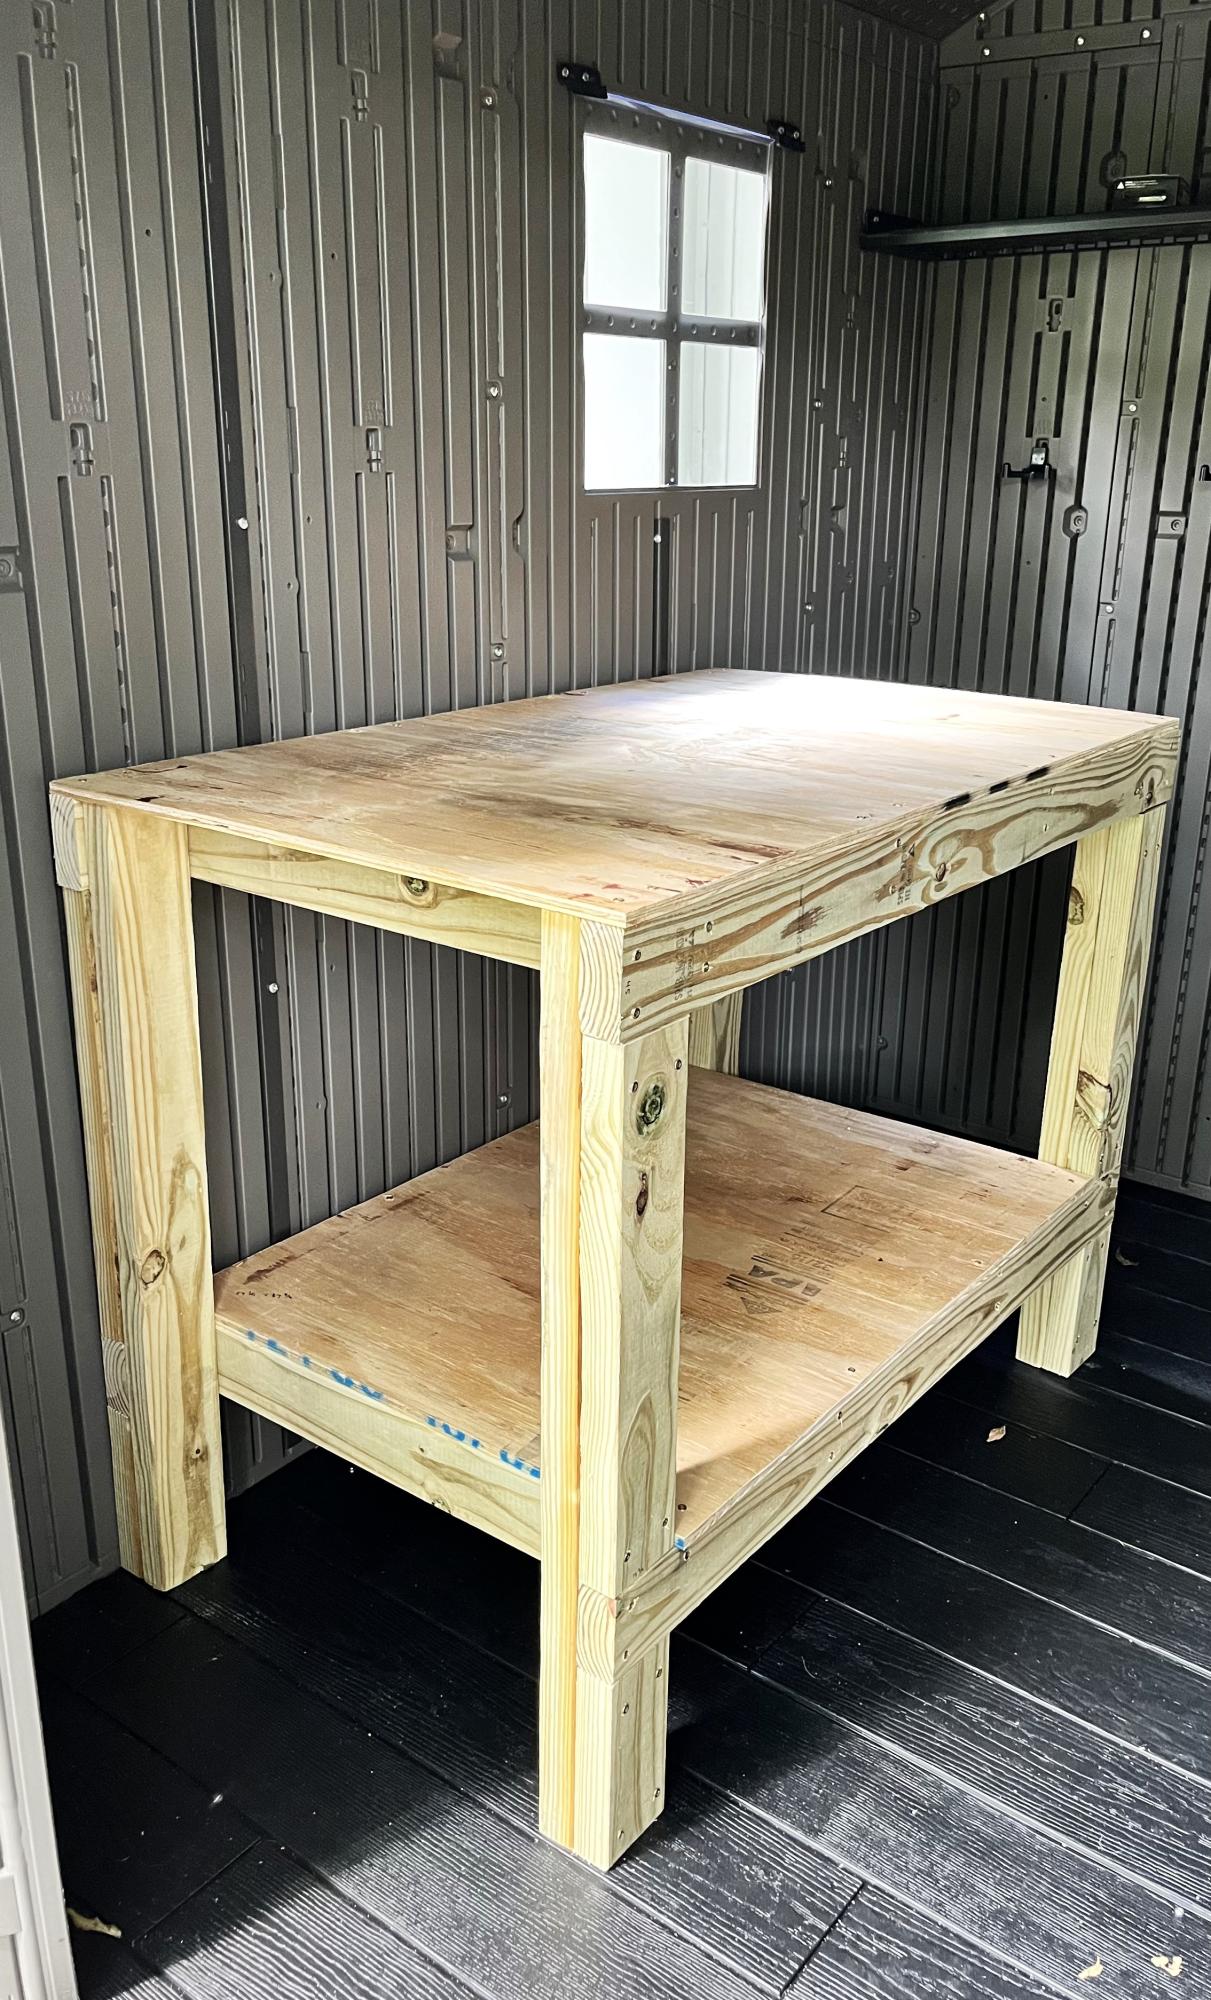
Easy to Build Workbench

Submitted by Anonymous (not verified) on Wed, 09/06/2023 - 09:09

I was wanting a work bench for my outside shed to work on occasionally and help keep organized. This is the first piece of furniture I have built totally on my own! The plan was easy. I sized it down a little with no problem. I'm a little off on a couple of the cuts but will practice more! Overall, thrilled and extremely proud of it!

Lori B

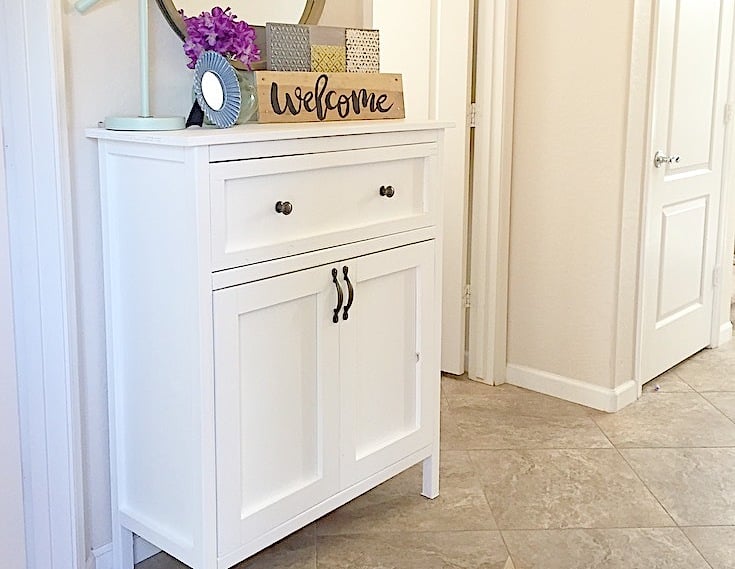
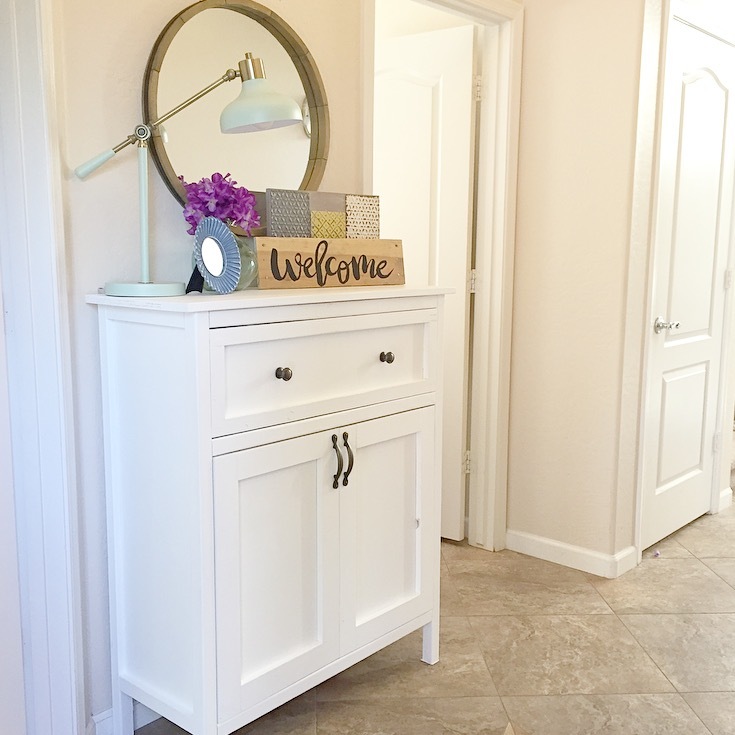
Secretary's Desk Turned Shoe Cabinet

Submitted by sraper2 on Mon, 05/02/2016 - 11:36

I need some shoe storage near my front door that would hide all of our shoes.  I used the plans from the book for the secretary's desk and added an extra shelf.  Check out my blog post for step by step pictures.

Estimated Cost
$100
Estimated Time Investment
Day Project (6-9 Hours)
Finish Used
Paint
Recommended Skill Level
Intermediate

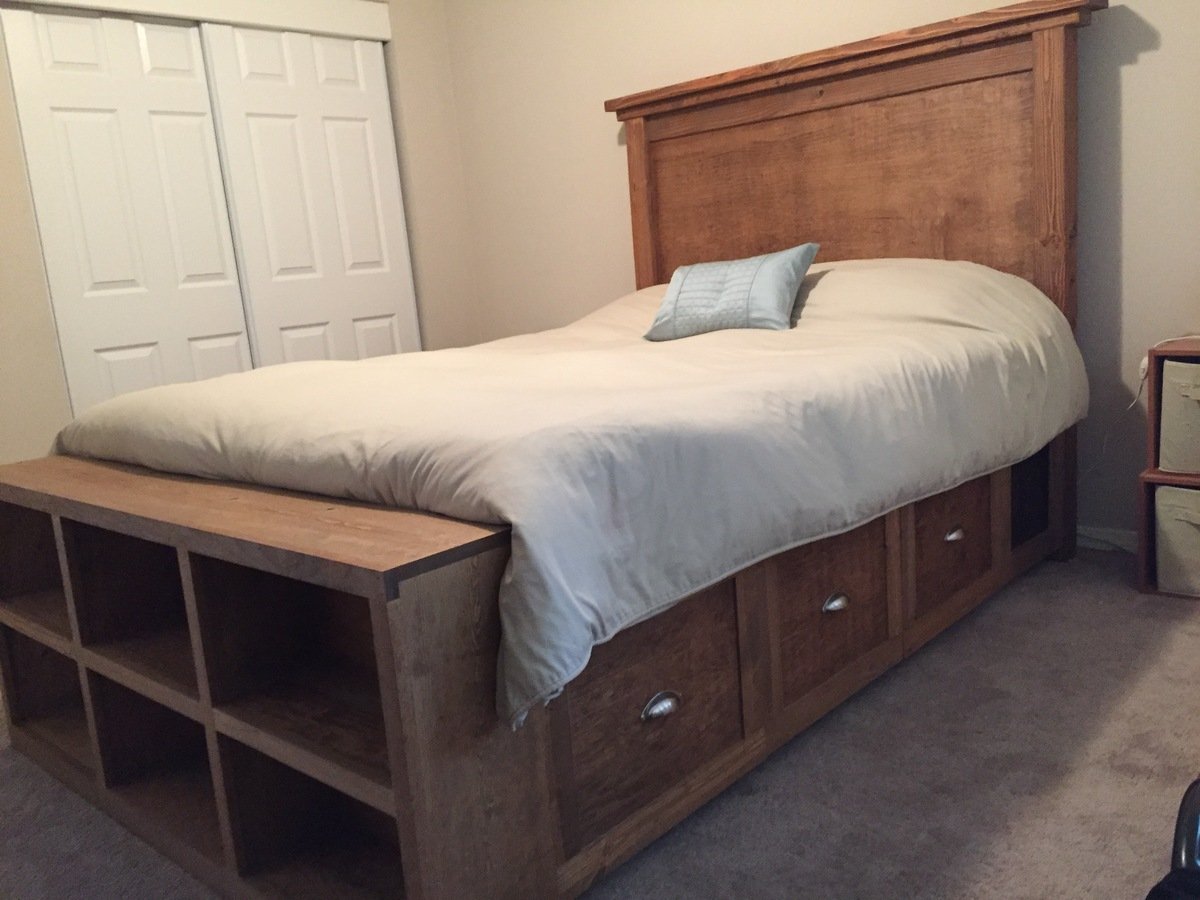
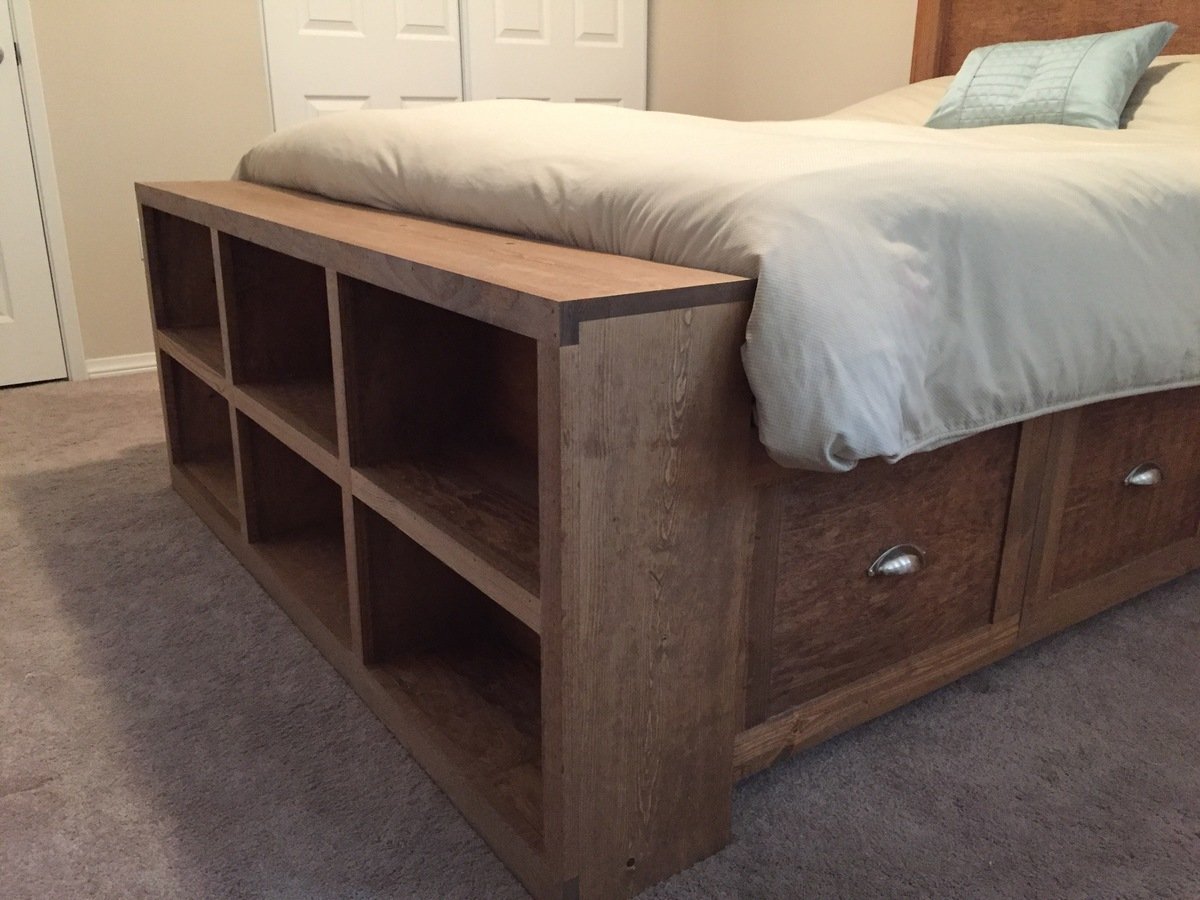
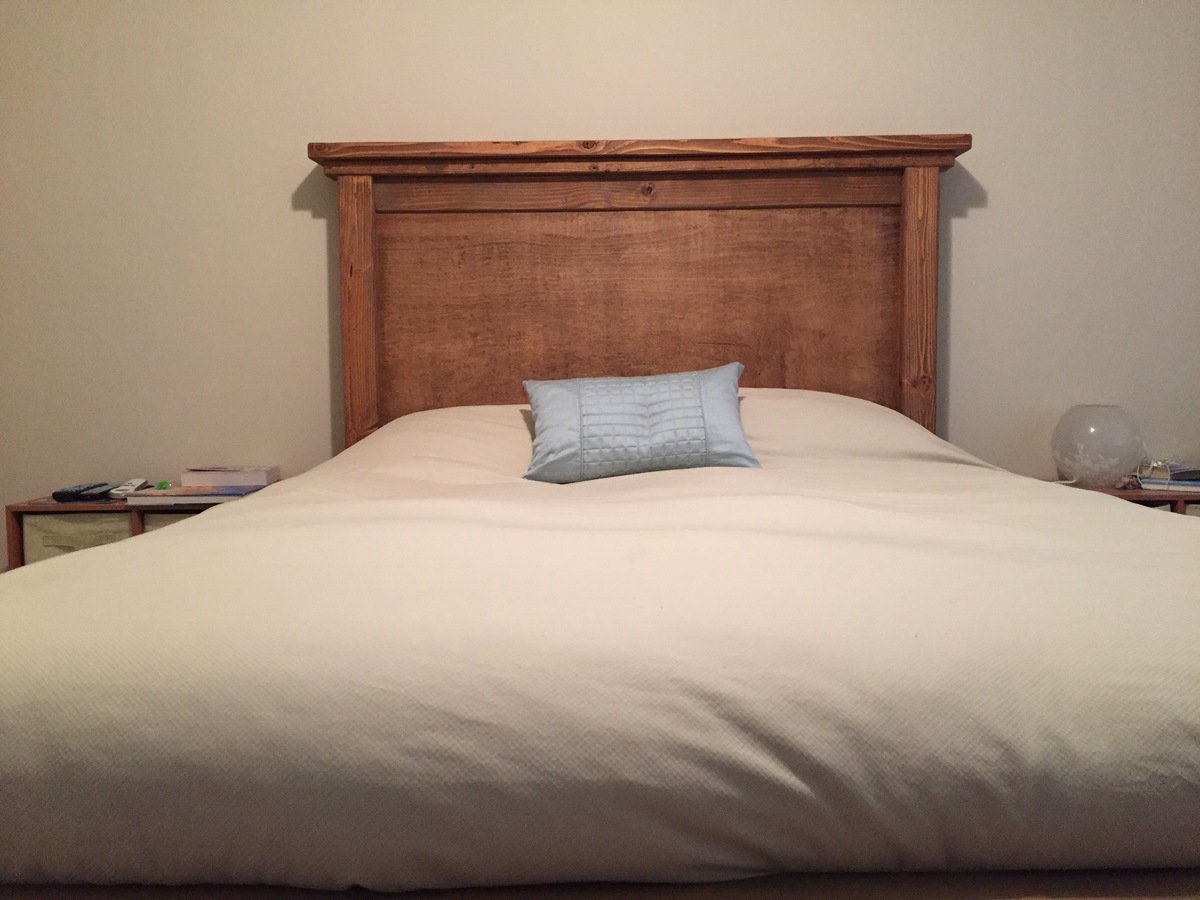
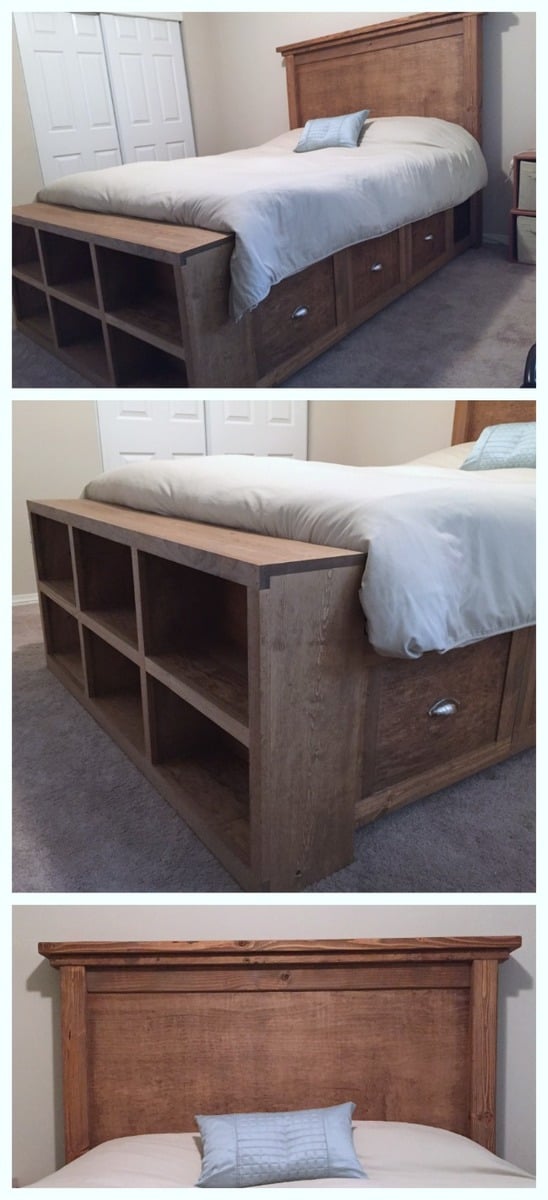
Farmhouse Bed with Storage and Bookshelf footboard

Submitted by rbgreene04 on Sat, 05/21/2016 - 15:50

I altered the plans just a bit so that I could make use of the drawer closest to the headboard, while using bedside tables as well (not the ugly ones in the pictures, but some that only exist in my mind as of now). With the plan as is, I didn't think that first drawer would be able to open if you have a nightstand. So I left about a 17" gap that can be used as an open shelf for storage, and still had room for 3 drawers. I also wanted to include a bookshelf as the footboard to make it multifunctional. We have a ton of books and no place to store them (fear not, a large bookshelf/media center is coming soon!) I also altered the top of the headboard just a bit to give it more texture and visual appeal (hopefully, but beauty is in the eye of the beholder so I've been told). Lastly, I did not put the 1/4" plywood backing on the drawer carcasses. They were pretty sturdy as is, and only got more sturdy as they were attached to the headboard and footboard; I'm not worried about racking at all. Leaving the back off also allows me to pull the drawers out and access some hidden storage in between the two drawer carcasses. 

I wanted a simple finish, so I rubbed it with dark walnut Danish oil. Super simple finish and I think it'll hold up as the bed is not like a desk that needs poly or something. 
Estimated Cost
Cost? Great question! I build things, but don't keep track of receipts. Whoops! It's a major flaw of mine, and I'm working on it. I'd estimate just shy of $300.
Estimated Time Investment
Week Long Project (20 Hours or More)
Finish Used
I sanded to 120 and then lathered on Dark walnut Danish oil. I let it soak into the wood, and boy was the wood thirsty. Then reapplied after about 30 minutes and wiped off the excess, which there wasn't much excess--did I mention the wood was thirsty?
Recommended Skill Level
Intermediate
Comments

ciara5545

Sun, 08/28/2016 - 19:50

This bed turned out amazing.  I love the modifications and agree the first drawer will be more usable.

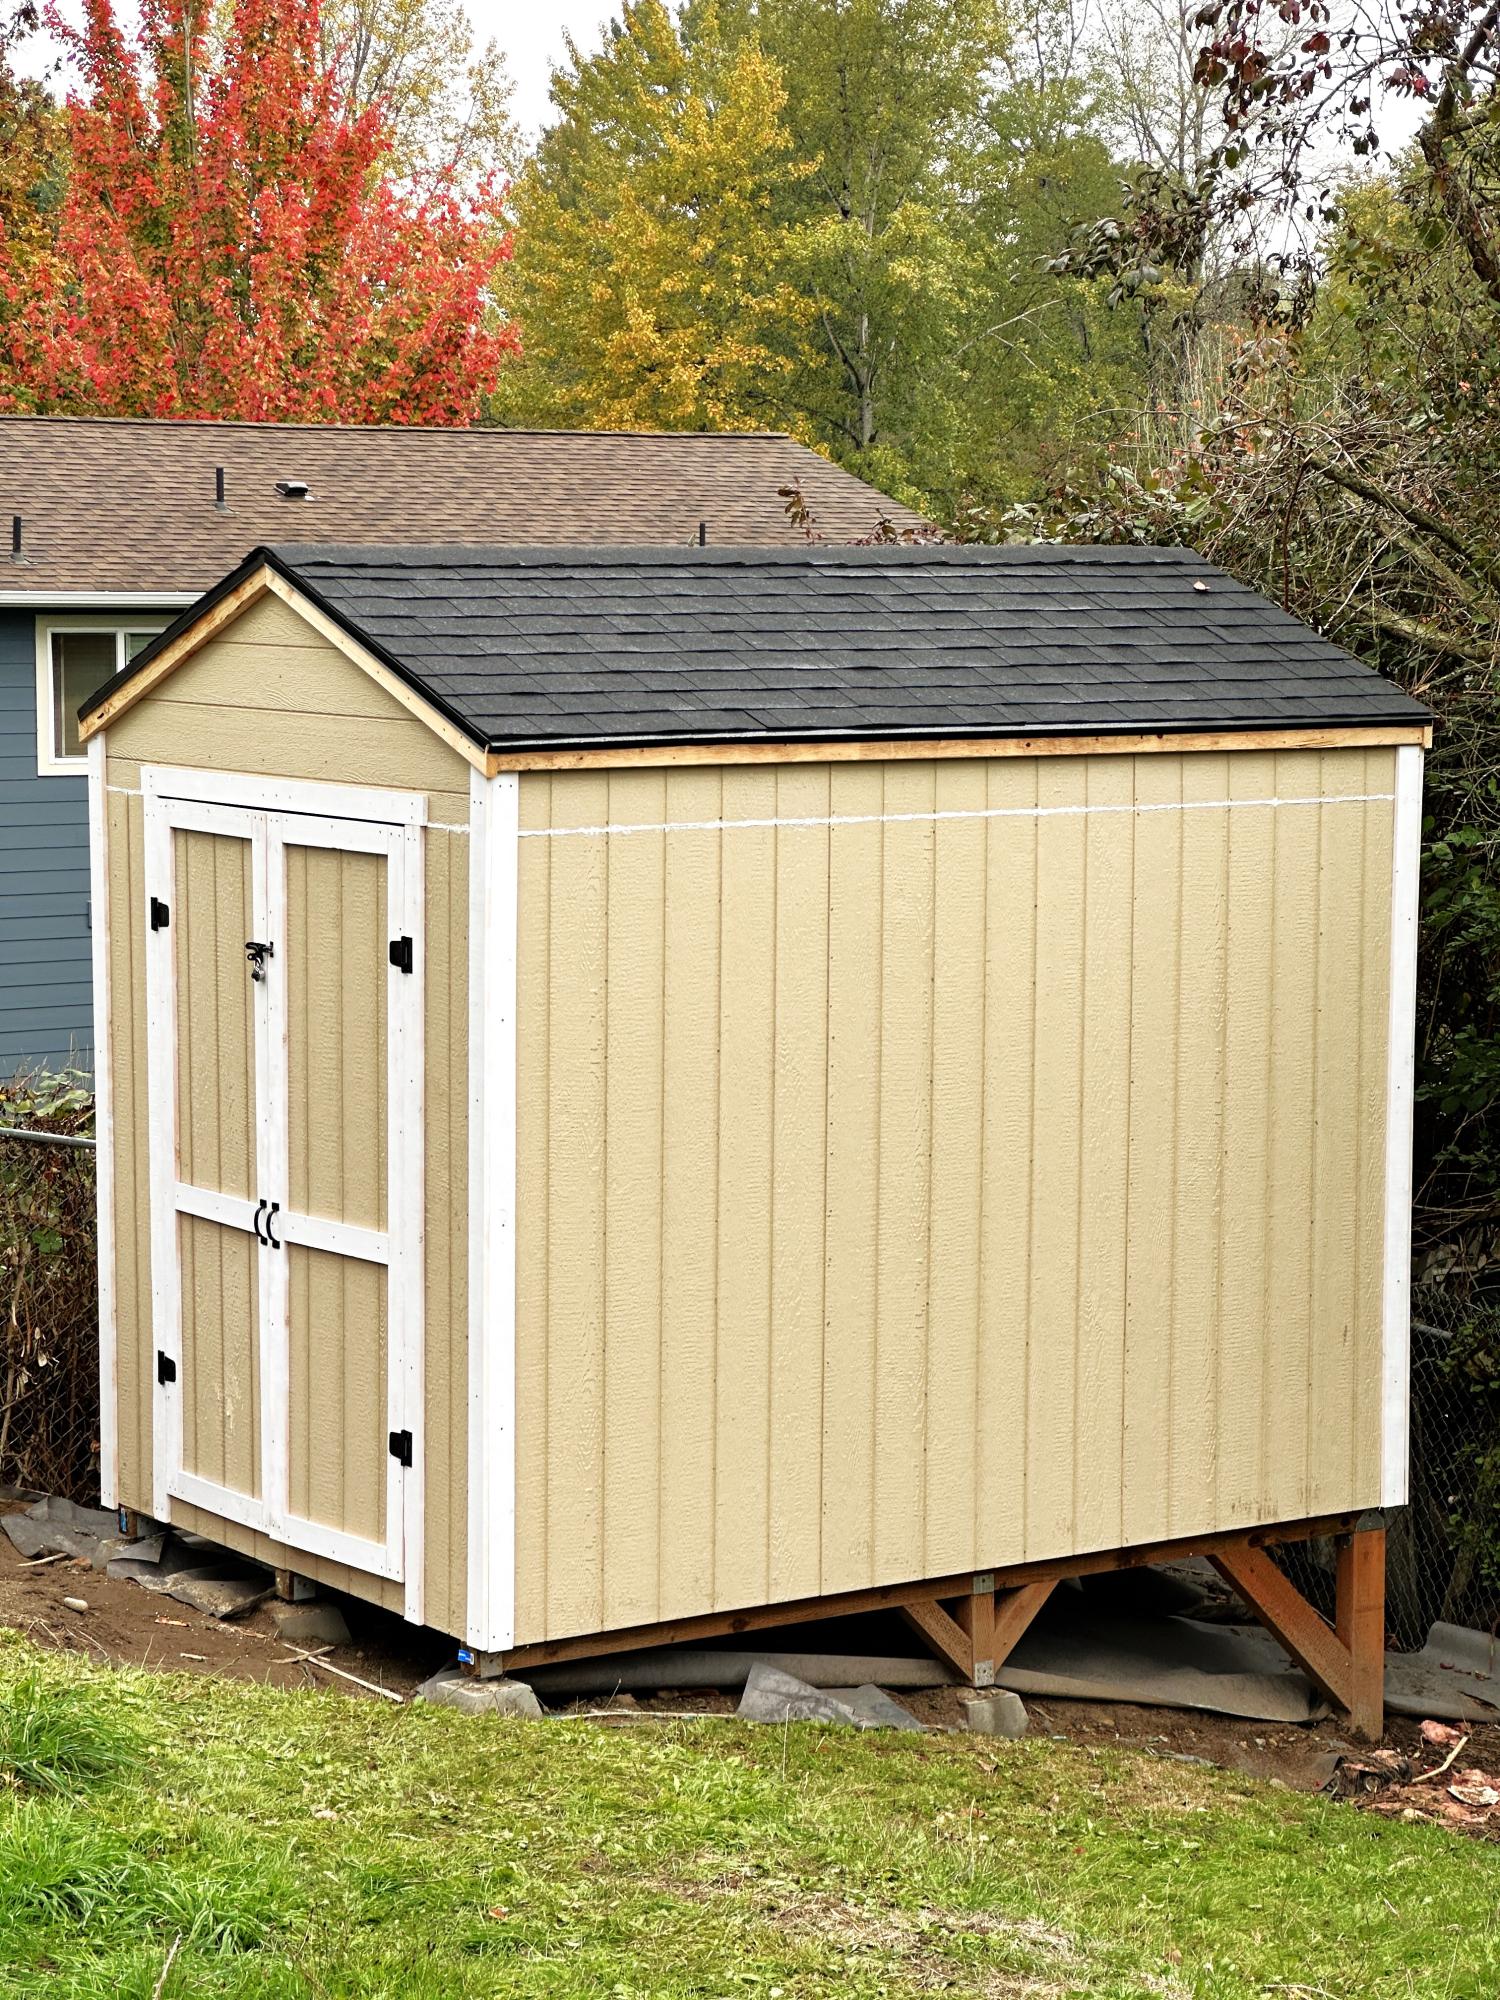
DIY Shed

Submitted by Anonymous (not verified) on Mon, 11/06/2023 - 11:07

8’ by 12’ shed with extra 15” of height. Thanks for the plans!

Built from Plan(s)

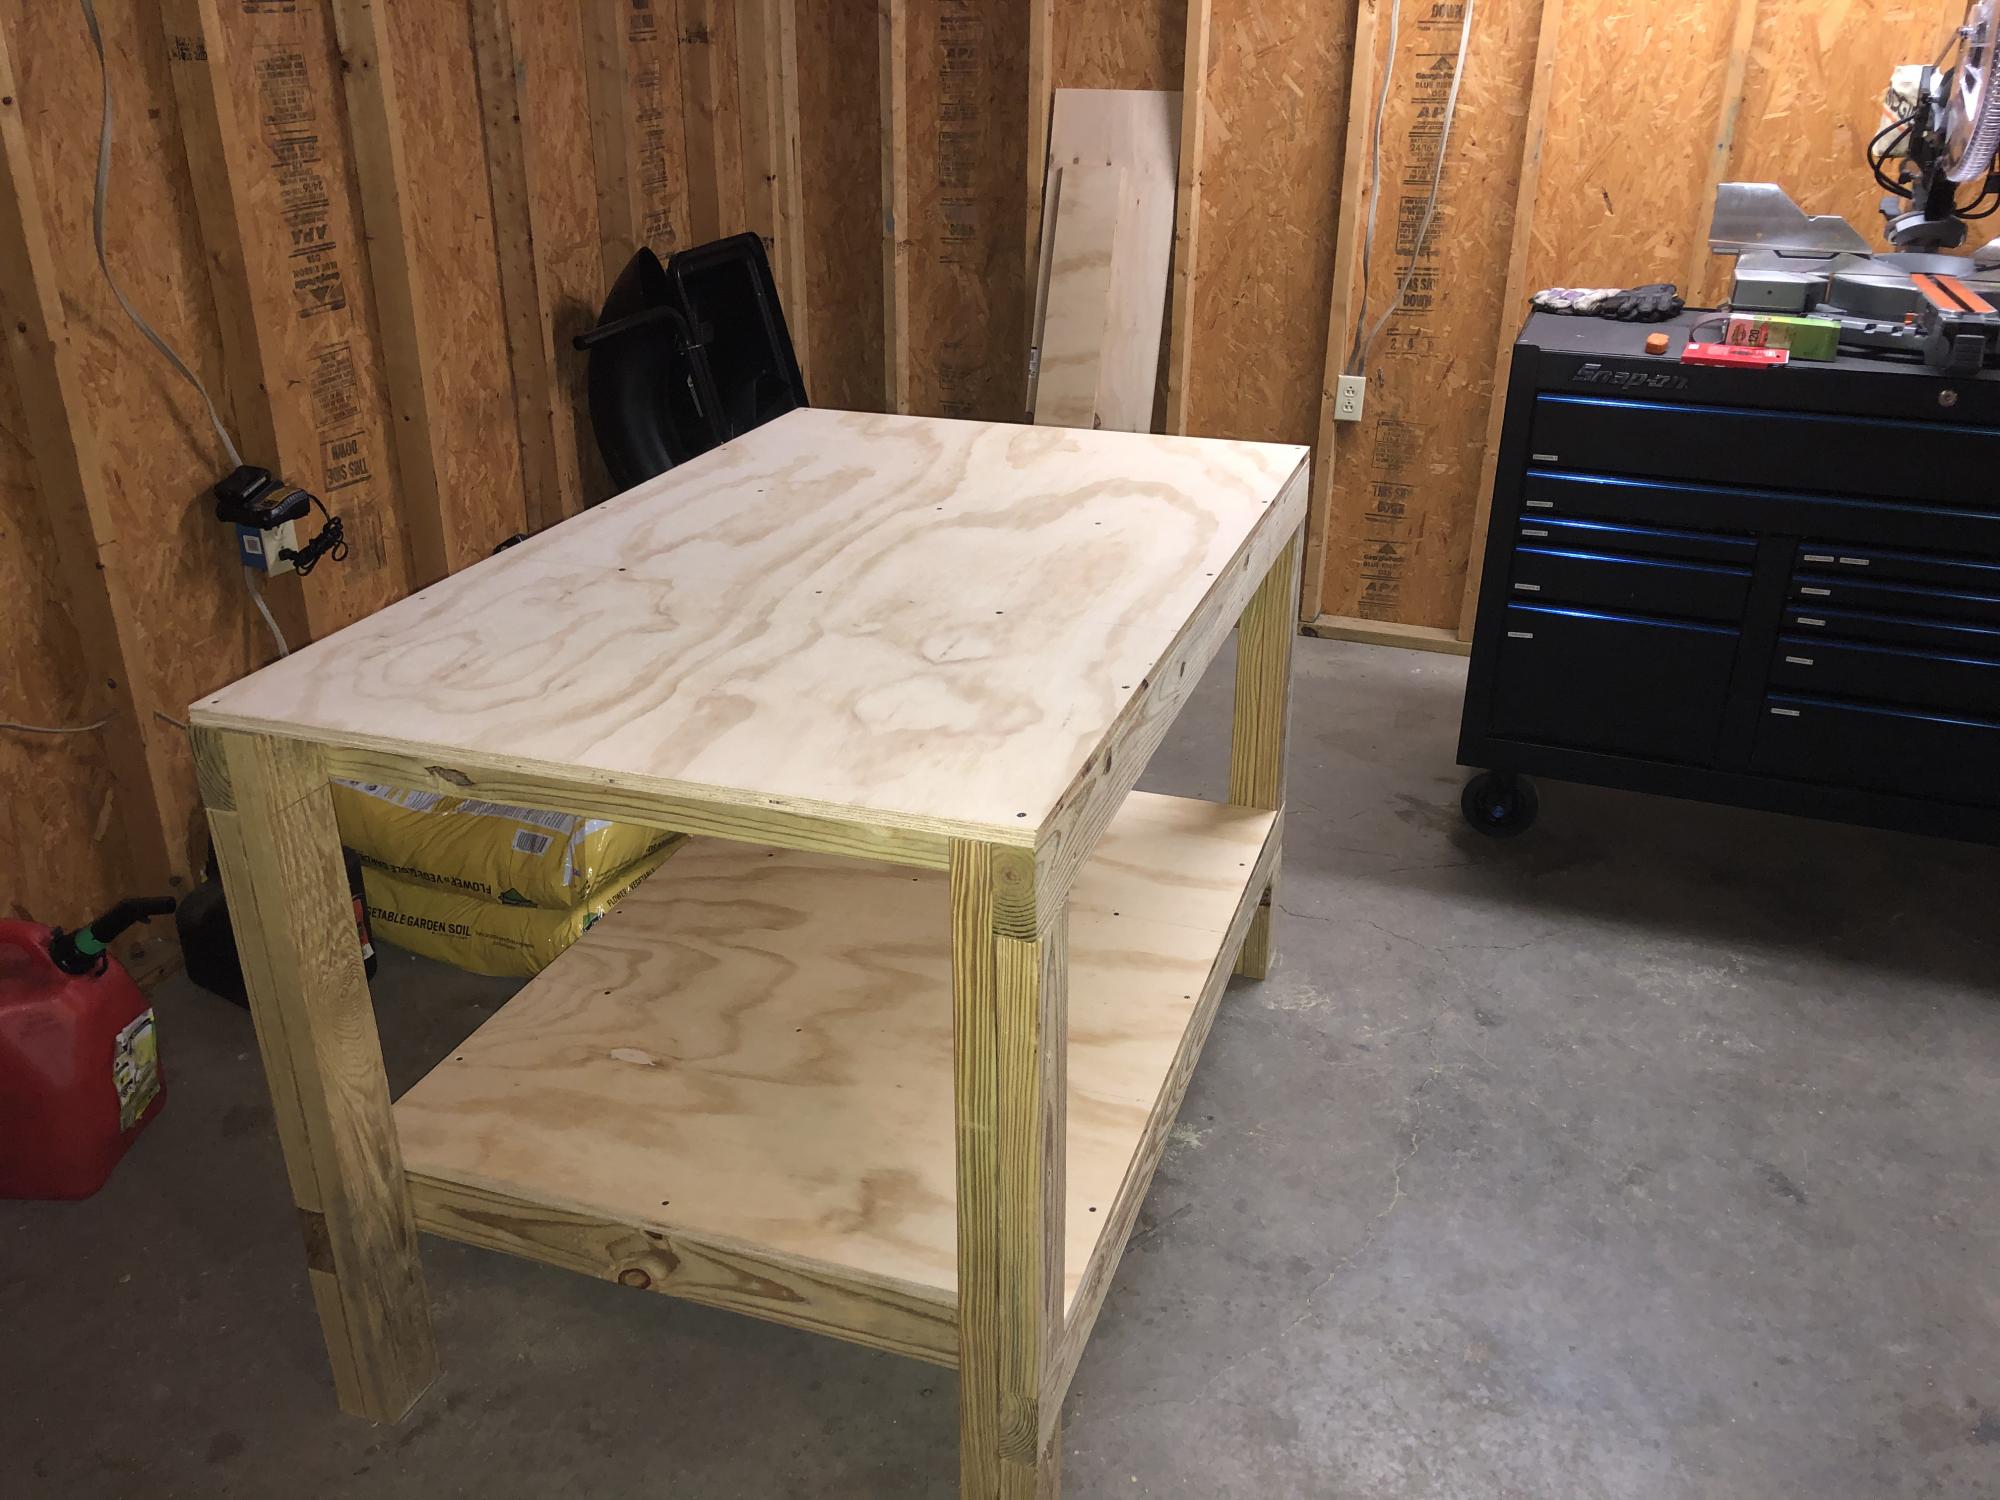
Workbench

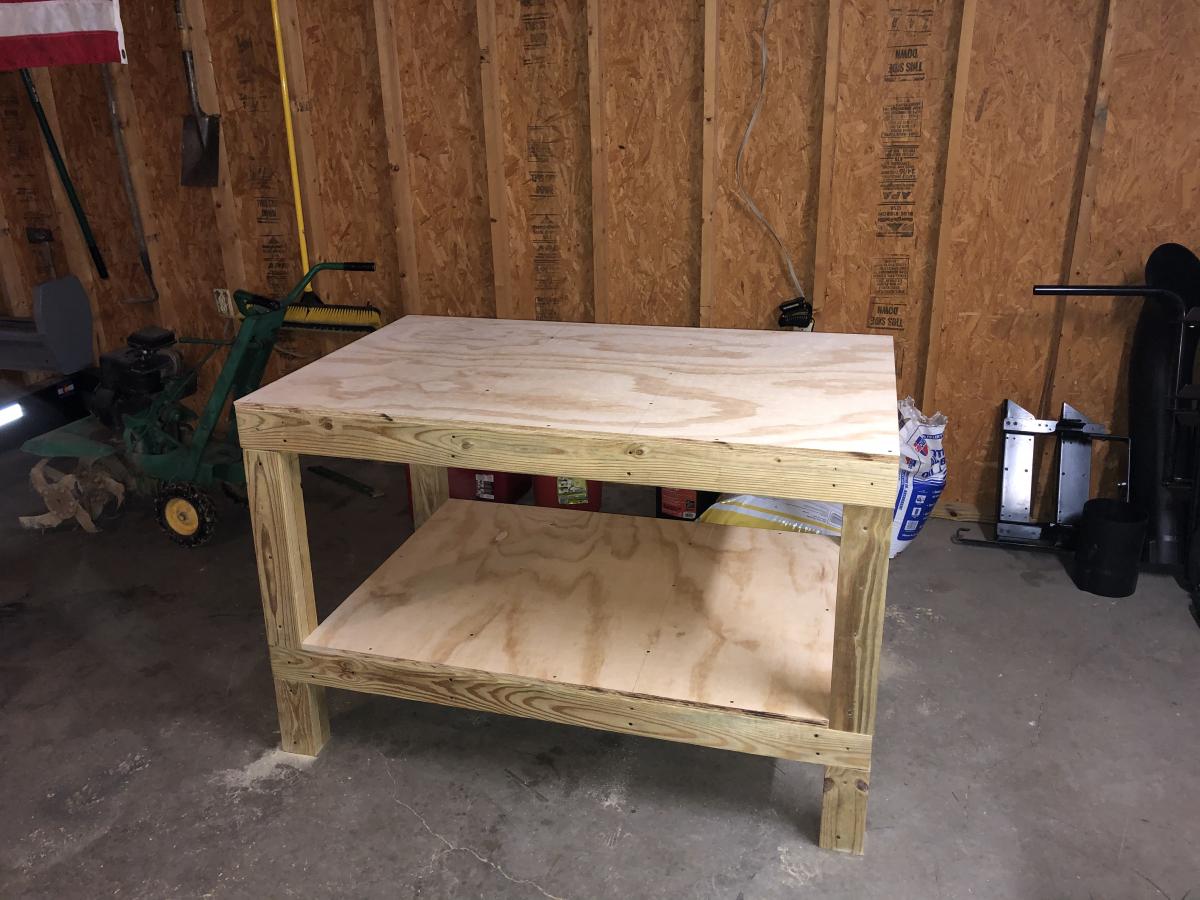
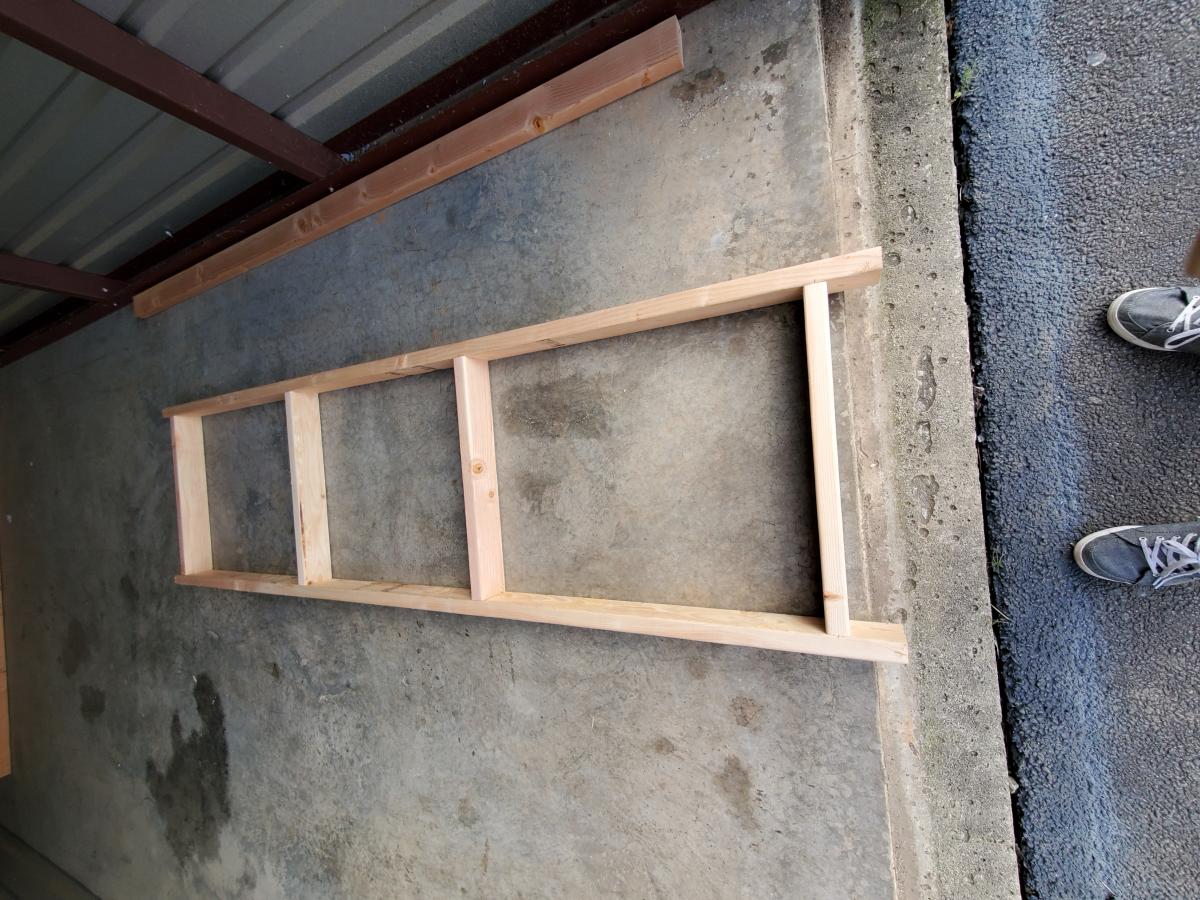
Wasn’t too awful bad. The cuts were basic and easy to duplicate. I would recommend having some clamps to hold the supports in place while you try to screw them together. Otherwise, this table is pretty heavy duty and a lot bigger than I thought it would be. I sprung for a more durable and harder wood top, oak so the cost was about $25 more.

Estimated Cost
100
Estimated Time Investment
Day Project (6-9 Hours)
Finish Used
None
Recommended Skill Level
Beginner

Freestanding Garage Shelves

Submitted by Jeanna on Mon, 04/27/2020 - 08:07

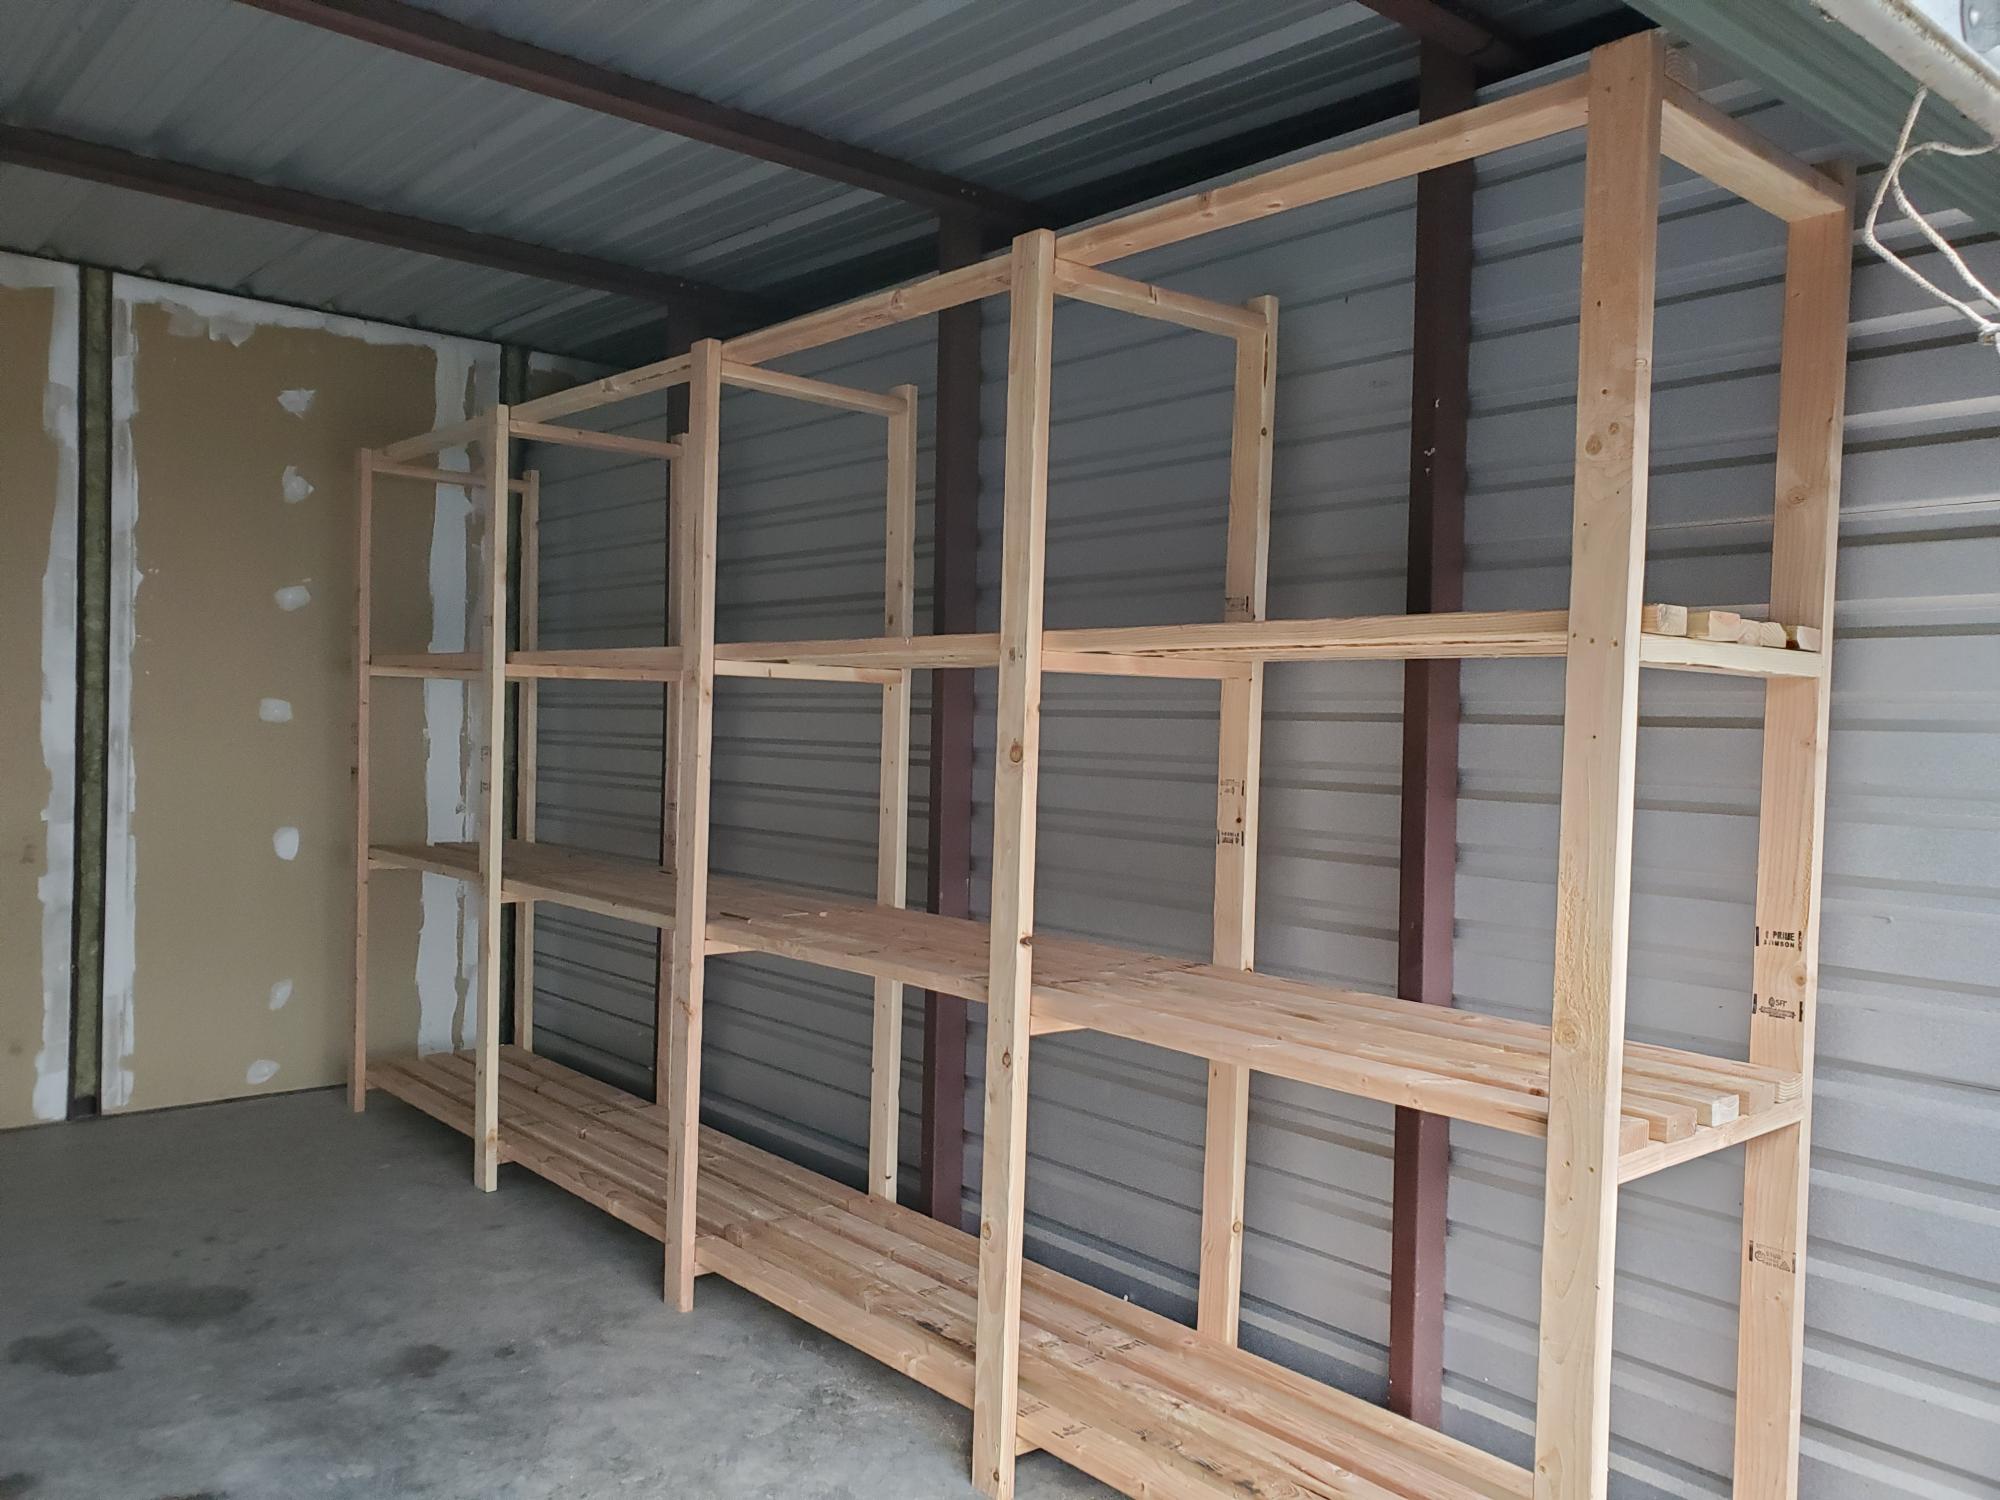
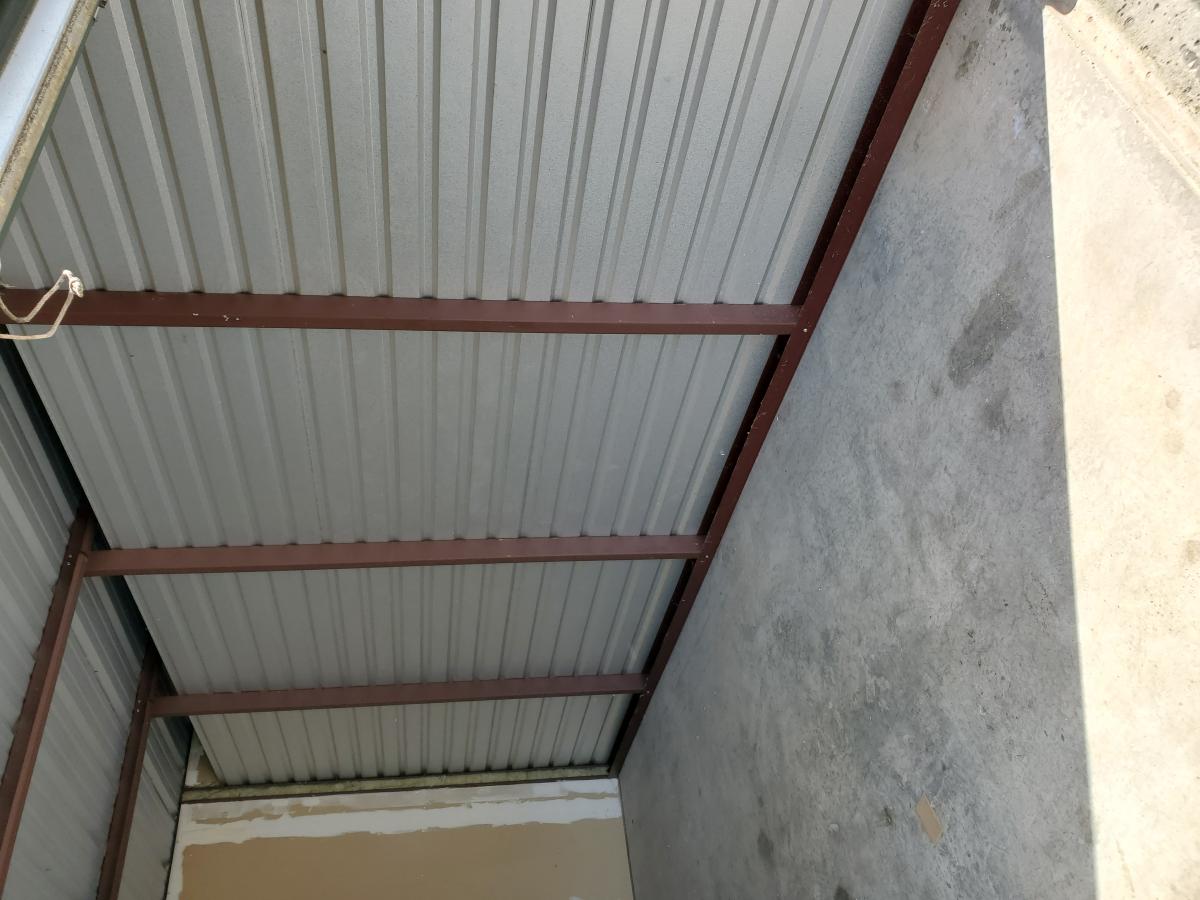
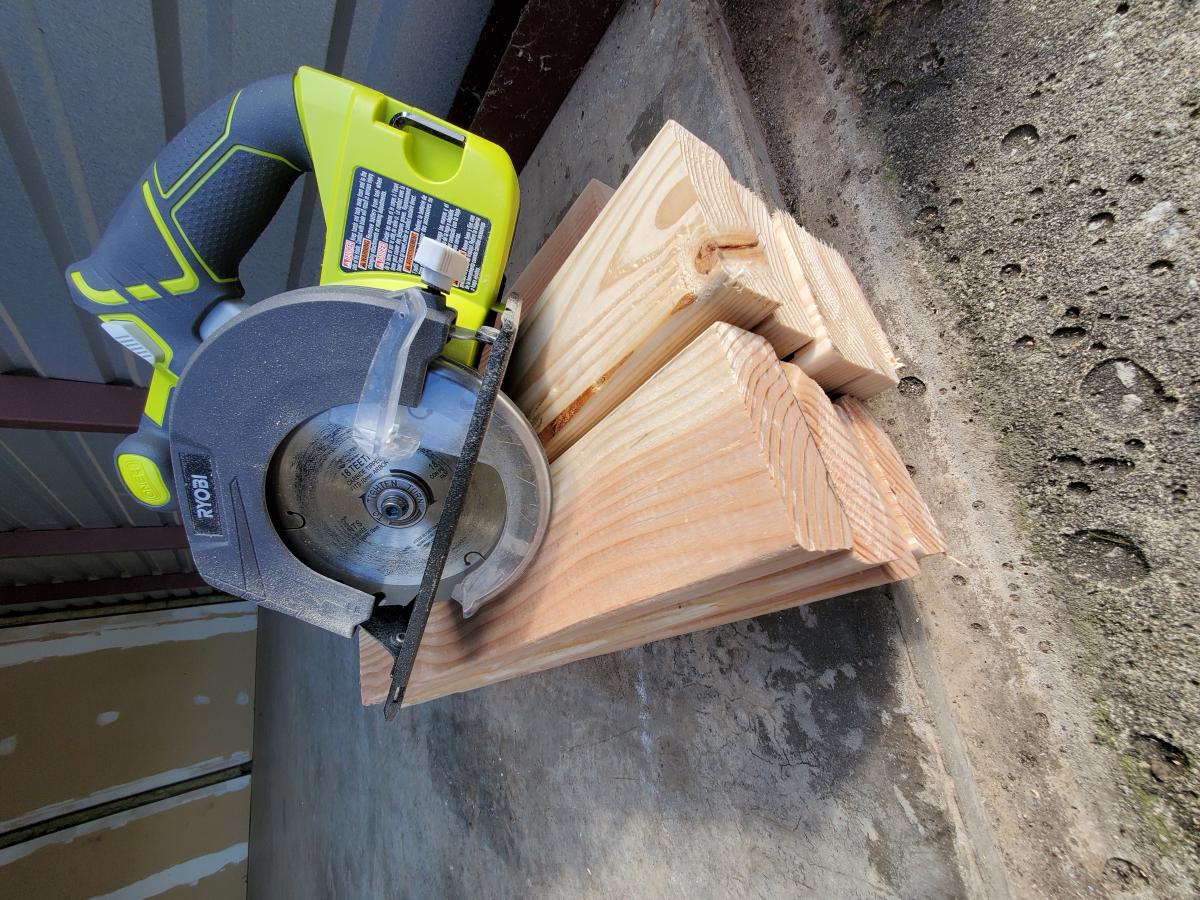
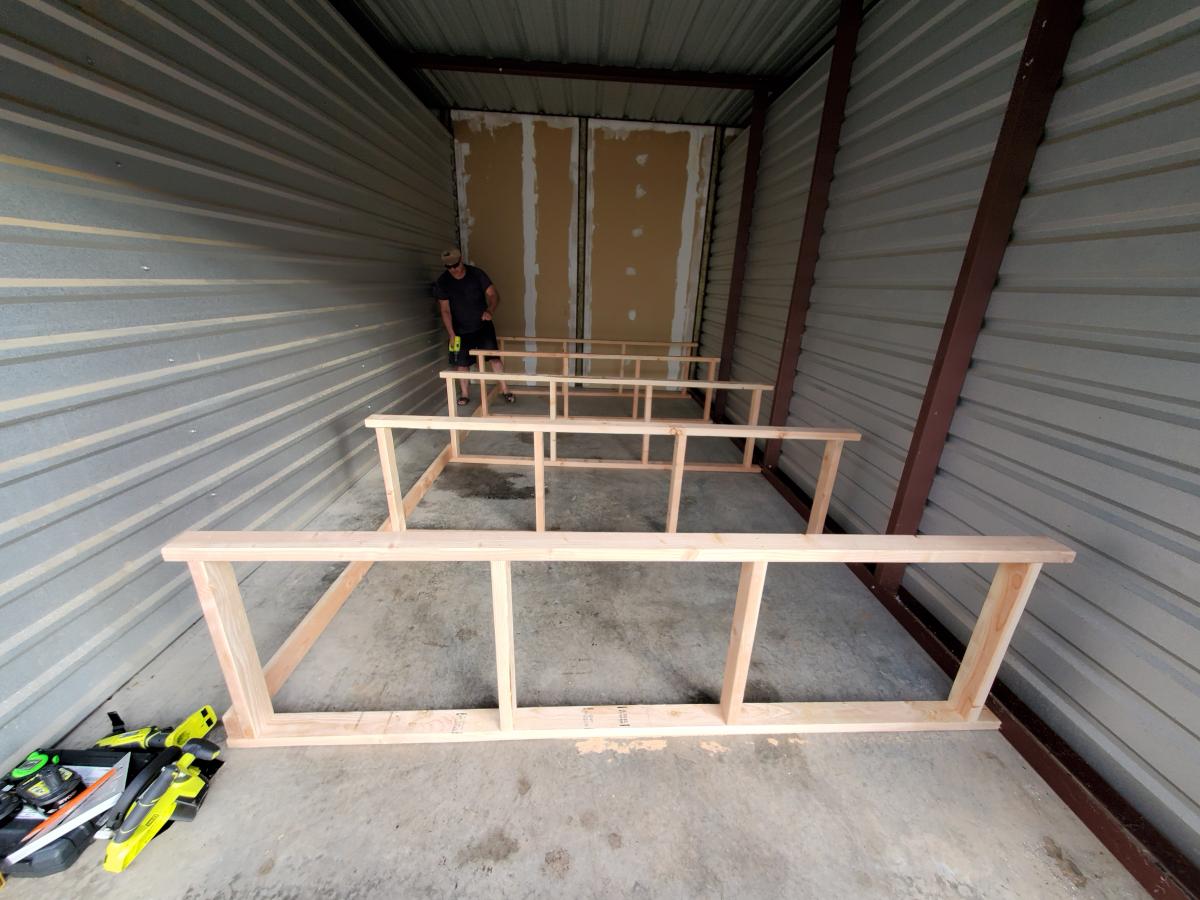
This was our first real DIY from scratch project. We somehow made it a bit too tall and so have not put the top shelf planks on. Over all we are pretty happy with it. This was in a rental storage unit. We plan to give it another go in our garage too.

Estimated Time Investment
An Hour or Two (0-2 Hours)
Finish Used
None
Recommended Skill Level
Beginner

Mountain Cabin Bed

Submitted by Anonymous (not verified) on Tue, 01/02/2024 - 13:07

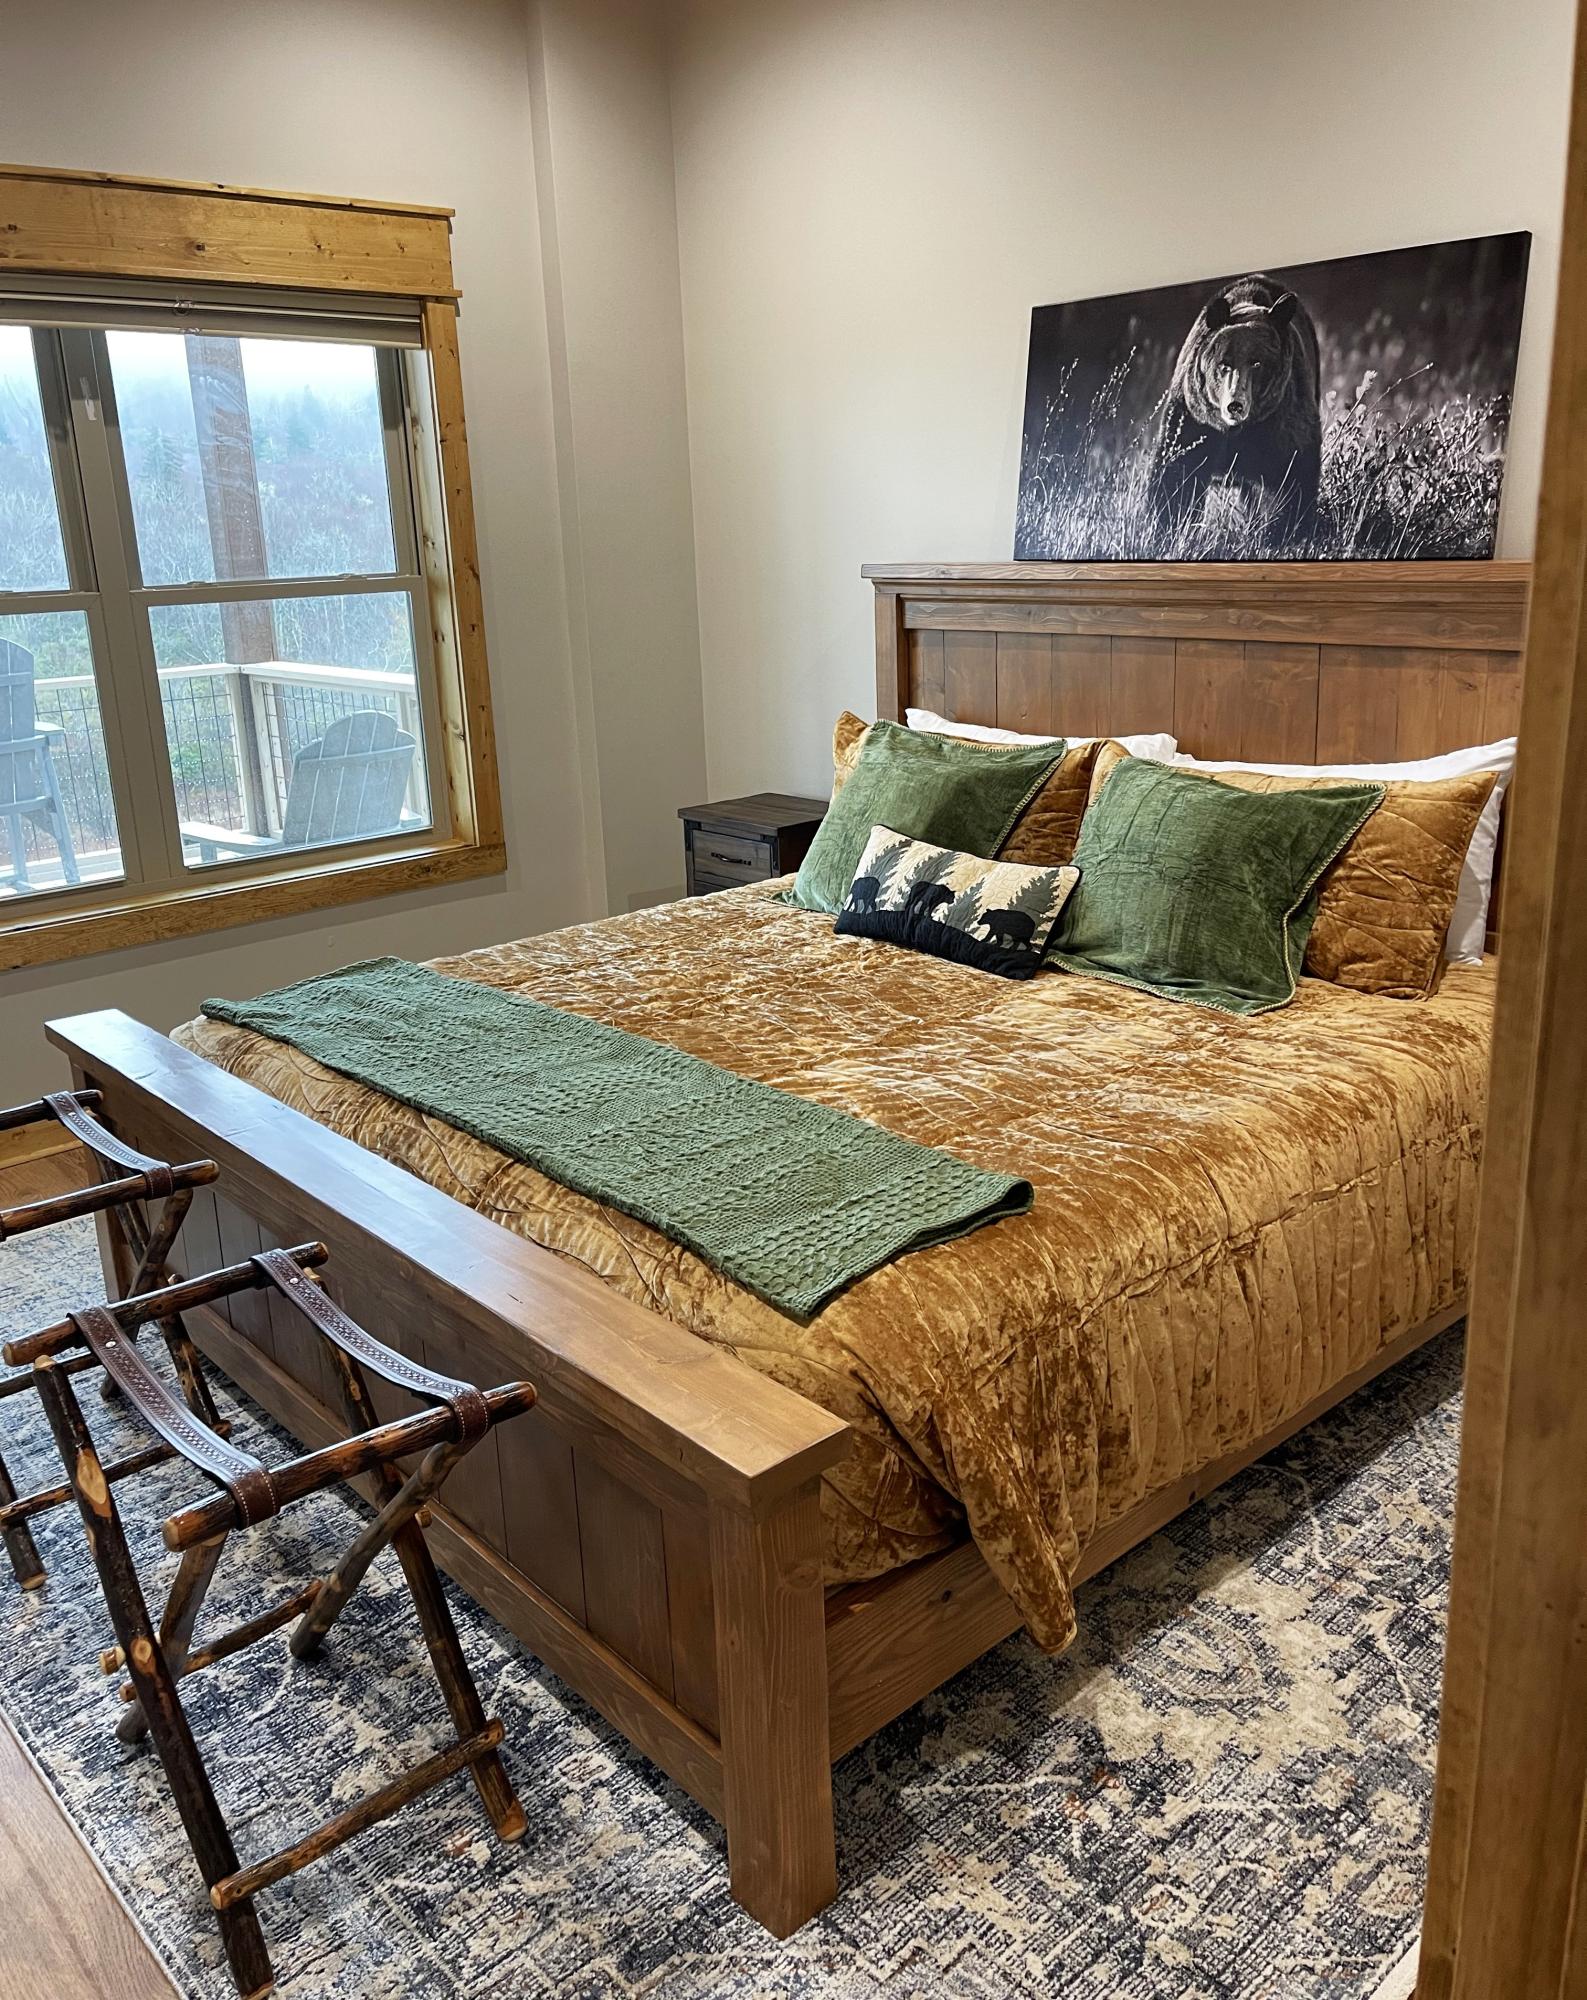
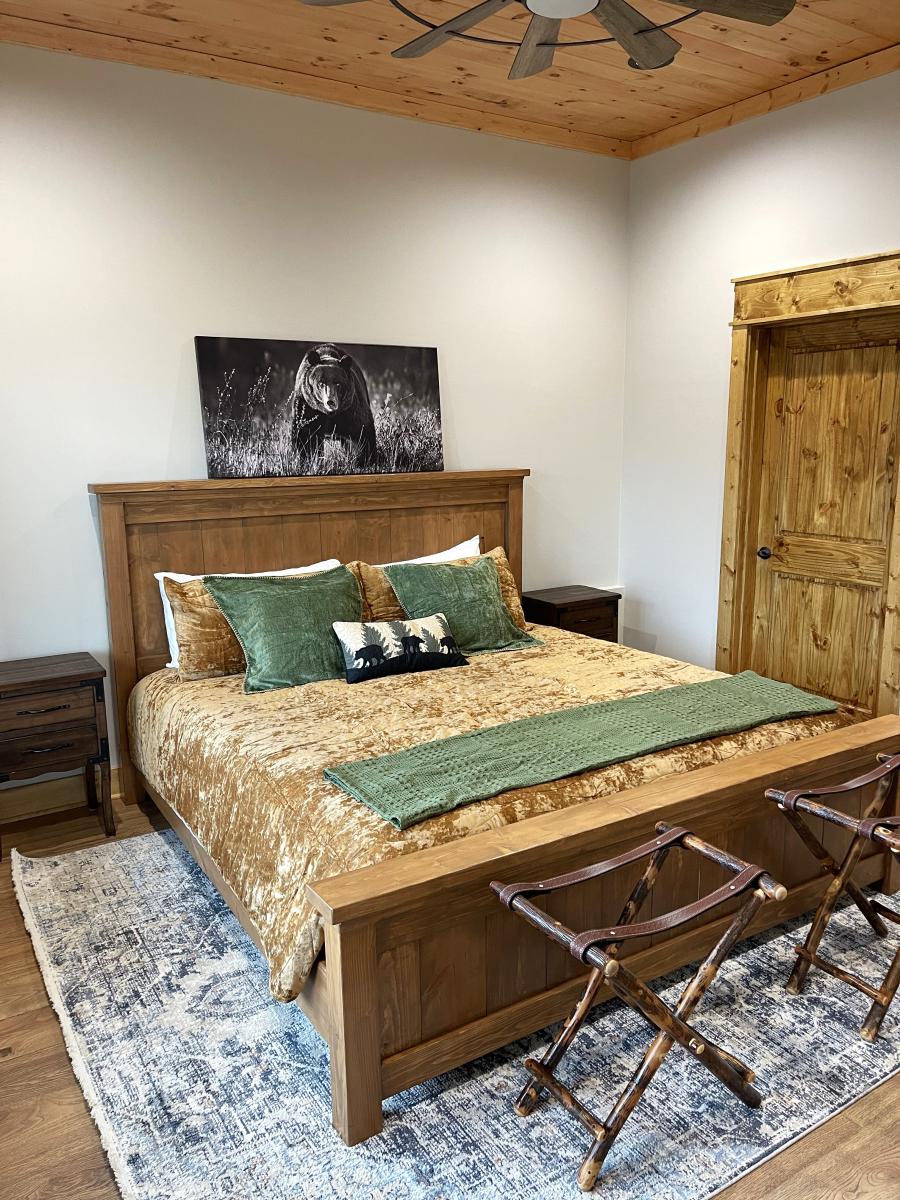
This is Ana’s Farmhouse king bed. We just built a mountain Cabin and I thought I could save a few bucks by making a couple beds. I only made one because just the ability to get the wood transported and moving it all was a bit more than this 50++ lady was counting on. BUT, I’m super proud of how it turned out. The stain was a mixture of 4-5 Minwax samples that we had from the home build.


I did it!

Thank you for all the wonderful plans!

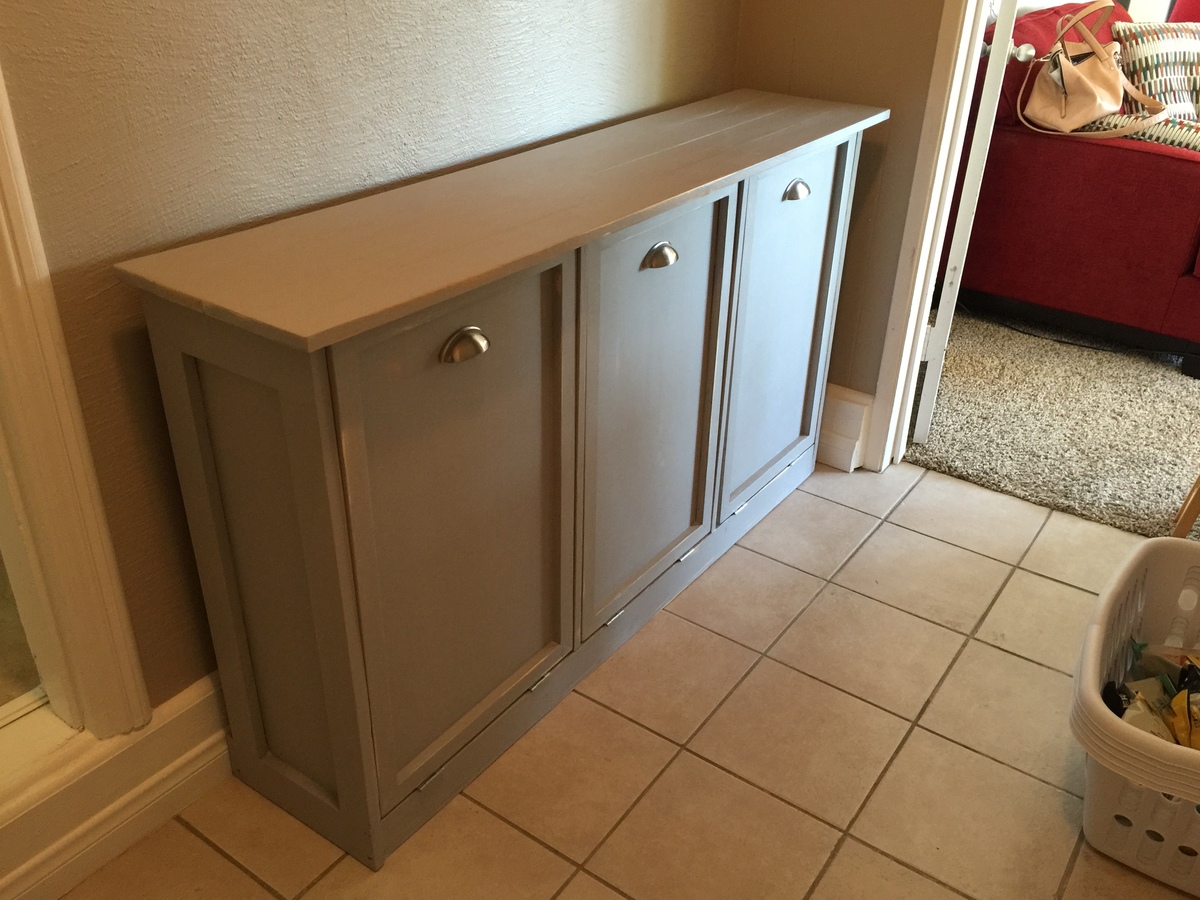
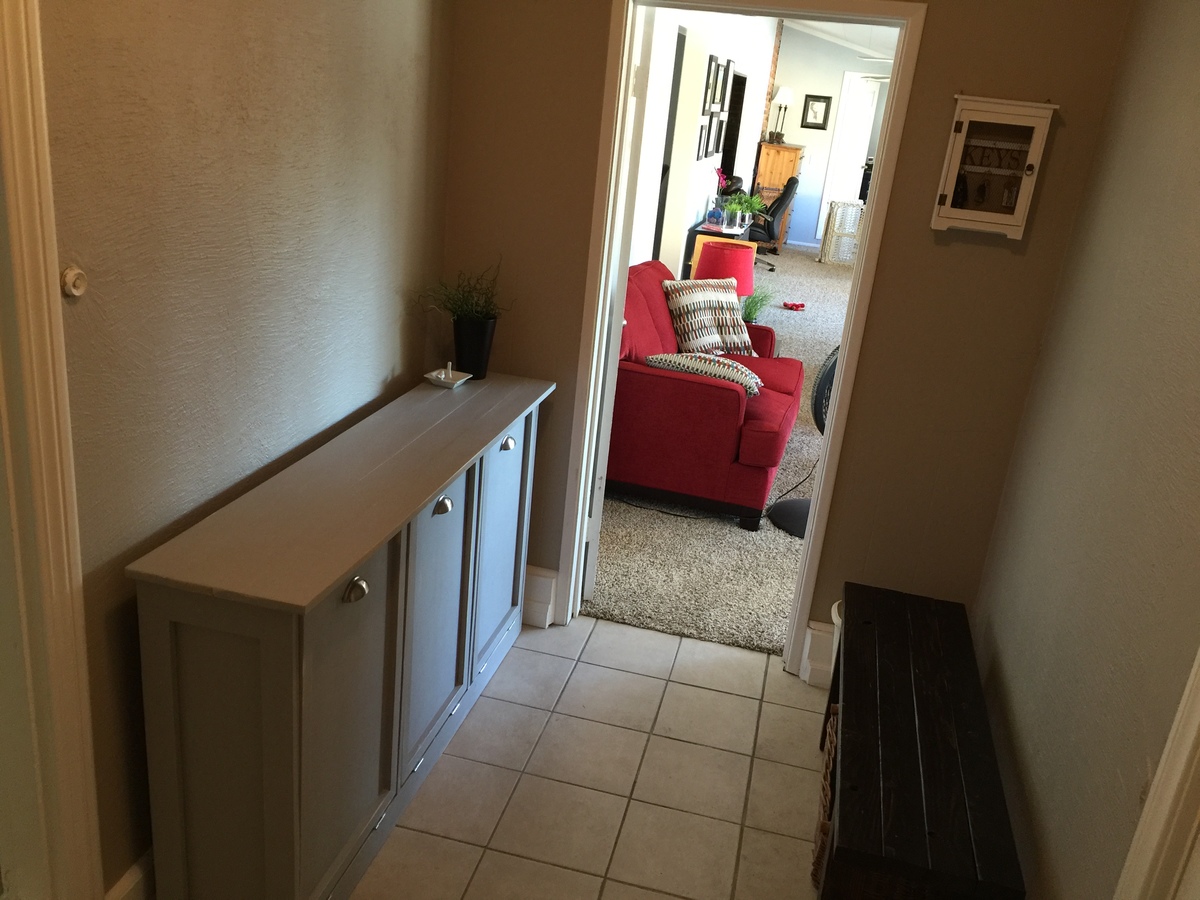
i used the modified plan of the tilt out waste bin that Shanty2chic put out as a three bin laundry sorter.   It turned out great!  

It is finished with chalk paint, lightly distressed. 

Estimated Cost
$40 or so
Estimated Time Investment
Weekend Project (10-20 Hours)
Finish Used
Rustoleum's Chalk paint in old gray. Lightly distressed with the ryobi corner cat.
Recommended Skill Level
Beginner

Comments

Water table for 1 year old

Submitted by Anonymous (not verified) on Fri, 09/02/2016 - 15:42

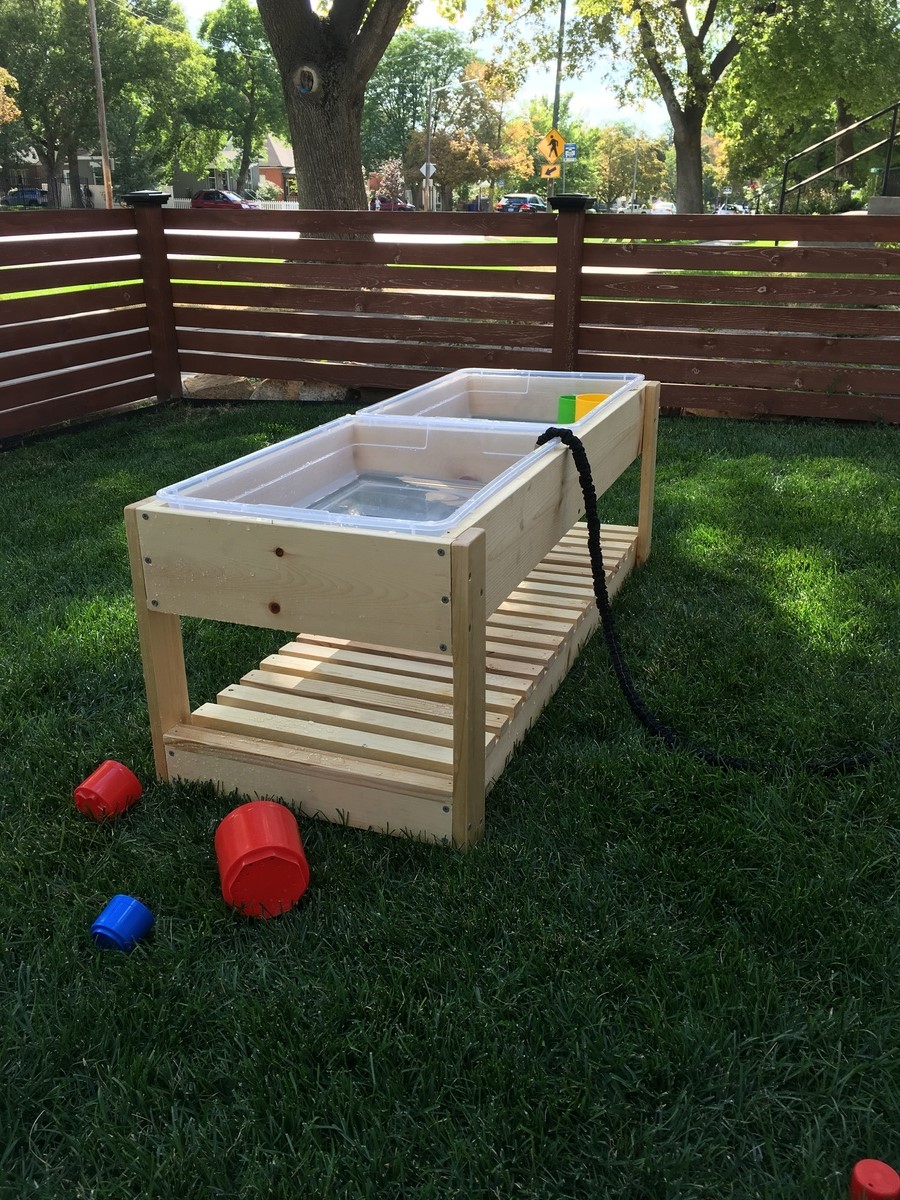
Shortened the legs to 17" and used 1x2s on the shelf because that's what we had on hand. Sealed with Thompson's aerosol clear waterseal. 

Built from Plan(s)
Estimated Cost
$38
Estimated Time Investment
Afternoon Project (3-6 Hours)
Finish Used
Thompson aerosol clear waterseal
Recommended Skill Level
Beginner

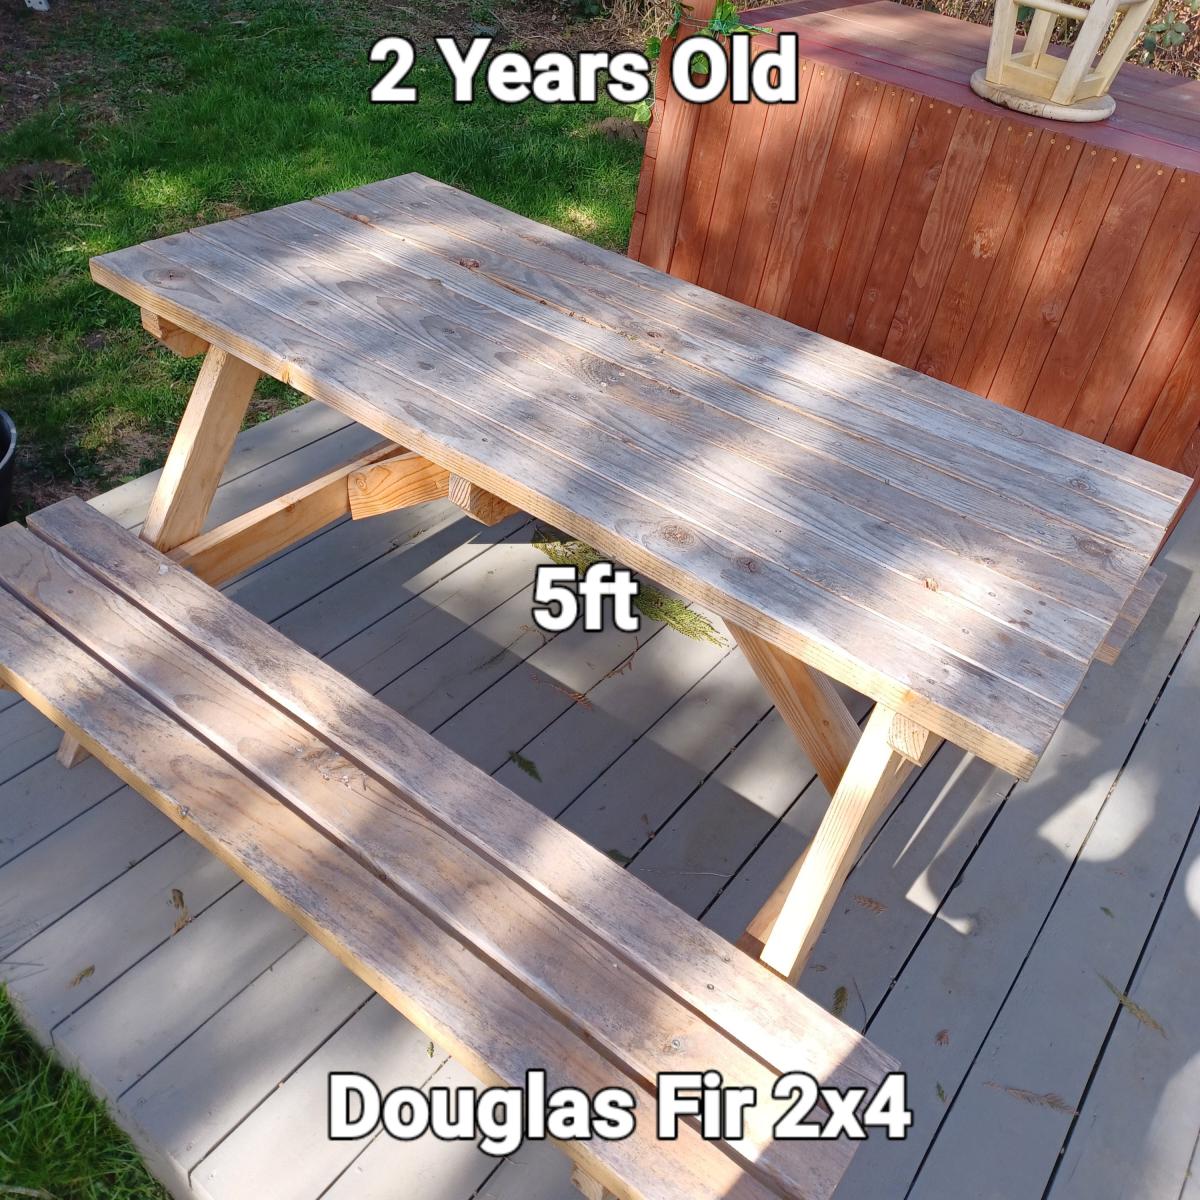
Picnic Tables

Submitted by Anonymous (not verified) on Fri, 03/22/2024 - 07:53

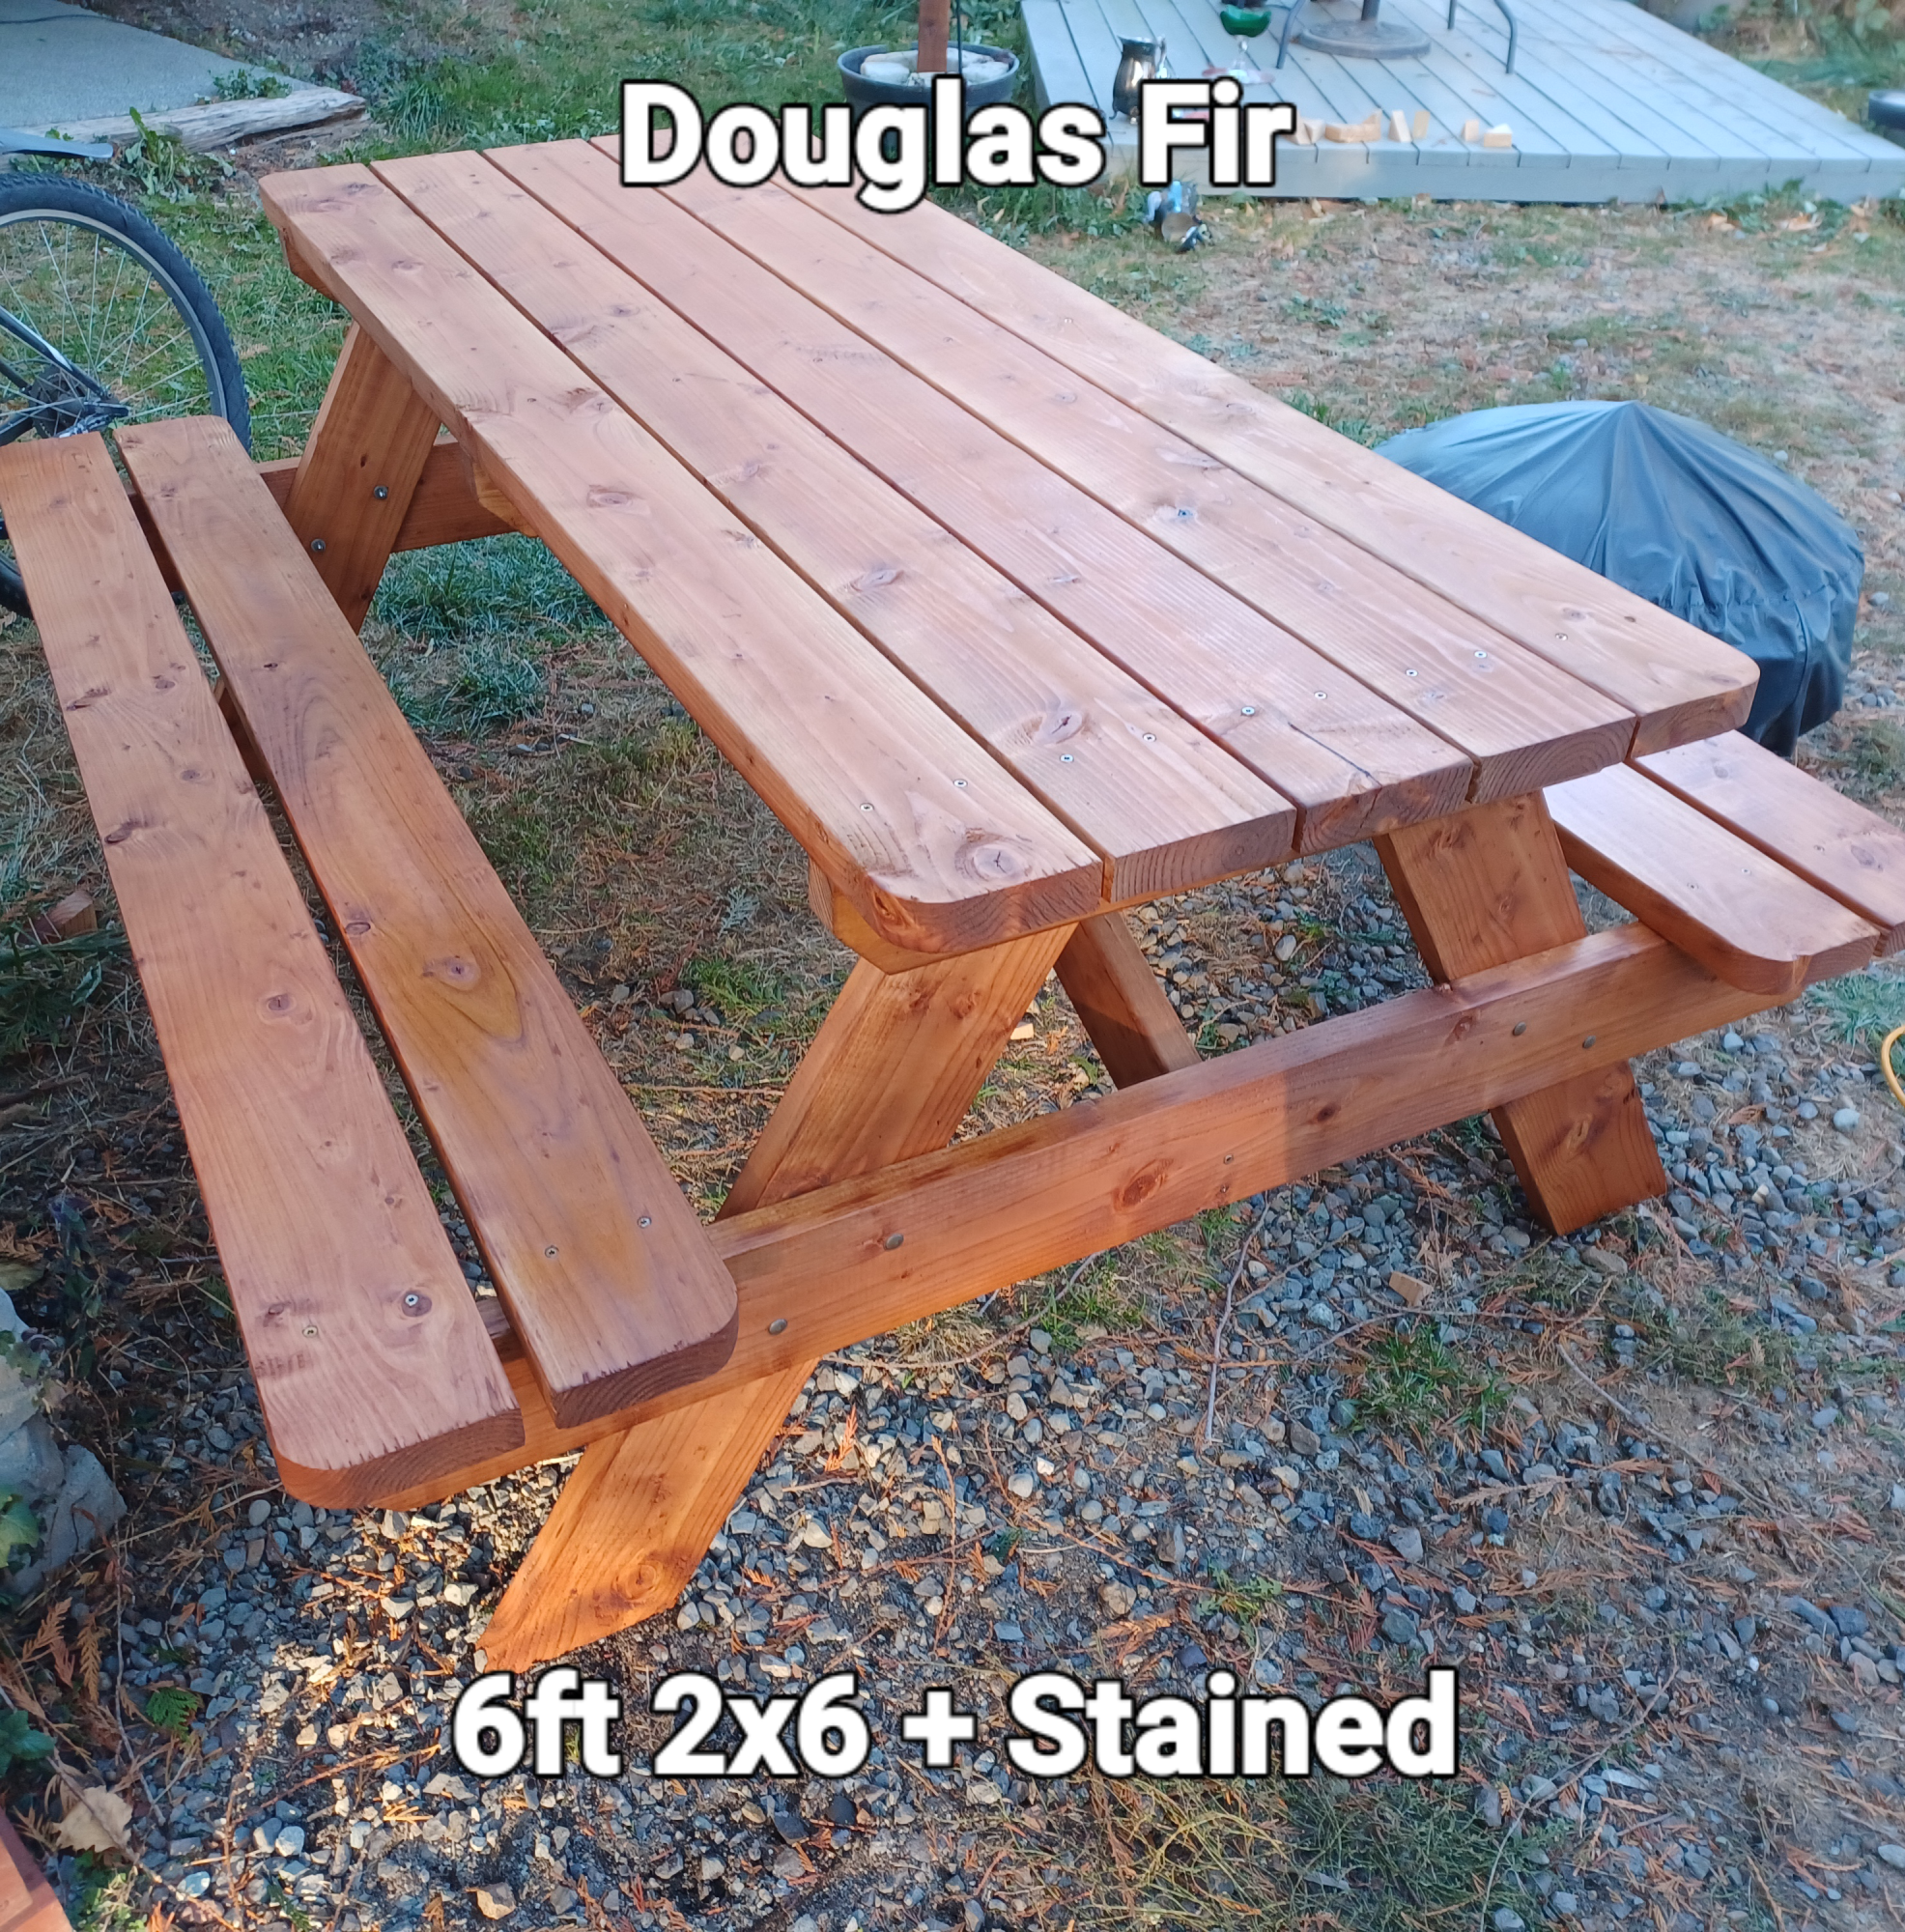
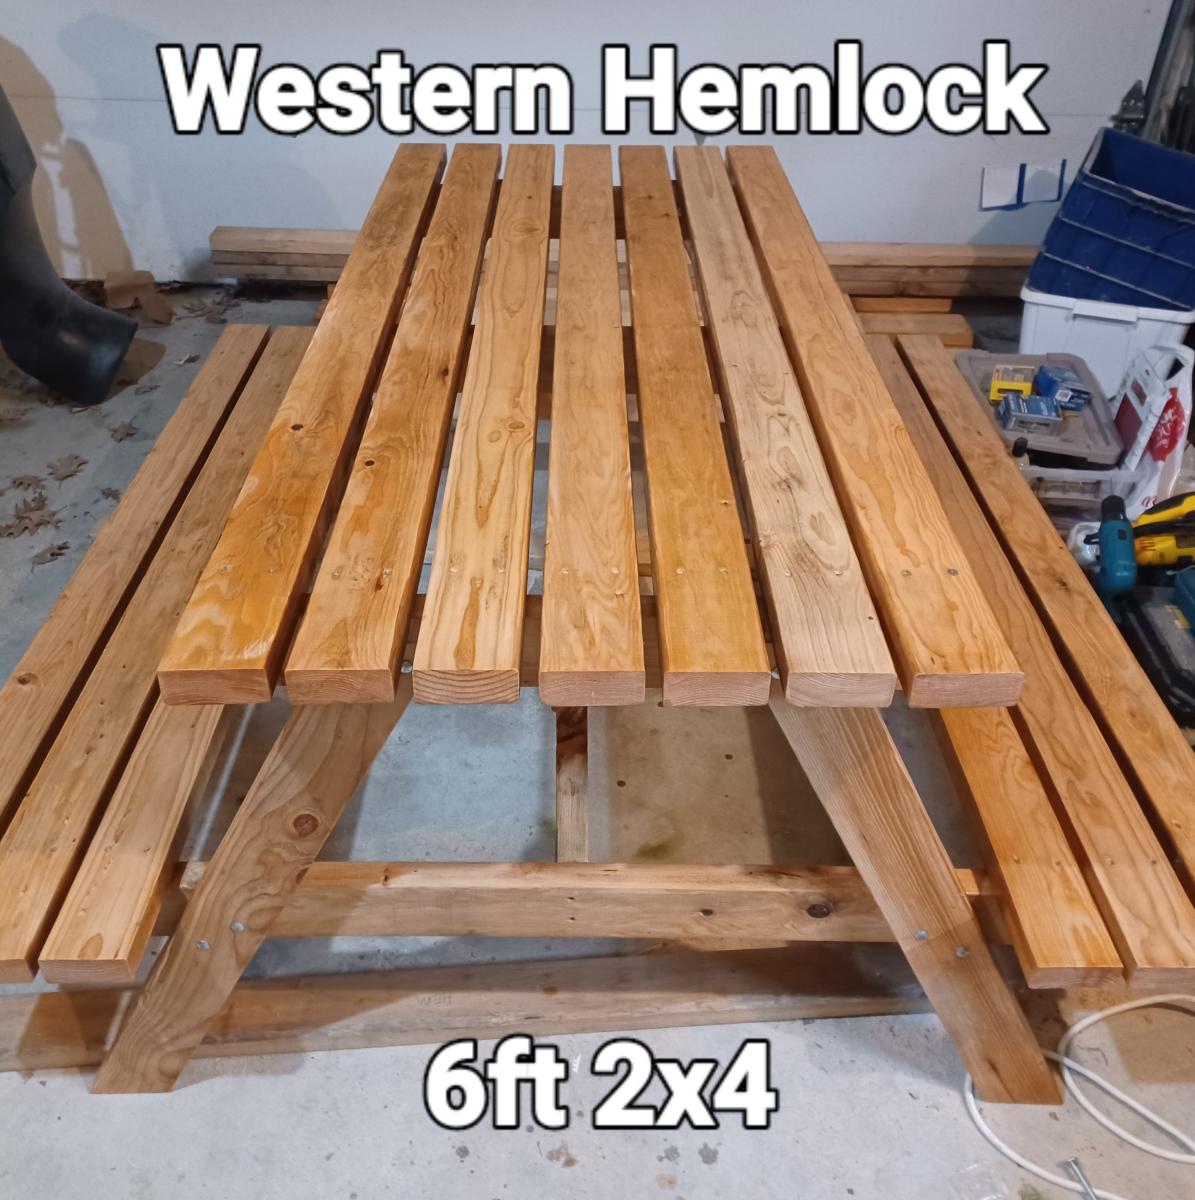
Using some of your different picnic table plans, I have been building, casually, picnic tables that are made using handpicked wood of similar grain orientation, same species, etc, creating a unique piece every time. I'm turning into a real wood nerd! They are all sanded and sealed for greater weather resistance and to accentuate the natural look of the wood.
Sam Warburton Productions

Back