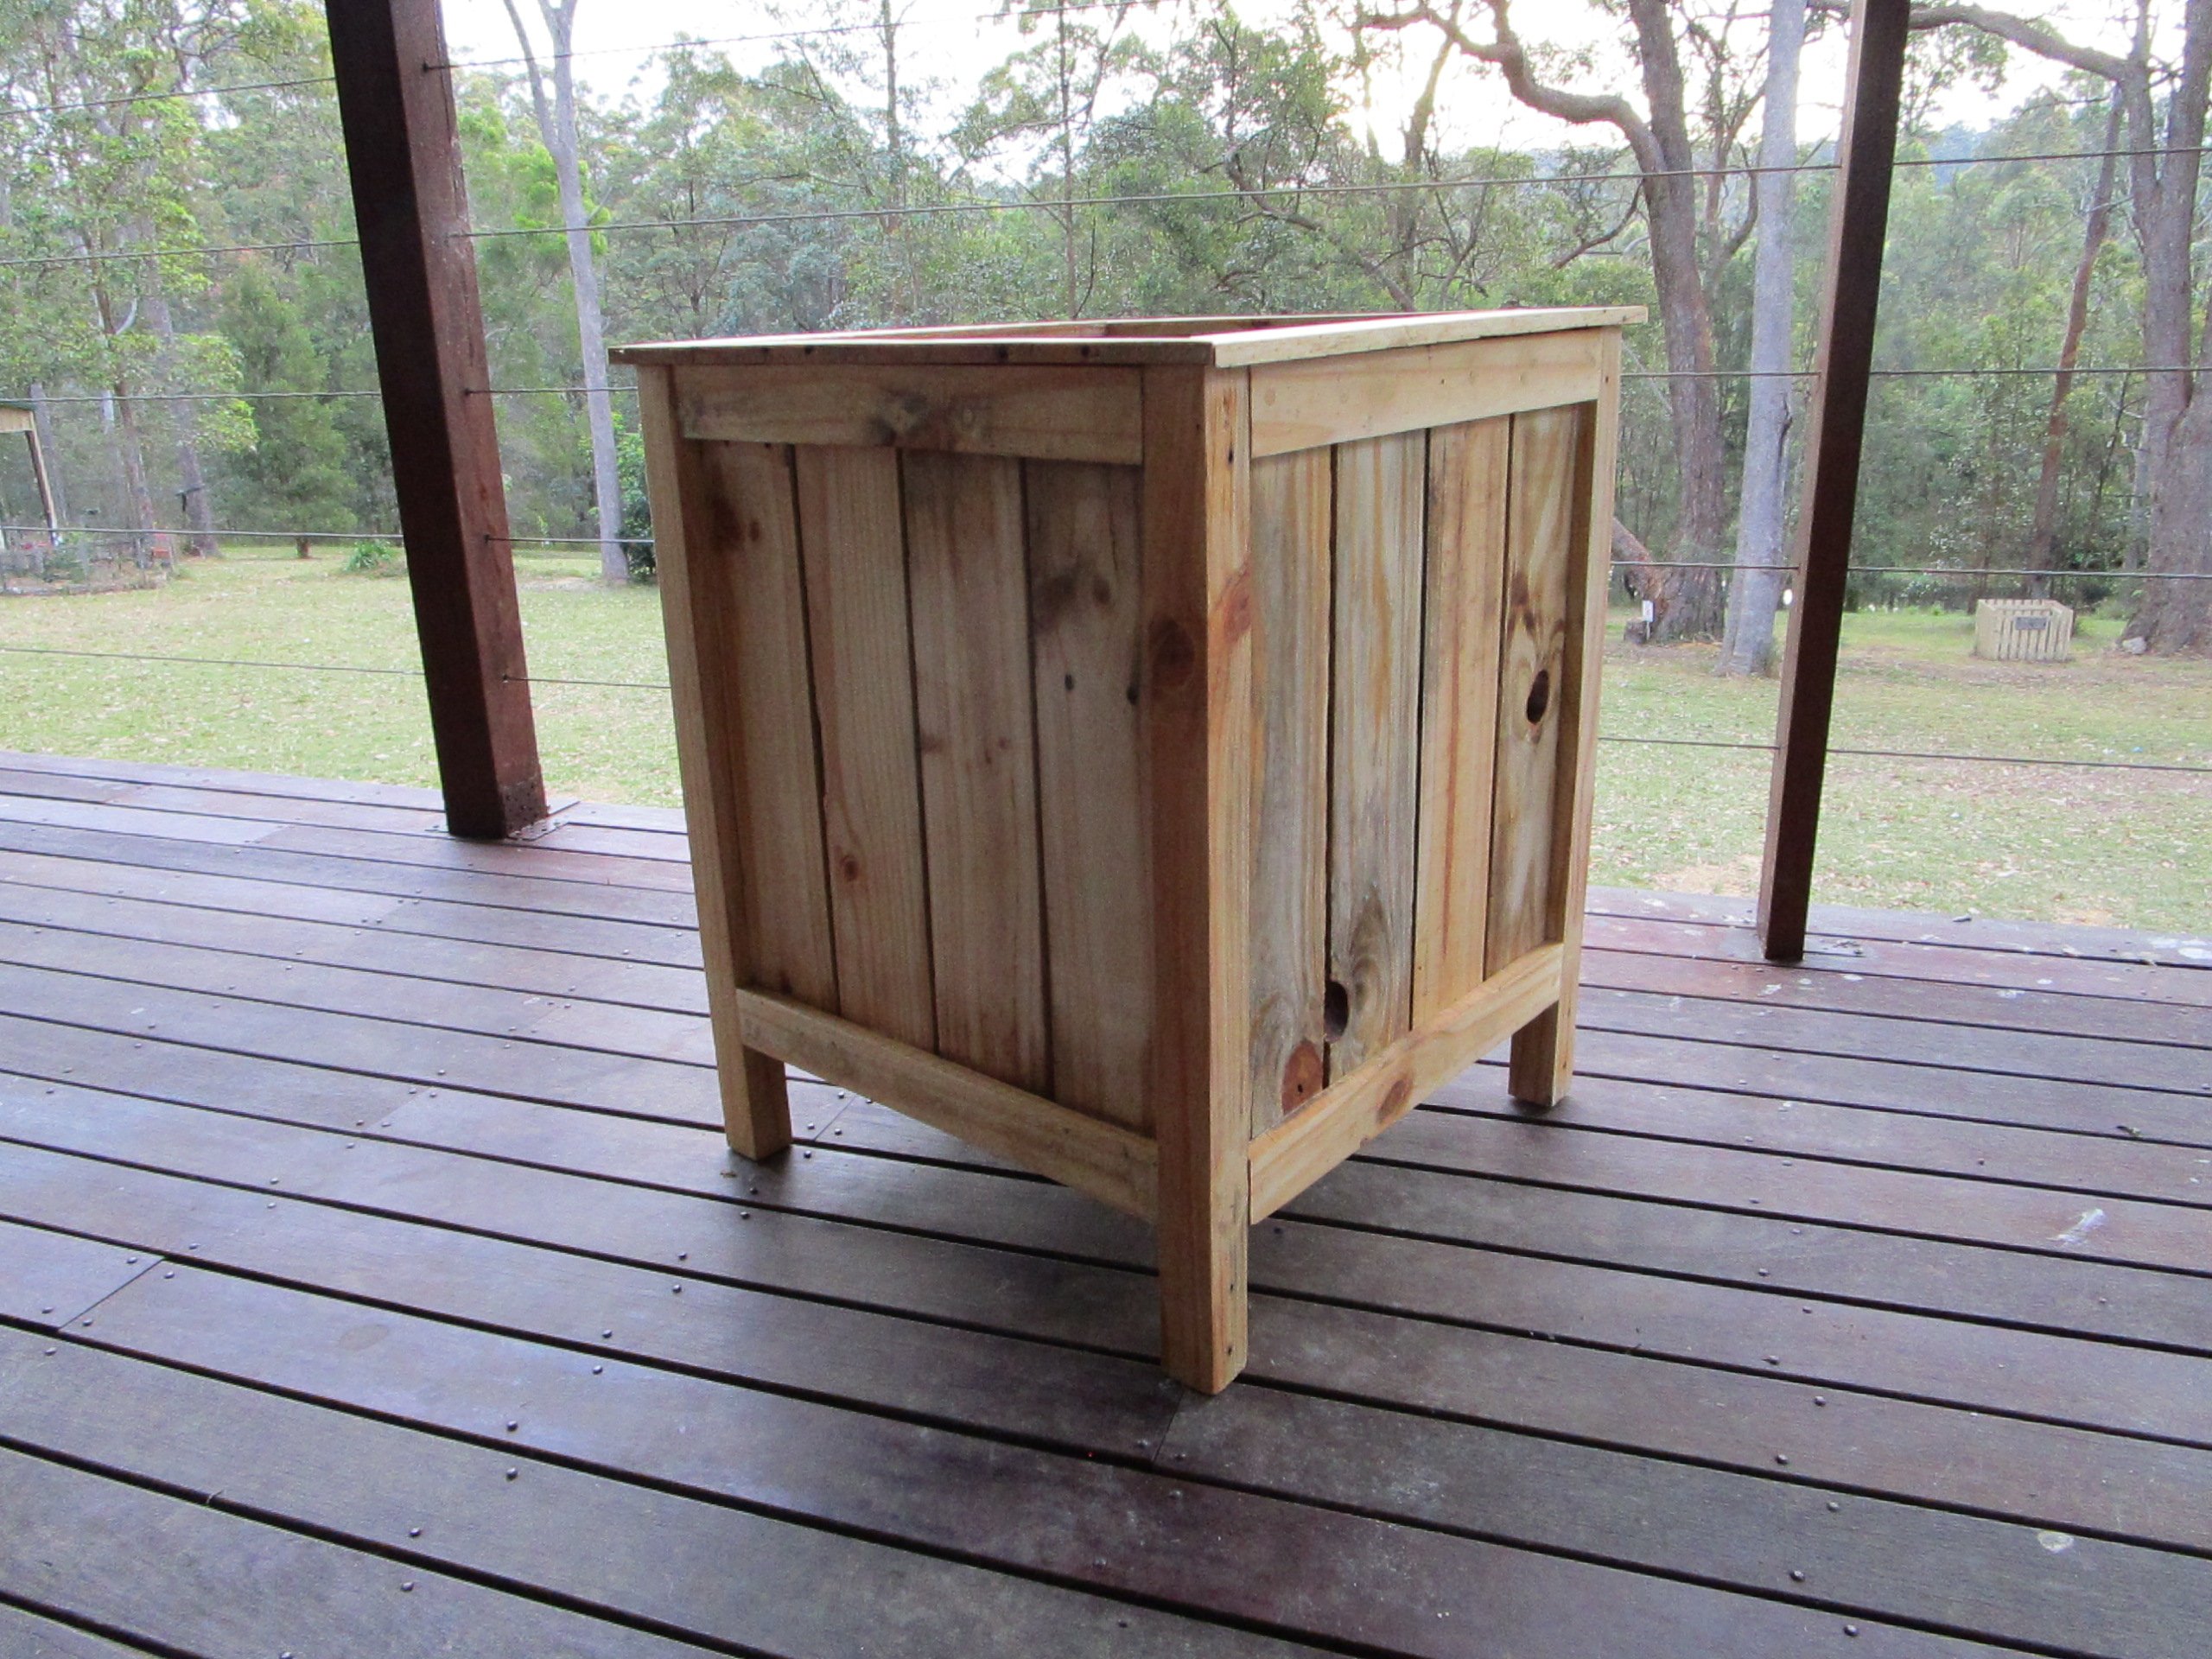
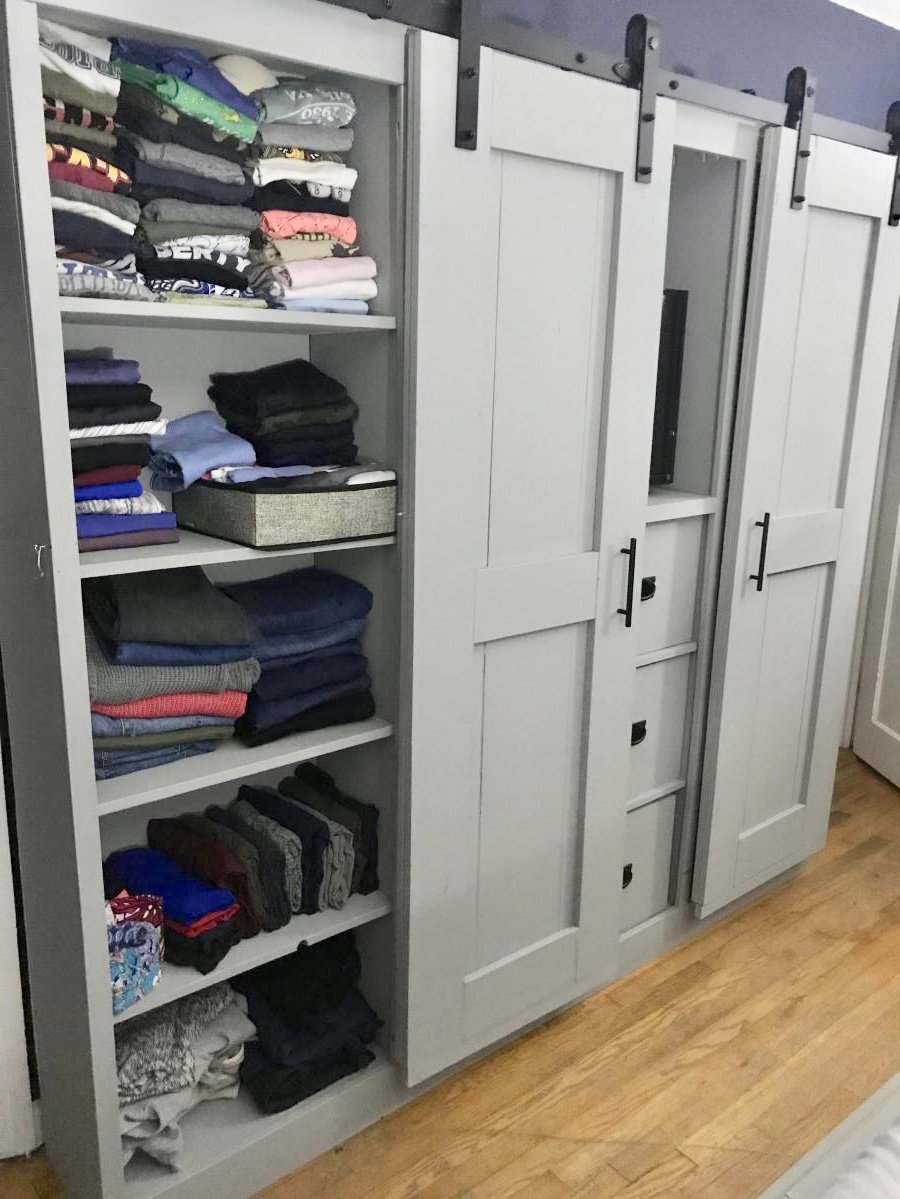
My take on "Lady Goats" cedar shed
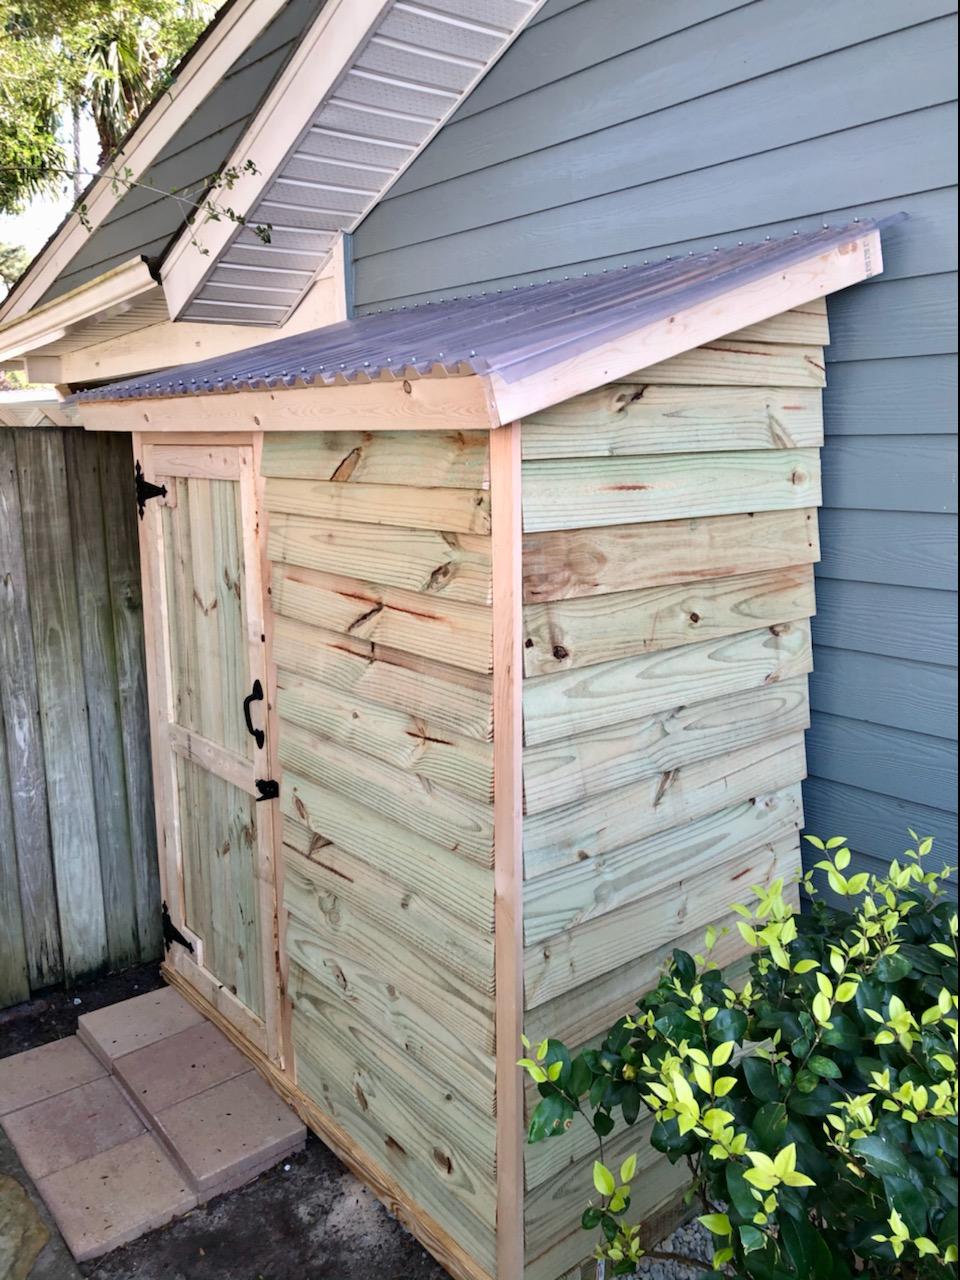
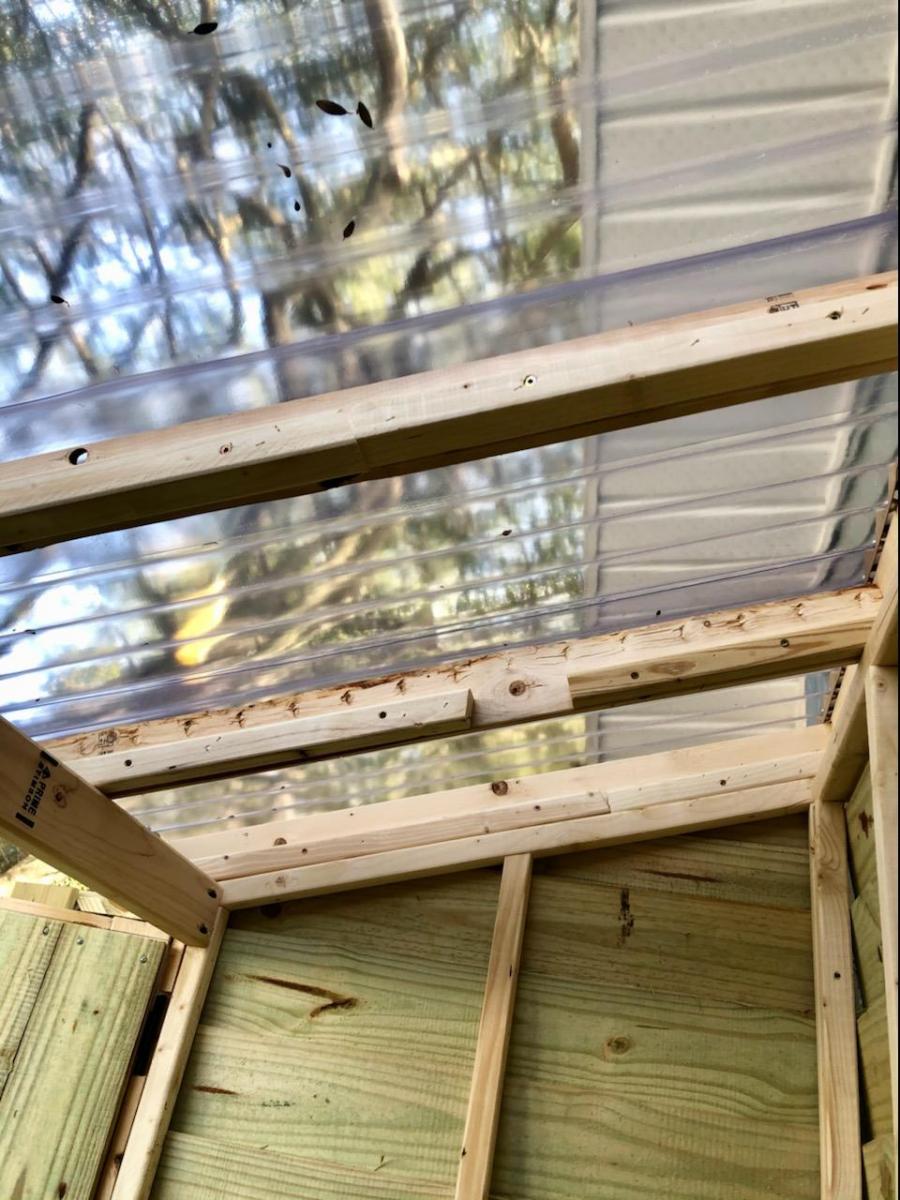
I absolutely loved these plans for this shed. I'm new to the site but I've been using your plans for things here at home... love it. I went with just one door to give me more places for shelves and I also went with a clear corrugated roof since it's shaded on that side of our house.
Built from Plan(s)
Estimated Cost
$300ish
Estimated Time Investment
Weekend Project (10-20 Hours)
Finish Used
No finish yet. I haven't made up my mind
Recommended Skill Level
Intermediate


Comments
Ana White Admin
Mon, 03/15/2021 - 11:47
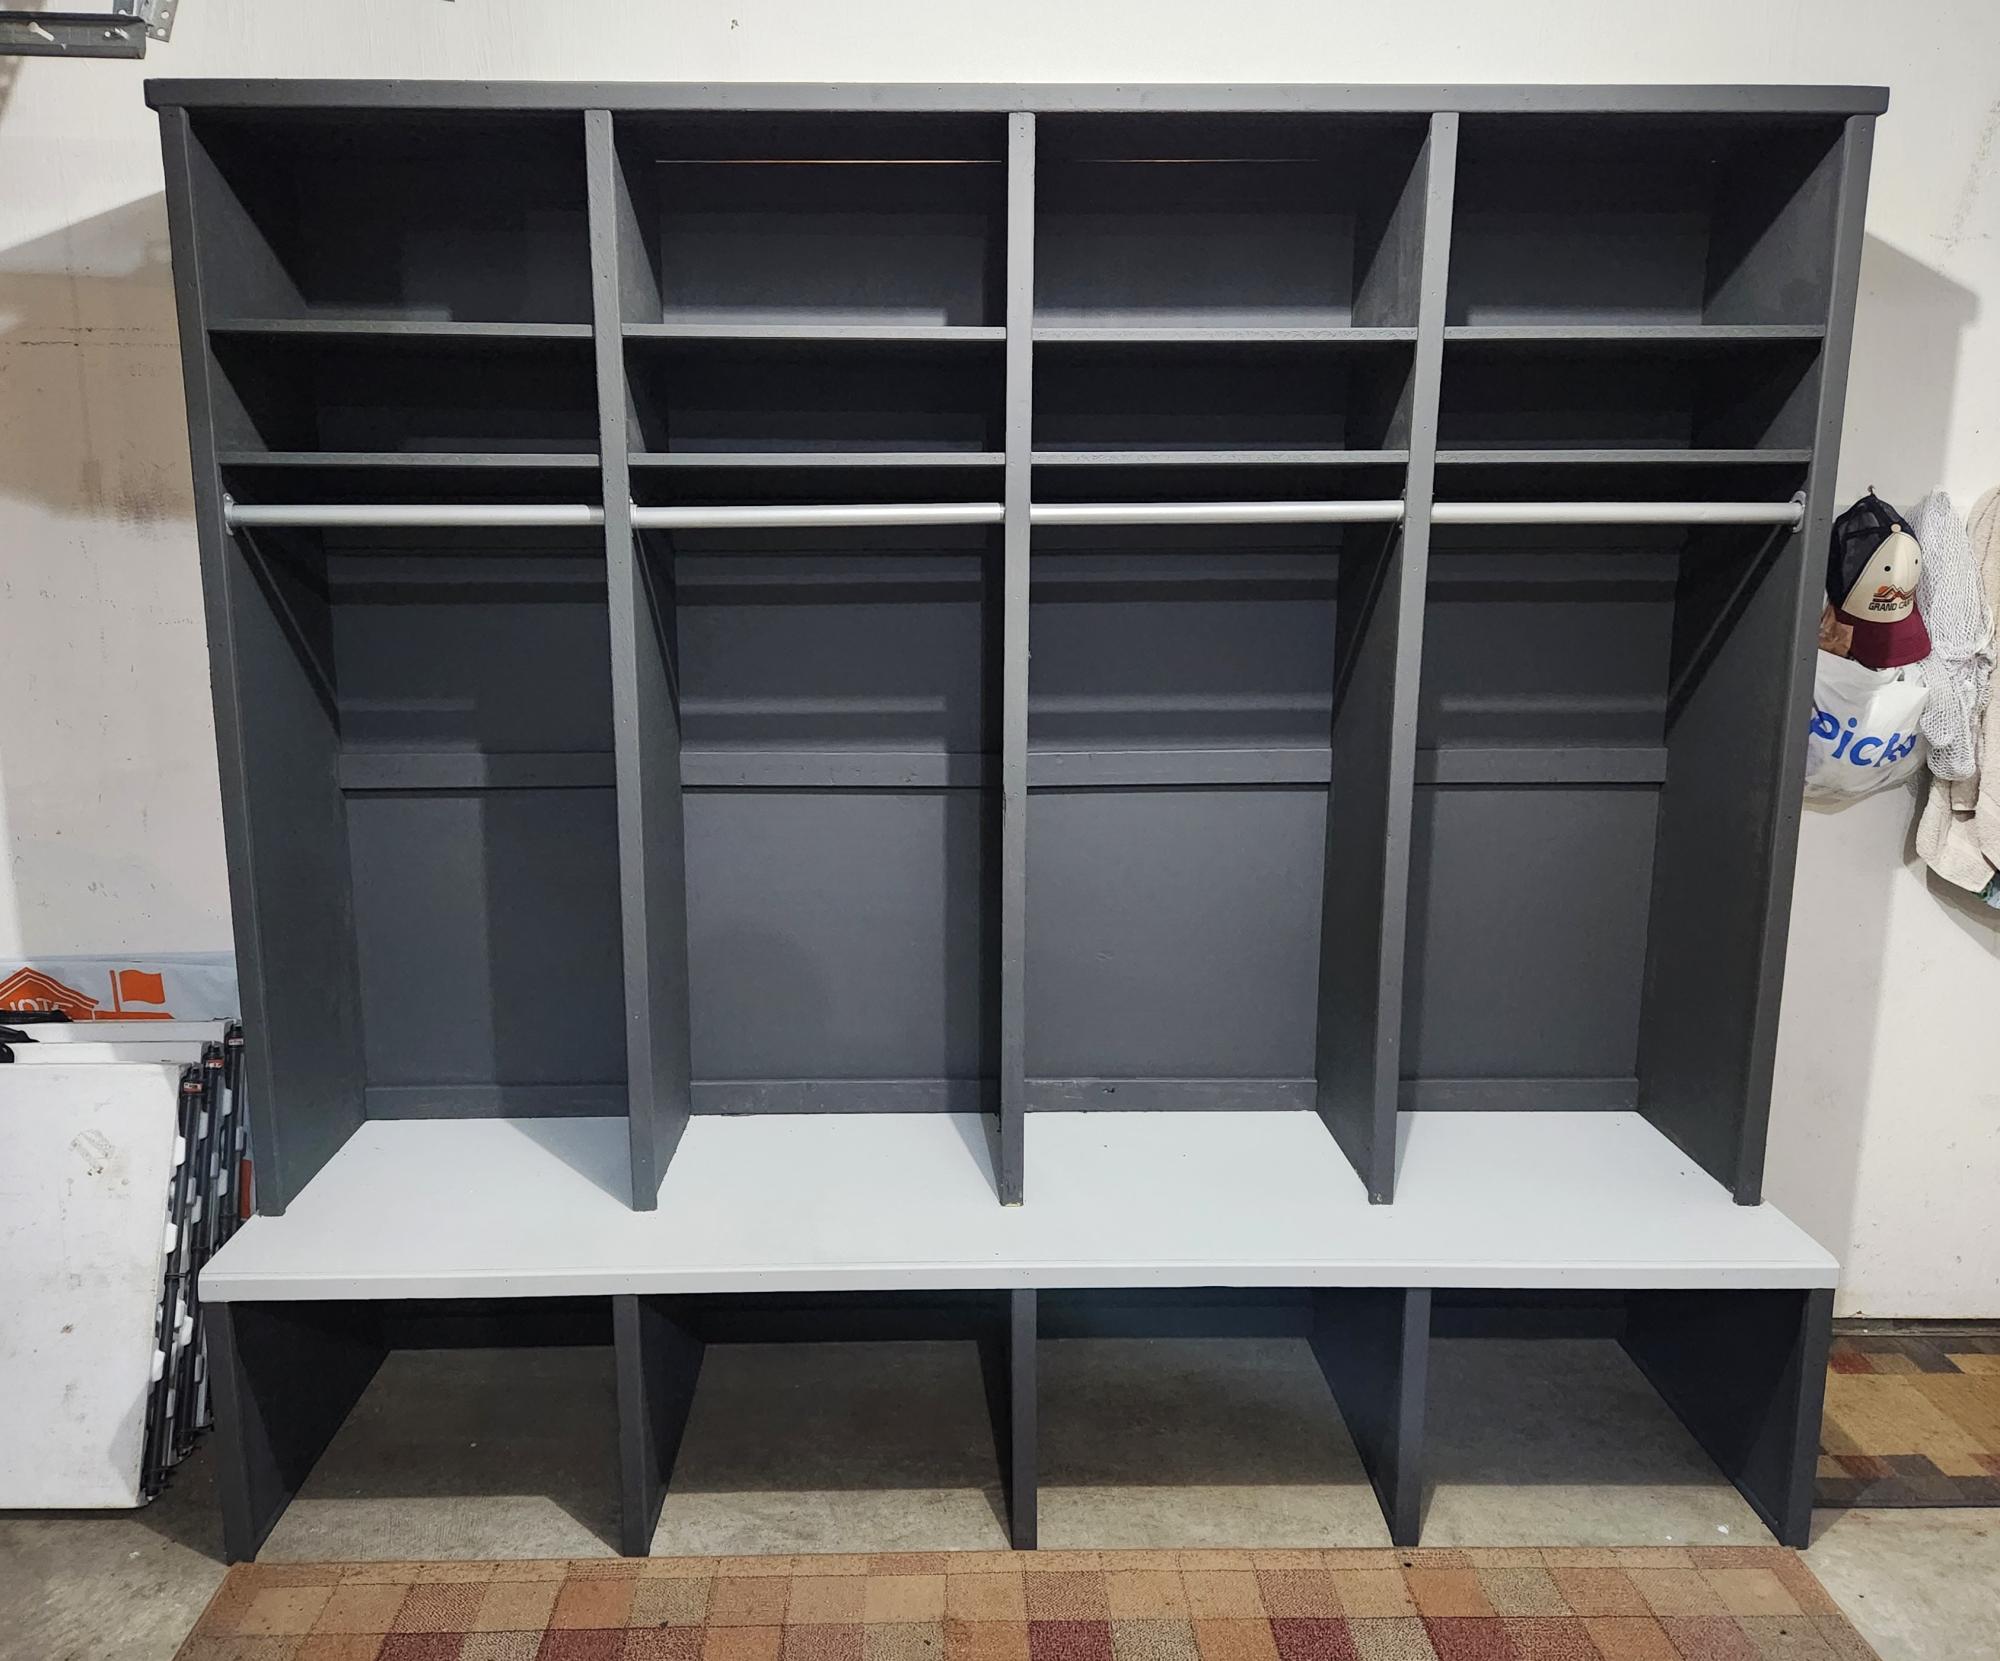
Wonderful storage!
It's always nice to have additional storage options, thanks for sharing!