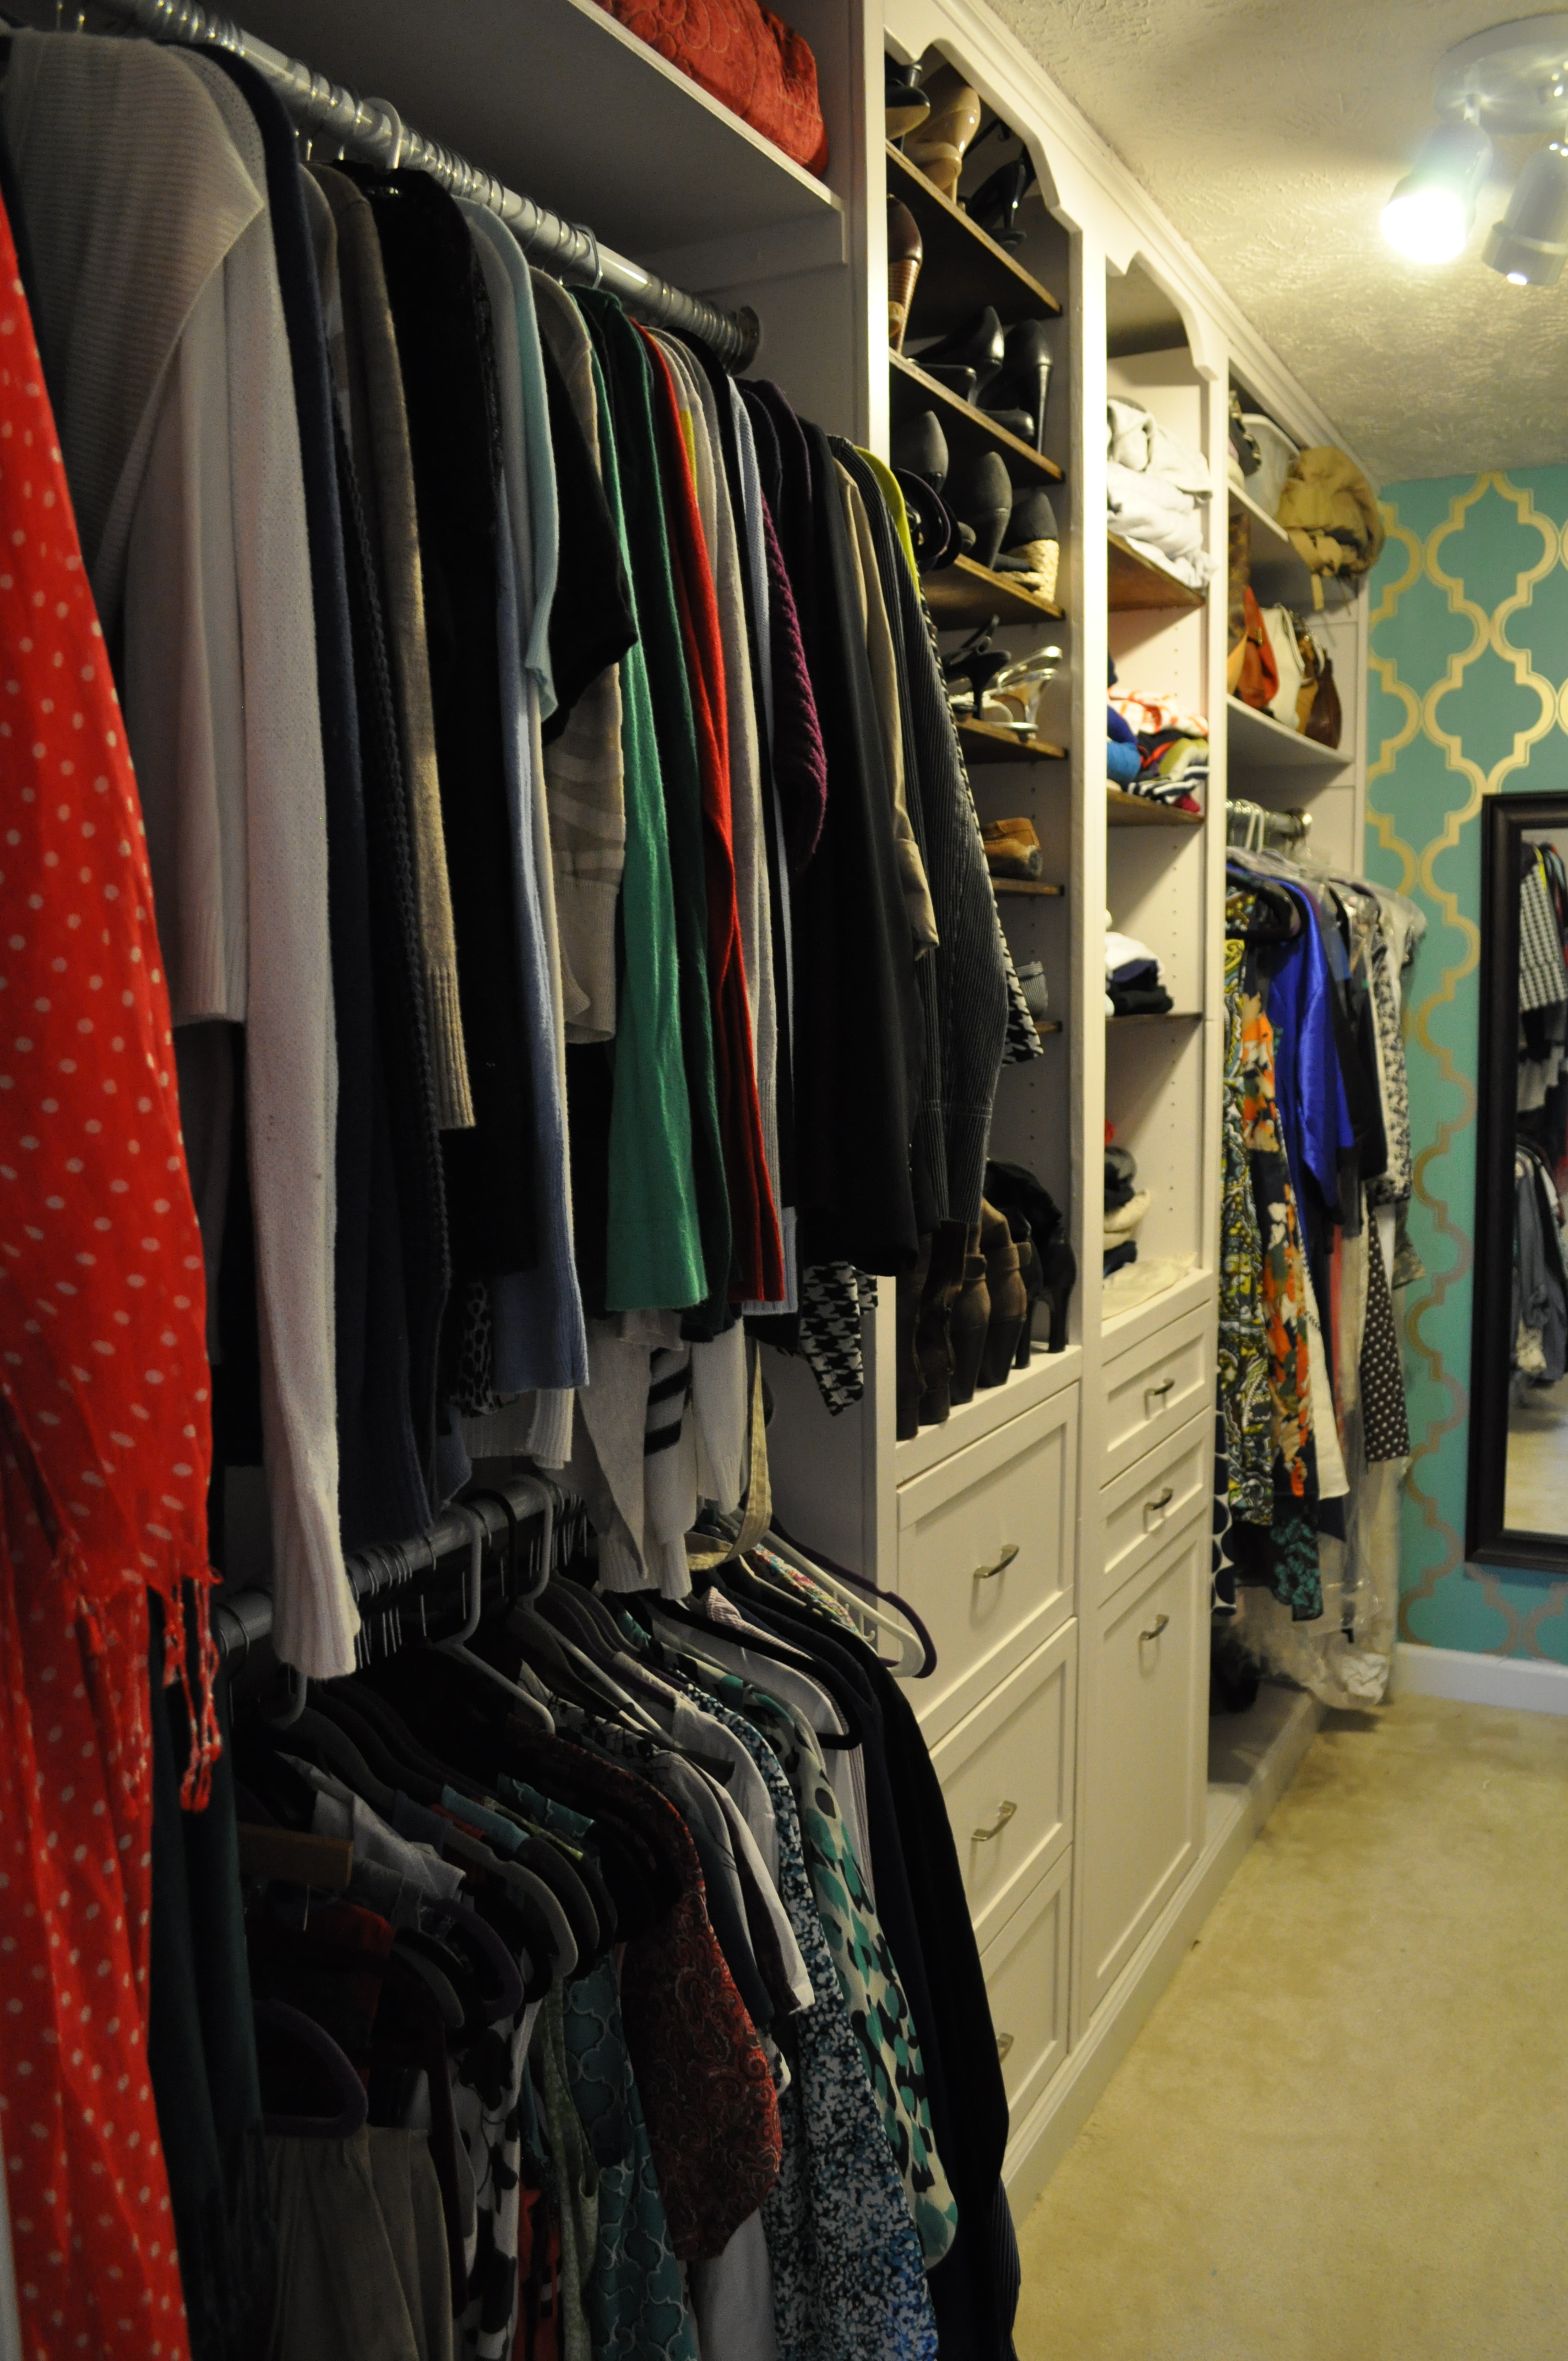
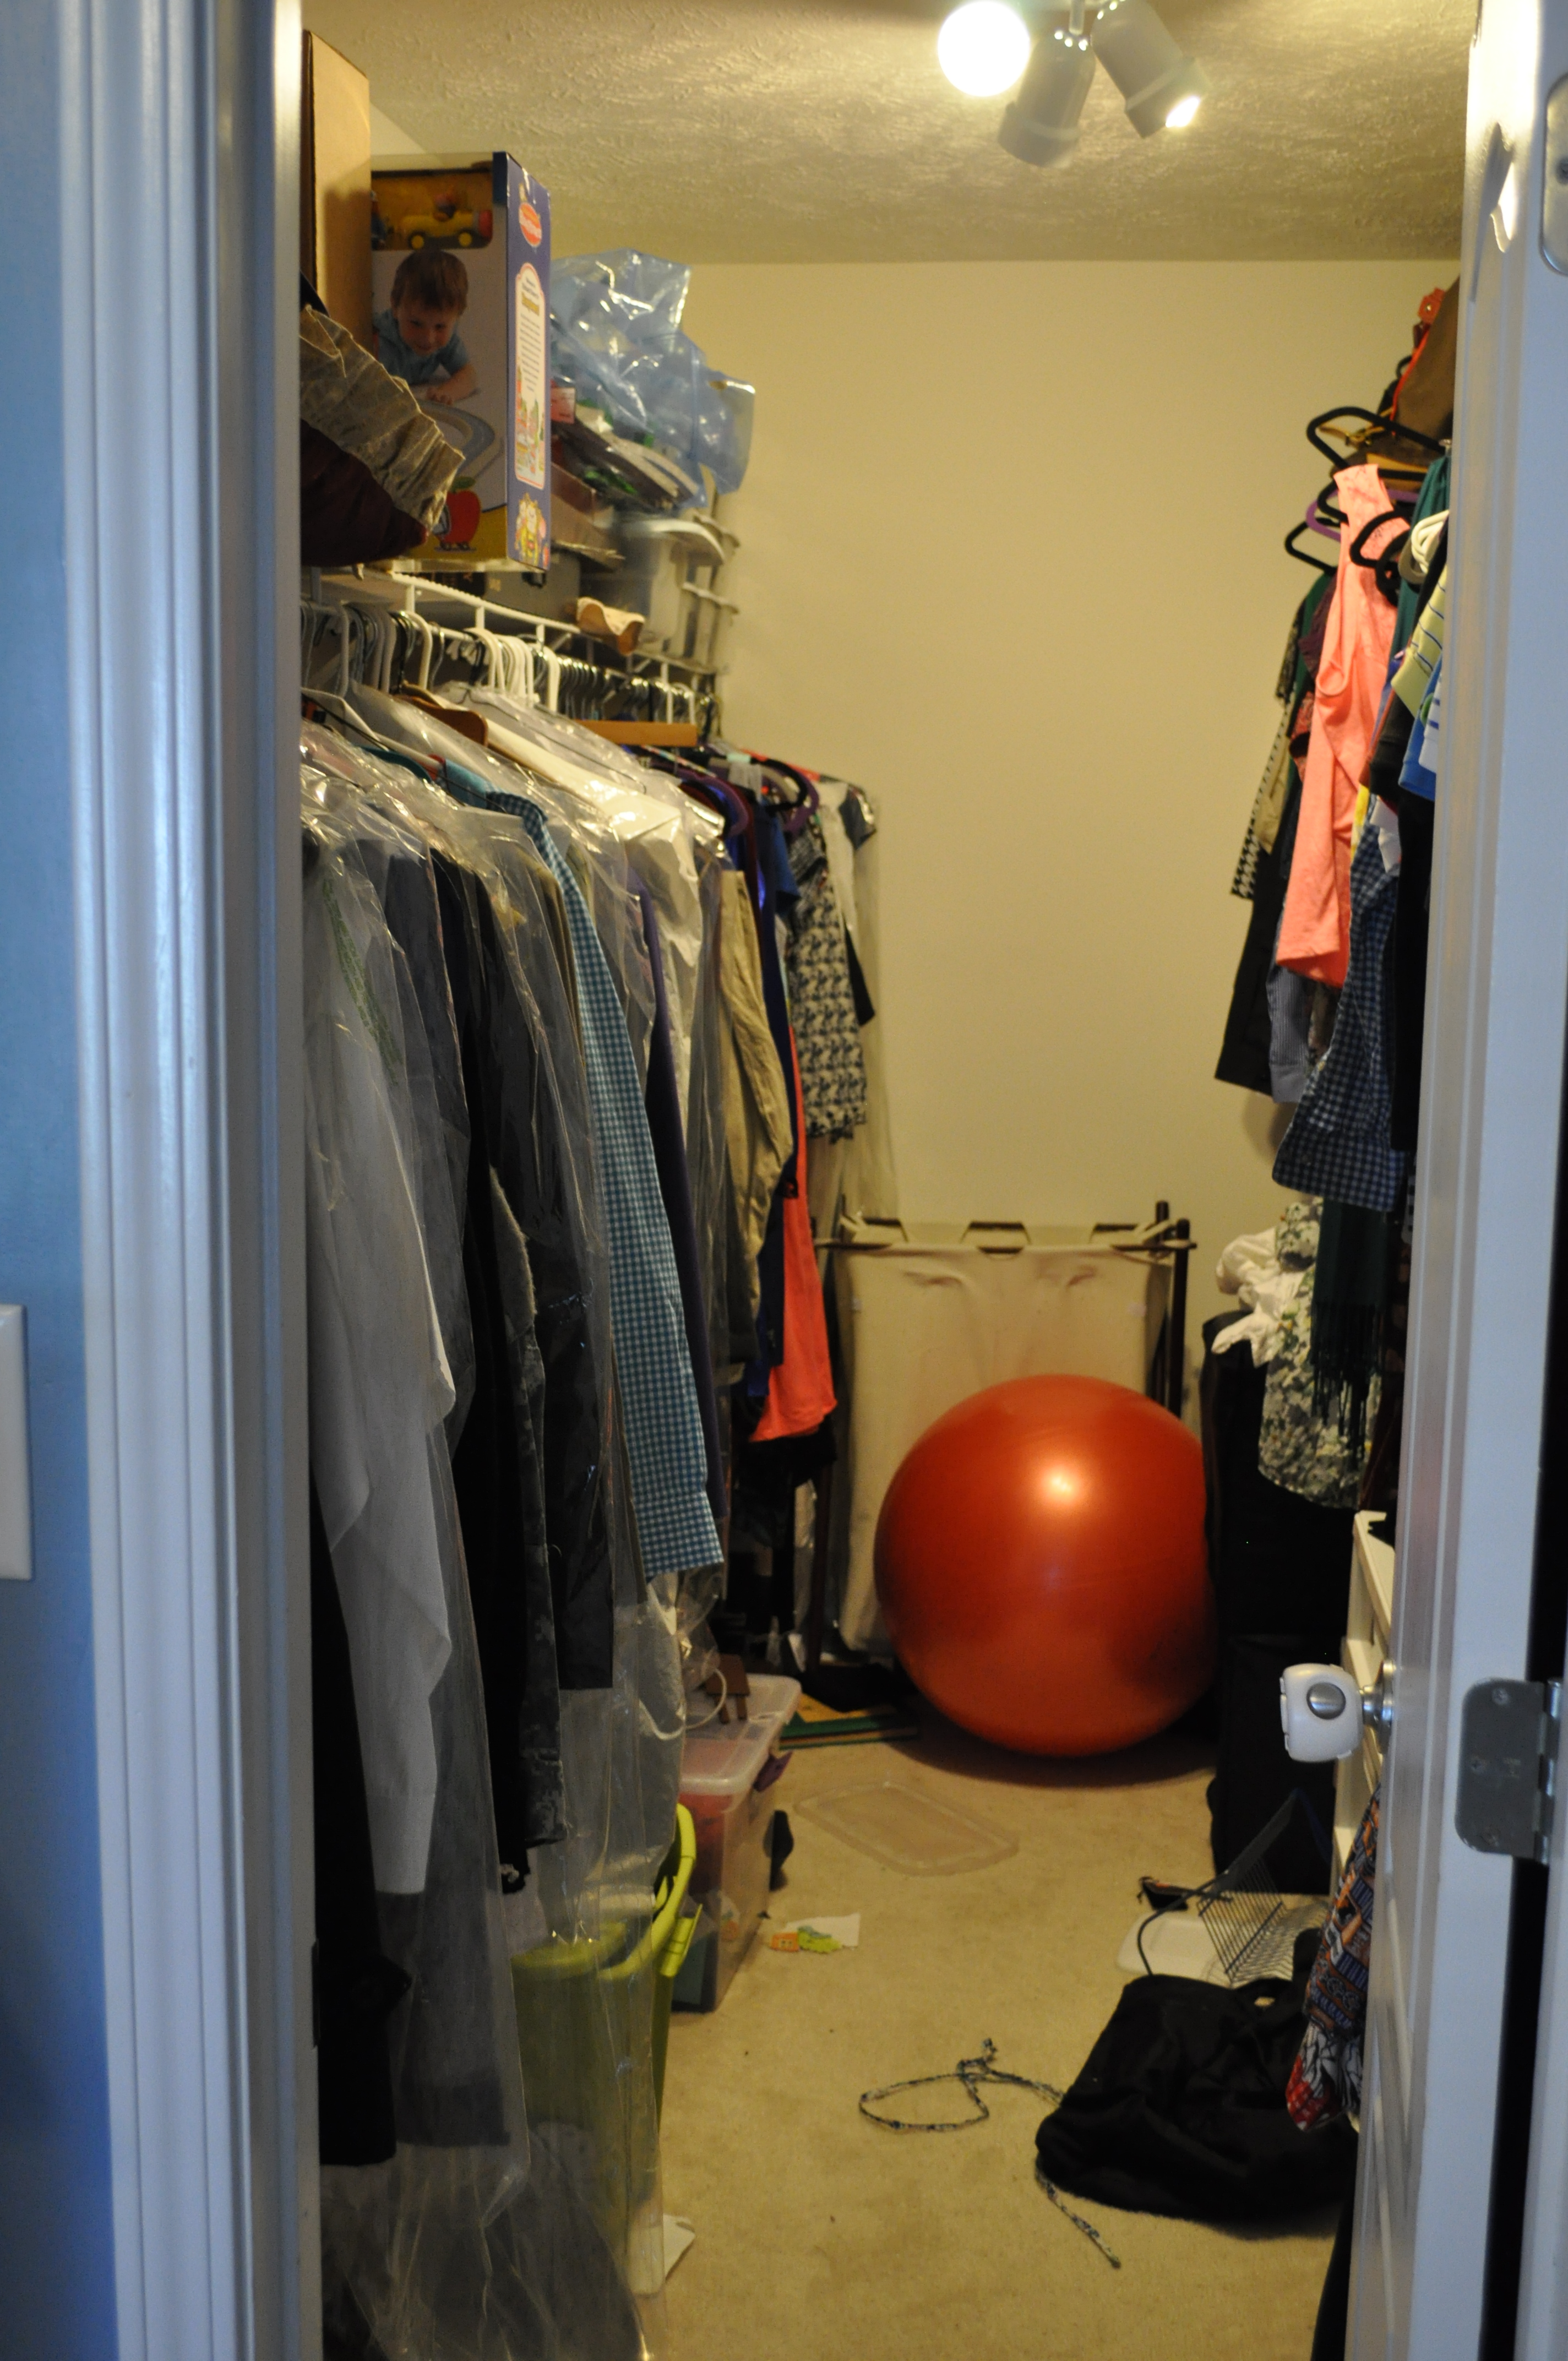
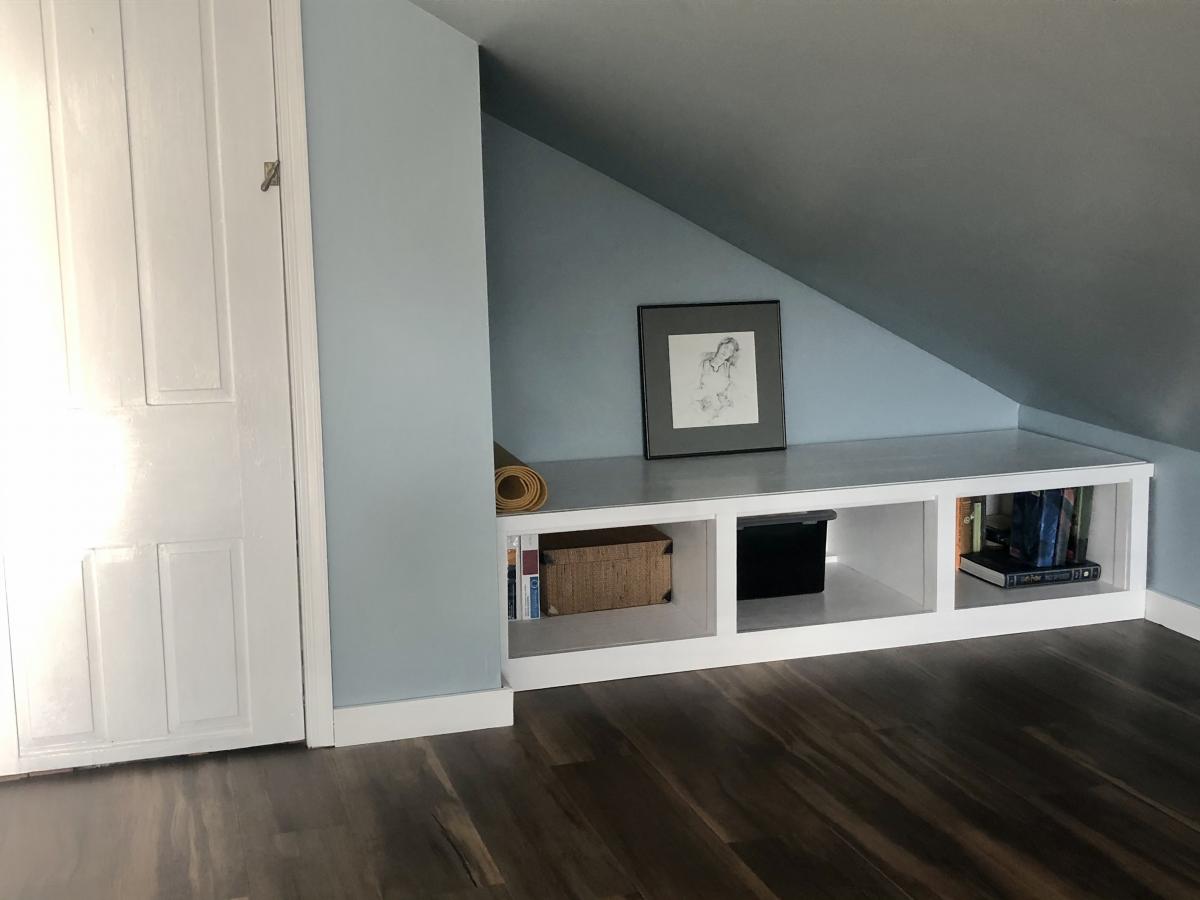
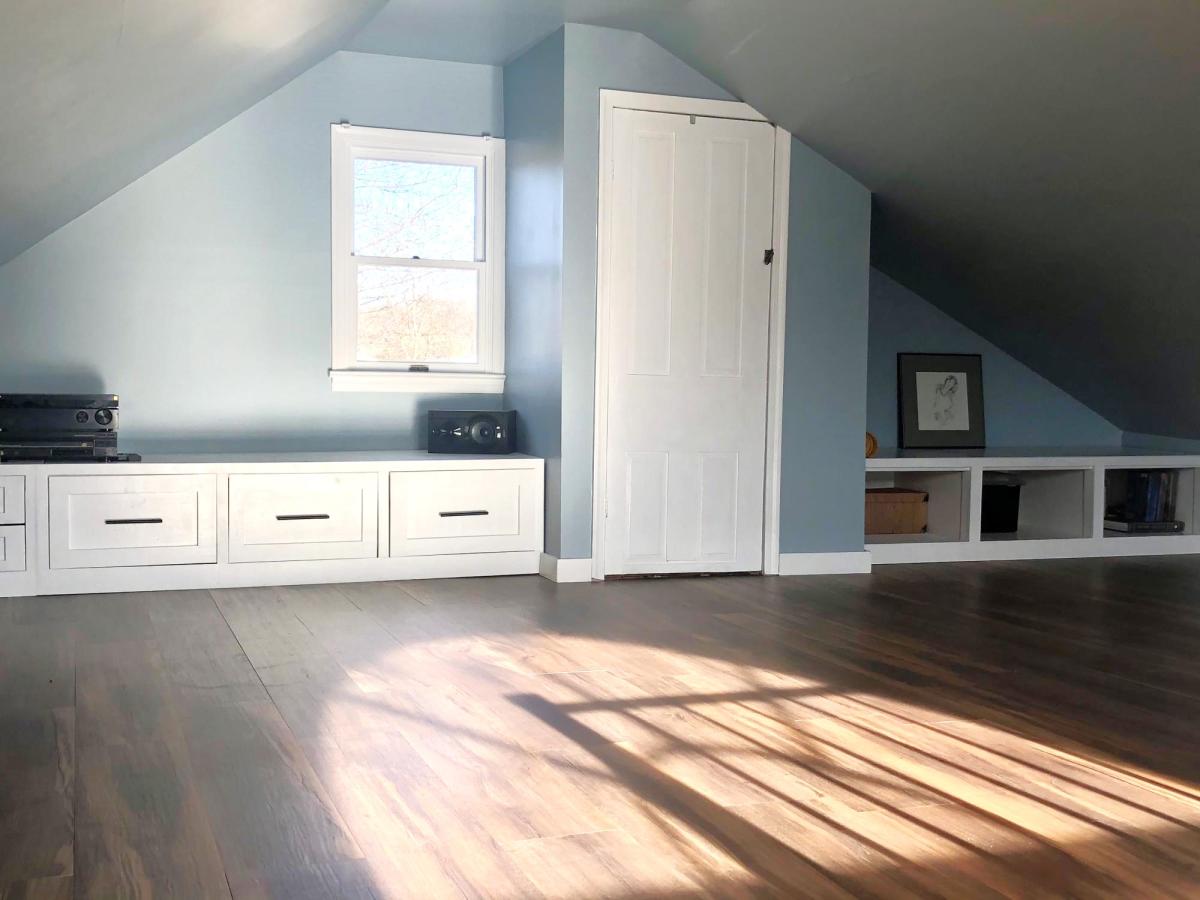
Our master closet in our home was HUGE- but pretty horrible design wise prior to this DIY. 1 light bulb fixture in a 12 foot deep closet, horrible wire shelving running the whole wall, and a pretty much horrible use of space. As a surprise for my husband who was away for his job, I decided to create a dream closet for both of us!
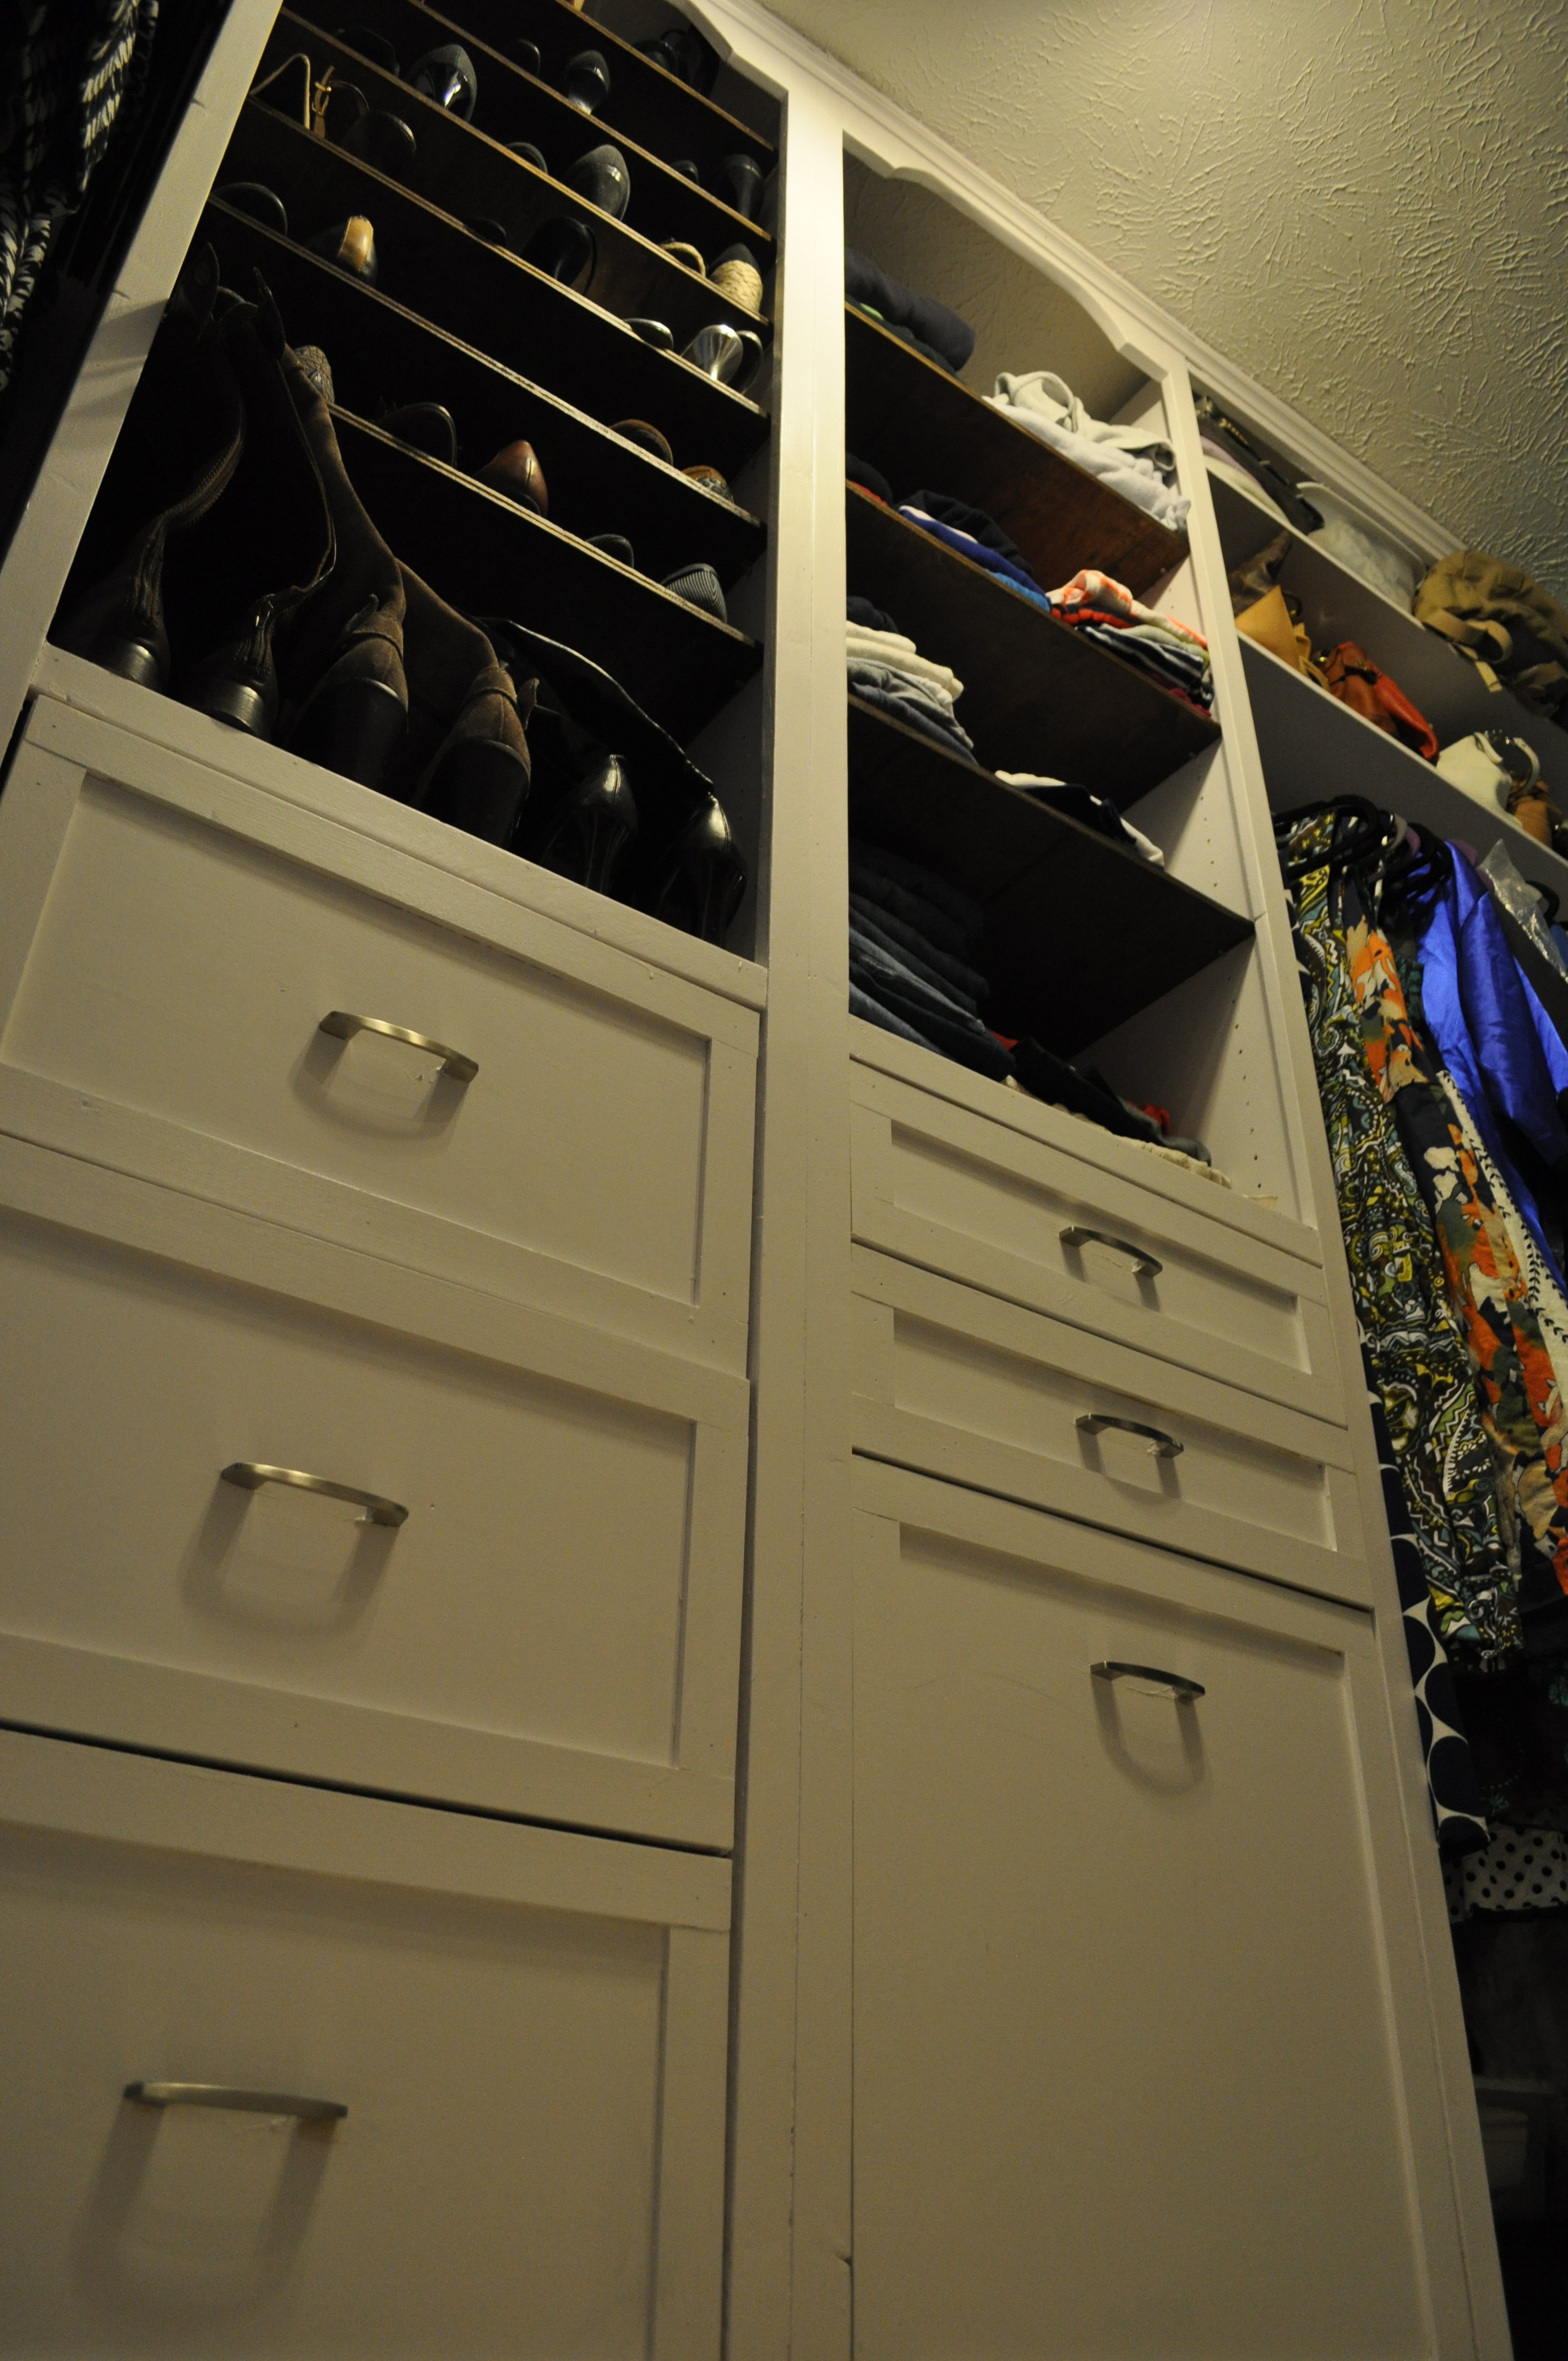
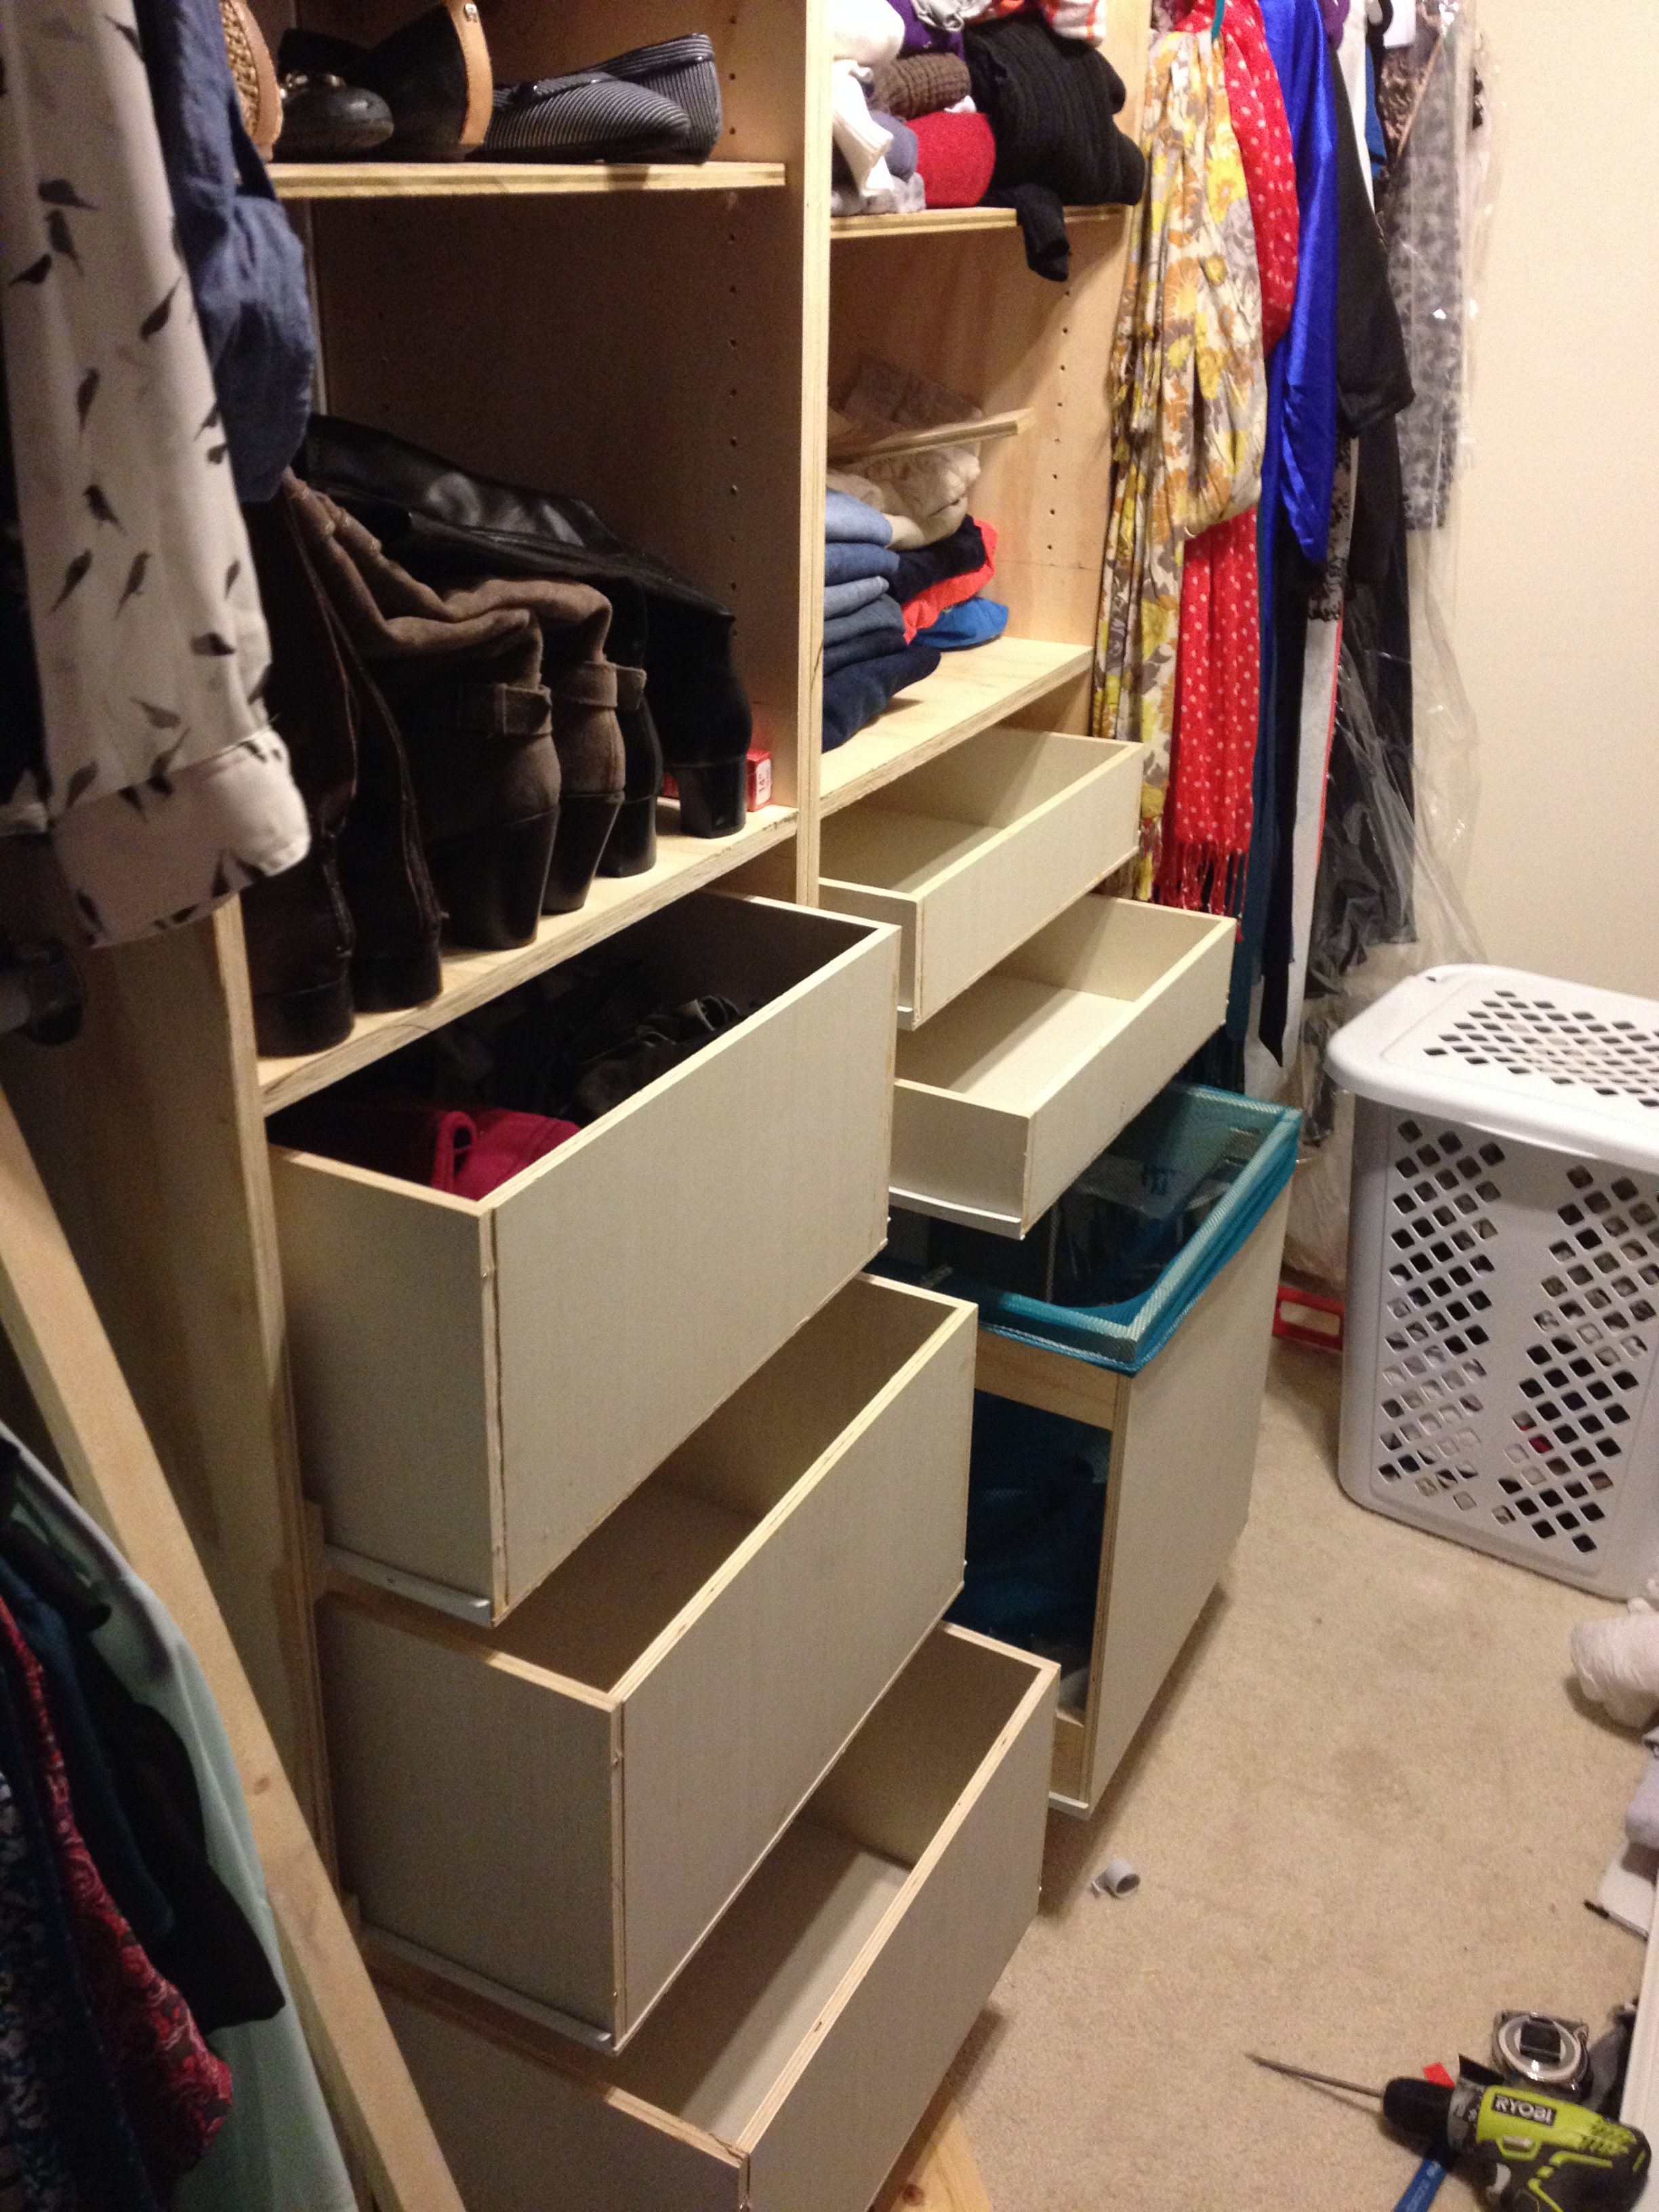
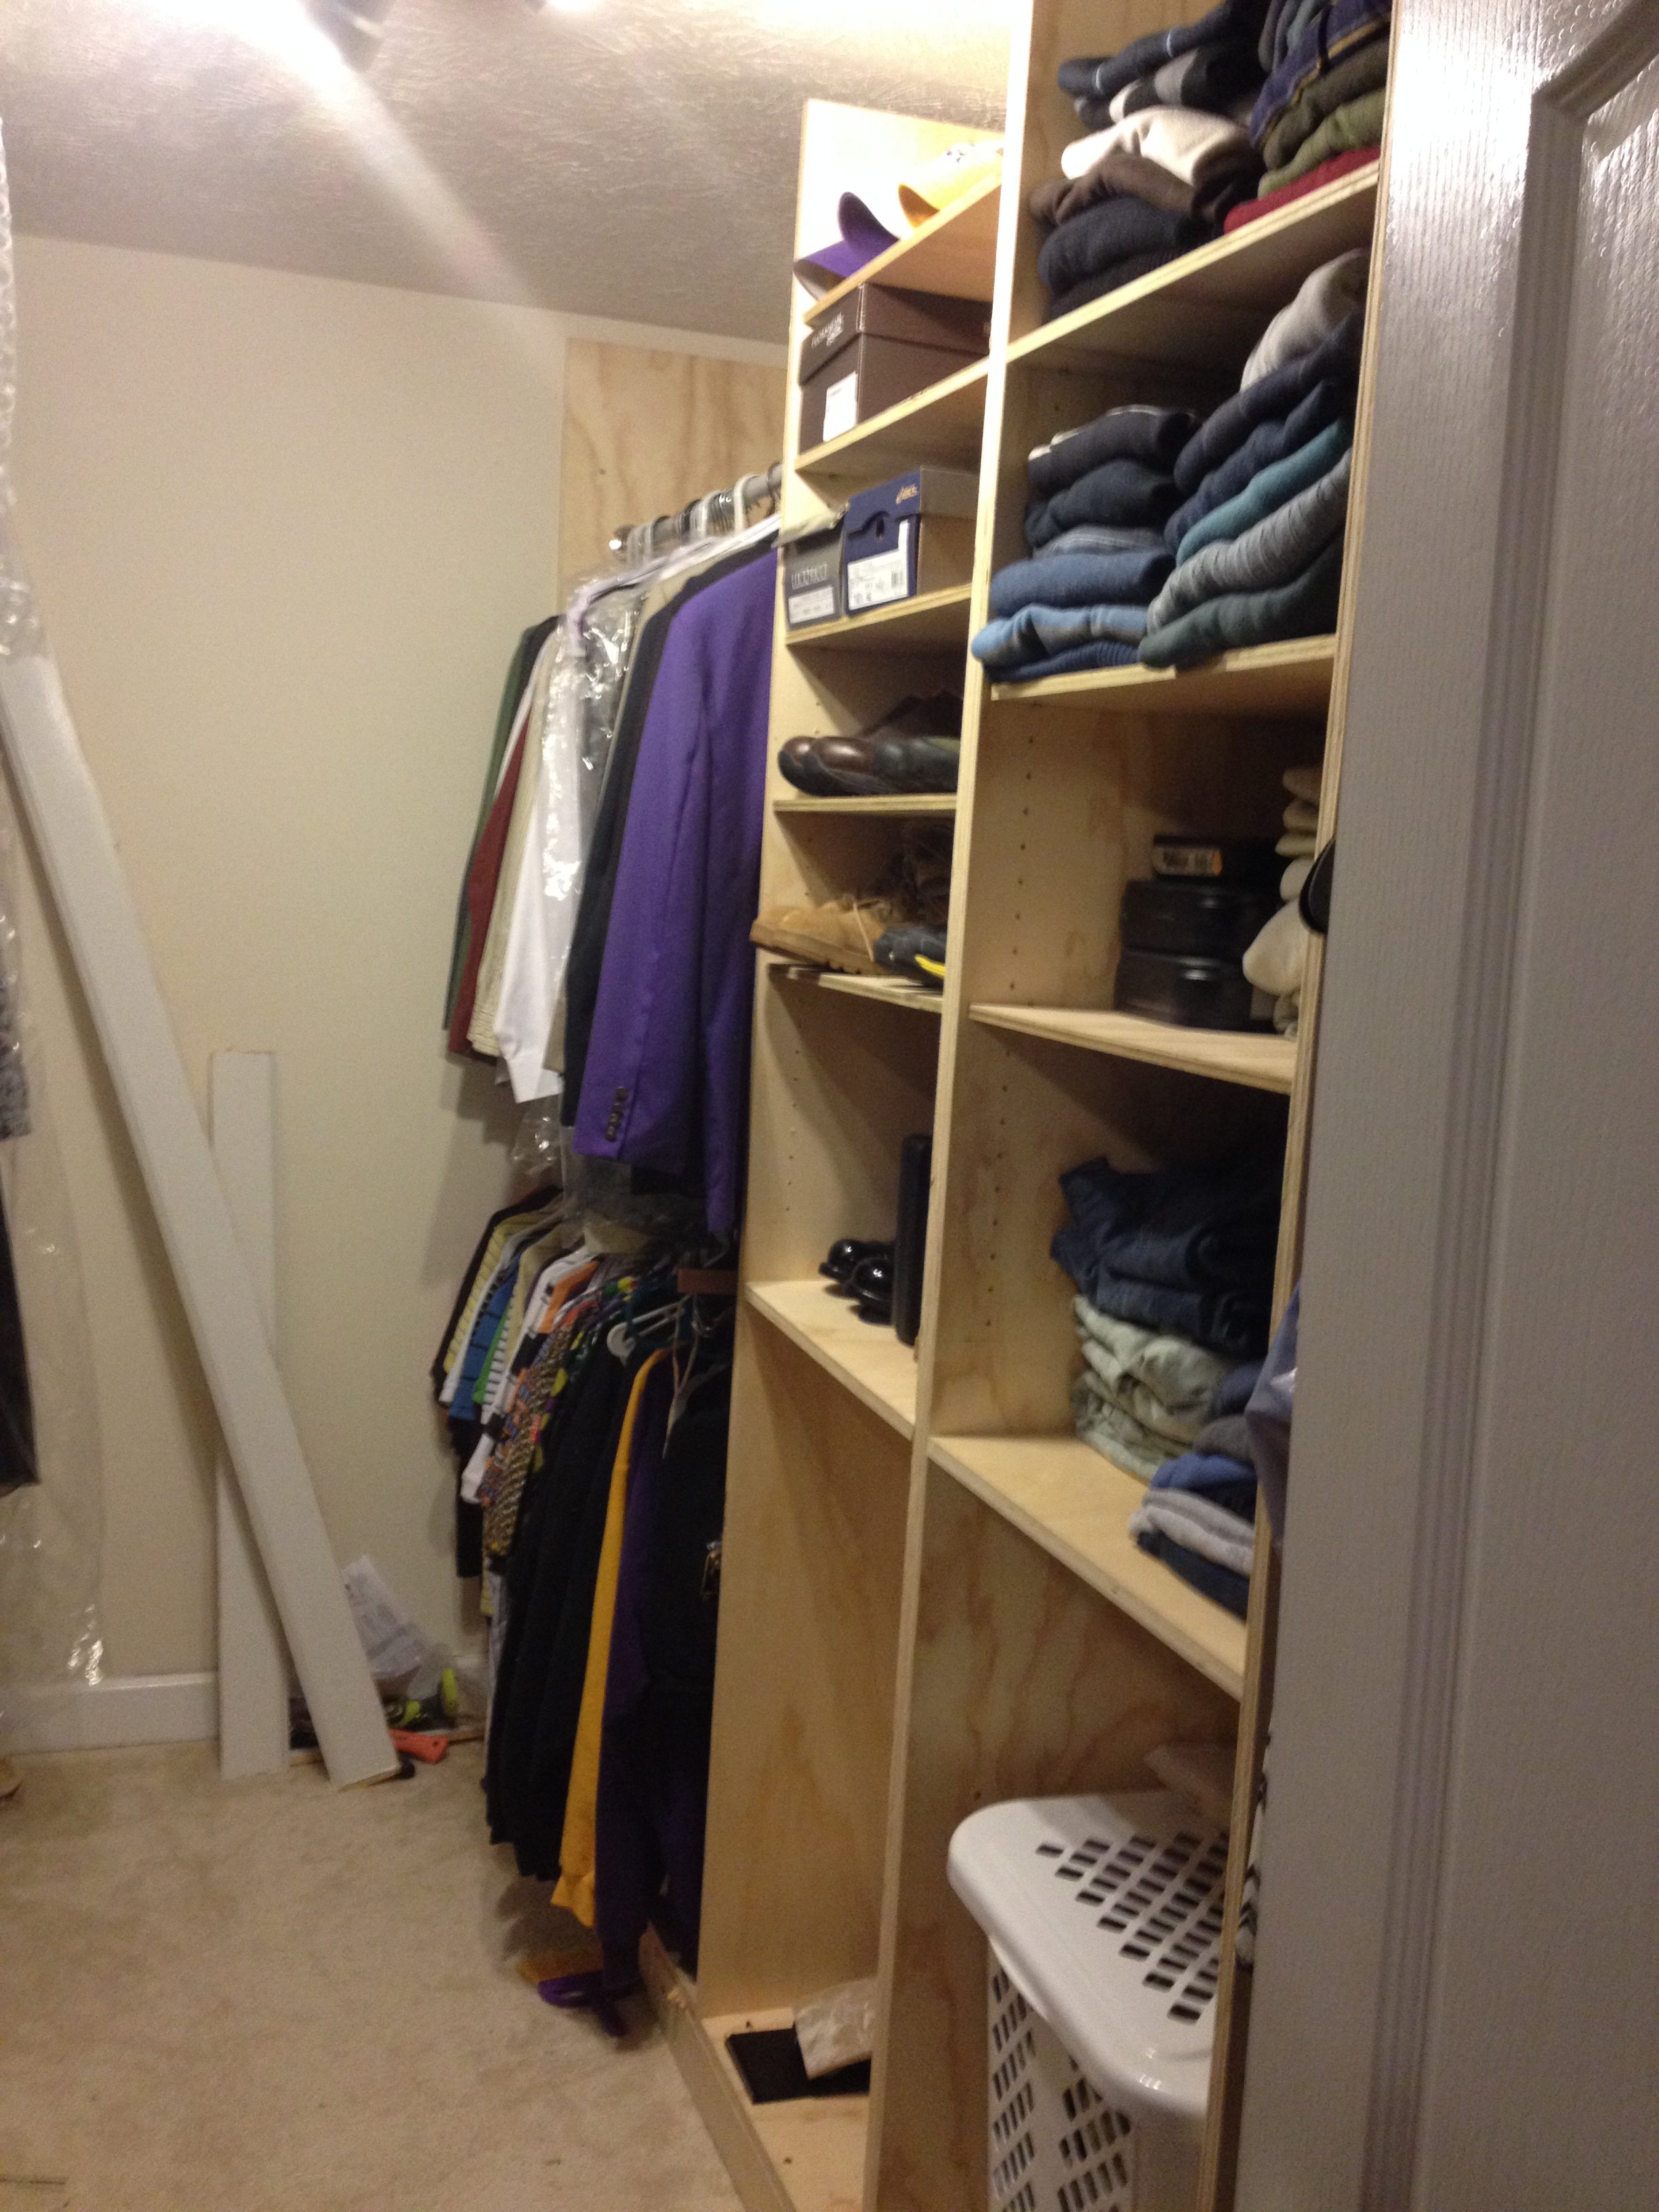
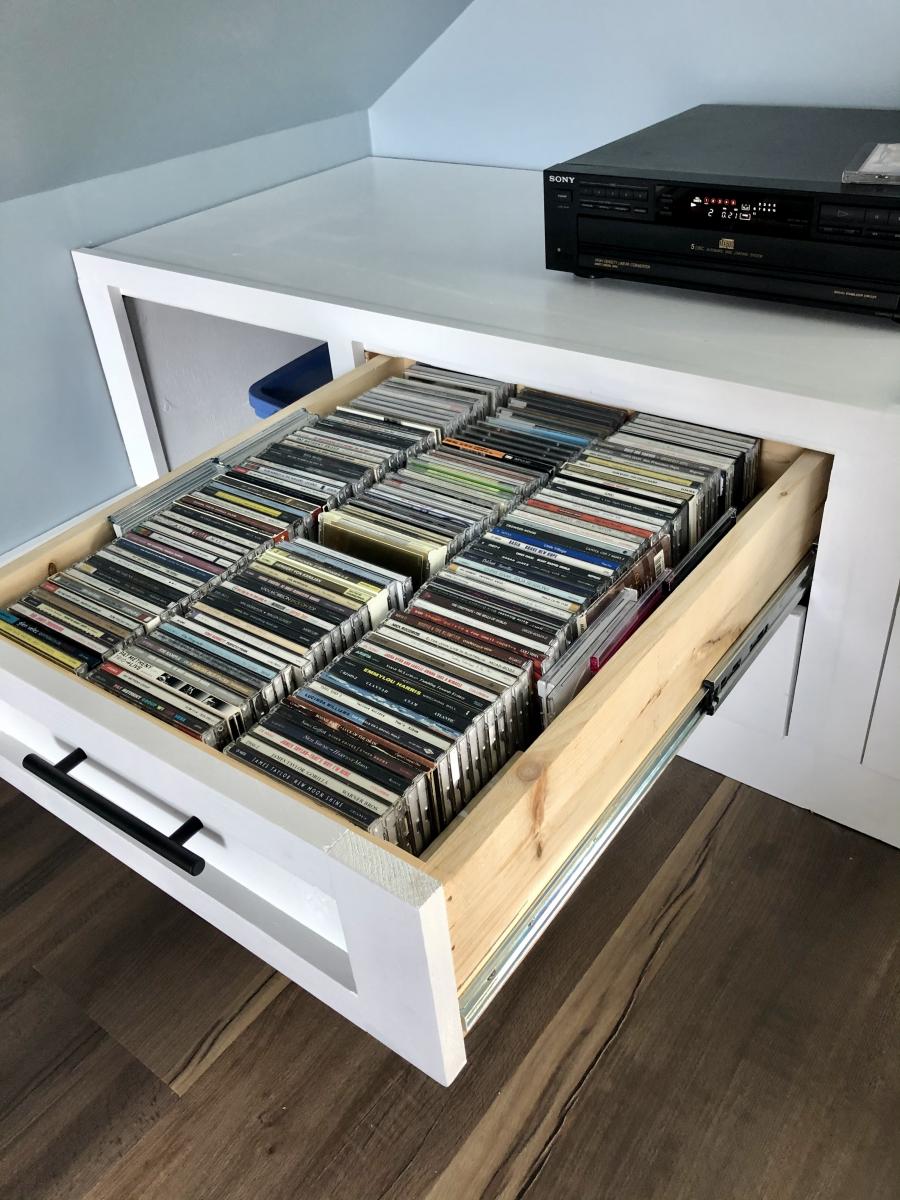
I used Ana's master closet tower plans as a starting point and went from there. I modified the towers to be wider (24" wide each) and also taller so that they would go completely to the ceiling of the closet. I also modified the plans to allow for drawers and a pull out laundry bin on both sides of the closet, as well as shoe and clothing storage above said drawers.
For the project I used Home Depot cabinet grade plywood for the tower carcasses and then purebond 1/2 plywood for the drawer boxes, shelves, and drawer fronts. I purchased the Kreg Shelf Jig and Rip Cut guide for this project and both proved themselves invaluable until I get a table saw (HINT HINT Hubby).
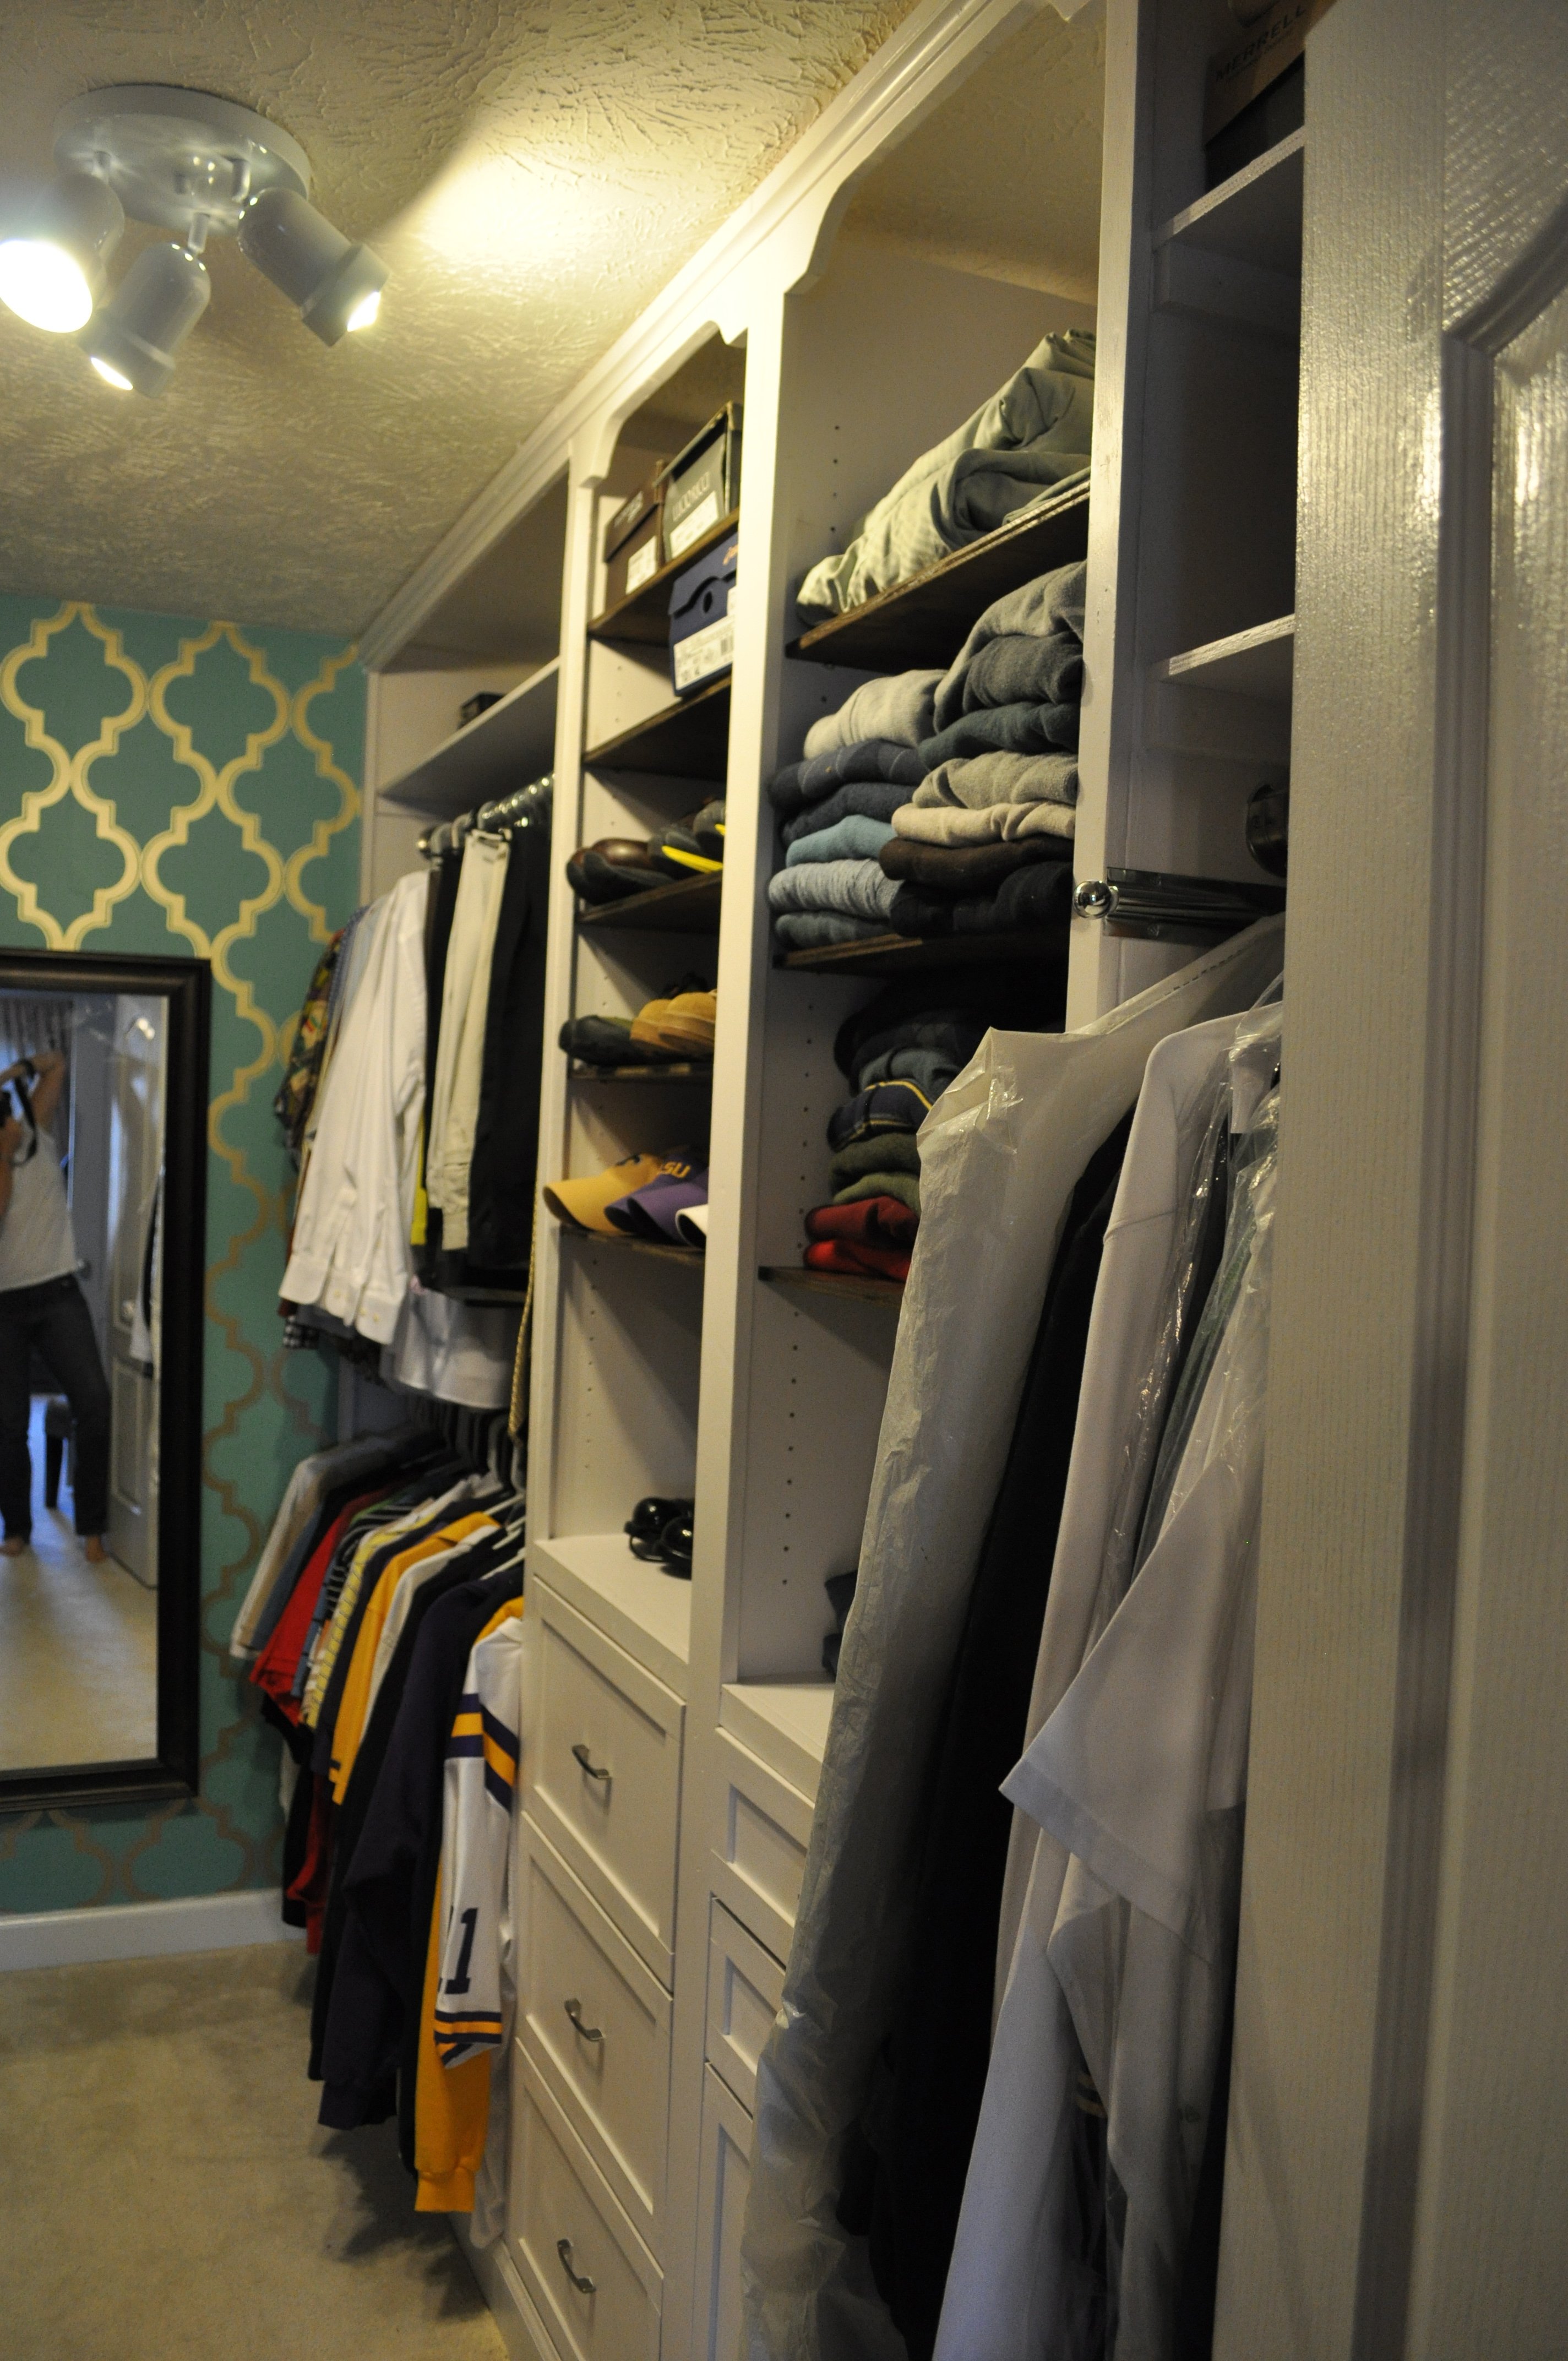
For the trim I used 1 x 2 furring strips and 1 x 4 lumber for the decorative cut outs above the 4 tower units. I also used cove moulding to tie in all the sections of the closet with one another.
I painted the main towers white (as well as the wall to encourage the appearance of "built in) and then stained the shoe and clothing shelves dark walnut with a few coats of satin POLY to finish.
For the back wall I purchased target contact wallpaper and installed that- as well as a wall mirror so I don't have to balance dangerously on my bathroom tub to see if my shoes match my outfit anymore.
All in all, the project took about 3 weeks to finish. I was lucky that my mother was around the first few days of the project so that I could do the demo work and at least get the one side of the closet framed in, as the rest of the project was completed during "nap time" for my (NOSY) toddler.
In the end, we are both estatic with how this project turned out - I installed a valet bar and a pull out tie/belt rack for the husband and that add an even more "custom" touch to the closet...
I've posted many more photos to my blog detailing this closet reno- www.thesewchicmommy.com if you want to see a more "step by step" build.
Project cost: $750-800 ( including paint, mirror, wall paper, all hardware, lumber etc)
Time: 3-4 weeks


Comments
Ana White Admin
Sat, 01/30/2021 - 11:46
Wonderful!
That is very creative, thank you for sharing!
Wifey
Wed, 06/09/2021 - 12:36
Thank you for sharing! My…
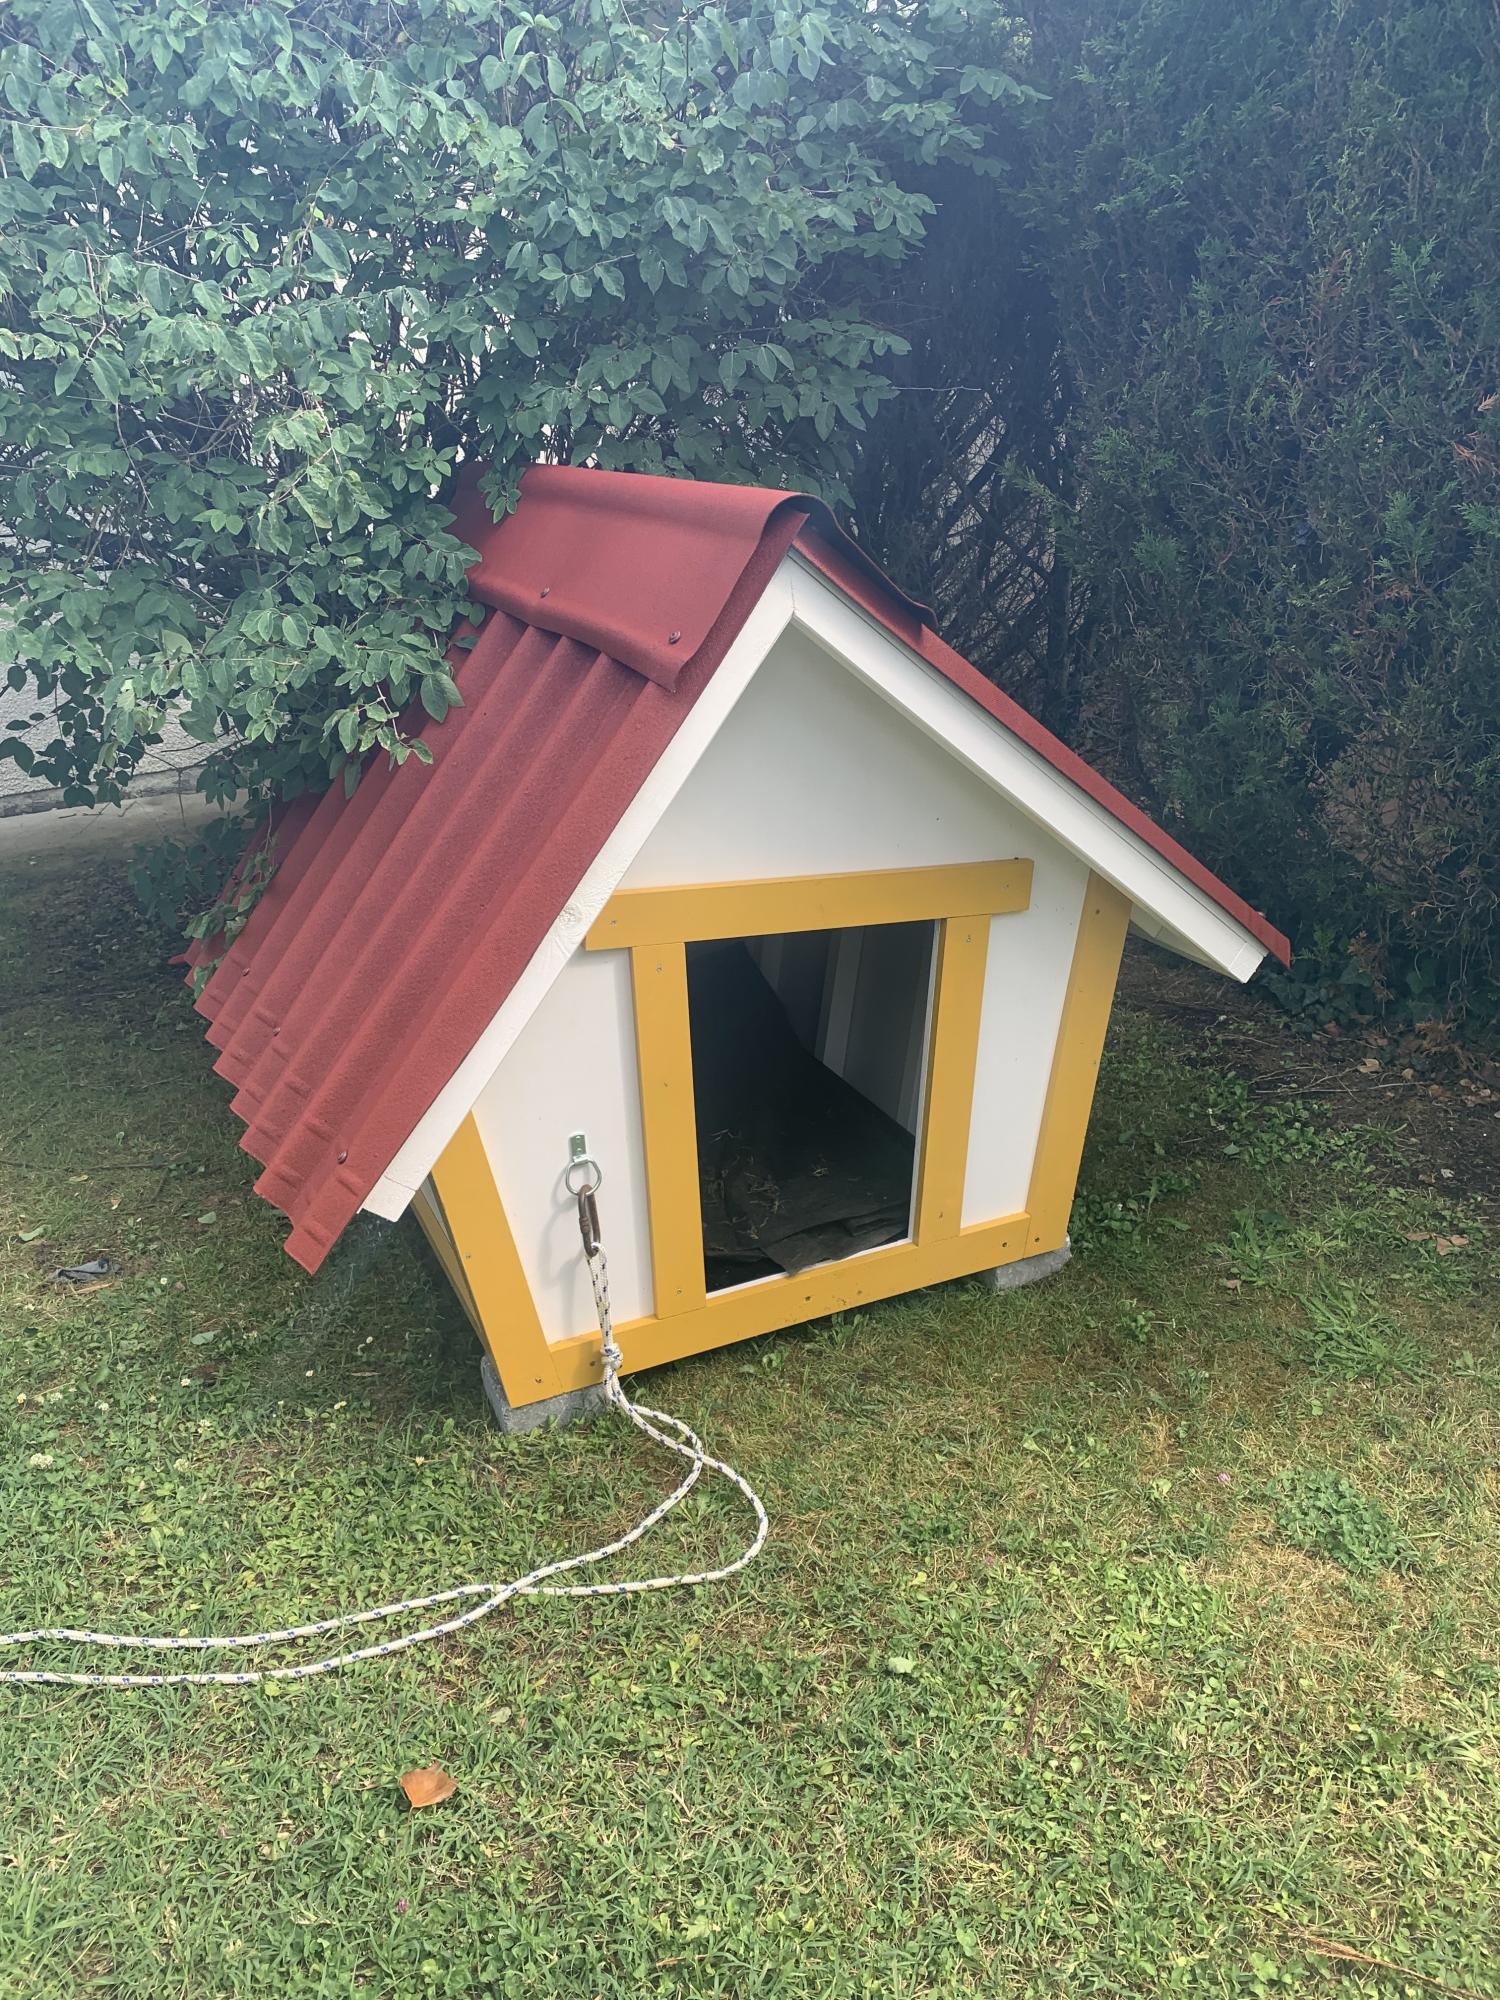
Thank you for sharing! My daughter wants a cat for her birthday but it can't be inside due to our son's allergies. Roaming outside isn't really an option because we have coyotes. We are going to use one of these in combination with an underground electric fence.