Community Brag Posts

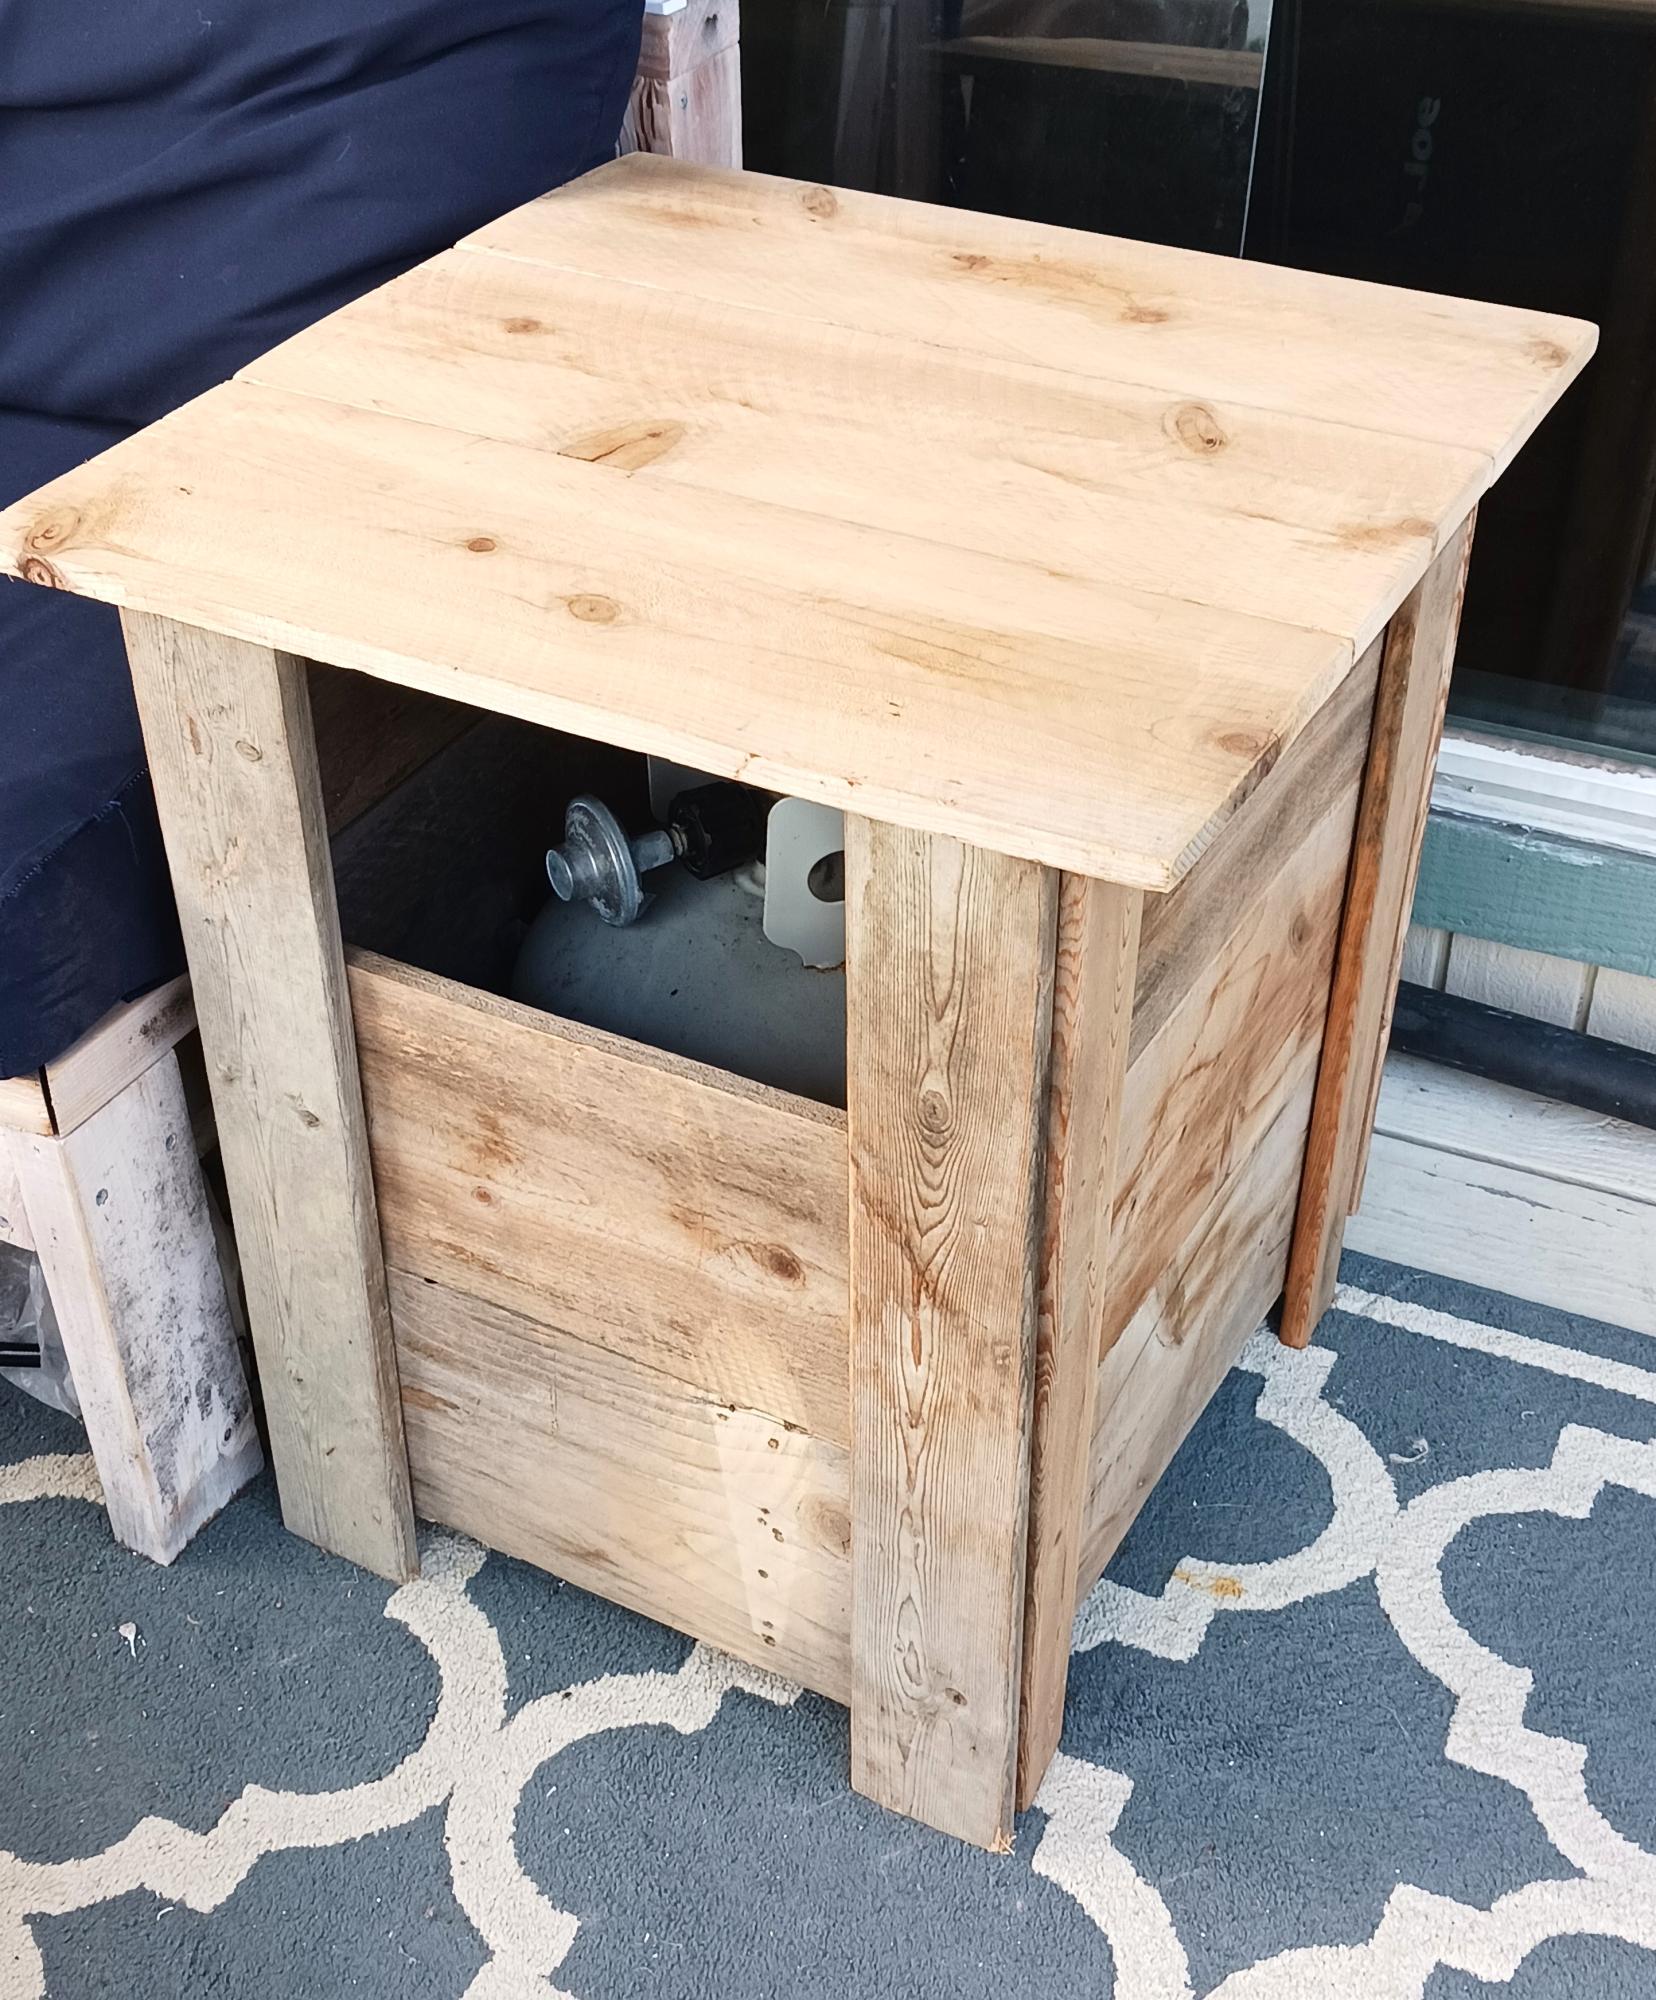
Propane Tank Storage Table

Submitted by Anonymous (not verified) on Fri, 07/07/2023 - 11:12

I had inquire on your Facebook about you making a new plan... i had wanted a side table to hide my propane tank. I used the planter plans as an inspiration for this table. It is regiment rough looking as I managed to build it using only scrap on hand. I did have one cedar board in my pile that was leftover from another project that I used for the top... pretty happy but know it would have been better with new wood that was the right size and not warped! The space at the top is on purpose to be able to teach in and turn the gas on and off.

Debbie Hertz

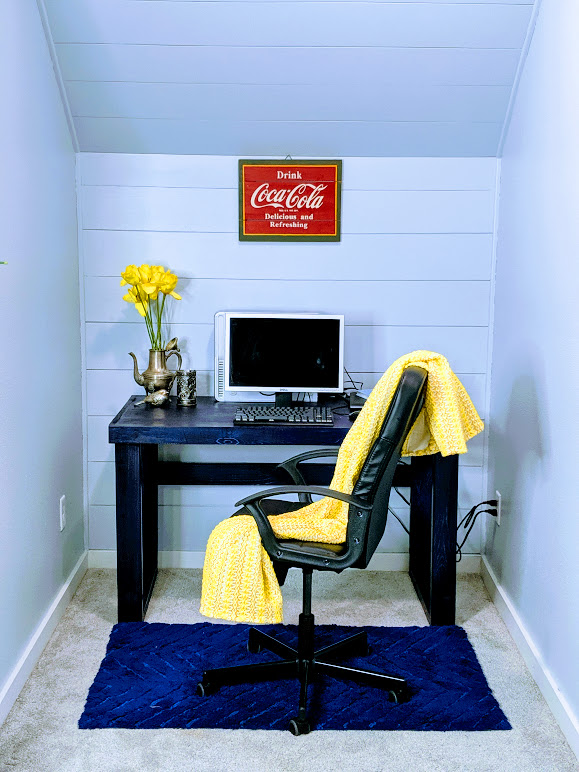
Beautiful DIY Computer Desk Under 50 Dollars

We were looking for a table with custom dimensions for our little office nook, but it was really hard to find. Most of them were very expensive, too. We decided to make our own table and share it with all of you as well. It's an easy project to do and minimum tools are required. You can also always use substitute tools as opposed to using the exact one we did in the project. 

Step-by-Step Tutorial

Step one: Cut the Wood

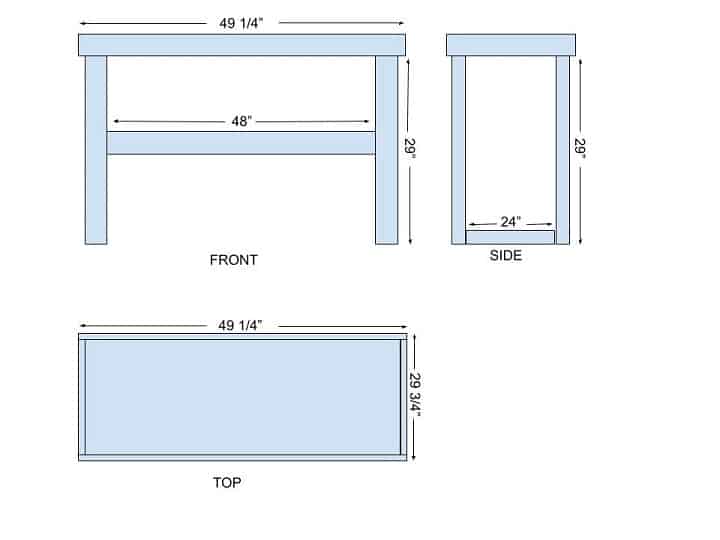
You need to cut 4 (2 x 4's) pieces for the legs using a miter saw, or you can have The Home Depot or Lowes cut it for you. You can adjust your own measurements according to the plan above. The plan is according to our space. We drew it in Google Drawings, and you can get that idea and draw your own.  

Step Two: Pocket Holes

Drill pocket holes in the legs using a Kreg Jig but if you don't have that tool it's okay too. Tou can use regular nails as well. I am in love with the Kreg Jig though, and I highly recommend the product to everyone as it makes your joints stronger. 

Step 3: Put The Leg Together

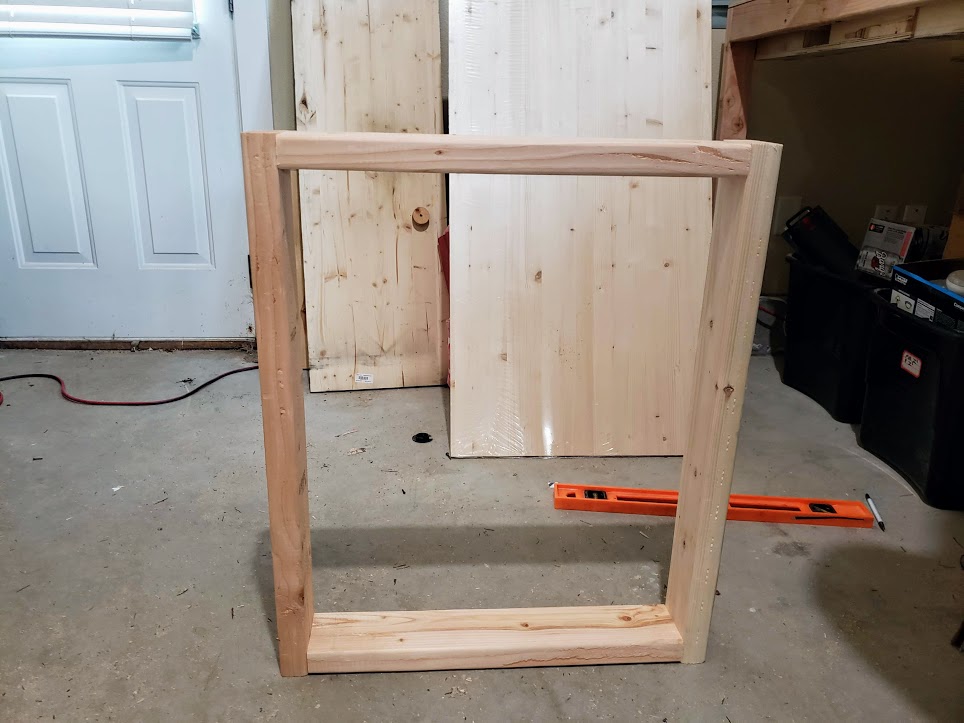
Once you are done with making the joints, it's time to screw the legs together to make it like a frame. See the picture. It should look like a rectangular box. We also placed scrap wood in the middle just to give extra support to the table, so it will not go wobbly. 

Step 4: Attach The Top 

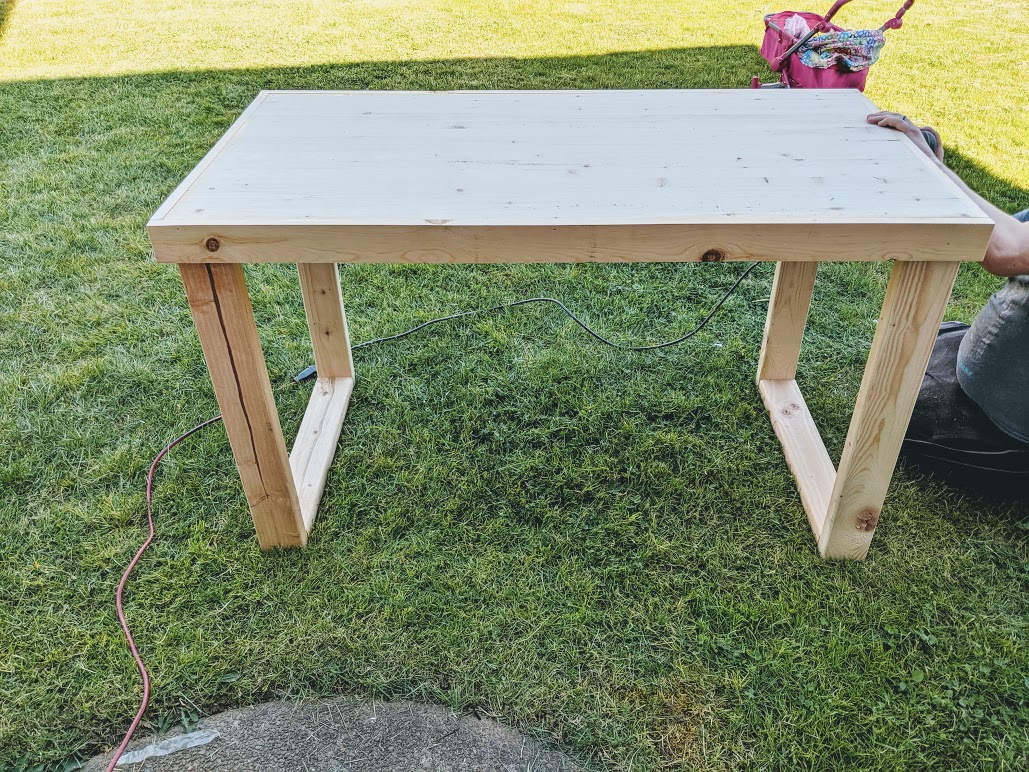
Now, since your legs are ready, it's time to attach the top onto the legs, which is also an easy process. You can attach them using a brad nailer or regular nails. We just happened to have those tools but you don't have to buy everything. 

Step 5: Cut the lips 

In the end, we placed lips or edges around the table to make it both more sturdy and prettier. 

Step 6: Sand It 

Now, since your table is ready, you need to sand it to paint or stain it. Sanding is a very important part. Otherwise, your paint won't adhere to the wood unless you are chalk painting. We used an electric sander but you can use any 120 grit sanding block from your local store. Just use your elbow grease to sand it nicely. 

Step 7: Paint or Stain It

Paint it with whatever paint you would like We wanted to stain it so we used color stain to match with other furniture in the room. We are pretty happy with the project turned out. It saved us tons of money and looks nice in the room as well. 

Hope you liked it and I would love to see your project using my plan. You can read the whole blog post in-depth on my blog. Let me know if you have any questions or concerns.  

Happy DIY'ing! Love,

Bushra
Estimated Cost
$50
Estimated Time Investment
Afternoon Project (3-6 Hours)
Finish Used
Blue Stain a bit shiny look.
Recommended Skill Level
Beginner

Comments

Simple Beds

Submitted by sophie on Sun, 04/08/2012 - 09:32

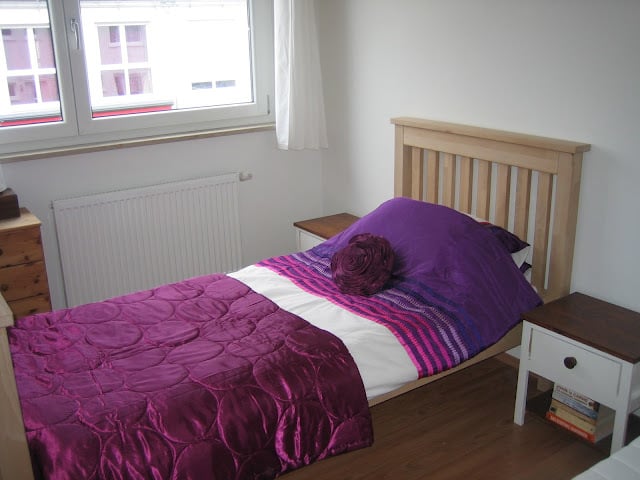
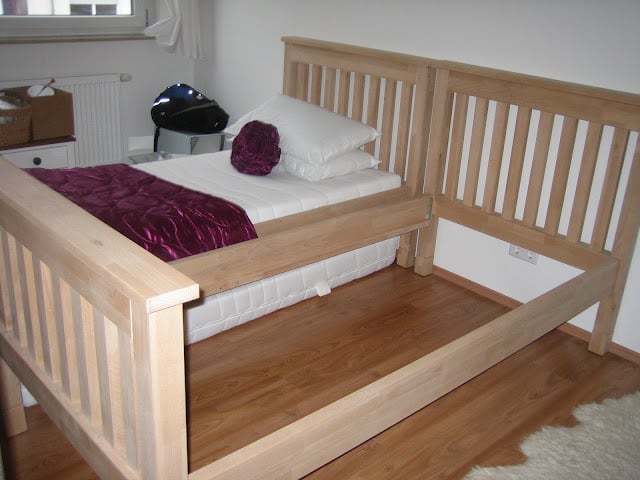
I used the basic design for this bed but altered it quite a lot to make the joins stronger, the edges smoother and the whole thing generally easier to take apart and put back together.
I used beech wood and completed the project at a woodworking club, so it's quite hard to estimate the time taken, as I only did it one evening a week and spent most of the time bringing the wood out, putting it away and clearing up each time I was there!
I am still undecided whether to give it an oil finish or to paint it white with chestnut wood stain on the headboard and footboard tops.

Built from Plan(s)
Finish Used
Possibly oil or maybe white and chestnut wood stain - haven't decided yet!
Recommended Skill Level
Intermediate

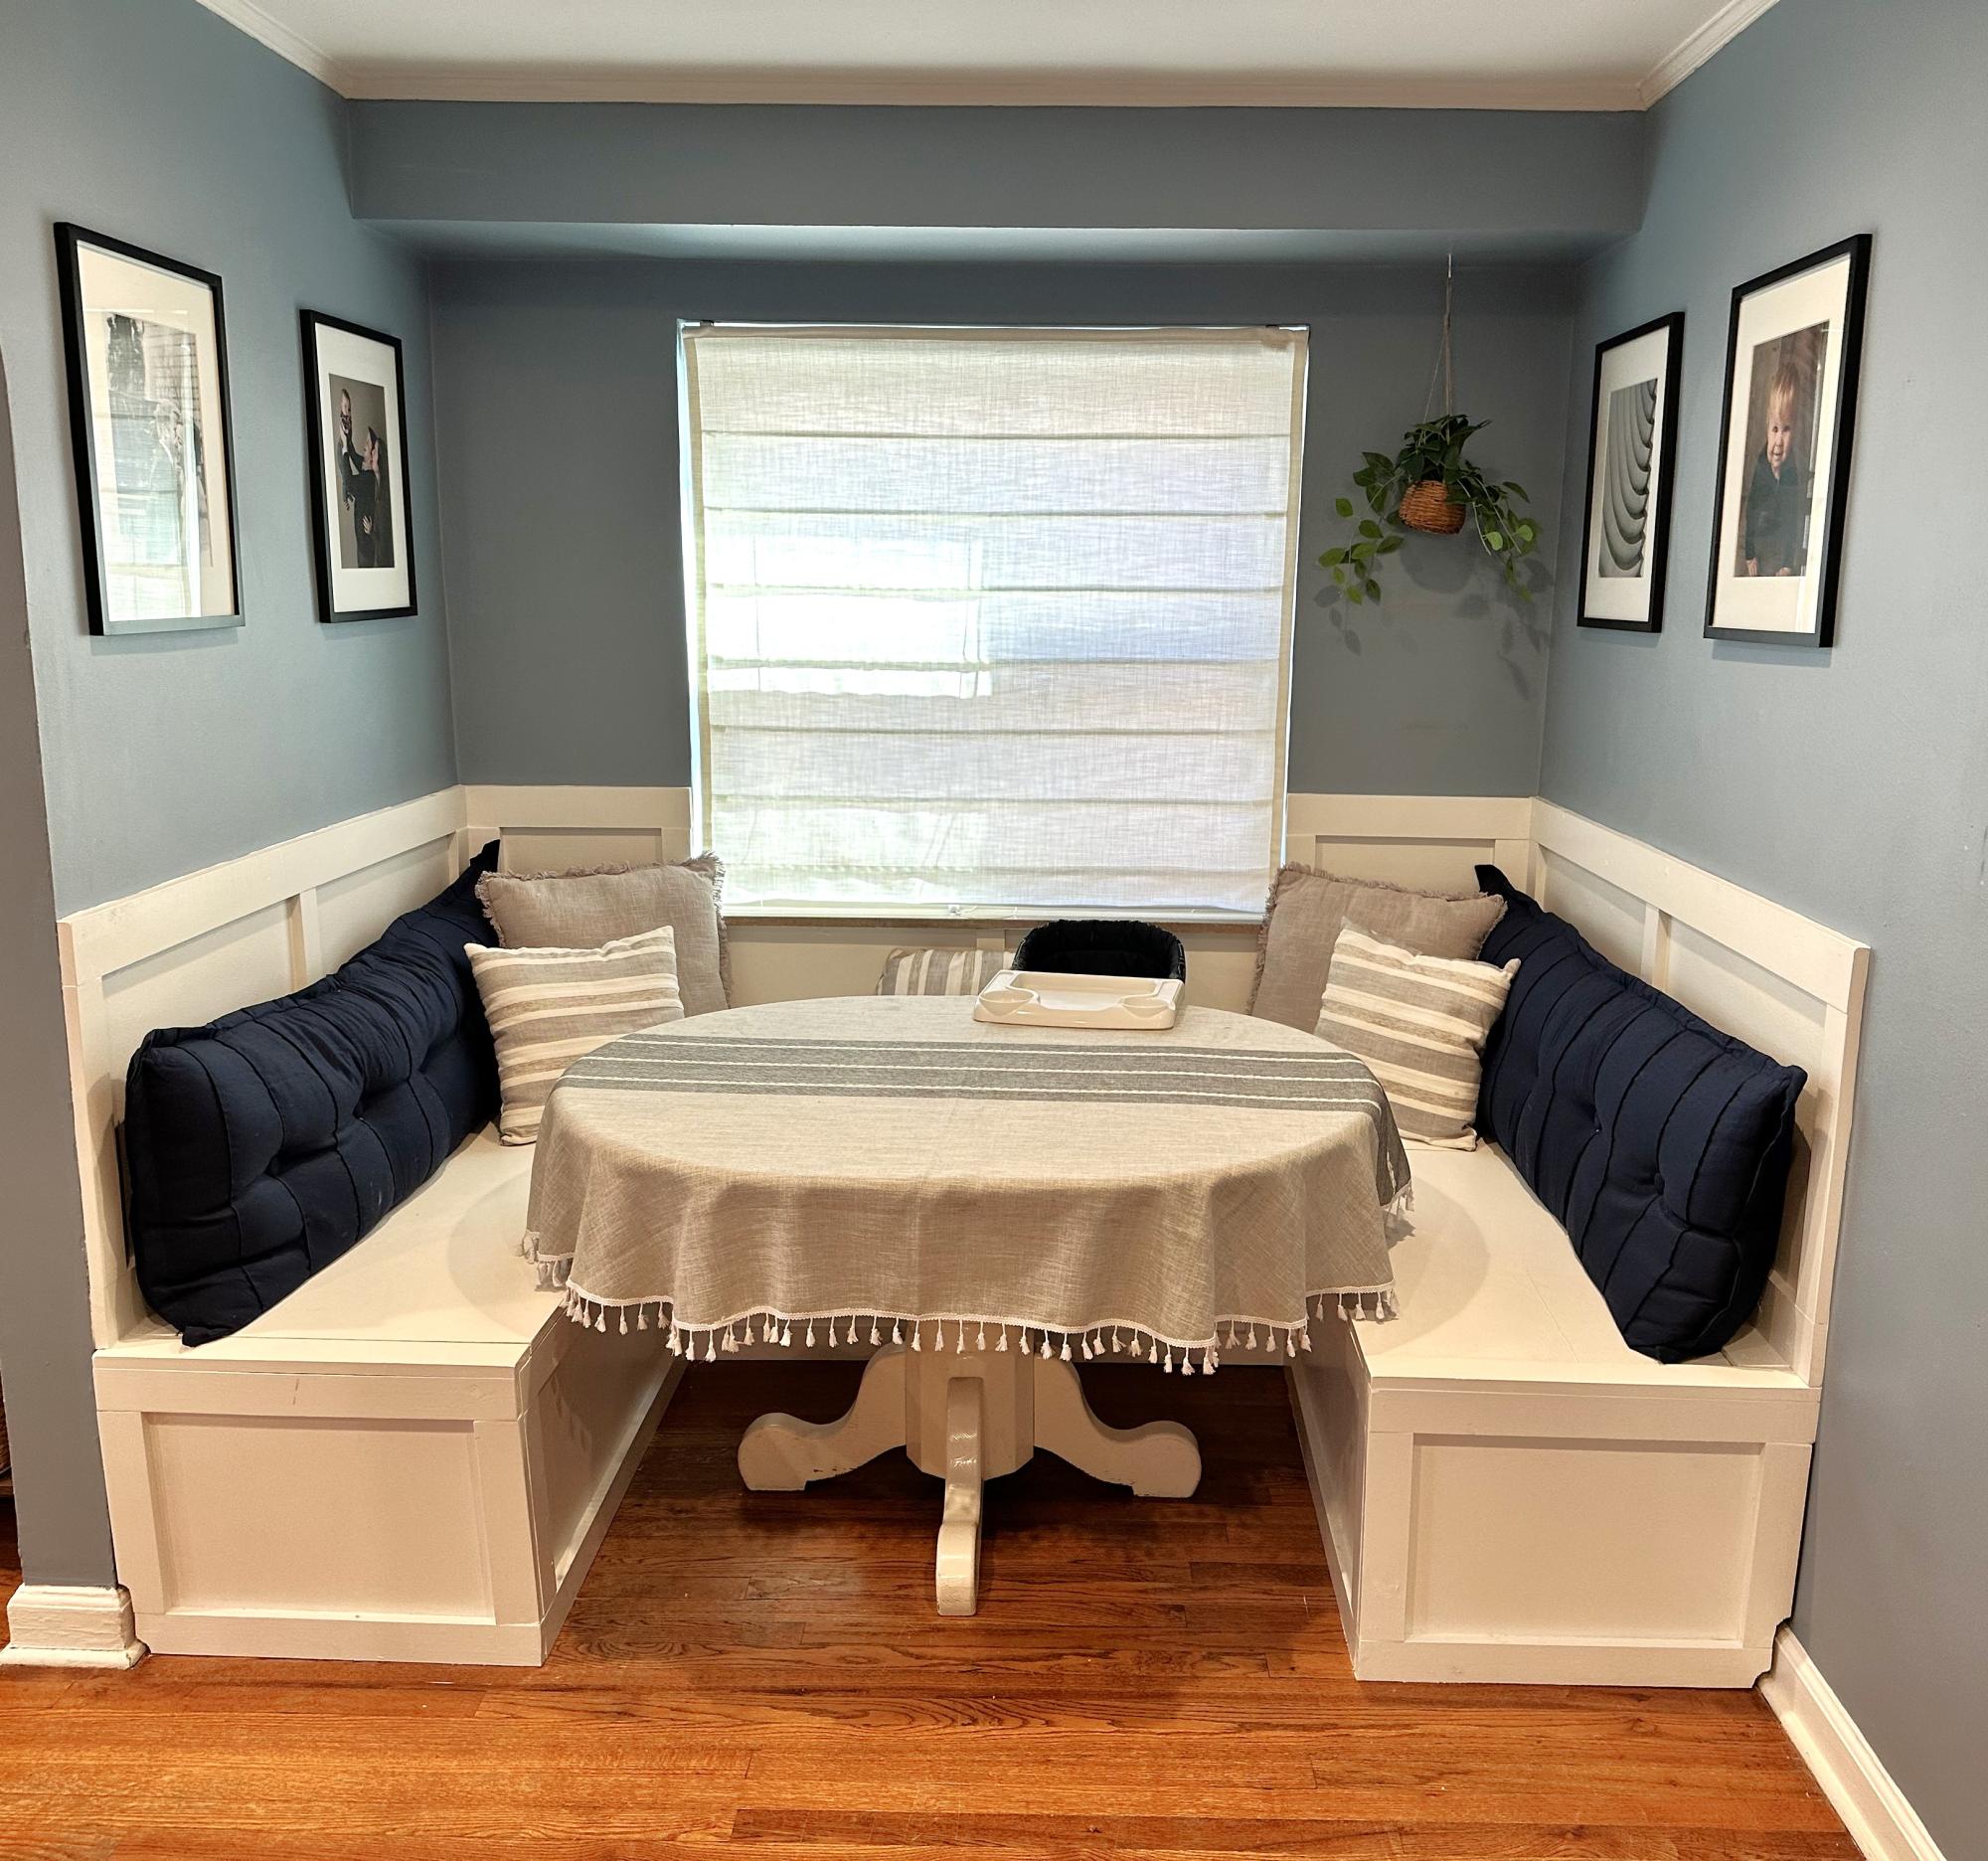
sofa pottery barn cushions

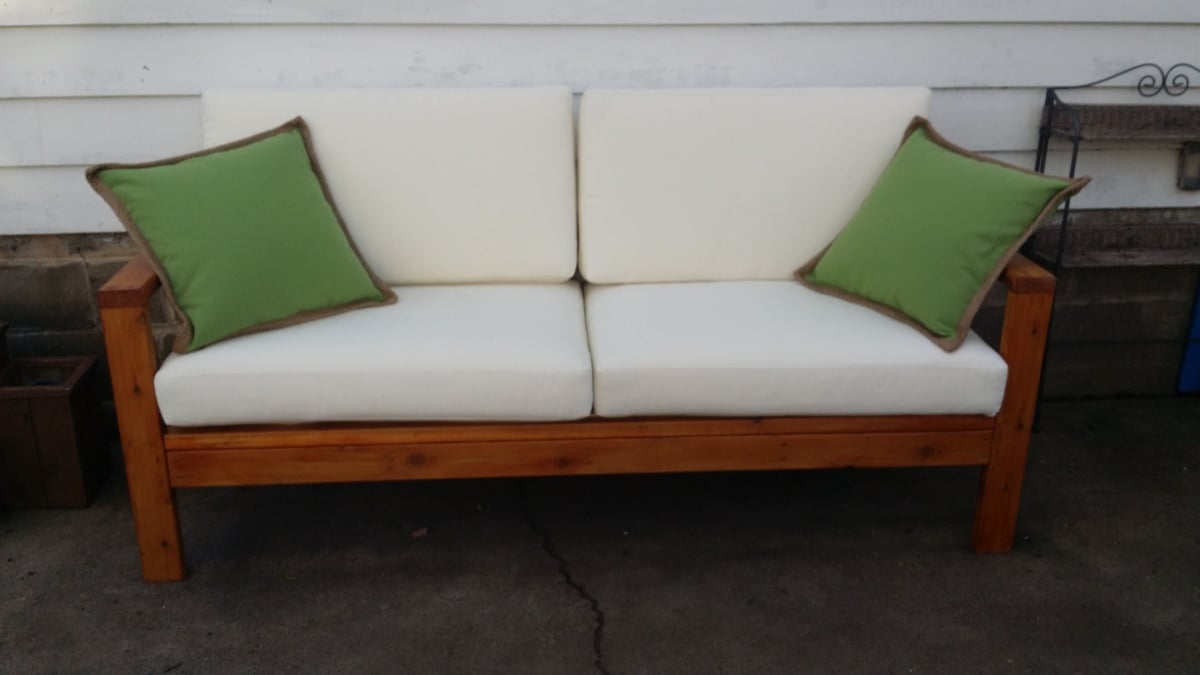
Easy to build 2-3 hours. Weather proofed because did not want grey cedar in a few years. Liked the color of weather proofing but color continued to leak off. Polyed and sanding eventually stopped the leaking if colors. Scored pottery barn cushions 50% in the winter + 15% new email customer. Still $150... bought some pillows from pottery barn on sale for another $60. All in all looks awesome! VERY easy build. The rest ($$) is what hurts... Test any weatherproof in you use first before using.

Estimated Cost
$145
Estimated Time Investment
Afternoon Project (3-6 Hours)
Finish Used
Behrman weather proof, 3 coats poly
Recommended Skill Level
Starter Project

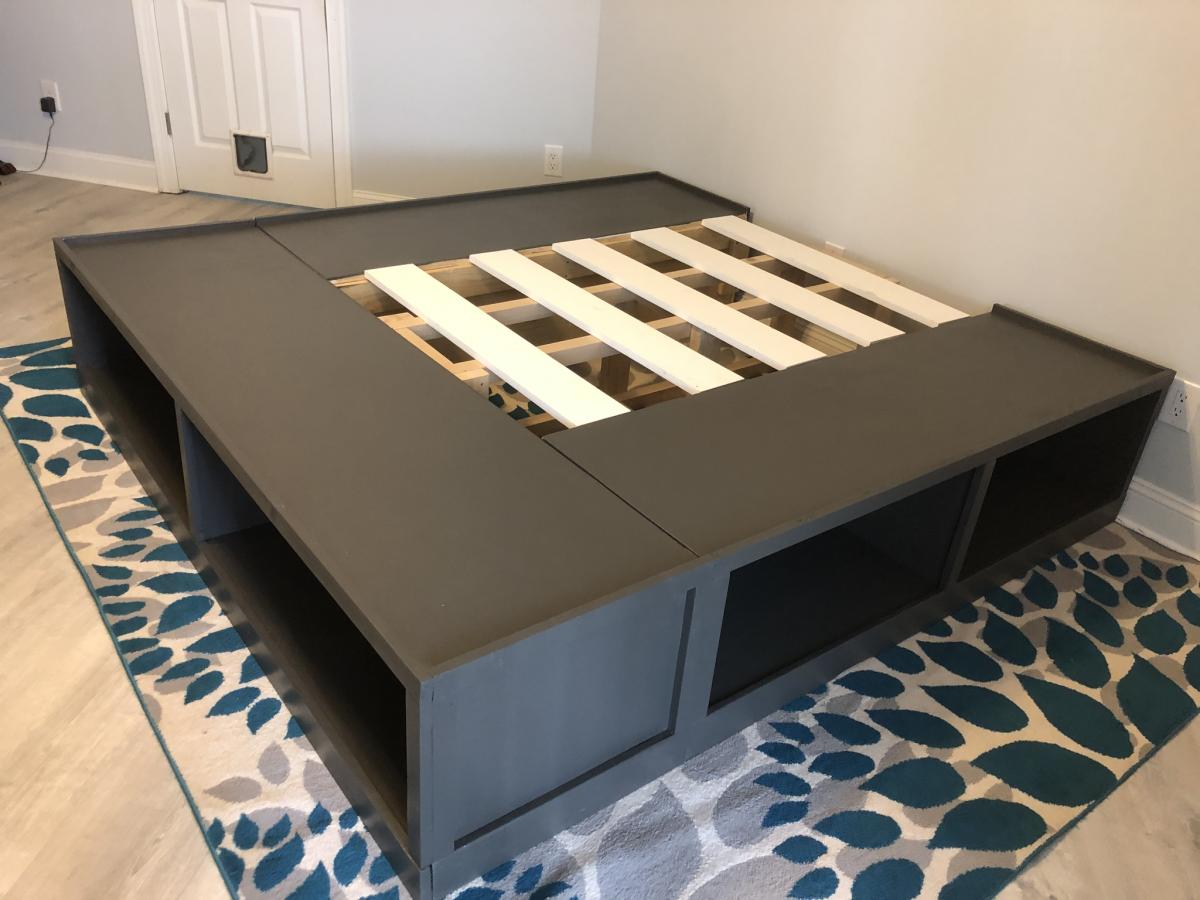
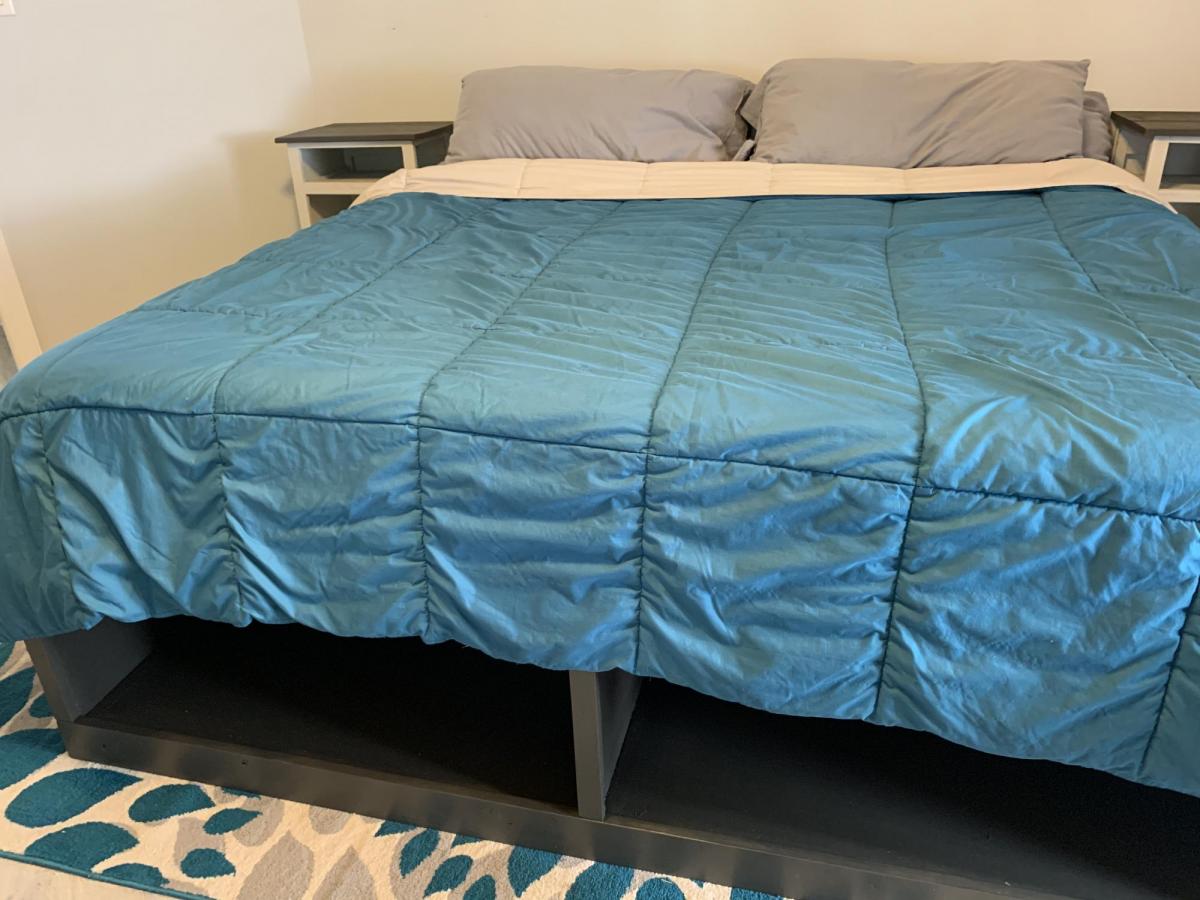
King classic storage bed

Submitted by Anonymous (not verified) on Tue, 07/07/2020 - 10:08

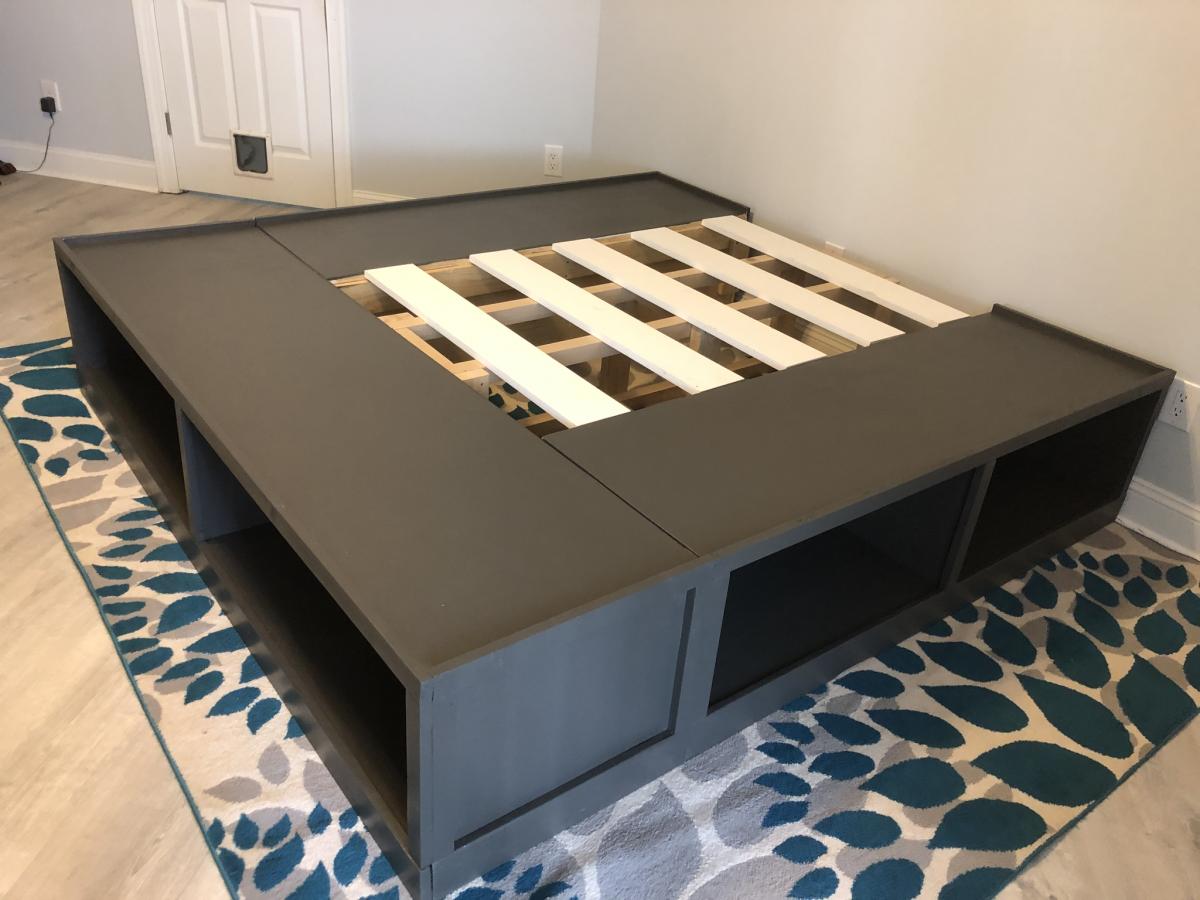
Built fairly close to original plans. Though we did modify slightly to create a slightly taller bed.

We placed a simple - but sturdy 2x4 frame between the sides. The span seemed a bit wide and we did not want any sagging.

We skipped the optional drawers, instead we will be building lightweight wooden storage crates to fit the storage spaces specifically.

Not a hard project. Though be sure to measure twice before you cut. 🤣

Built from Plan(s)
Estimated Time Investment
Weekend Project (10-20 Hours)
Finish Used
VALSPAR SIGNATURE INTERIOR PAINT & PRIMER in ebony field.
Recommended Skill Level
Intermediate

A Really Nice Serving Tray

Submitted by Jake on Sat, 03/09/2013 - 05:14

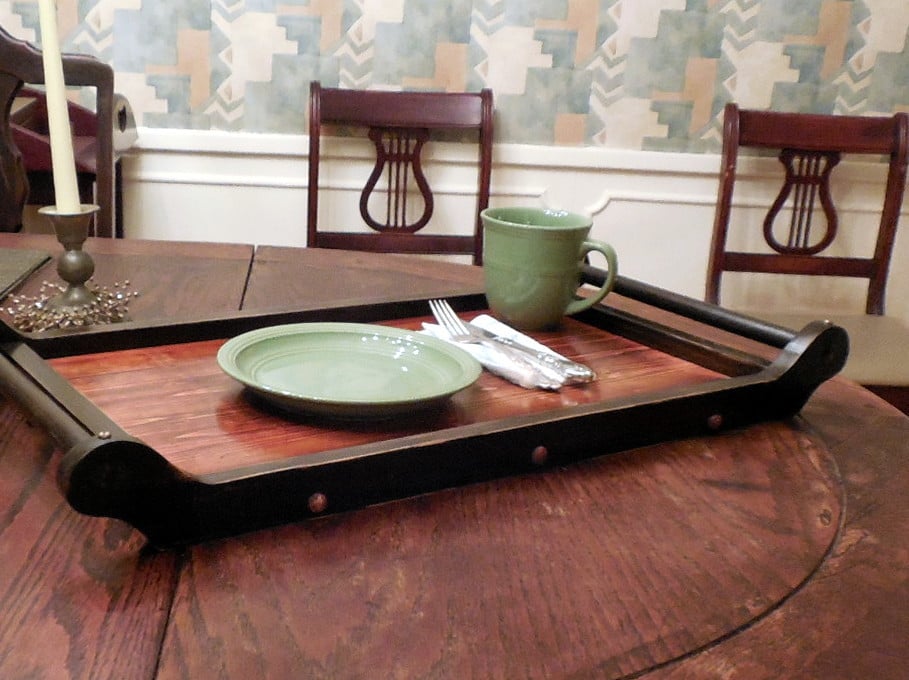
I saw this serving tray on Ana's site and it looked like I could build it with the wood and materials I had laying around in the garage. Other folks had made some nice versions of the tray also, and it looked like something we could use around the home.
I was right on all accounts, except I had to spend about $1.50 for the 3/4" dowel.

The overall dimensions are 27" x 131/2". Tray dimensions are 21" x 12"

The frame is attached to the tray with countersunk 1.5" wood screws and buttons covering the holes. I added the brass round-head screws to each corner to give it an industrial look. Glue was used only on the dowel handles and the buttons. Otherwise no glue.

I also distressed the top edges a bit to give it a used look. With time it will get is own look but this is a star

Built from Plan(s)
Estimated Cost
$1.50 because I had the rest of what I needed laying around in the garage. If I had to buy everything it would cost about $15.
Estimated Time Investment
Weekend Project (10-20 Hours)
Finish Used
The frame is stained with black Kona and the tray insert is Cherry with a little Kona mixed into it to darken it a little. I sanded everything to 320 grit and the visible areas to 1000 grit. I know that is over-kill but I just wanted to try it. Between sandings I used mineral spirits to clean which also acts as a wood pre-conditioner. Then each piece was given two coats of antique oil finish rather than the old standby polyurethane.
Recommended Skill Level
Intermediate

Comments

Jake

Sat, 03/09/2013 - 14:22

Thanks for the kind comment. I try a lot of builds and some do come out right. Some day I will own that sliding miter saw and a router but for now it is just a few saws (my favorite is a small back saw) and clamps.

Kentucky Fried Hilton Chicken Coop

Submitted by redtrek on Tue, 05/18/2021 - 23:12

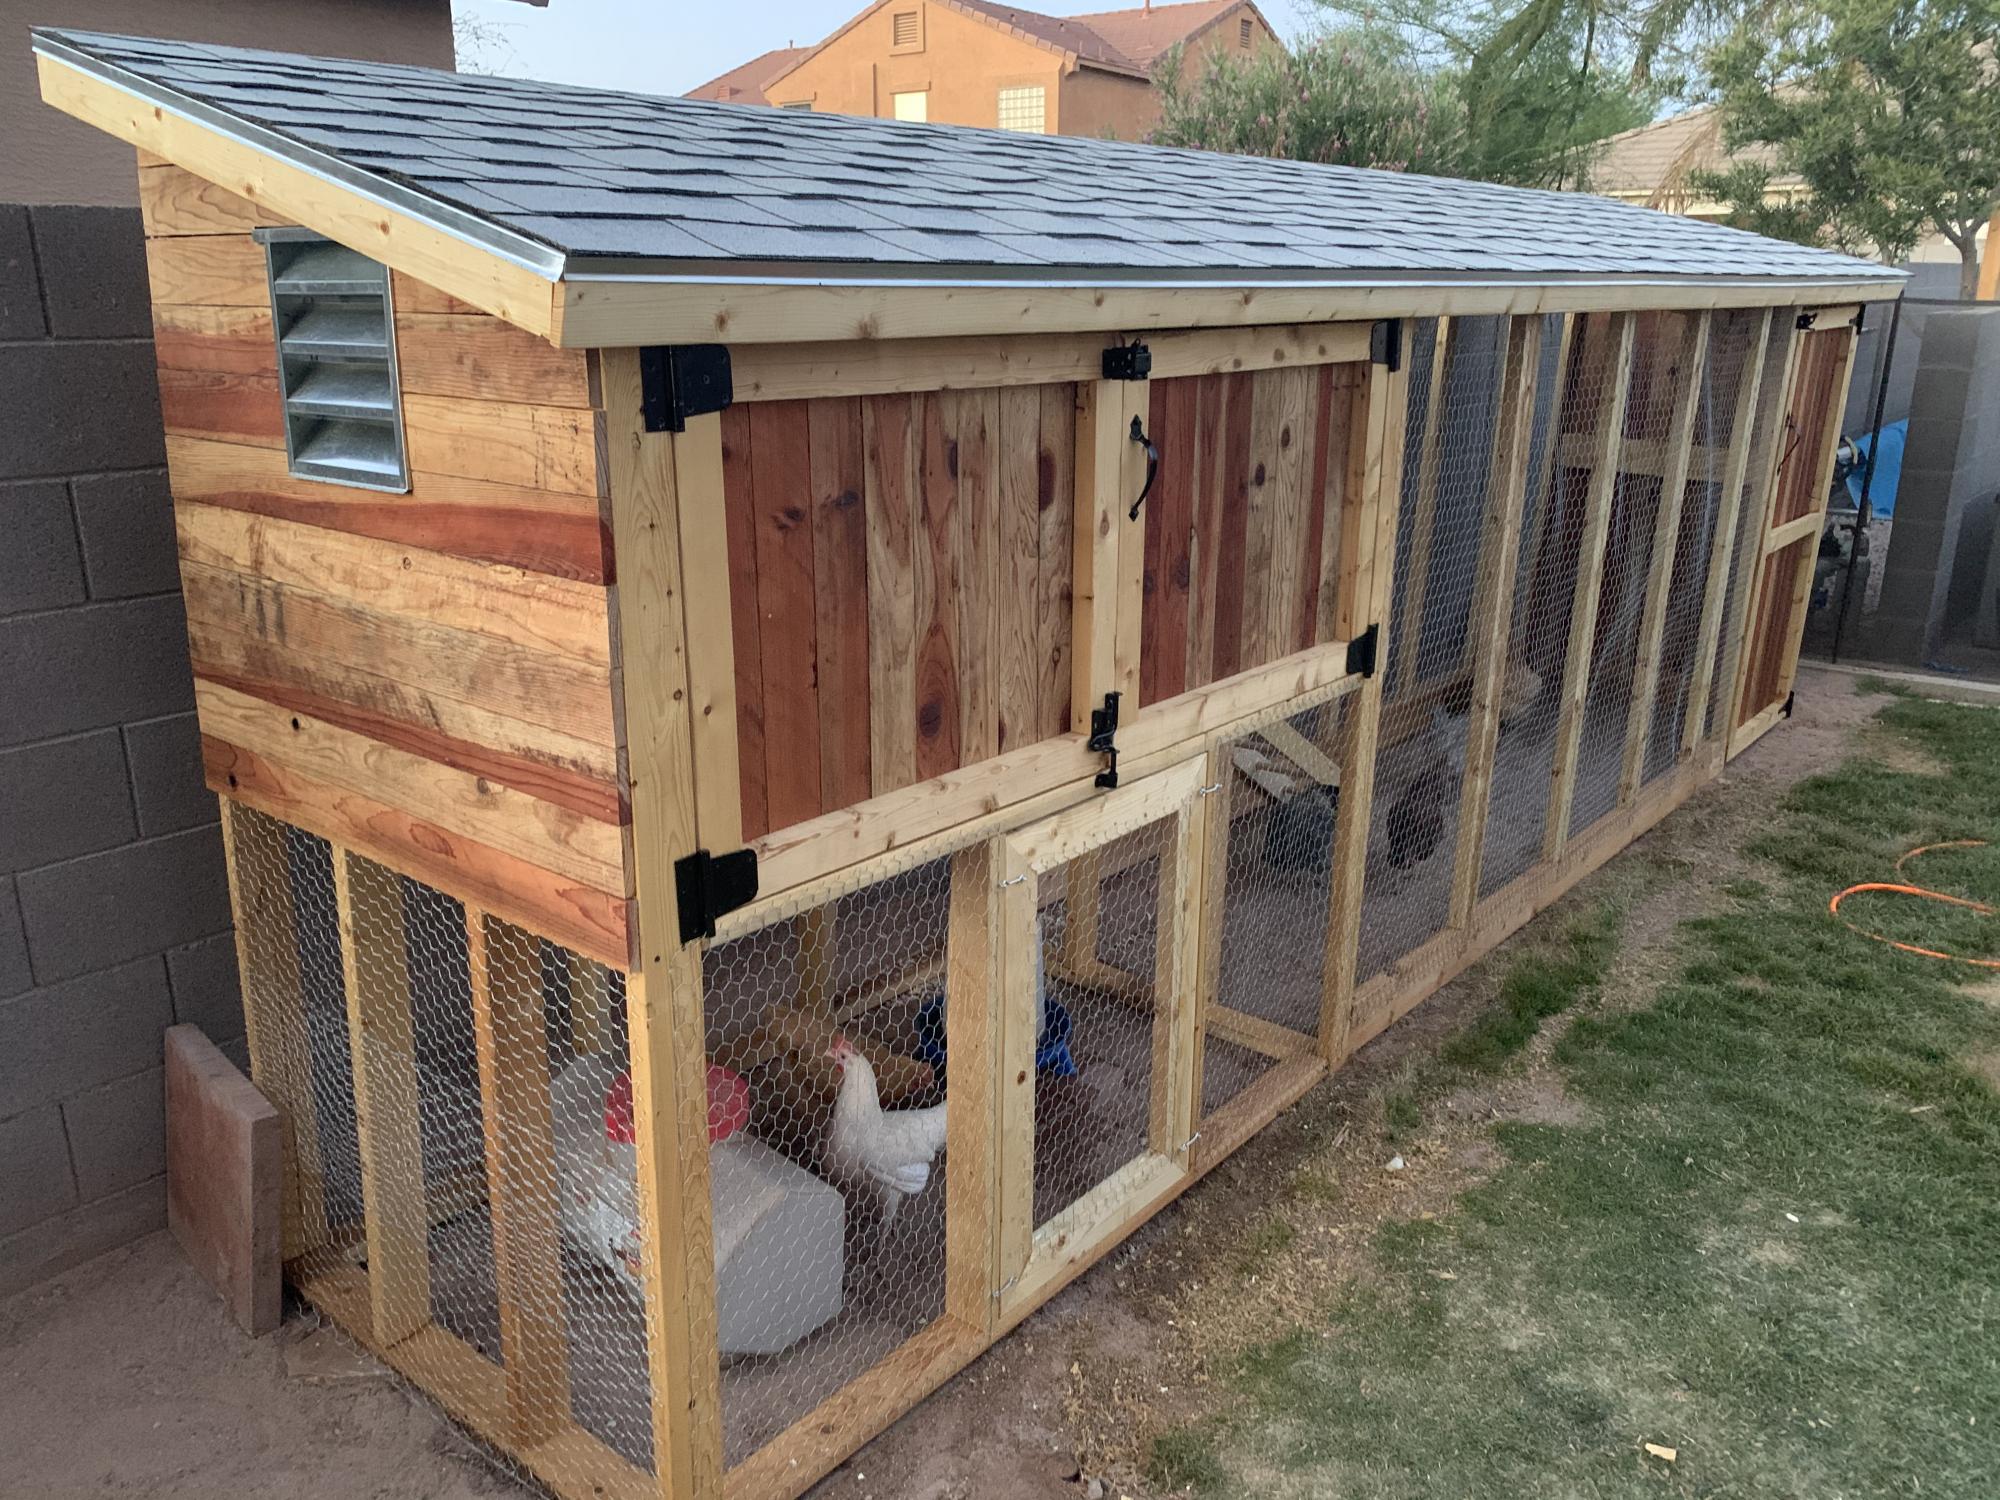
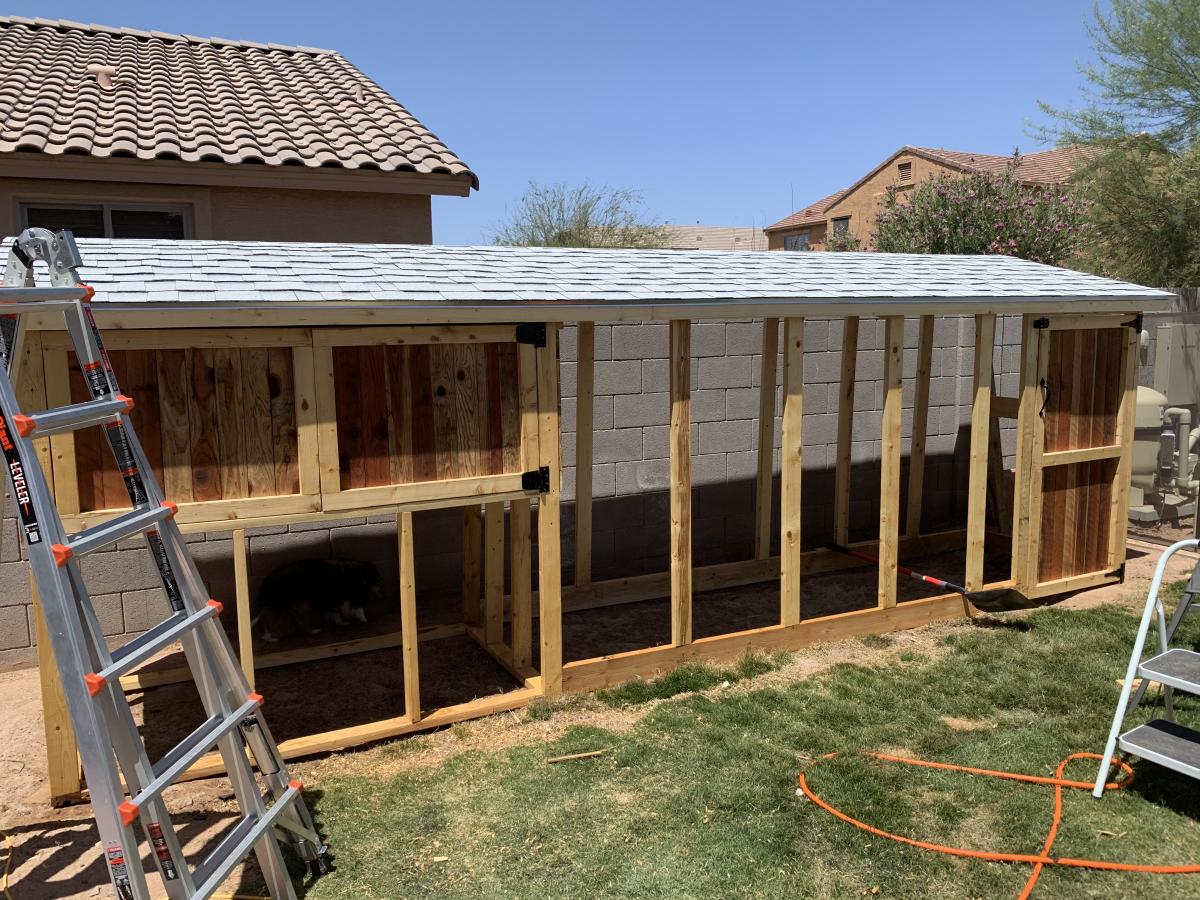
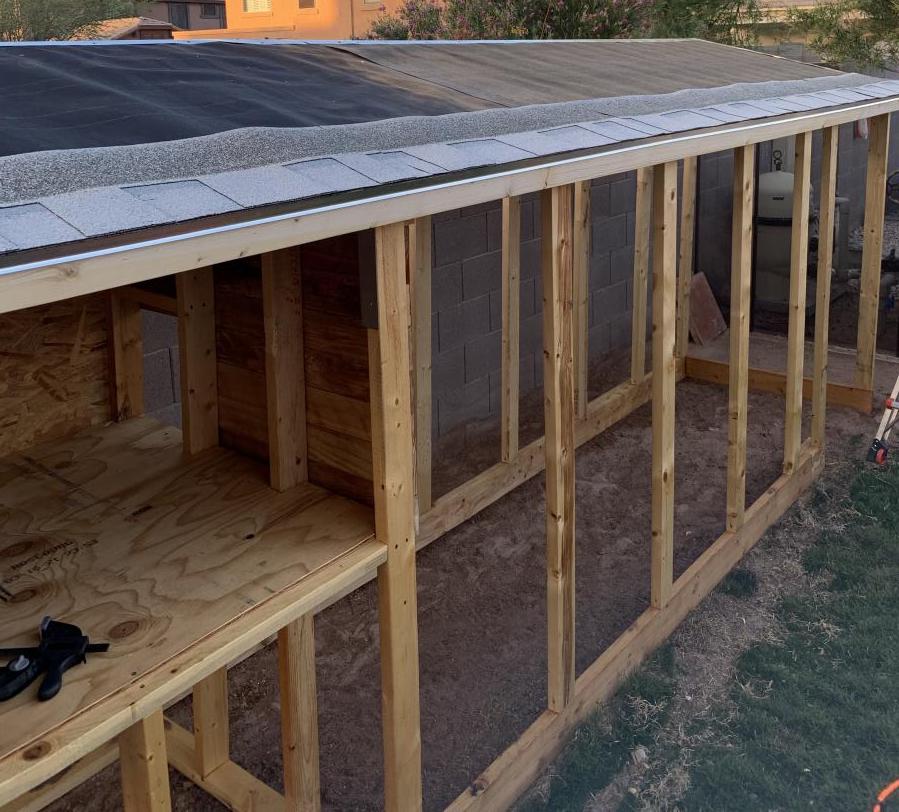
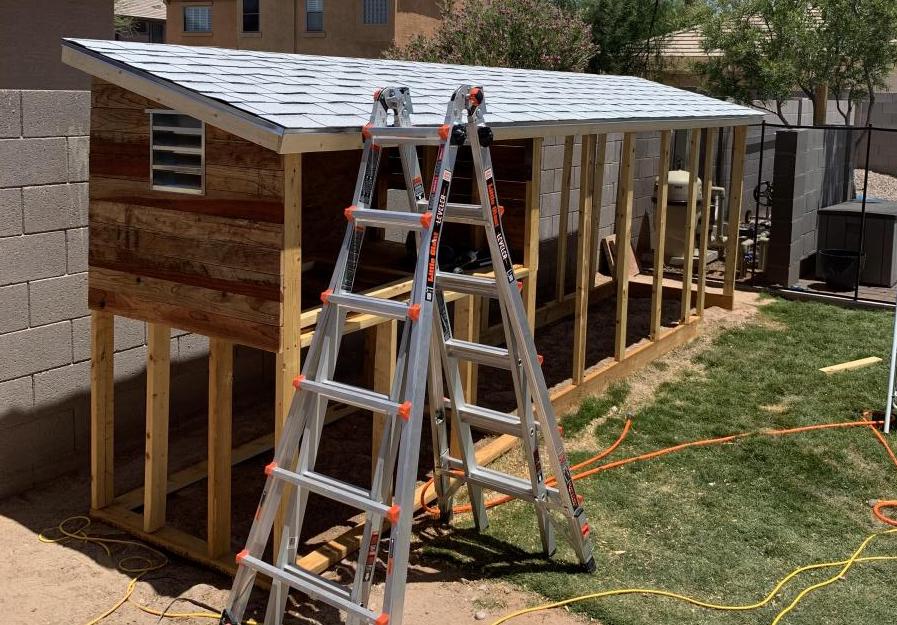
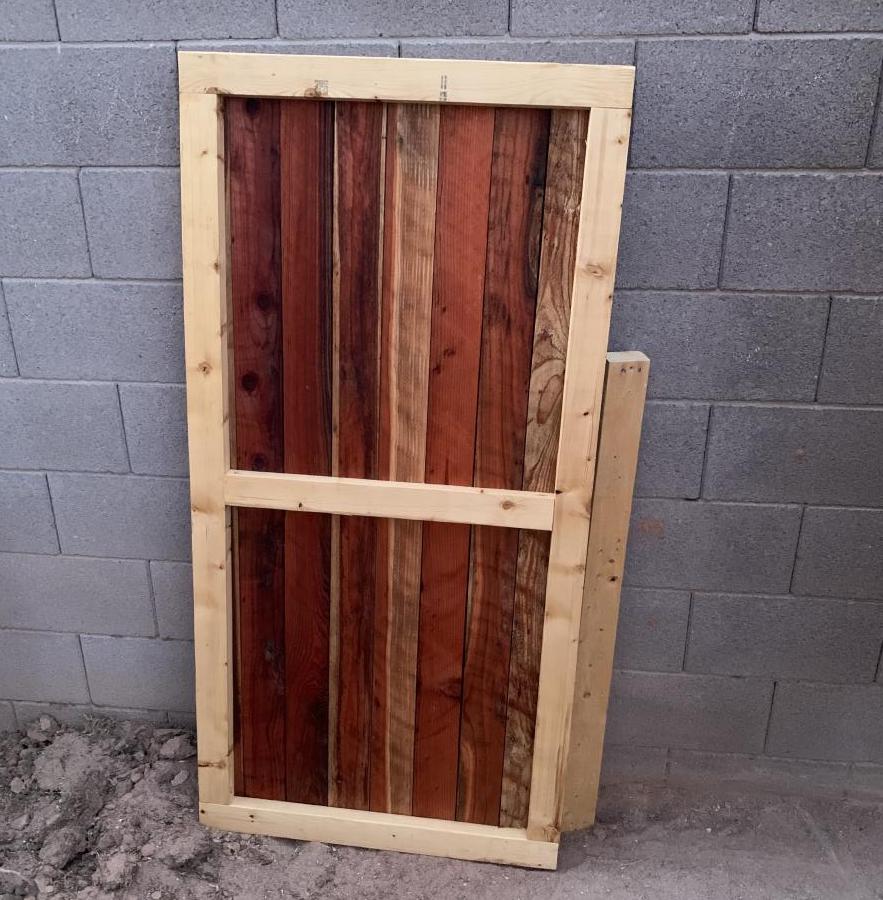
I took the idea of the "small cedar shed" and decided to upsize it for a new chicken coop. Our old one was small enough that we had to let our six hens out to roam the yard. Chickens. Poop. Everywhere. I wanted one big enough to have them live in it. The nesting box is about 24 sf. The whole coop is 18' long, about 6-1/2' at the back with a 15° slope to the roof, and about 4' deep. I built the ladder up to their nesting box and made a mitre-cut panel under the nesting box for cleaning out, feeding, and watering. Total materials cost was about $1000, but a couple of local homebuilders helped by letting me scavenge the lumber for the nesting box from around houses that they were finished framing.

Built from Plan(s)
Estimated Cost
$1000-1200
Estimated Time Investment
Week Long Project (20 Hours or More)
Finish Used
Thompson's Clear Water Seal
Recommended Skill Level
Intermediate

Comments

another Little Helper Tower

Submitted by Kahle on Thu, 05/09/2013 - 07:33

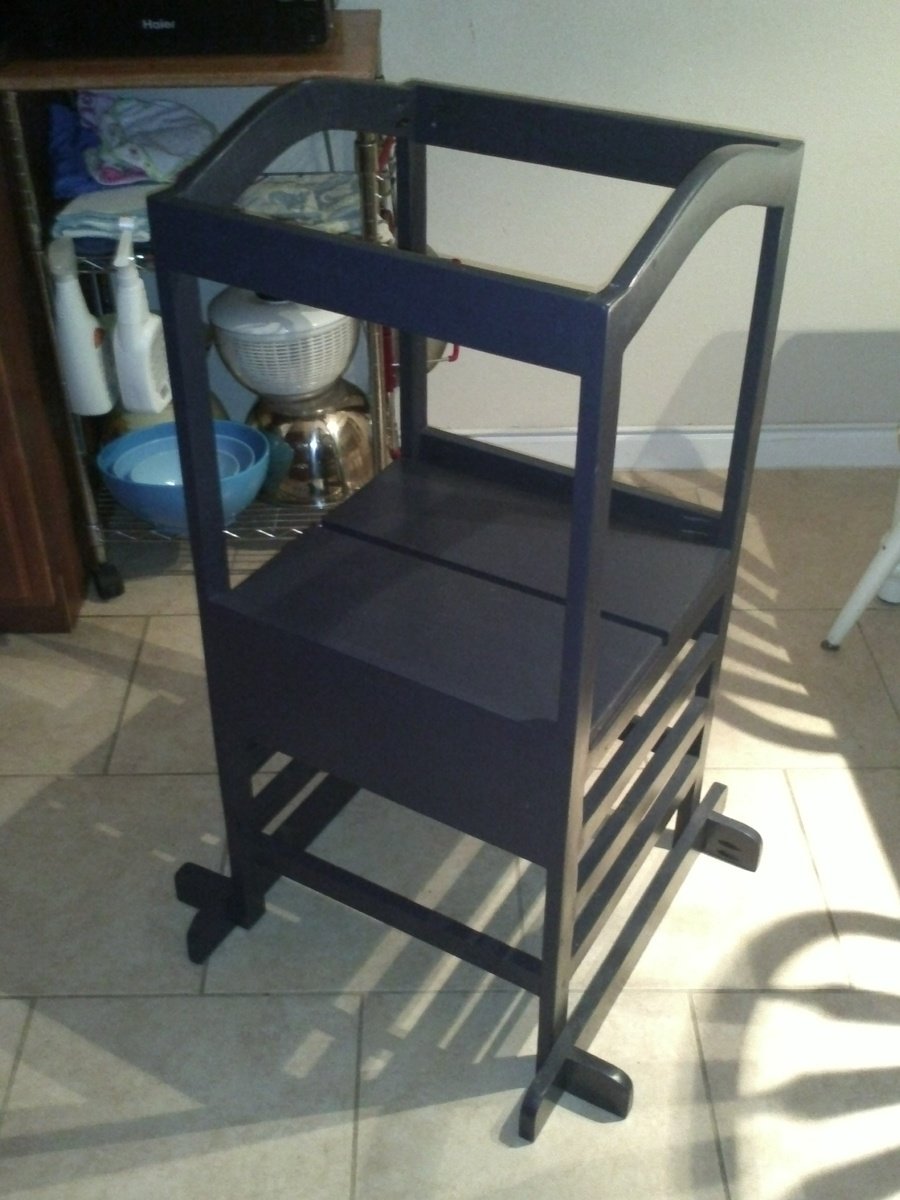
Built this for my daughter this past Christmas, she was 15mo then and not too enthusiastic about being in the tower. Now at nearly 20mo she demands her "towah" when it's time to "wash a hans" and she doesn't mind being plopped in it while we do things in the kitchen (as long as its not for TOO long...) We're looking forward to many years of use out of the tower, thanks for the plans! This was my first project with the Kreg pocket screw jig, really liked it and wished I'd had it for some of my past projects.

Built from Plan(s)
Estimated Cost
$50
Estimated Time Investment
Afternoon Project (3-6 Hours)
Finish Used
interior latex paint; bathroom/kitchen type
Recommended Skill Level
Beginner

Not so "Rhyan" Nightstands

Submitted by Kimbers on Sun, 05/08/2011 - 19:05

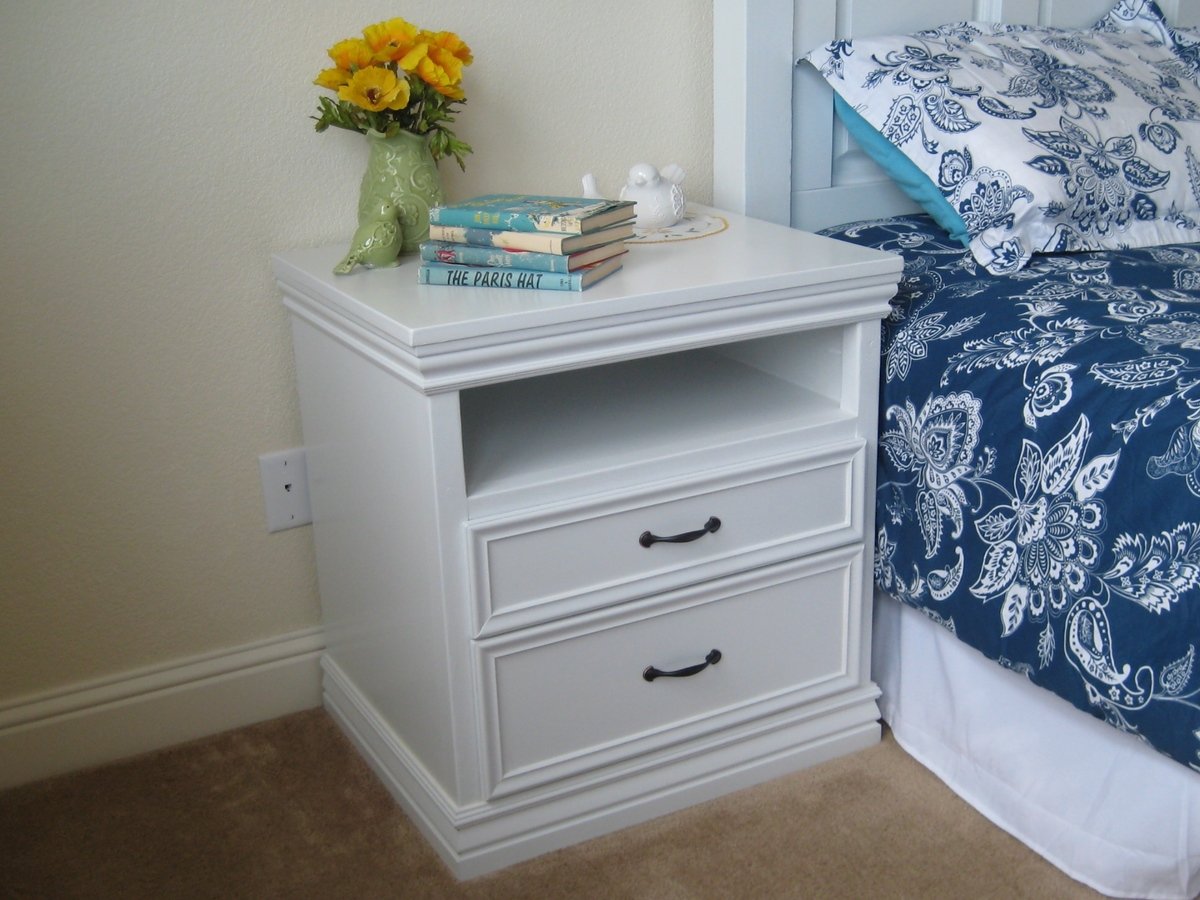
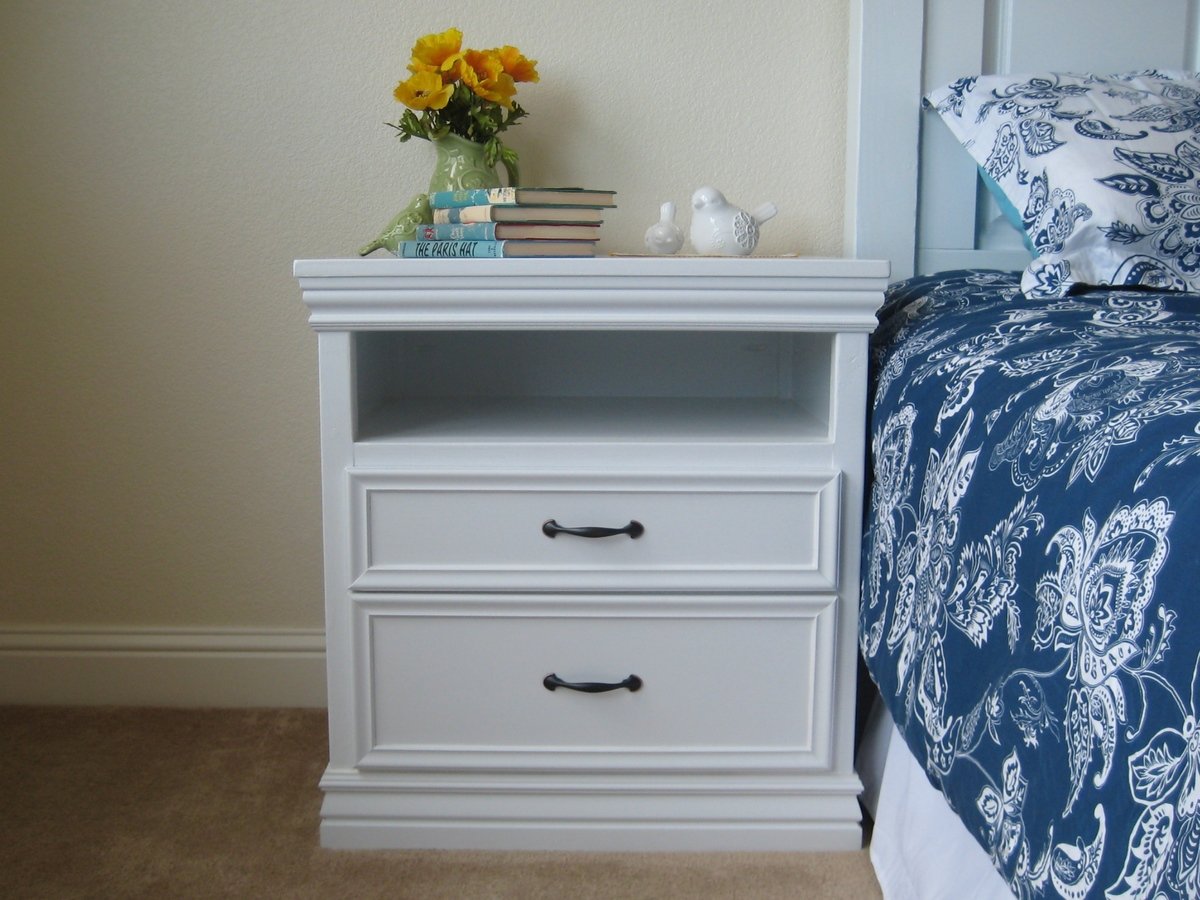
I used the Rhyan end table plan (with a few alterations) to make my nightstands. I changed the dimensions so mine turned out to be 20”D, 25”W, 27”H, I extended the side and back panels all the way to the top to close in the shelf and I made the bottom drawer larger. I decided to use under mount drawer slides but I think I will try out the side mount slides in the future though.

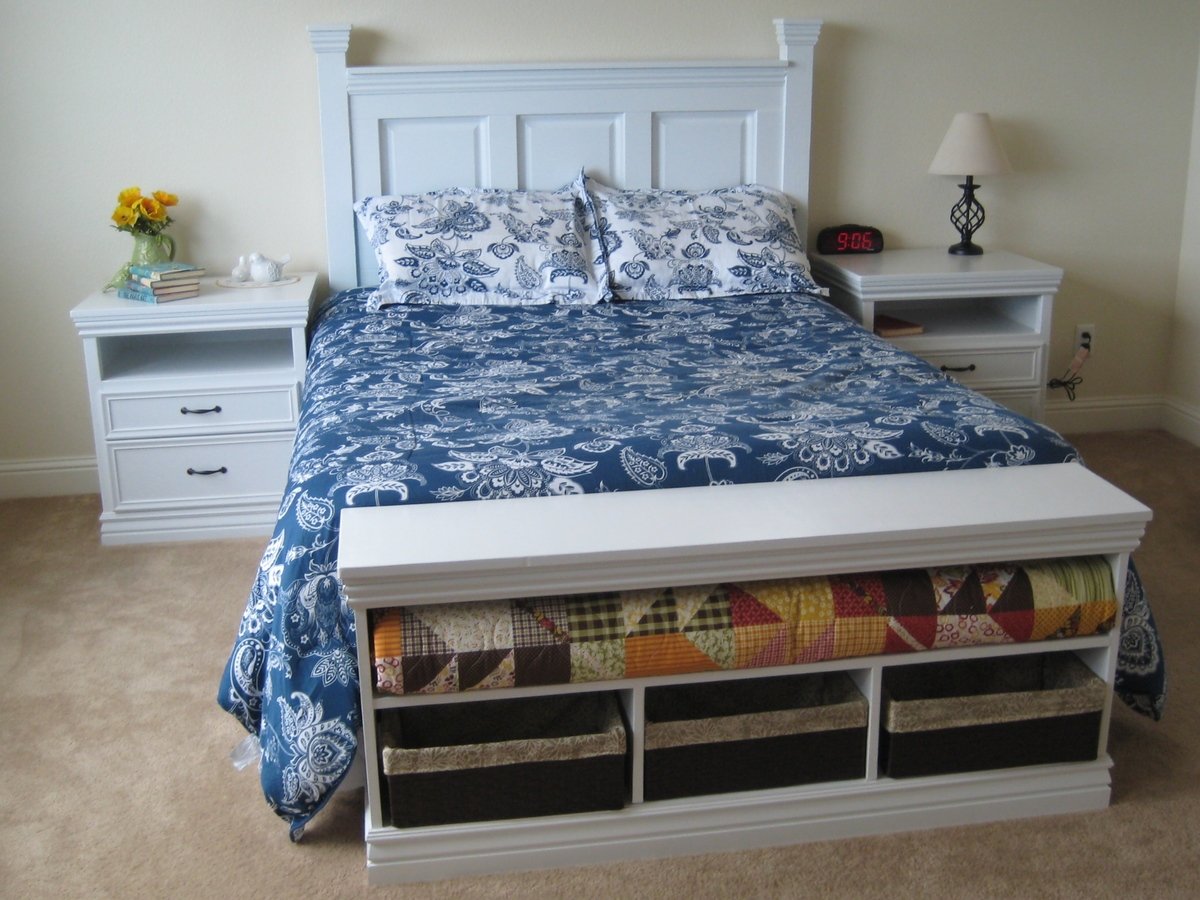
I wanted them to match the headboard and bench that I made for my bed so I added the same molding that I used on those pieces to finish it off.

I pre cut every piece for the main body of the nightstand and predrilled all of the Kreg holes which made it a really quick piece to put together! I purchased the Mini Kreg jig for this project and am so glad I did. Totally worth the money!

Built from Plan(s)
Estimated Cost
About $80 For 2 Nightstands
Estimated Time Investment
Weekend Project (10-20 Hours)
Finish Used
I painted with Rust-oleum painters touch semi gloss white and then sprayed a few coats of polyacrylic on the top.
Recommended Skill Level
Beginner

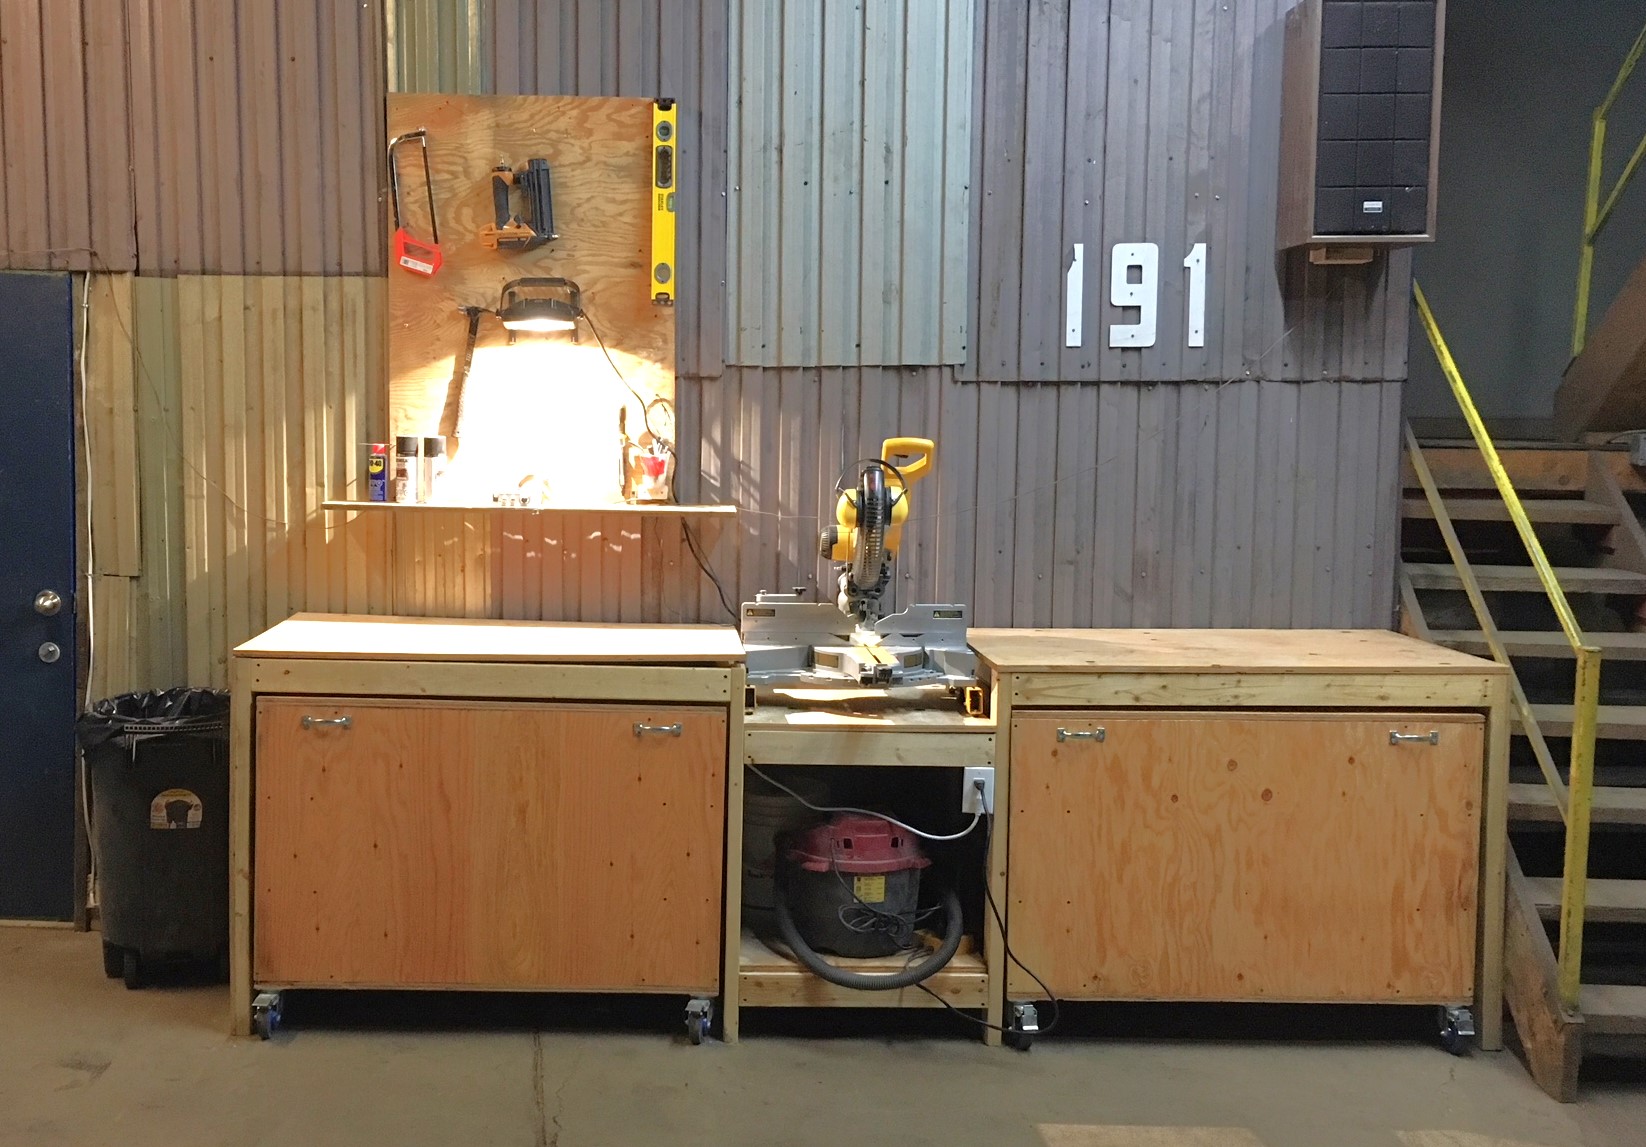
Ana's ultimate workbench (Ryobi)

Submitted by CABANE on Fri, 01/12/2018 - 13:38

This is the perfect workbench for my needs.

I upgraded the casters to bigger ones as my shop's floor is in rough shape.

I also added storage under the two work surface next to the miter saw. This was just a matter of closing under the 2X4 frame and making the two sections on casters a little shorter. The only downside for that mod is that the plywood can bend a bit since it is not screwed to the frame. I don't mind since it falls flat as soon as there is weight on it. Also, this mod makes it hard to include fence system (it would need to be removable, like fixed with dowels only, no glue) and almost impossible to include a precise fence system since it would need to be removable. In my case, I do rough, non-repetitive cuts, so there is no need. 

TIP : Pay a little extra for smooth plywood. I lost a lot of time sanding mine :(
Estimated Cost
$150 CAD
Estimated Time Investment
Weekend Project (10-20 Hours)
Finish Used
Linseed oil
Recommended Skill Level
Beginner

Comments

groche

Tue, 02/04/2020 - 08:21

Awesome! Do you have pictures/info for the cart that has the Dewalt table saw? I have the same one and would love to build the cart for it.

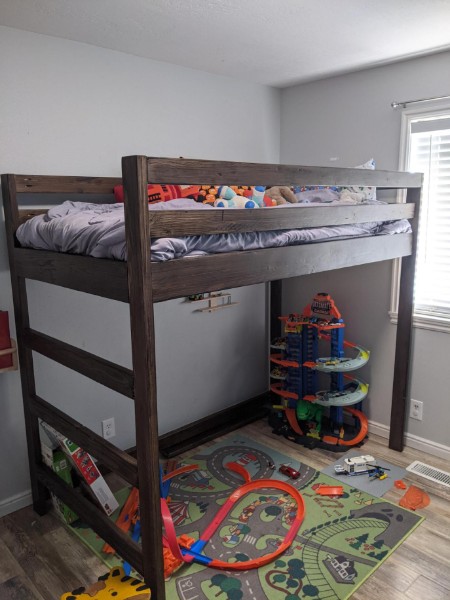
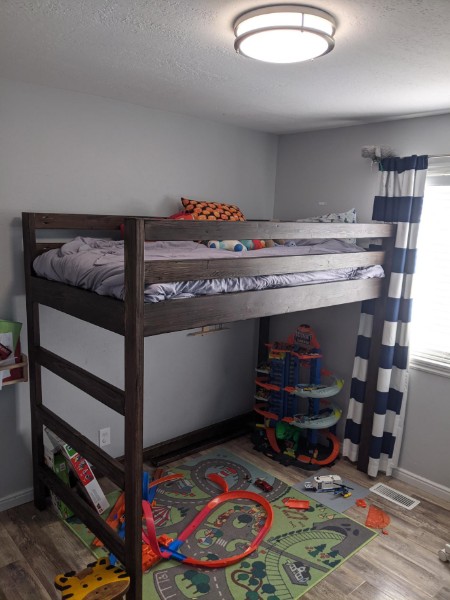
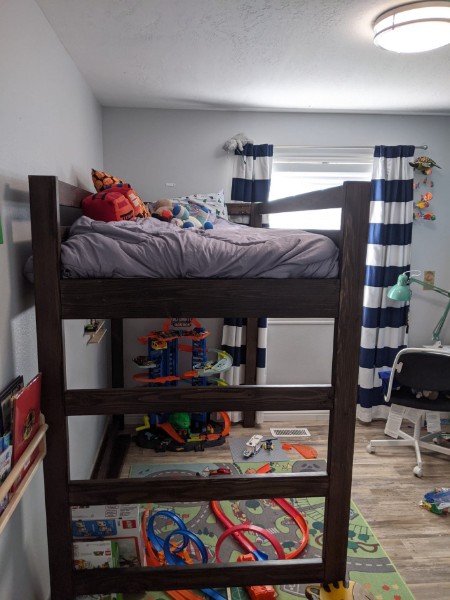
Camp Loft Bed with Stair, Junior Height

Submitted by Anonymous (not verified) on Wed, 06/08/2022 - 15:46

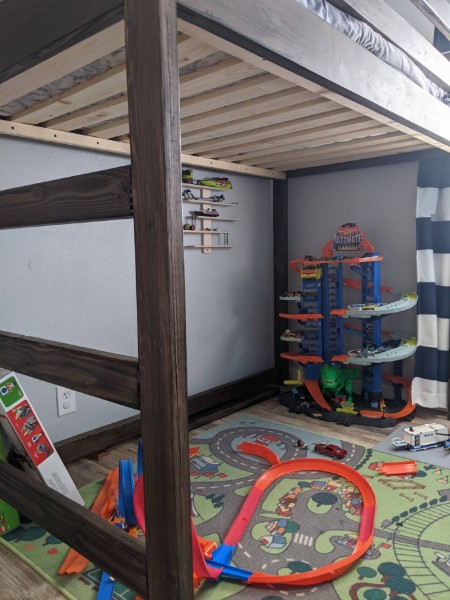
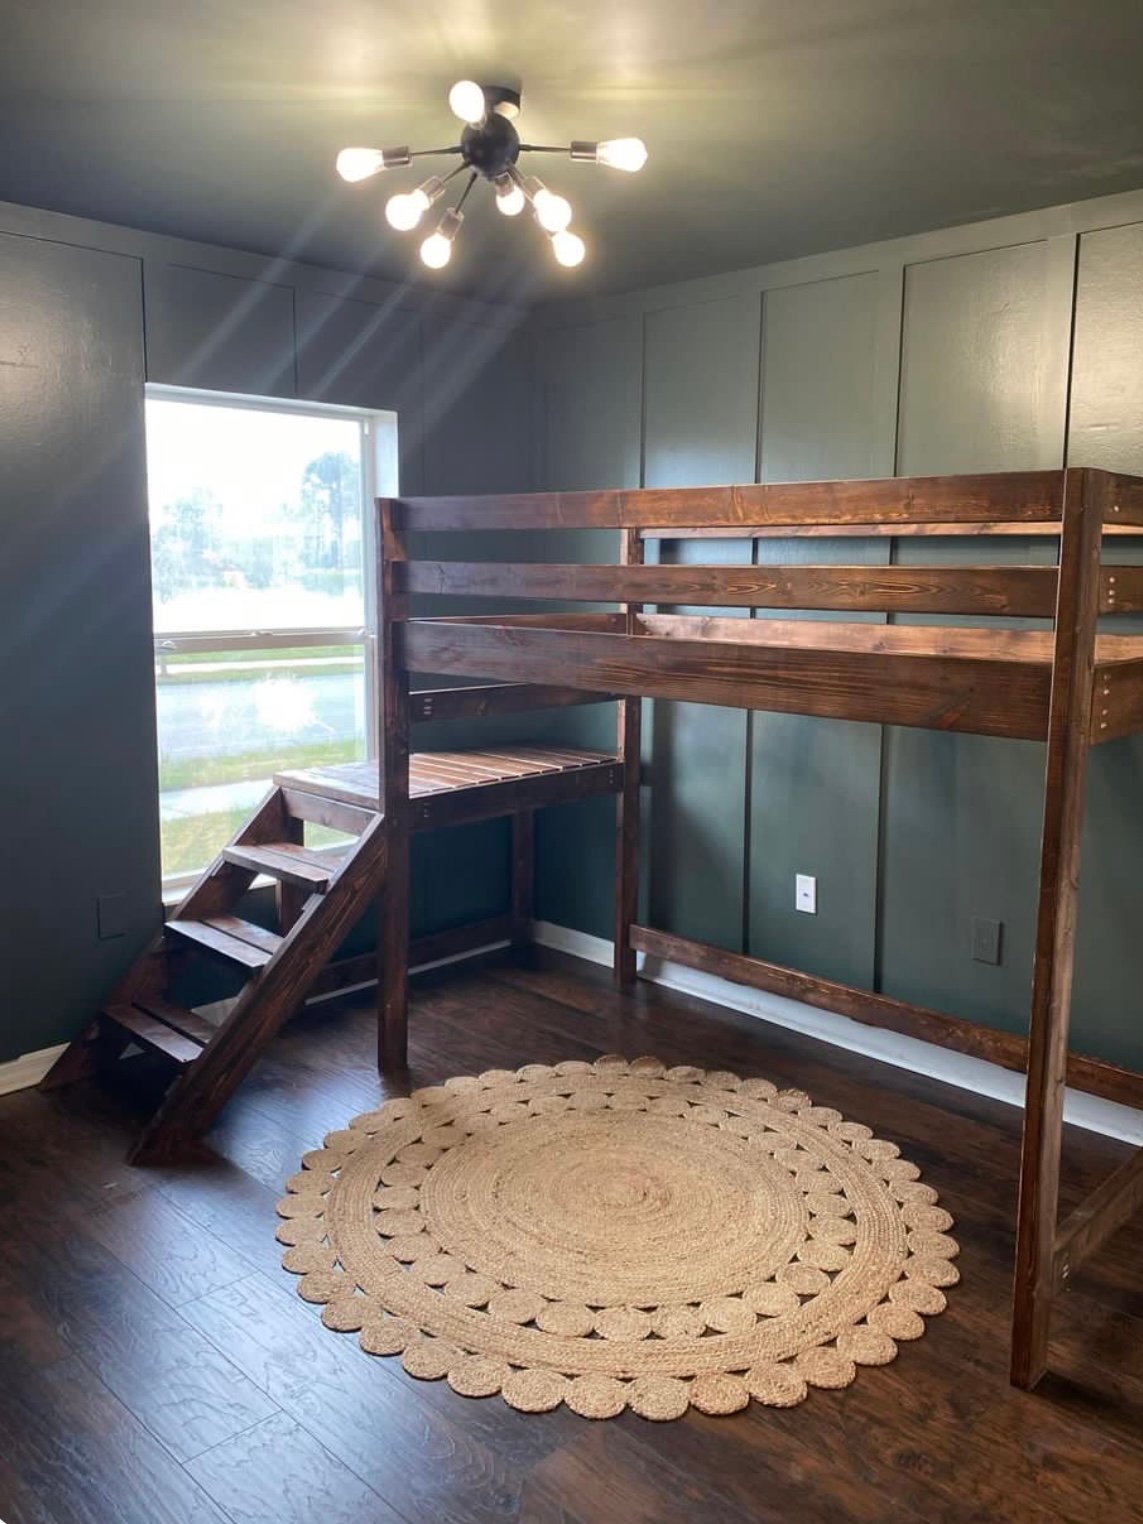
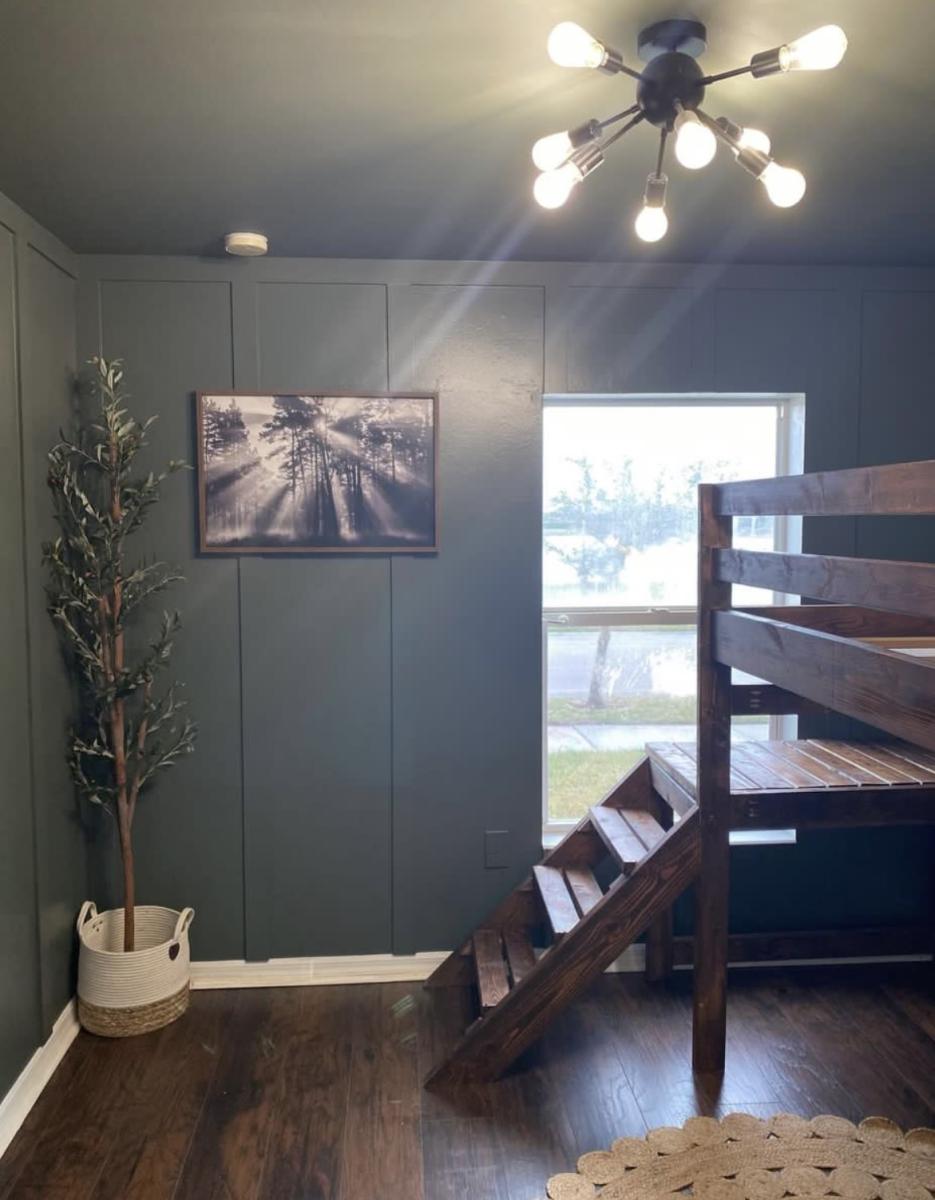
Pretty straightforward project. I didn't end up making the base due to lack of space and time. The hardest part for me was staining as depending on the medium semi-transparent etc... and how you apply it brush or gun etc... can change how it turns out. I used dark walnut i believe and only 1 coat and to me it was plenty rich. pretty sure it was semi transparent. I like how it's a loft bed and gives kid more sqft for their room. it is somewhat shaky but not horrible probably due to lack of base. I will probably add some cross members for support.

Comments

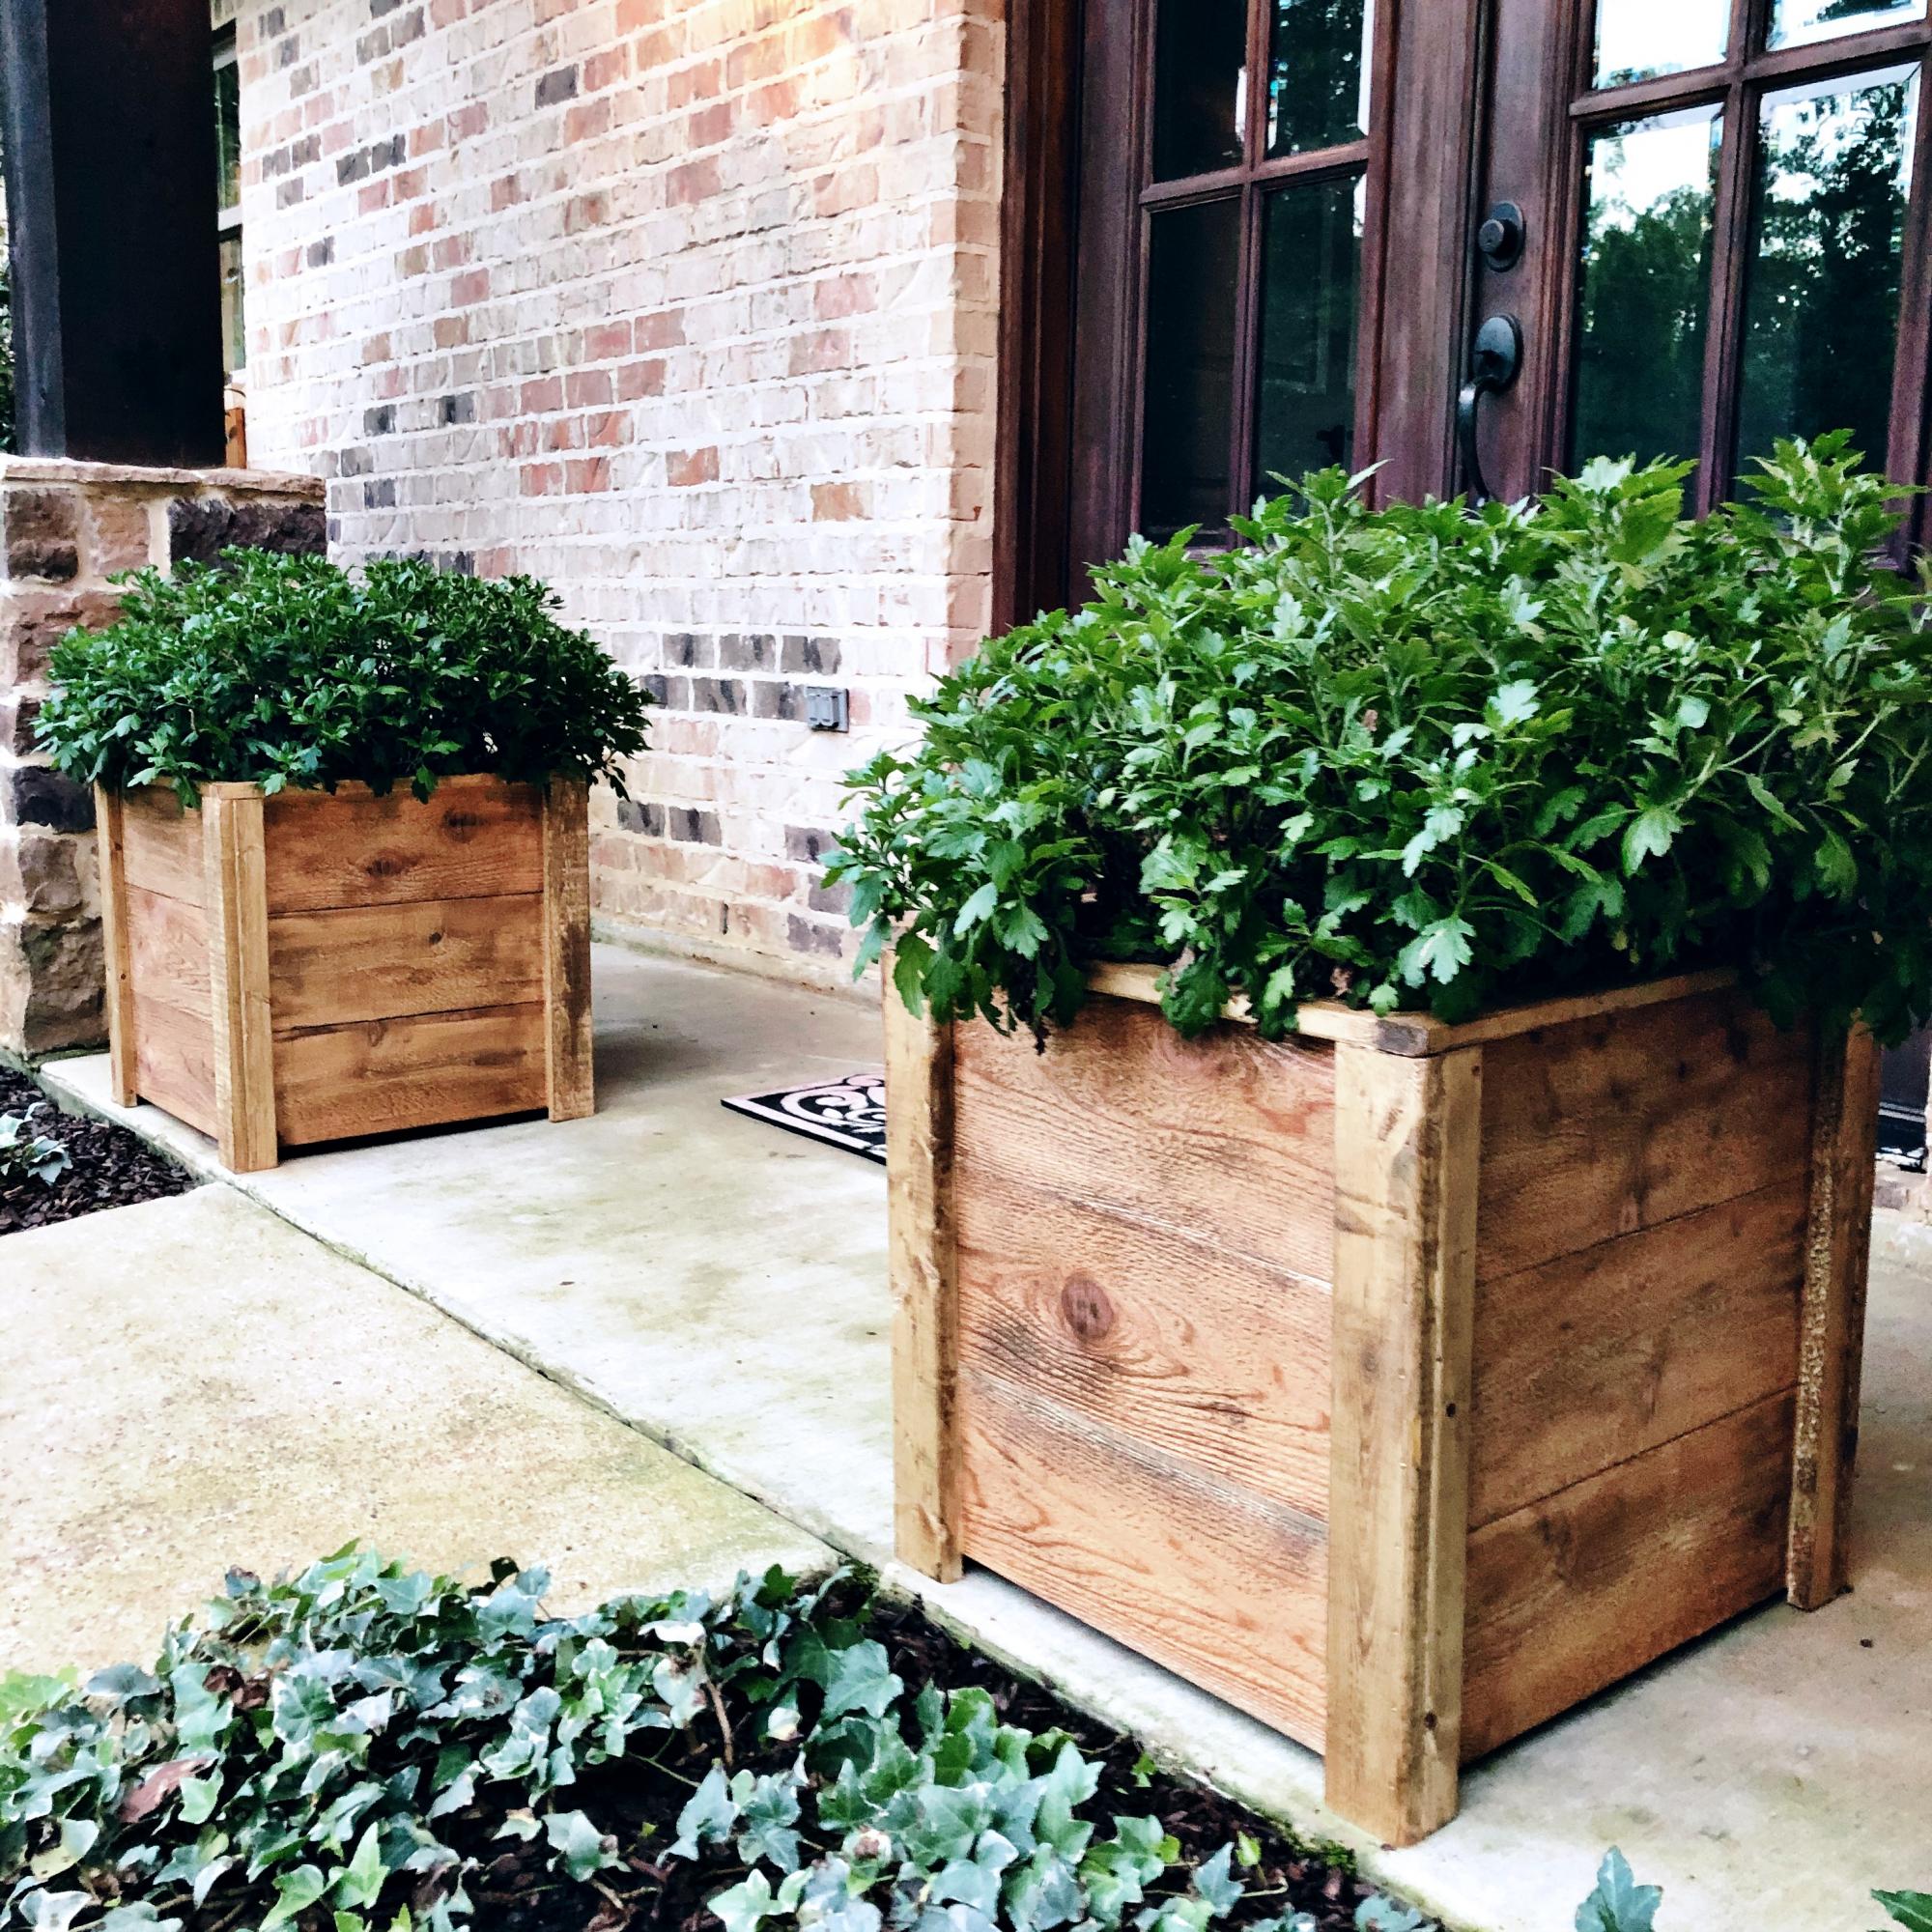
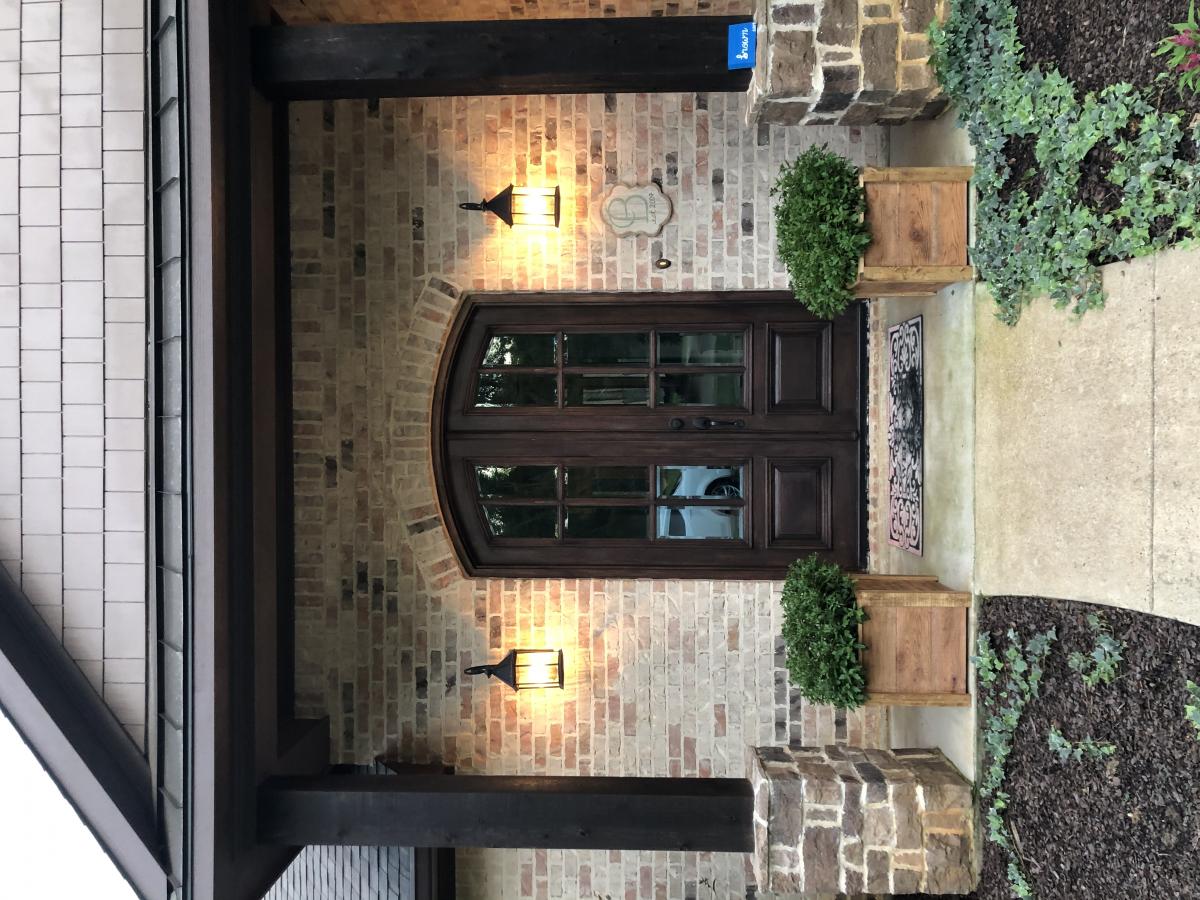
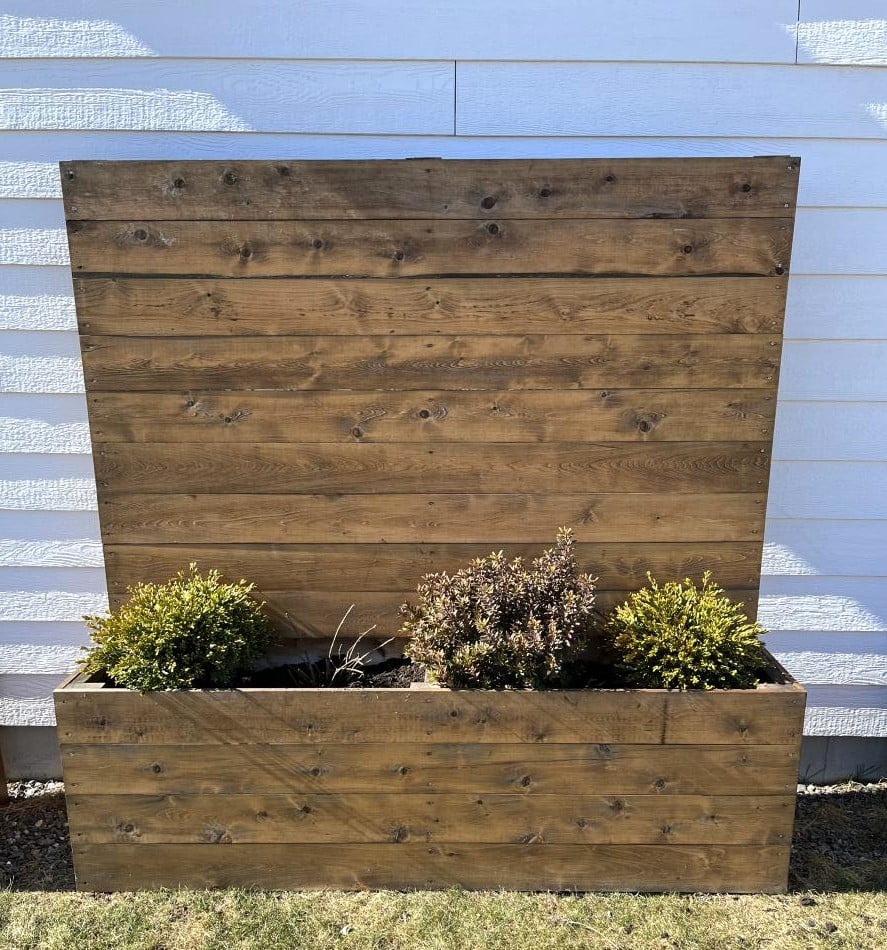
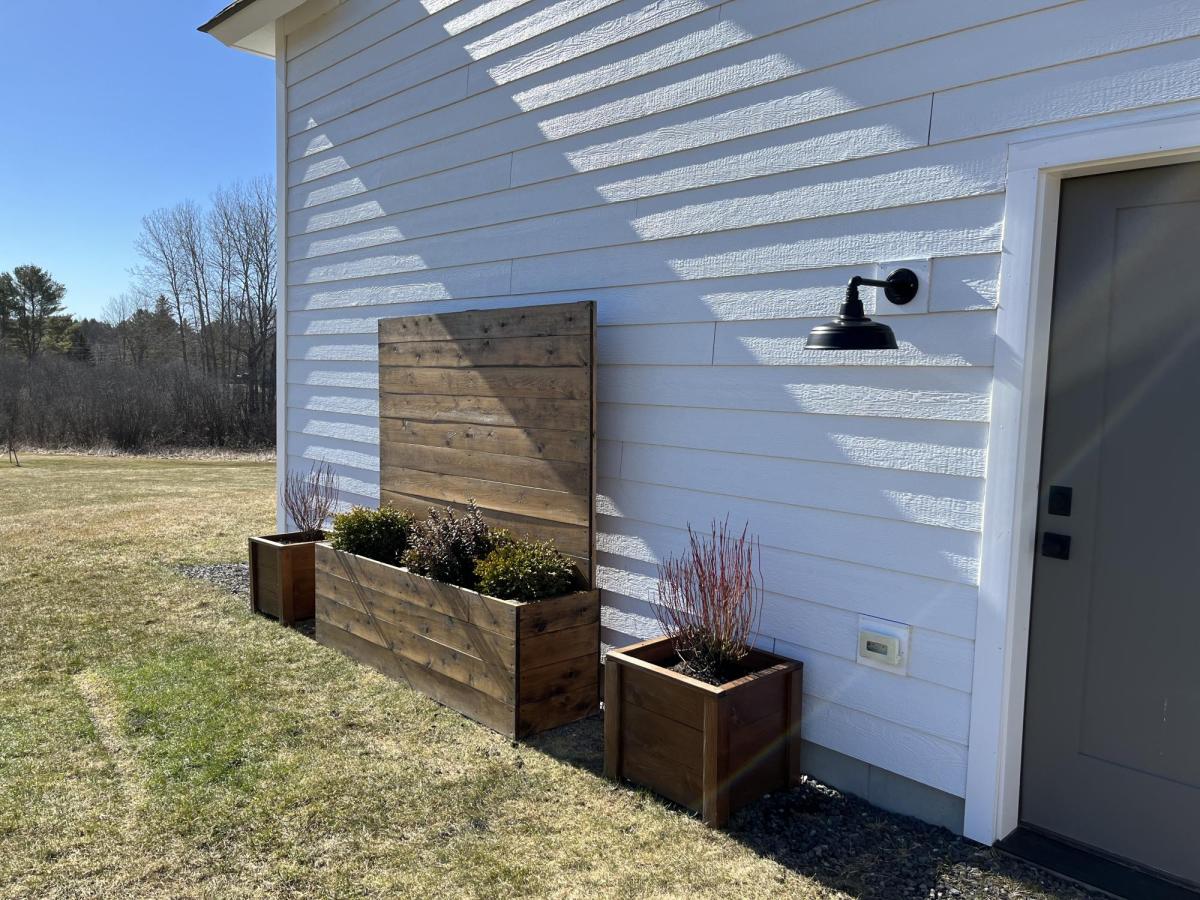
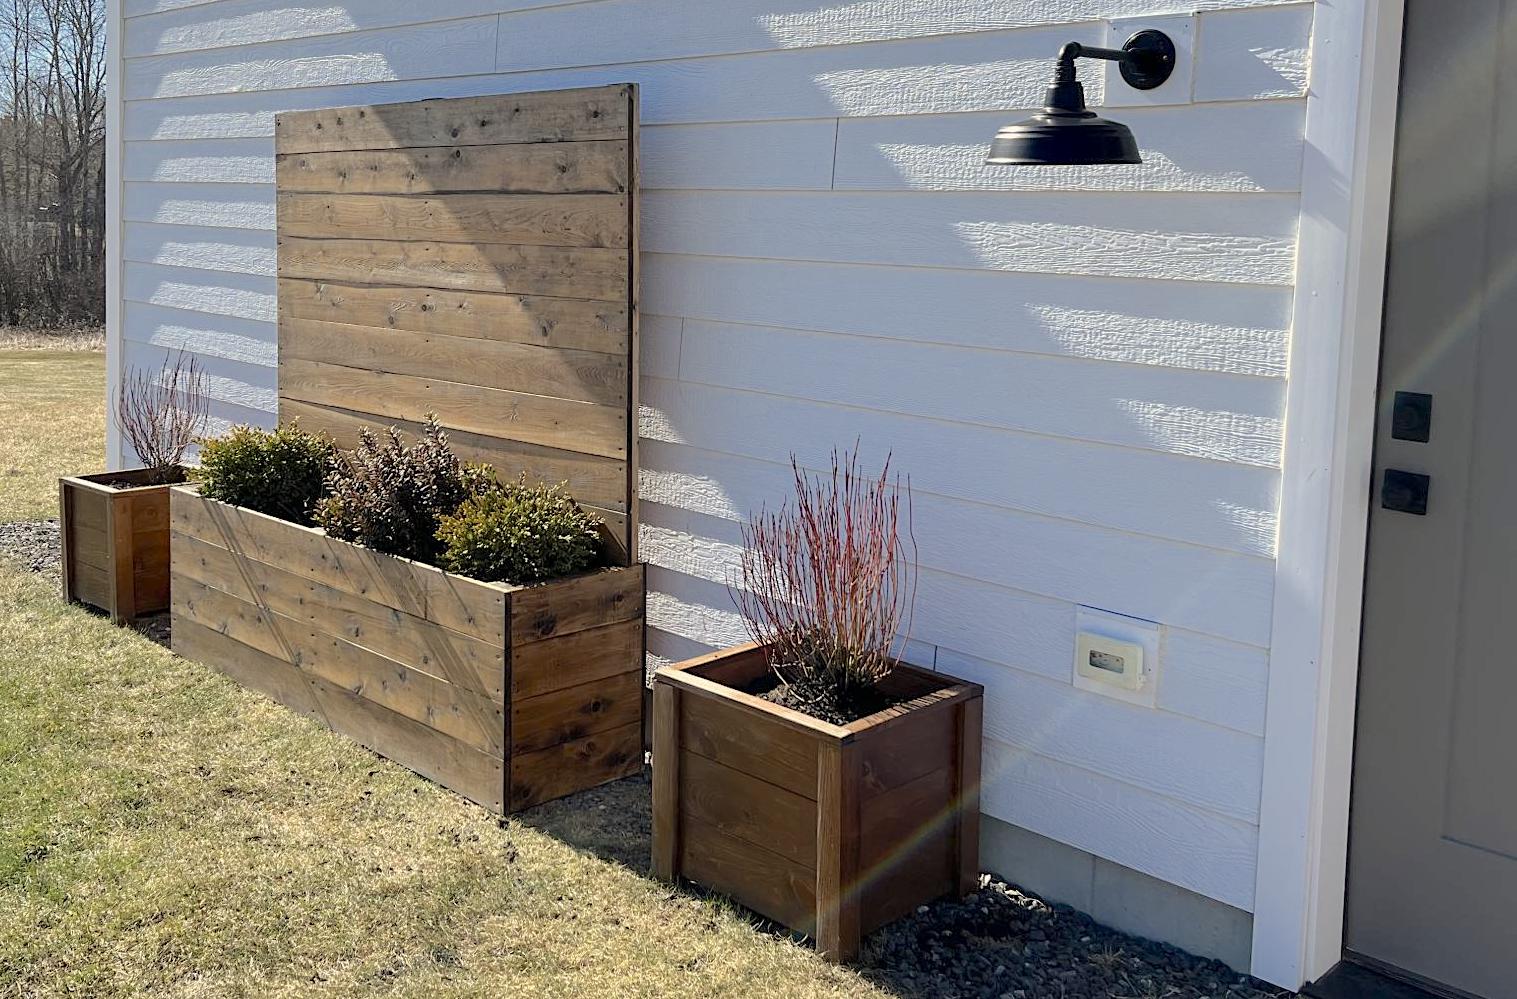
Planters!

Submitted by Anonymous (not verified) on Fri, 04/14/2023 - 03:50

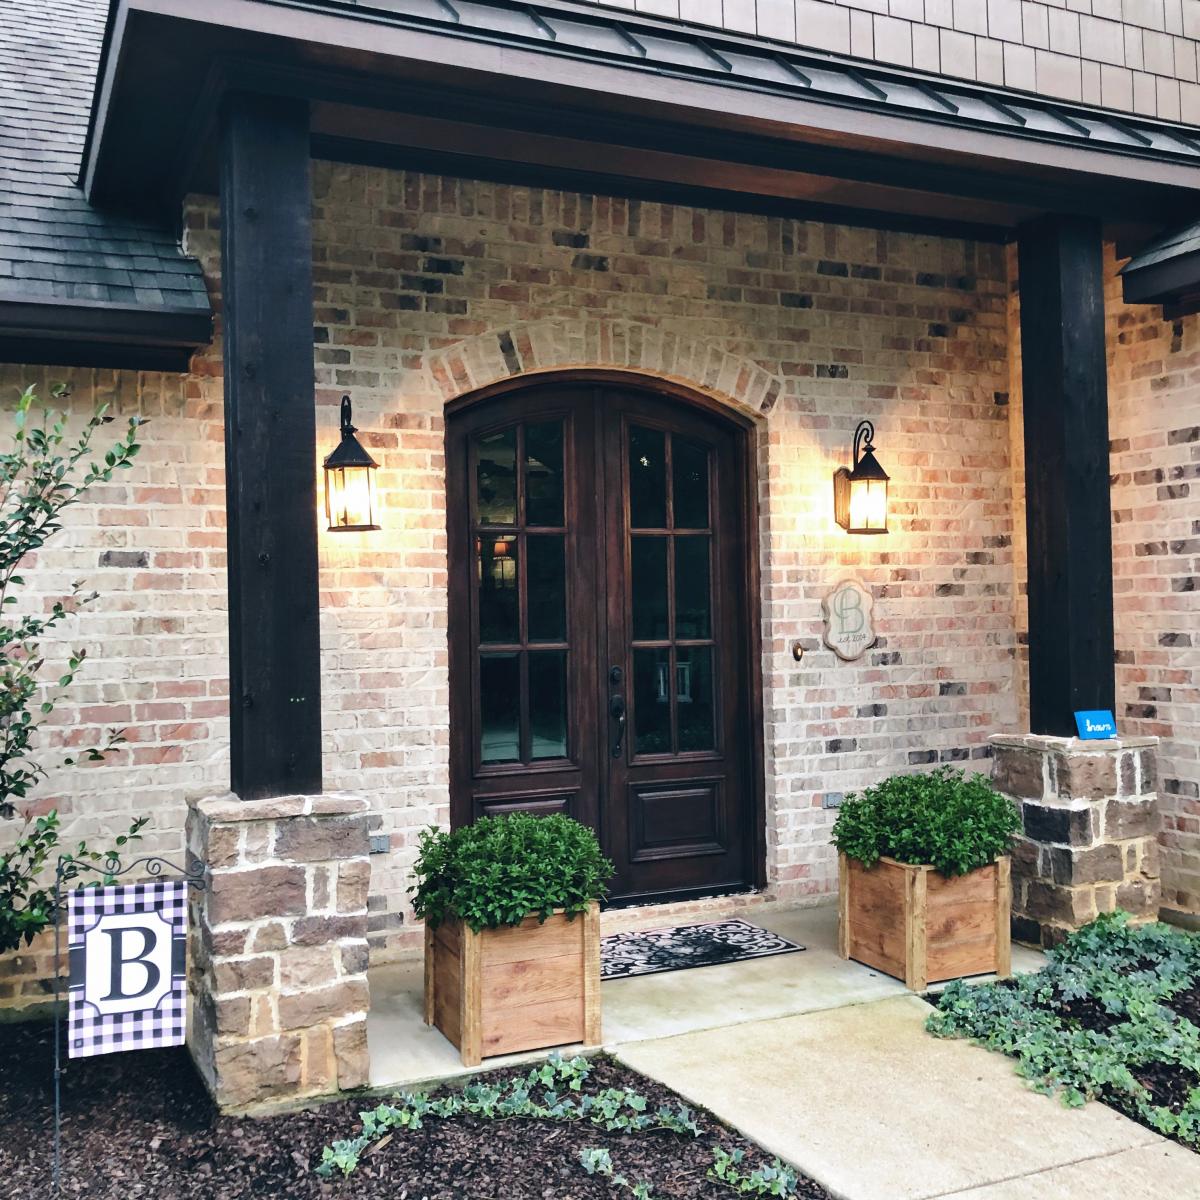
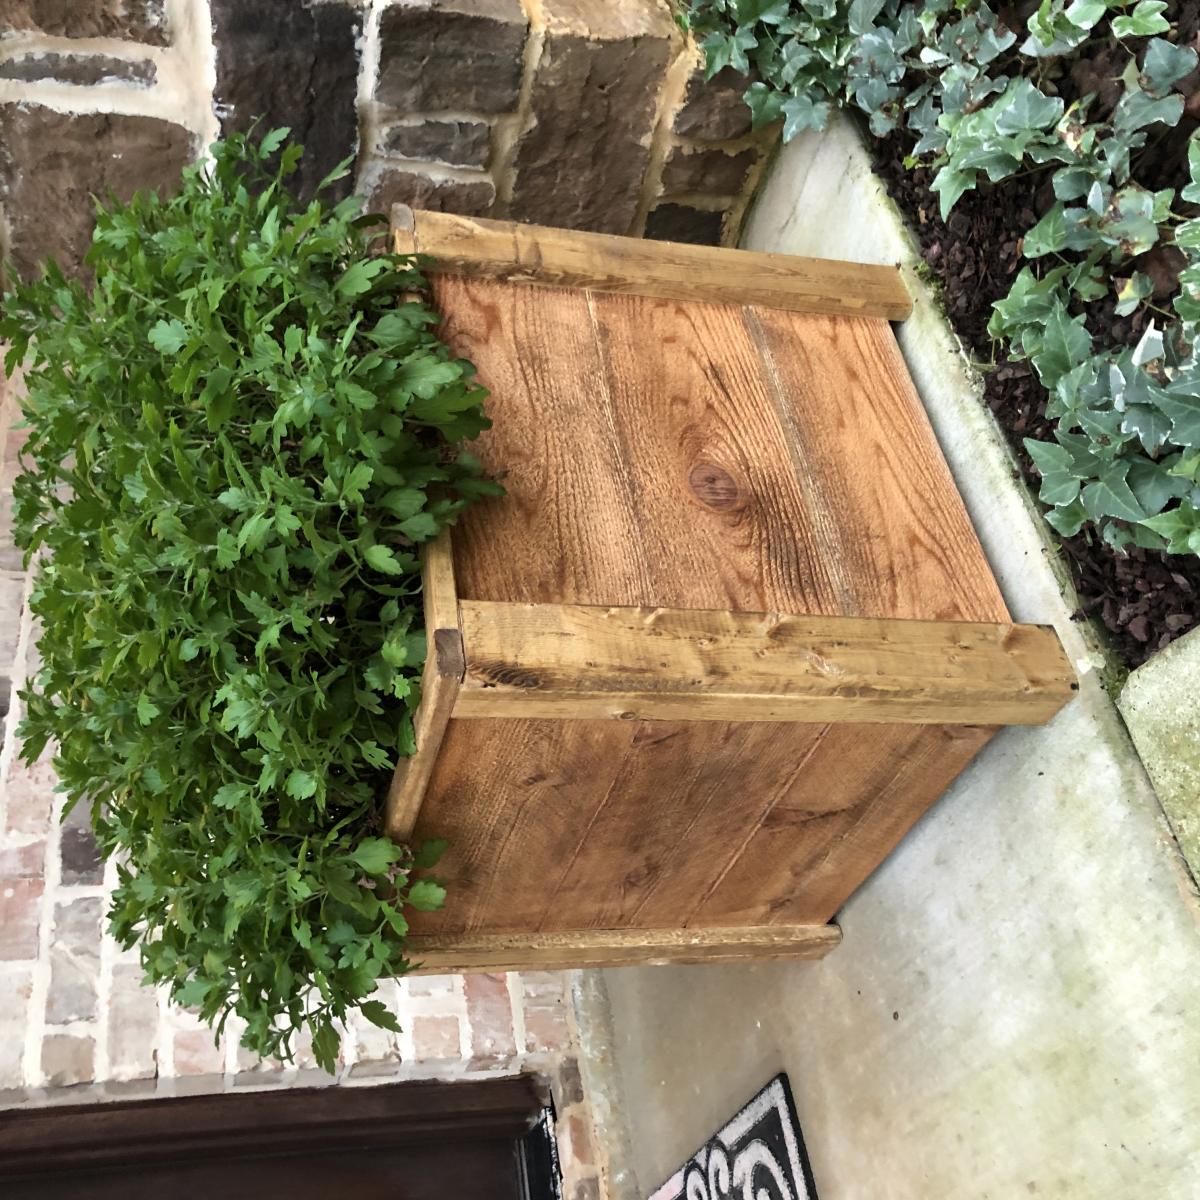
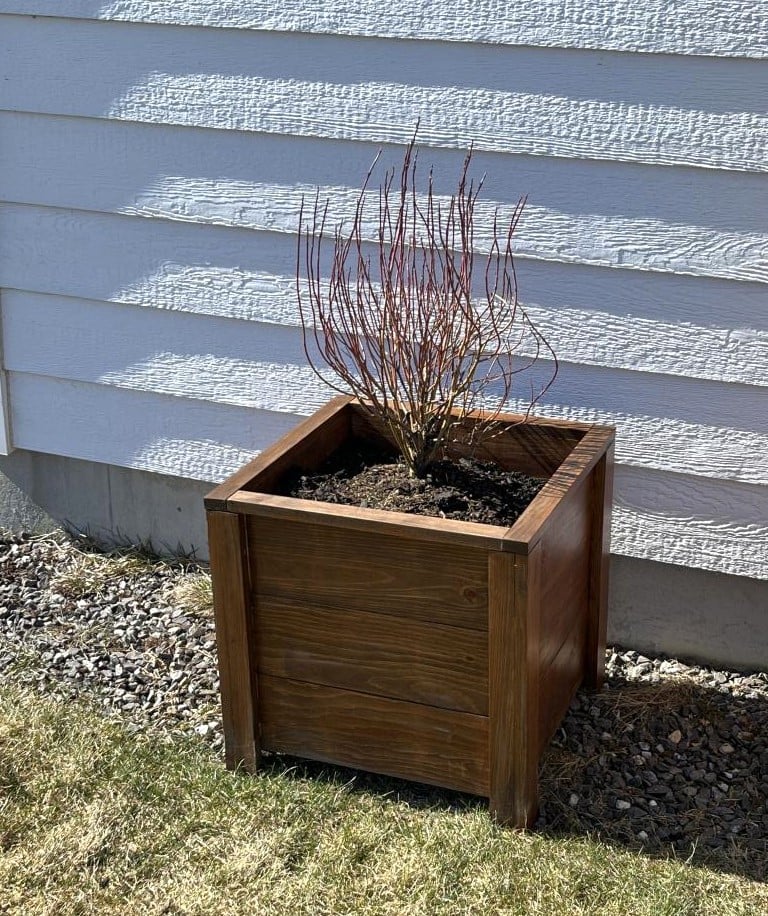
These planters are exactly what we needed to warm up this blank siding! The smaller planters are made from pine, the larger from cedar.

Comments

Seasonal And Holiday

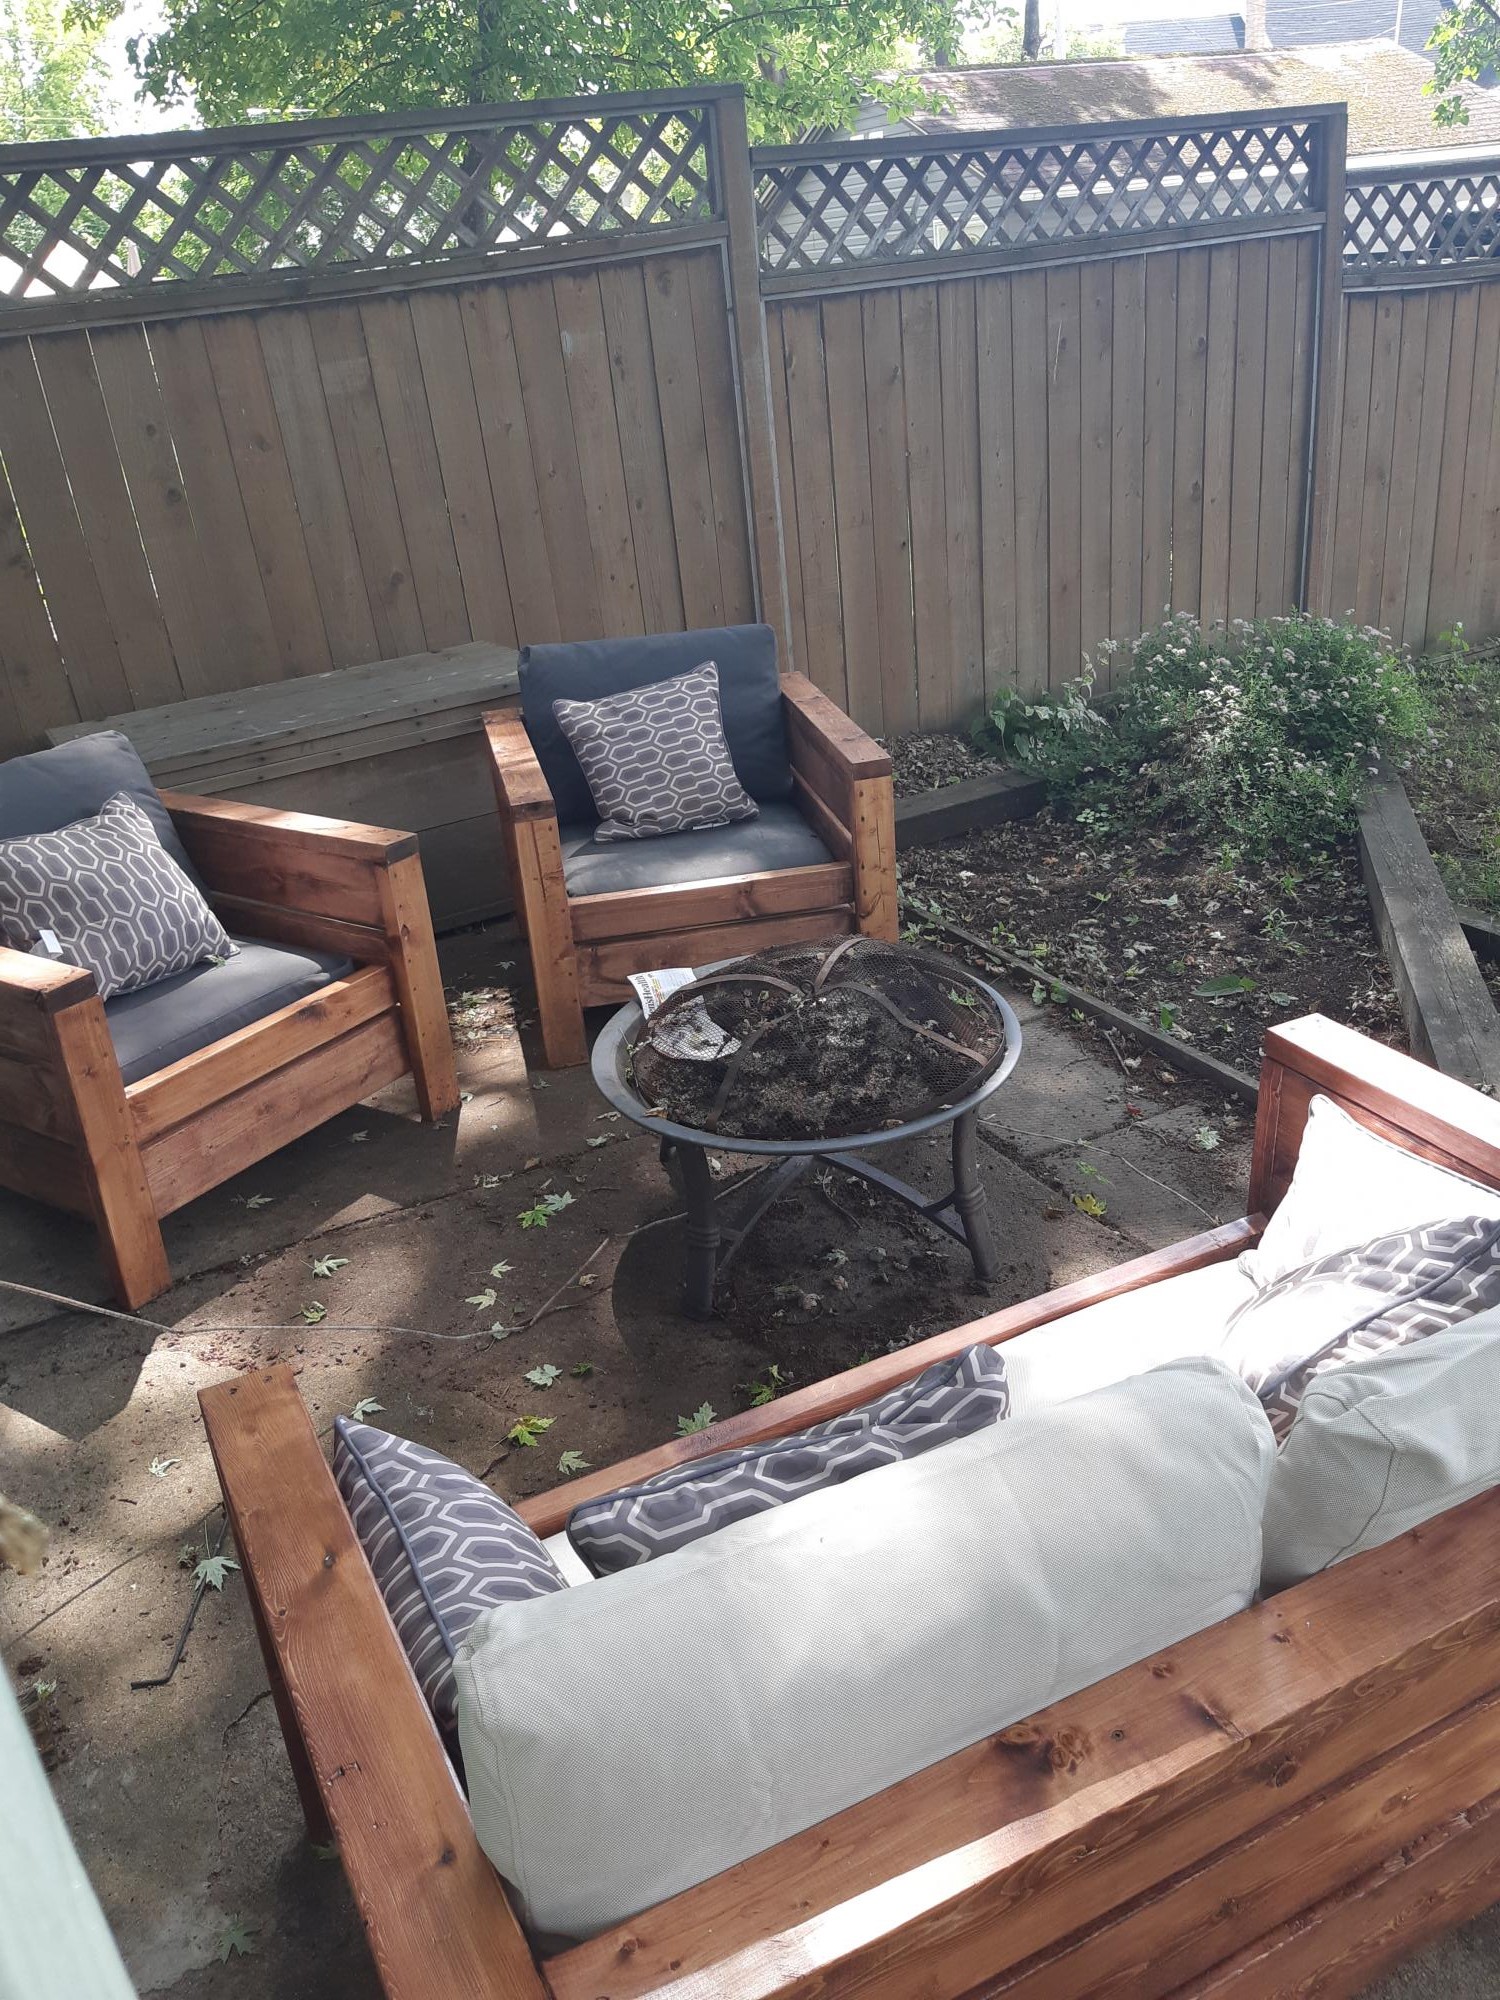
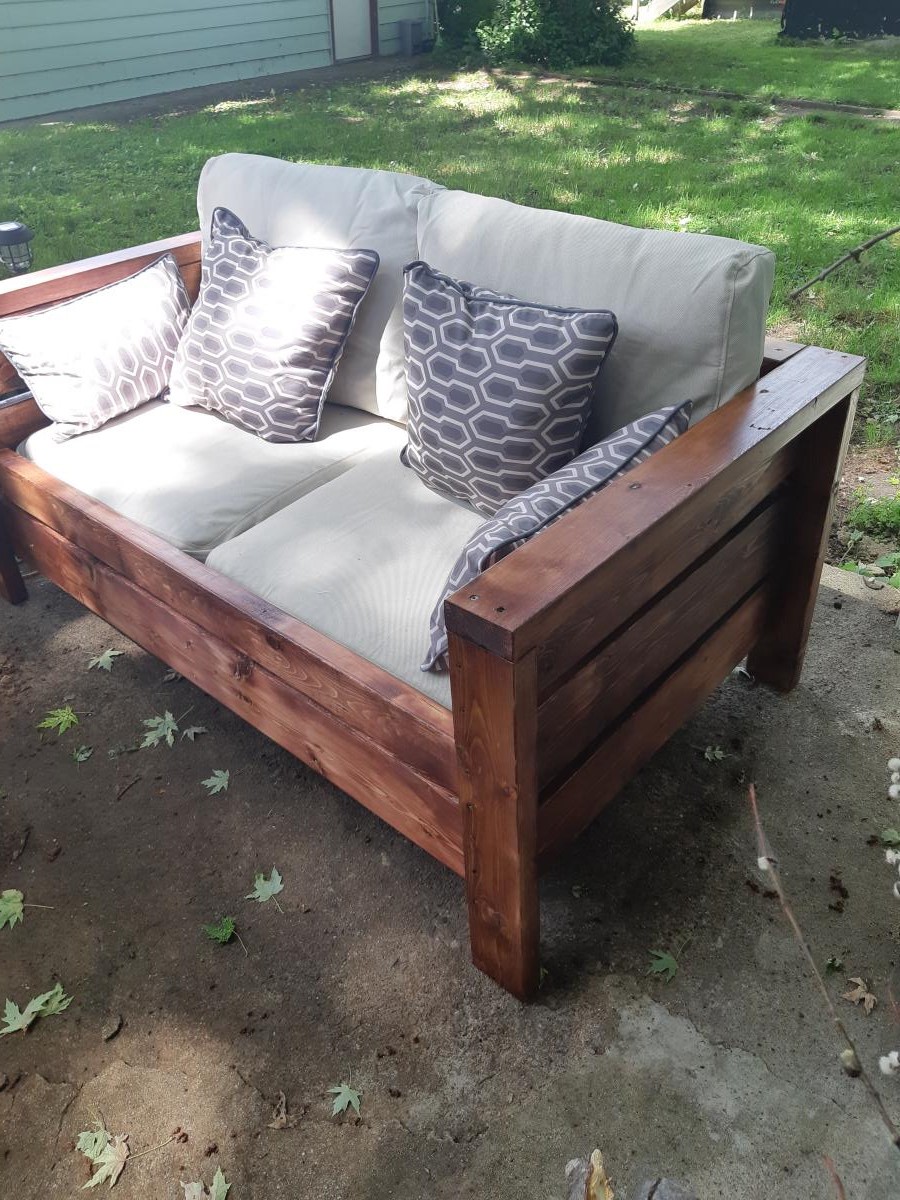
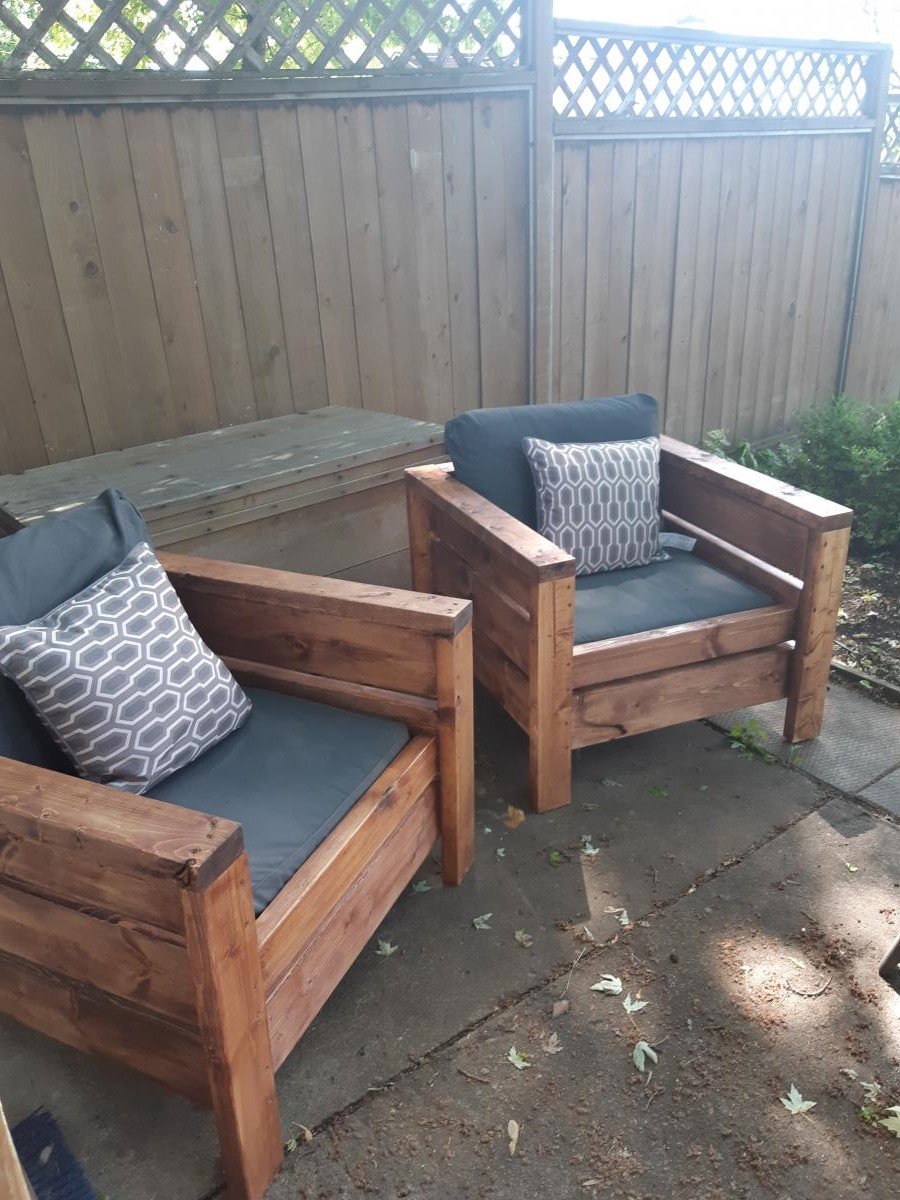
Modern outdoor chair and loveseat

Modified chair plans to build loveseat. Chairs took one day and loveseat took one day. 

Estimated Cost
Lumber is way more expensive where I live. The chairs were $85 in lumber for both and the love seat was $40 because I had some leftover from the chairs.
Estimated Time Investment
Weekend Project (10-20 Hours)
Finish Used
Red mahogany stain, then a coat of polyurethane
Recommended Skill Level
Beginner

Comments

jessicawhitlock

Wed, 07/15/2020 - 11:33

I love how you set the cushion down in the seat. What type of cushion did you use? Is it comfortable this way? This looks exactly what I am picturing in my head, but I worry the bar on your legs might be uncomfortable.

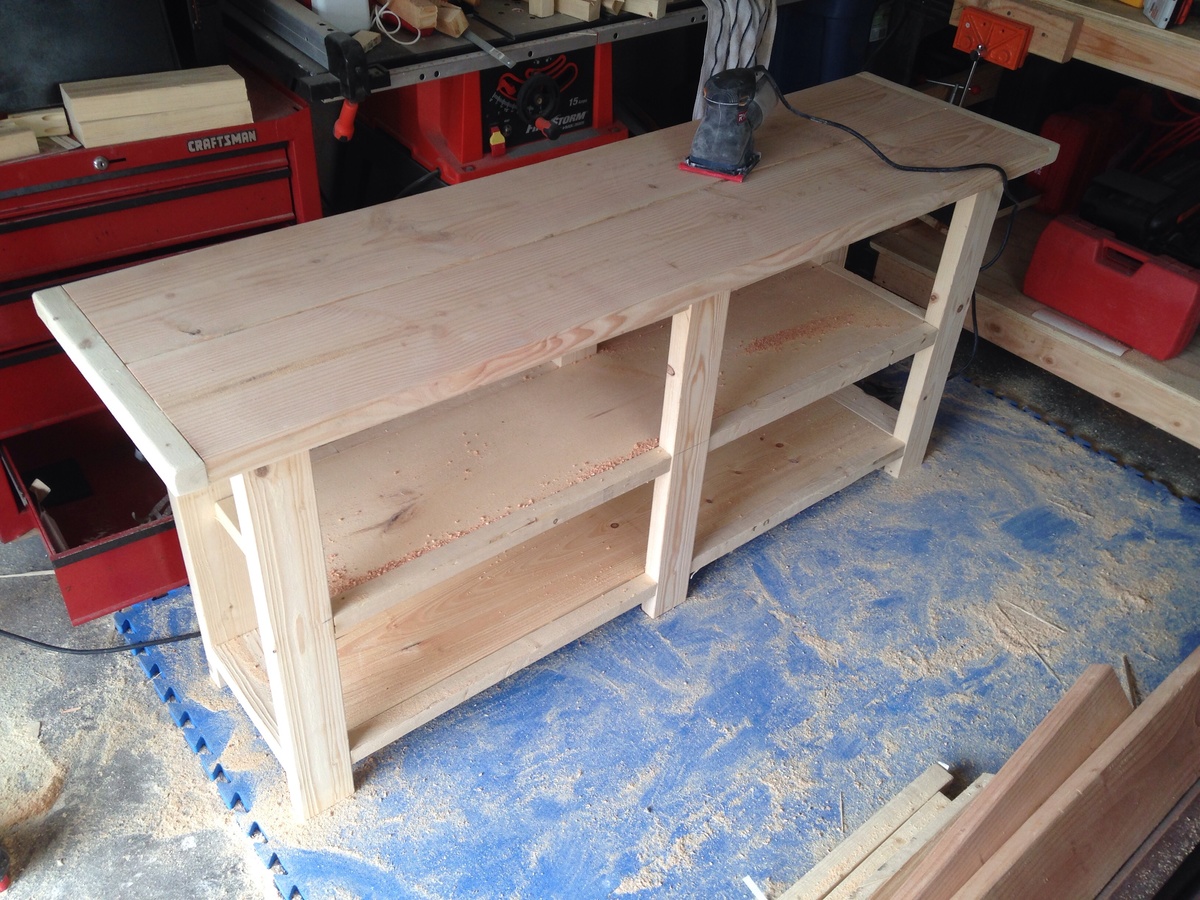
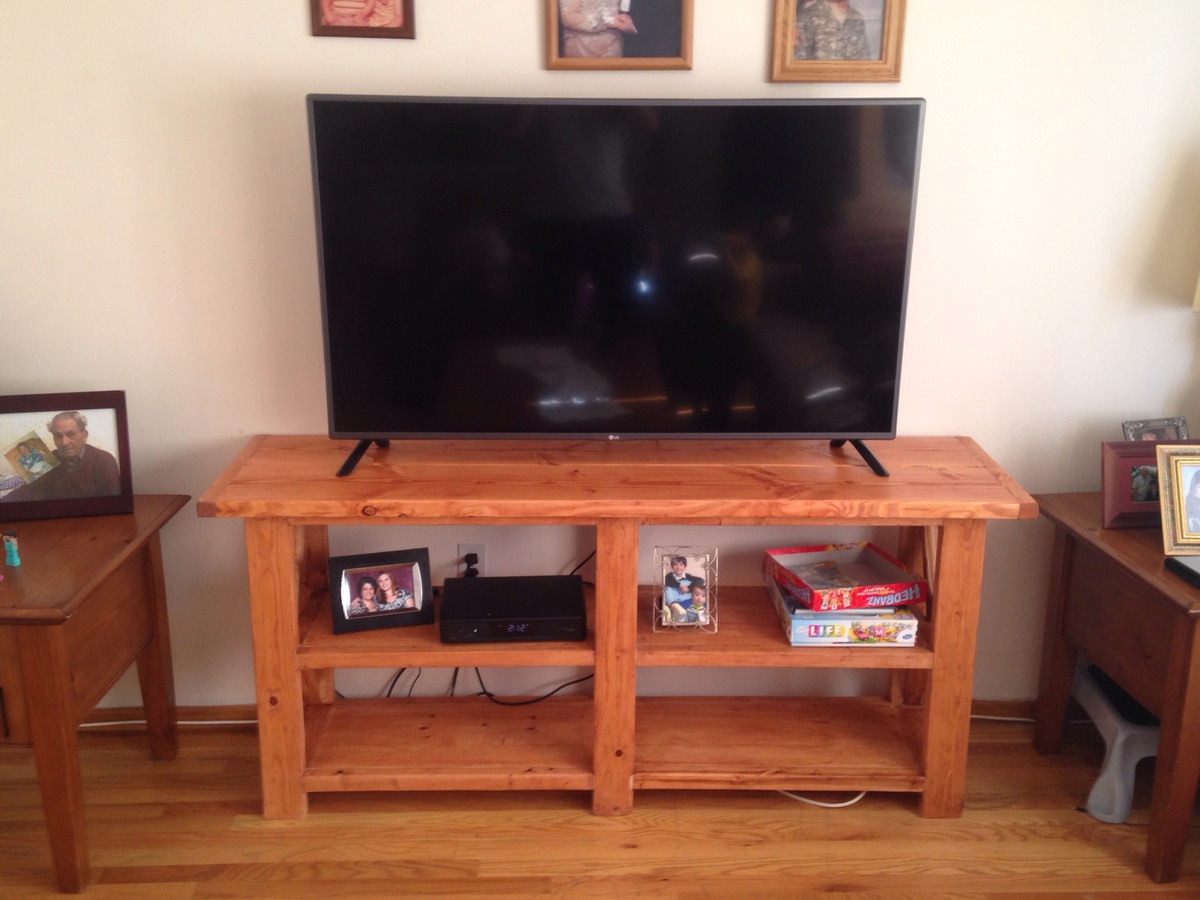
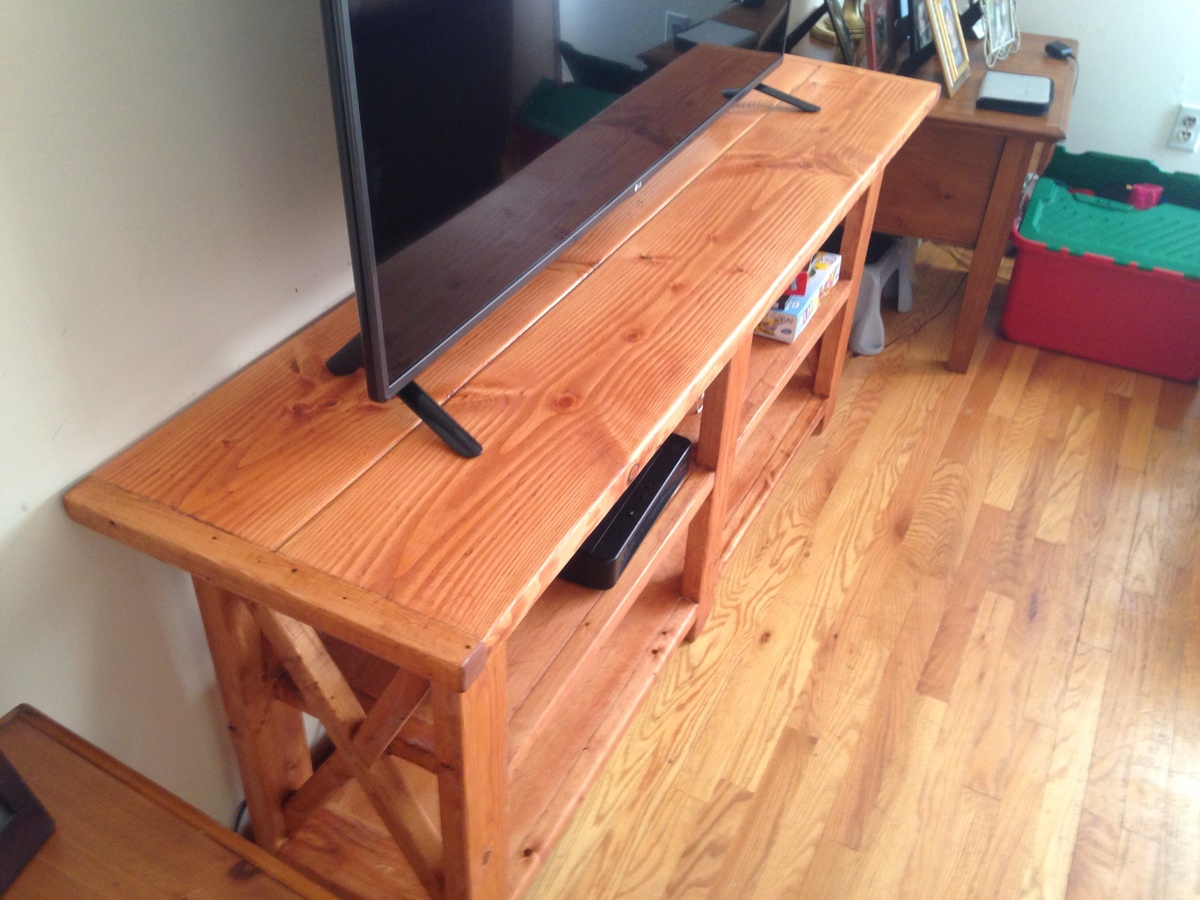
Rustic X console table Tv Stand

Submitted by Anonymous (not verified) on Tue, 03/01/2016 - 18:21

I built this for my mom after finding plans online. Since then I have been inspired by Ana and Jacob to build all furniture I ever need from this point on. No more over priced cheap store bought furniture. Thanks Ana and Family for your plans and helping me find peace in the workshop.

Built from Plan(s)
Estimated Cost
$75 with stain and screws.
Estimated Time Investment
Weekend Project (10-20 Hours)
Finish Used
Golden Pecan from min wax and two coats of poly.
Recommended Skill Level
Beginner

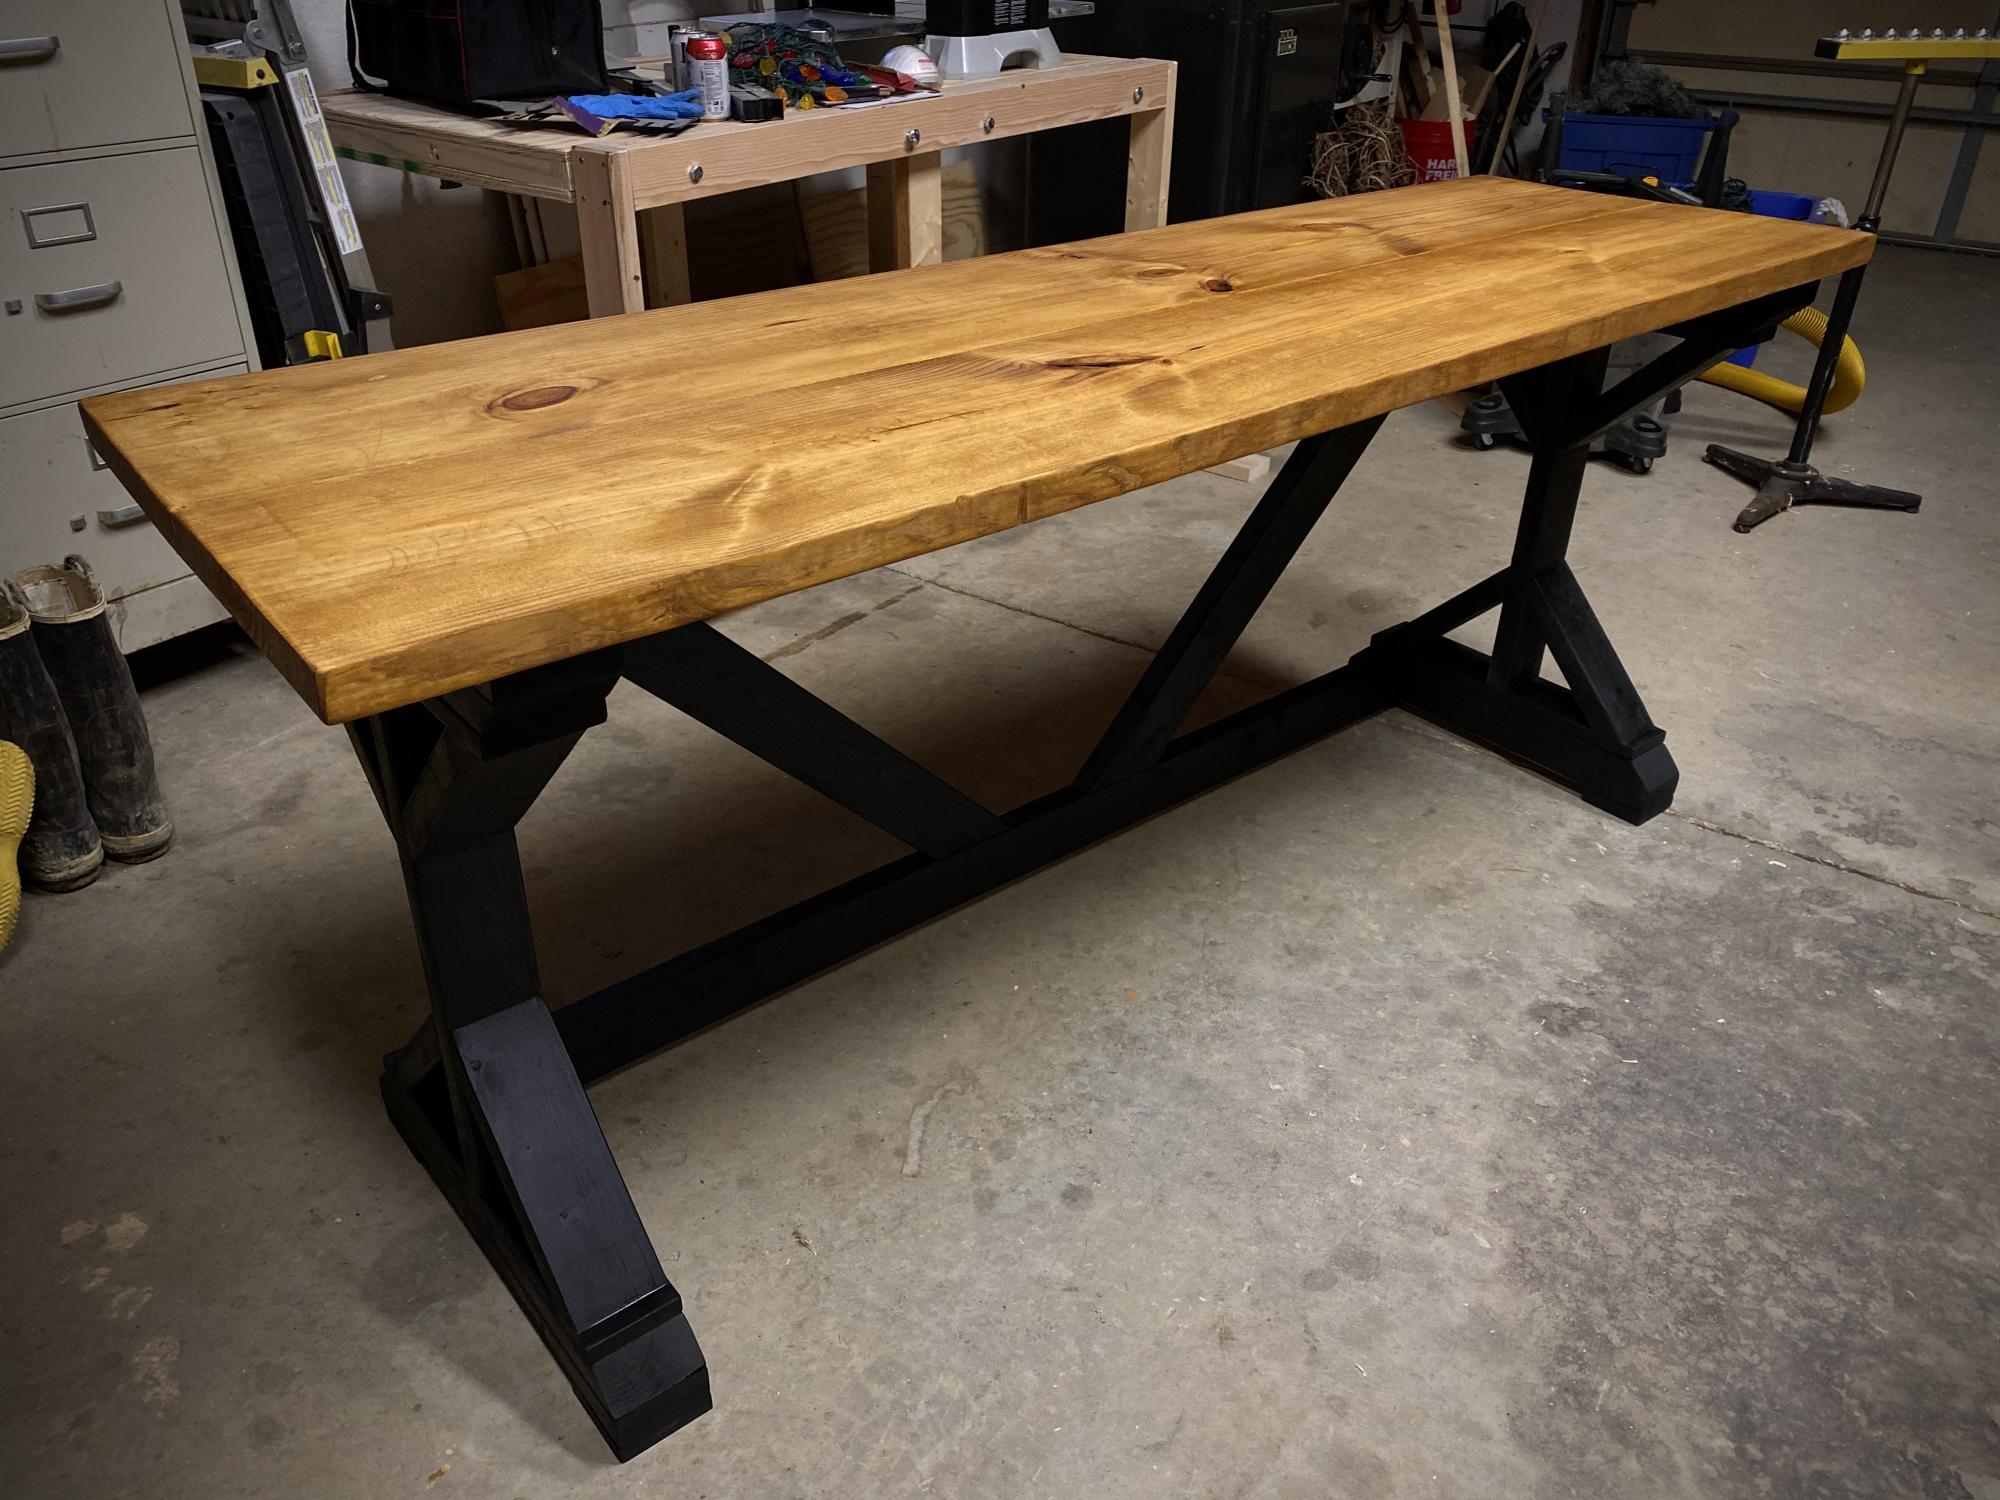
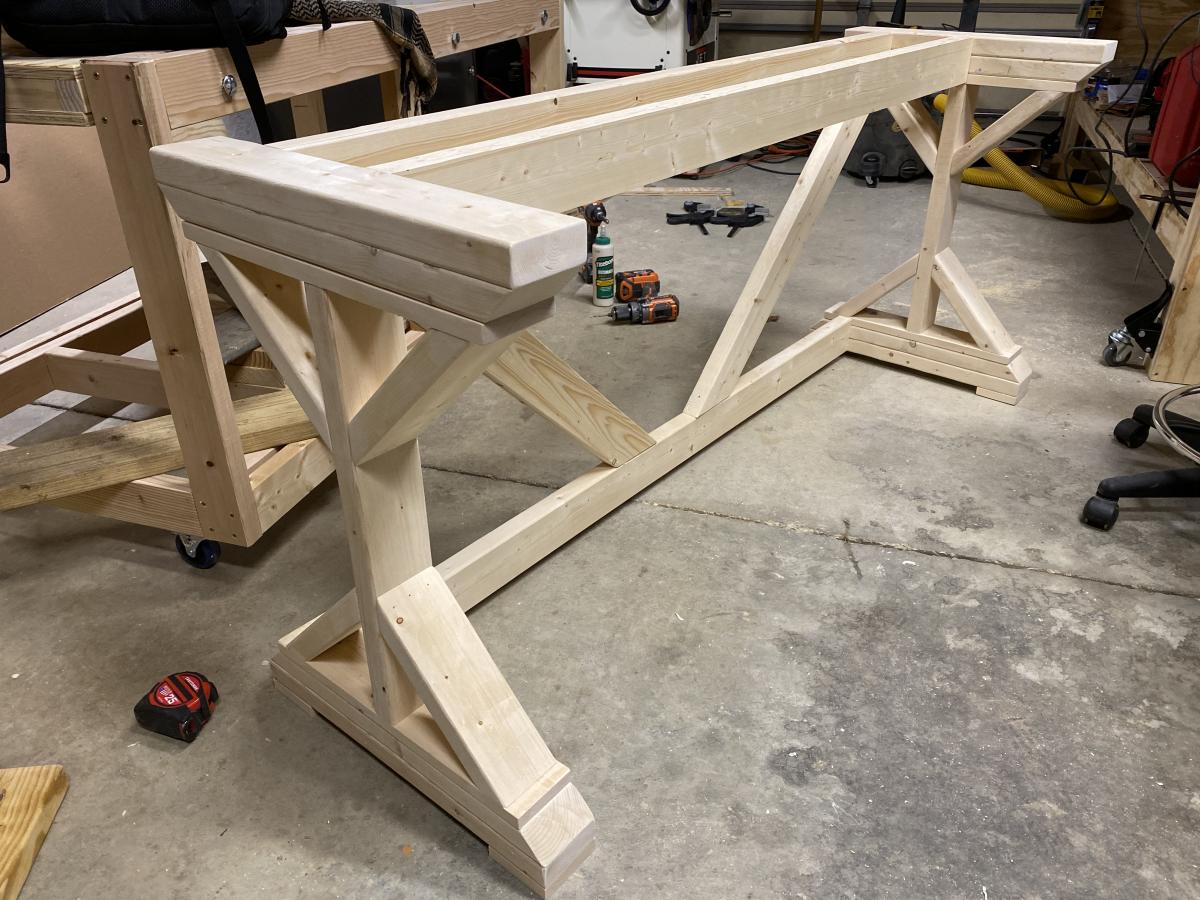
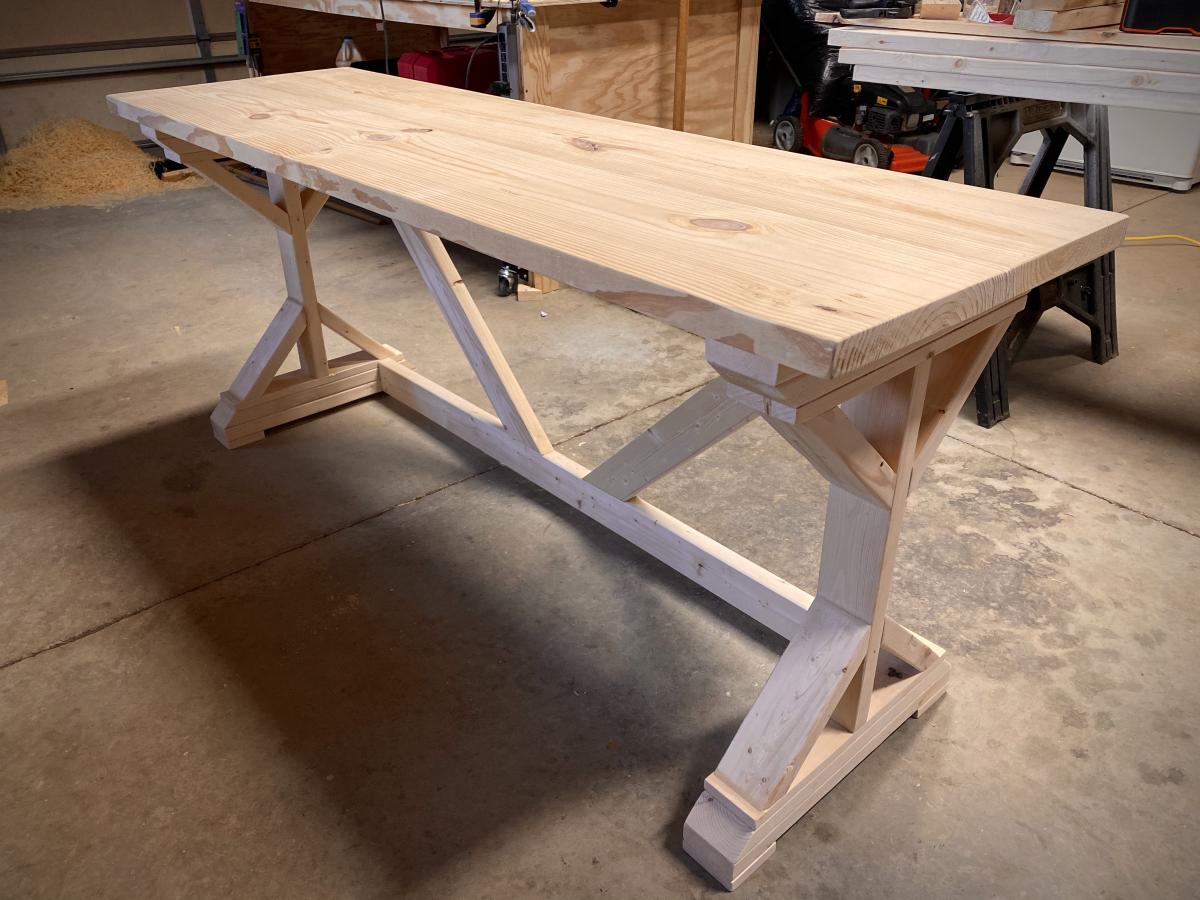
Fancy X Desk For Home Music Studio

This is only my second ever furniture project. I modified the height to give me extra clearance for a full sized synthesizer underneath. I spray painted the base matte black, stained the top with Minwax Puritan Pine, and sealed it with Varathane Triple Thick Water Based Polyurethane.

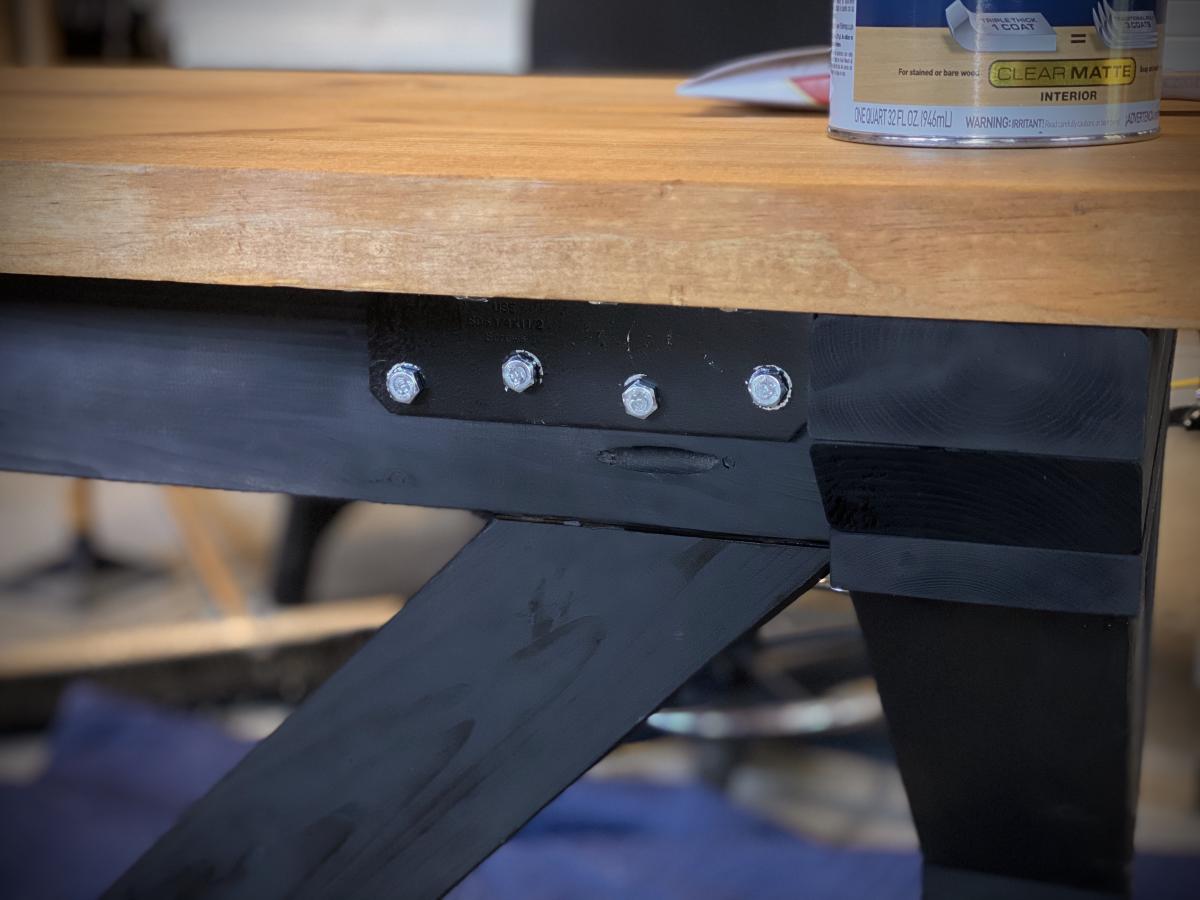
I attached the top with heavy corner brackets and 1" hex head lag screws to add a bit of an industrial look.

Built from Plan(s)
Estimated Cost
$60
Estimated Time Investment
Day Project (6-9 Hours)
Finish Used
Used a single coat of Minwax Puritan Pine for the top, and a single coat of black matte spray paint with primer for the base.
Recommended Skill Level
Beginner

Comments

Bunk Bed Shelf Organizer

Submitted by BethStew5 on Wed, 07/18/2012 - 21:51

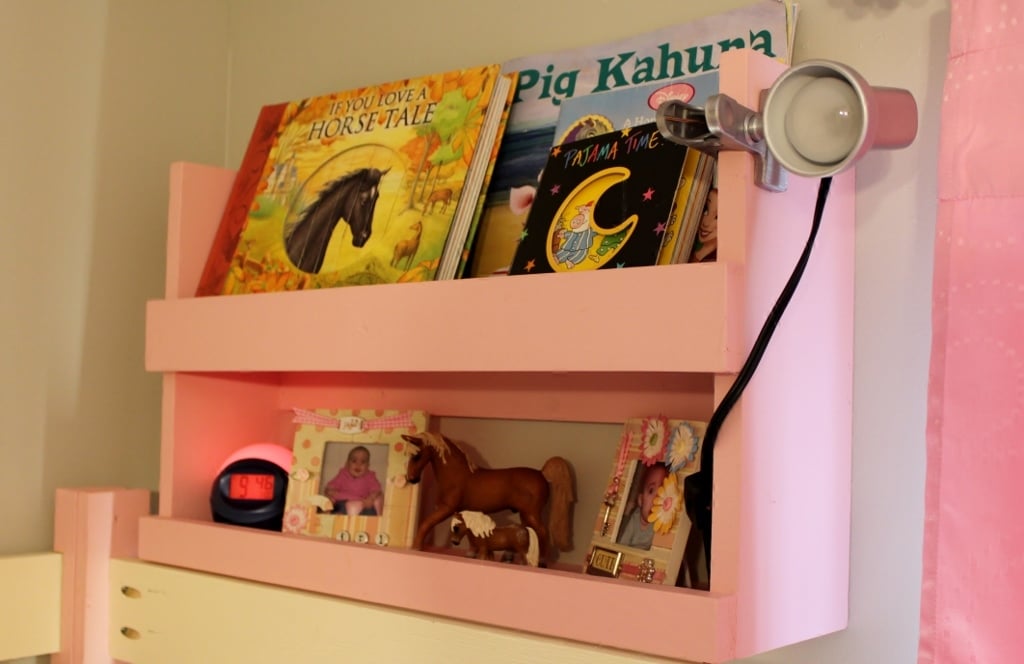
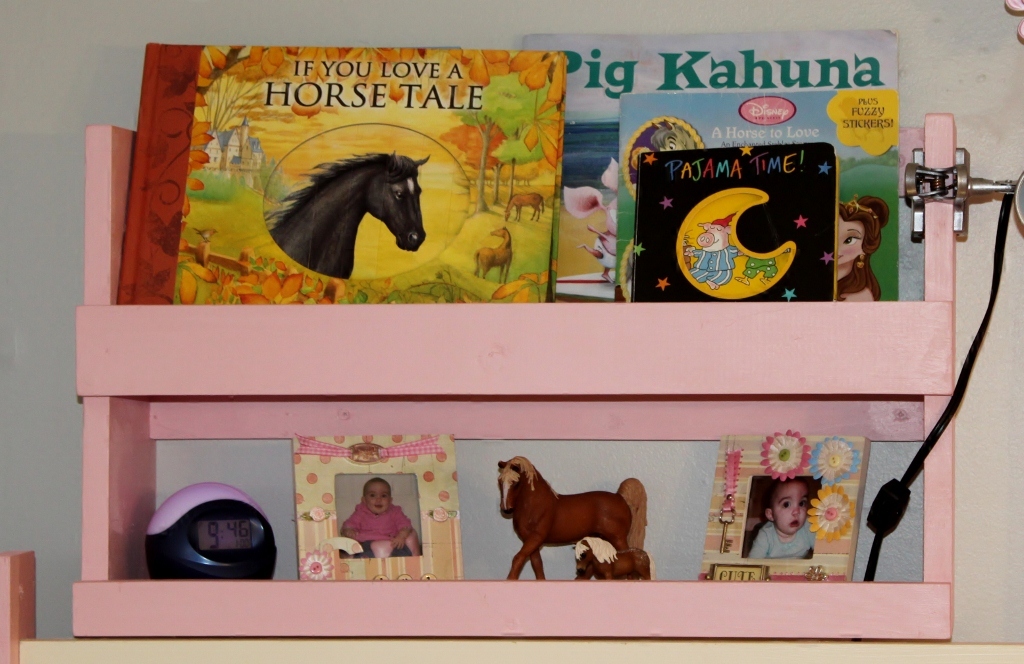
I had just finished my daughter's playhouse loft bed when I saw this plan. It was super easy to build and I used all left over wood from the playhouse. I used 6-inch boards for the sides and shelves since that was what I had left over. Other than that, I followed this plan exactly. Thanks for posting!

Built from Plan(s)
Estimated Time Investment
An Hour or Two (0-2 Hours)
Recommended Skill Level
Beginner

Comments

Back