Front porch planters

Followed your plan but added extra 1 x 2 trim to the sides, feet made from 1 × 3 and 1x 3 trim around the top
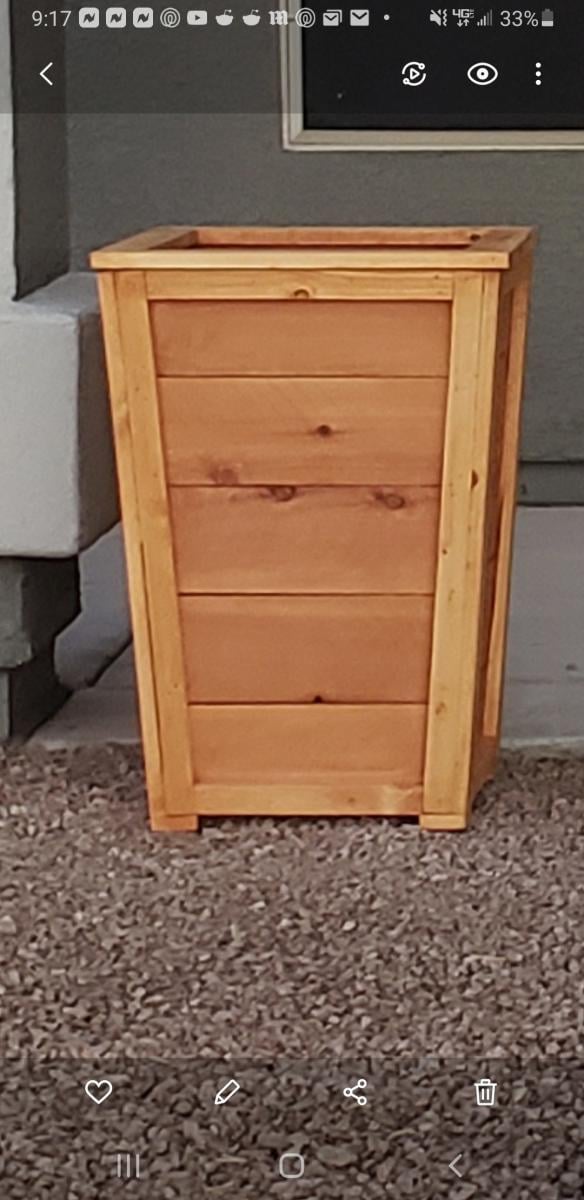


Followed your plan but added extra 1 x 2 trim to the sides, feet made from 1 × 3 and 1x 3 trim around the top


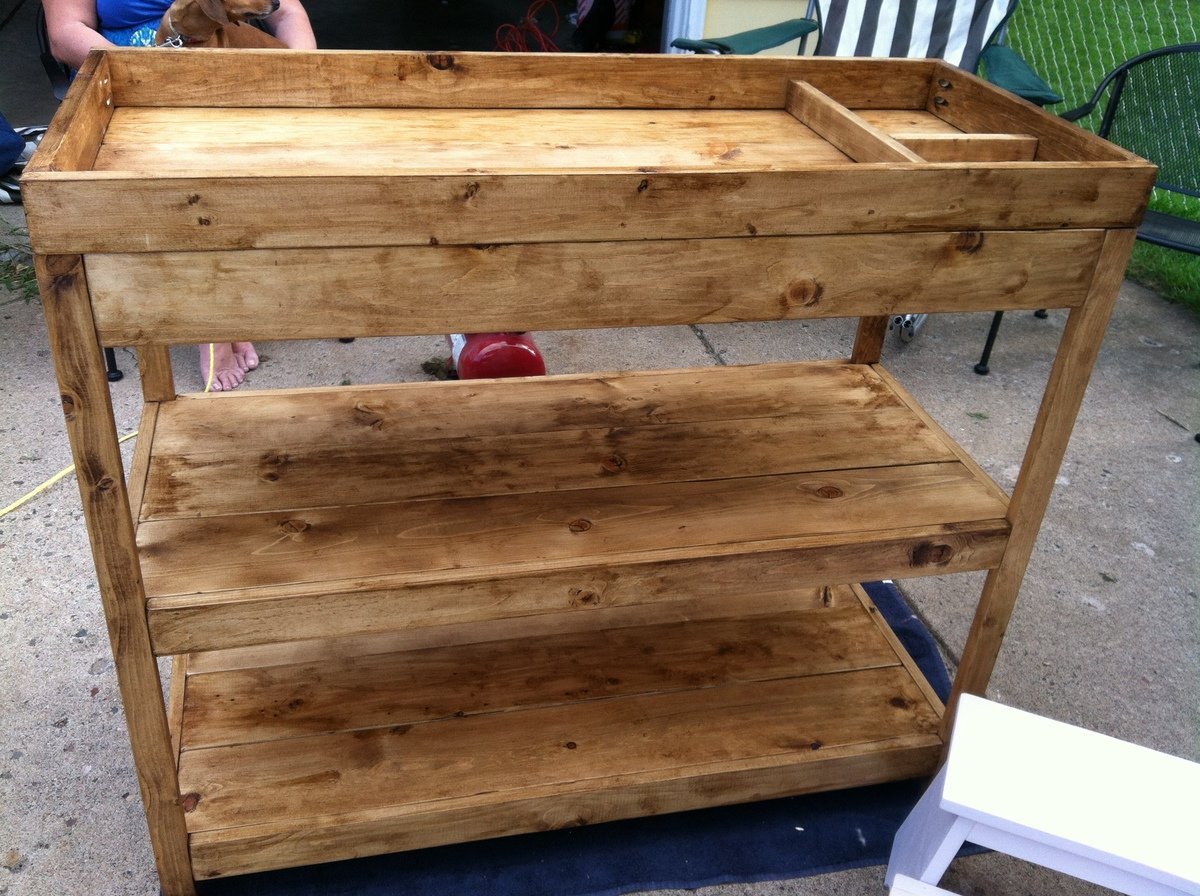
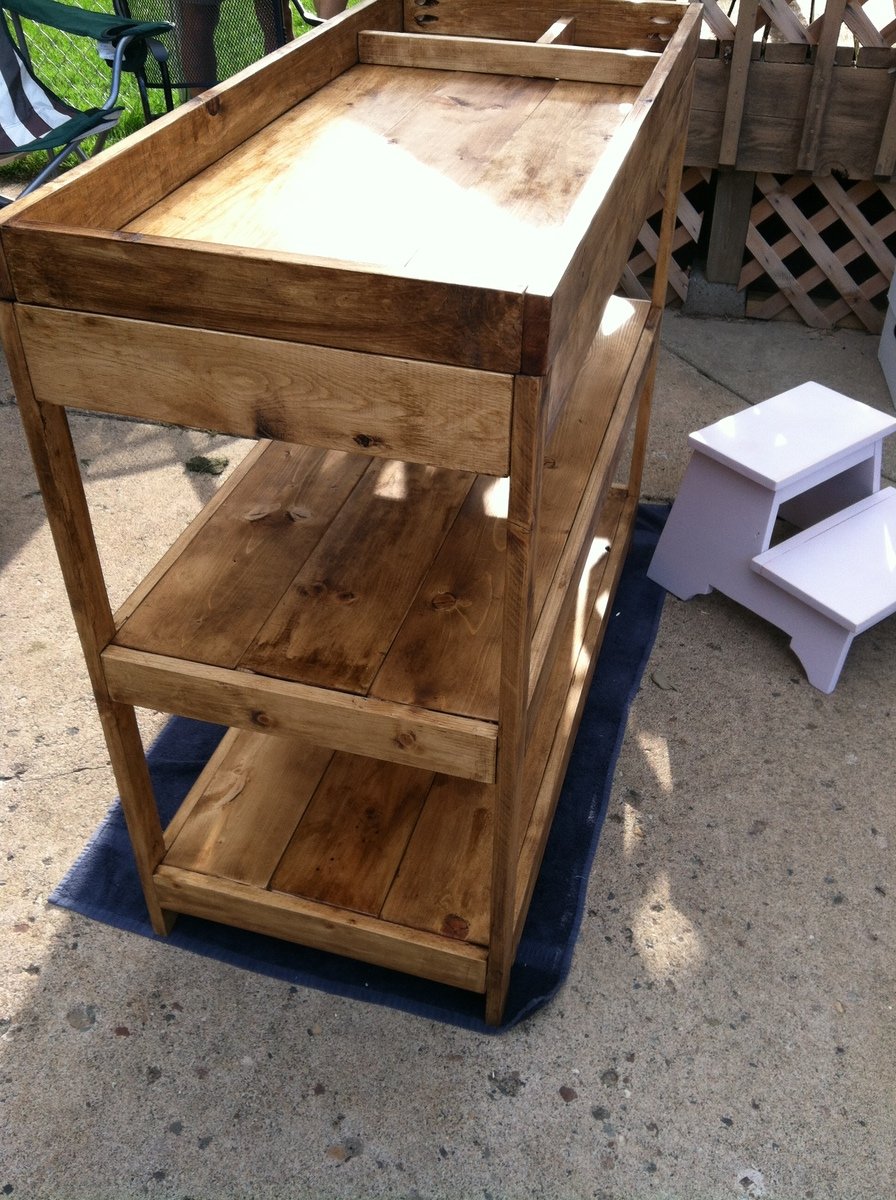
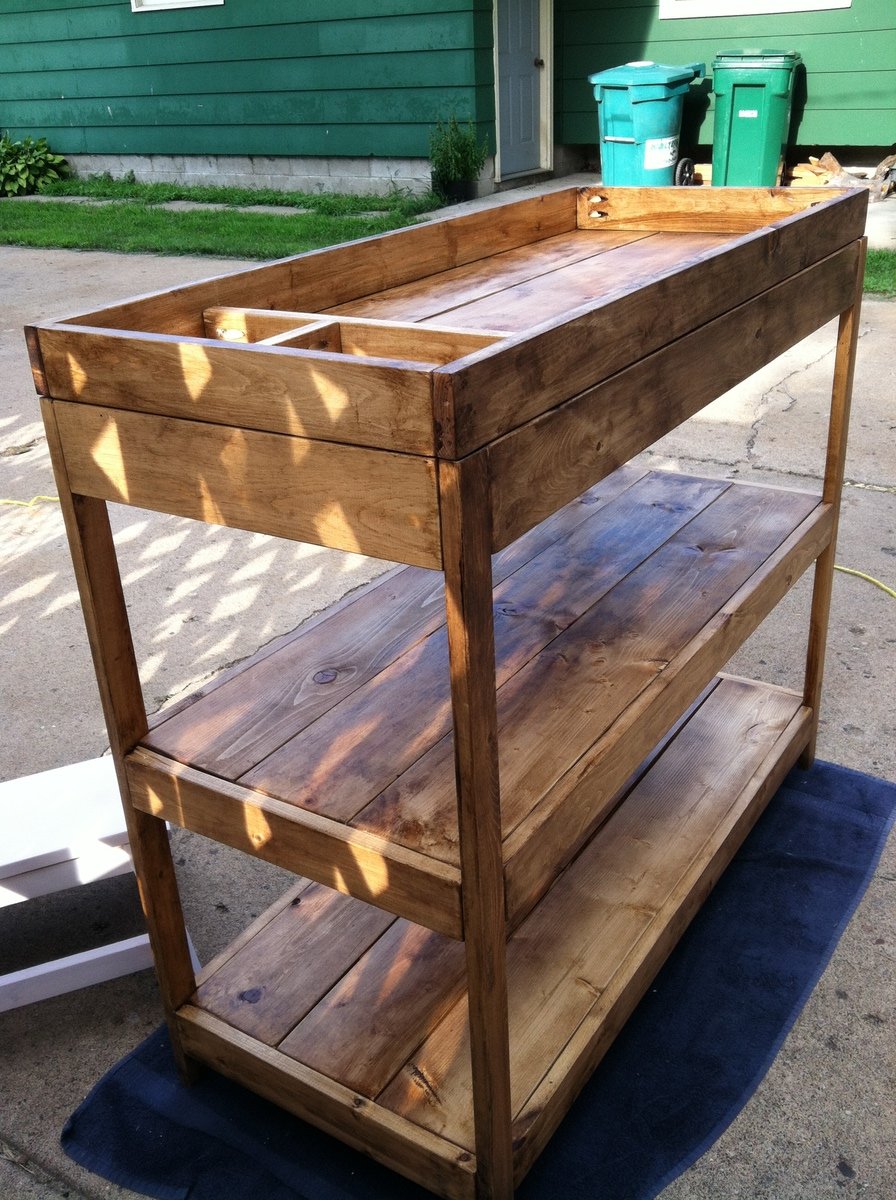
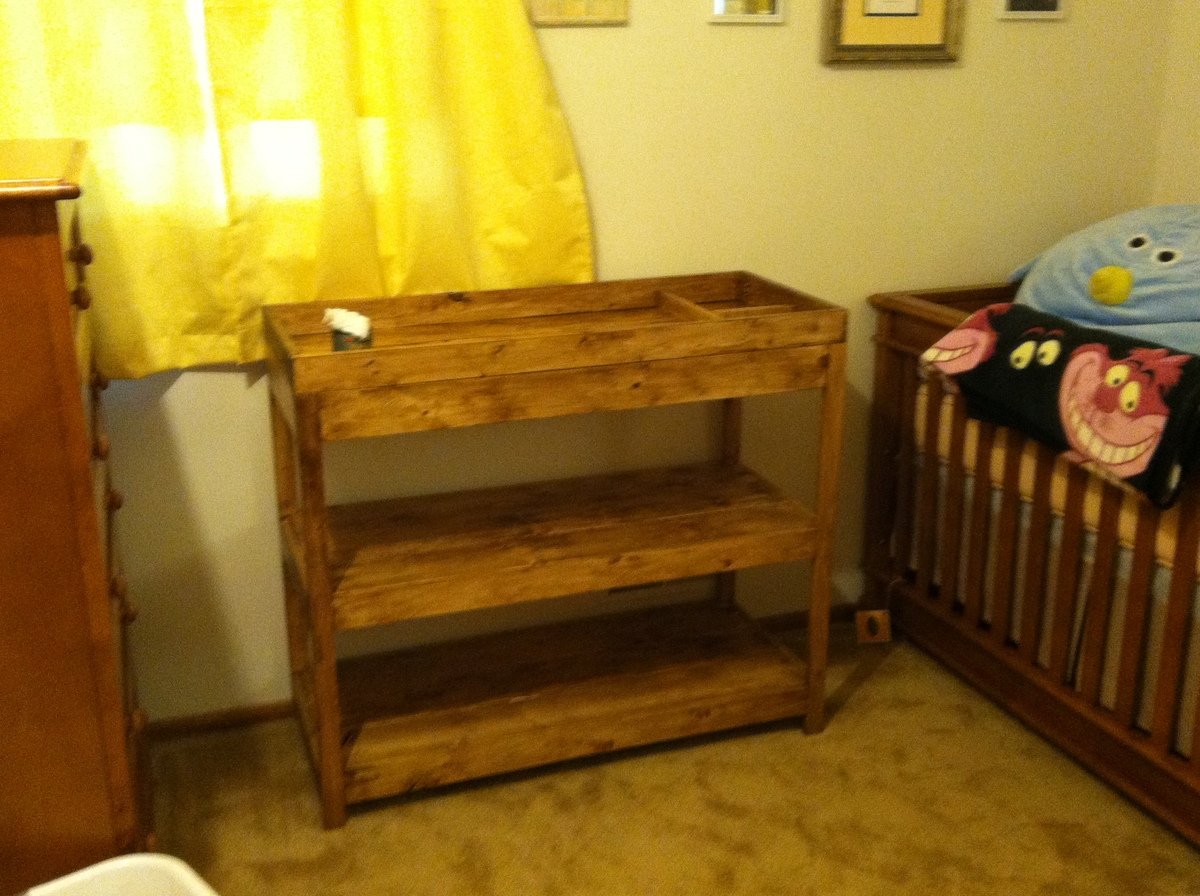
I built this changing table for my friend's new baby. I had to stain all the individual pieces and assemble it at her house. It wouldn't fit assembled in my vehicle! :)
I also built her a stepstool as well.
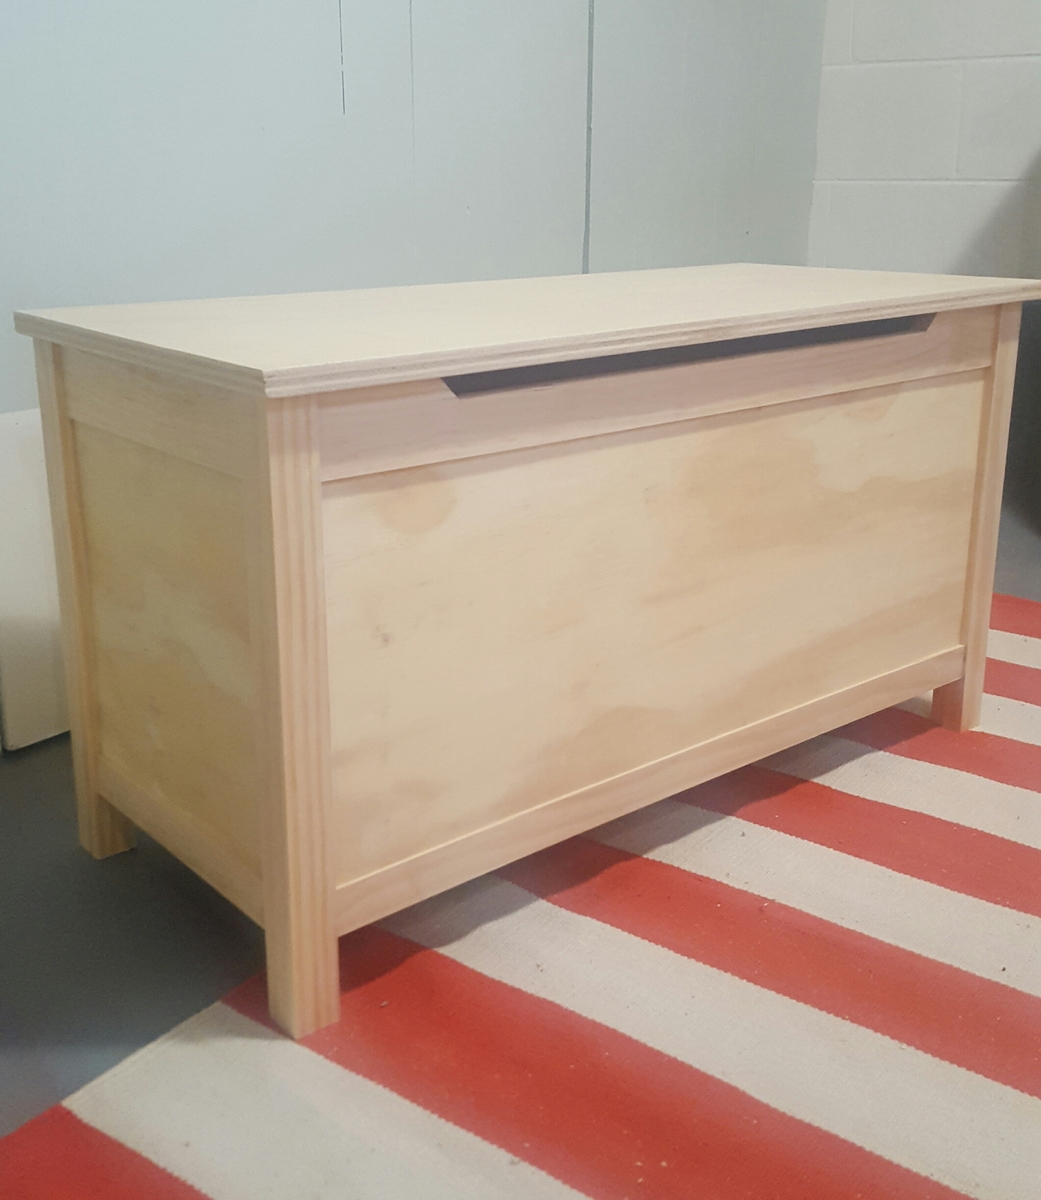
I had a wonderful time making this toy box and learning new techniques. Having access to a table saw really made this project turn out awesome. I was able to get 1/4" shims made that allowed for easy, precise offsets. The family just loved it!
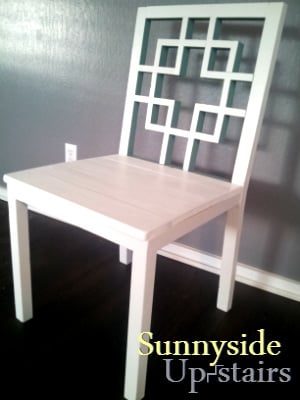
My husband and I loved the Squared2 Chair we saw on this site and we knew that we wanted to have this design for our dining chairs. As my building experience has increased, I thought it was time to try. This is my first chair: it is not perfectly executed, but I learned a few things along the way and I've decided to buy a few tools, too. I modified the square back pattern cut lengths explained briefly on my little blog.
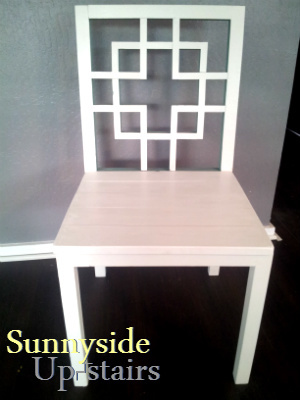
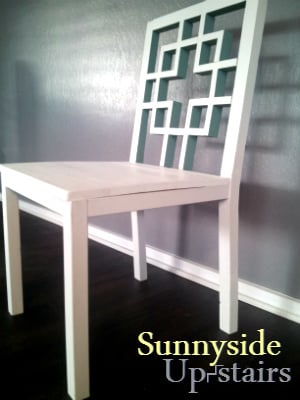
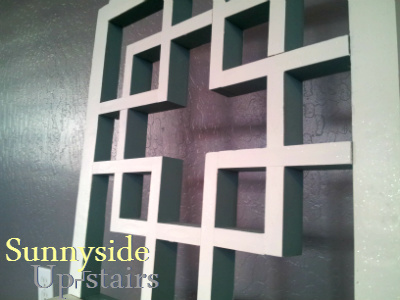
Thu, 08/15/2013 - 22:47
Thank you for your comment, Pam! I'm sorry for the late response.
Loving this tall entertainment center to fit under my wall-mounted television!
The dogs cant knock over my photos anymore!!!!
Added some fancy trim pieces in the middle to match the trim on the bottom. So sturdy and hides all my junk!
http://www.ana-white.com/2012/06/plans/tall-corner-media-console
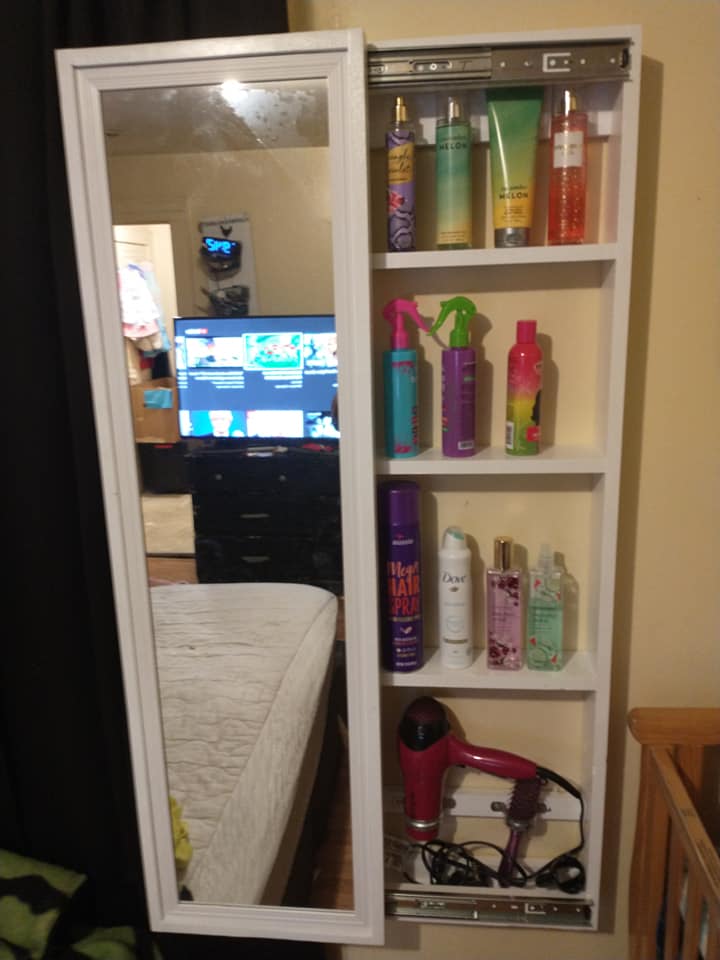
Great idea being my wife is not a hair person she really loves it.
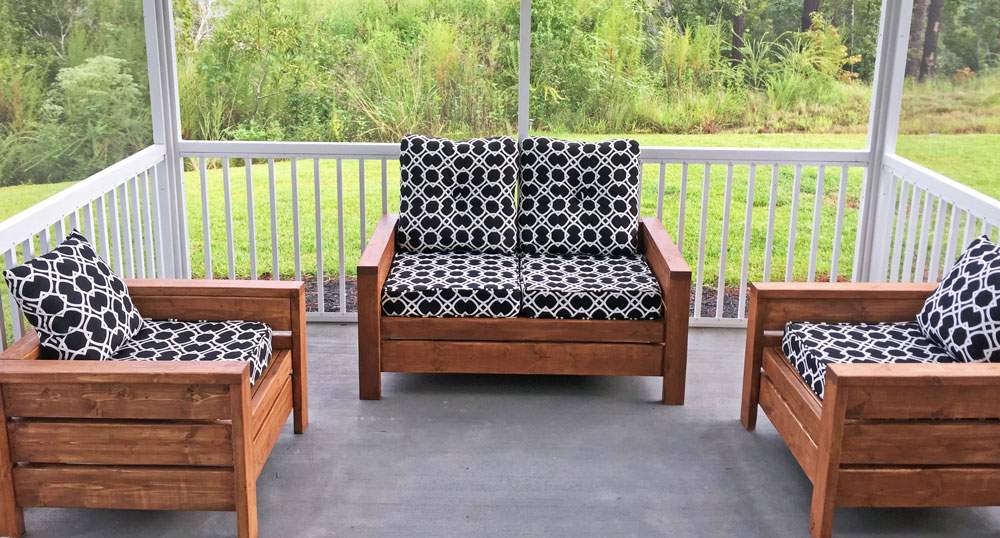
Built the 2 chairs according to the plans, and then modified it for a bench that's 48" (our cushions are 23.5 x 23.5). Worked really well!
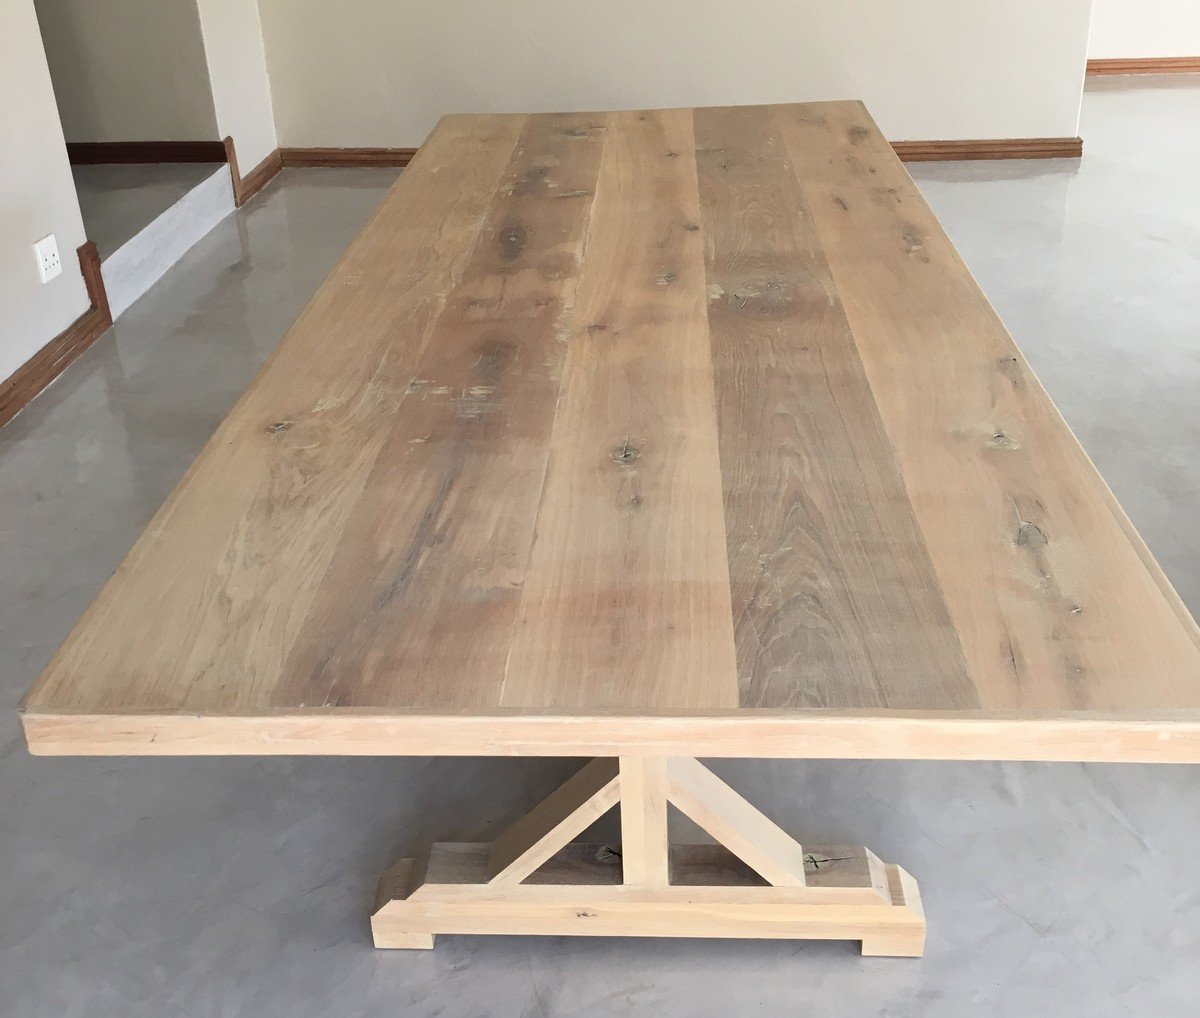
This table is made out of Solid Oak and took me +- 6 weeks to complete.
Thanks to Ana White for the plans as I followed them to the "t" with some minor changes in the size
Final size is 10ft long x 47 1/4 inch wide and 29 9/64 inches high
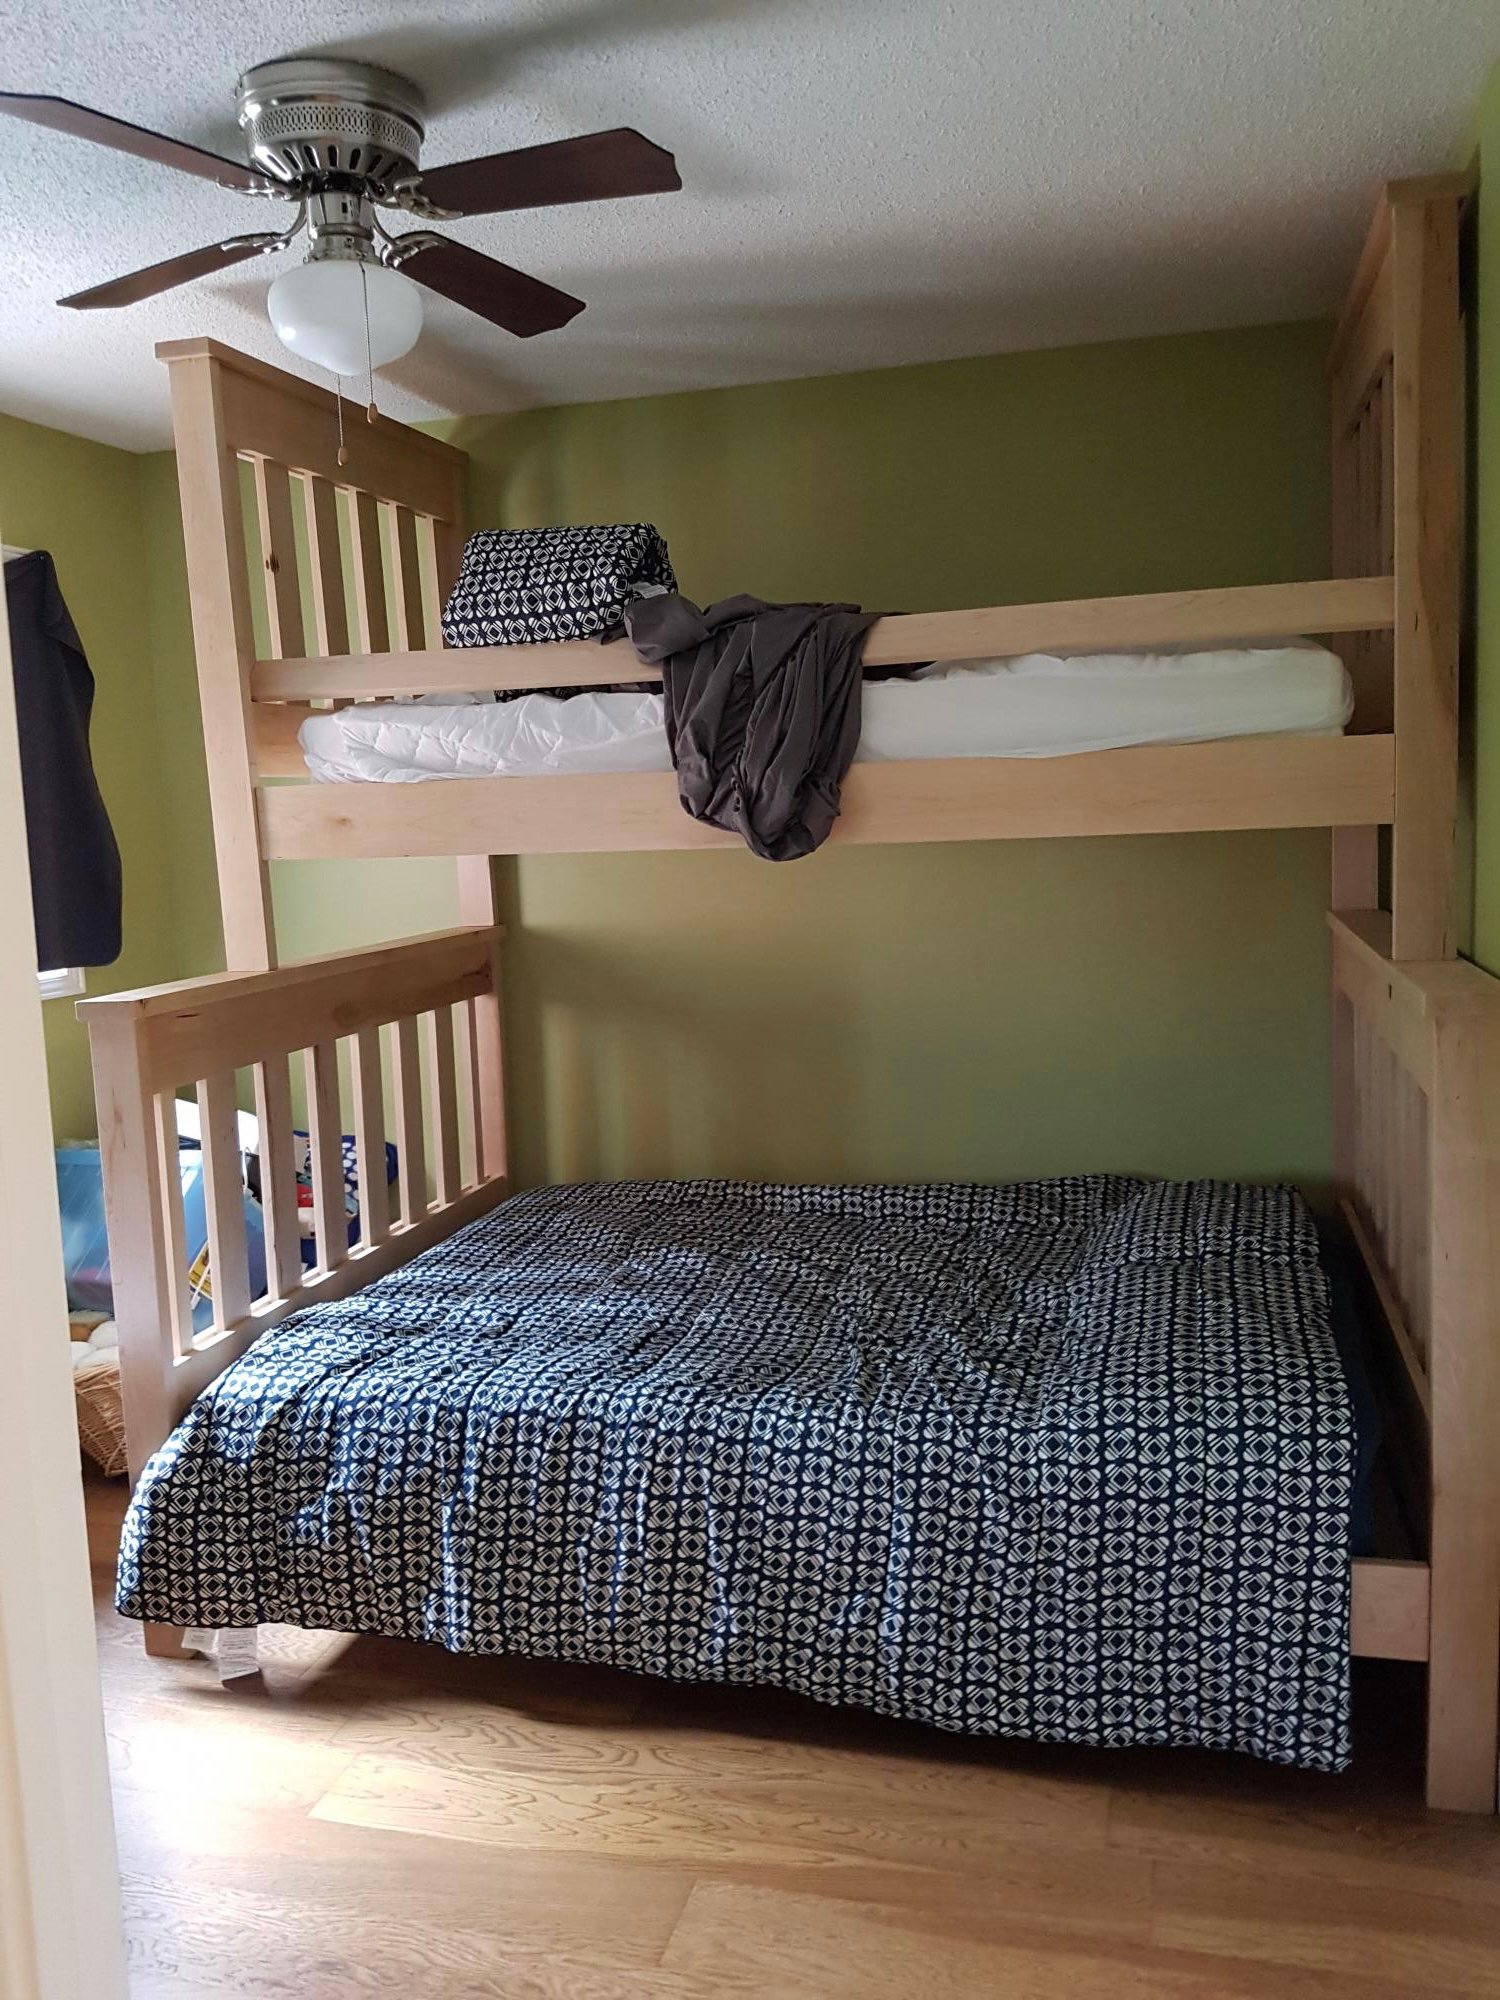
Double bed at bottom, twin at top, still have to make the ladder
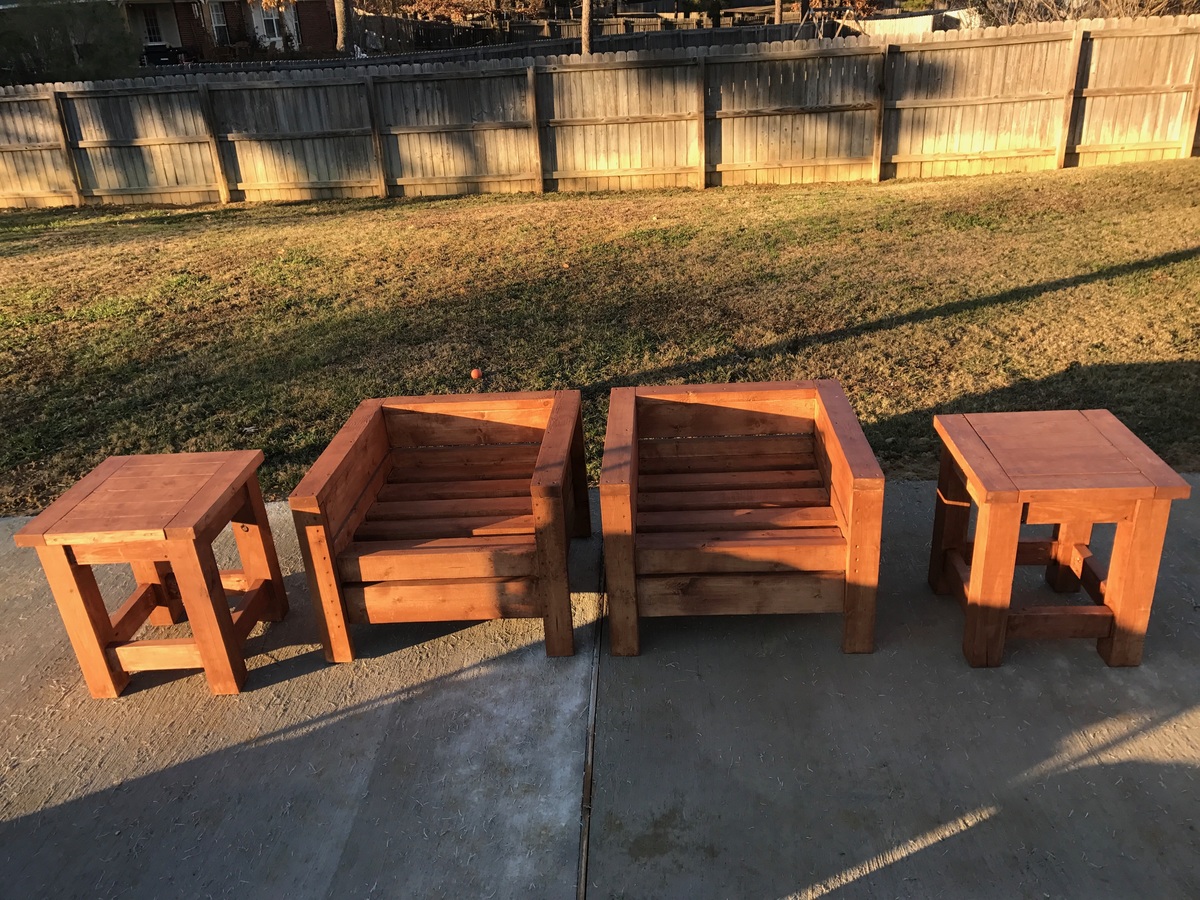
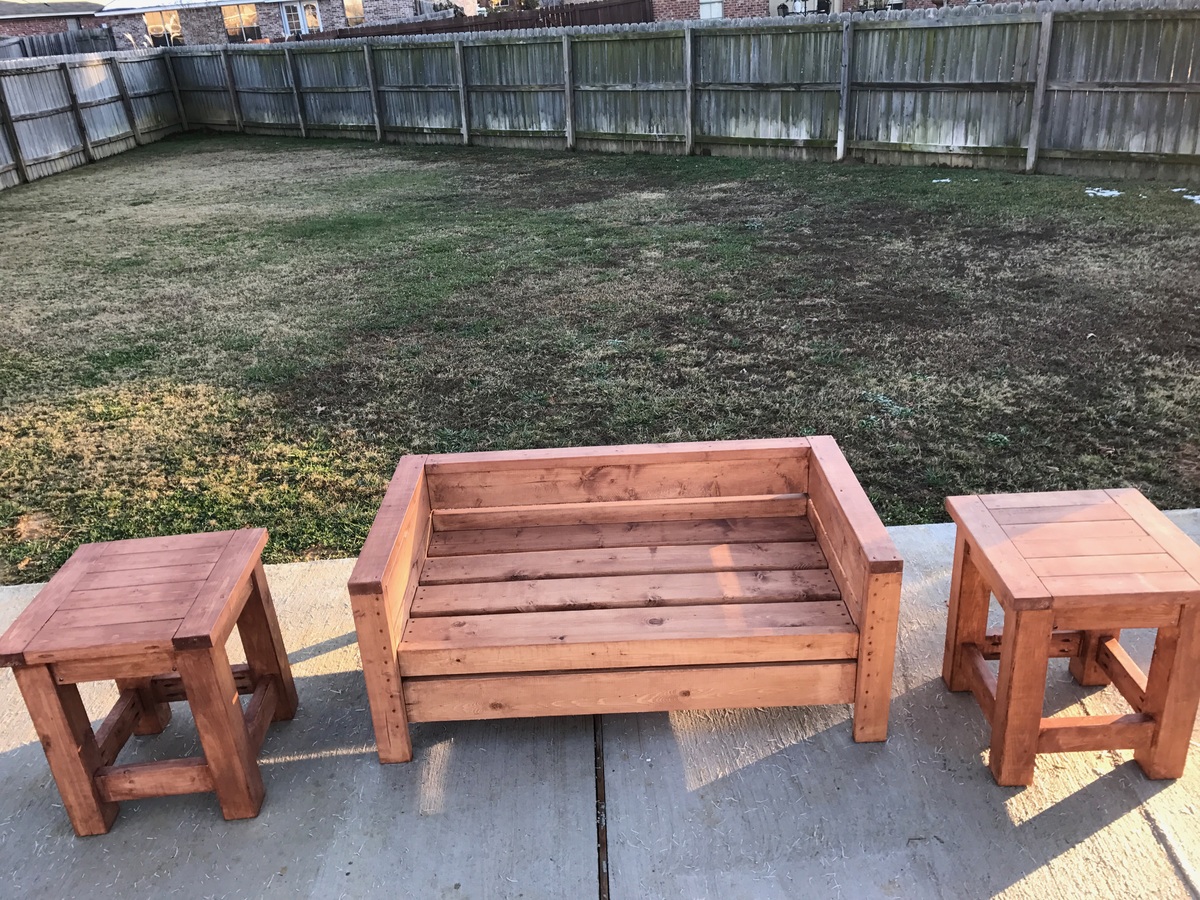
Project is still in progress but so far this has consisted of a firepit, 20x20 slab, 4 cypress columns, bistro lighting, 2 modern outdoor chairs, 1 modern outdoor bench, 4 matching tables, and a project screen. To come: flower bed, projector storage stand with casters and hinged top, outdoor speakers, and possibly a green egg stand, and extending power to the back of the slab.
I build the x-desk with drawer with slight change in length and height to fit it for Kids. I also took pictures as I was building the project and converted them into a time lapse video of 2 minutes. Hope you enjoy it. https://youtu.be/KcrF2zqKudQ
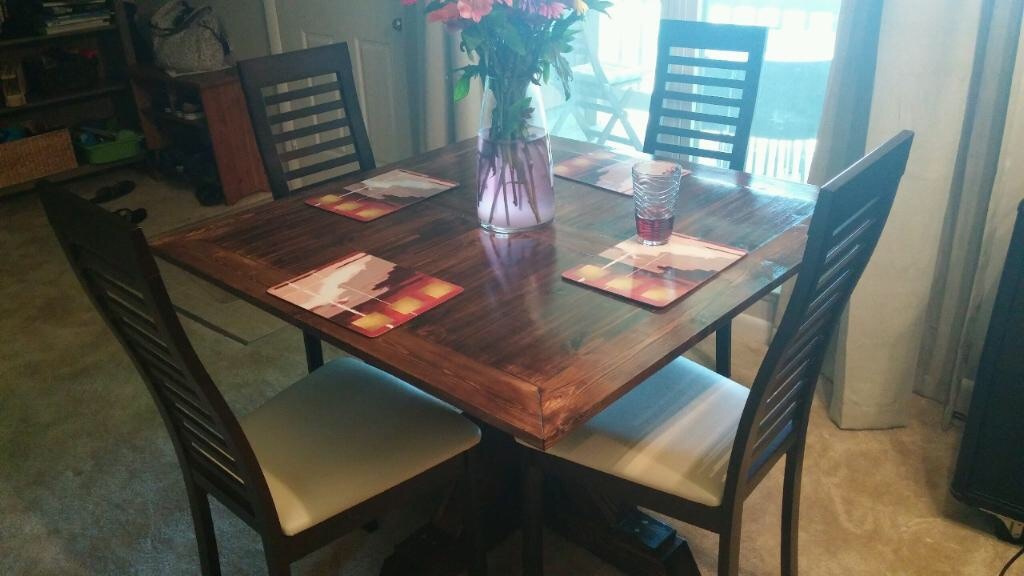
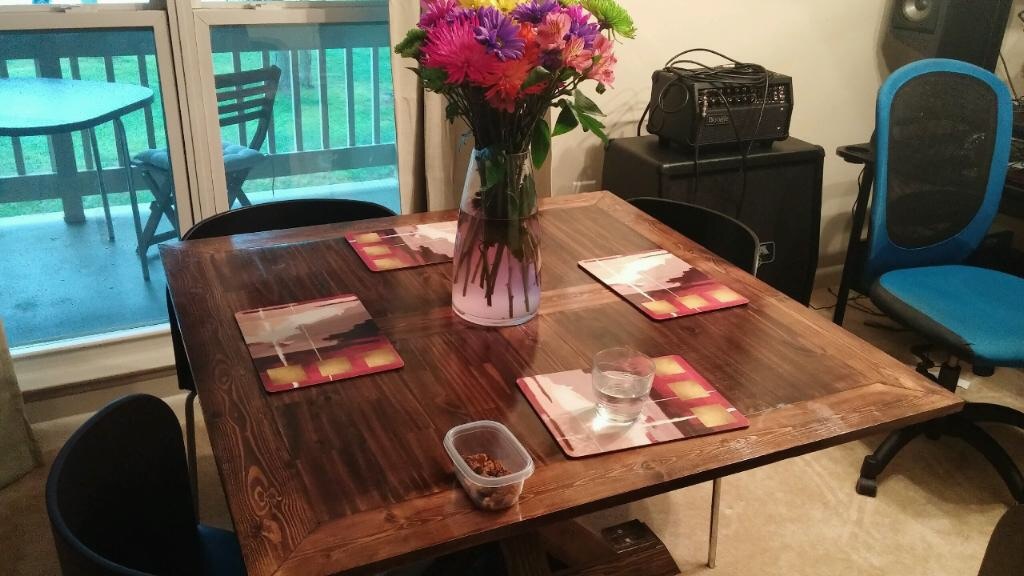
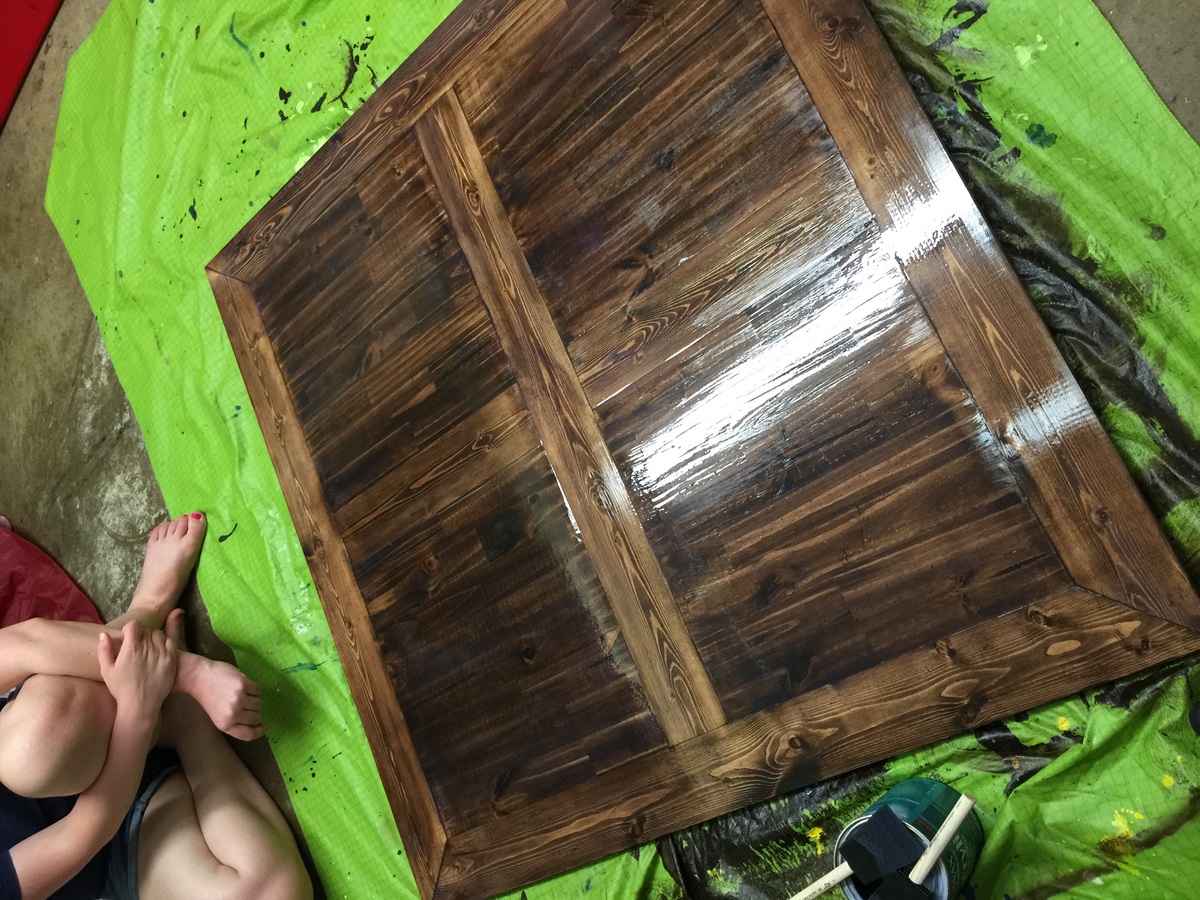
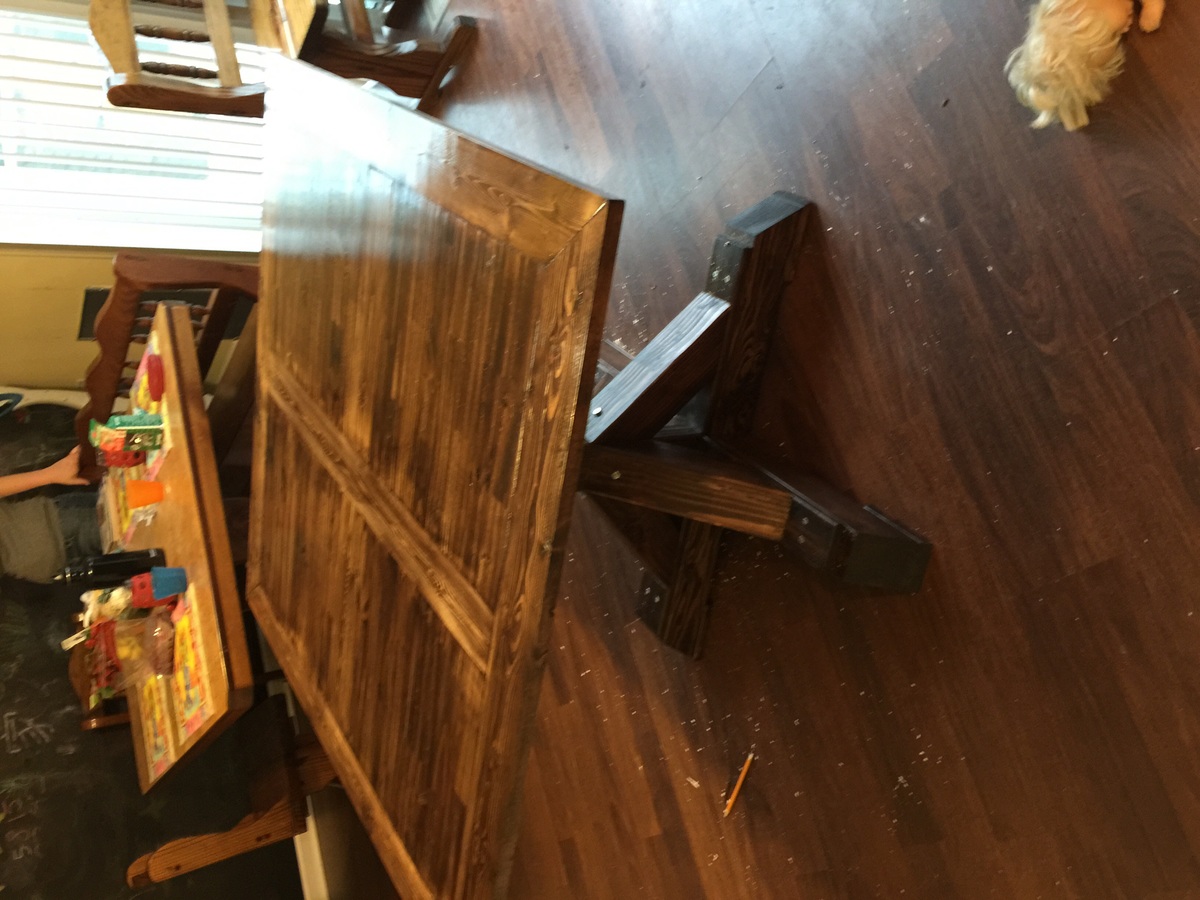
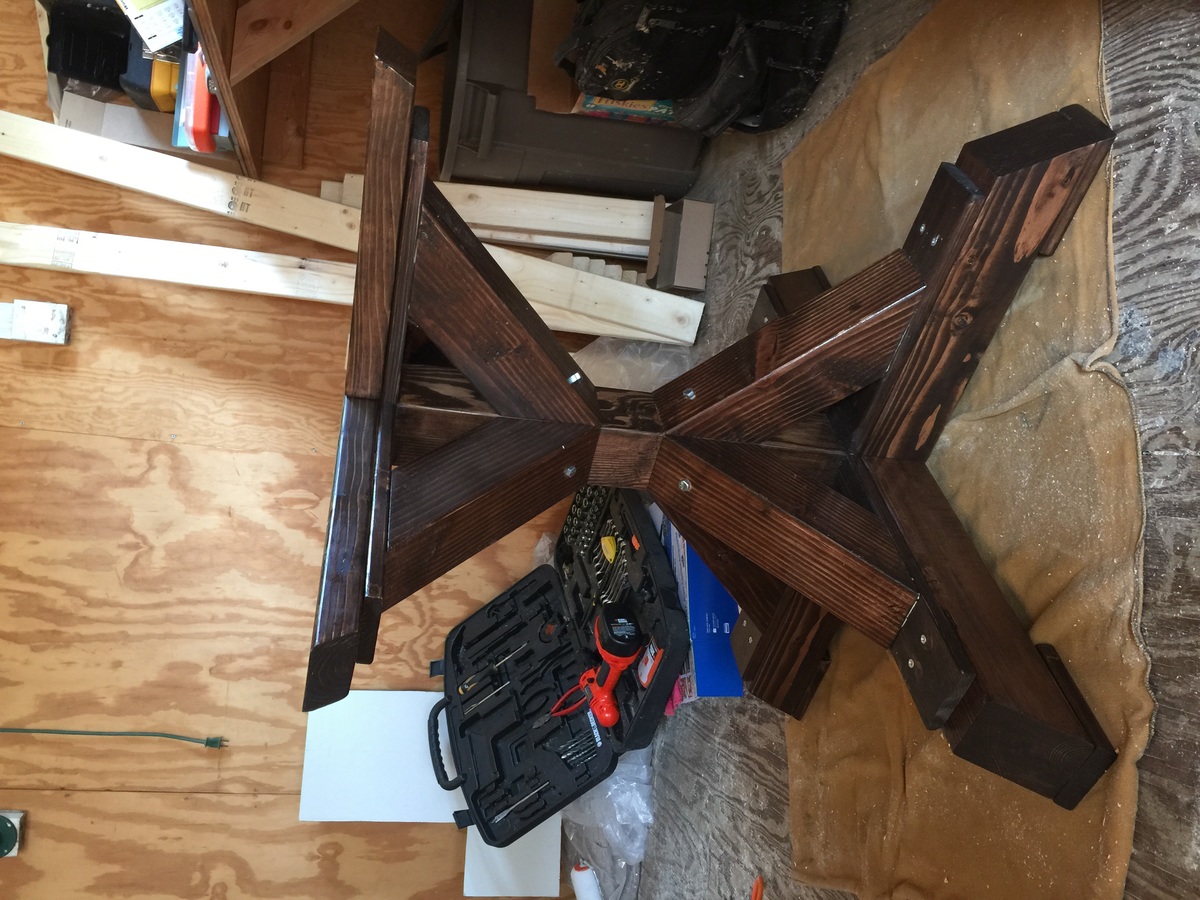
Made from the square x table breakfast nook plans and then altered the table top a bit.
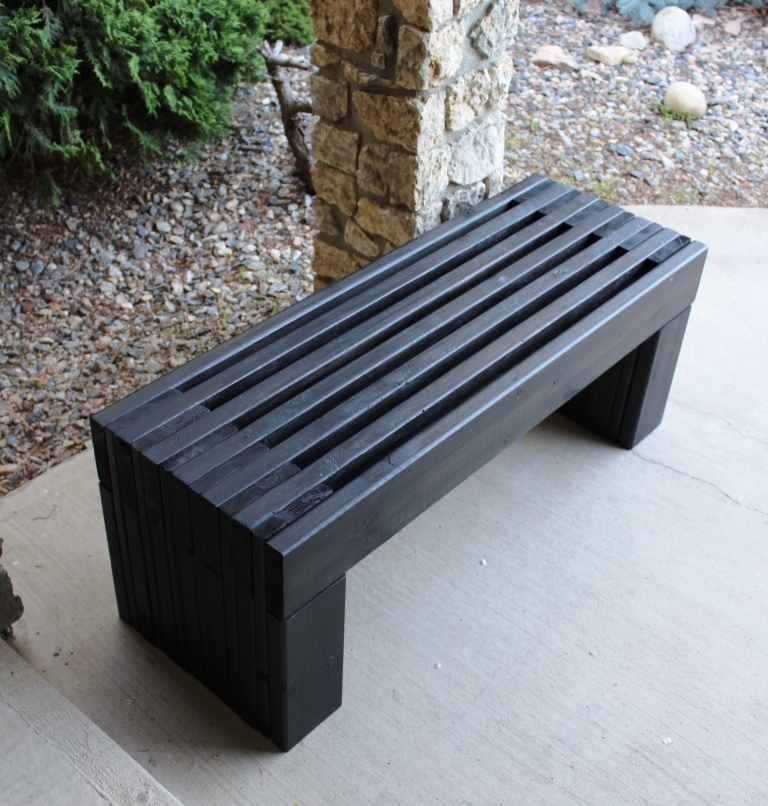
We wanted an outdoor bench for our front entrance way, this one is just what we were looking for! Thank you for the plans.
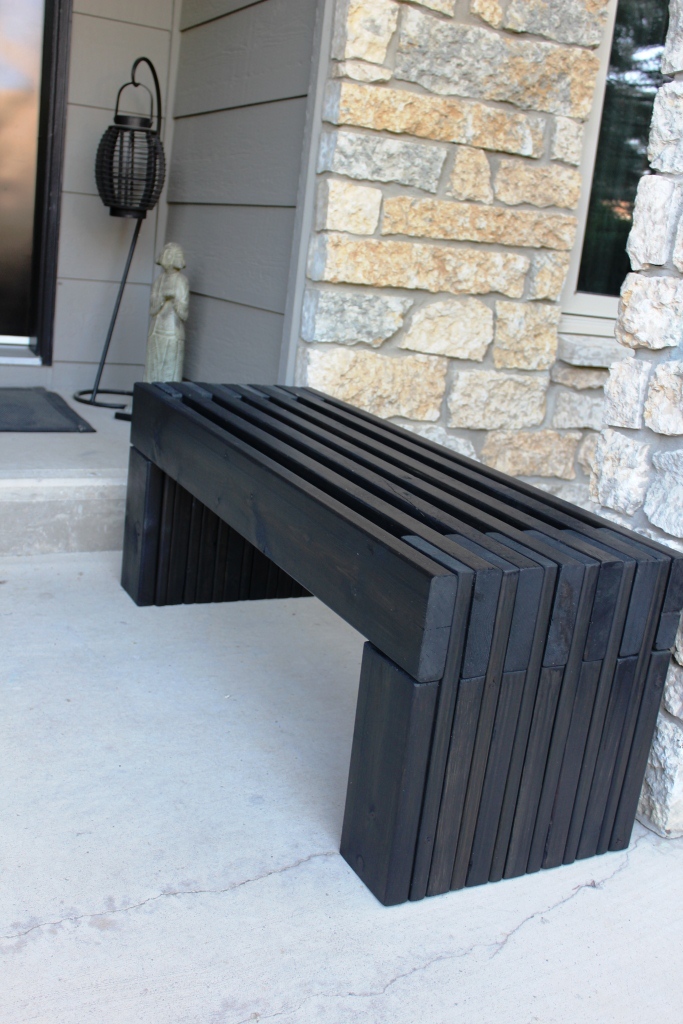
Wed, 05/04/2016 - 10:01
I am really a novice. The plans say that the 1x4's should be 18-1/2" high? But the measurement of the vertical legs are 14", and the horizontal piece is 4" high, which adds to 18". It all looks flush in the photo. Could you explain what I am missing? Thank you so much!
Wed, 05/04/2016 - 10:01
I am really a novice. The plans say that the 1x4's should be 18-1/2" high? But the measurement of the vertical legs are 14", and the horizontal piece is 4" high, which adds to 18". It all looks flush in the photo. Could you explain what I am missing? Thank you so much!
In reply to quesion by beardjulie
Wed, 05/04/2016 - 11:30
So from what i see in the plans Each 1x4 board is to be cut at 18" and the 2x4 is to be cut at 14-1/2". Cutting the 2x4 at 14-1/2" will insure the 1x4 and 2x4 are fluish for the end product. It doesnt seem to add up given the demensional names of the lumber hahaha however the actual width of a 2x4 (the one the will be going horizontal) is acutally 3-1/2". so then you cut you 2x4 leg piece at 14-1/2" and then lay the horizontal 2x4 on top the total height will be 18" and should be flush with your 1x4 that is cut at 18"
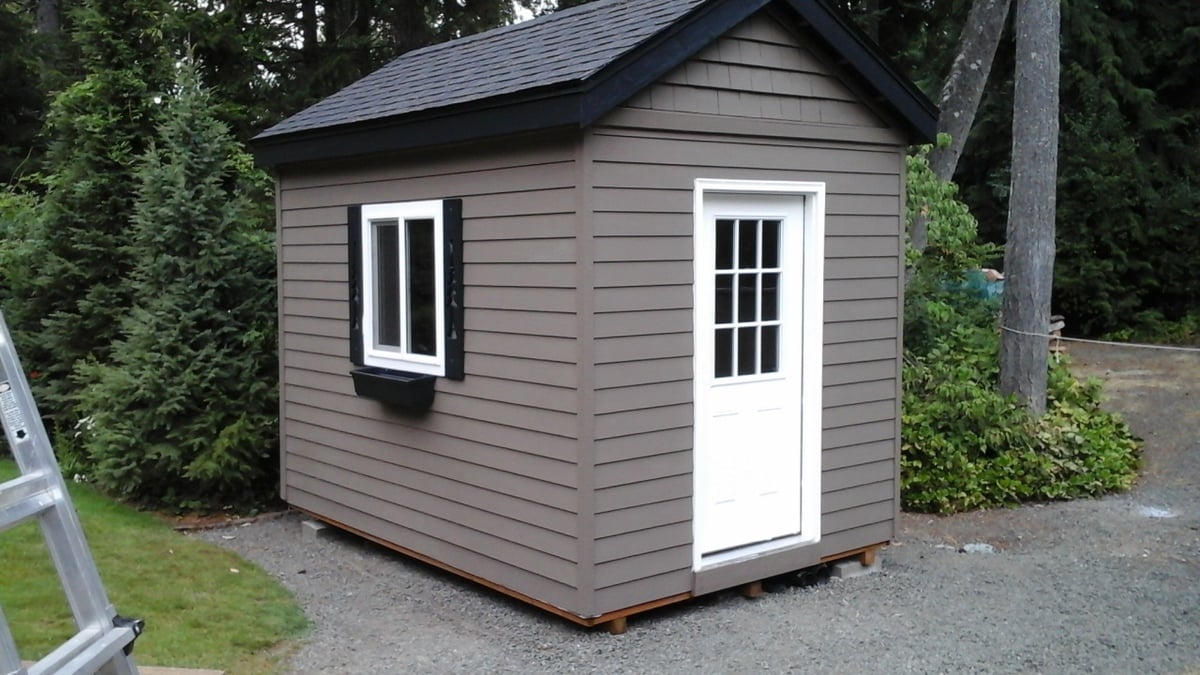
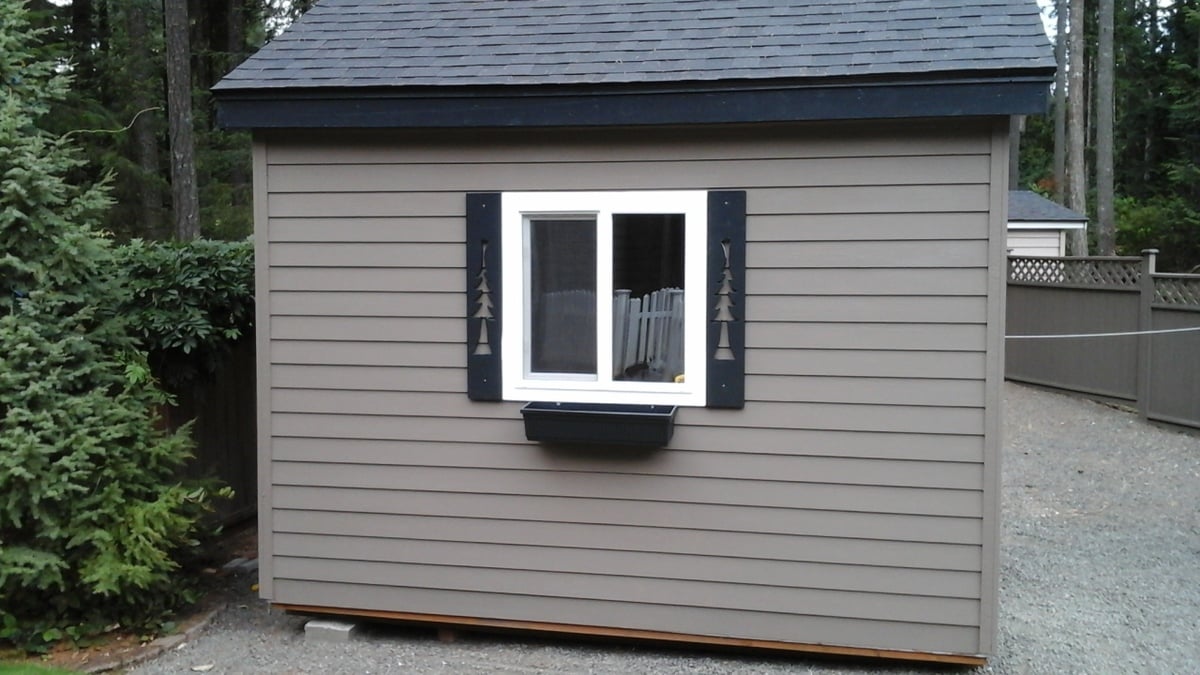
Building a storage shed was quite a jump for me but because of the confidence and experience I gained from Ana's site I decided to give it a shot. I acquired the plans online. It has 8 foot high walls and 3 feet of "attic space". The shed is 8'x12'. I used cement board lap siding. It took about seven weeks to finish working a few hours here and there. I really like it. Even has a little window flower box.
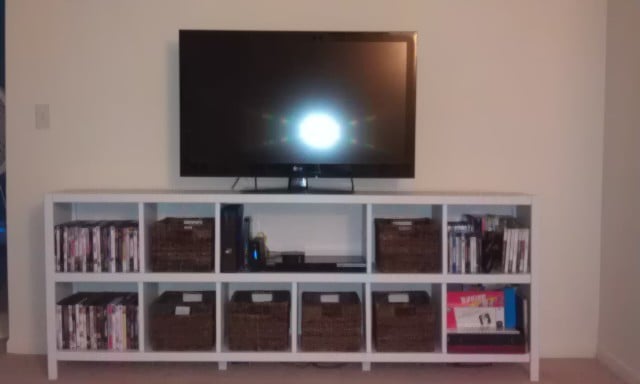
My husband and I needed more room and storage in our small one bedroom apartment. In order to get both we needed to get rid of our big hutch, desk and tv stand. So when I saw these cubes shelves I thought they would be perfect, then I saw TRACYSMITH's brag post a decided that was perfect! I painted it and did some organizing and it was probably the best decision we have ever made!
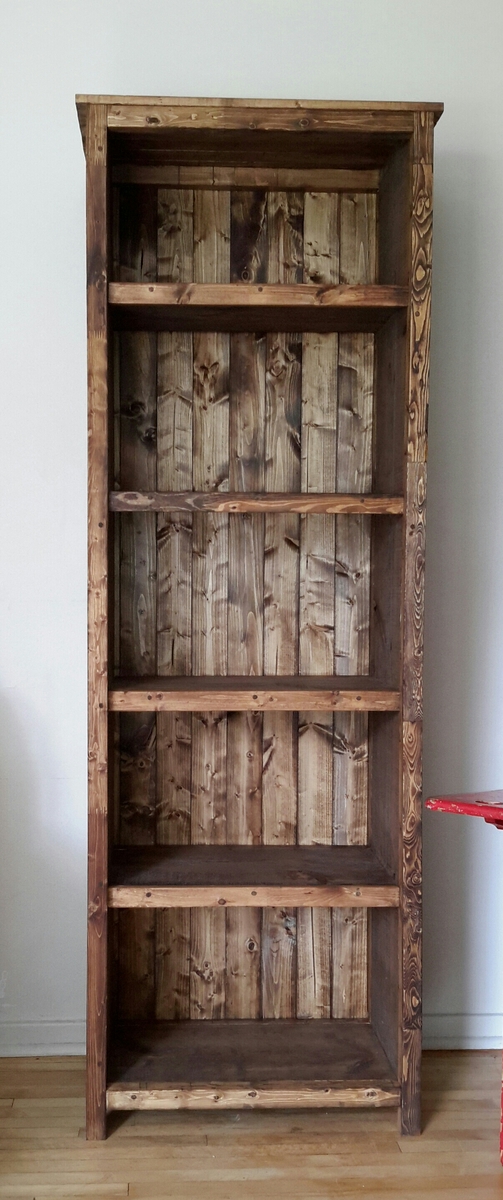
I loved this from Ana's site so much we tacked one. Please note I glued, screwed and dowel ed the holes. I hate kreg jigs. We also made ours taller to add an extra shelf.
Wed, 09/02/2015 - 06:33
Can you tell me the length of your 1x12 sides to make it a 5 shelve case? Thank you and your's looks great!
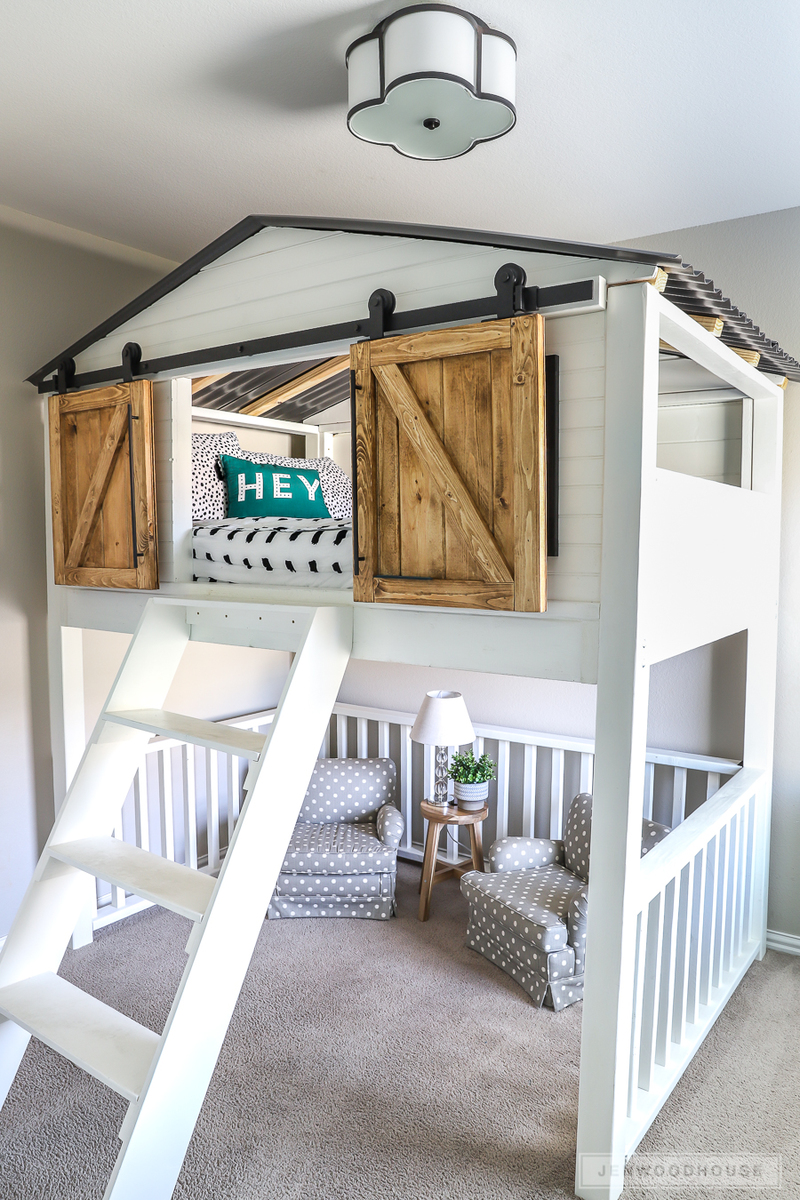
Hi friends!
Jen Woodhouse here, super excited to share our latest DIY project with you - a Sliding Barn Door Loft Bed! We built this full-size loft bed for our 7-year-old daughter because we wanted to make the most of her small bedroom. And as an Army family, we move around every two years or so, so I drew up the plans so that the bed can be easily disassembled. We all love it so much and hope you do too! I'd love to see you build one for your kiddos (or yourself - no judgement!). Be sure to tag me @jenwoodhouse if you share photos of your build on social media!
And because some people have asked:
Get all the details and the plans on JenWoodhouse.com!
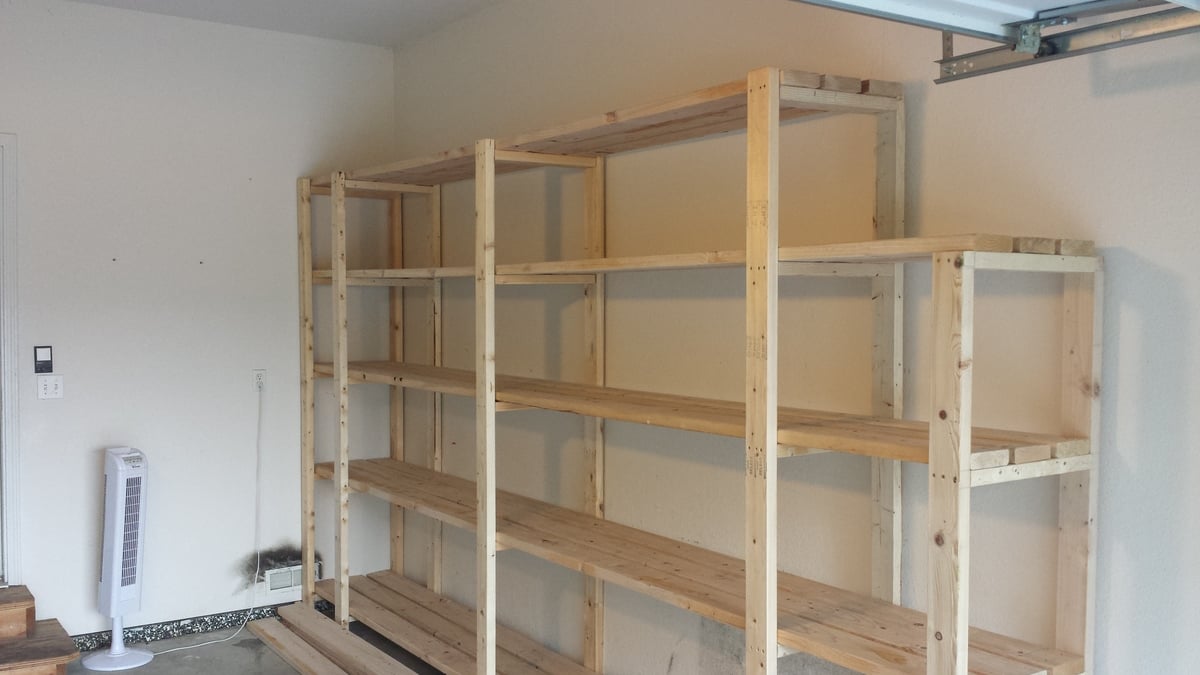
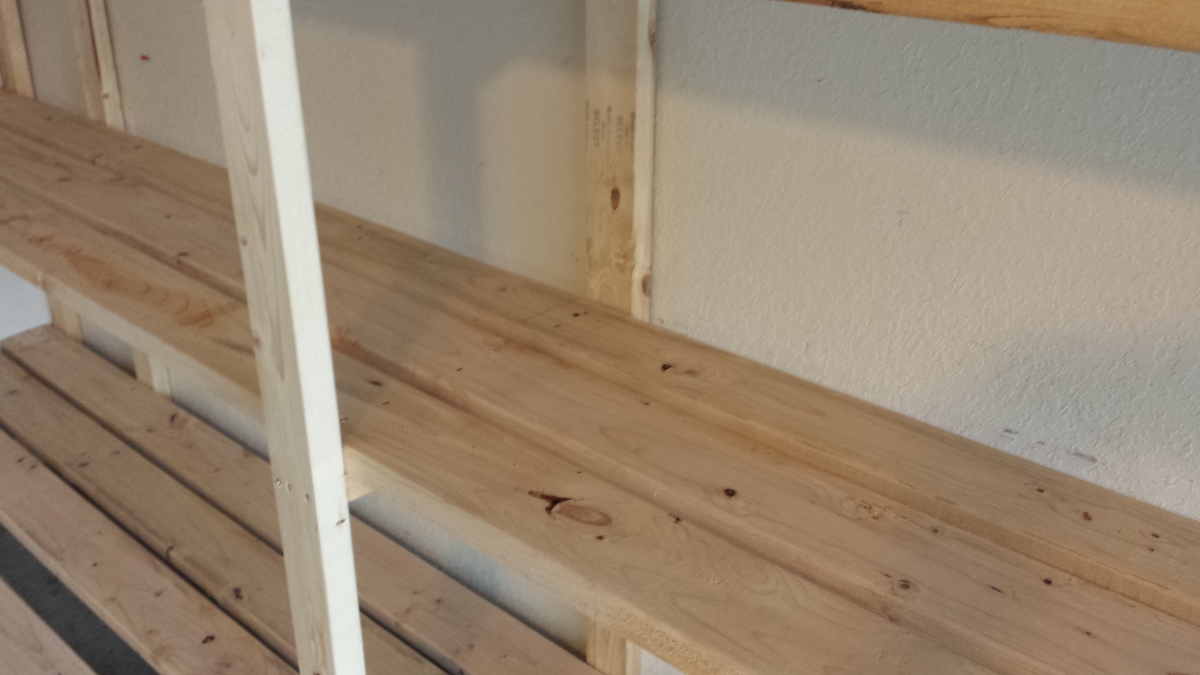
My father-in-law and I knocked this project out in about 5 hours including the trip to the lumber yard. You've got a great basic design here! A few modifications we made:
1. I thought the depth of the shelves in the original plan was a little too shallow so I used 3 2"X6"s instead of the 4 2"x4"s. That made the shelves 1 1/2" deeper. Although 2"x6"s are obviously more expensive, the overall cost for the project didn't change much because we only had to use 3 boards per shelf instead of 4. This also reduced the amount of screwing and made it easier to position the shelf boards without taking measurements since we only had one middle board to deal with (instead of 2 with the 2"x4"s). We just eyeballed the spacing of the middle shelf board as we worked.
2. Since our garage has a 10' ceiling, I decided to go 8' tall with the unit. This allowed us to add a 5th shelf.
3. Some oversized tubs can be 18-20" high or more so I varied the height of each shelf -- 24" at the bottom, then 20", 18" and 16". There's approx. 24" available between the top shelf and the ceiling.
4. Due to the position of the garage door track, I had to notch out a couple feet at one side. The end support piece is only 6' high.
5. Since many storage tubs can be 16-18" wide, I made sure that there was at least 54" between 3 of the vertical support structures. This will allow us to store 3 tubs side-by-side and maximize storage. You might notice that I have two vertical supports that appear to be very close together near the back wall. I did this so I would have something on that side to attach more shelving to on that short wall where the garage door opener is.
The only cuts we had to make for this entire project were for the 18 1/2" 'braces' or support pieces on the vertical ladder structures. The shelves are either 14' or 12' (top shelf only) and the vertical 2"x4"s are either 8' or 6'. Most lumber yards will carry these lengths in either 2"x4"s or 2"x6"s.
We didn't use any wood glue, and I admit this may come back to haunt me. However, to get a good fit and eliminate gaps, I used clamps I already owned to squeeze the boards together before adding the screws. Everything feels very solid and sturdy to me.
Because of the extra height compared with the original plan, I was worried about it possibly tipping over (we have a 10-year-old who likes to climb ![]() ) so I made sure that 3 of the supports are lined up with the wall studs. After leveling the entire unit, I plan to anchor it to the wall using 3 1/2" screws.
) so I made sure that 3 of the supports are lined up with the wall studs. After leveling the entire unit, I plan to anchor it to the wall using 3 1/2" screws.
So for about $187 in lumber and maybe $20 in construction screws, I've got 76 feet of STURDY shelving that should accommodate hundreds of pounds! Not a bad investment at all...
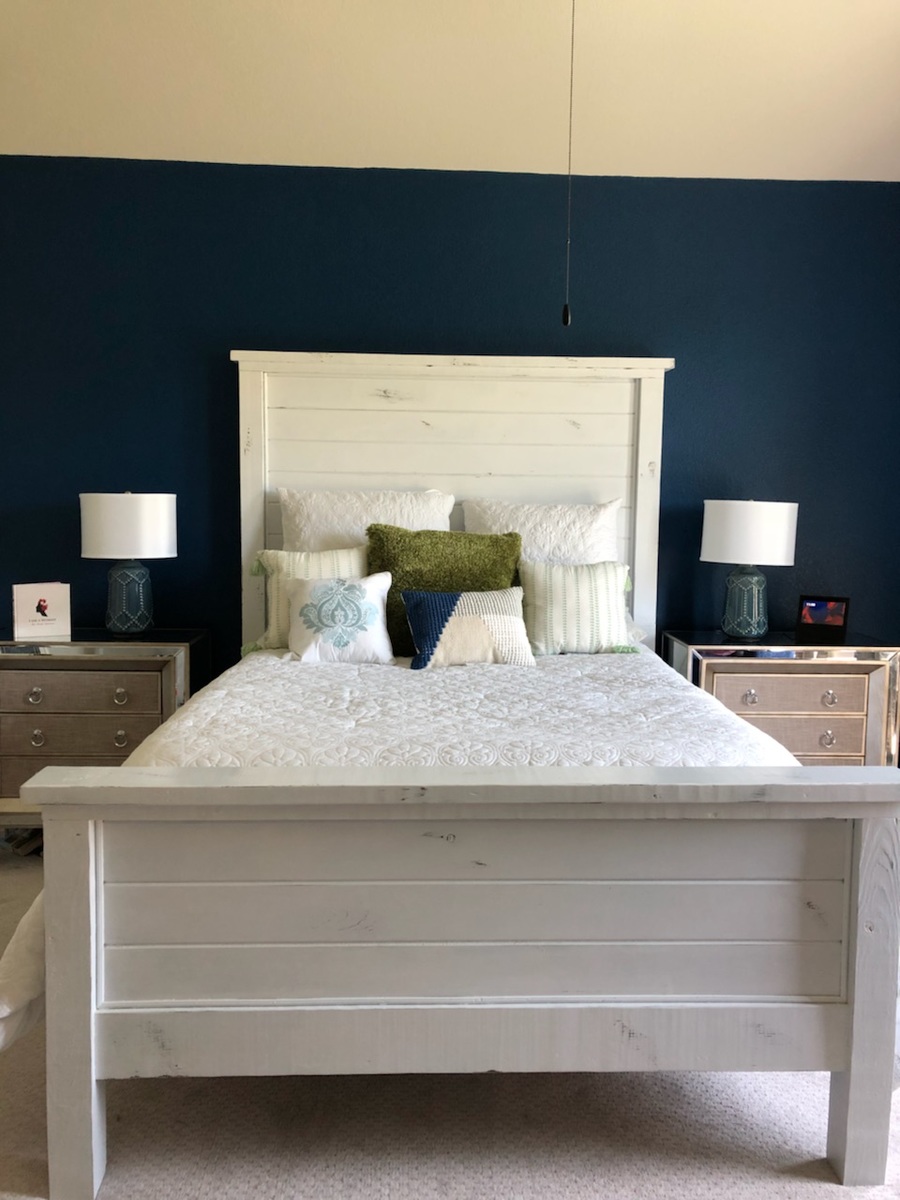
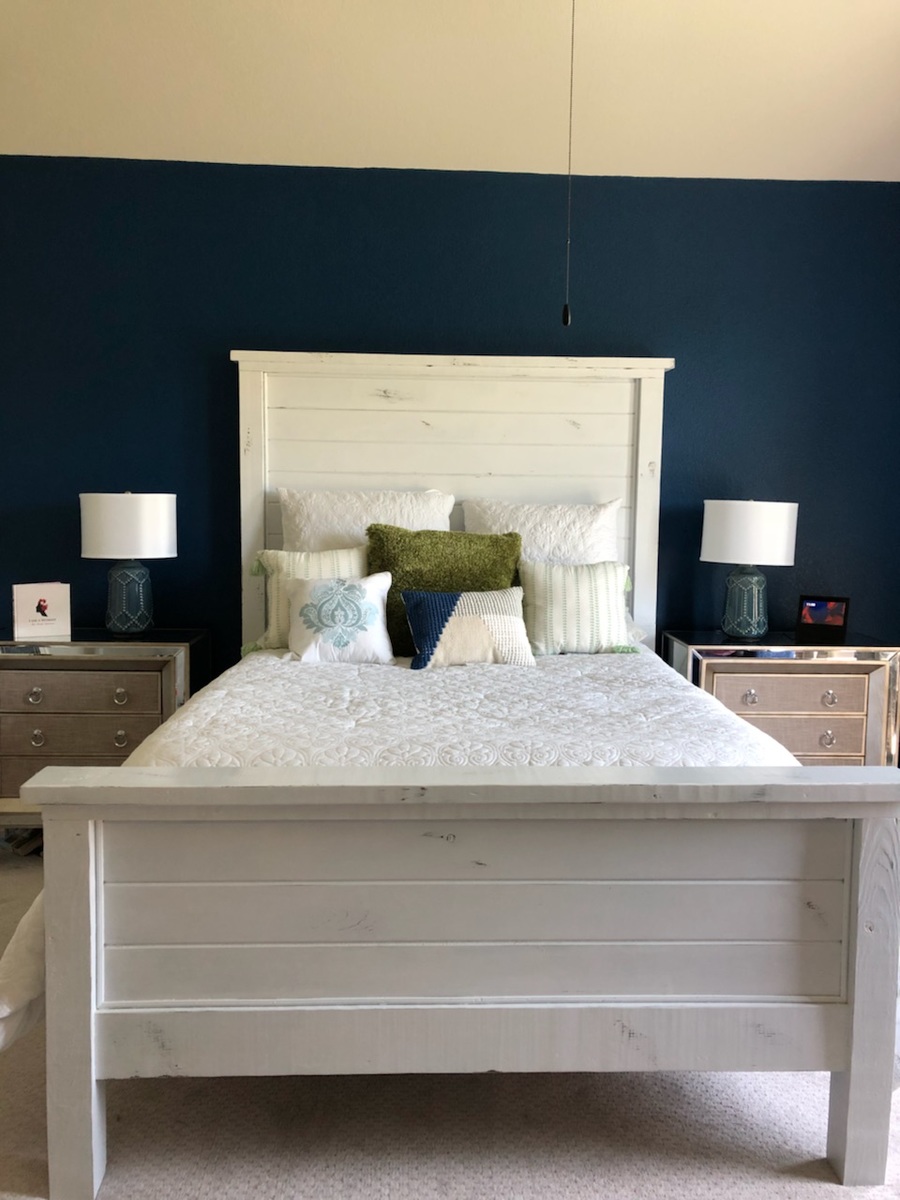
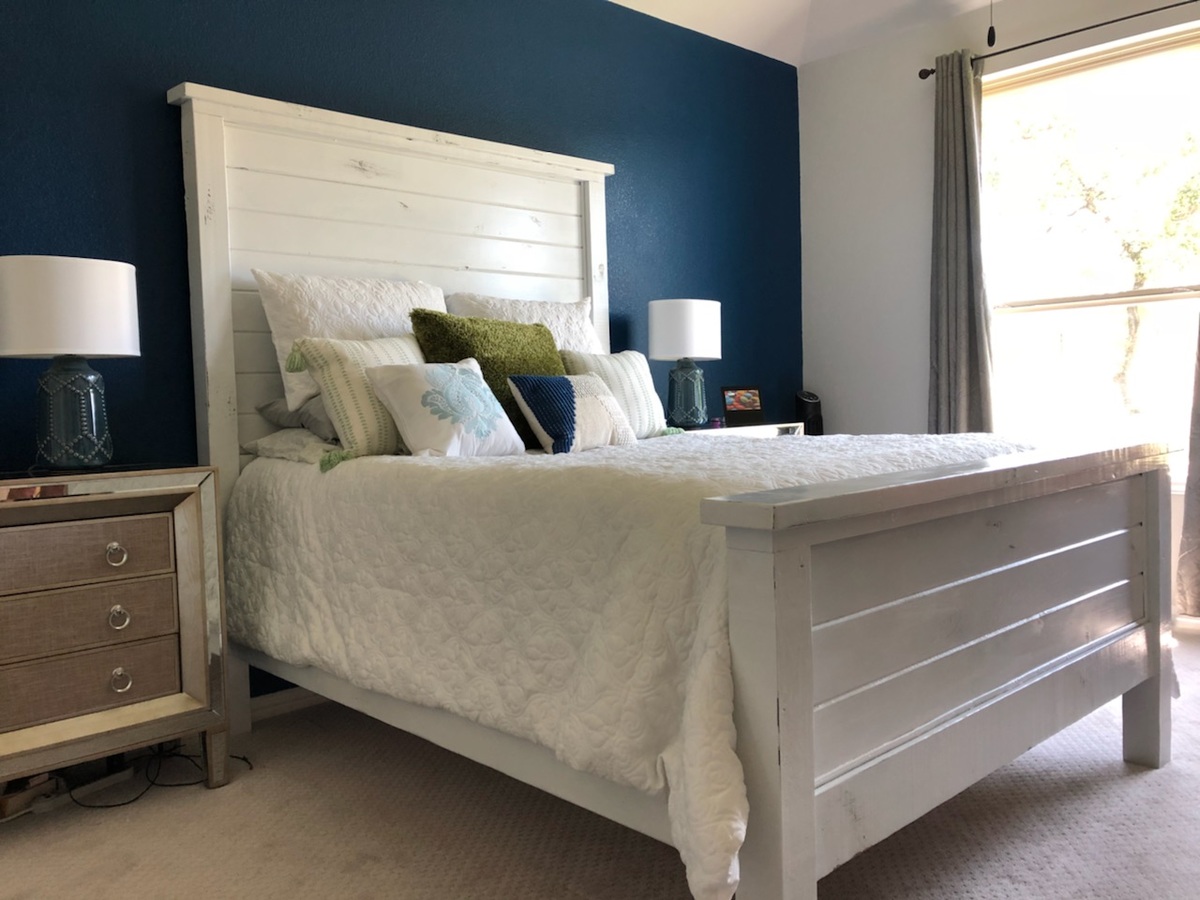
Both of my children have moved into new homes within the past year. So it looks like I will be busy building things they need for them. Enjoy being able to do this for them! Thanks, Ana for the inspirations!
Wed, 07/04/2018 - 14:46
This is gorgeous! Love the taller headboard height and the wall paint! Thank you so much for uploading a photo, can't wait to see more!
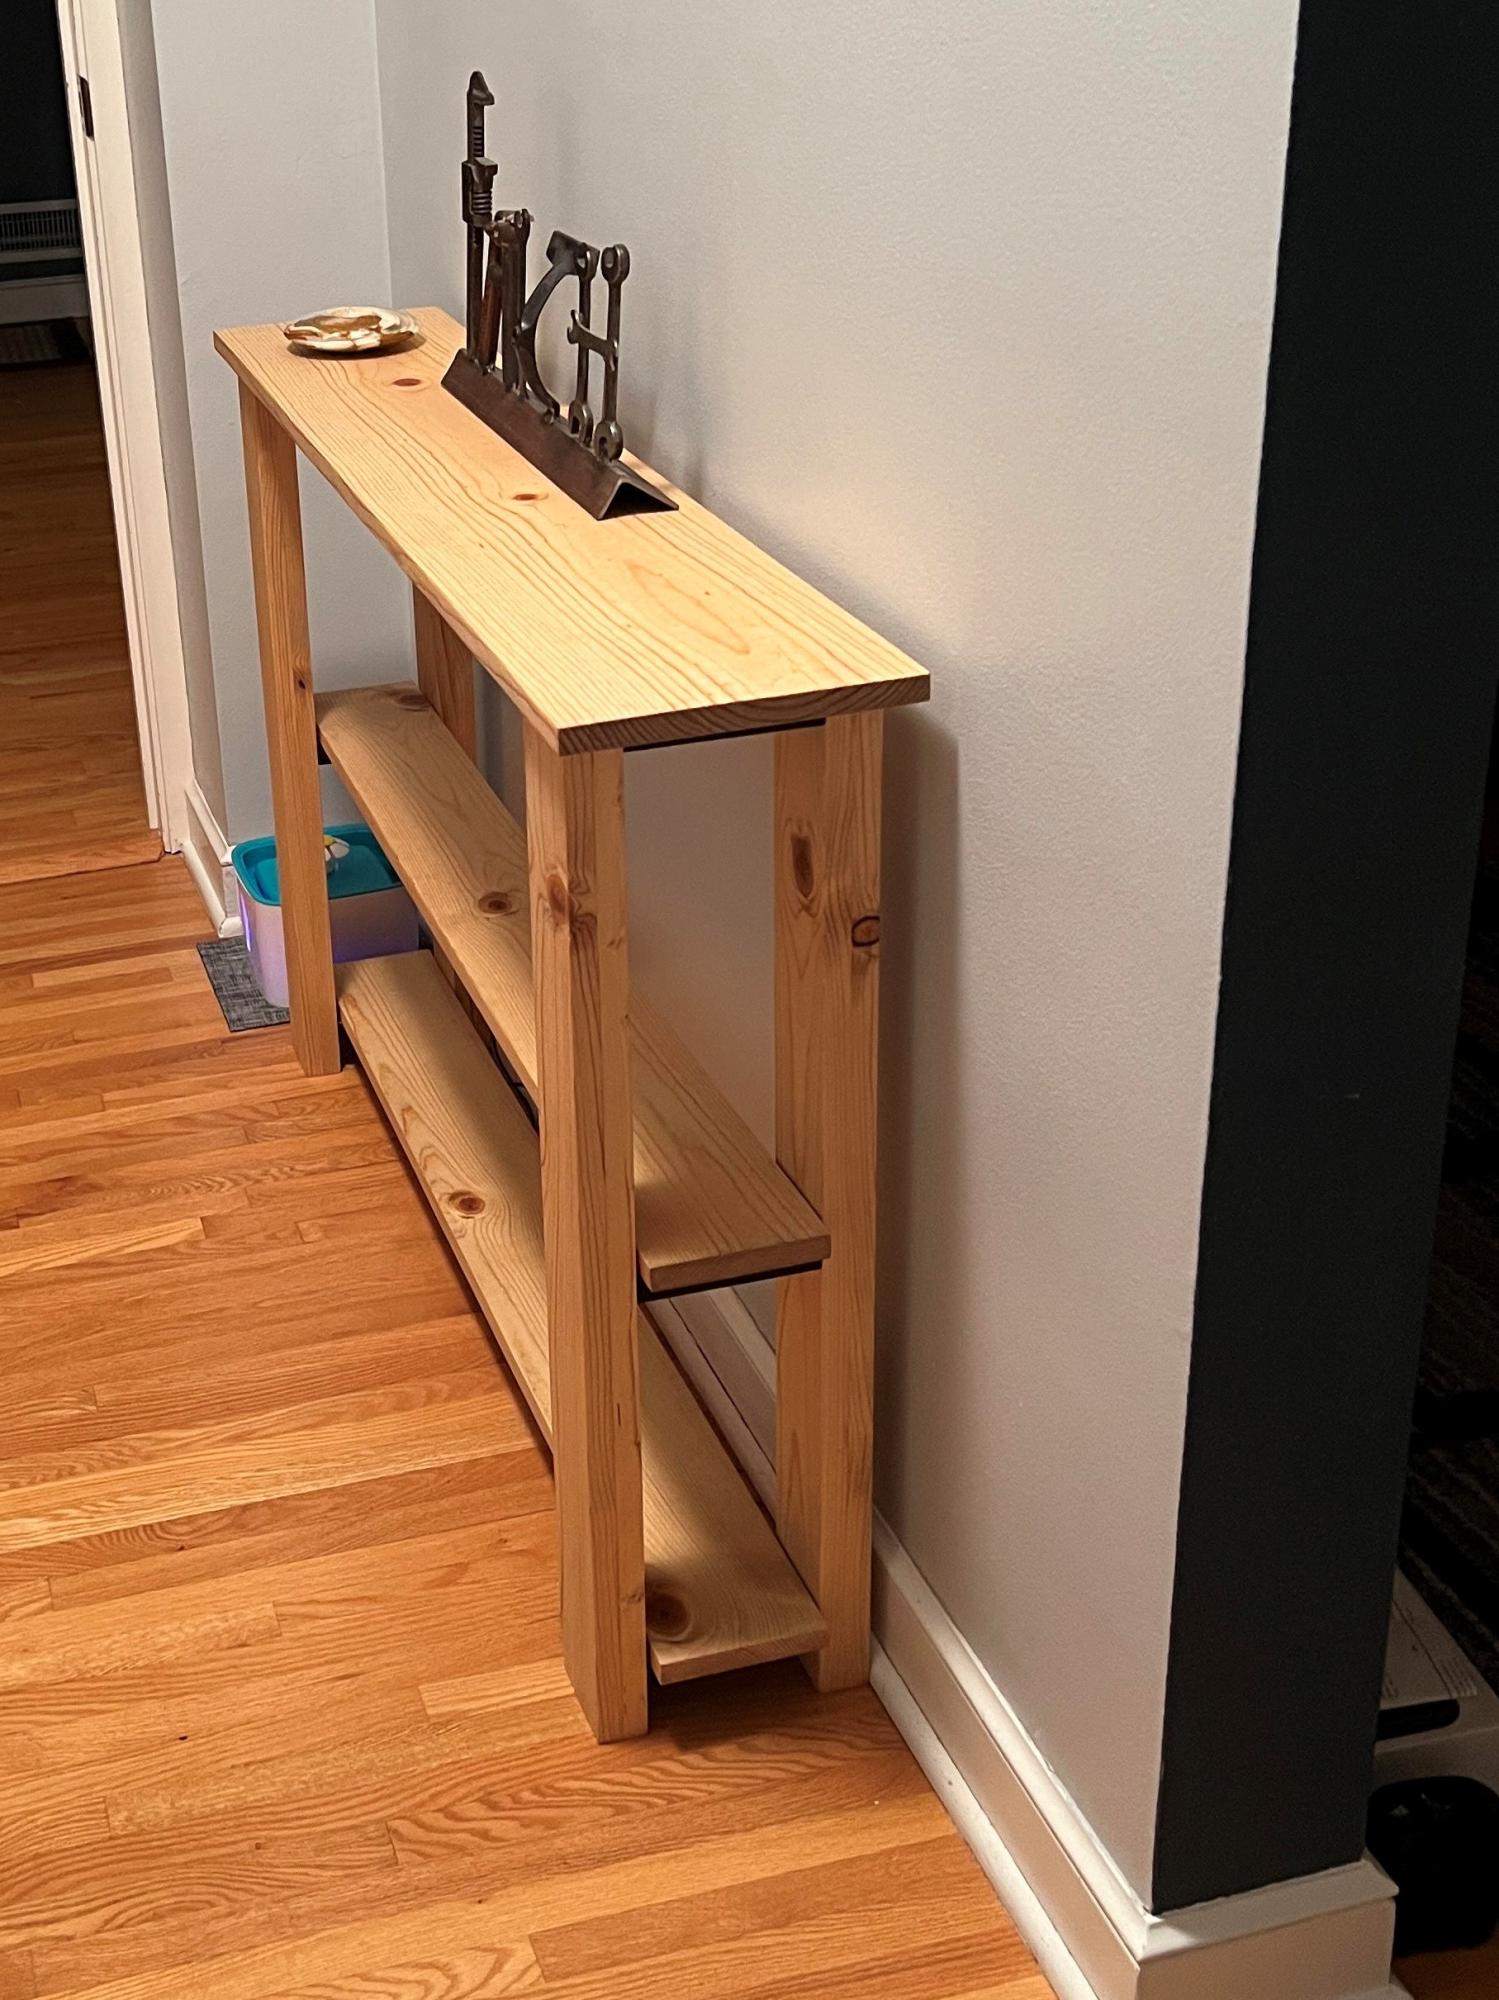
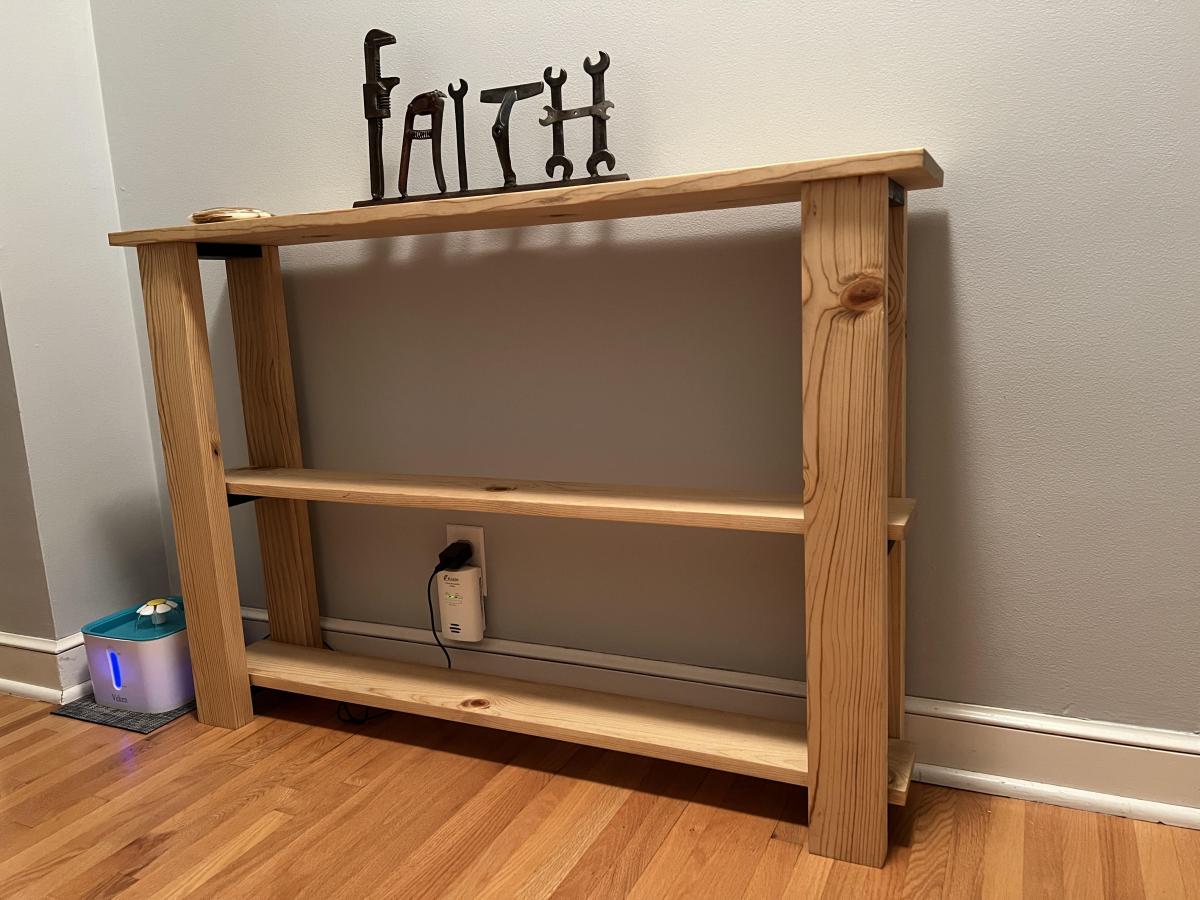
I used dimensional lumber for a little nicer look and laminated two boards for the legs. I used light walnut danish oil to finish. I adjusted the width and got It the perfect width for my hallway.
Comments
Ana White Admin
Fri, 01/08/2021 - 12:21
So Pretty!
Great job on this build, thanks for sharing!