Community Brag Posts

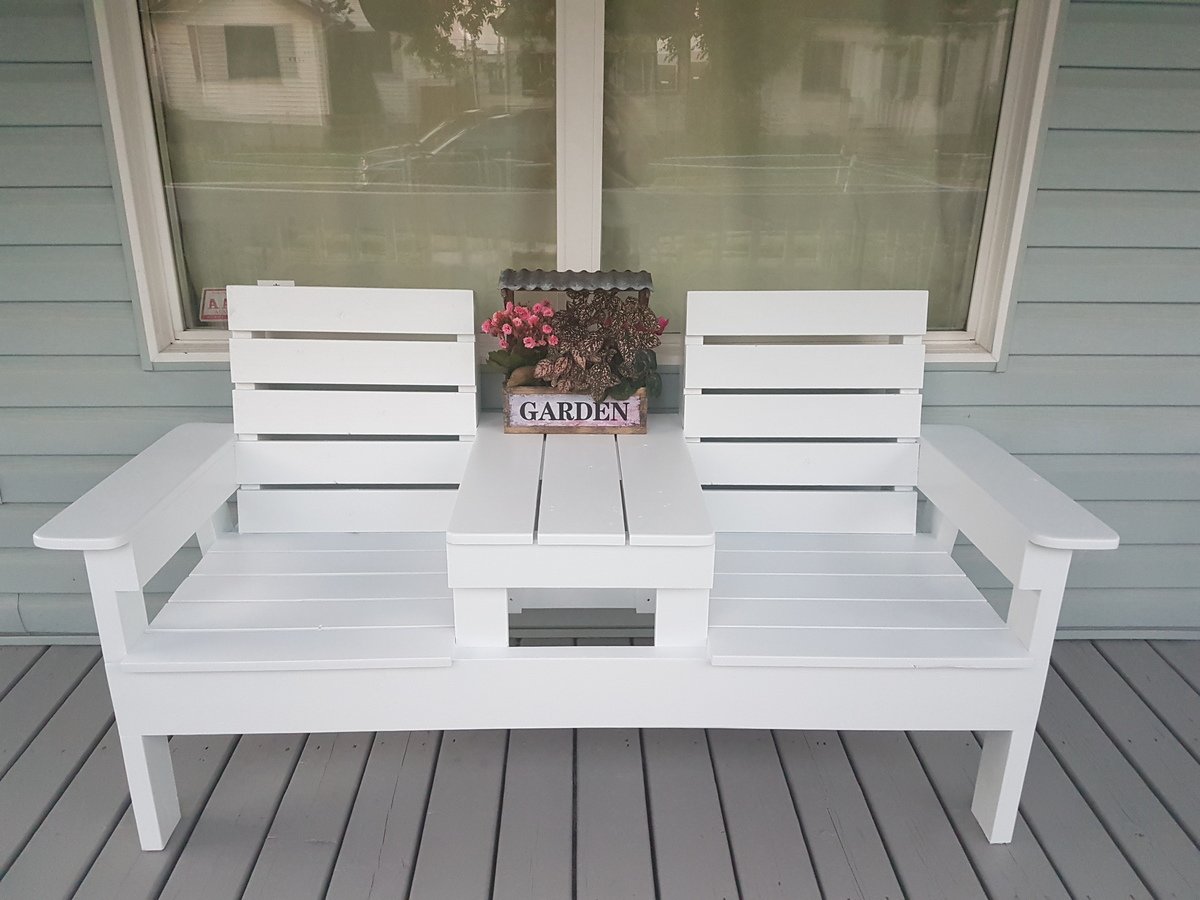
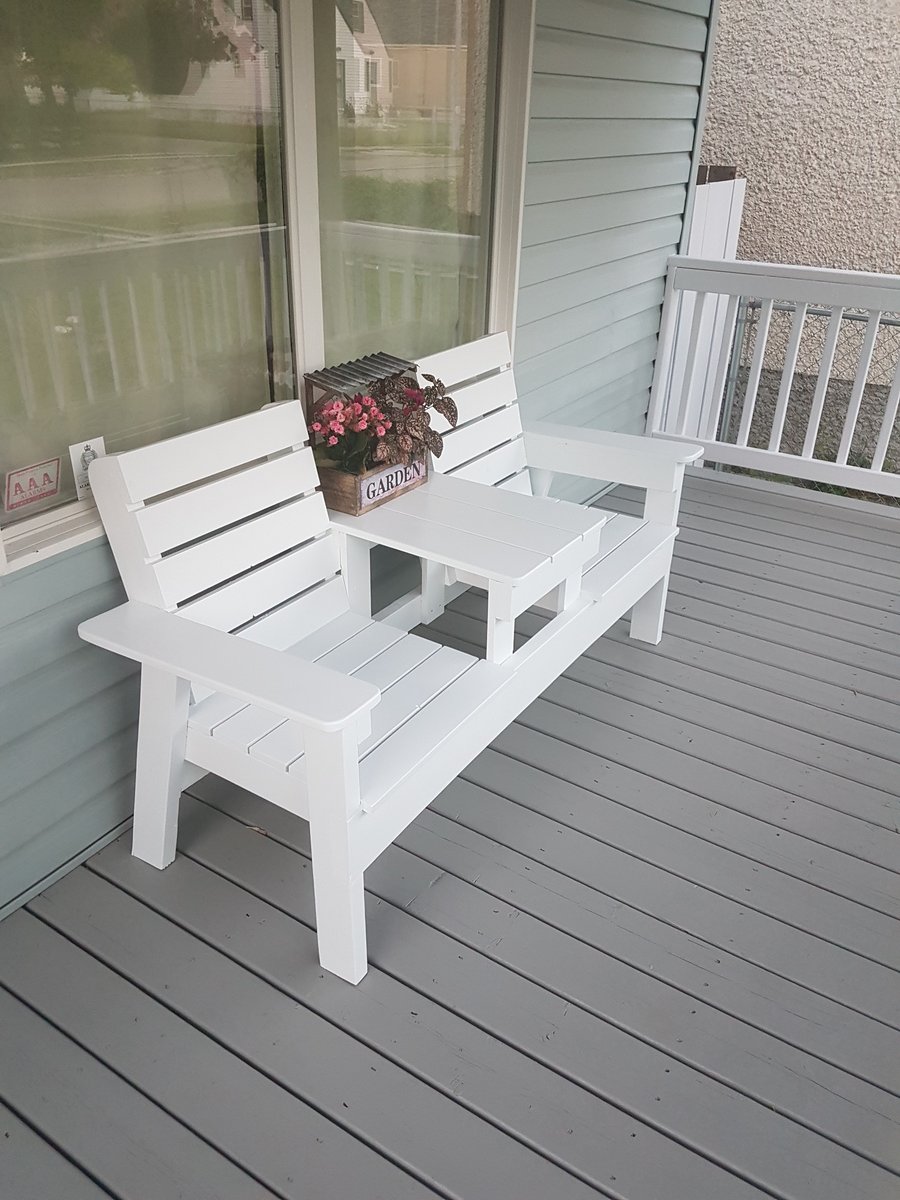
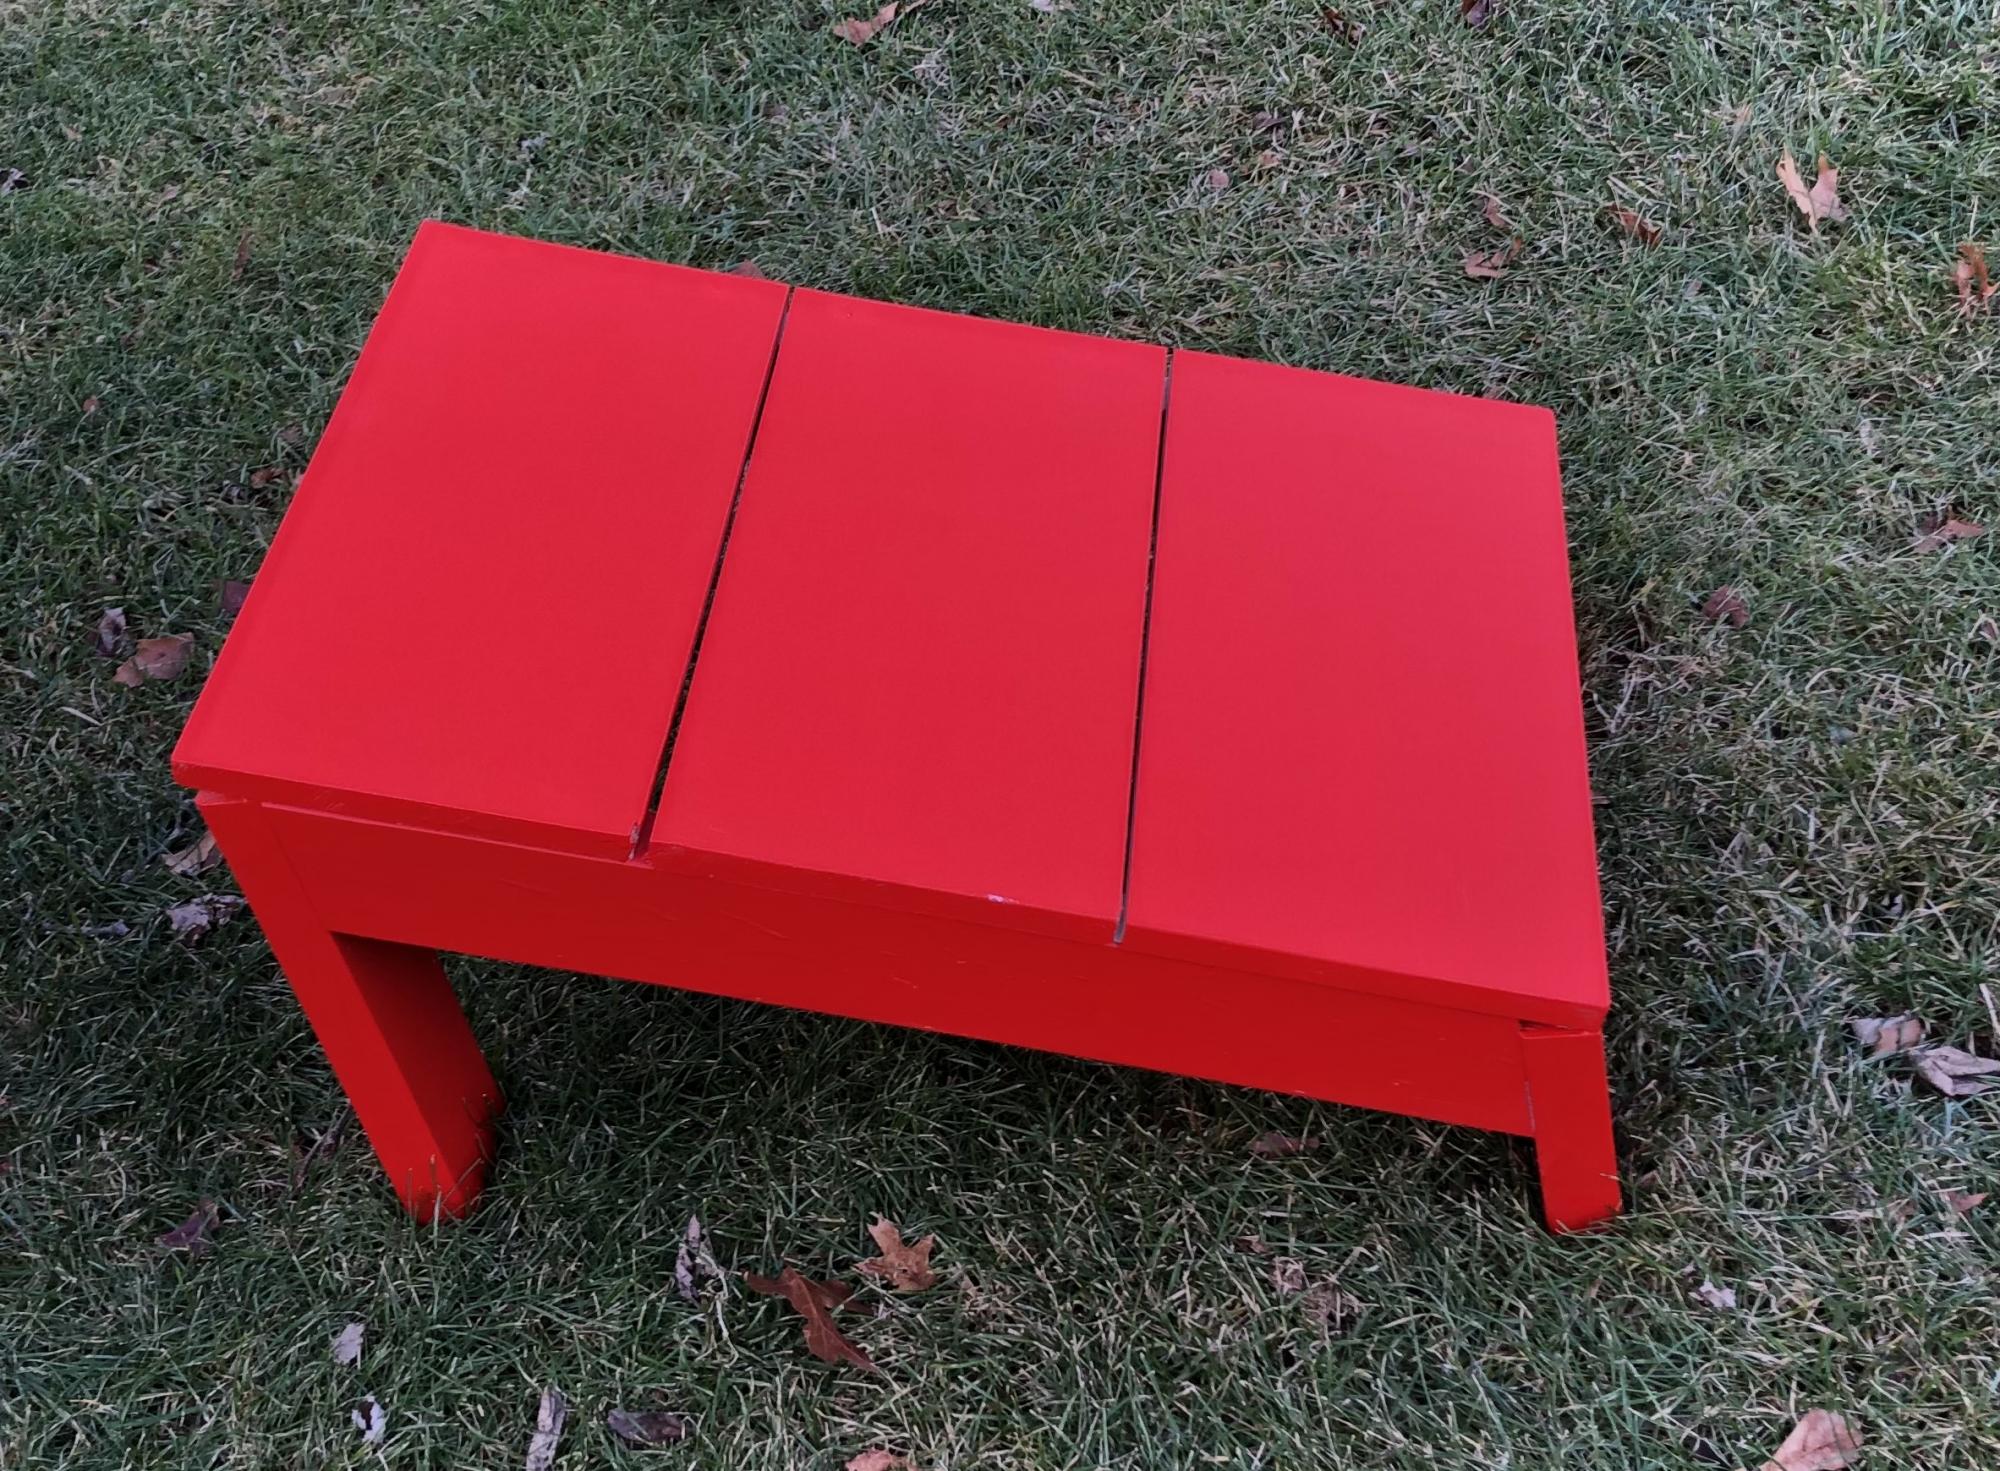
The Modern Adirondack Leg and Foot Rest

Submitted by prelude on Fri, 02/05/2021 - 03:33

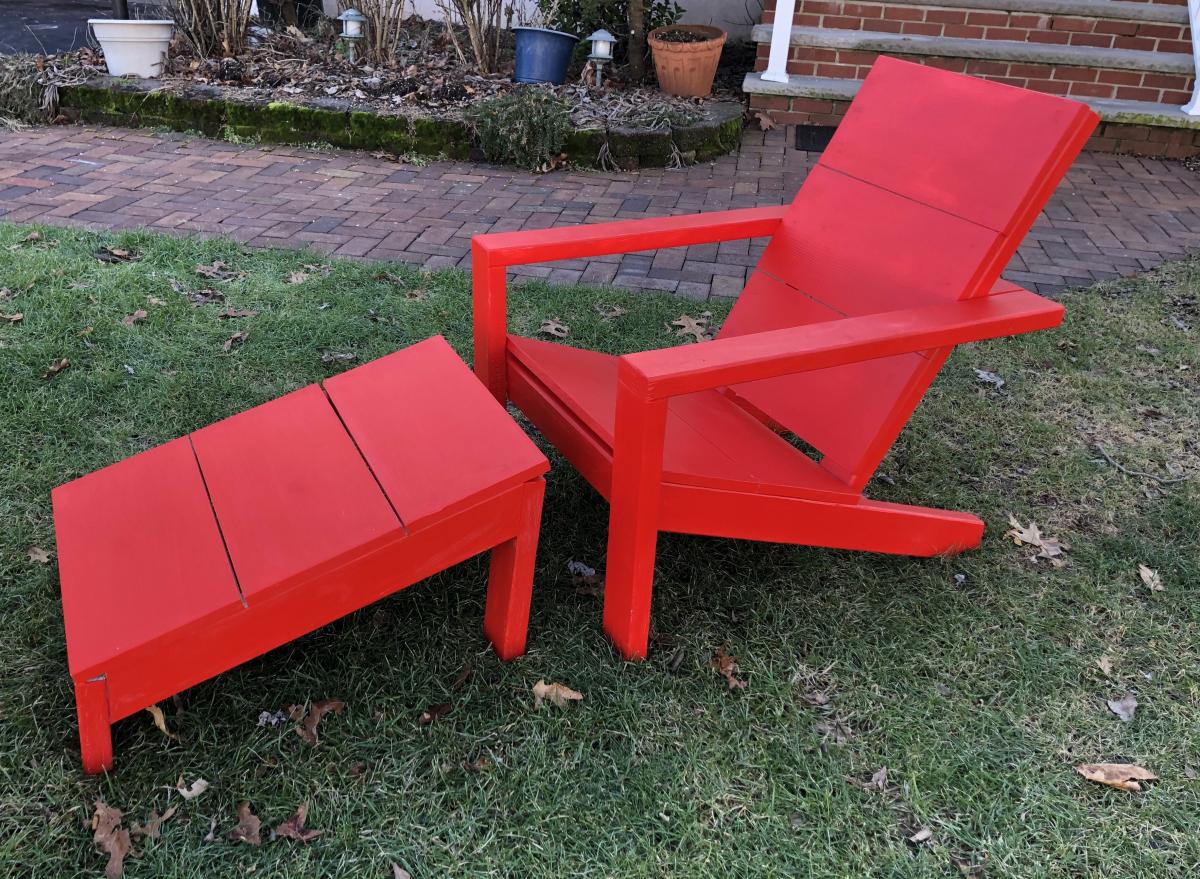
This Leg and Foot Rest is a perfect addition to the Modern Adirondack Chair designed by Ana White. Using the same basic design, the Leg and Foot Rest allows you to put up your legs and feet for added comfort while relaxing around the fire pit or patio.

Plans were created using SketchUp and include Shopping and Cut Lists.

For more details, contact Custom Wood Creations at https://gmarmo48.wixsite.com/mysite or write to us at [email protected]

Estimated Cost
100
Estimated Time Investment
Afternoon Project (3-6 Hours)
Finish Used
Exterior paint or stain
Recommended Skill Level
Beginner

Comments

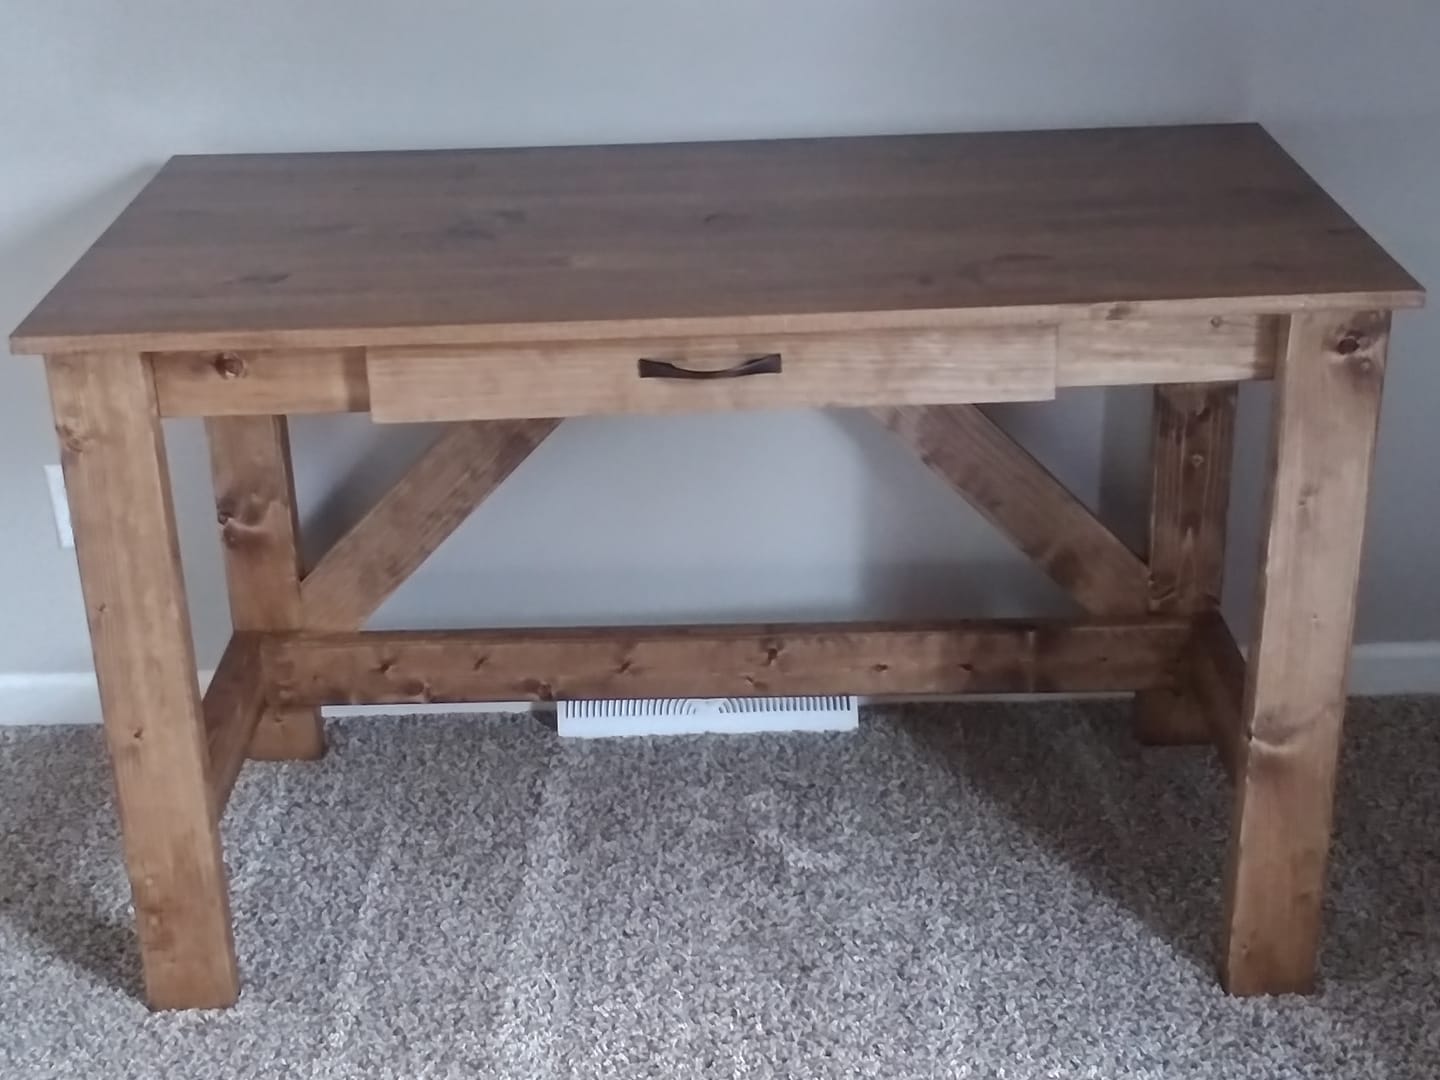
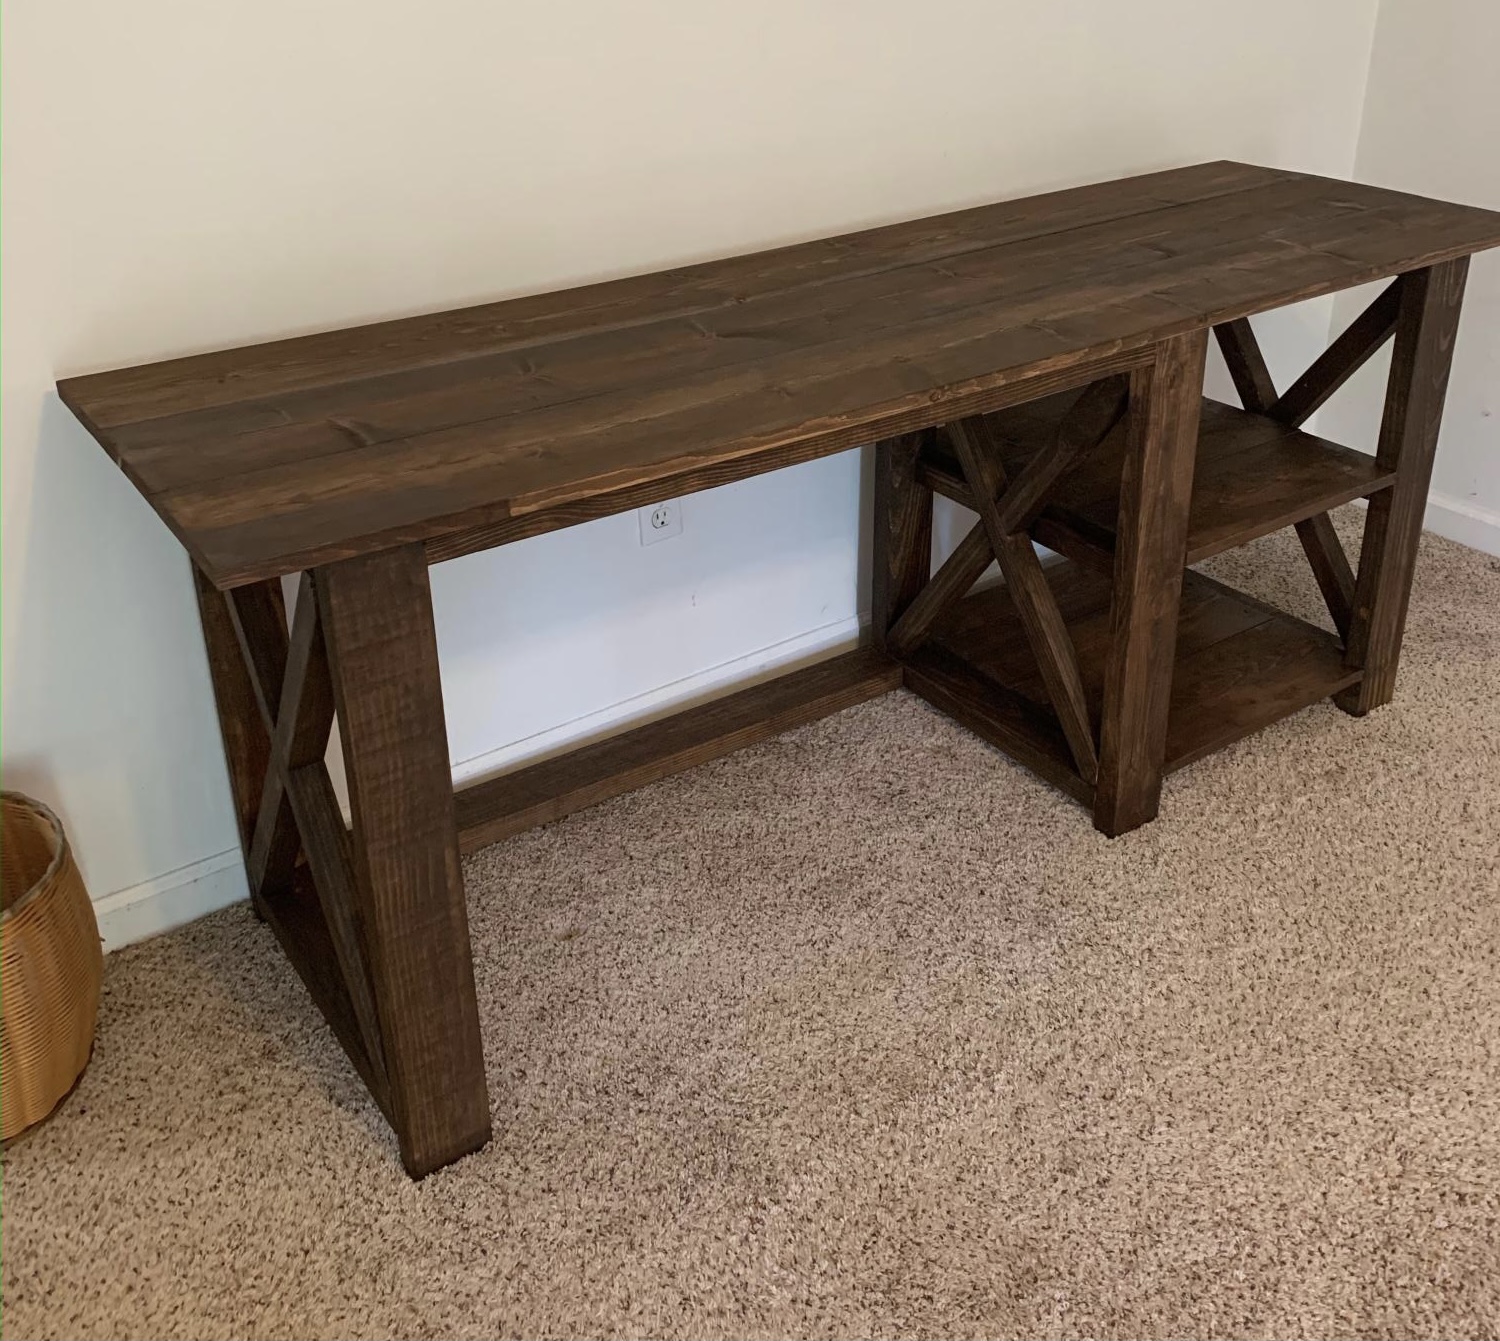
Brookstone Desk

Submitted by Anonymous (not verified) on Mon, 03/15/2021 - 12:06

Made for the spare room. Followed plan except for the top where I used a premade edge glued board.

Built from Plan(s)
Finish Used
Special Walnut stain

Counter height 4'x4' square footage gardening planter boxes

Submitted by Anonymous (not verified) on Tue, 04/18/2017 - 07:01

4' x 4' x 32" planter boxes perfect for square footage gardening. Added pre-made trellis to back for tomatoes and melons/cucumbers. Had to use pressure- treated 4x4 for legs but wrapped them in plastic so not near the soil. 4" lag screws holding just fine with 5 horizontal strapping bars on bottom and 1 vertical 2x4. 

Estimated Cost
$150 for 2
Estimated Time Investment
Afternoon Project (3-6 Hours)
Recommended Skill Level
Beginner

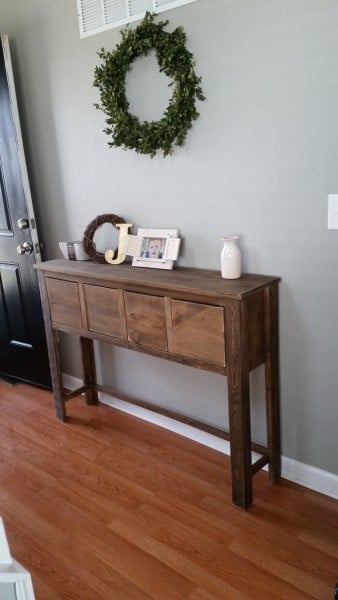
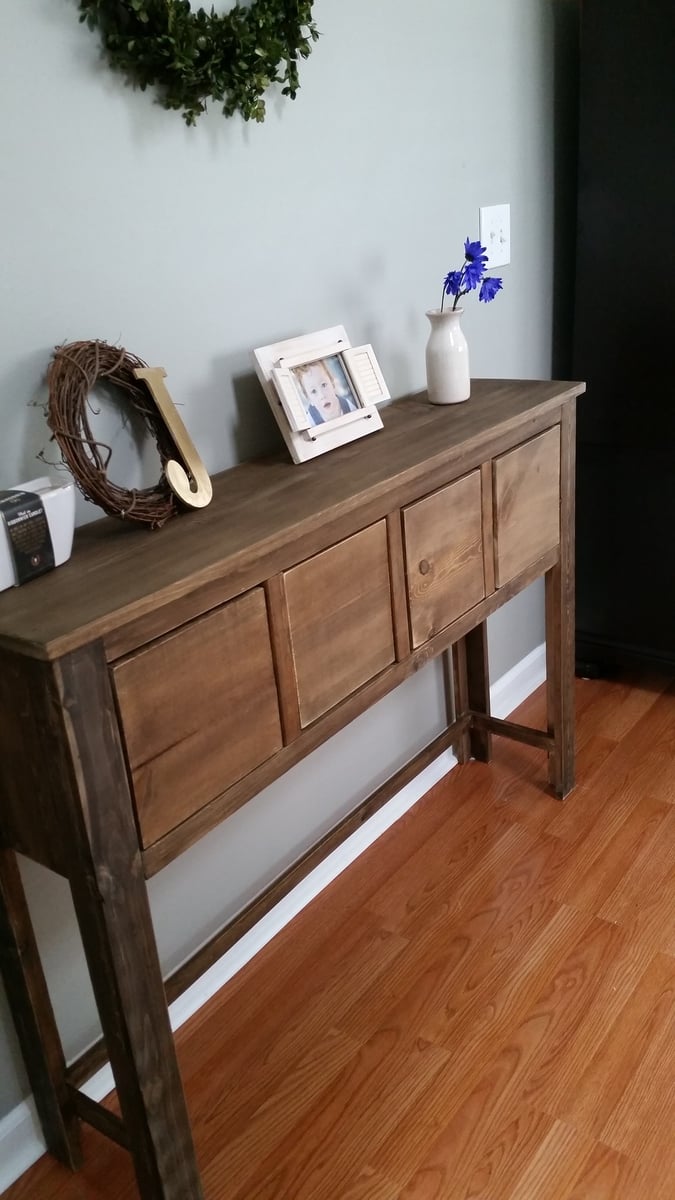
balin console table :)

I changed the 1x12s to 1x10s because I needed it to be a bit narrower and I added s few inches to it's height also. I love it!

Built from Plan(s)
Estimated Time Investment
Day Project (6-9 Hours)
Finish Used
Vinegar and steel wool stain first, then minwax dark walnut.
Recommended Skill Level
Beginner

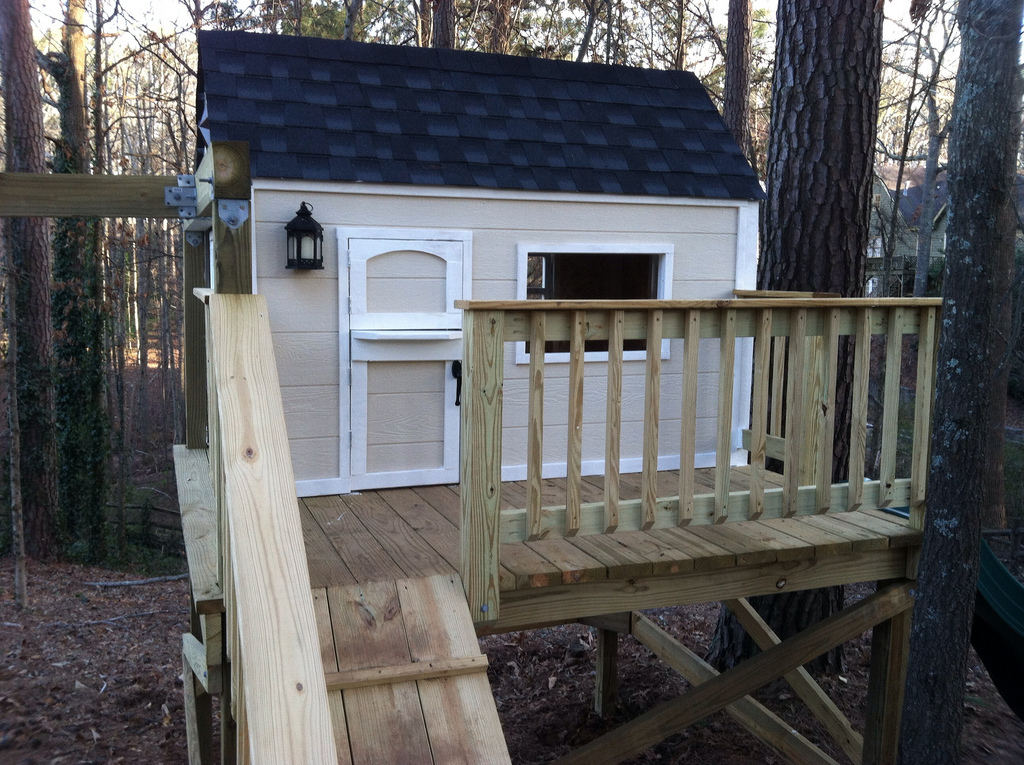
Our Daughter's Playhouse

Submitted by jhedlund on Fri, 03/22/2013 - 06:17

We built this in early 2013. We ended up turning the house 90 degrees on the deck, because the slide worked best off the backside of the deck due to the various heights around the deck. The sloped back yard caused some challenges, but in the end it's a very sturdy deck with the cross beams attached. Thanks for posting these plans online for us, our 3 daughters are loving the playhouse and swingset! Here are some more pics of the project: http://www.flickr.com/photos/11031534@N00/sets/72157633009259873/

Estimated Time Investment
Week Long Project (20 Hours or More)
Recommended Skill Level
Intermediate

Comments

sgilly

Fri, 03/22/2013 - 15:07

Of course your girls love it - it's fantastic! Great job.

Robinwood

Fri, 03/22/2013 - 16:39

Love this - my grandson's back yard is too small to build something like this; which is why we had to settle for his loft bed airport/clubhouse.

slug

Thu, 06/27/2013 - 05:24

I'm planning on building two A-Frames and no playhouse, so my questions are focused there.

Did you do any modifications to swing portion of the plans?
Is it sturdy enough for an adult to swing on as well?
It looks like you put the posts in the ground, did you cement them in too?
How high off the ground is the bottom of the support beam for the swing?
Is there any issue side-to-side swaying?

Seasonal And Holiday

Simple 2x4 Potting Bench - Modified

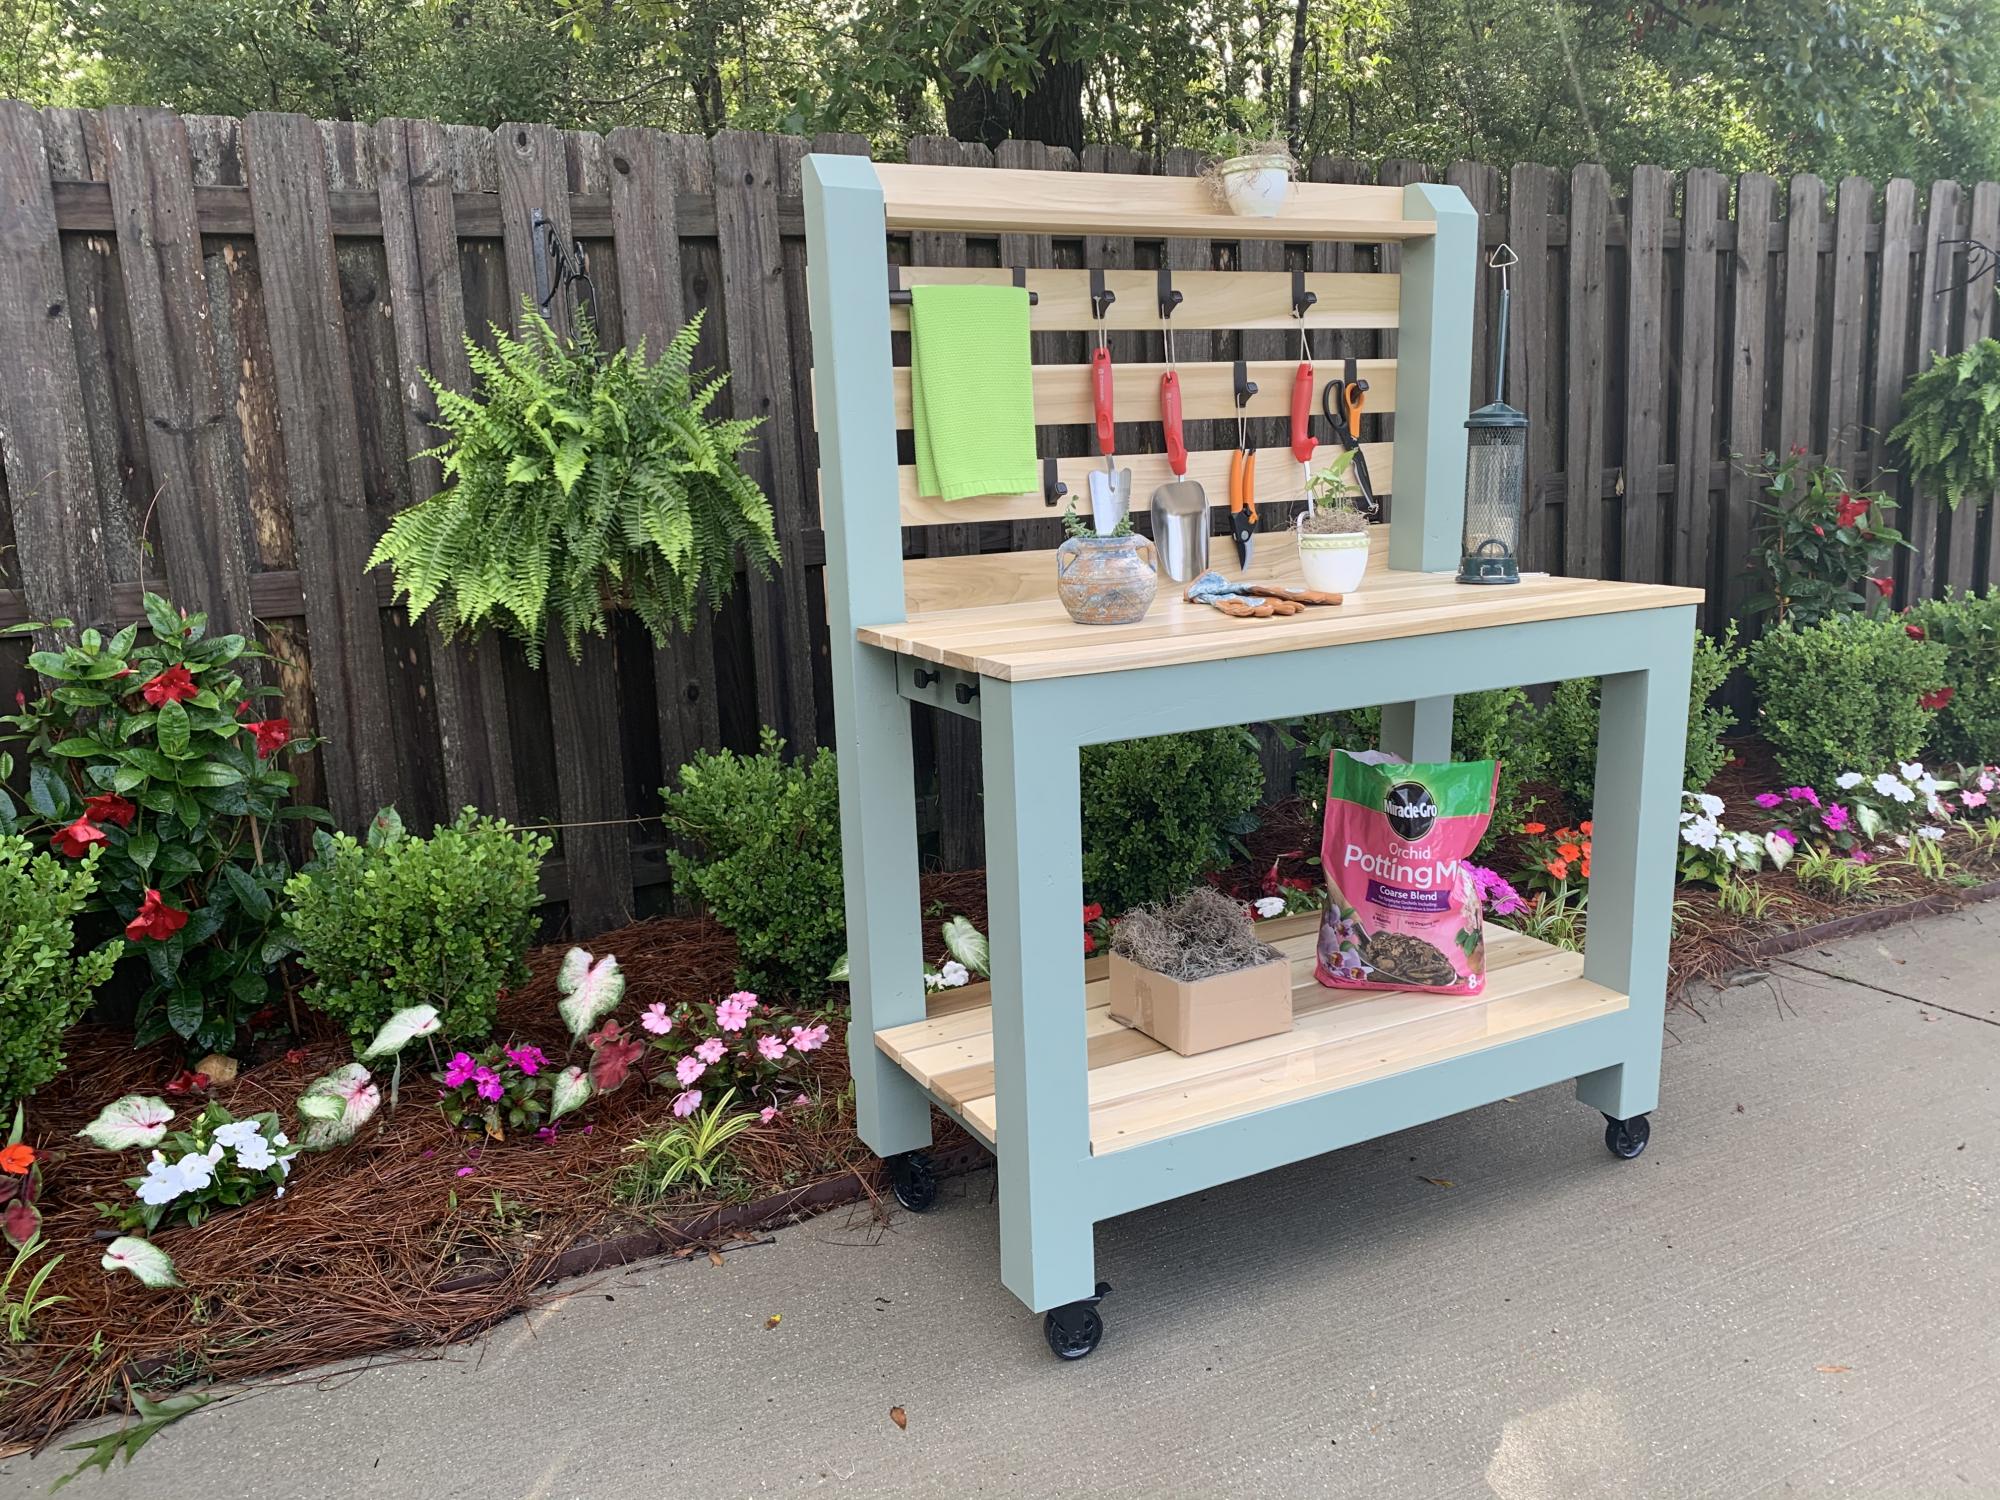
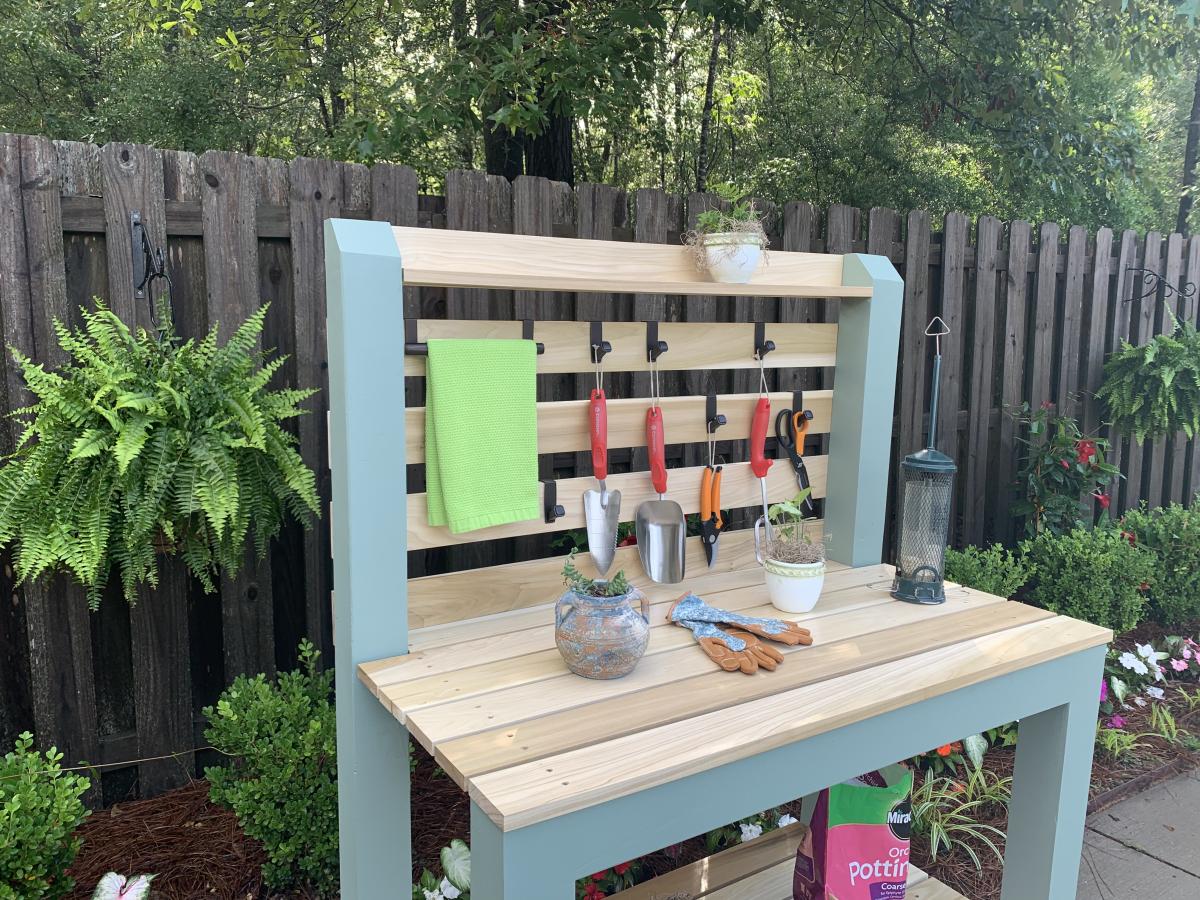
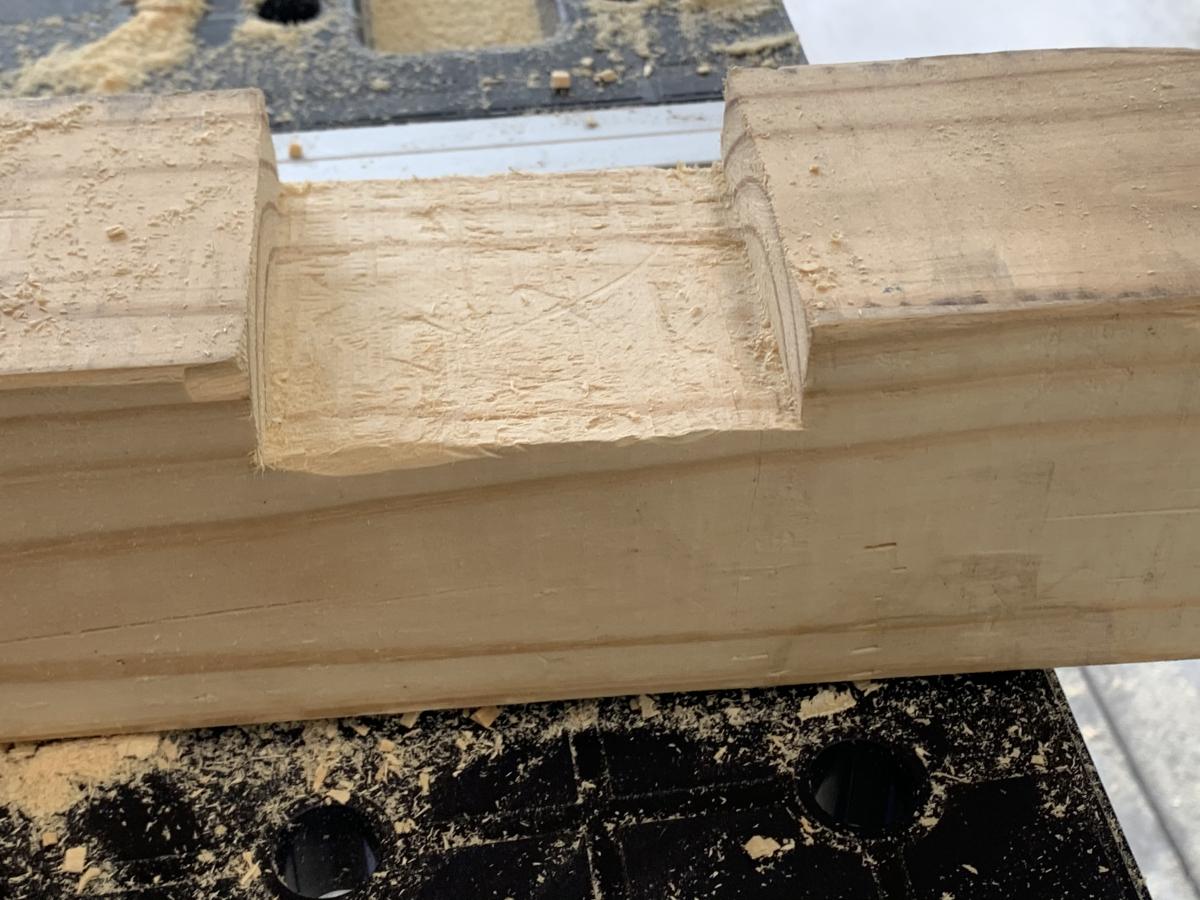
I was intrigued by Ana’s Simple 2x4 Potting Bench. The project seemed simple enough and it would be used as a means to clean up clutter in the garage. My main focus was to make it semi-portable and weather resistant. Instead of using 2x4’s for the corner posts, I used 4x4’s to accommodate casters. I also shorted the length of the posts by 4 inches to compensate for the height of the casters. To provide extra rigidity I did a dado for the 2x4’s that connect the front and rear legs. In retrospect, I wish that I did not dado the legs because it made it more difficult to attach some of the shelf planks. I painted the frame green and left the shelves and backboards clear for beautiful contrast. My wife is ecstatic with the result.

Estimated Time Investment
Weekend Project (10-20 Hours)
Finish Used
Benjamin Moore Environ Green paint for the frame and Minwax Polycrylic for the poplar shelves and backboards.
Recommended Skill Level
Intermediate

Comments

Seasonal And Holiday

Modern Dorm Mini Refrigerator Microwave Cabinet

Submitted by rachelcb on Sat, 07/31/2021 - 12:35

I changed plan to make deeper. I also modified the bottom trim and top. I put a ball bearing soft door drawer guide on modern door so it can slide back and forth. I feel we need more modern plans on here but with a bit of creativity and using plans you can make anything. I have never built anything before. I love General Finishes Milk Paint in Snow White and I brushed rolled it on (sanded between 3 coats). It’s basically self leveling and leaves a nice matte finish. Used door glide in picture bought from homedepot in the 24 inch and that’s how wide door was and it was 36” tall. Door glide I only used one on top of the door not on bottom as well. Door piece of fiberboard with just strips glued on and quarters spacing them correct.

Estimated Cost
$200
Estimated Time Investment
Weekend Project (10-20 Hours)
Finish Used
Dorm mini refrigerator microwave cabinet
Recommended Skill Level
Starter Project

Comments

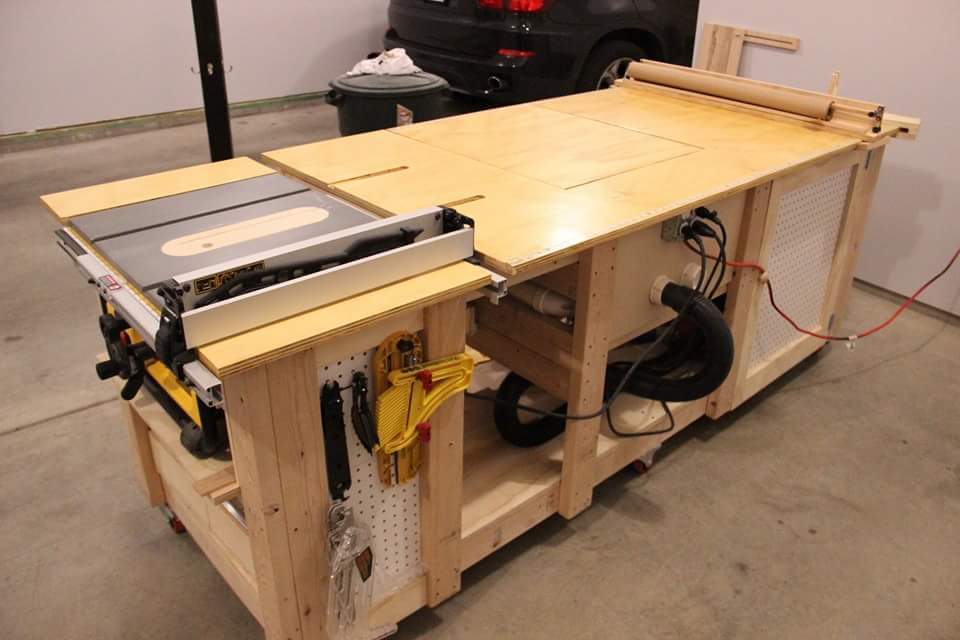
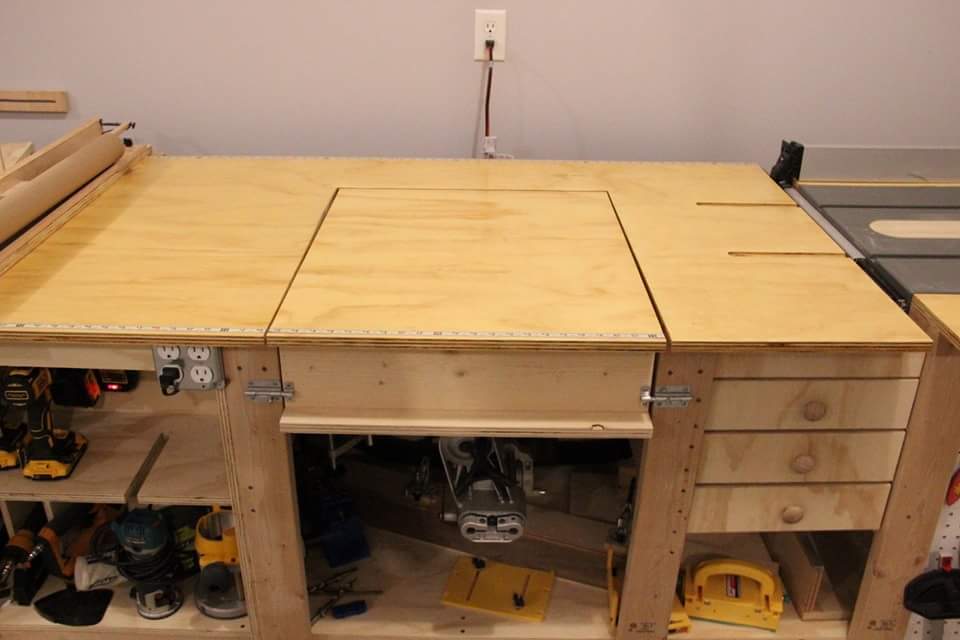
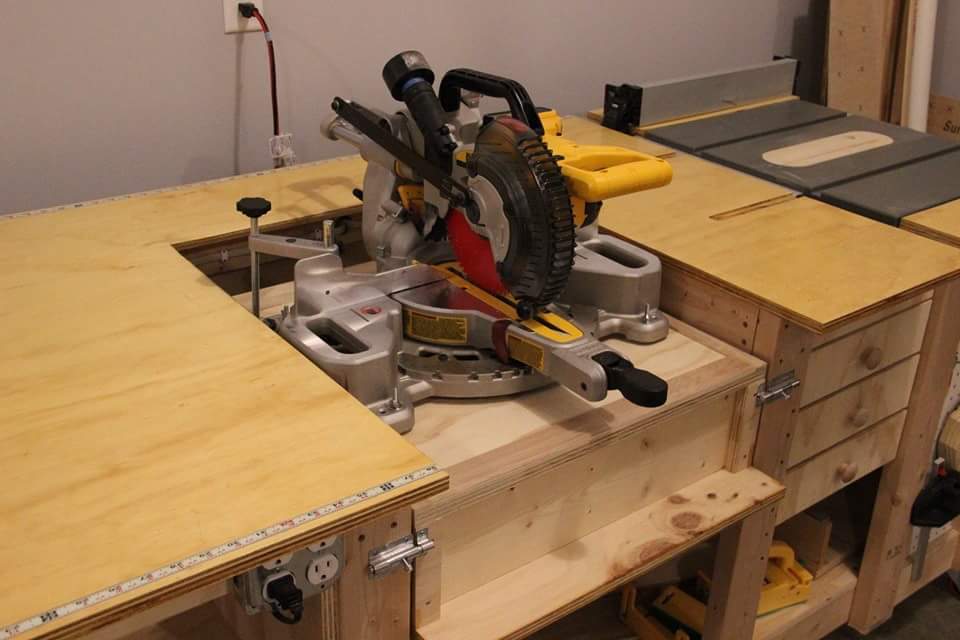
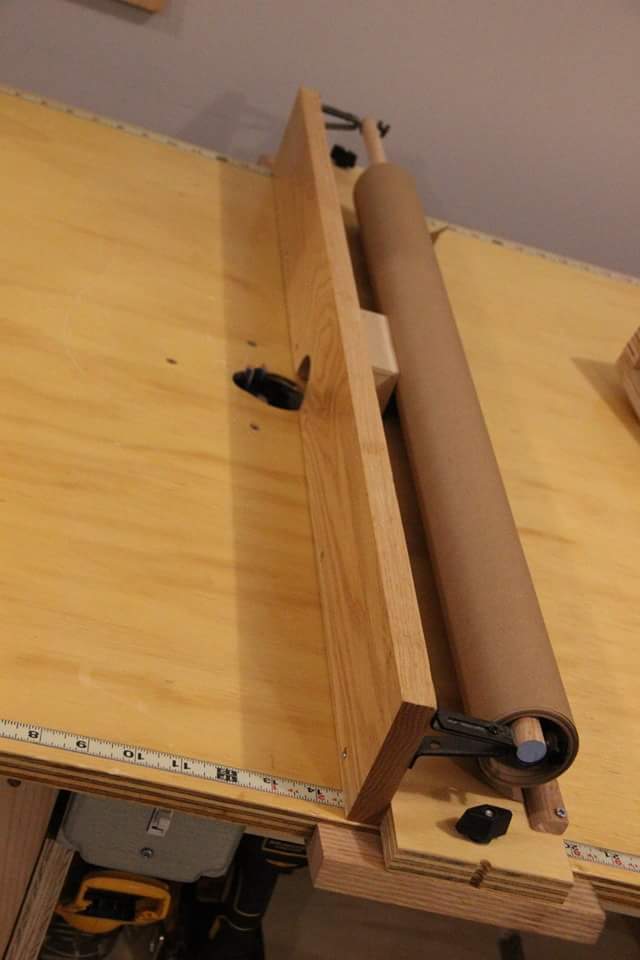
Ultimate work bench

Submitted by markmart74 on Fri, 06/16/2017 - 18:44

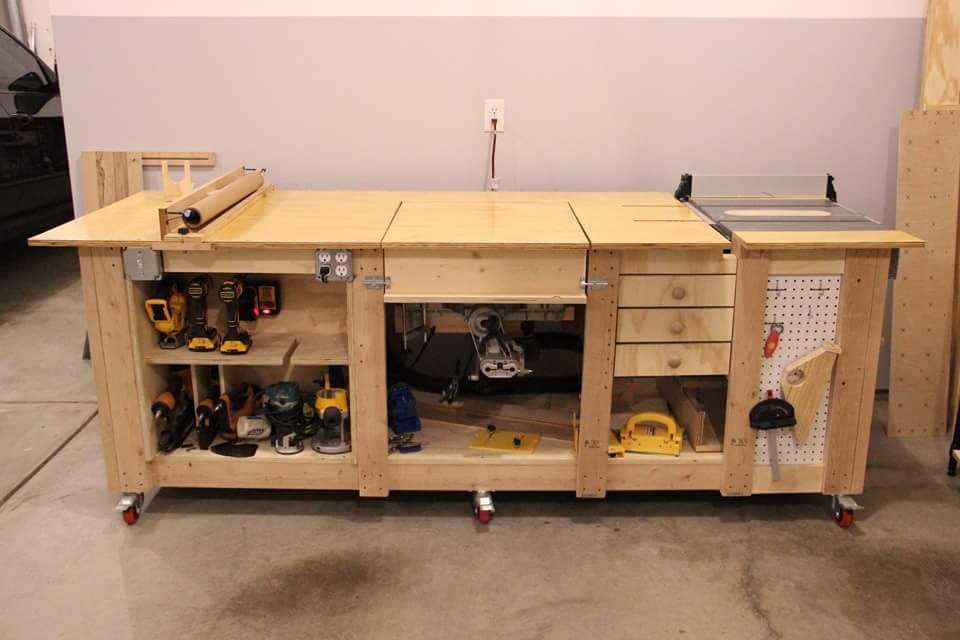
Tablesaw, router, fliptop mitersaw, and dust collection workbench. 

Recommended Skill Level
Intermediate

Comments

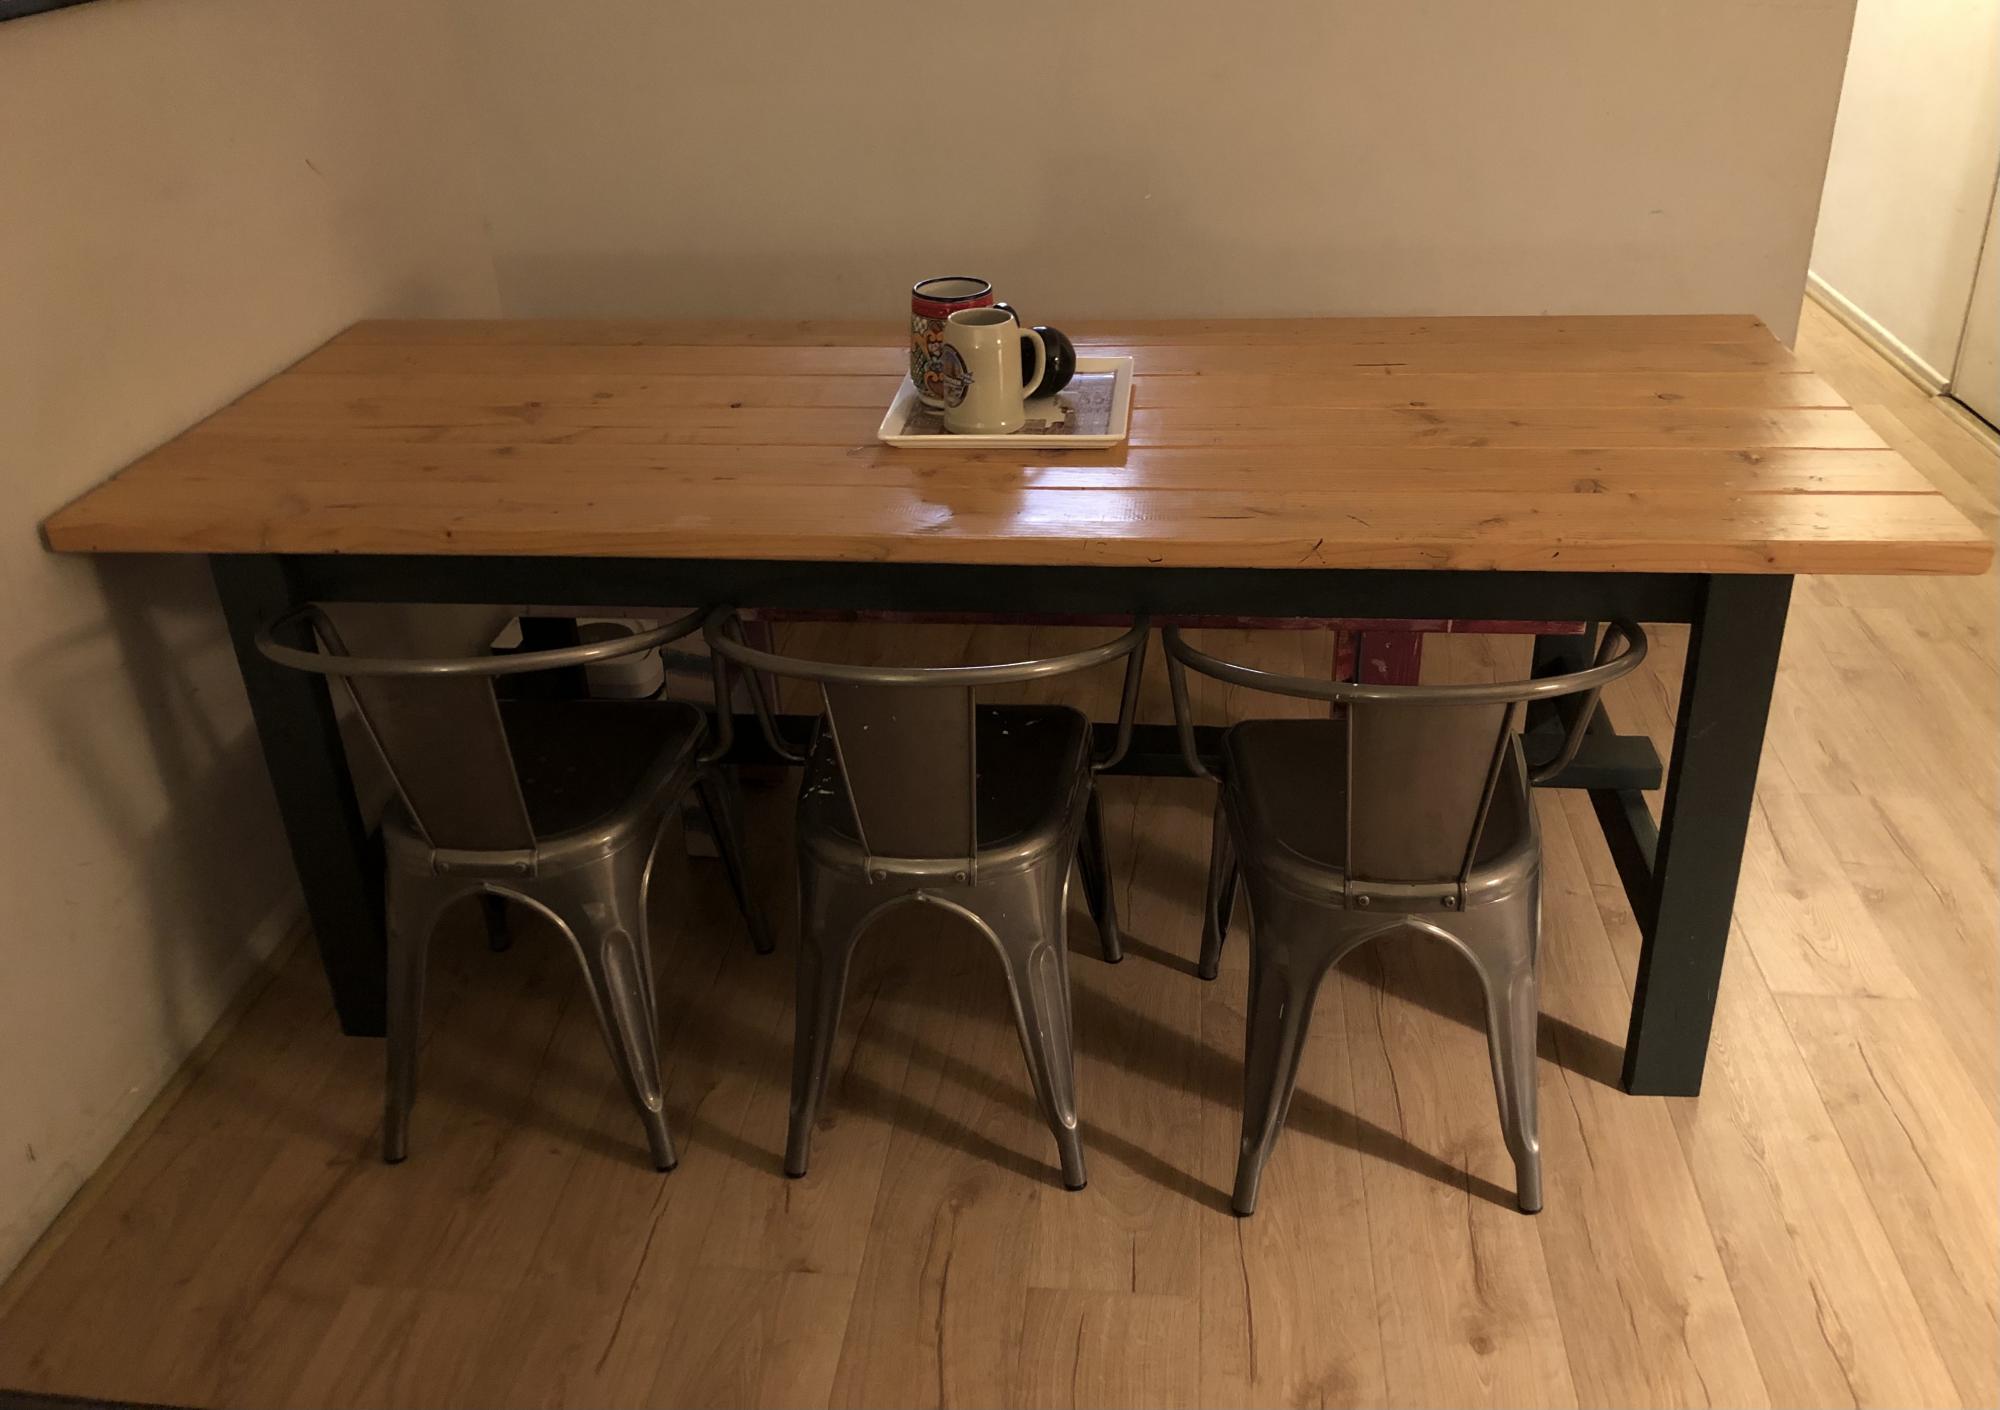
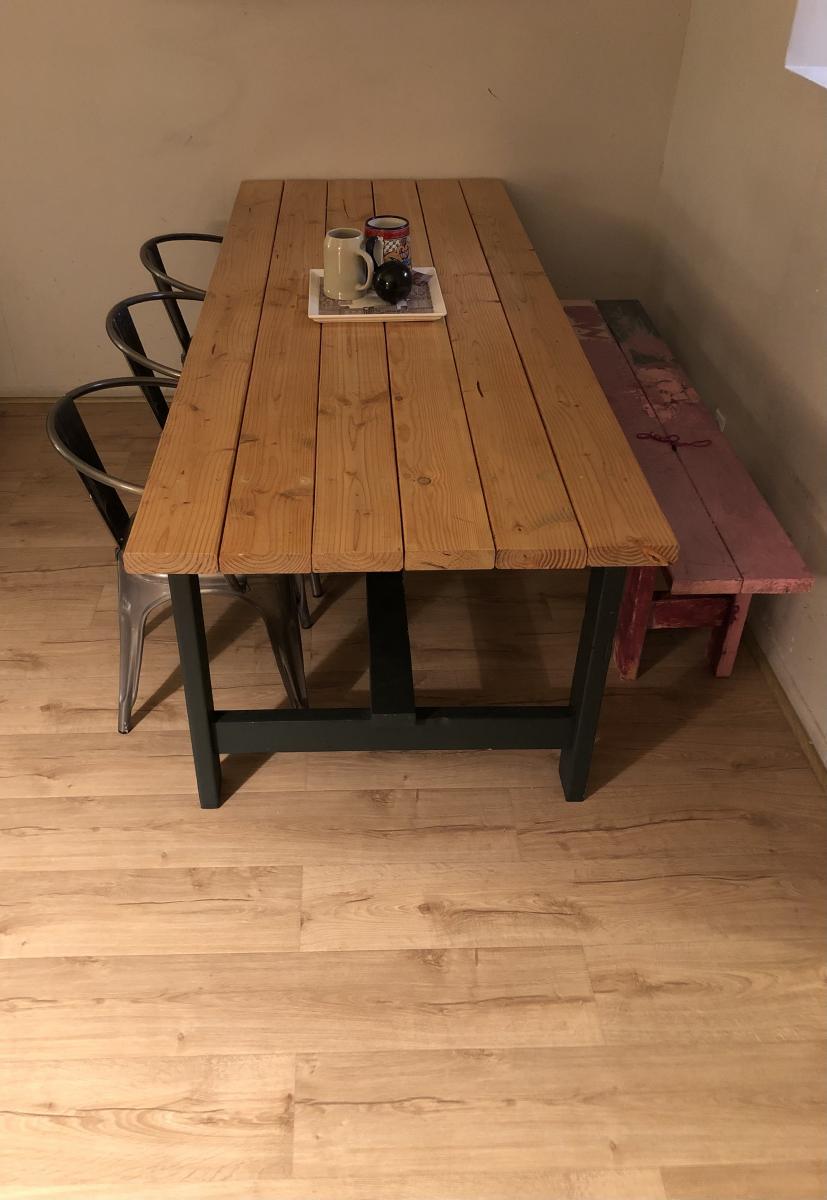
Beginner farm table

Absolutely love how this table turned out! I slightly modified the length to accommodate our space. Definitely a beginner friendly project. I used farrow and ball studio green for the base and just poly on the top.

Comments

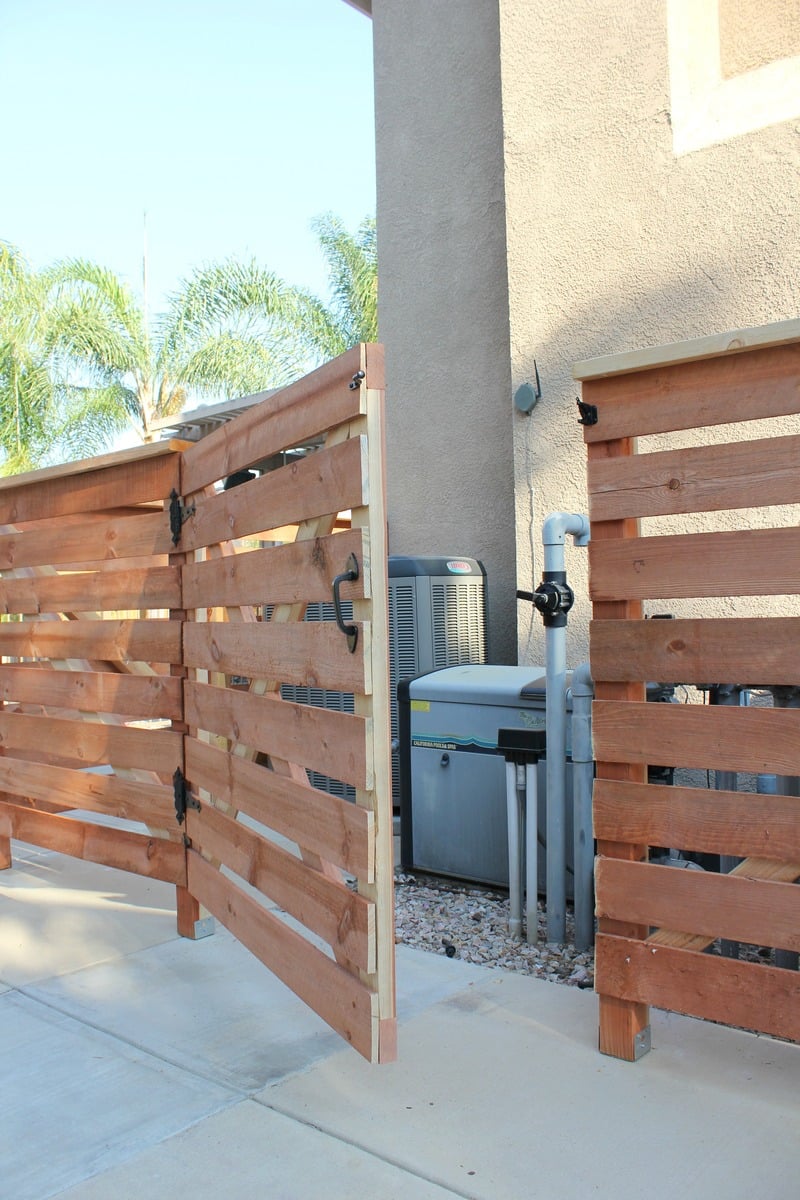
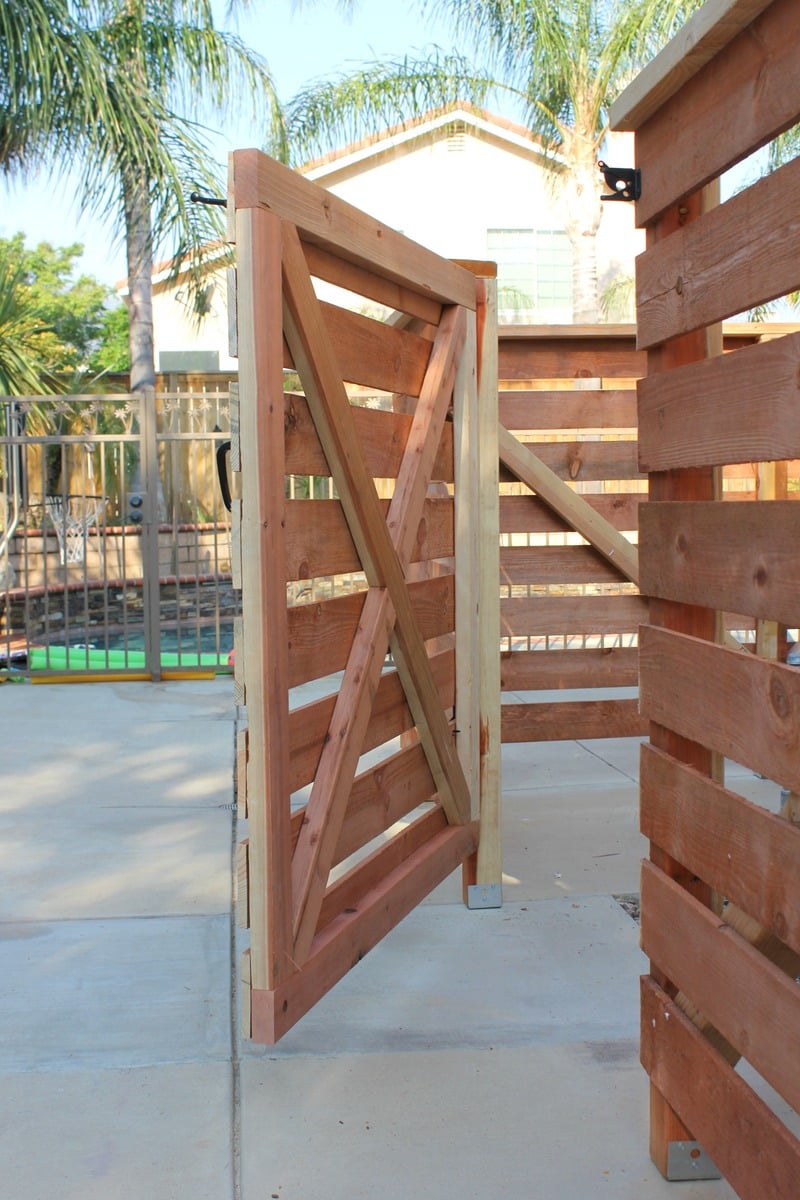
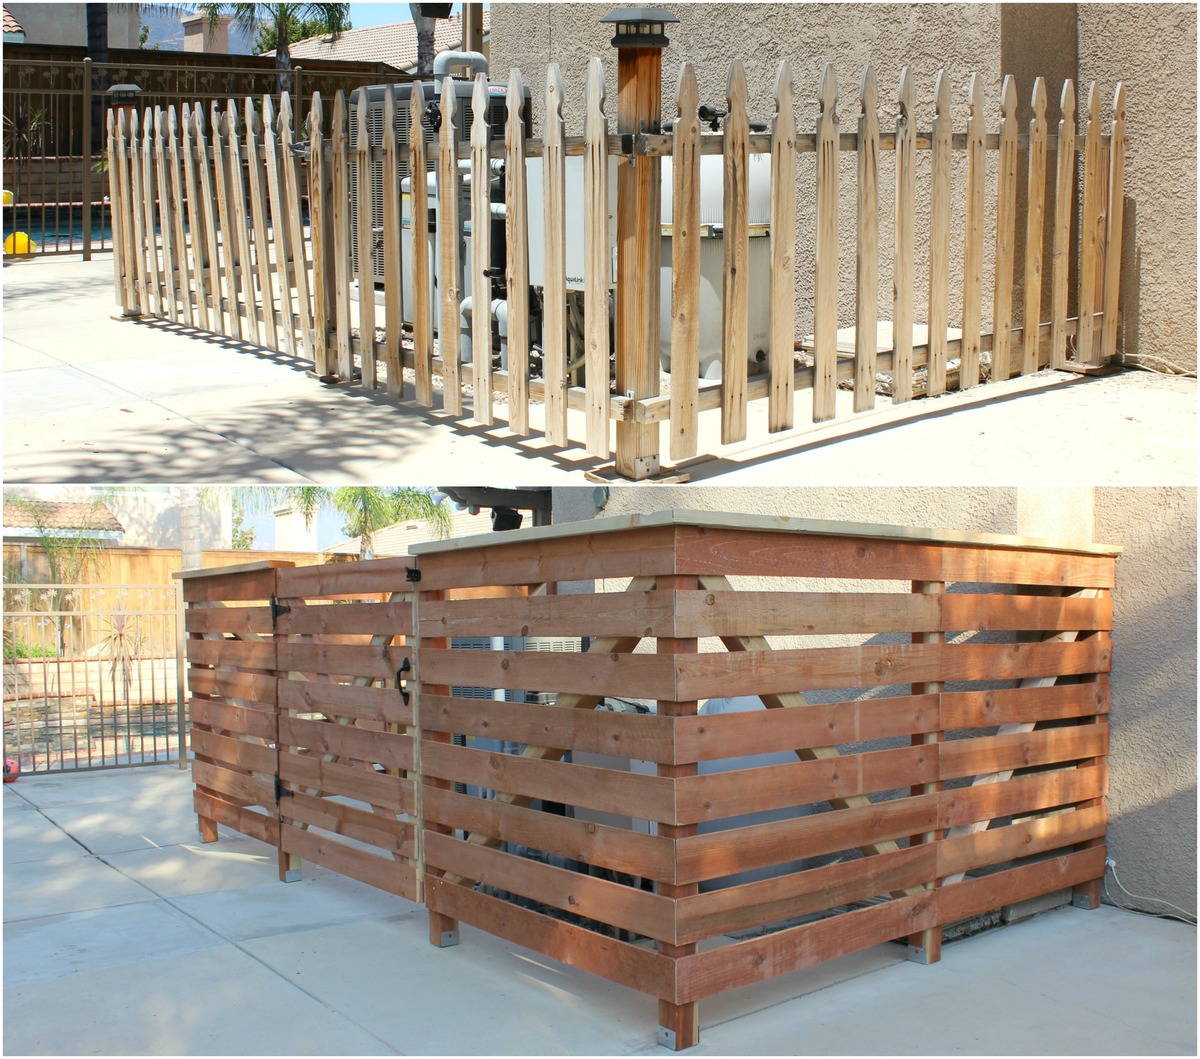
Pool equipment fence refresh

Submitted by Anonymous (not verified) on Thu, 07/06/2017 - 21:00

We love this fence refresh from the previous owner's solution to enclosing the pool equipment and a/c unit! It was the first time we fastened something to our house - drilling through stucco in the process. That was a big deal for us diy-ers! We made the frame out of 4x4's (which ended up being the most challenging part to the whole thing), applied the horizontal fencing boards and then used one of those $15 fence hardware kits - it was a great project that has made a huge difference in our backyard. Yay!

Estimated Cost
$300
Estimated Time Investment
Weekend Project (10-20 Hours)
Recommended Skill Level
Intermediate

Office Desk

Submitted by Anonymous (not verified) on Sun, 12/26/2021 - 15:13

Used these plans to make this office desk for my daughter!

Built from Plan(s)

Comments

Reclaimed Wood Night Stand

Submitted by bRick on Thu, 06/11/2015 - 21:48

These (matching set) were a pretty straightforward build based on the Reclaimed Wood Night Stands. http://ana-white.com/2011/08/reclaimed-wood-night-stand. The hardware I used was designed to match the Printer's Console that I built previously. I cheaped out on the drawer slides, which I wouldn't recommend doing because it gives the drawers a cheap feel to them. Plus, there's not that much of a price difference.

Estimated Time Investment
Week Long Project (20 Hours or More)
Finish Used
Rustoleum American Oak
Recommended Skill Level
Beginner

Comments

blue72vette

Fri, 04/08/2016 - 13:54

Hello, your project looks nice. Did you use regular #2 lumber from Home Depot or Lowes? If so how are they holding up?

bRick

Wed, 10/05/2016 - 16:59

But yes the lumber was straight outta Home Depot. I would say its doing pretty good at this point. It sees pretty light duty (e.g. alarm clock, books and glasses of water), but no water rings. I did throw a number of coats on the top of it though. It's soft wood, so if you wanted to you could engrave your name with your thumbnail. You just have to resist the urge.

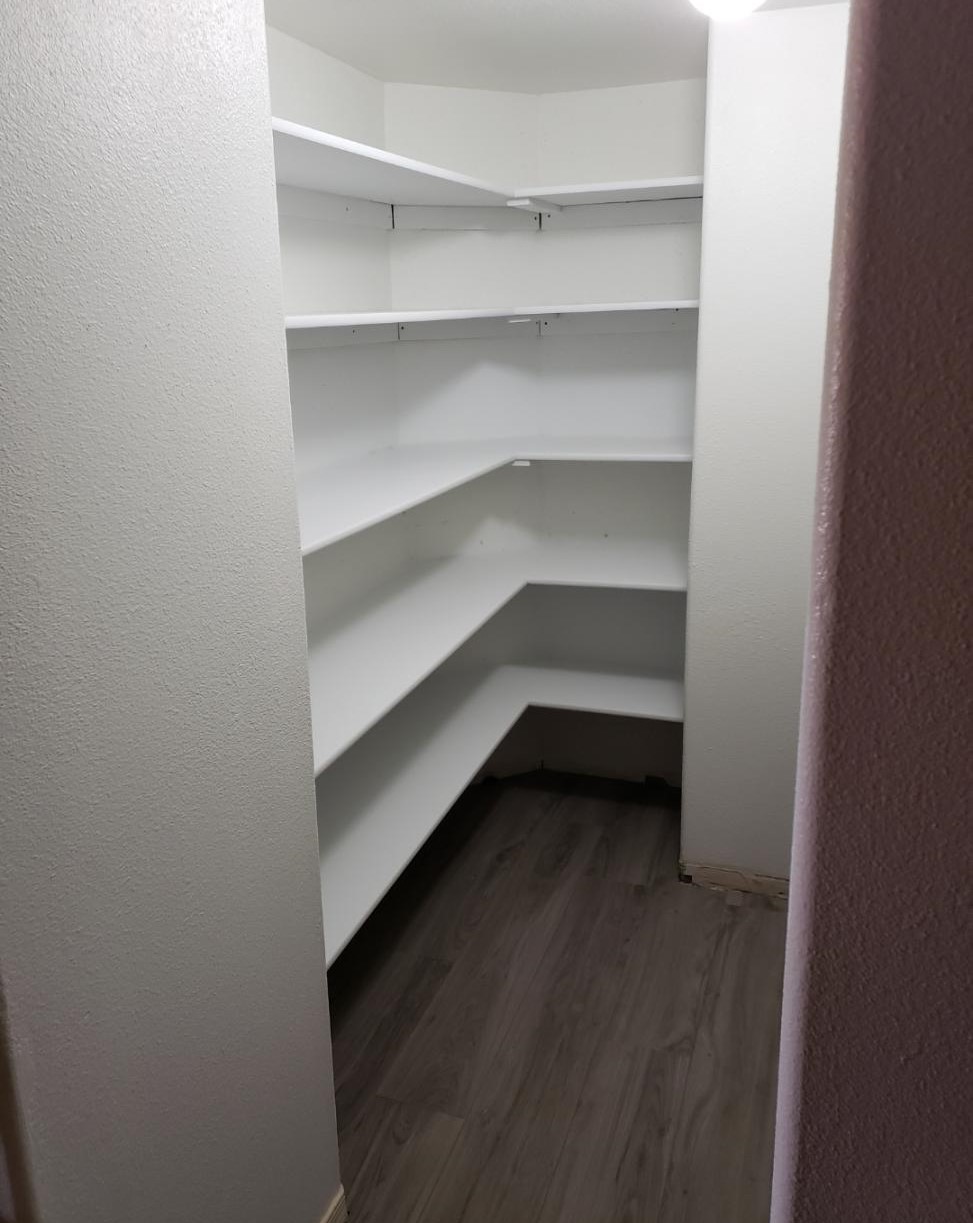
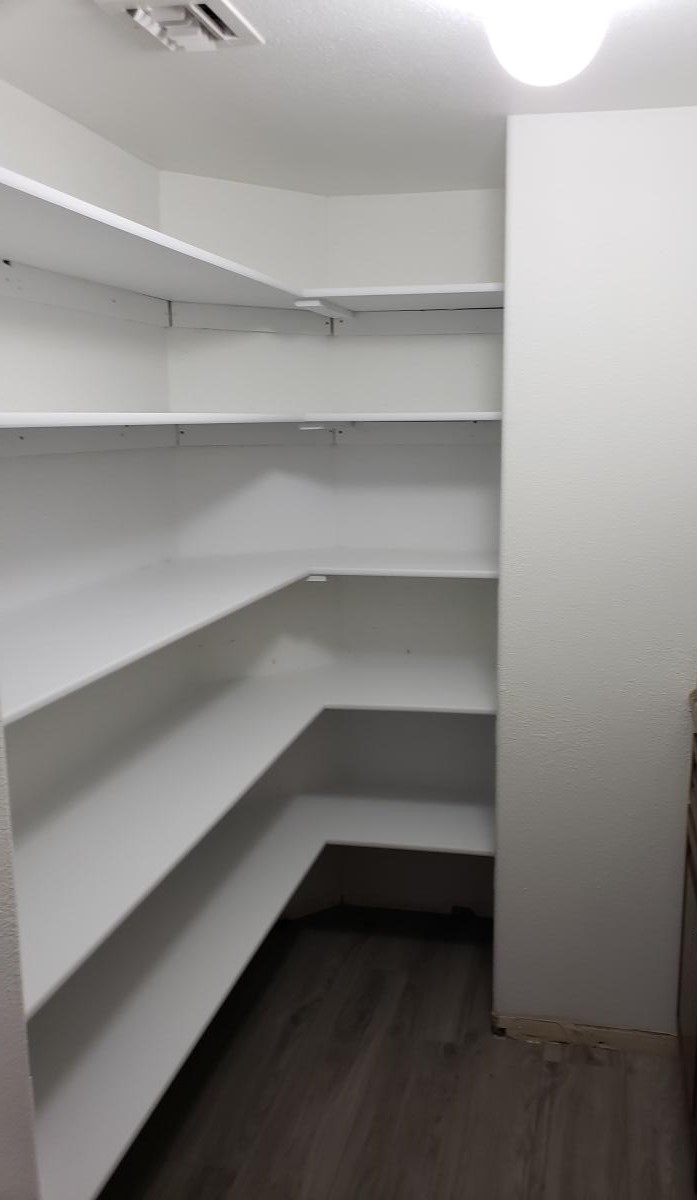
Pantry Shelves

Submitted by DIYAZMOM on Wed, 12/29/2021 - 09:03

We enclosed an unused wet bar and then I built the shelves to make it into a pantry.

Built from Plan(s)

Comments

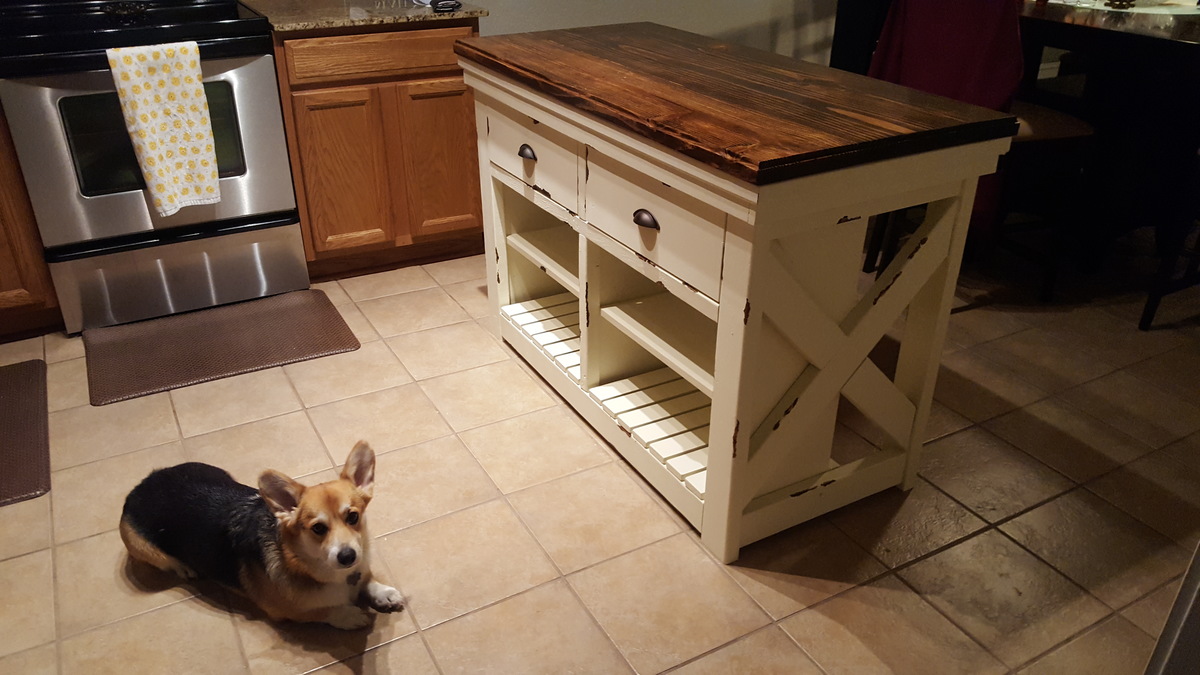
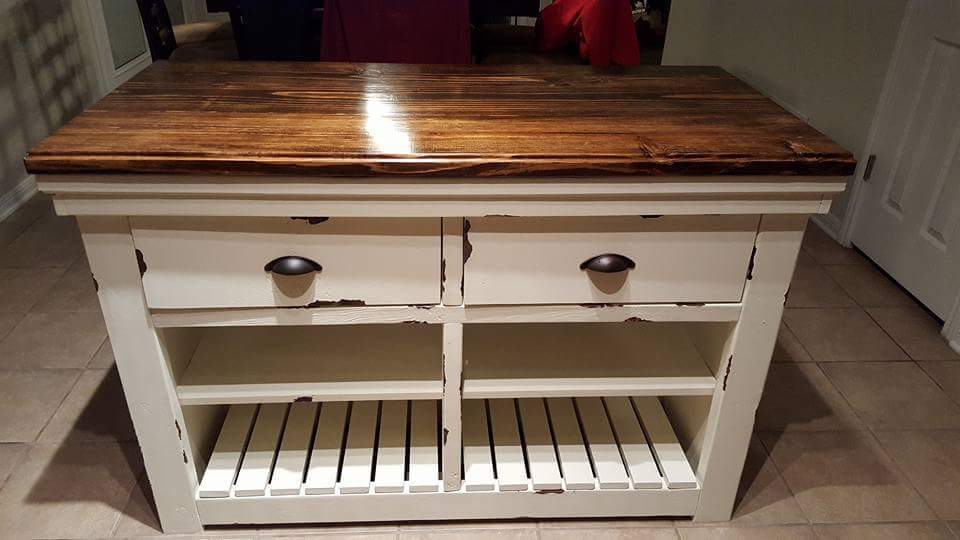
Rustic X Kitchen Island Modified

Submitted by Chad1012 on Wed, 01/17/2018 - 04:29

My wife didn't want casters installed, but she wanted the overall height to be similar to the dimensions in the plan. I used 2x4's to add a tiered layer on top of the island, underneath the countertop. Turned out great...thank you Ana White!

Built from Plan(s)
Estimated Cost
$200
Estimated Time Investment
Weekend Project (10-20 Hours)
Finish Used
Sherwin Williams - Antique White
Minwax - Expresso
Recommended Skill Level
Beginner

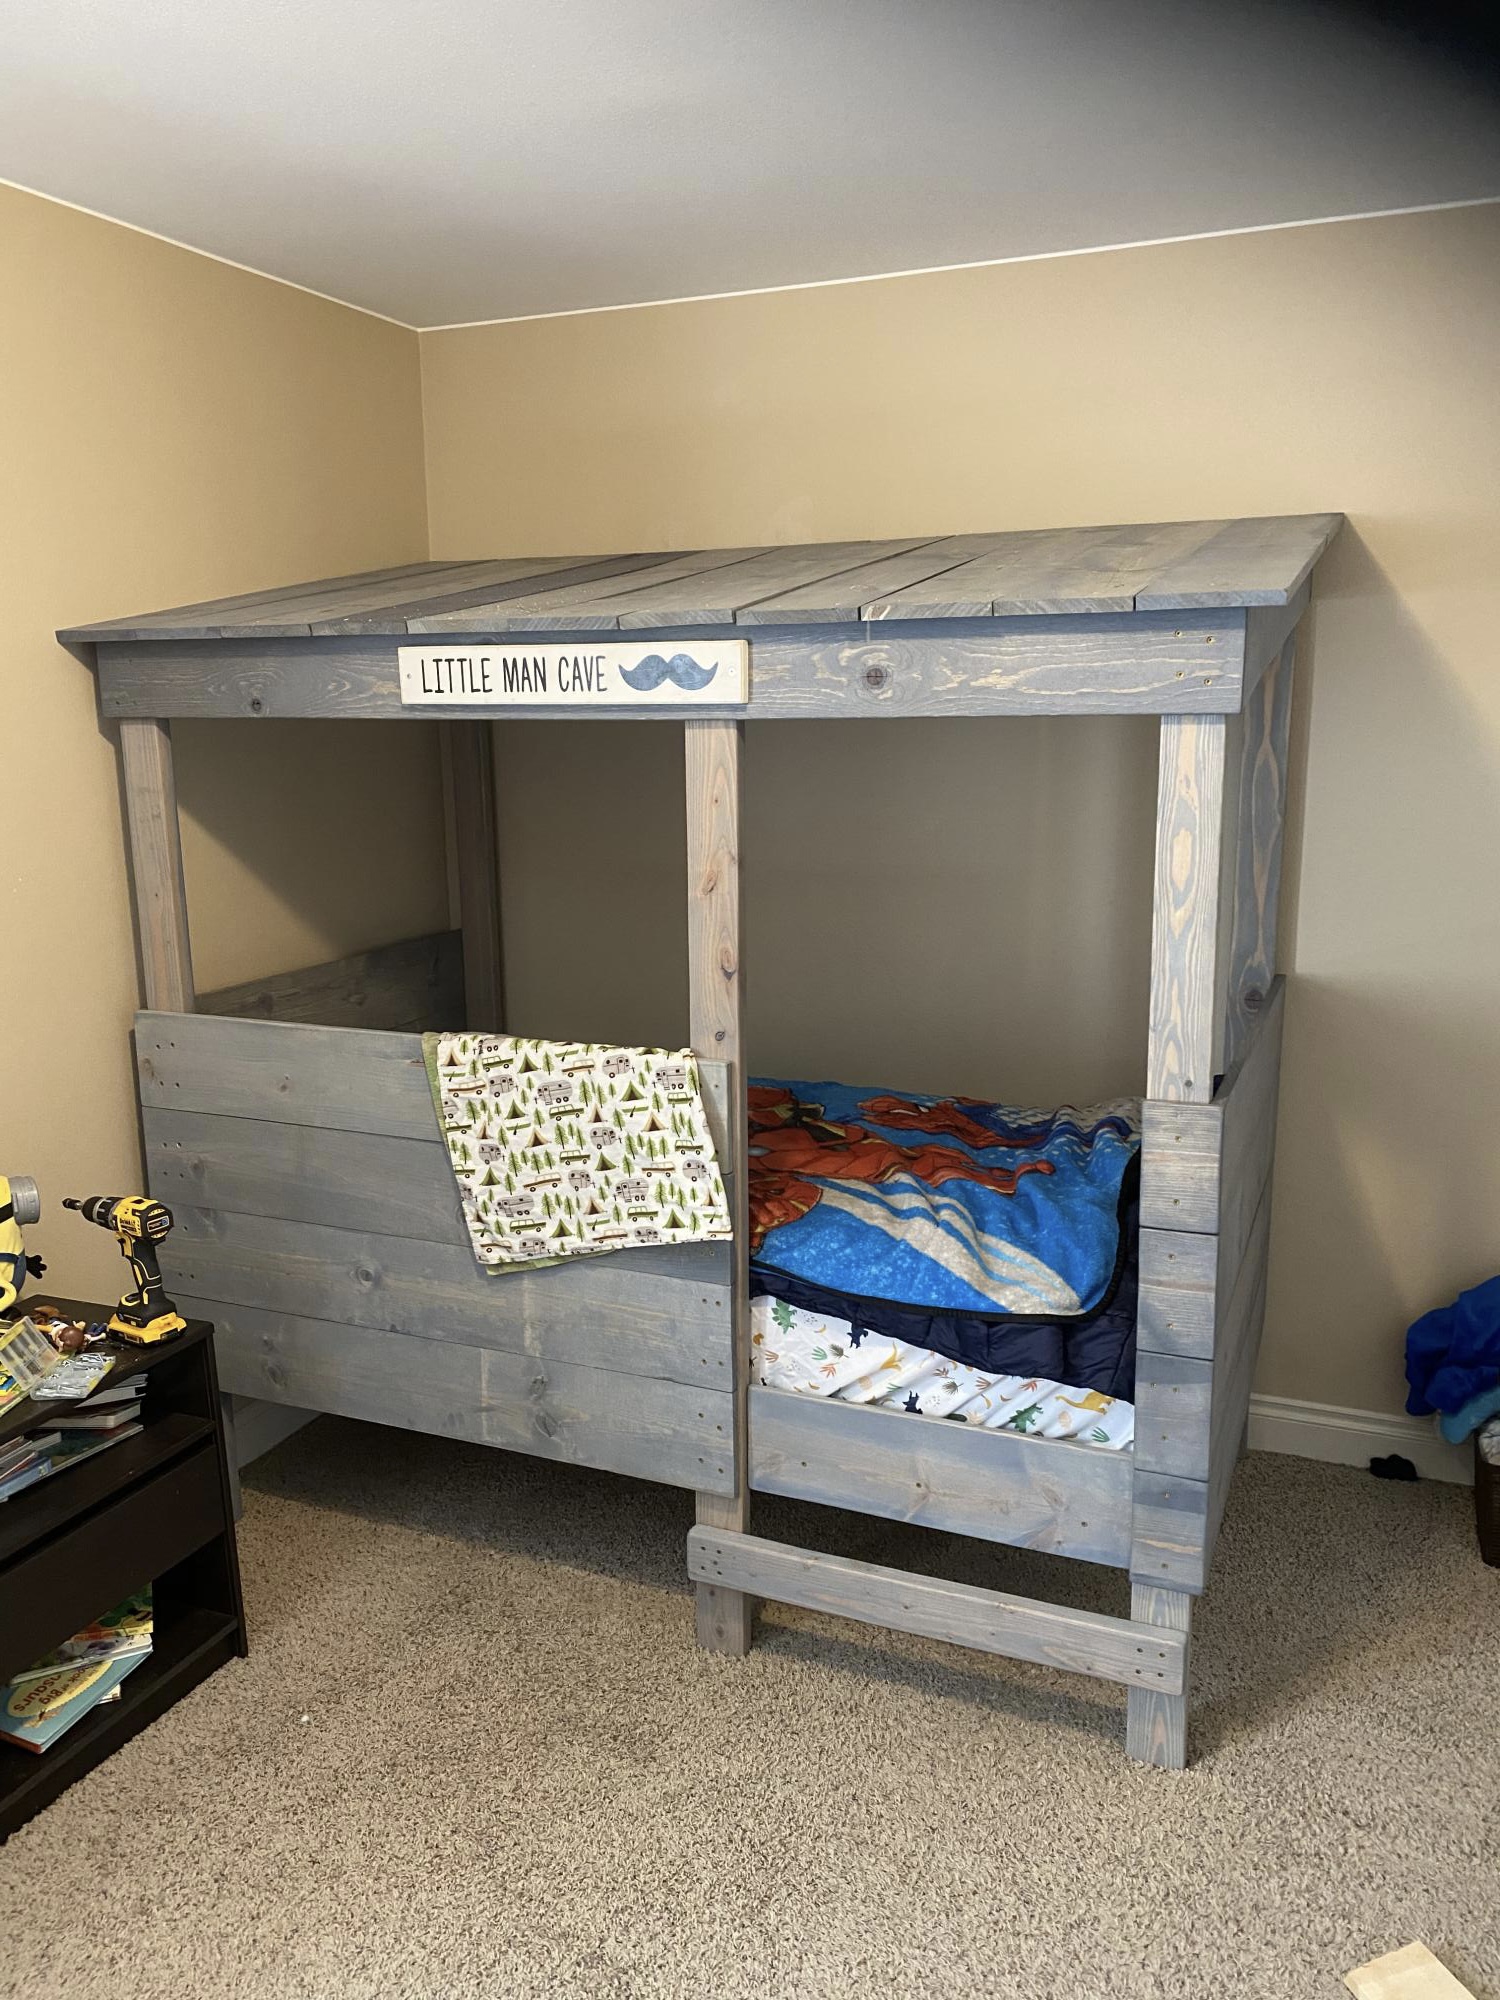
Treehouse bed

Submitted by Anonymous (not verified) on Mon, 04/11/2022 - 15:40

Great project. Simple enough to feel like you can do it, big enough to feel accomplished when it’s done. My son loves his new bed!!

Built from Plan(s)

Comments

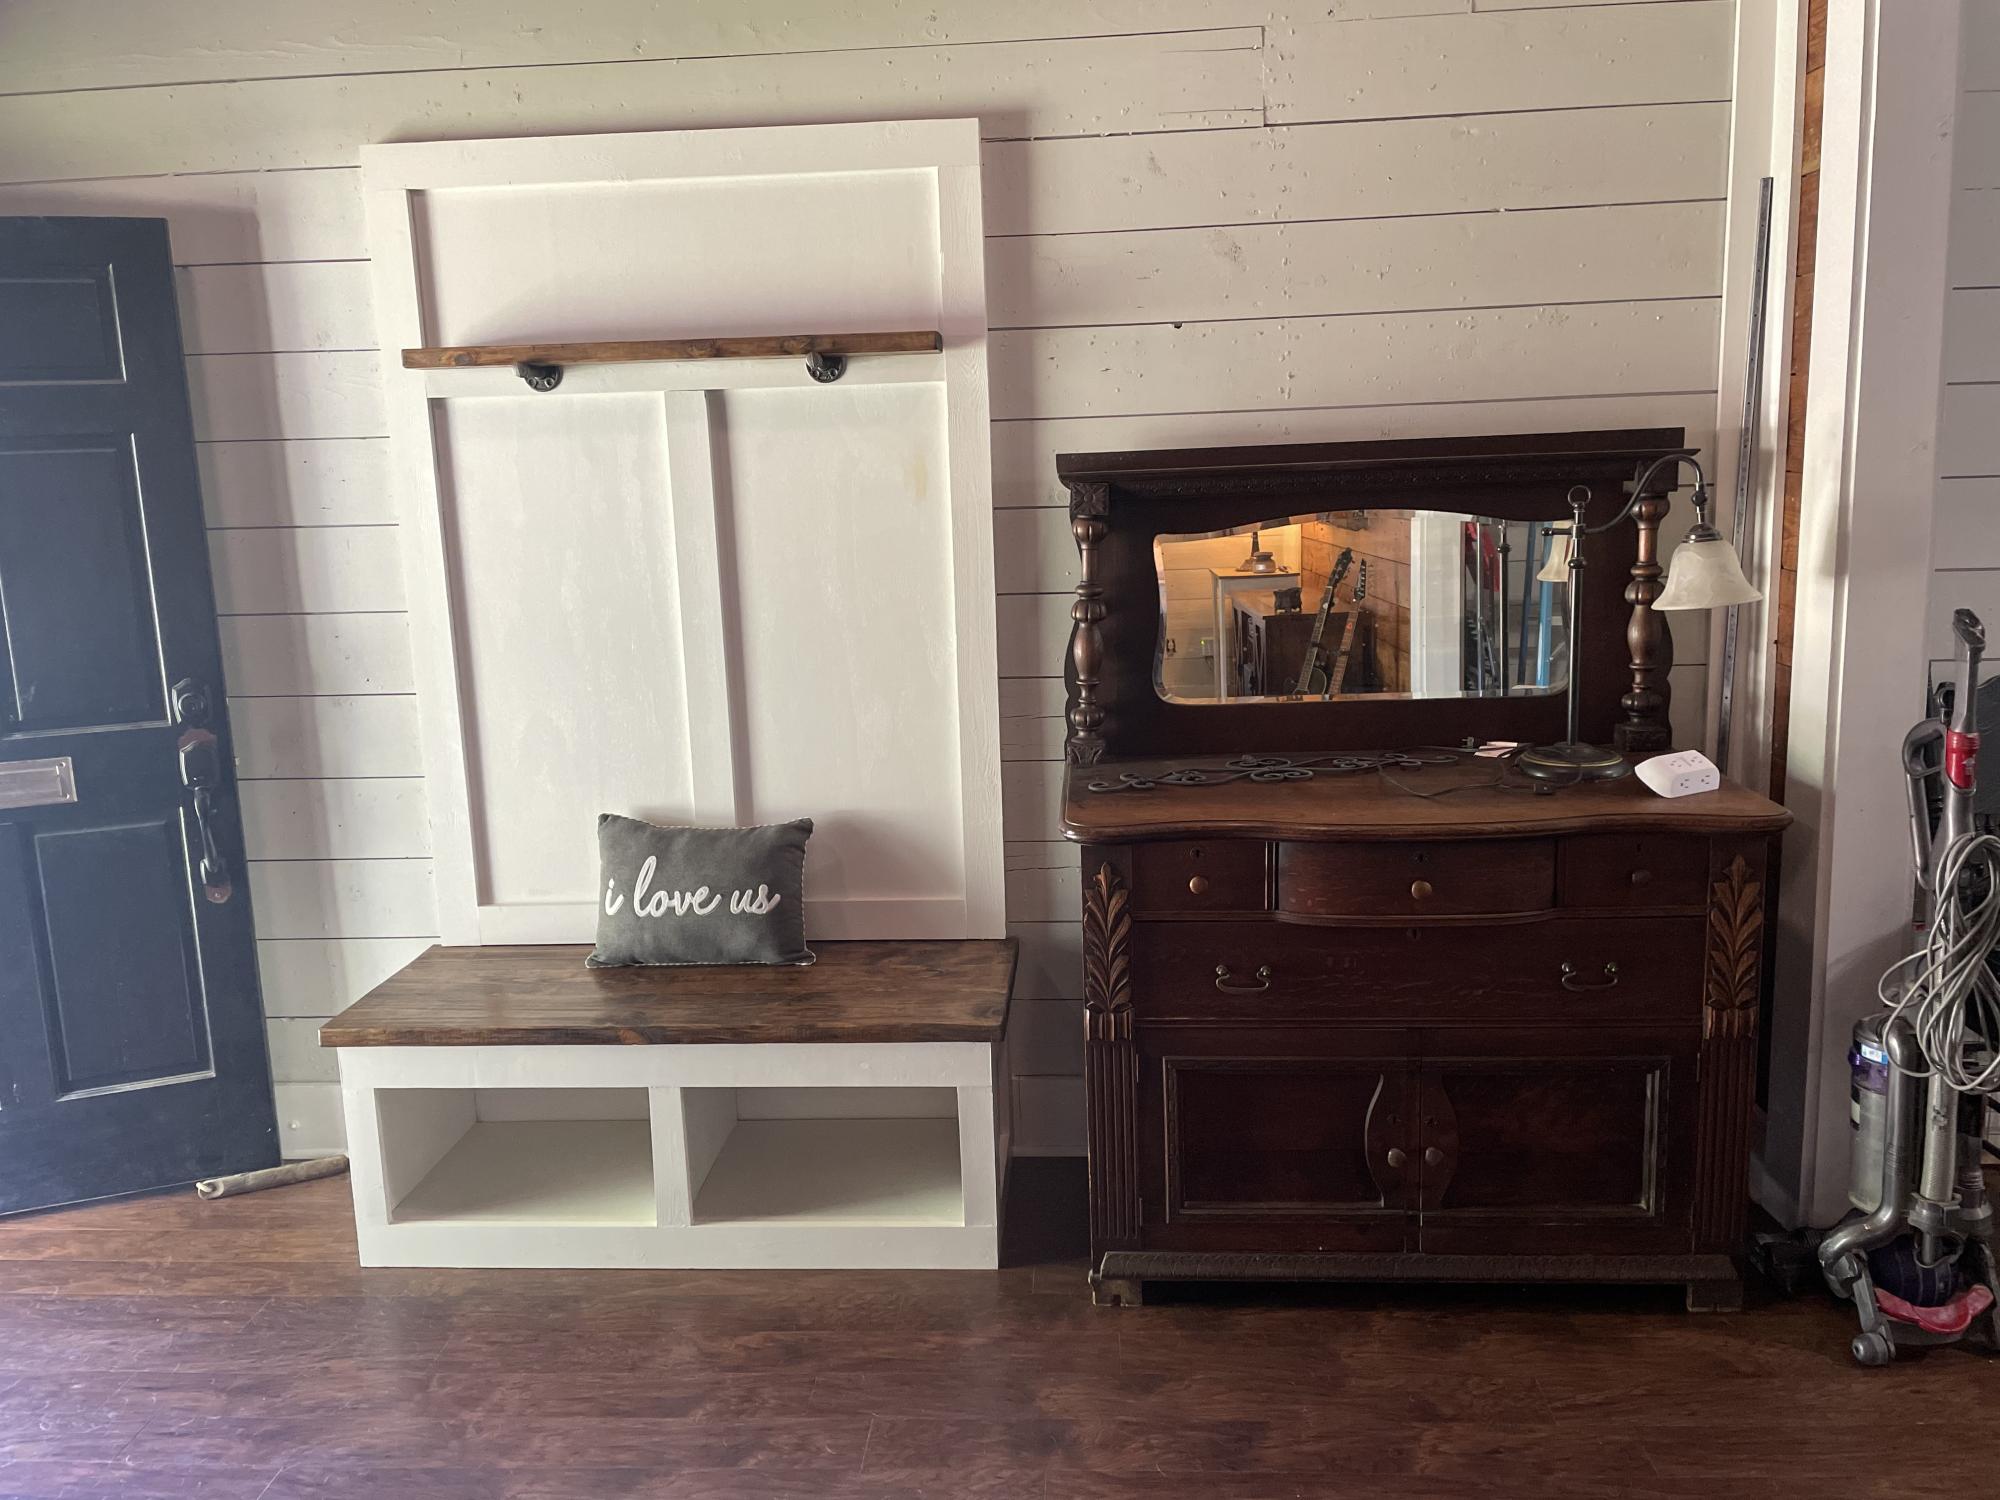
Entryway bench

Submitted by Anonymous (not verified) on Thu, 04/21/2022 - 12:09

Wife wanted a bench in the entryway of our house. But instead of your typical bench/coat rack I left the fronts open for either shoes or blankets. I also added a picture shelf at the top. Being a 96 year old Craftsman style house, this bench covers what used to be a second door to the front bedroom on the other side of this wall

Comments

Adirondack Chairs with Table

Submitted by stevez8420 on Sat, 08/08/2015 - 13:24

I was inspired by DIY Pete's Double bench seat but wanted more of the traditional adirondack look, so I kind of combined 3 plans together to get this! For my first attempt at these chairs with a few of my own tweaks I think it turned out pretty darn well. Changing the legs to extend out the back and curve out the front posed small challenge and then mounting the chair backs at a comfortable angle. There are some imperfections that probably only I would notice but I can correct it for next time. This photo was taken just after staining when I noticed that I missed sanding some wood filler on the front of the seat. Building these chairs only took about 6.5 hours before the finishing process but the next time would go faster. I am currently in the process of adding a protective varnish to give it a semi-gloss finish. All together it cost me under $100 CDN or $80 USD.

Estimated Cost
$70-80
Estimated Time Investment
Day Project (6-9 Hours)
Finish Used
Minwax - Gunstock with a semi gloss varnish
Recommended Skill Level
Intermediate

Comments

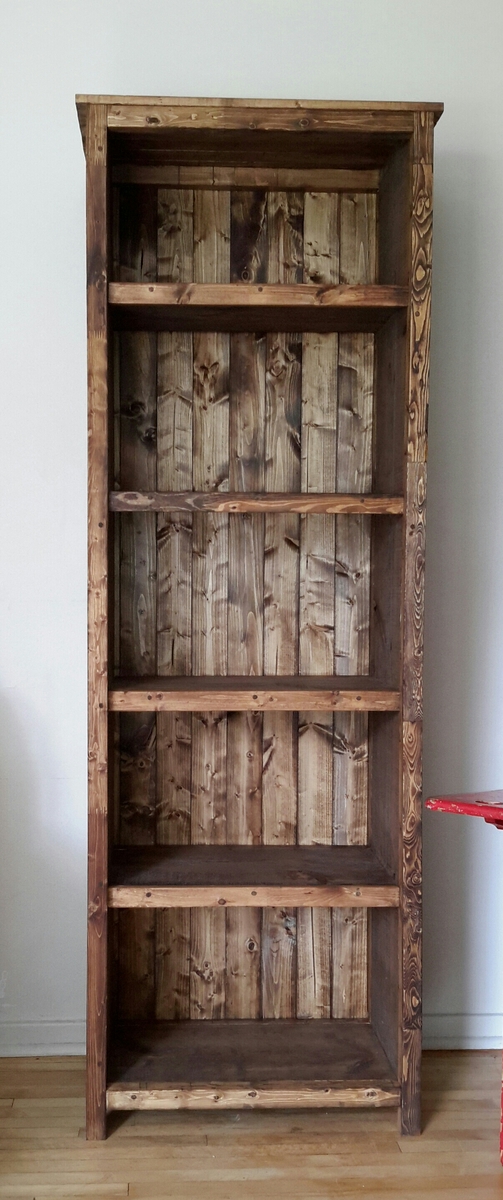
Kentwood Bookshelf

Submitted by worrow on Tue, 08/11/2015 - 17:33

I loved this from Ana's site so much we tacked one. Please note I glued, screwed and dowel ed the holes. I hate kreg jigs. We also made ours taller to add an extra shelf.

Estimated Cost
$90.

Provincial stain and triple coat poly
Estimated Time Investment
Weekend Project (10-20 Hours)
Finish Used
3m triple coat in 1 semi gloss not pictured. My image is stain at this point
Recommended Skill Level
Beginner

Comments

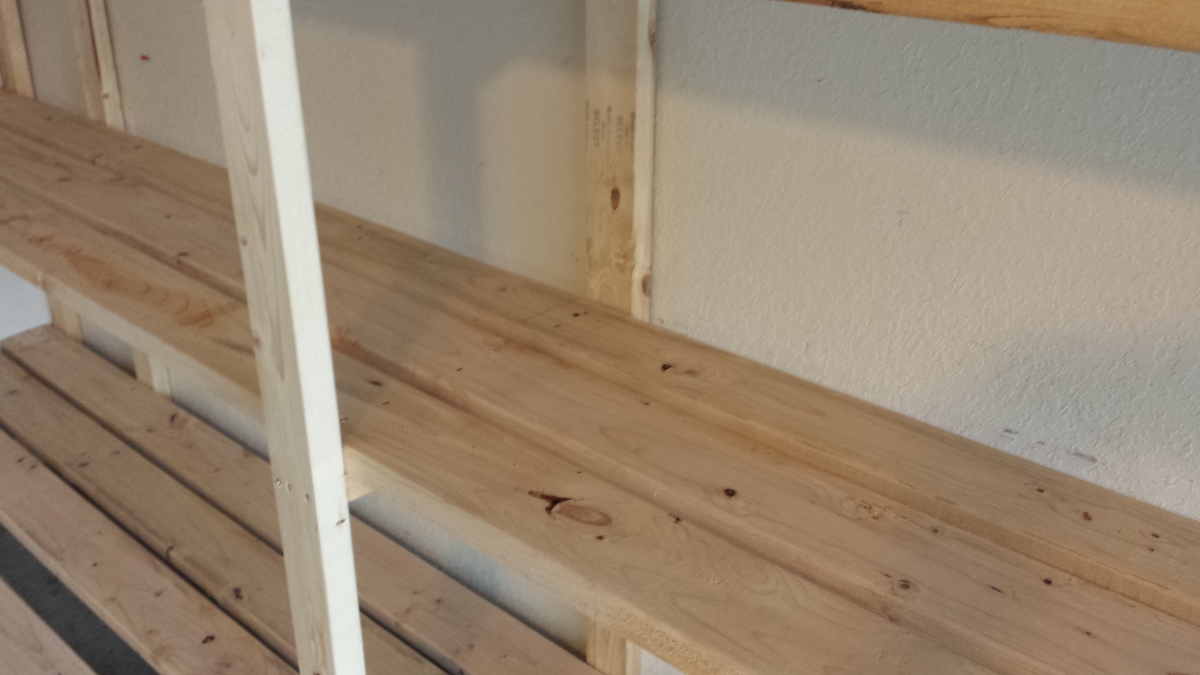
Garage Shelving - Some minor mods to Ana's great basic plan

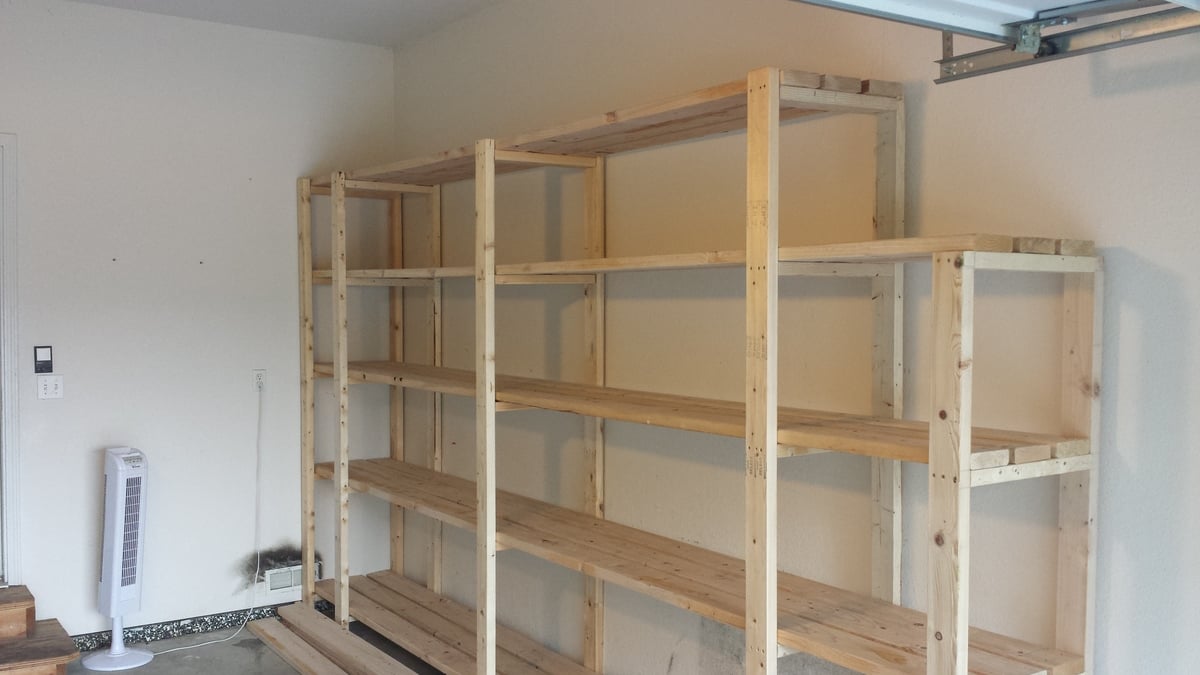
My father-in-law and I knocked this project out in about 5 hours including the trip to the lumber yard. You've got a great basic design here! A few modifications we made:

1. I thought the depth of the shelves in the original plan was a little too shallow so I used 3 2"X6"s instead of the 4 2"x4"s. That made the shelves 1 1/2" deeper. Although 2"x6"s are obviously more expensive, the overall cost for the project didn't change much because we only had to use 3 boards per shelf instead of 4. This also reduced the amount of screwing and made it easier to position the shelf boards without taking measurements since we only had one middle board to deal with (instead of 2 with the 2"x4"s). We just eyeballed the spacing of the middle shelf board as we worked.

2. Since our garage has a 10' ceiling, I decided to go 8' tall with the unit. This allowed us to add a 5th shelf.

3. Some oversized tubs can be 18-20" high or more so I varied the height of each shelf -- 24" at the bottom, then 20", 18" and 16". There's approx. 24" available between the top shelf and the ceiling.

4. Due to the position of the garage door track, I had to notch out a couple feet at one side. The end support piece is only 6' high.

5. Since many storage tubs can be 16-18" wide, I made sure that there was at least 54" between 3 of the vertical support structures. This will allow us to store 3 tubs side-by-side and maximize storage. You might notice that I have two vertical supports that appear to be very close together near the back wall. I did this so I would have something on that side to attach more shelving to on that short wall where the garage door opener is. 

The only cuts we had to make for this entire project were for the 18 1/2" 'braces' or support pieces on the vertical ladder structures. The shelves are either 14' or 12' (top shelf only) and the vertical 2"x4"s are either 8' or 6'. Most lumber yards will carry these lengths in either 2"x4"s or 2"x6"s. 

We didn't use any wood glue, and I admit this may come back to haunt me. However, to get a good fit and eliminate gaps, I used clamps I already owned to squeeze the boards together before adding the screws. Everything feels very solid and sturdy to me. 

Because of the extra height compared with the original plan, I was worried about it possibly tipping over (we have a 10-year-old who likes to climb frown) so I made sure that 3 of the supports are lined up with the wall studs. After leveling the entire unit, I plan to anchor it to the wall using 3 1/2" screws.

So for about $187 in lumber and maybe $20 in construction screws, I've got 76 feet of STURDY shelving that should accommodate hundreds of pounds! Not a bad investment at all...
 

Estimated Cost
$187 lumber + $20 construction screws
Estimated Time Investment
Afternoon Project (3-6 Hours)
Finish Used
None right now, but my wife wants to sand it and apply marine varnish to give it a shiny, yet still unfinished, look.
Recommended Skill Level
Beginner

Comments

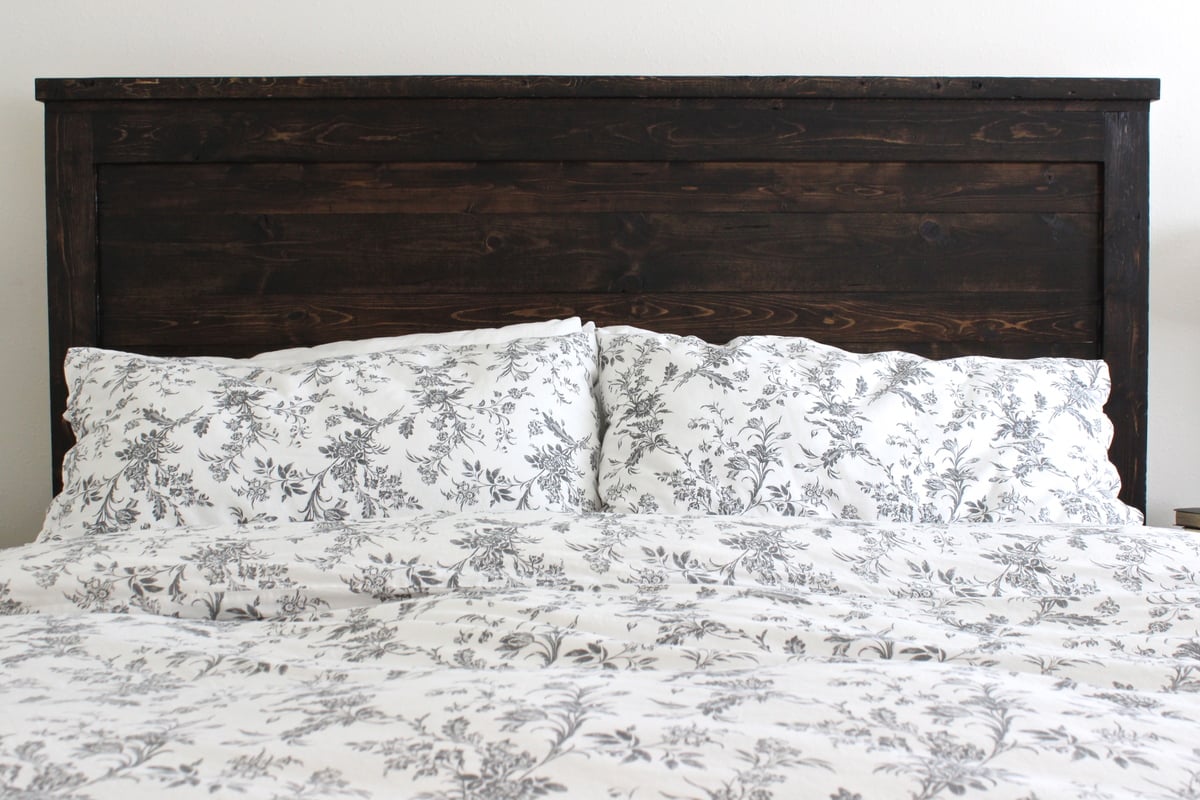
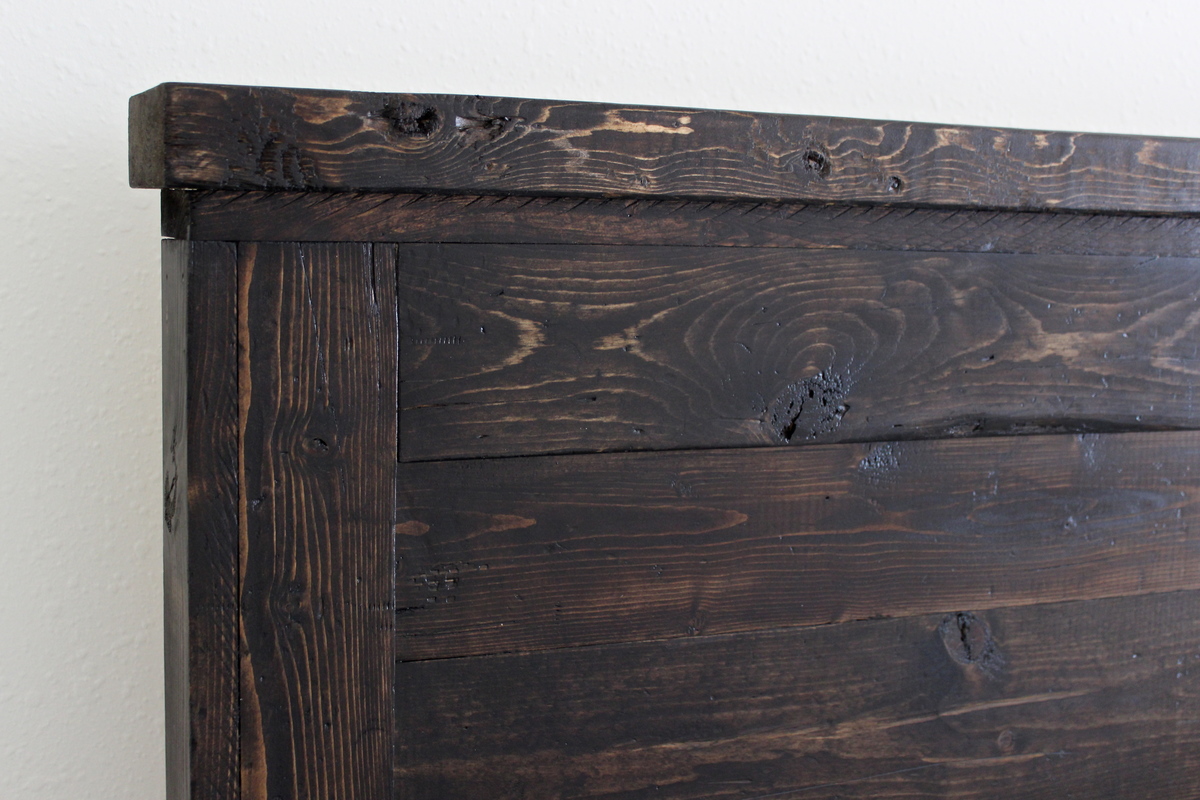
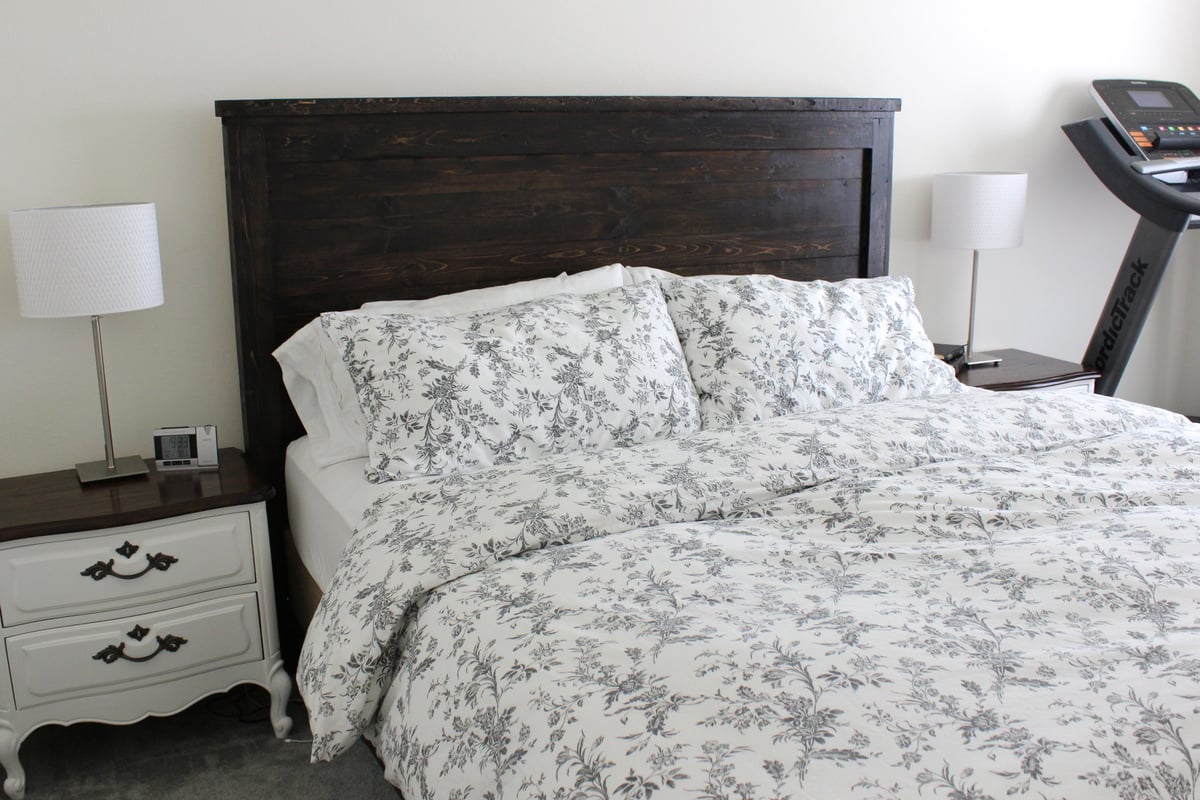
Easy Build Wood Headboard, Cal King

Submitted by carlynoel on Sun, 08/11/2013 - 18:05

This was my first project and I loved every second of it. I did the whole thing by myself (with the "help" of my two-year-old) and I'm 5 months pregnant! THAT is how easy it is.

Estimated Cost
80 bucks
Estimated Time Investment
Weekend Project (10-20 Hours)
Finish Used
I distressed it a little before staining so it didn't look too brand new. I filled a sock with bolts and screws and beat it up and scratched it with a steak knife to make fake cracks.I did one coat of Minwax Jacobean and it was really blotchy. I should've conditioned my wood, so I lightly sanded the whole thing and added a second coat and it evened out the blotchiness a lot, but it did turn out darker than I wanted. I added only one coat of Minwax Polycrylic Finish in satin because I wanted it to look rustic and not glossy. The cutting and assembly only took about 4-6 hours. The staining and sanding and distressing and finishing took a couple days.
Recommended Skill Level
Starter Project

Comments

yurra-bazain

Sun, 08/11/2013 - 20:41

How awesome is that? =D It looks gorgeous, and I applaud you for tackling it with your 2 year old and baby on the way. =D When I was pregnant, the only thing I considered doing was putting furniture together. Now that I've built furniture, I now realize how much harder it was to follow the assembly directions than it is to make your own assembly directions. Keep it up!