Community Brag Posts

Rustic X Desk - With Drawers

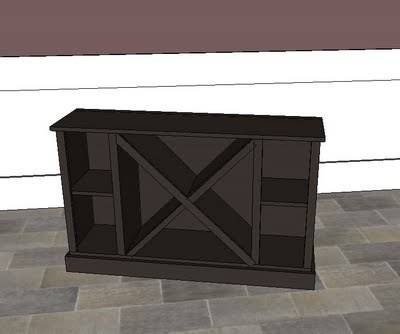
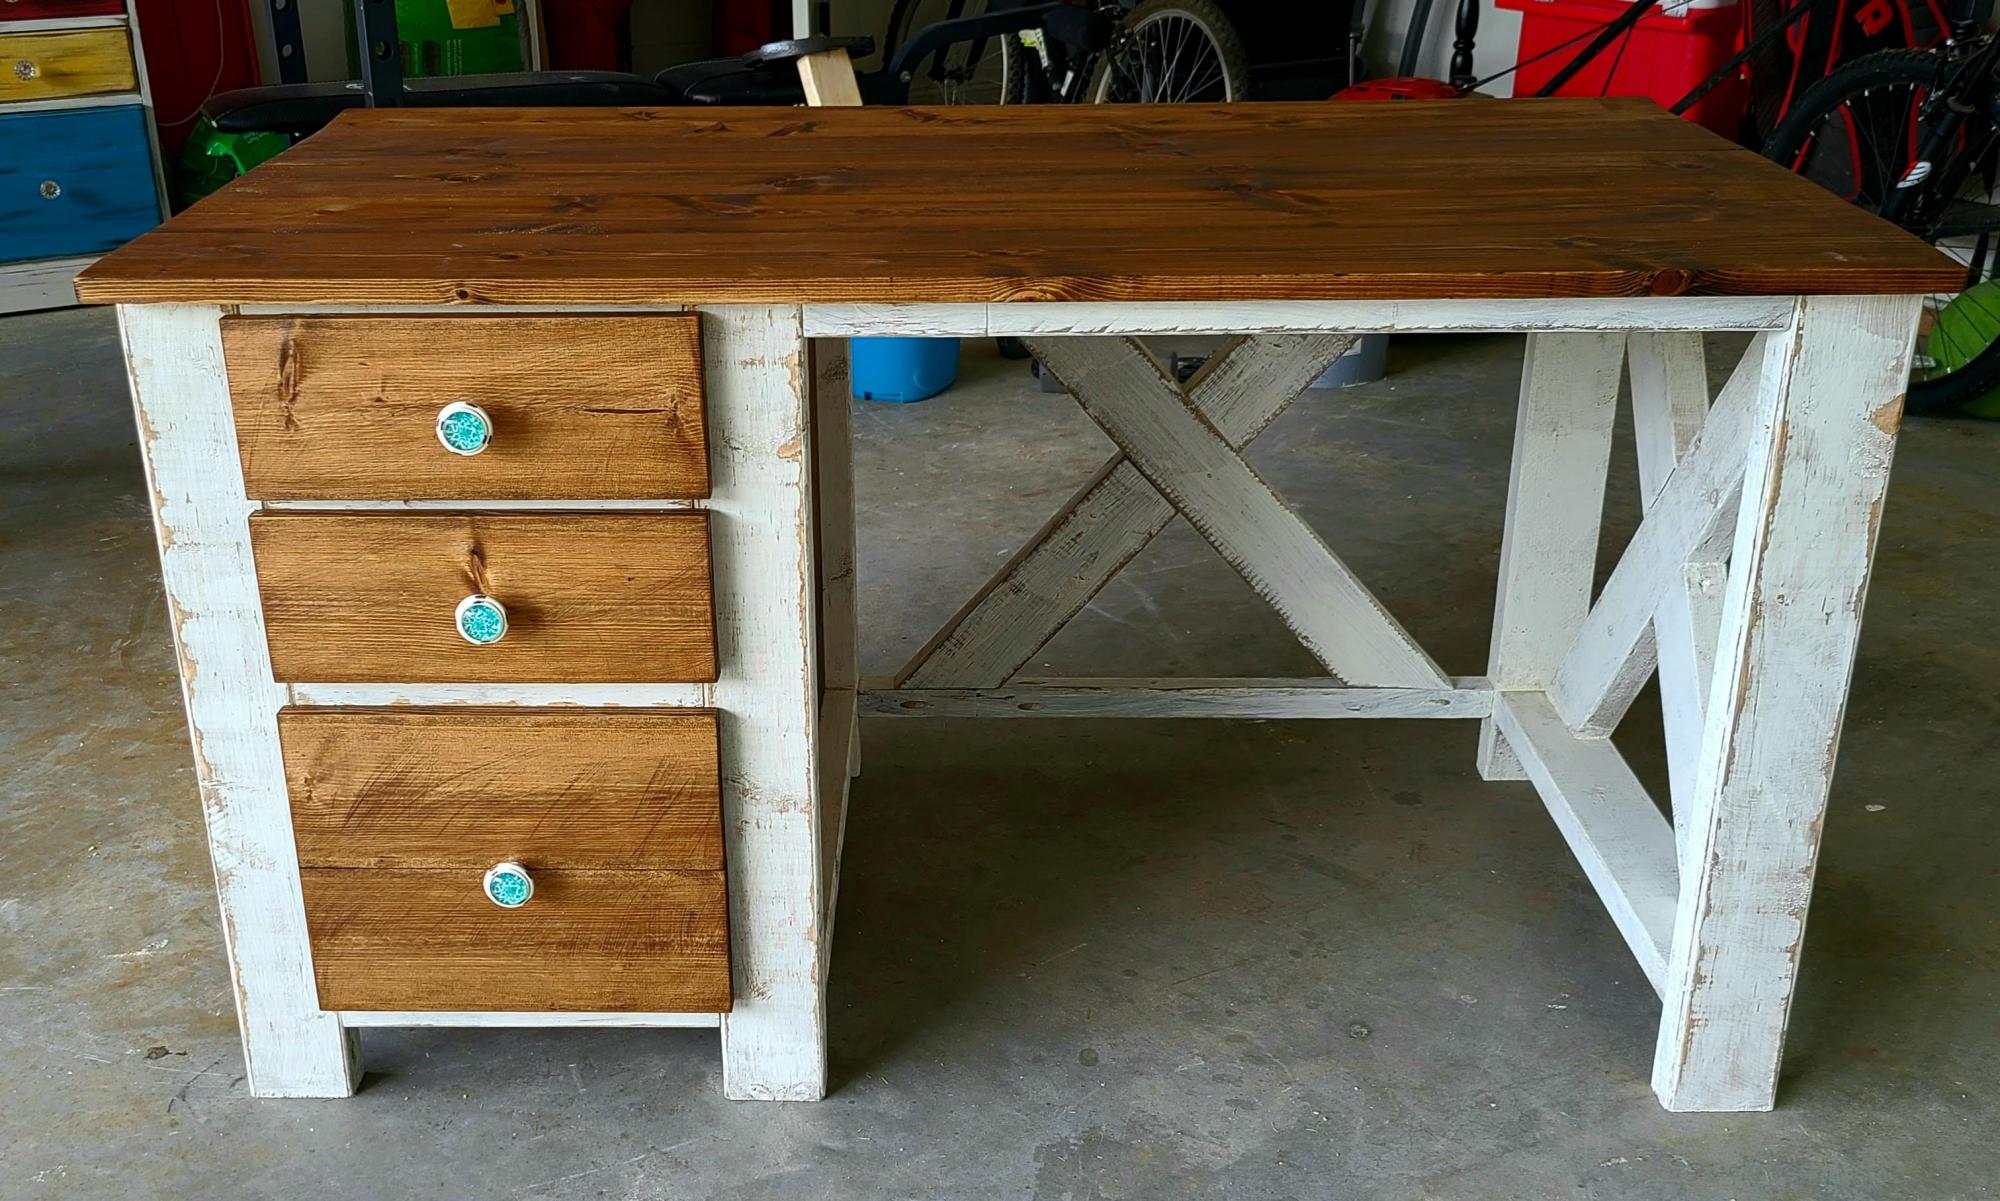
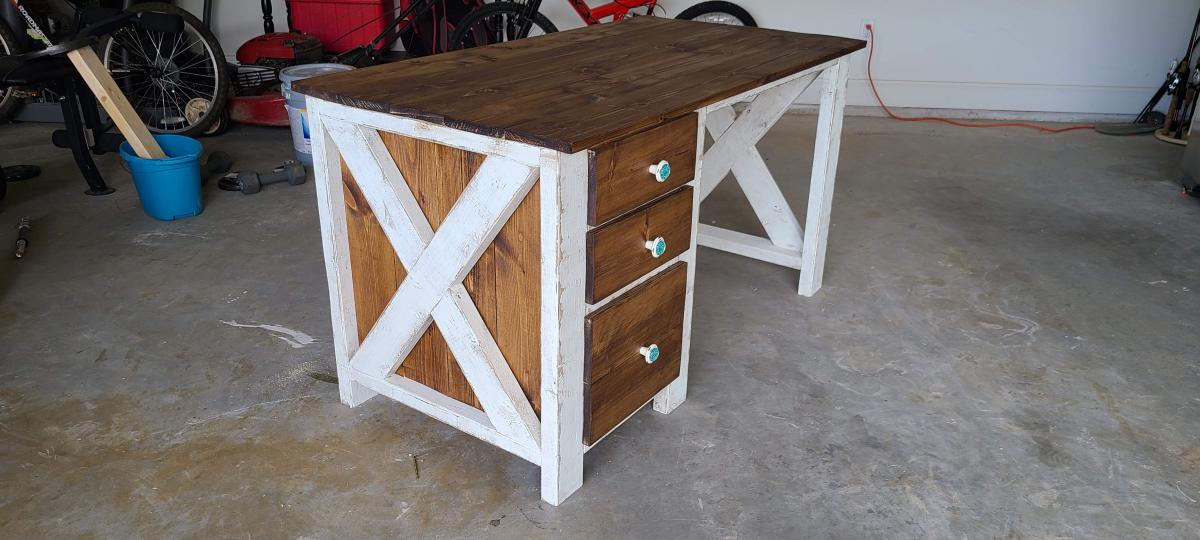
My spin on the Ructic X Desk. My wife is a school teacher. This is going in her class room. Stained whole piece, then painted over stain on some pieces and sanded for distress look. I also added 3 drawers.

Built from Plan(s)
Estimated Cost
$200
Estimated Time Investment
Weekend Project (10-20 Hours)
Finish Used
-Minwax Wood Finish Oil-Based Provincial Semi-Transparent Interior Stain
-White paint
Recommended Skill Level
Intermediate

Comments

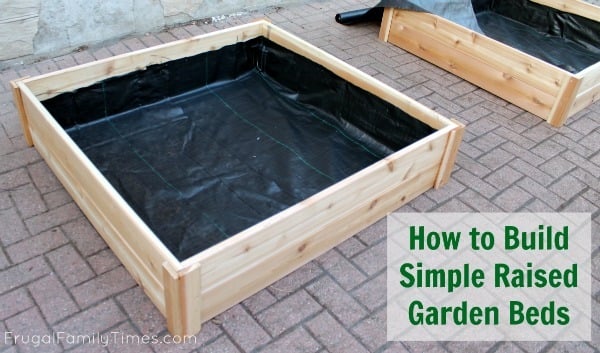
How to Build Simple Raised Garden Beds

Starting with Ana's simple $10 raised garden plans, we built ours to be part of our experiment: Growing Vegetables in Our Driveway. Because our boxes are visible from the street, we made them a bit fancier and sturdier than we would have if they were hidden away in the backyard. An easy, afternoon project - with delicious results!

Estimated Time Investment
An Hour or Two (0-2 Hours)
Finish Used
none
Recommended Skill Level
Starter Project
Seasonal And Holiday

Adirondack Chairs

Submitted by ktrodger on Fri, 03/25/2011 - 20:01

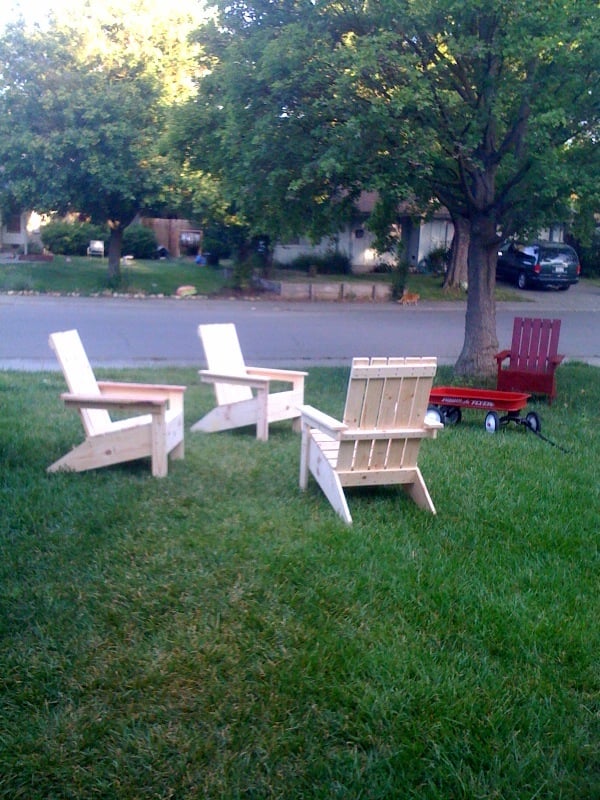
This was the first project my husband and I completed from one of Ana's plans. I'd wanted a pair of Adirondack chairs for our yard, and convinced my husband that we could build them ourselves. Once he was on board, he suggested we build a pair for our neighbors as a surprise and leave them in their yard while they were out of town. We had a blast and learned a lot. We've had tons of compliments on the two sets of chairs, and during our last neighborhood garage sale, we had many offers to buy them (but we're not selling!). Thanks, Ana!

Built from Plan(s)
Estimated Cost
$100 for 4 chairs
Estimated Time Investment
Weekend Project (10-20 Hours)
Finish Used
I wanted to paint and my husband wanted to stain, so we each took a pair of chairs and did our thing. I spray painted with red Rustoleum and my husband stained with Miniwax.
Recommended Skill Level
Beginner

Dog Bunk Bed

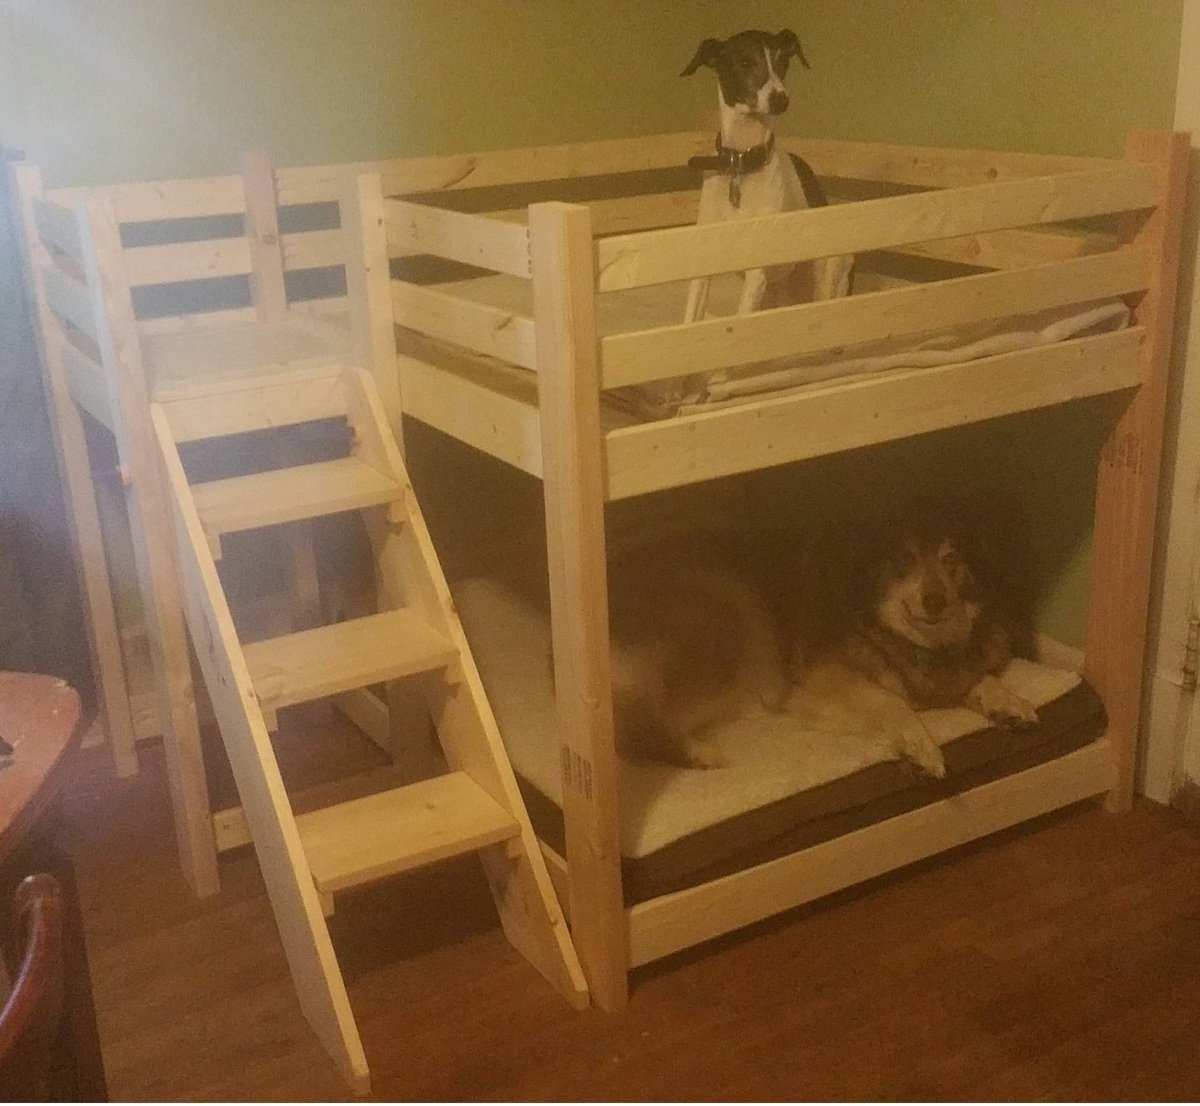
We’ve been looking around for some plans for a doggy bunk bed for a while now, but couldn’t find anything that we liked so I decided to build it from scratch. This is a huge bunk bed that was built based on the size of our larger dog’s bed which is 44 x 35. This was pretty simple to build although the stairs we’re quite challenging as I have never done them before so if I can make it, anybody can.

I must stress that before I found Ana’s website about 6 months ago I could barely cut a piece of wood straight. Over this time I have made several things based on the easy to follow plans on this website which ultimately gave me the confidence to go it alone and build this bunk bed. Friends and family are shocked at some of the furniture I’ve made and some don’t even believe I made them and think I’ve bought them from IKEA. My wife has got a list of furniture she wants to make now including a TV console, an armoire and a twin bed for one our daughters. Every spare second I have now is spent is making furniture and I LOVE it.

For anybody who has never built anything and is apprehensive to do so I would just say, do it. Grab what you need and dive right in. You may get frustrated and scream a bit at first, but the reward at the end is well worth it and each project you do will get easier and easier. Be warned though. The better you get, the more people will pester you to make things for them.

Thank you, Ana.

This was made using cheap 1 x 3 and 1 x 4 furring strips for the railings and bed slats, 2 x 4s for the posts and 1 x 10 board for the stairs.
Estimated Cost
$75 - $100
Estimated Time Investment
Weekend Project (10-20 Hours)
Finish Used
I haven't sanded or finished this yet as we are still deciding on what to do with it.
Recommended Skill Level
Beginner

Comments

Workbench

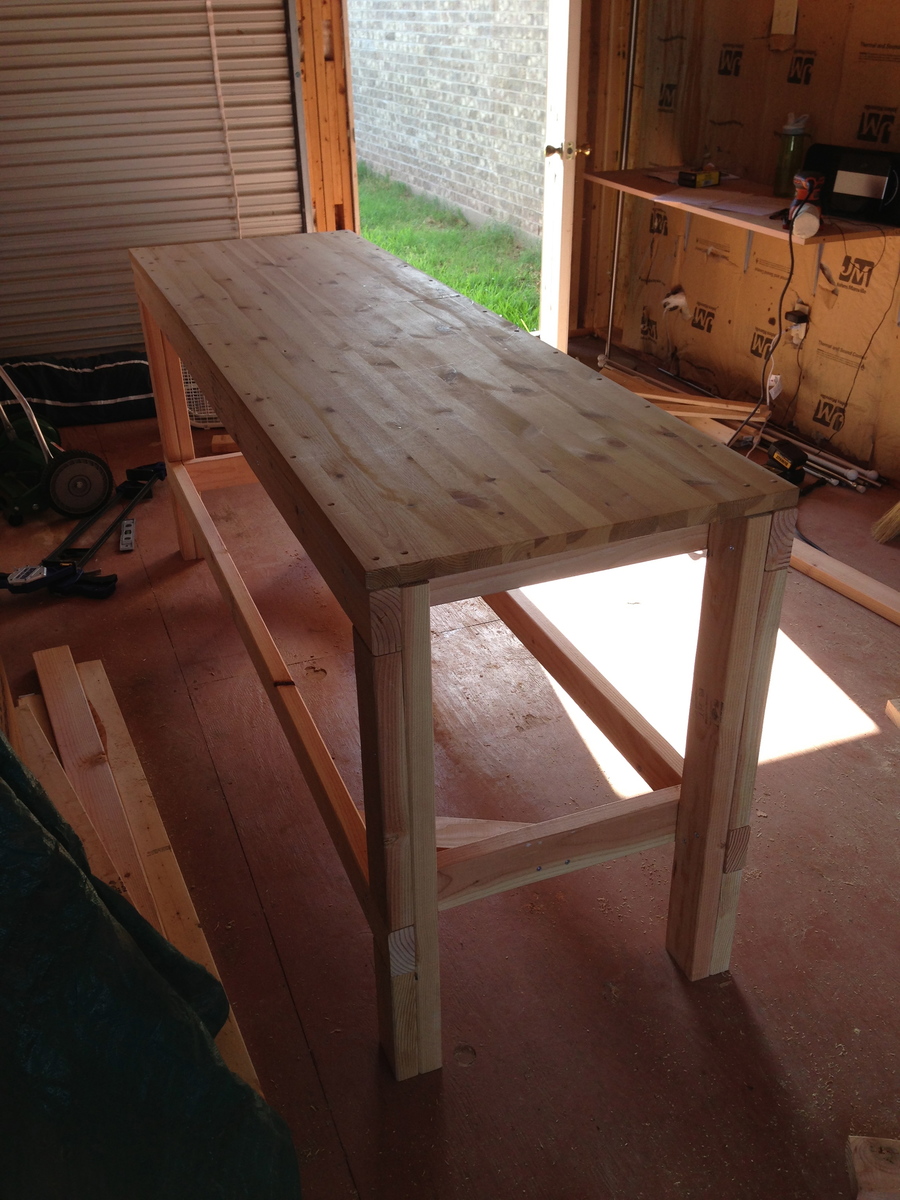
My husband and I just bought a home that has a fantastic shed/barn in the backyard. I've been wanting a workshop ever since college and this is finally my time to make that dream come true. Enter ana-white.com!! My sister had recommended this site after her husband created an unbelievable loft bed for their 6 year-old. Looking through all the plans I became ecstatic and couldn't wait to get my first project under way. I've printed out MANY plans and can't wait to work on them all, however I realized very quickly that I did not have a space to actually "work" on in the shed. When I came across this workbench plan I knew it was the right one for me.

Some changes were made, since I already had a perfectly good table top that I purchased from IKEA years ago. The top came out to be 23 1/2 x 78 3/4" so I had to make many adjustments in the cuts. I also left the bottom shelf free of plywood since I couldn't fit a piece that large in my Toyota Corolla. All in all, I couldn't be happier with the table. It's sturdy, reliable and provides a TON of workspace for me. My back is already thanking me!!
Built from Plan(s)
Estimated Time Investment
Afternoon Project (3-6 Hours)
Finish Used
No finish
Recommended Skill Level
Intermediate

Comments

bullitt453

Tue, 06/25/2013 - 05:58

Good job on the workbench. Since you can't fit the piece of ply in your car, I would recommend cutting a 2x4 support to go between the leg supports. Then cut 1x4s to place perpendicular to the supports to create the shelf. Believe me, that shelf will come in VERY handy, so I would definitely recommend adding it. Its nice to be working on a project and simply reach down for the next tool/supply instead of walking away from your work area to get it.

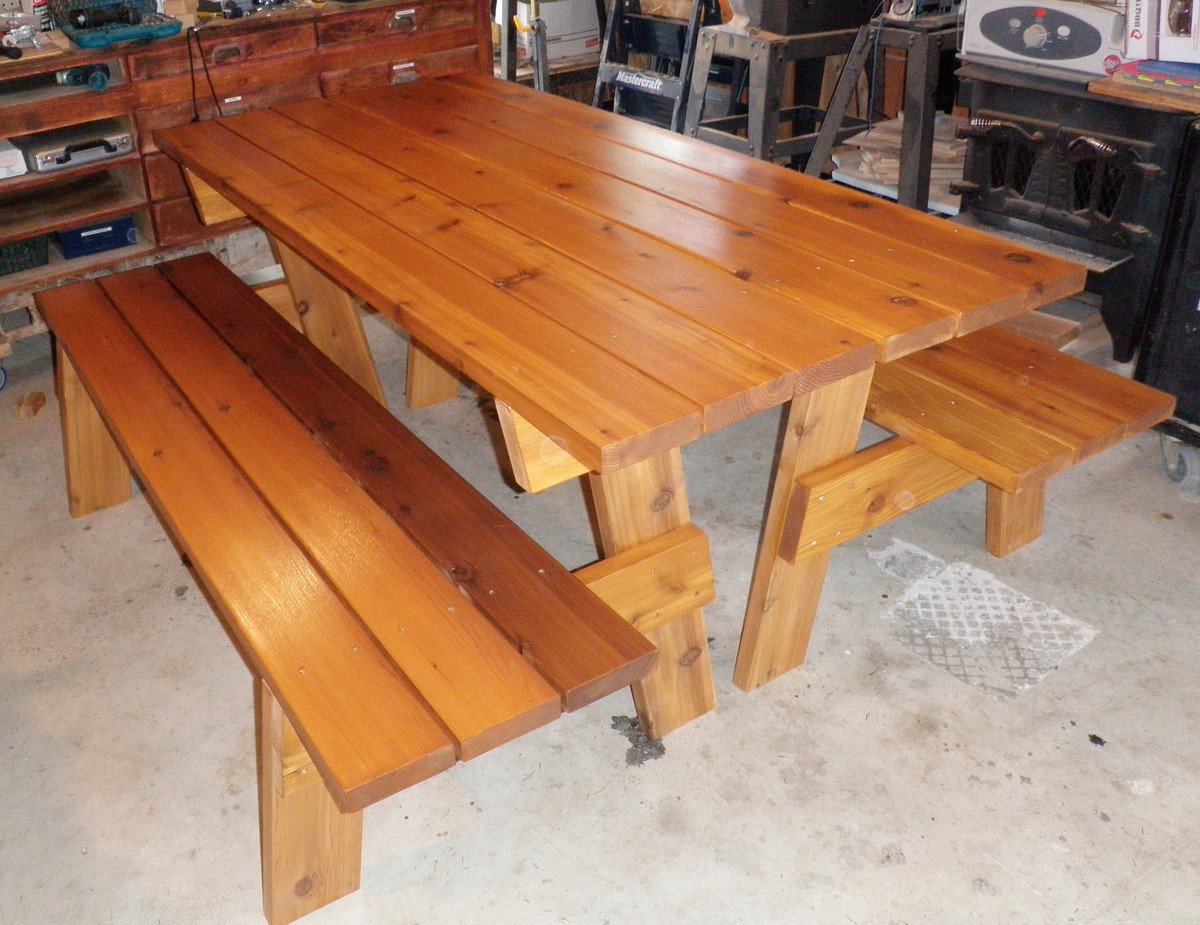
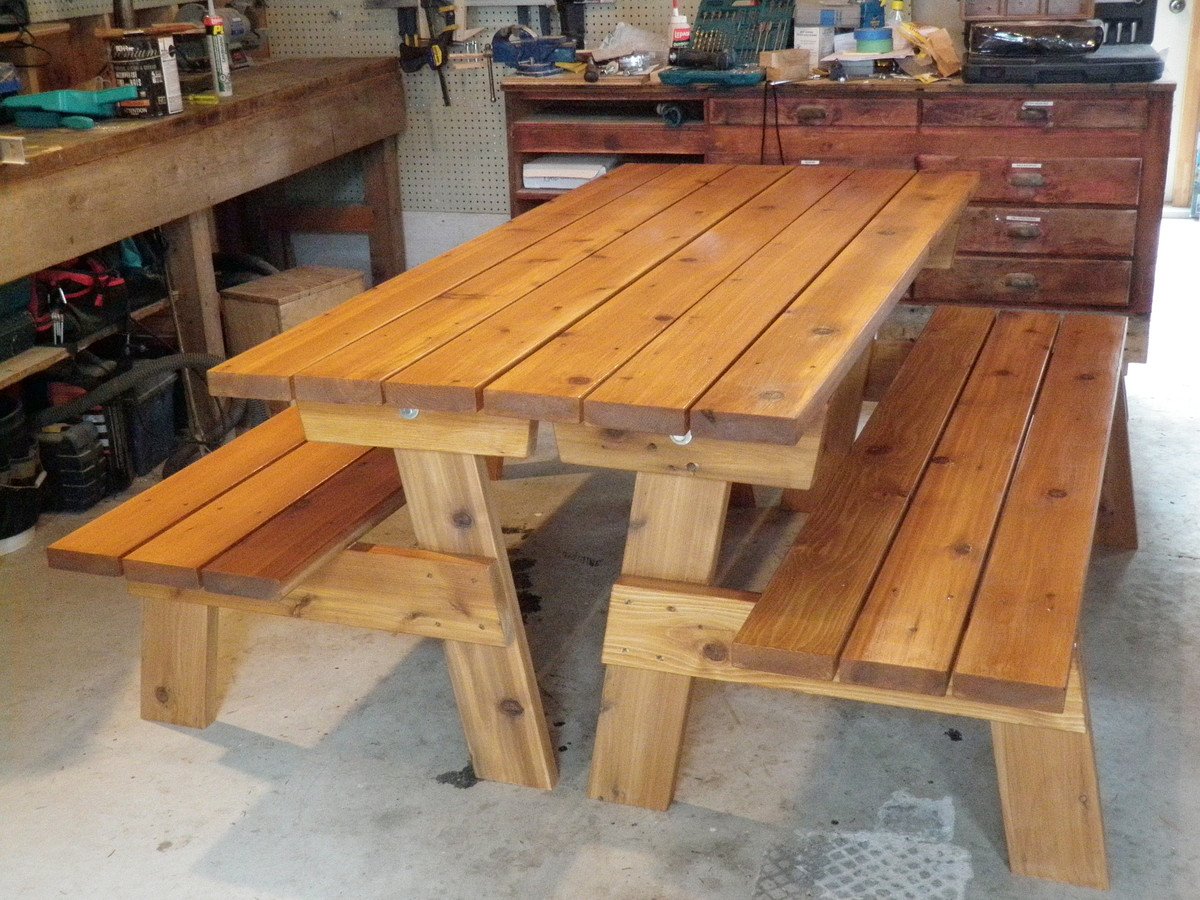
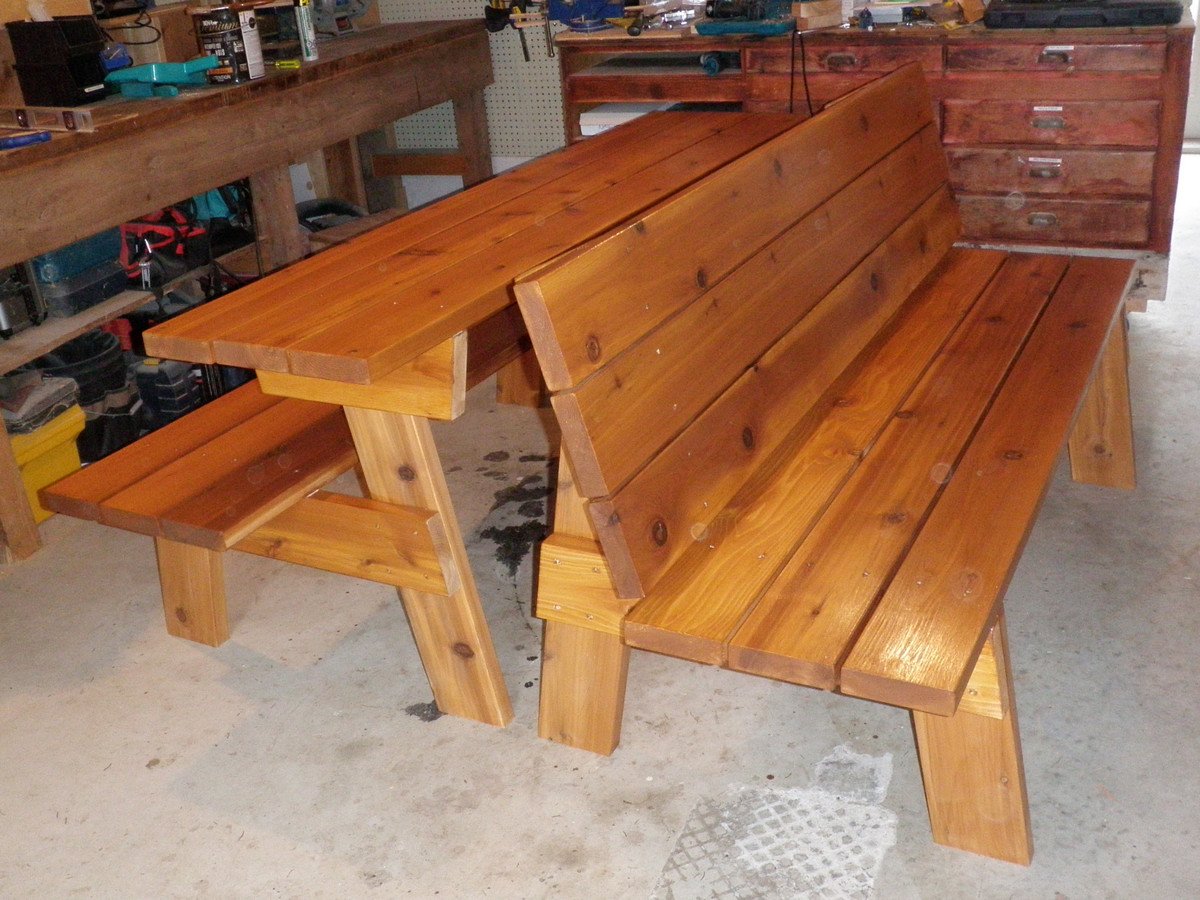
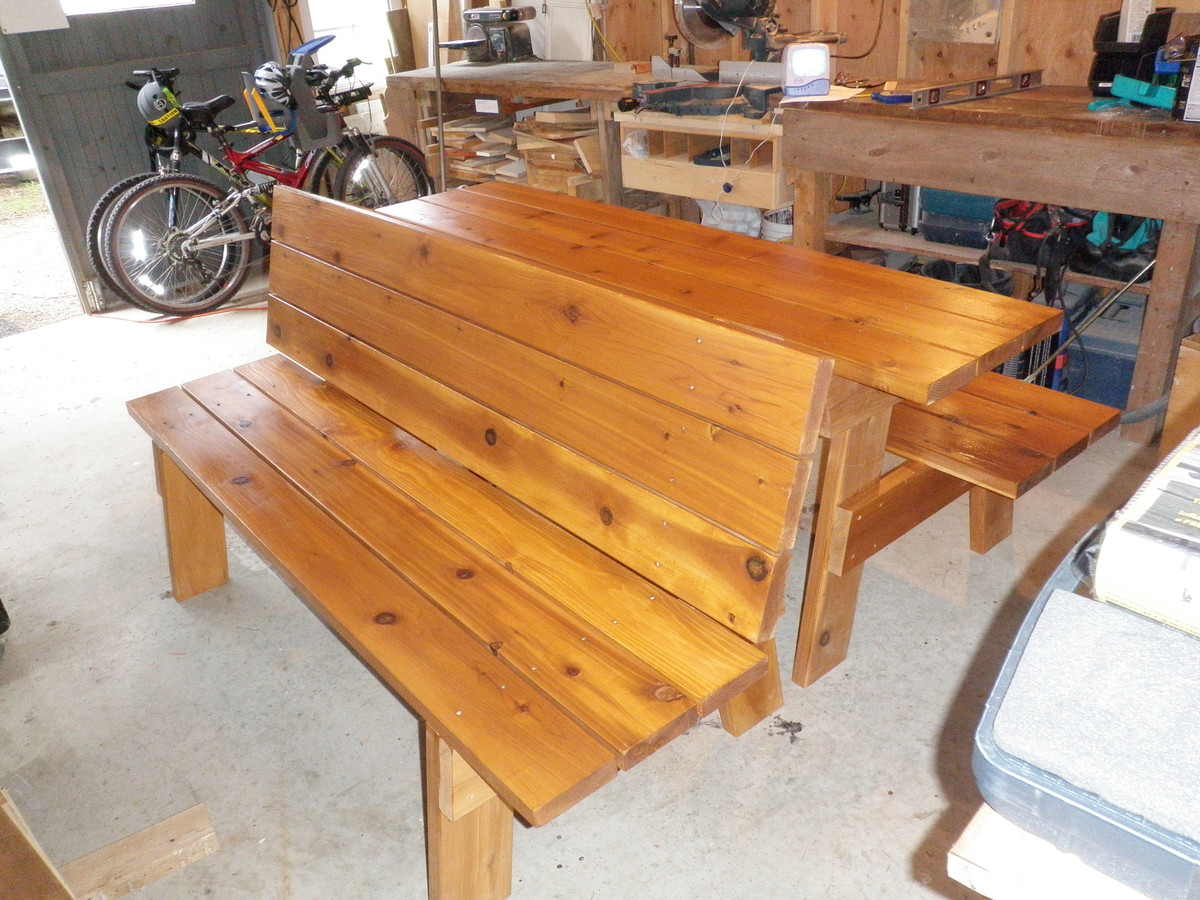
Convertible Picnic Benches

With the condition of our inherited 6-sided picnic table in my mind, the idea of these picnic benches was too appealing to ignore!
I gave away our old picnic table, and bought some cedar 2x6 from the lumber mill down the road. (He had a pretty good price so I used 2x6 for everything)
I decided to make them 6feet long instead of 4, and with an overhang of 8 inches rather than two I was able to avoid making a third leg set.
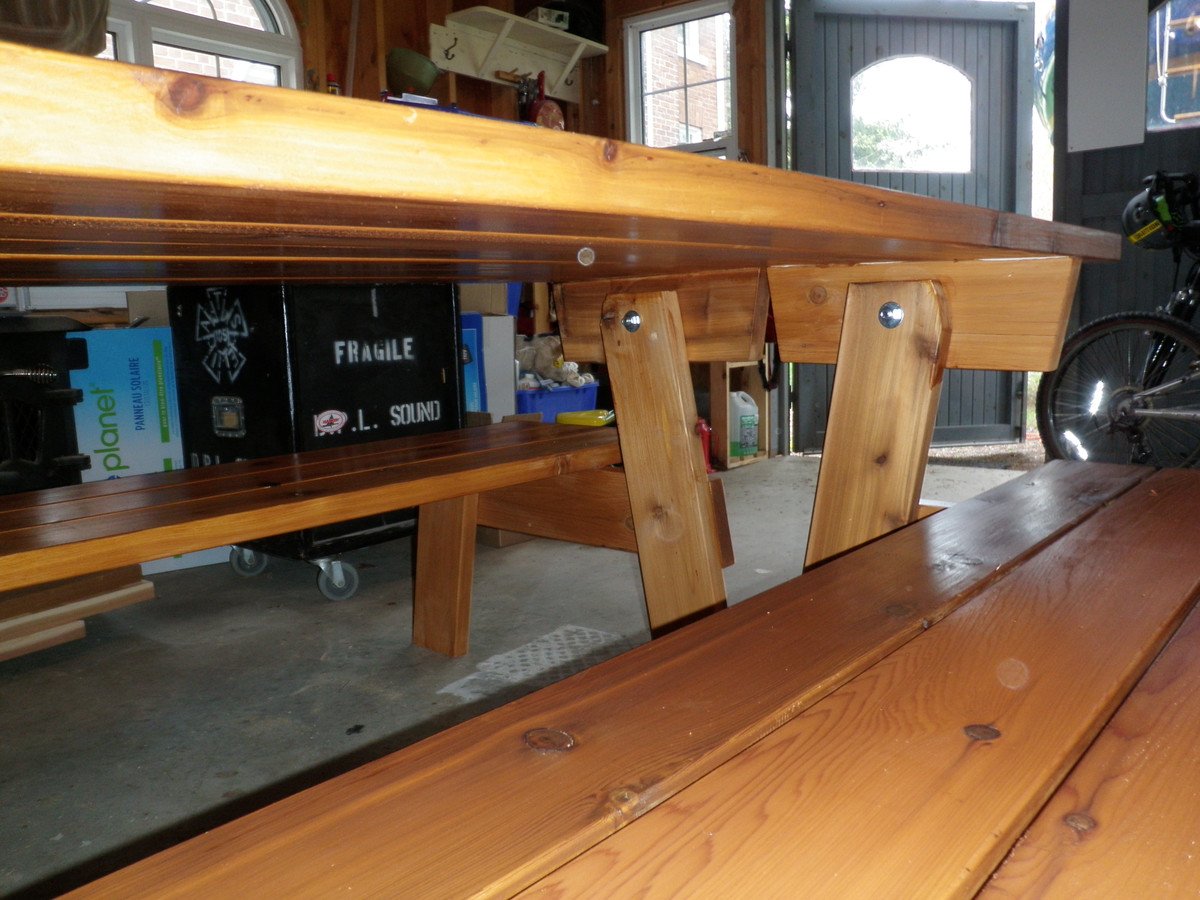
I got everything cut and gave it all a coat of stain before I assembled anything and then screwed the boards together with cedar deck screws.
I discovered when I had the tabletop bolted on that the 2x6 caused some issue with the tilting, so I had to go back with a handsaw and trim the front top corners of the back legs so that the table could tilt to the bench mode.
I'm still puzzling out why I have a bit of play in the top when it's bolted in either configuration...
Now if only this chilly rainy weather would quit so we could put them outside and start enjoying them!

Estimated Cost
$150
Estimated Time Investment
Day Project (6-9 Hours)
Finish Used
Cedar Naturaltone Exterior Stain.
Recommended Skill Level
Intermediate

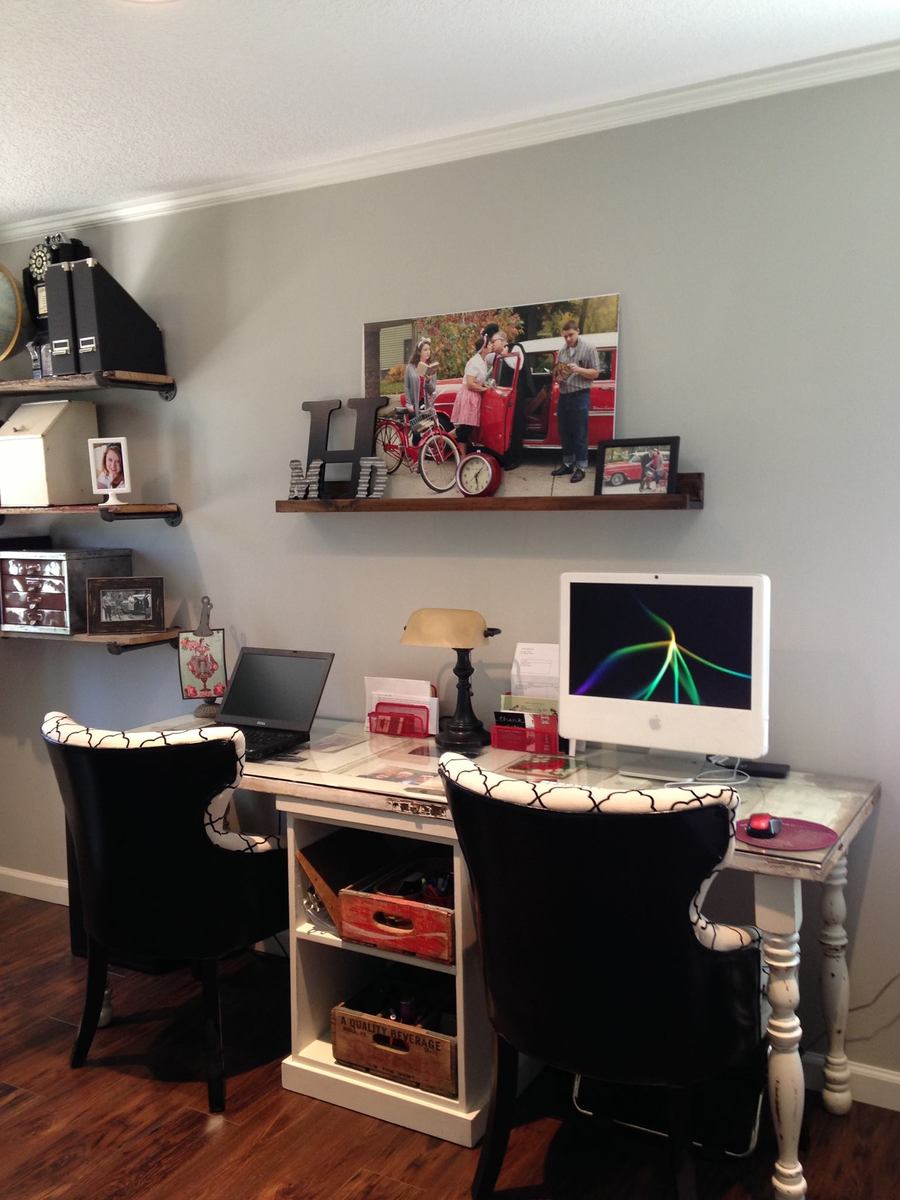
Ledge Shelves & Modular cabinet

I love this site!  I used the Modular Office- Narrow Open File Base under an old 5 panel door added some old table legs and voila new desk for two!

I thought the perfect thing to go above the desk was the $10 ledge shelf. I actually had the wood and the stain already...so this project was basically free...just my time.


Estimated Time Investment
Day Project (6-9 Hours)
Finish Used
DIY chalk paint on desk. Old Masters Dark Maple on ledge shelf.
Recommended Skill Level
Beginner

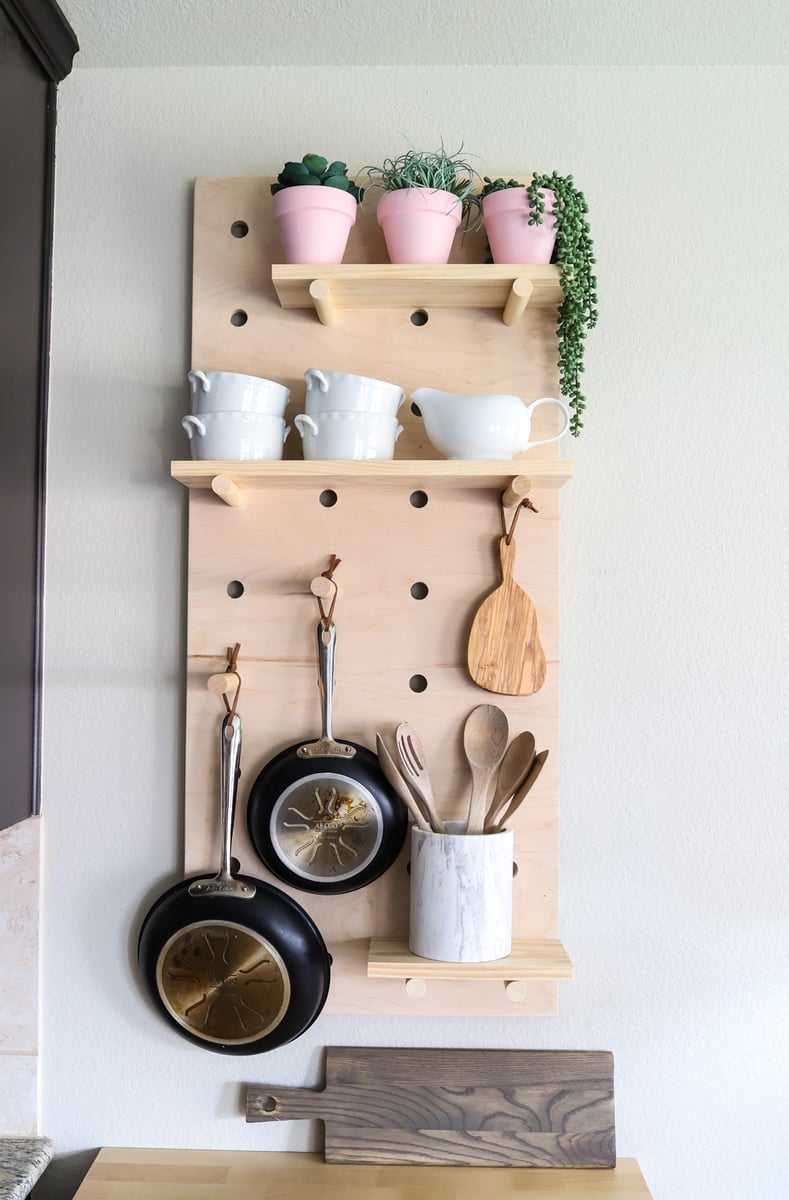
DIY Oversized Pegboard Shelves

Hi Friends!

Jen Woodhouse from The House of Wood here. 

I'm going to share with you how to create these Oversized Pegboard Shelves.  If you’re short on cabinet or drawer space in your kitchen, this wall-mounted oversized pegboard shelf is a clever and stylish solution. It’s renter-friendly too! What more could you need?

Be sure to tag me @jenwoodhouse if you share photos of your build on social media. I'd love to see it!

You can get all the details for this build on my website jenwoodhouse.com 

Estimated Time Investment
Afternoon Project (3-6 Hours)
Recommended Skill Level
Beginner

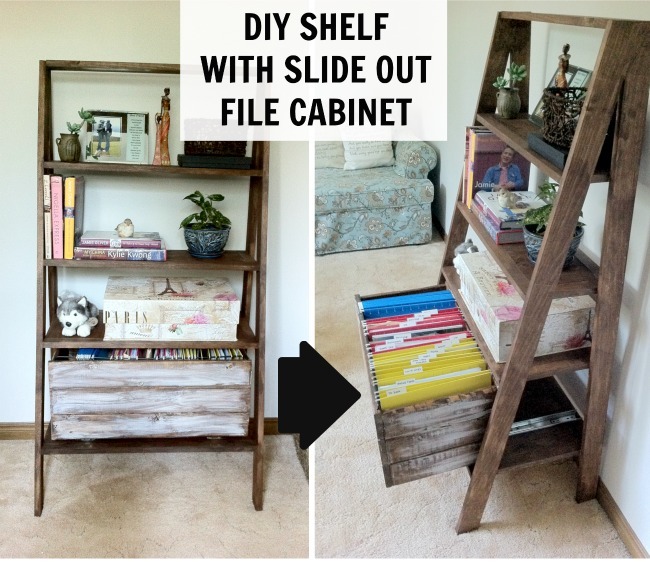
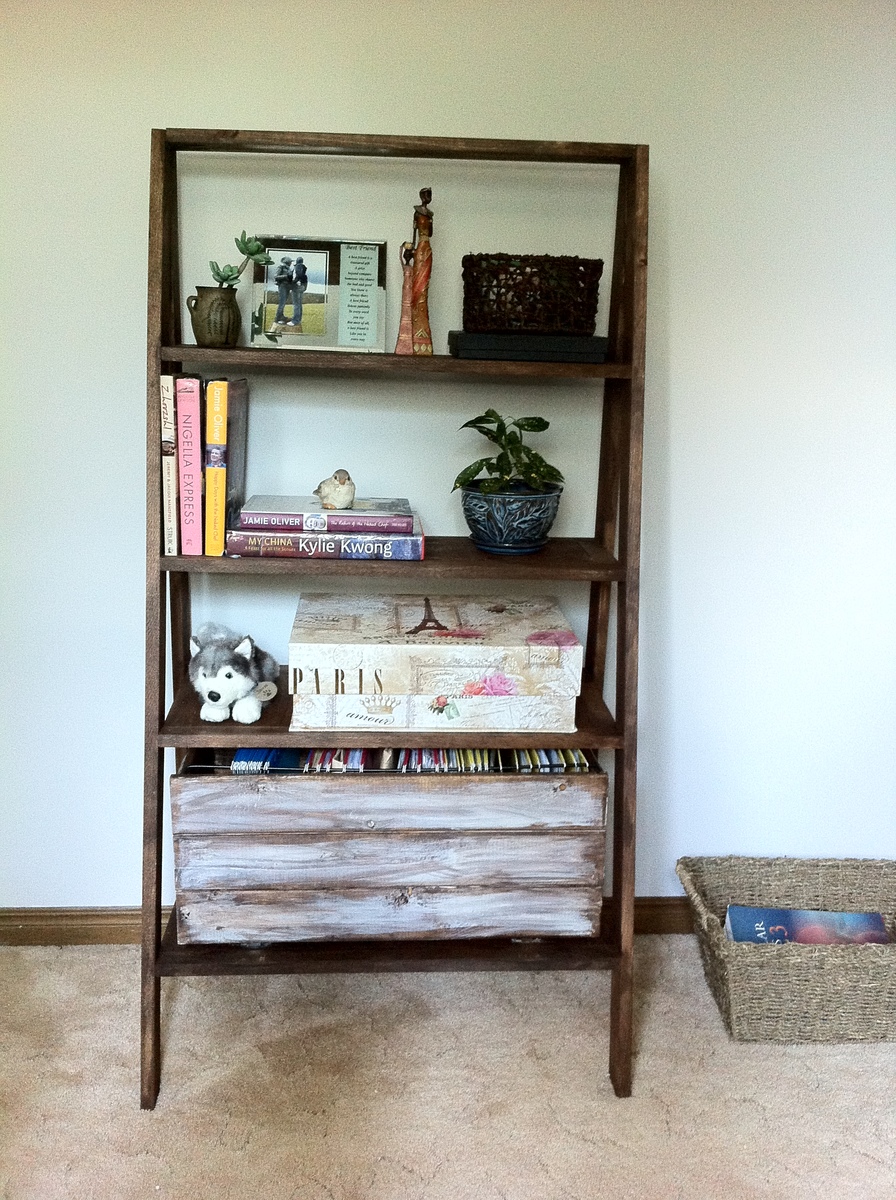
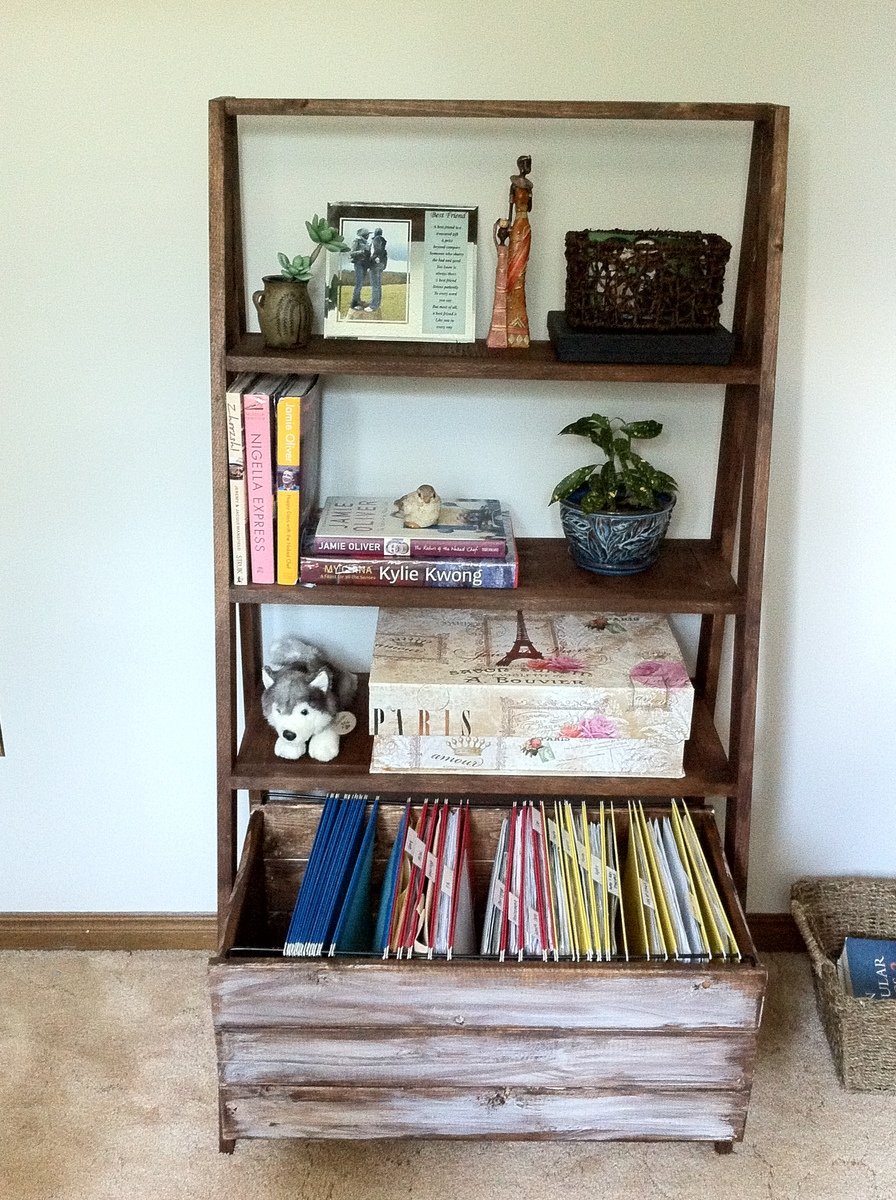
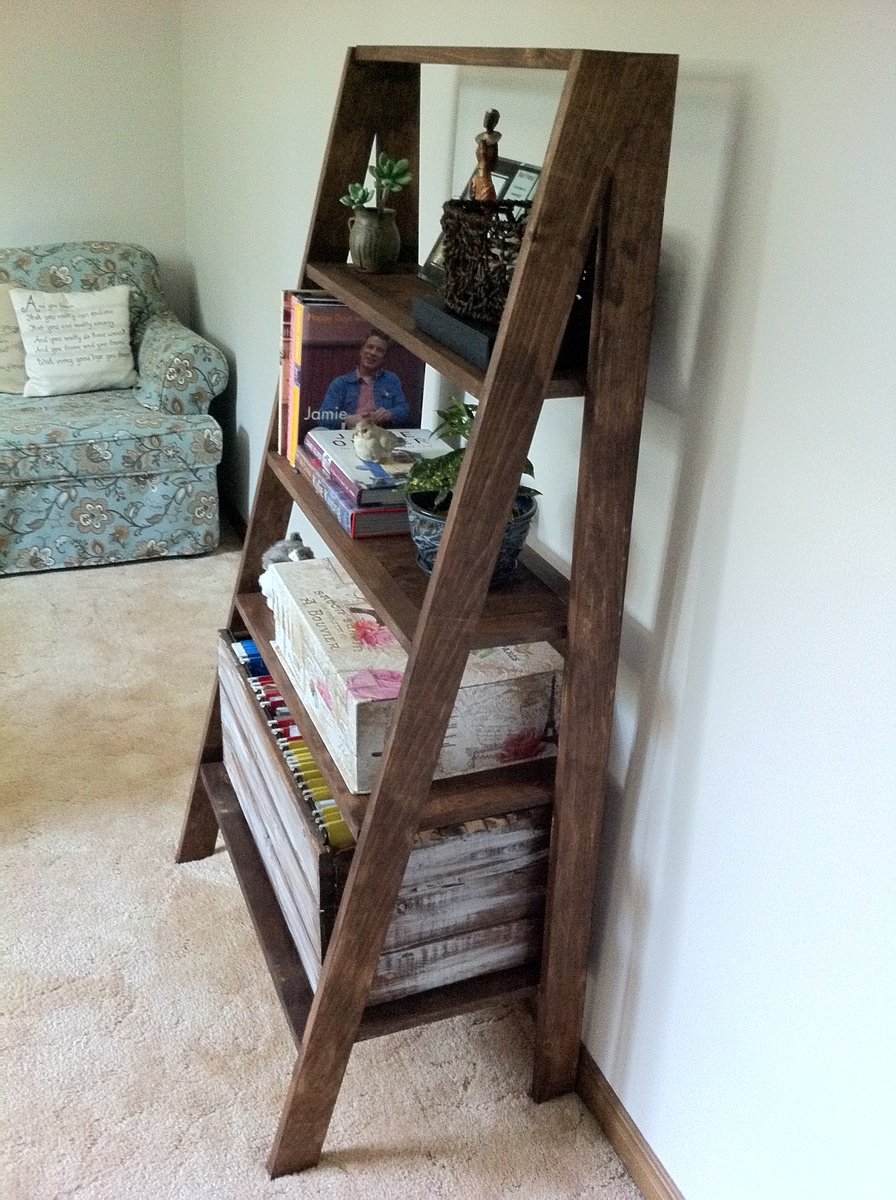
Ladder Filing Cabinet

Submitted by RoseOfShaz on Mon, 08/12/2013 - 12:57

I needed a filing cabinet but wanted something stylish and unique. At the same time, I was also looking for an excuse to build this beautiful ladder shelf. So I decided to combine the two and create a "ladder filing cabinet!" I adjusted the plans so that the legs were made of 1x3's for extra support and I used 1x2's for shelf trims. I also converted side-mount drawer slides into a bottom track for the drawer.

Built from Plan(s)
Estimated Cost
$60 (I used leftover wood to construct the drawer)
Estimated Time Investment
Weekend Project (10-20 Hours)
Finish Used
Rust-o-leum Walnut. For the drawer, I whitewashed it with white paint.
Recommended Skill Level
Intermediate

Comments

kf

Tue, 08/13/2013 - 19:22

Great job!
I'm curious, what did you use to hang the files on?

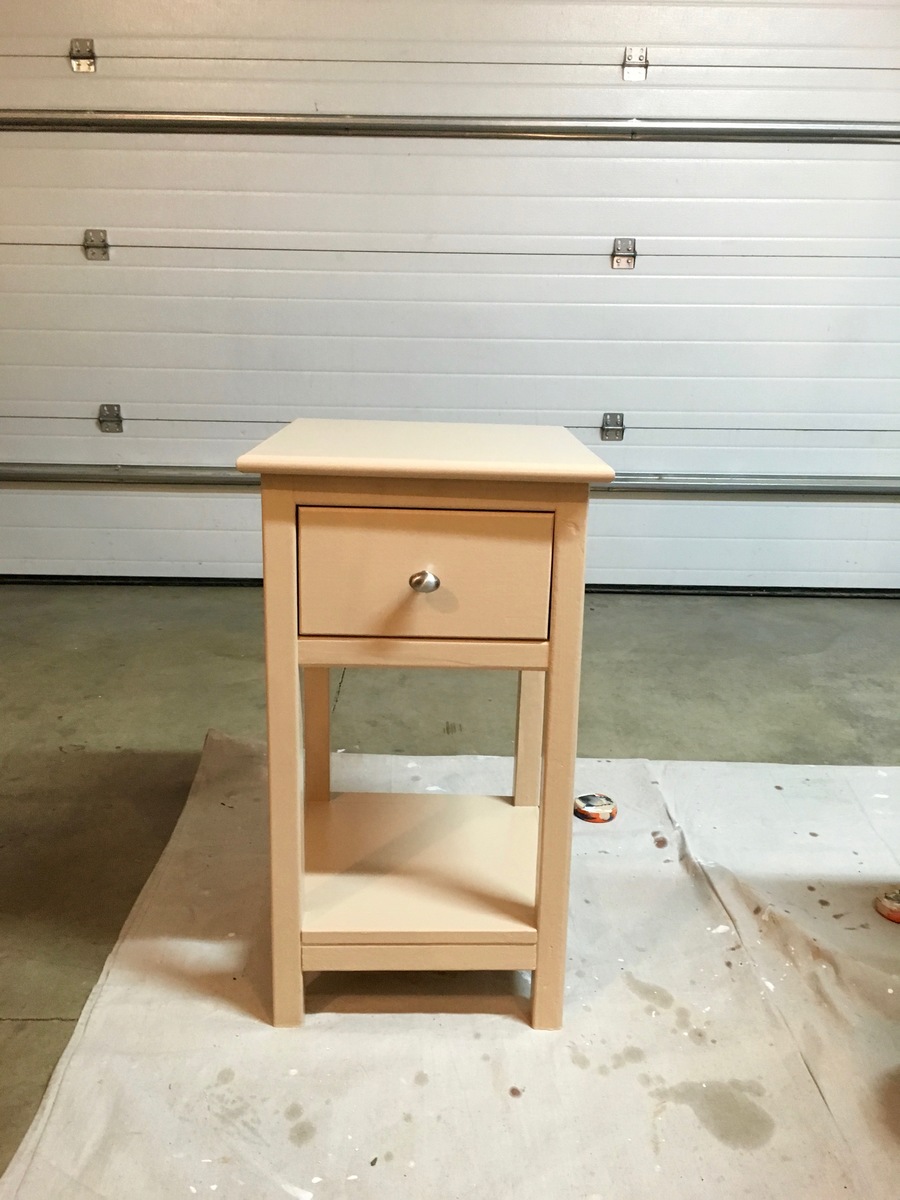
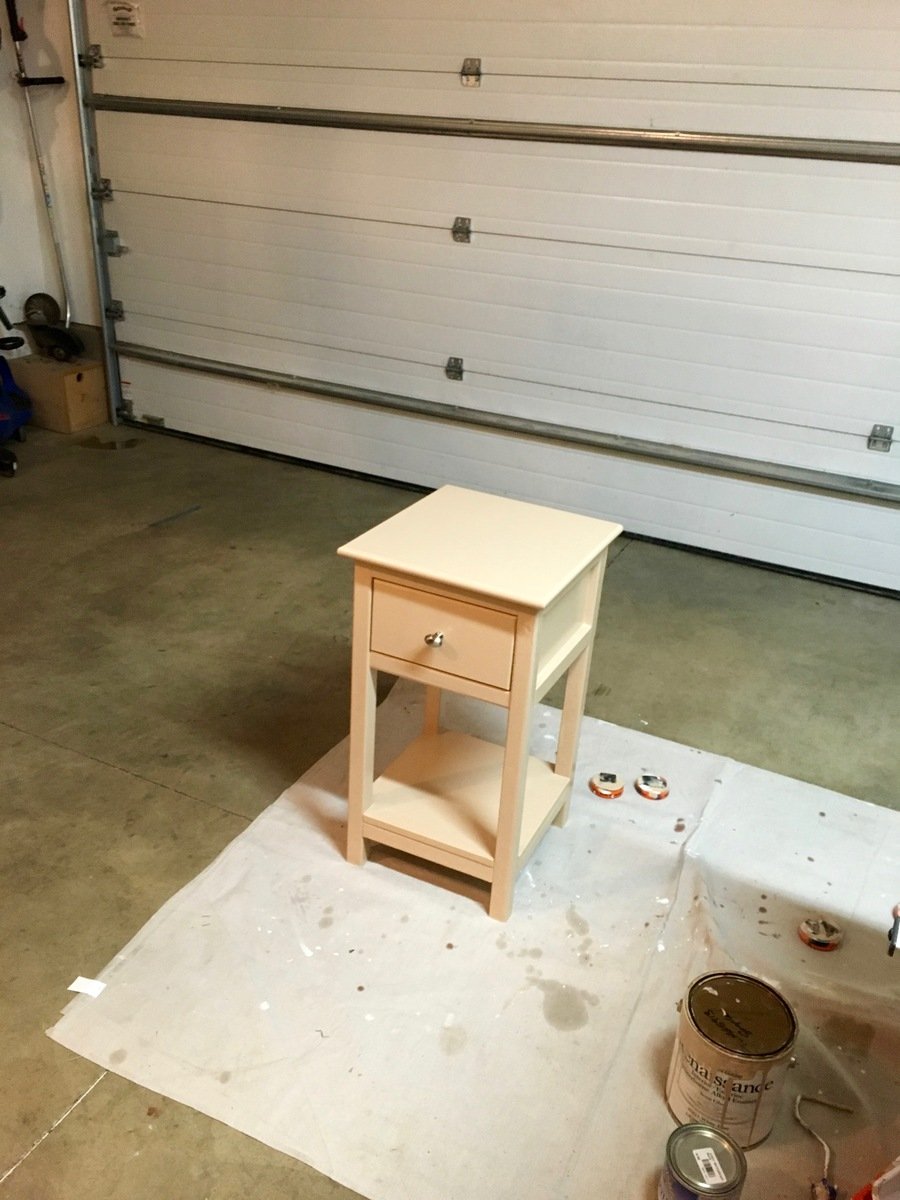
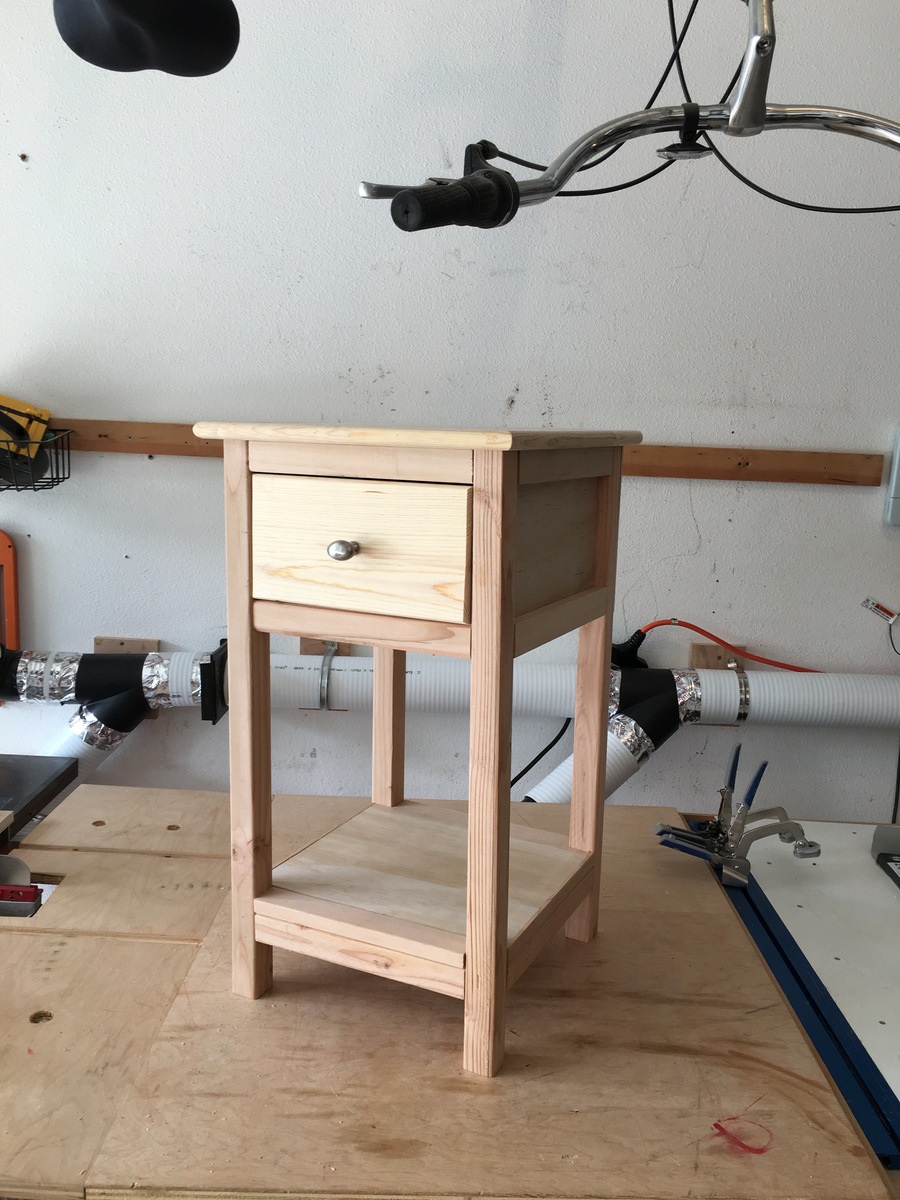
Easy night stand!

Submitted by Medickep on Thu, 10/15/2015 - 08:33

I made this fast and easy table, I was using as a small night stand in a small bunk room at my work for a coworker.  I used scraps that I had and had him choose a paint I had on hand! Covered the top with polyacrylic to add some protection!

Estimated Cost
Free, since I used stuff on hand, otherwise 40-50???
Estimated Time Investment
Afternoon Project (3-6 Hours)
Finish Used
I used two coats of an old based primer and than two coats of paint, which was Renaissance Alkyd paint. 3-5 coats of polyacrylic on the top surface.
Recommended Skill Level
Beginner

Comments

Square farm table

Submitted by Lady Goats on Sat, 08/13/2011 - 21:03

My couches were inherited from my mom, and she loves everything BIG. So I have very deep, very tall and very BIG sofas that need a hefty table to hold it's own between them. I was working on converting the dimensions of the modern farm table on my own, but Miss Ana is known to be a mind reader, and drew up these plans before I finished mine!

I am terrible when it comes to a) reading the advice given in comments and b.) finishing, so I didn't know it would be absolutely beneficial to stain these pieces before assembly... OOPS! At least it's in a corner! :-p

Estimated Time Investment
An Hour or Two (0-2 Hours)
Finish Used
Minwax Gel Stain - Mahogany
Recommended Skill Level
Beginner

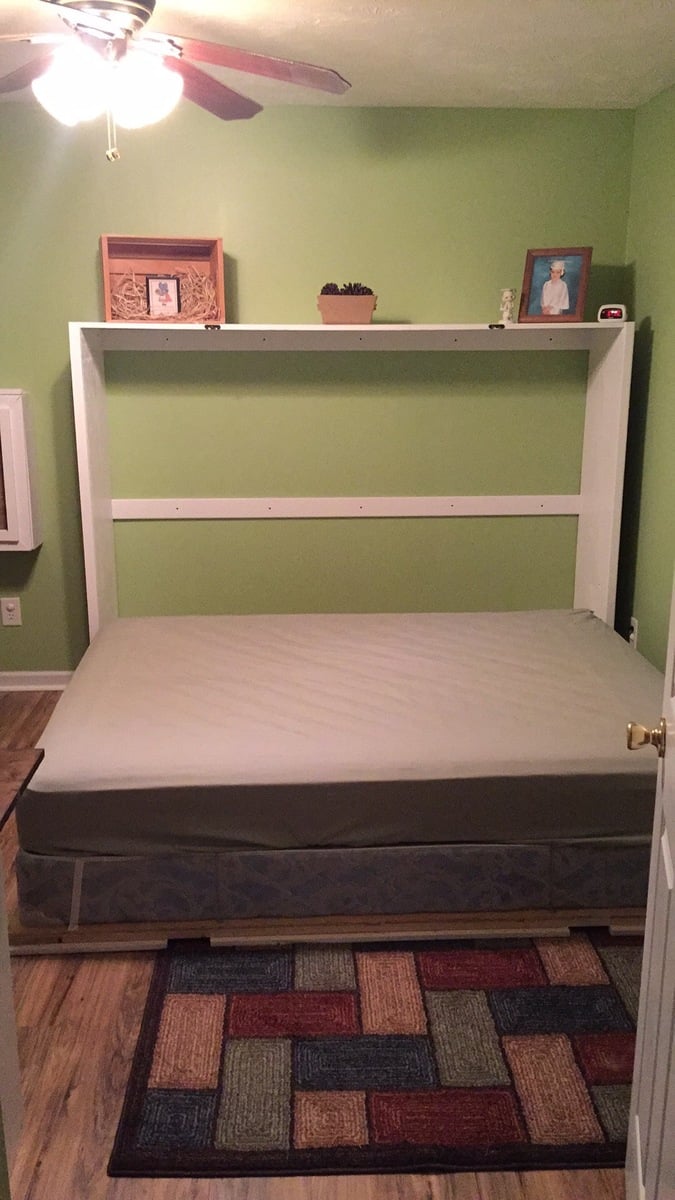
Queen Murphy Bed

Submitted by Jenga on Sun, 12/06/2015 - 12:59

Not too bad of a project but had to a good bit of guess work so I could changed the plans for a queen size bed and flip in on its side.

Estimated Cost
$200 if you already have the bed
Estimated Time Investment
Week Long Project (20 Hours or More)
Finish Used
White Paint and laminate flooring left over from the floor.
Recommended Skill Level
Beginner

Comments

Arilie

Sun, 05/29/2016 - 18:50

Good evening!

I am new at wood working, and would be very interrested in knowing the different measurements you changed to get from a twin to queen murphy bed. If it is posted on this page, I tried but couldn't find it. Thank you for your help. Have a good day.

Marie-Julie

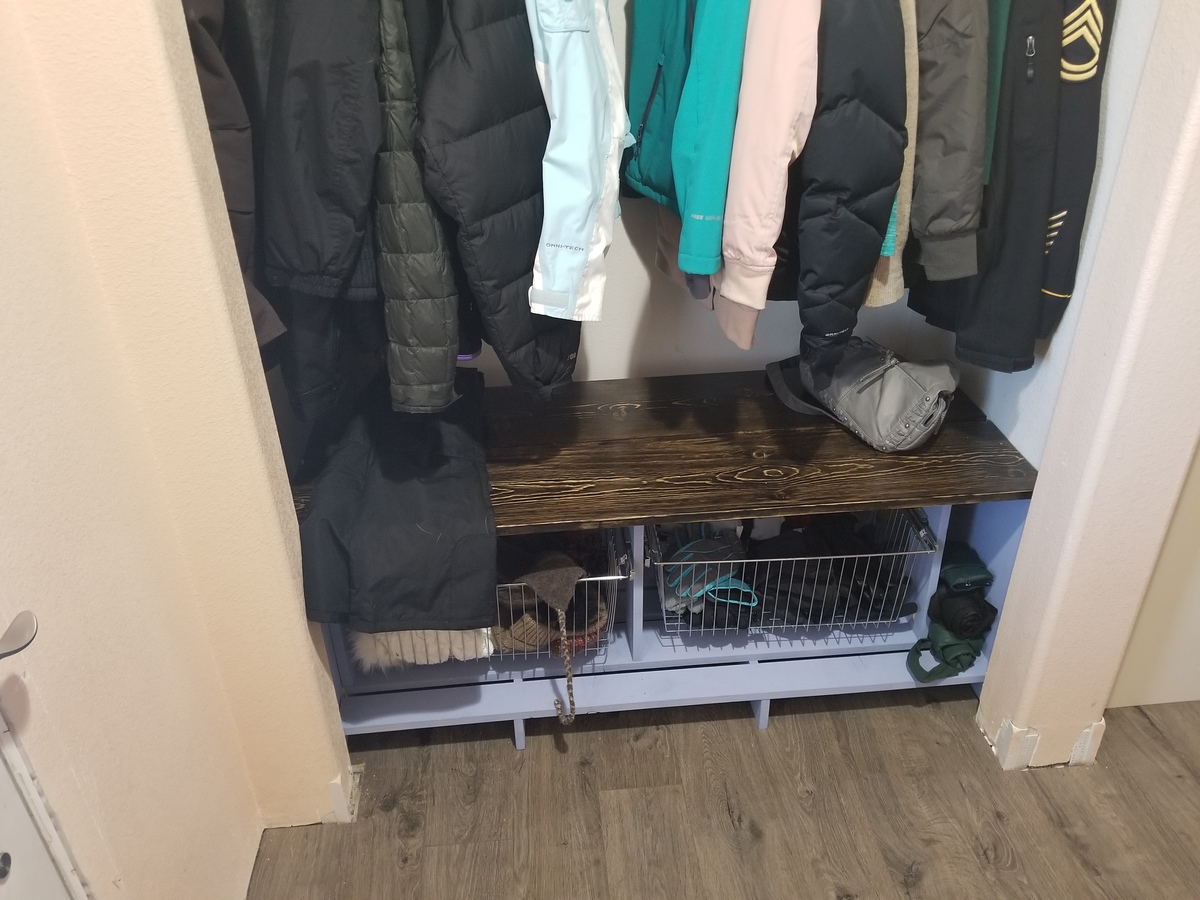
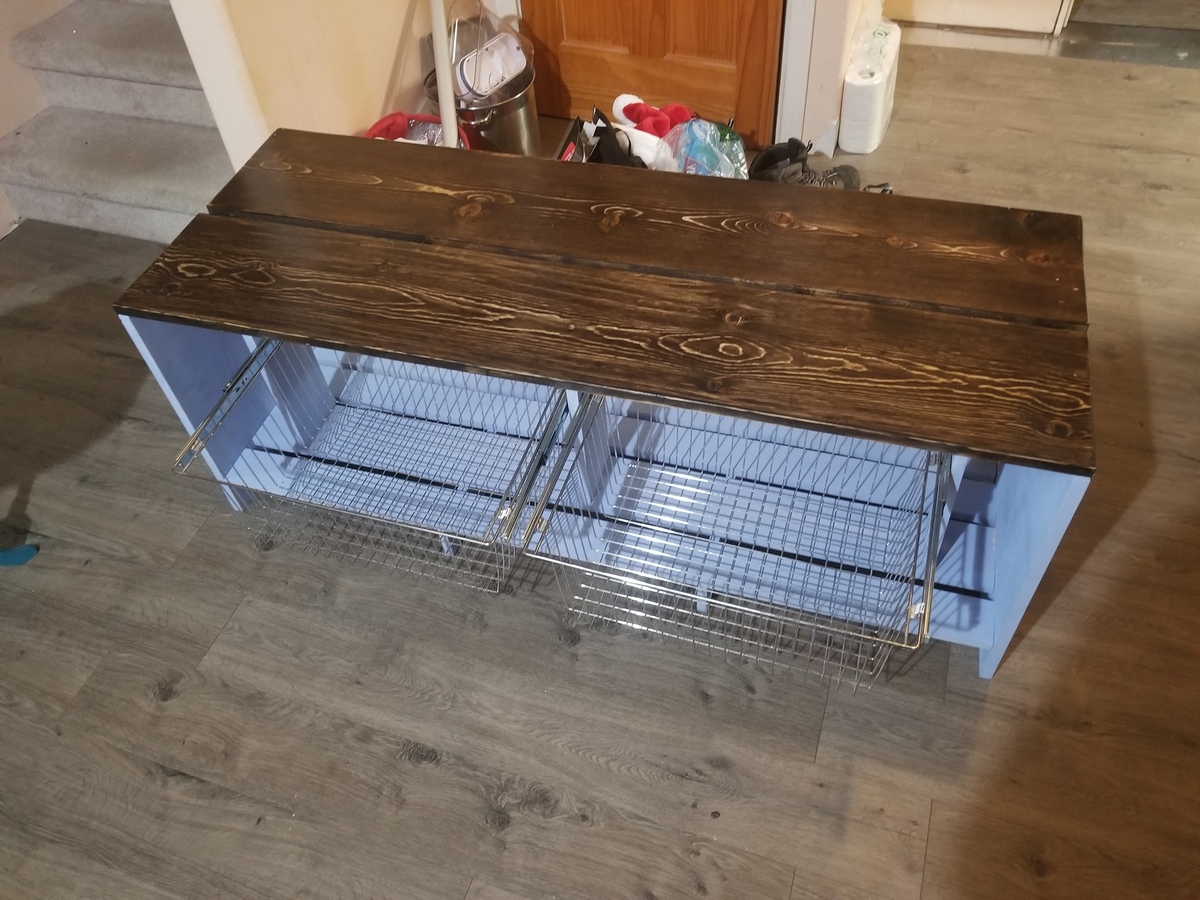
Entryway closet bench

Submitted by ga2akwld on Mon, 02/25/2019 - 13:33

Adapted from Ana's mudroom in closet plans, I made this to fit the small closet when you walk into the house. I slotted it and hung wire baskets for air flow since it will be used mainly for hats and gloves which we wear more than not up here in AK. Next for the closet directly across will be a sho storage project which I'm sure I will find on here. Thank you Ana for your awesome site and work you put in.

Estimated Cost
$80
Estimated Time Investment
Weekend Project (10-20 Hours)
Finish Used
Espresso min wax and satin poly for top. Morning sky chalked paint for bottom.
Recommended Skill Level
Beginner

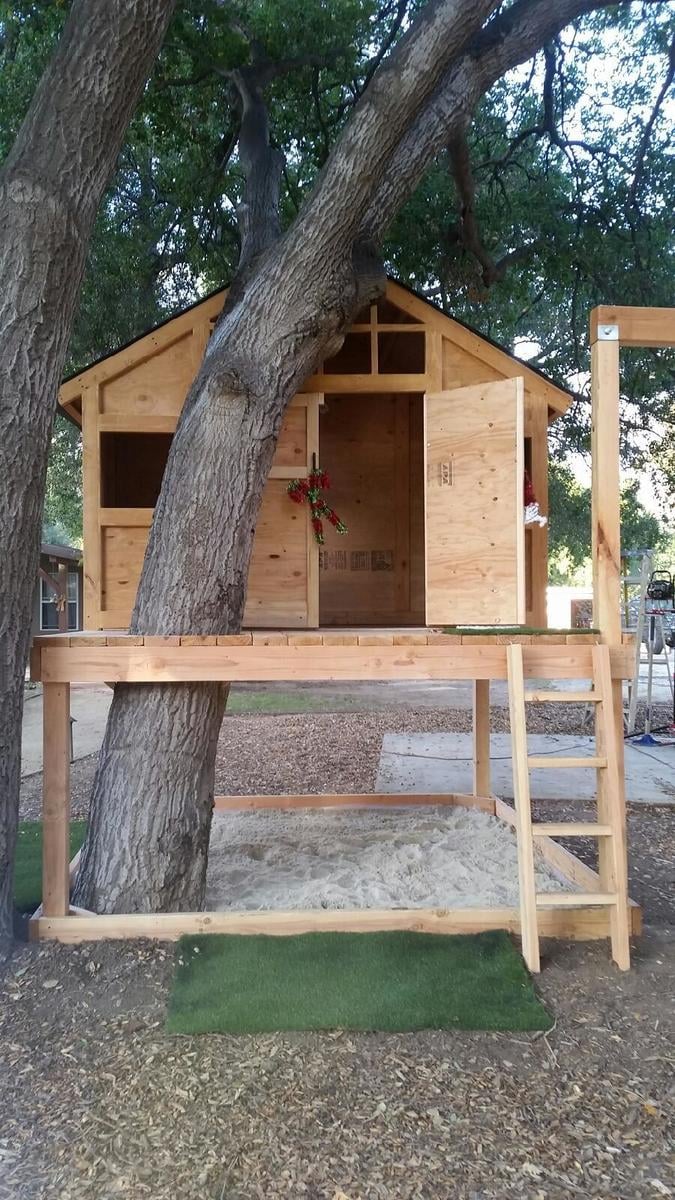
Treehouse/Playhouse

Submitted by Bigbill99 on Sun, 01/10/2016 - 00:07

Thank you! You've helped me look like a true carpenter who knows what he's doing! My whole family is impressed with my woodwork lately, and now I'm addicted. I've done your seesaw, bar table and stools plus the treehouse in 2 weeks. Thank you for sharing your plans!

Estimated Cost
$500.00
Estimated Time Investment
Week Long Project (20 Hours or More)
Finish Used
Spar urethane
Recommended Skill Level
Beginner

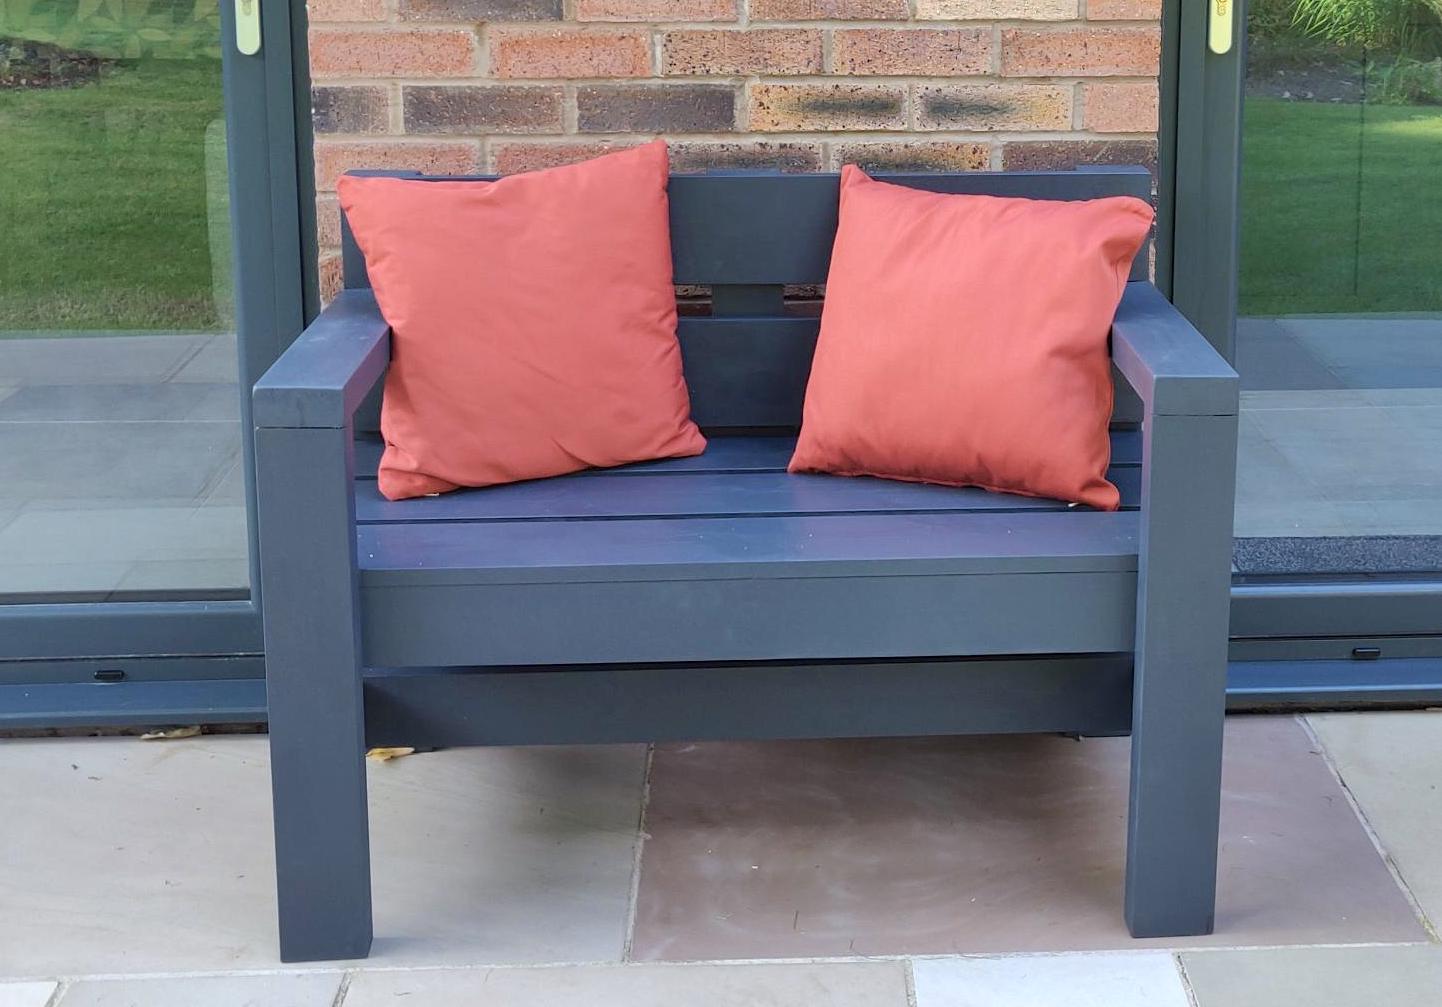
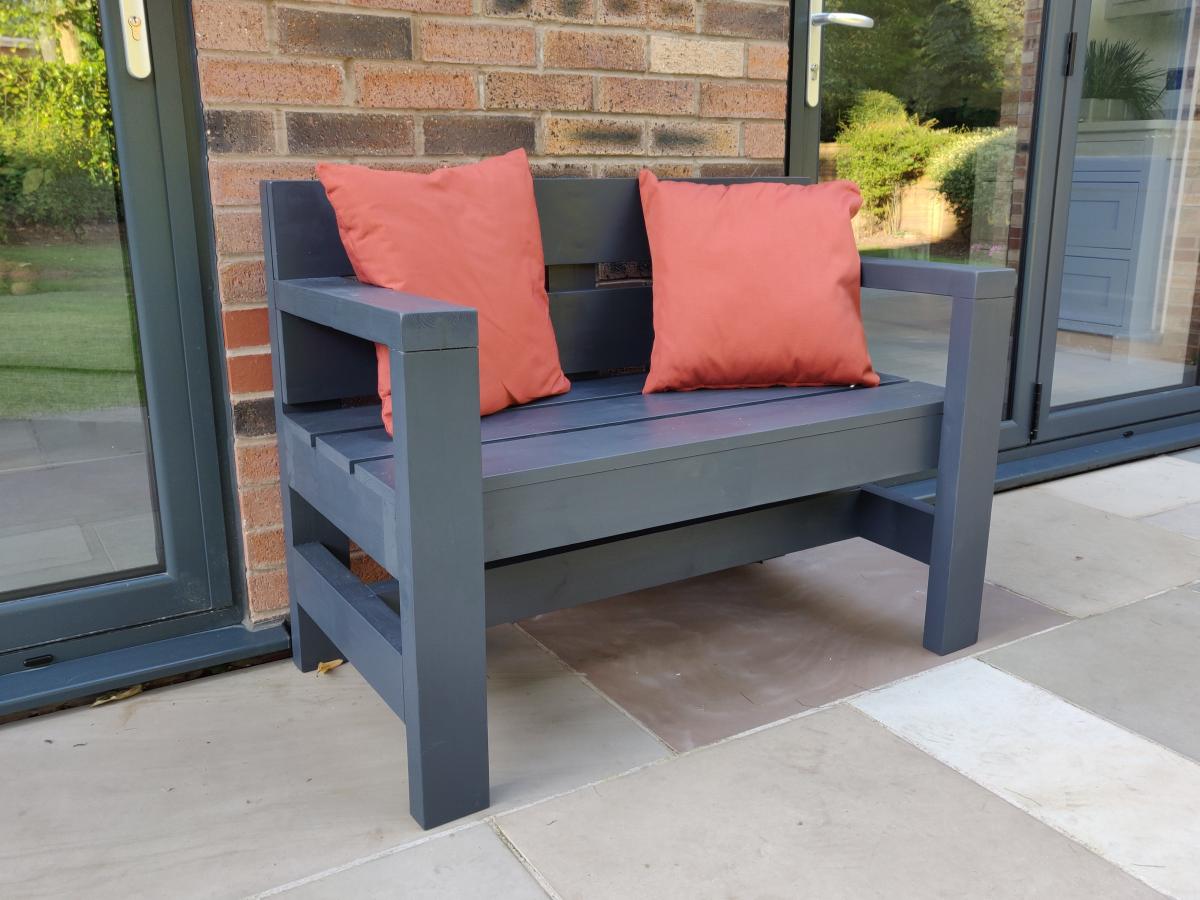
(Mini) Modern Park Bench

Submitted by philuk on Mon, 07/15/2019 - 15:16

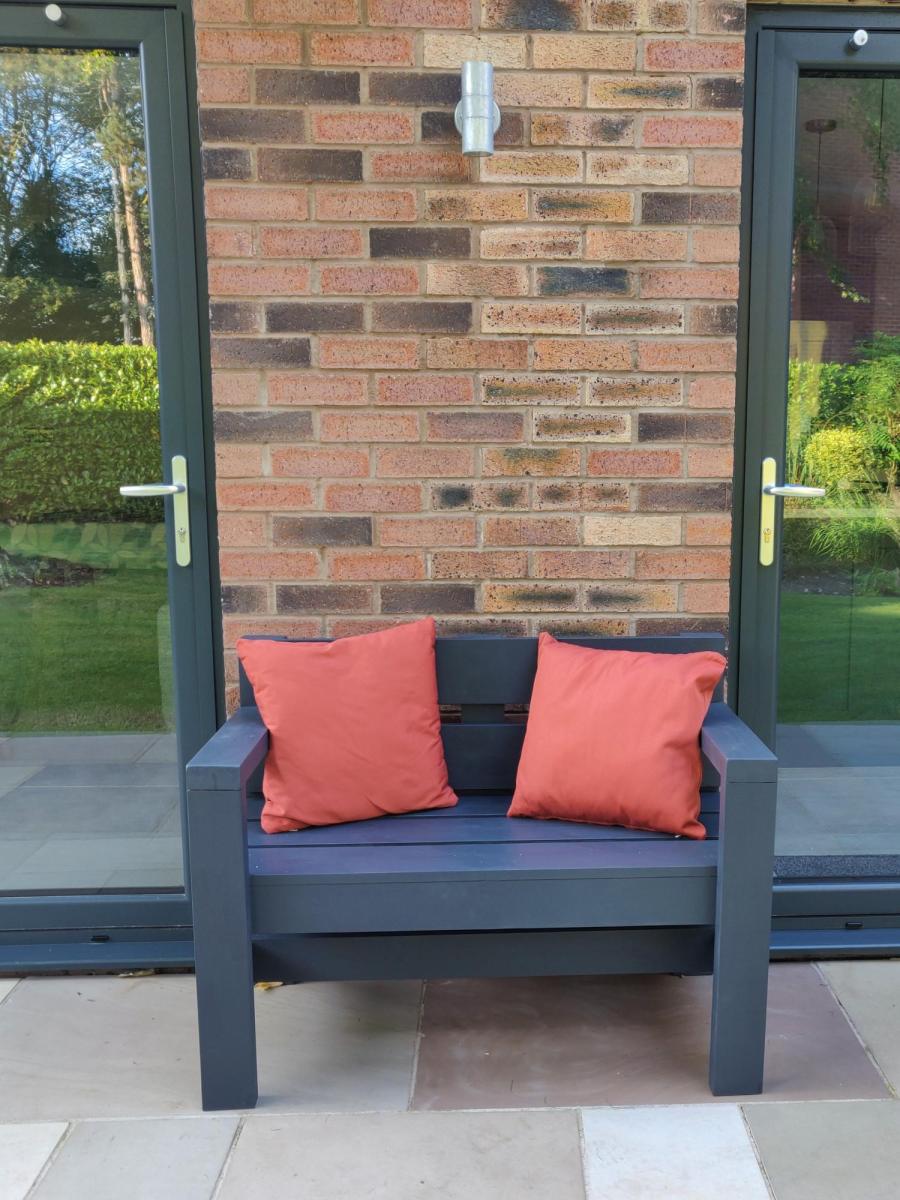
I needed a replacement outdoor bench to fit a small space between two door openings. Reduced the length of the Modern Park Bench to about 44". Also reduced the depth by removing one of the seat planks to retain a sense of proportion.

Had some issues with some of my 2x4s being a bit twisted which impacted the overall build quality but I'm happy with the end result considering the price/time invested.

Tip: spend some time in the lumber yard picking out your own wood - I wish I had.

Built from Plan(s)
Estimated Cost
£35 in timber.
Less than £5 for the finish.
Estimated Time Investment
Afternoon Project (3-6 Hours)
Finish Used
Two coats Cuprinol Garden Shades in 'Urban Slate'
Recommended Skill Level
Beginner

Comments

Minnie Mouse Kids Chair

Submitted by Sketch1999 on Sat, 07/20/2019 - 18:56

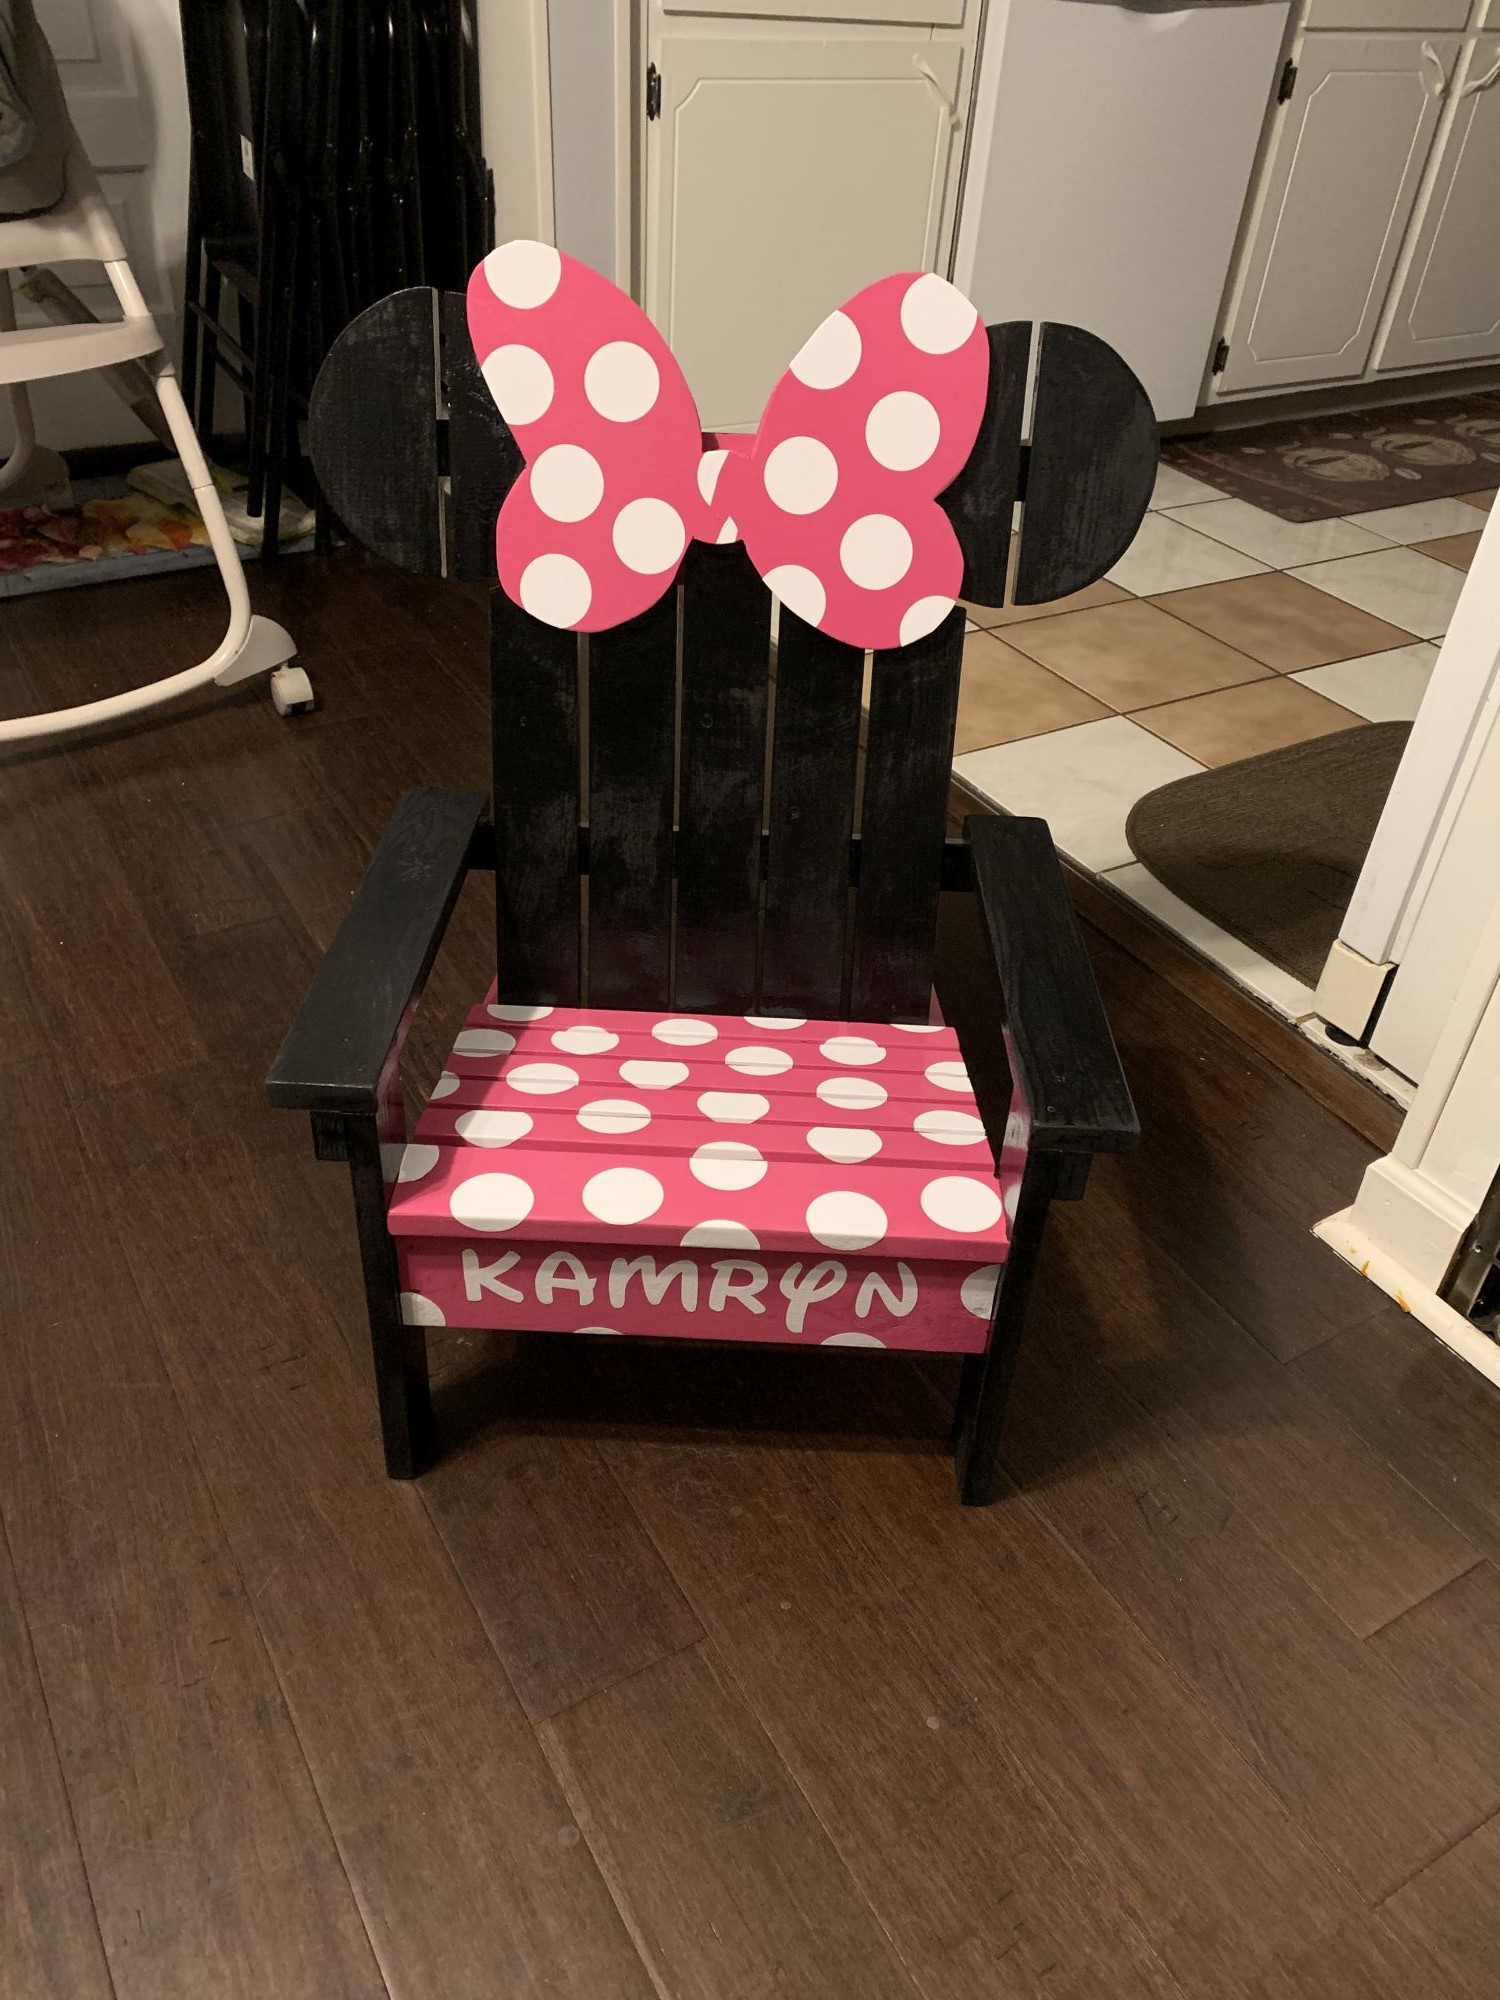
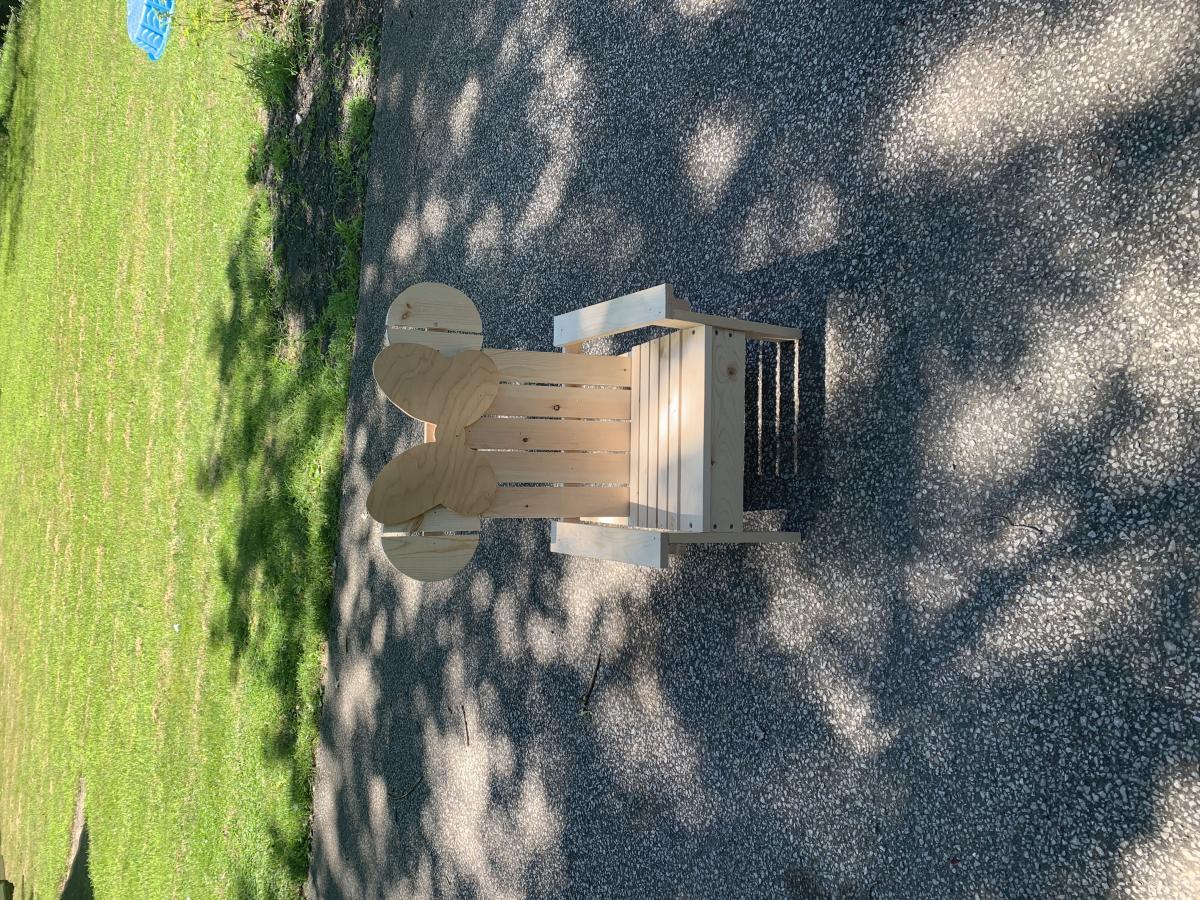
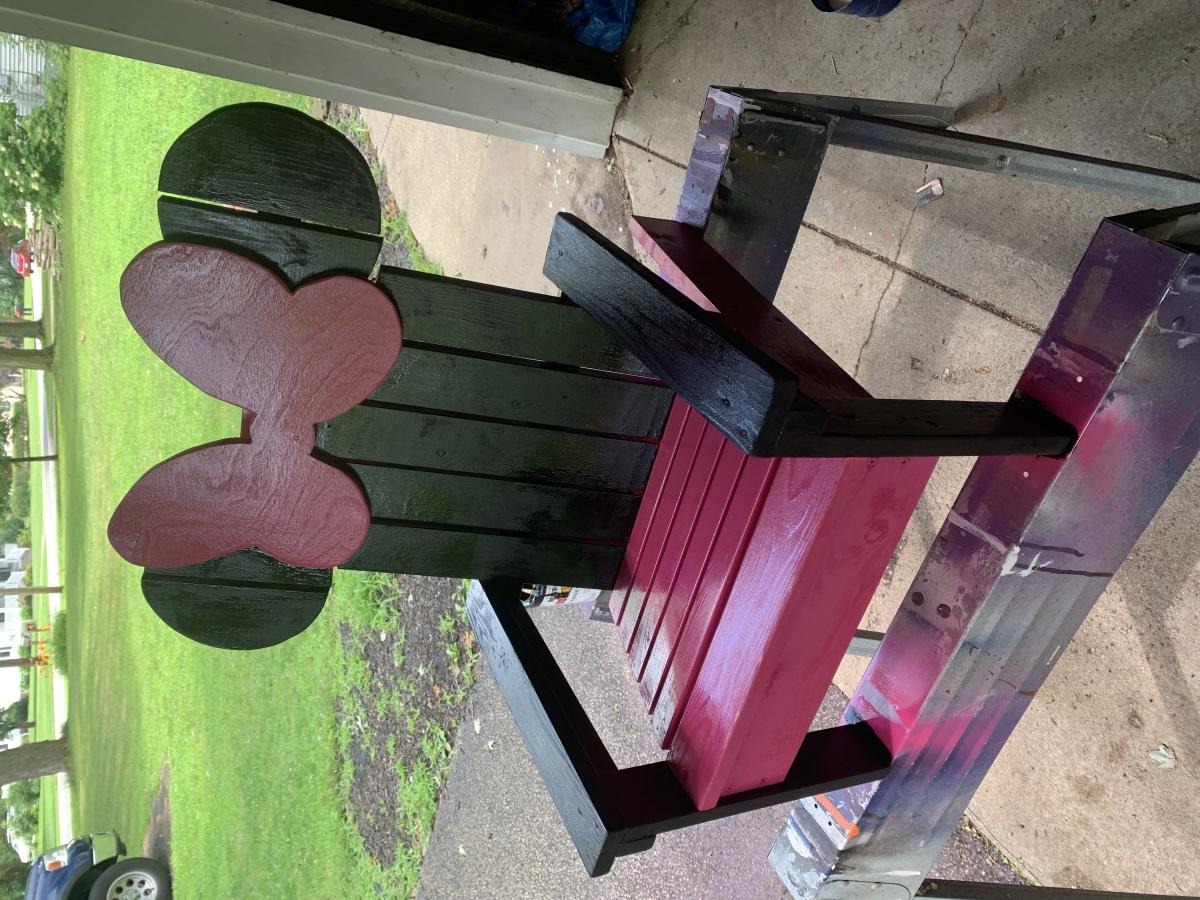
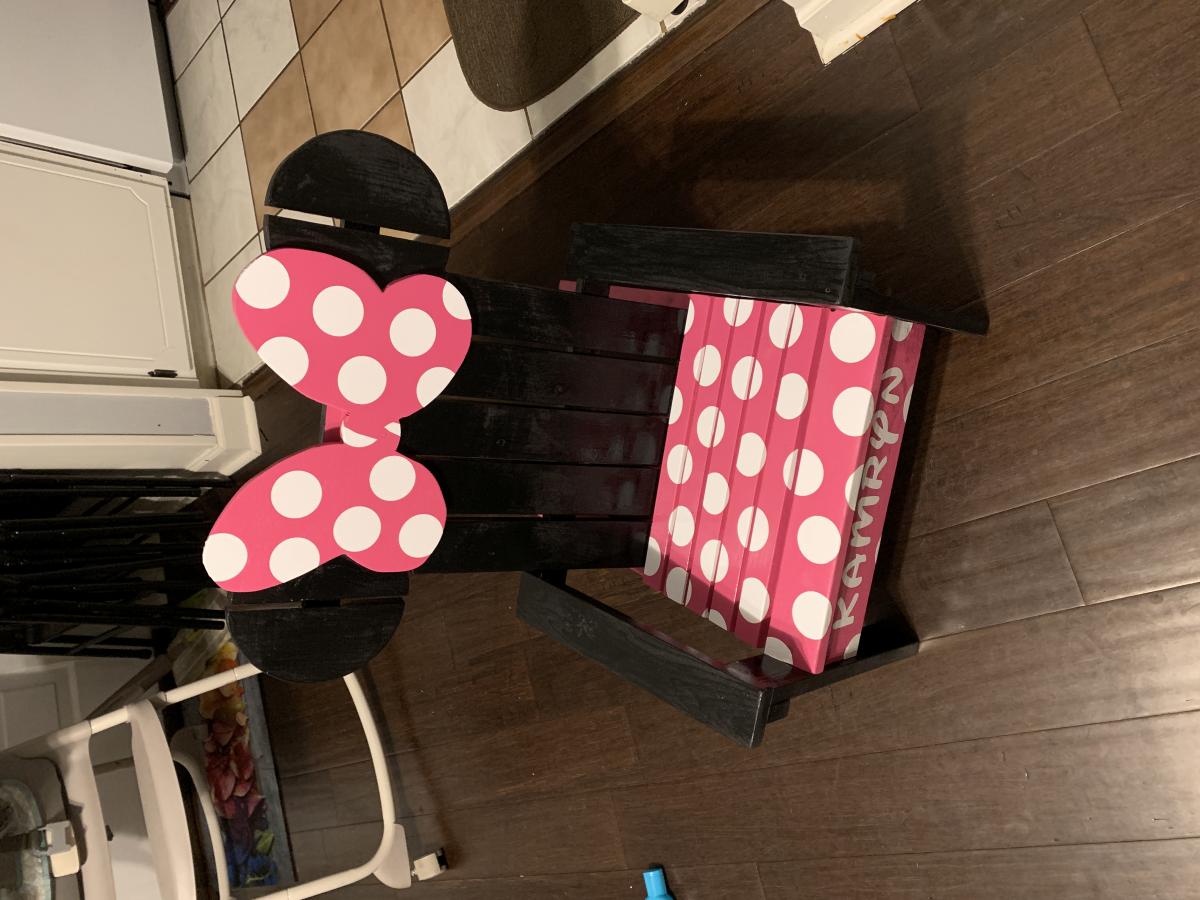
I took a shot at the Minnie Mouse Adirondack chair for a birthday present.  

Built from Plan(s)
Estimated Cost
$40
Estimated Time Investment
Day Project (6-9 Hours)
Finish Used
Rustoleum enamel paint
Recommended Skill Level
Beginner

Comments

Table and chairs

Submitted by Anonymous (not verified) on Thu, 08/08/2019 - 09:57

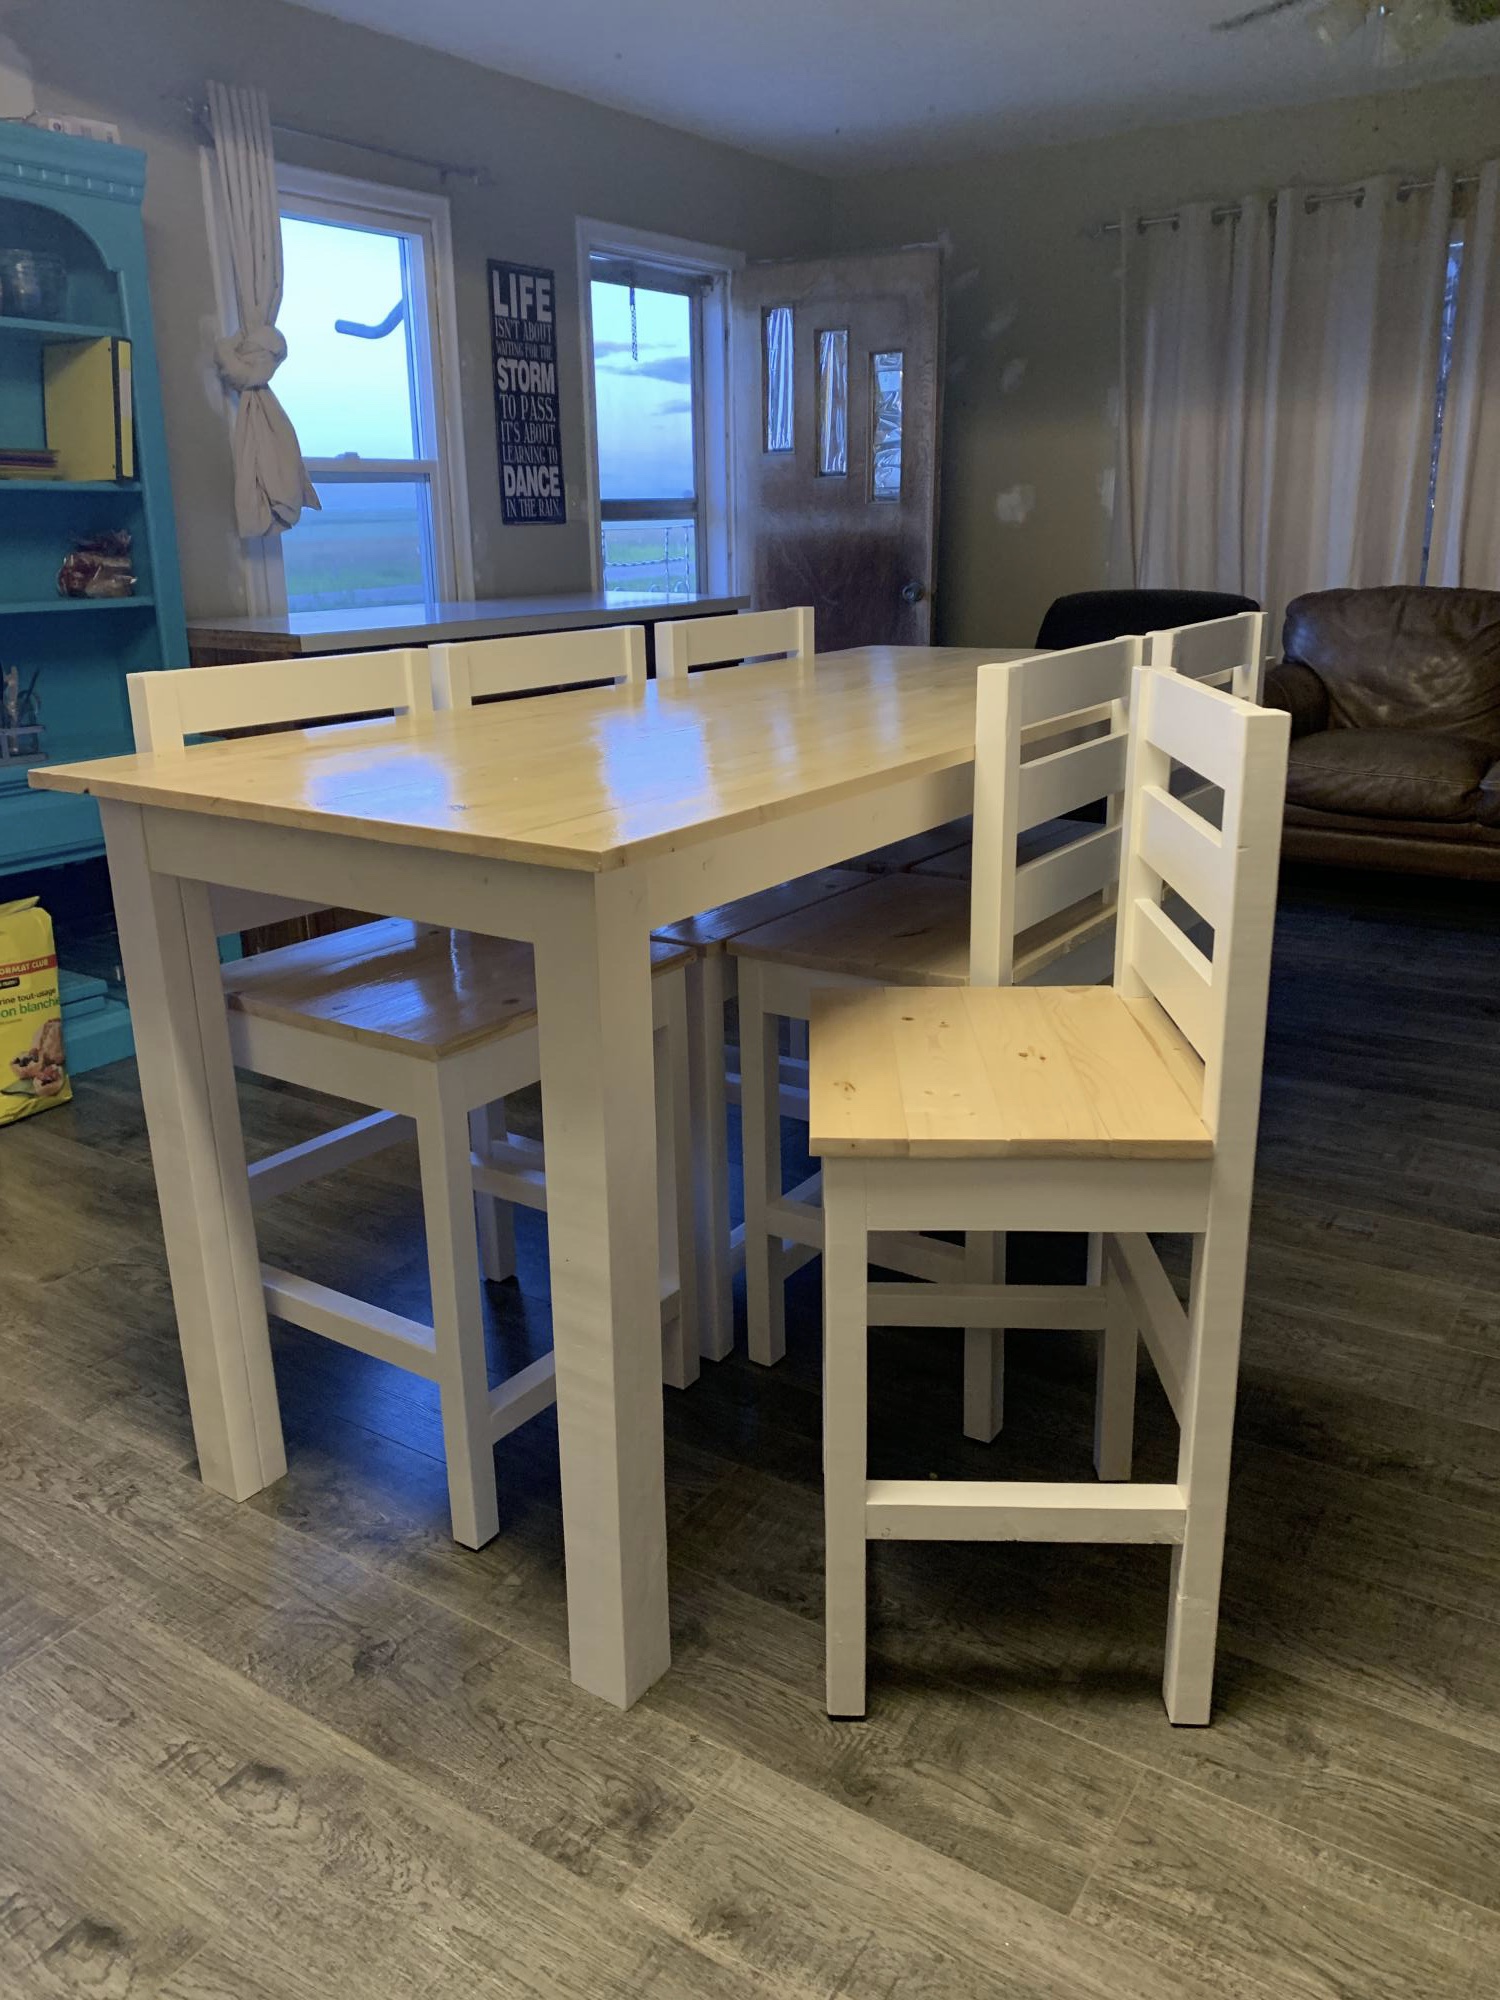
When we took the wall out from between the living room and kitchen in our small farmhouse, we found that our tiny table just didn’t work and we definitely needed more space at the table with the kids growing. So this is what I built. I wanted it counter height so I can have extra working space in the kitchen during canning and baking. I love how versatile it is in our space as well. We did cut down the backs of the chairs because it was too tall and overpowering in the small space. I also didn’t account for the seat length and wanted the whole chair to pushed up right to the table, so we adjusted the side measurements and made three of the chair seats one board smaller. They are perfect for the kids. Now on to the cabinets and painting the walls!

Built from Plan(s)

Fort bed!

Submitted by paulashley on Sun, 01/22/2012 - 17:07

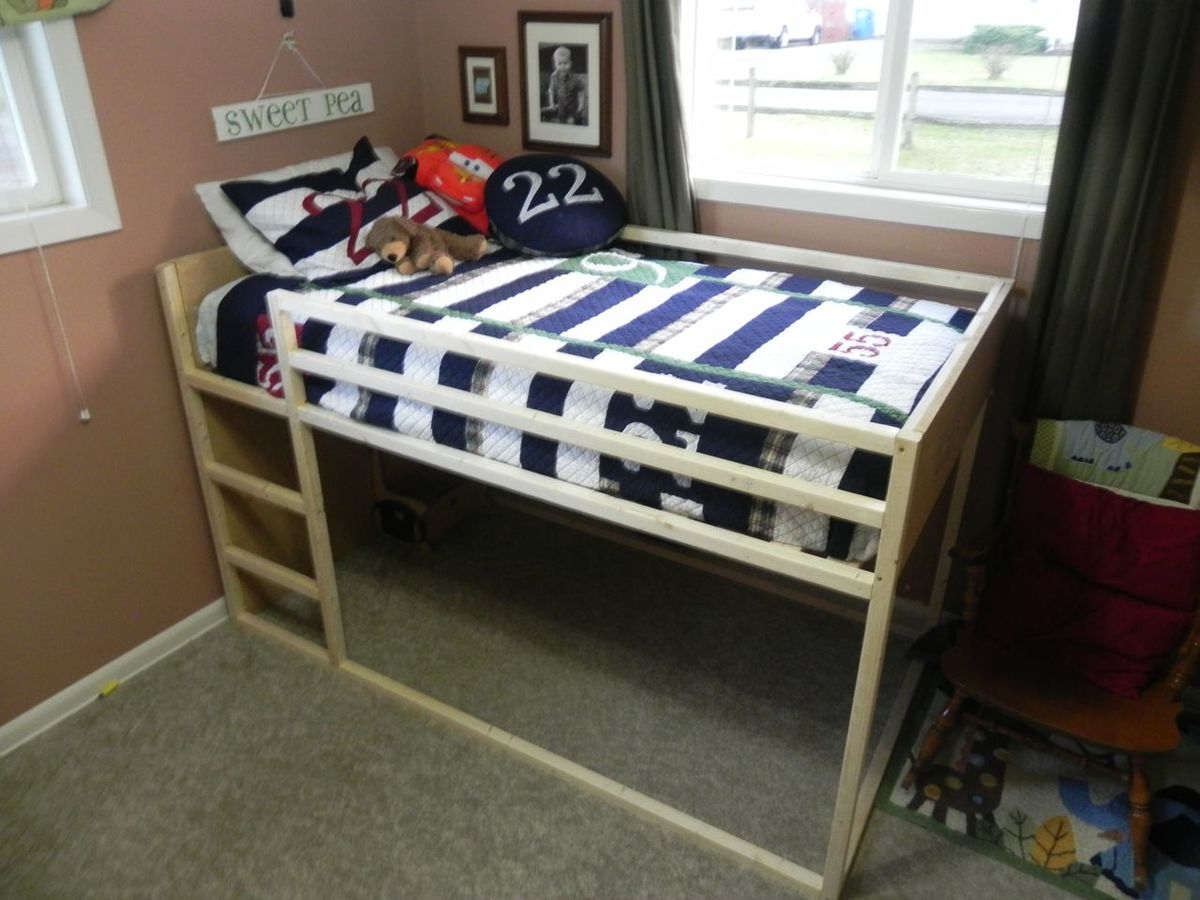
We are so thankful for the plan! This is our first building project (ever!) My son loves his new fort bed, and we feel so empowered to have done it ourselves!

Built from Plan(s)
Estimated Cost
For us, about $70 total
Estimated Time Investment
Weekend Project (10-20 Hours)
Recommended Skill Level
Beginner

Comments

mamalecia11

Wed, 01/25/2012 - 19:47

I was looking for a cute, simple bed for our 9 year old son as he gets a room to himself for the first time in his life(we adopted him from Haiti 2 years ago, where he shared with 4-8 little boys and then he has shared with his little sister since they came to us). This is just what I was looking for and didn't know it-haha.

Headboard with lights

Submitted by wtclarke1 on Thu, 10/03/2019 - 10:21

This is a queen size headboard I built for our guest room.  This is inspired by http://ana-white.com/woodworking-projects/reclaimed-wood-headboard-queen-size.

Estimated Time Investment
Afternoon Project (3-6 Hours)
Recommended Skill Level
Beginner

Comments

Perfect size for two granddaughters

Submitted by Anonymous (not verified) on Fri, 06/16/2023 - 11:01

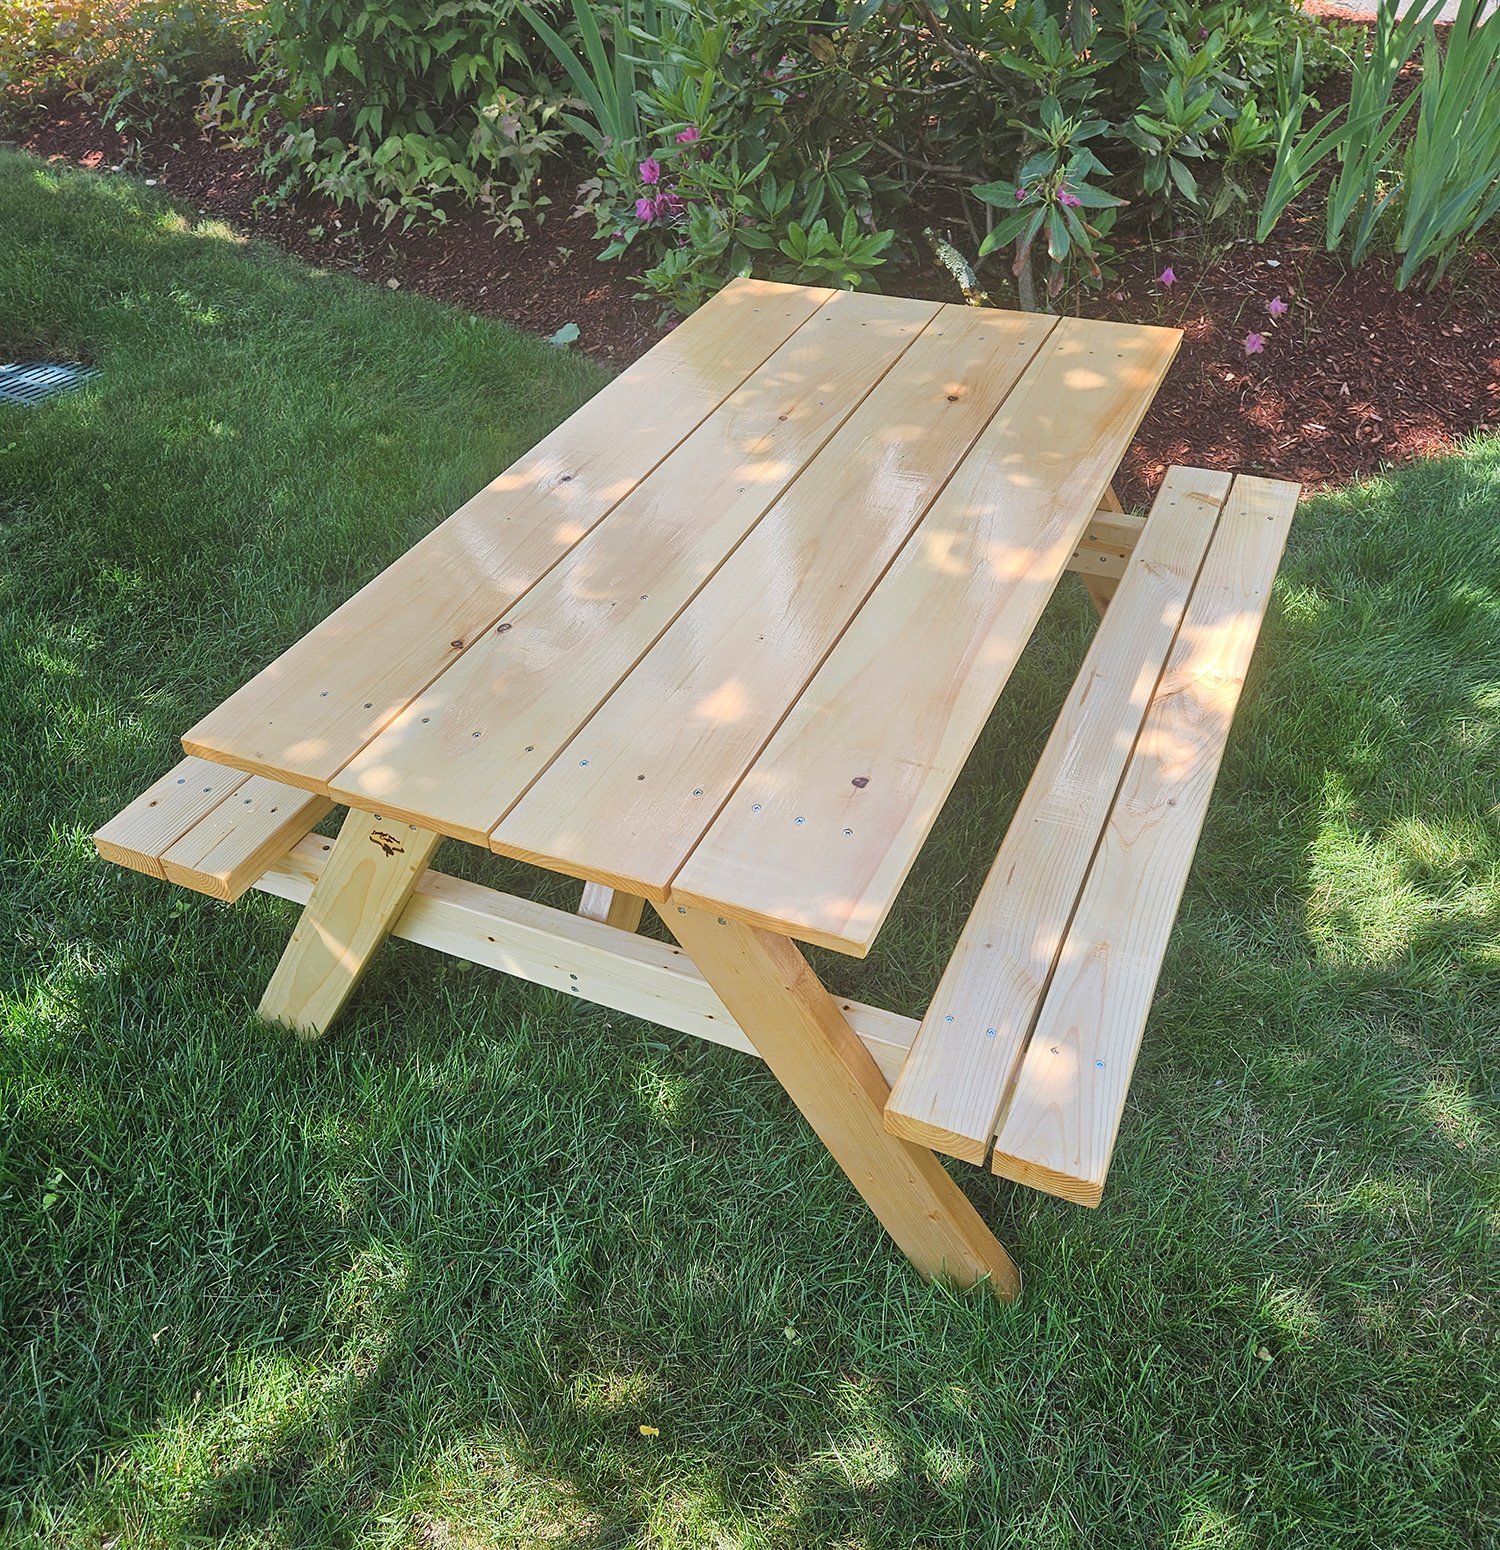
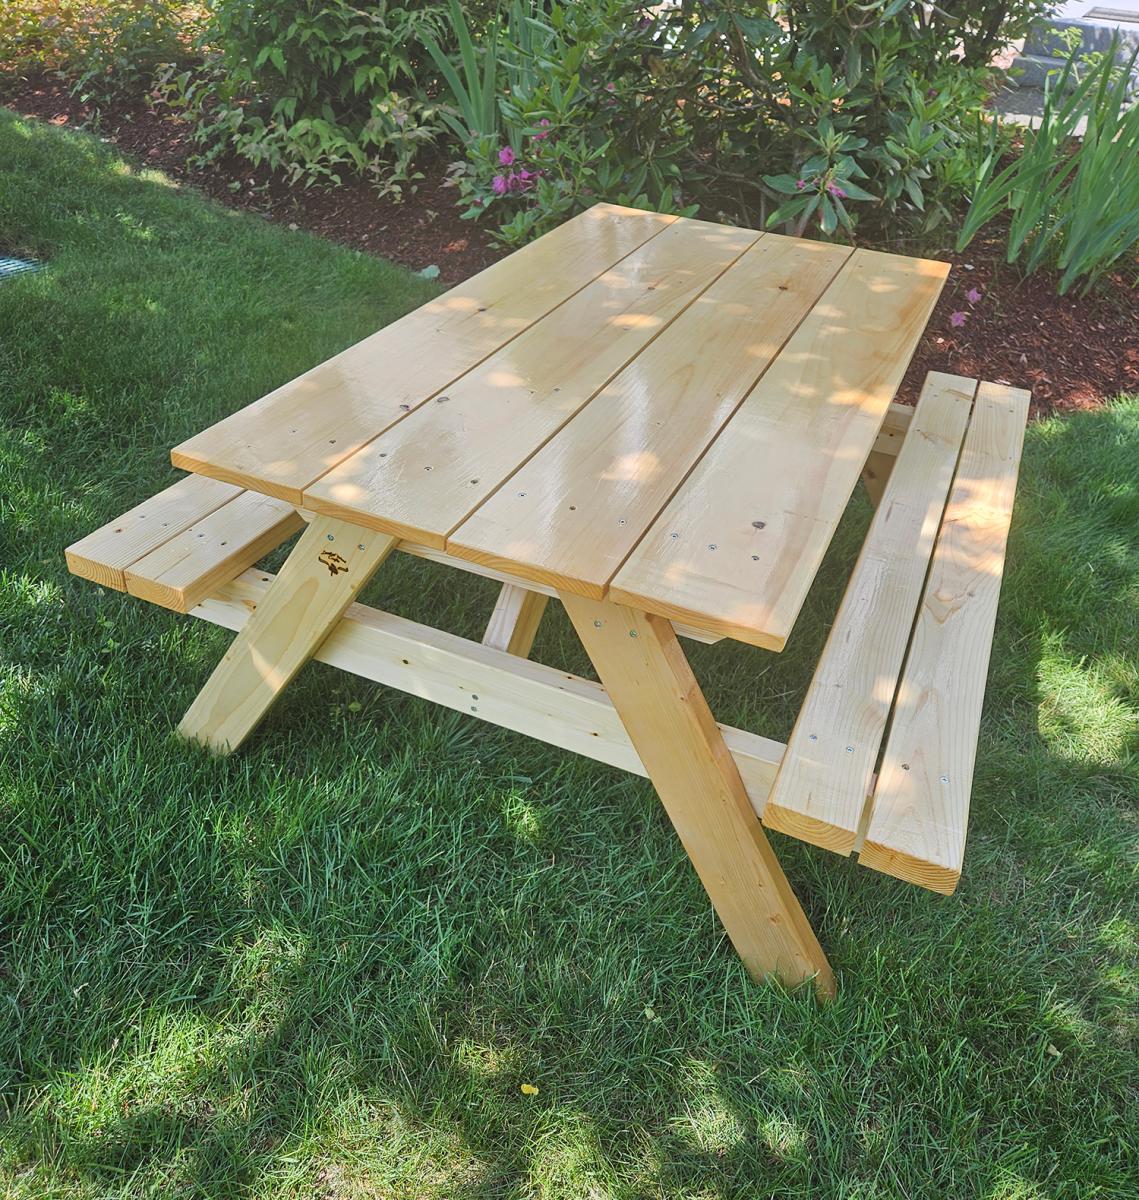
The plans for the small and medium picnic table came at a perfect time. Our two granddaughters were growing out of their plastic play table and a big party was on the horizon - a graduation from pre-school.

As it turned out, I had purchased some very nice pine pre-covid and decided to use it for the table. The only change I made to the plan was to use 1" x 6" boards for the top as that was what I had. It gave the table a lighter look. I'm not sure if the boards will cup over time but I'm hoping the 5 coats of Spar Varnish will prevent that from happening.

I was surprised at how easy the plans were to follow and that the level of detail was enough to get it build without questioning "What do I do next?" or "How do I do this?"

I must say that having a miter saw and drill press made the job go faster but I could see that using more basic tools would certainly get the job done. Having the material allowed me to build the table in a single day. The coats of varnish took time to apply and let dry but I believe it will protect the table better than polyurethane.

Built from Plan(s)

Comments

Cottage style bookcase

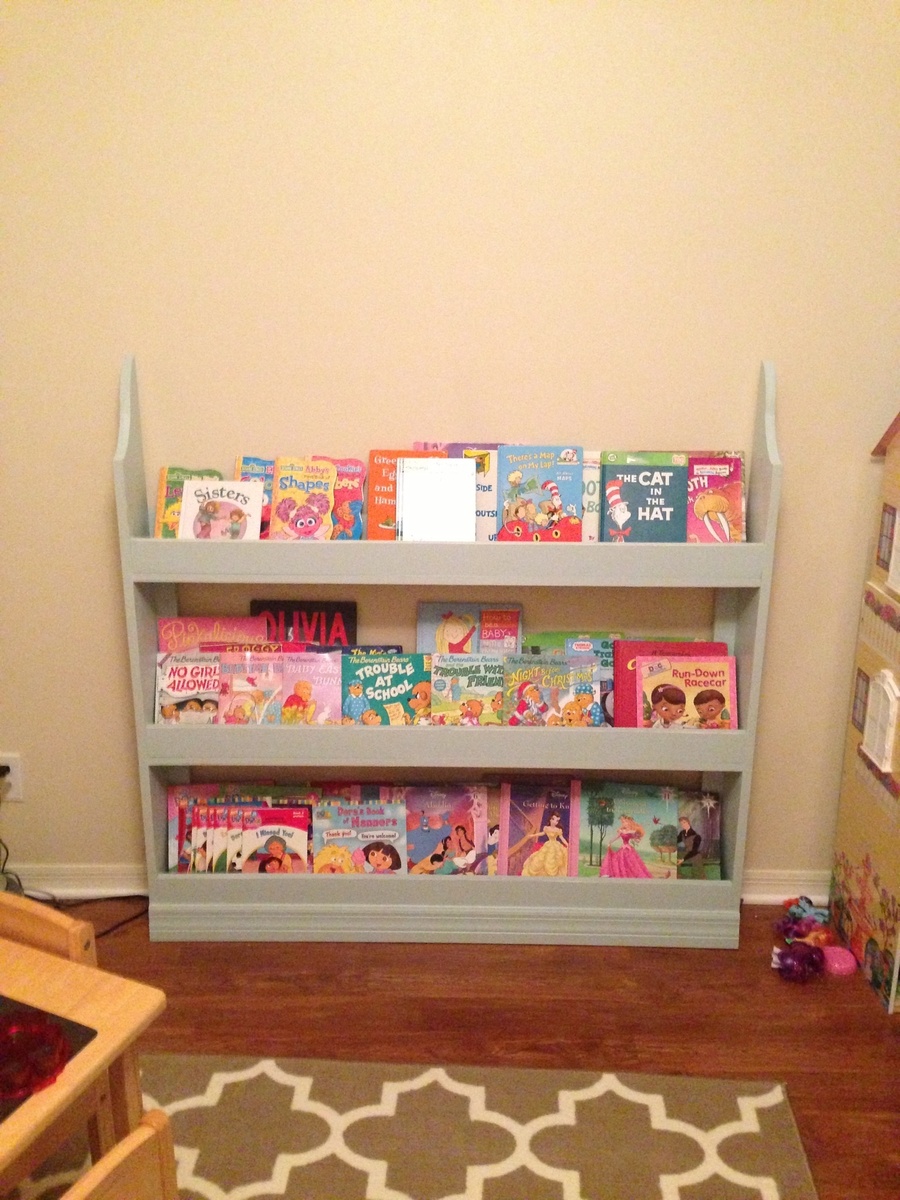
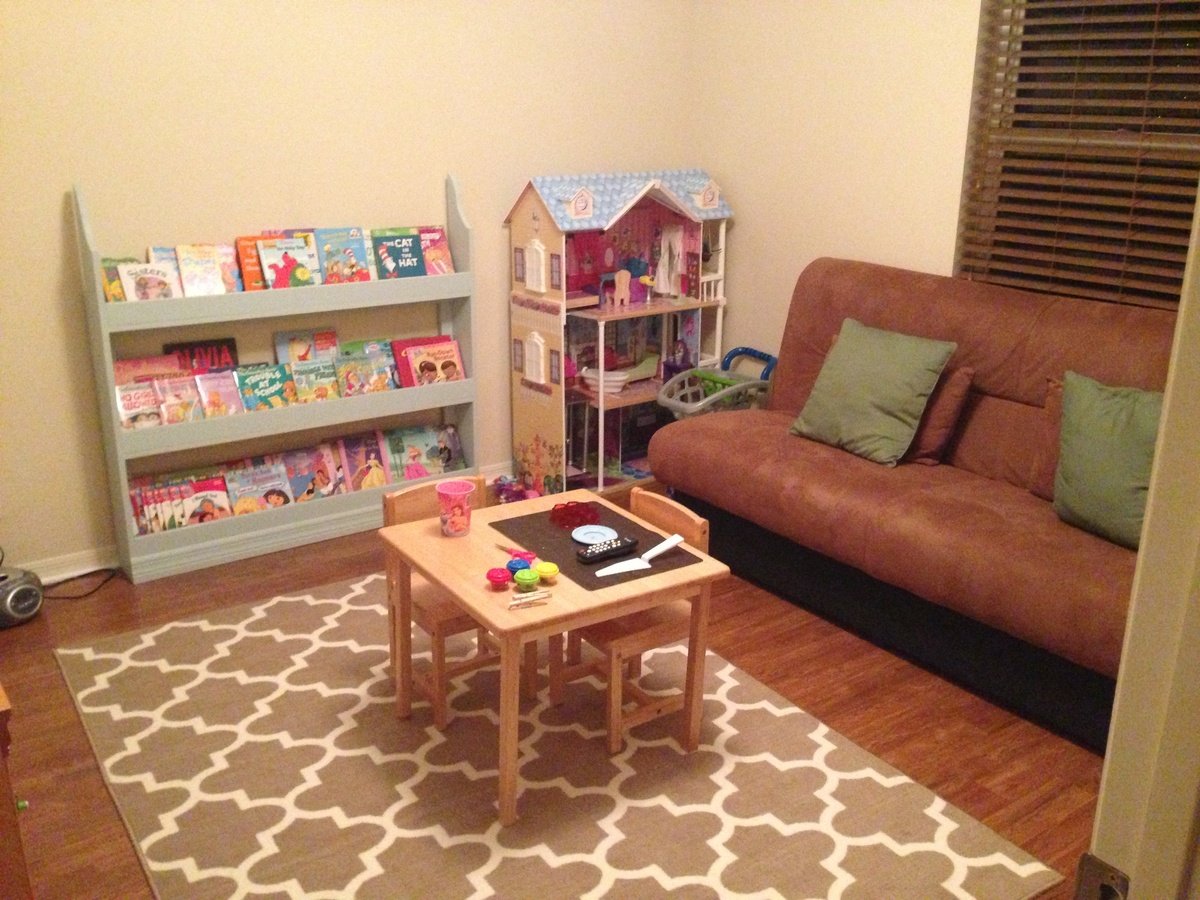
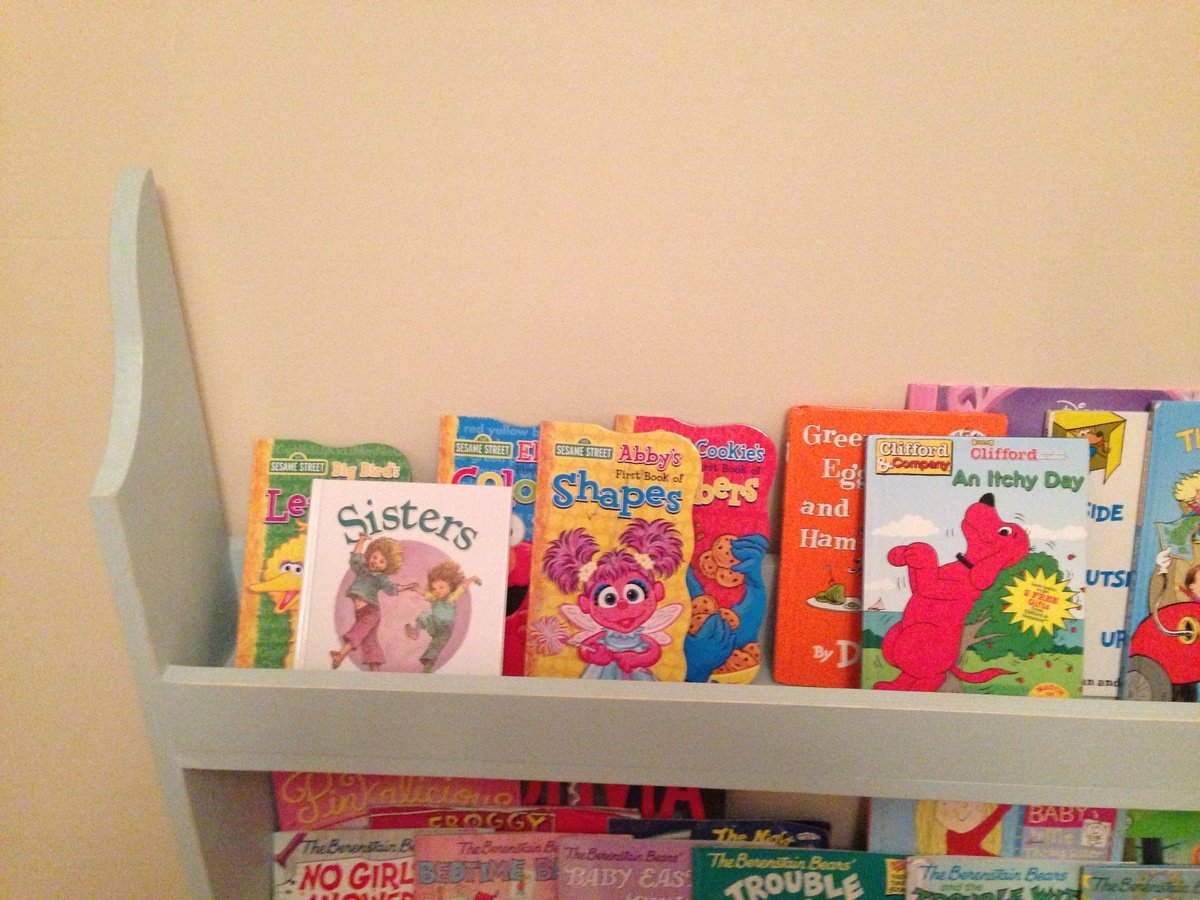
I modified the original plans by making the book case low and wide so my 5 year old could reach all of her books. I also added some 1x3's to the back of each shelf to keep the books from falling off the back and everything square. I have quarter round moulding on my baseboards, so it doesn't sit flush against the wall.

Built from Plan(s)
Estimated Cost
$45
Estimated Time Investment
Day Project (6-9 Hours)
Finish Used
Olympic interior satin Scandinavian Sky
Recommended Skill Level
Beginner