Community Brag Posts

Under Sink Shelf

Submitted by Anonymous (not verified) on Mon, 02/05/2024 - 09:03

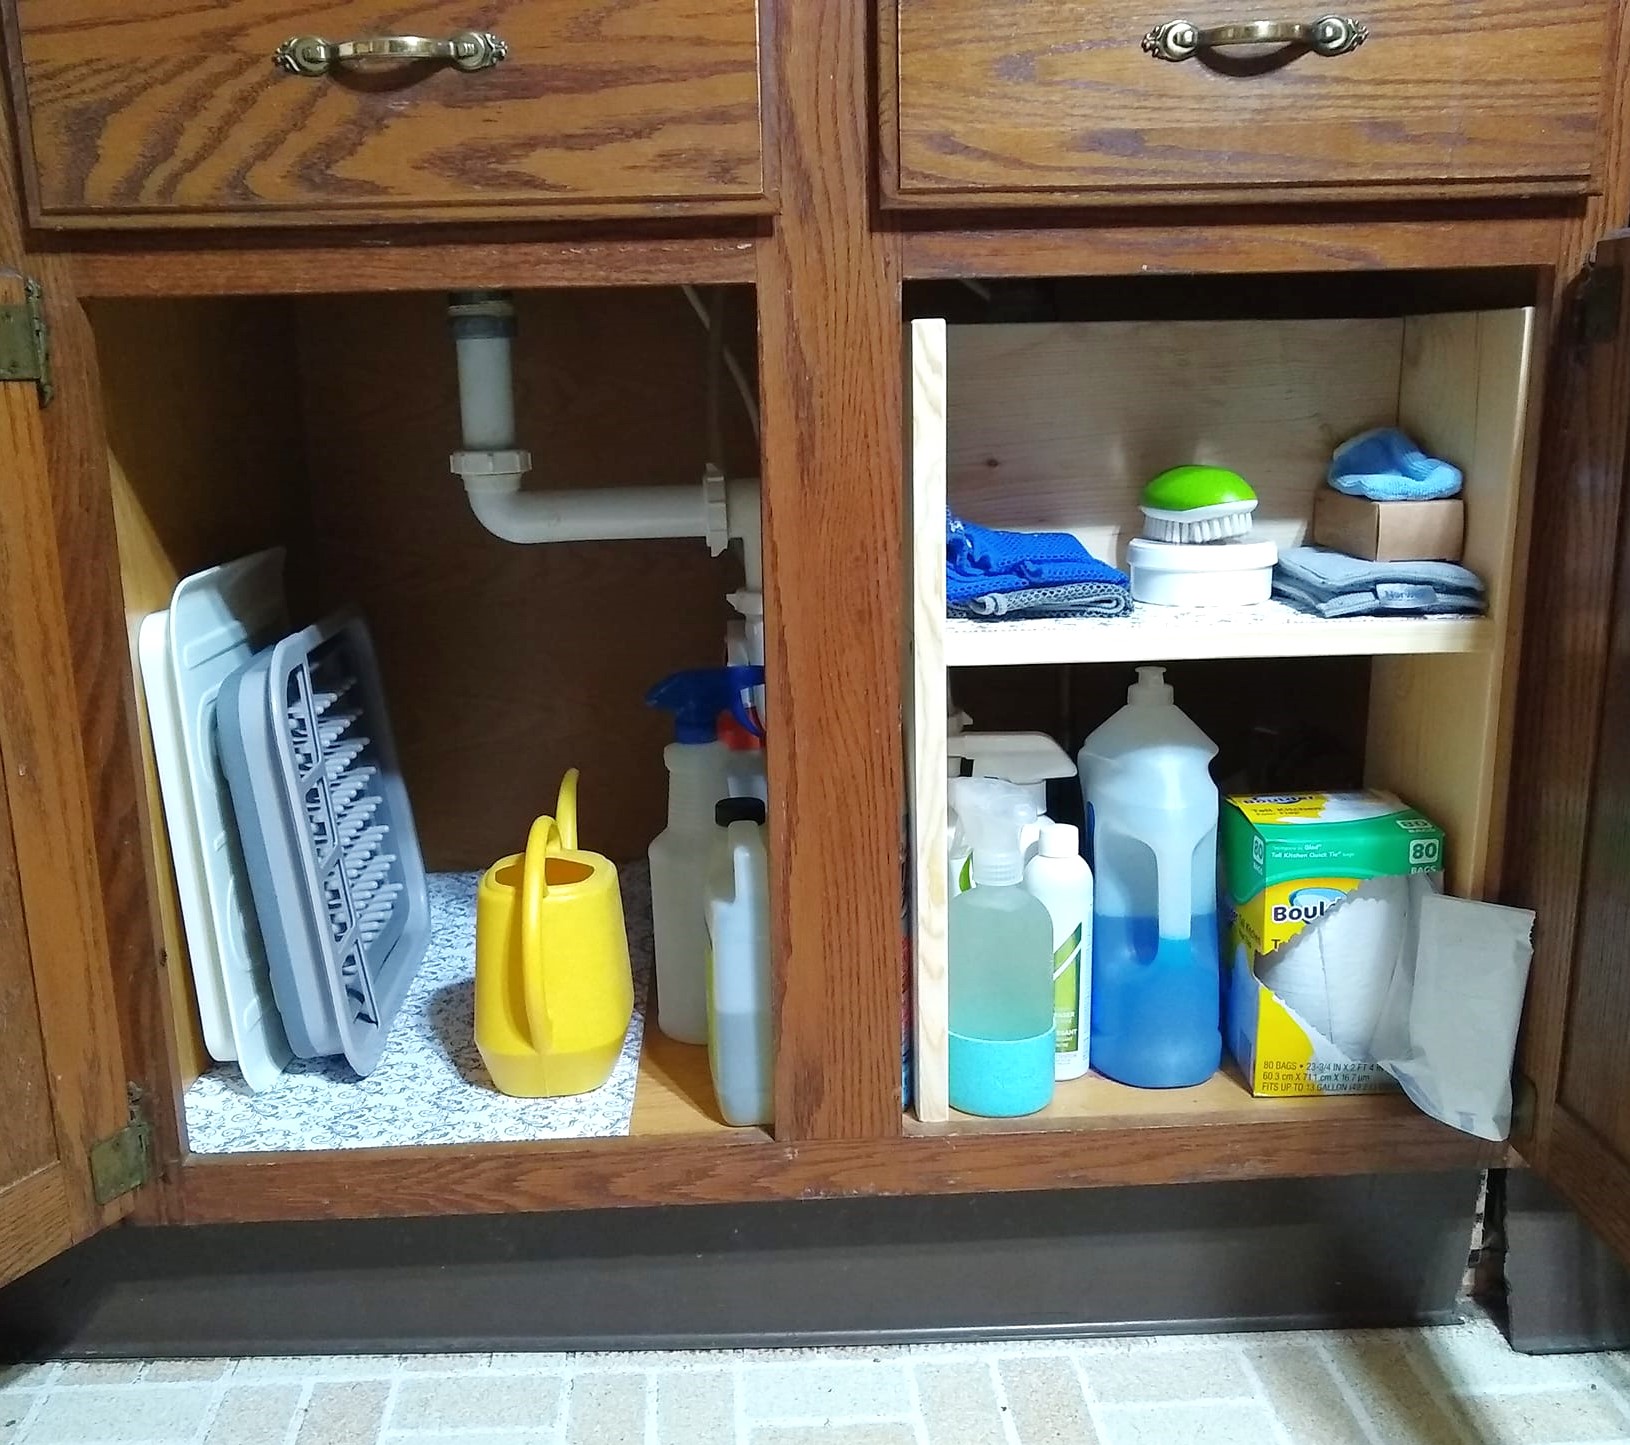
We live in an old house with lots of windows in the kitchen but not much storage space. Having previously tackled a kitchen island with the help of ana-white.com, I knew that the Under Sink Kitchen Organizer Shelf would be a much simpler project. We already had the tools and screws, so I picked up a couple of 3-foot 1x8s for about $7. The organizer is 20 inches high, 15 inches wide, and 7-1/4 inches deep. The shelf is only about 6-1/2 inches deep because I used 1x8 for the back, but it works.
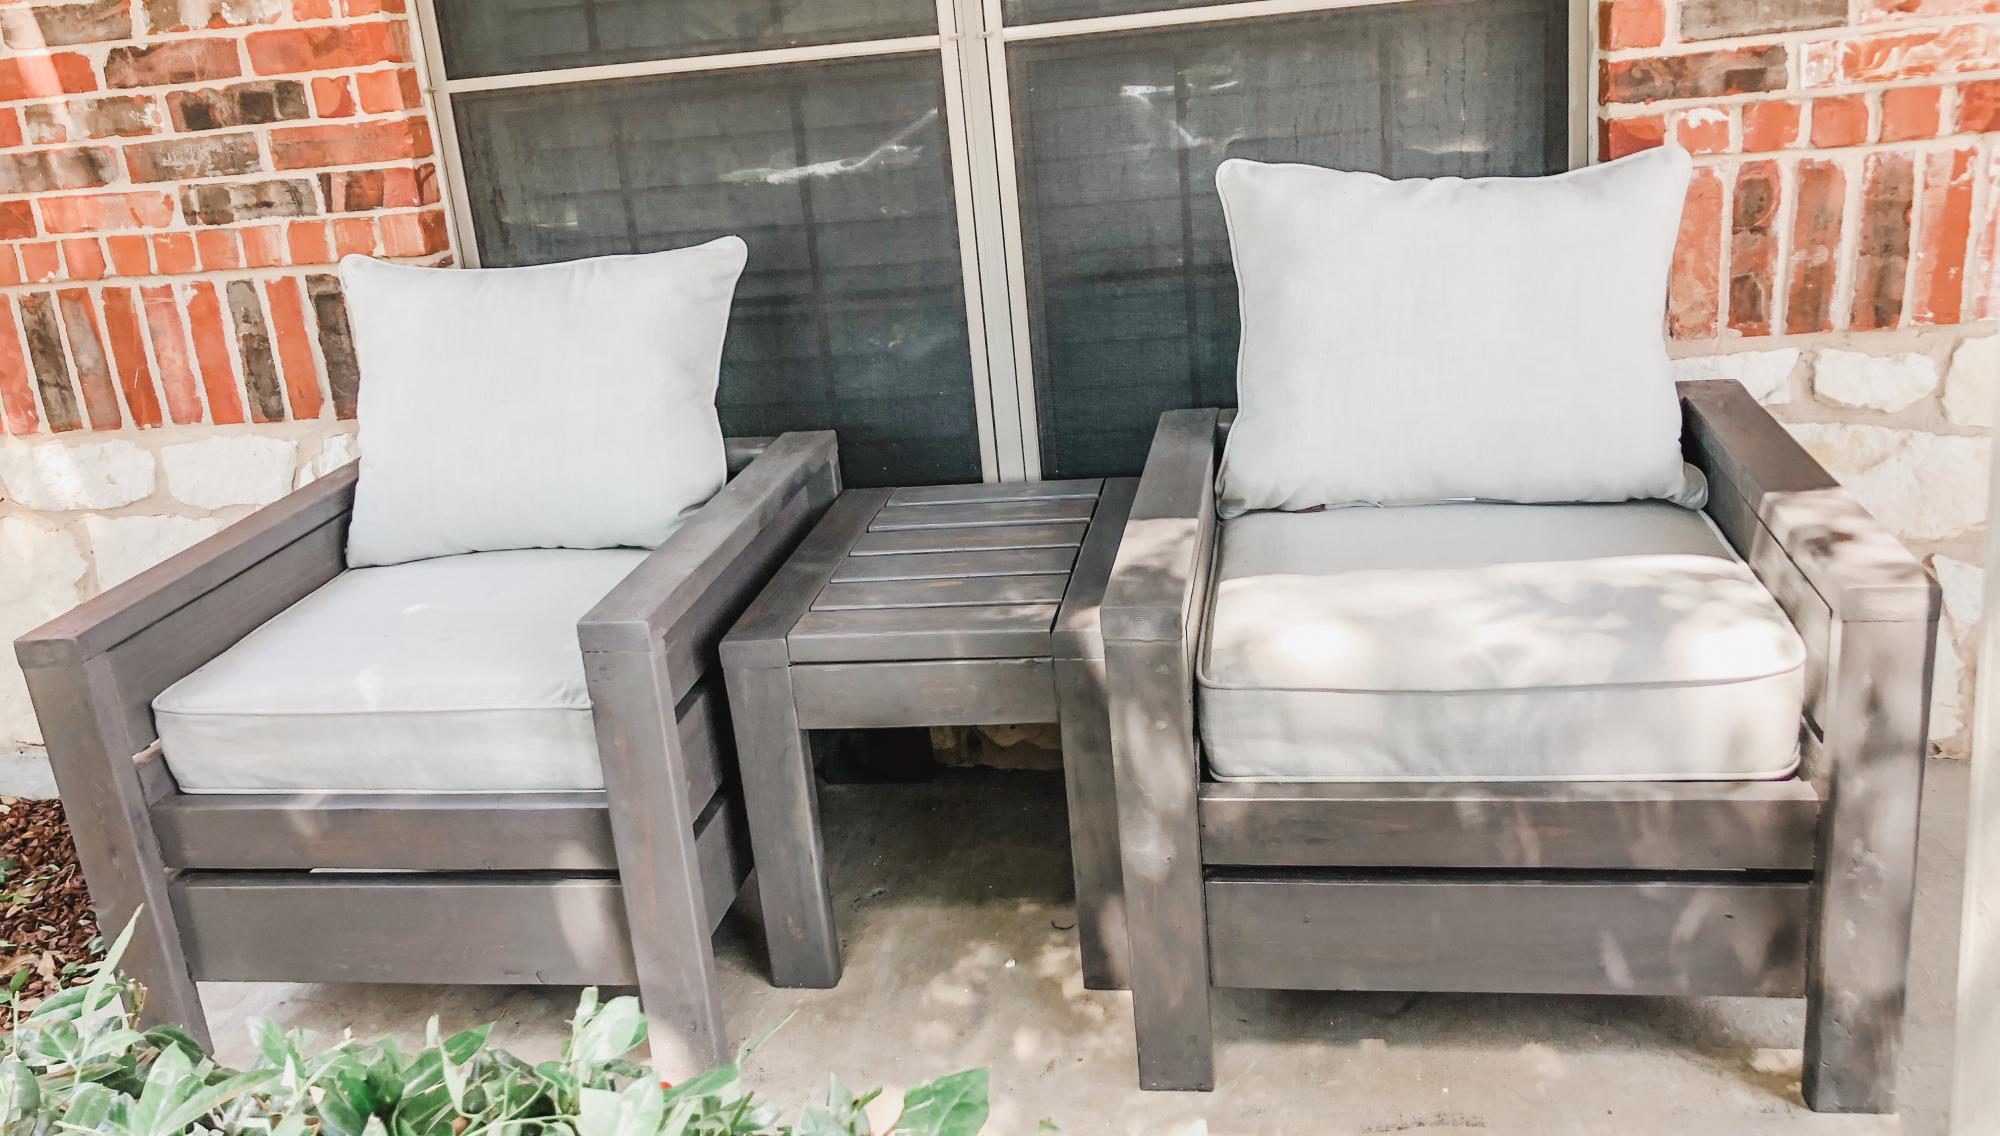
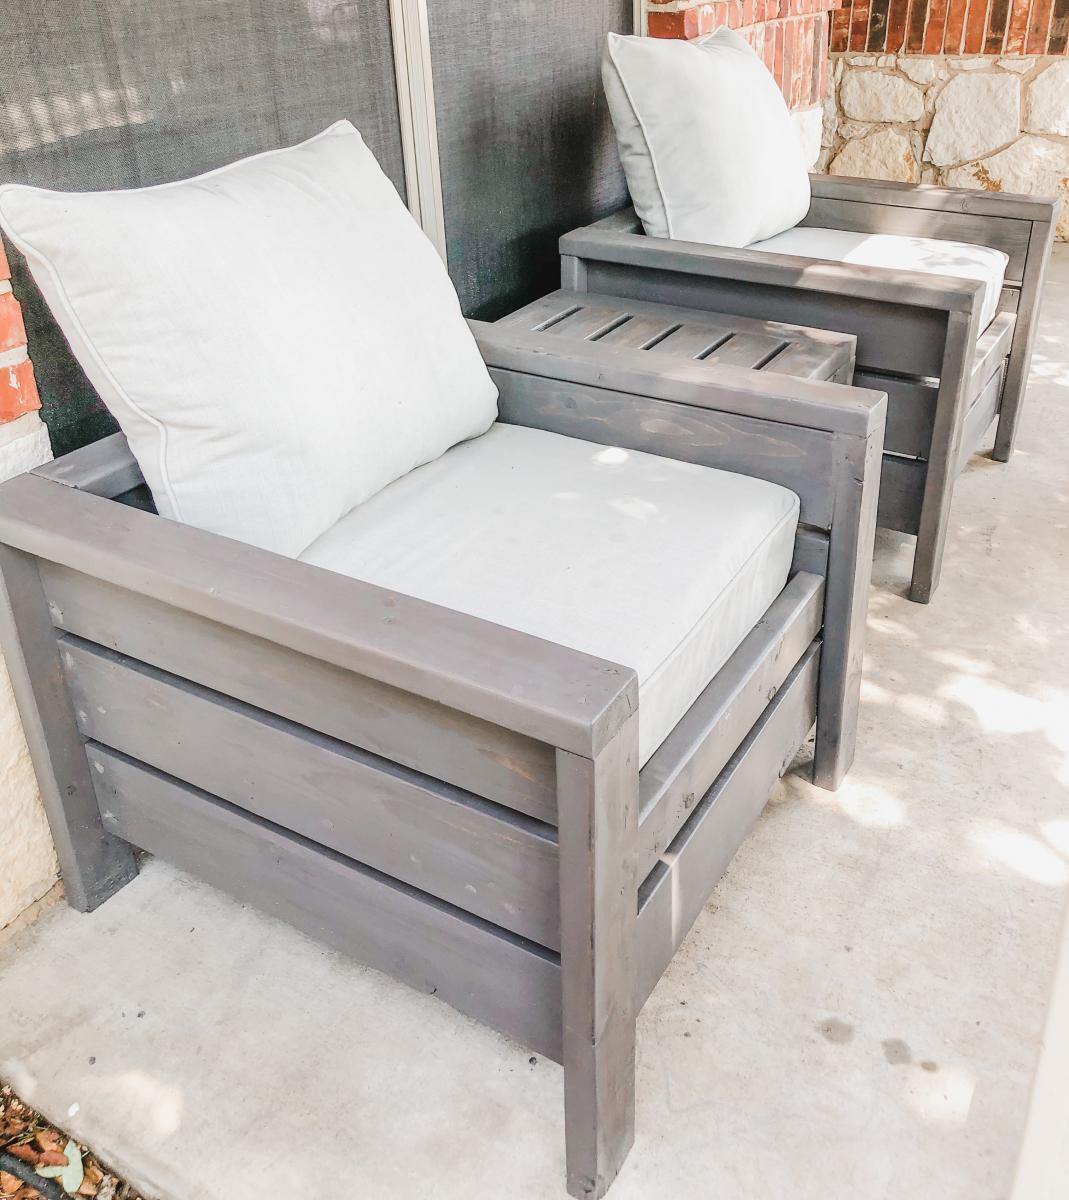
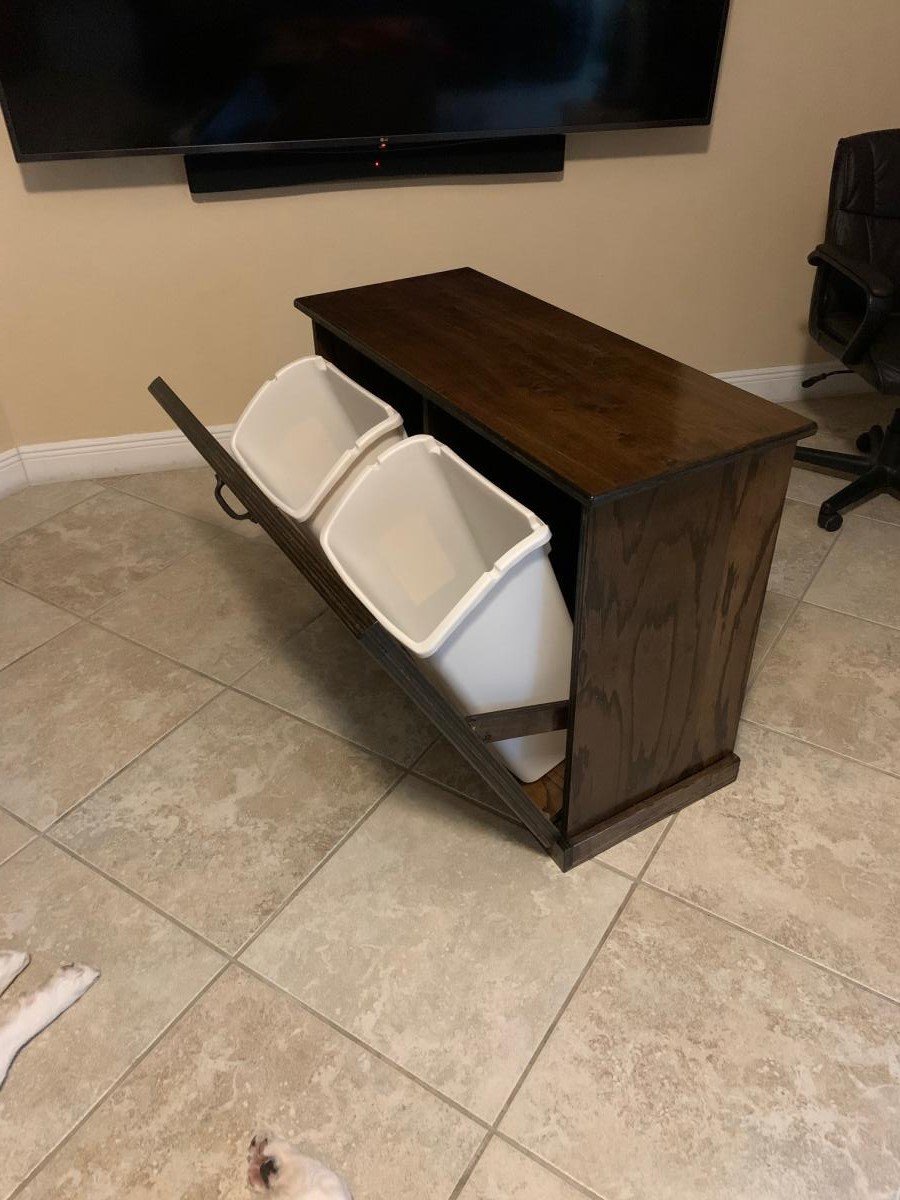
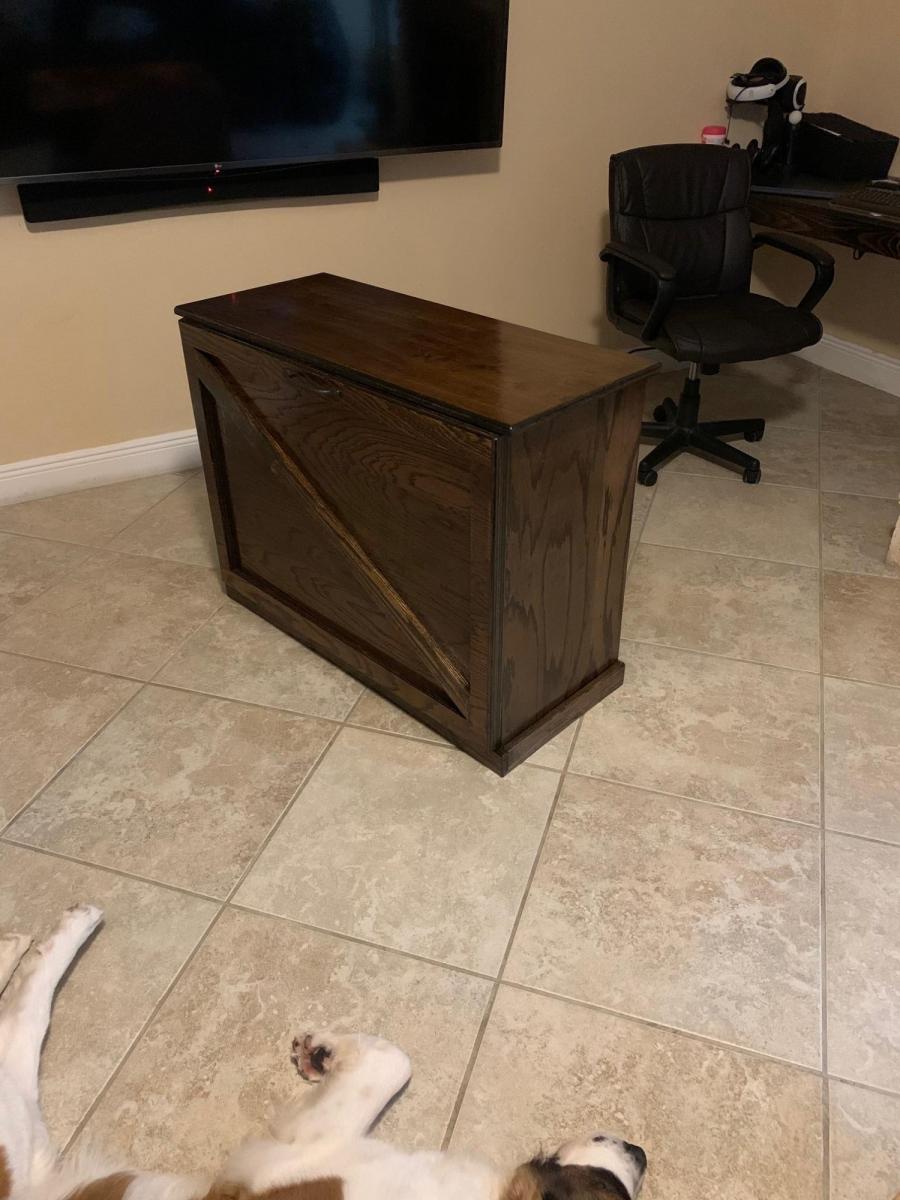
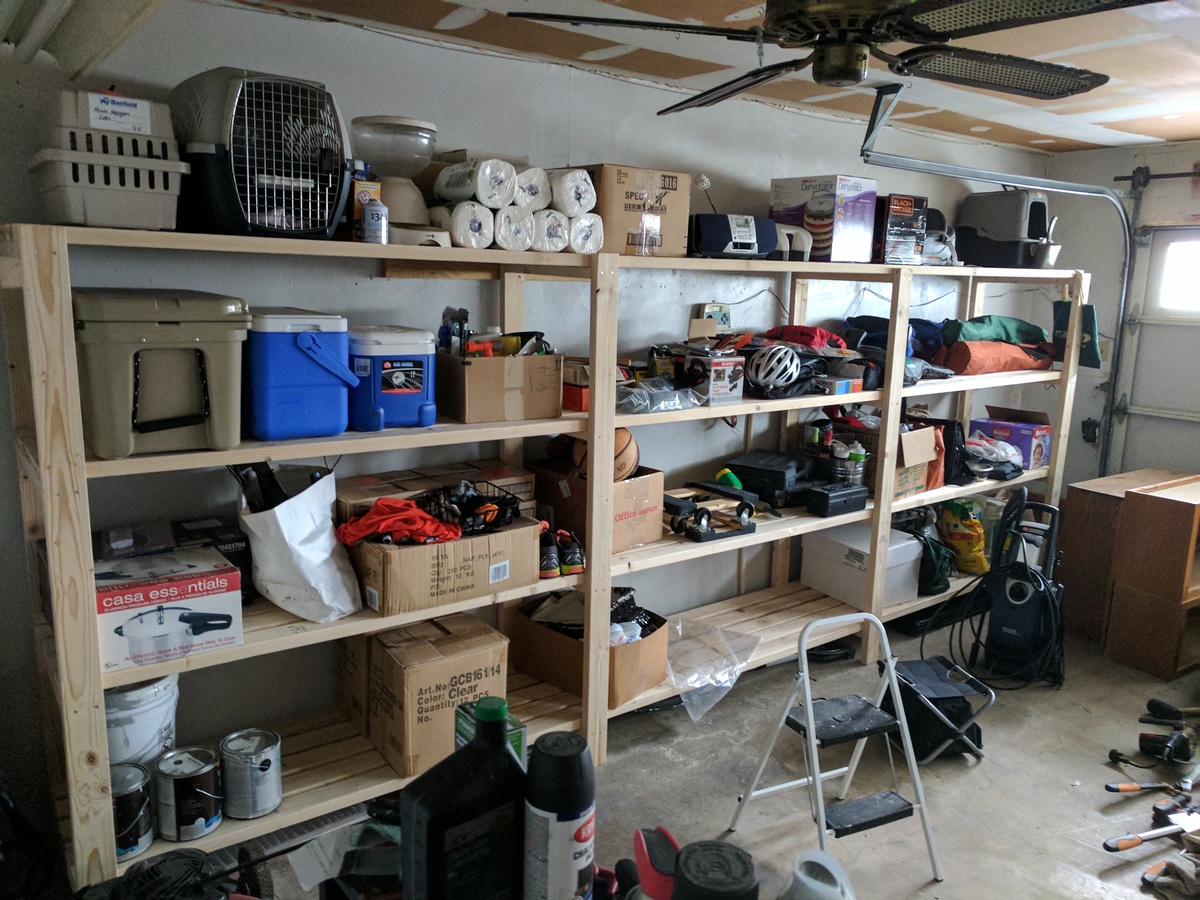
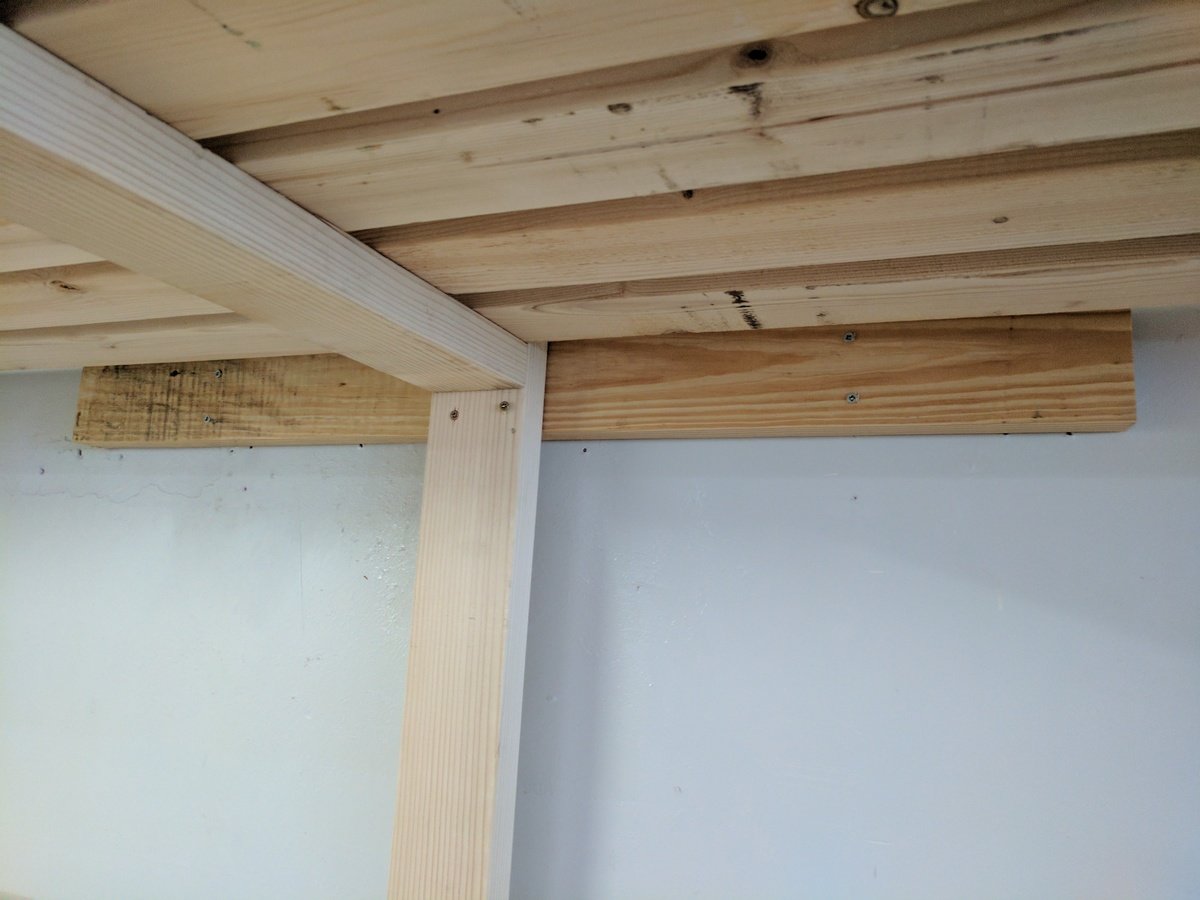
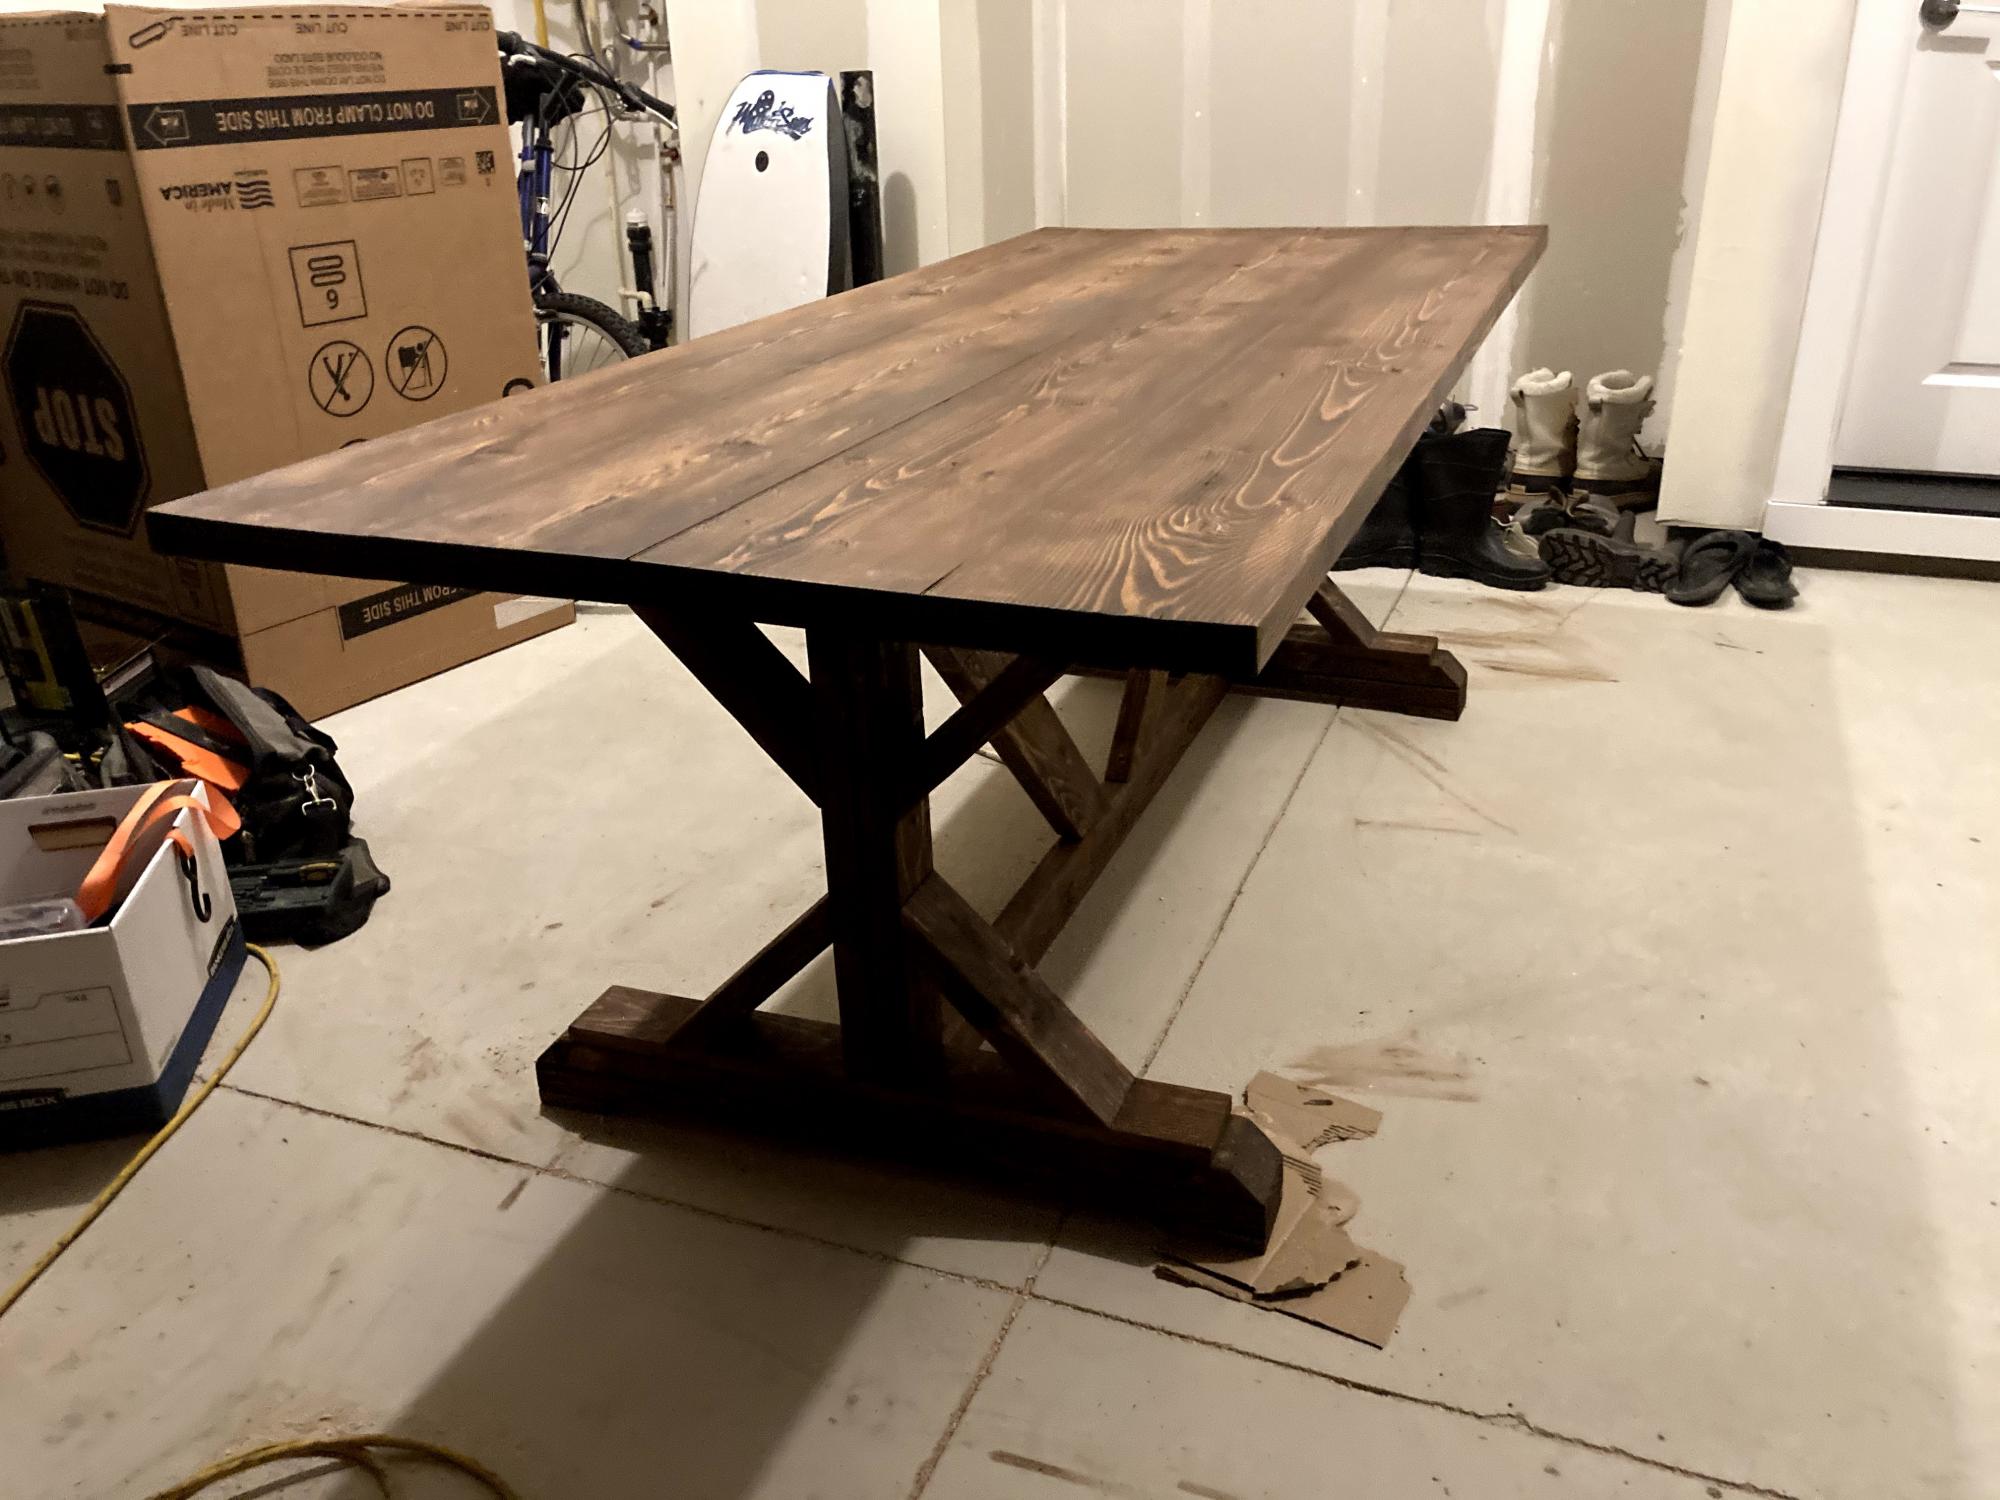
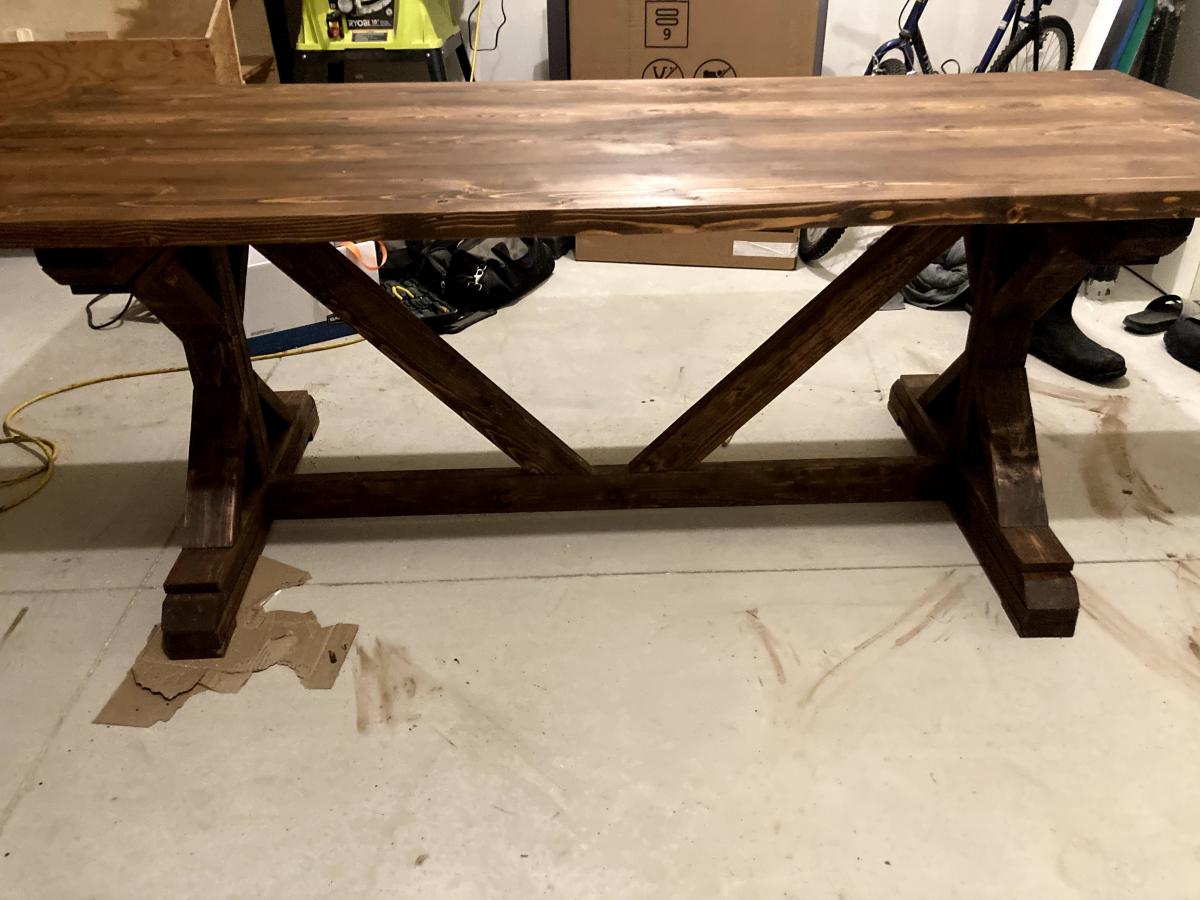
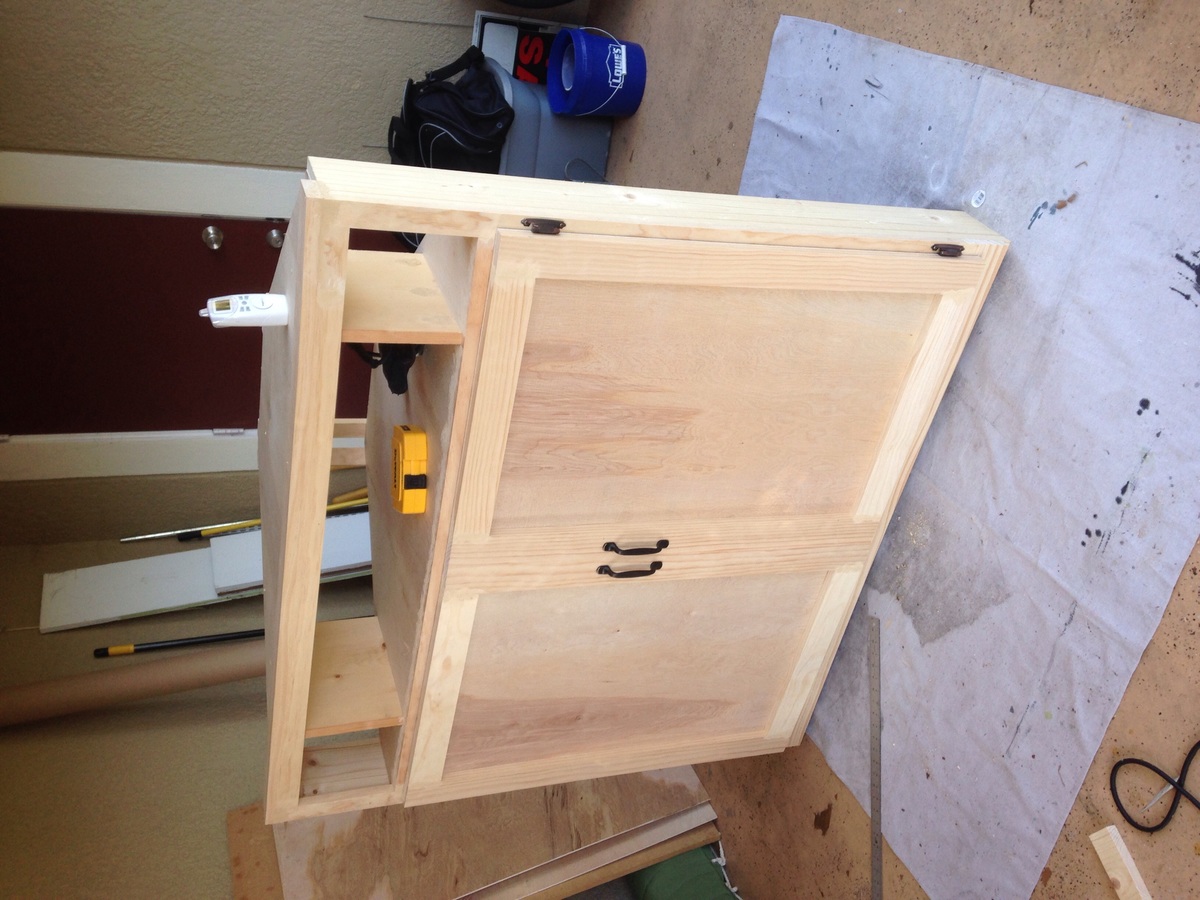
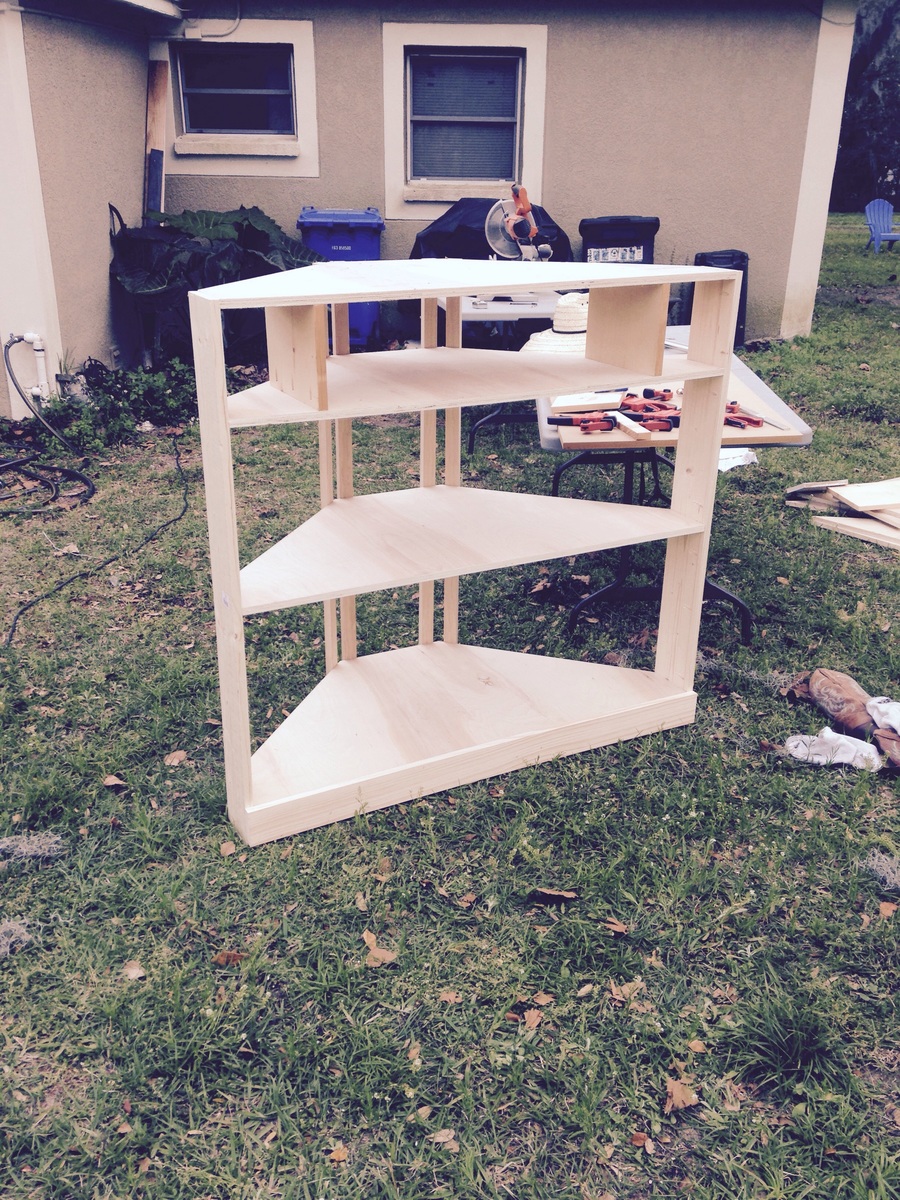
Doggy Door or Baby Gate

I installed a half door to isolate our dog from the laminate flooring when he sleeps at night.

It was only $25 for the hollow core 6 panel door from HD, which got cut in half.
$25 for the passage knob.
$10 for top plate and trim
Less than $5 for the hinges.

Not having to replace the laminate flooring priceless!

Some Tips:

The $25 door is not prehung. Buy the $14 dollar irwin door jig to install the door "http://www.homedepot.ca/product/door-lock-installation-kit-carbon/904157" It will come in handy if you are remodeling and installing new doors to replace those old flat panel doors. You will also have to chisel out the hinges.

When installing and marking the hinge locations in the door frame shim the door a 1/4" off the floor.

Estimated Cost
$65 materials + $15 jig = $80
Estimated Time Investment
Day Project (6-9 Hours)
Finish Used
White paint
Recommended Skill Level
Intermediate

Comments

Garden Enclosure

Submitted by Anonymous (not verified) on Thu, 06/04/2020 - 17:29

My chickens took over my garden area and being the voracious raptors they are, I needed to build a garden enclosure to keep my veggies safe. I modified a little, making my beds deeper. I also had to stretch chicken wire over the top to keep the great flyers out. I also used it as a way to organize my garden tools (which is possible because I live in Southern California with moderate temperatures and little rain. Thanks for the plans! Yvonne

Built from Plan(s)
Estimated Cost
500
Estimated Time Investment
Weekend Project (10-20 Hours)
Finish Used
Deck on the outside. Clear coat on the inside. I also added chalkboard paint on the inside so I could fill in what I’m growing and erase it after.
Recommended Skill Level
Beginner

Modern Sectional Sofa

Submitted by reinkense on Fri, 05/30/2014 - 17:22

I looked all around my town for a sofa that meet my needs. I wanted something with tall legs, modern lines and fit my living room. I did not have $3,000 to buy one online so I said to myself why not???


Estimated Cost
$400
Estimated Time Investment
Week Long Project (20 Hours or More)
Recommended Skill Level
Intermediate

Comments

reinkense

Sat, 05/31/2014 - 15:58

Thank you! I am really proud of it. I was thinking of putting together some plans.

Samigdal

Fri, 12/25/2015 - 17:48

Are there step-by-step instructions for building this posted anywhere?

walthoca

Fri, 01/06/2017 - 11:06

I am so impressed. We recently spent a small fortune on a sectional, but yours looks equally beautiful. You are incredibly talented! 

Doggy Bunk Bed

Submitted by LaserTech on Sun, 08/12/2012 - 18:53

I built this dog bunk bed based on the queen farmhouse bed. As you can see the dogs are already fighting over the top bunk. This bed is very very sturdy and should give many years of use. Yes I spoil my dogs.

Built from Plan(s)
Estimated Cost
$100
Estimated Time Investment
Day Project (6-9 Hours)
Finish Used
Natural
Recommended Skill Level
Beginner

Comments

Roxxy G. (not verified)

Mon, 08/13/2012 - 14:52

I'm so happy I wasn't the only one who looked at these bed plans and thought "my dog NEEDS this"! They both look very happy.

LaserTech

Tue, 08/14/2012 - 17:23

Can you tell they're already fighting over the top bunk! I'm debating on painting it white. I like the natural look though. Thanks for the comment! :)

Jessie Murphy (not verified)

Mon, 12/03/2012 - 11:40

Can you by any chance post the dimensions you used for this bed. I know you used the farmhouse plan, but I'm not good at this at all and need all the help I can get!!

Queen storage bed modified

Submitted by Anonymous (not verified) on Thu, 06/18/2020 - 19:11

I used wood from an older Ana white project of a loft bed my daughter had out grown. I liked the look of Ana's Mom bed but wanted storage so I modified the plans slightly. I will add drawers later.

Estimated Cost
200
Estimated Time Investment
Weekend Project (10-20 Hours)
Finish Used
Sweet coconut easy flow paint in Matte
Recommended Skill Level
Intermediate

Pallet Wood Planters

Submitted by Anonymous (not verified) on Mon, 04/01/2024 - 09:40

Did them for a friend that owns a bakery.
I don't have access to new lumber unfortunately.
The bulk of what I make is pallet. That's why there are four instead of 3 slats.
Same plan though. Pretty easy to follow.
I did add some handles to make it easier to move
since they will be brought in and out daily.

Yun

Modern Outdoor Chairs

These were so easy to build and look amazing! The only challenge was finding cushions. Finally found the 25x25 cushions at Lowe’s.

Estimated Cost
$60 each
Estimated Time Investment
Weekend Project (10-20 Hours)
Finish Used
First coat SW New Ebony Stain
second coat Varathane Briarsmoke
Recommended Skill Level
Beginner

Tilt Out Recycling Center

Submitted by ppavel on Fri, 09/18/2020 - 07:36

Tilt Out Recycling Center to match the floating desk and barn door in the same room. Great project from the recycling center plans. (slight modification)

Estimated Cost
$80
Estimated Time Investment
Weekend Project (10-20 Hours)
Finish Used
Espresso Stain (Minwax)
Polyurethane Finish (3 coats)
Recommended Skill Level
Beginner

Comments

X - Farm House Table

I modified this plan just a little on the ends, and I can not tell you how pleased I am with it! I did run into some issues with lining the boards up properly due to imperfections (and not laying the boards out ahead of time in the store because I was rushing at closing time), but in the end, I decided to add a wood filler in between the boards and everyone just raves over it. I could not imagine it having come out better. I would not do it any other way. 

Thank you Ana!! 

PS... I have a wonderful idea for a loft bed, but the plans are not provided. I know you would do it justice.. how do I submit the photo????

Built from Plan(s)
Estimated Time Investment
Day Project (6-9 Hours)
Finish Used
Satin, Custom mixed stain, stainable wood filler, sander.

Recommended Skill Level
Intermediate

Comments

jeffross

Sun, 01/07/2018 - 07:22

My appologies if I'm missing it but are there build plans for this table.  I would really like to build this for a friend but I'm not sure my skills will enable me to free style this. Thanks in Advance.  Jeff

cjtrunk21

Fri, 05/29/2020 - 11:50

Did plans over get posted for this table? Love the design. Thanks.

Great storage

Submitted by Anonymous (not verified) on Sun, 03/05/2017 - 18:35

I made my shelves 16 ft by 6ft by 2ft - added another plank to each shelf to increase the width. I compensated for the slope along the garage wall by offsetting all the screw-in points in the front legs half an inch. This thing is HEAVY.


I anchored the unit to the wall by securing 2 scrap 2x4s to the studs - 1 at the 2nd set of legs and 1 at the far right legs - and screwing the unit legs into the 2x4s. This way, I didn't have to line the unit up precisely with the studs.

Estimated Cost
$190 lumber
Estimated Time Investment
Day Project (6-9 Hours)
Finish Used
None/natural
Recommended Skill Level
Starter Project

Farmhouse table

Submitted by Anonymous (not verified) on Tue, 01/19/2021 - 13:40

Original plan was for 8ft...had to shorten to 7 to fit my space better. First try at making my own table top like this and first time using a joiner and planer. Didn't' get the seems on the 4 2x10s perfect, but again for my first try, not bad. Significant other is very happy with how this turned out and so am I! Lot's of fun to build. It's crazy that I see tables just like this online selling for $2000.

Built from Plan(s)
Estimated Cost
$150
Estimated Time Investment
Day Project (6-9 Hours)
Finish Used
Dark walnut, poly after.
Recommended Skill Level
Intermediate

Large Entertainment Center

Submitted by rmseama on Sun, 01/24/2021 - 17:28

My Biggest build so far. We have a large living room and needed something large for that wall. I really had fun on this one. It took longer than I wanted but in the end, I’m really proud I finished. This was my first time to use the router and learned how build shaker style doors. -Instagram.com/theorthfam

Estimated Cost
1000
Estimated Time Investment
Week Long Project (20 Hours or More)
Recommended Skill Level
Intermediate

Rolling Kitchen Island with tilt trashcan and Holy cutting board

Submitted by MBlack on Thu, 02/21/2013 - 16:27

I saw Ana's tilt trashcan plan and I knew that I had to tackle this bad boy. I didn't want anything stationary because my 1910 kitchen is big but also pushed against the walls. My stove is 7 steps from a counter top so prep is kind of a pain.

I modified Ana's original plan to be taller and even (well, close) with the stove's height for extra counter space. I also wanted a slide out cutting board with a hole so that while I'm chopping my ingredients, I can scoop it into the hole that drops directly into the trash.

I'm a very ambitious girl who doesn't like to be told that I can't do something. This is also my second built....my first is a huge craft supply cabinet made from old barn wood that is lovingly referred to as 'The Outhouse'. My tools are limited to a 7in circular saw, drill, and Kreg Gig. I knew this would be tough but after a few head scratches, I have a pretty cool island.

If you have questions about what I asked, please ask. There are all types of wicked little tricks/fixes in this beast.

Estimated Time Investment
Weekend Project (10-20 Hours)
Finish Used
Rust-oleum Kona Stain for the frame and an acrylic wash for the sides. You can use those little cheap bottles of acrylic paint. Dip your brush in water then a small dip in paint. Brush it on then treat it like stain. Depending on how much paint is on your brush and the longer you leave the wash on the wood, the more darker and opaque the color becomes. Definetly test before applying to a completed project. The whole thing is coated with 6 coates of matte poly since it's a piece of kitchen furniture.
Recommended Skill Level
Intermediate

Comments

nicolepitts

Sun, 09/21/2014 - 08:11

we are about to start building and island based off this plan as well and i love the holy cutting board idea. do you have pictures of that or advice on how to accomplish it? we plan to make it twice the width with two trash cans. ( we have 5 kids= lots of trash!) 

Thank You for this Great Doll House Plan!

Submitted by Anonymous (not verified) on Sun, 04/02/2017 - 19:32

What a fantastic plan.  I made one for my granddaughter.  It has two advantages over the doll house I made years ago.  (1) It can be unstacked and shipped.  This one will be shipped.  (2) It allows the child to restack and rearrange rooms.  My grandaughter loves to rearrange things.  It is an "engineering inclination" according to her mother.  Well, she can rearrange these rooms as many times as she likes.


I made only one change to the published plan.  I expanded the rooms to 8" wide, 8" high and 16" long in order to accommodate a piece of furniture my son-in-law had already made.  Maintaining the 2-to-1 ratio keeps everything fitting together well.


Thank you again.

Estimated Cost
I used materials already on hand. No cost.
Estimated Time Investment
Day Project (6-9 Hours)
Finish Used
Acrylic Latex Paint
Recommended Skill Level
Intermediate

Simple Outhouse

Submitted by Anonymous (not verified) on Thu, 04/20/2017 - 12:26

I had my nephew build this outhouse for our new 70 acre lot - no neighbours in sight so I had him put in an acrylic window (with a view).  I left off the deck and had him put the boards tight together so 'critters' didn't get in as easily. I made a sign for above the door - 'Waste Management' for a touch of humour.  The plans were easy to follow and I love it.  Thanks, Ana.

Built from Plan(s)
Estimated Cost
Approx. $300 for material and $250 for my nephew's labour.
Estimated Time Investment
Weekend Project (10-20 Hours)
Finish Used
sealer
Recommended Skill Level
Beginner

Comments

Successful First Project

Submitted by 505dannyp on Fri, 01/30/2015 - 19:27

My first real furniture DIY project.  My wife has been asking for a farmhouse table for a couple of years and I found Ana's site 3 weeks ago.  By reading the plans the project seemed simple enough to give it a try.  I modified the plans to shorten the table to 72" to fit in our dining room.  I bought lumber from Lowe's and lumber costs for the table was approx $65 and the bench was right around $20.  My wife loves it and I have had multiple requests to make more tables for other family members.  The project took a week to complete working a few hours each evening after work.  Stained with Rust-Oleum Ultimate in Kona and 4 coats of a Rust-Oleum Polyurethane in Satin finish. A big thanks to Ana for the free plans and for my new hobby of furniture making!    *EDIT*  The table and bench are not as dark as the pictures show. 

Estimated Cost
$100 - $120
Estimated Time Investment
Weekend Project (10-20 Hours)
Recommended Skill Level
Beginner

Baby proof

Submitted by shoak on Thu, 02/26/2015 - 12:02

We just recently had our first child and decided we needed to protect our electronics a little better from the soon to be mobile baby. Turned out great! I highly recommend leaving the back off until the piece is completely stained or painted. It takes up less floor space and the tv is totally out of reach of little hands. We customized the shelf heights to fit the sound bar and computer perfectly. I was so excited when I stumbled across these plans looking for a new tv stand. Everything I found either wouldn't fit my computer     Or didn't have doors. Love it!

Built from Plan(s)
Estimated Cost
$200.00
Estimated Time Investment
Weekend Project (10-20 Hours)
Finish Used
Minwax stain with two coats of satin polyurethane
Recommended Skill Level
Intermediate

Comments

Gate-Leg Sewing Table

My husband and I built this table as our first project. We followed all of the dimensions from Ana's "Small Sewing Table" project here: http://ana-white.com/2010/10/plans/sewing-table-small-spaces?page=1 The only thing we changed was the size of the table top and the legs. We were worried about putting my heavy sewing machine on top of the leaf called for in the plan, so we created gate legs to support the leaves. Since the legs were going to be folded up in between the base and each leaf, we extended the center portion of the table top to accommodate the change. After it was assembled and stained, I decided that I didn't like the solid color, so I stenciled on a pattern with white latex enamel paint (what I had on hand) and continued to paint the base. After lightly scuffing it up with the sander, I layered 3 coats of poly on top. It has held up well, even after many large quilt projects! I just LOVE my sewing table!

Built from Plan(s)
Estimated Cost
$120
Estimated Time Investment
Weekend Project (10-20 Hours)
Finish Used
Golden Oak Minwax Stain
Polycrilic
Valspa Latex Enamel in Satin White
Recommended Skill Level
Beginner

Comments

TinyHouser

Fri, 08/05/2016 - 13:41

Hi there. Could you please tell me what the brackets are you used with the gateleg? Do you remember where you got them? Thank you!!!

Farm House Table

Submitted by Anonymous (not verified) on Mon, 10/04/2021 - 13:22

My daughter found this plan on the Ana White website and now, we have made 3 tables total. Pictured is the 2nd one we built together and is currently in her house now.

Comments

Back