Community Brag Posts

A-Frame Chicken Coop (with modifications)
Submitted by anniejw17 on Mon, 07/02/2012 - 18:39

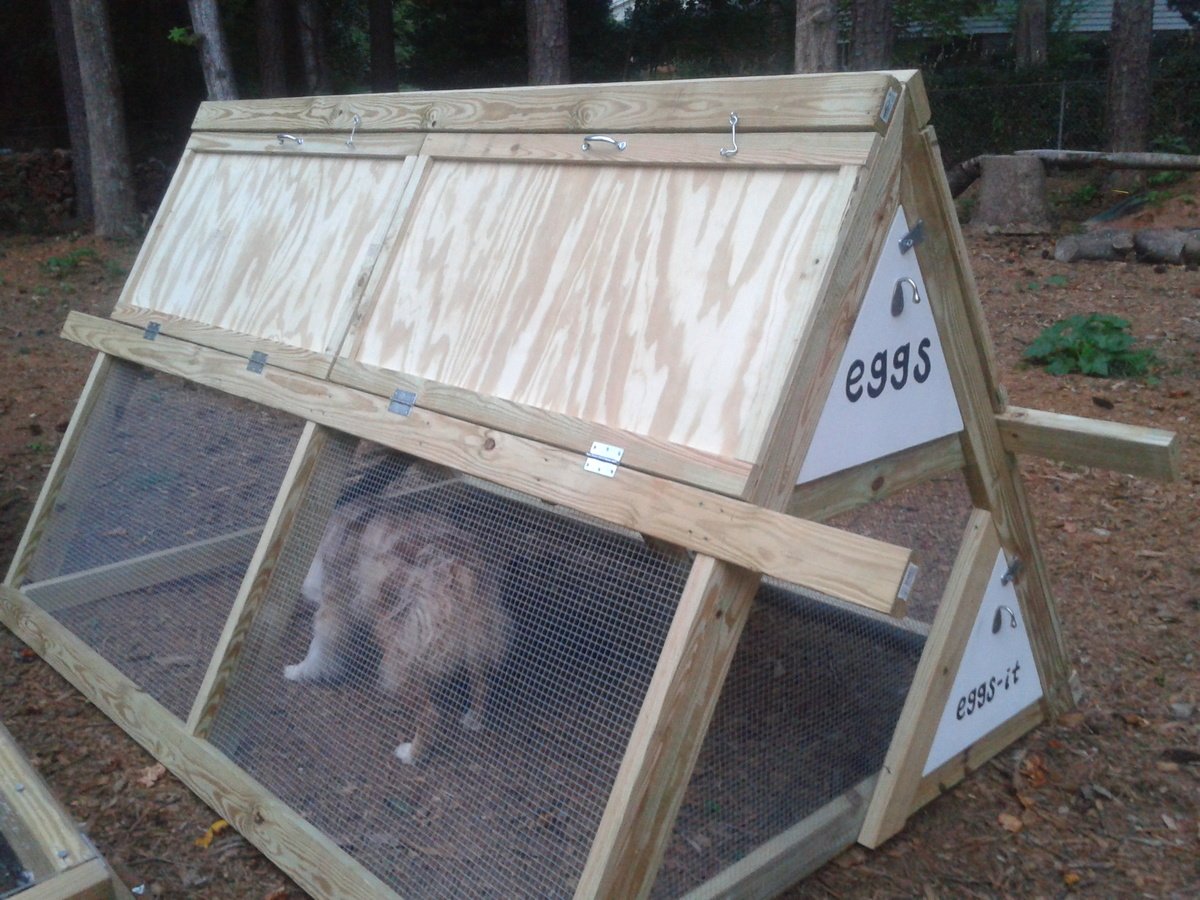
We followed the plans for the A-frame chicken coop very closely, and then modified it a bit at the end.

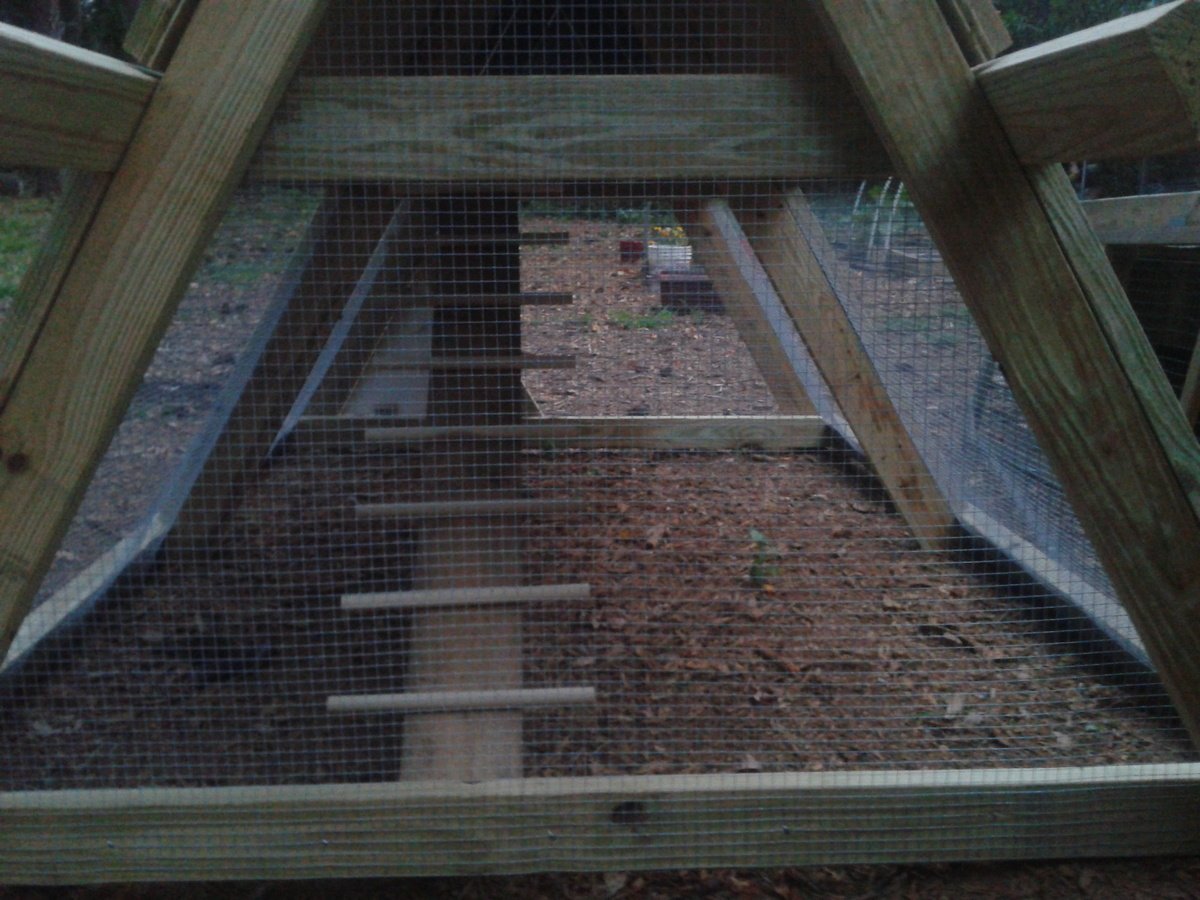
1. Trim was added to two doors on each side, as suggested. They are secured with latches at the top, more to keep them from falling open than to keep critters from getting in. We used 2x4x10's instead of 2x4x8's on the middle horizontal rail, giving us foot-long handles on each side. My husband and I are able to move the coop about 15 feet at a time, which is pretty good considering it is STURDY!

2. We used 1/2" galvanized hardware cloth instead of chicken wire, as suggested by one commenter (and lots of others in blogland).

3. I cut 1/4" plywood to fit the loft space and coated it with vinyl stick-on tile. This should make it easier to clean. We didn't screw down the plywood, so if we have to, we can remove it to hose it off/scrub it.

4. I cut a triangle of plywood to make an egg door at the end of the roost. It hinges at the bottom (with a 2x4 ripped into a 1x4 to cover the hardware cloth and provide a mounting spot for hinges) and latches at the top. I plan to use cotter pins or something to secure the latch. There is also a piece of untreated 1x4 held in place with tabs at the egg door to prevent bedding from falling out once it's converted to the nesting box (I'm planning to get pullets, not ready to lay yet, so they won't even have a tempting nest box)

5. There was no bottom door in the plans (to allow free-ranging), so I cut a piece of 2x4 to make a triangle against the bottom (same size as the egg door). It folds out (just like the egg door) and will allow the chickens easy access to the yard. We do have hawks in our neighborhood so free time will always be supervised. We also have a dog (who I coaxed into the coop for the main picture, haha!) who will need supervising. She's been around chickens before but you never know what will make her turn on them!

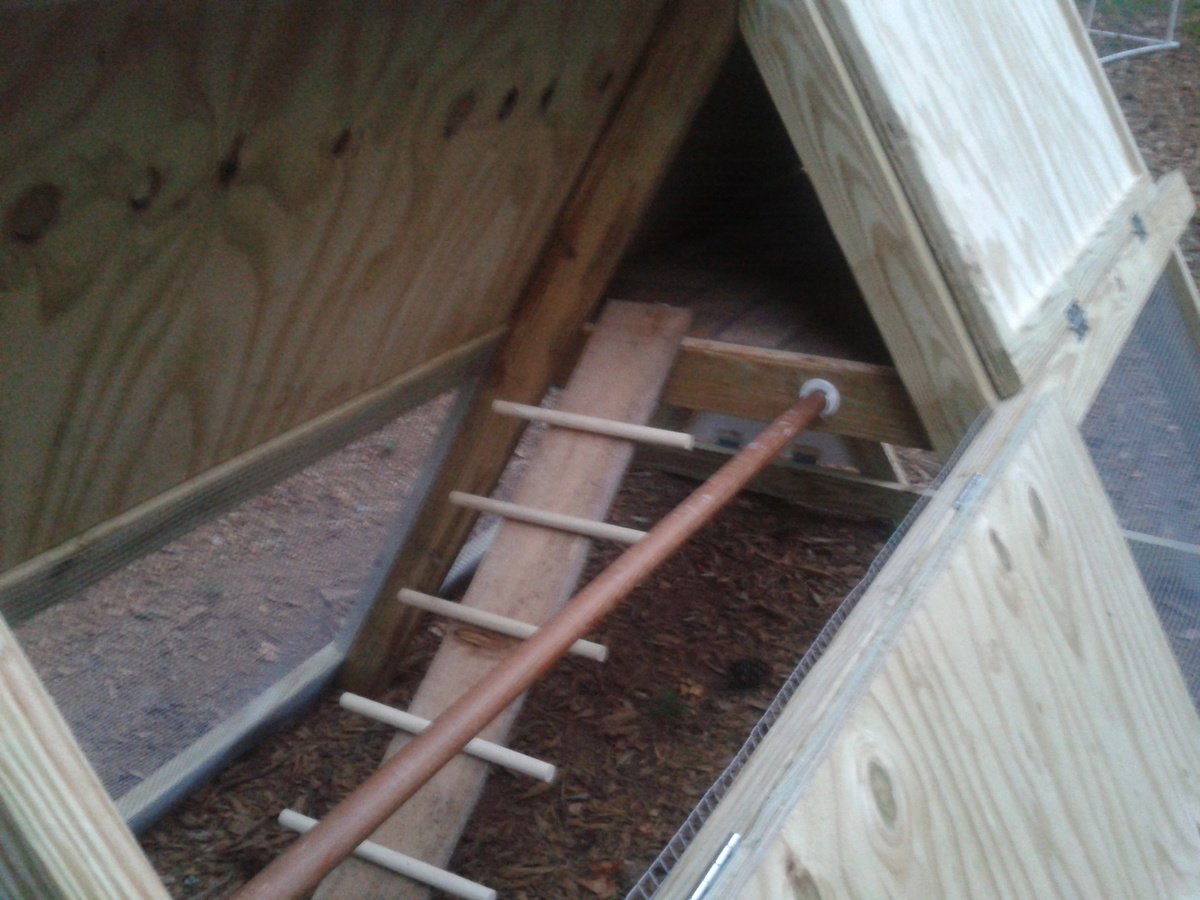
6. There was also no roost in the plans (although if you look at Ana's coop, there is a 2x4 across the middle of the side walls). I had a leftover closet rod, so I mounted that in the covered section parallel to the ladder. The ladder was shifted to the side. For the ladder, I just used a piece of cedar fencing and cut 2 48" dowels into 4 pieces each, and secured those with screws from the underside. I hope my chickens will be able to get up the ladder!

7. I also made a tube feeder from PVC and a dog bowl, and am working on a nipple waterer. Will update post when those are finished!

Now I just have to get some hens! I've been searching craigslist and can't wait!
Built from Plan(s)
Estimated Cost
200
Estimated Time Investment
Day Project (6-9 Hours)
Finish Used
Unfinished except for plywood floor (vinyl stick-on tile) and plywood doors (white exterior acrylic paint)
Recommended Skill Level
Intermediate

Comments

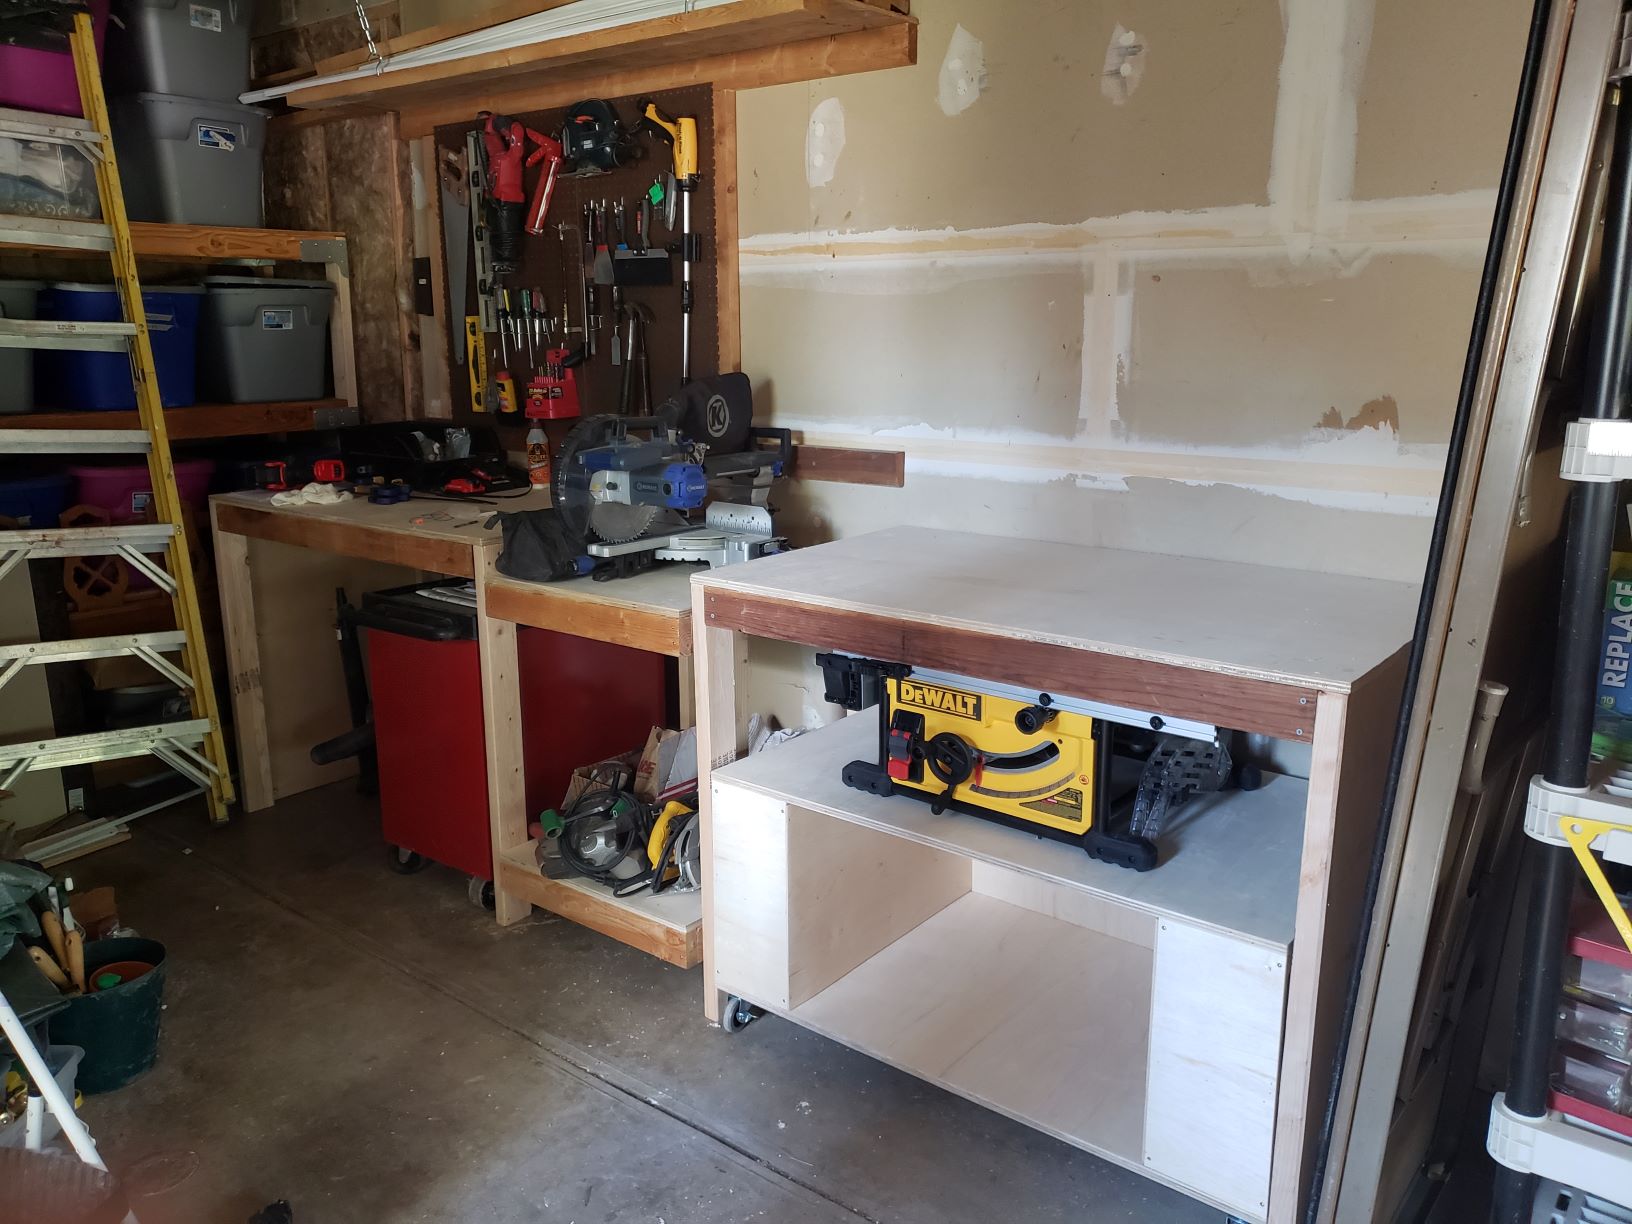
Ultimate Workbench for me

Submitted by ianr on Mon, 06/22/2020 - 15:13

I altered the original plans in the following ways:

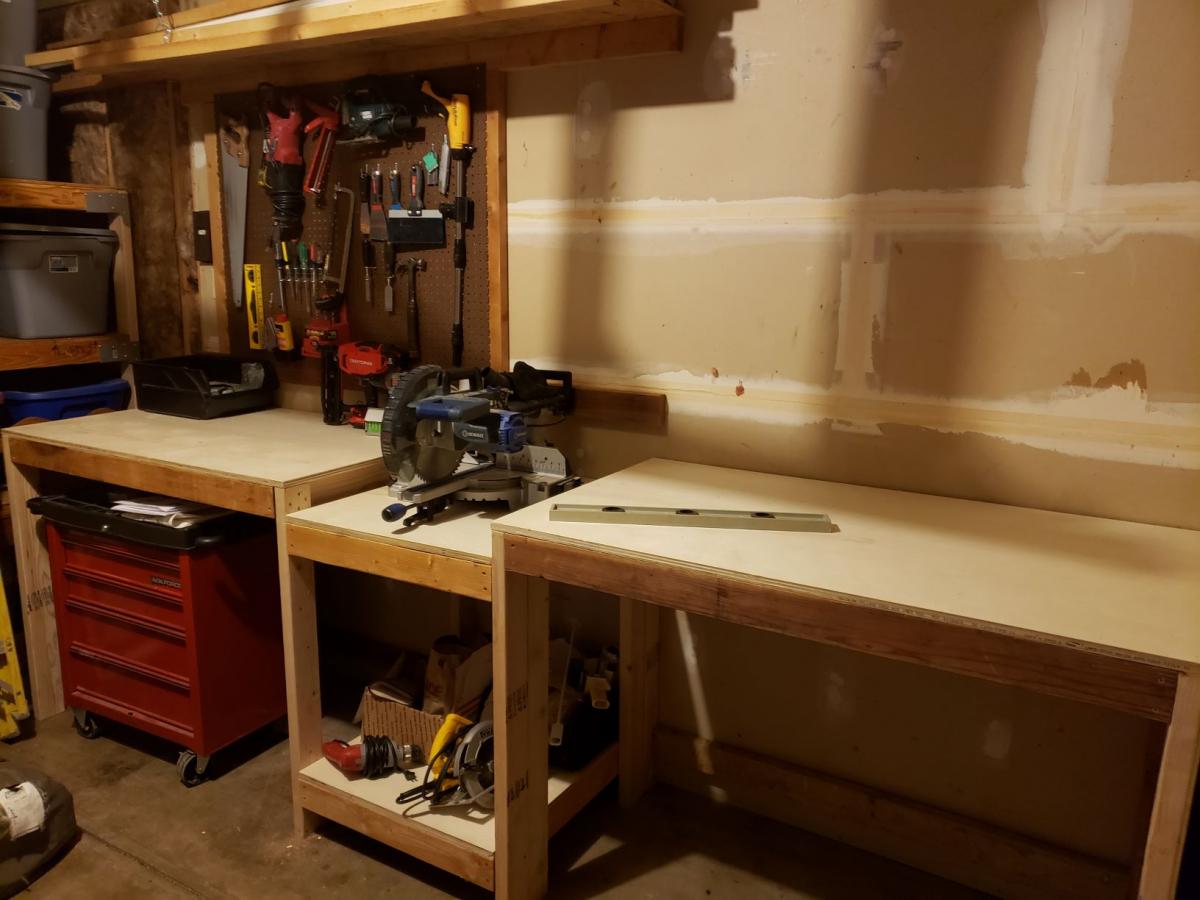
  • Only built one rolling cart because I already had a multi-drawer tool chest that fit right under the workbench.
  • Built the right half of the workbench as a separate piece from the miter table because attic access is right above it and we need to move the workbench to get to it.
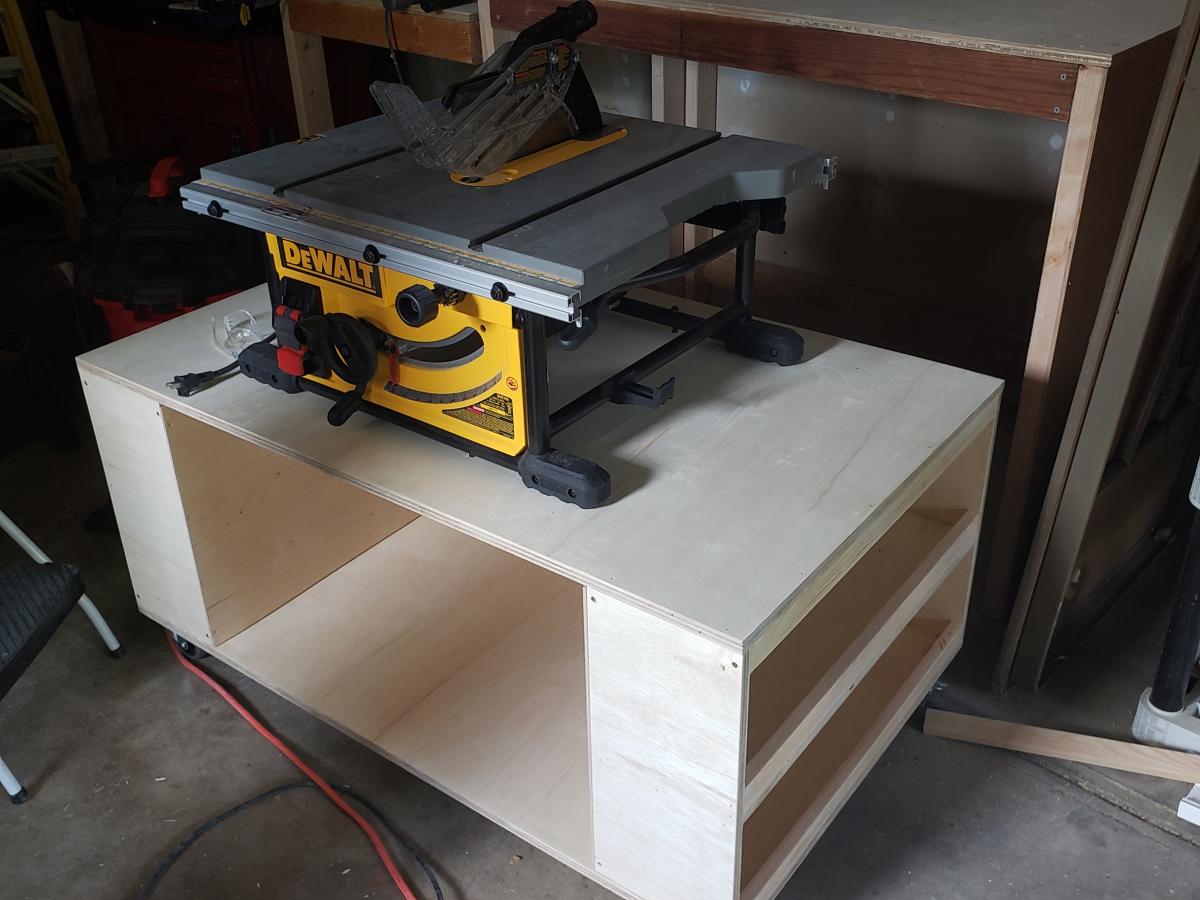
  • Built a half cart for the table saw because the Dewalt contractor saw extends too far to the sides to have it boxed in.
  • I'm going to add a sliding plate that locks down for my miter saw so I can pull it away from the wall without dragging or lifting it.
  • I used a nail gun with two inch nails instead of staples since I don't own a staple gun that holds staples that long.

I'm not that experienced with projects so here are a couple of things I learned:

  • Attach the castors far enough under the cart so that the wheel never extends beyond the sides.
  • Watch what grade sandpaper you use on the plywood. It's easy to strip off a layer.
  • This was not a one-person project for me. Even with clamps, I still needed help bracing parts and rotating pieces.

Thanks for the great plan! Now I can start on all the other projects on our improvement list.

Estimated Cost
350
Estimated Time Investment
Weekend Project (10-20 Hours)
Recommended Skill Level
Intermediate

Laundry Sorter

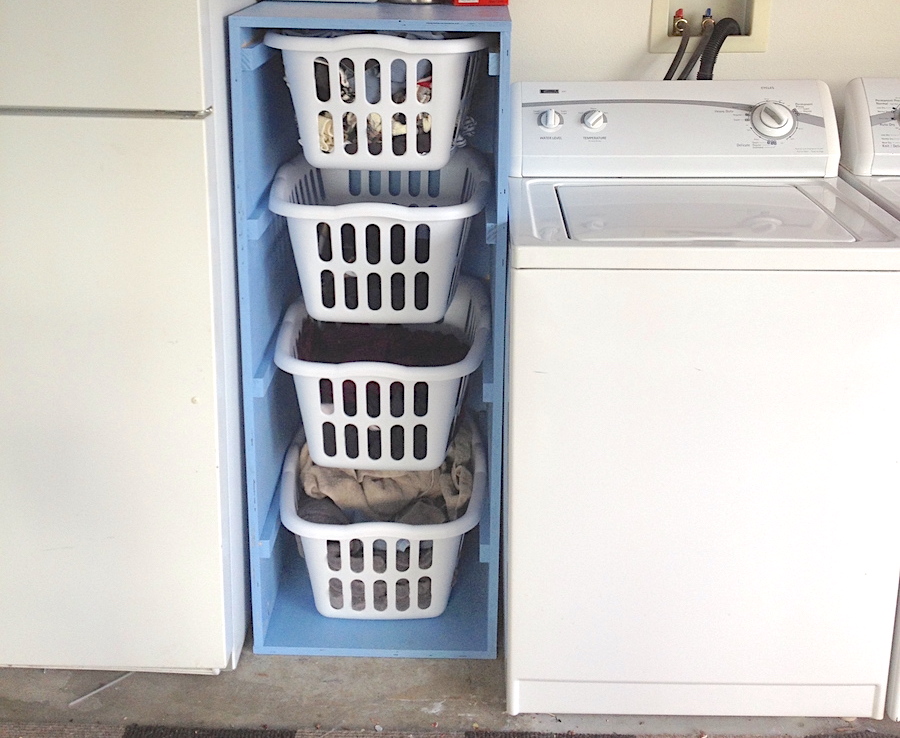
I was tired of having my laundry piled on my garage floor. These plans were the perfect solution. It fits great in the small space I had next to my washer. And it was so easy. I was able to do it all by myself. My husband just had to catch the plywood for me when I ripped it. I was able to find the baskets on the plans at Target and used left over paint from my sons' playroom. My laundry is now always sorted, making it much easier and faster to clean.

Estimated Cost
$60
Estimated Time Investment
Day Project (6-9 Hours)
Finish Used
Water based paint in eggshell finish. Since this was going to be in the garage I just used leftover paint. If it would have been used anywhere else, I would have used a semi-gloss.
Recommended Skill Level
Beginner

Master Closet For My Wife

Submitted by Indy69 on Mon, 10/17/2016 - 17:10

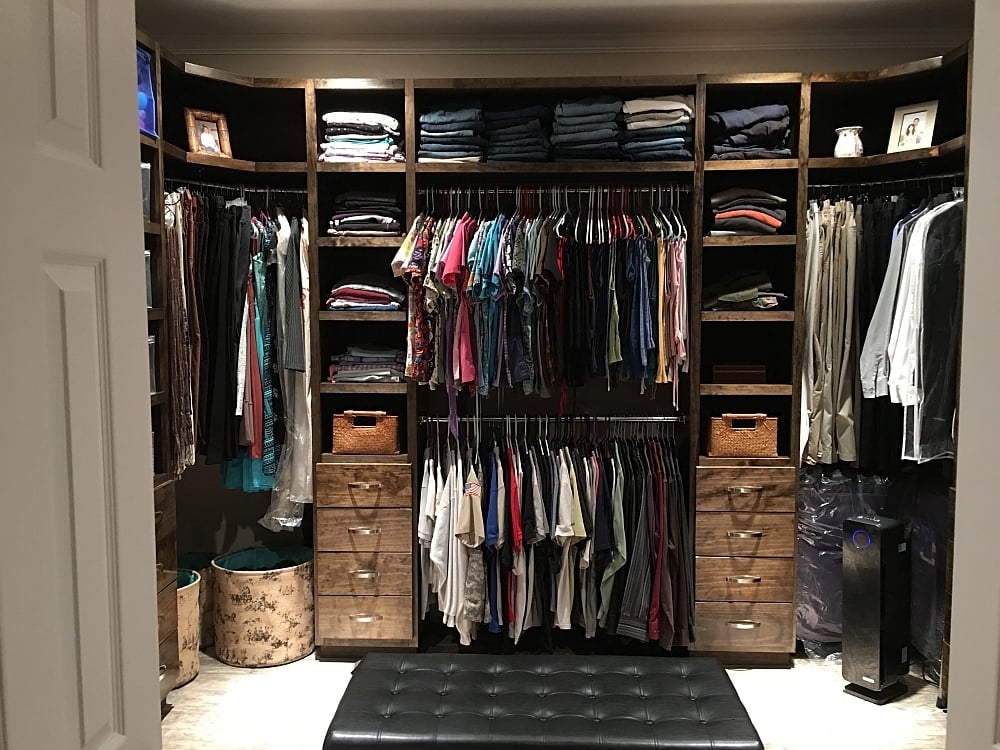
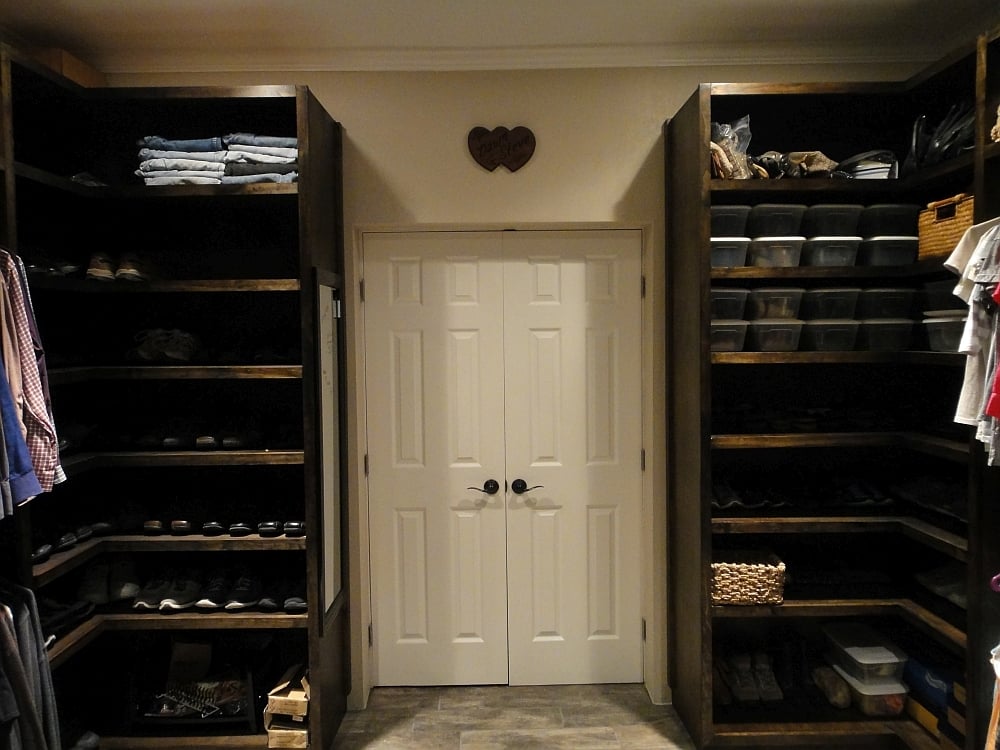
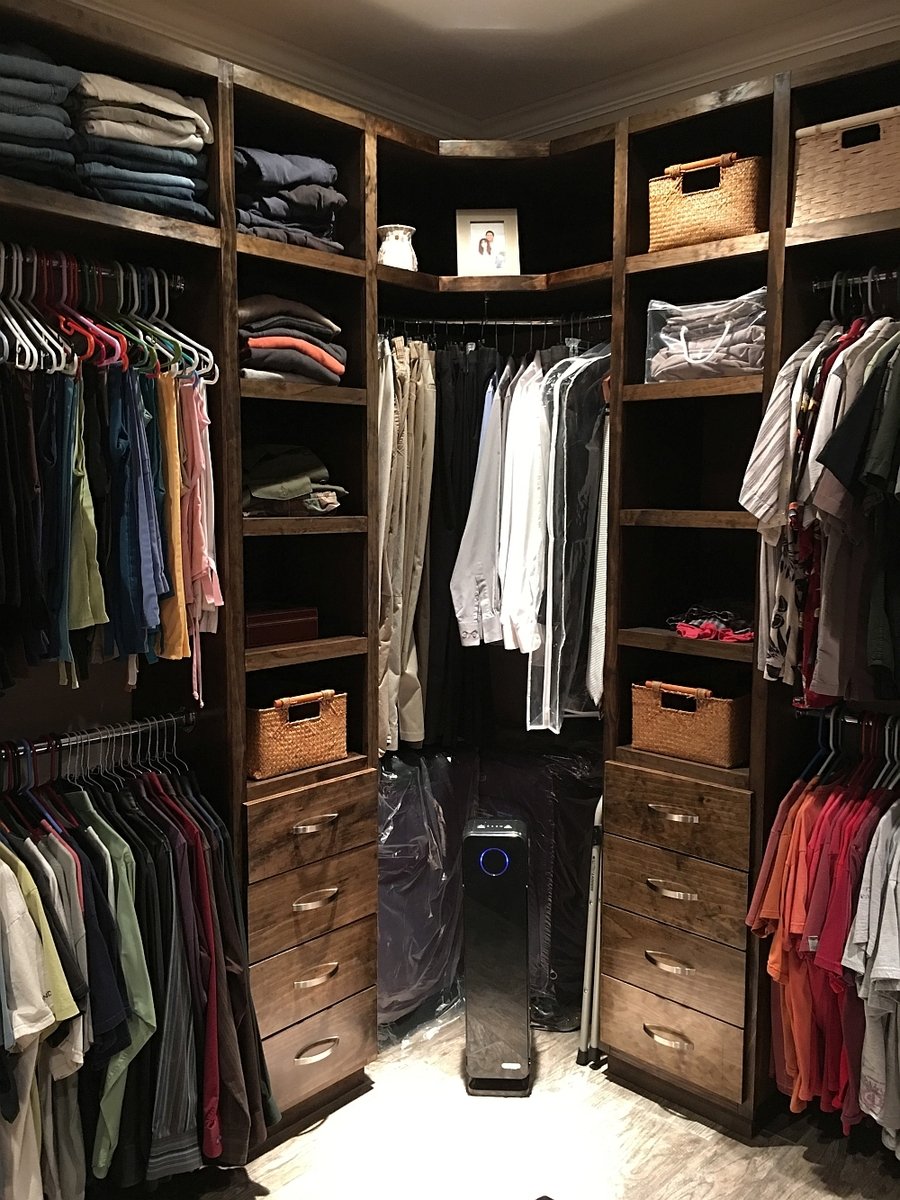
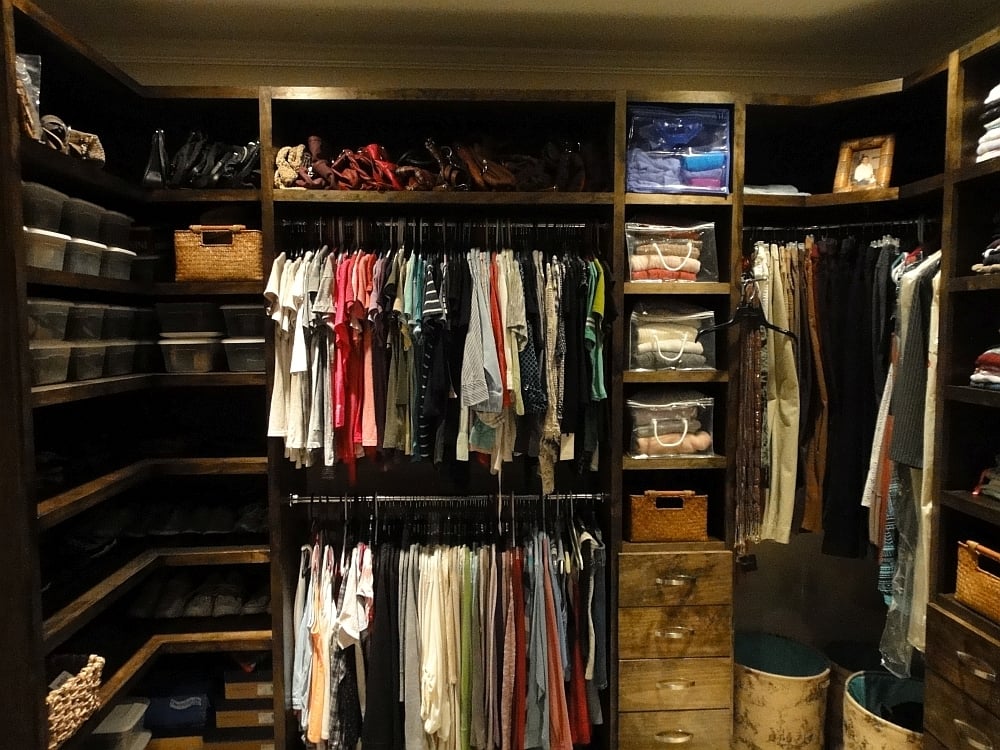
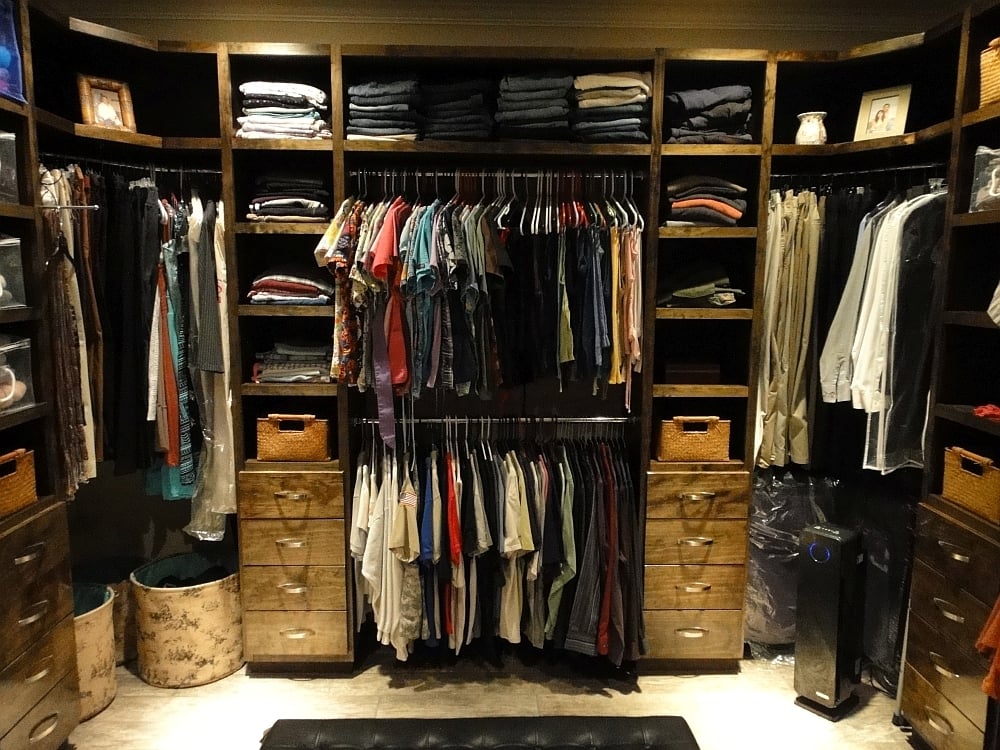
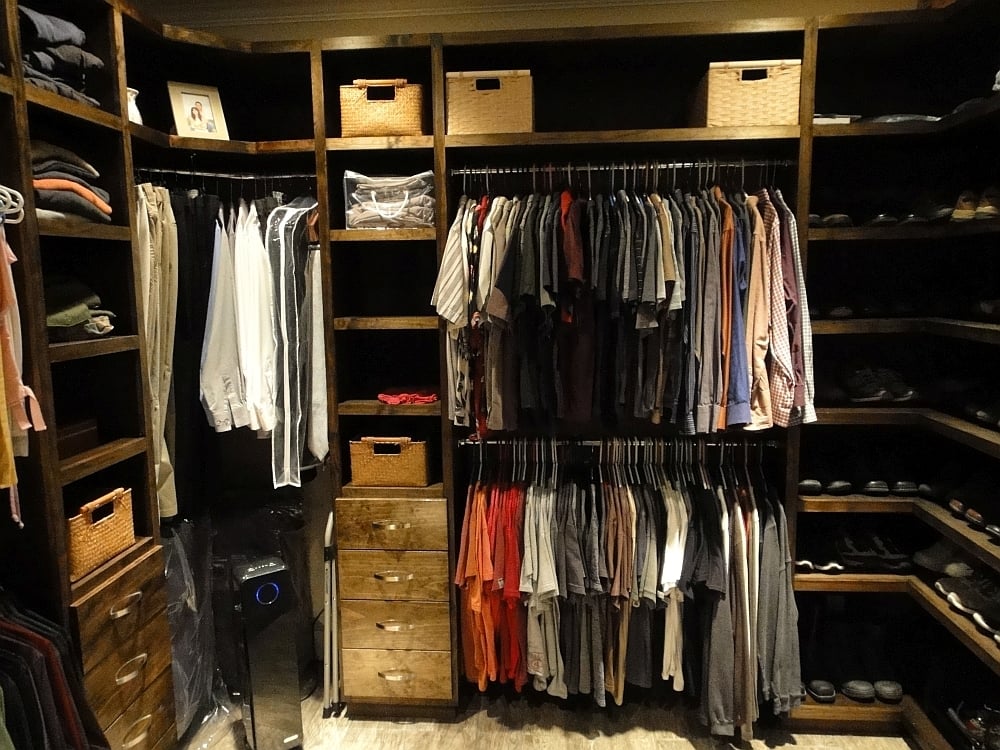
I expanded on the plans I found at Ana White and made this closet.  They are 8' high, and made from Birch plywood and 1x2's from my local Home Depot.  I ended up using 12 sheets of plywood and 18 1x2's.  Sanded and stained with Minwax Jacobean and Satin clear on the unit and semi-gloss on the drawers.  I intalled soft-close drawer slides that I found on Amazon for $120 for 15 pairs which included the rear mounting brackets, which I highly recommend using as they save you a ton of labor and make it much easier to install the slides. 


What I like most about my work, is that I found regular hanging rods that were too expensive or just plain did not fit the end sockets.  I used galvanized fence rod typically used for the top of chain link fences, and simply brushed them with 0000 steel wool and then polished them on my buffing wheel.  If you want the brushed look, simply don't buff them.  What was best about using fencing rods, was that it cost about a dollar a foot and was much stronger than buying the actual chrome rods which were over three times more money.


For the corners, you will see that they are three angled rods, which you can not buy anywhere.  So, I purchased 1" galvanized electrical conduit. and bent it with a tubing bender.  I simply measured what I needed, and put two 45 degree bends in the rod, installed 1" sockets on each end, and a center rod support for the middle.  These two were polished with 0000 steel wool and then polished to a chrome finish.  They look amazing, and the best part is that it cost $6 for a ten foot piece, which was more than enough to do both corners.  You cannot beat the cost of using fence rods and electrical conduit for closet rods. 


I plan to install a small drawer island in the middle later as I require a need for more drawere space. 


Thanks to Ana White for the help.  I already have a few more next projects lined up using her ideas here.

Estimated Cost
Under $1000 for everything
Estimated Time Investment
Week Long Project (20 Hours or More)
Finish Used
Minwax Jacobean with satin and semi-gloss
Recommended Skill Level
Intermediate

Comments

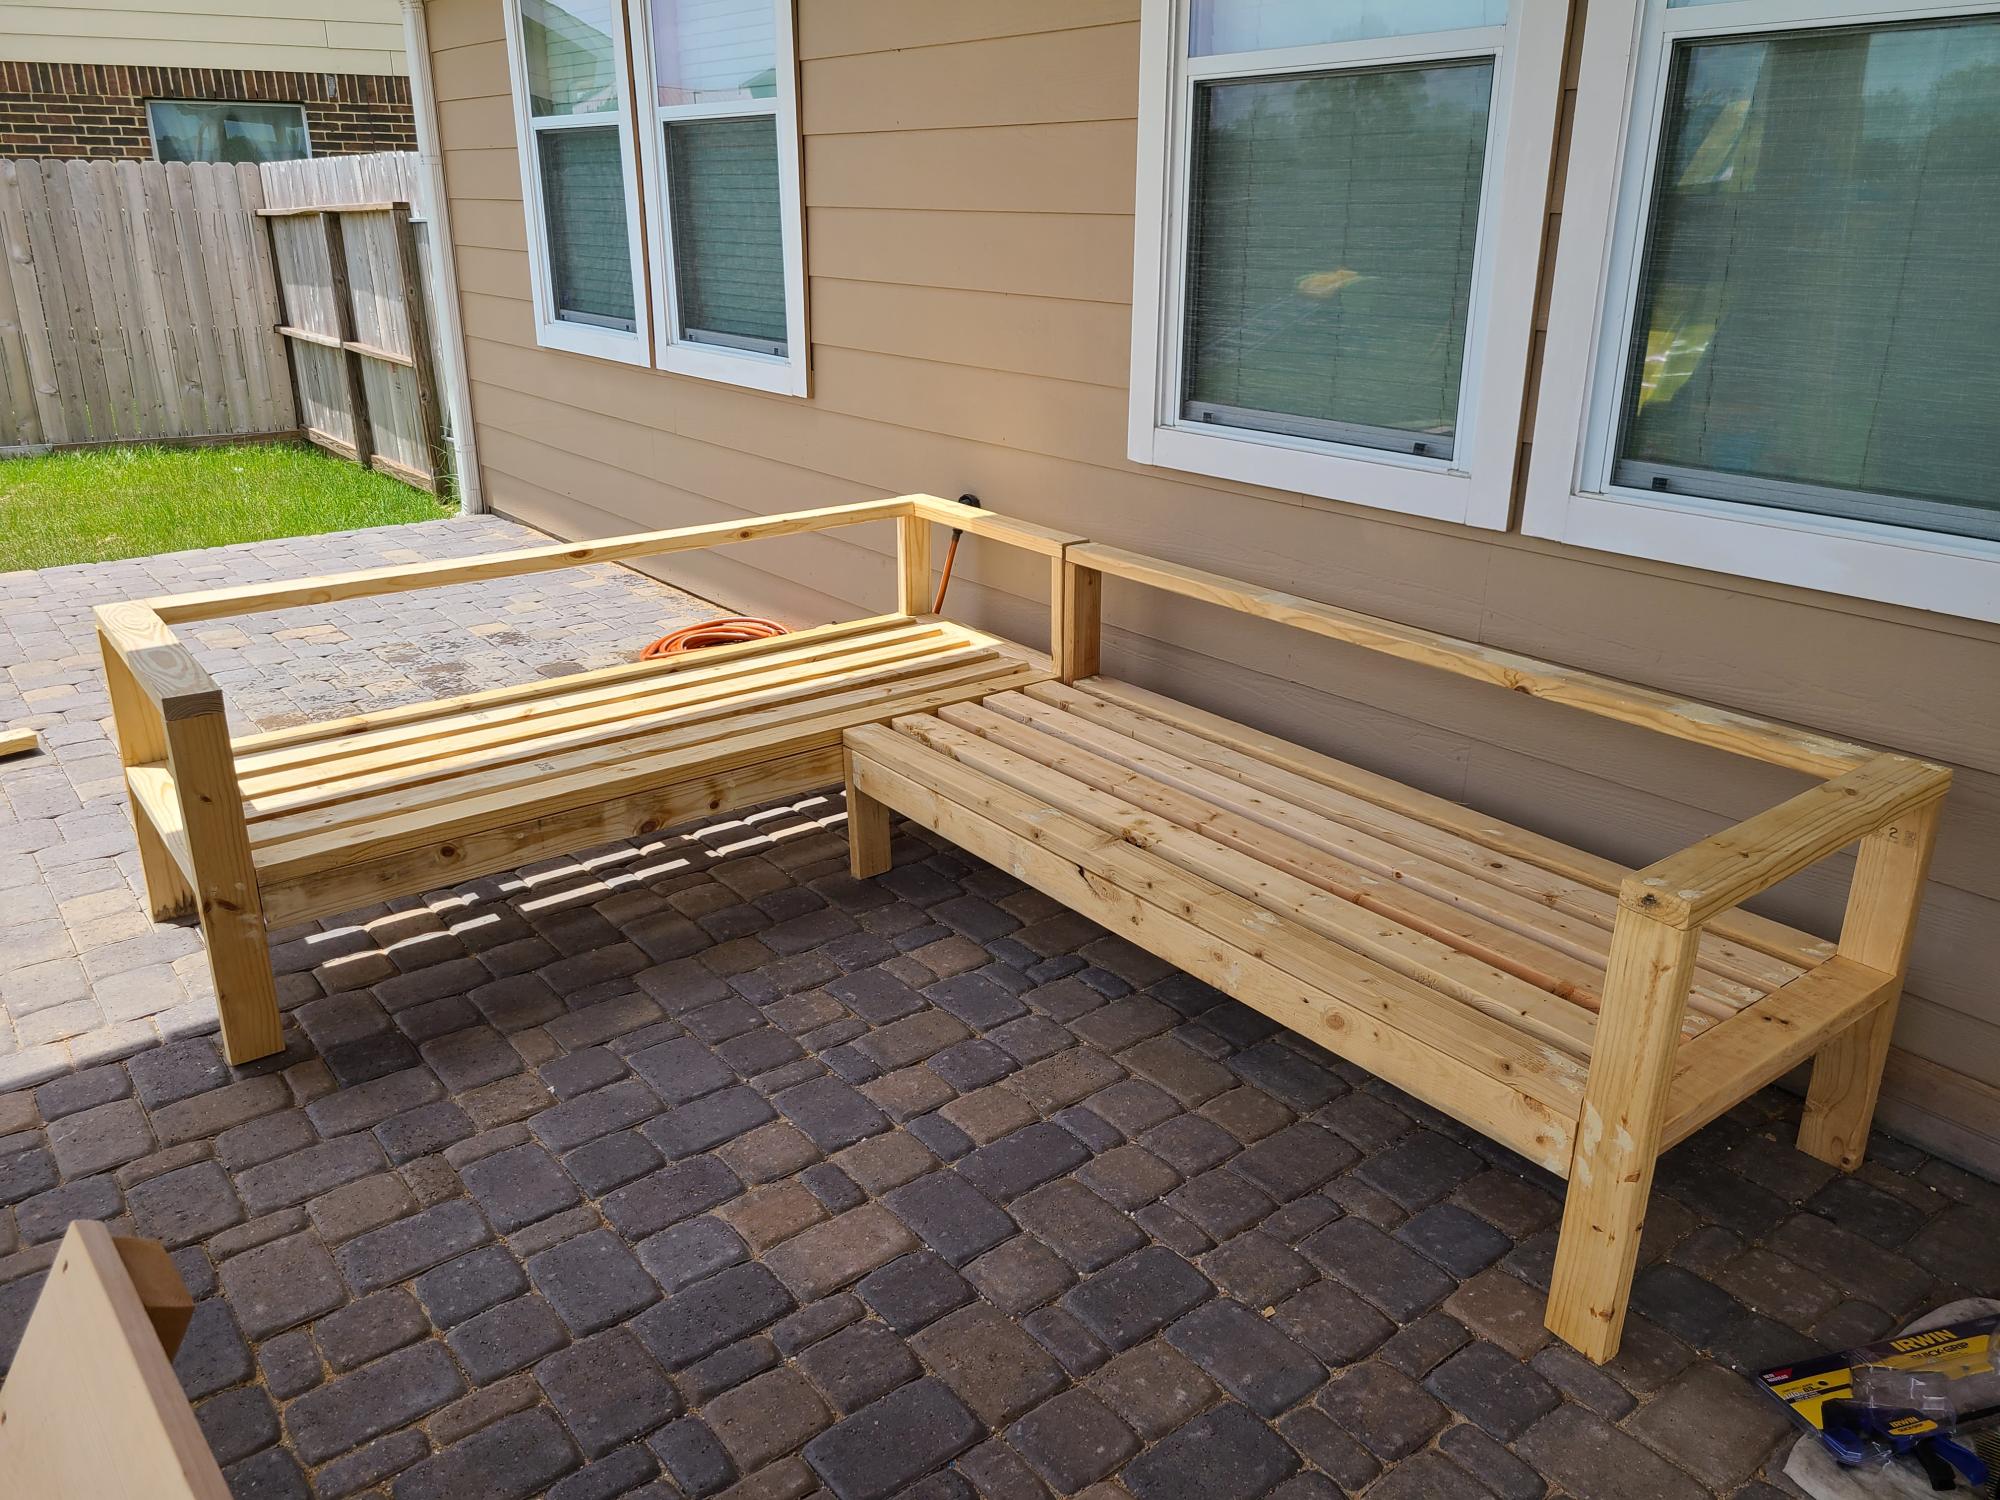
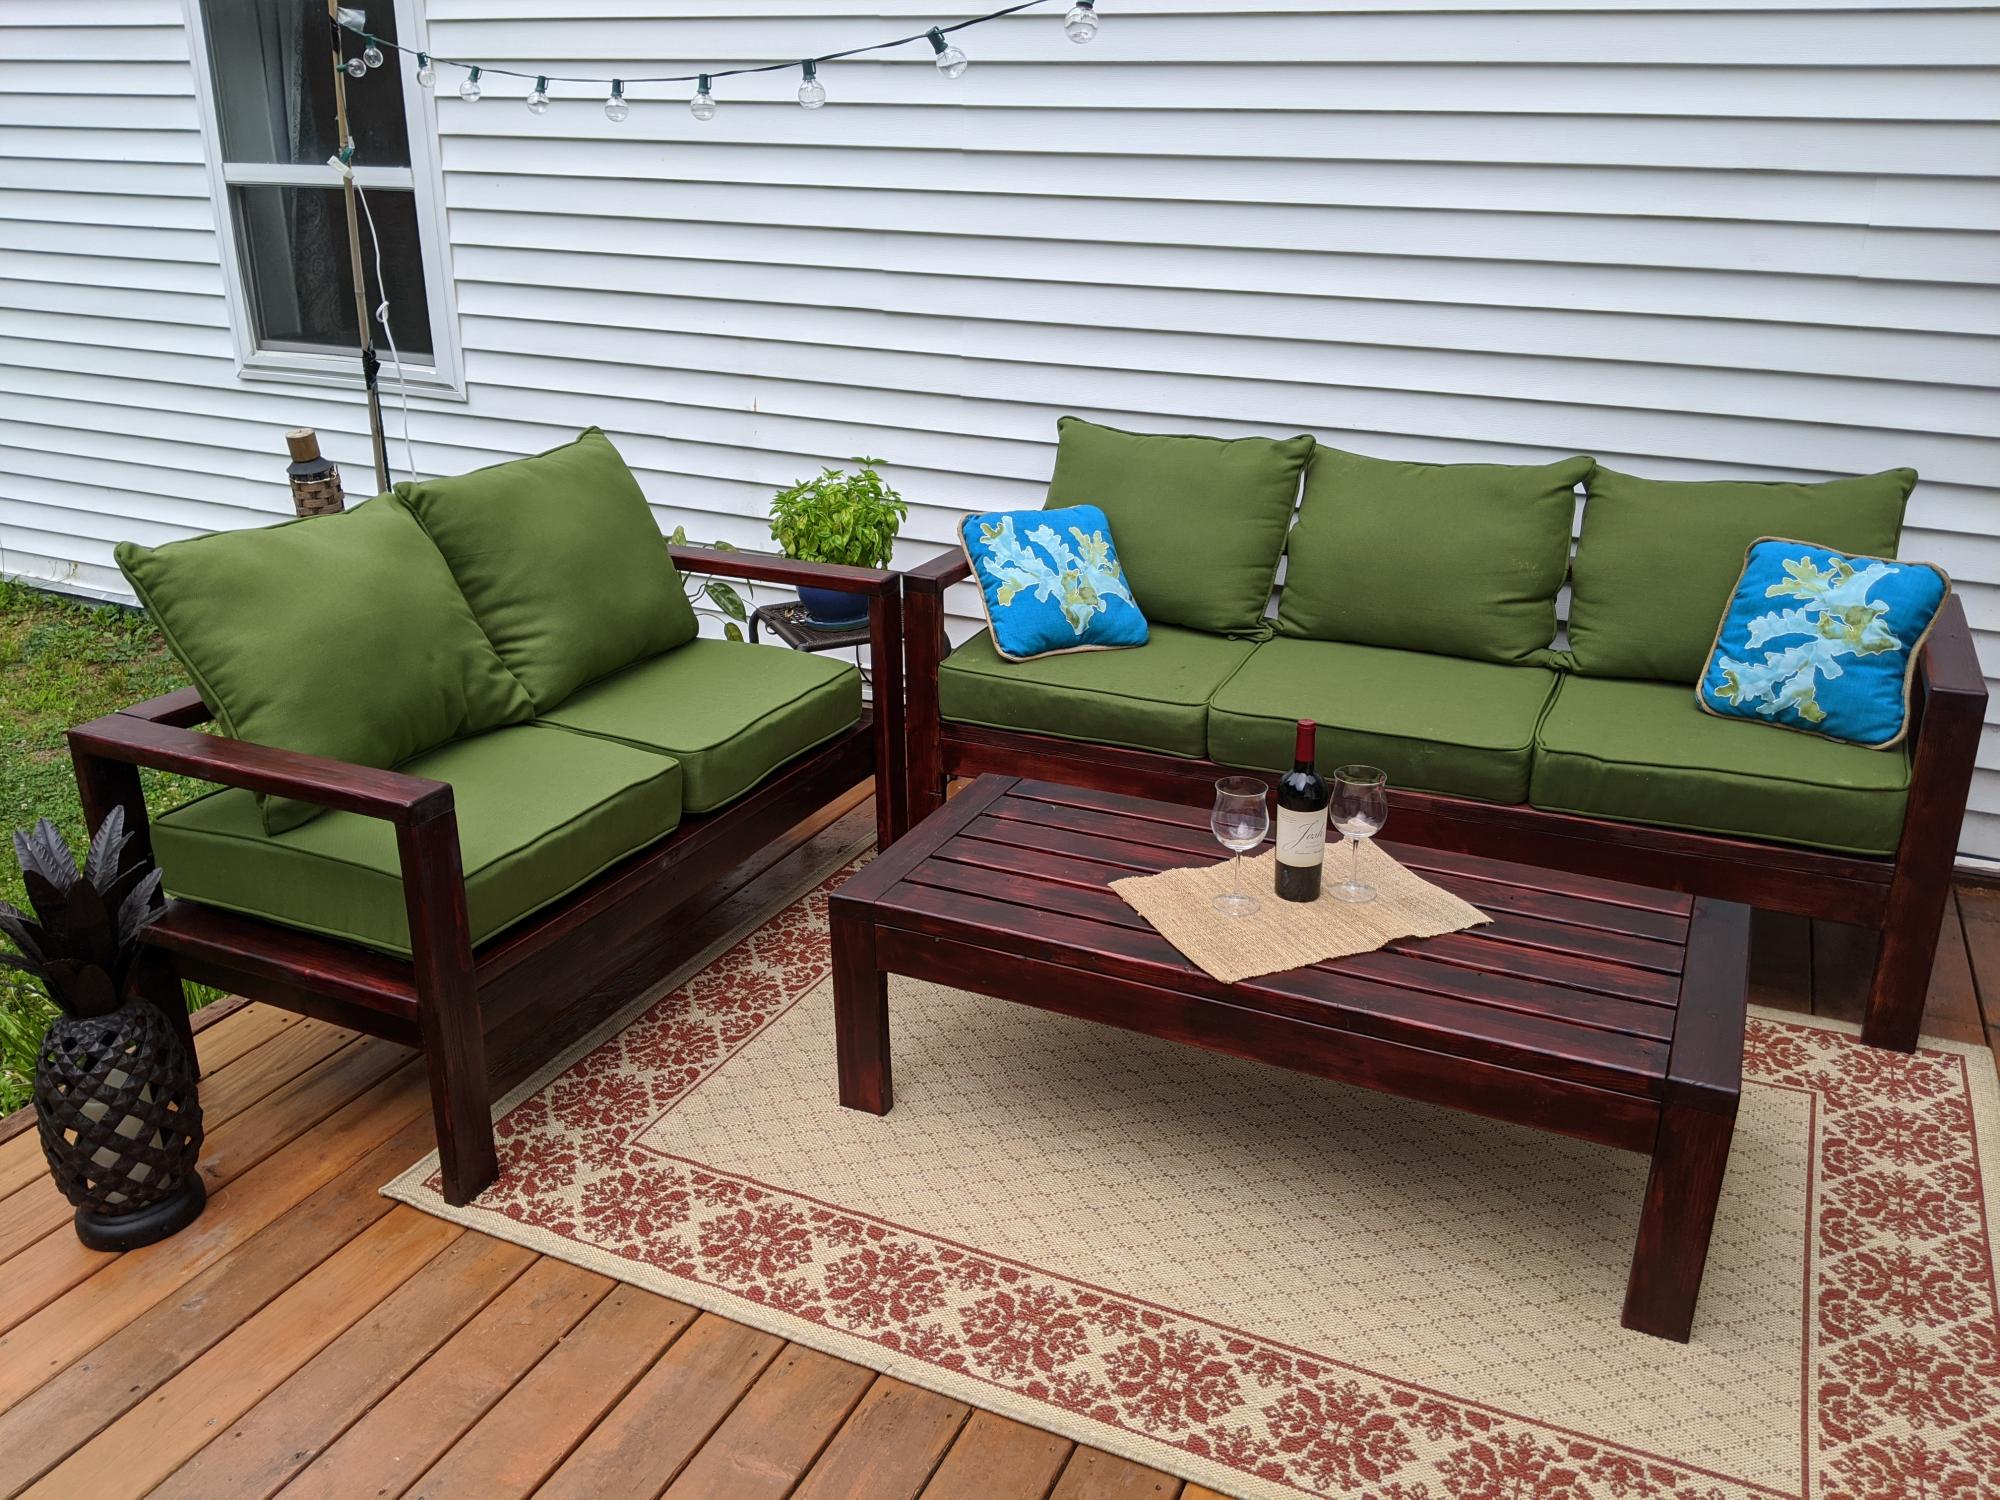
Outdoor patio furniture

Submitted by Anonymous (not verified) on Fri, 07/24/2020 - 12:19

Thanks Ana, for the great plans and inspiration!

Estimated Cost
$450
Estimated Time Investment
Weekend Project (10-20 Hours)
Finish Used
Minwax stain & polyurethane ( Bombay Mahogany)
Recommended Skill Level
Beginner

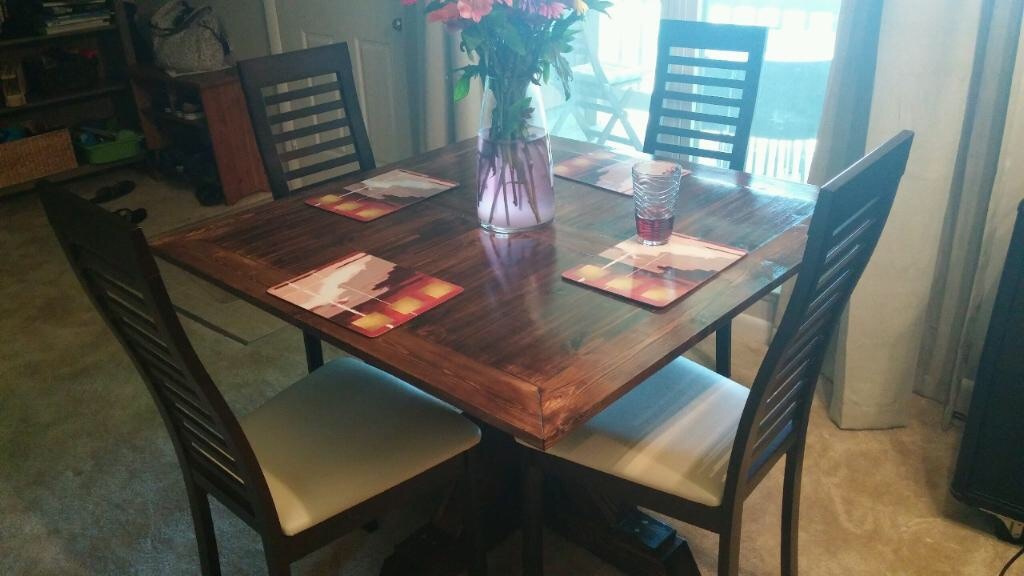
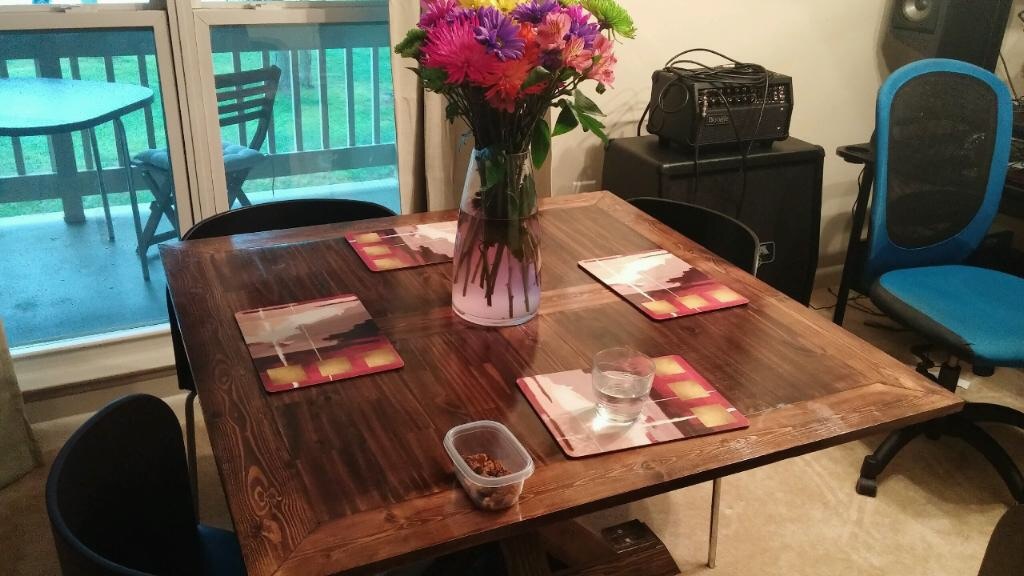
Square X Base Pedestal Gym Floor Table

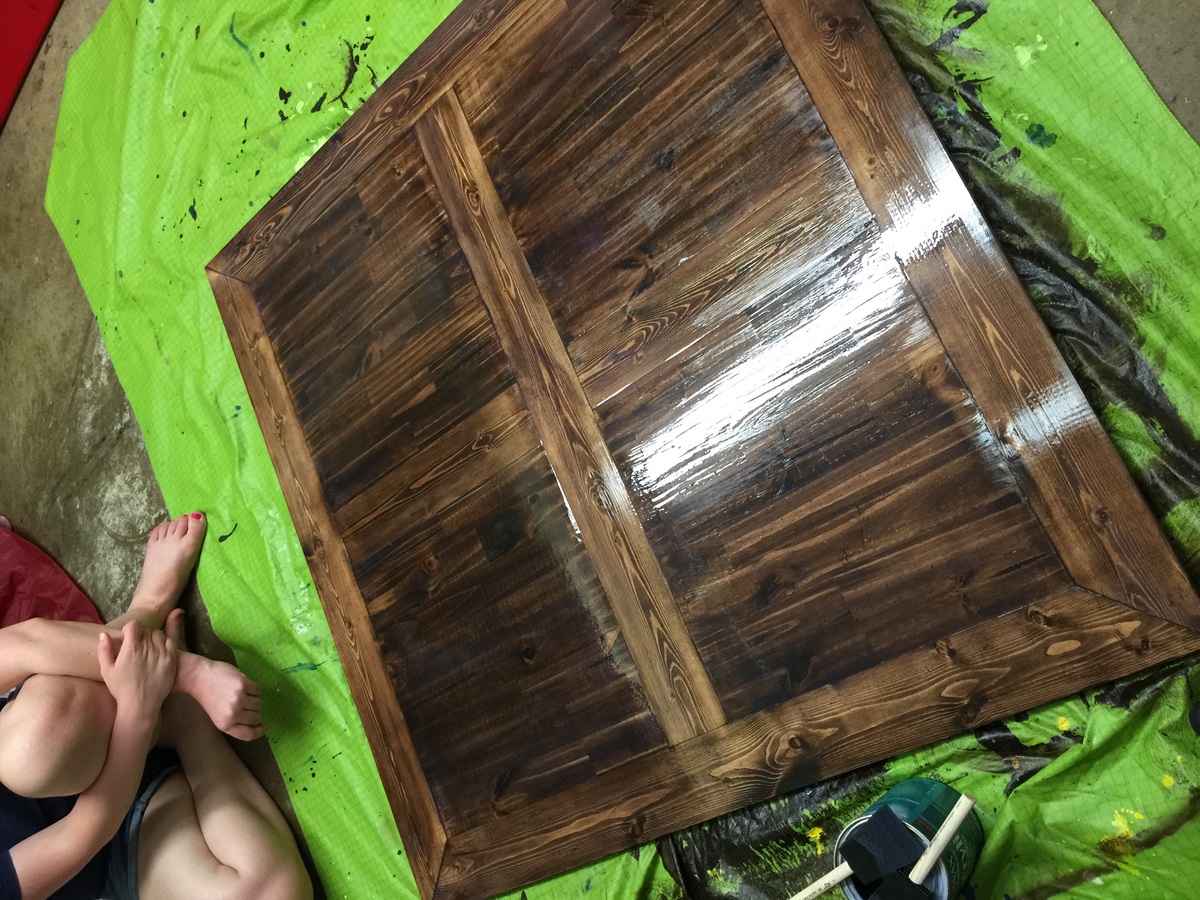
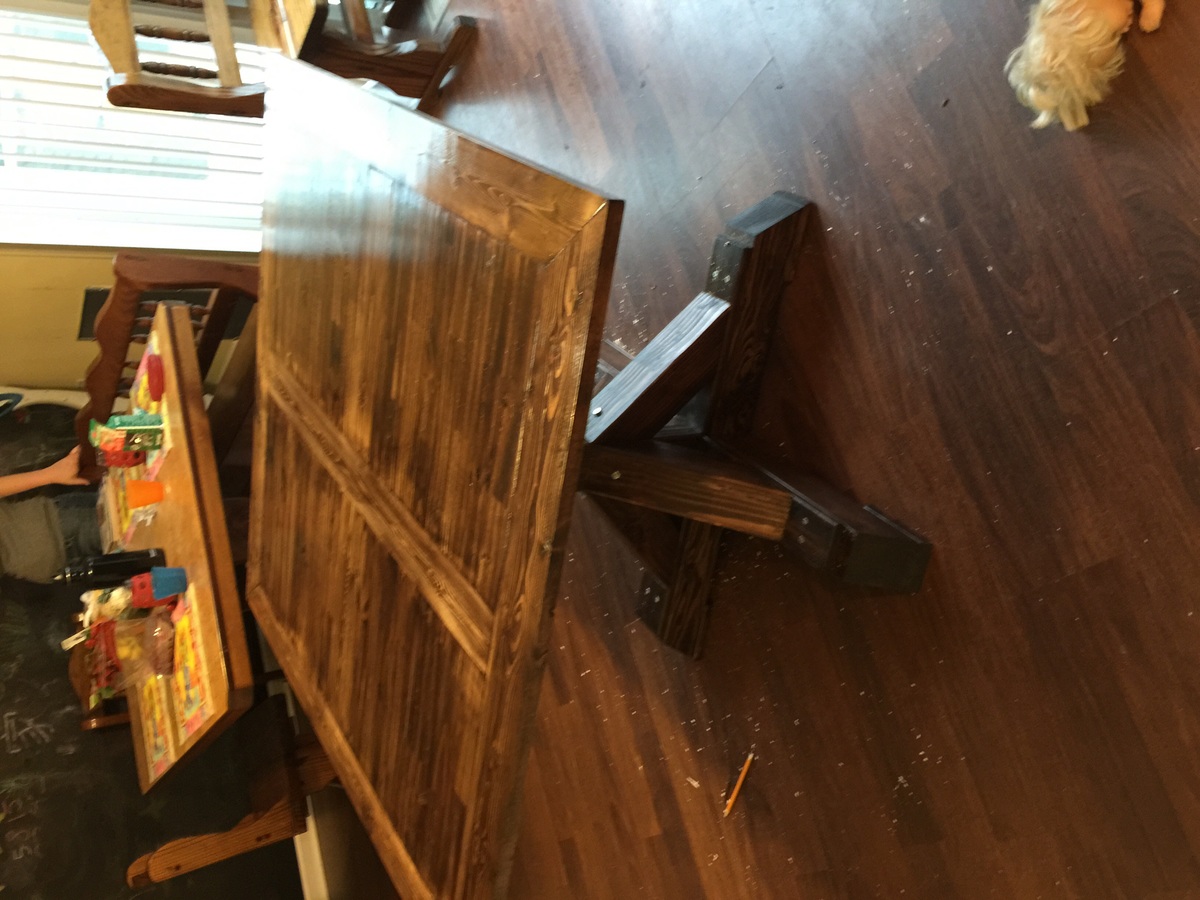
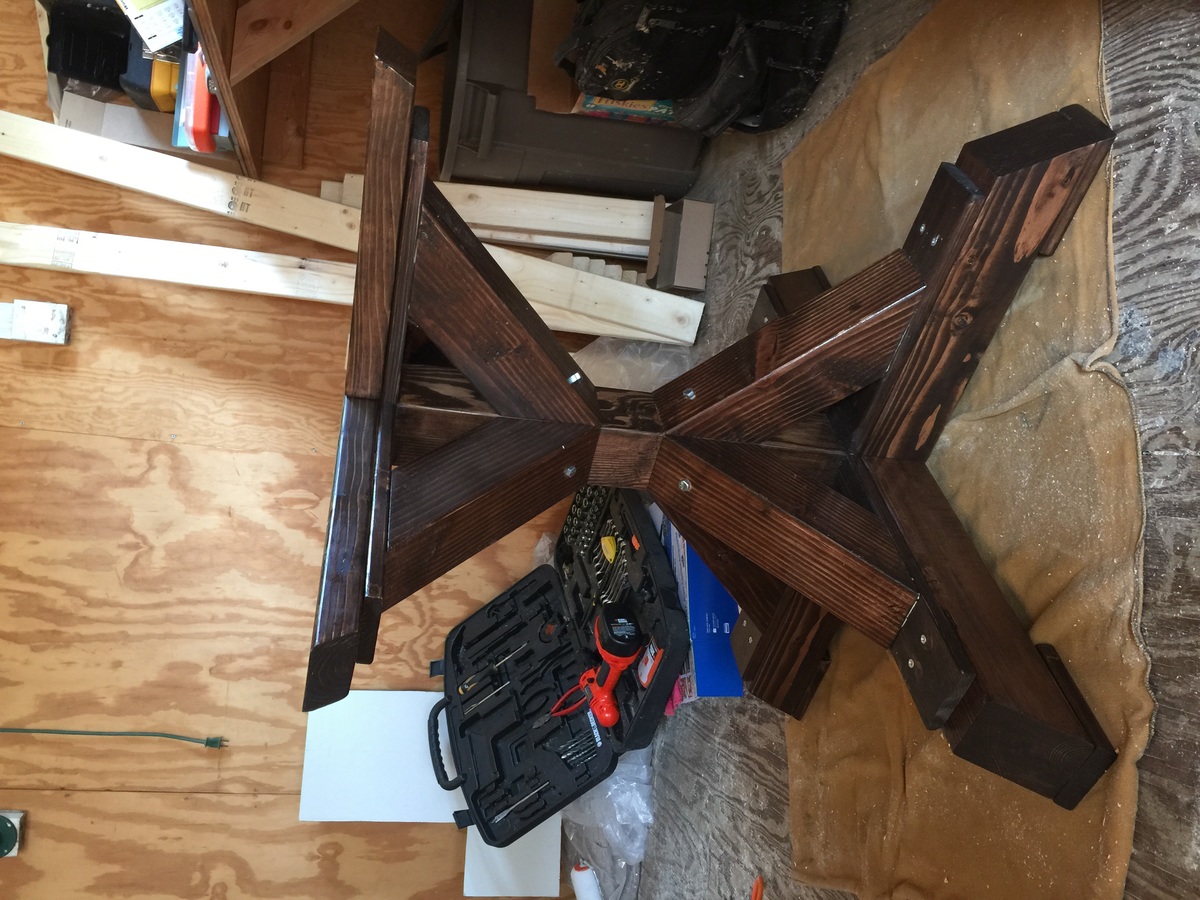
I used the "square x bass pedestal" plans to complete this 4' card table. The top is made from reclaimed gym flooring from the local high school. The "x base pedestal" provides a nice sturdy base for the large table. The project was completed over several weekends when I had time to work on it. 

Estimated Time Investment
Week Long Project (20 Hours or More)
Finish Used
I painted the base and frame around the top with a black gloss paint. The top and base both have 3 coats of water based polyacryllic.
Recommended Skill Level
Intermediate

Laundry Basket Organizer

Submitted by mseely02 on Thu, 01/10/2013 - 09:02

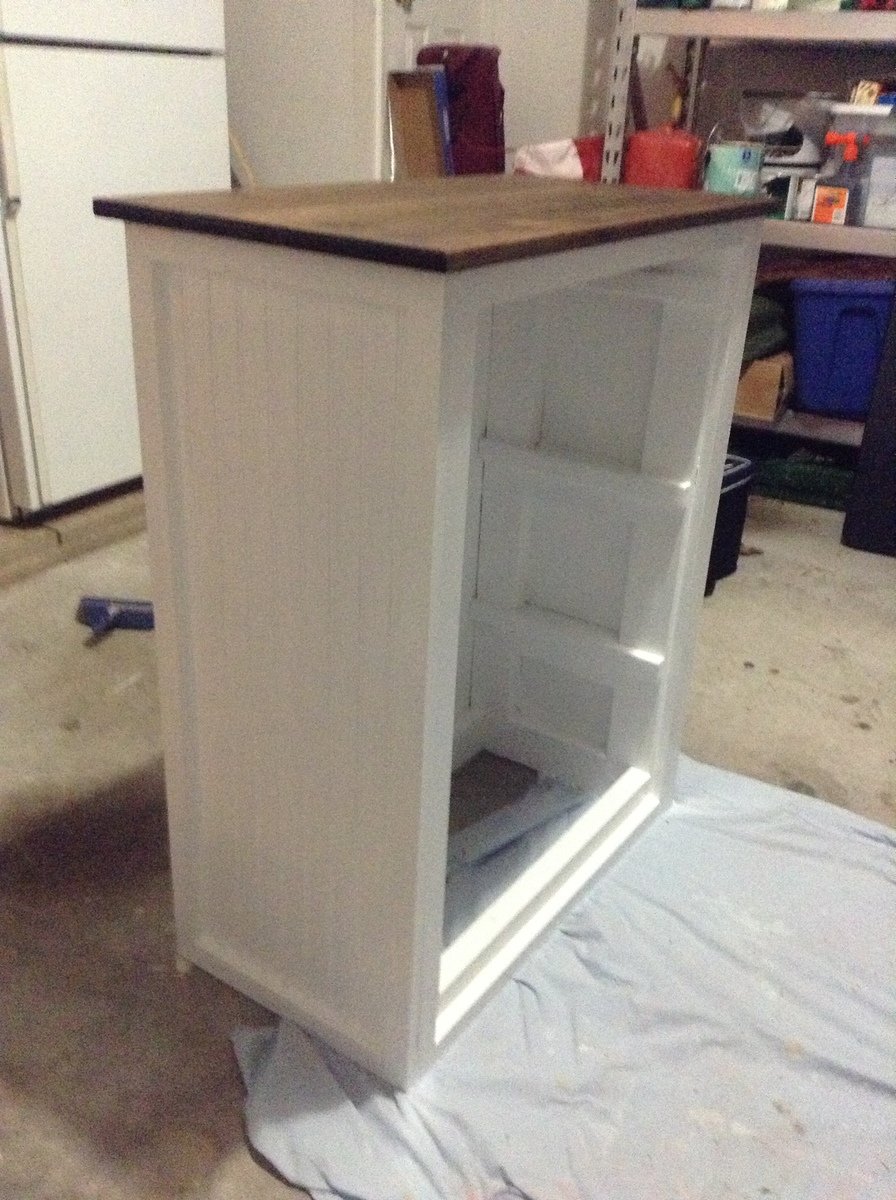
We have a laundry problem in our house. It piles up in un-organized piles and takes days to sort through and actually get in the washer. Honestly, we could do laundry every single day of the week and still fall behind. I guess that comes with the territory when you have 3 small boys in the house.

This organinzer is going to be great. We currently use it for whites, colors and "grown-up clothes". This keeps us from accidentally washing some of Mommy's more delicate items in the general colors wash which saves me money when we don't ruin her clothes.

The plans call for the 1 x 16's, but I had extra 2 x 4's laying around so I just built a frame using my kreg jig. The most expensive part was the beadboard for the sides and I used some S4S 1 x 4's for the top. Overall the project tooks me months, but that was more a product of my "shop" time coming after 8 pm and general apathy.

I definitely have the bug and have already starting a new project!

Built from Plan(s)
Estimated Time Investment
Afternoon Project (3-6 Hours)
Finish Used
Semi Gloss Interior White, Minwax Dark Walnut Stain
Recommended Skill Level
Beginner

Comments

Fancy X Farmhouse Table

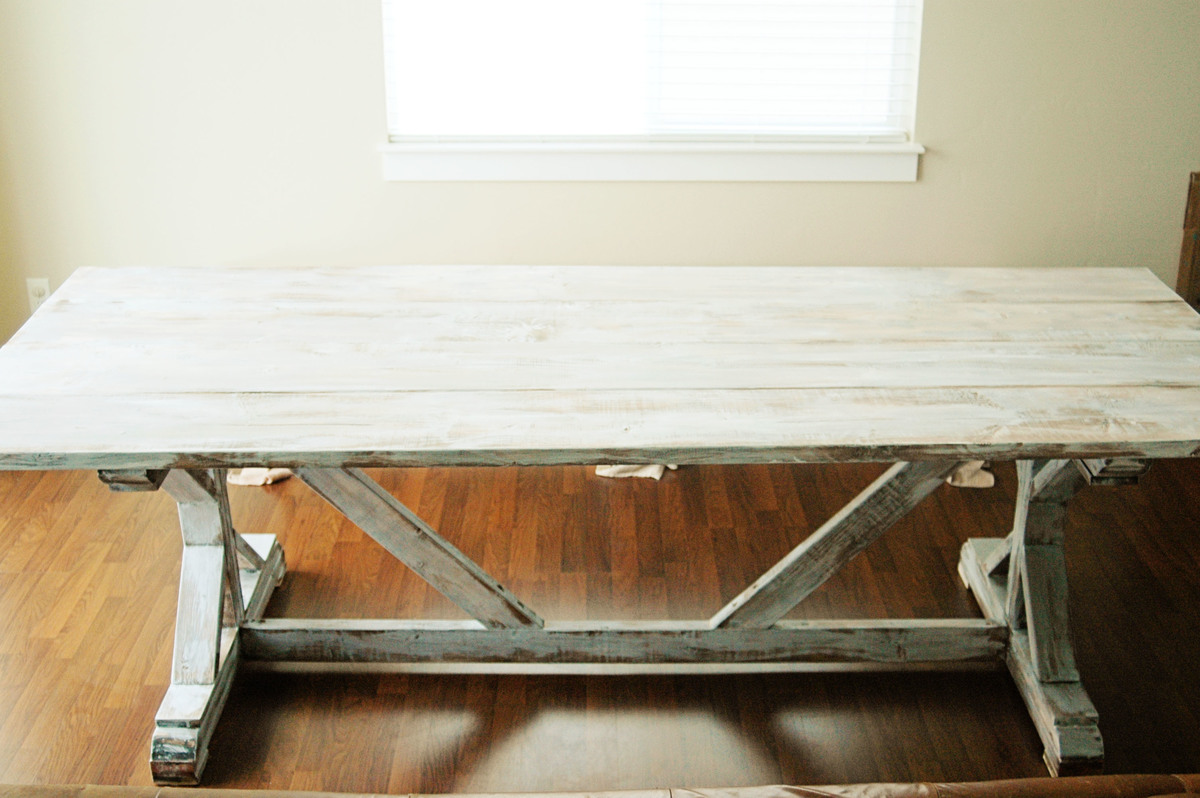
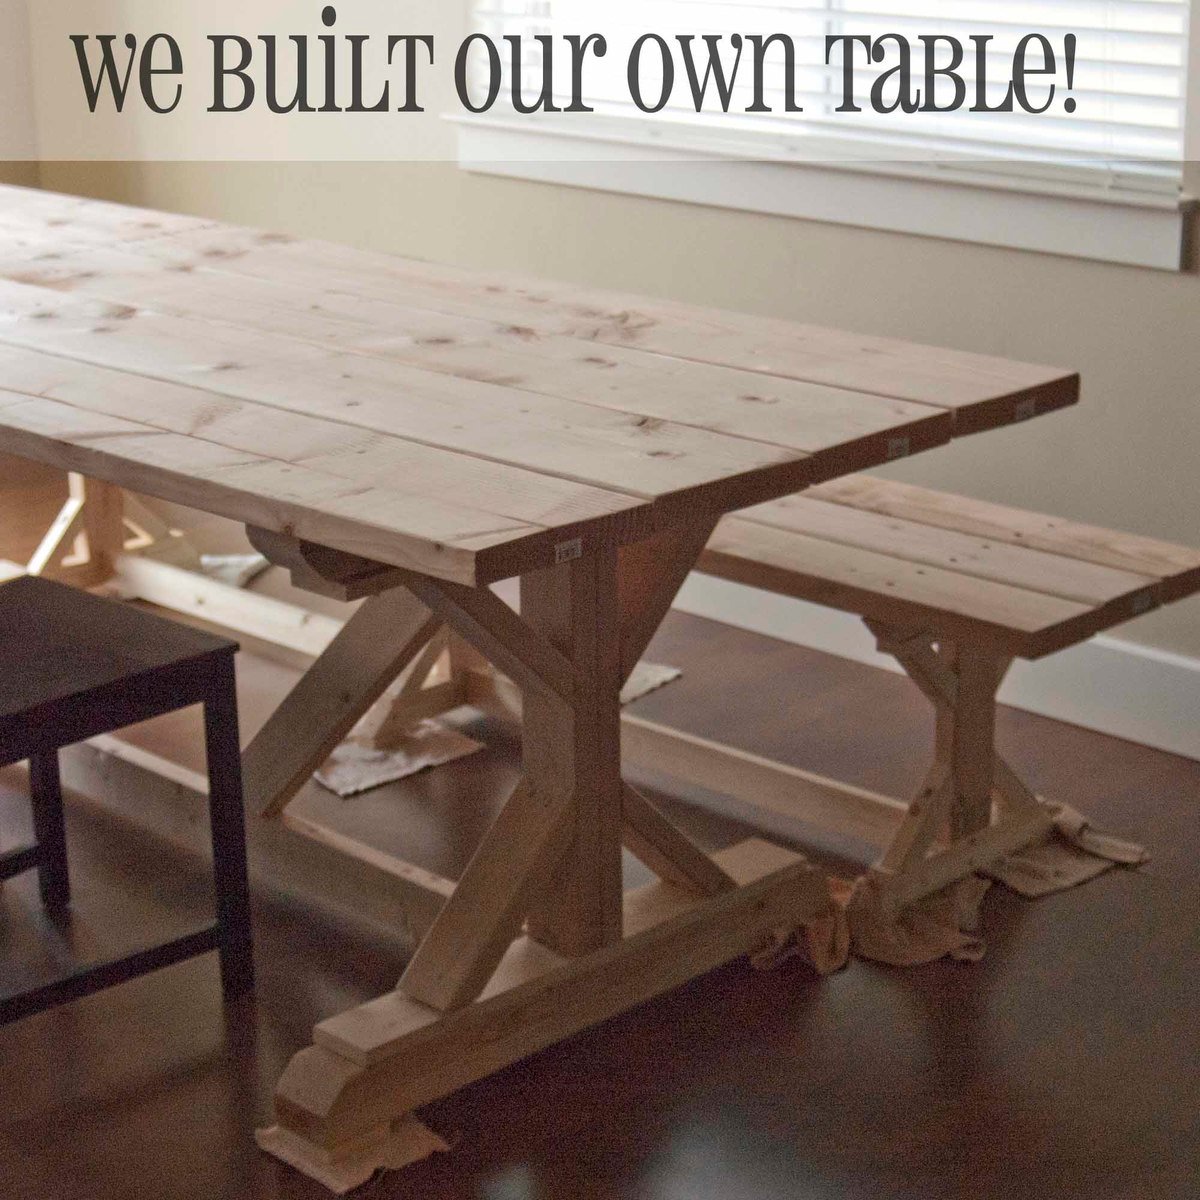
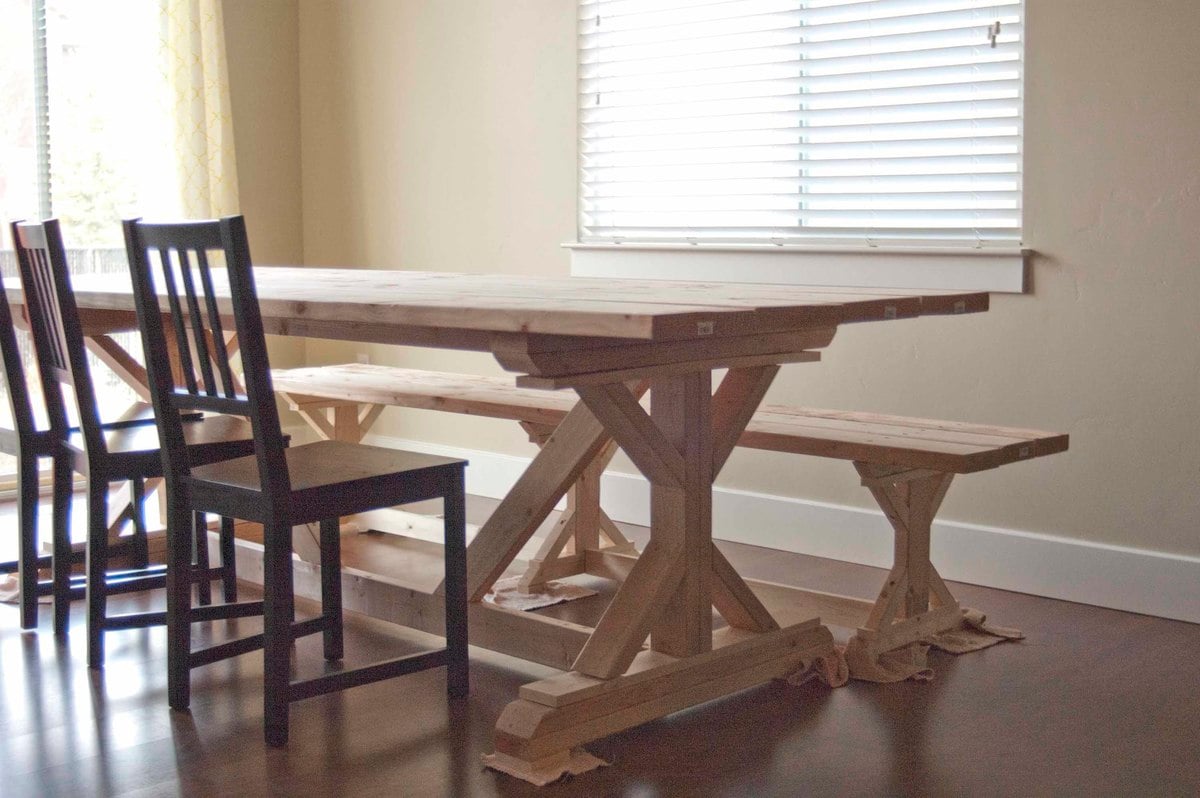
we built this table for our new home when we couldn't find an existing table that we wanted for under $1000. we were hesitant to attempt building it ourselves since we haven't attempted anything similar before, but knew we could do it with a plan. there were a couple bumps in the road as we learned how to read the plan and understand the different techniques, but we LOVE the end result. Especially because it didn't cost us anything out of pocket! {we had a lowes giftcard:)} the total came to about $130 for all the supplies; including the paint and poly for the finishing.
read more about the process on my blog: http://www.carissamiss.com/2012/11/house-projects-completed.html

Estimated Cost
$30 {we had a gift card} but without one it was around $130 for both
Estimated Time Investment
Week Long Project (20 Hours or More)
Finish Used
minwax stain in dark walnut
olympic pure white; {used 50/50 water and paint mixture for whitewash}
poly
Recommended Skill Level
Intermediate

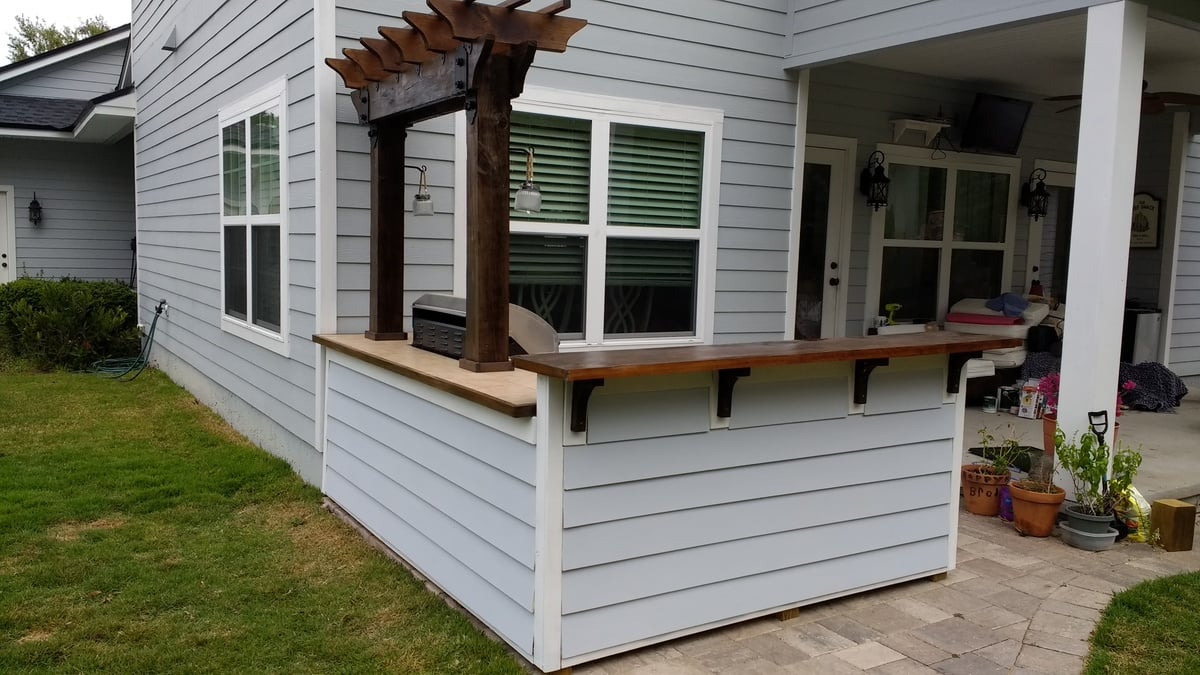
Outdoor bar grill surround with 2 post pergola

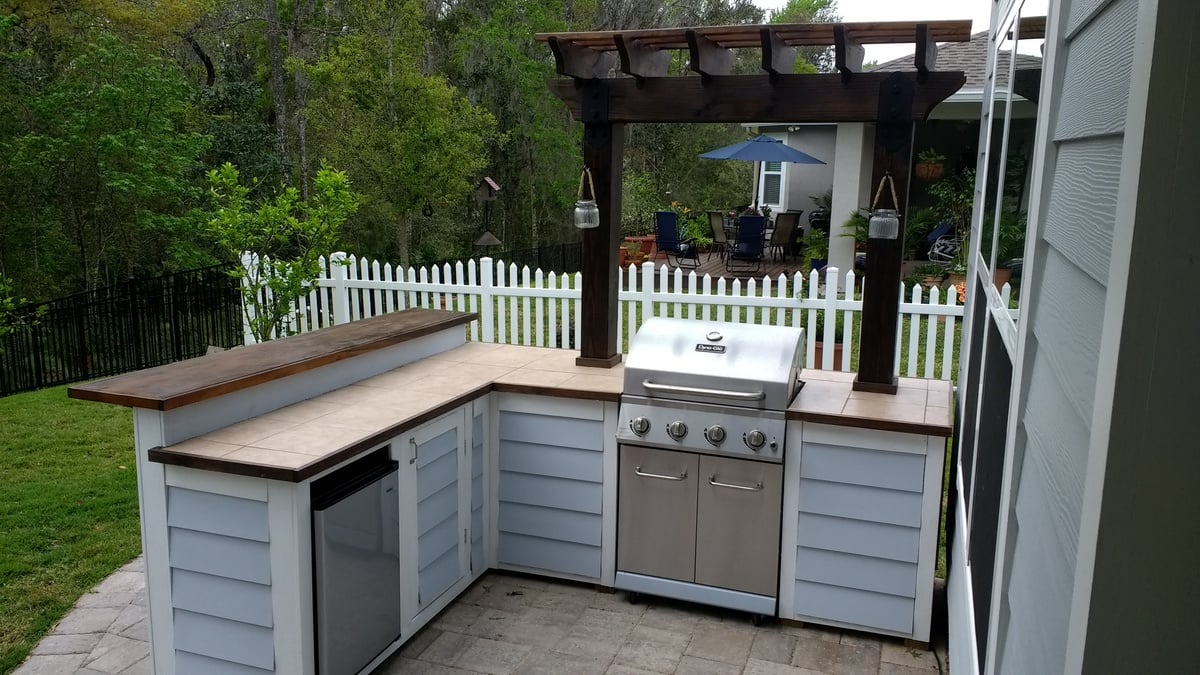
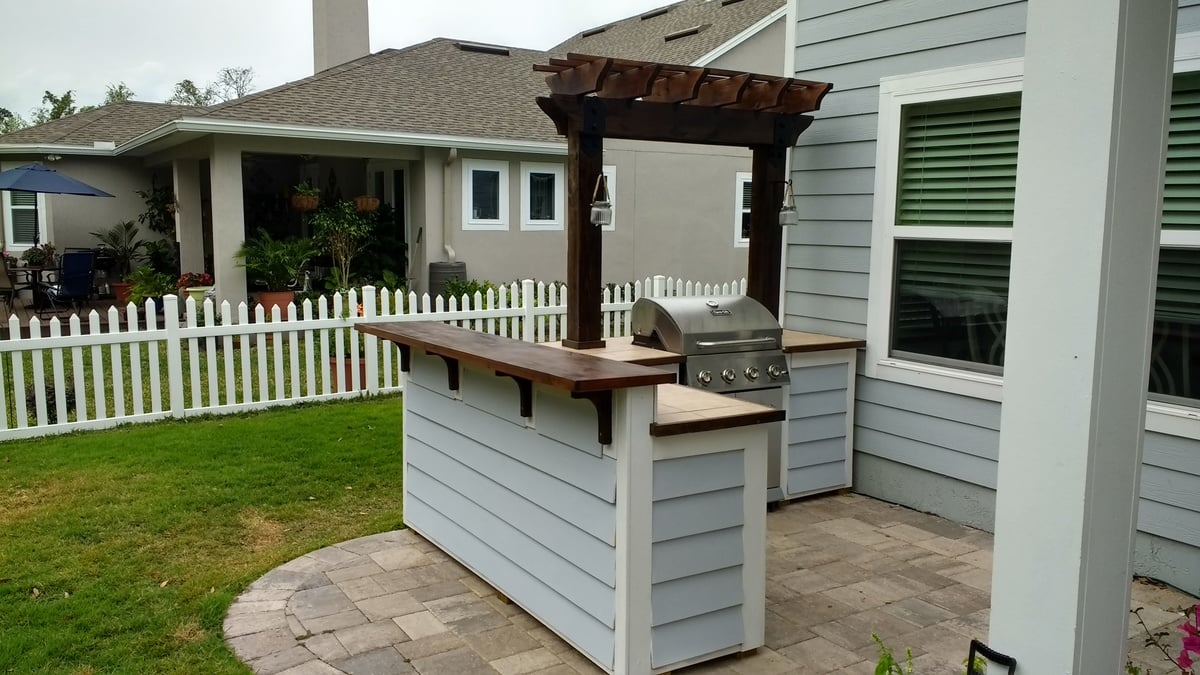
I wanted to build an L shaped outdoor bar with a 2 post pergola over the grill.  I couldn't find any plans online that would fit the space I had, so I decided to build it myself with custom dimensions.  The top bar is approx. 7'3" across, and 15" wide, while the distance from the right edge (next to the house) to the end of the bar is approx. 9'1".  

I framed it with PT lumber and the 2 pergola posts are sitting on top of the pavers and supported internally within some of the framing studs.  Since the pavers sit on top of concrete, I didn't feel the need to dig up the existing pavers and achor them in the ground.  

I used hardiboard for the exterior and tiled the lower section of the bar.

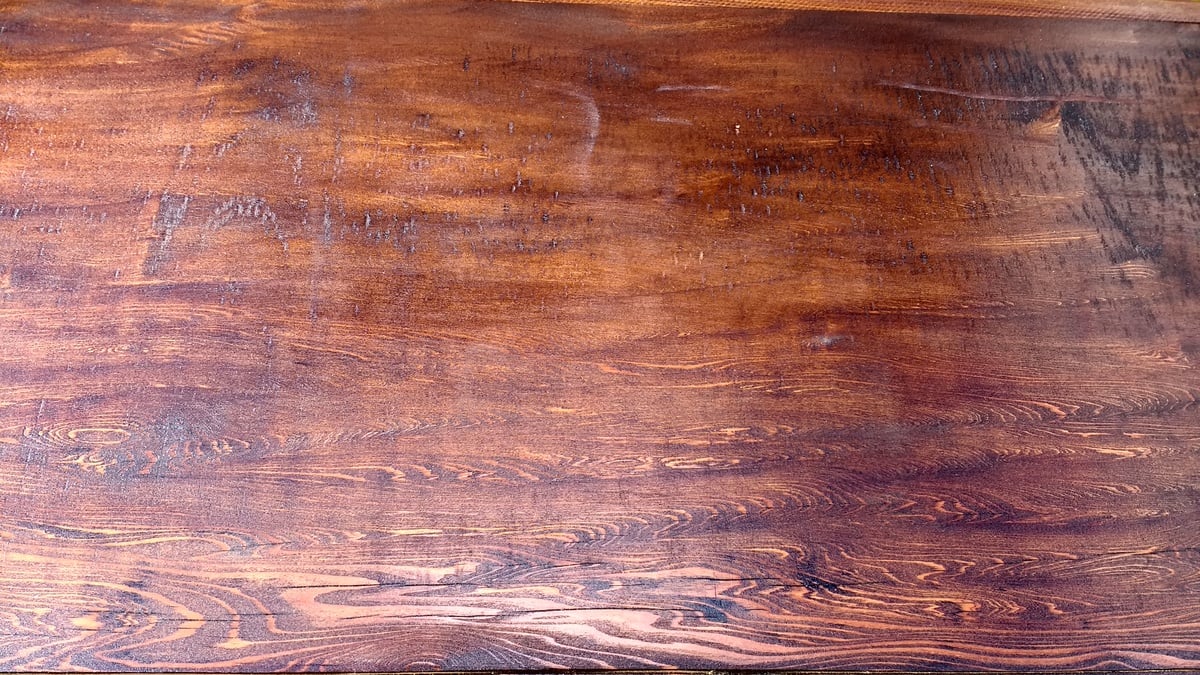
For the actual high bar top, I wanted to do something unique, and found a 900 year old scrap slab of Cypress at a local lumber yard.  One side was smooth, but underneath was gouged out from different saw cuts and very uneven.  I screwed a piece of 3/4" PT plywood underneath and trimmed it with 1-1/2" Cypress.  I stained the whole thing with a dark honey colored stain and put a generous amount of poly on it once it was dry.  There are a few cracks and nicks on it, but once it was stained, it looked awesome.  

Estimated Cost
I lost track after a while, but I would say $600-700.
Estimated Time Investment
Week Long Project (20 Hours or More)
Finish Used
Minwax honey colored stain for the bar top. Minwax provincial stain for the pergola and minwax dark walnut stain for the oak trim.
Recommended Skill Level
Intermediate

Comments

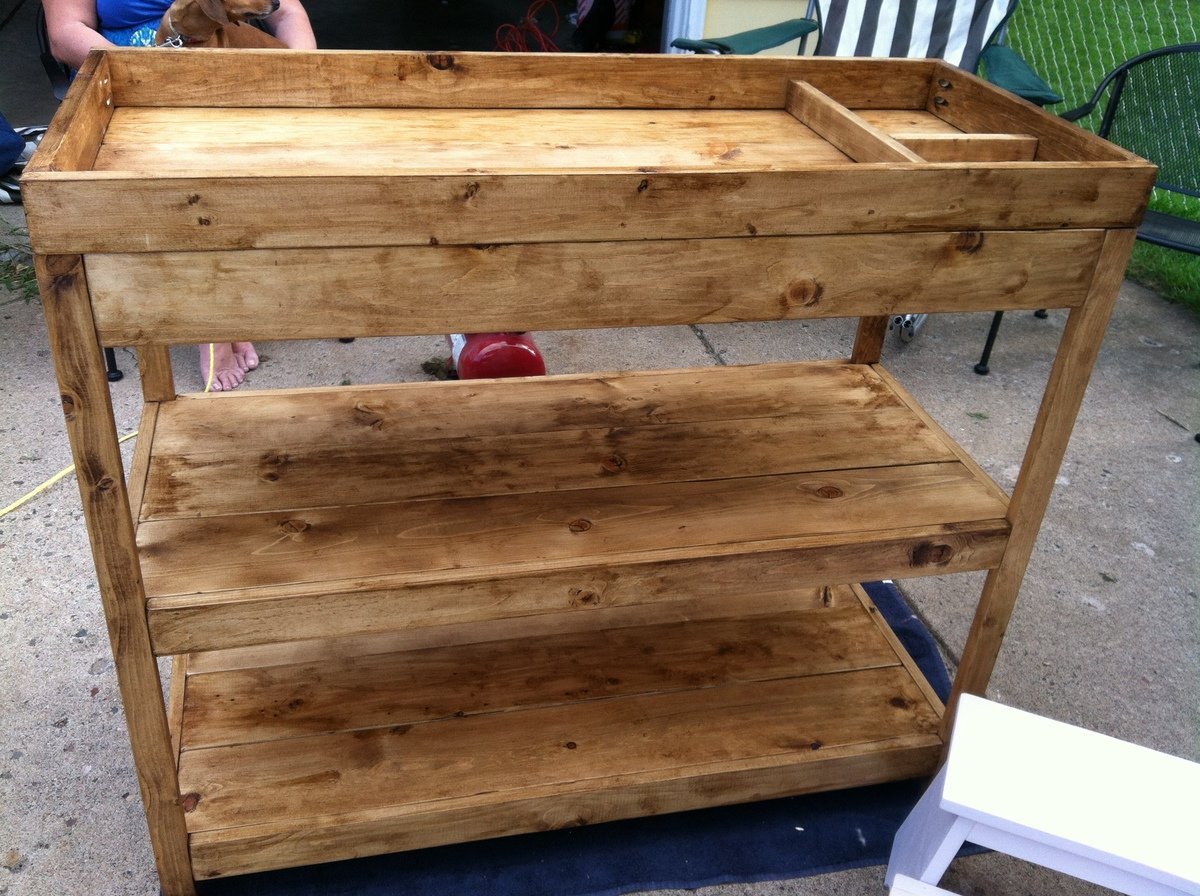
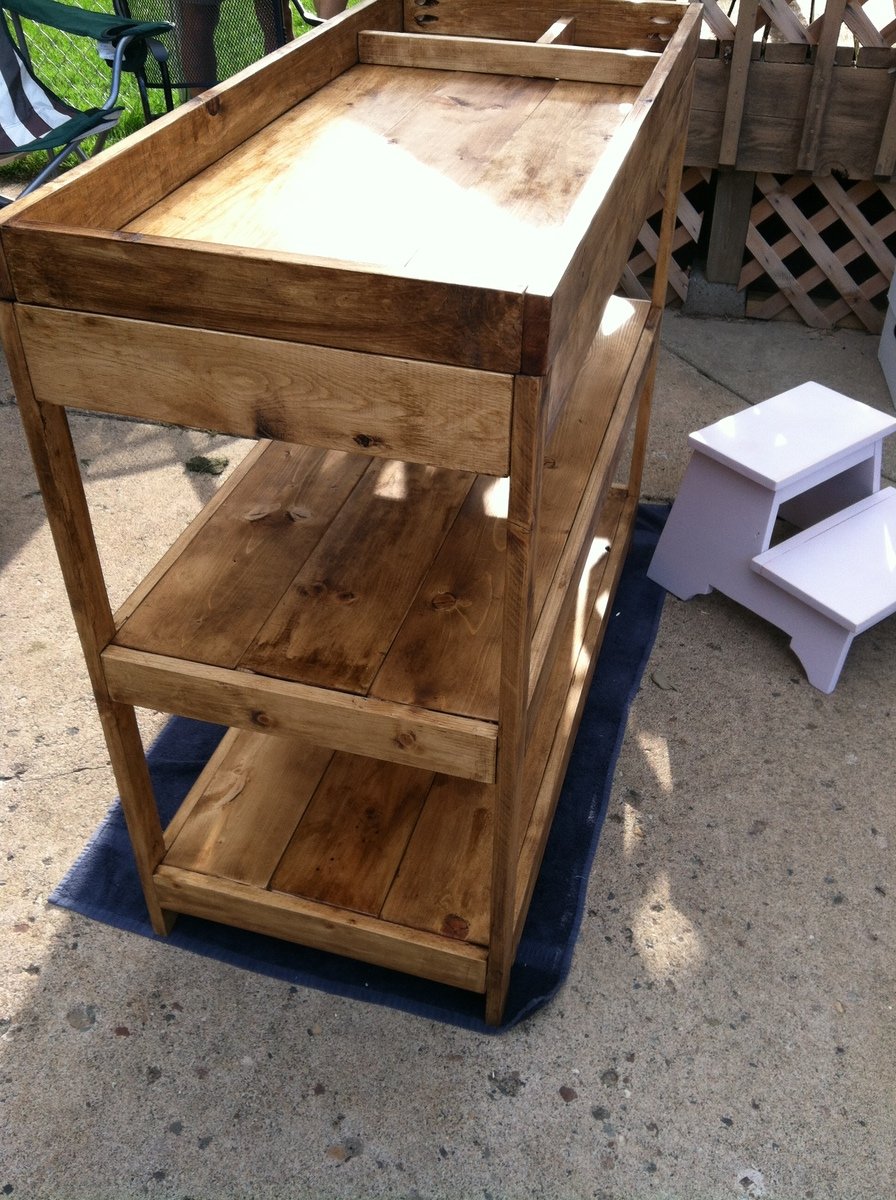
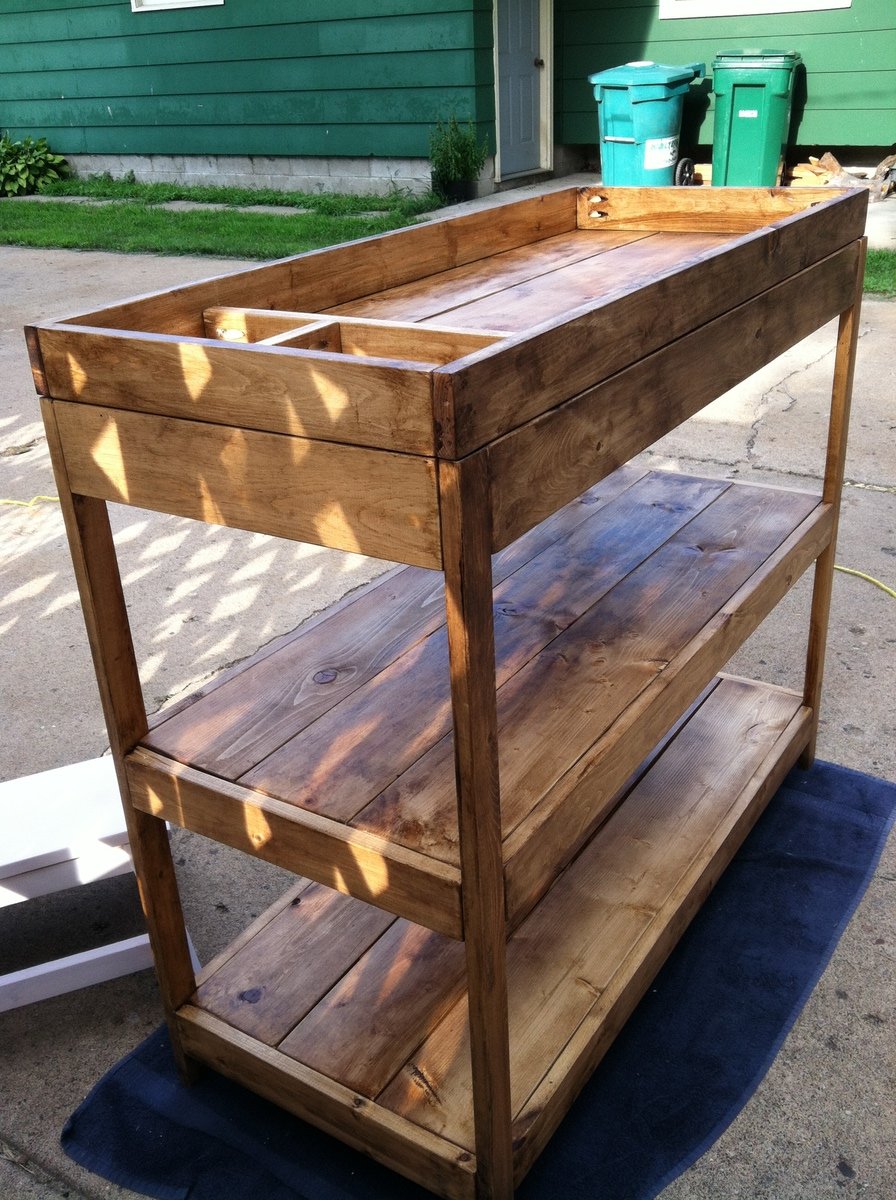
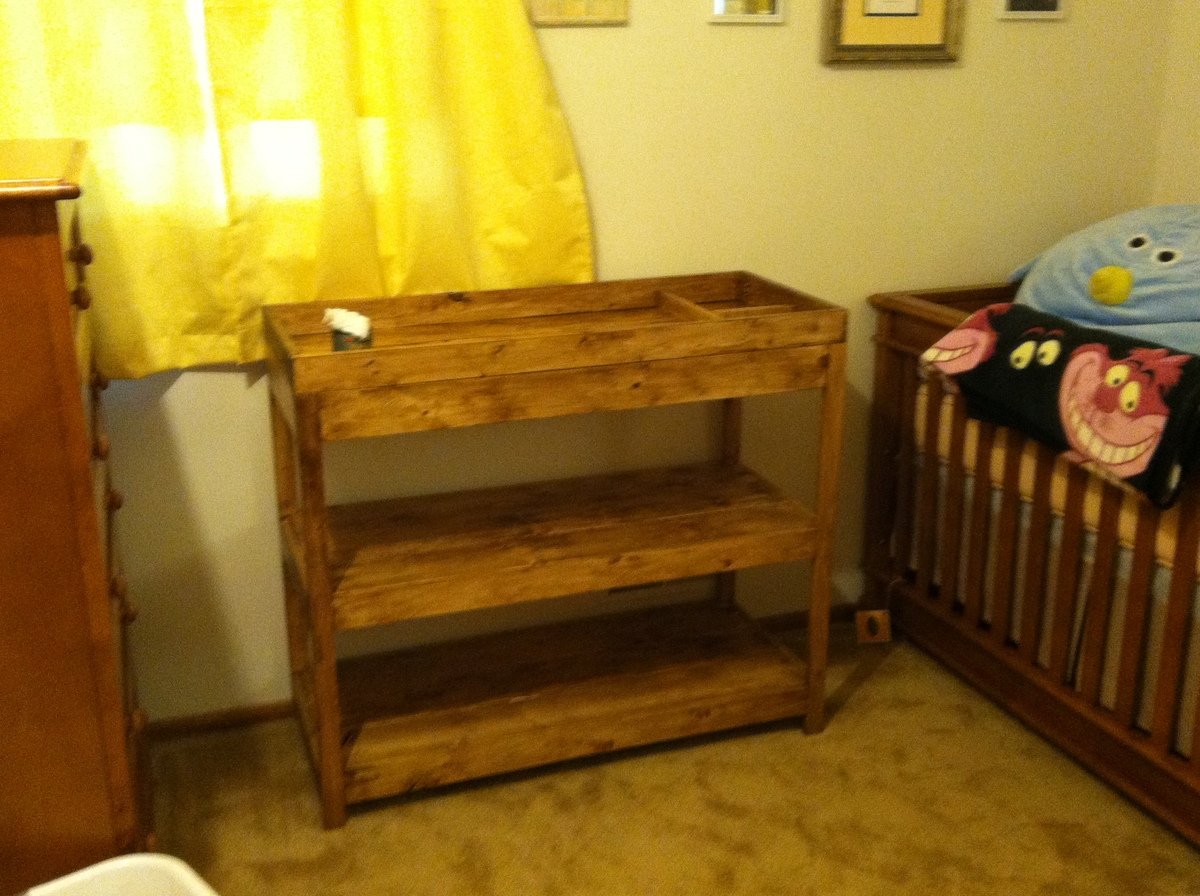
Simple Changing Table

Submitted by mamahowell on Sat, 02/09/2013 - 06:50

I built this changing table for my friend's new baby. I had to stain all the individual pieces and assemble it at her house. It wouldn't fit assembled in my vehicle! :)

I also built her a stepstool as well.

Estimated Cost
$60
Estimated Time Investment
Weekend Project (10-20 Hours)
Finish Used
Minwax Polyshade Golden Oak
Recommended Skill Level
Intermediate

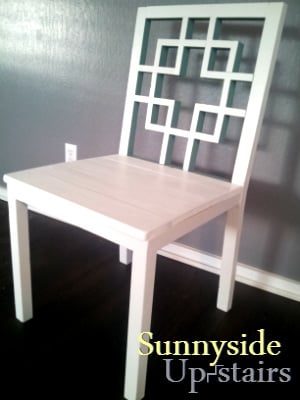
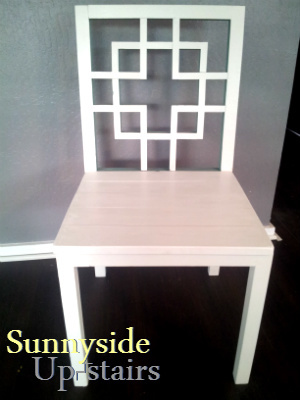
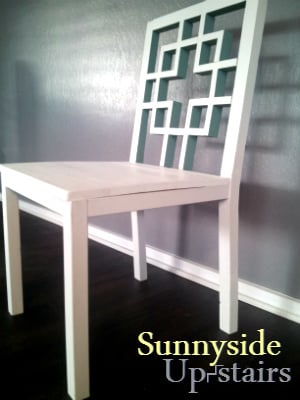
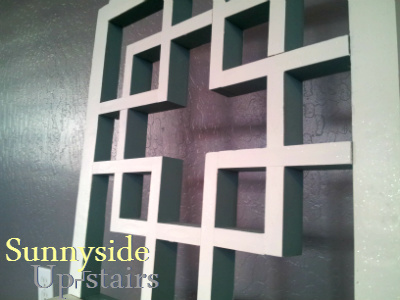
Squared2 Dining Chair

My husband and I loved the Squared2 Chair we saw on this site and we knew that we wanted to have this design for our dining chairs. As my building experience has increased, I thought it was time to try. This is my first chair: it is not perfectly executed, but I learned a few things along the way and I've decided to buy a few tools, too. I modified the square back pattern cut lengths explained briefly on my little blog.

Built from Plan(s)
Estimated Cost
$28 for me, using wood we already owned. $50 otherwise per Hawai'i prices.
Estimated Time Investment
Weekend Project (10-20 Hours)
Finish Used
Painted top coat: sample container of Valspar Mystique ($3, already owned) + Valspar shimmer powder ($7 new purchase) and Glidden Flat "oops" teal ($3 quart, already owned) inside squares on chair back.

Sealant/Protectant: Minwax Polycrylic ($17, already owned)
Recommended Skill Level
Intermediate

Comments

Tall Corner entertainment Unit

Submitted by Anonymous (not verified) on Thu, 06/01/2017 - 13:06

Loving this tall entertainment center to fit under my wall-mounted television!

The dogs cant knock over my photos anymore!!!!

Added some fancy trim pieces in the middle to match the trim on the bottom.  So sturdy and hides all my junk!

http://www.ana-white.com/2012/06/plans/tall-corner-media-console

Built from Plan(s)
Estimated Time Investment
Weekend Project (10-20 Hours)
Finish Used
fruitwood minsax stain
Recommended Skill Level
Intermediate

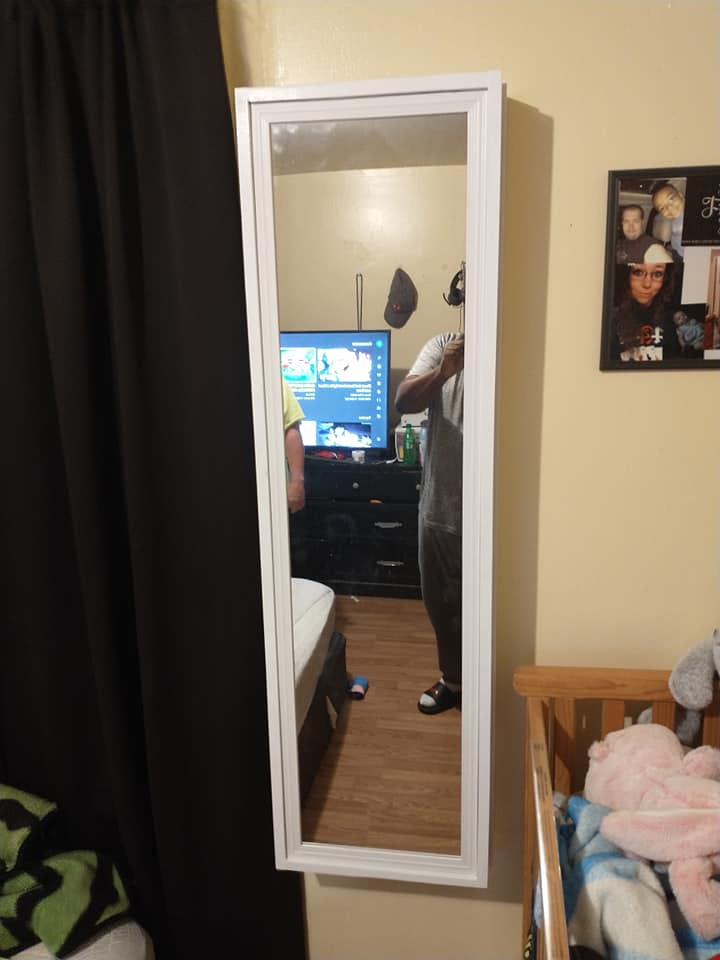
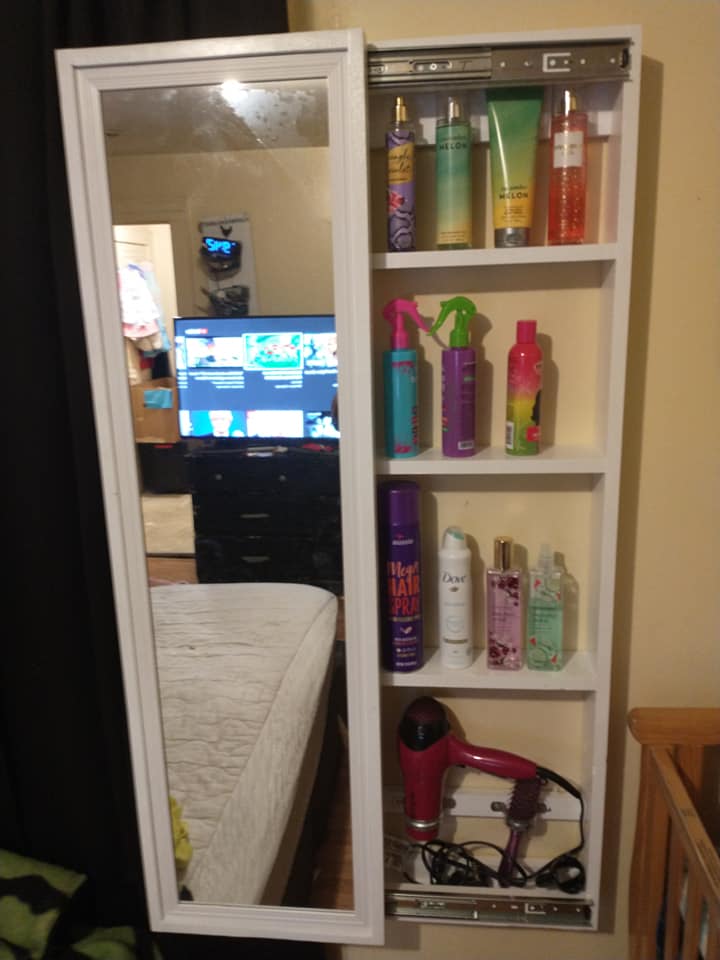
Full Length Mirror Sliding Beauty Storage Cabinet

Submitted by csihoratio on Tue, 07/20/2021 - 07:30

Great idea being my wife is not a hair person she really loves it.

Estimated Cost
$40
Estimated Time Investment
Afternoon Project (3-6 Hours)
Finish Used
primer and white paint
Recommended Skill Level
Beginner

Comments

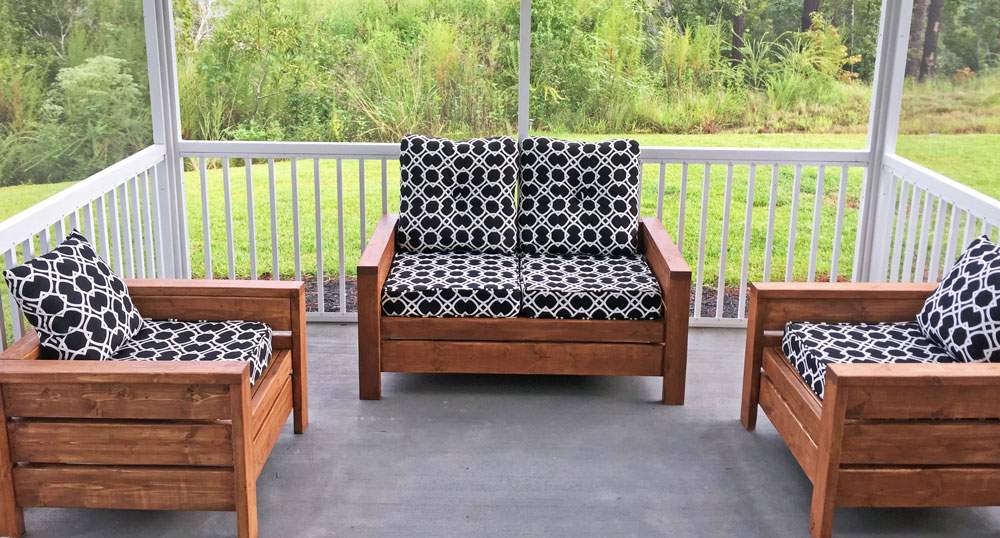
Chair Build with Loveseat Modification

Submitted by Joshh81 on Sat, 09/02/2017 - 12:26

Built the 2 chairs according to the plans, and then modified it for a bench that's 48" (our cushions are 23.5 x 23.5). Worked really well!

Estimated Time Investment
Weekend Project (10-20 Hours)
Recommended Skill Level
Beginner

Comments

Seasonal And Holiday

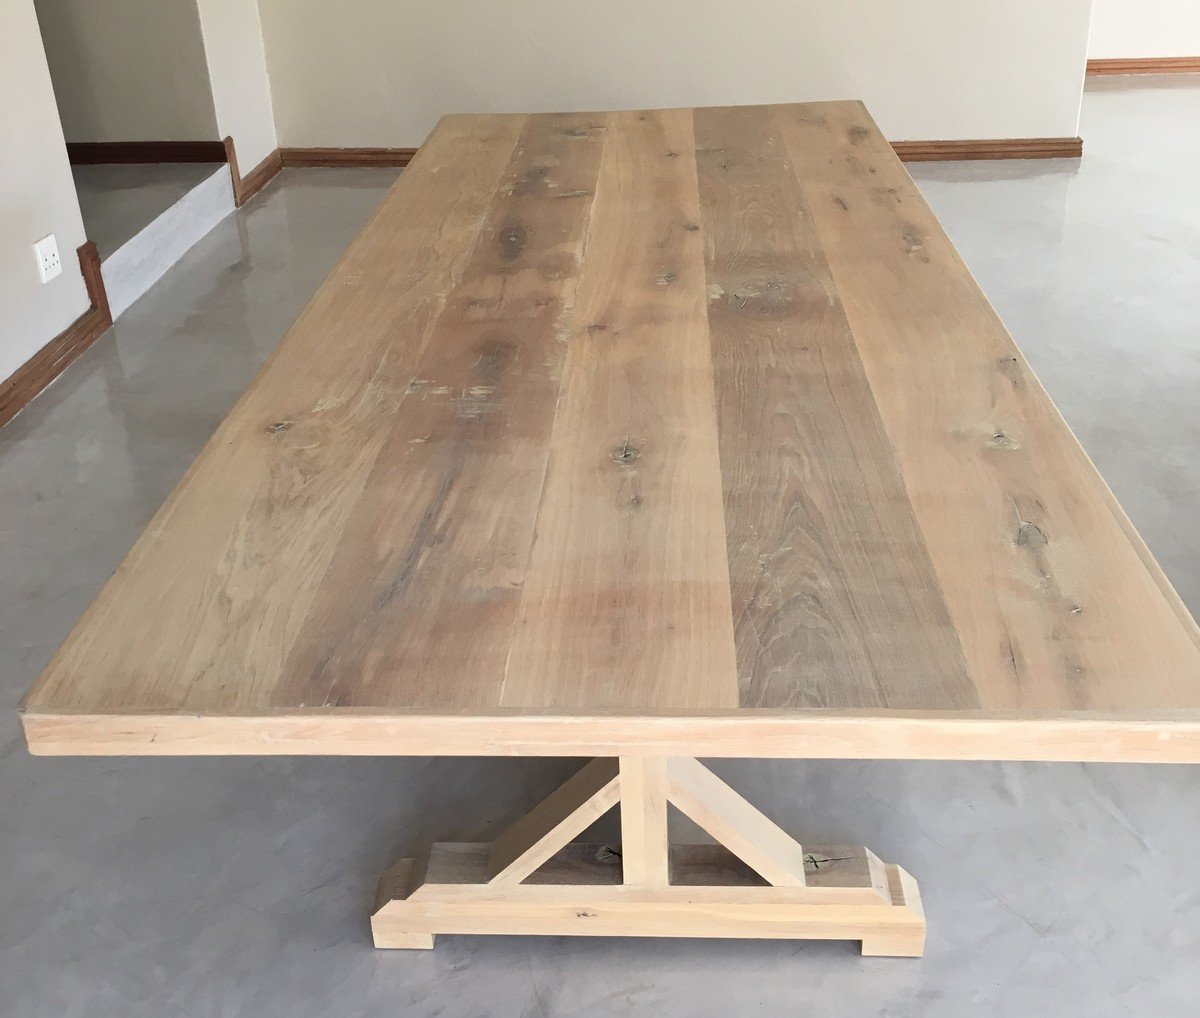
Farmstyle Table based on Ana's plans

Submitted by NaasMarais on Tue, 09/12/2017 - 02:03

This table is made out of Solid Oak and took me +- 6 weeks to complete.

Thanks to Ana White for the plans as I followed them to the "t" with some minor changes in the size

Final size is 10ft long x 47 1/4 inch wide and 29 9/64 inches high

Built from Plan(s)
Estimated Time Investment
Week Long Project (20 Hours or More)
Finish Used
Rubio Monocoat Oil 2C - Natural Color
Recommended Skill Level
Beginner

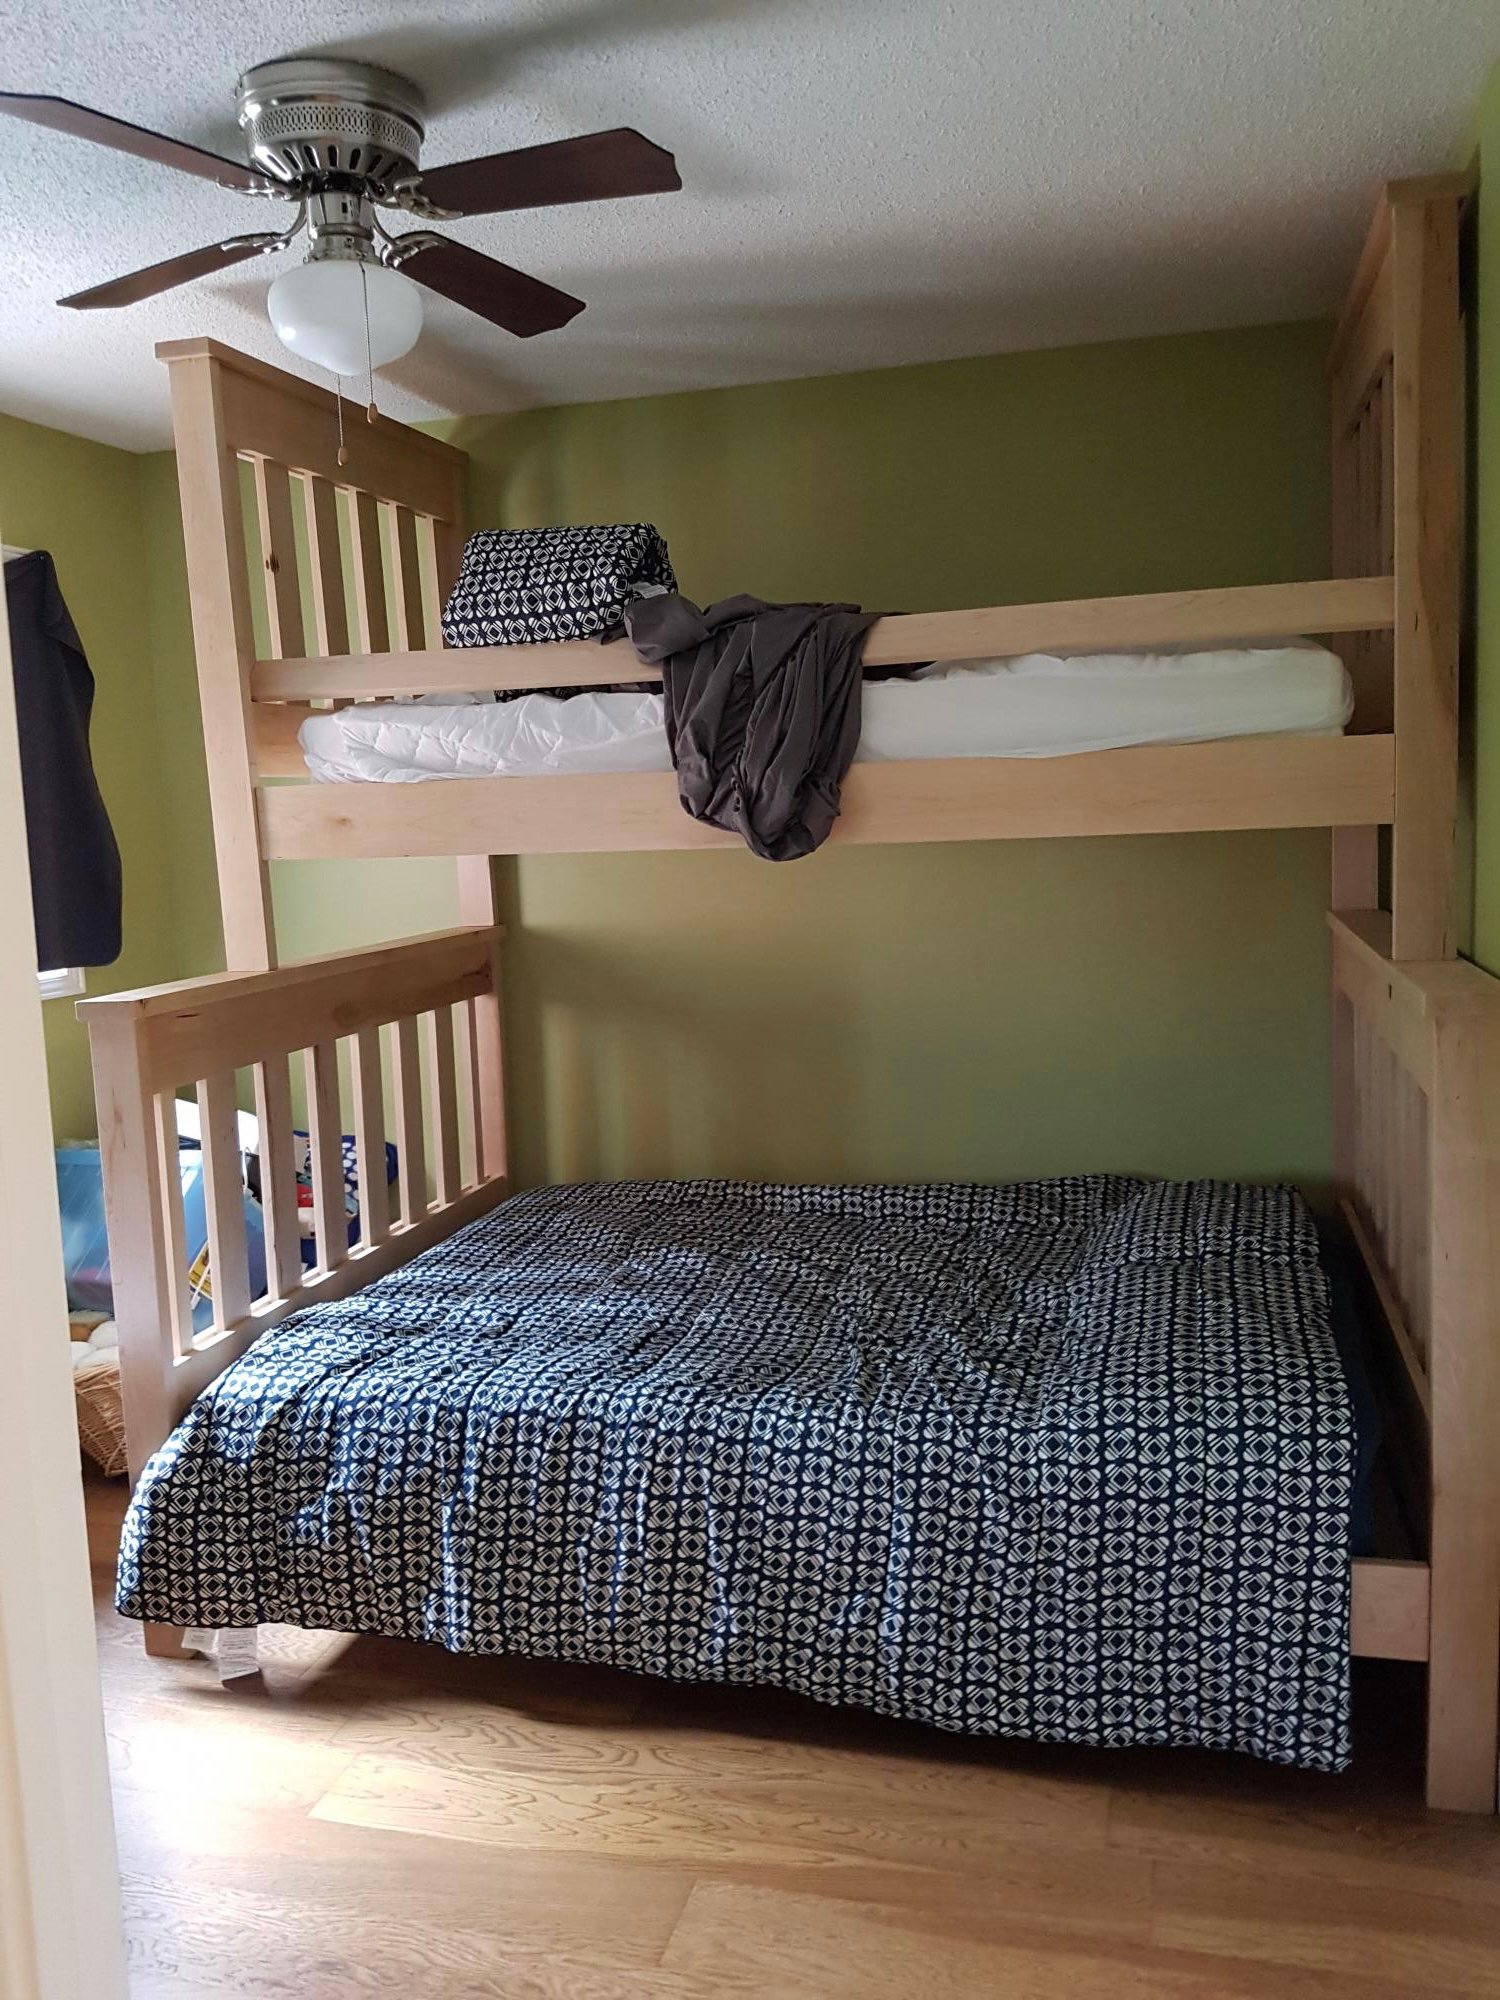
Bunk beds

Submitted by Anonymous (not verified) on Mon, 10/11/2021 - 08:03

Double bed at bottom, twin at top, still have to make the ladder

Comments

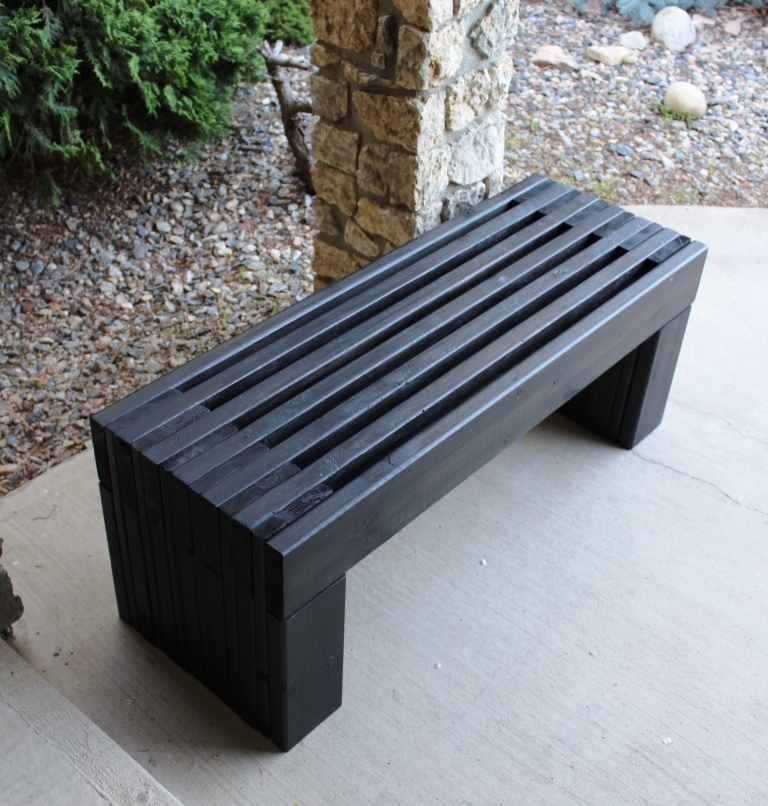
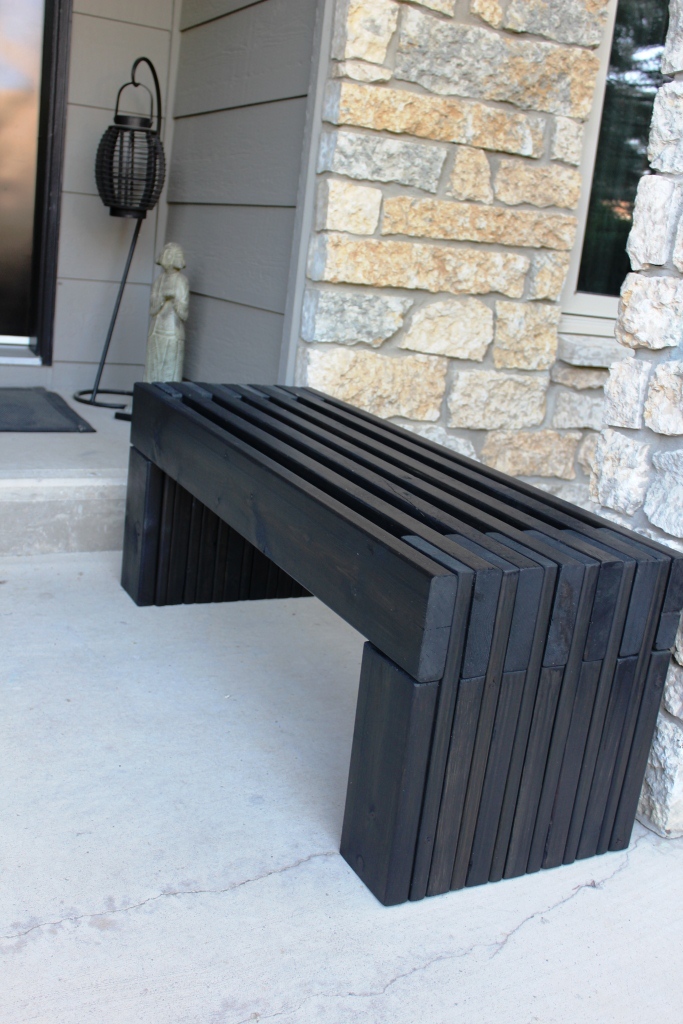
Modern Slat Top Outdoor Wood Bench

Submitted by ckaye on Sun, 07/07/2013 - 18:38

We wanted an outdoor bench for our front entrance way, this one is just what we were looking for! Thank you for the plans.

Estimated Time Investment
Day Project (6-9 Hours)
Finish Used
2" x 6" Spruce Black Stain
Recommended Skill Level
Beginner

Comments

beardjulie

Wed, 05/04/2016 - 10:01

I am really a novice. The plans say that the 1x4's should be 18-1/2" high? But the measurement of the vertical legs are 14", and the horizontal piece is 4" high, which adds to 18". It all looks flush in the photo. Could you explain what I am missing? Thank you so much!

In reply to by beardjulie

Rudystawarek

Wed, 05/04/2016 - 11:30

So from what i see in the plans Each 1x4 board is to be cut at 18" and the 2x4 is to be cut at 14-1/2". Cutting the 2x4 at 14-1/2" will insure the 1x4 and 2x4 are fluish for the end product. It doesnt seem to add up given the demensional names of the lumber hahaha however the actual width of a 2x4 (the one the will be going horizontal) is acutally 3-1/2". so then you cut you 2x4 leg piece at 14-1/2" and then lay the horizontal 2x4 on top the total height will be 18" and should be flush with your 1x4 that is cut at 18"

beardjulie

Fri, 05/27/2016 - 14:04

That is too funny! That is a dead give away that I'm new at this! Thanks you!

beardjulie

Fri, 05/27/2016 - 14:04

That is too funny! That is a dead give away that I'm new at this! Thanks you!