Mudroom Bench with Locker Hutch
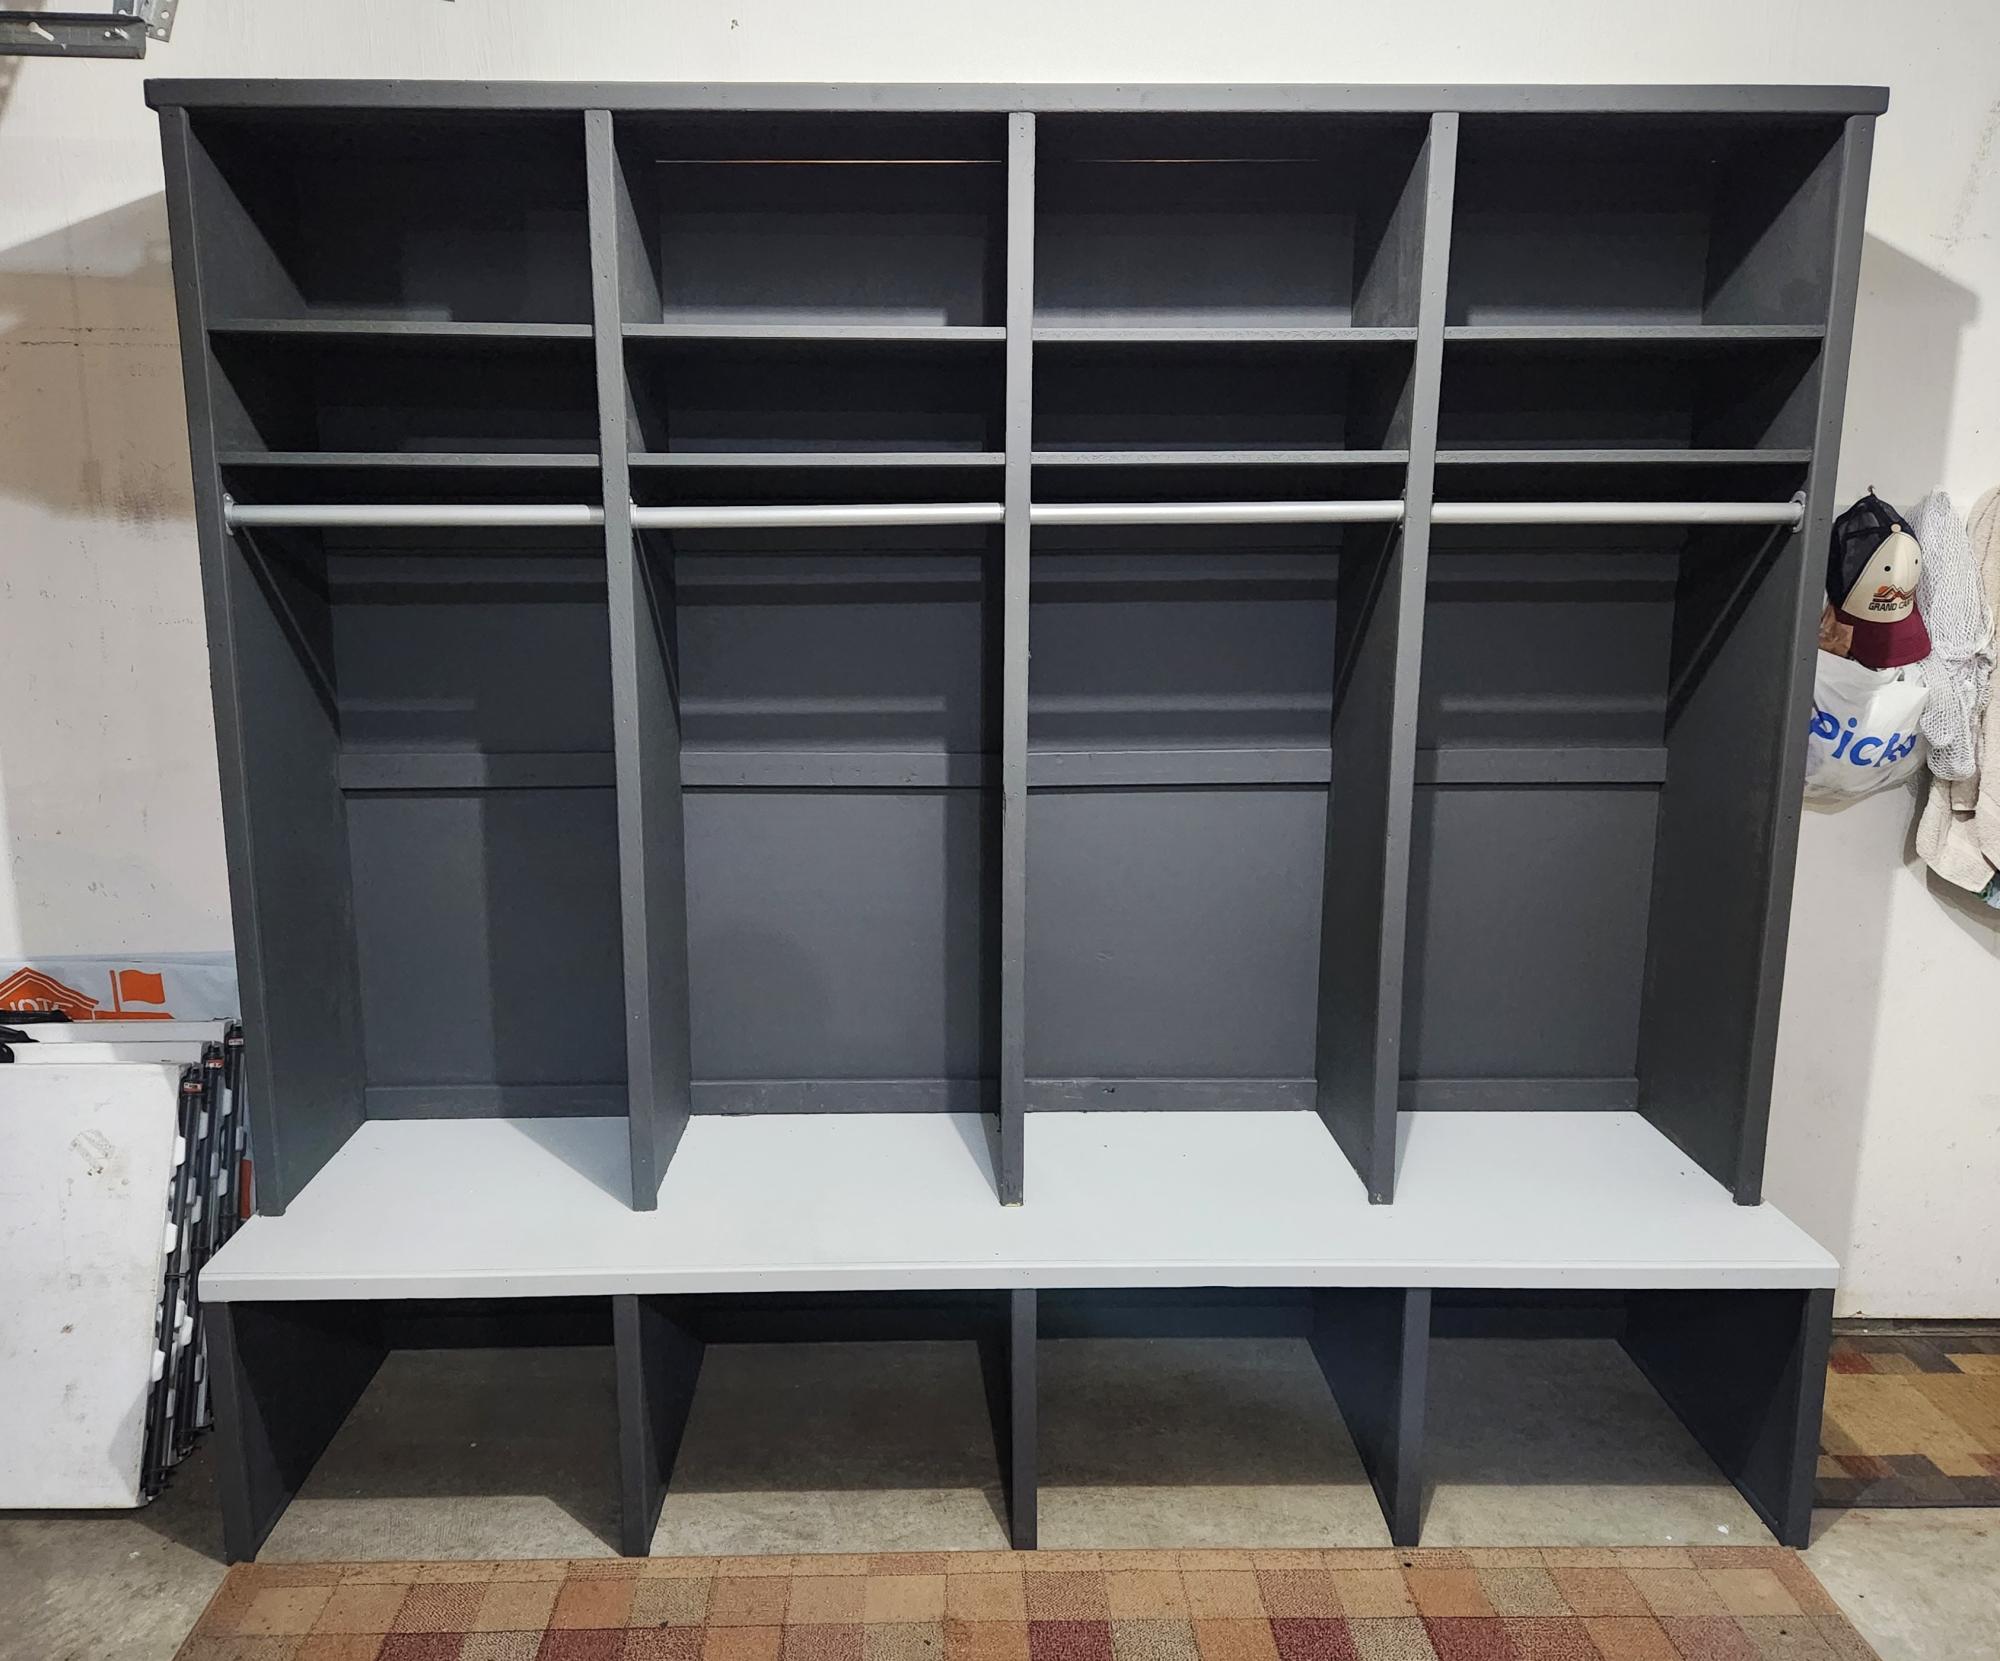
Garage bench with lockers. Plans and videos provided great inspiration and proves most anyone can do it.
Steve L. in Ohio
Garage bench with lockers. Plans and videos provided great inspiration and proves most anyone can do it.
Steve L. in Ohio
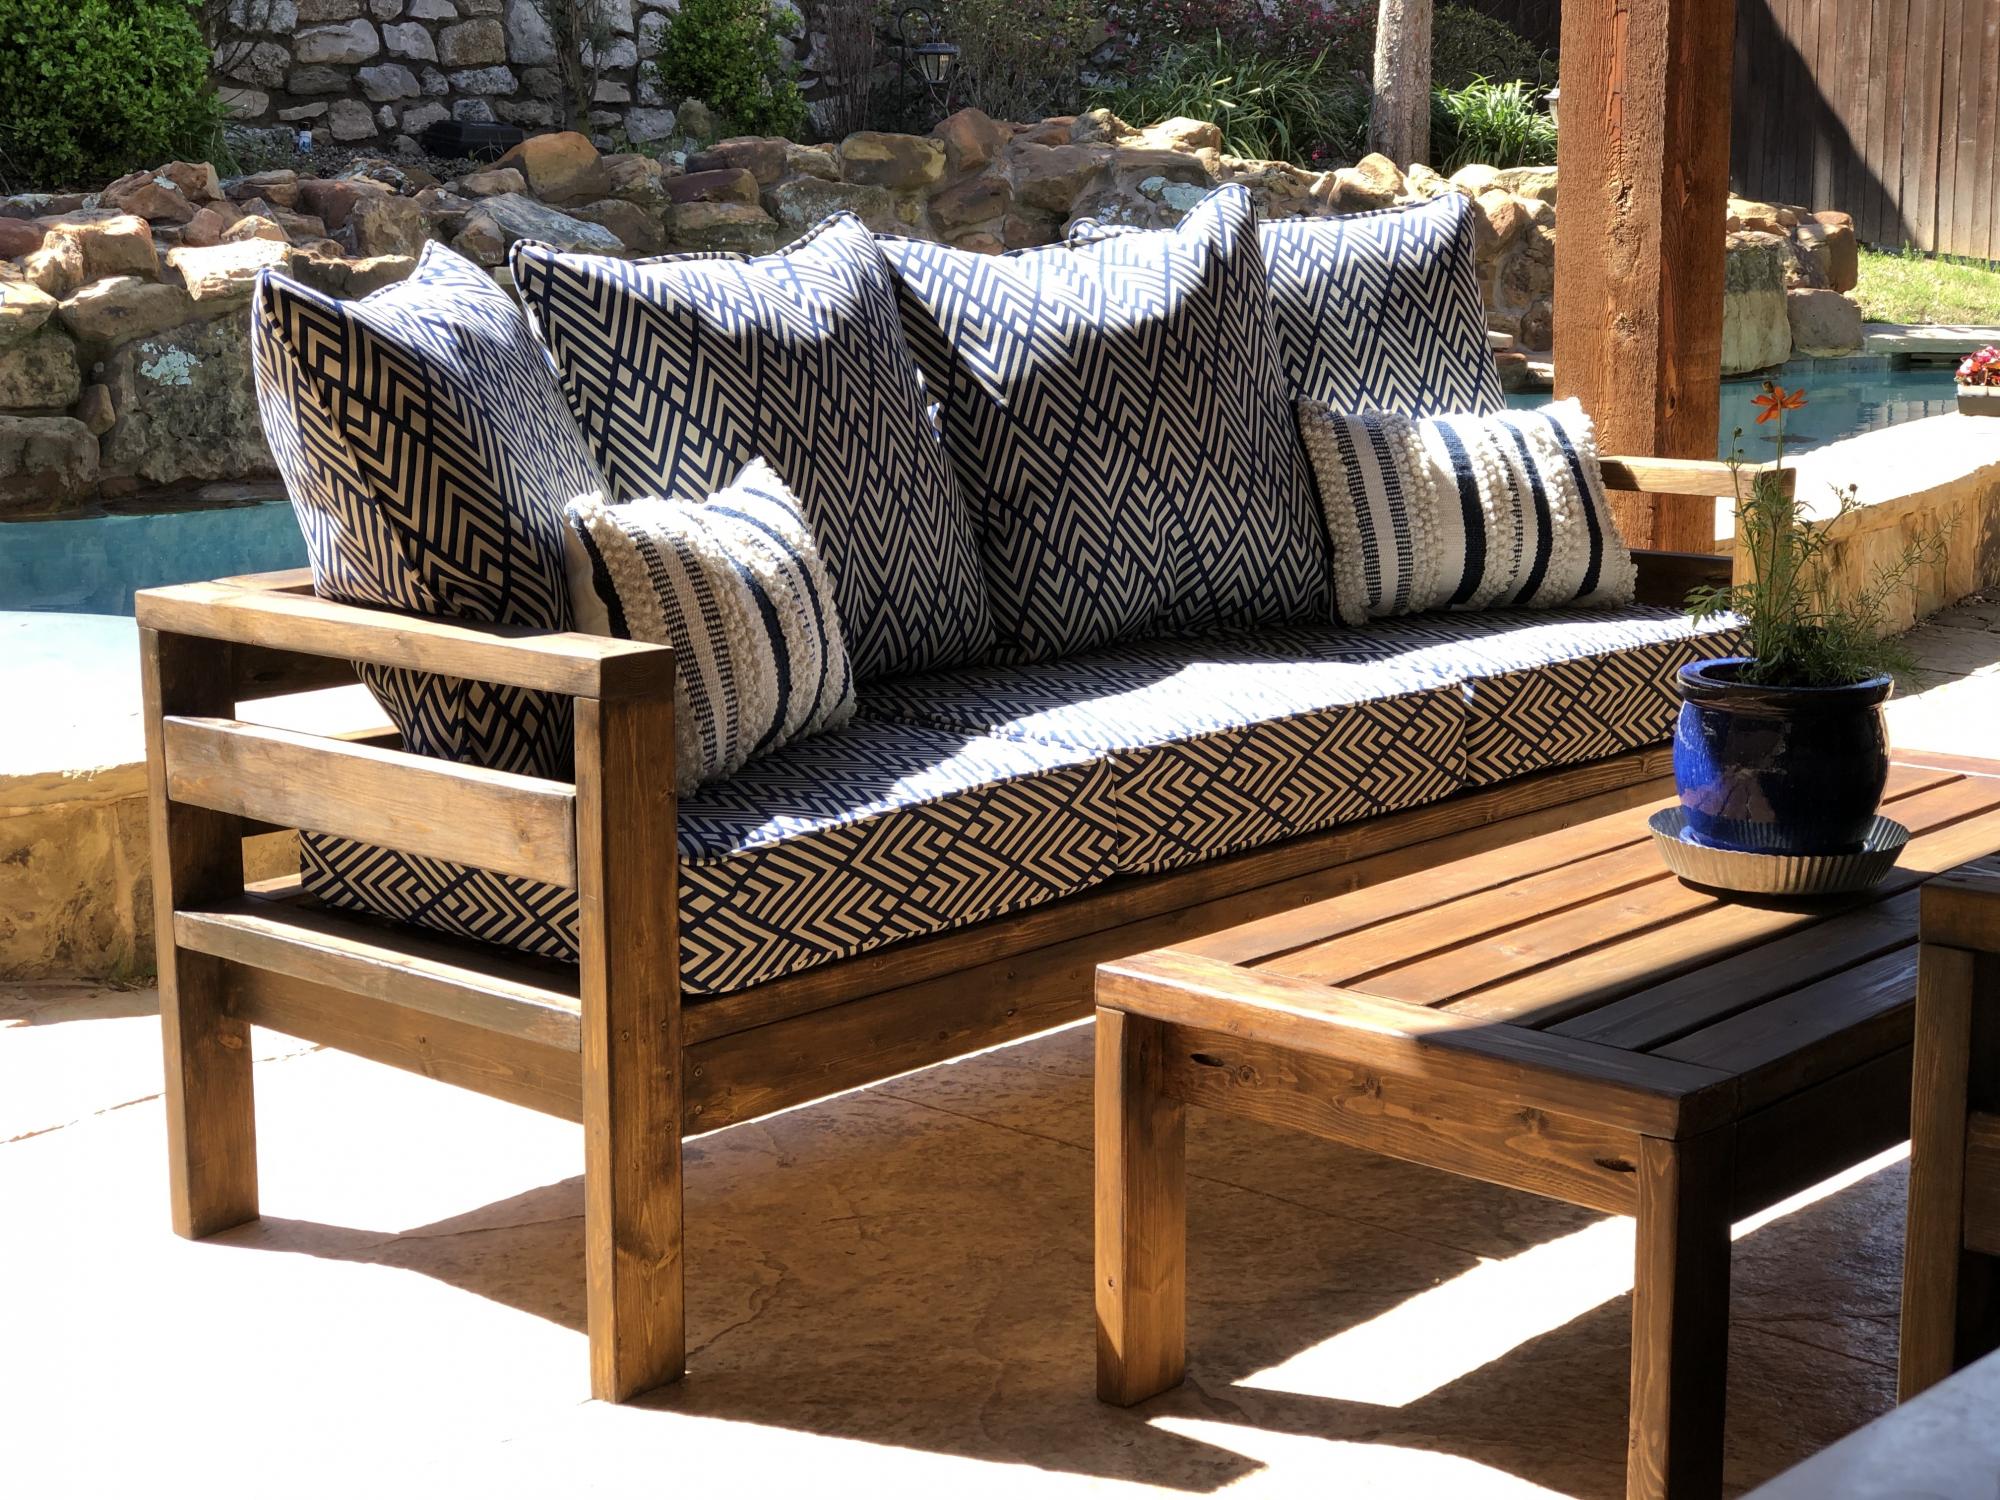
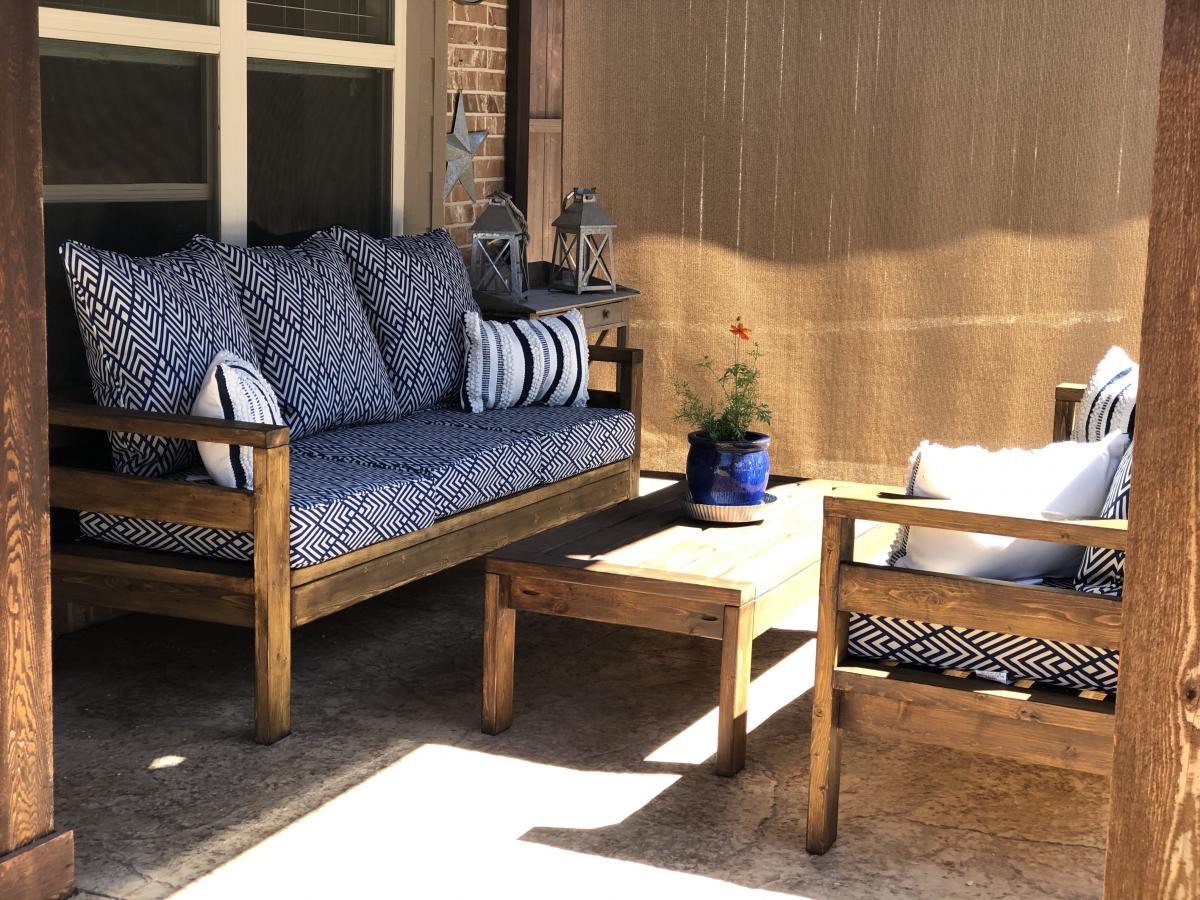
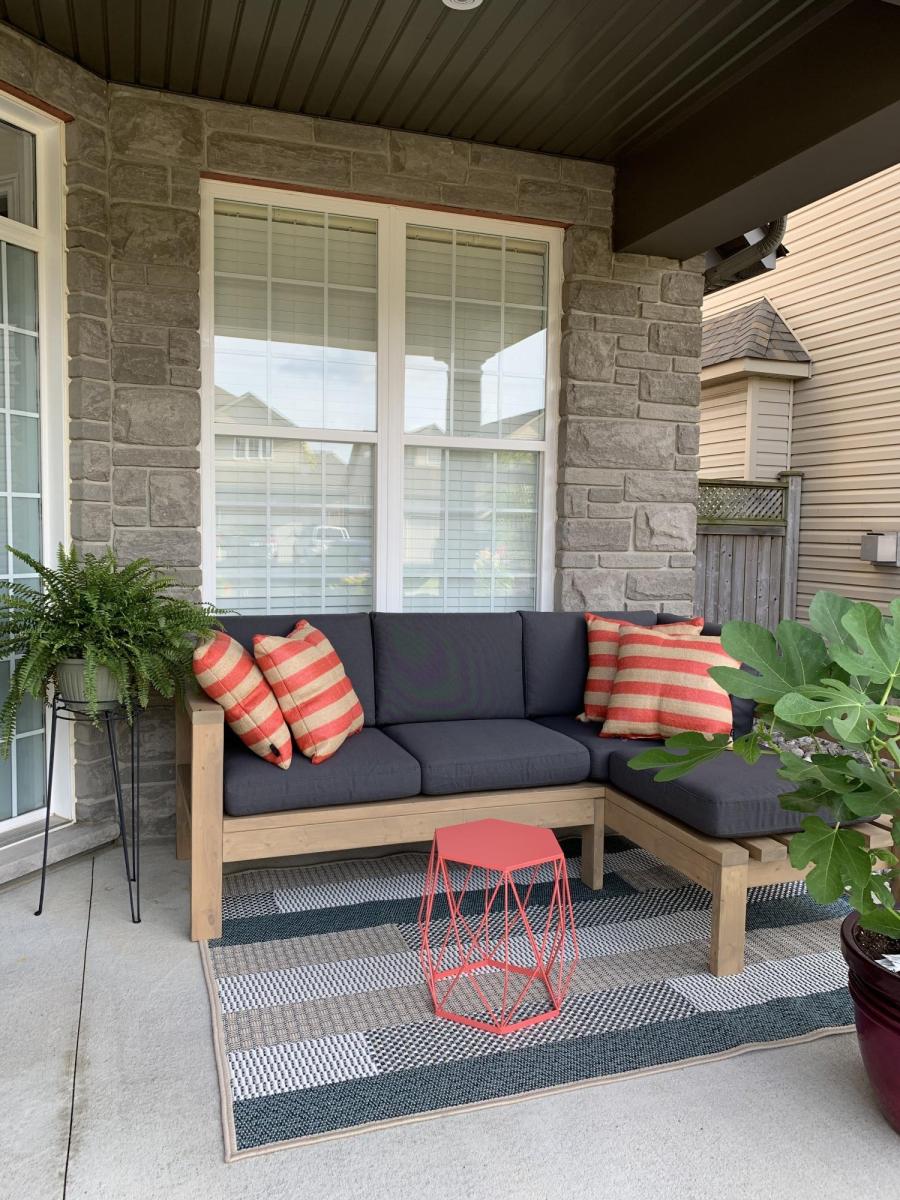
We LOVE our new patio set! Total cost of 2 sofas, coffee table and cushions: $530
Cushions B&G Retro Diamonds Deep Seat cushion set purchased from Walmart.
Thanks for sharing the plans!
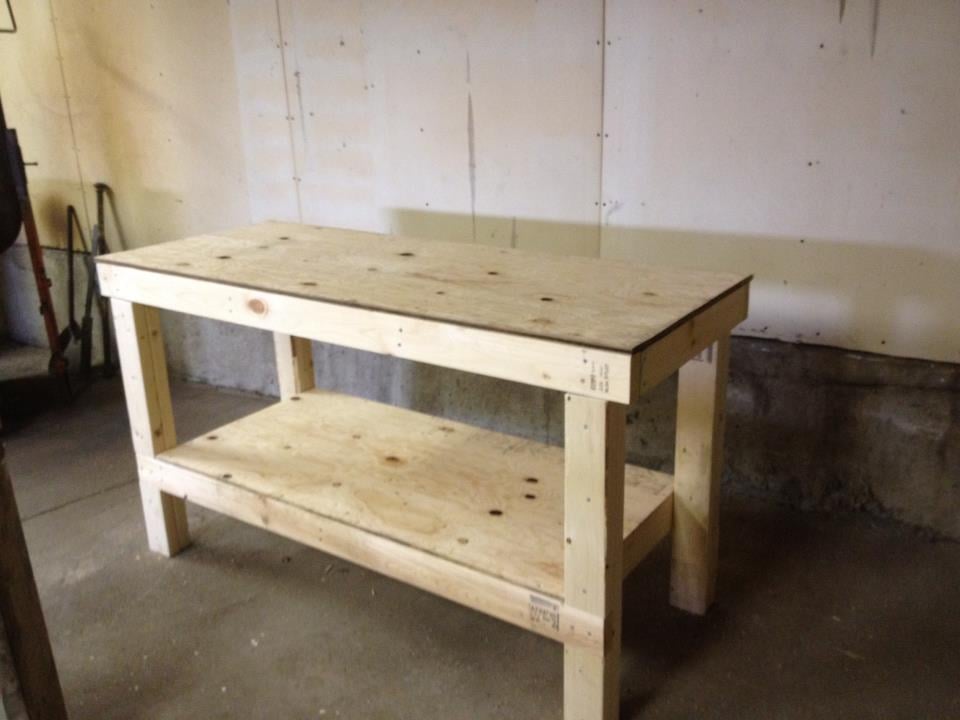
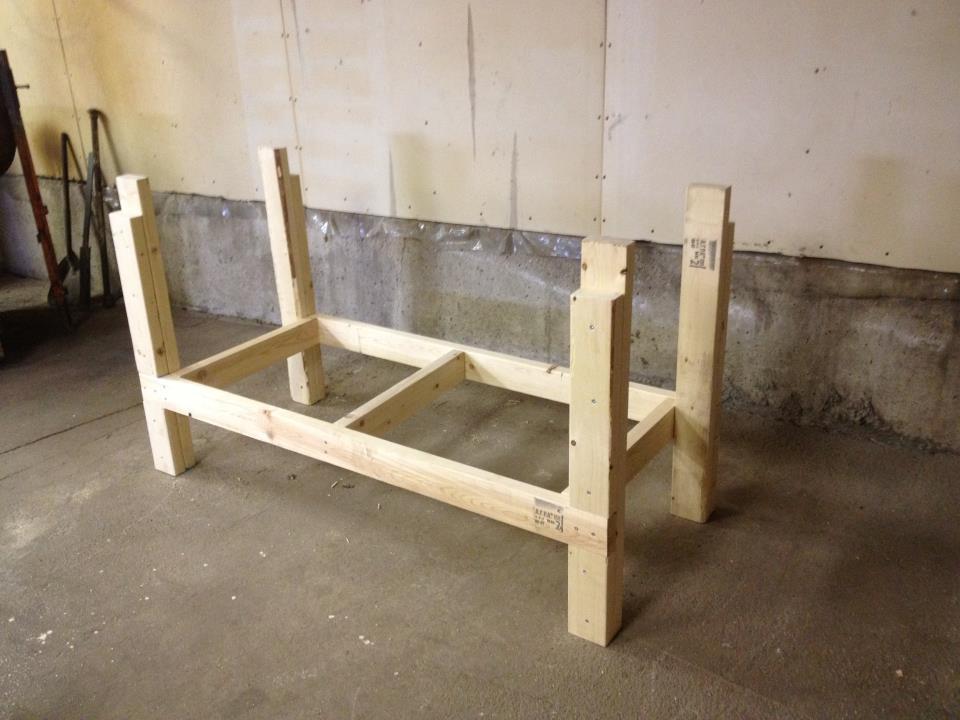
Easy to build! Took about 3 hours!

Sat, 05/19/2012 - 05:15
This is fantastic, just what I need to build. Would you mind sharing some measurements such as height, width and depth.
In reply to Great Workbench by deannaf
Sat, 05/19/2012 - 16:58
I think all the dimensions were in the pattern.
Mon, 05/21/2012 - 05:19
oops thanks I feel a bit embarrassed. Going to the plan now, thanks for sharing your awesome build
Not pretty, but not bad for a start while working with an 11,7 and 5 yr old.
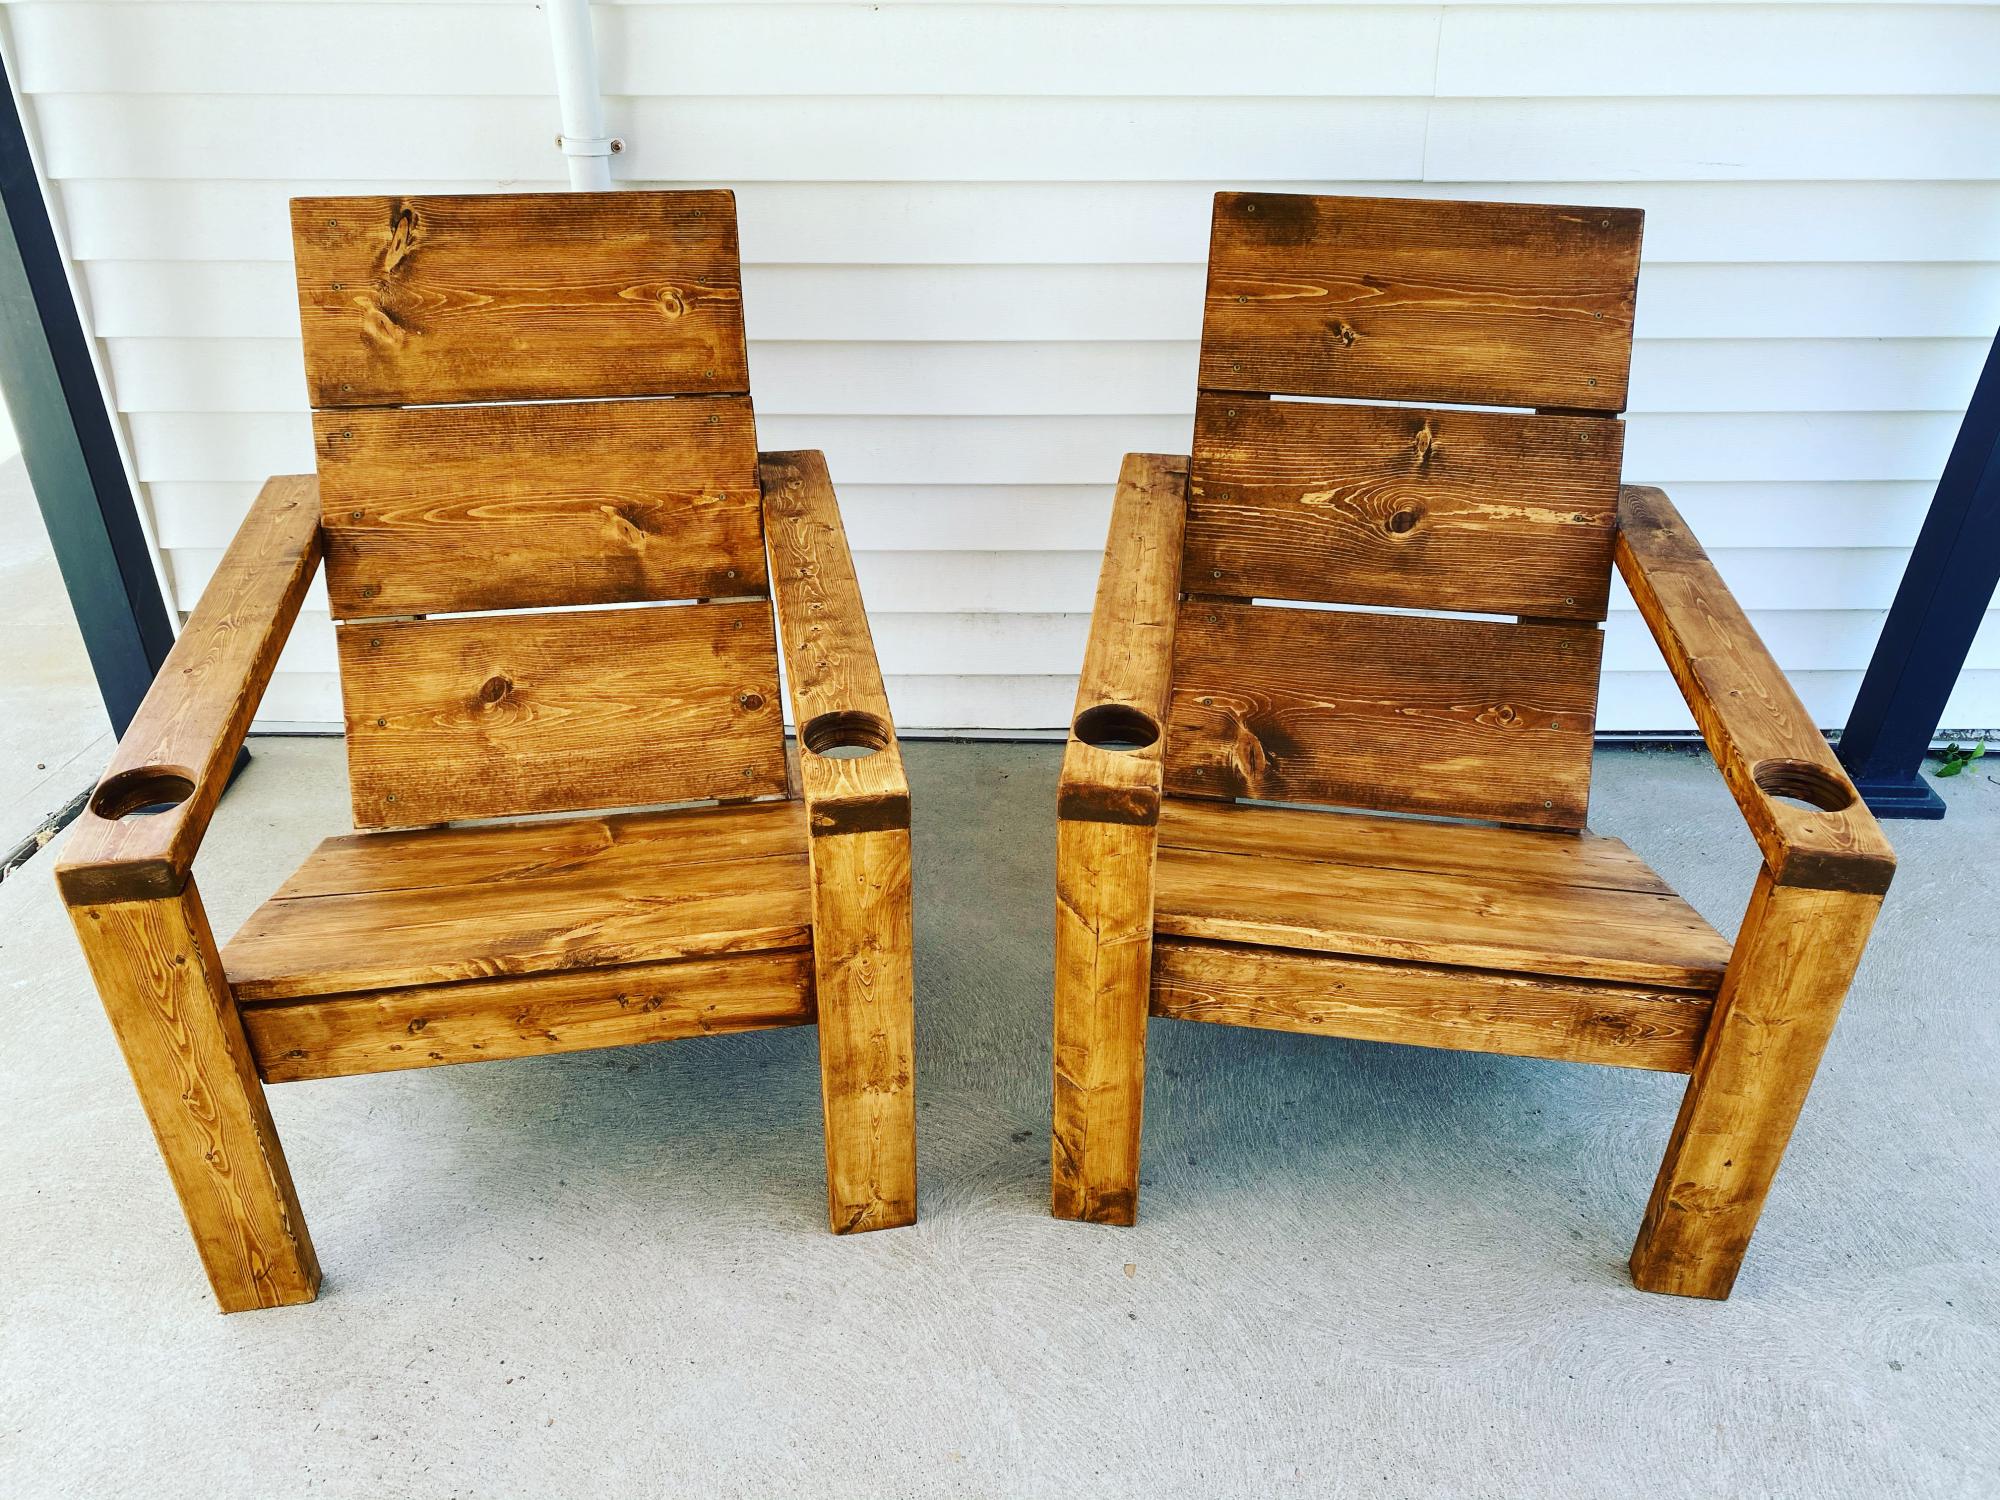
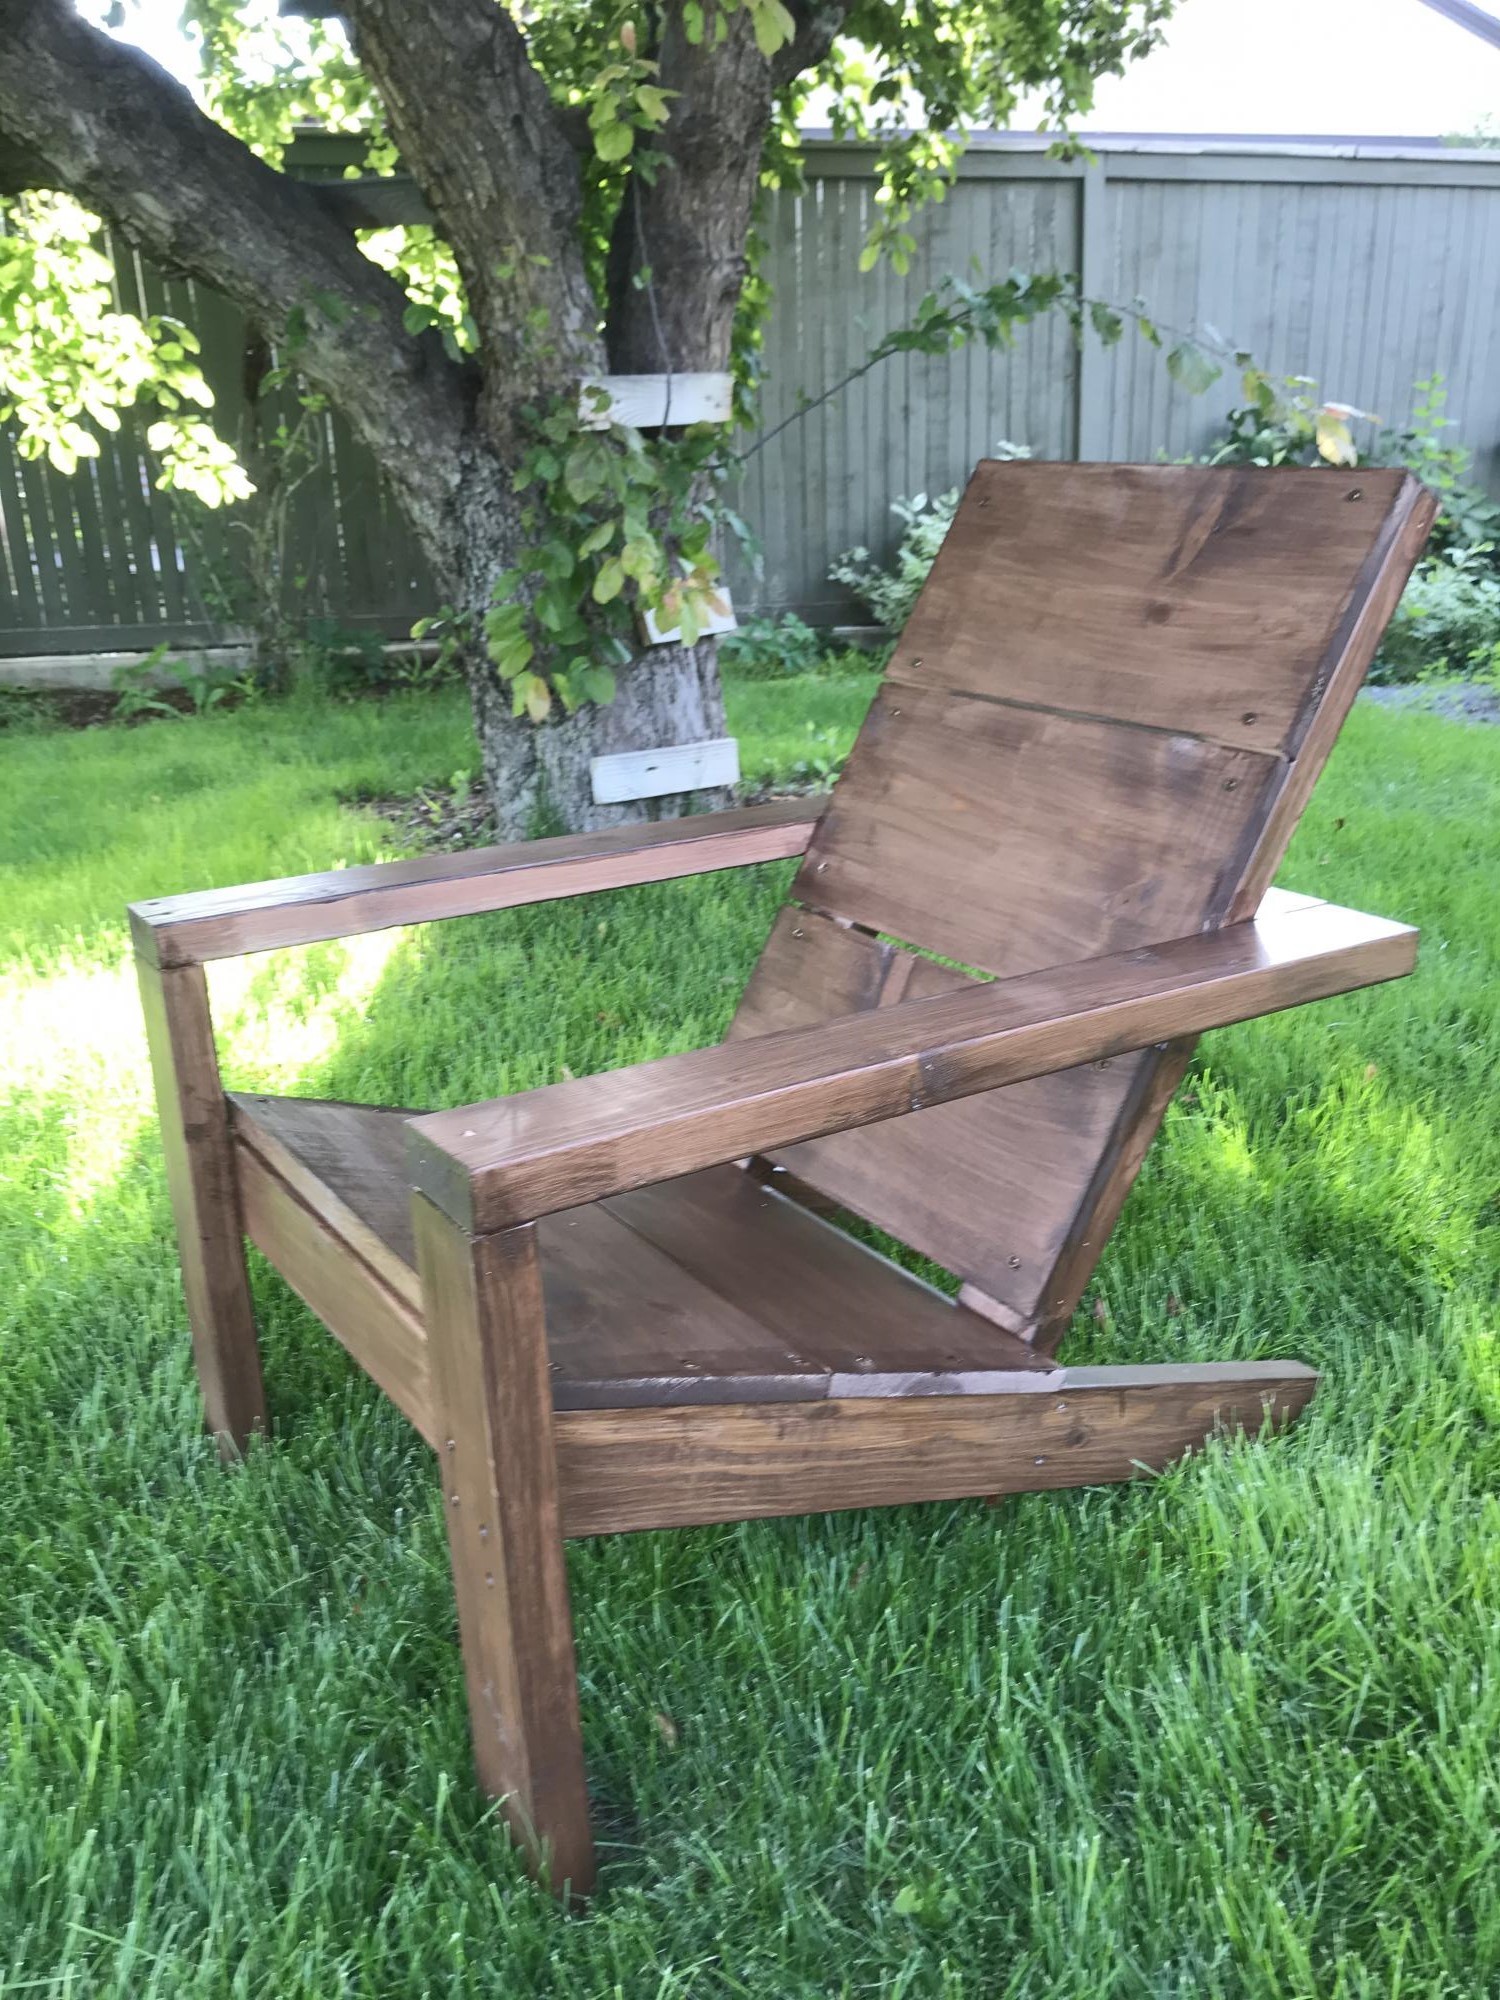
Modern Adirondack chairs with added cup holder holes. Will be adding cup holder inserts as well.
Super easy to build ,thanks for the instructions!!!!!!
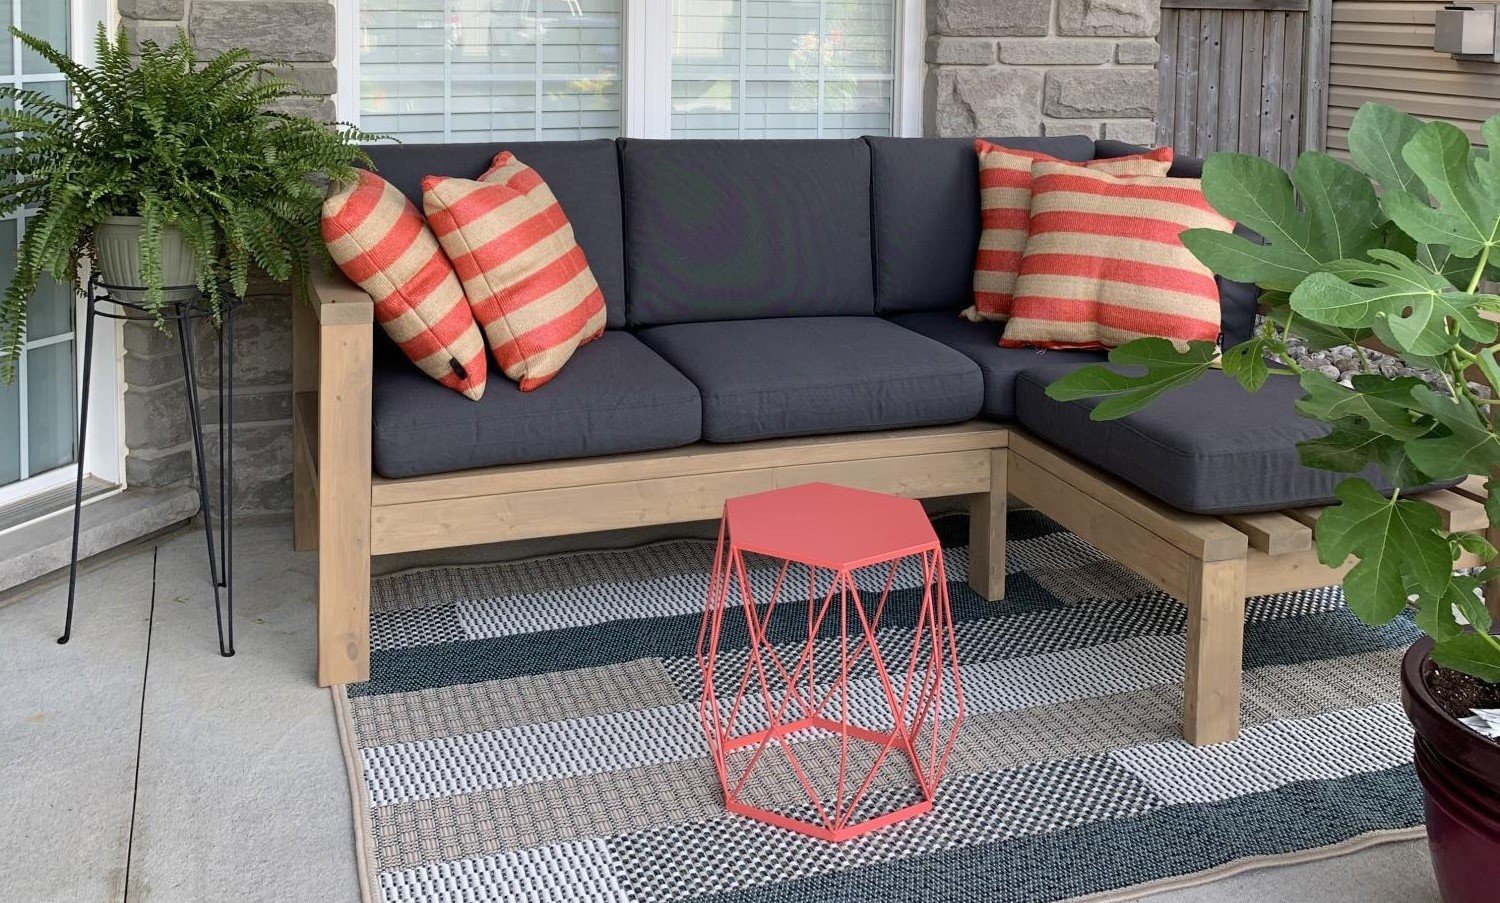
This project was quite easy and did not require many tools. The plan allowed me to adjust the measurements easily so it could fit in that space. I used regular 2x4’s and treated the wood with Mountain Ash colour in a semi-transparent stain from Sherwin Williams, I just love the colour! I build 2 - 2 seaters exactly the same. The one side has no arm, as I wanted it to look like a lounge chair. I love to sit in the corner and stretch my legs 😊. I bought the cushion covers from IKEA, and got good quality foam.
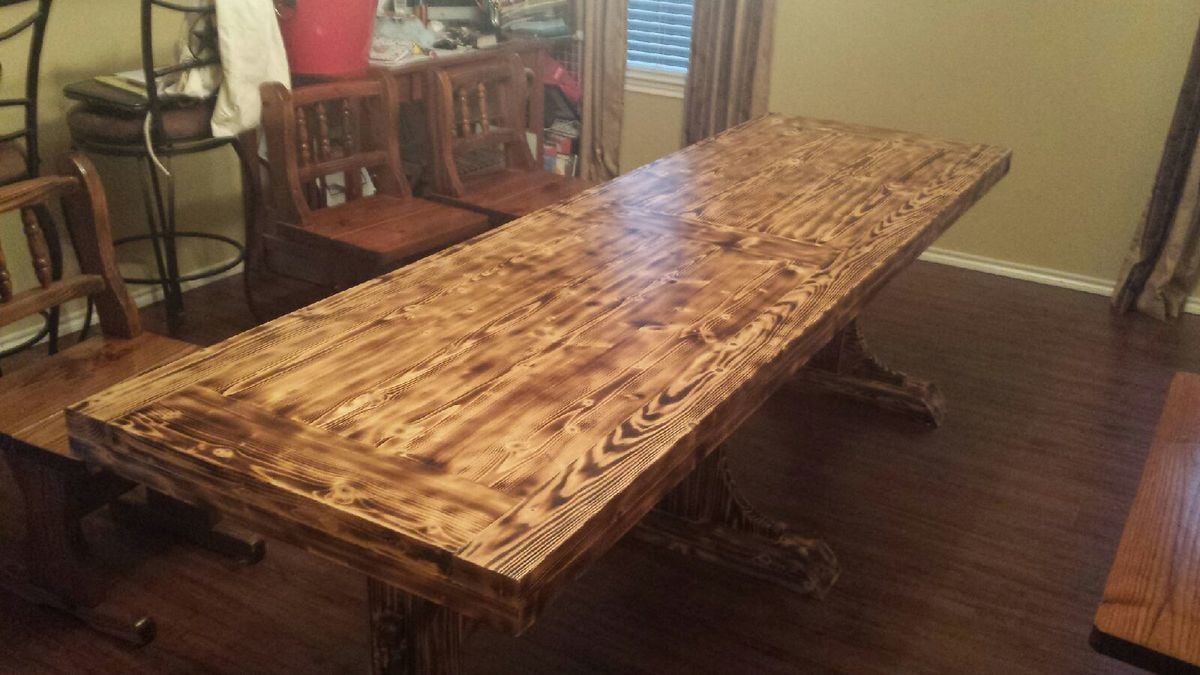
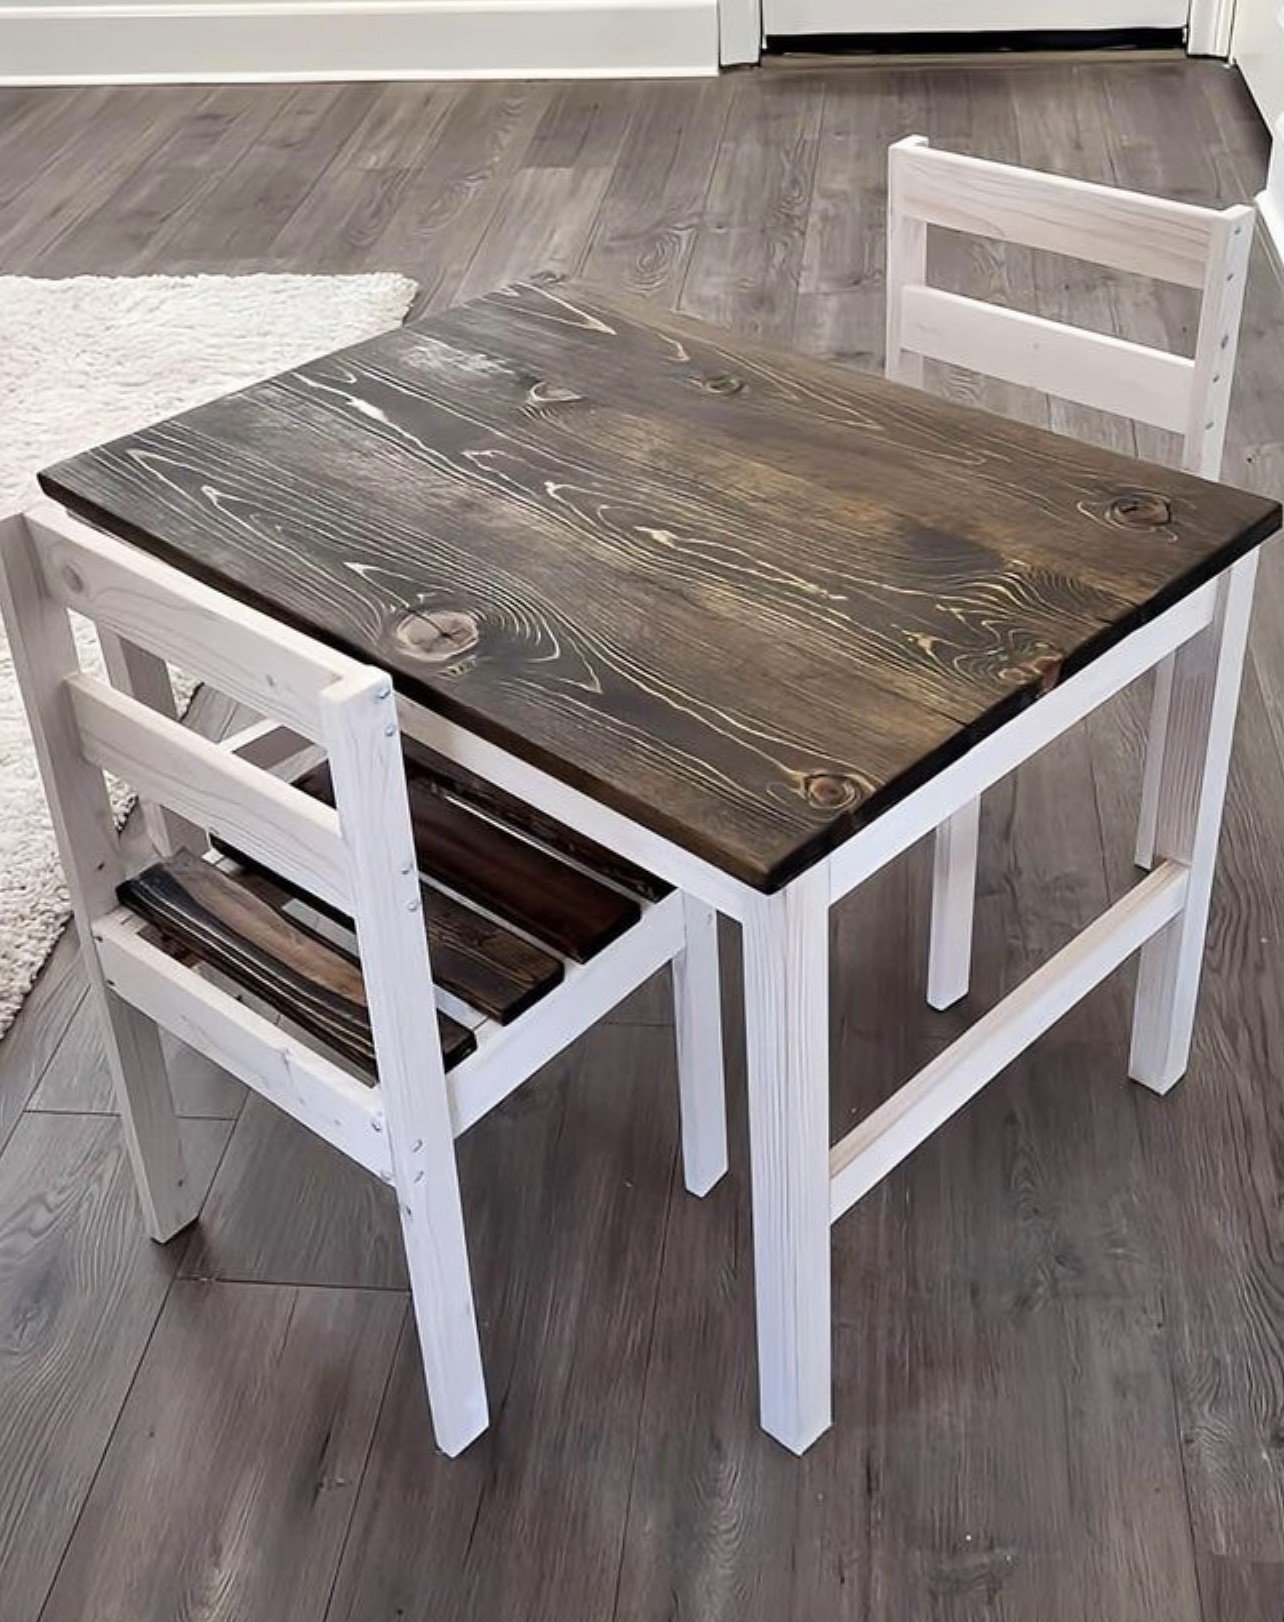
My wife wanted an 8 foot long table, but wanted it to be a little narrower that as standard table. This one ended up being 97.5" x 29" I used a torch to scorch the wood then apply poly finish.
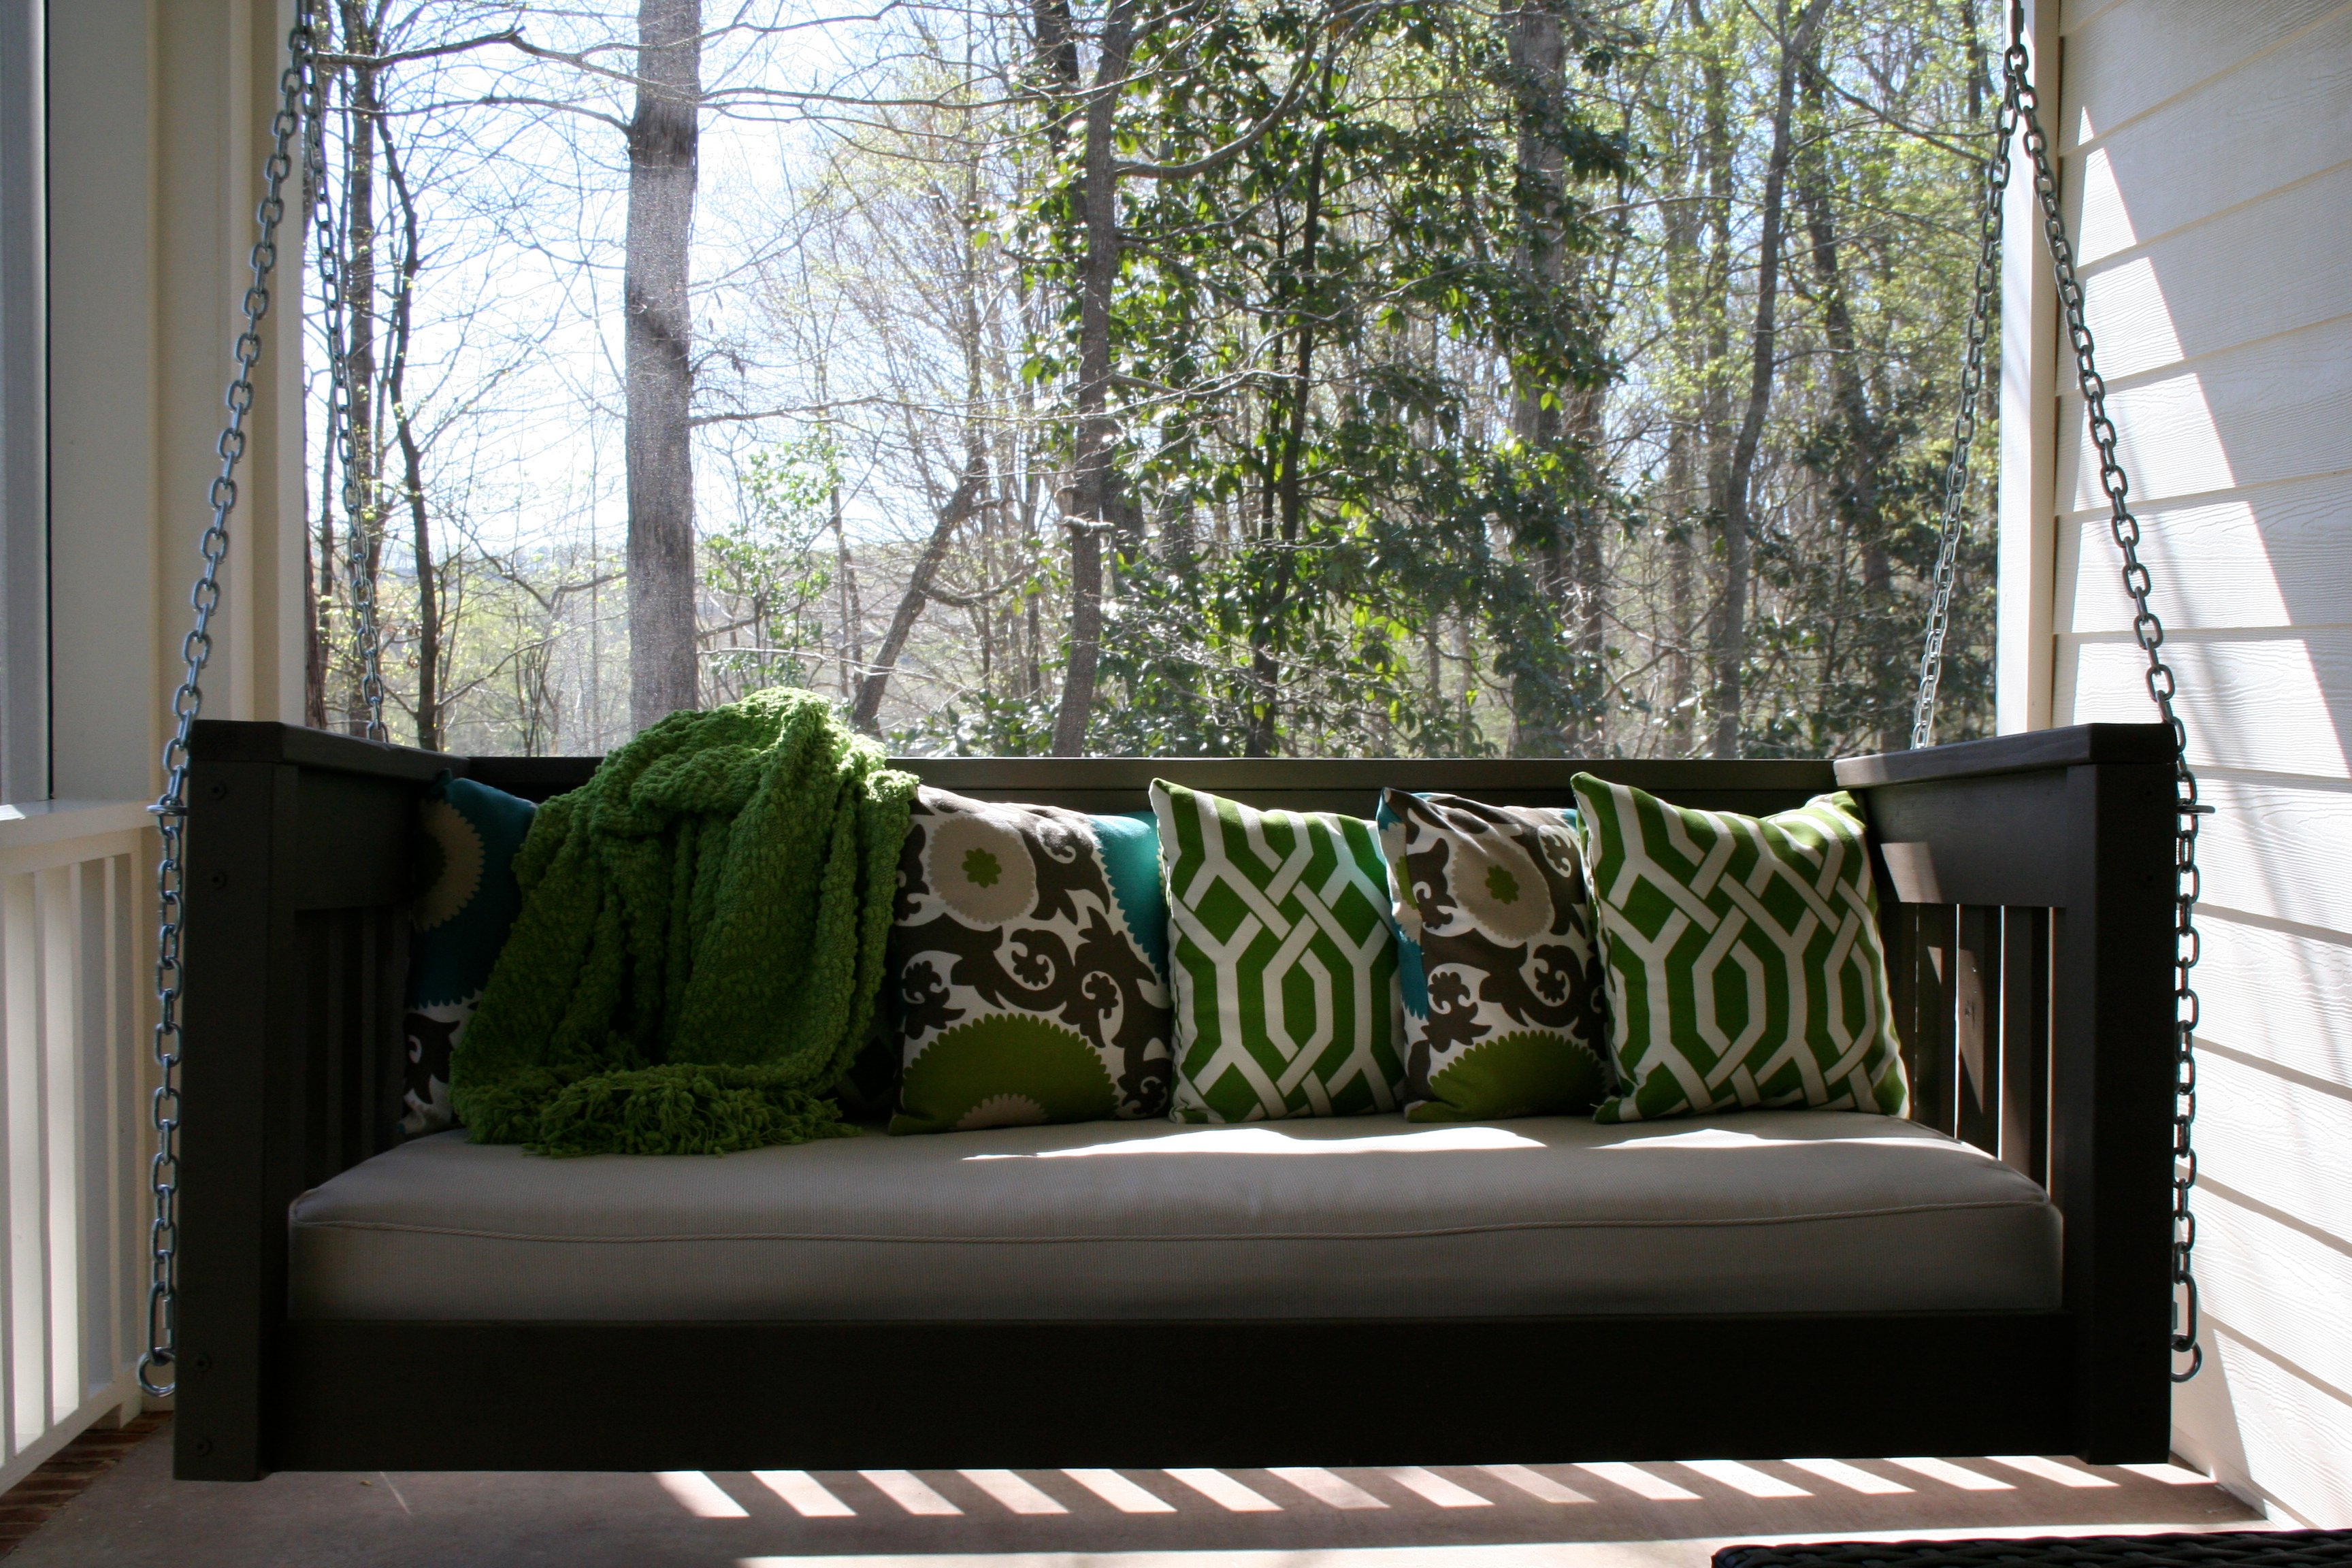
I wanted to make a large porch swing but just couldn't find the exact design. I wanted to be able to stretch out and take a nap but also be able to have a back to lean against. Most plans that I found were just basically a box you could put a mattress in and then hang. So I found Ana's plan for a basic daybed and chopped off the legs and raised the back just a little. It's perfect!! Thanks Ana. The plans were very simple to follow. This is my first project and I think it turned out great.
Sat, 07/26/2014 - 07:37
Looking forward to do one like this !
Do you still have the measurement for the back you have raised ?
Really nice !
Thanks :-)
Sat, 09/20/2014 - 16:33
Thanks! The height of the back and sides is 28 inches.
Tue, 11/18/2014 - 17:38
We made the bed and it looks awesome! Thanks for making the plans easy to follow and providing the picture, which was a fantastic reference. I do have a question for you in regard to how you hung the beg. We would like to hang this from our porch, but can see that we simply have 2x4 roof trusses. We are concerned that the weight of the bed (pretty heavy) plus mattress and support plus a person may be too much. Any additional information you could provide on how you hung the swing would be greatly appreciated! Thanks!
Thanks for the plans, I was able to make this for a friend's birthday. I made it from pallet wood and it was so easy, I did a mitred top though because I wanted it to look neat and trim. .

My wife wanted a portable farmhouse style rustic dining table that she could take to photoshoots and other events. I started with a top made with 2x6s and make the legs with 4x4s and the rest with 2x4s. Stain is dark walnut with a clear coat on top.
The legs are attached with door hinges and can fold into the top for more portable use. There is also a board that can be inserted in the bottom slots so that when in use the legs can not fold in.
So far the rustic dining table is working out great, although this table is VERY HEAVY and needs 2-3 strong people to carry it around. I have also made a lighter version using 1x6 tops and all 2x4 frame and legs.
Photos courtesy of Jennifer Blair Photography Designed by Amber Veatch Designs


Wed, 06/12/2013 - 04:15
Oh I really hope that you are able to put these modified plans up!!! A foldable farmhouse table.... what will they think of next!

Sat, 10/22/2016 - 12:25
Stunningly beautiful! Thank you for sharing and inspiring!
Sat, 10/22/2016 - 17:21
I cannot find the plans for the tiny house drawers any where. Can someone please point me in the right direction. Thank you!
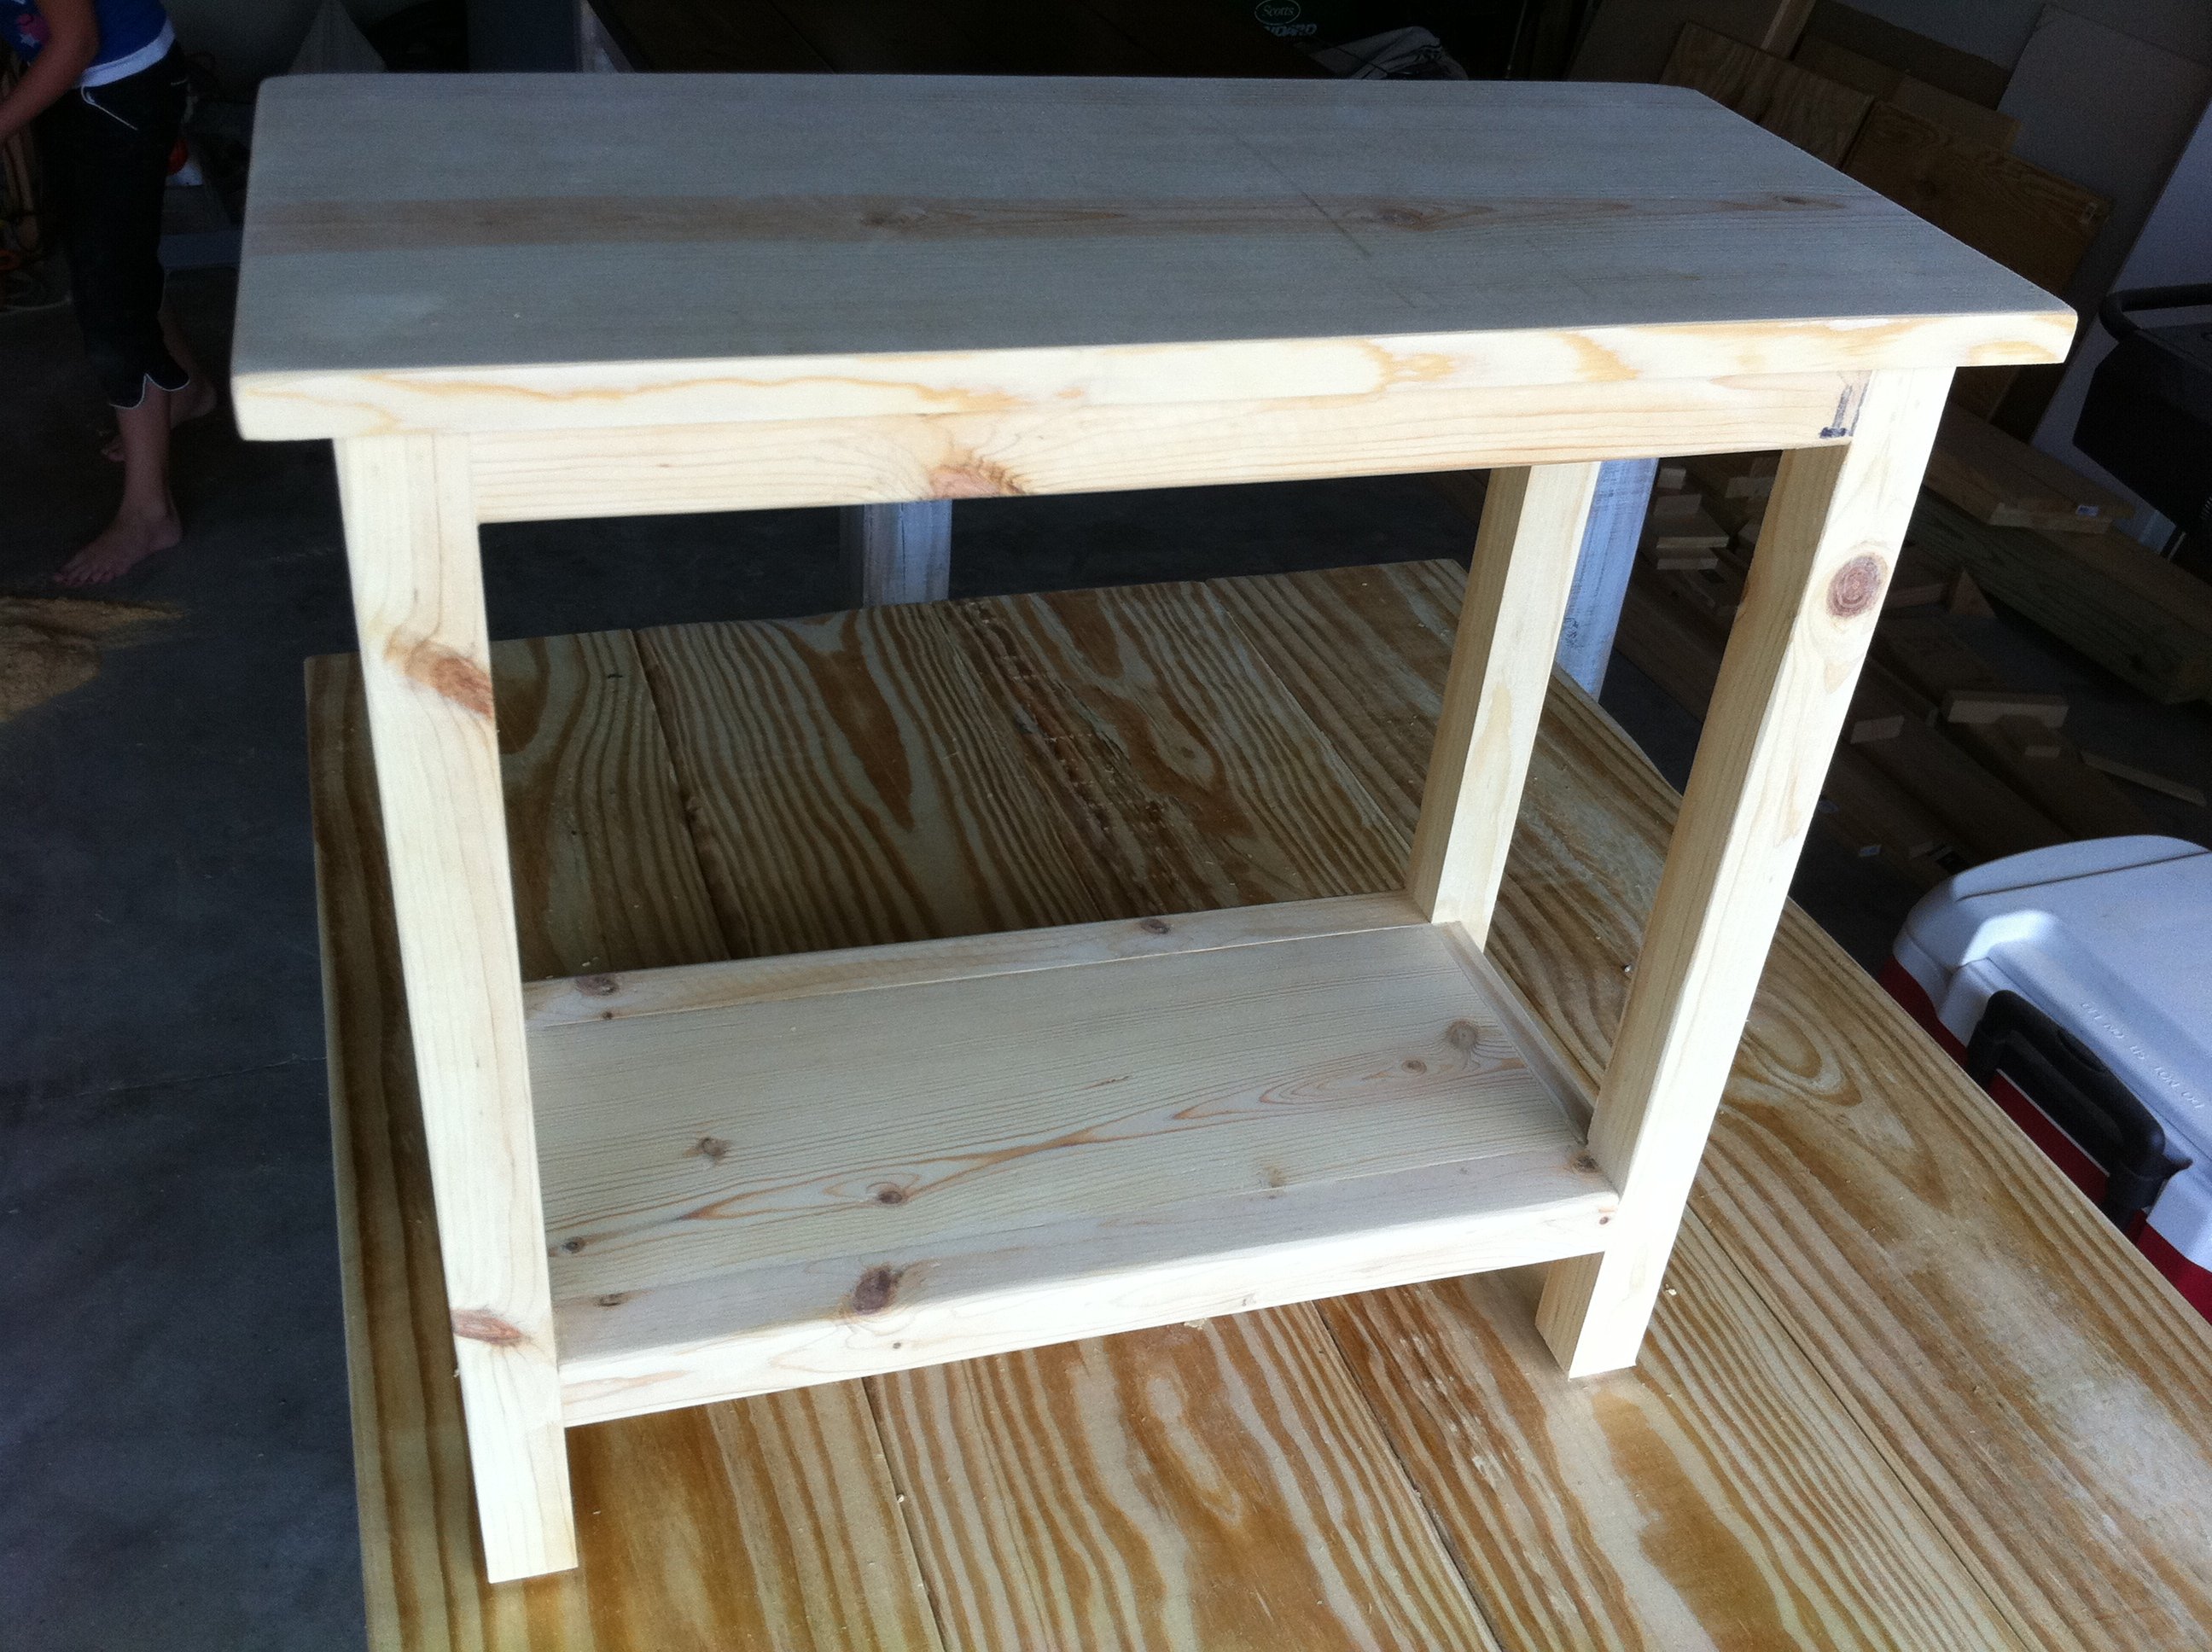
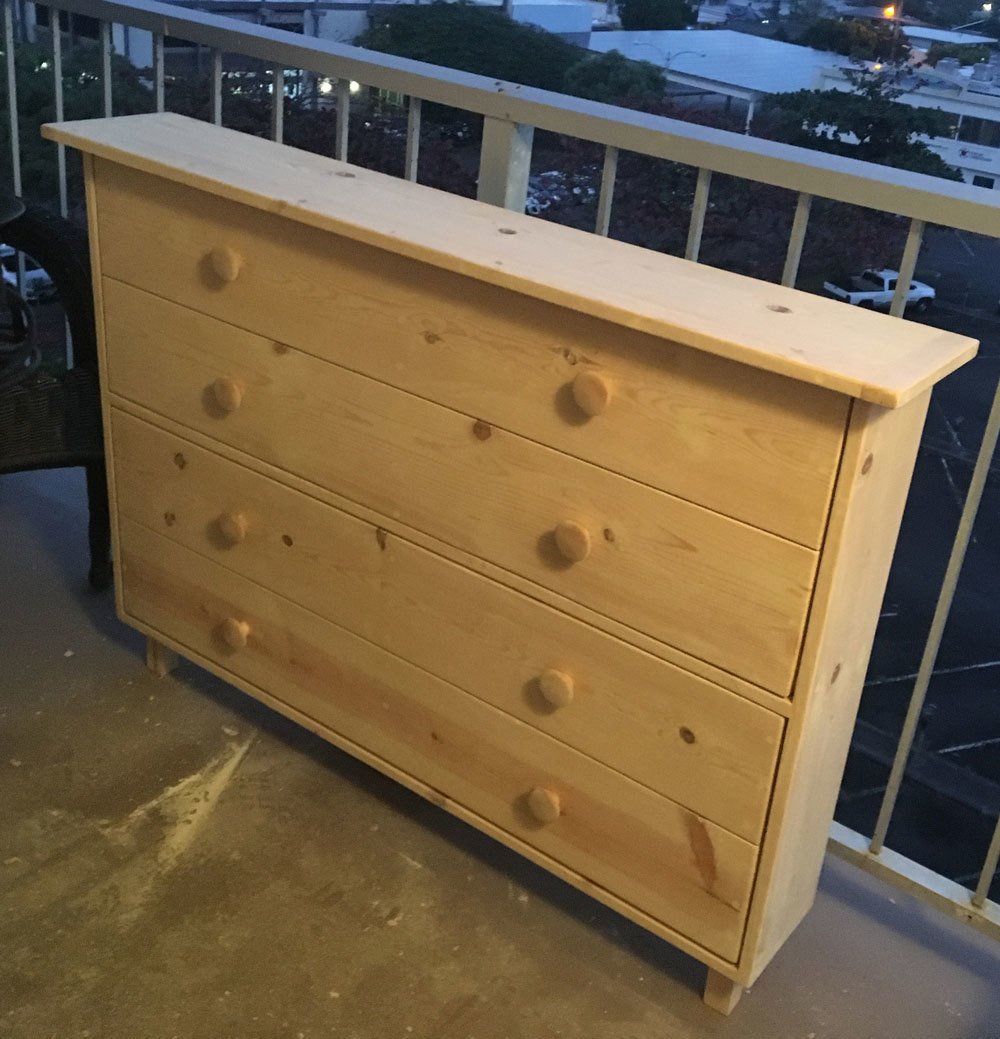
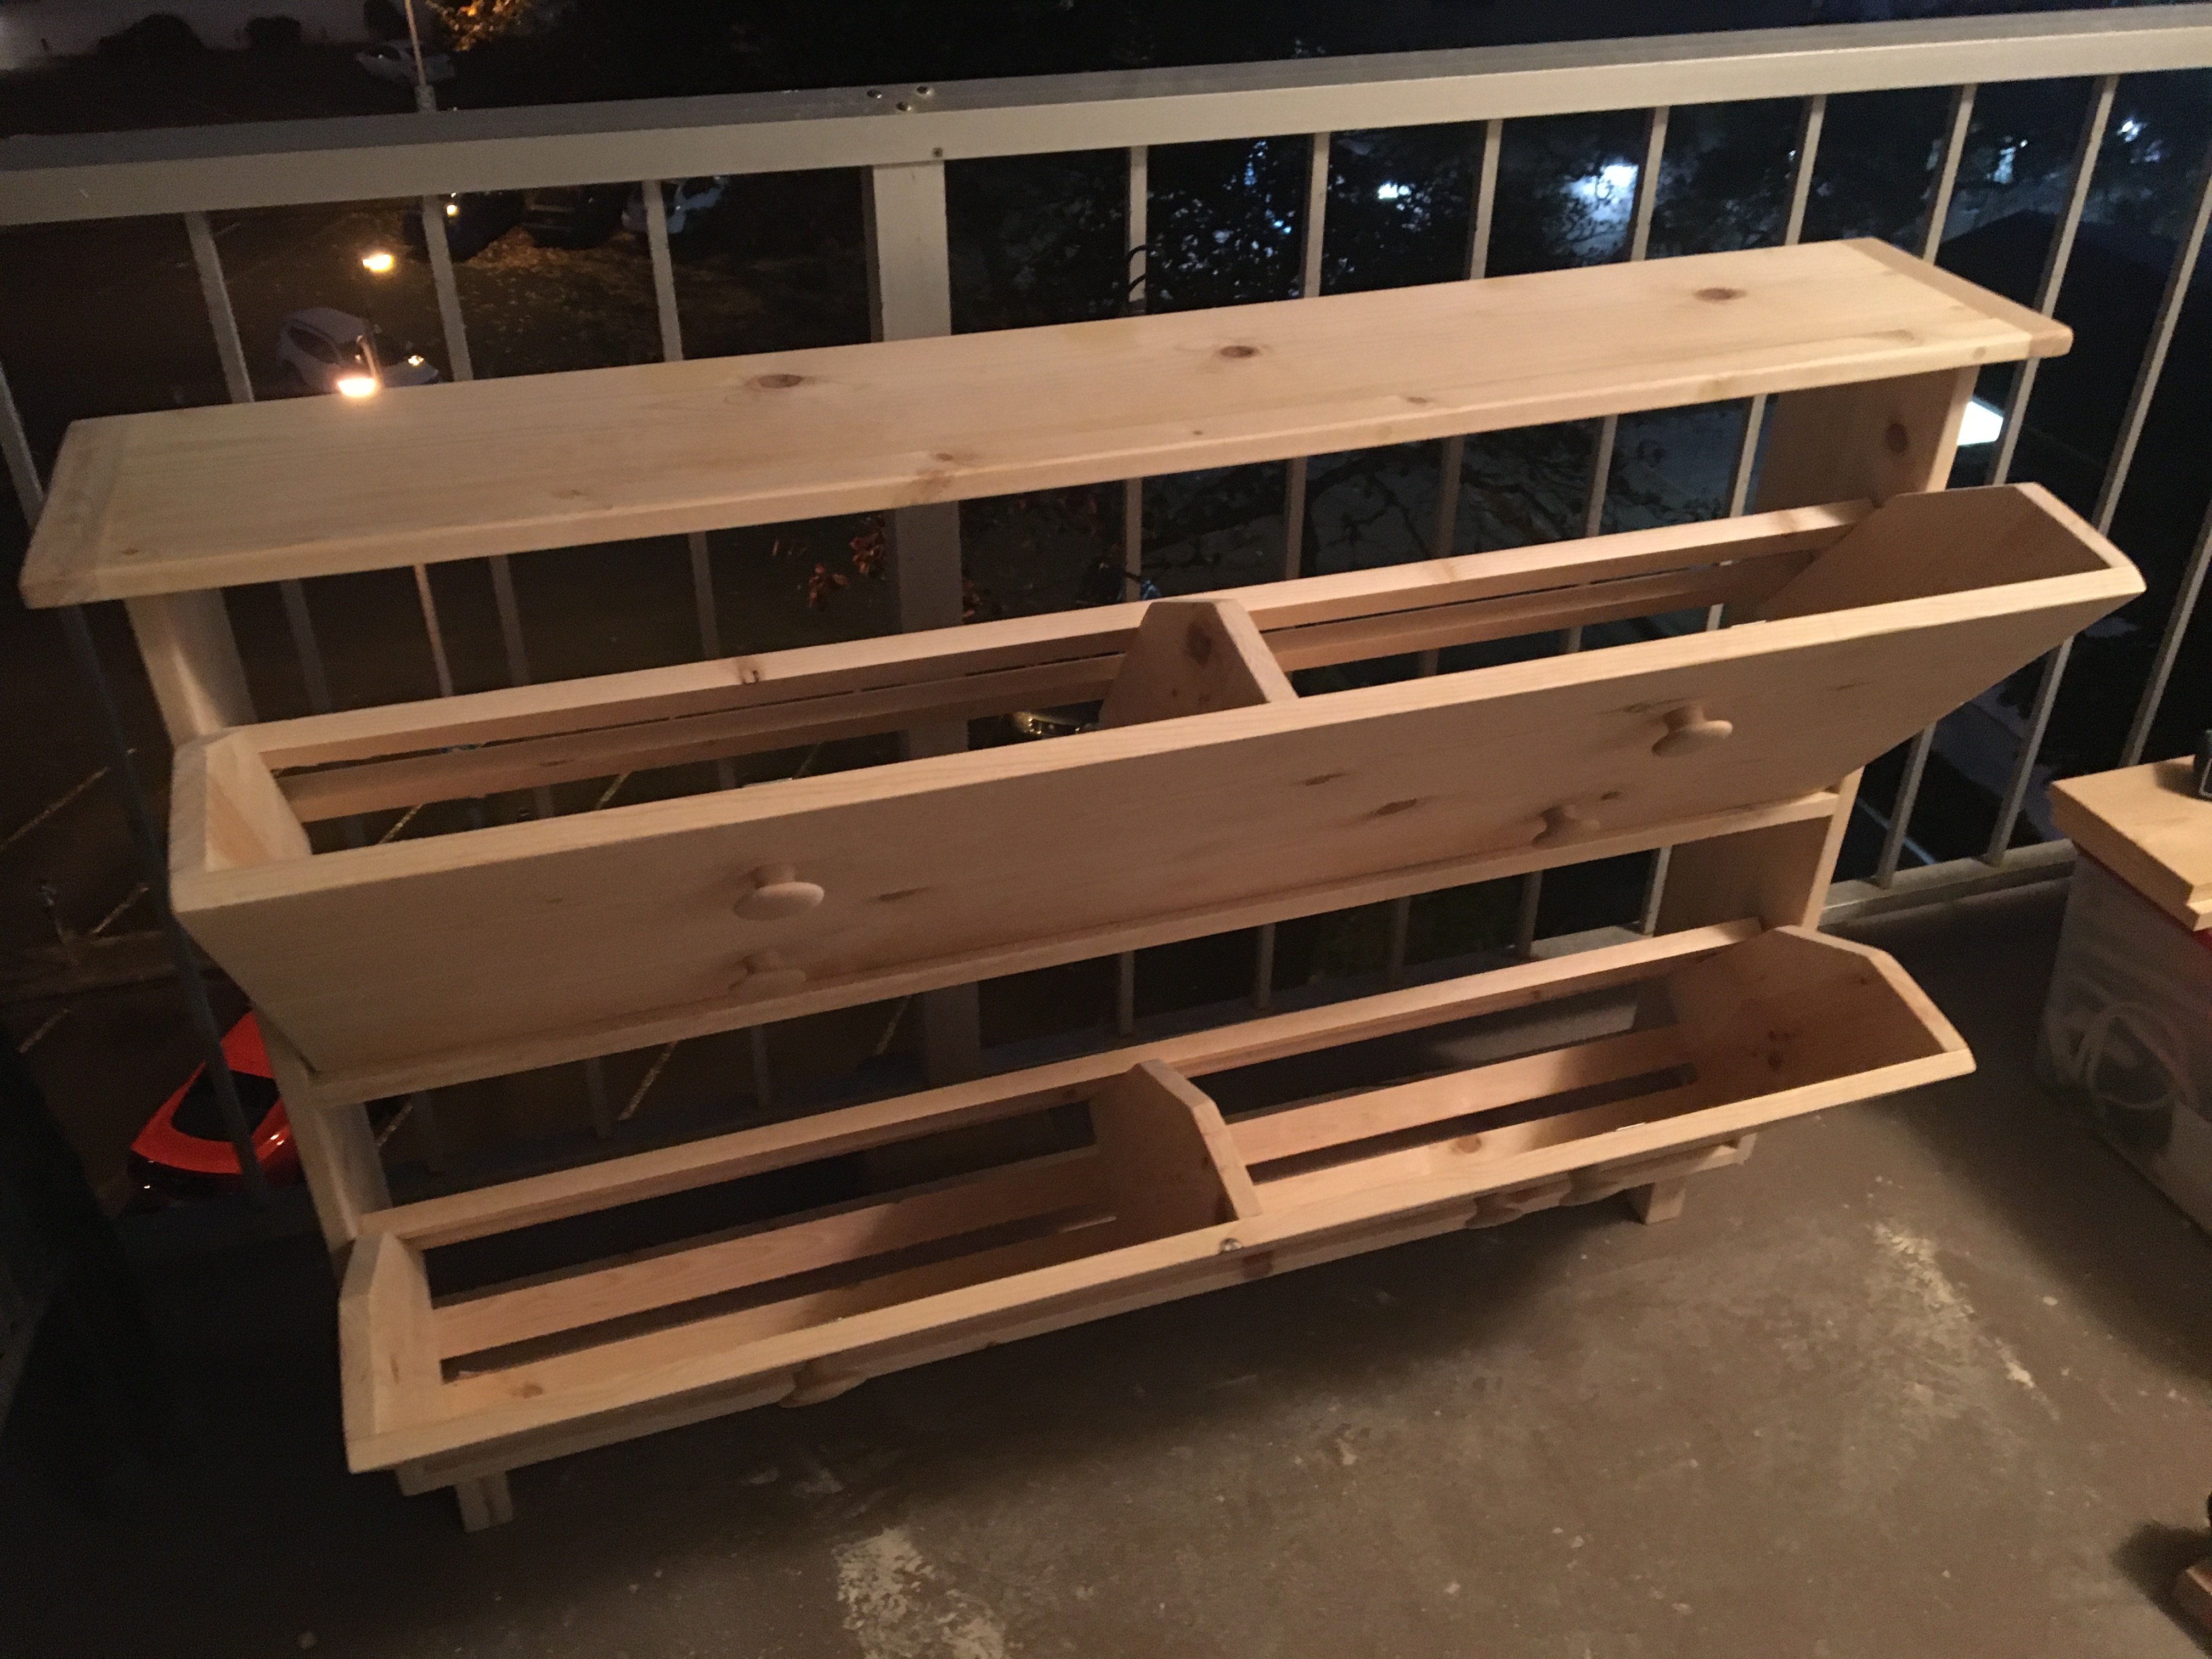
I wanted a table like Ana's narrow cottage table, except I just wanted an open shelf instead of a drawer for a basket.
Here is my version modified to fit my needs. Thanks to Ana, of course. :)

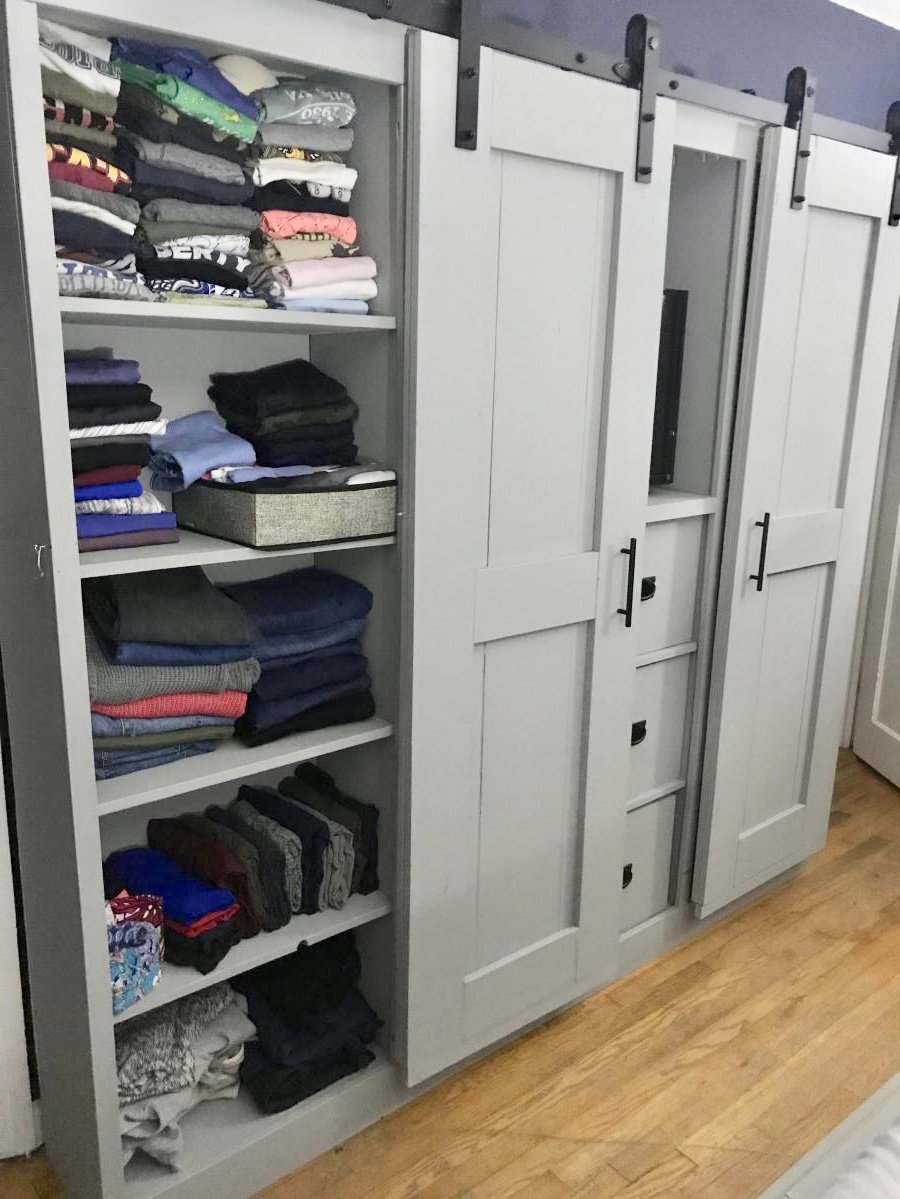
After many months of trying to find the perfect piece of furniture for our bedroom, I stumbled upon Ana White’s barn door entertainment center. I loved it so much that instead, we turned it into an armoire for our bedroom. Behind the barn doors are shelves that holds our clothes, and in the center we added simple pull out drawers. The center space was perfect for our tv. We had to rework the size of the piece and it is 7 feet instead of the 8 feet that the plan called for. This is my favorite build (we have done a lot of them)!


Made this over a weekend. It did take a week to apply the final finish to protect it.


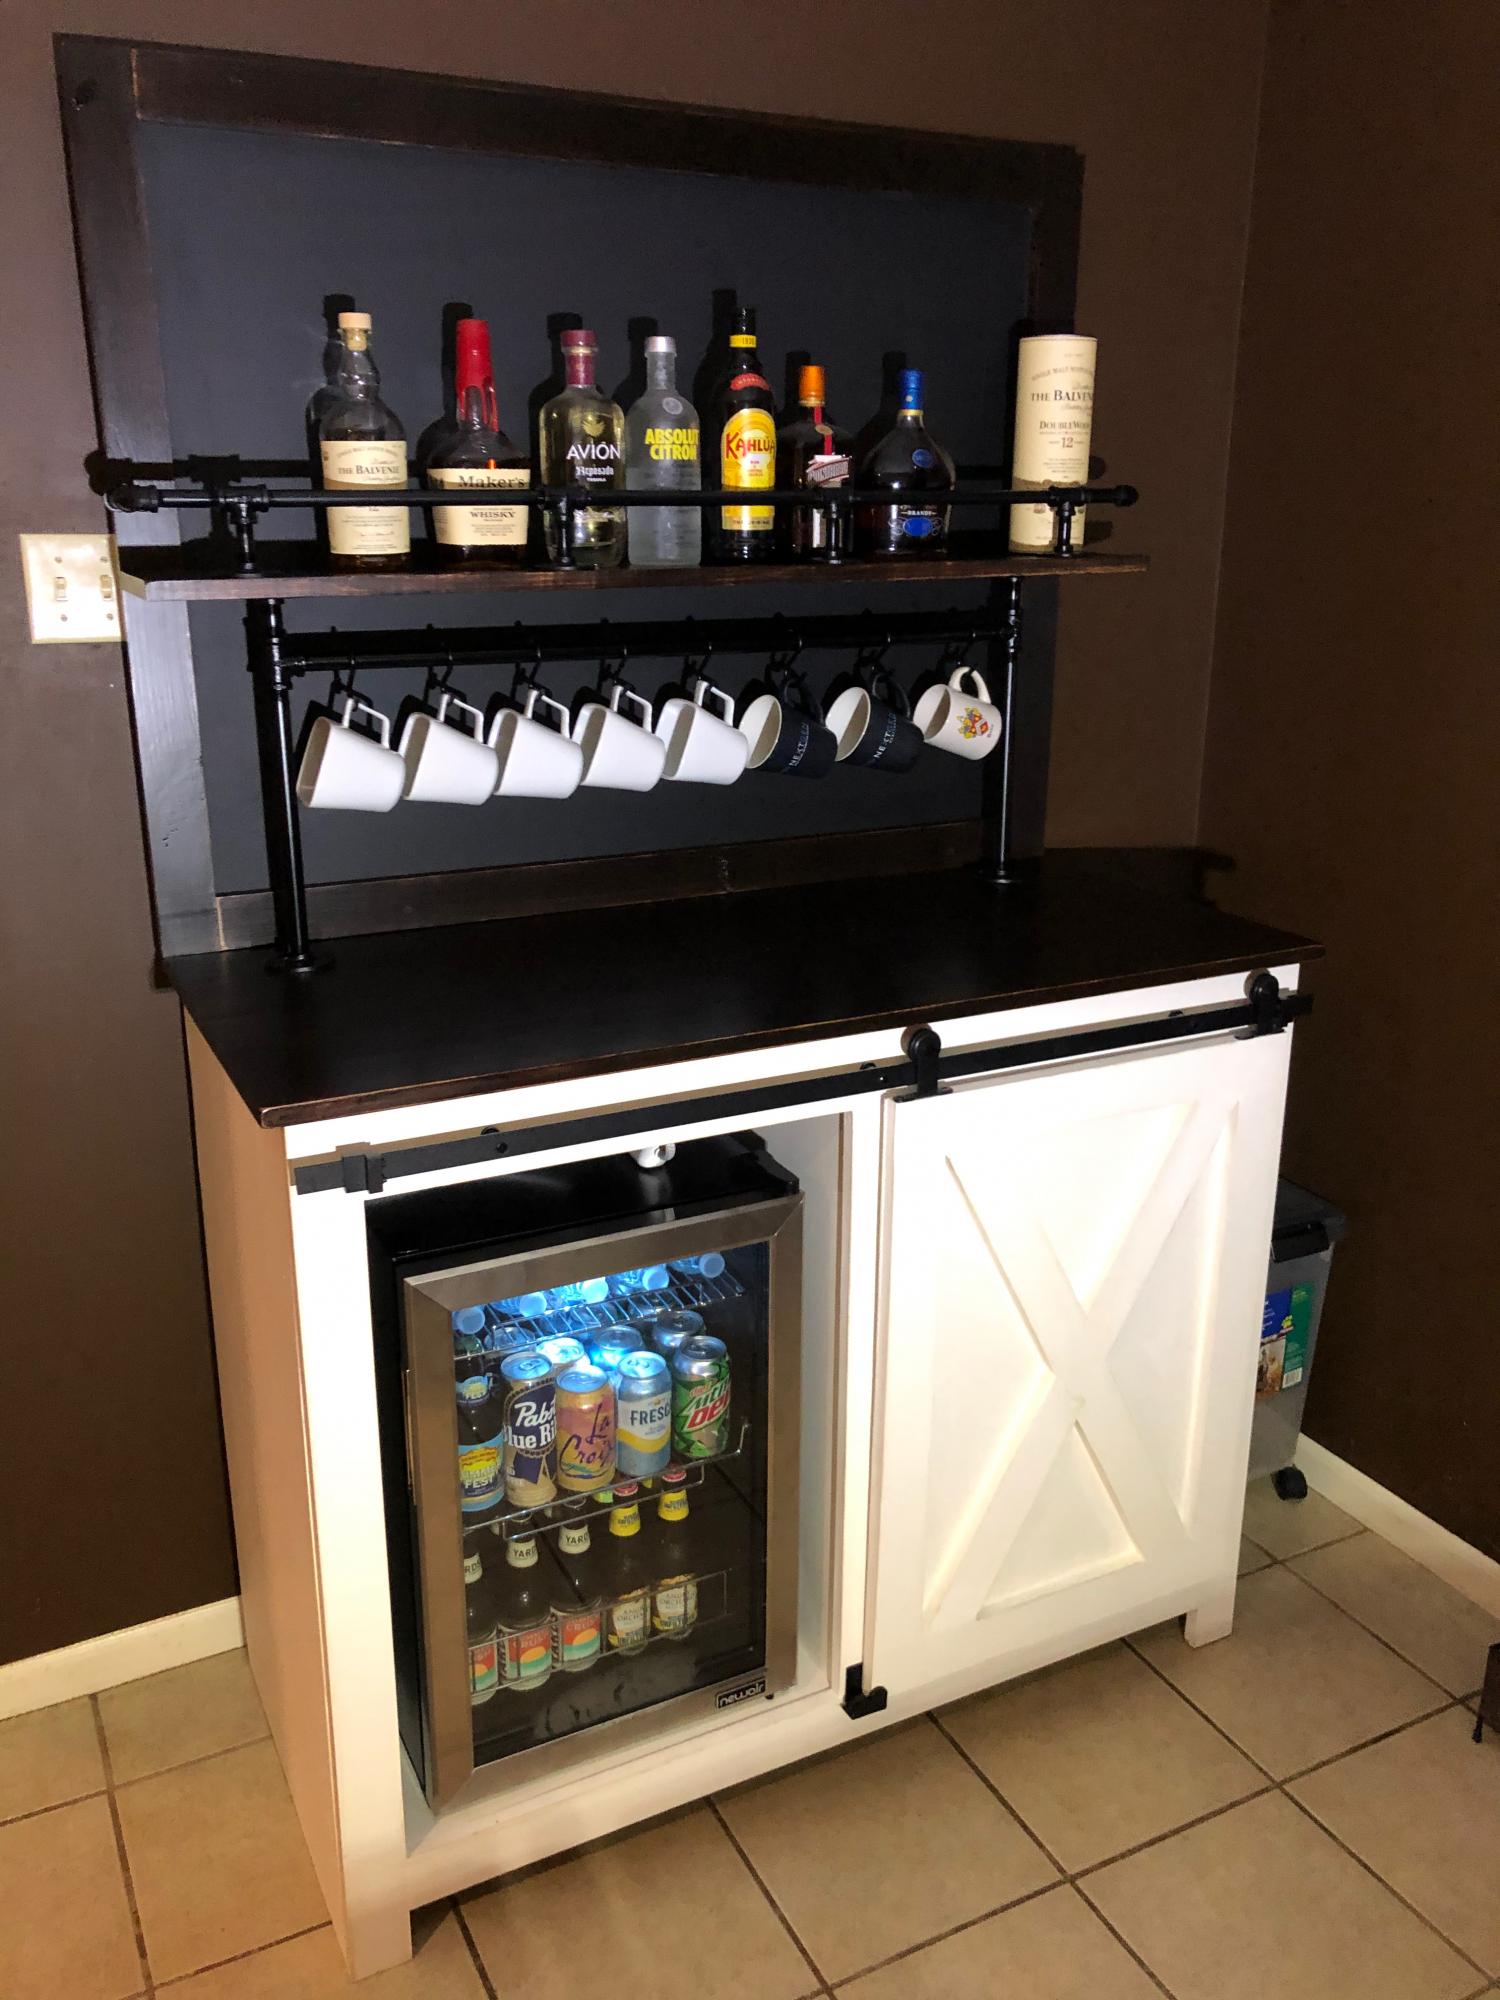
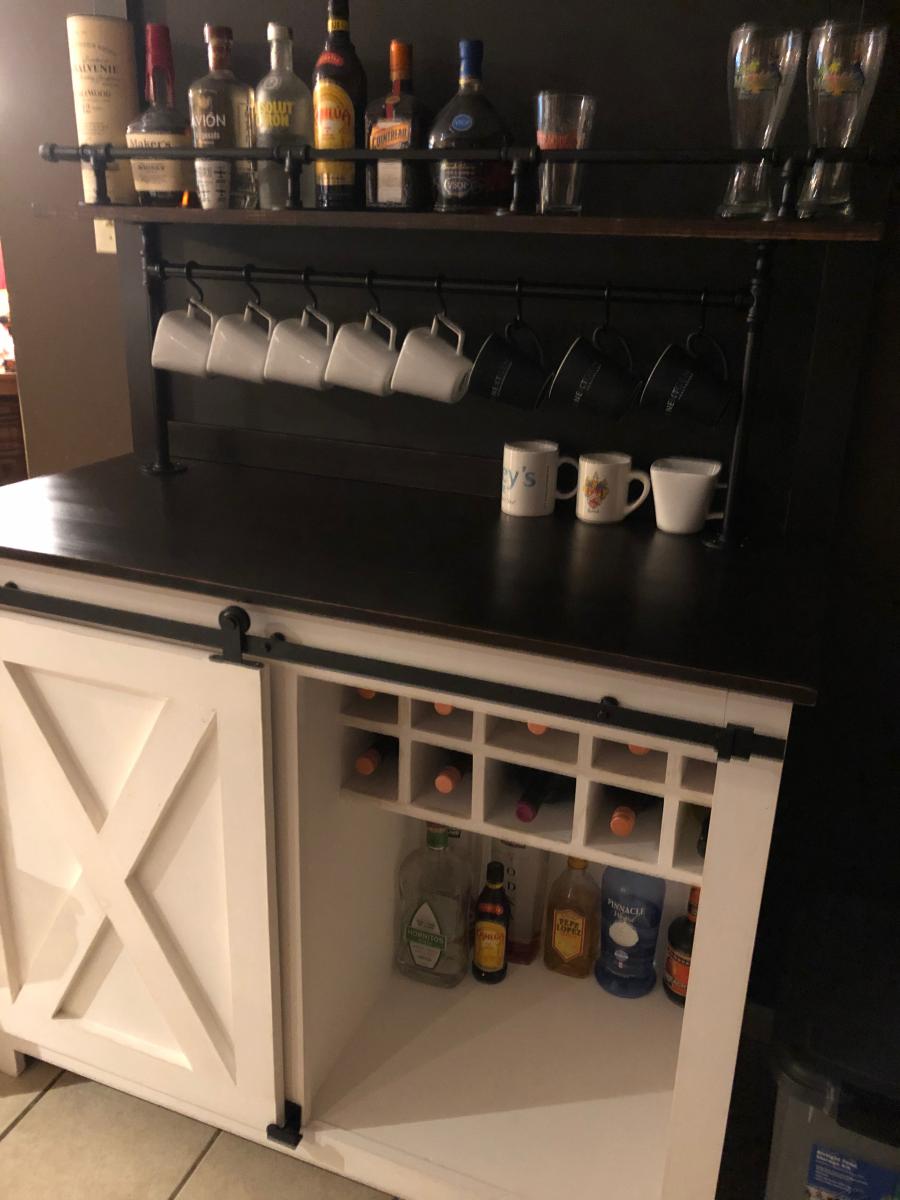
After seeing this same cabinet on Etsy for $2000+ I decided to try building my own. This was built using Ana's plans for the Barn Door Cabinet with Mini Fridge and Microwave. On top of the cabinet is a custom chalkboard which I anchored to the back of the cabinet. Attached to the chalkboard is a shelf for liquor. The rail is made from 3/8" black iron pipe from Home Depot & Amazon. Unfortunately, my Home Depot did not have nipples larger than 6 inches so we had to source 12" from Amazon. The fittings and shorter nipples came from Home Depot. The supports for the shelf and coffee mug rack are made using 1/2" black iron pipe and fittings which were 100% sourced from Home Depot. The finish for the borders of the chalkboard and cabinet top were stained using Varathane Stain + Poly. The color is called "Mission Oak" and it is a satin finish. The hardware for the barn door was purchased from Amazon.
NOTE: If you decide to build a similar version of this I'd consider leaving at least 33.5" on the inside where the refrigerator sits so you can fit a 120-can refrigerator instead. Most are 33.5" tall. I prefer to drink beer from a bottle and the space in a 2.2 cu. ft goes quick when bottles are placed inside.
Followed Ana’s plans and turned out great. Stained it after it was assembled but would recommend doing that before assembly. Very comfy.

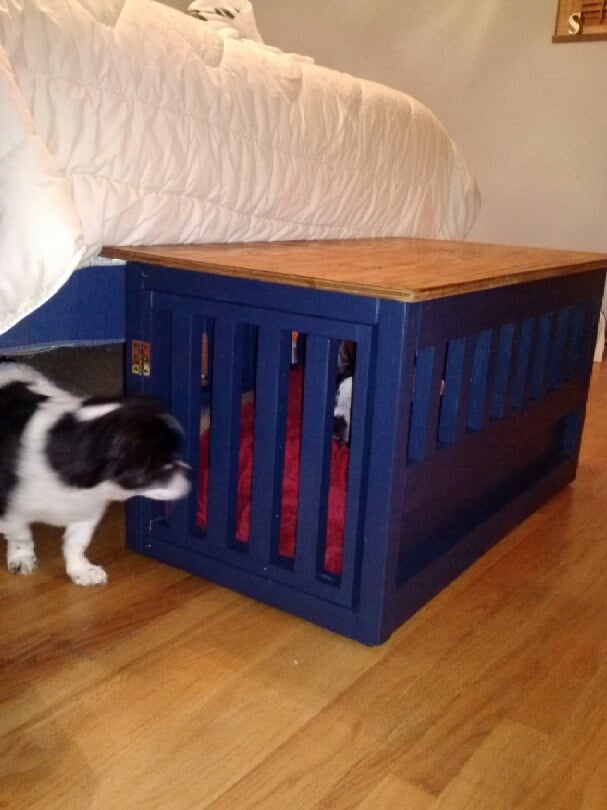
We wanted a bench at the foot of the bed to help our squatty dog Kirby get up and down from our elevated bed. When we saw the plans for the dog crate we decided that we could make a crate for our Boston Terrier Petey who needs to be confined overnight AND put a reinforced top on it to provide seating space. We knew it could not be taller than 18" (the same as our living room couches) so Kirby could jump on and off comfortably, and that we didn't need to make it as big as Ana's plan since Petey is half the size of Ana's lab. Our crate/bench is narrower. Every bit of this piece was made with wood either repurposed from an old playhouse or scraps from the cedar pergola we built in May. We had the hinges and the screws on hand already. We drilled holes in the lid to tie a cushion on top eventually. The lid comes off completely for ease of changing out dog bedding. Petey loves sleeping inside and will go in for naps even during the day when he has the run of the house. Kirby and our other dog also like to nap in there. You can just see the white of Petey's blaze in the pic where Kirby is peeking in.

Thu, 07/10/2014 - 07:22
Your pups look so happy with their new crate/bench! It looks nice and sturdy. :) Do Kirby's nails scratch the top at all as he jumps on an off? Just curious what you used as a clear coat, if anything. My little dog gives me the hardest time about cutting her nails so they're probably a little longer than they should be at times until I get her to the groomer.
This is a great, creative solution to all your needs. :)
Thu, 07/10/2014 - 19:51
Yes, they are very happy and spoiled! Kirby's nails have not scratched the top yet but since we know they probably will eventually, we plan to put a thin pillow on the top. I won't get around to making it until the fall. We might put a clear protective poly coat but haven't yet.
I started using a Dremel on my 2 Boston Terrier's nails when they were very, very young so they are calm and resigned when it's nail time. That they get Cheerios as a treat afterwards doesn't hurt! However when Kirby was a puppy he was going back and forth between my ex-husband's and my house and my ex didn't start Dremeling early so Kirby won't let us sand his nails down and a groomer has to do them. I hate that we have to spend money on something that could be taken care of a couple times a month at home but if dogs are not conditioned to be held upright, tolerant of having their paws held tightly for the sanding, or terrified of the noise, it's not going to be acceptable to them when full grown. Kirby goes full Tasmanian Devil throwing a fit whenever he sees the Dremel case out so we don't even try anymore.
The bench is great and I am so happy Petey loves it so much. He is congenitally deaf and a real pill sometimes so it is a relief that he has taken to it.
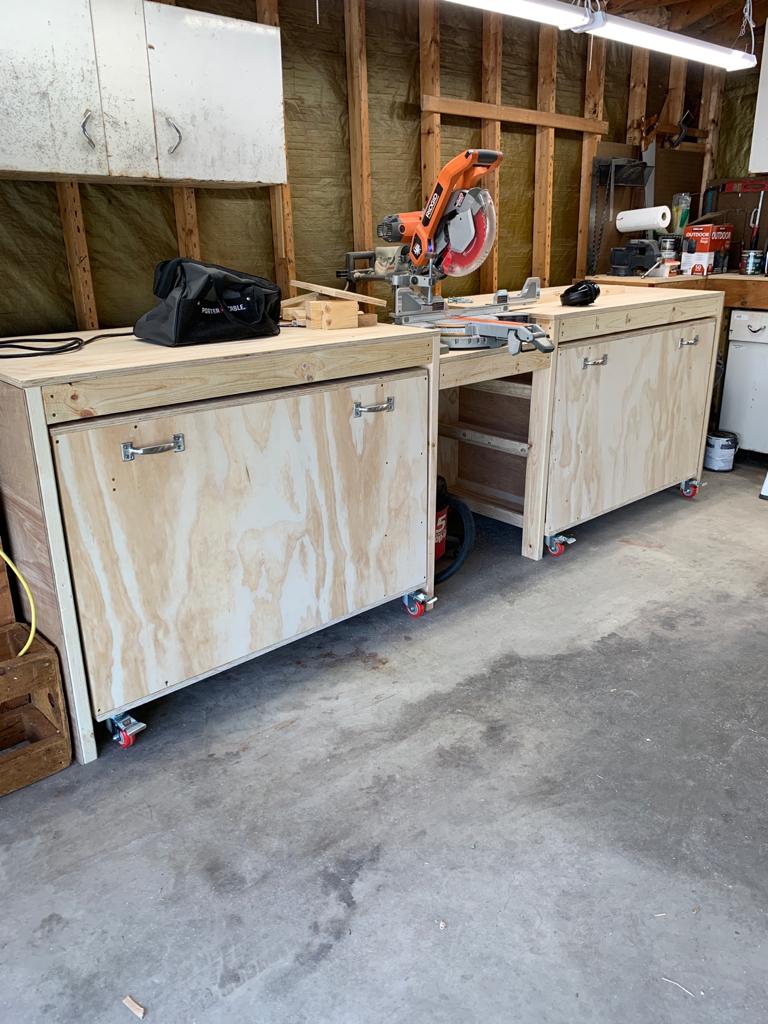
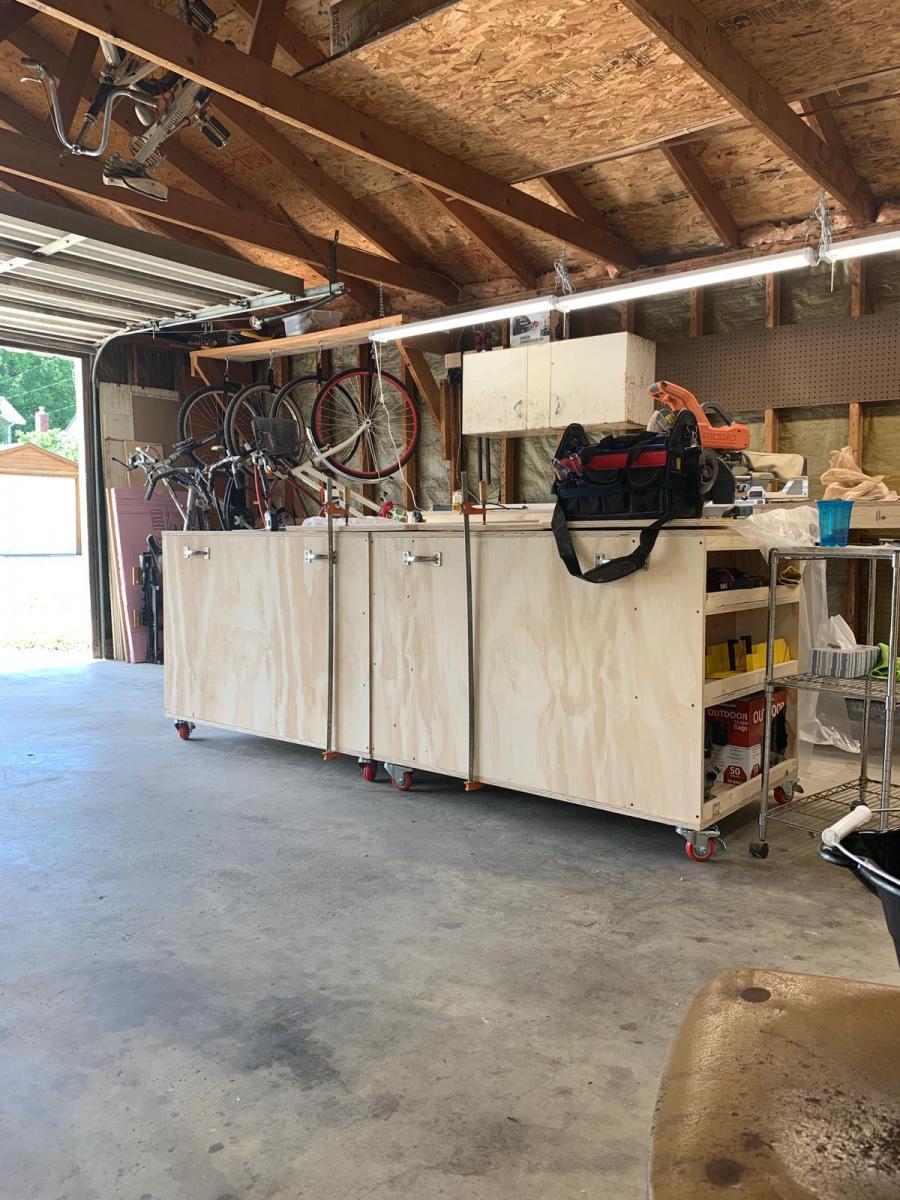
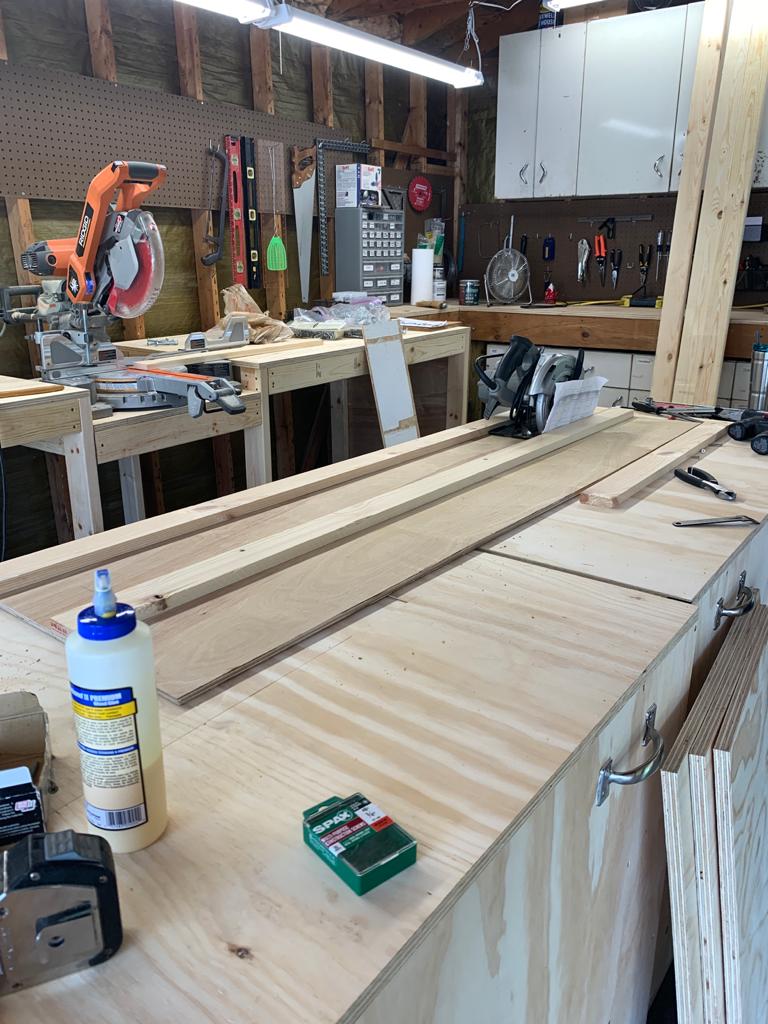
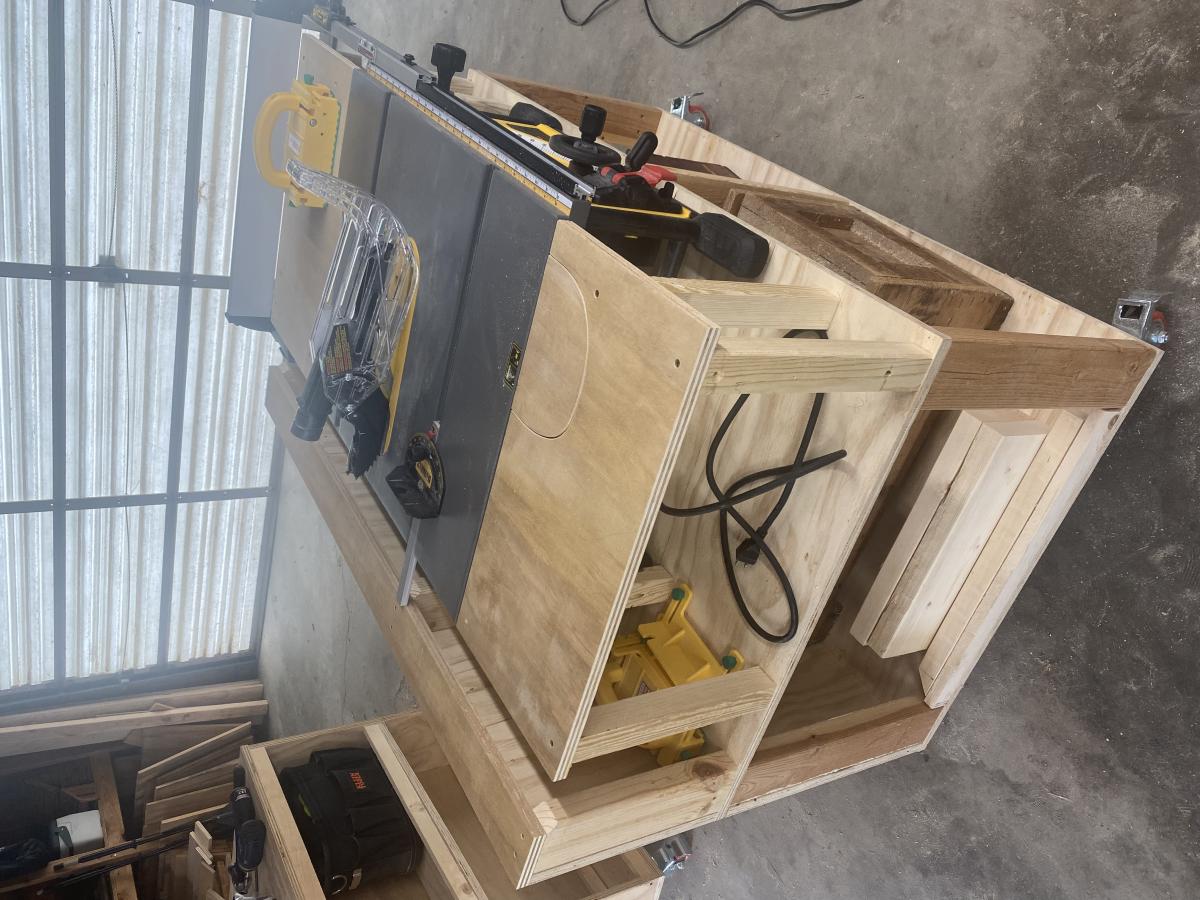
NINE MONTH UPDATE: After using the bench for almost nine months, we’ve made some changes. The first is that our table saw, a Dewalt 7491 didn’t fit in the way the plans called for because of the fence. We ended up cutting down and rebuilding the table to make a platform for the saw, then we built three “tables” around it to leave a gap for the fence operation. We also added a curved piece that can be removed to access the riving knife lever.
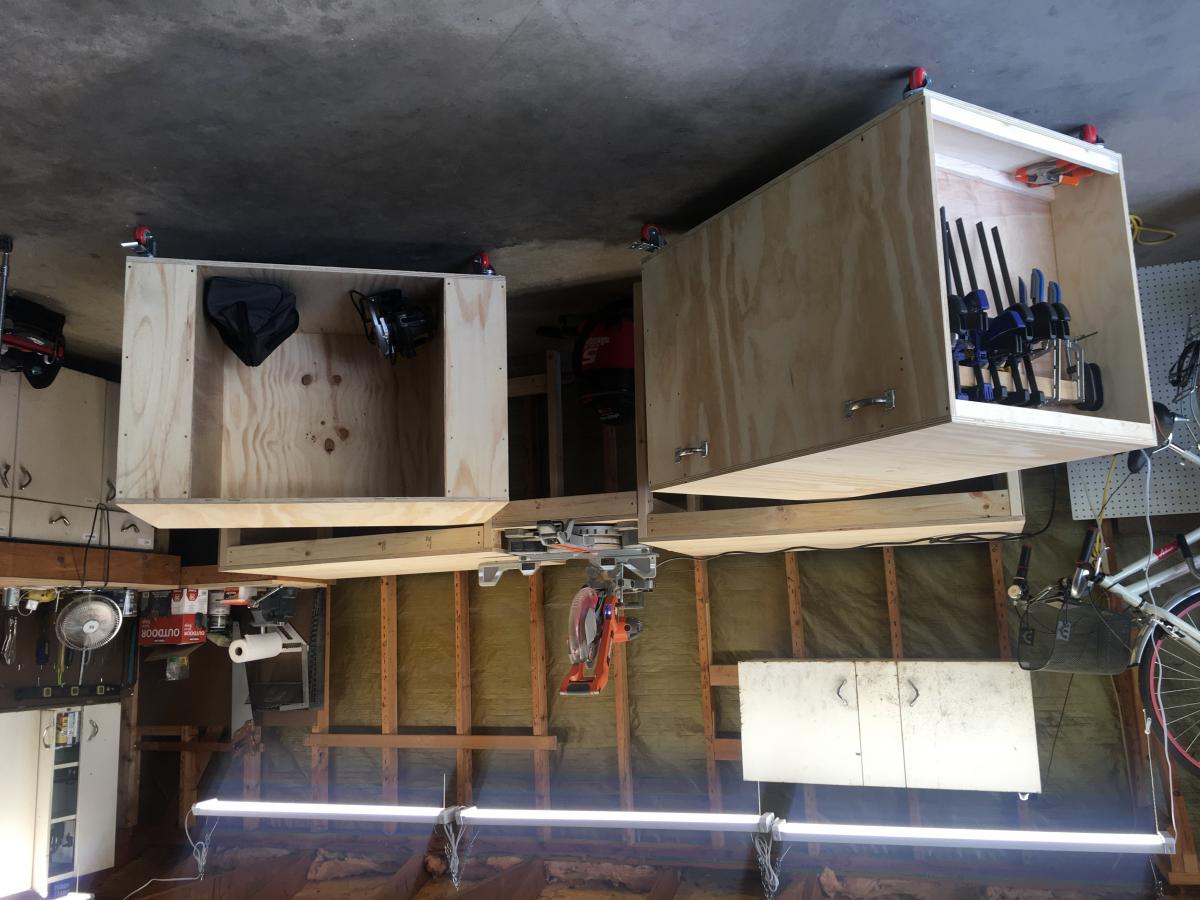
The other change we made was to take out the clamp storage that was in one of the cart ends. When we rolled the cart in and out, the clamps would catch and fall off. We put in another shelf instead.
Otherwise, we love the bench. Having the two rolling carts that we can reposition based on where we need a table extension is great. The miter saw stand works perfectly, and our dust collection setup rolls right underneath. We’re also in the process of building a router table that fits in the removable bench room area.
ALSO, sorry for the upside down/sideways pics. It won’t let me remove or fix them.
We made the ultimate roll away workbench with very few changes. Added the clamp hanger on one end as pictured. We didn’t add the shelf under the miter saw, as well be putting a dust collection cart.
We absolutely love the cart.M, now to save up for a table saw. The only change I would like is that I wish the side shelves were a little deeper, more like 10” instead of 8”, so more tools would fit.


Used the simplest armoire plans -- great plans and relatively simple for a first-timer like me. Chalkboard paint on the doors made it fun for the kids!

Created my own version out this plan.
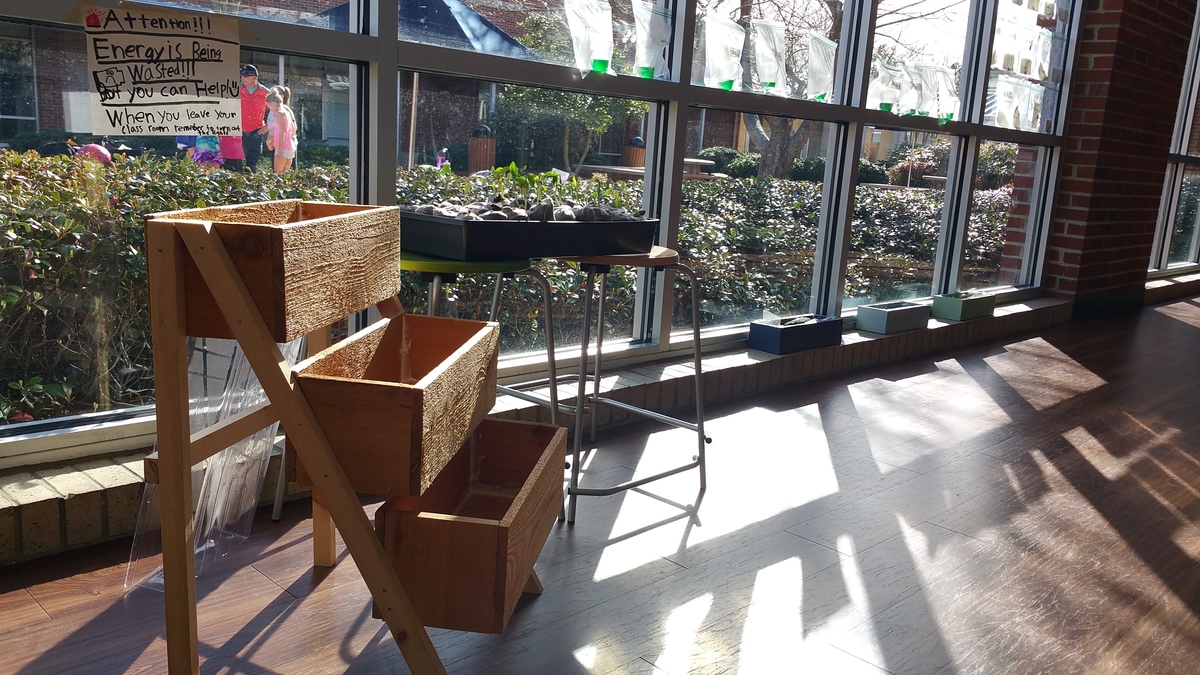
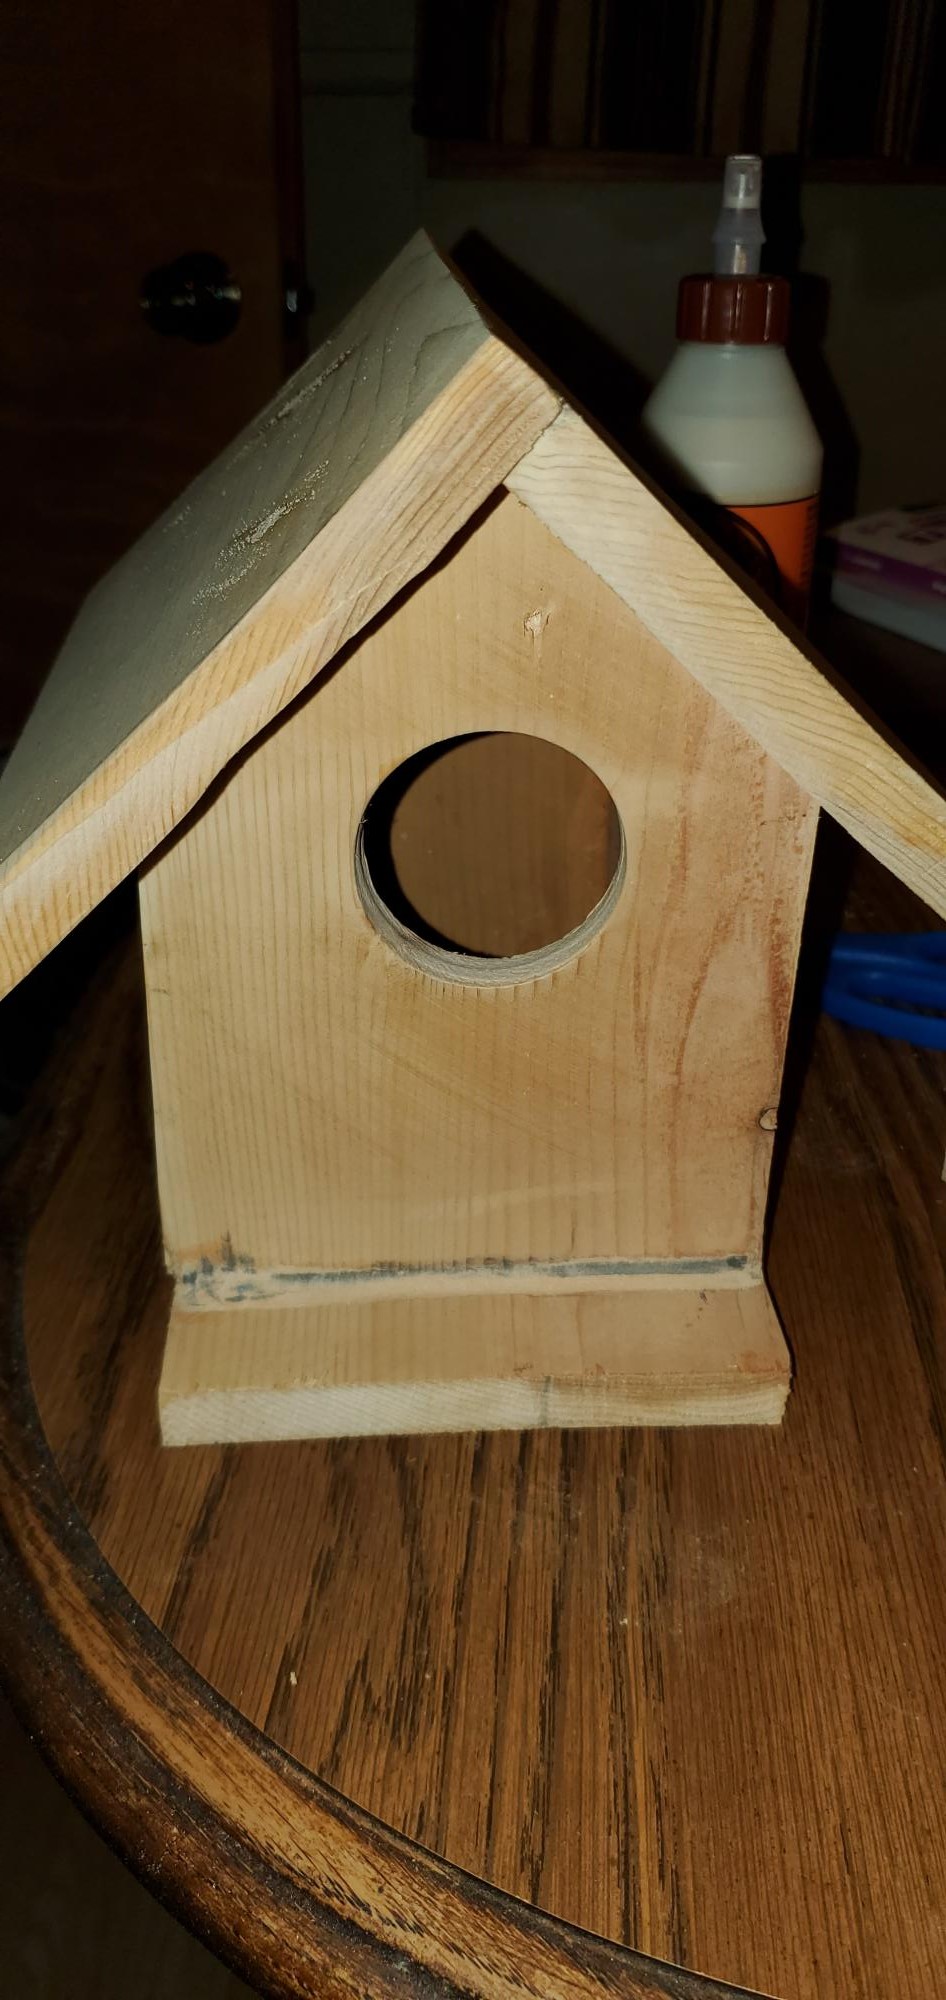
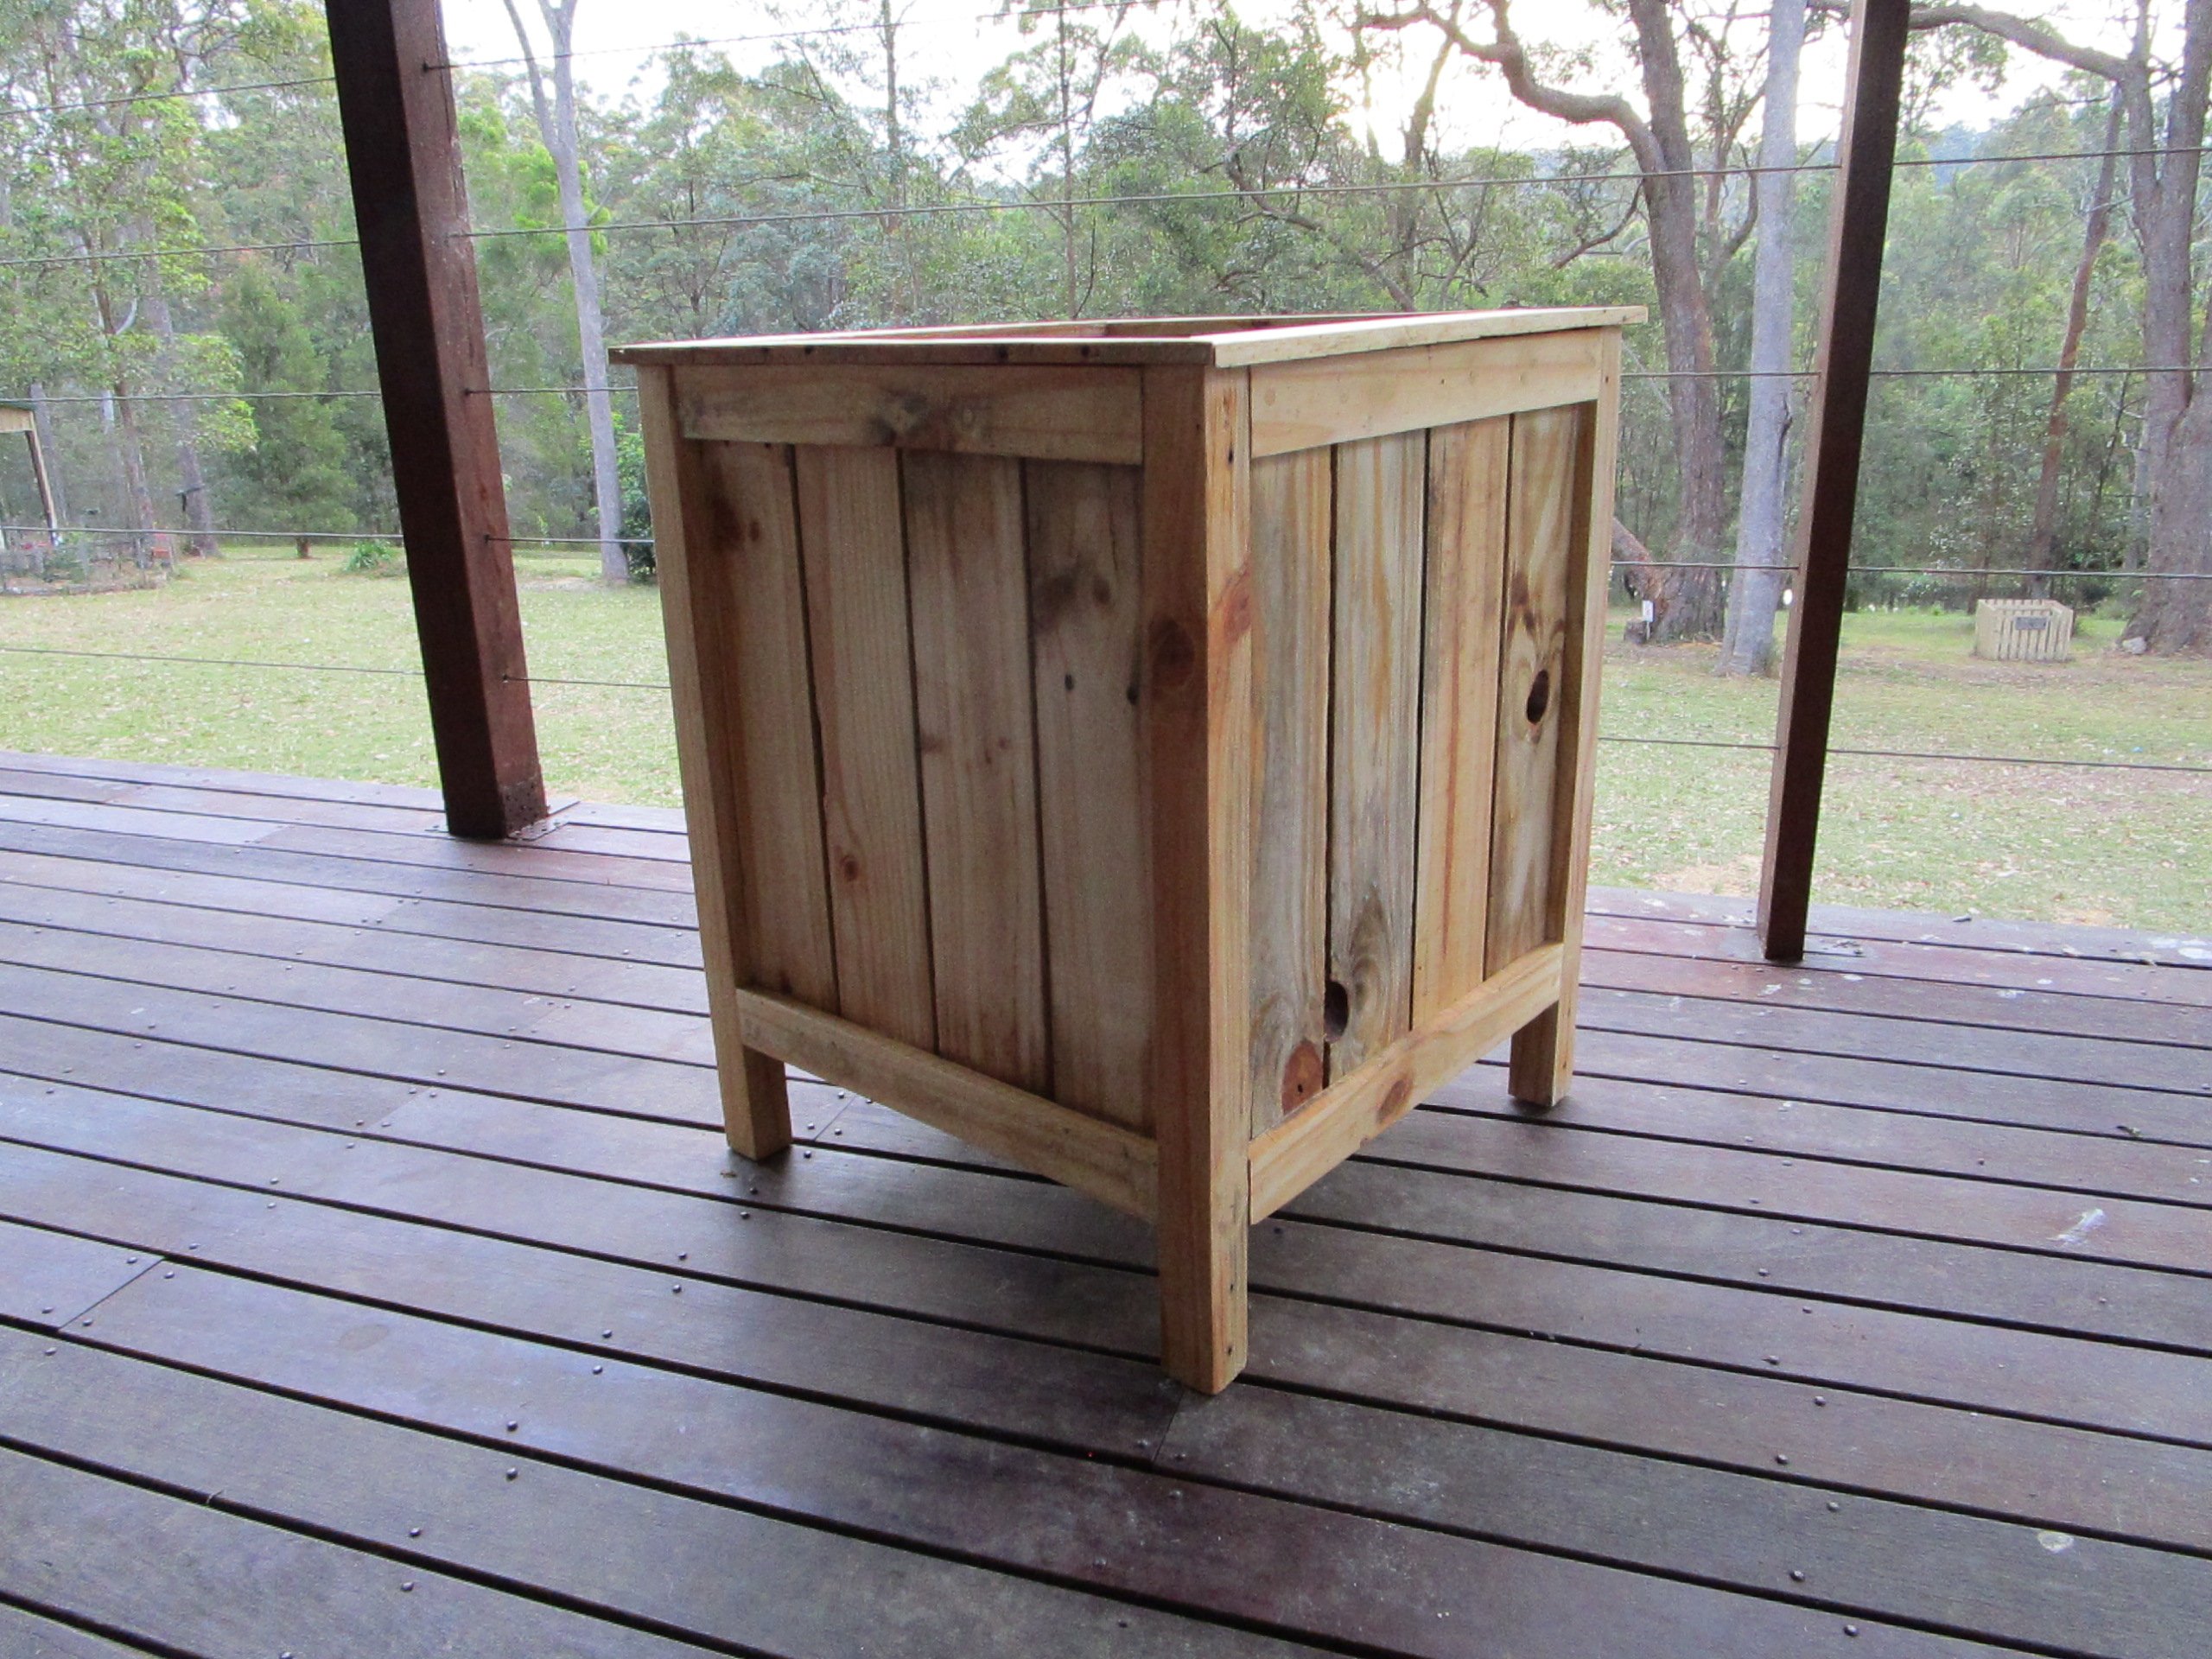
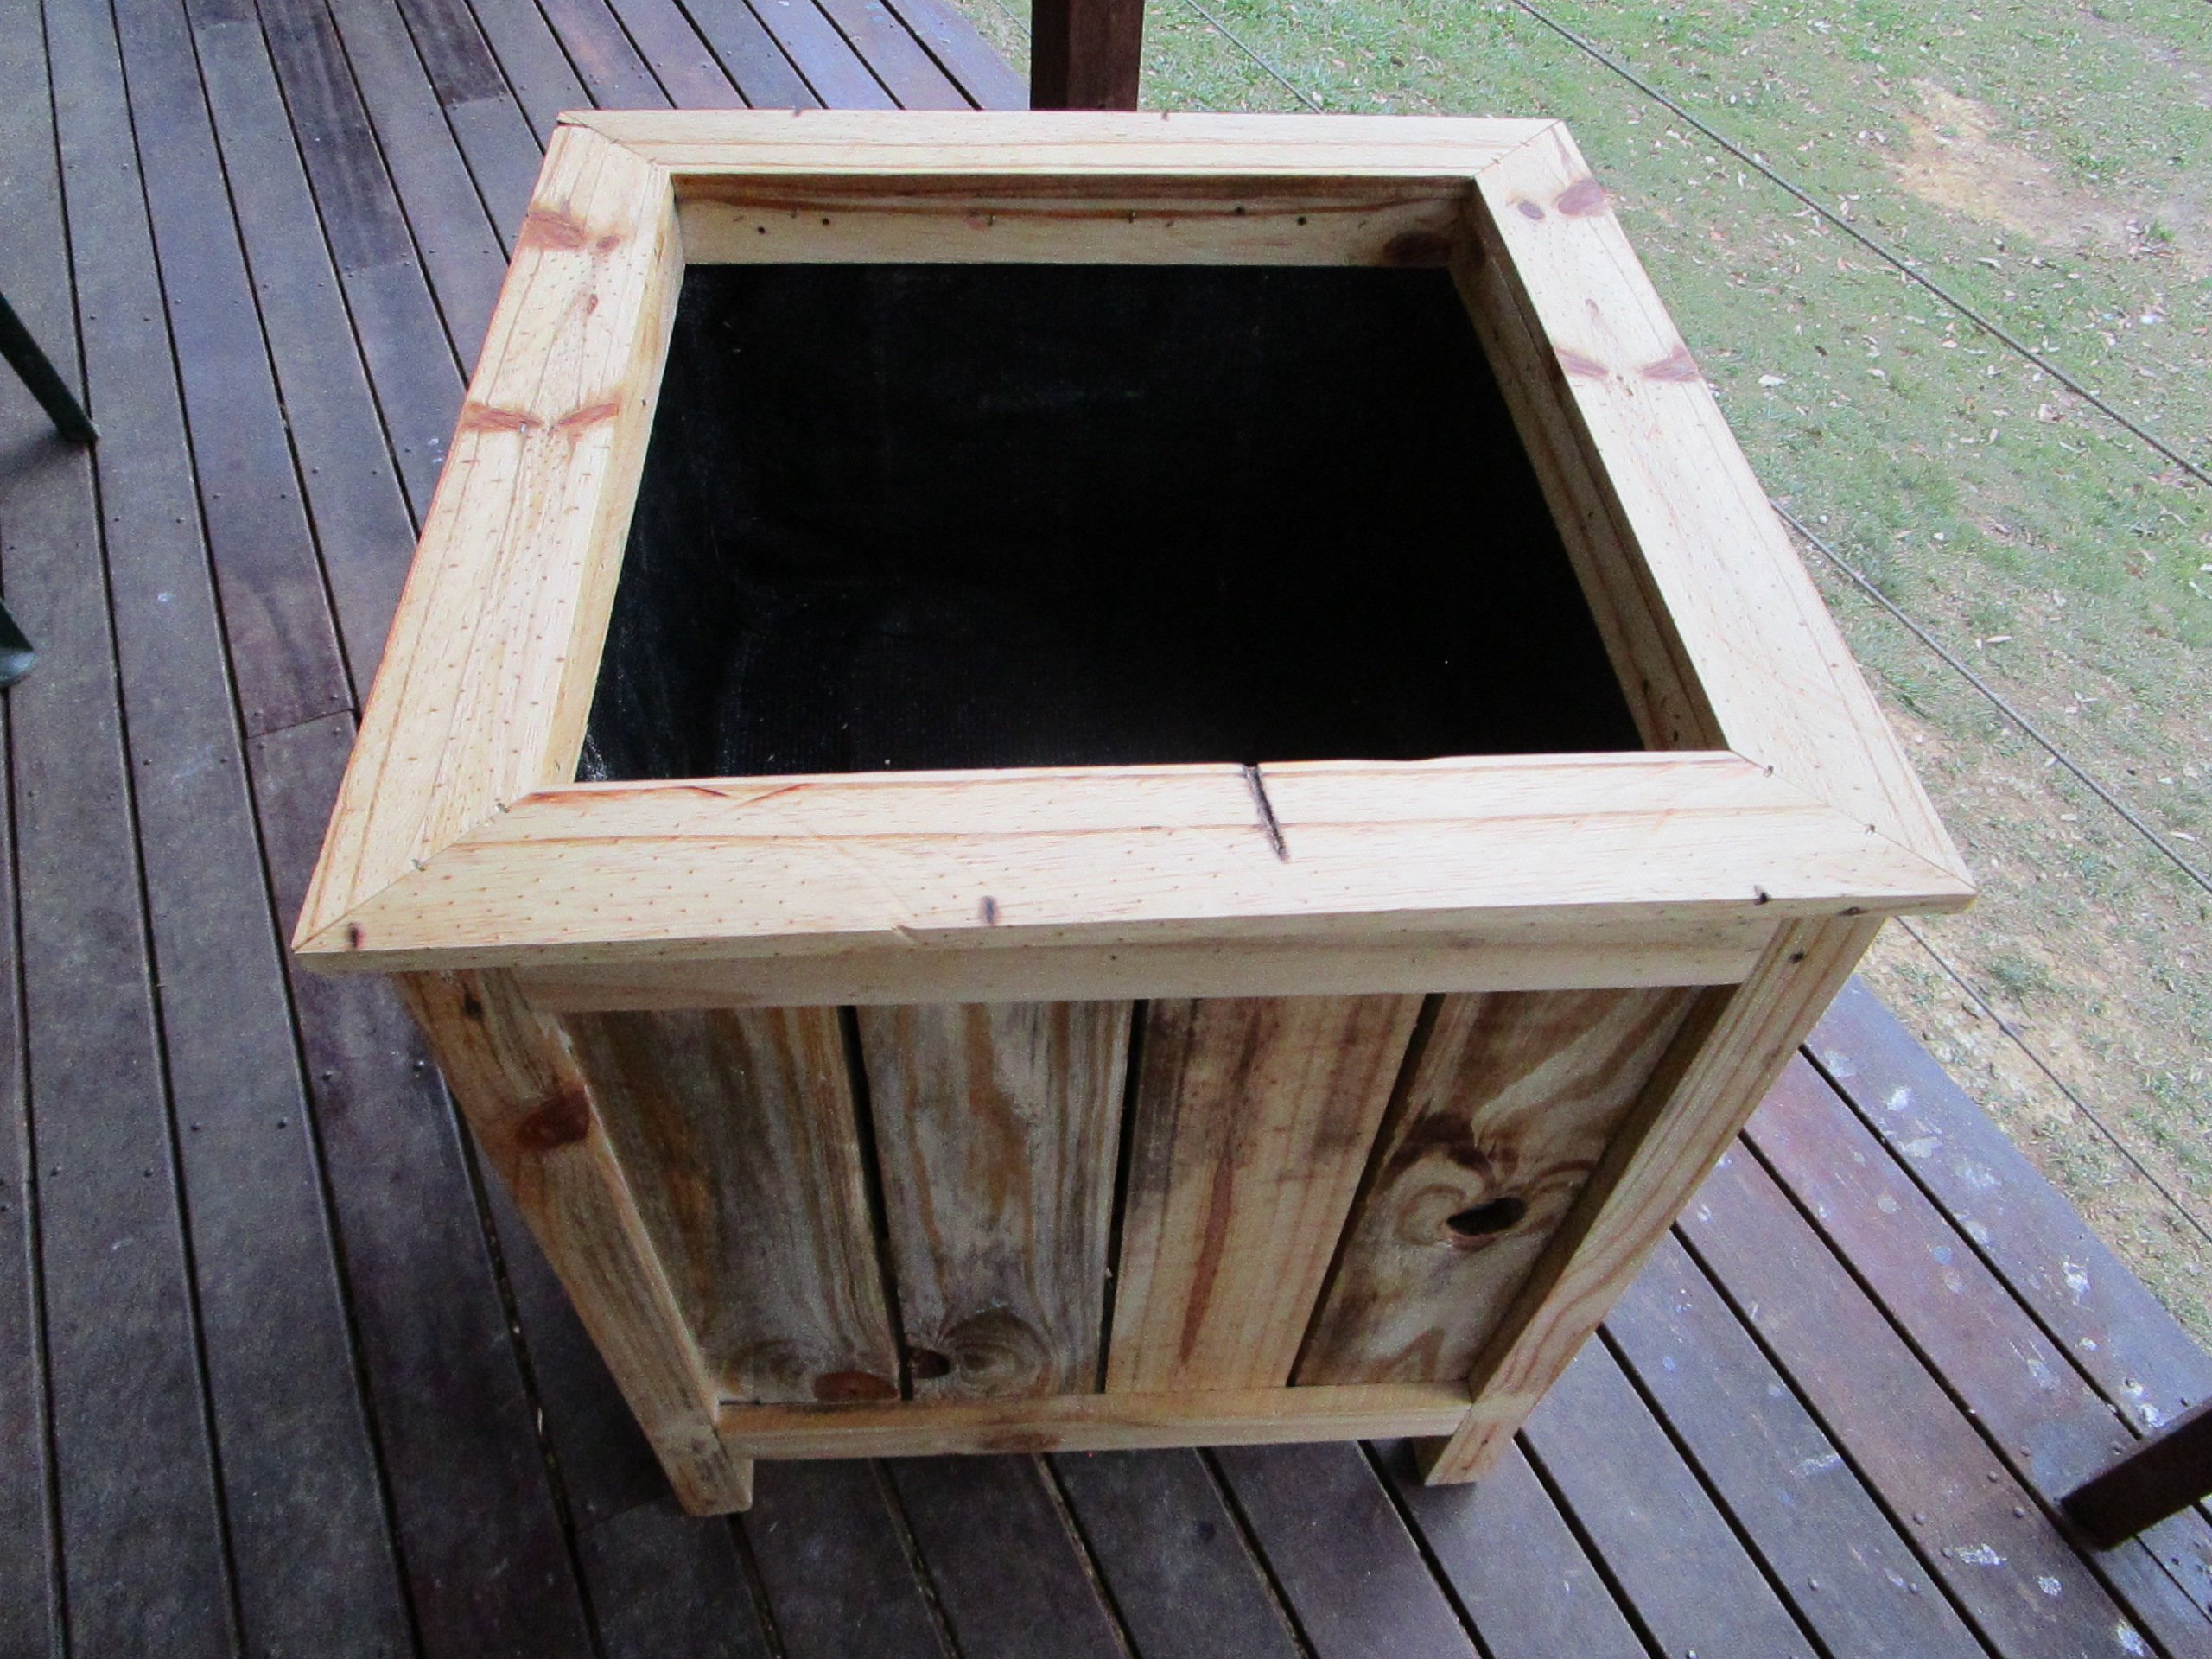
After doing some string art with the Kindergarteners in my class, the were anxious to pound some nails in "all the way." I remembered seeing this plan before on Ana's website, and earlier in the week our science teacher had been talking to the Kindergarteners about how the seeds they had planted were starting to get too big for their containers. The students themselves suggested a bigger box to put them in, and just like that... our next project was born!
The students did every part of this build, except for the cutting of the boards. They loved it, and couldn't believe how quickly they put it together. Here are a couple of tweets to show these little #elemakers at work!
https://twitter.com/JimTiffinJr/status/830163344057327617
https://twitter.com/JimTiffinJr/status/830164086847655936
https://twitter.com/JimTiffinJr/status/830164527304077313
Thanks for sharing some very simple projects and plans that even the littlest of builders can do!

Comments
Ana White Admin
Fri, 09/08/2023 - 08:42
Great Mudroom Organization!
You did a fantastic job, love the added hanging option! Thanks for sharing.