Community Brag Posts

Church Pulpit

Submitted by BBLinda on Sat, 06/08/2013 - 10:34

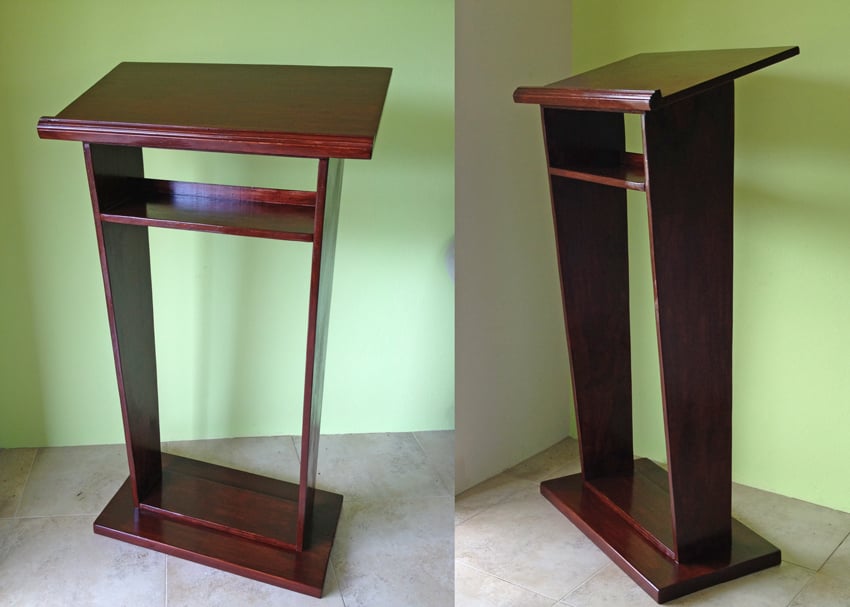
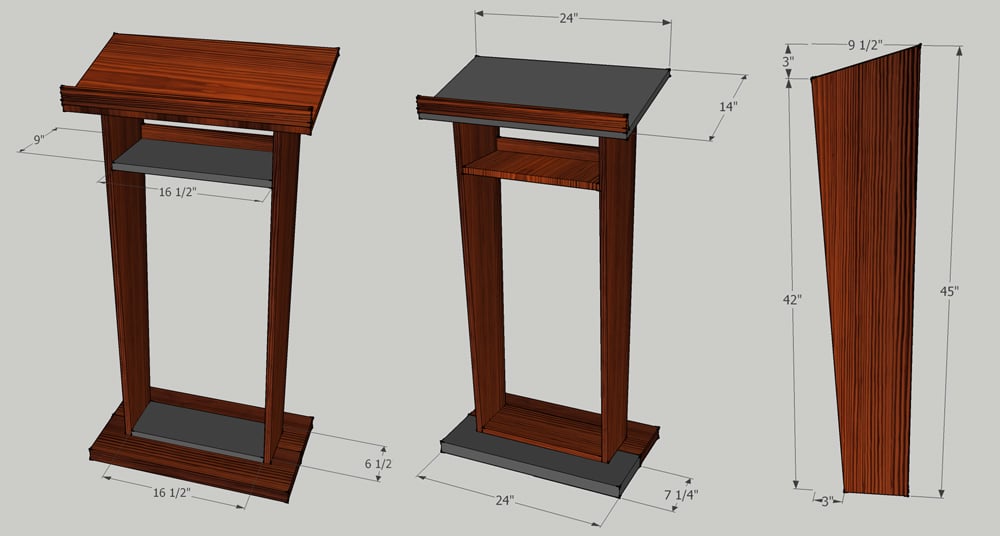
A good friend of mine, a pastor of a local church, asked me to build a pulpit for their recently finished church up in the countryside of Grenada. She showed me a picture of what she had in mind and based on that, I drew my own plan in SketchUp, and then built it out of Yellow Pine boards and Plywood.

Note to the dimensions:
After I drew the plan, and just when I was at the lumberyard to have the plywood and boards cut, I thought I might have had it estimated not wide enough, so I decided on the spot to make it 2" wider and the top panel 2" wider and deeper too. So if you'd like to build based on my plans, please consider if it's wide enough for your purposes.

This is what I used (corrected measurements here):

2x 2x8 26" long YP Boards (Base)
1x 18 1/2" x 6 1/2" Plywood (Base Support Panel)
1x 26" x 16" Plywood (Top)
1x 18 1/2" x 9" Plywood (Shelf Panel)
2x 45" x 9 1/2" Plywood (Side Panels ) - these are cut angled, see plans
1x 44 1/2" Wood Moulding (for the "stopper" on the top panel, and the "back" of the top shelf.

Estimated Cost
~ US$ 115 (material is very expensive here on the island, and I guess you could build it for about half or 2/3 of this in the USA)
Estimated Time Investment
Weekend Project (10-20 Hours)
Finish Used
MINWAX Polyshades / American Chestnut Satin (375)
Recommended Skill Level
Beginner

Laundry Dresser

Submitted by biffnderf on Sat, 07/02/2011 - 23:08

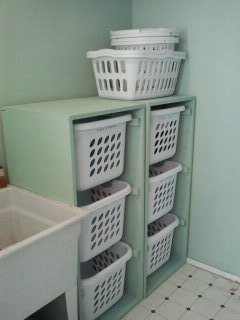
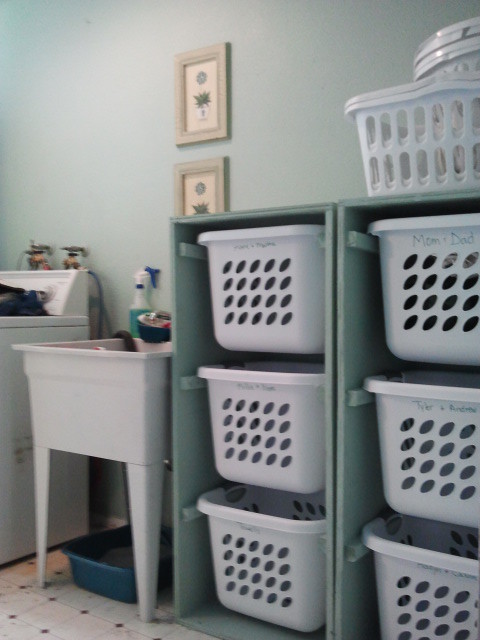
We had a very limited area for these to fit, so my hubby had to change the dimensions to fit these square baskets. We needed enough spots for our family of 10! I LOVE THEM, thanks; Ana!

Built from Plan(s)
Estimated Cost
$50 each
Estimated Time Investment
Afternoon Project (3-6 Hours)
Finish Used
Water based paint
Recommended Skill Level
Starter Project

Comments

Guest (not verified)

Wed, 01/11/2012 - 14:53

We are going to have to turn the baskets the same way due to the space in out laundry room. Do you happen to remember the dimensions of them? Thanks.

Guest (not verified)

Thu, 02/09/2012 - 07:08

Do you have the dimensions for the square baskets? These would work much better in my home.

Guest (not verified)

Tue, 02/14/2012 - 16:42

We did something similar when our family was 8 (6 foster children). We bought 4 baskets (2 people per room) and then just had them on regular shelves. I LOVE the look of these! Unfortunately baskets give out over time and I can't ever seem to find baskets that once again are the same size as previous baskets. Did you order the baskets on-line someplace that you can consistenly get the same size for when the baskets wear out?

Guest (not verified)

Wed, 02/22/2012 - 12:35

I have all the same laundry baskets that I bought at wal mart for like 3 or 4 bucks a piece. I would think that just meausring out the size according to the laundry baskets would work out fine! they have never stopped selling the ones that I buy, i find them at every wal mart I go to

Lindy Holcomb (not verified)

Fri, 03/02/2012 - 06:05

I would love the Dimensions for this shelf.
Lindy Holcomb (not verified)

Fri, 03/02/2012 - 06:19

I would love the Dimensions on this shelf.

Guest (not verified)

Thu, 03/08/2012 - 05:13

Seriously? $50 for these plans. Get real. Fine woodworking plans don't cost this much. Take some wood, make a box, and put slats in it to fit the baskets. The entire set wouldn't cost $50!

davidmac (not verified)

Thu, 03/08/2012 - 06:18

The plans are free. The build costs $50. See the plans on the link above the cost.

christine (not verified)

Sat, 03/17/2012 - 20:54

once again can anyone please give the measurements for this square basket design and the basket model number as well. i am very challenged when it comes to building things, but with the idea of home depot doing the cutting i think i could manage if i had the measurements. i need the square size to work for my space though. thanks in advance.

Guest (not verified)

Sun, 04/01/2012 - 09:18

I have tried clicking on the link above the cost to get the Plans...however it brings me back to the ORIGINAL Plan rather than YOUR plan (skinnier and taller)...Im sorry if I am being dense but I would really love to get the dimensions of YOUR plan but am having trouble accessing them?? Help please!!

Guest (not verified)

Fri, 04/13/2012 - 23:27

Where it says PS there is a link to the other dimensions.

Cari Downing (not verified)

Fri, 04/20/2012 - 14:05

If you use the large wire baskets made by elfa they would not break like the plastic. The initial investment would be more but would save money over time.

Sonya Chapin

Tue, 07/24/2012 - 04:34

Easy and awesome! My teenage children and I made these over the week-end! Super easy and great looking! Our first project was the laundry pedestal and these are a great compliment. We let Home Depot cut the wood due to time restraints and assembly was a snap! Thanks for the great family projects. My husband passed away in April and these projects have really helped us in the healing process (excellent for constructive bonding time).! Thanks again

First Build - Redwood Adirondack Chairs

Love the results of my first building project.....a pair of redwood adirondack chairs. Angled cuts were a great way for a beginner to learn to use the miter saw.

Estimated Cost
$75 for redwood per chair
Estimated Time Investment
Weekend Project (10-20 Hours)
Finish Used
Discovered a non-toxic, non-flammable, water-based, environmentally friendly product called Seal-Once. Quick and easy two coat application in natural clear to protect wood outdoors for up to 10 years. Soaked right into redwood without leaving a shiny finish or residue.
Recommended Skill Level
Beginner

Comments

JoanneS

Sat, 09/07/2013 - 19:59

Love these gorgeous redwood chairs! The color and grain on that wood is awesome, and the clear coat is perfect for it. You did a great job on this build! I popped over to your blog and I enjoyed your post on this build very much. Well done!

Seasonal And Holiday

chicken boxes that work!

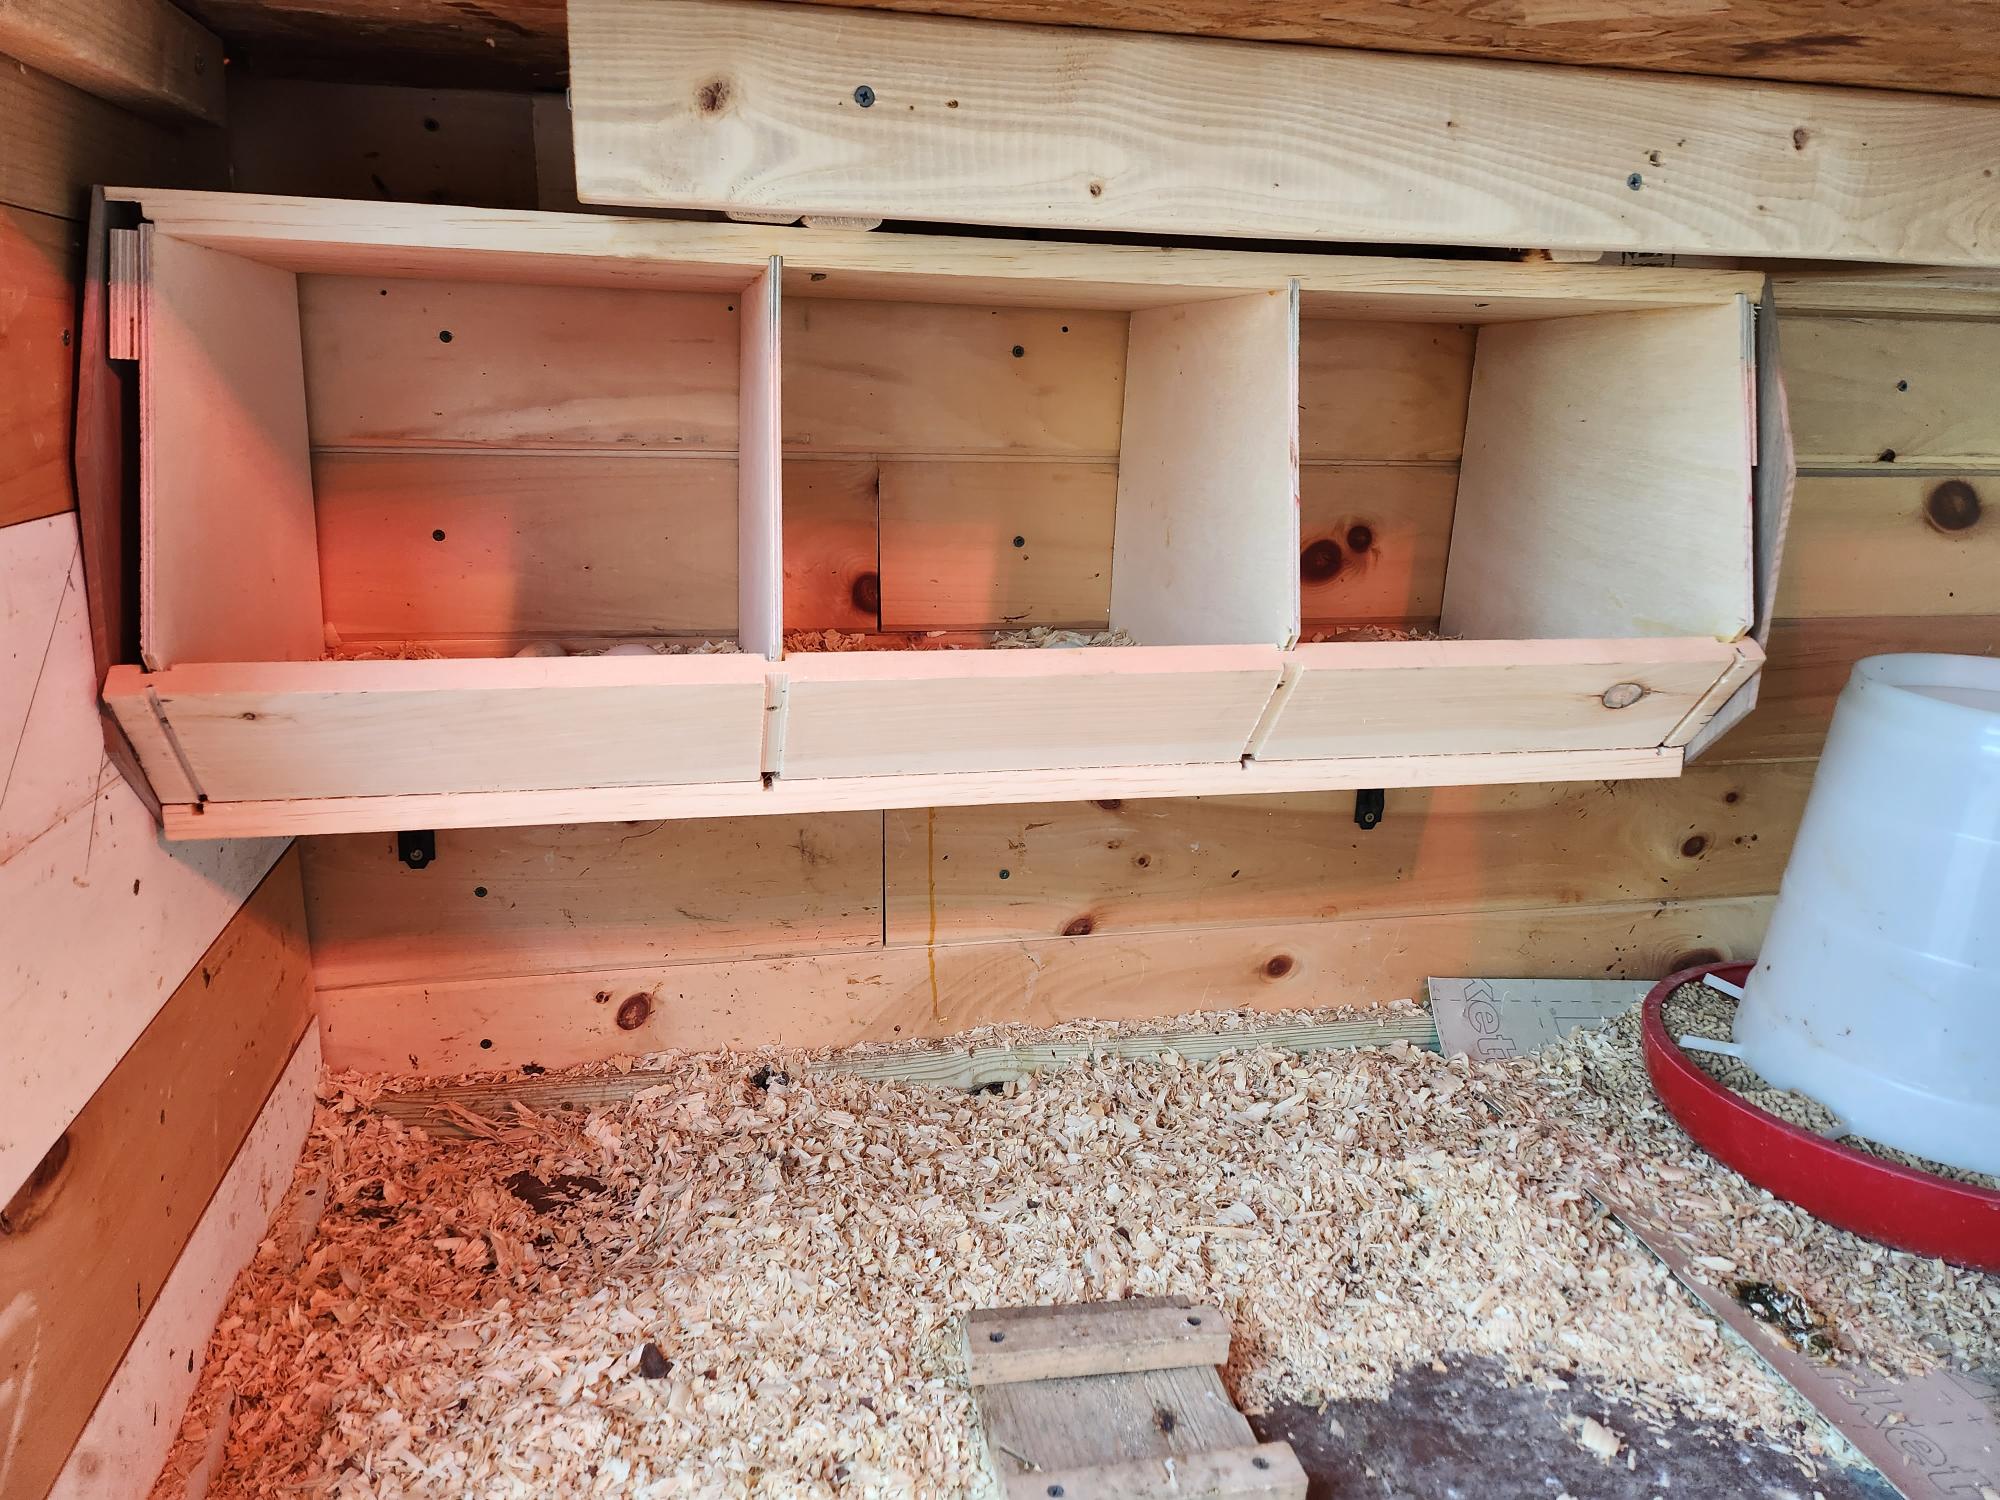
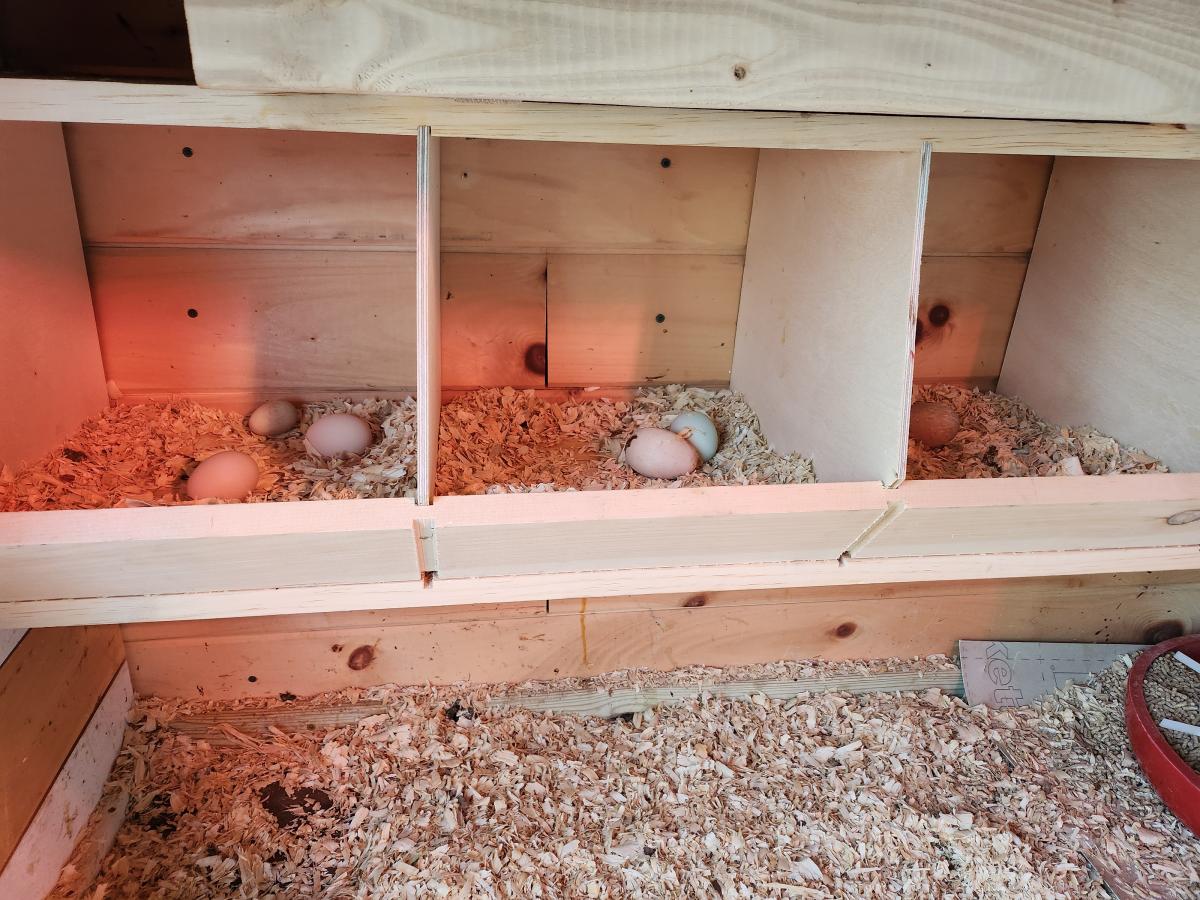
I have tried all sorts of nest boxes. No one ever used them. I decided to make the one from Anna White's site. I used joinery to attach the various pieces. The best thing of all: I find girls sitting in the boxes and take eggs from them. It really is awesome. I got a photo with real eggs and you can also see the wooden eggs to entice them to try it out. Thank you so much! I will build another one for the other side of the the wall.

Built from Plan(s)

Comments

Industrial Coffee Table

Submitted by Anonymous (not verified) on Tue, 02/16/2016 - 12:24

I was seeing this coffee table everywhere so I knew we had to make it. It's the easiest build ever. I think the only tricky part is the painting near the edge. We like a more sanded/finished top. We tried spray painting the base and then attaching the top, but then we sanded the top and the spray paint on the base near the top came off, so I had to cut in and I'm not good at that.

So we're still working on a way to do this properly. We tried making the top on the ground and then sanding & attaching it. But the top needs to be completely exact/square in order to do this. We live in a old farmhouse, so we prefer to attach it as we go - then sand. We also plane the top for a more exact and modern look. 

Estimated Cost
Under 50.00
Estimated Time Investment
Afternoon Project (3-6 Hours)
Finish Used
Top stained in our custom beachwood mix. A mixture of Minwax stains, Bottom spray painted in Oil Rubbed Bronze & semi-gloss polyurethane ( two coats )
Recommended Skill Level
Beginner

Comments

$12.00 Cedar Fence Picket Planter

I followed the plans exactly. The only difference is I used my Ryobi Airstrike brad nailer instead of stapler. Lowes was slightly higher in price than the $10.00 on Ana's post but at $11.97 it wasn't too far off!

Estimated Cost
11.97
Estimated Time Investment
An Hour or Two (0-2 Hours)
Finish Used
No finish
Recommended Skill Level
Starter Project

Narrow Sewing Table

Submitted by WeezyWorks on Tue, 09/11/2012 - 18:06

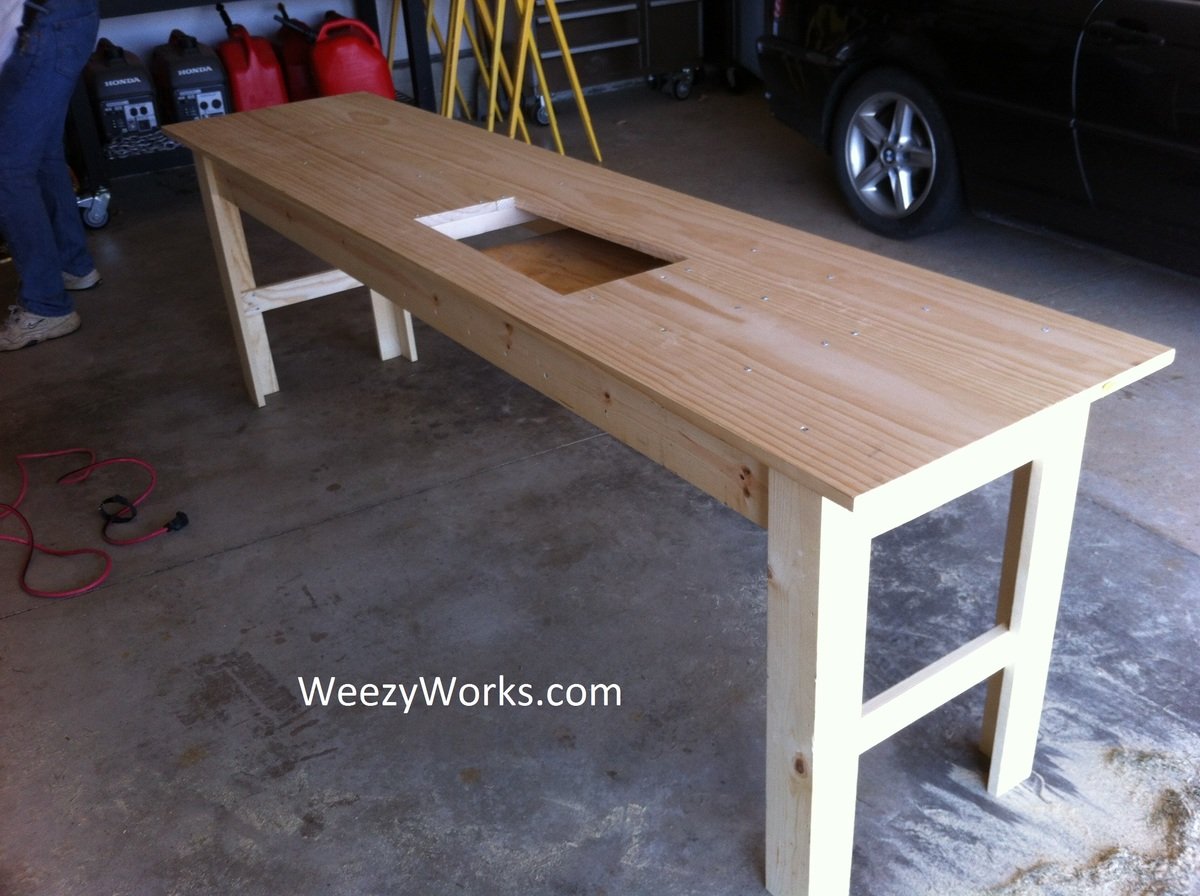
Ive been looking for a sewing table to fit my space. but found none for less than $500 and they were quite small. I found a post at quiltedcupcake.com that linked me to another blog, linking me here. I modified the plan to be about 2 feet wide and cut a hole to fit my sewing machine. There is a support in the bottom to hold my machine level with the tabletop. When I make this in the future, I will splurge on a fine hardwood. This plan was easy to build and looks great! Just what I was looking for :D

Estimated Cost
$125
Estimated Time Investment
Weekend Project (10-20 Hours)
Finish Used
Dark stain and satin polyurethane
Recommended Skill Level
Beginner

Comments

tommirhea

Fri, 09/14/2012 - 09:45

I'm jealous of your organization! I've had a folding table for my sewing table since I started sewing :(

tommirhea

Sun, 09/16/2012 - 10:11

Now, I've just got to make it! I love to free motion quilt and that would make it easier. With each baby I've had my quilting space has diminished (of course it's worth it) but now I think I will reclaim some space ;)

Shoe Dresser

I had this space in my mudroom that was a perfect spot to make a custom shoe dresser. I adjusted the plans I found on this website to custom make storage for shoes. Now this weird little space is functional.

Built from Plan(s)
Estimated Cost
80
Estimated Time Investment
Day Project (6-9 Hours)
Finish Used
Rustoleum chalk paint Serenity Blue, classic grey and special walnut Minwax
Recommended Skill Level
Intermediate

Comments

The Greenhouse Gets a Custom Door Window!

Submitted by Anonymous (not verified) on Sun, 09/05/2021 - 06:00

I knew I wanted an unusual window in our new greenhouse door. It took a lot of looking, but finally found what I was looking for!

Built from Plan(s)

Comments

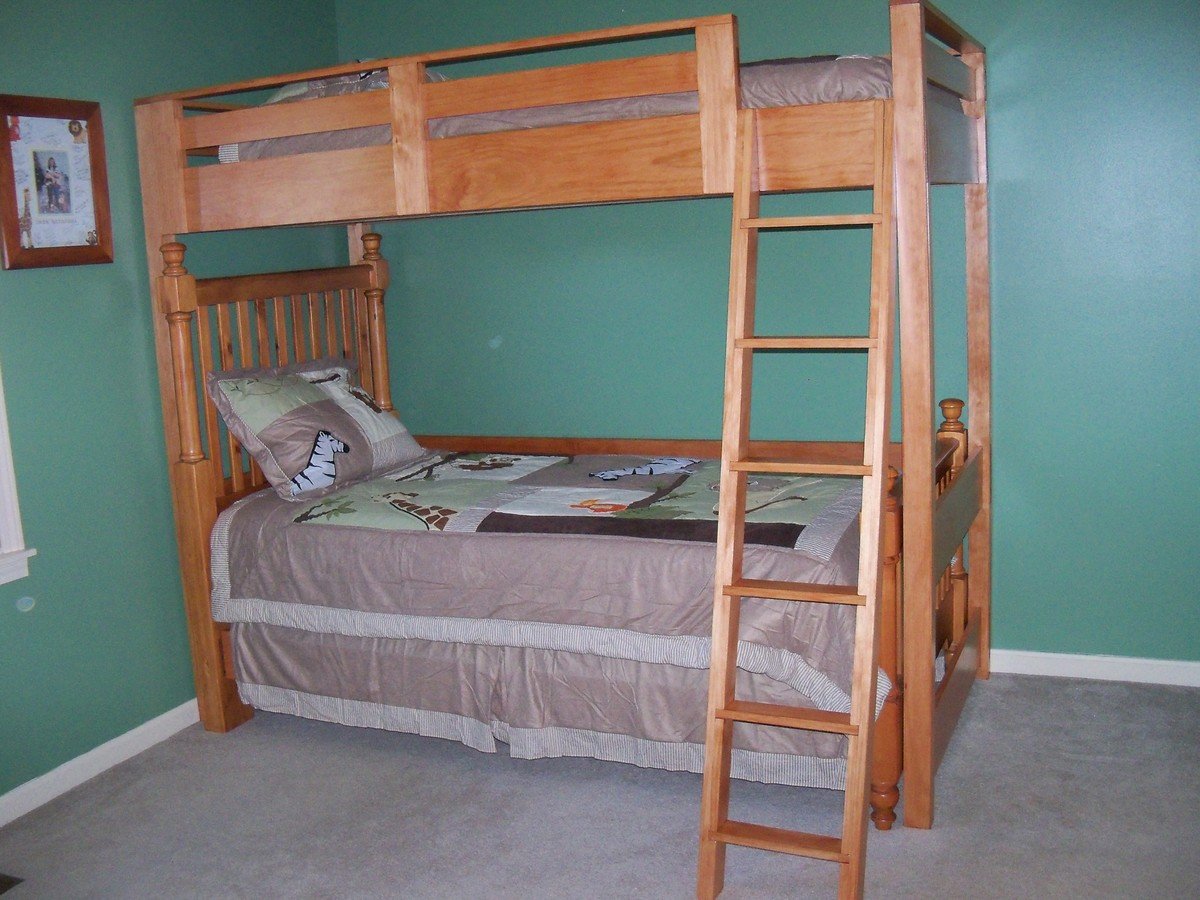
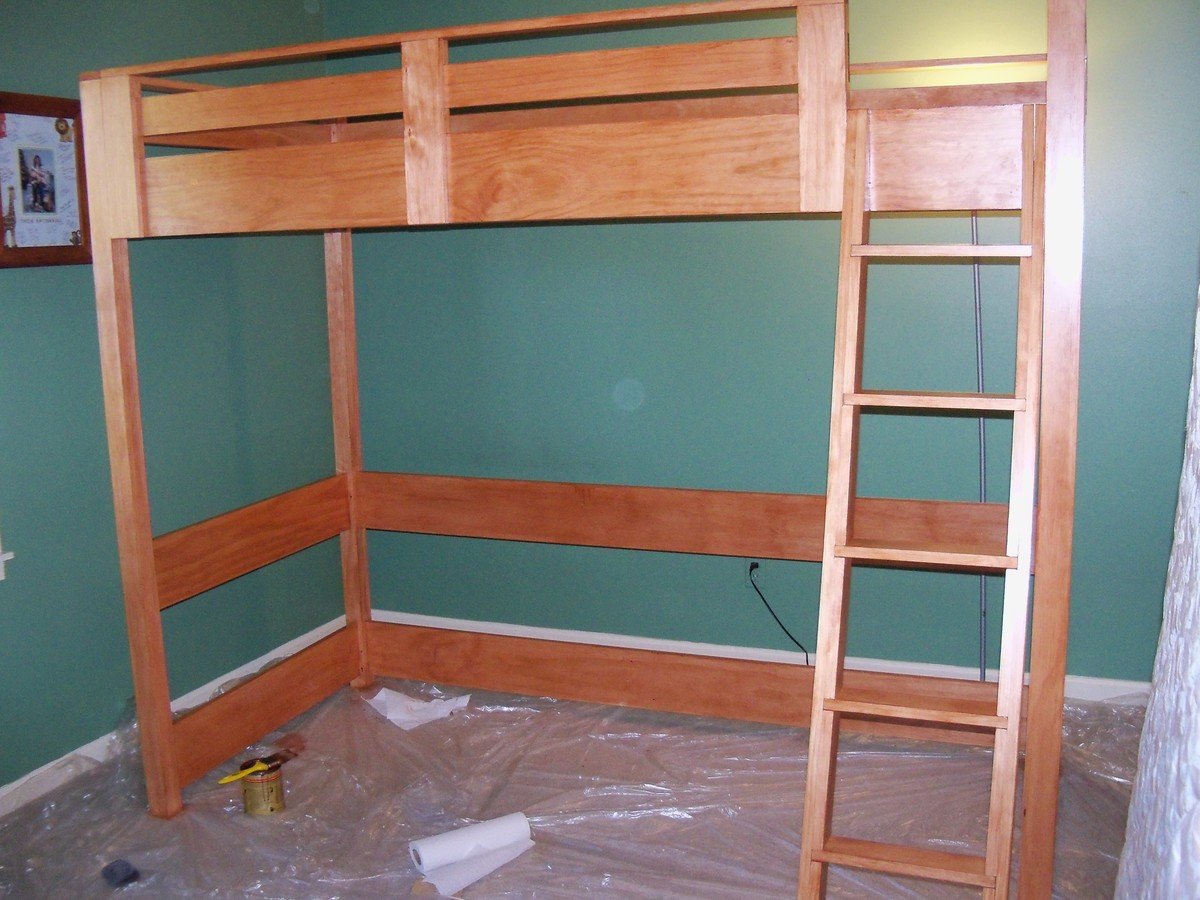
Turning the Loft Bed into a Bunk Bed

Submitted by mommabutts on Thu, 04/14/2011 - 10:20

We adapted the loft bed plans so we could put our sons' current twin bed underneath it to make "bunk" beds for our boys.  It turned out perfectly!  The loft is very sturdy, even with 2 adults and a child on the top bed.

We made it taller and longer, and added an additional row of 1x8s to increase stability.

Built from Plan(s)
Estimated Time Investment
Day Project (6-9 Hours)
Finish Used
Minwax Polyshades
Recommended Skill Level
Intermediate

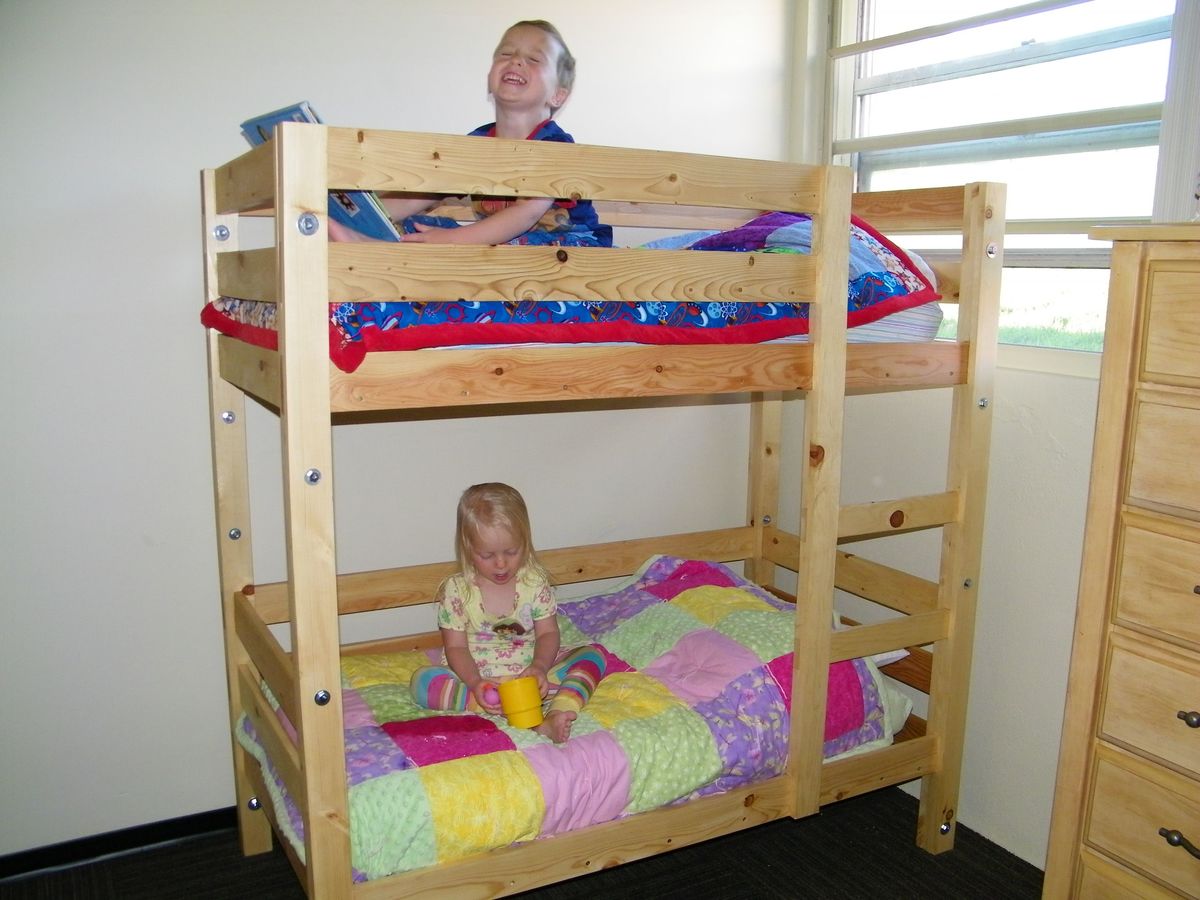
Toddler Bunk Beds

Submitted by wubchileno on Sun, 05/22/2011 - 20:34

I used the classic bunk bed plans and resized them to fit a toddler mattress and to keep the height about four inches shorter. My kids love them and we are very happy with the result. I'm glad to share the measurements with anyone who is interested. This was a first project for me, but I had a much more experienced friend helping. If you're interested in plans you can find my explanation here https://warburtonshome.blogspot.com/2017/10/toddler-bunk-beds-diy.html


Estimated Cost
$100
Estimated Time Investment
Weekend Project (10-20 Hours)
Finish Used
I used a pre-stain and a natural color stain with polyurethane.
Recommended Skill Level
Intermediate

Wife's Kindergarten Classroom

Been a while since I had time to actually build anything worth posting about! My wife wanted some items for her Kindergarten classroom this year, so built several items, most inspired by the Farmhouse family.

Estimated Time Investment
Day Project (6-9 Hours)
Recommended Skill Level
Beginner

Comments

sido17

Thu, 07/18/2019 - 15:27

I would love the dimensions or plans for this. Would love to make it for my classroom.

dlee69

Tue, 07/30/2019 - 12:07

Hello

Can I please get the plans to the u shape table?

Thanks

Linguine

Mon, 08/19/2019 - 12:09

I am guessing the corner posts are 2 x 4s, the top is 2 x 10s.  It looks like the width is 6’ (looking at the floor carpet tiles being 24” square). So 2 - 2 x 10s side by side for the main part of the desk top and 2 - 2 x10s perpendicular on each side of the chair.  I guess the height is subject to choice and the length of each side would also be subject to choice or to the length of the 2 x 10s to be economical.


an educated guess would be 4 - 8’  2x10s for the top and 6 - 6’ 2 x 4s for the legs?  


Anyone else have any input here?  Open to suggestions.....

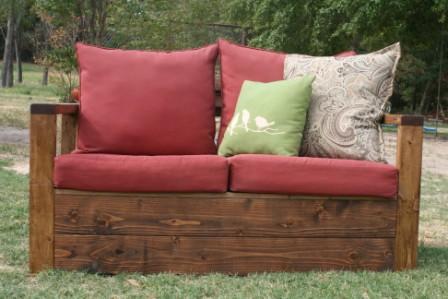
Simple Outdoor Loveseat with Storage

Submitted by kareylynn on Wed, 10/19/2011 - 10:20

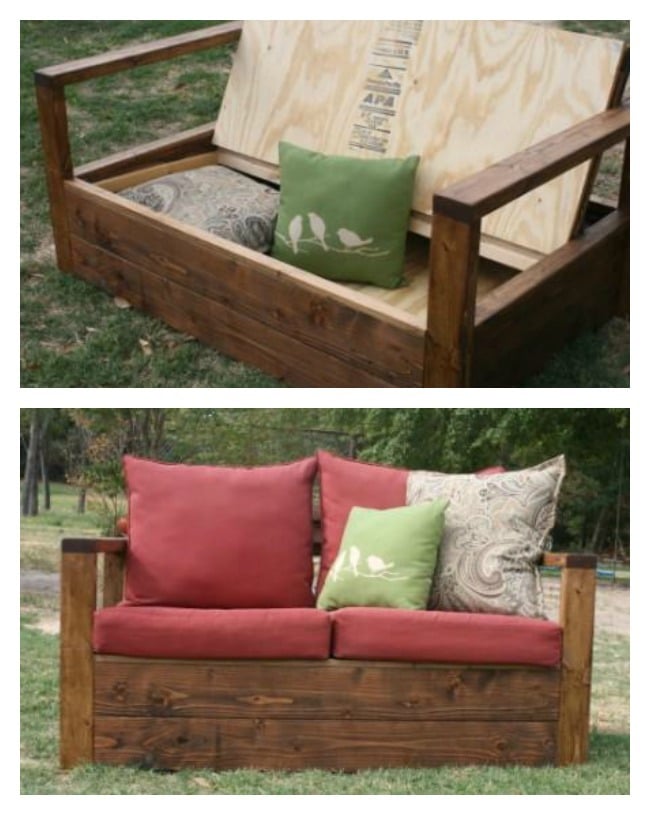
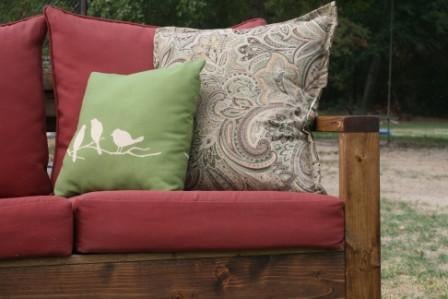
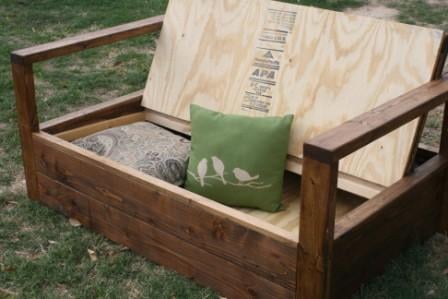
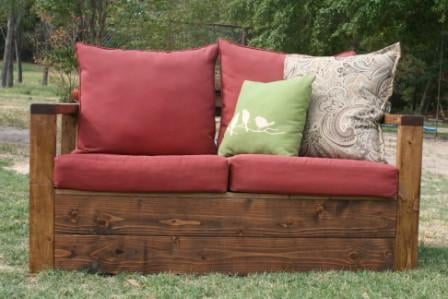
I added storage to the bottom of the simple outdoor loveseat by creating one big board from 2 2x6 boards for each of the front, back, and side aprons using my KregJig. Then I added cleats around the bottom for a sheet of plywood, extra cleats around the top edge for the seat, and put the hinge on the original seat support board.

Estimated Cost
$120 for the lumber and $300 for the cushions.
Estimated Time Investment
Week Long Project (20 Hours or More)
Finish Used
Provencial stain with two light coats of Poly.
Recommended Skill Level
Advanced

Comments

Seasonal And Holiday

Patio couches

Submitted by Anonymous (not verified) on Thu, 04/27/2023 - 19:14

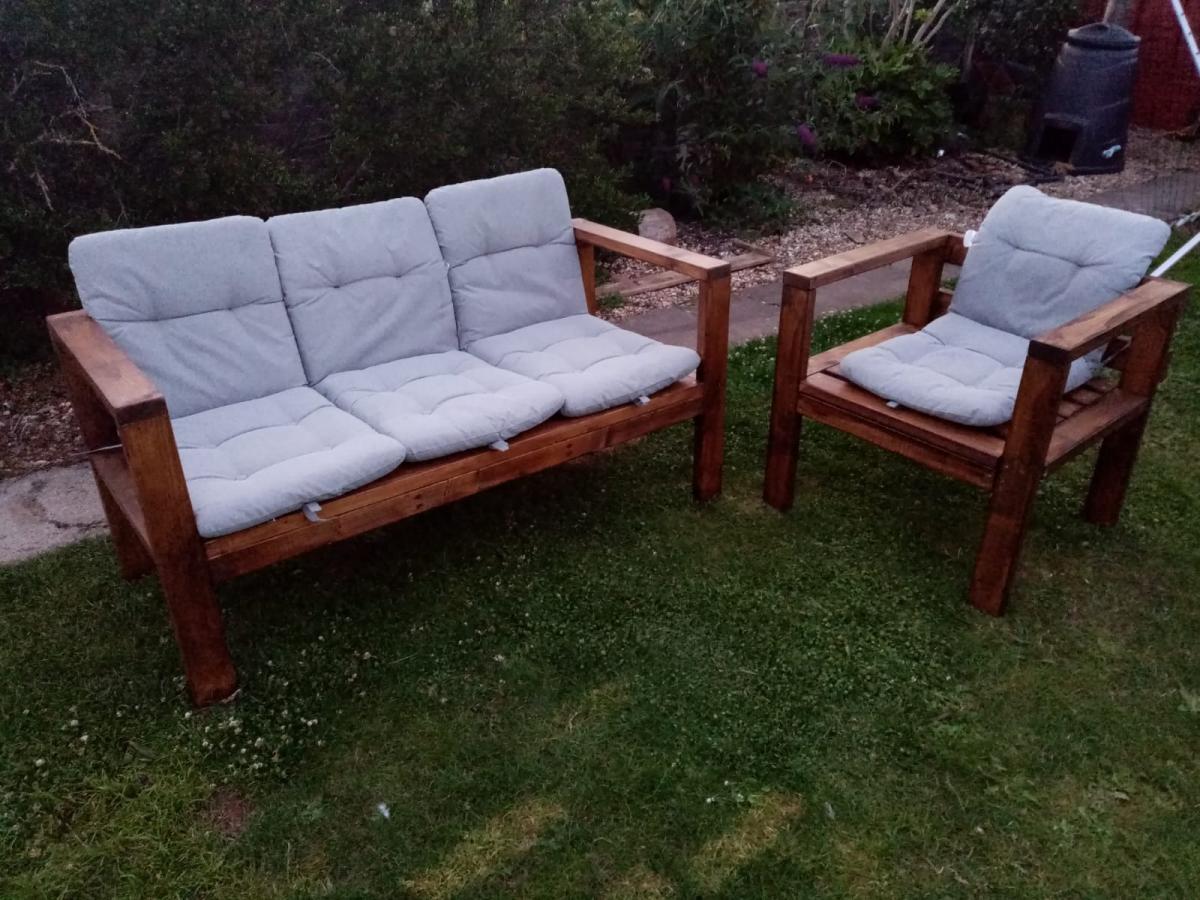
This project was fun to build with hubby said the shopping list and the cut list was perfect! Love all your designs! King bed is next!

Comments

Seasonal And Holiday

My first build!!!!

Submitted by Anonymous (not verified) on Thu, 03/03/2016 - 12:44

This was my very first build and I loved it. I used rough cut oak that I got from my grandparents woods when it was destroyed in a storm. I spent a few hours planing and sanding but it was time well spent. I plan on making the fort bed next.

Built from Plan(s)
Estimated Time Investment
Weekend Project (10-20 Hours)
Finish Used
Minwax antique walnut stain followed by hand rub satin poly.
Recommended Skill Level
Beginner

Comments

Ana White

Thu, 03/03/2016 - 13:52

That is ONE awesome first build! Can't wait to see your next project, thanks for sharing!