Community Brag Posts

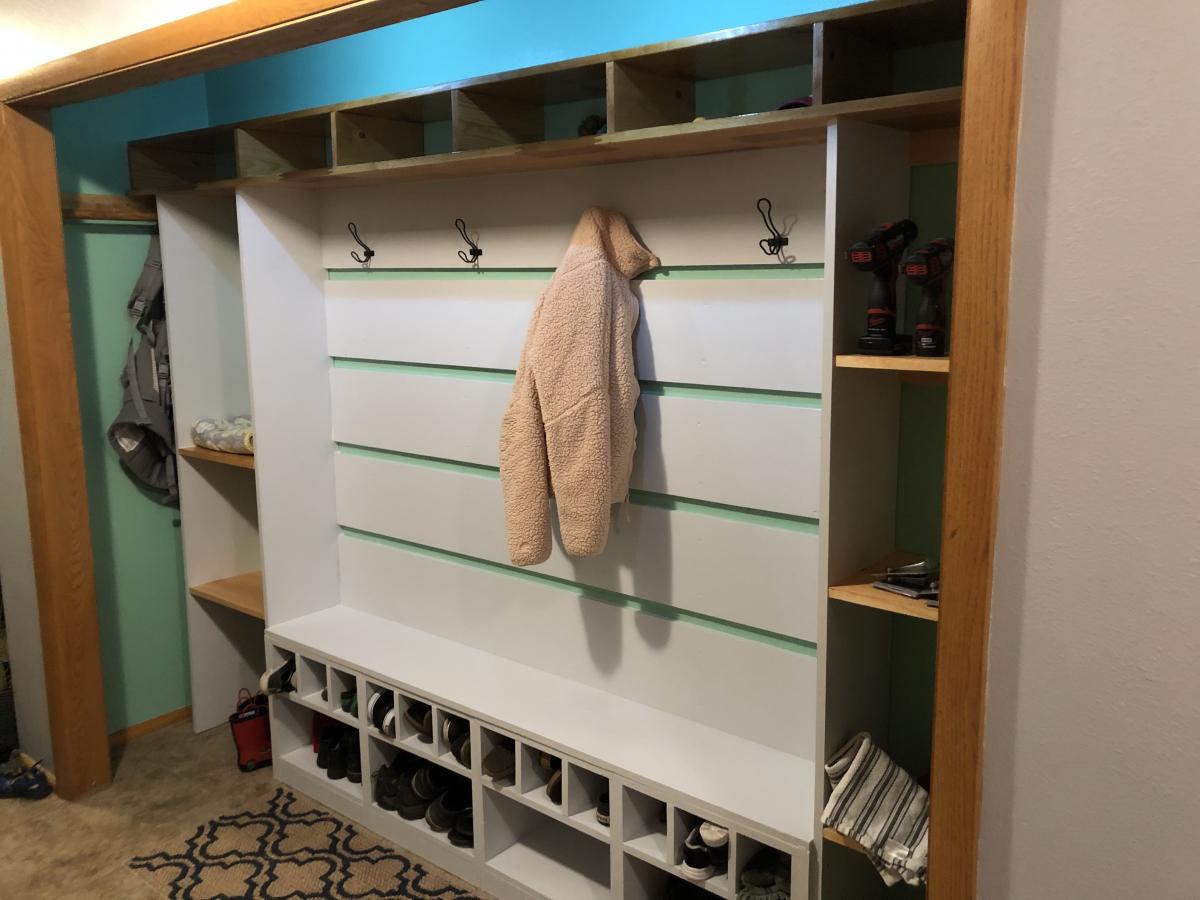
Main closet bench and shelving

Submitted by Anonymous (not verified) on Sun, 10/27/2019 - 13:11

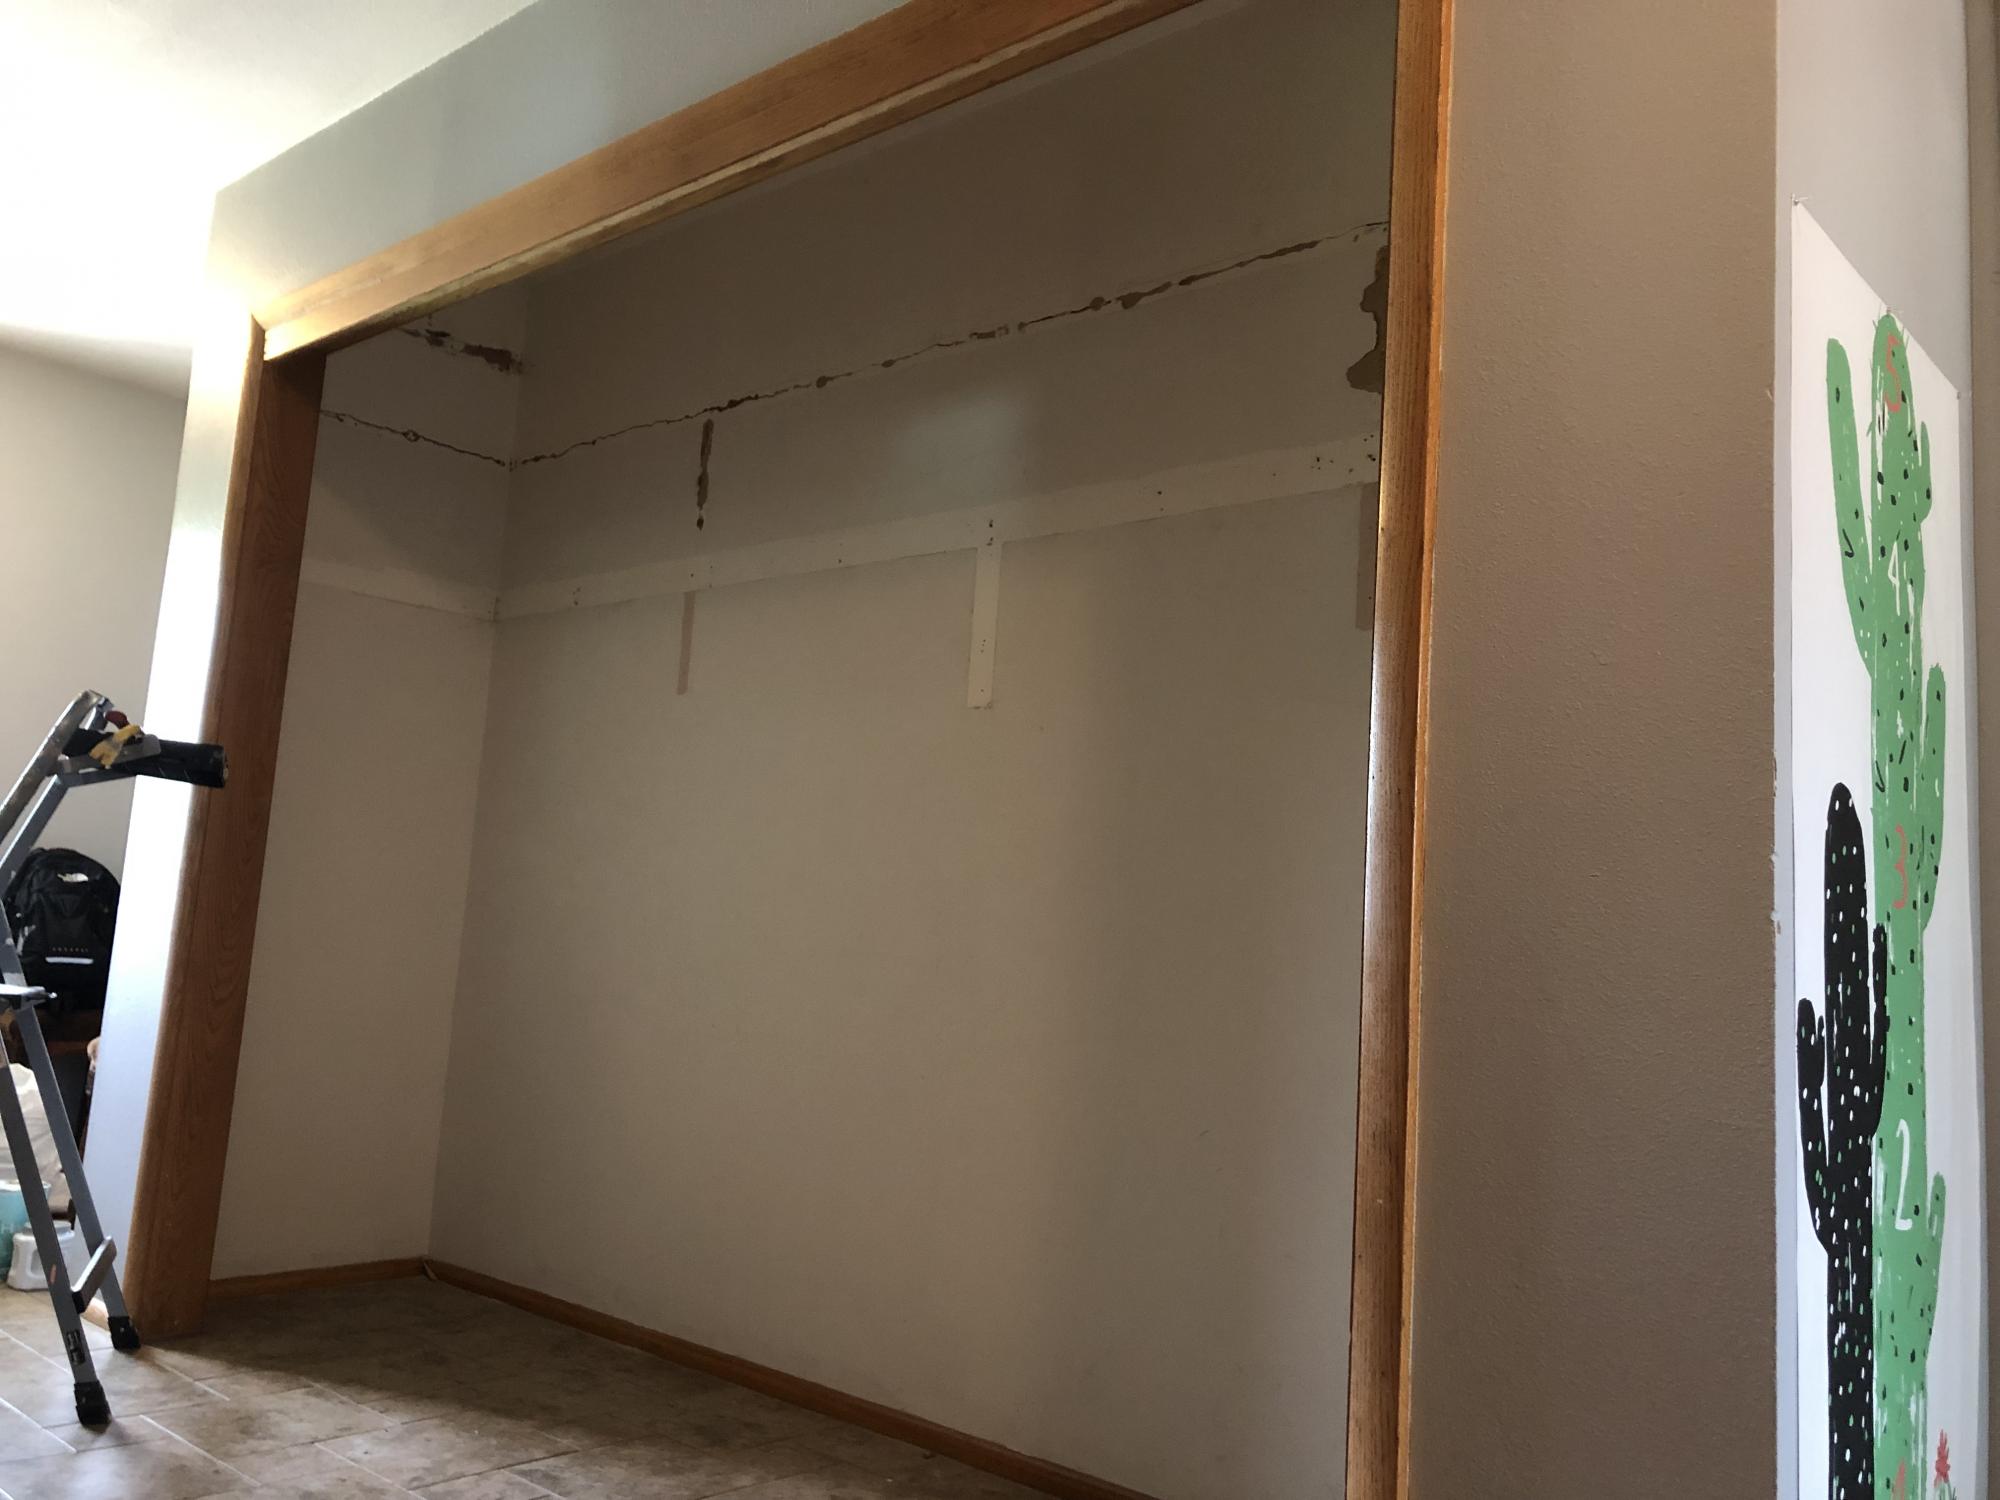
We have a 10 ft closet in our entry which offered plenty of space but had three closet sliding doors. Only one could be open at a time. Had two upper shelves and a rod. Wanted to get things more organized and have a place to get shoes on. Always give my 1 and 3 year old easier access to dress/undress themselves. First attempt at building anything. As I went along changed things based on materials and to get around issues with our closet or my skill level/available tools.

Estimated Cost
200
Estimated Time Investment
Week Long Project (20 Hours or More)
Finish Used
Painted areas are Olympus white sherwin Williams. Stain is classic oak.
Recommended Skill Level
Starter Project

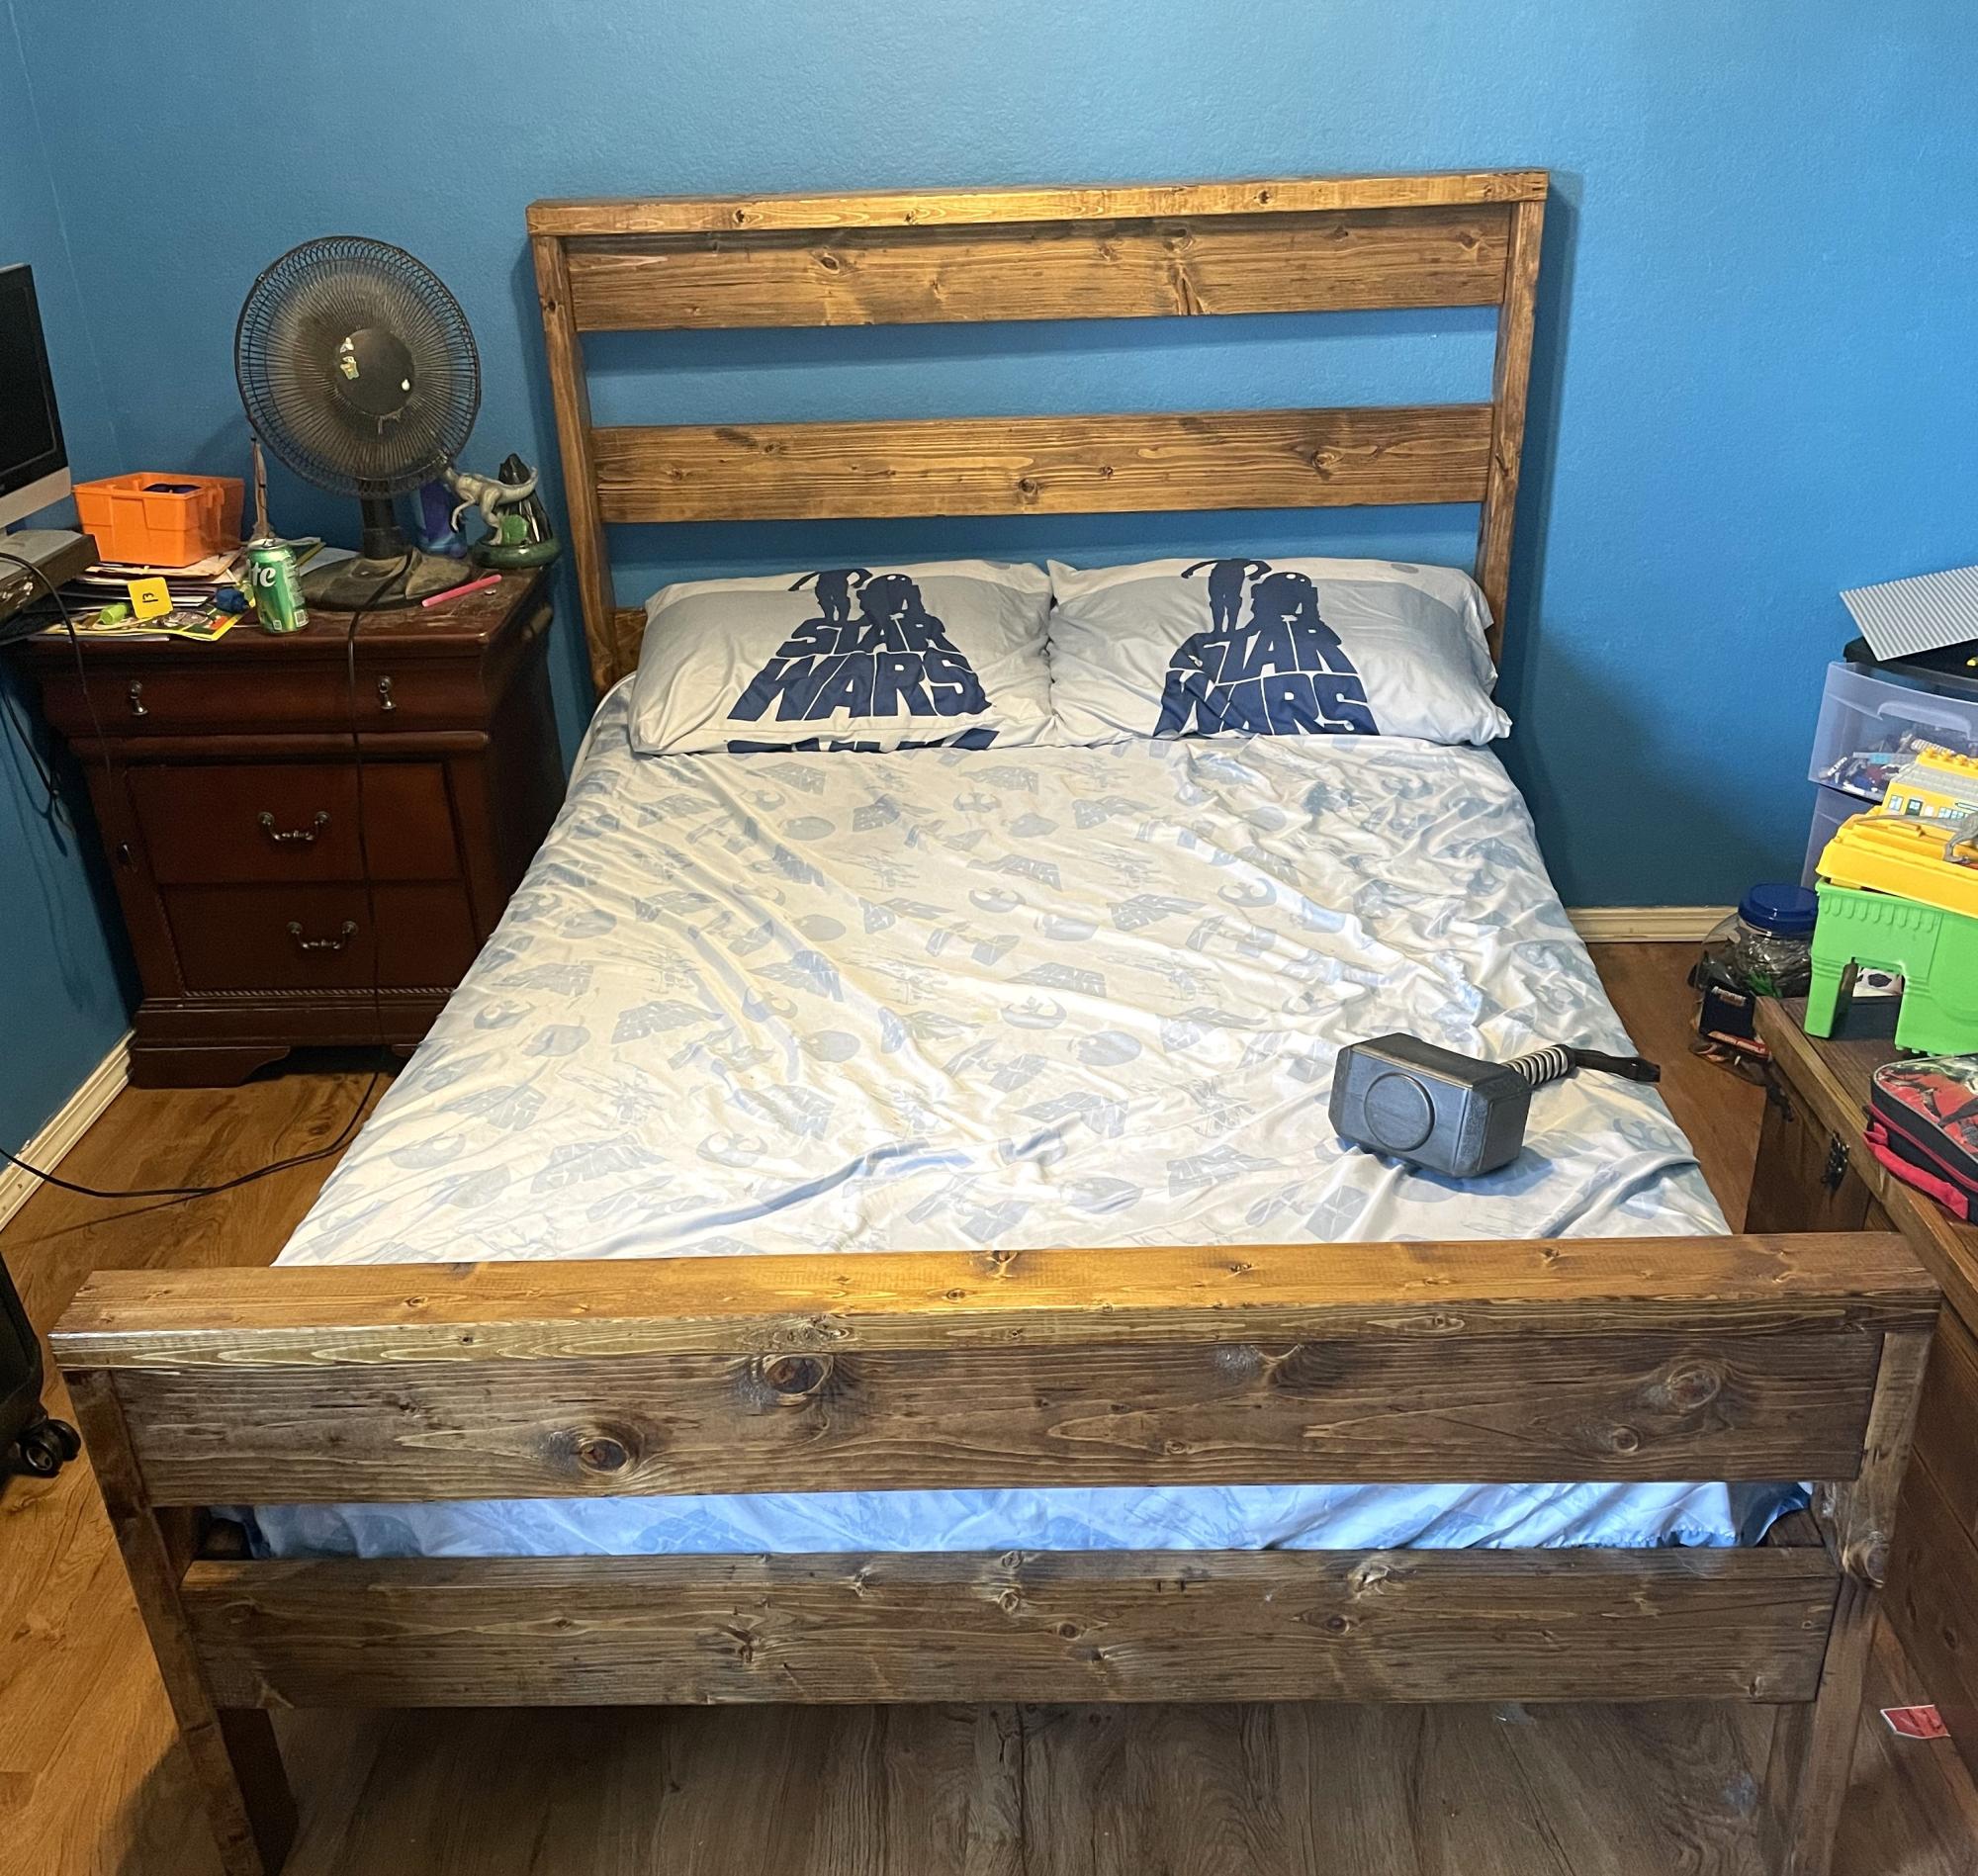
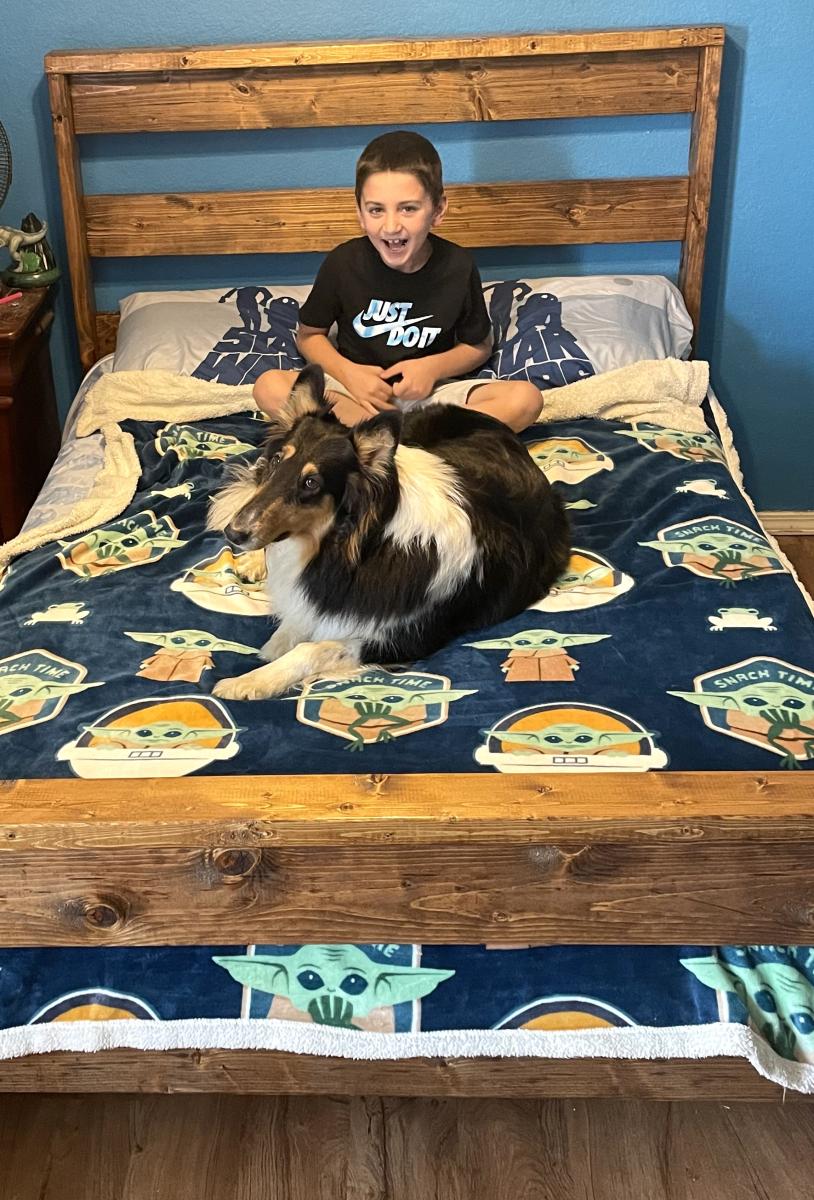
Big Boy Bed

Submitted by Anonymous (not verified) on Tue, 08/01/2023 - 14:56

New bed for my boy. Great plan and not expensive.

Sean Hight on Facebook

Comments

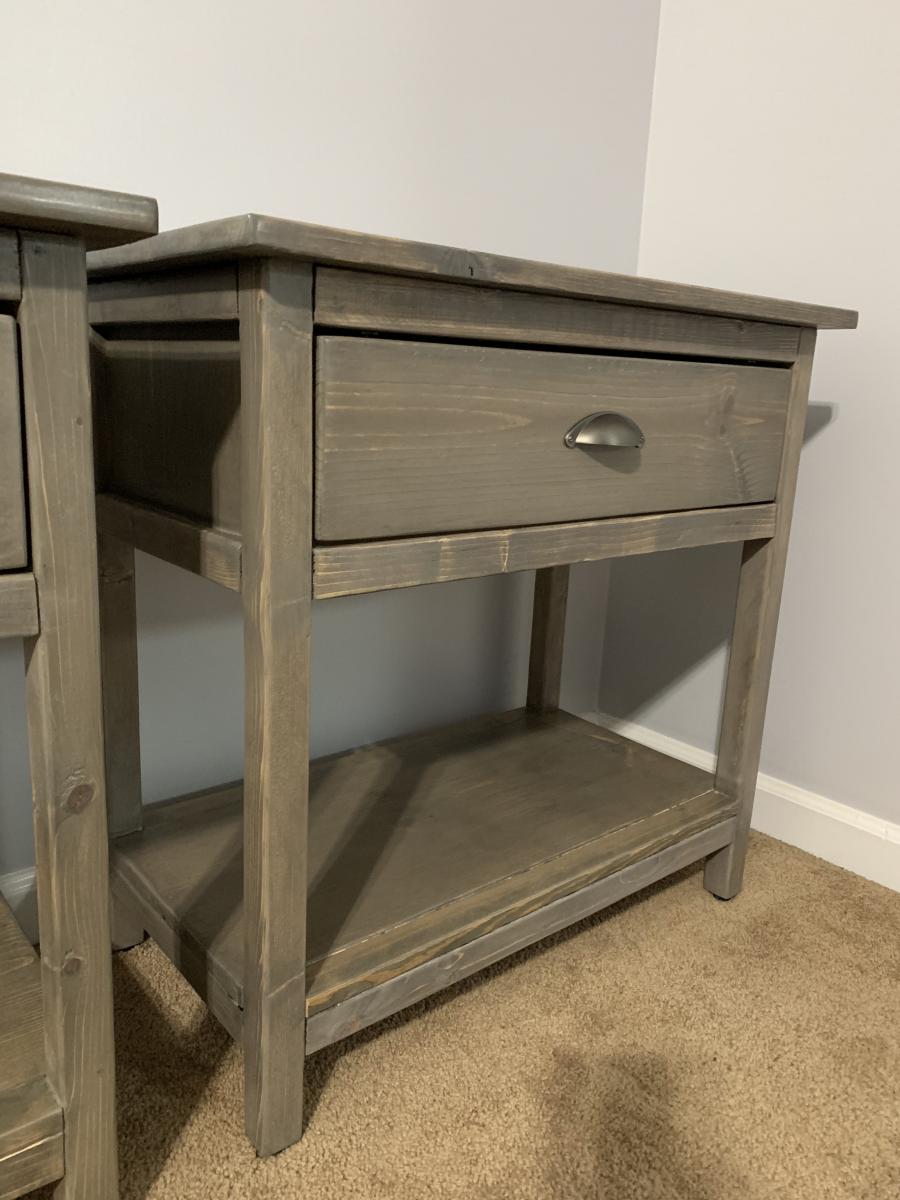
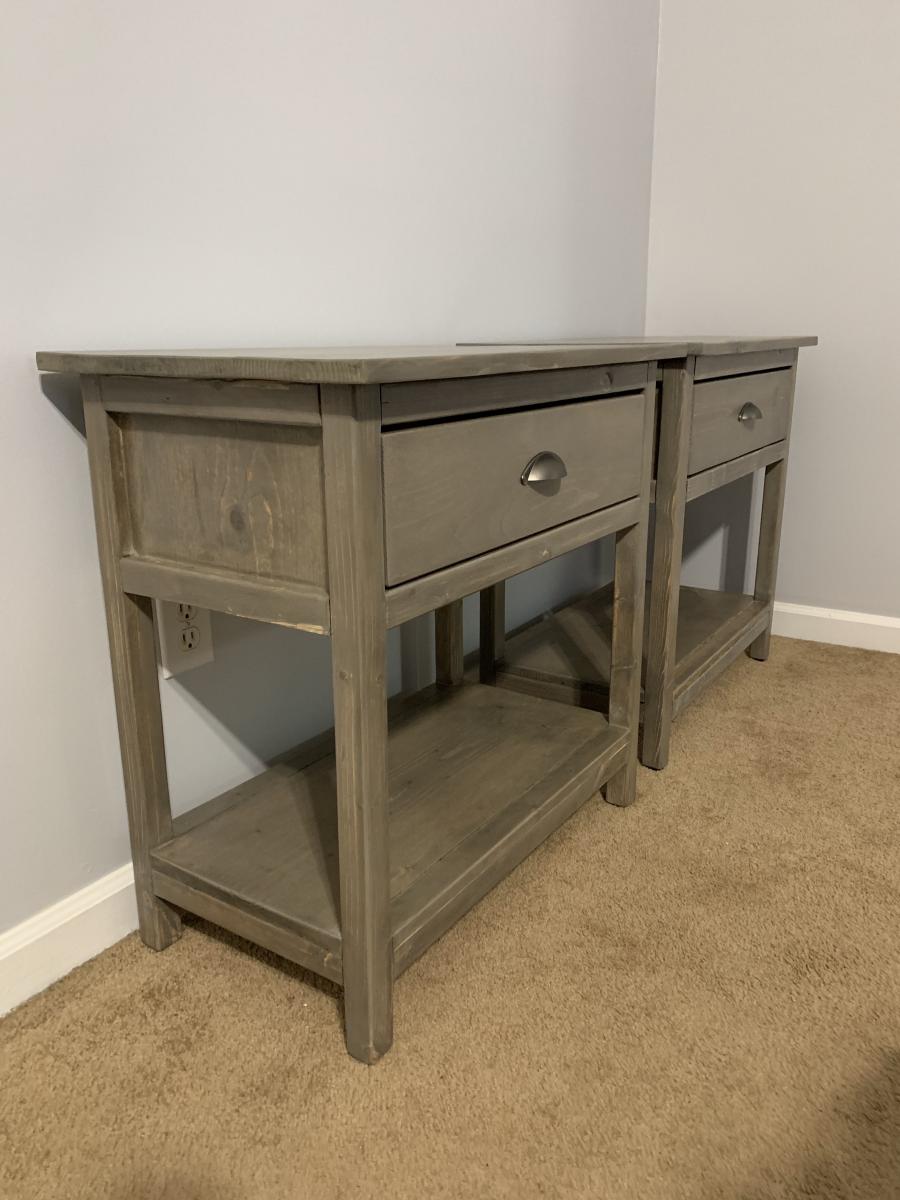
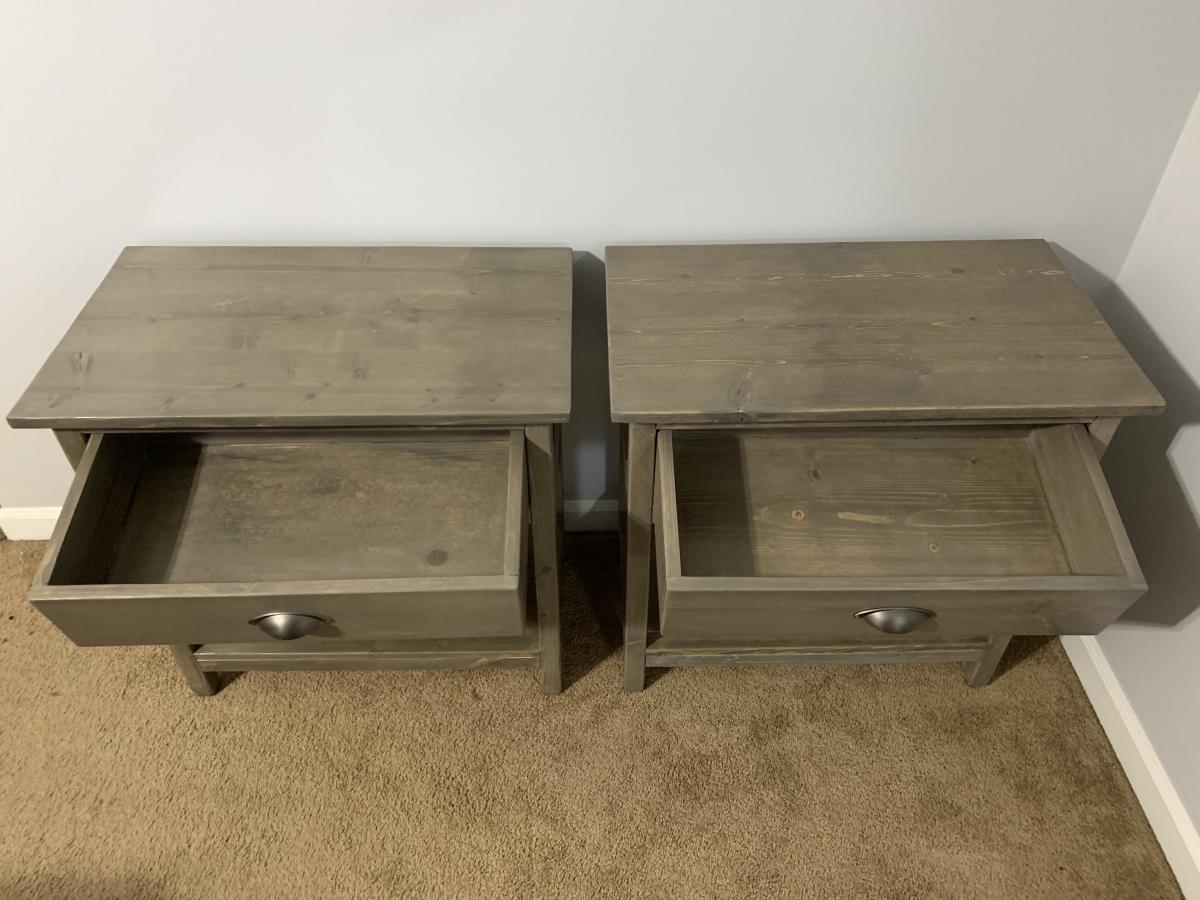
Rustic Side Tables

Submitted by zawatkins on Sat, 02/01/2020 - 16:05

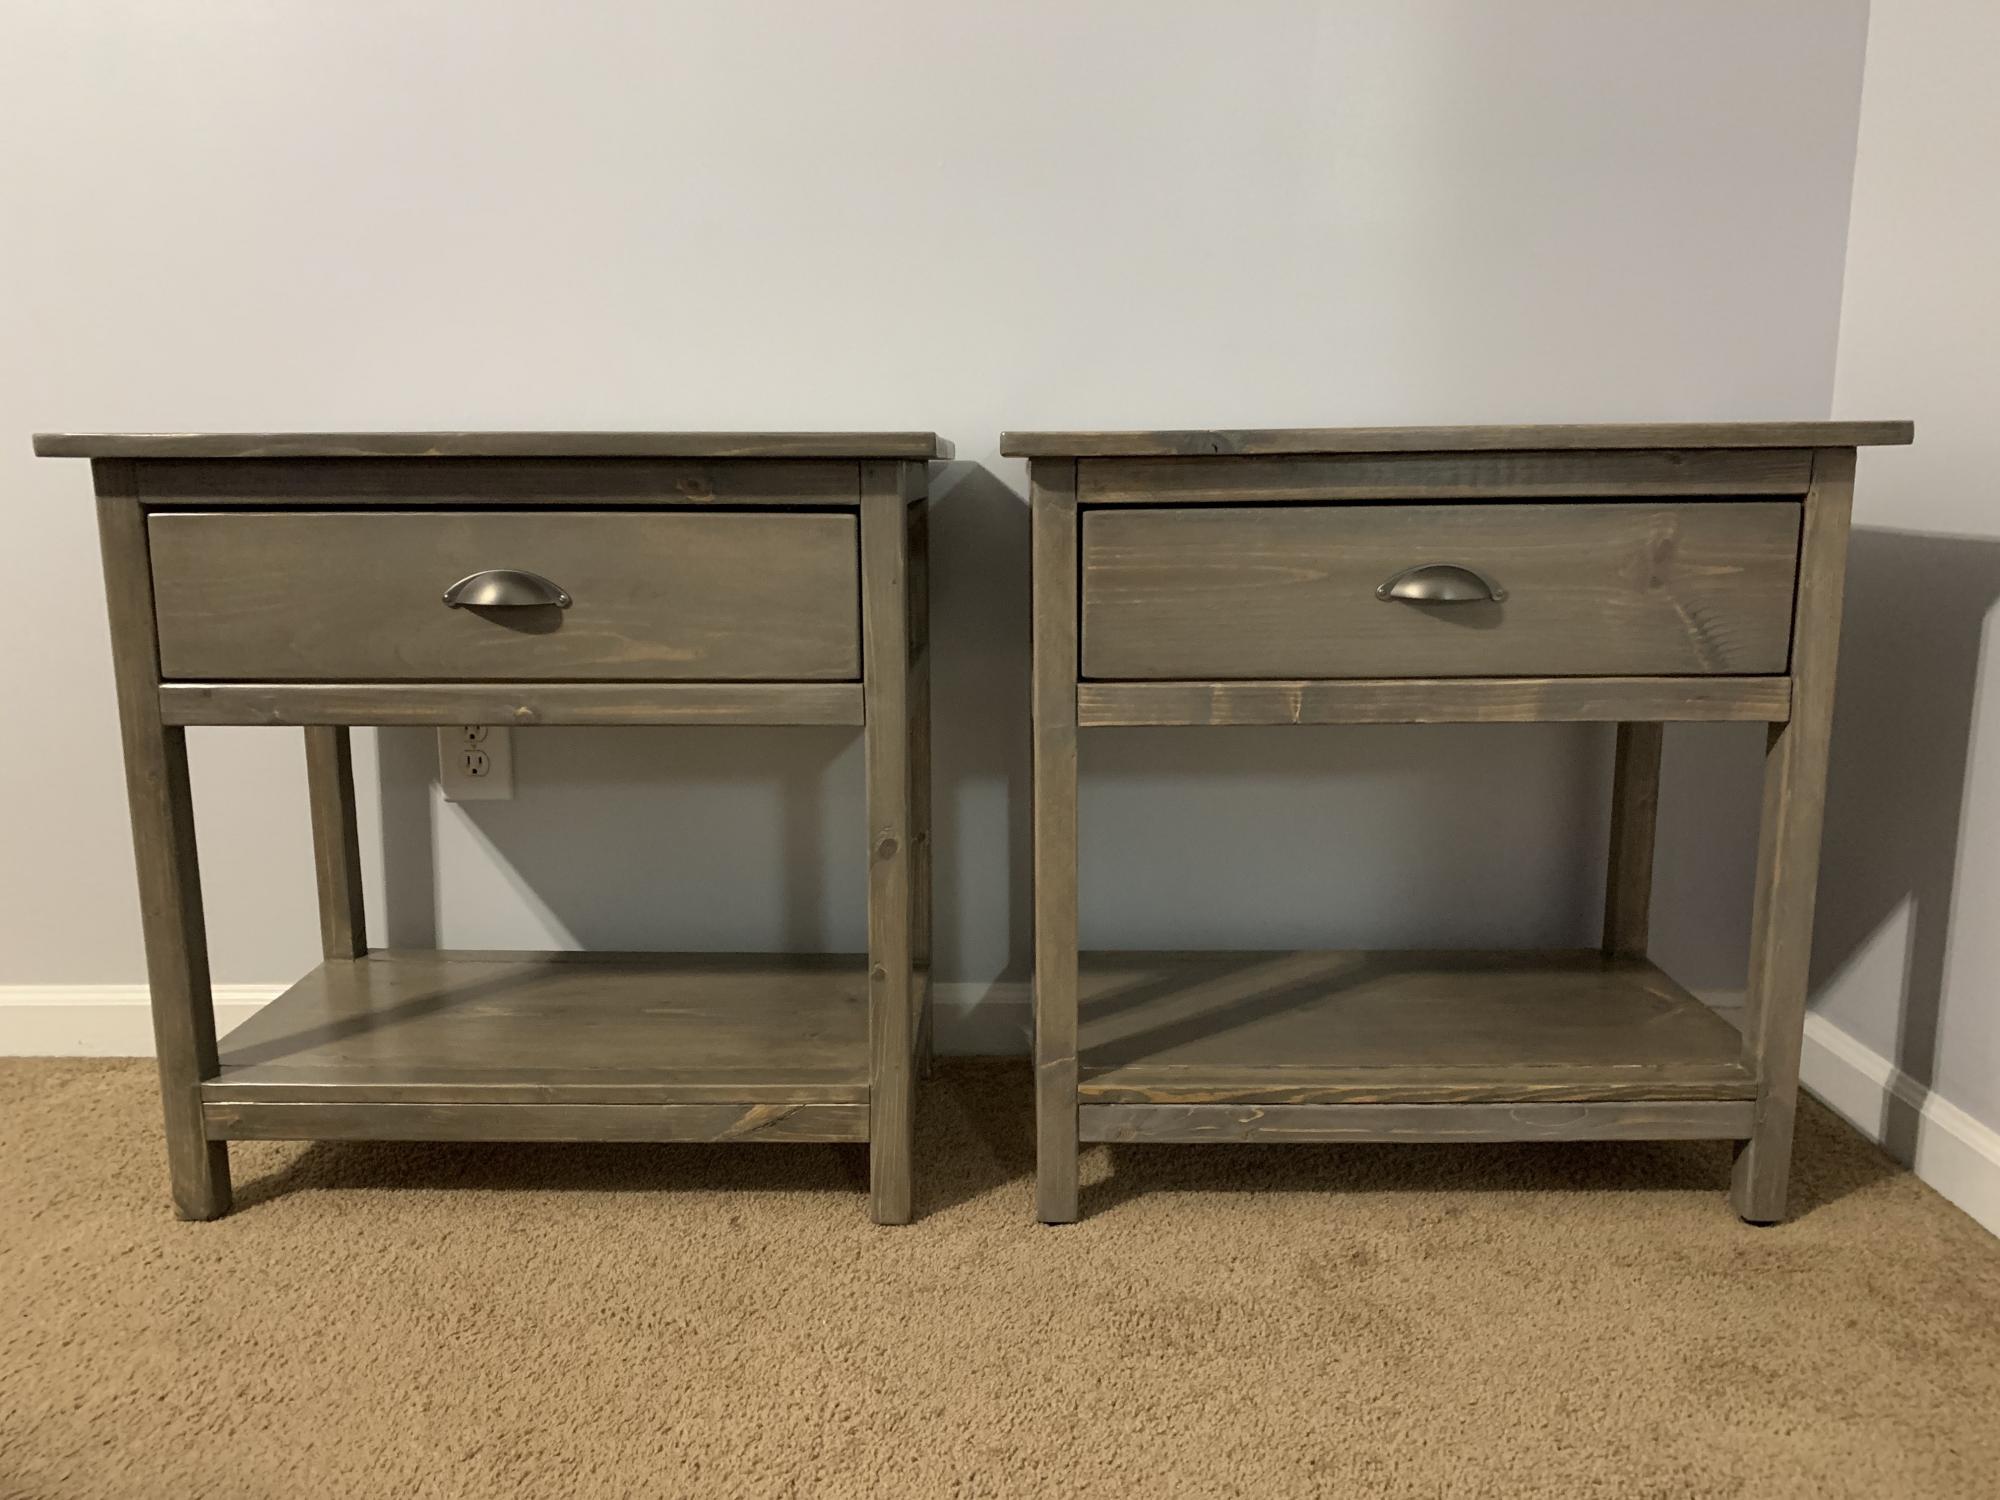
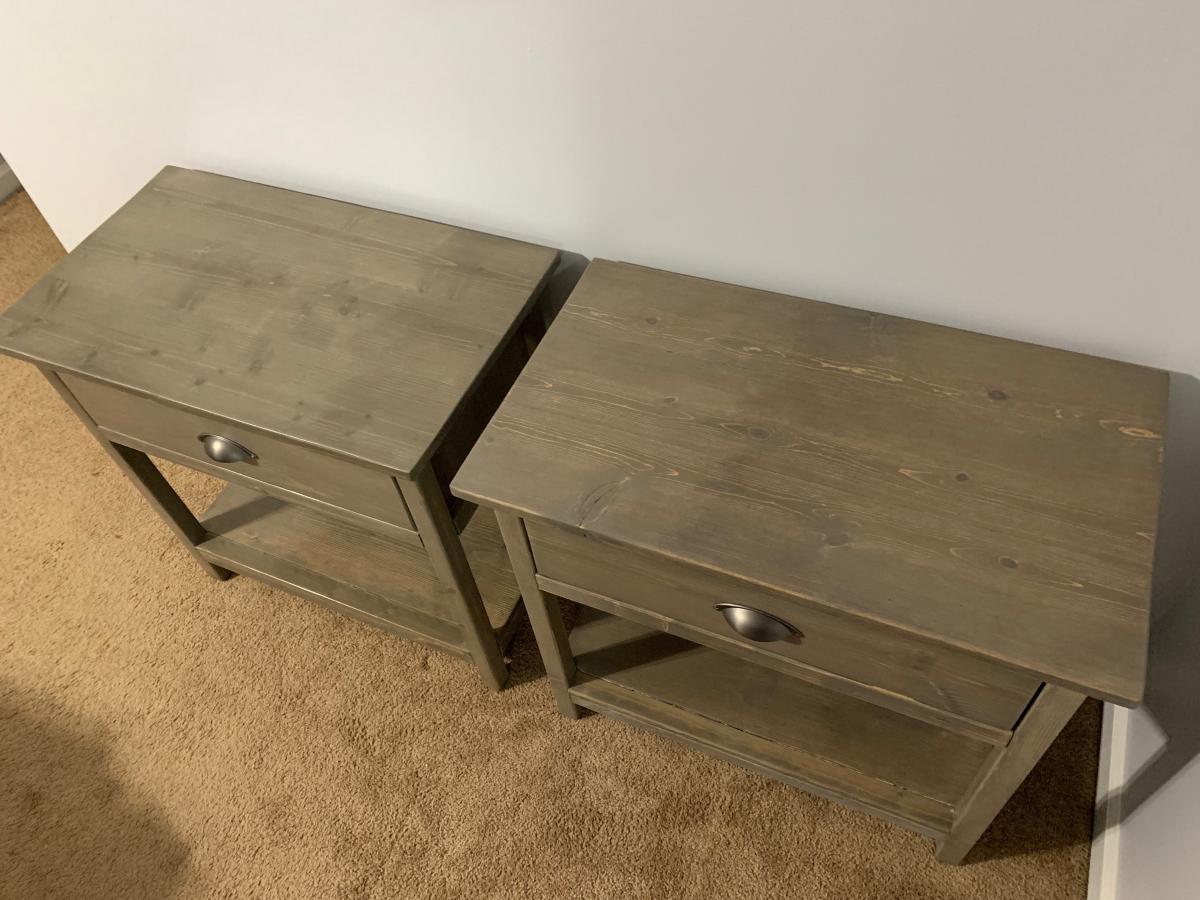
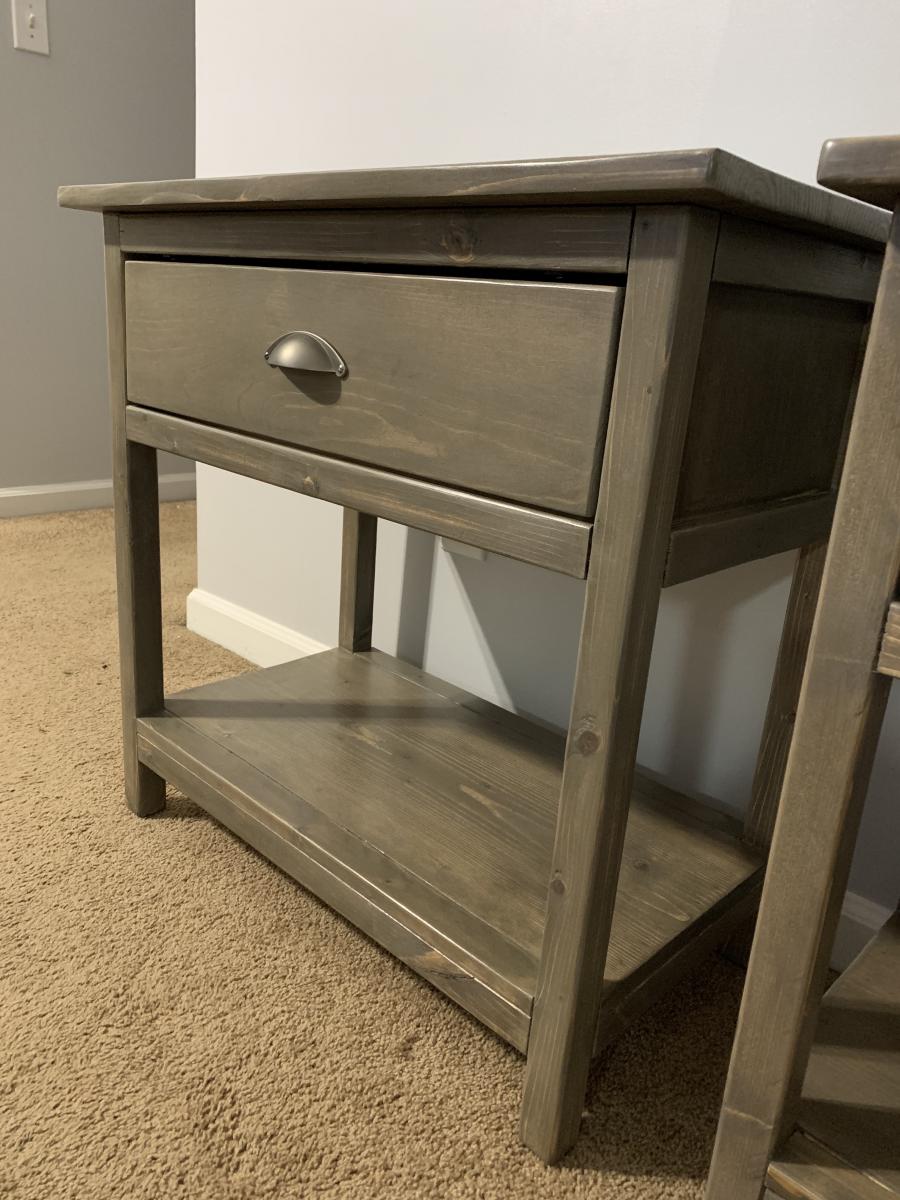
Made these side tables and they turned out great! I did buy some drawer stops from Swisco to keep the drawers from falling out. 

Built from Plan(s)
Estimated Cost
$115
Estimated Time Investment
Weekend Project (10-20 Hours)
Finish Used
I used Minwax stain - first stained with Dark Walnut and then before it was dry, I put Simply White over top and immediately wiped it off. Then 3 coats of polyurethane
Recommended Skill Level
Beginner

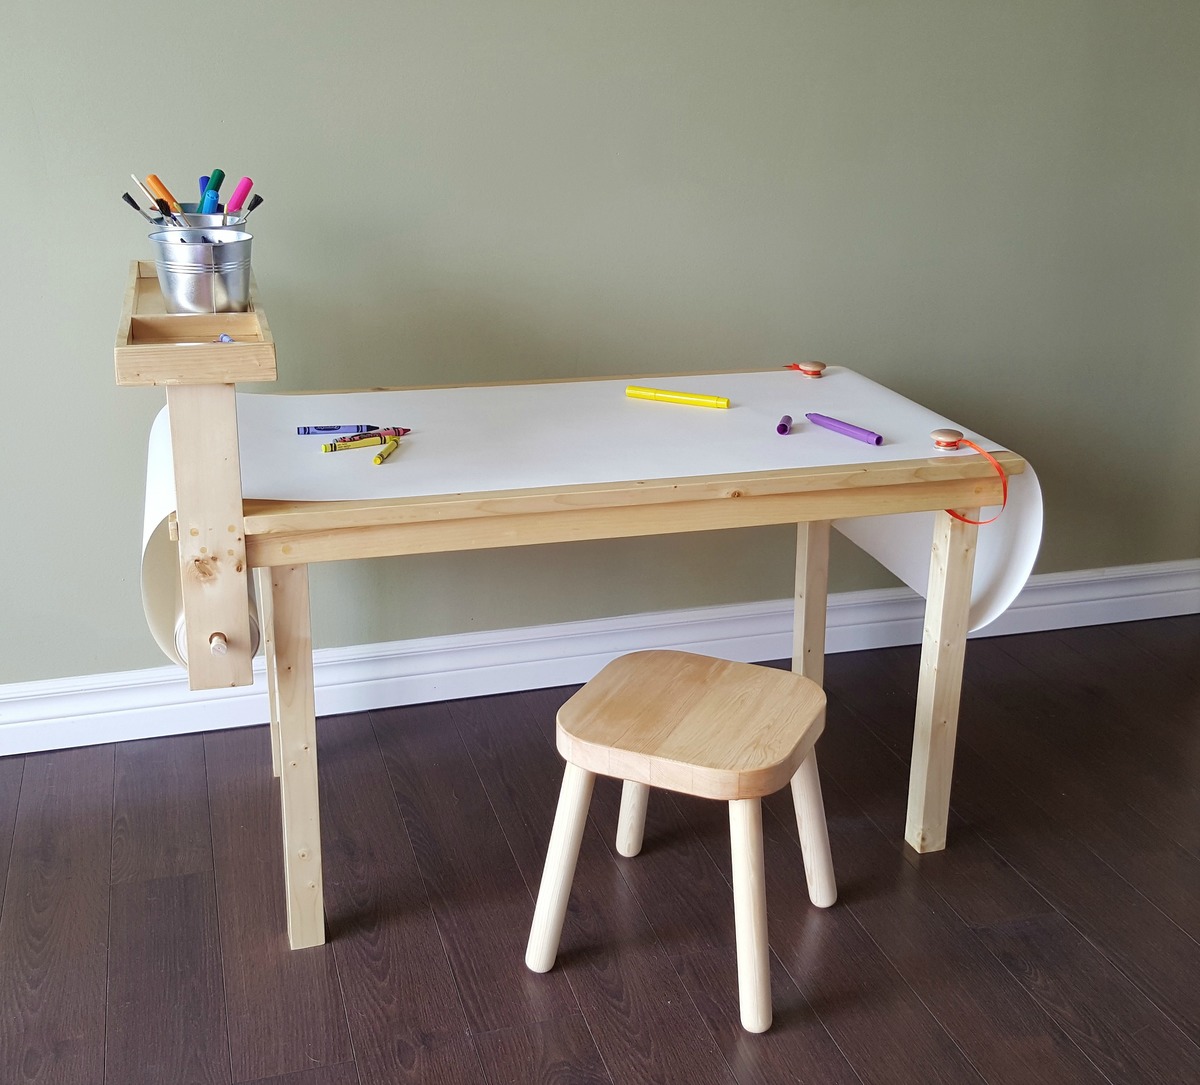
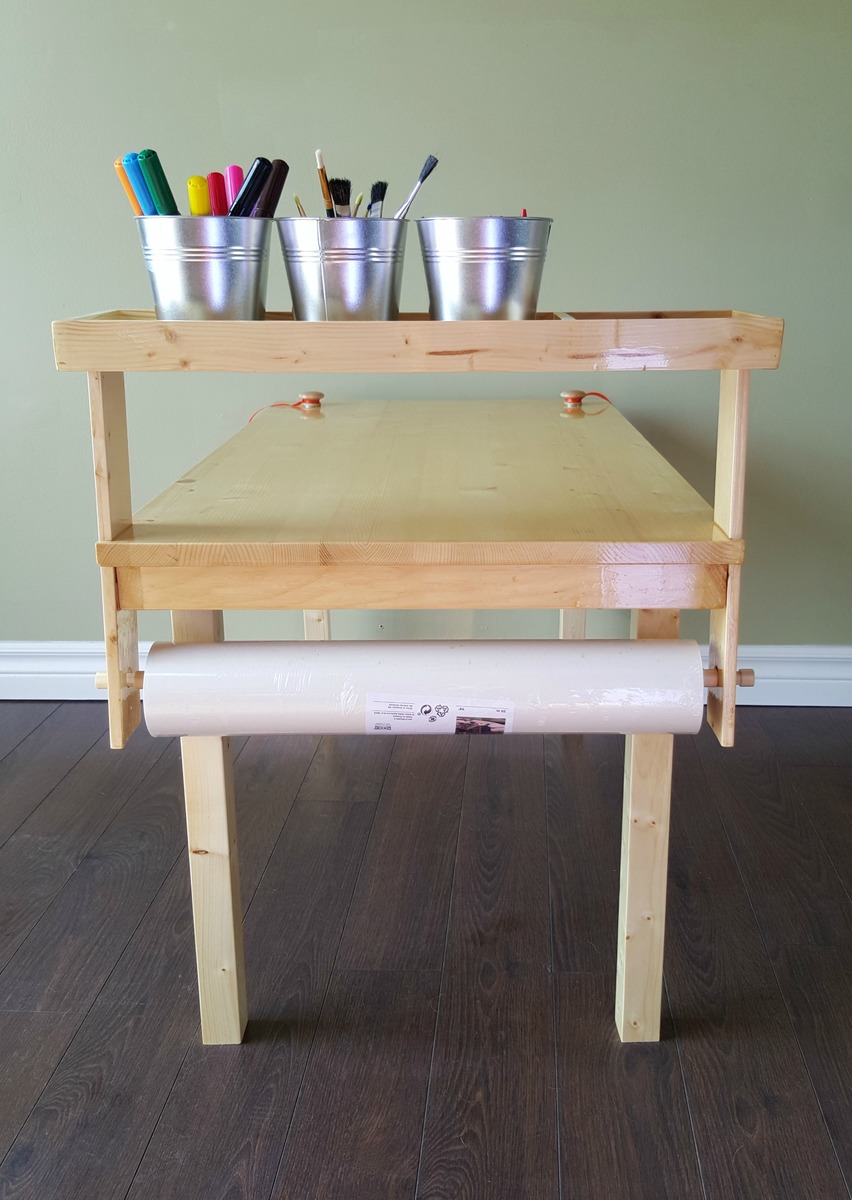
Children's Craft Table with Attached Paper Roll

Submitted by bdel on Fri, 06/03/2016 - 12:17

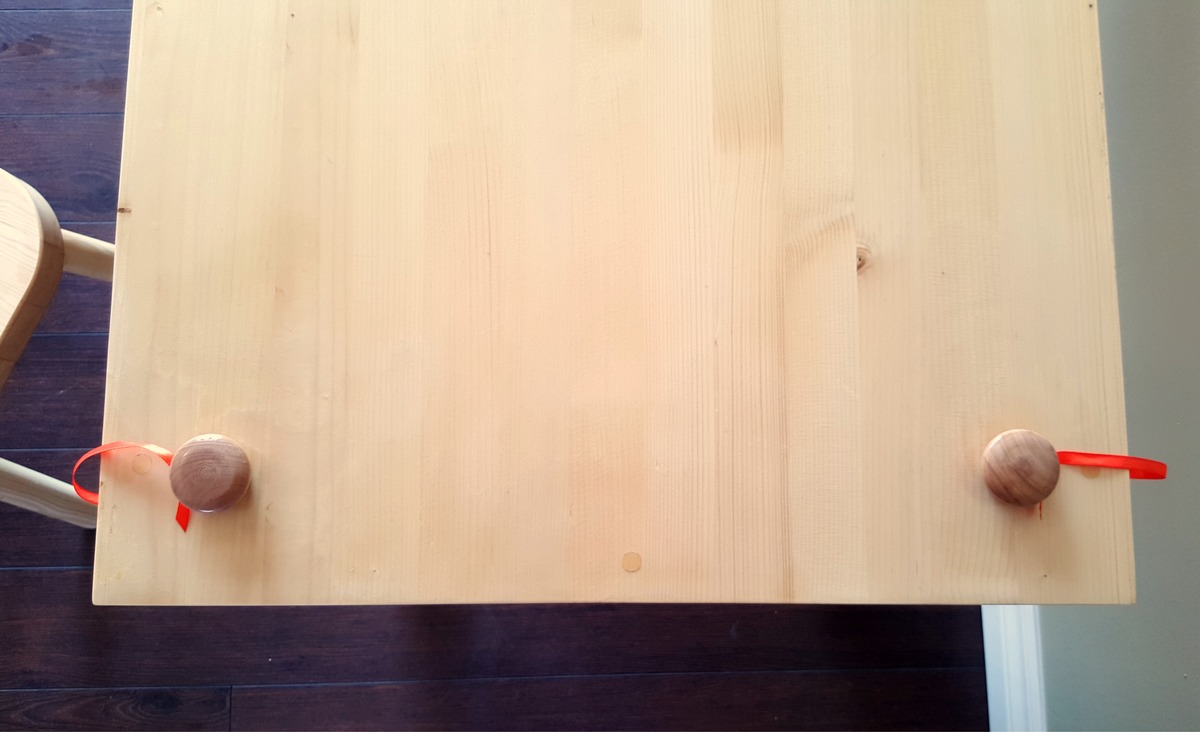
This table was a birthday gift for my 3-year old cousin. It was fun to brainstorm ideas to get it exactly the way we wanted it instead of buying one pre-made. Once we had our plans it was an easy build, done over a weekend. A full list of materials as well as step-by-step instructions can be found in the blog post linked. The top is a 20x36 pine shelf board with a 1x2 pine apron attached underneath. There are vertical support boards to hold a raised tray for supplies, and to hold the paper roll under the table. Note that the table legs are inset at one end to accommodate the paper roll. We added two magnets to the face of the table and tied two knobs (with metal washers glued on) to the underside. The paper can then be sandwiched between the magnet and the metal and won't move around while the artist is at work. It's our favorite feature! There are also magnets glued to the inside bottom of the tray to hold the buckets in place and keep them from being knocked over easily. This project was so much fun! I love having the chance to share it with you all!

Estimated Cost
$70
Estimated Time Investment
Weekend Project (10-20 Hours)
Finish Used
Minwax polyurethane in clear semi-gloss. Lightly sanded between coats. Sanded with ultrafine steel wool before final coat. Note that the polyurethane may discolor the wood putty and make it stand out.
Recommended Skill Level
Beginner

A farmhouse coffee table

Submitted by akutz on Tue, 04/29/2014 - 09:08

The Flickr gallery for this project is at https://www.flickr.com/gp/akutz/86502i/.

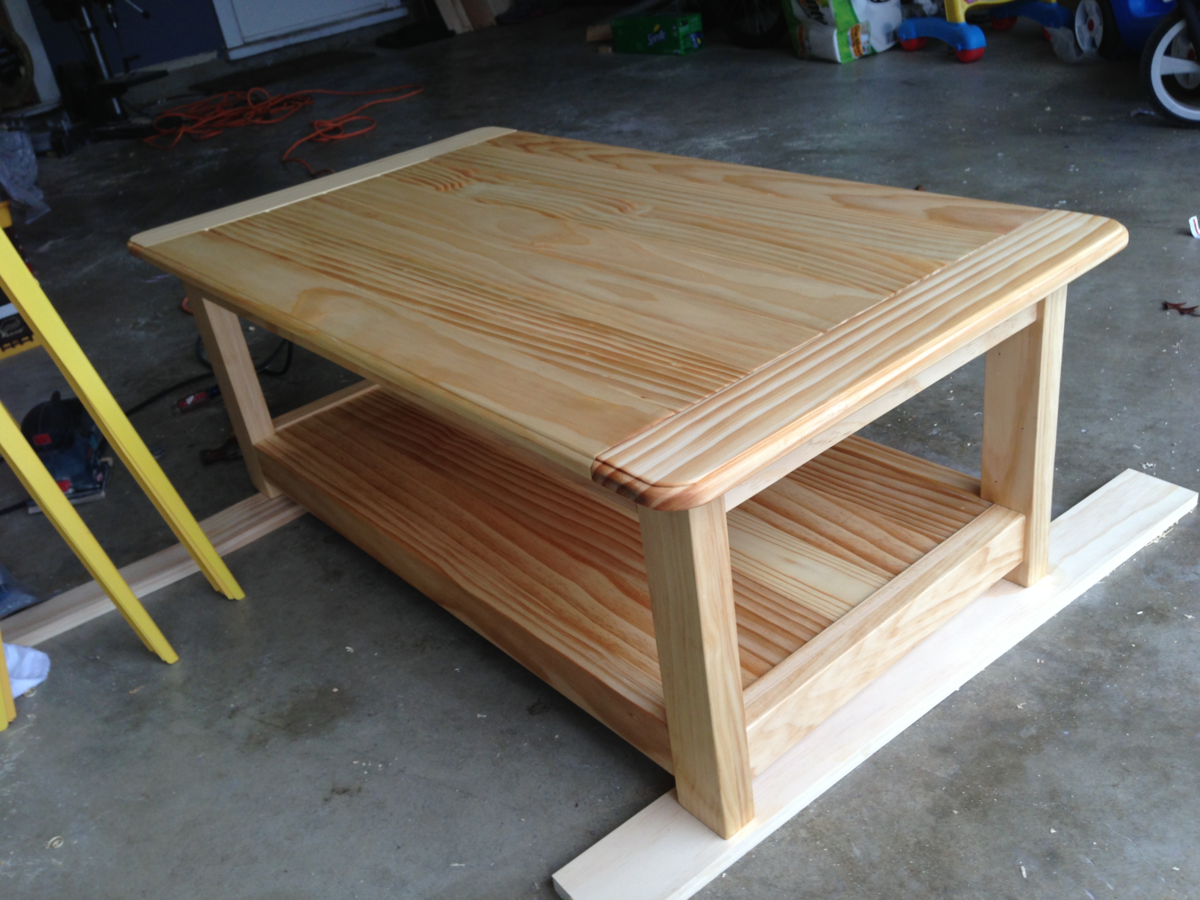
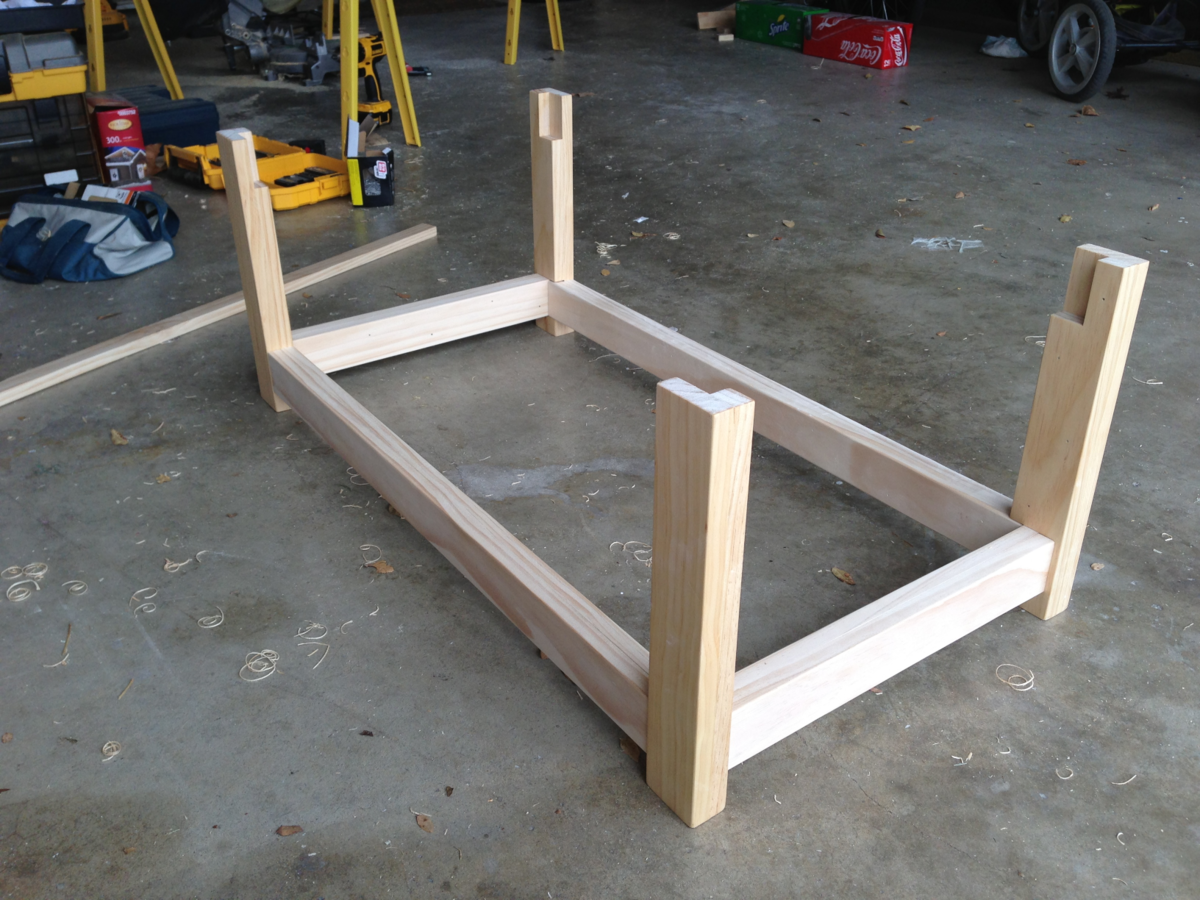
A friend of mine asked me if I'd build her a farmhouse table per the plans at http://ana-white.com/2009/12/plans-farmhouse-table-knock-off-of.html. Sadly I still haven't gotten around to building her one (sorry Jennifer!), and that's partly because even after practicing my skills on smaller projects, a full-sized table still seemed like a big job. Around the same time my two year old daughter was walking all over the house, and our coffee table presented a constant threat of head-banging and side-hurting danger. Then I realized I could build a miniature version of the farmhouse table as a coffee table, and in the process round the corners to make it baby-safe!

Unfortunately I'm not disciplined enough to write down the exact measurements, or at least not keep them since I never think anyone will be interested in these things later. I take pictures just to show friends and family. However, since these plans came directly from the aforementioned link of the farmhouse table, it should be easy to figure this out. The only differences were that I created the outer dimensions based on the space the unit would be taking up in my living room. And with a couch with a chéz, it was important to stick to those.

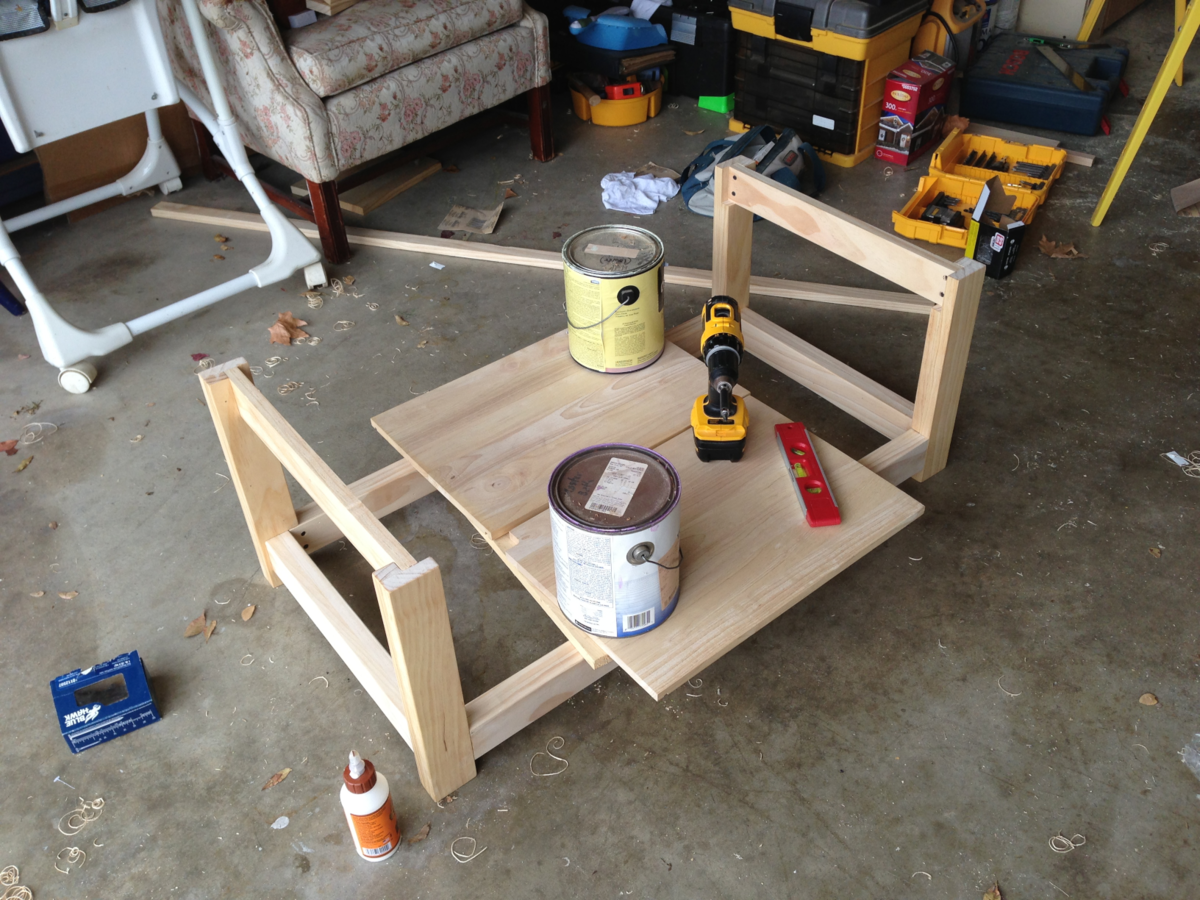
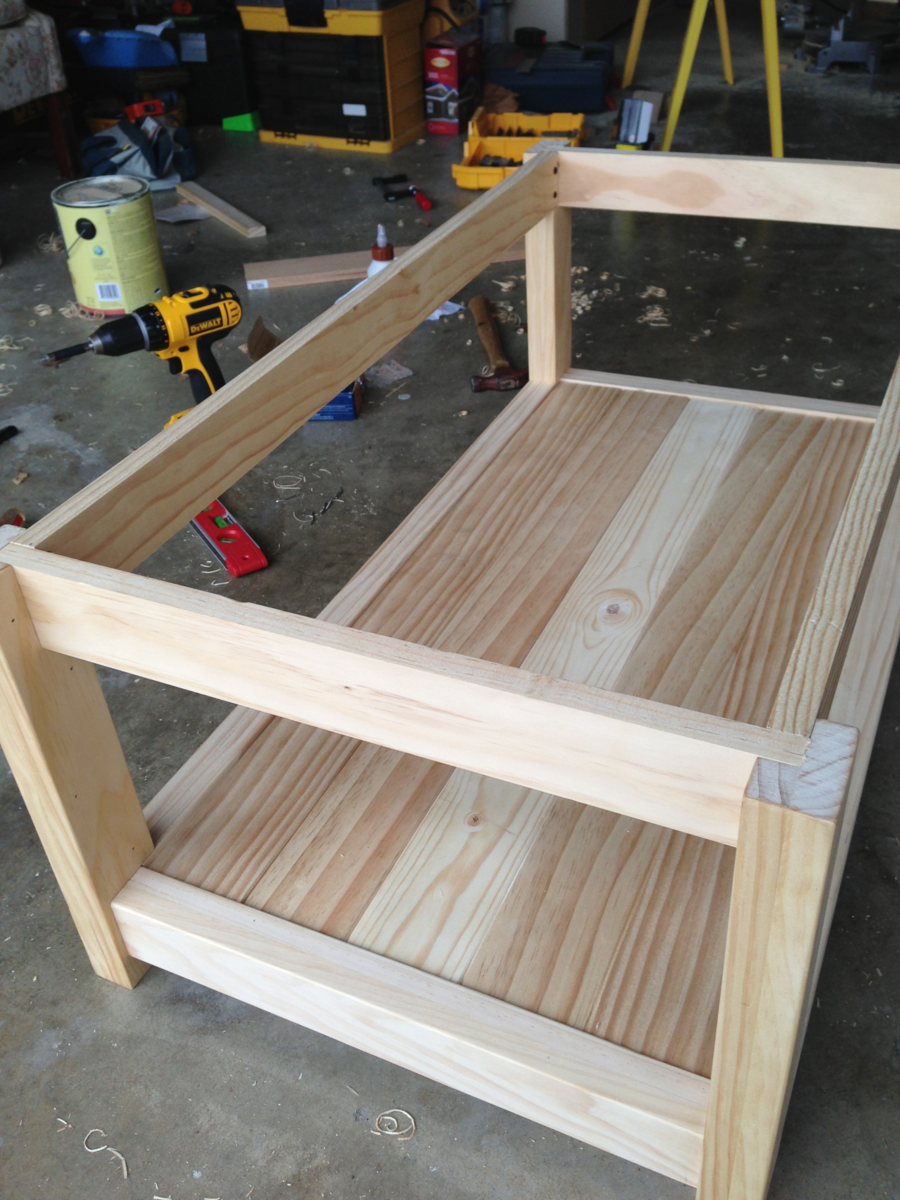
Also, as you can see, I added a second level to the table so that we could place things on it, but also for stability. This was not difficult to do since I just created an internal shelf to place the planks across the bottom.

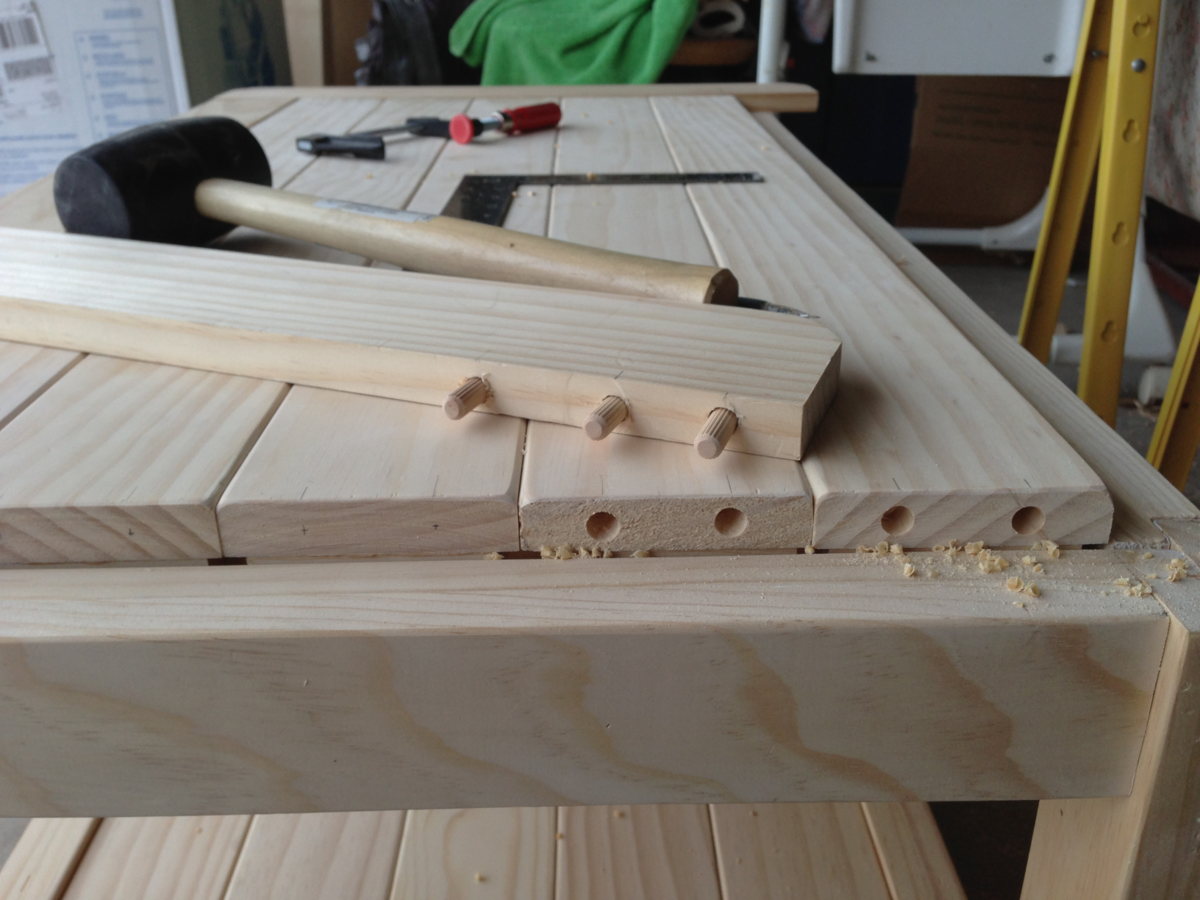
Since my father is a master carpenter, and I explained to him what I was doing, he also recommended that I not fasten the upper or lower planks to the outside with any single piece. He said that due to weather-caused expansion and contraction throughout the year, if I fastened the planks together at the ends with the bread boards, there would be much cracking. That's why you see the bottom supports fastened to the underside of each plank with an individual block of wood, and not with one long piece. That way the planks can move independently of one another. that's also why they're not fastened together long-ways.

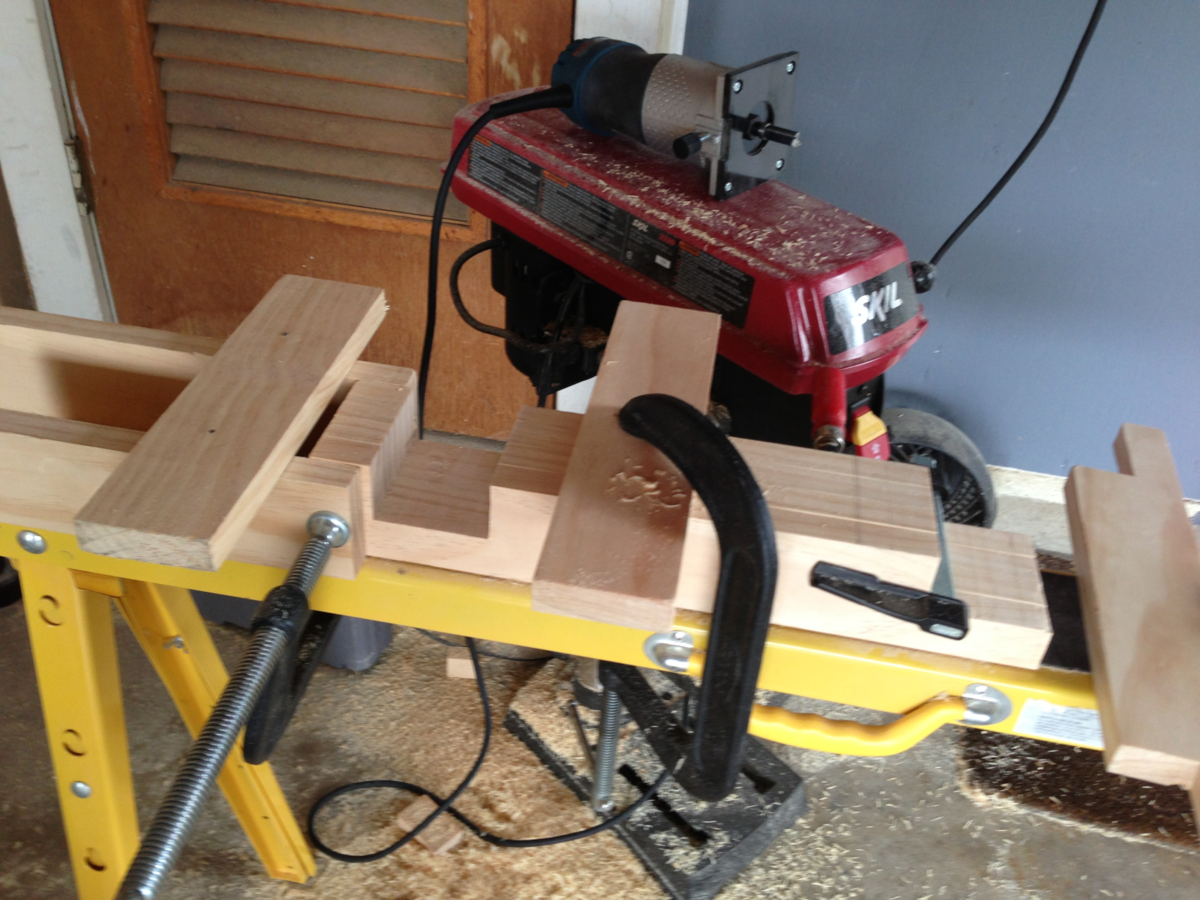
One last note. I built those legs several times. The only way I was ever able to get them correct is when my father told me to buy a long router bit, clamp the legs together, and route them all with guides. He said getting cuts in four separate posts even like that is one of the hardest thing to do if you don't make the cuts at the same time. He was right, and with his approach the table was perfectly level!
Estimated Time Investment
Week Long Project (20 Hours or More)
Finish Used
Clear minwax stain and clear minwax wax
Recommended Skill Level
Beginner

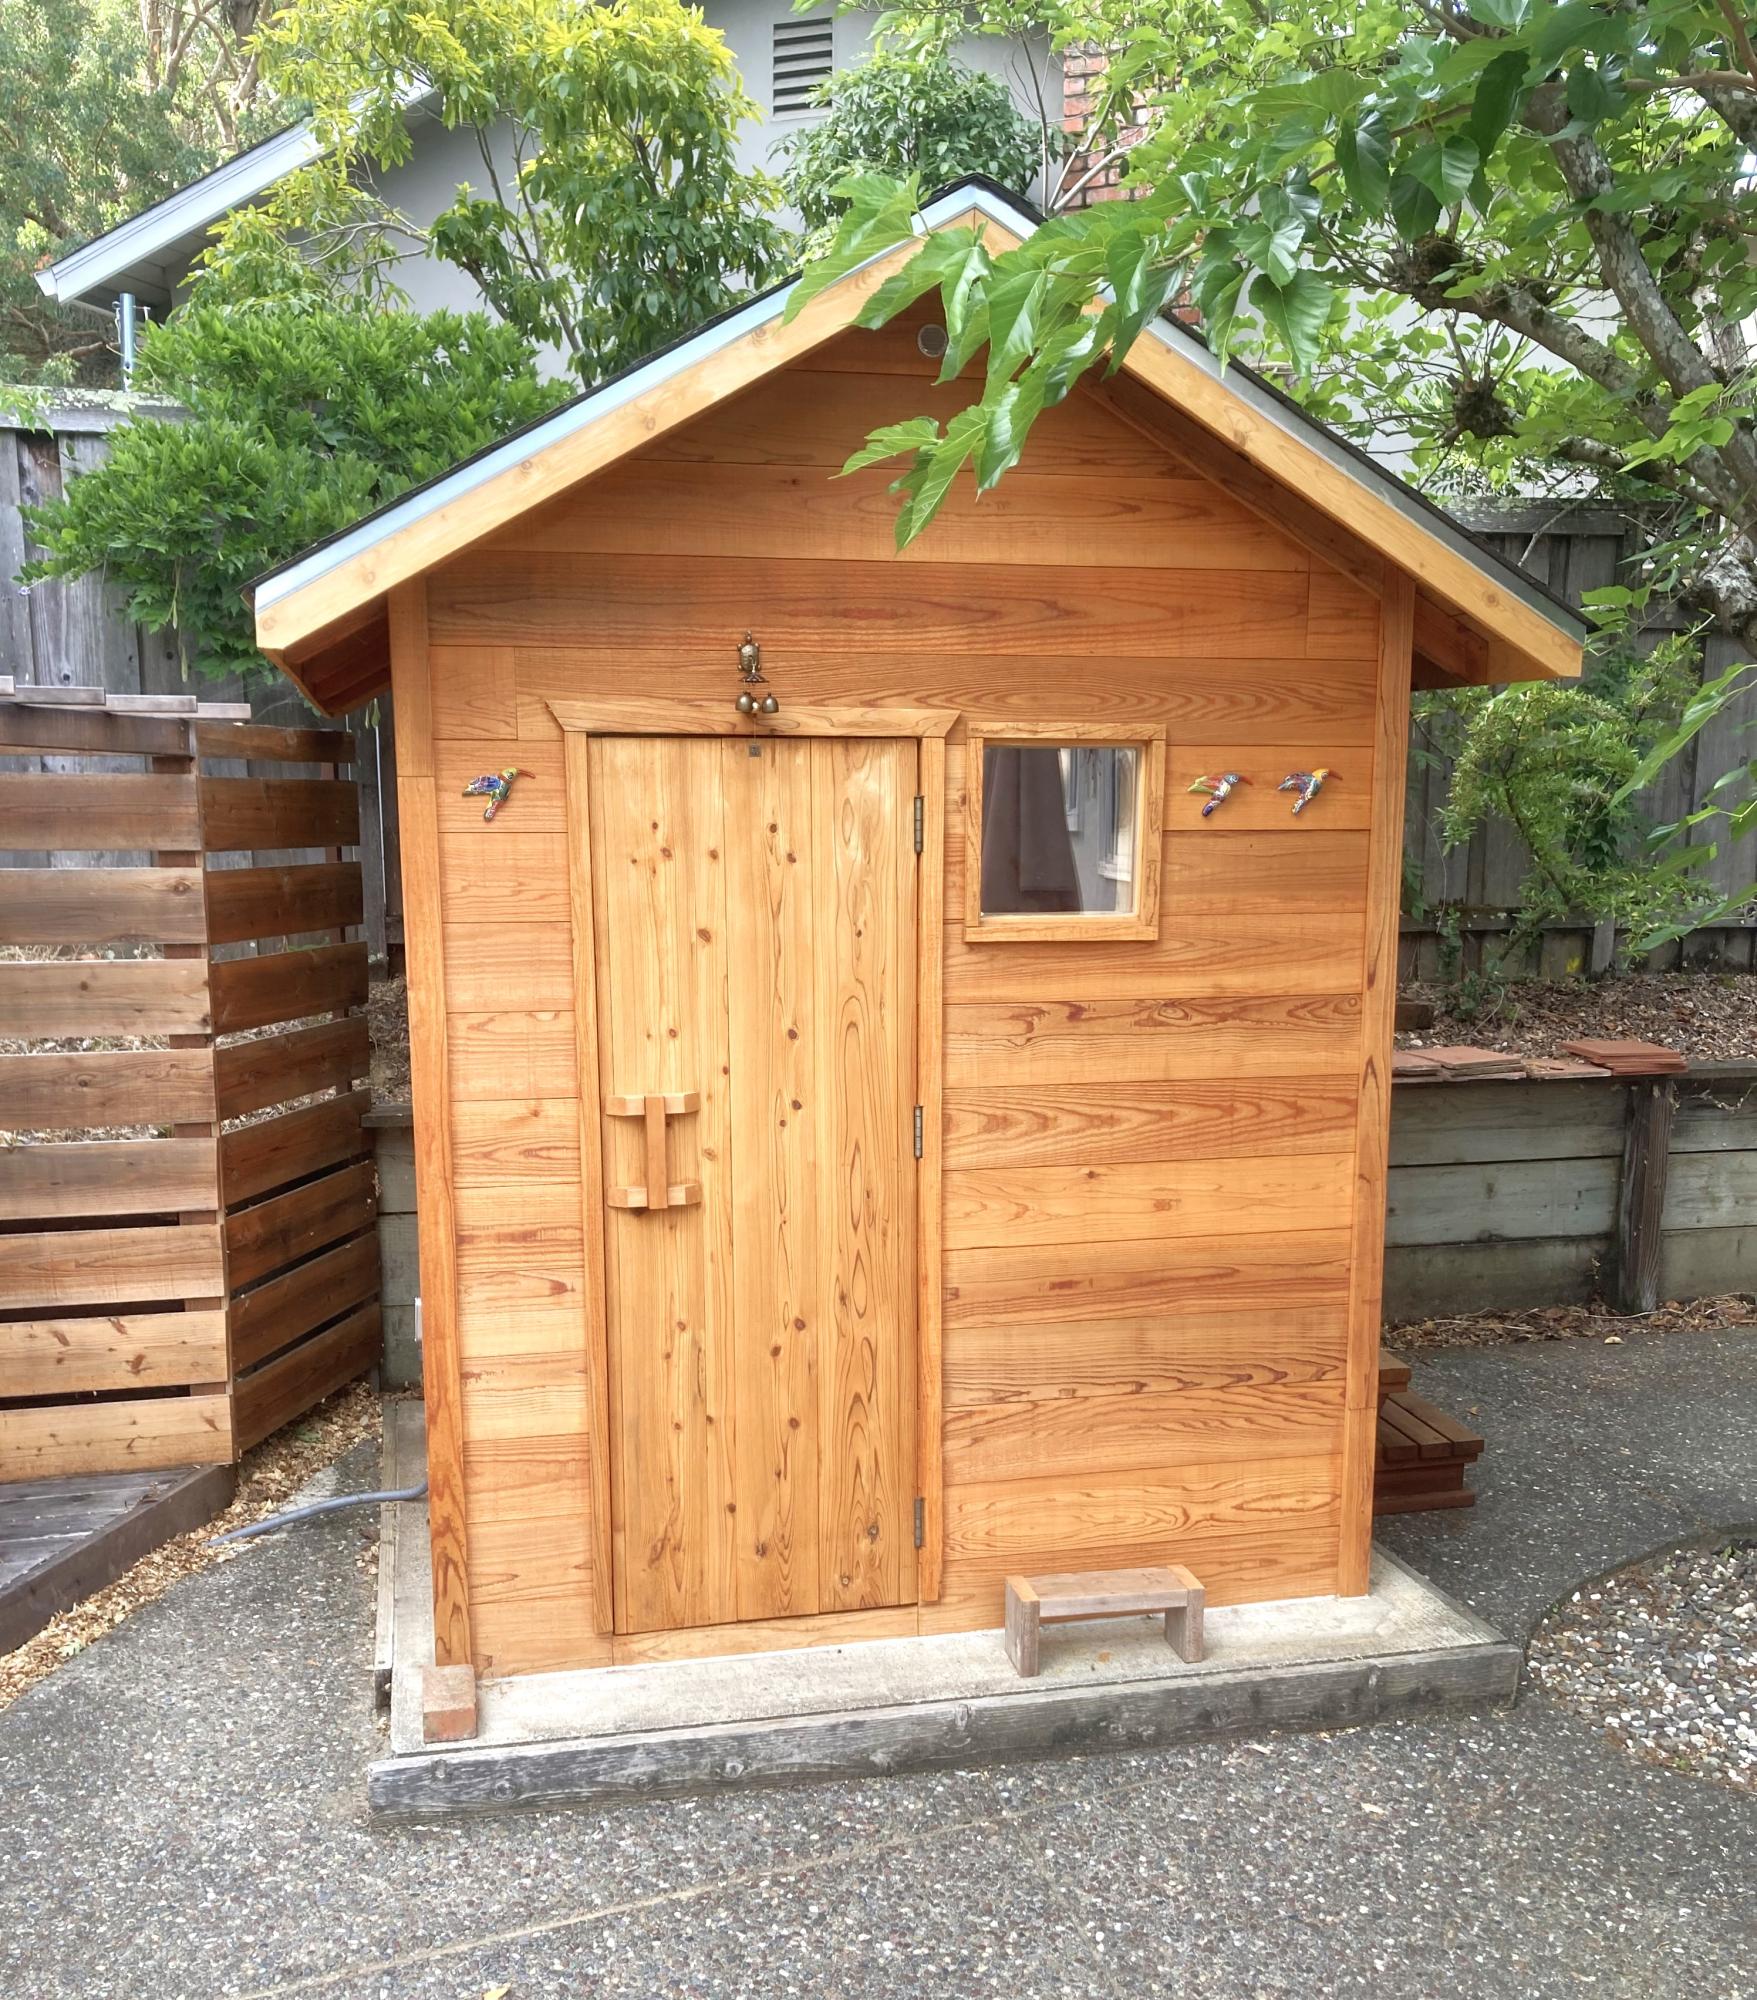
DIY Sauna

Submitted by Anonymous (not verified) on Thu, 02/15/2024 - 10:17

Outside sauna.

Charles

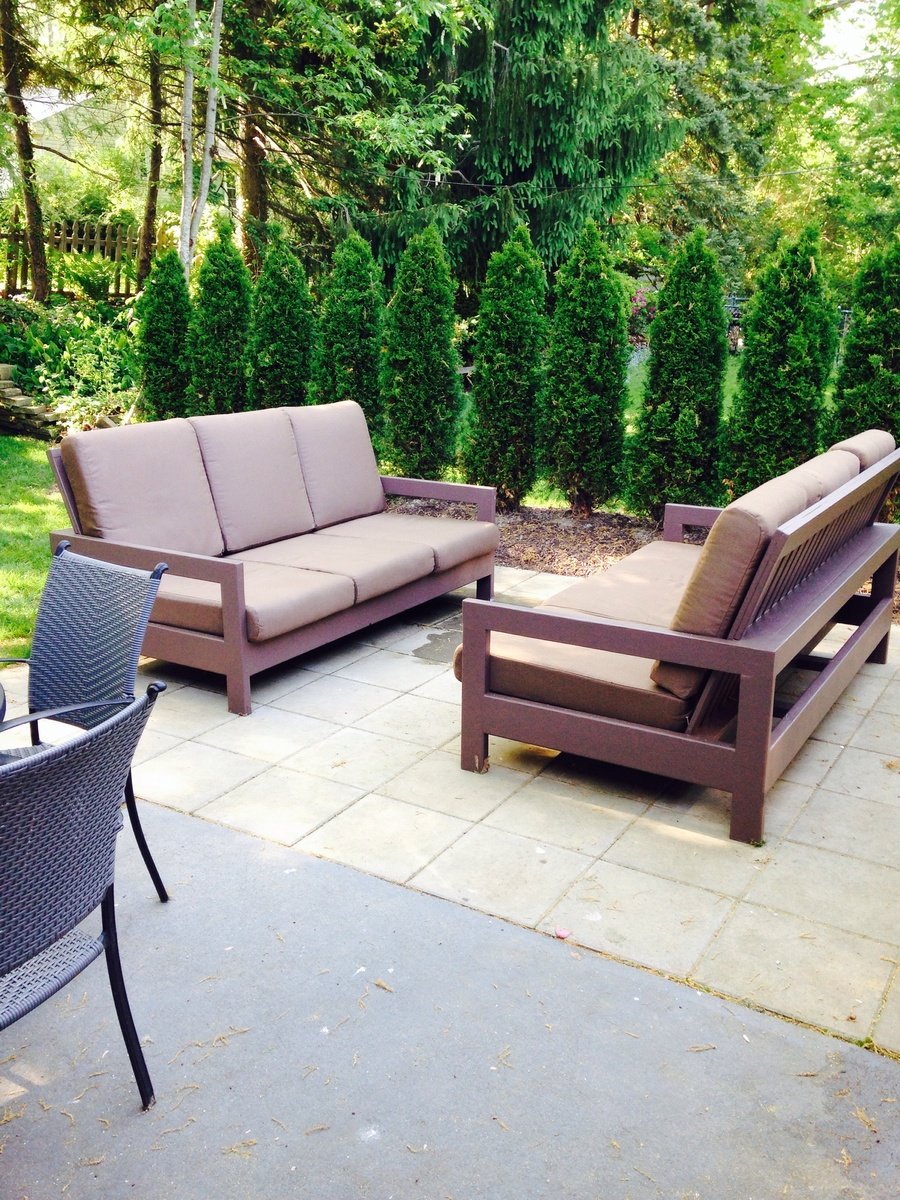
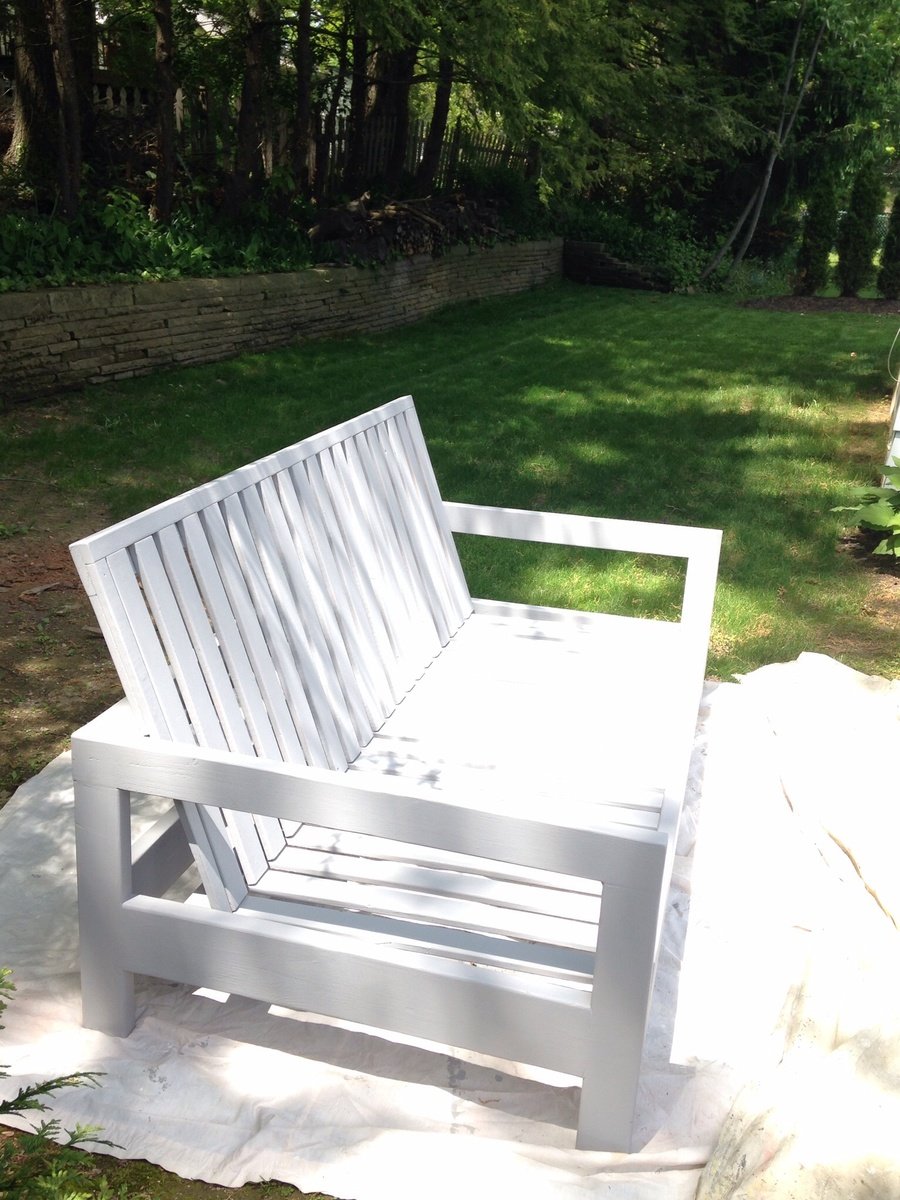
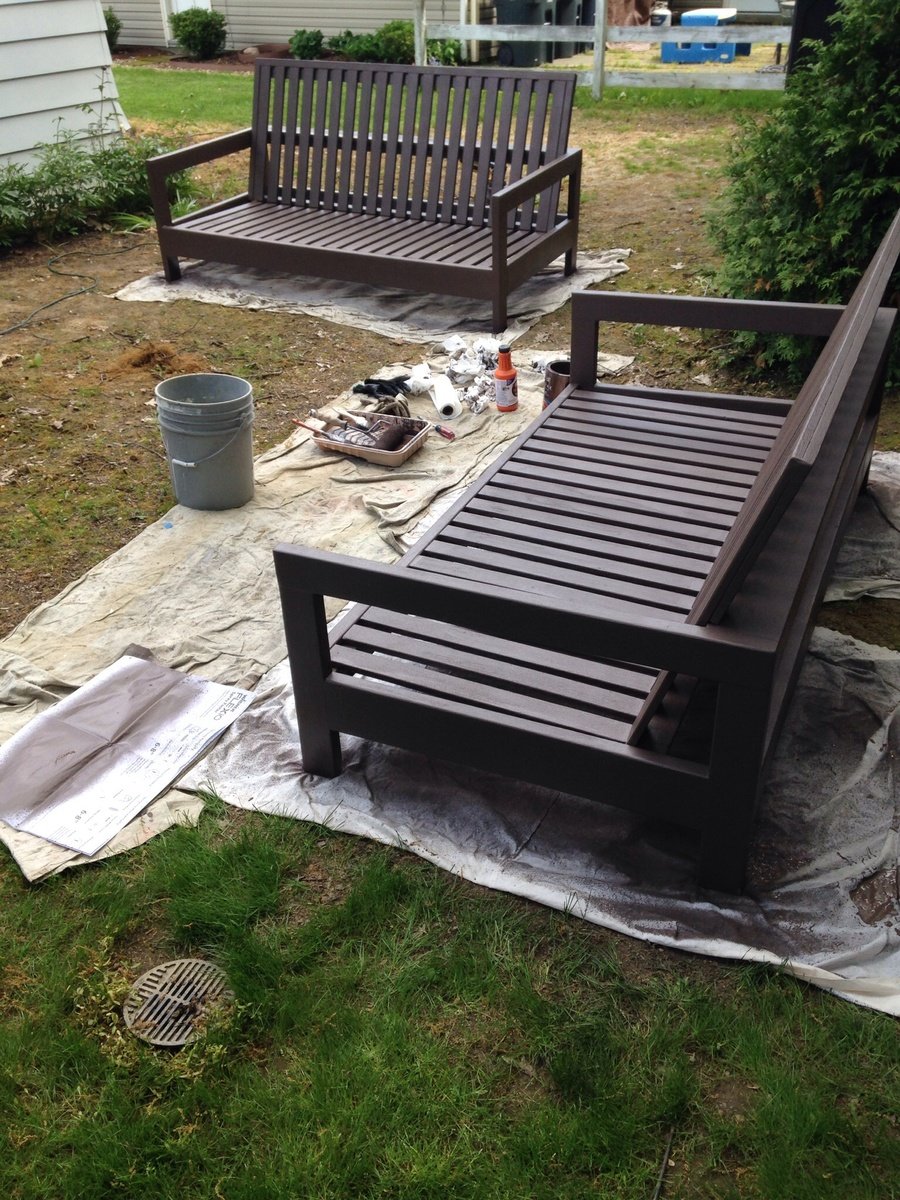
Outdoor patio couches

Submitted by Chrisann on Tue, 05/27/2014 - 11:06

Love this design! We had to adjust the plans to fit a different cushion from Restoration Hardware. The couches turned out great and we had a party the day after the paint dried! Thx Ana-white!
Estimated Cost
Material $200, cushions $700
Estimated Time Investment
Week Long Project (20 Hours or More)
Finish Used
Valspar outdoor paint "frontier road"
Recommended Skill Level
Intermediate

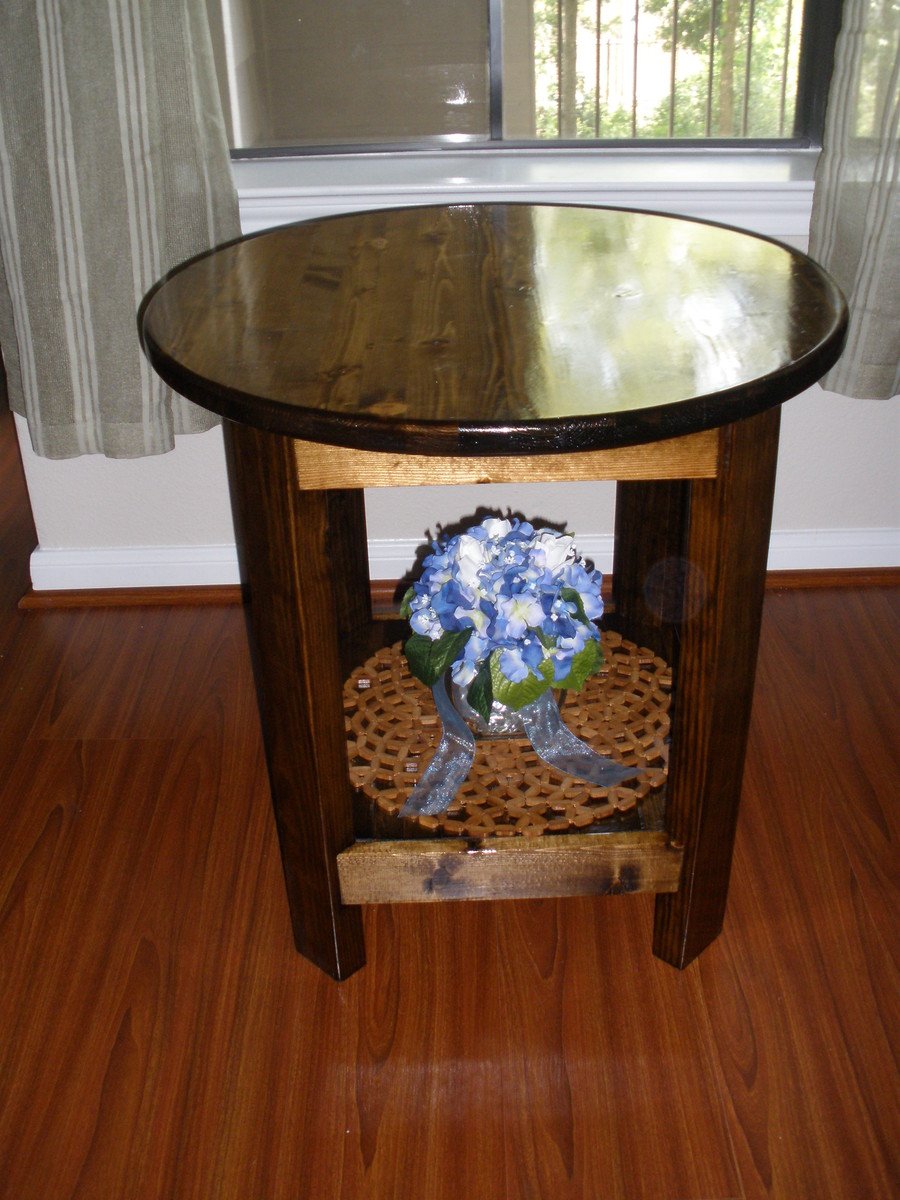
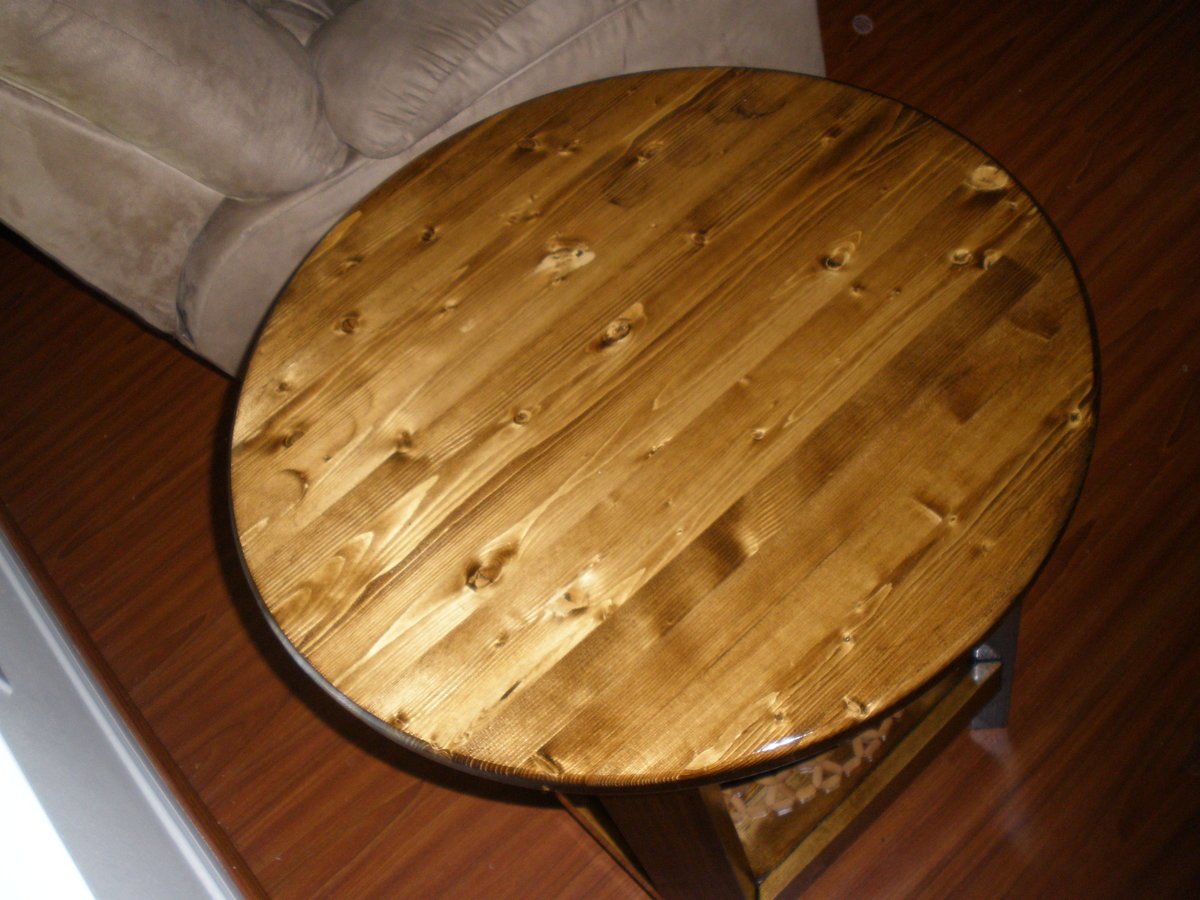
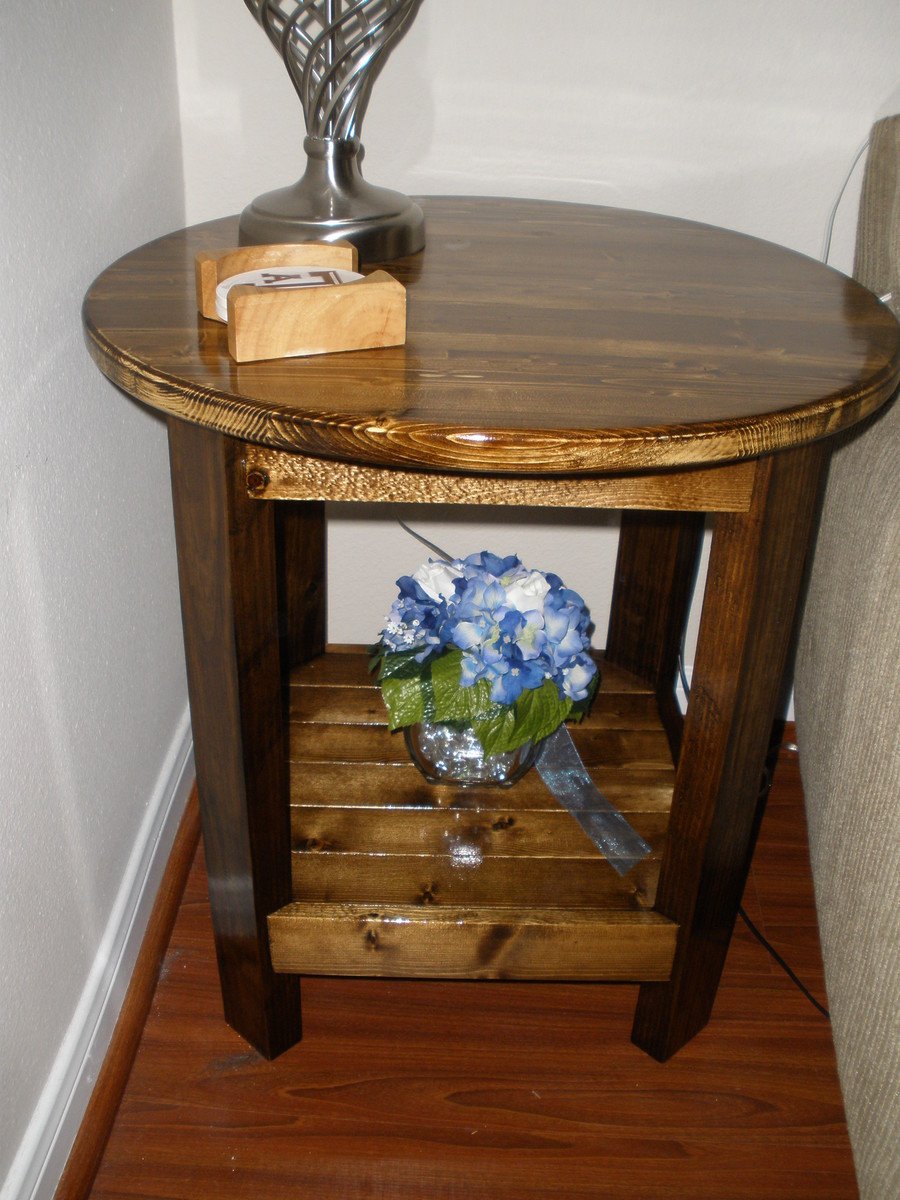
Benchright Round Side Table

These tables are part of the Benchright collection. They are not terribly hard to make, especially if you buy the 24" diameter round table top from Lowes.

Built from Plan(s)
Estimated Time Investment
Weekend Project (10-20 Hours)
Finish Used
Minwax Dark Walnut and Semigloss poly.
Recommended Skill Level
Intermediate

Comments

jrankintamu

Sat, 08/11/2012 - 20:18

Good lord my camera was dirty. I promise it wasn't the floor. Doesn't help that I am NOT a photographer.

Pallet style outdoor platform sectional (variation) with patio table

Submitted by SeanyMc on Tue, 06/17/2014 - 13:44

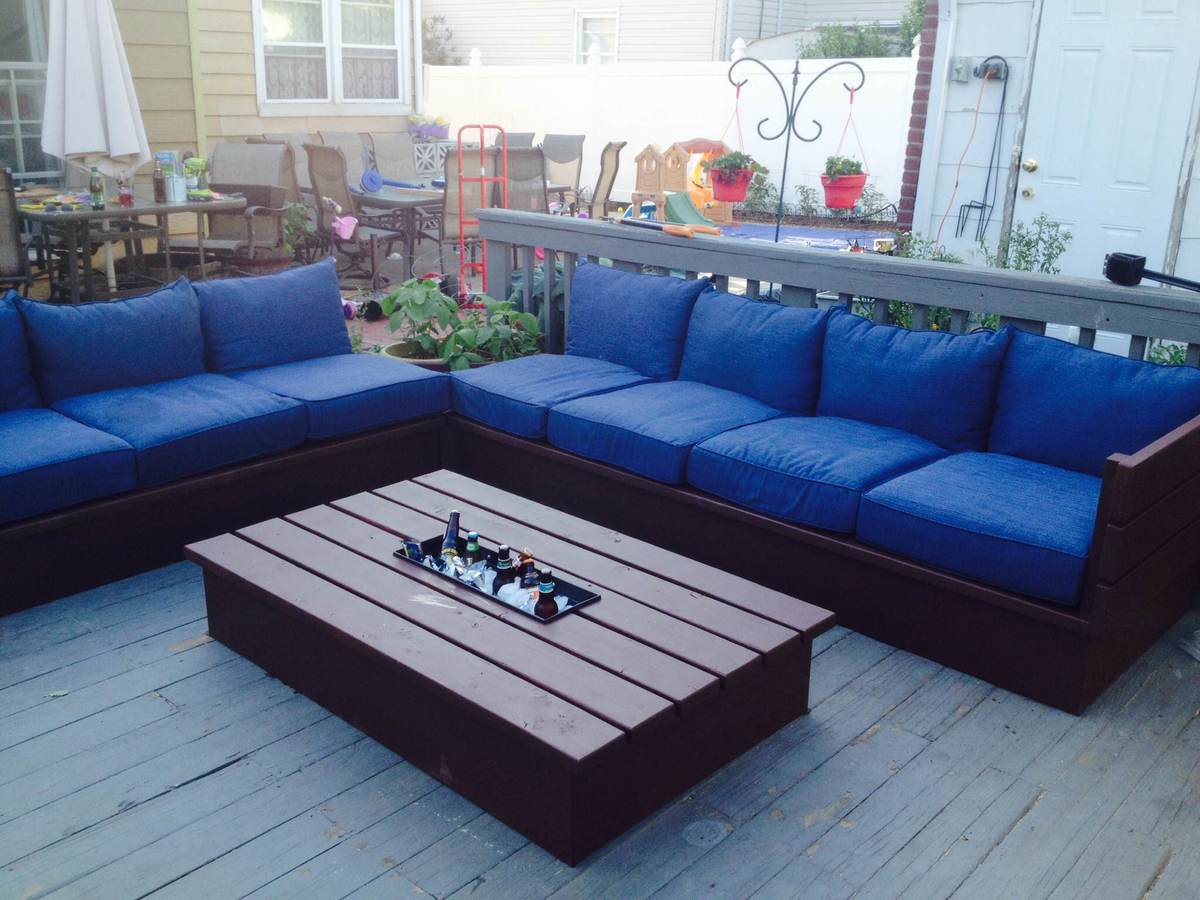
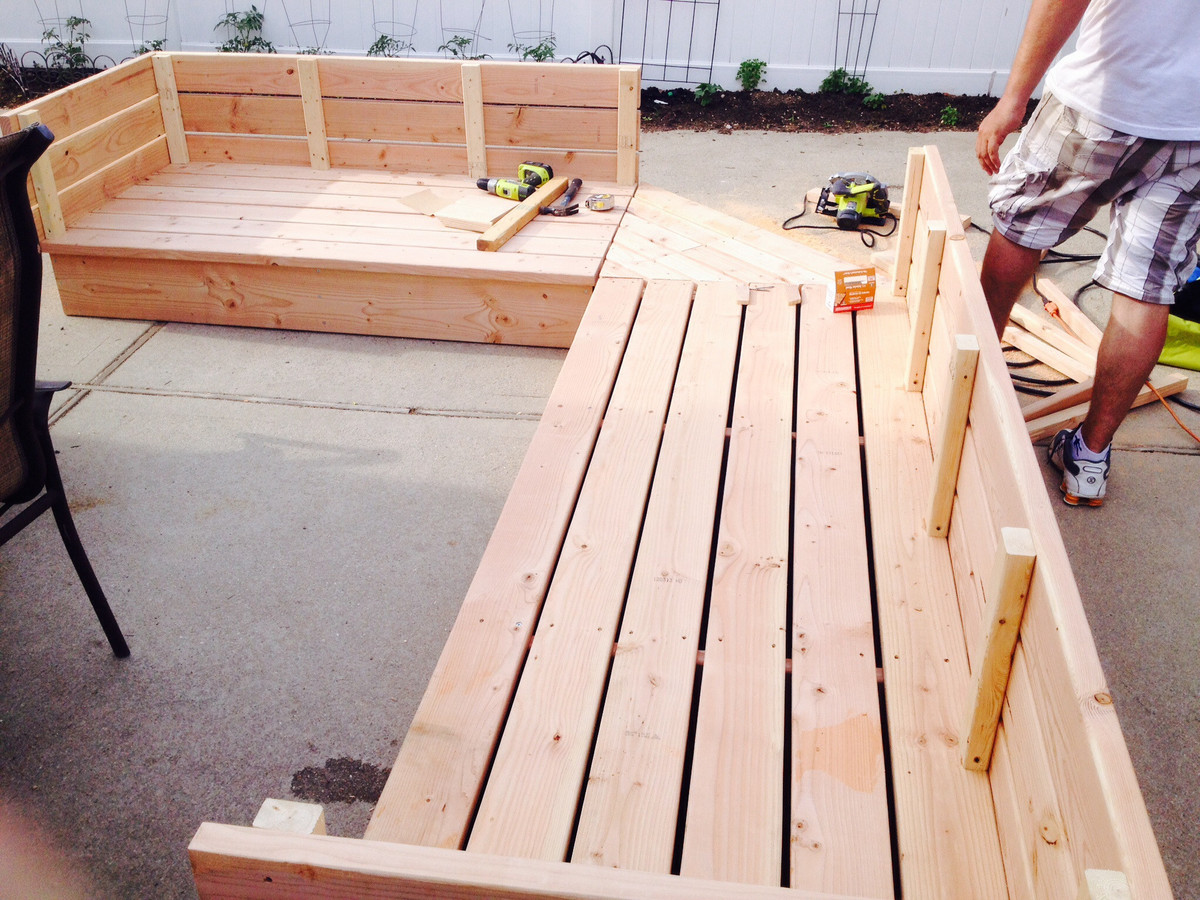
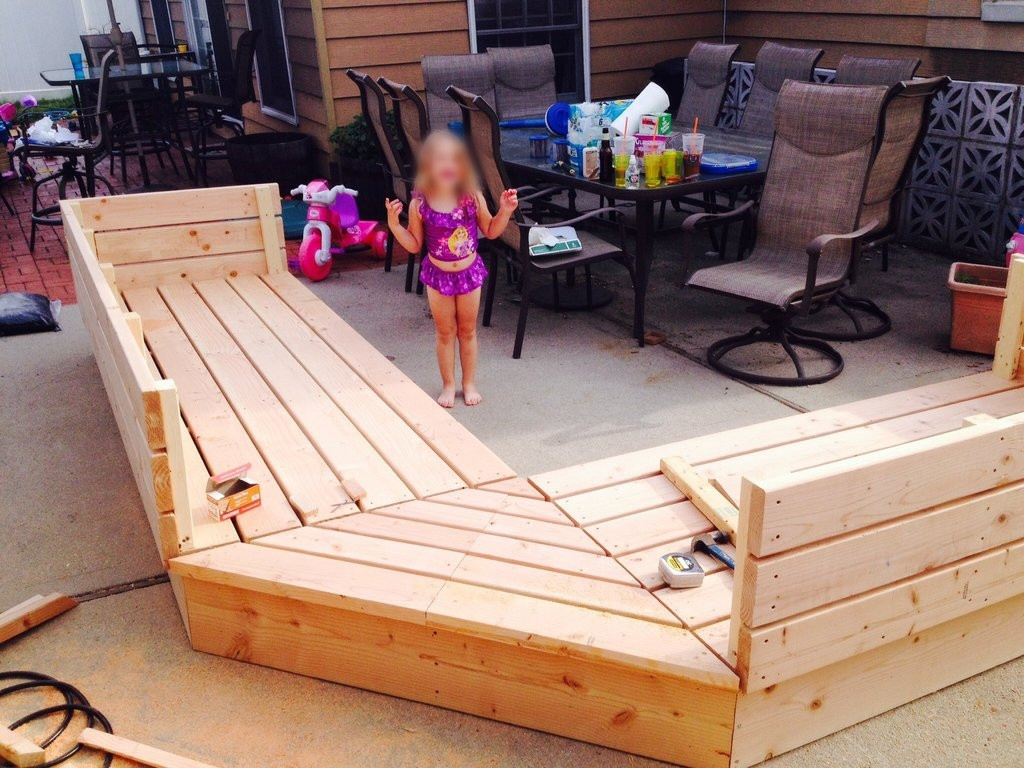
Saw the Outdoor sectional on your website and I just had to build it! Made some variations to the original plans, one being making it higher off the ground and the other was a necessity because Home Depot didn't have the right size wood and I wasn't about to go running around from store to store, so I used scraps to make a corner piece that fits perfectly. The most timely aspect was the sanding and removing all the rough edges. Also used Bondo to fill in all the holes that were on the outside to give it an all around smooth finish. The end result is just about the same though and the family and friends are in love with it! Thank you so much for the plans! Really could not even come close to justifying what it would cost to buy a sectional like this. Cushions were a huge concern and rightfully so. After building, I started searching and was mostly getting prices in the plus $800 range. It was breaking my heart knowing I was going to have to pay more than double what the entire sectional cost me. In the end though, was able to land some 25 x 25 x 6 cushions at Lowes for 50% off ($50 a piece).

Estimated Cost
$750 ($300 Wood & supplies. $40 paint. $400 for 50% off cushions)
Estimated Time Investment
Weekend Project (10-20 Hours)
Finish Used
Behr Premium Dark Walnut Paint, All in One.
Recommended Skill Level
Beginner

Comments

drhj84

Mon, 10/06/2014 - 08:18

I was wondering if you could tell us the model of your cushions.  I builth this over the weekend, but I ma having a tough time picking cushions.  thanks


HANLOP01

Mon, 03/16/2015 - 09:06

I love this modification. Did you use 2x8s or 2x10s for your base? It looks like you angles the back. How did you go about doing that? Thank you for posting this?! Great work!

longshot

Mon, 06/29/2015 - 18:00

nice build, when you get some time can you put up your modifications please:) would love to build this! Love the colours you used and how it looks!Me too..you cook like me, i make it my style...thats how i do my salsa ..my way i like it...

longshot

Mon, 06/29/2015 - 18:00

nice build, when you get some time can you put up your modifications please:) would love to build this! Love the colours you used and how it looks!Me too..you cook like me, i make it my style...thats how i do my salsa ..my way i like it...

tsmith@vanausd…

Wed, 07/22/2020 - 11:37

This looks great. This is exactly what I want to make. How is the height of the sectional? That's my only concern. Is there anything you would change if you were to do it all over again?

Seasonal And Holiday

Easy Front Porch Planters

Submitted by Anonymous (not verified) on Mon, 04/29/2024 - 09:33

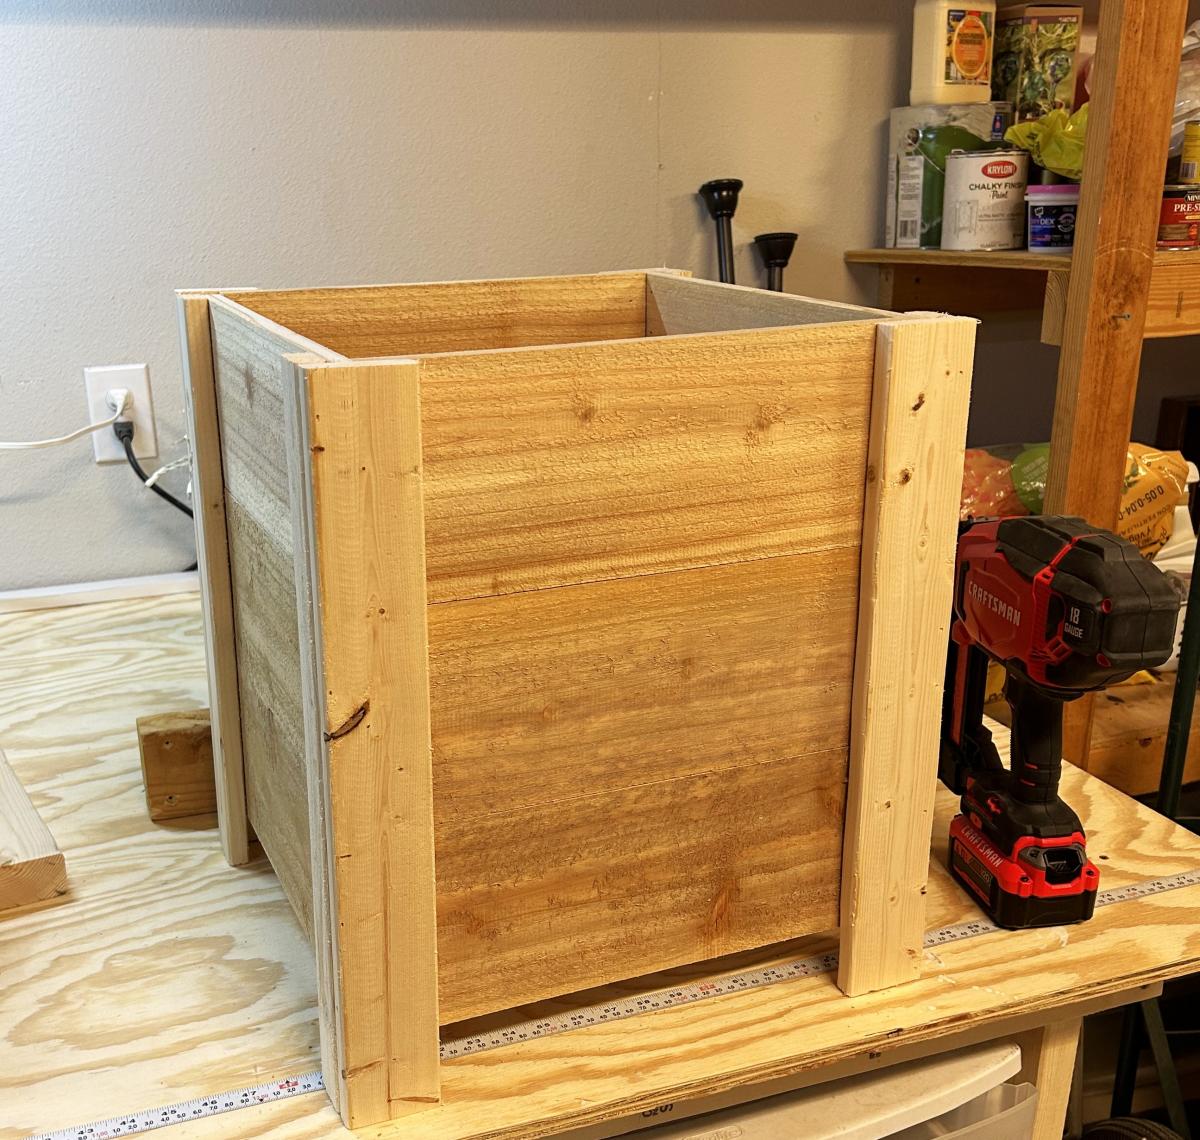
Easy Build DIY Planter Box with Cedar Fence Pickets

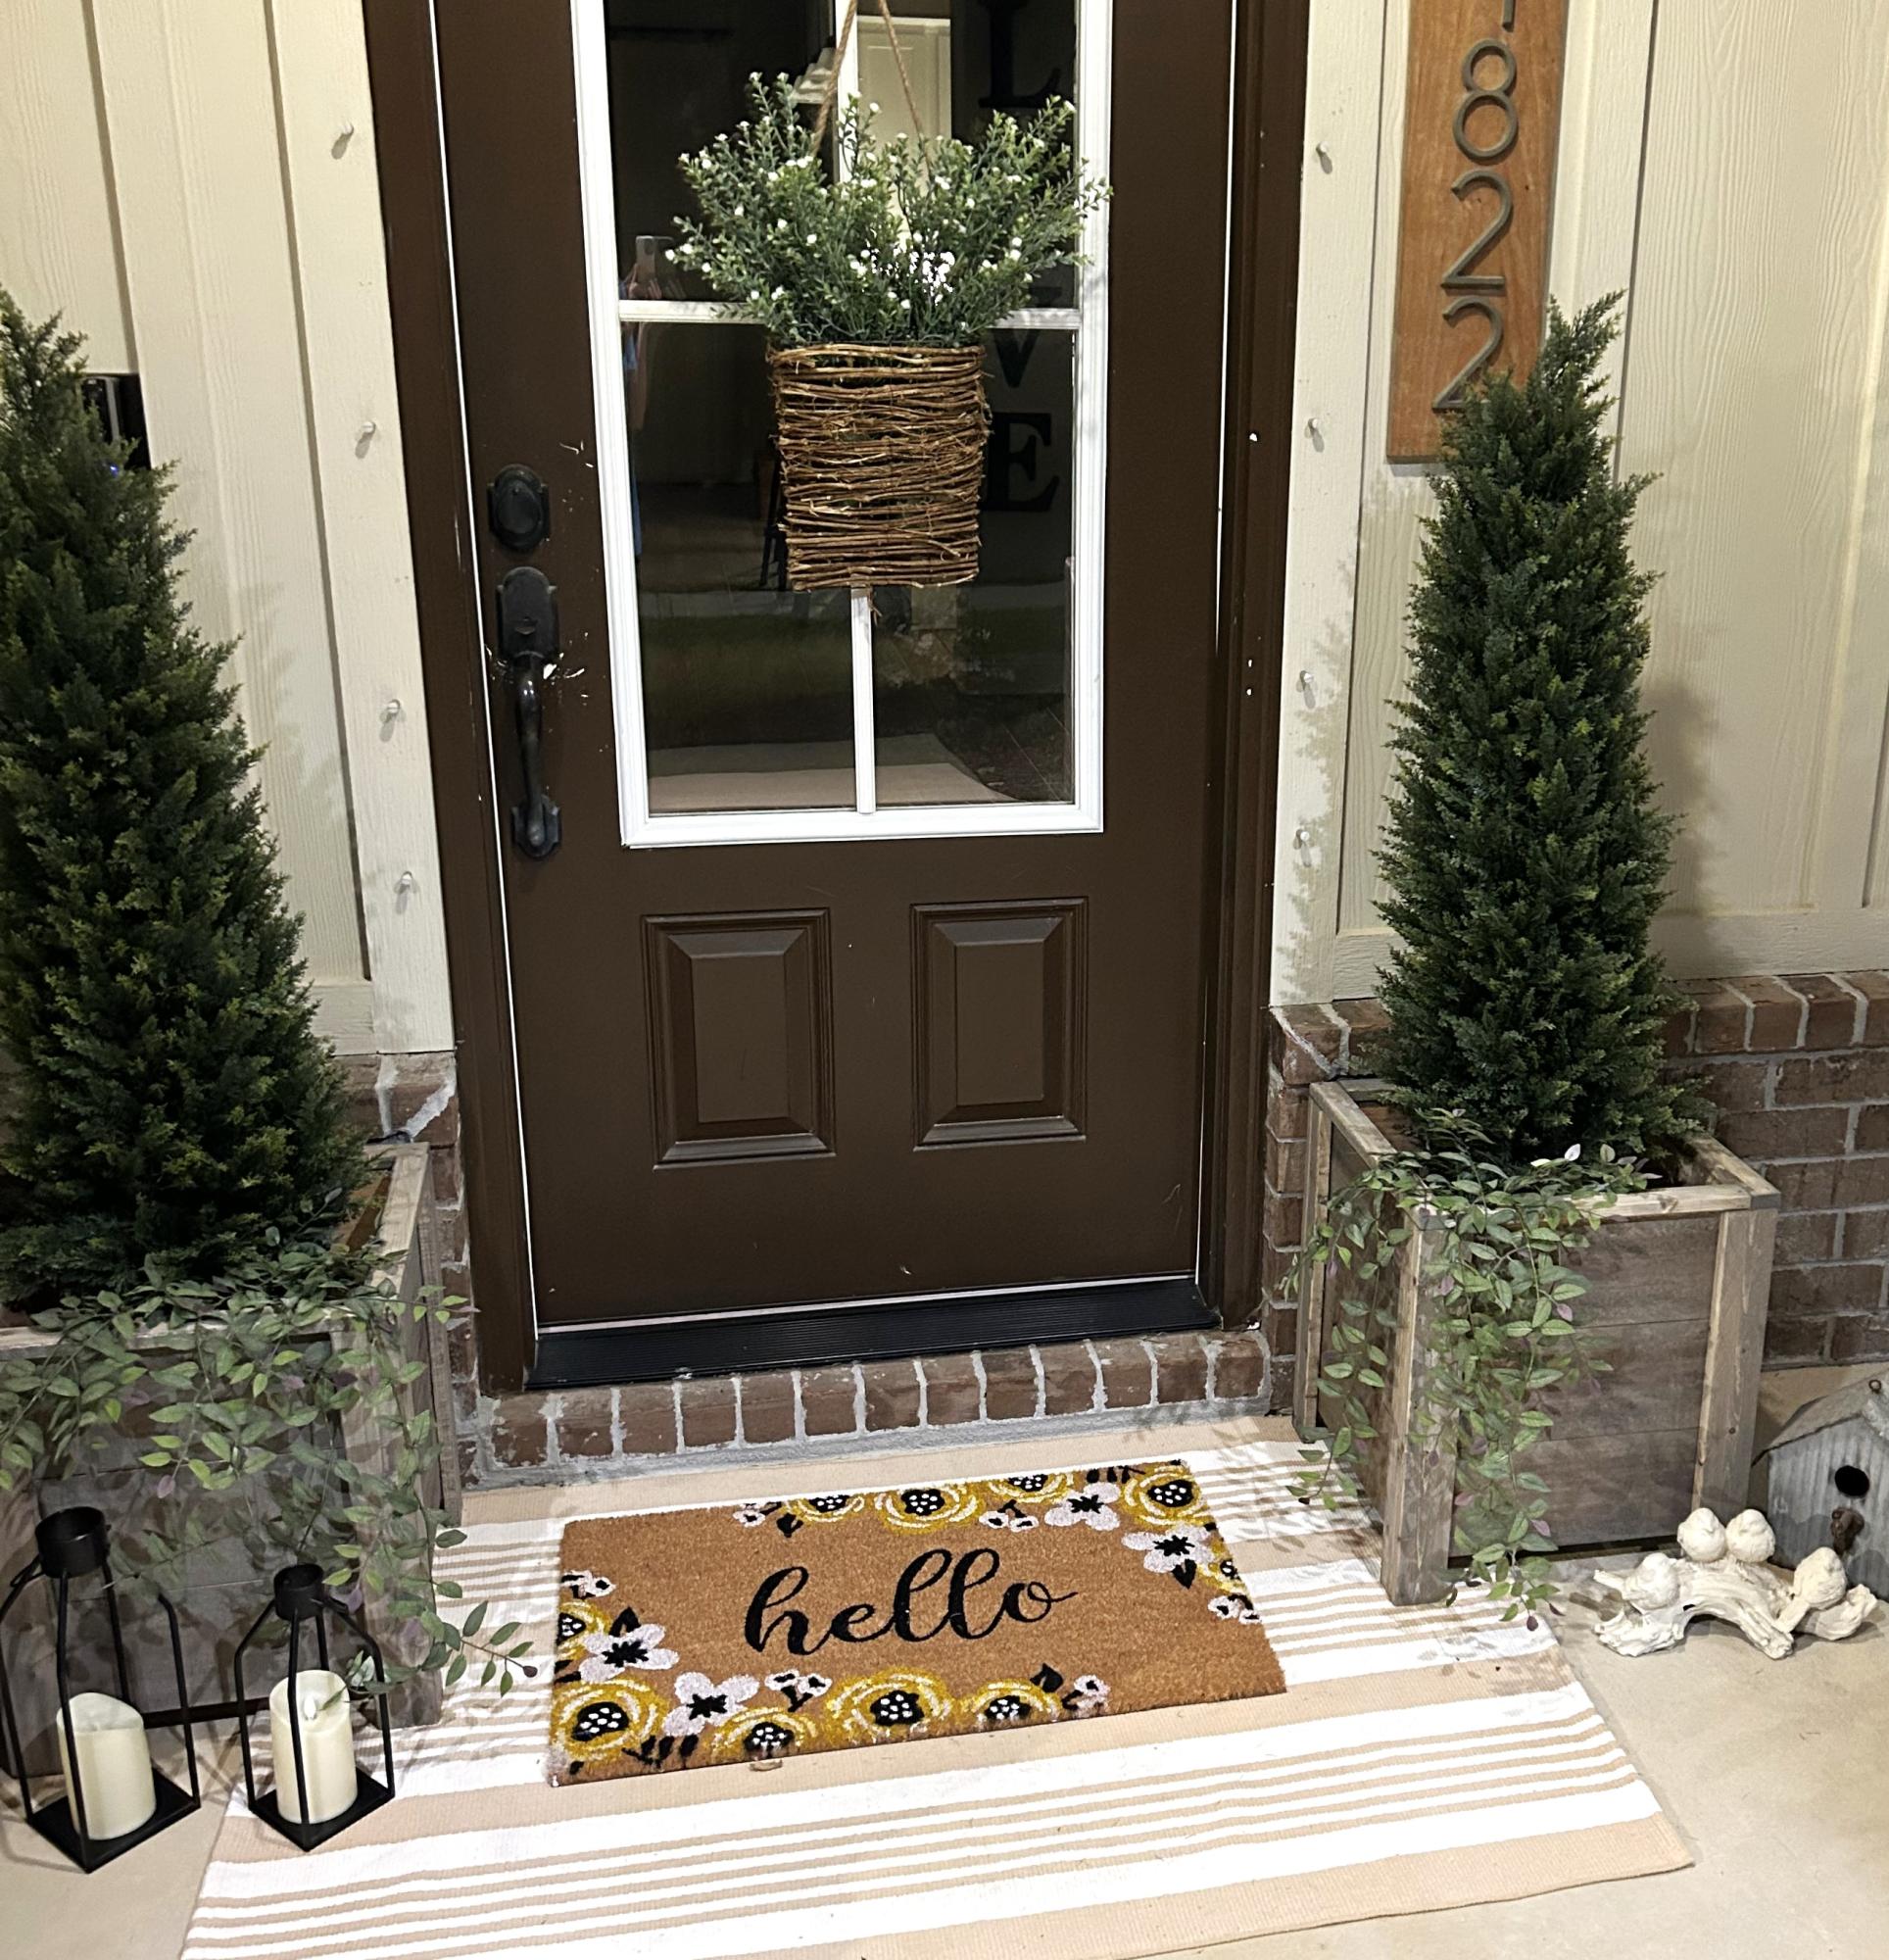
Followed these plans and made these planter boxes for the front porch! I couldn’t believe I was able to complete a project like this so quickly! Instead of paint, I opted to use some grey stain I had leftover from another project. Thanks! I love them!

Beth

Cedar Outdoor Dining Table and Benches

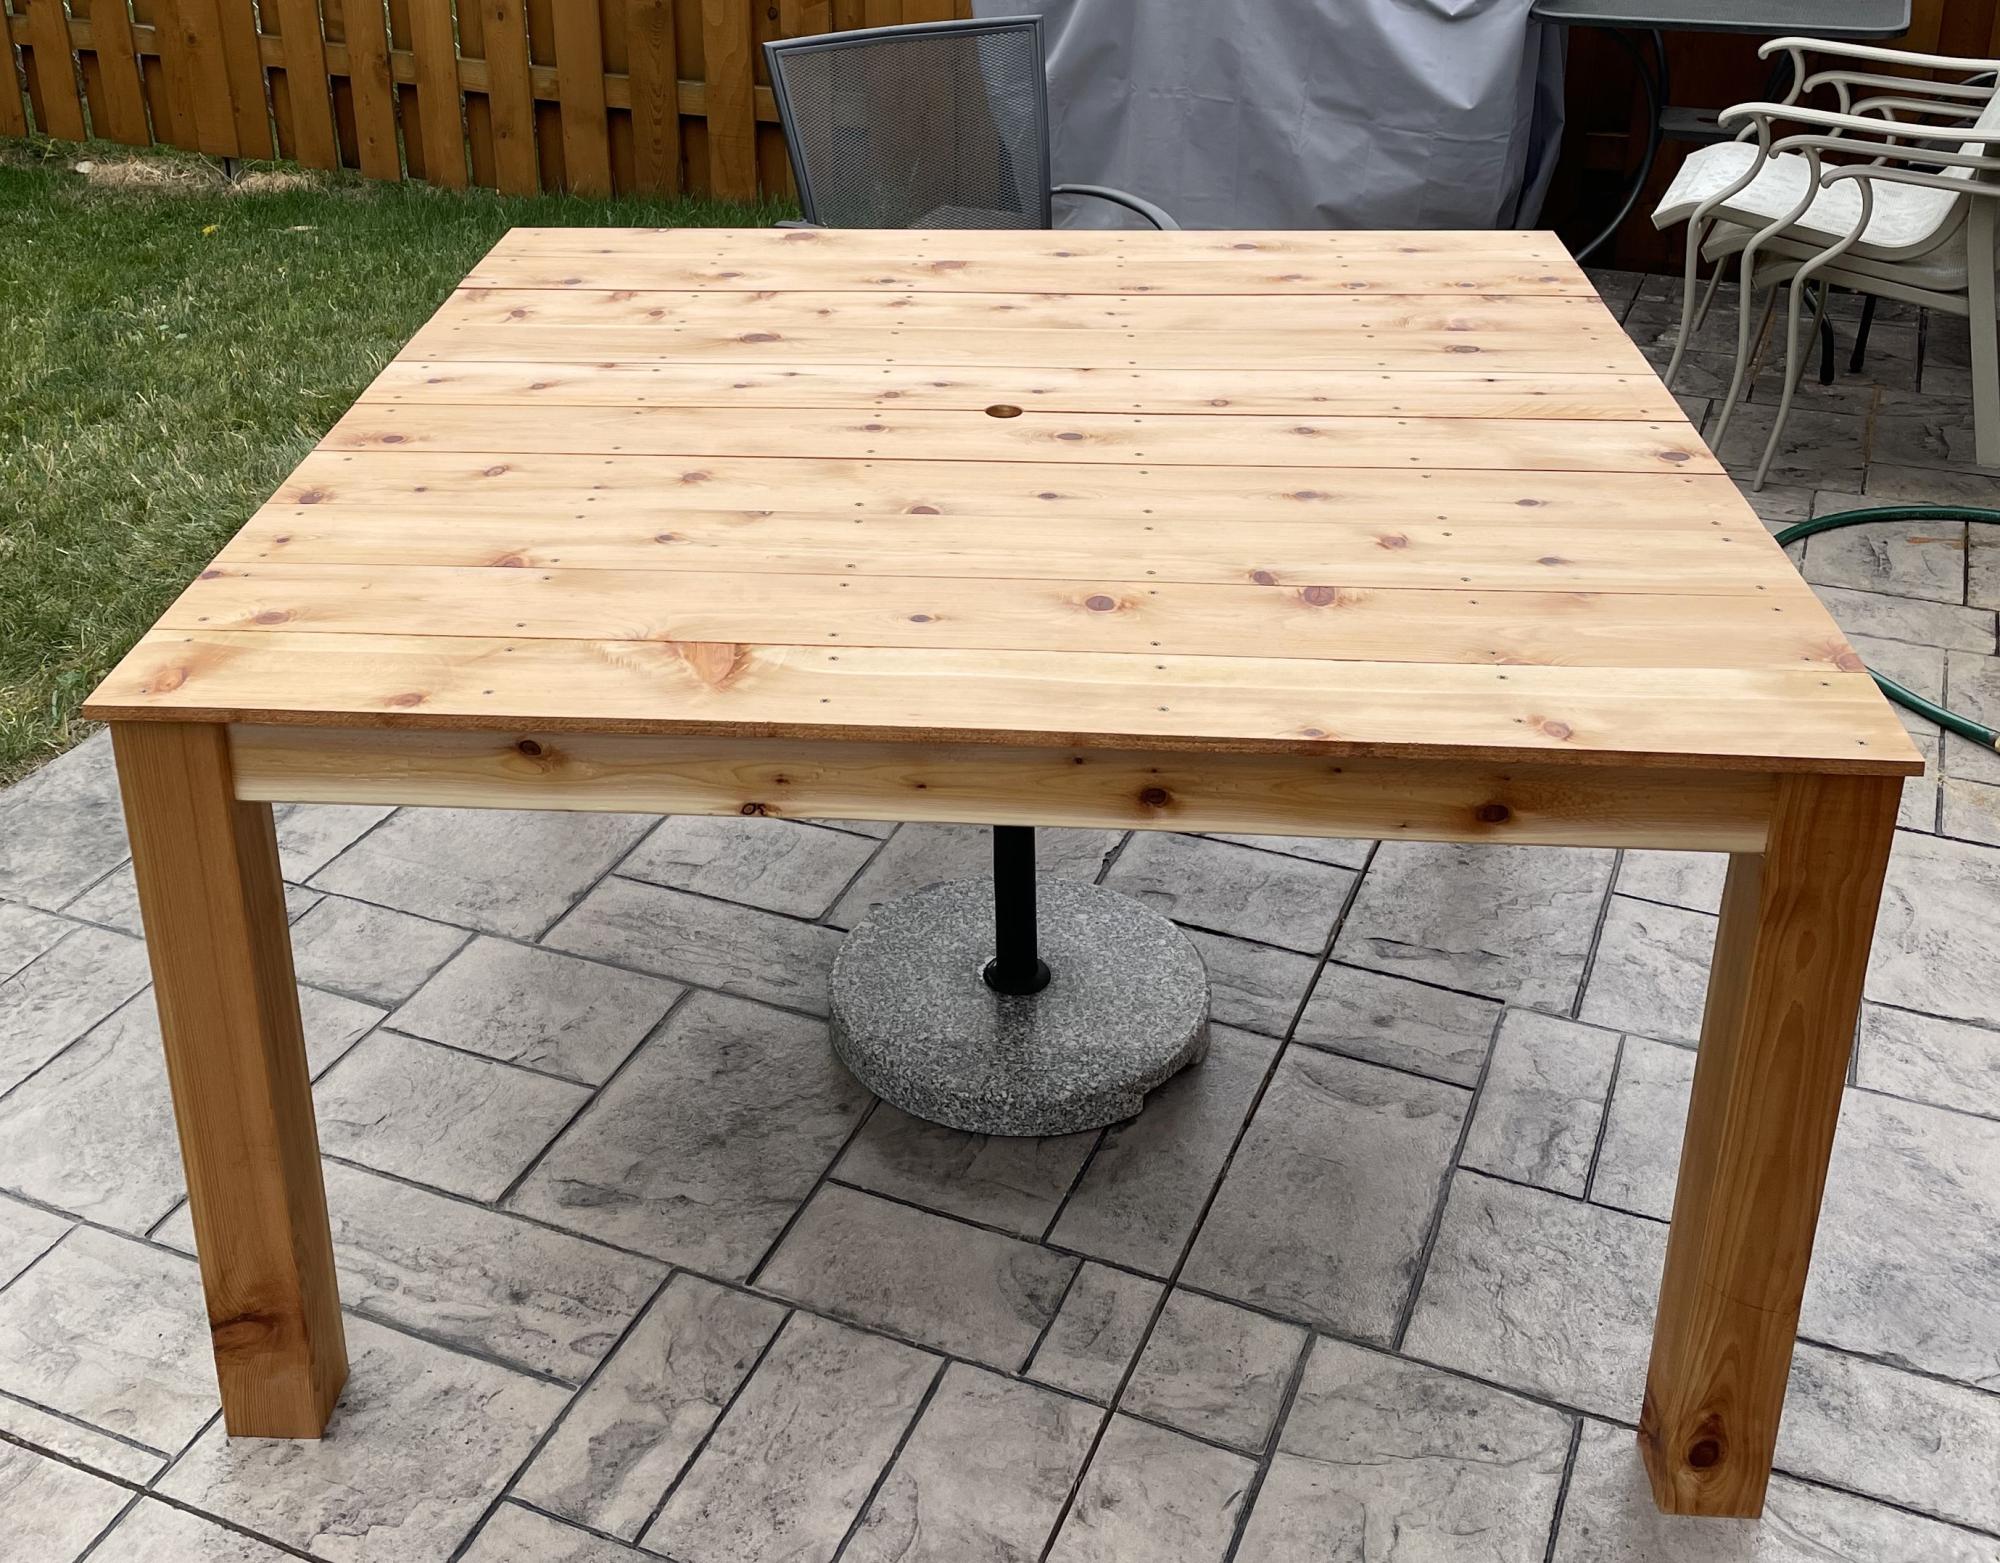
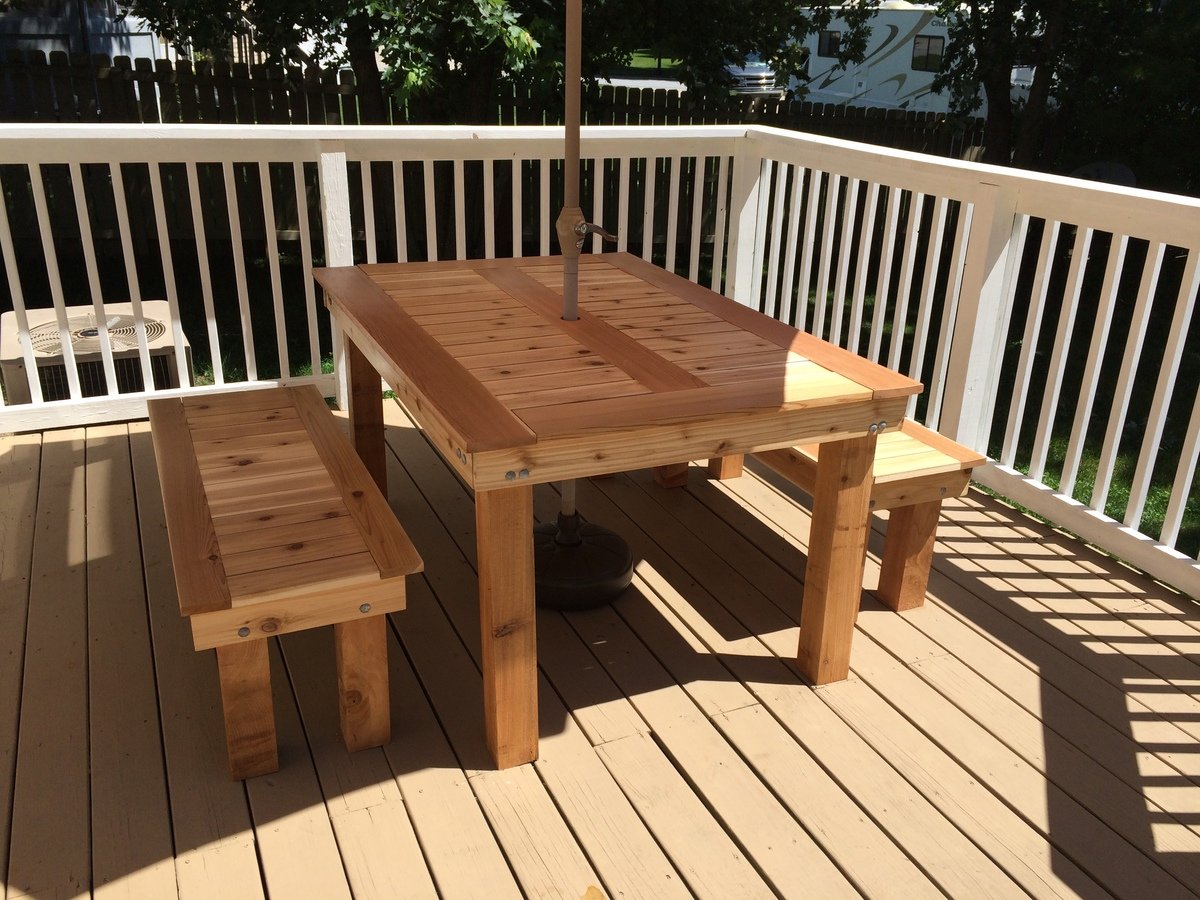
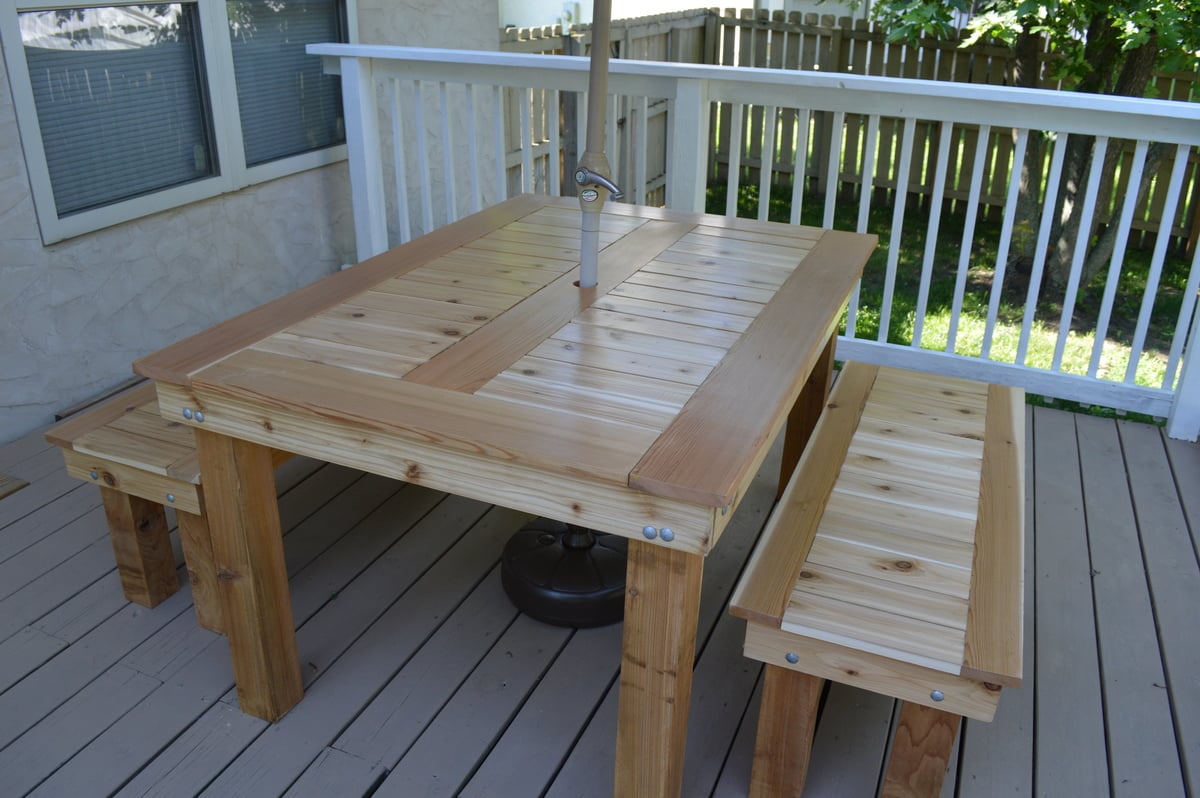
My wife and I loved the version that Finns-Dad made but we wanted it to be rectangular. The top is 1x6s around the edges with 1x4s in between. The frame is 1x4s. The bench tops are all 1x4s with 4x4 legs. There are 3/8 inch lag bolts in the legs. We did 4 coats of the urethane.

This was my first major project, and while there are many things that I would do differently if given the opportunity, we're still very pleased with it.

Built from Plan(s)
Estimated Cost
$350
Estimated Time Investment
Weekend Project (10-20 Hours)
Finish Used
Rust-Oleum Varathane Classic Clear Water Based Outdoor Spar Urethane Semi Gloss
Recommended Skill Level
Beginner

Comments

King size Farmhouse Bed

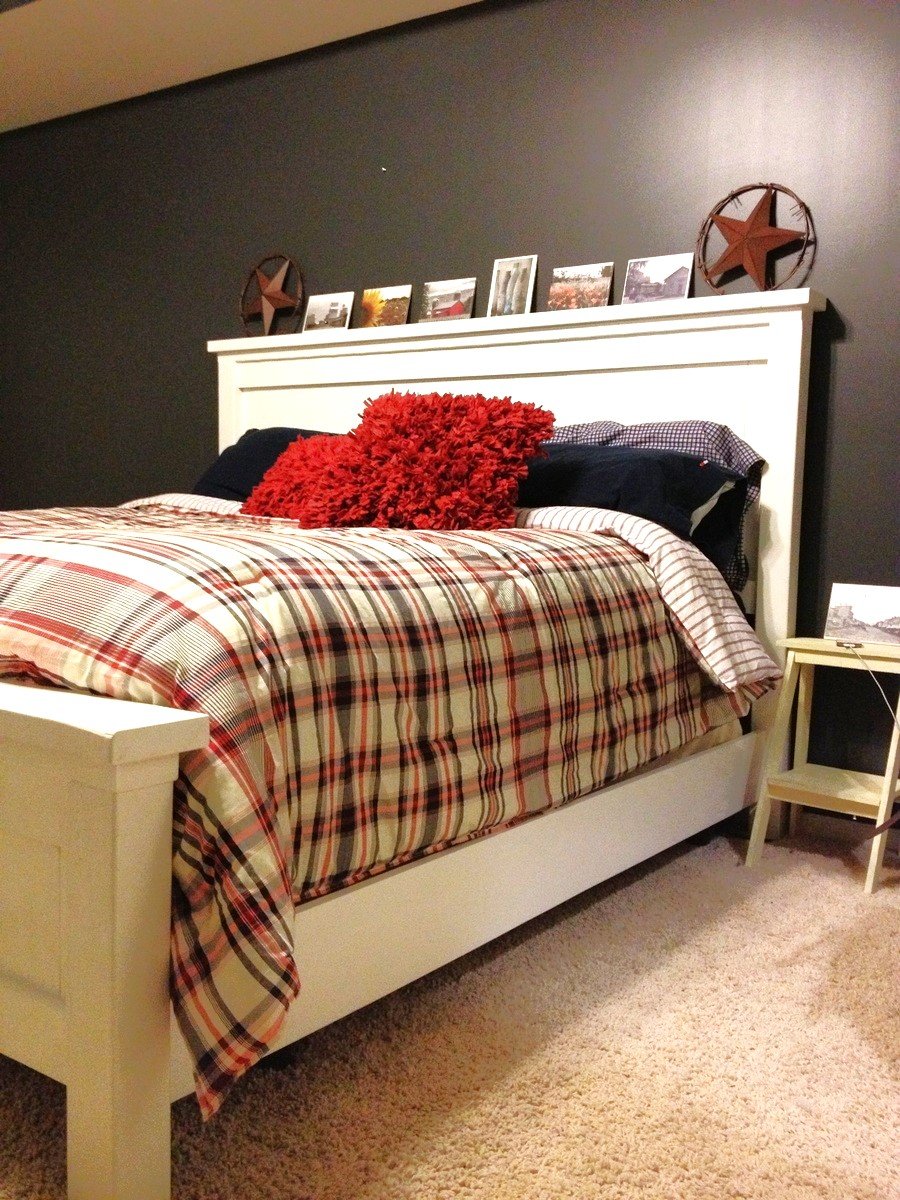
Unbelievable that just a few months ago I couldn't even get the corners to match up on a frame! Now I'm completely addicted to creating my own things. And saving soooo much money. Thank you Ana!

Estimated Cost
$150
Estimated Time Investment
Weekend Project (10-20 Hours)
Finish Used
Behr polar bear white
Recommended Skill Level
Beginner

Comments

spiceylg

Wed, 12/12/2012 - 05:14

You did a great job and I love all of the color coordination between the bedding and the wall color. Really pretty.

sxewhodey

Thu, 01/02/2020 - 04:36

Very nice.  I am a big money saver, and I used a coupon as well, so I am curious how you met the cost of $150?  I think my cost ended up being about $220 after our trip to lowes. Are there better times of the year to buy lumber, Did you already have the screws and brads available? My last question is if you tried staining and went with paint in the end, or if you knew you wanted to paint from the beginning?  I got all my dimensions cut yesterday, so going into the weekend will let me know if staining will be a success or not.  Pine isn't the friendliest to take stain.

I cant believe how big this thing is.  I have had queen all my life :)

Looks Great!

18" Doll Wardrobe

Submitted by Anonymous (not verified) on Sat, 02/18/2017 - 07:33

I used the 18" Doll Wardobe plans! I decided not to do the Murphy bed. I loved how it turned out and the plan was easy to follow! Looking forward to more DIY projects

Recommended Skill Level
Beginner

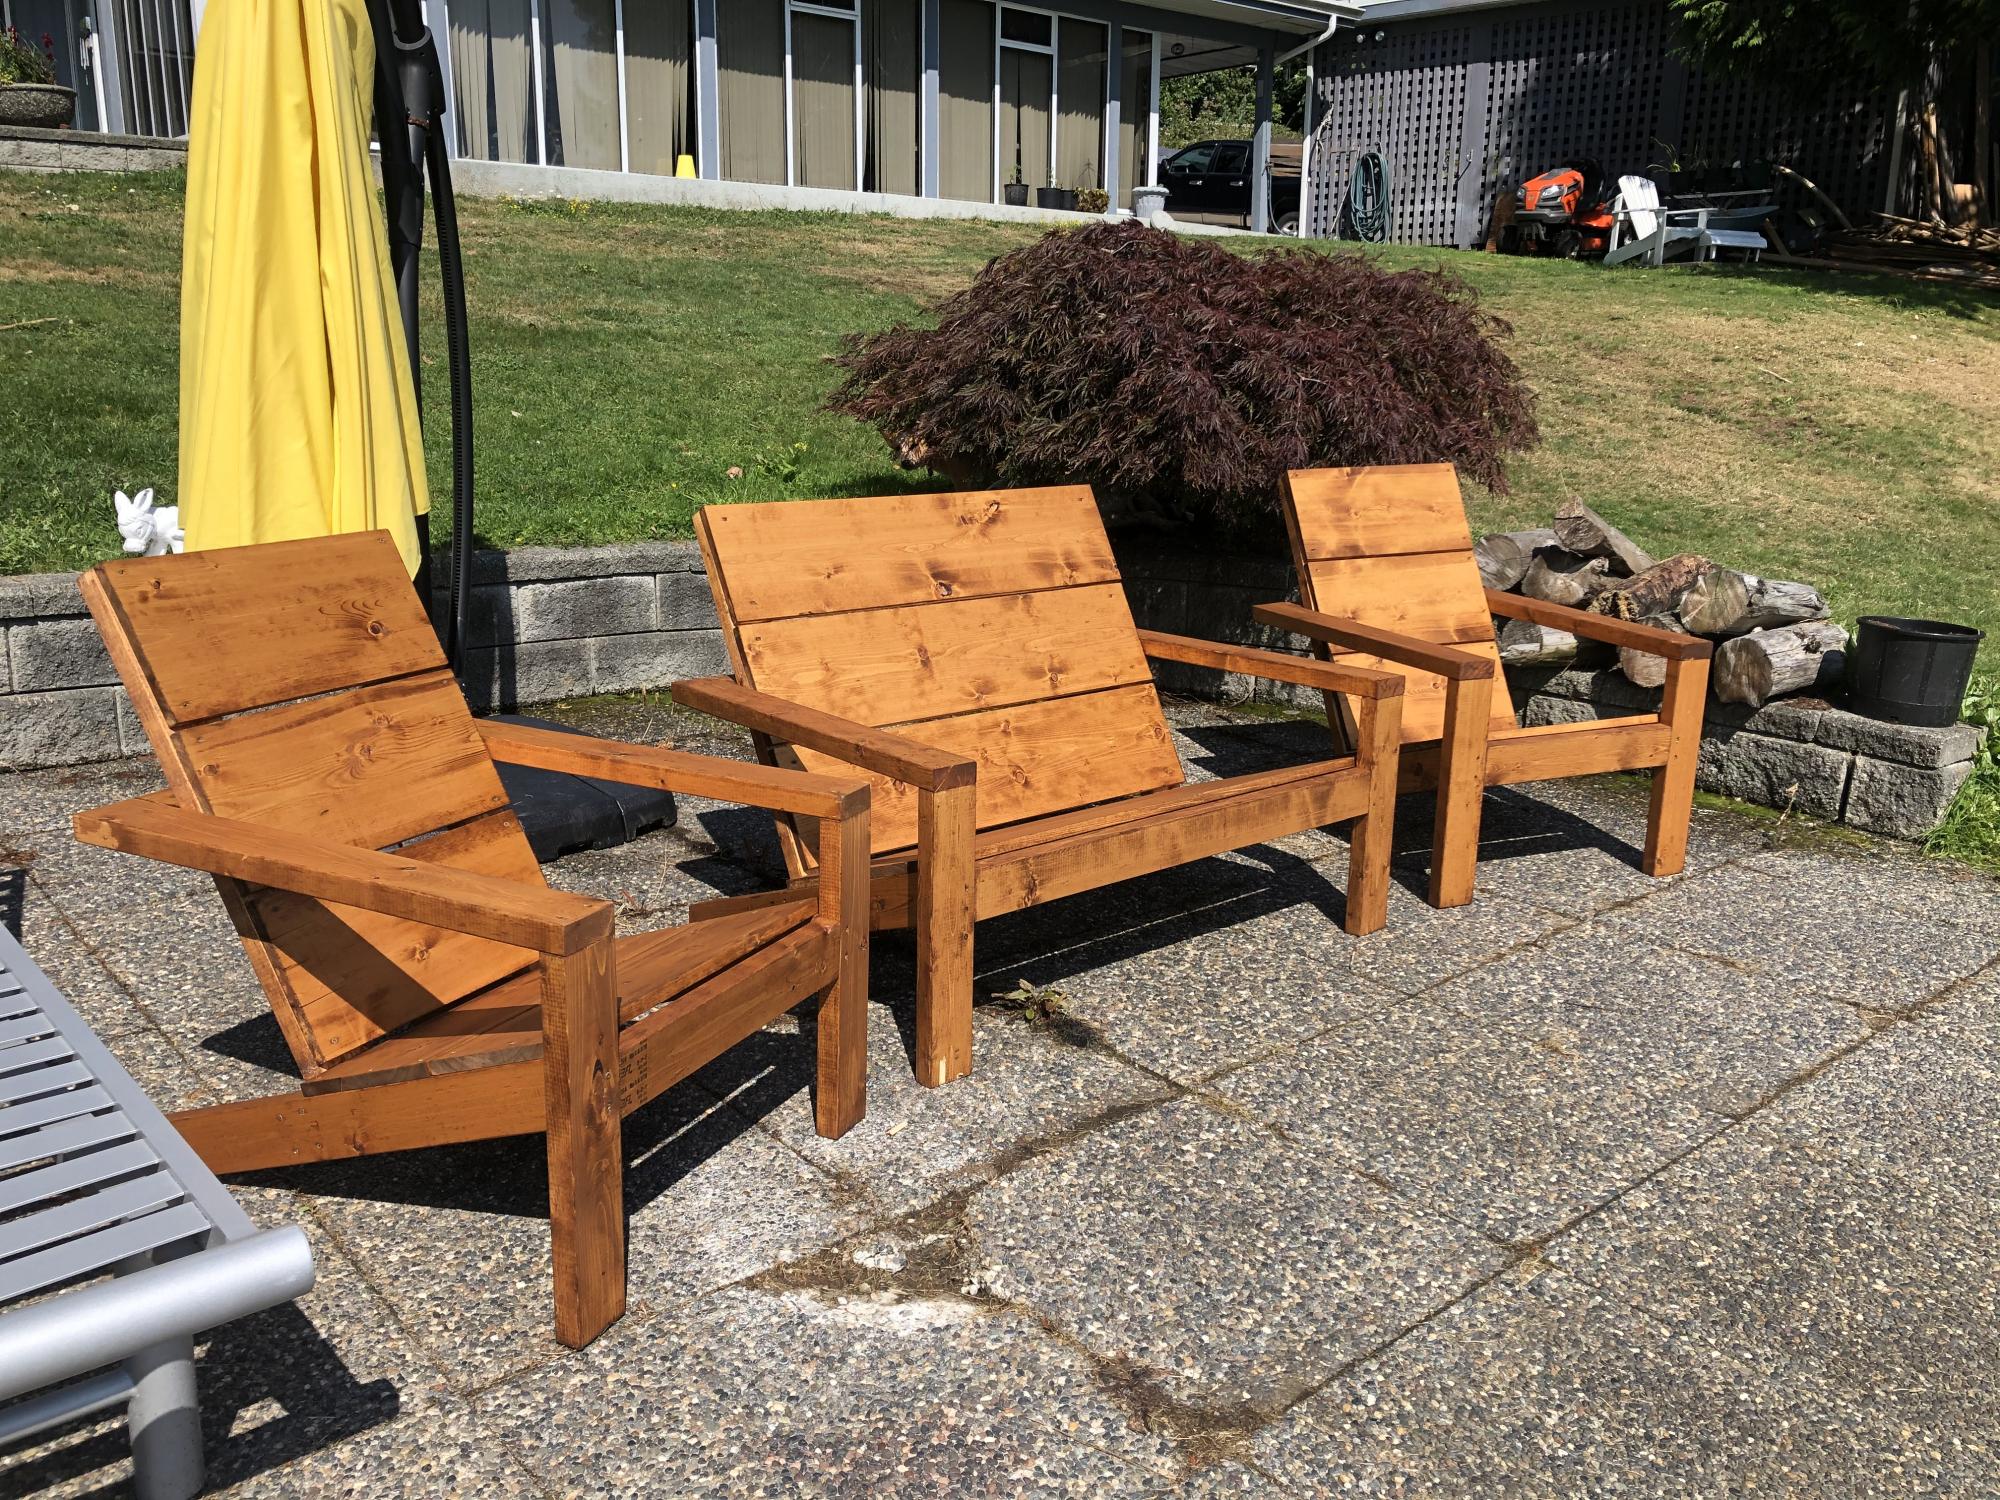
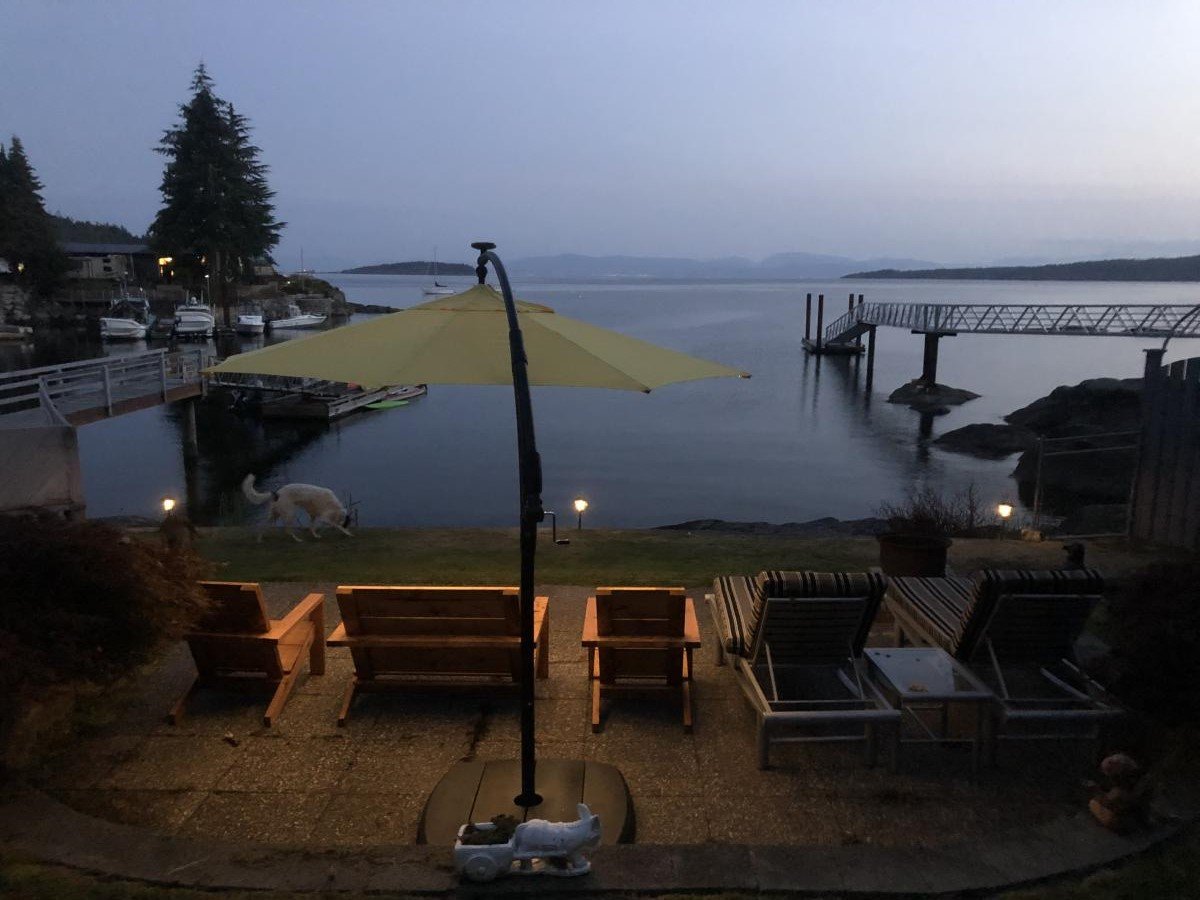
2x4 Modern Adirondack Chair and Loveseat

Submitted by SofiaTaz on Sun, 12/06/2020 - 12:51

We loved the Modern Adirondack Chair pattern so much that we adapted it to have a matching love seat. It turned out beautifully!

Estimated Cost
$200 CAD
Finish Used
Dark walnut stain
Recommended Skill Level
Starter Project

Comments

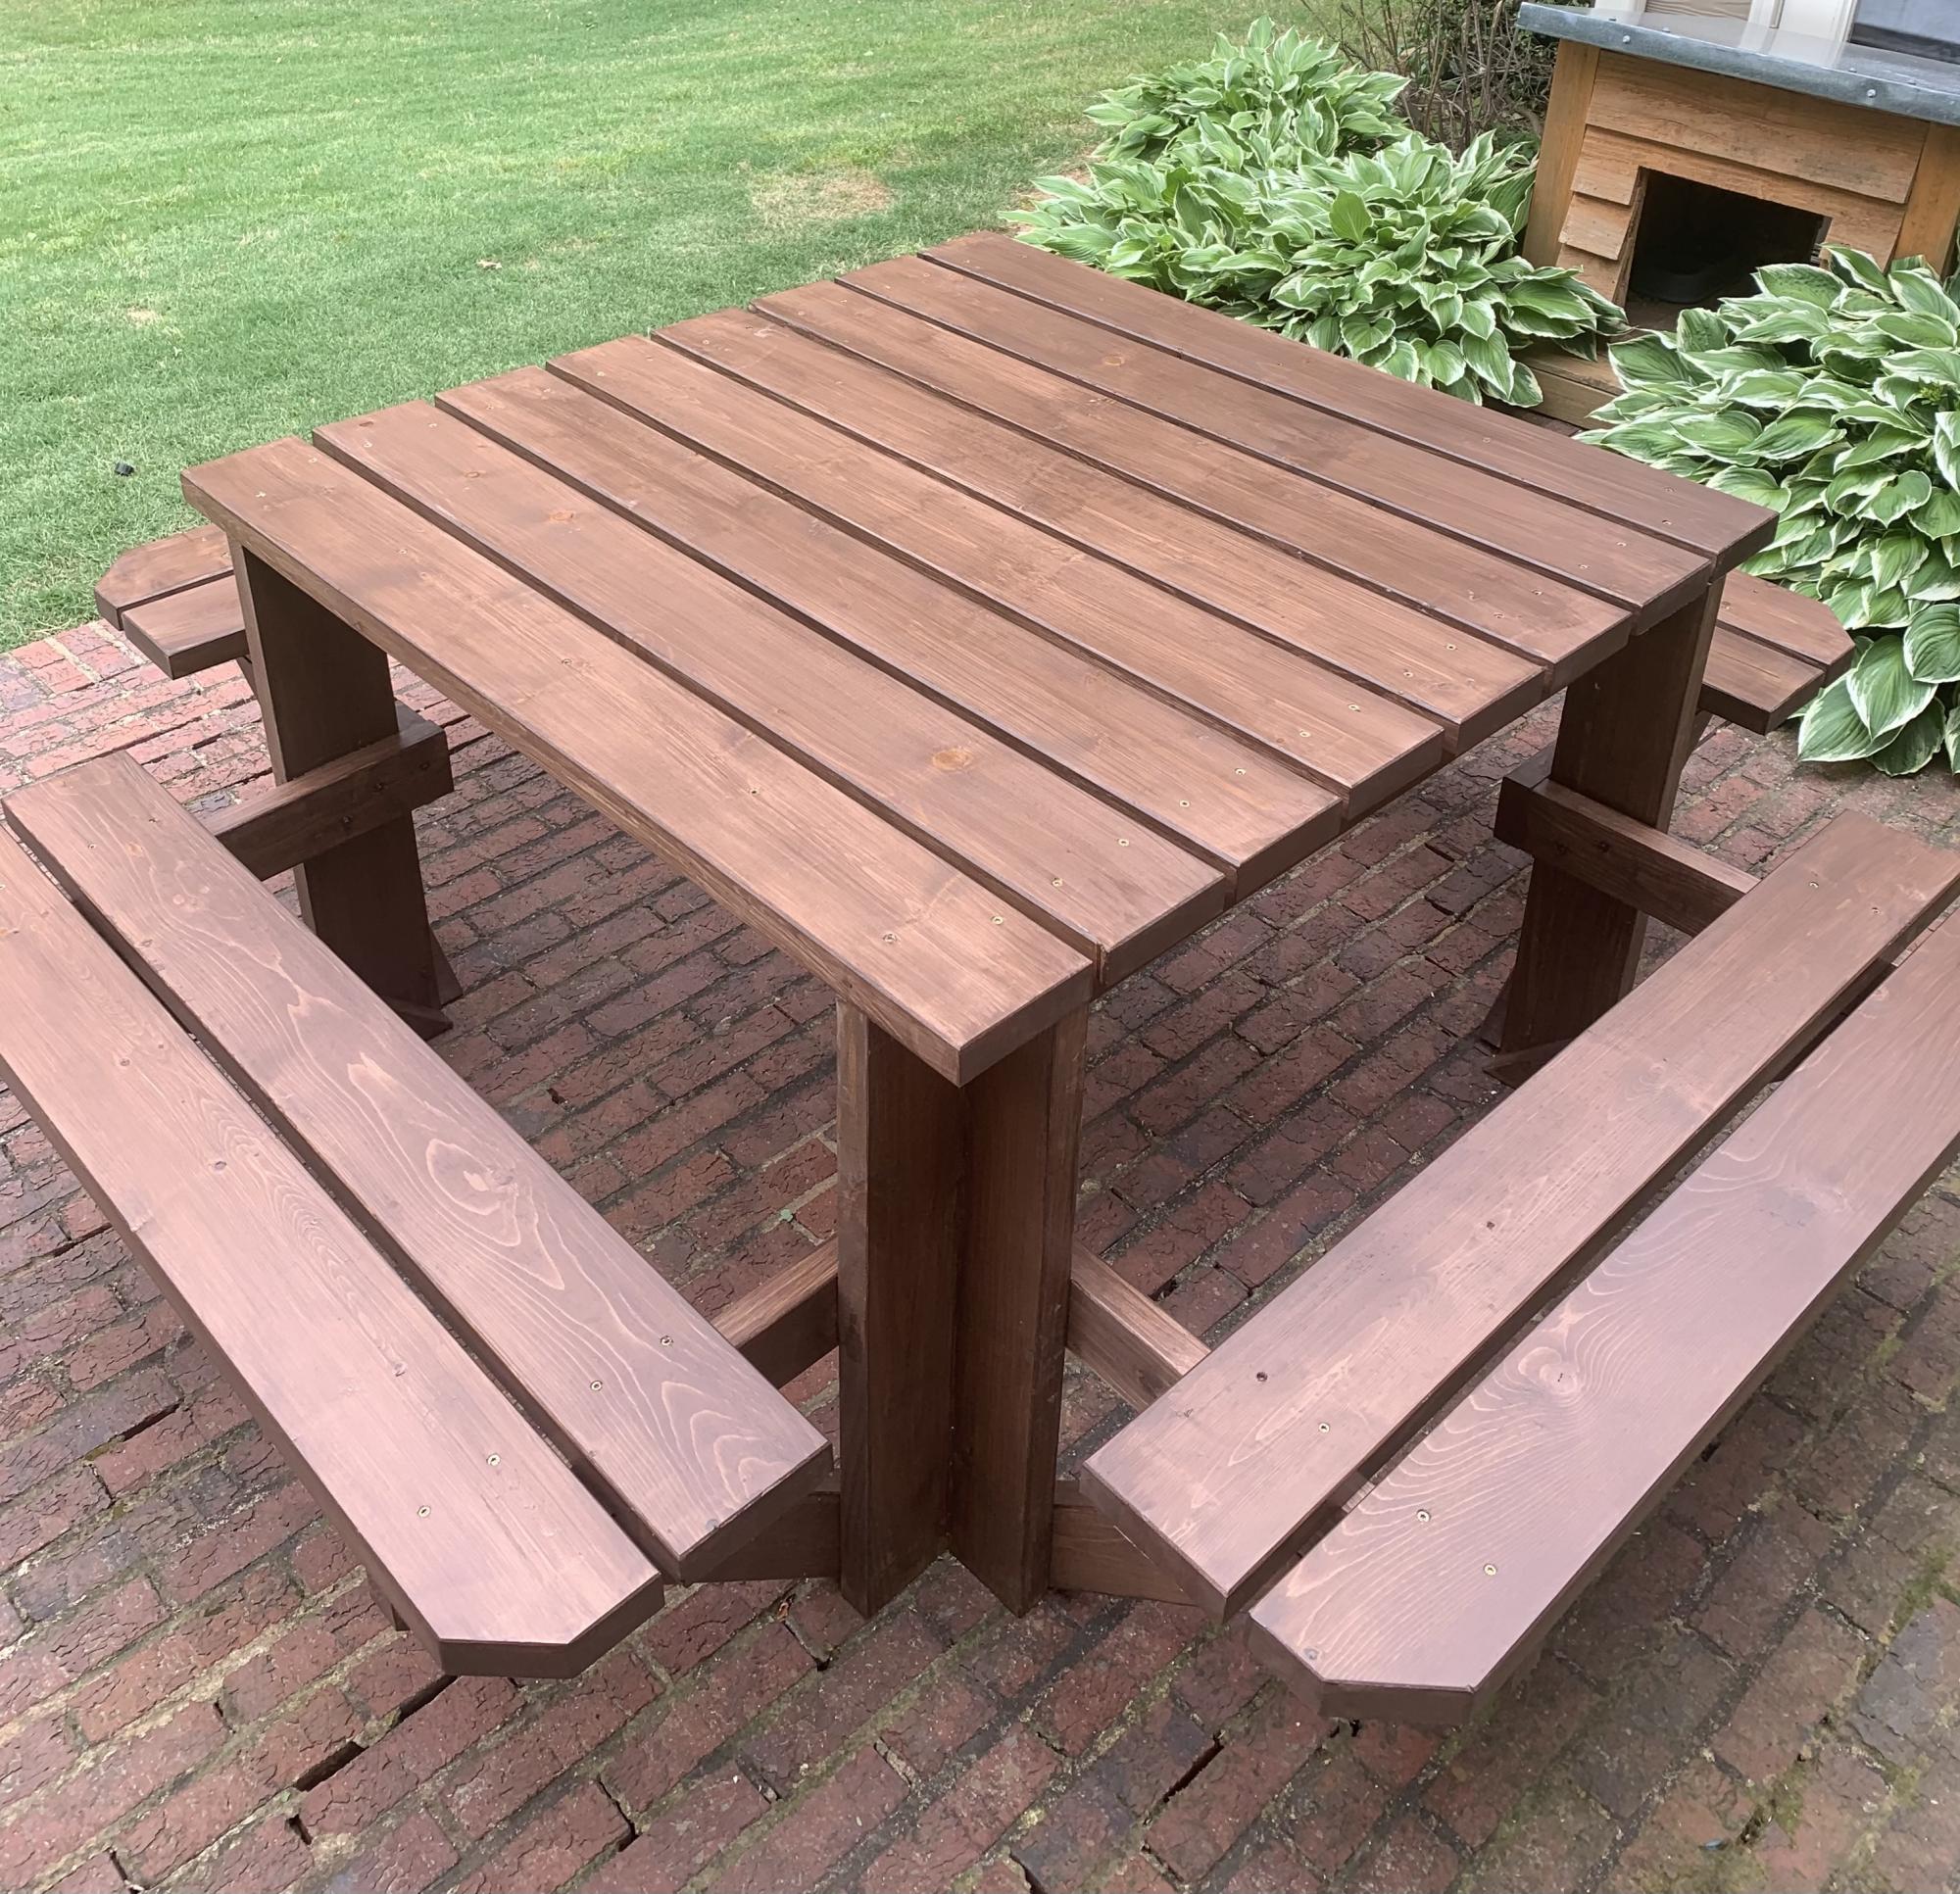
Square picnic table

Submitted by Anonymous (not verified) on Sat, 05/08/2021 - 14:13

Followed Anna White’s plans except I beveled all the edges and flooded the table leg bottoms with penetrating epoxy sealer. The table looks great!

Built from Plan(s)
Estimated Cost
$425
Estimated Time Investment
Weekend Project (10-20 Hours)
Finish Used
2 coats exterior semi-transparent sealer (Padre)
Recommended Skill Level
Intermediate

Comments

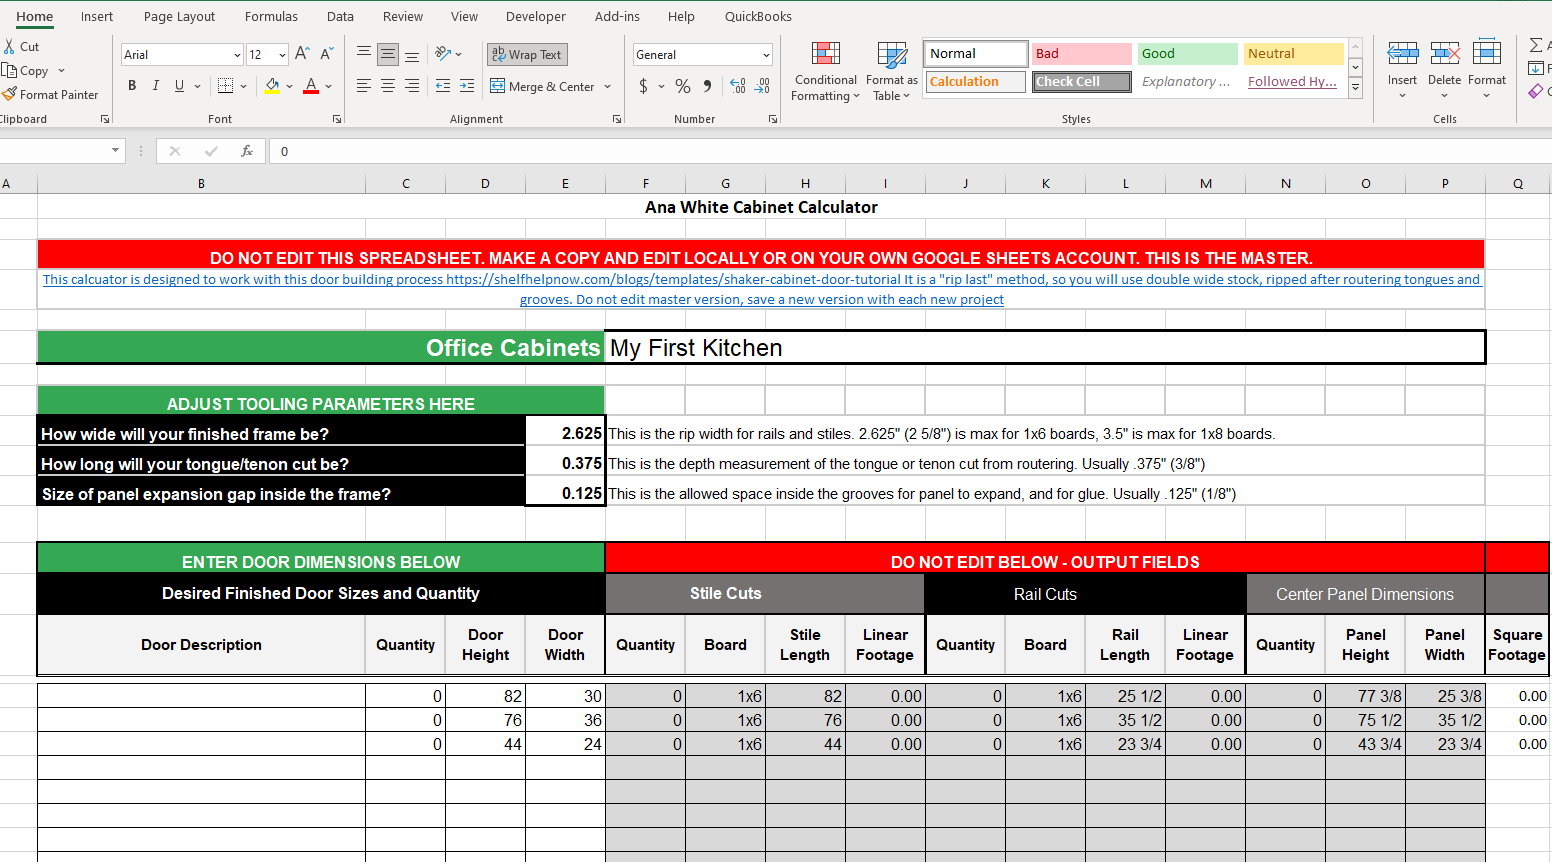
Ana White Cabinet Builder Google Sheet converted to Microsoft Excel

I was trying to use the google sheets cabinet calculator that Ana posted and found that others were accessing and editing the master at the same time. I thought perhaps a Microsoft Excel version of the calculator to download may be useful.

I wasn't able to upload to this site so I've created a Brag Post to link to it on my site.

UPDATE: Ana's website has been updated and the file is now an Excel Spreadsheet which can be downloaded.

Estimated Cost
none, just converted the functions and calculations to work in excel
Estimated Time Investment
An Hour or Two (0-2 Hours)
Recommended Skill Level
Intermediate

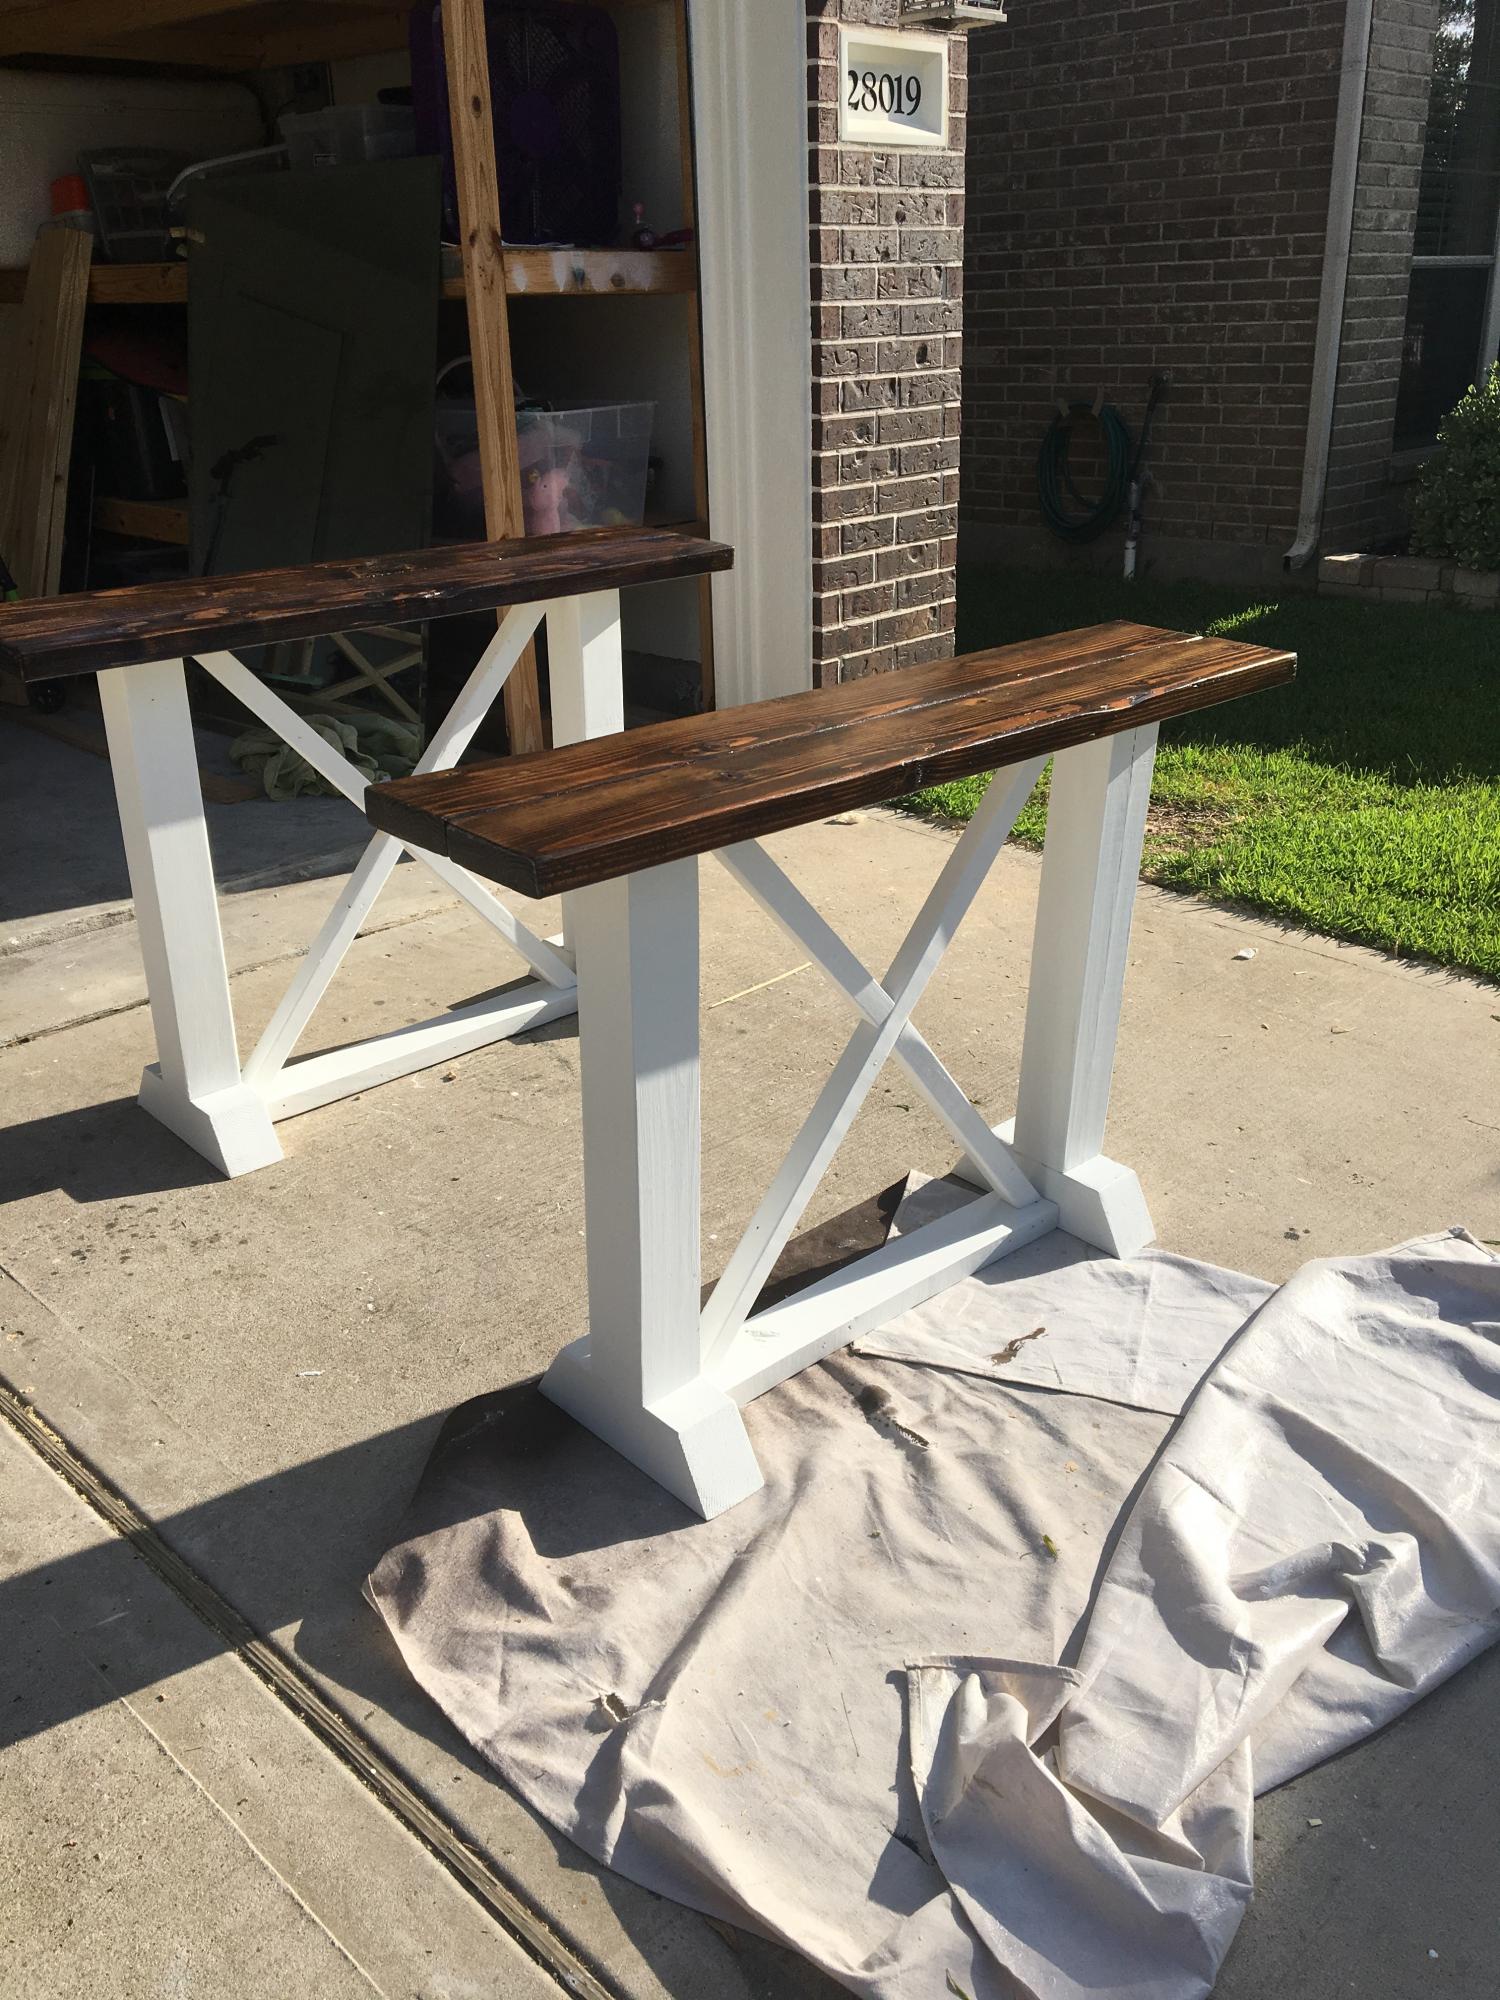
Rustic X entryway table

Submitted by Erinawtrey on Mon, 10/03/2022 - 16:24

I made this to match Ana's rustic x console, end and coffee table!

Built from Plan(s)
Estimated Cost
$35
Estimated Time Investment
Afternoon Project (3-6 Hours)
Finish Used
Dark walnut
Recommended Skill Level
Starter Project

Comments

Back