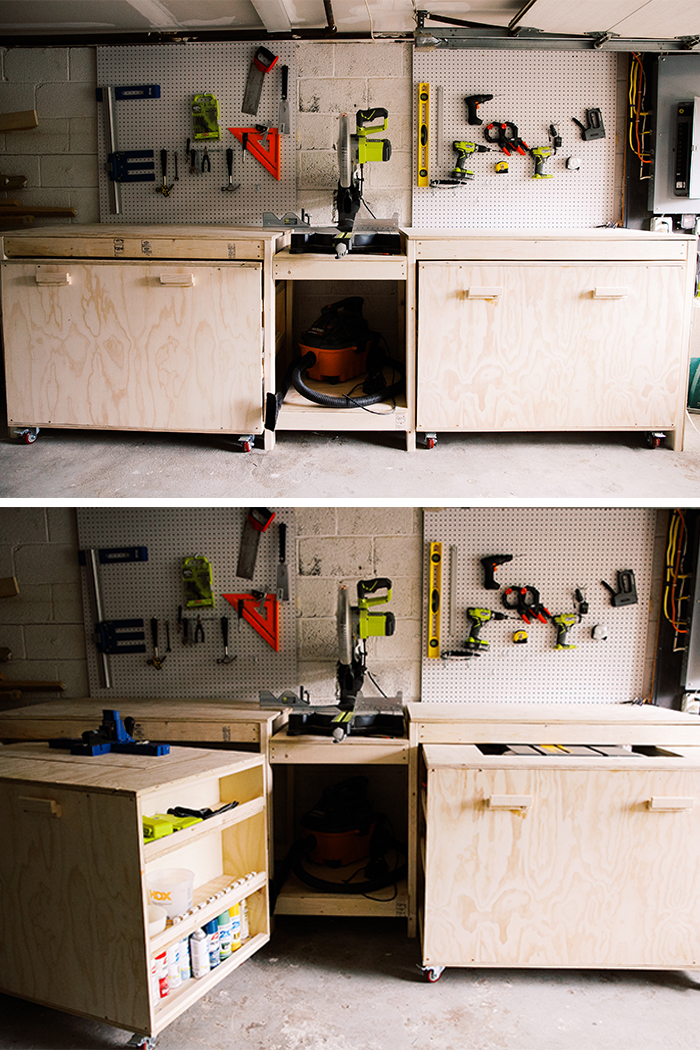
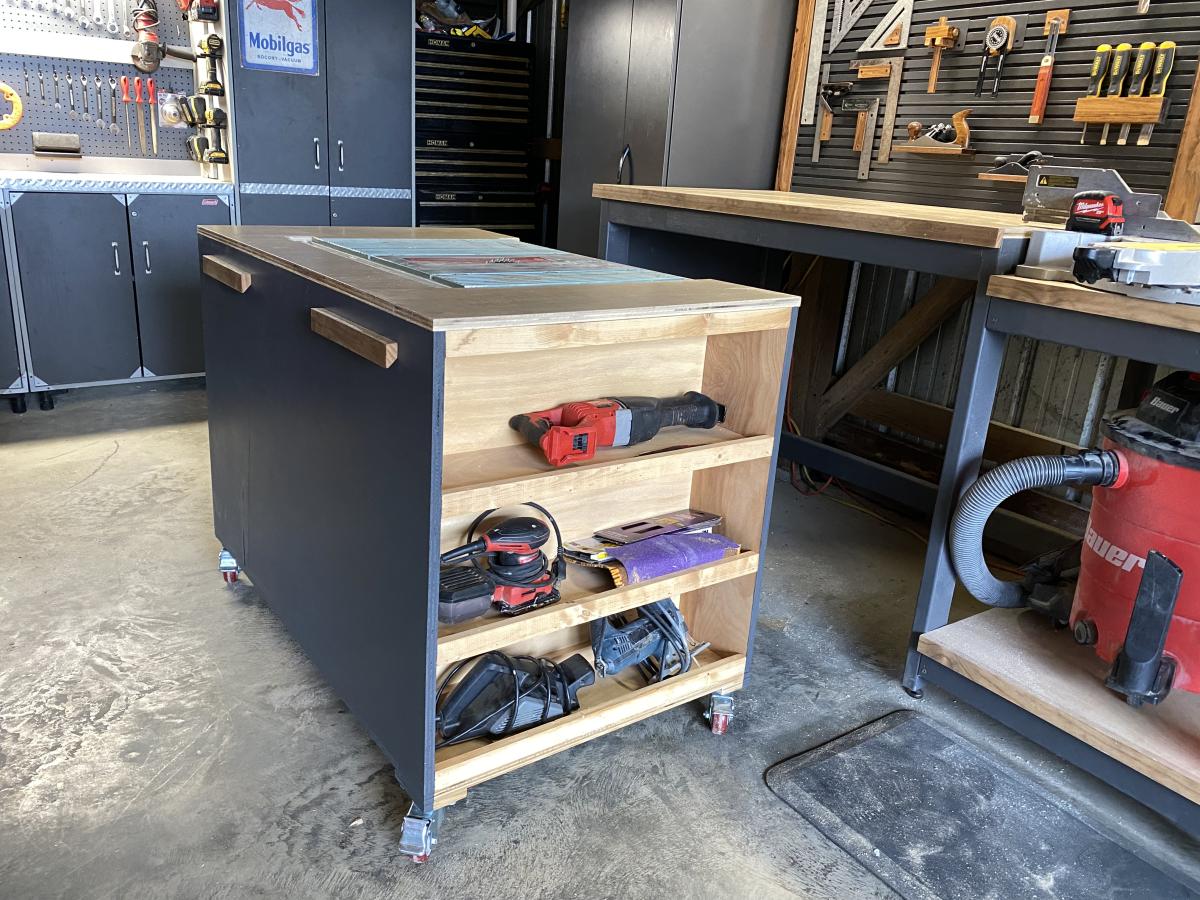
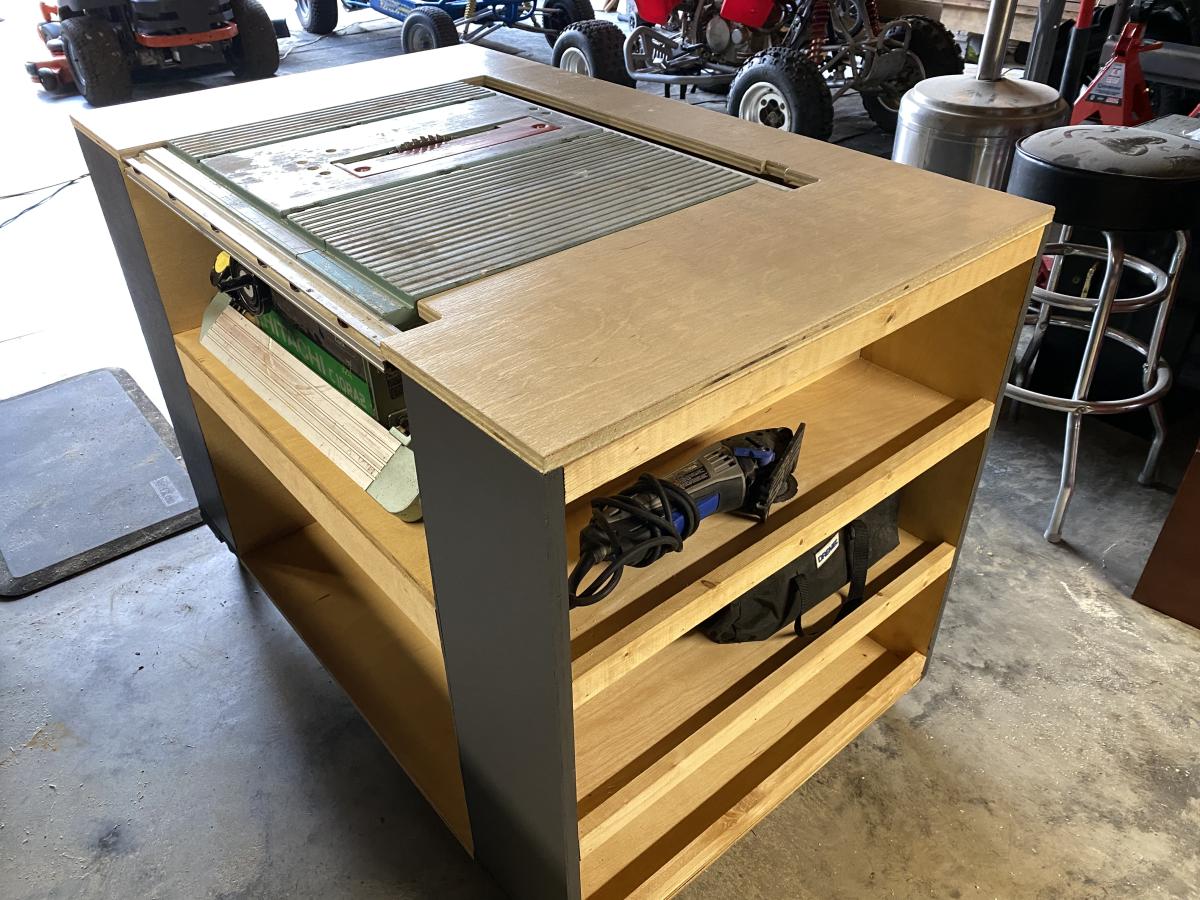
Ultimate tool bench with rolling carts
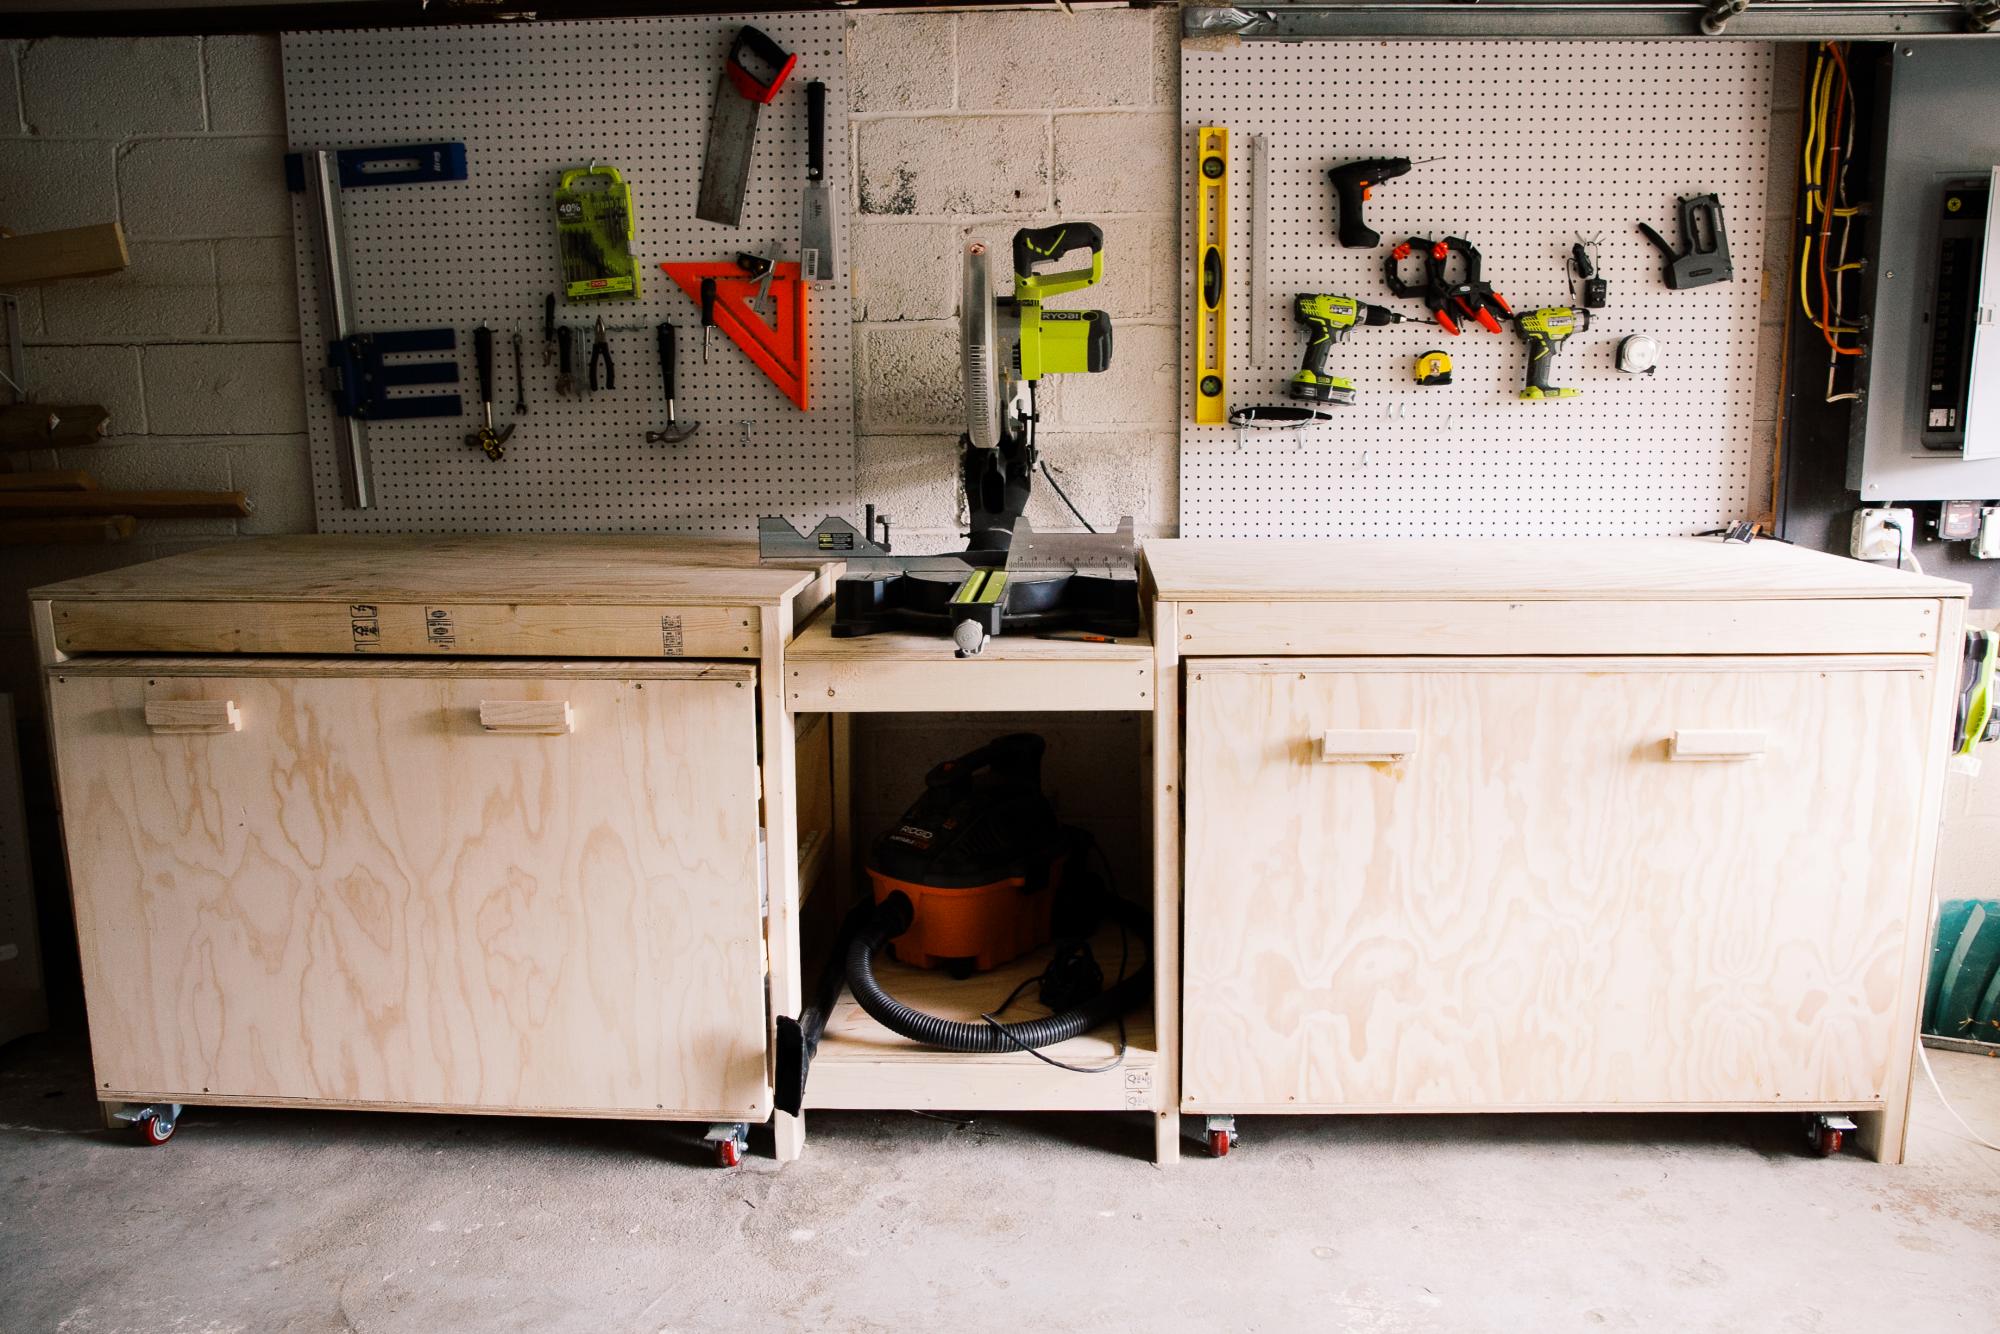
This plan is so perfect and I love the fact that it has a space for most of the tools, for a miter saw, table saw, and could be customized to your needs and tools that you have!
Built from Plan(s)
This plan is so perfect and I love the fact that it has a space for most of the tools, for a miter saw, table saw, and could be customized to your needs and tools that you have!
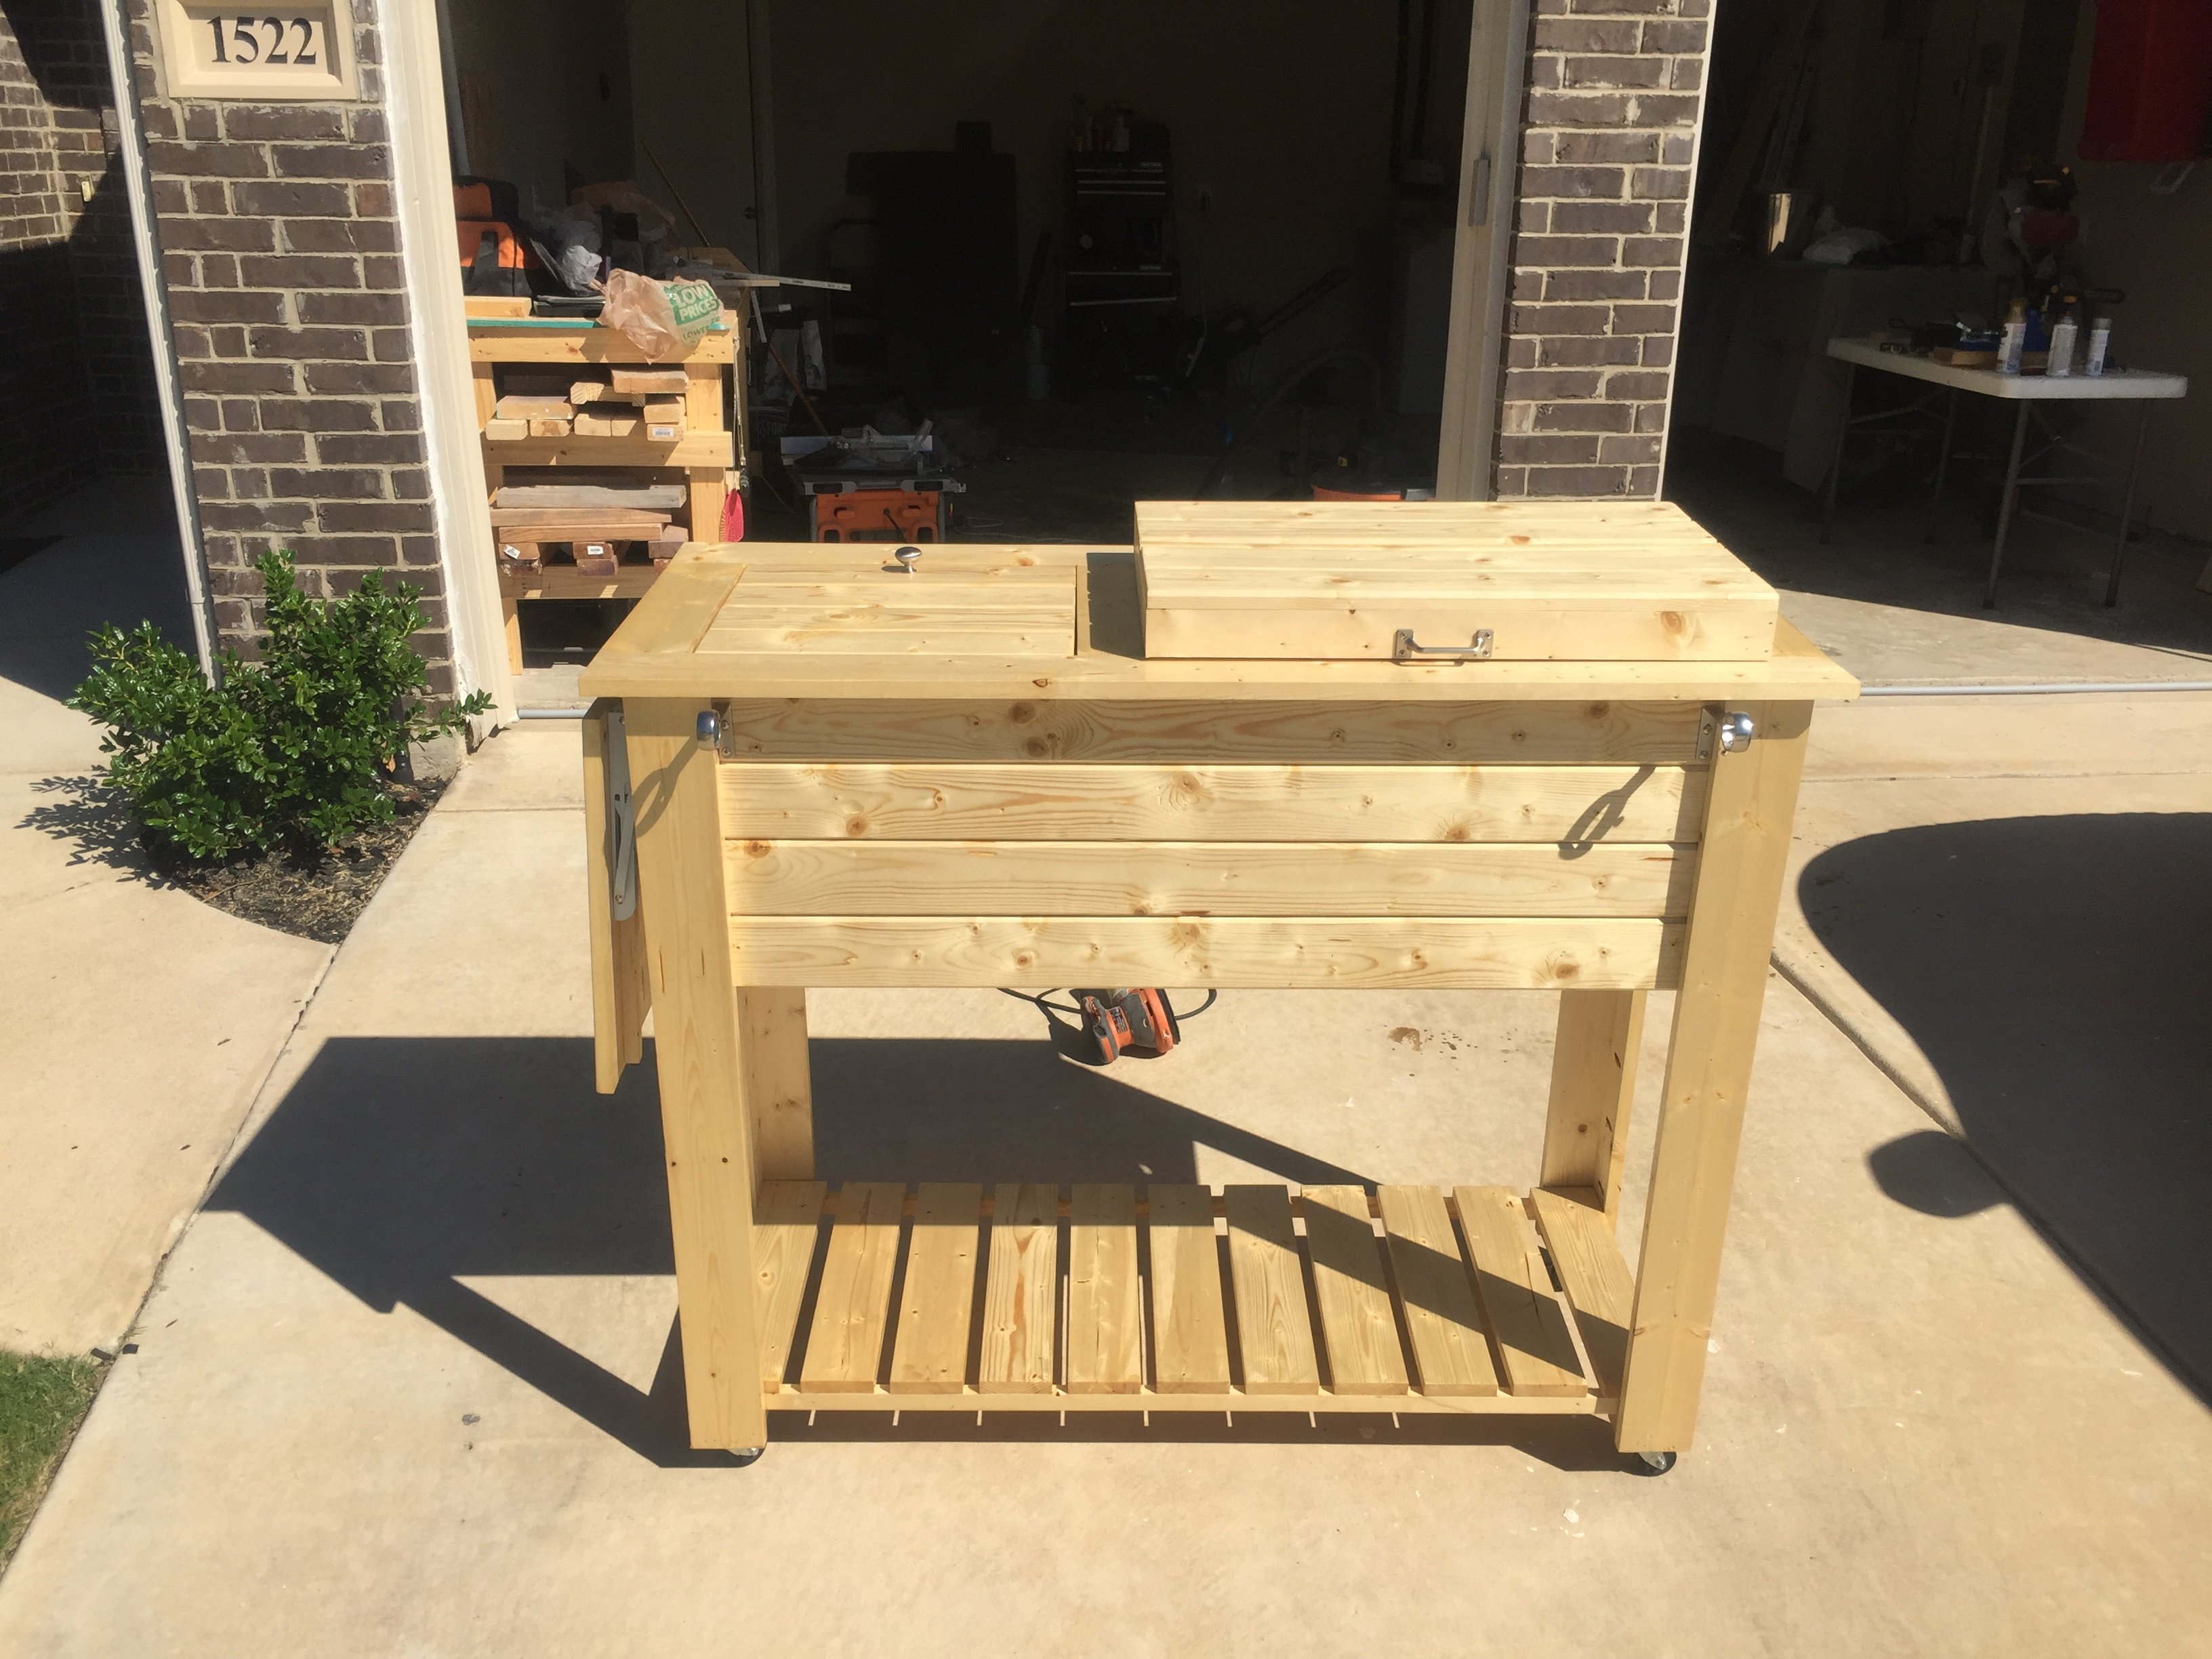
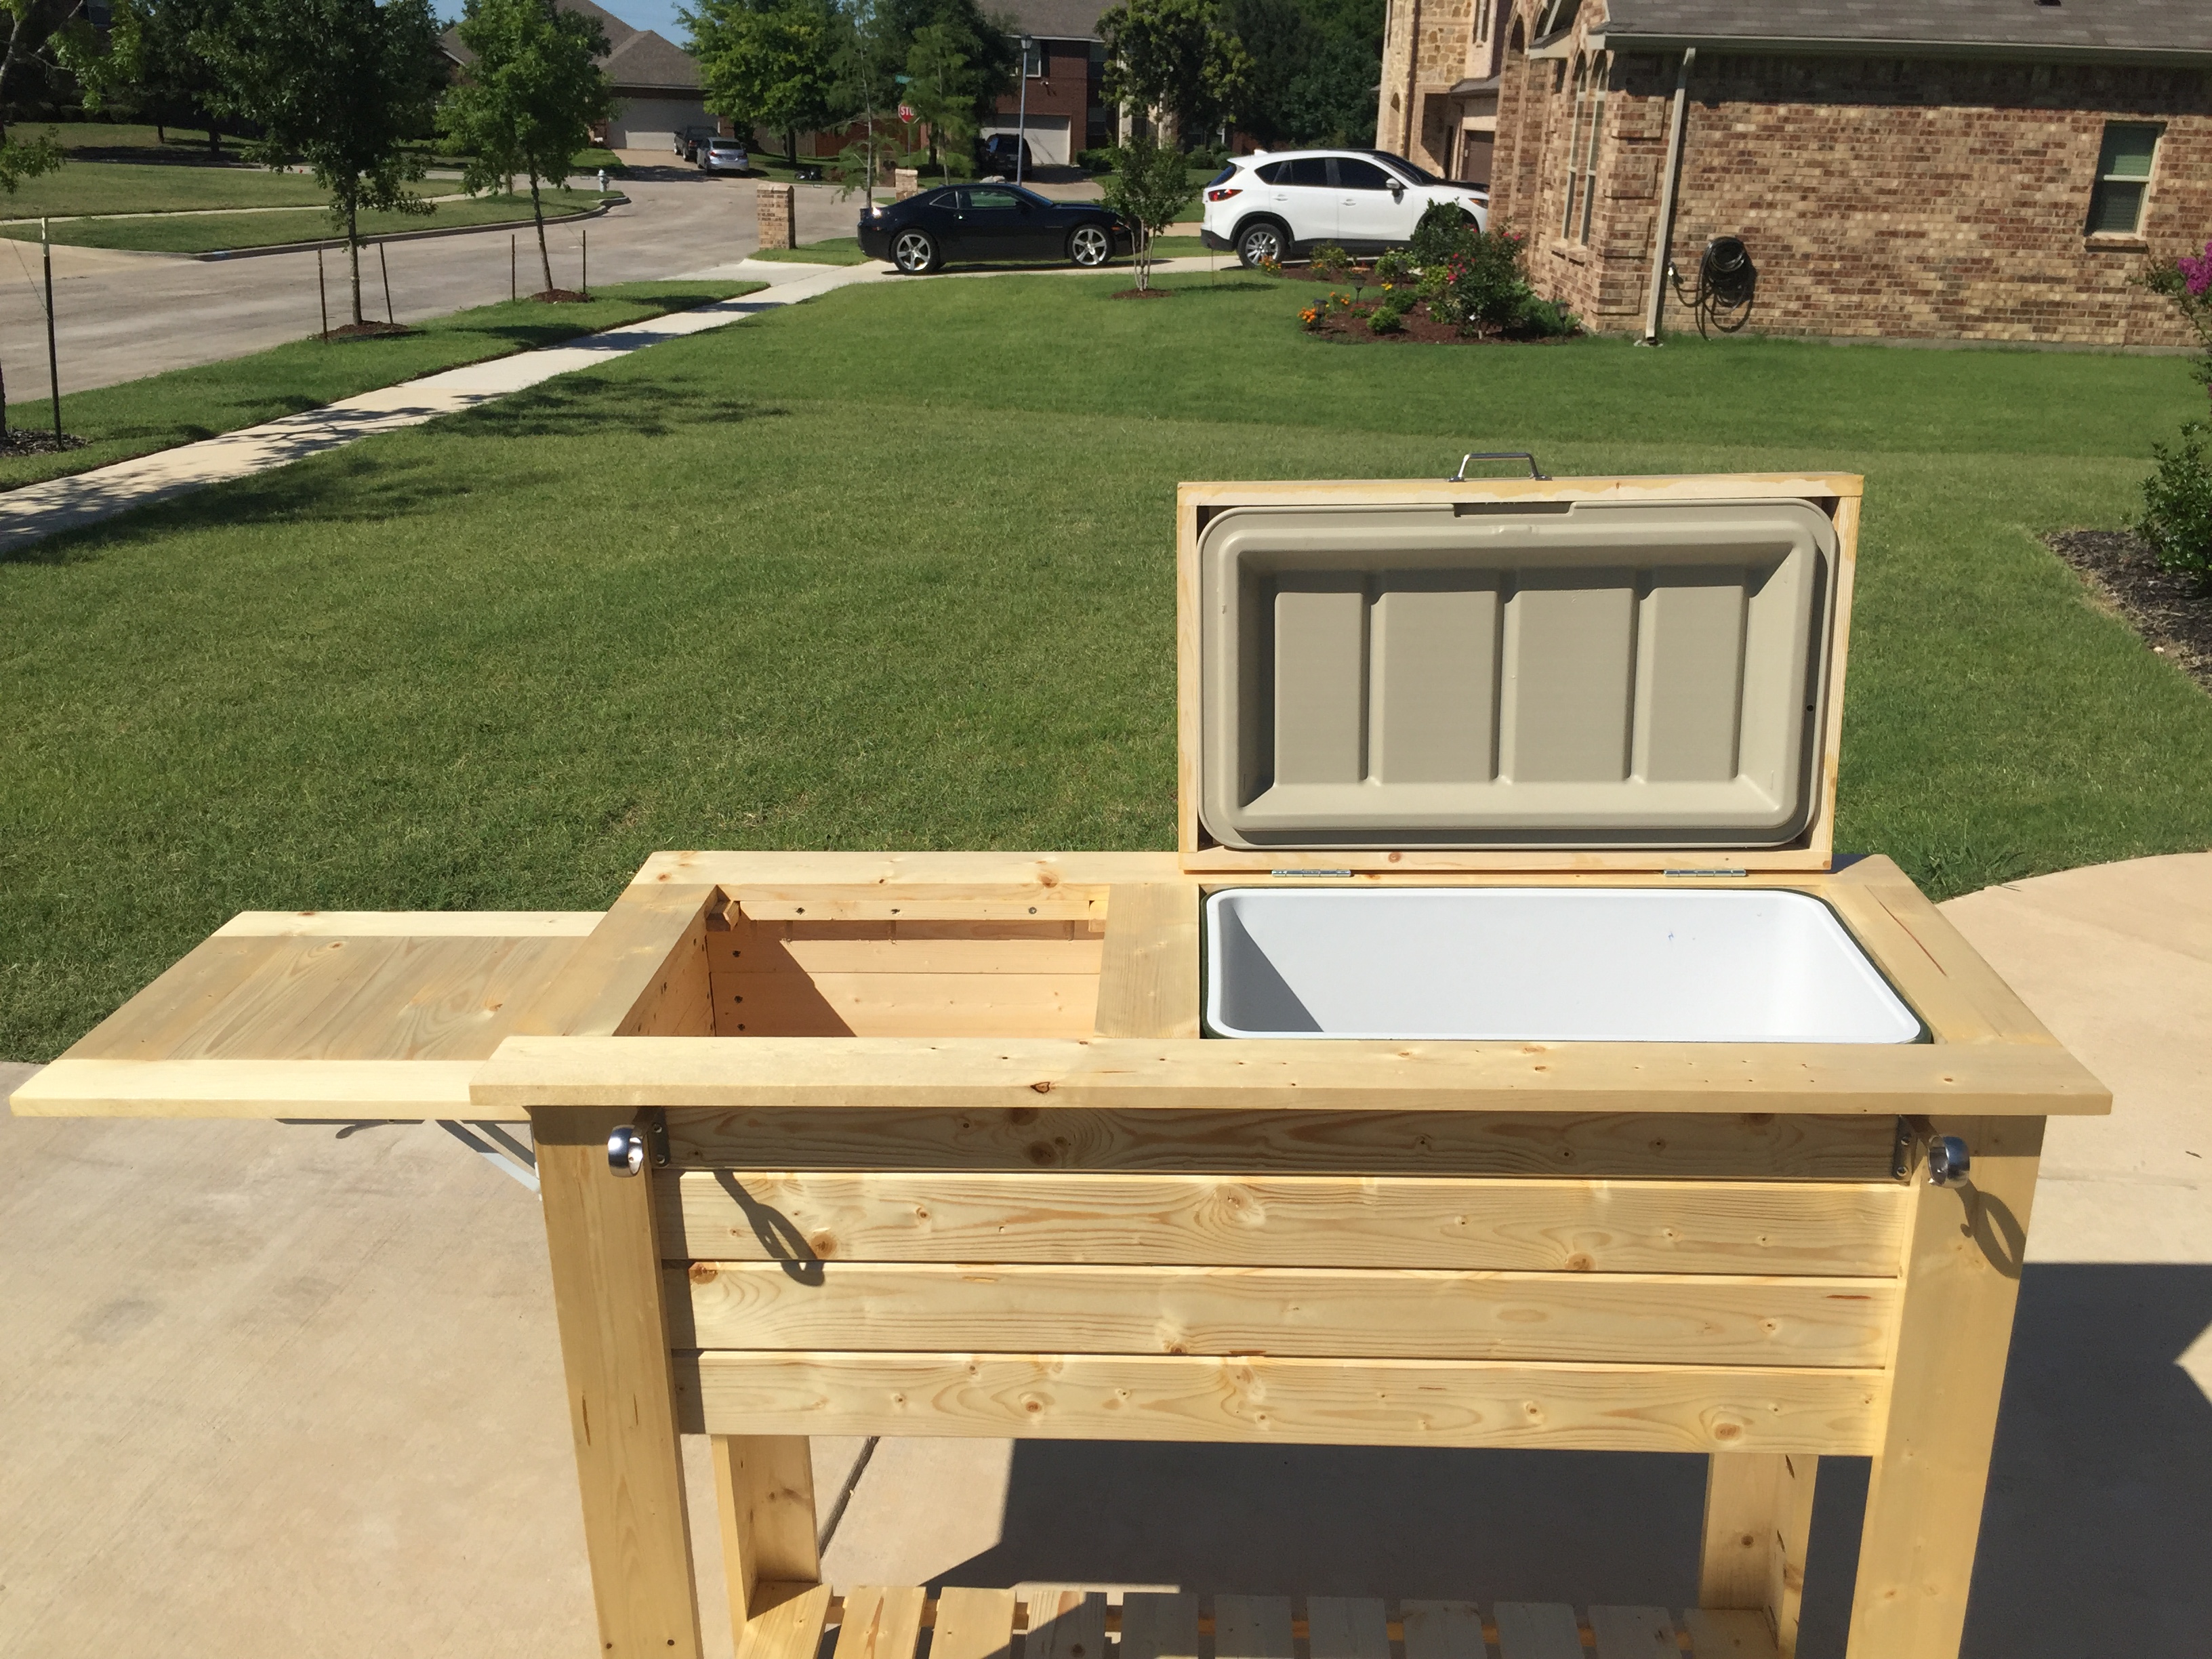
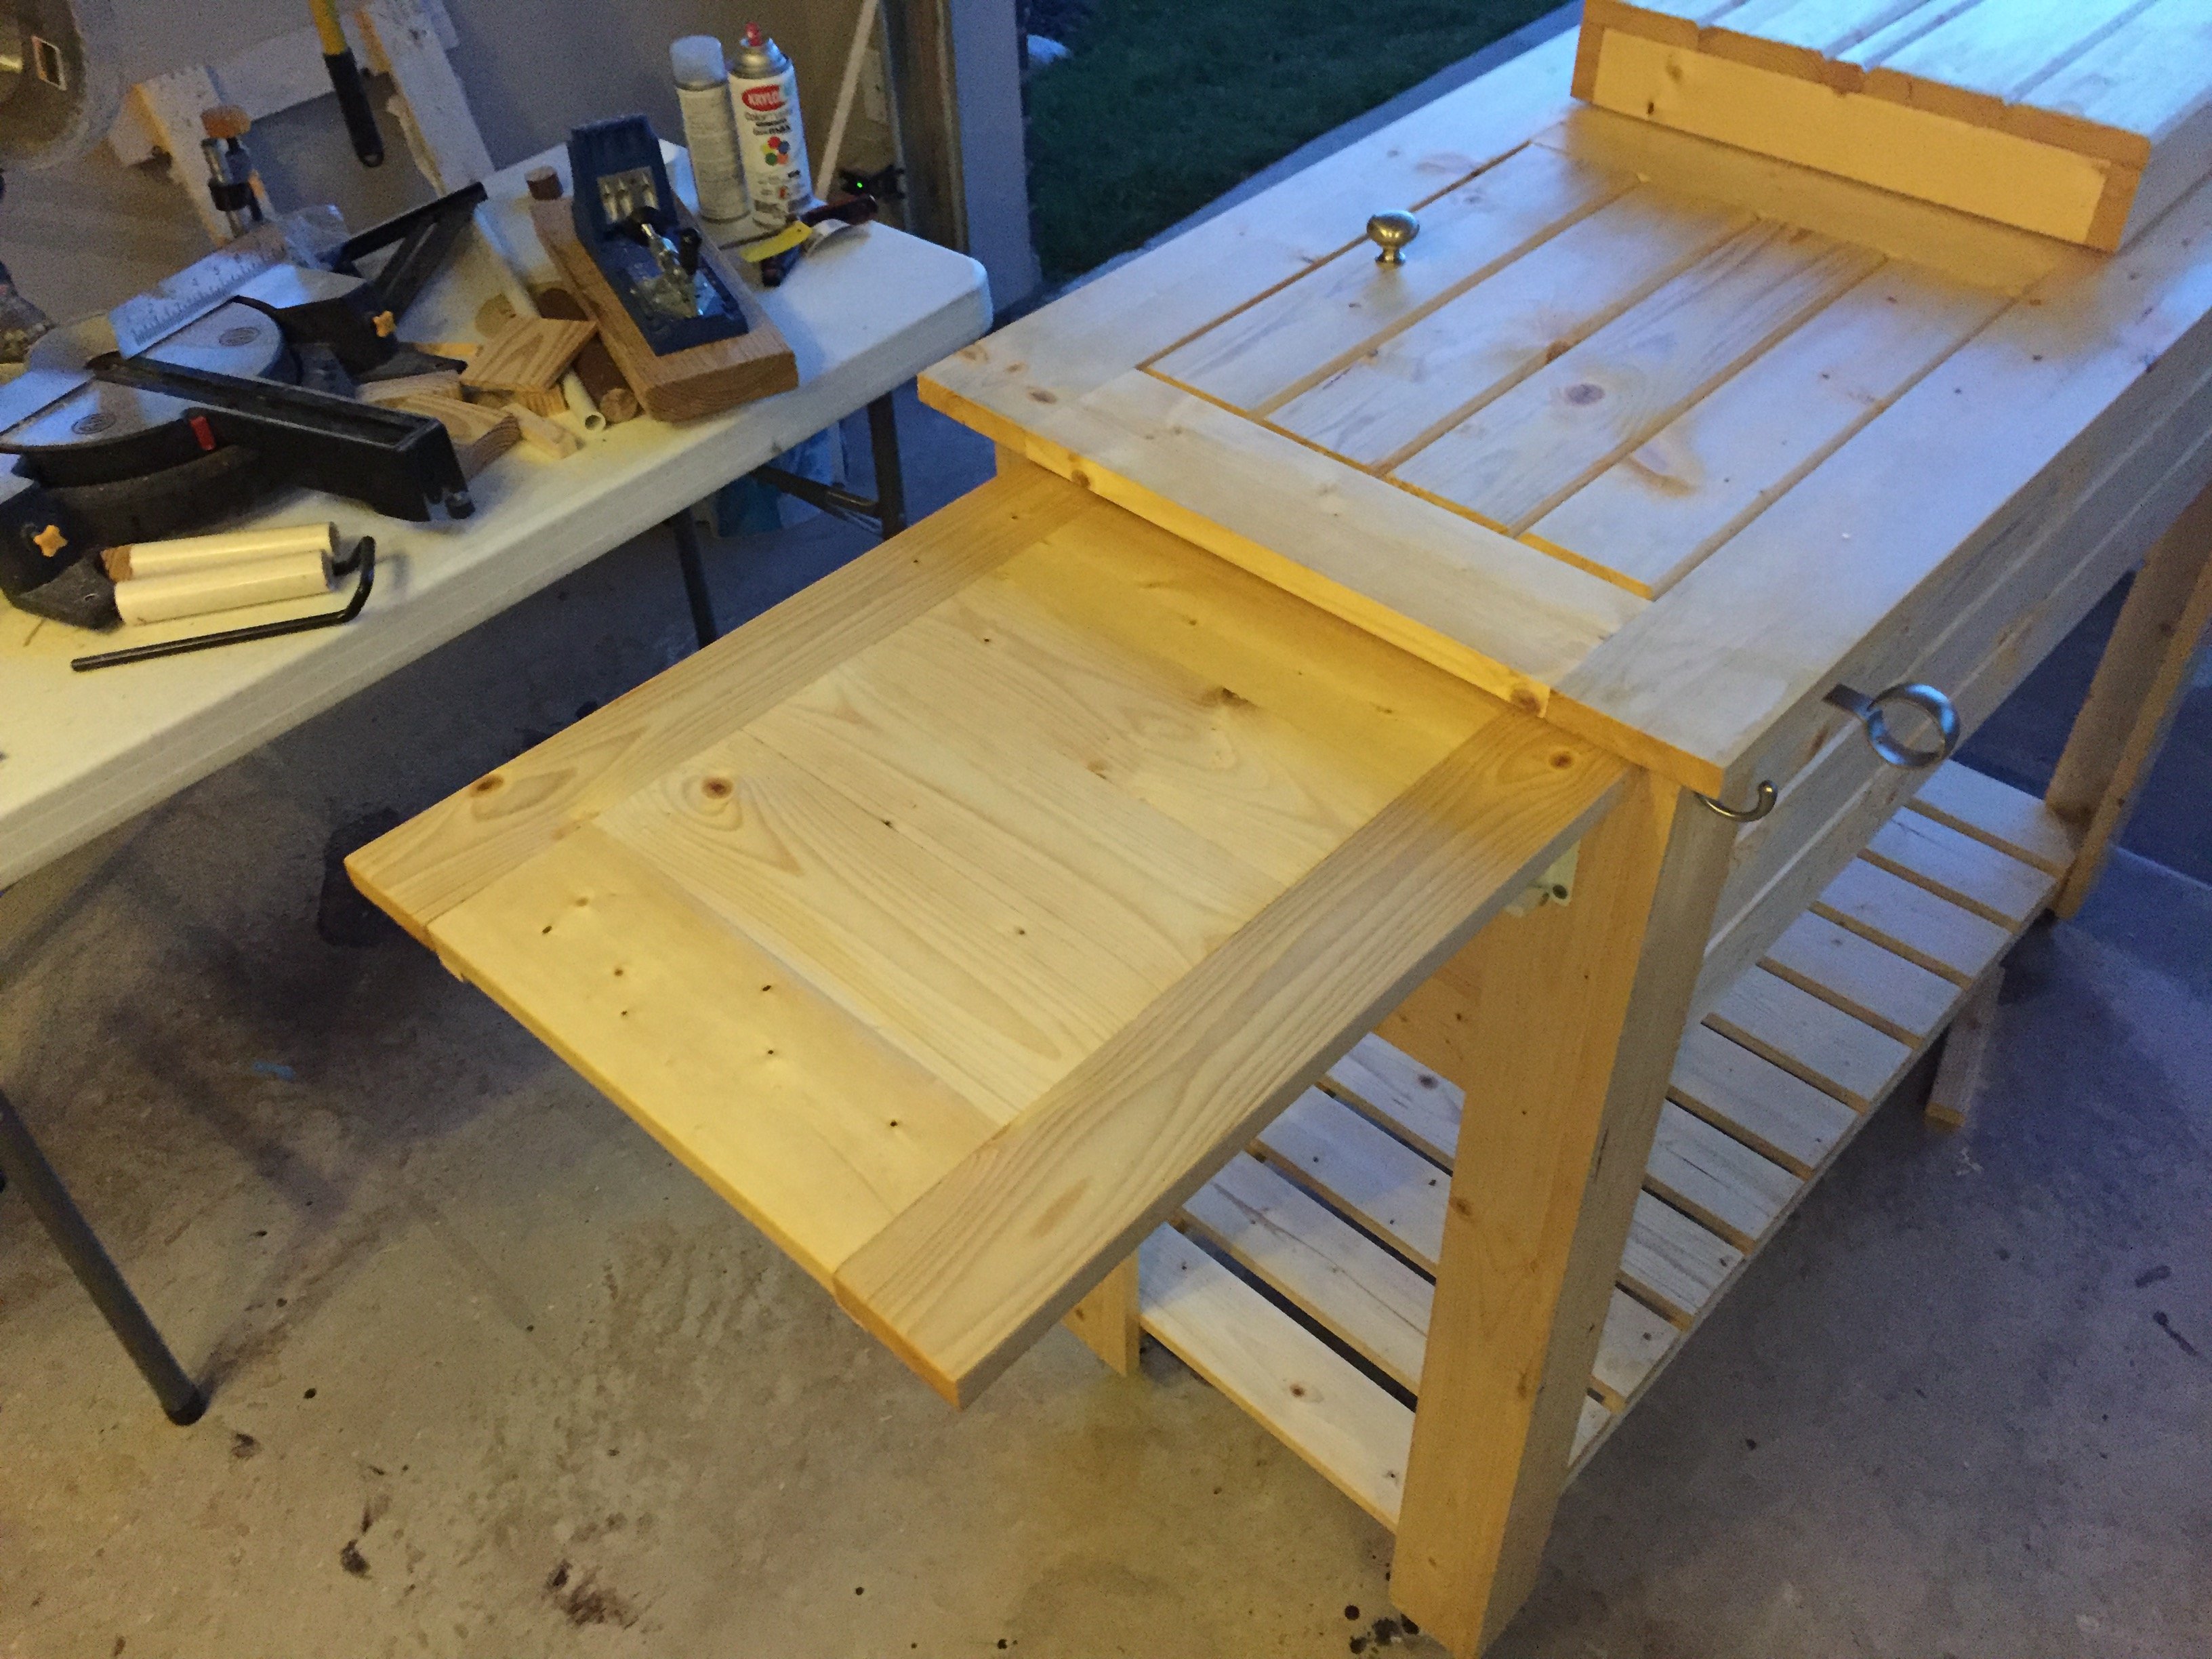
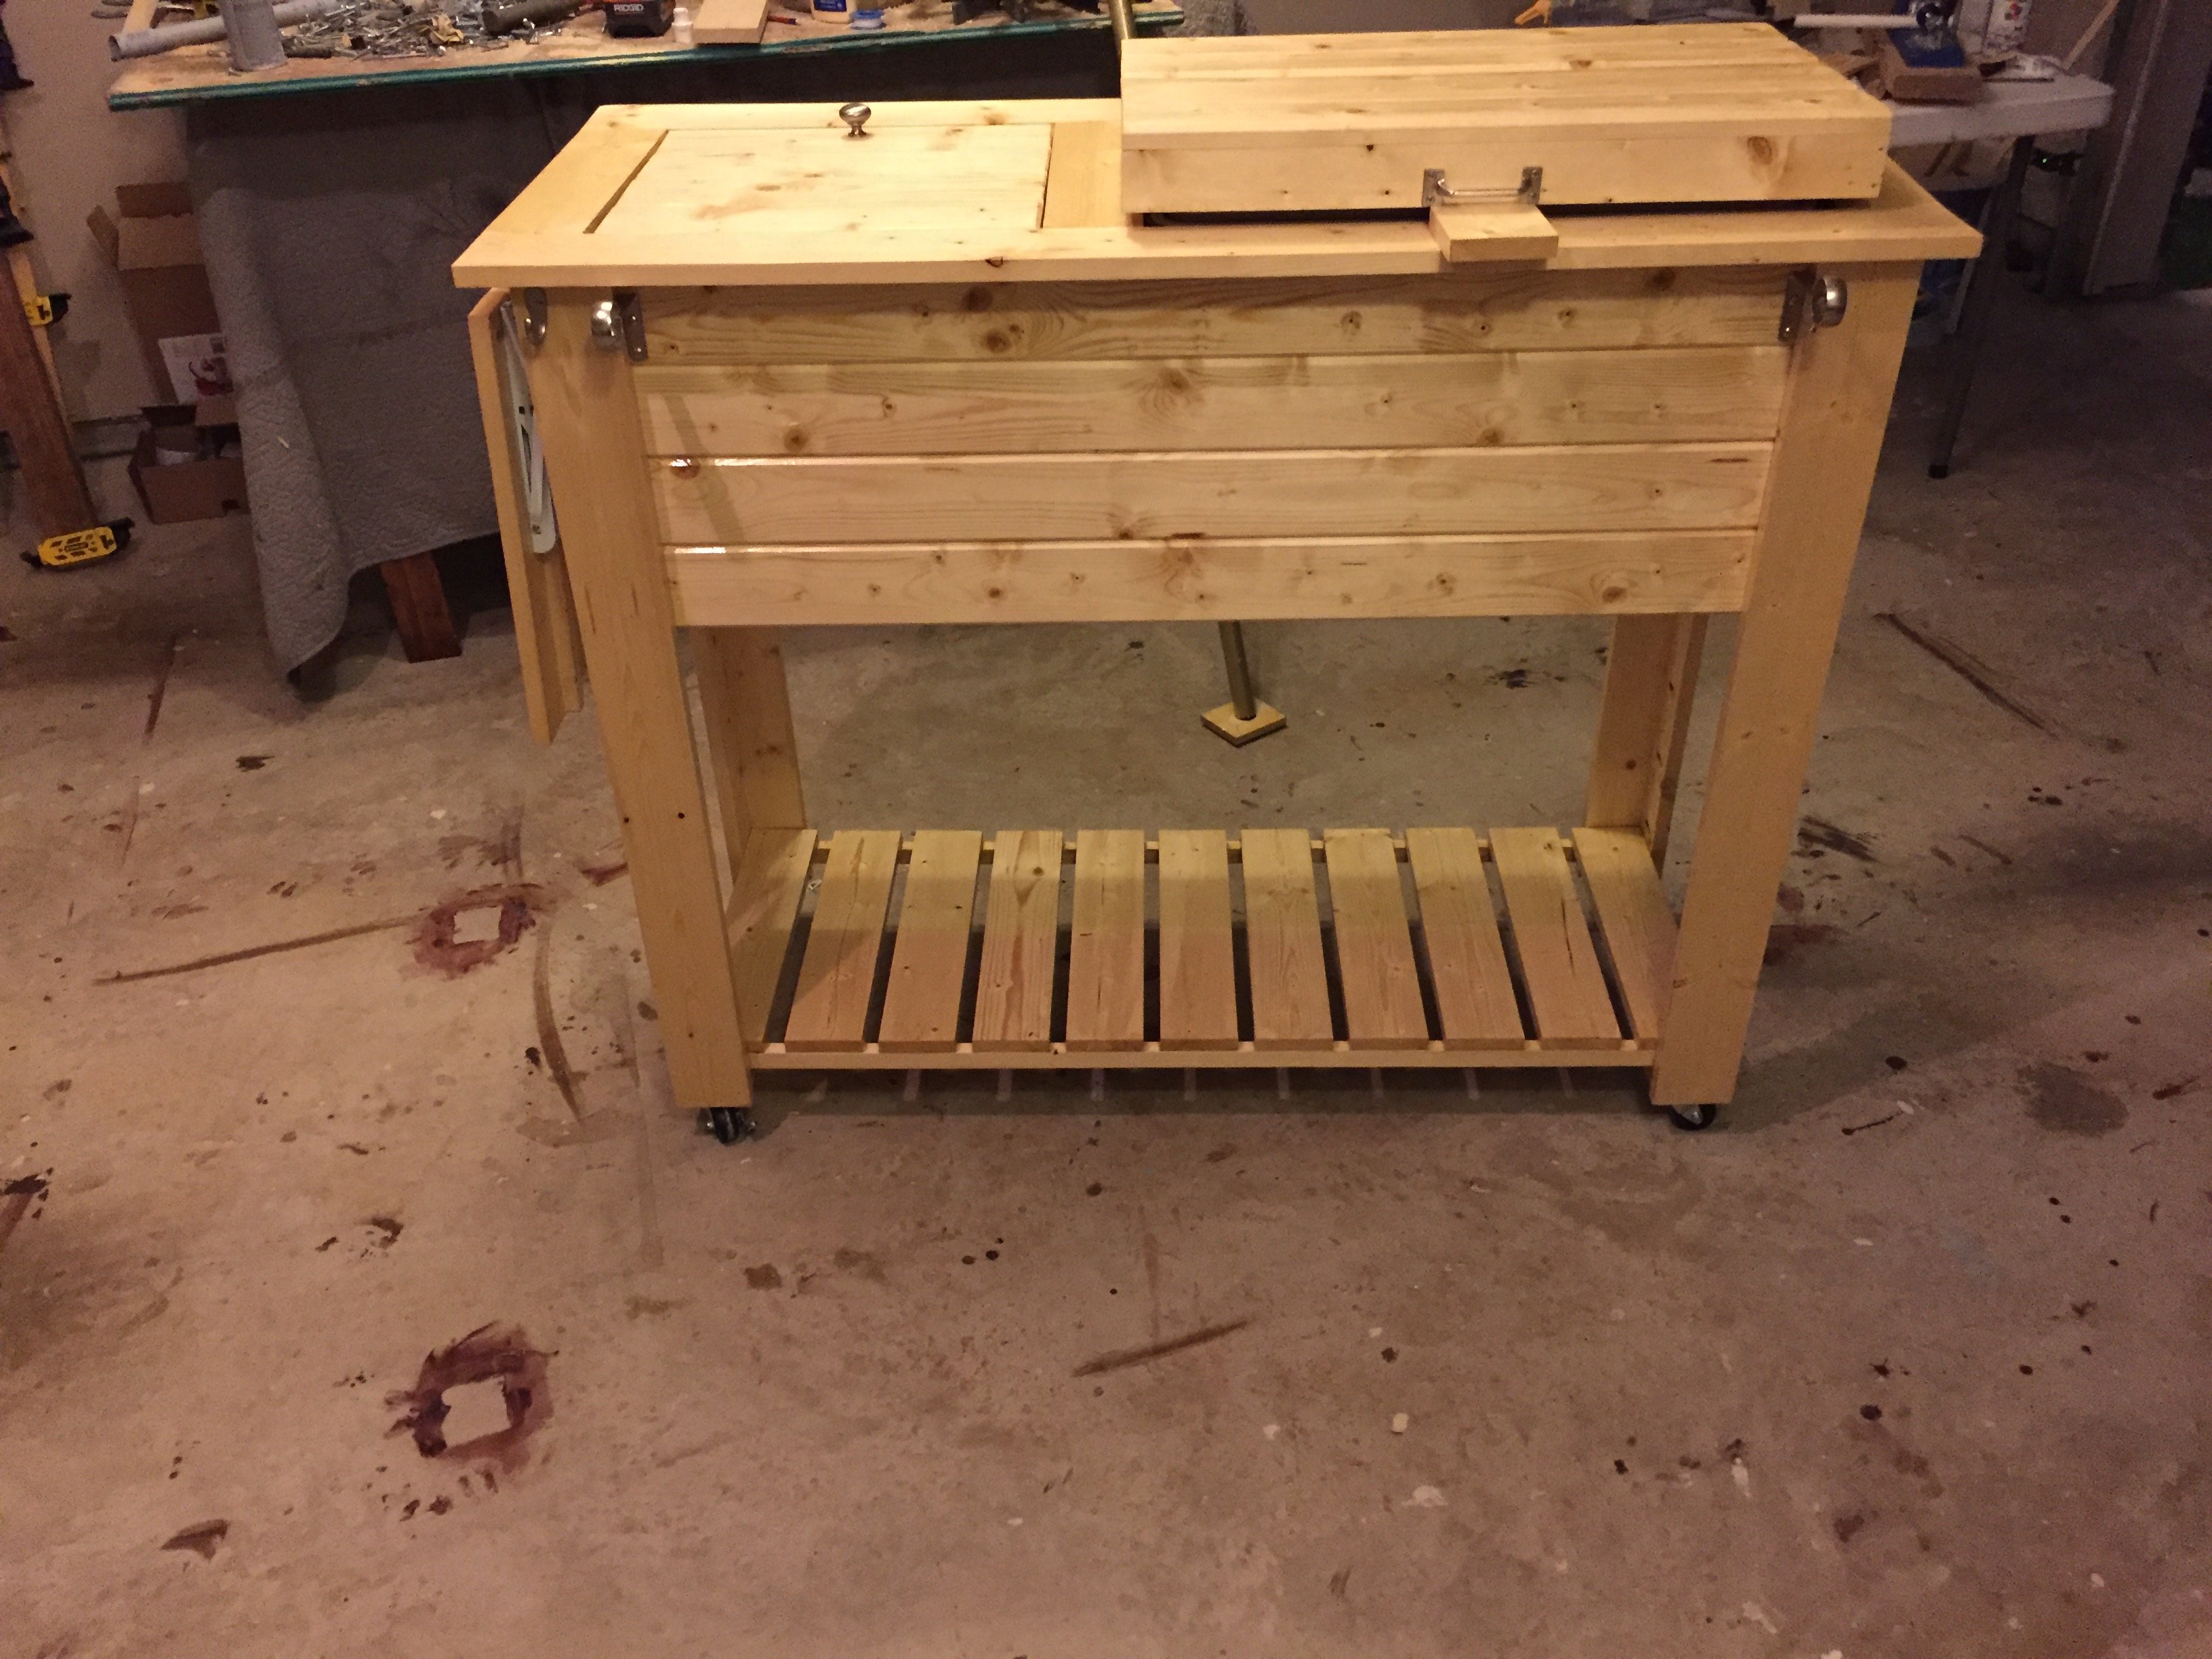
Great project! I'm new to wood working and have been looking for simple but challenging builds. Needless to say this fit the bill... This grill cart was a great starter build and ultimately became a Father's Day gift! My Pops loved it!
I did add a couple of custom pieces: a foldable table top extension and towel bar... things Dad will undoubtedly need as he's an outdoorsman who loves to BBQ!
Thanks for the idea/design plans!

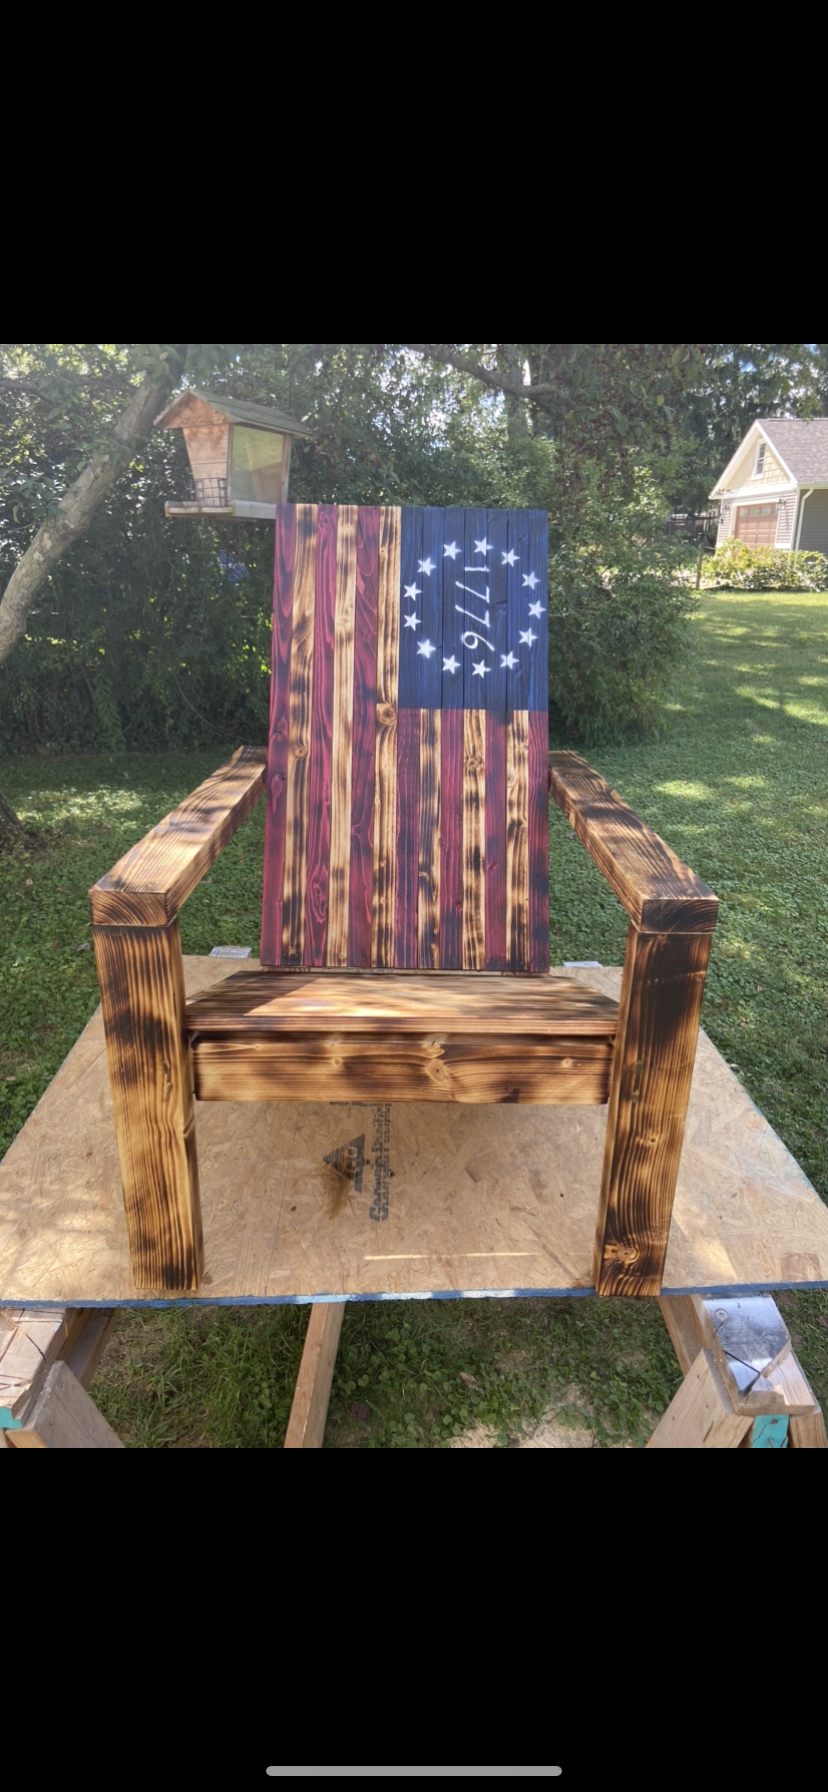
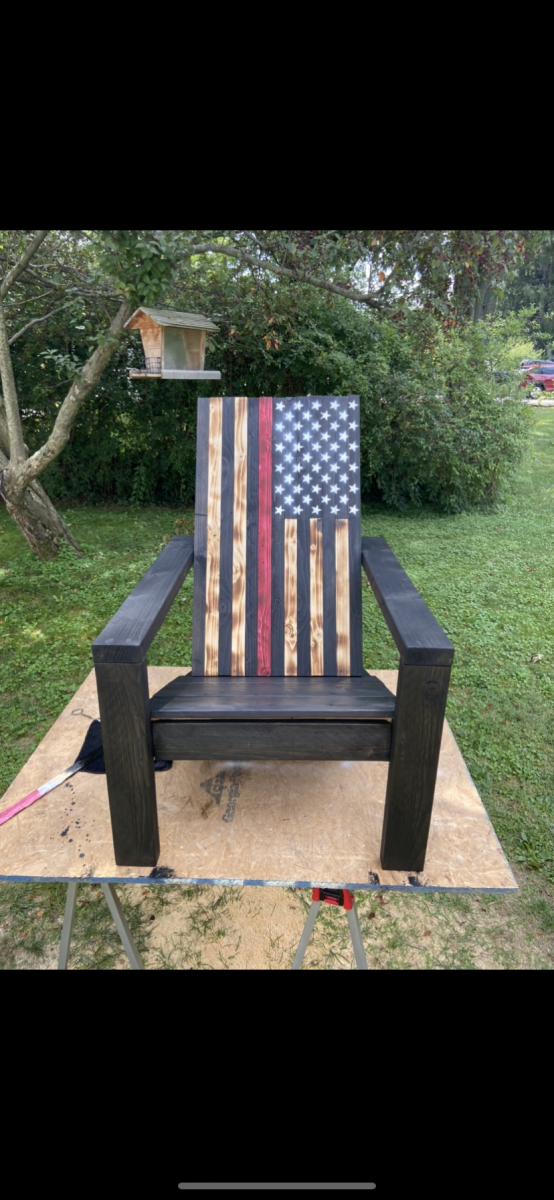
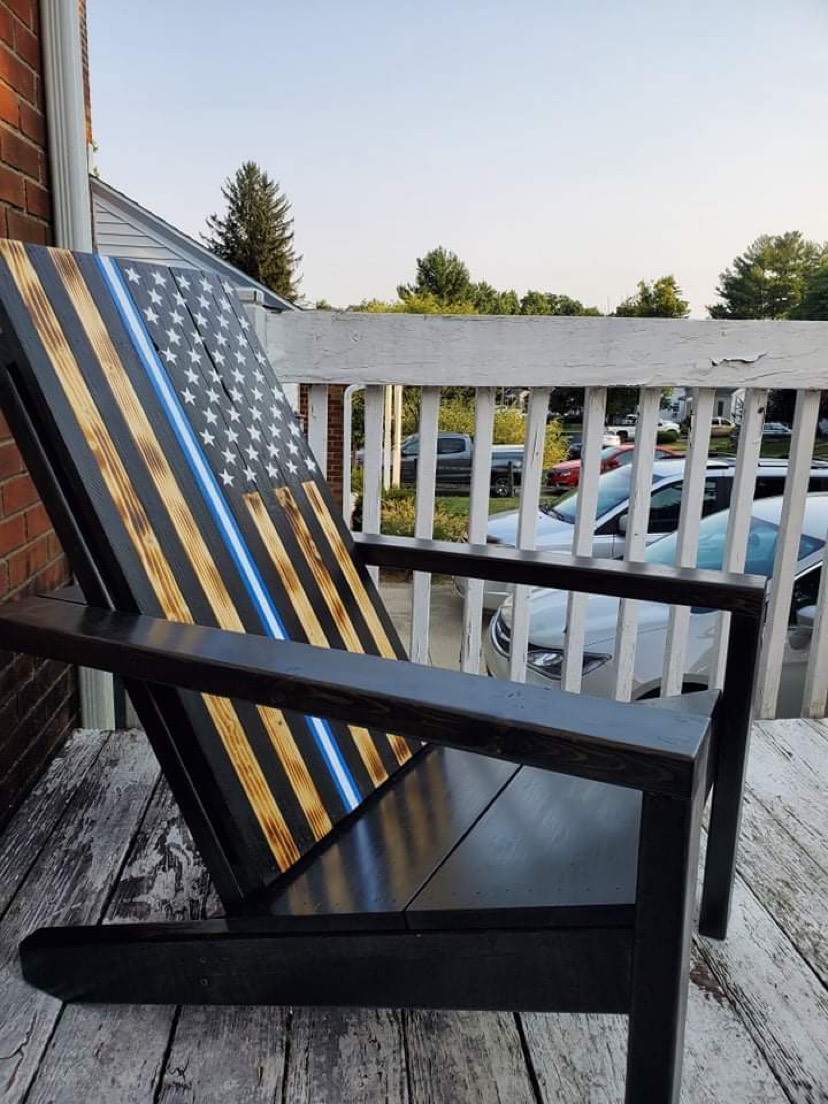
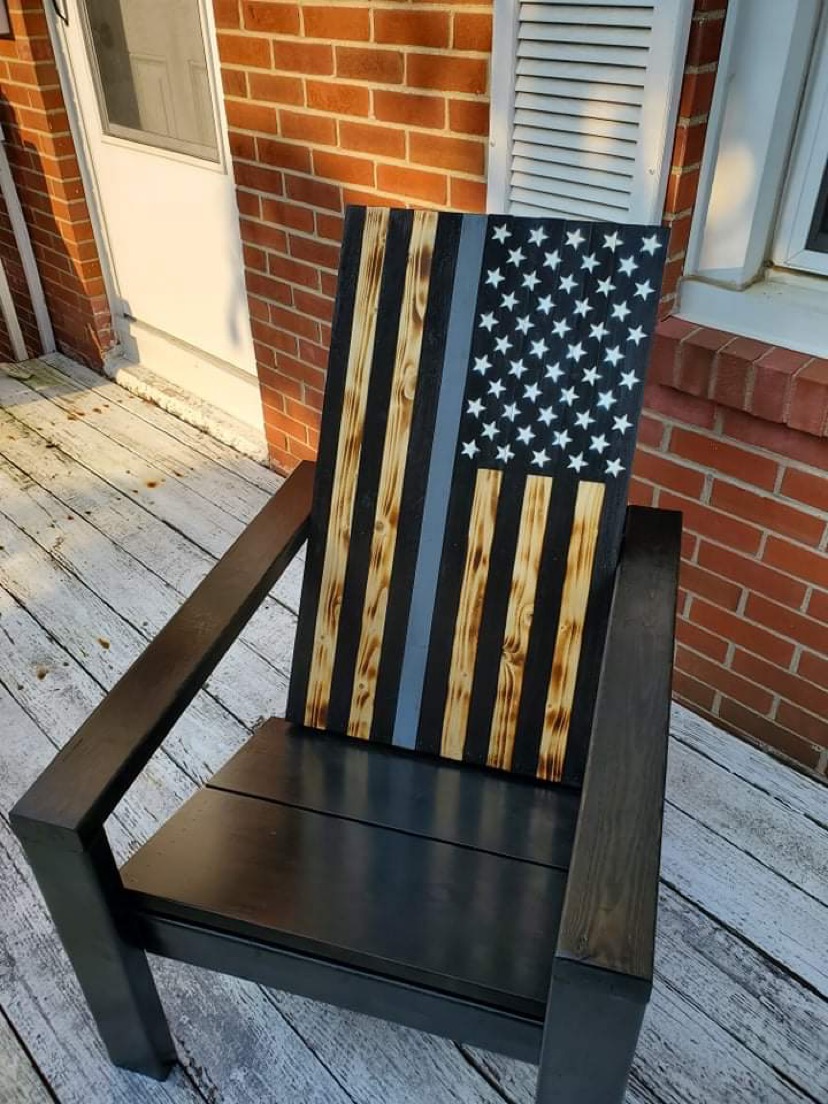
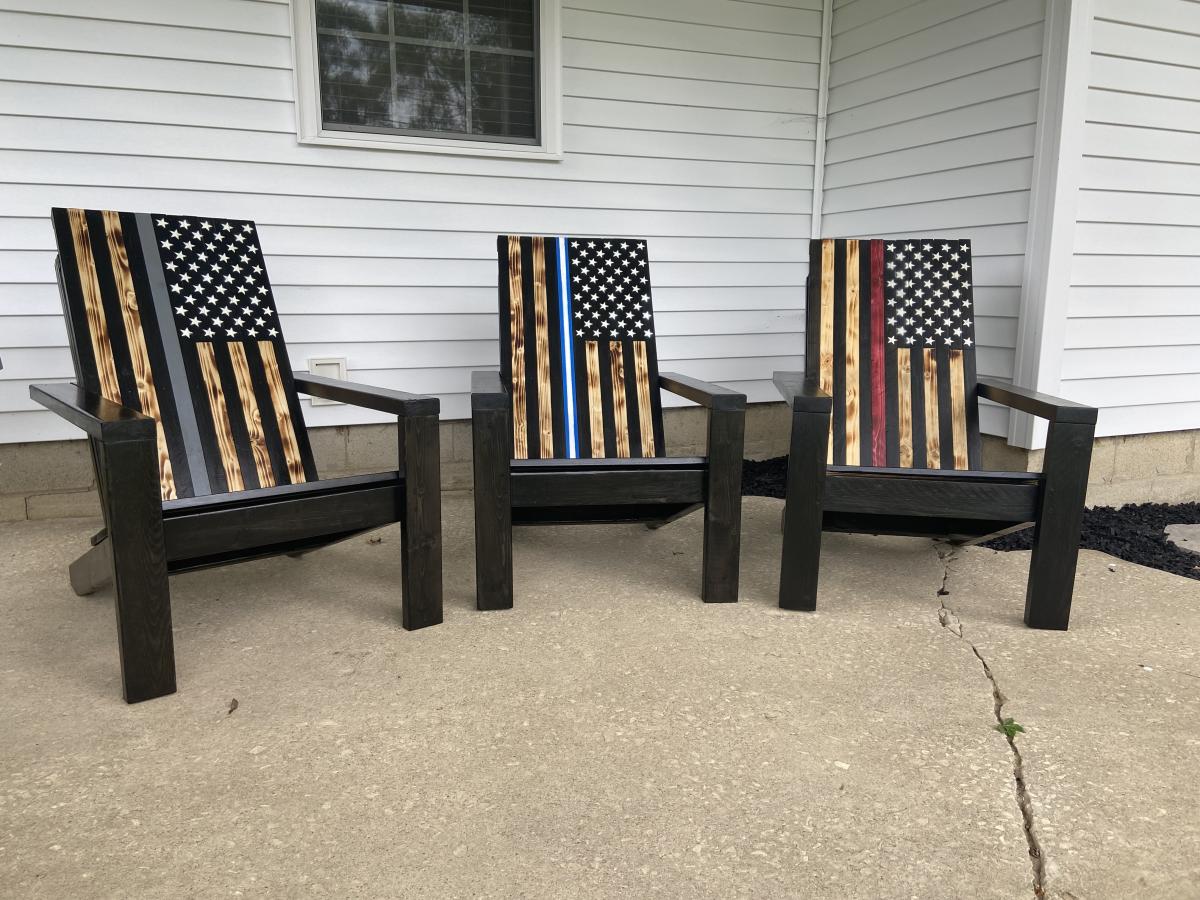
First time making this type of chair. Your plan made it really easy to cut and assemble the frame. I just changed the back to different types of flags. I’ve made them for my friends in the fire department, police department, ems, military, and a corrections Officer. They are an absolute hit.
Mon, 09/13/2021 - 20:40
Great way to honor our service men and women, kudos to you! Thank you for sharing:)
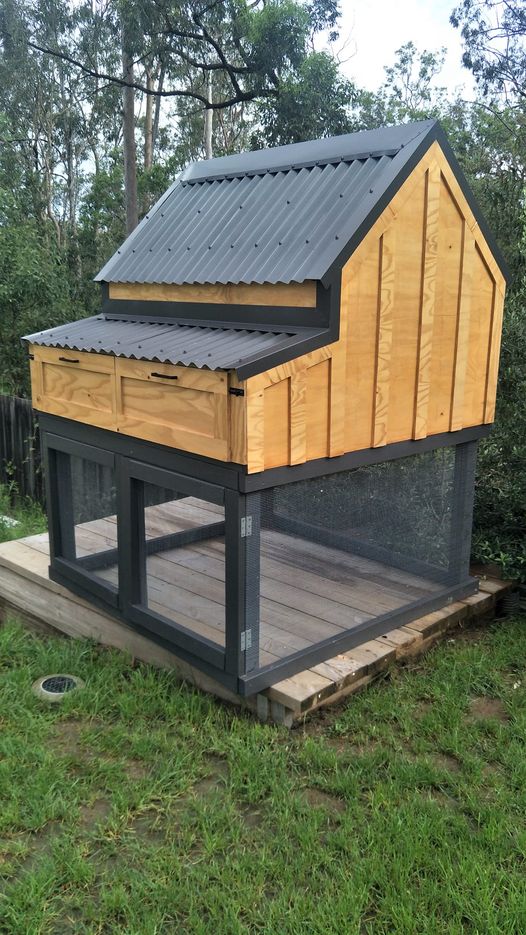
I had to convert all the measurements from inches to mm, but it was worth the brain drain. I didn't add the garden, but extended out the chicken coop. I am thrilled with the results! Thank you!
Fri, 12/03/2021 - 07:39
WOW, definitely worth the extra effort, just beautiful! I wish we could offer metric plans, may need to figure that out.
Wed, 03/23/2022 - 20:32
Did you change out the 2x4 and 2x6 on the lower half?
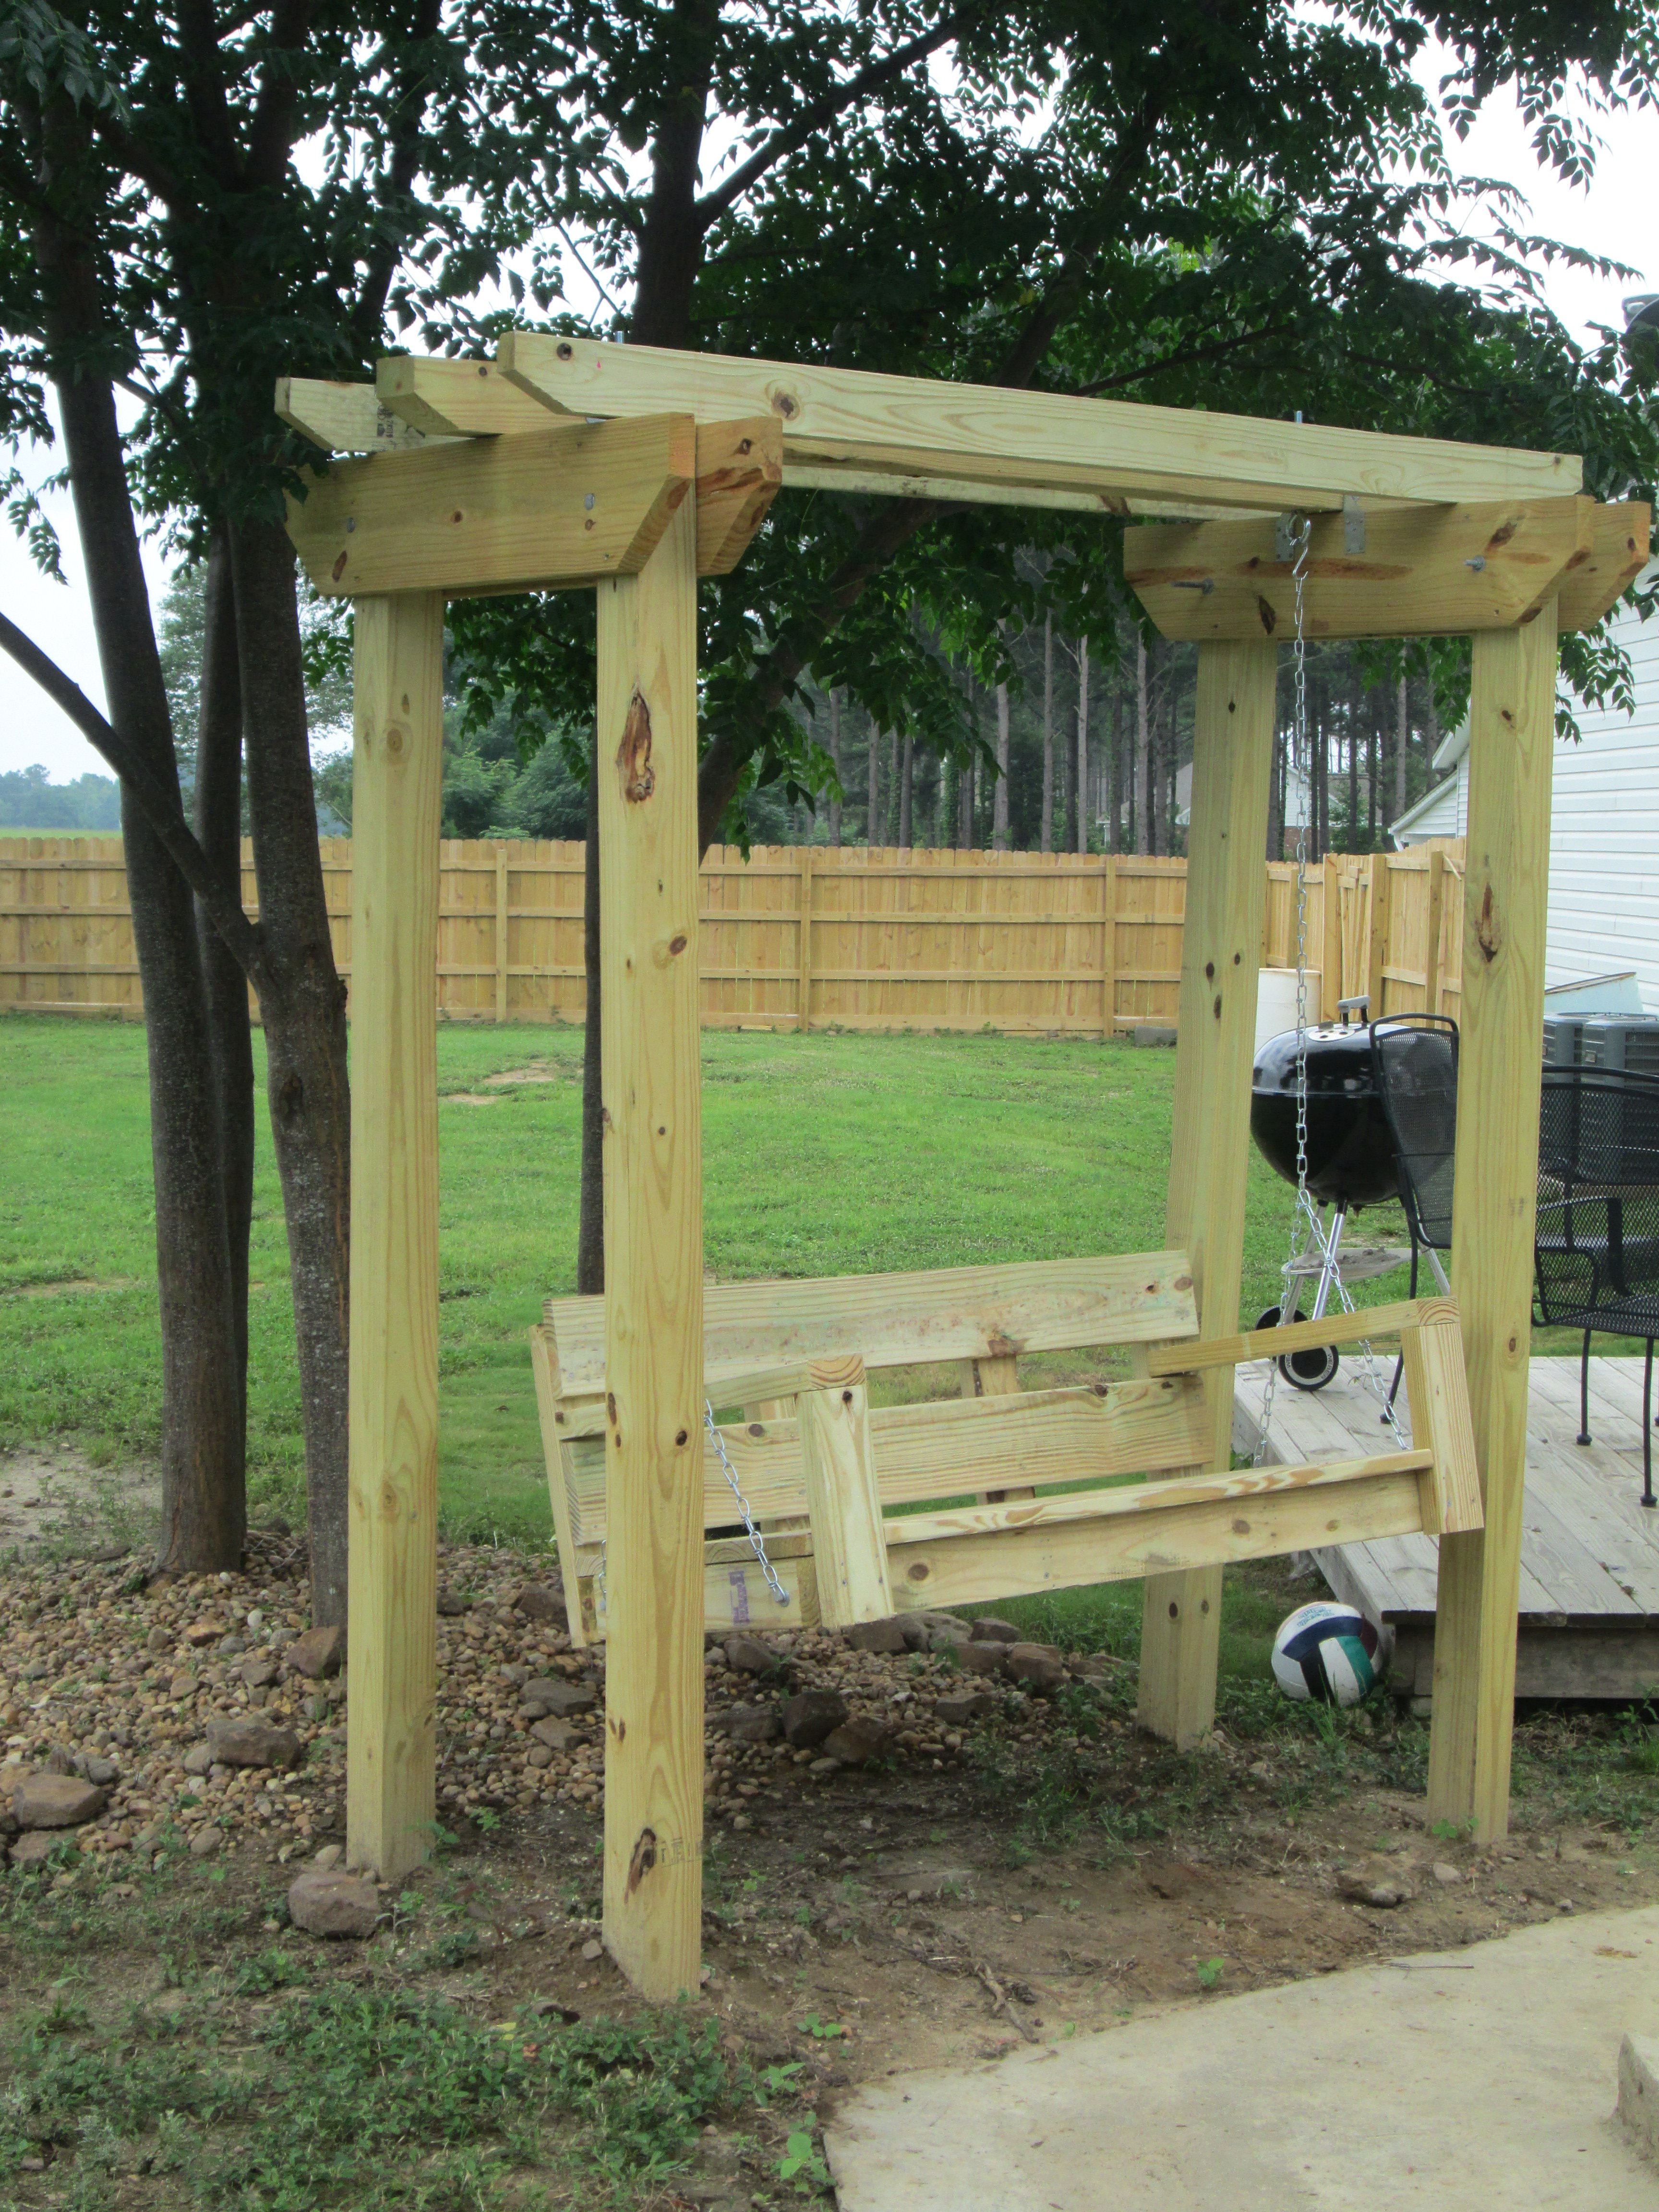
Weekend swing project

Tue, 05/07/2019 - 10:42
We don't currently have this plan available, although I'd be happy to draw it with the author's permission.
I have linked a few plans above that could be used to create this plan. Just make sure you bury the arbor uprights underground on concrete pier posts or similar (like building a fence)
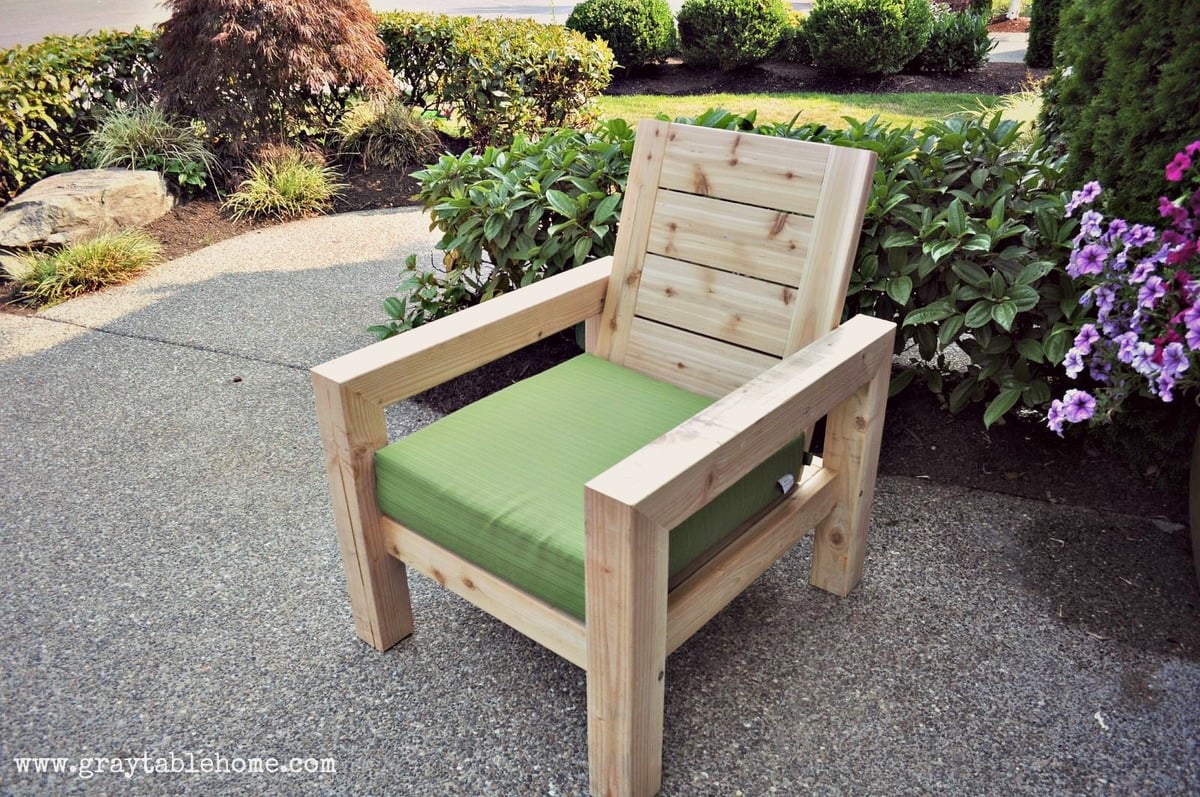
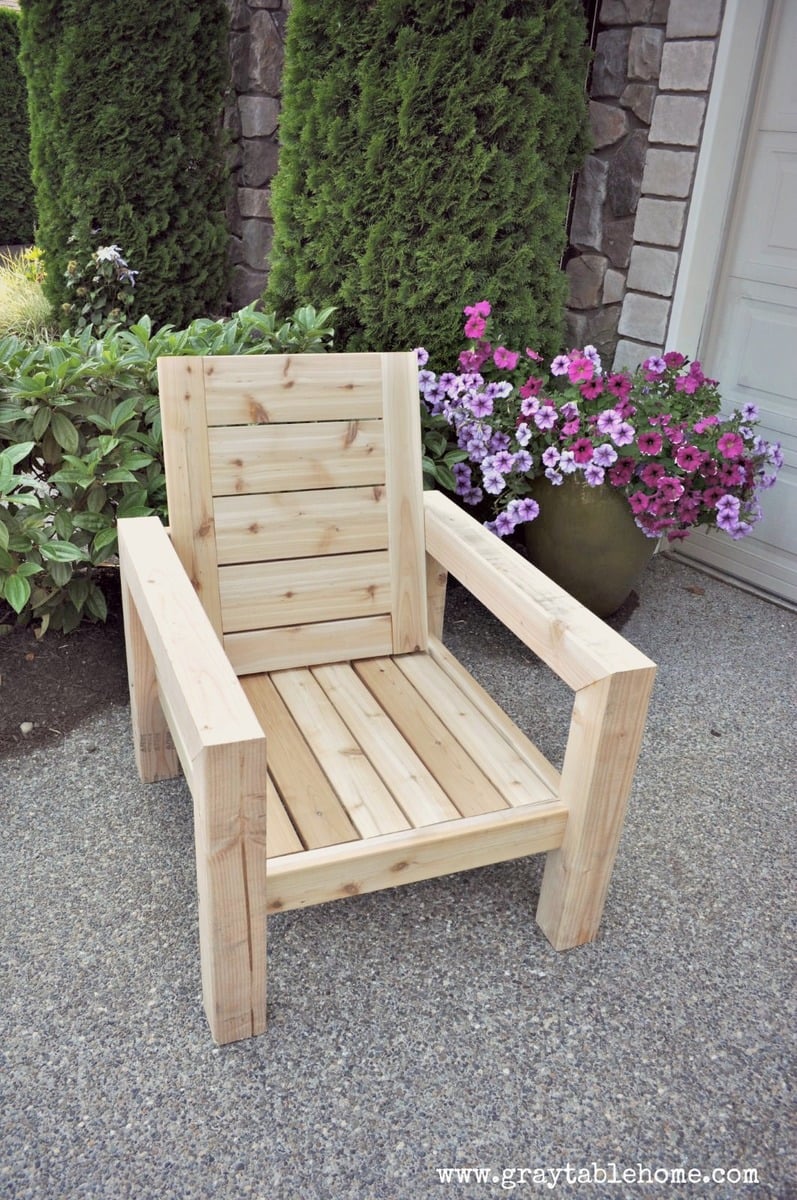
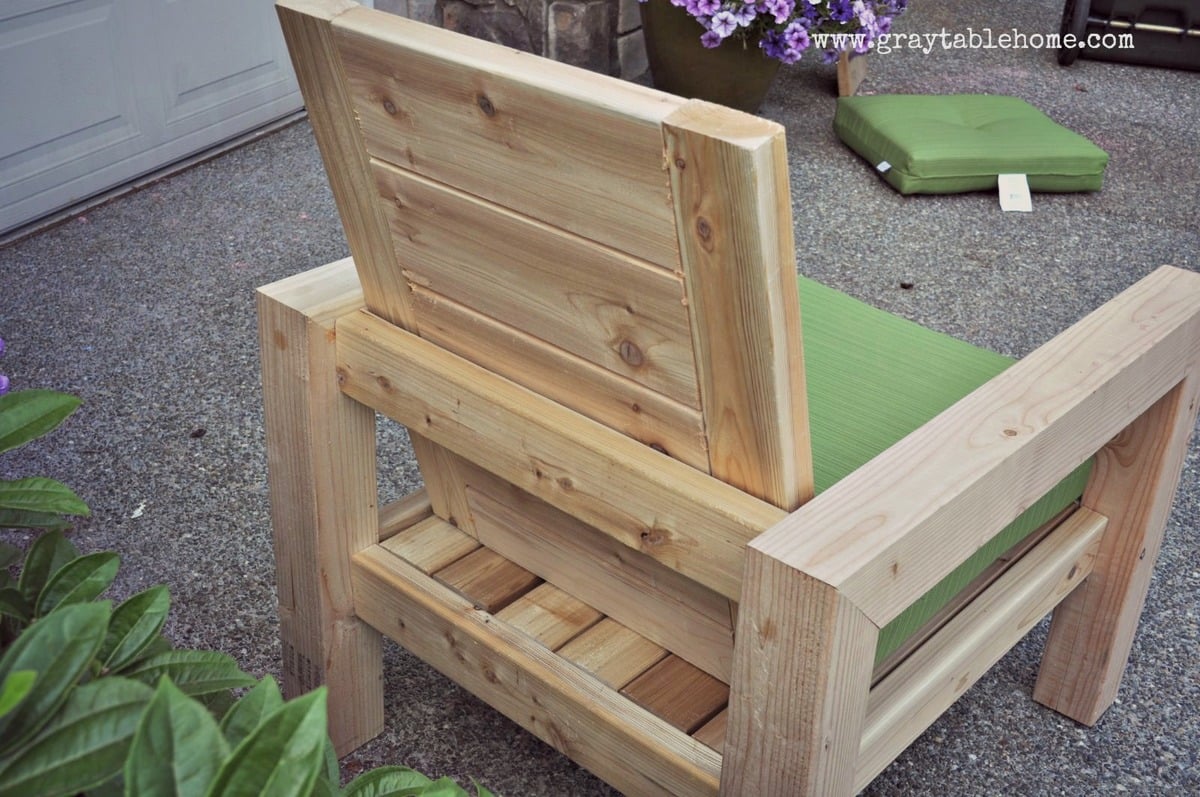
I made this outdoor chair by looking at a variety of plans and designs from Restoration Hardware and other stores. Check out more info on the project on my blog link. Thanks for looking!


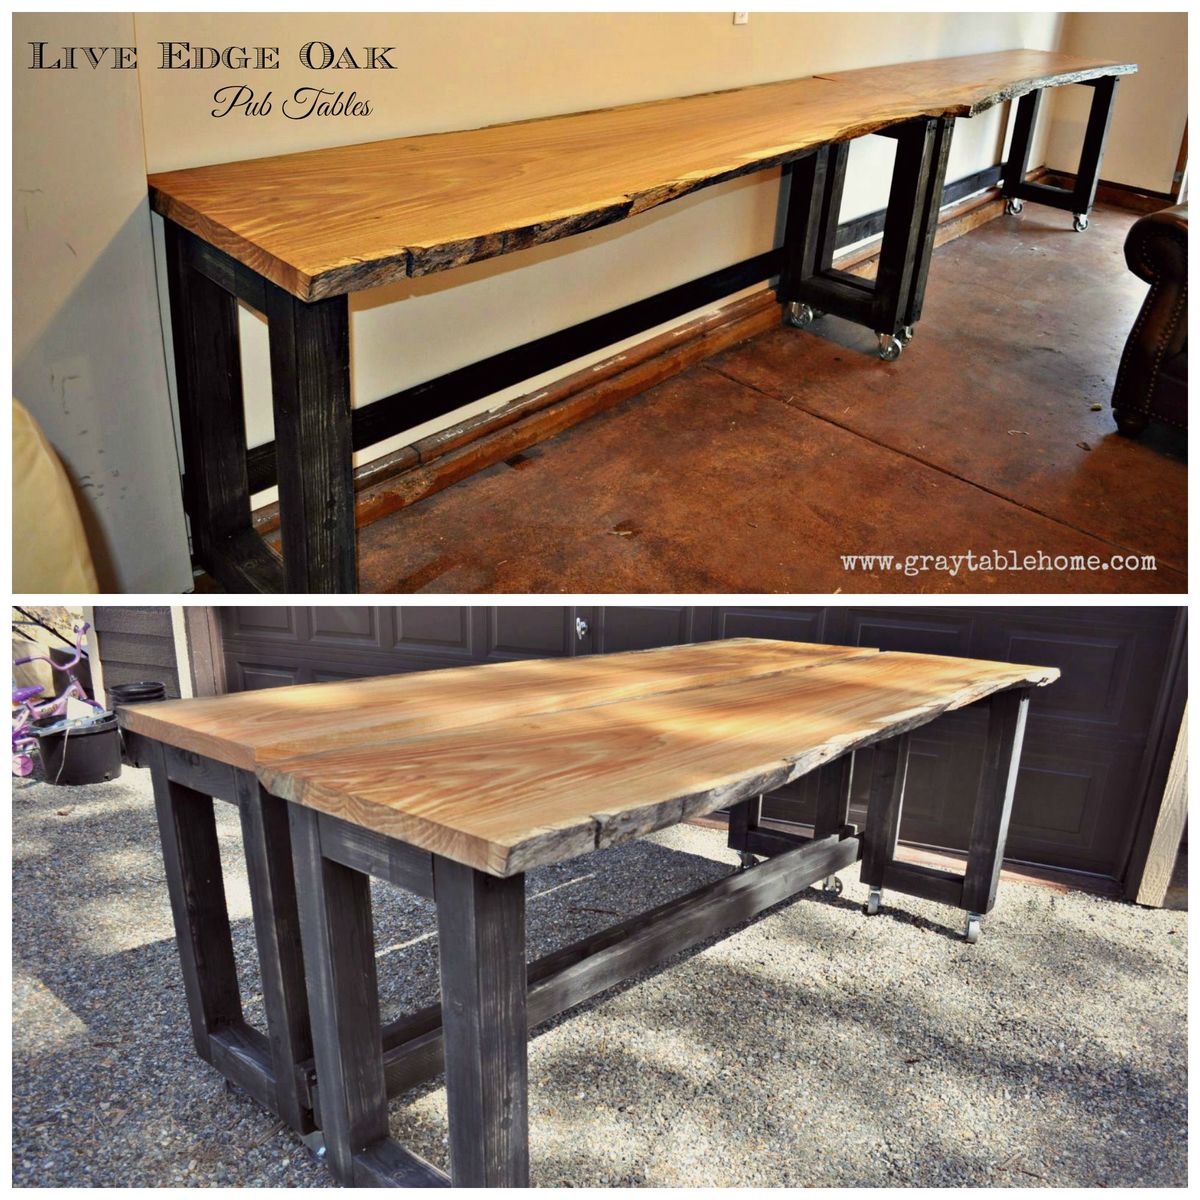
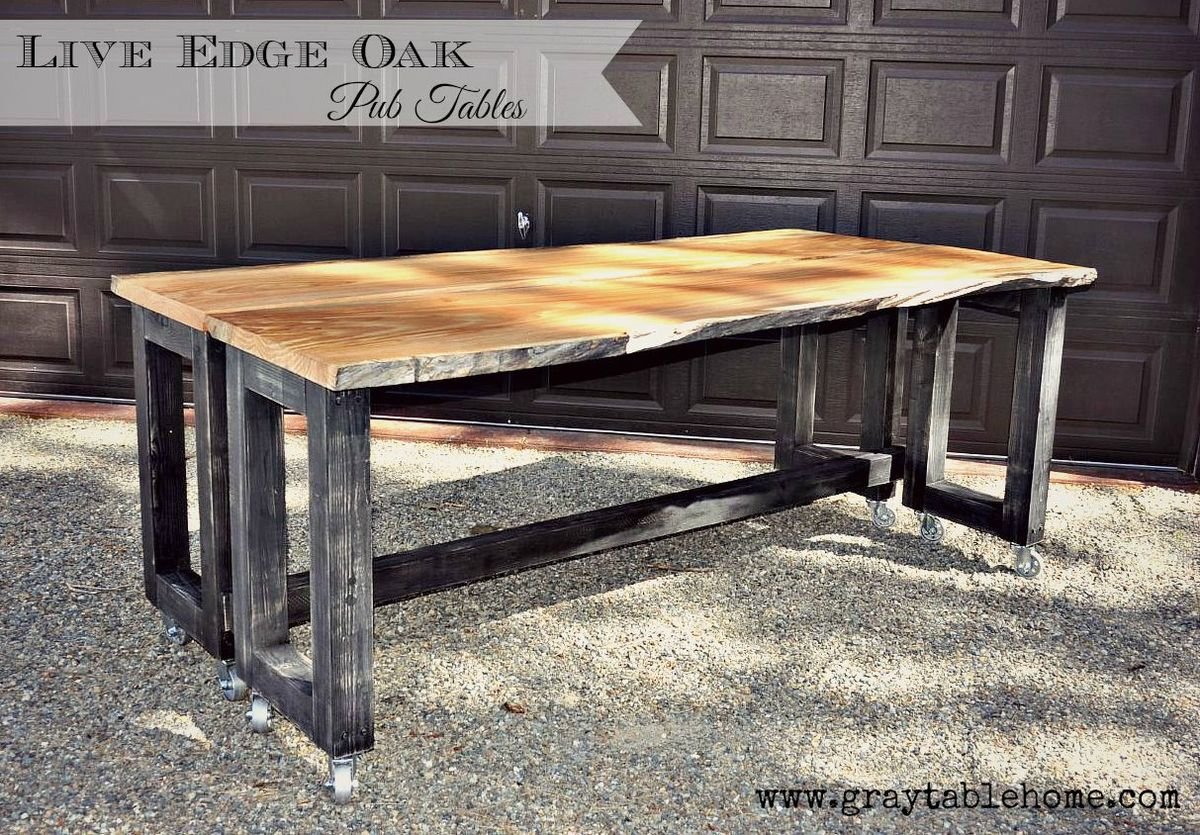
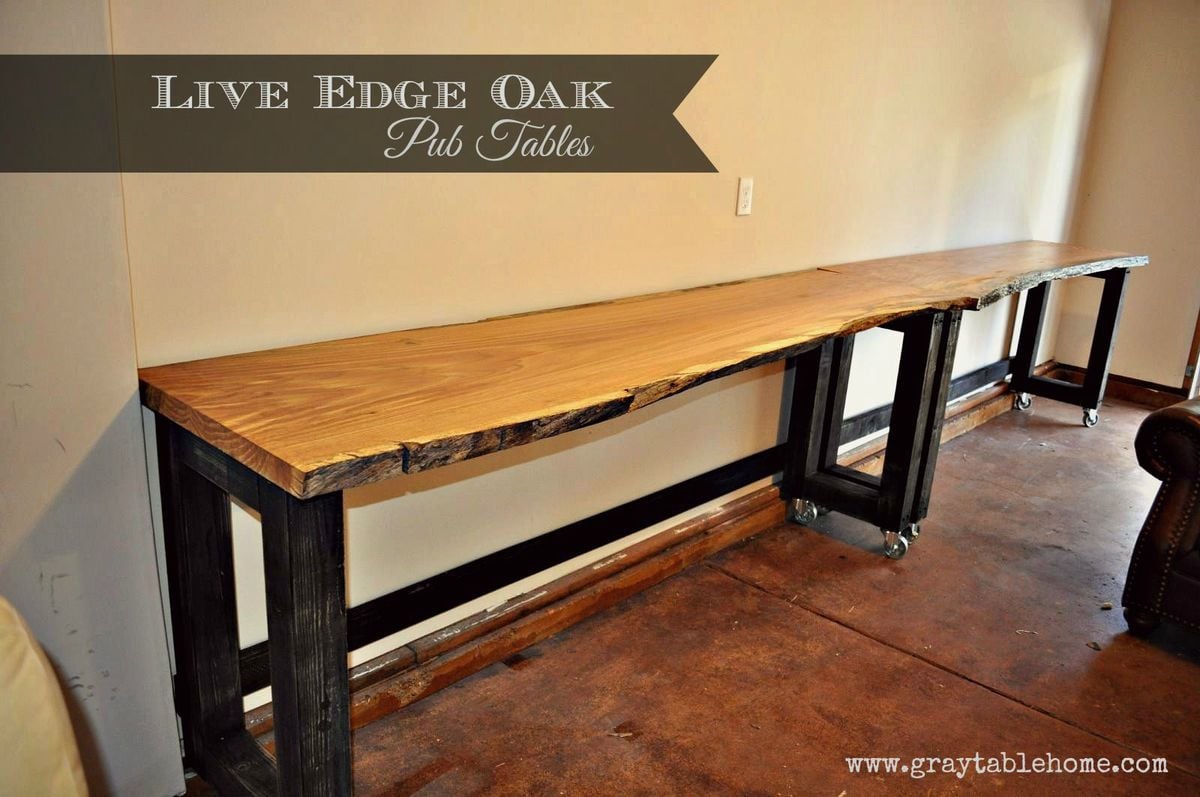
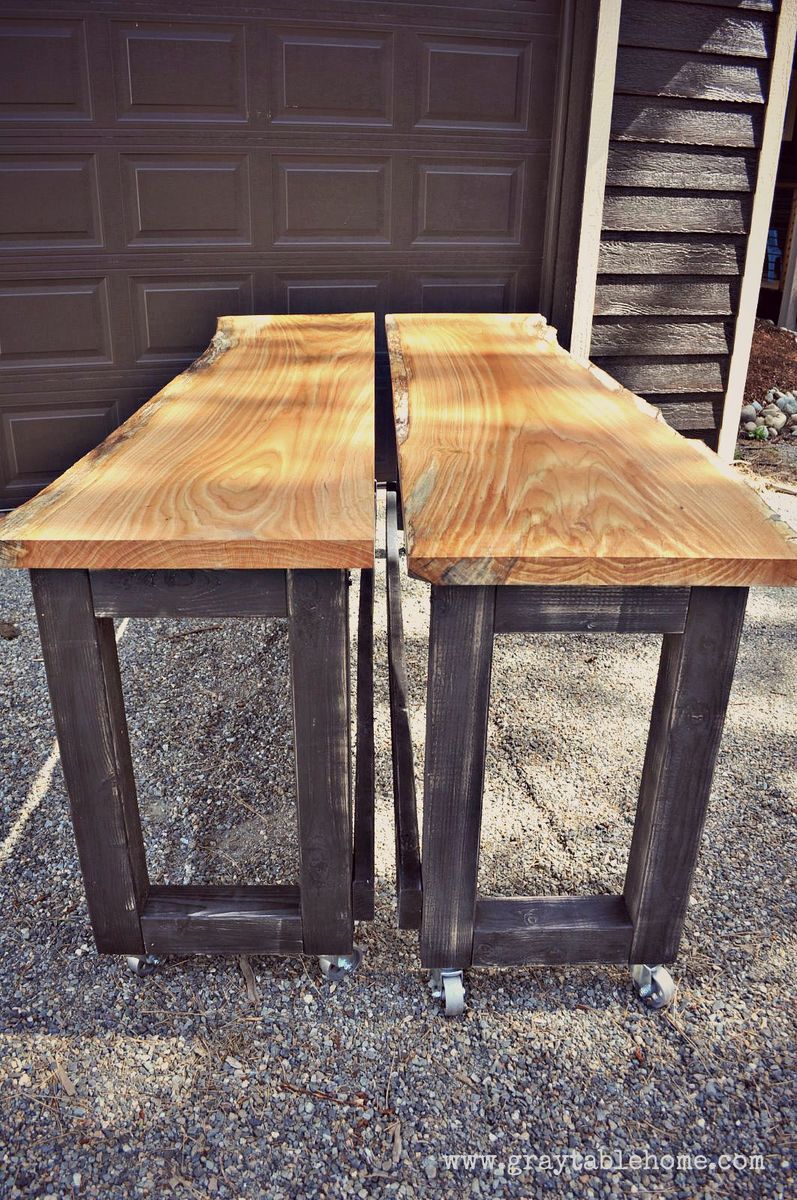
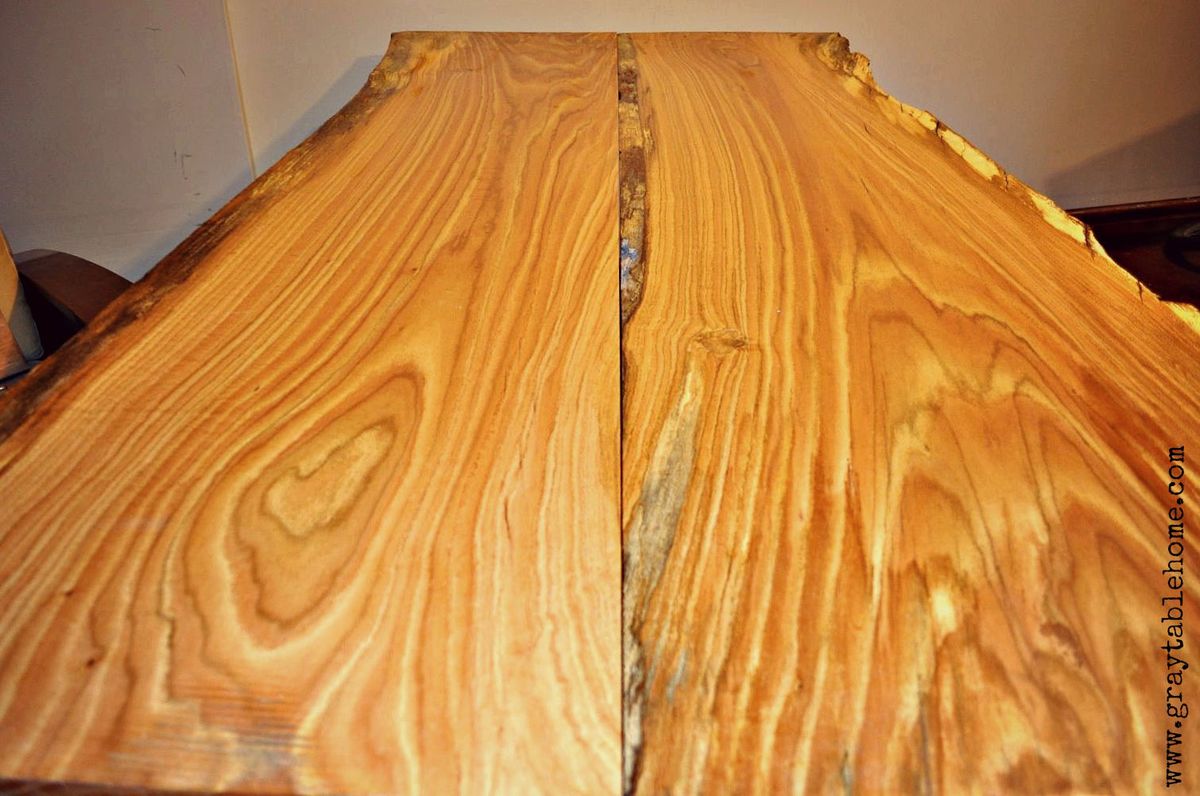
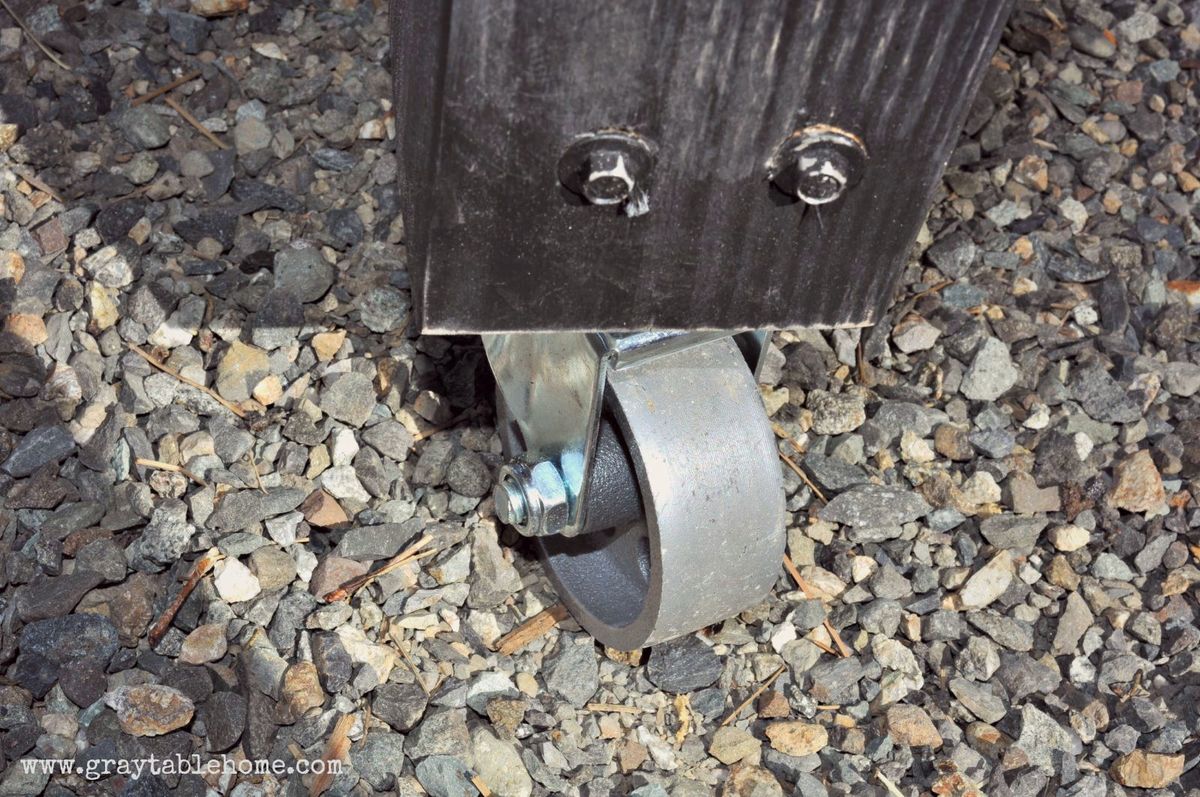
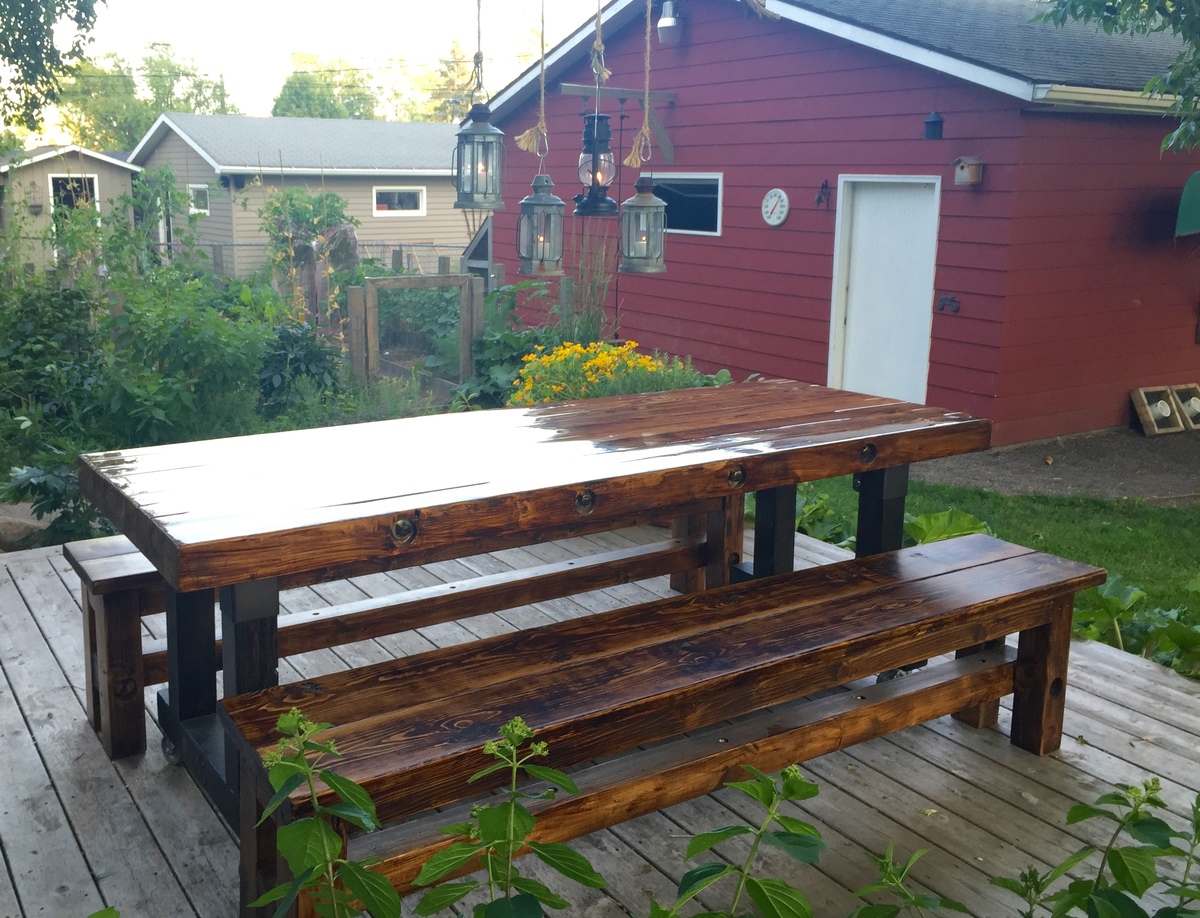
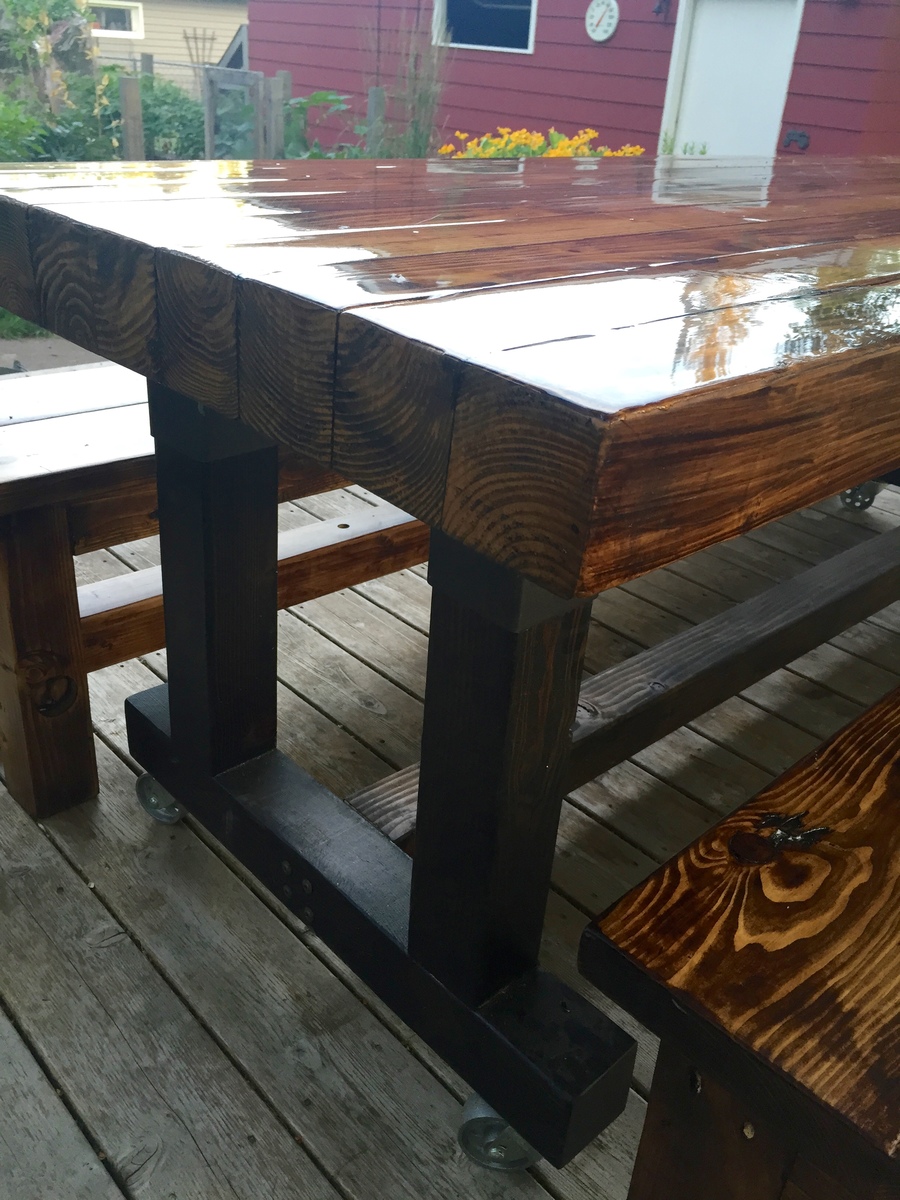
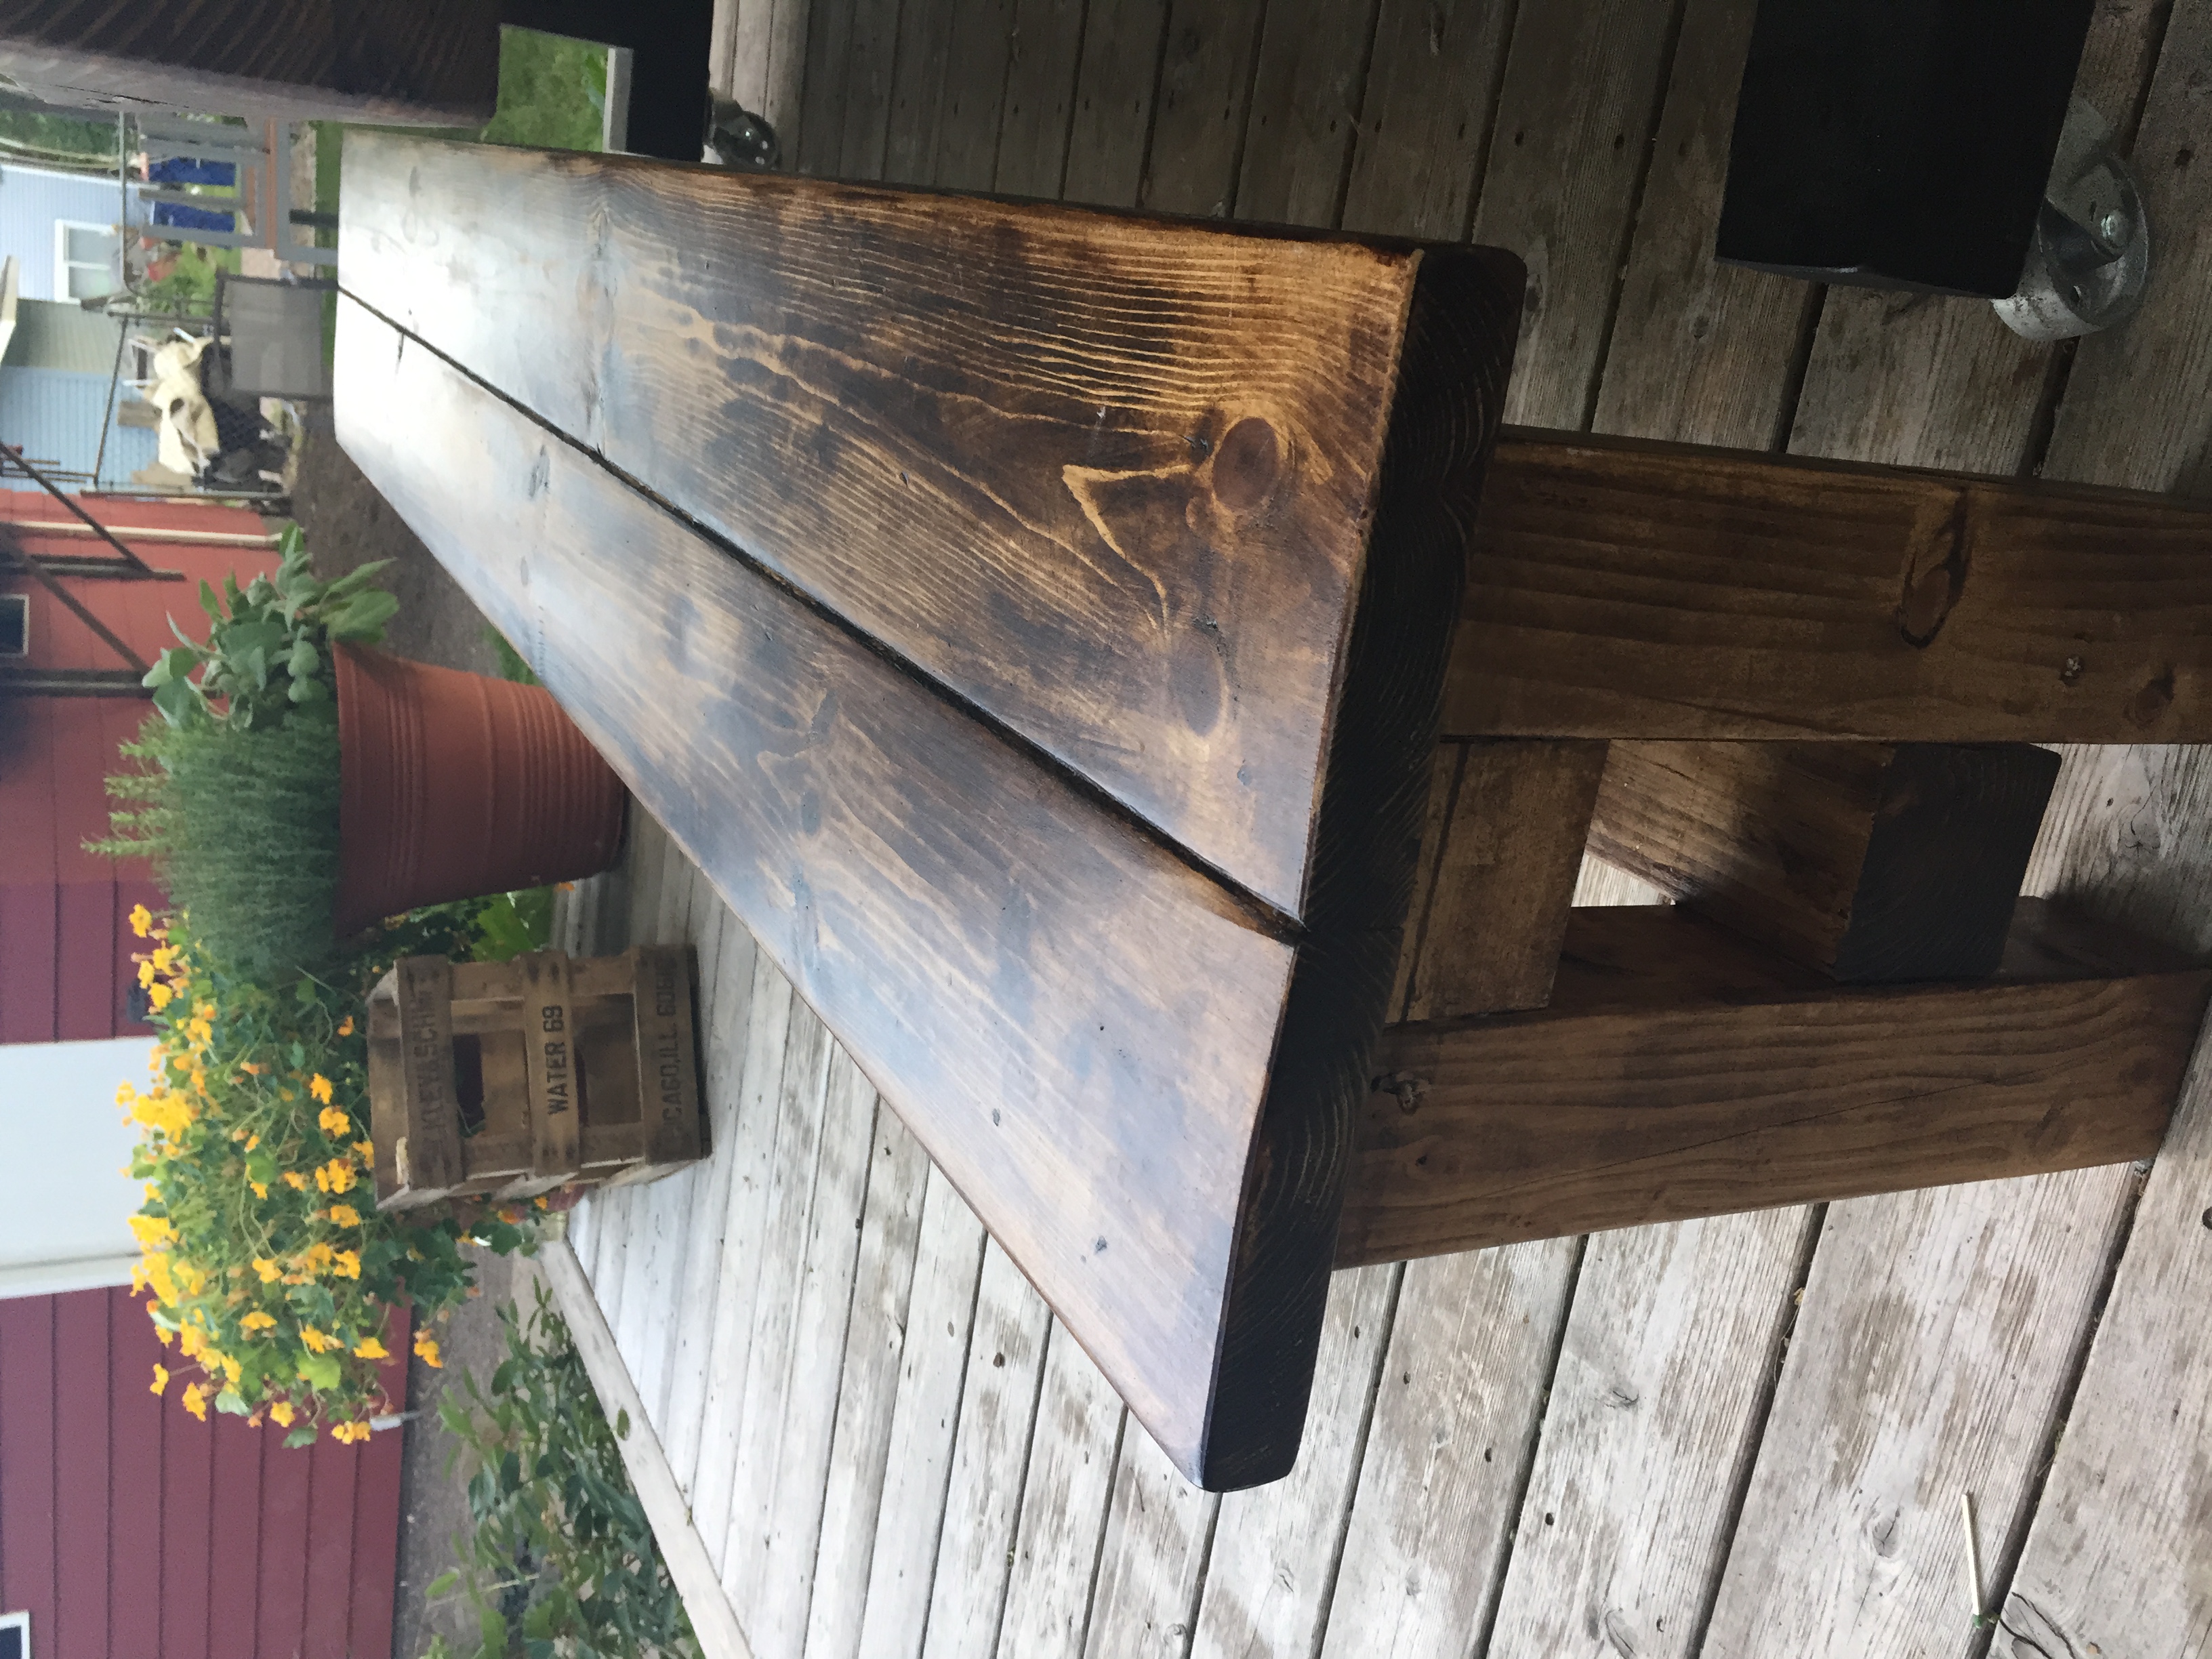
This rustic modern version of a pub table has multiple uses - it can rest along a wall to make a 16 foot long bar, or rolled together to form an 8 foot long pub table. It is standard counter height 36" and will accomodate seating for 8-10 counter stools. If you don't have live edge wood slabs, you can also use construction lumber (2x8s or 2x12s) to achieve similar dimensions and versatile use in a more cost effective way.
Fri, 07/31/2015 - 04:10
Awesome idea! I think I will have to try for a dining table version of this table. Do you happen to have a way to lock the 2 pieces together?
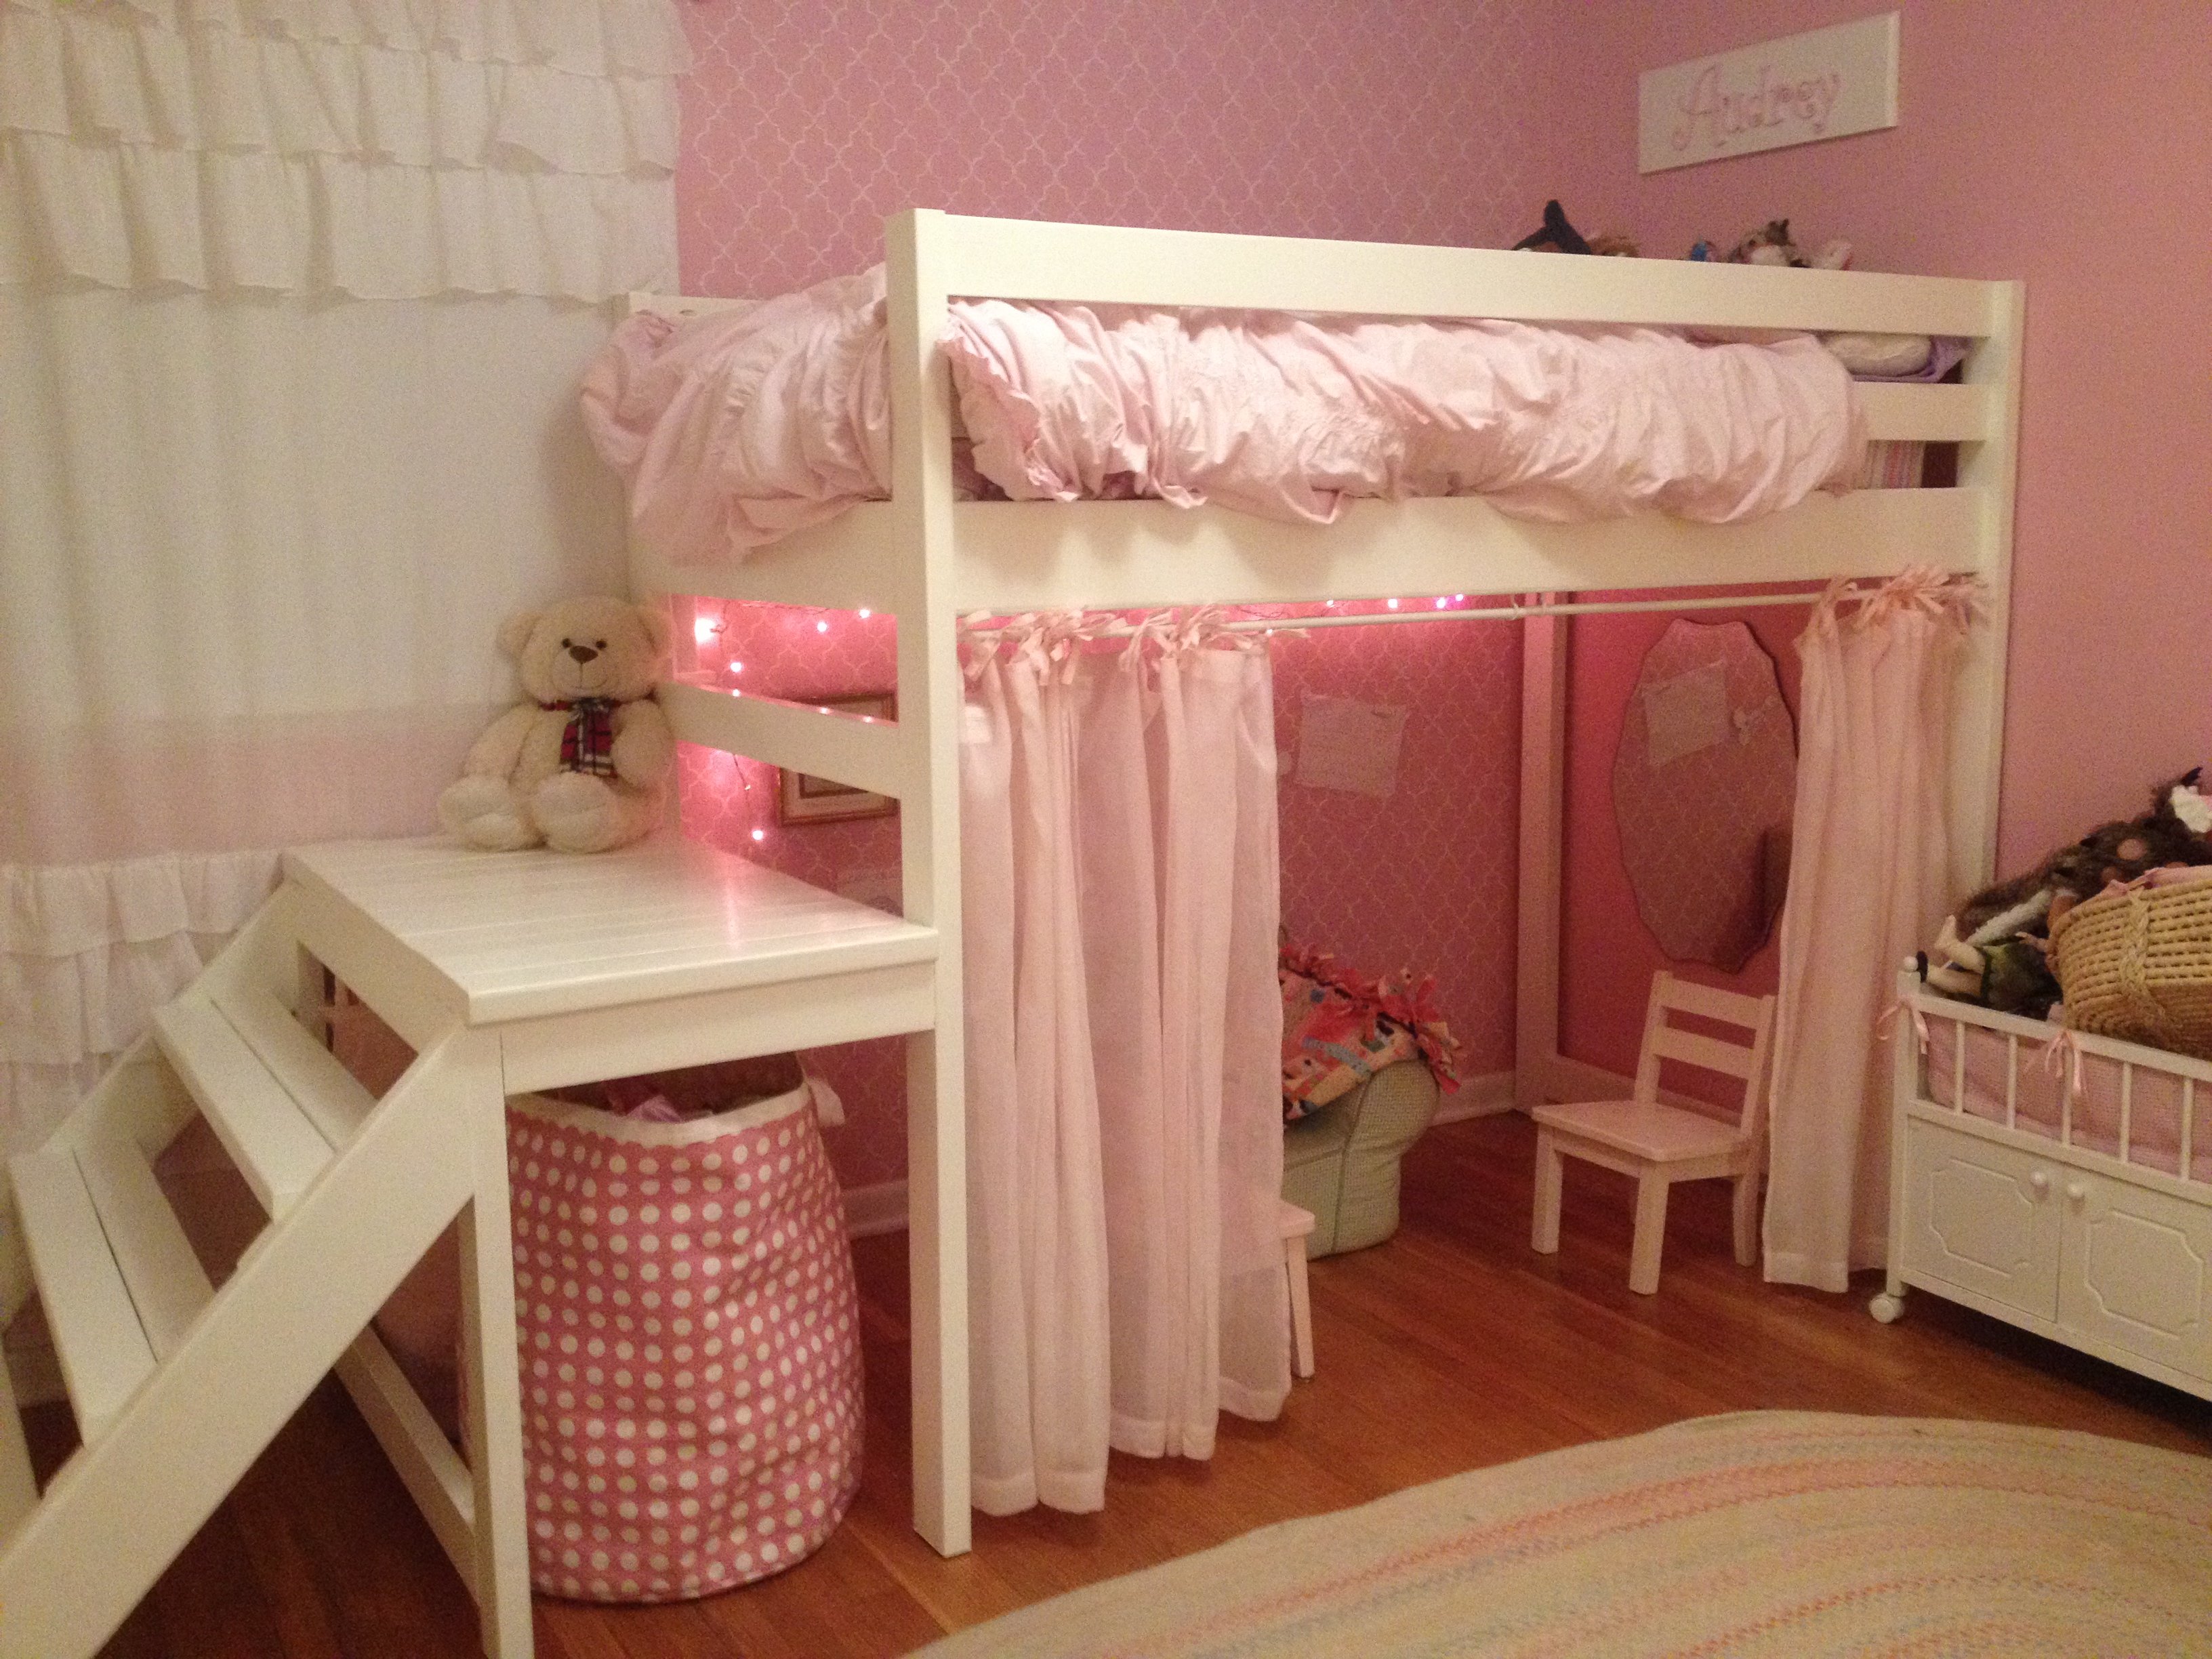
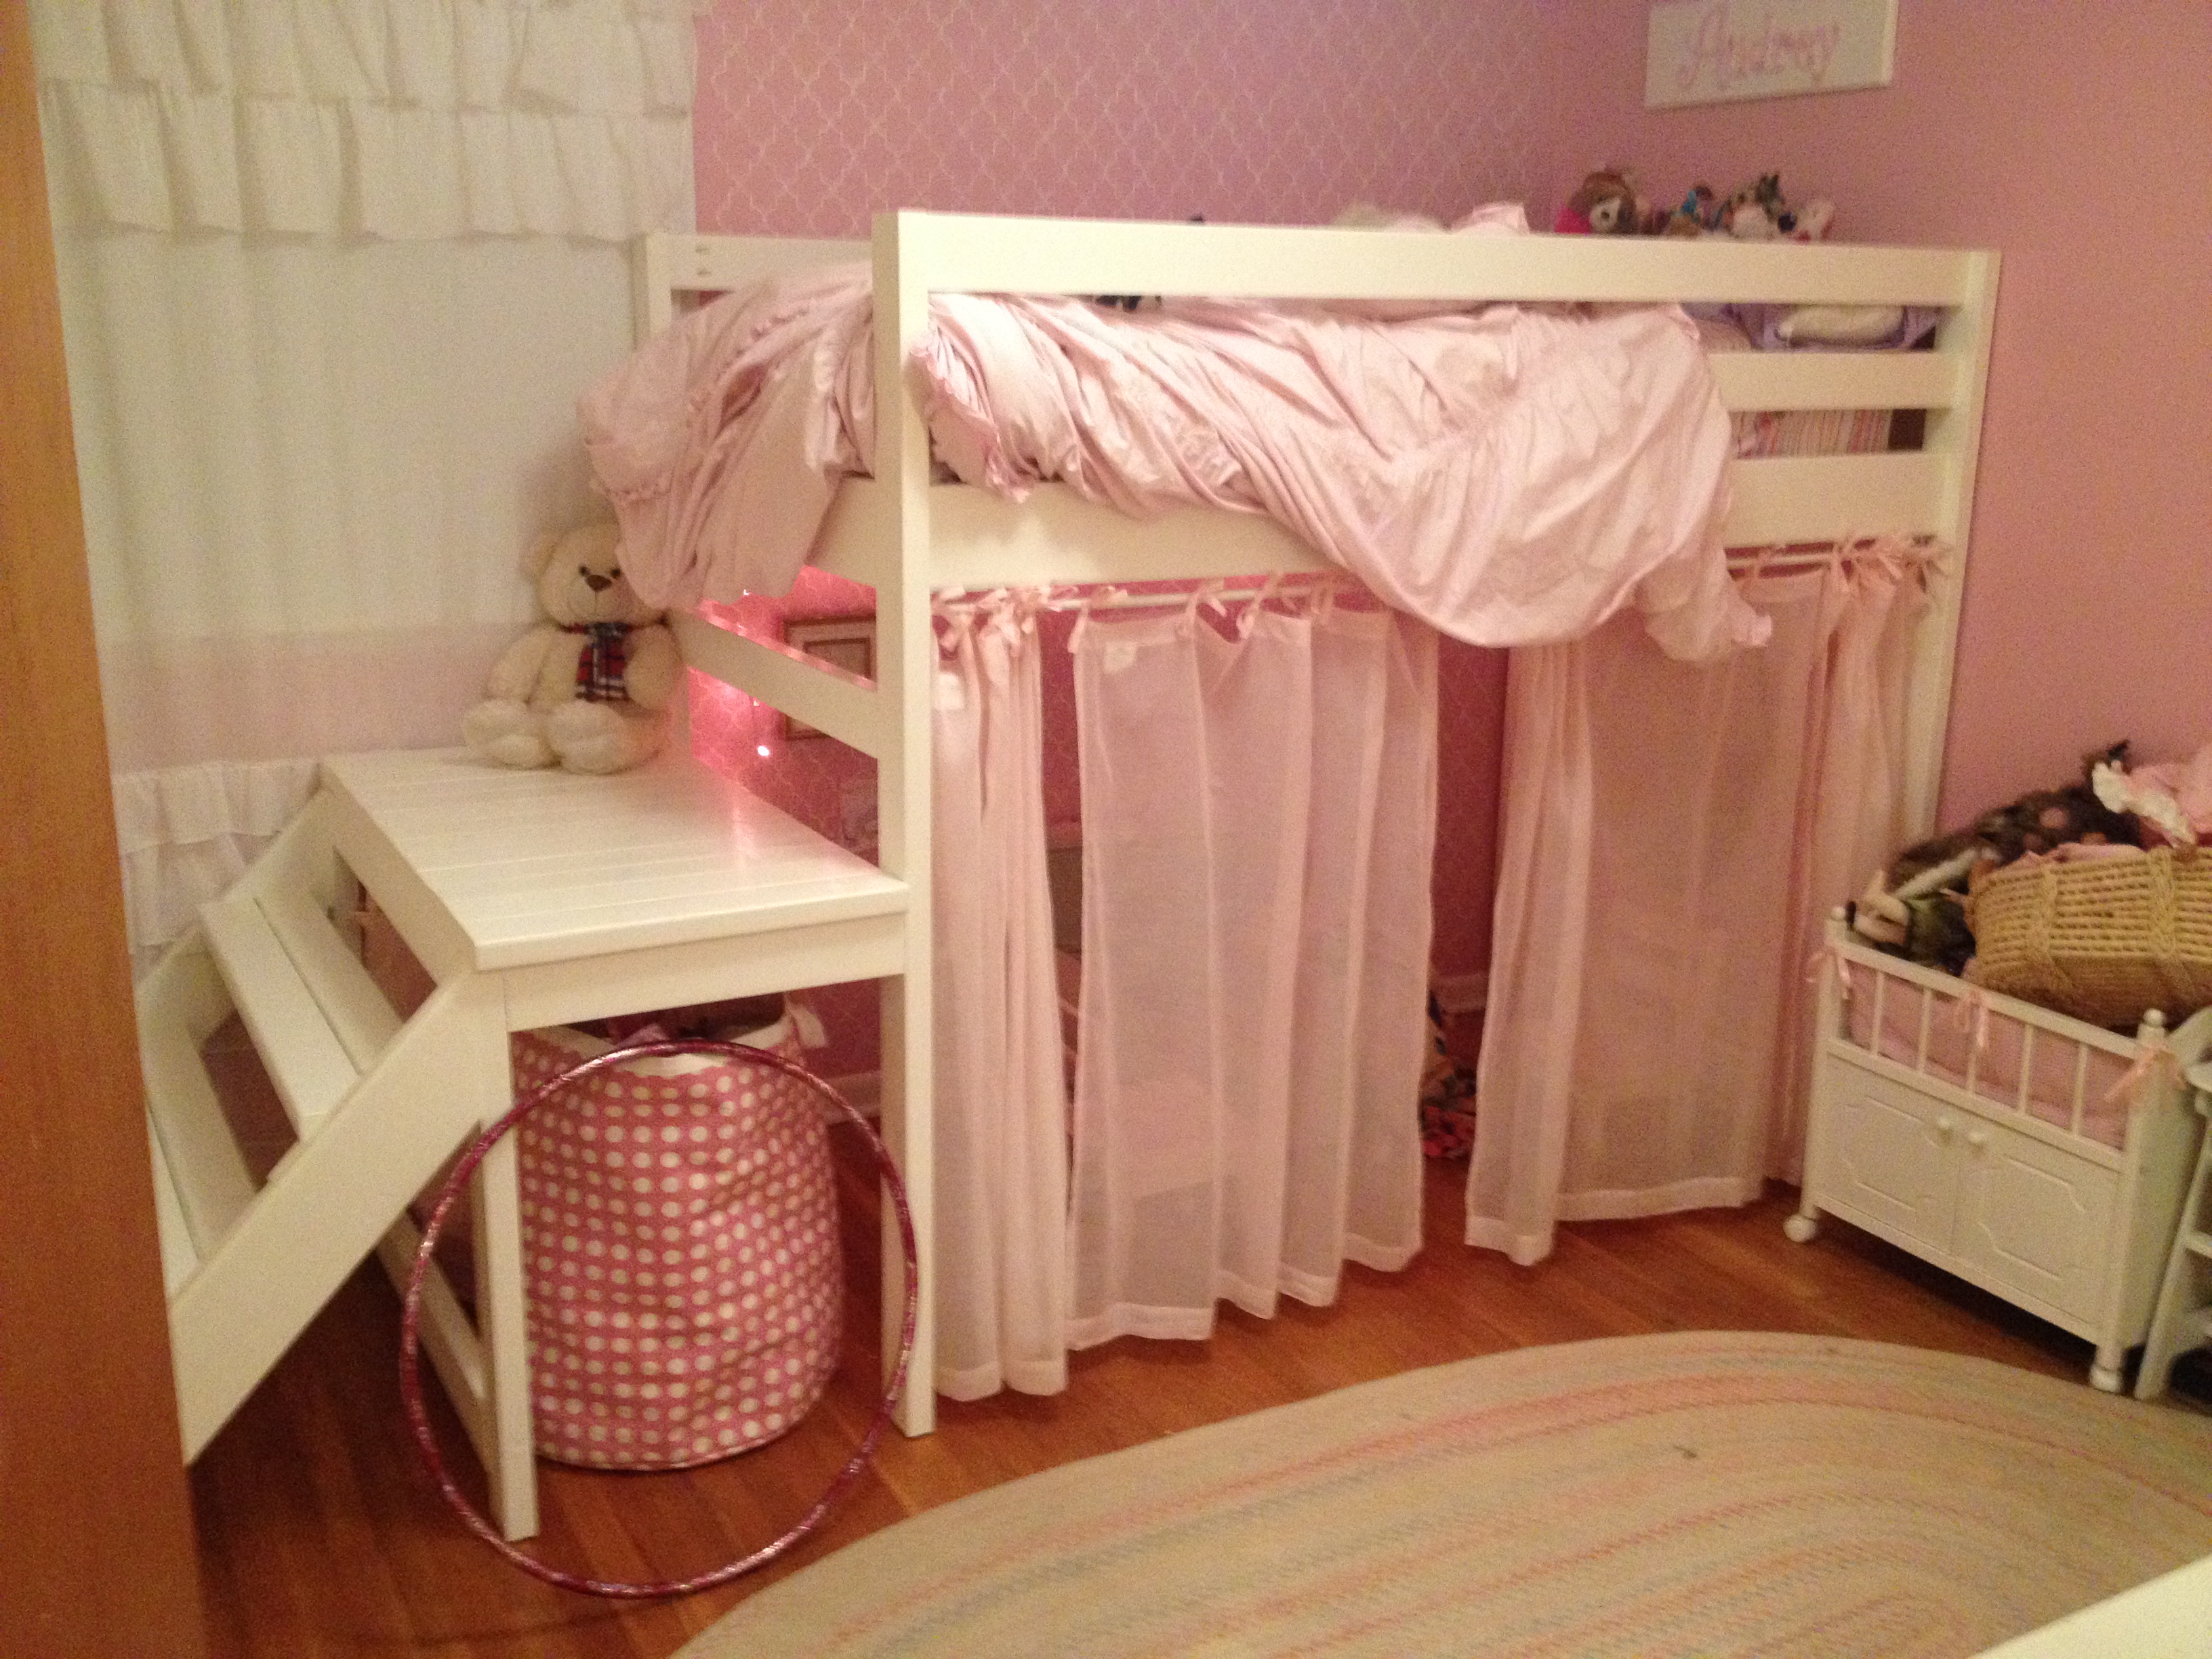
I built this for my little girl's room and she loves it! She loves the play area underneath especially. The build did not take that long, but the finishing (sanding and painting) took many hours. It is very sturdy. My girls sleep up there together all the time, and we have even had adults sleep up there. We didn't have a corner to put it in, so I built wider steps along the same wall as the bed.
Fri, 11/04/2016 - 00:39
Thank you! Sorry so late to reply, I am just now seeing this. It is a twin mattress.
Wed, 09/16/2020 - 19:25
I am interested in this design, but would like to have it with a full size mattress. How would I alter the plans? I would also like to have the stairs be storage drawers/stairs. Can you help me with this?
Thank you!
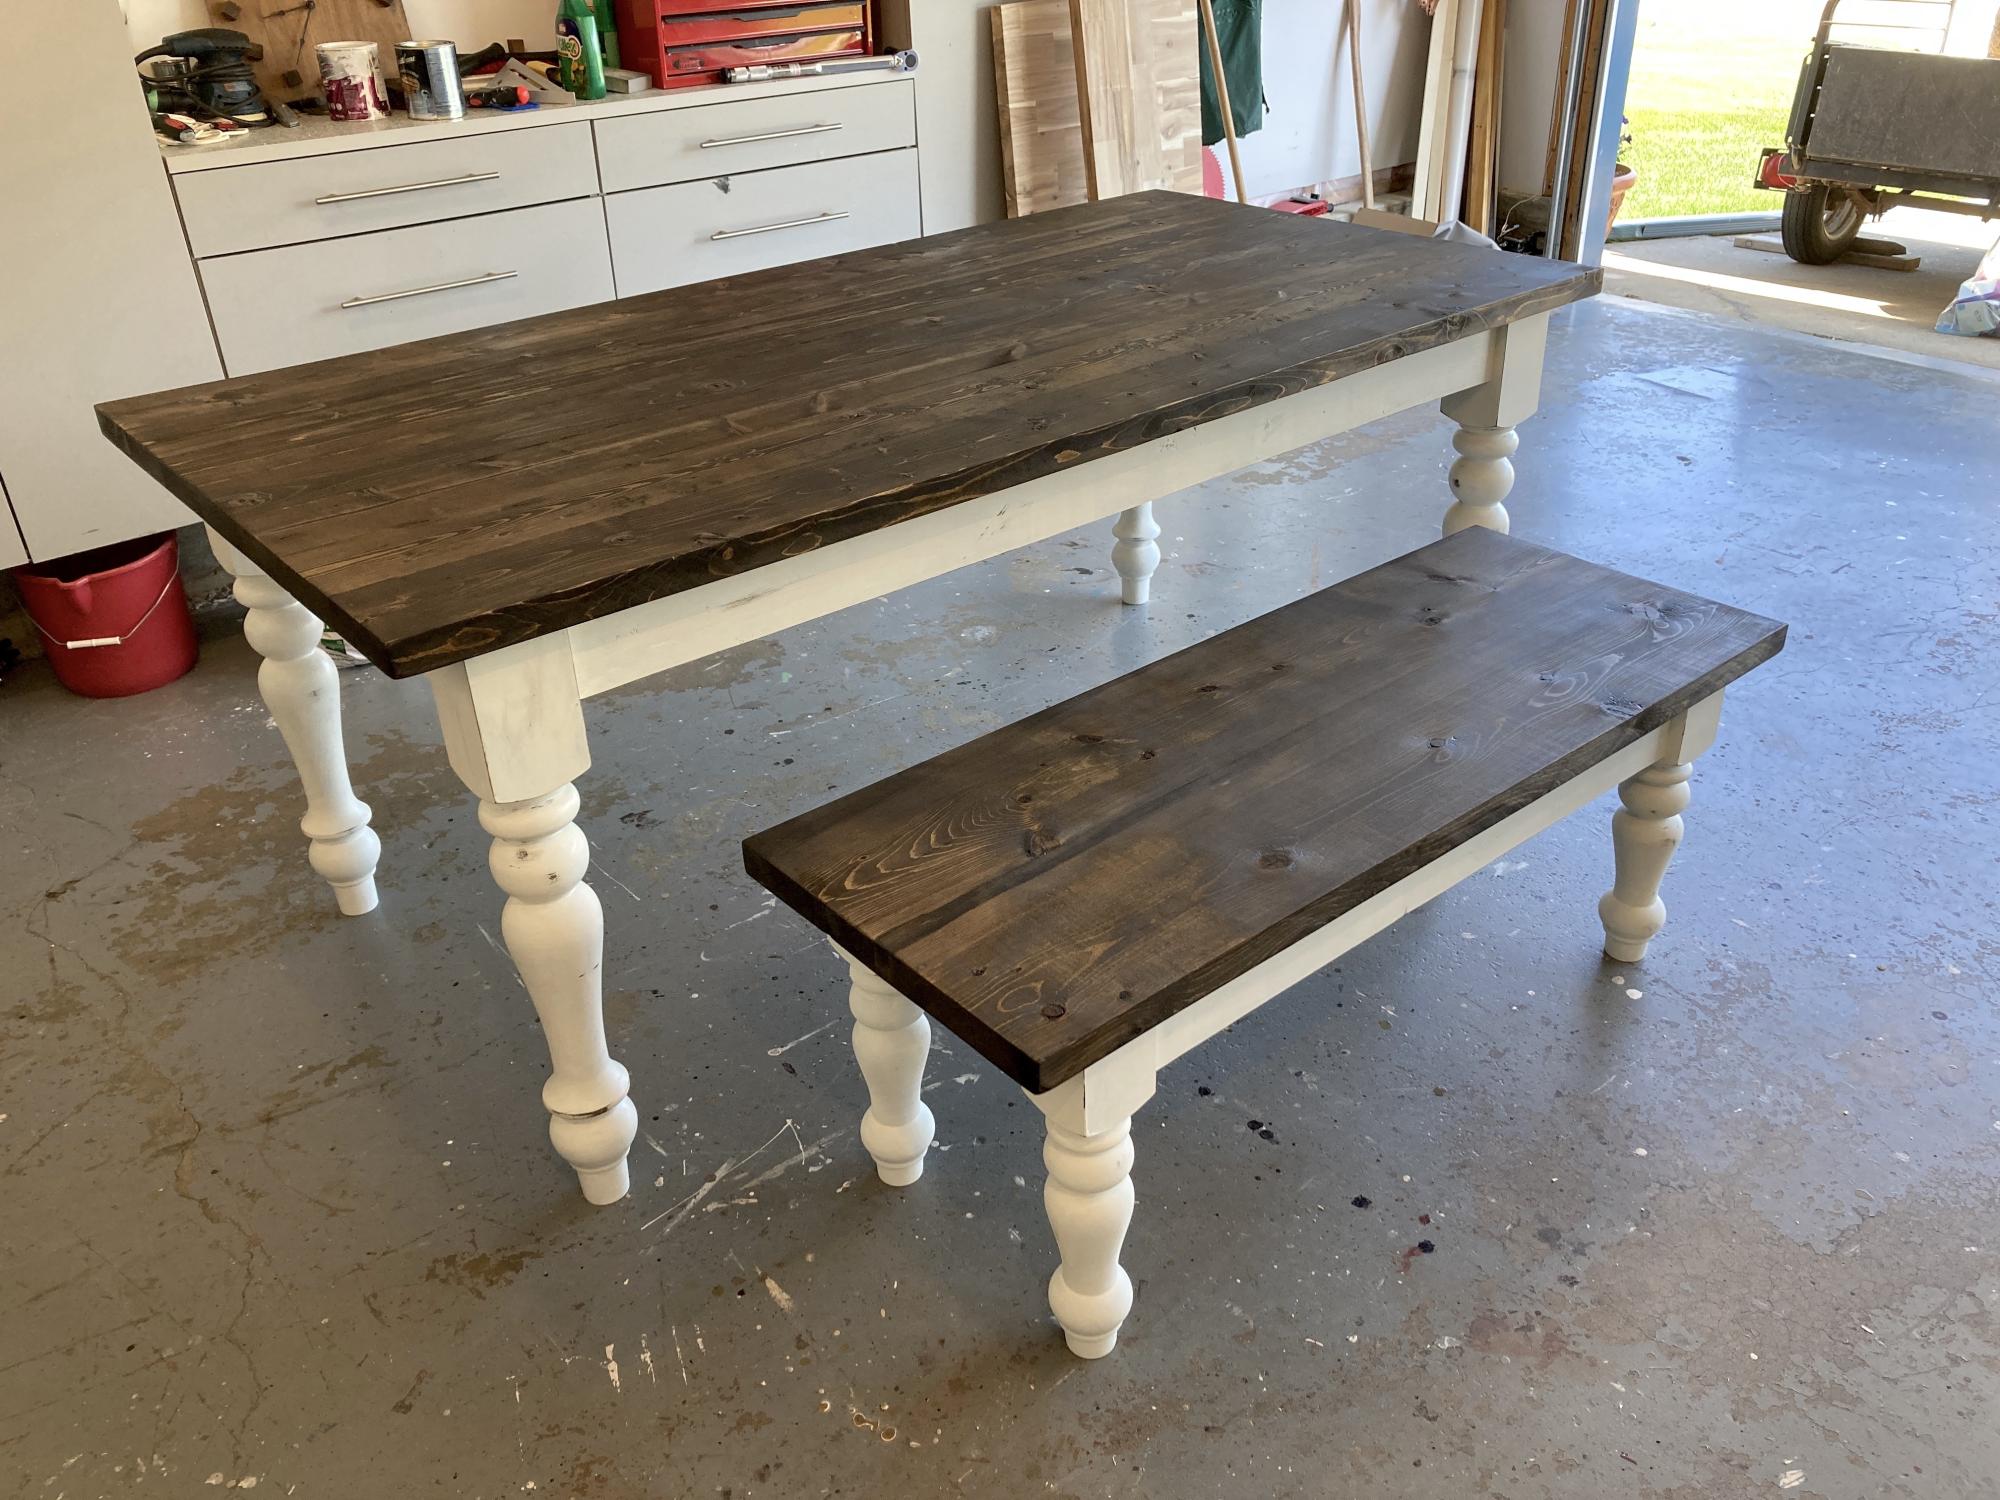
I have built several of these tables but this was the first one with turned table legs. They were somewhat expensive but I think the final product looks great with them. I actually stained the bottom aprons and legs the same colour as the top and then put on two coats of an antique white followed by a little scuffing up with sandpaper. I also cut the aprons from 2 x 6's so they were actually 4" in width. I used MinWax Jacobean stain which I had never used before. I then applied three coats of Varathane Satin finish. Not the best photo from my garage but no way I was getting it inside my house for a better photograph. Thanks for the great plans Ana.
Fri, 06/03/2022 - 16:57
Love the build and finish, great job! Thank you for sharing.
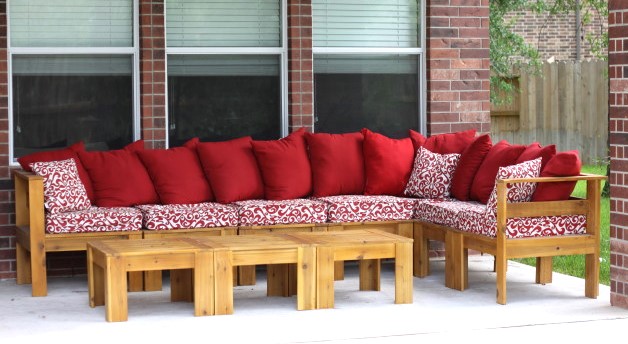
This was my second project and is the simple outdoor sectional. Took me about 8 hours to build all the sections and another 8 hours to stain everything. We ended up buying the cushions and pillows from Garden Ridge in Texas. Total cost for the cushions was about $500. Wood and materials was about $300. I used 1 x 4 cedar to insure it was rot and insect resistant. Then I stained it with Behr Premium Outdoor Natural #500. Looks great out on our covered patio. I will be building more as we are in the process of installing a pool of which I need lots of furniture to go around the decking!
Fri, 07/22/2011 - 13:55
This is gorgeous and it goes really nicely with your brick house too! I'd love to see more pics if you have. Great job :)
Sun, 02/26/2012 - 12:41
Cushions are expensive because you want to buy a mold/mildew resistant foam on the inside. Secondly, you want the fabric to be an outdoor fabric that has resistance to fading from the sun, but again that will resist mold/mildew and withstand rain, etc...with that said it makes them expensive.
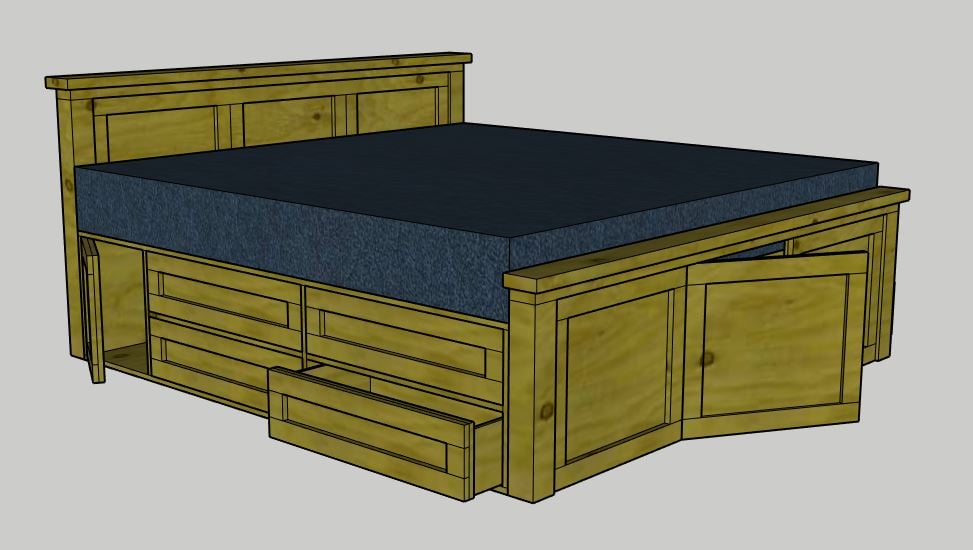
My version of the Farmhouse Storage Bed that I converted to a King Size Bed with modified dawers. Still working on the plans and materials list, but when completed I will update my descrption.
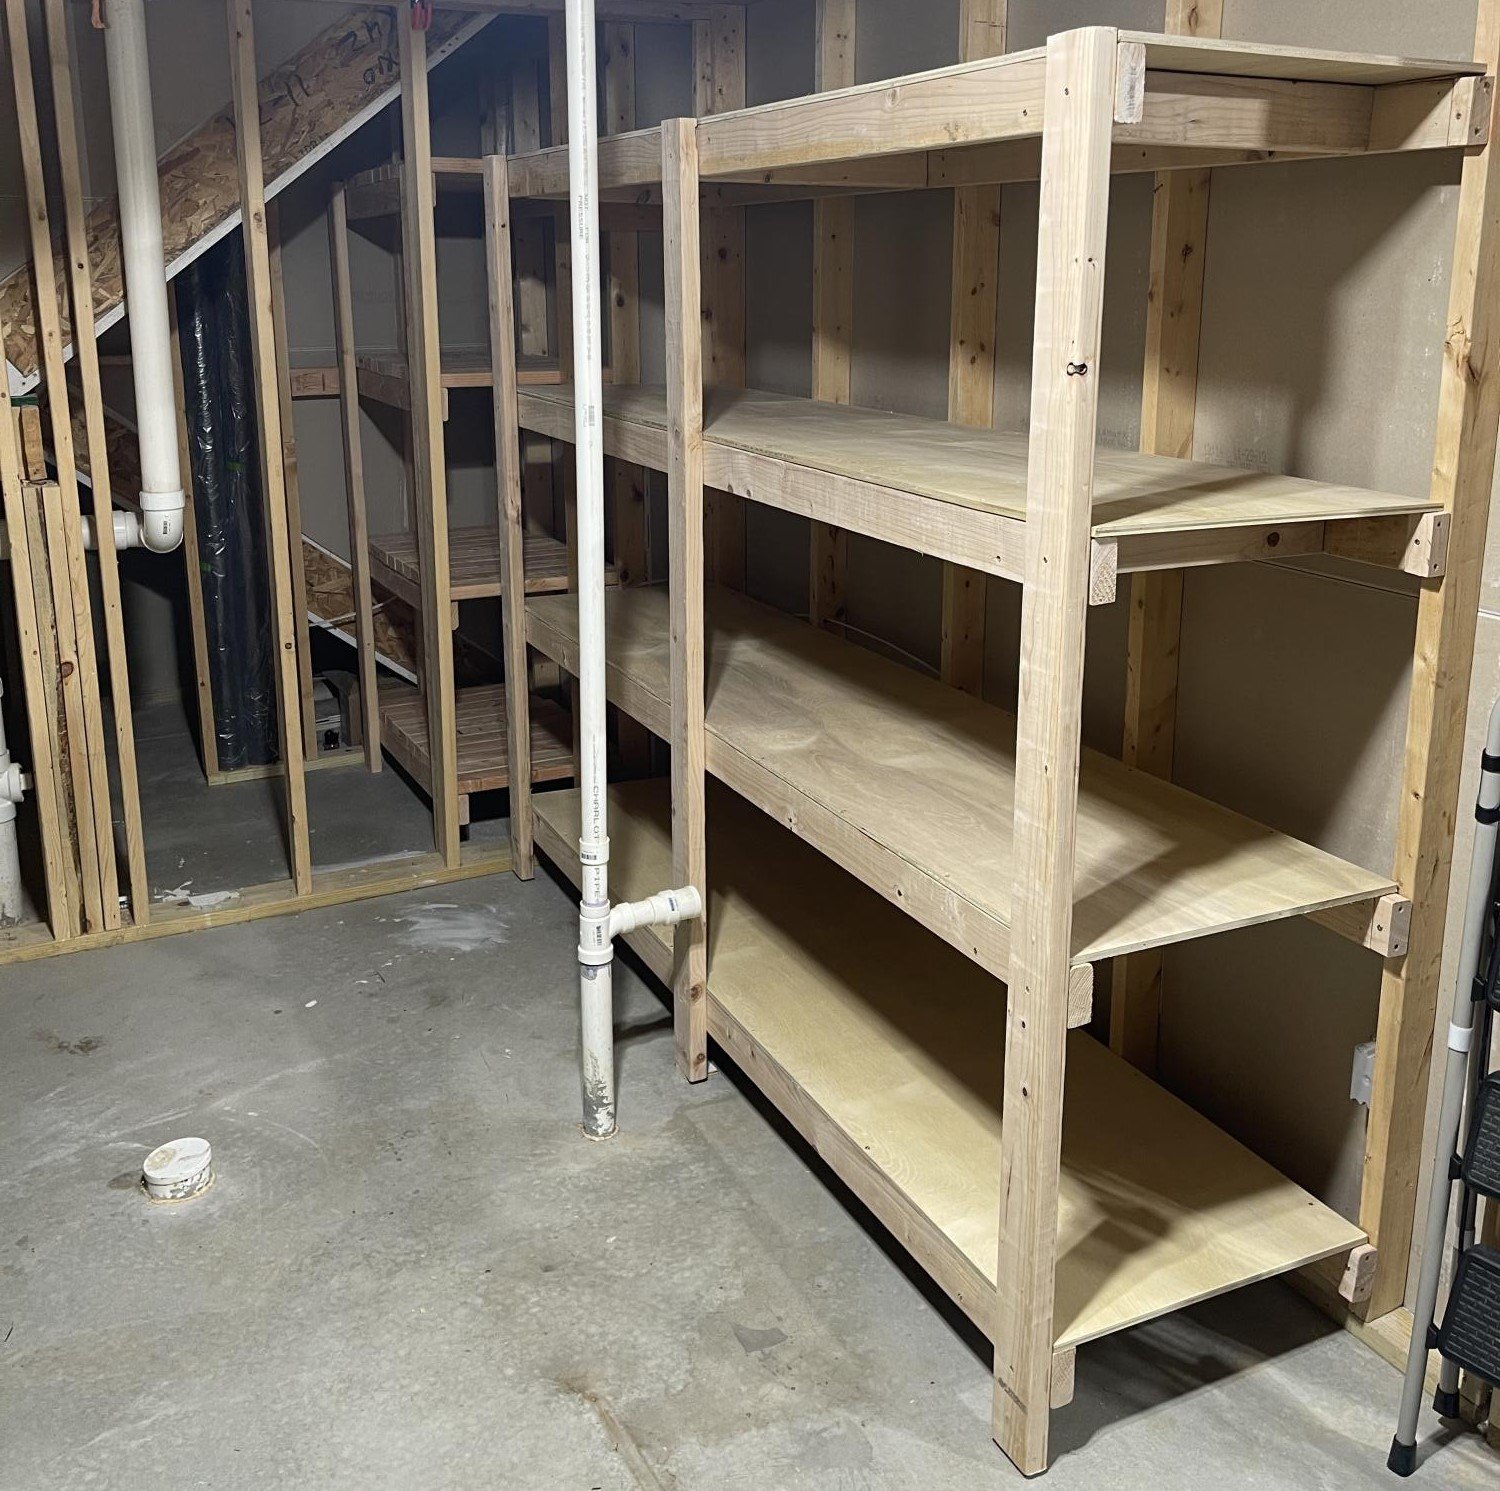
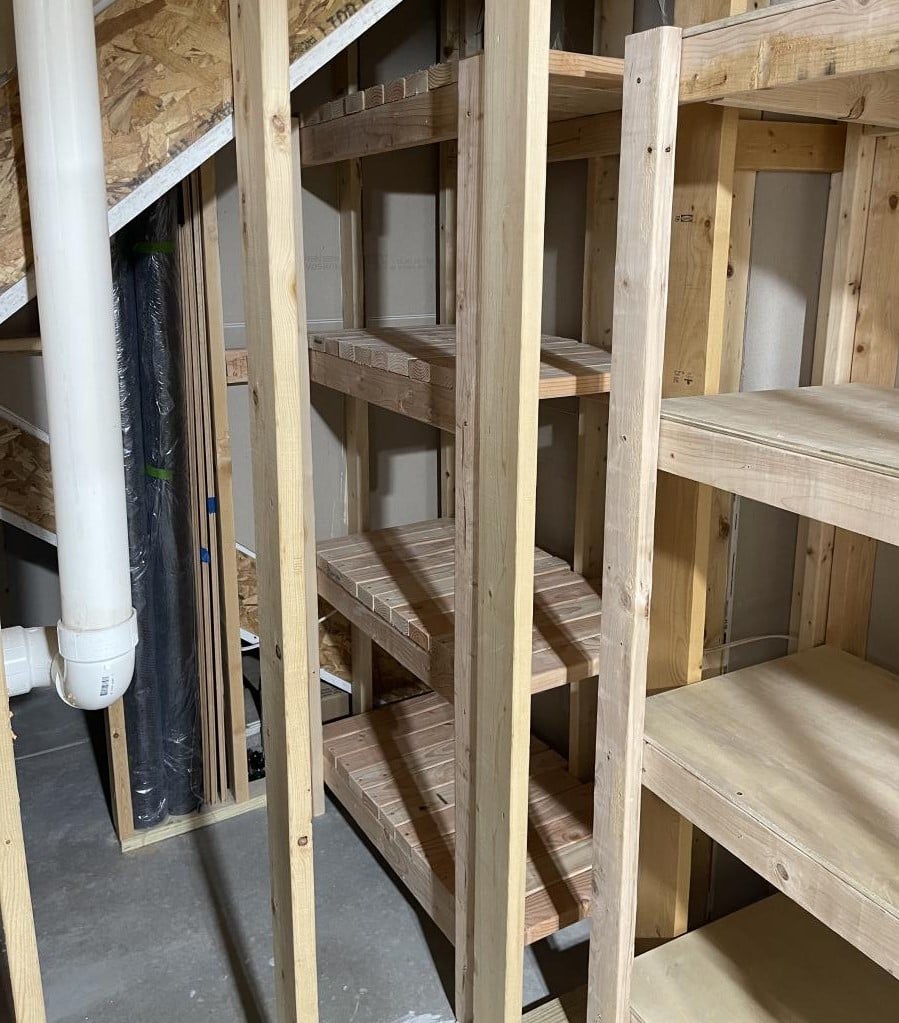
Using the guidelines for the “BEST DIY Garage Shelves (Attached to Walls), I added this to our unfinished basement area for additional storage. I plan to replicate it in our actual garage as well and build the freestanding shelves also!
As a bonus, I used this plan as inspiration and built directly beside it, which is an unused space under stairs, a wine/liquor storage shelving replacing the plywood with cut 2x4s for added weight capacity/stability.
Couldn’t have been easier!

Wed, 10/19/2022 - 09:14
Thank you!! I am so thankful for Ana White and team! These projects are helping me build a lot of confidence to continue endeavoring more challenging projects each step of the way :-)
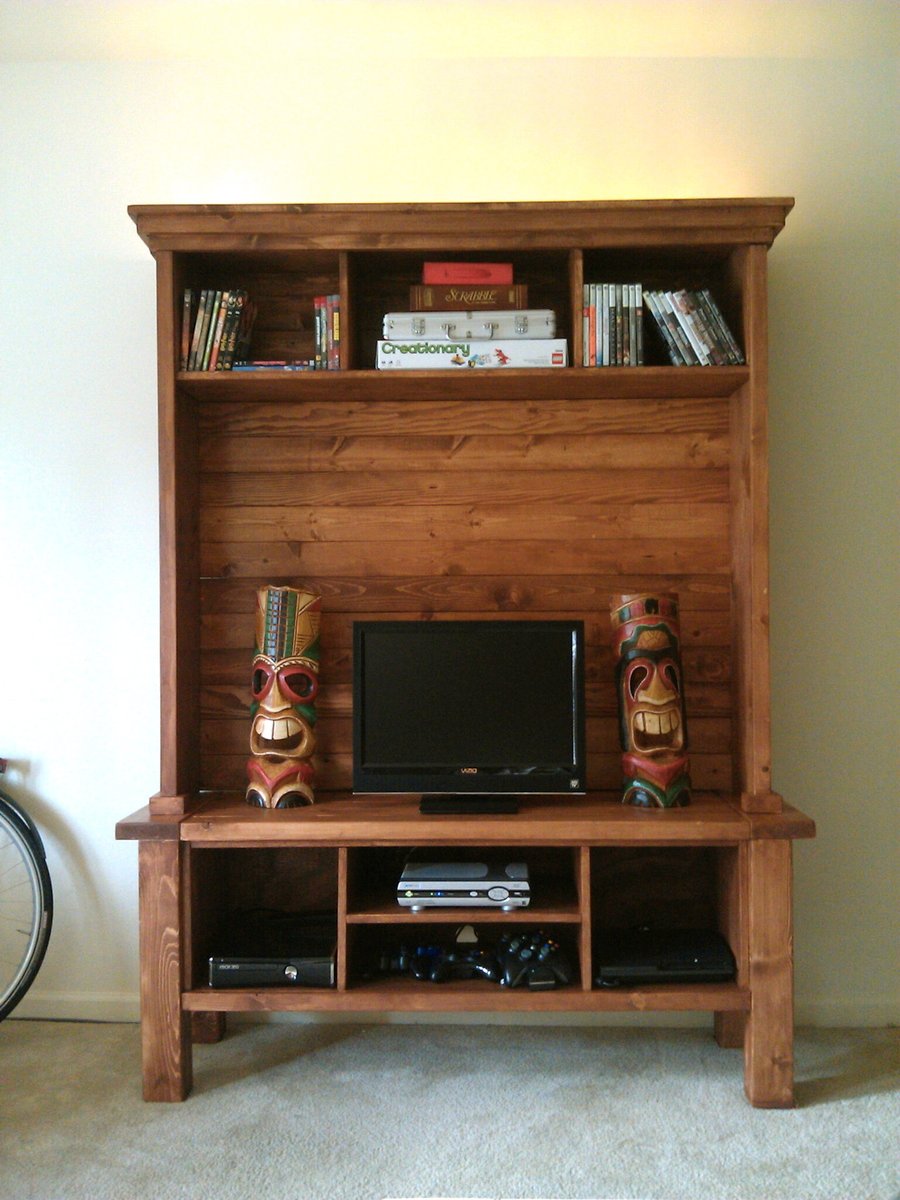
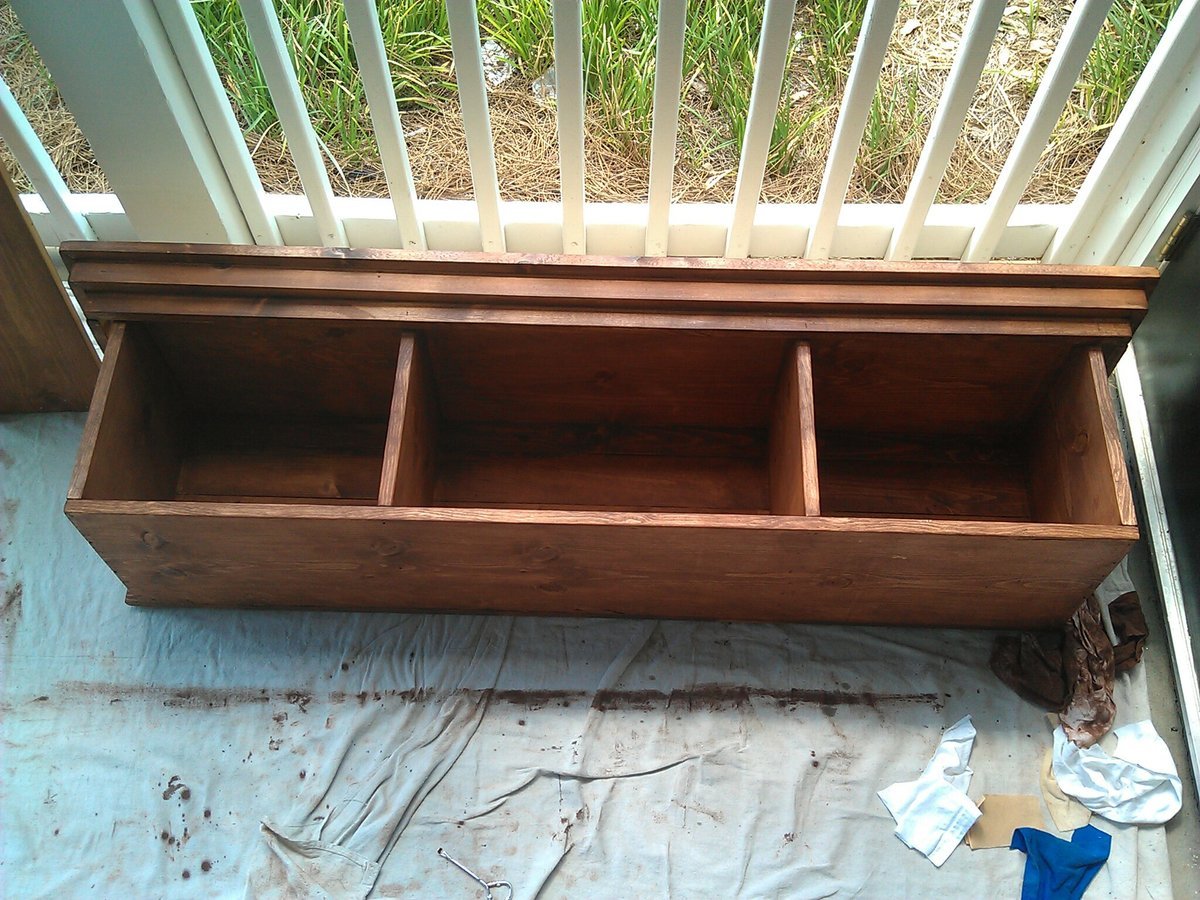
I finally got the tryde media center built! This is actually the last piece I built but the first one I finished. I've made the rest of the tryde tables and I'll upload those later.
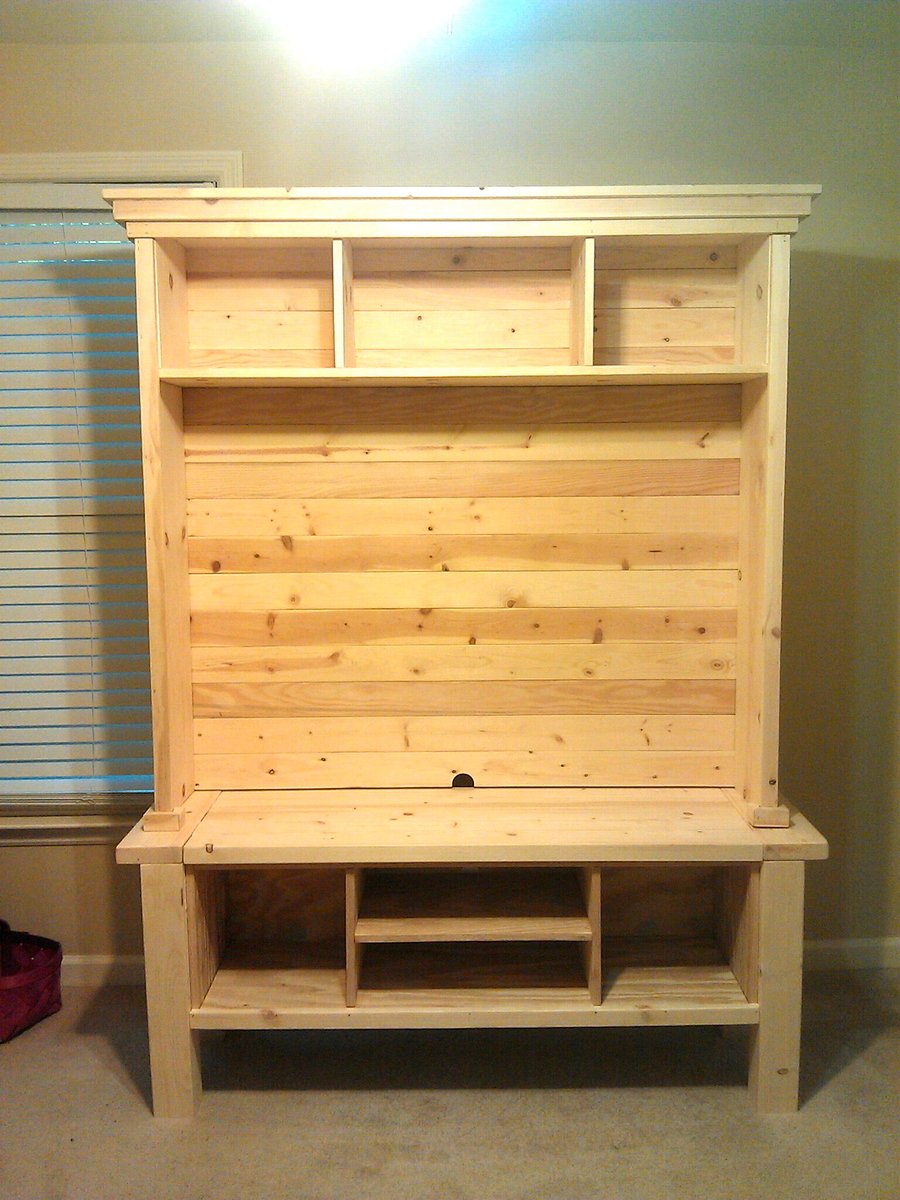
You'll notice that I made some cosmetic modifications to the hutch. I extended the top trim out and wrapped it around the sides. I also embellished the trim at the base of the hutch. Finally with the hutch, I changed the plans to allow me to break it down into smaller pieces to move. The top piece is basically a box with trim. Then the back boards break down into two sections of four boards and the sides come off. Everything is attached by screws so I can undo it later.
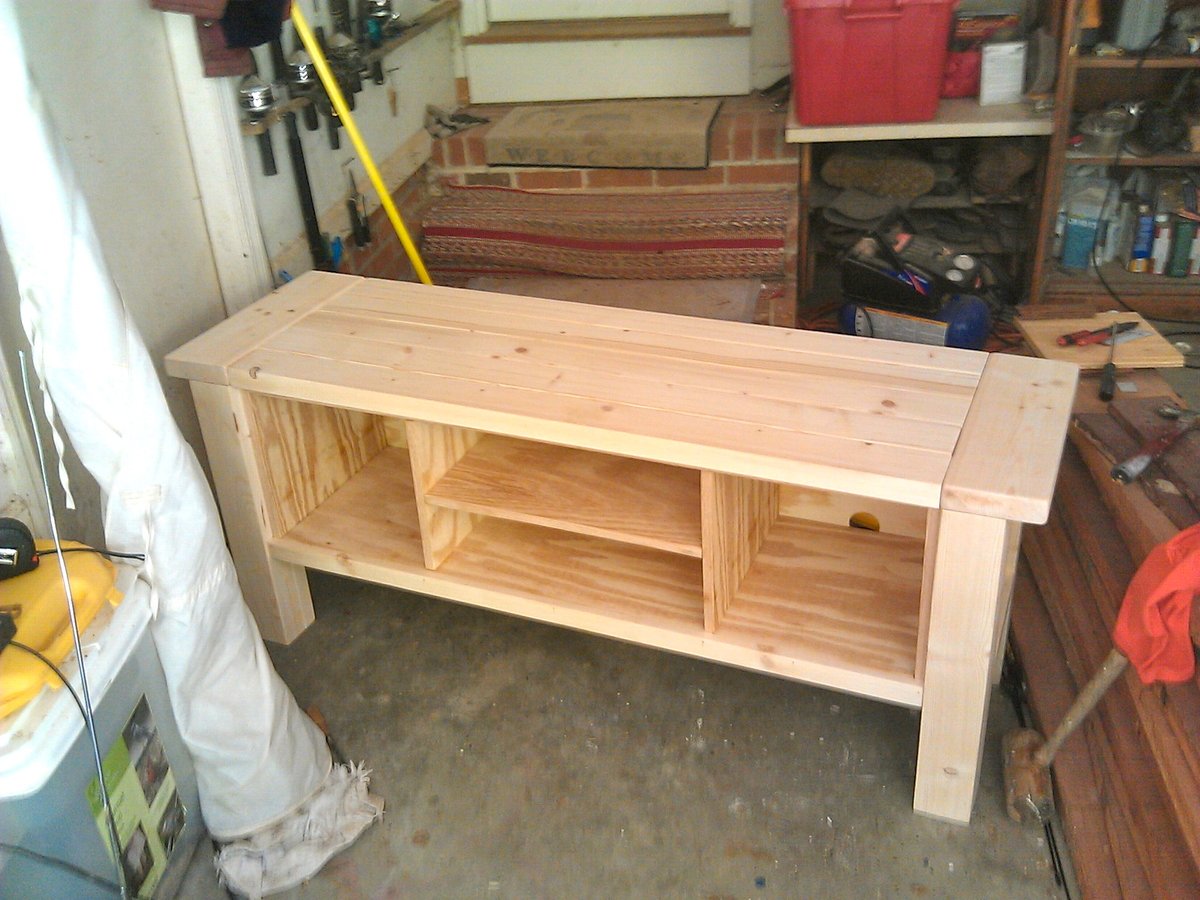
I slightly modified the base unit so that the top boards are 48" long [so I could get two from an 8' board] and the breadboard piece is a 2x6 instead of 2x4 to compensate for the lack of width a little. [This modification wasn't planned until I had the base built and realized I bought 8' 2x4s instead of 10' boards.]
Additionally, on all of my tryde pieces, instead of untreated 4x4s I used a 2x4 1x4 2x4 sandwich and modified all the plans to account for the extra width.
The first picture is the unfinished base.
Second is the top piece of the hutch.
Third, the completed unit, unstained.
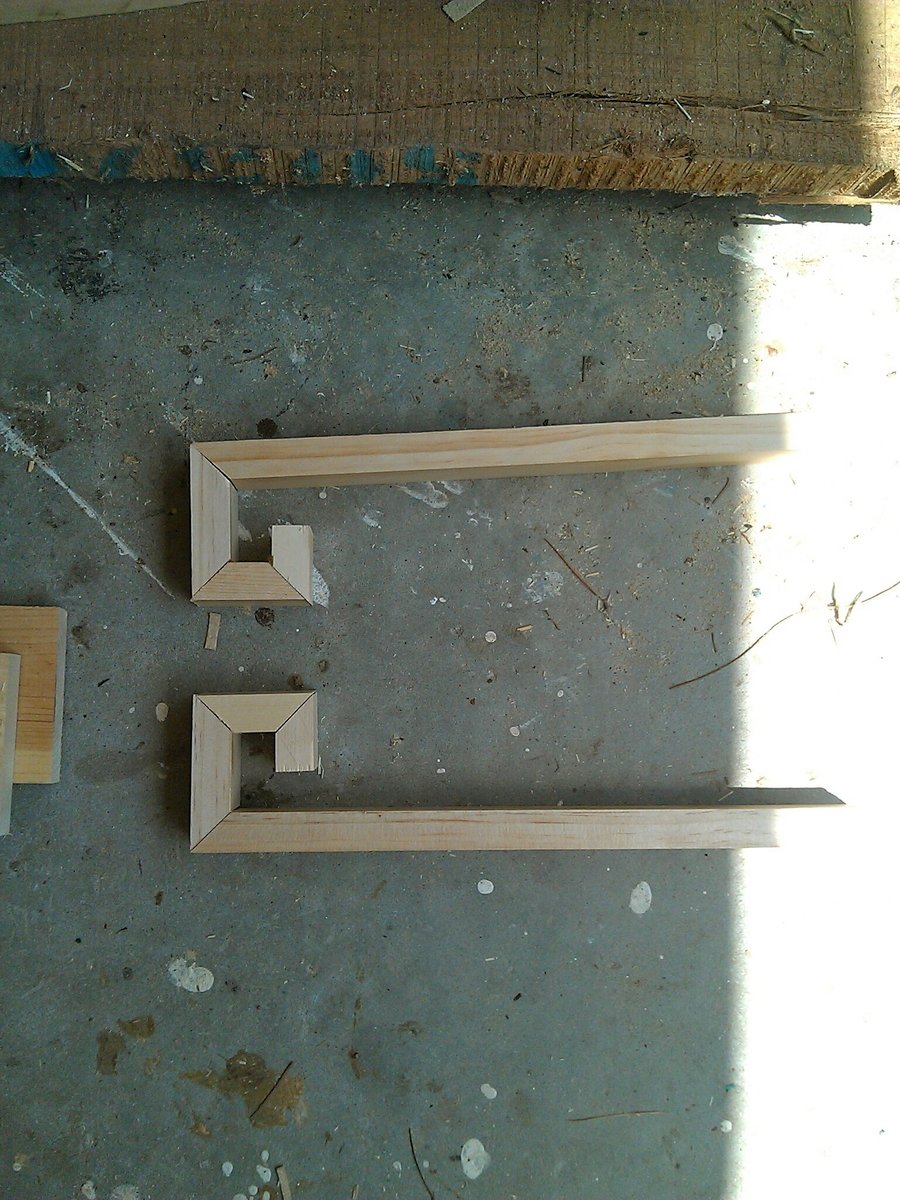
Fourth is a detailed pictures of the molding that went at the bottom of the sides of the hutch.
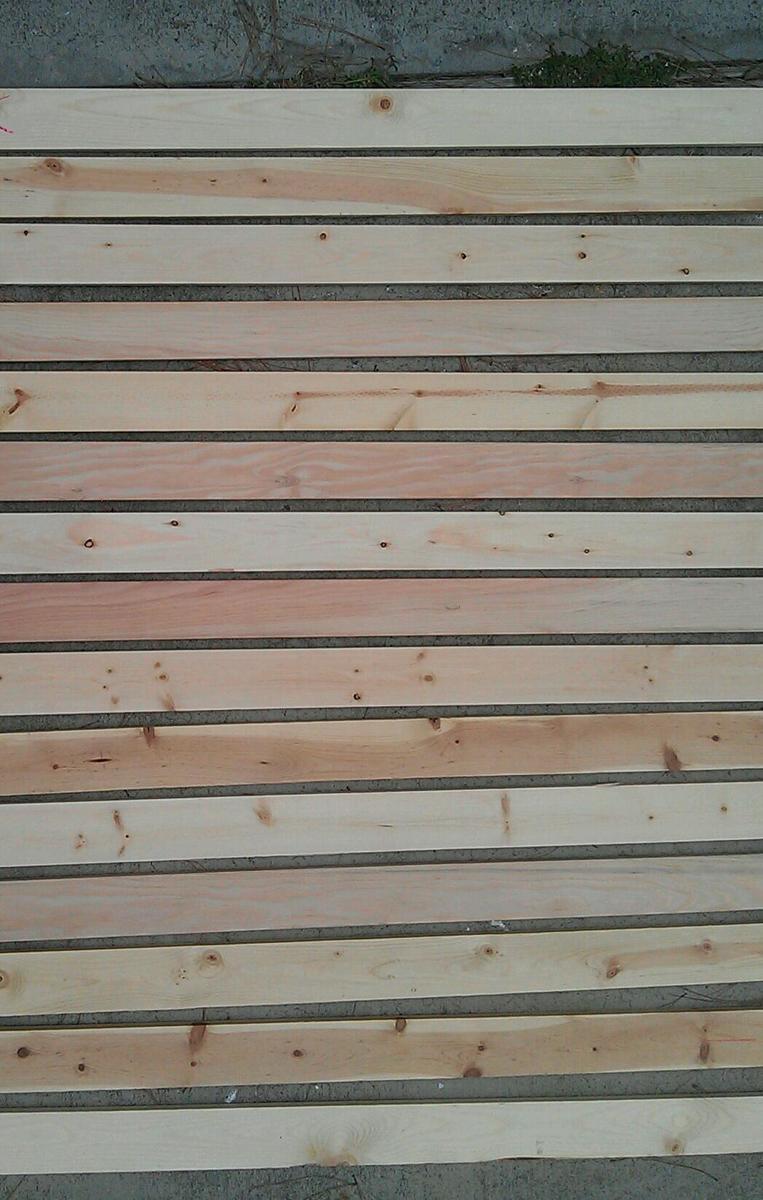
Finally, there's the back boards I used, just because I think they look neat.
After finishing, I ran a rope light around the top of the hutch [hidden by the molding], for some ambient overhead lighting. I also did a lot of cord organization on the back side of the base to hide all the cords.

I built this above toilet cabinet for my son and his wife for Christmas. They needed a little extra bathroom storage. Turned out pretty good.
My parents needed a table for their newly expanded dining room at our cabin. I love the look of butcher-block, and wondered how I could design a table with the thick chunky look. I decided on using 4x4's for the majority of the build. This project took me a while to complete because in the middle of it, I twisted my ankle while lifting the table! Ha, building can cause some damage. Although, the ankle did slow me down, I was still able to deliver the table and benches to the cabin in time to give it to them for their anniversary present.
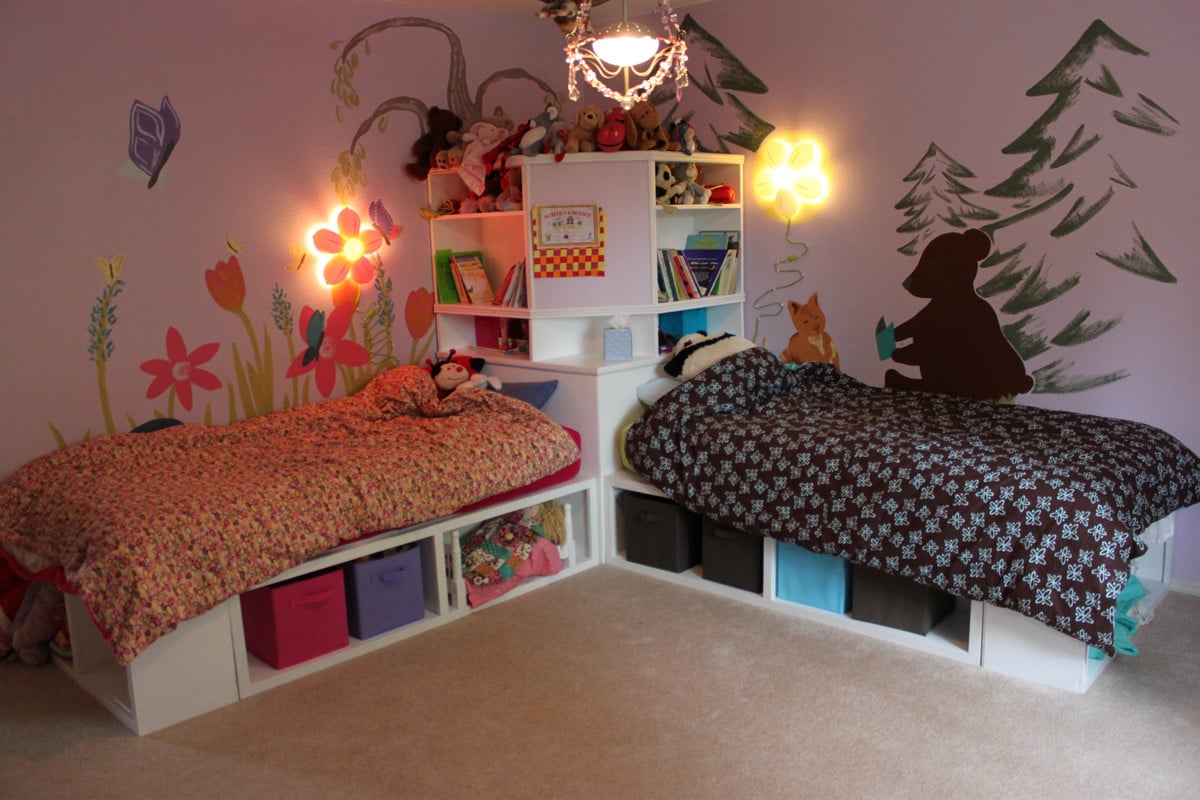
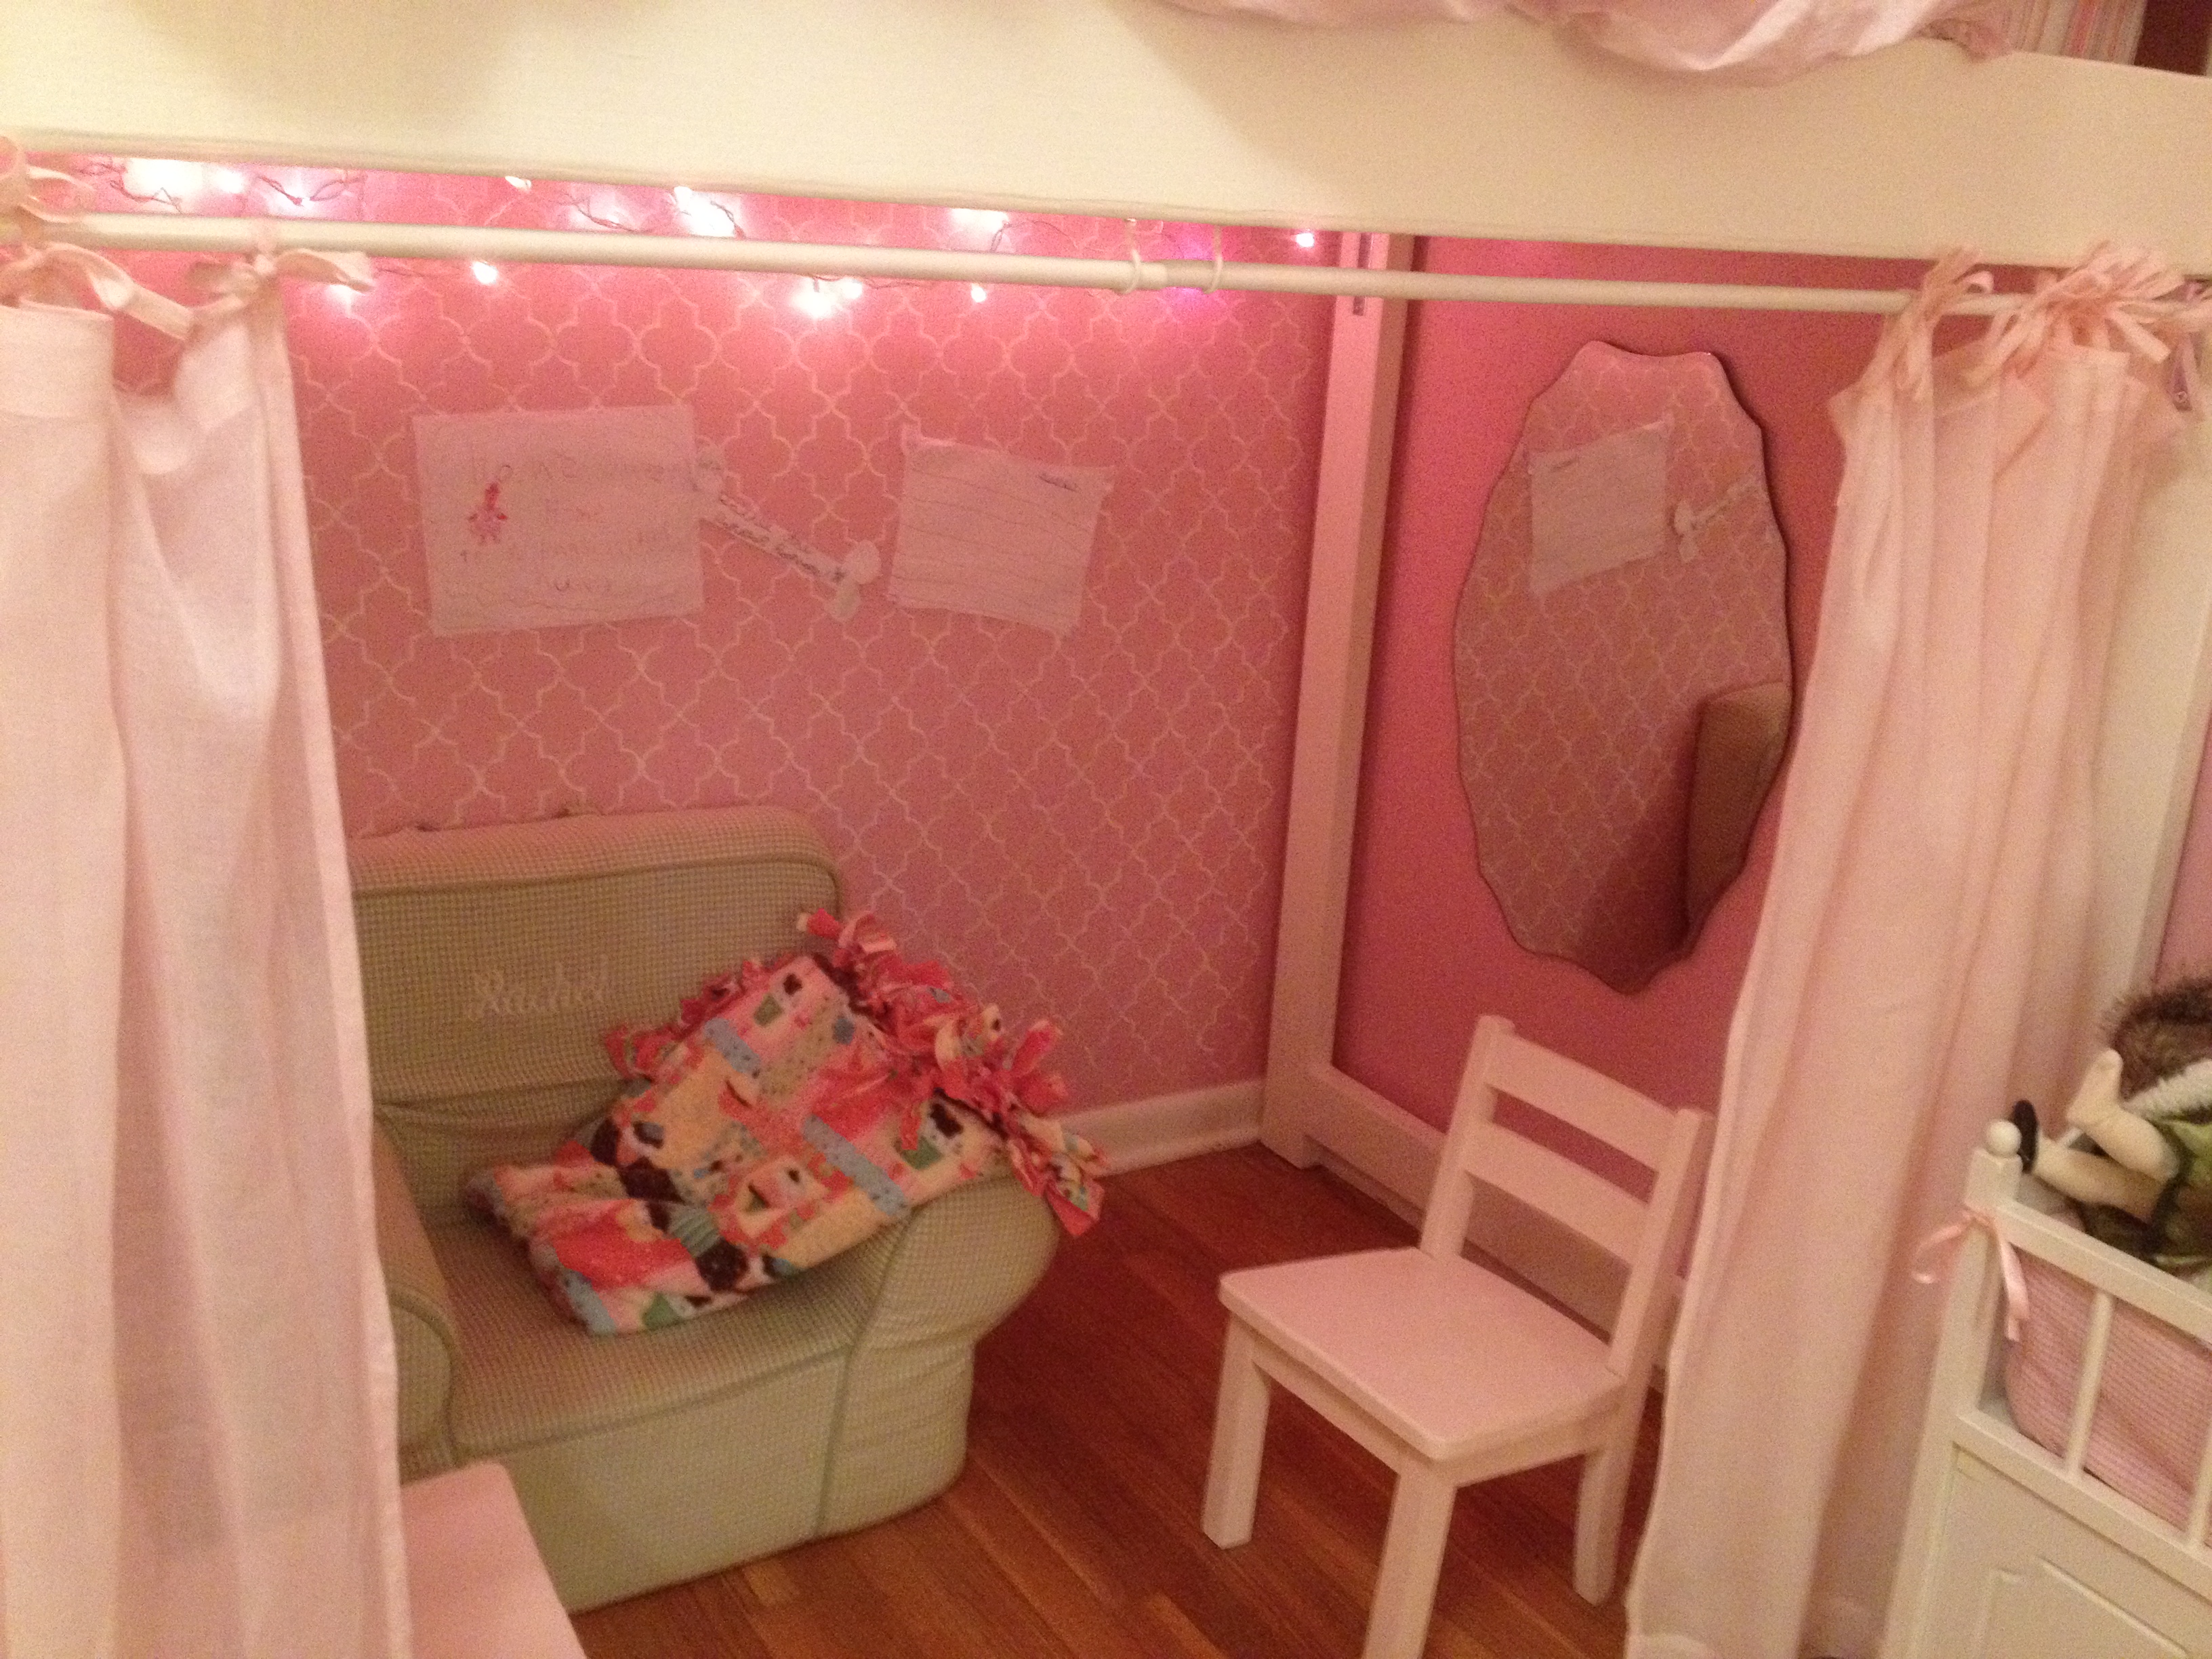
When we moved into our new house, I figured it was time to replace my girls's mattresses on the floor with actual beds. so I set about making the twin storage beds with corner unit. I primed all the wood prior to cutting and assembling, and that made things go much faster. Assembling the corner unit was tricky, since i really didn't want to have sanding and much paint in their bedroom. (i loaded in the beds first and the corner unit a week later). I added trim that wasn't on the plan, and also used the magnetic paint on the center area, although it makes a weak magnetic surface. All in all, I LOVE the way it turns out and no one can believe that I built it and didn't buy it... (although it seems obvious to me when you look closely LOL)
Fri, 11/04/2011 - 11:42
It looks great, and I love what you did with the walls! Free hand with paint, or decals? Either way, its darling and clearly gives each girl her own space.
We have the same lamps - quite popular :)
I am trying to figure out a clever way to put three girls in a (huge) room and I think something like this or a bunkbed combo would make it fun and new for them..
Sun, 01/08/2012 - 18:36
Where can I find the plans for the top half of the corner unit.? Your beds are exactly what I want for my girls. Thanks for sharing.
Mon, 10/08/2012 - 17:25
I see the plans for the beds and for the top part of the corner unit but what about the bottom part. please HELP I'm I totally missing it?
Mon, 10/08/2012 - 17:25
I see the plans for the beds and for the top part of the corner unit but what about the bottom part. please HELP I'm I totally missing it?
Mon, 10/08/2012 - 17:25
I see the plans for the beds and for the top part of the corner unit but what about the bottom part. please HELP am I totally missing it?
Mon, 01/18/2016 - 06:30
The links to the top and bottom of the corner unit seem broken; is there still access to these plans? Thanks for your help!
Fri, 11/18/2016 - 17:24
I have been round and round where are the plans for the Hutch?
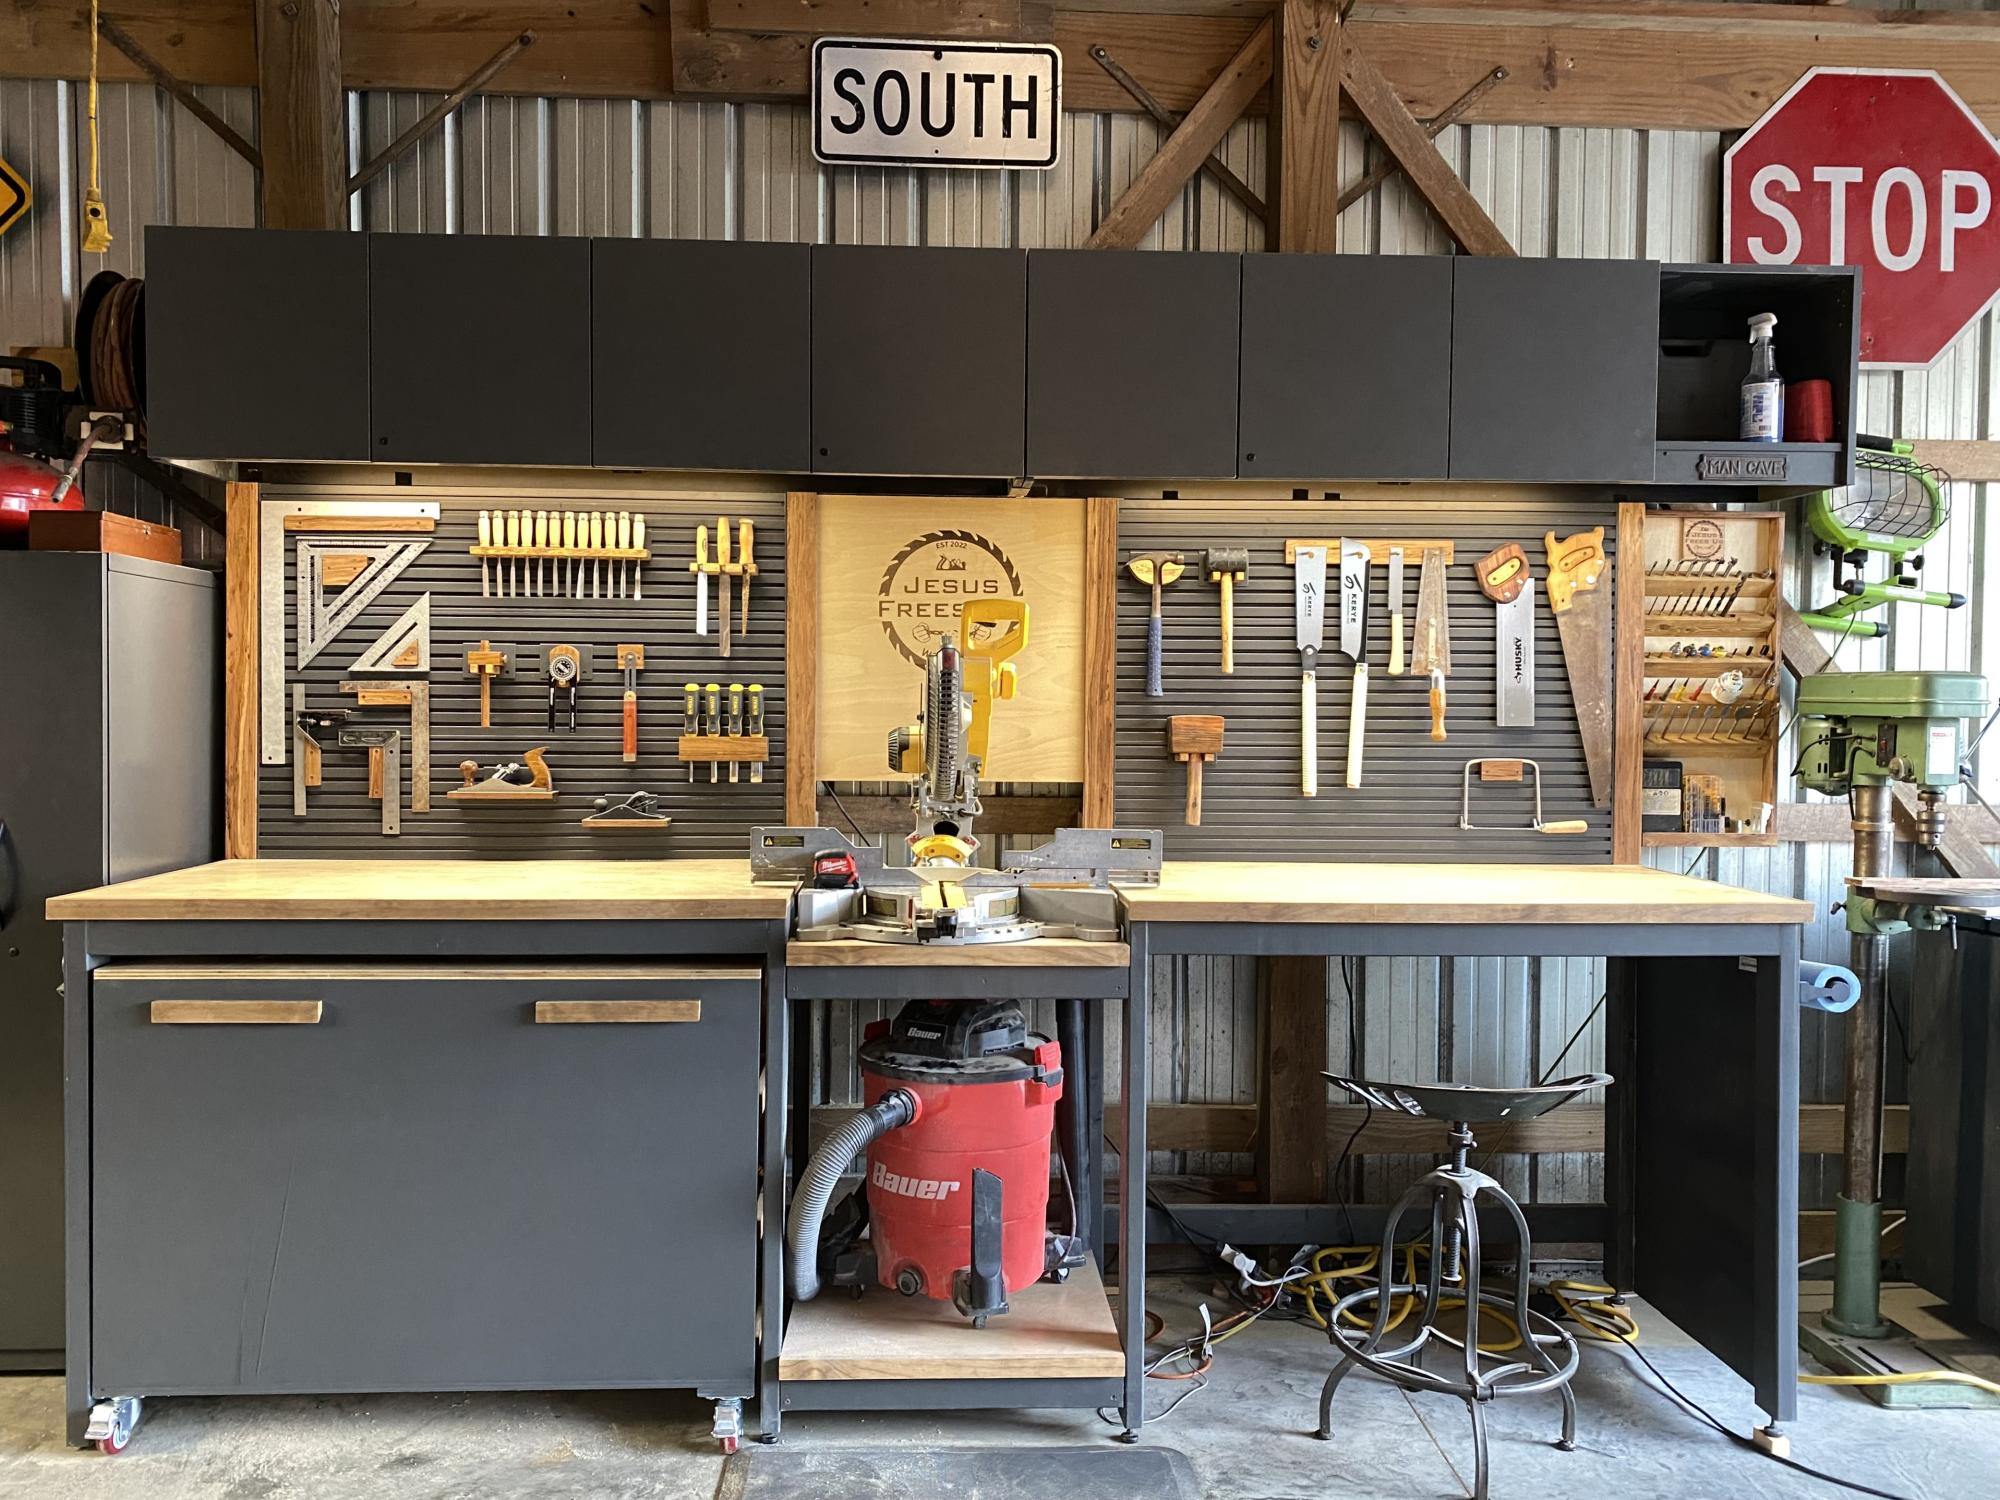
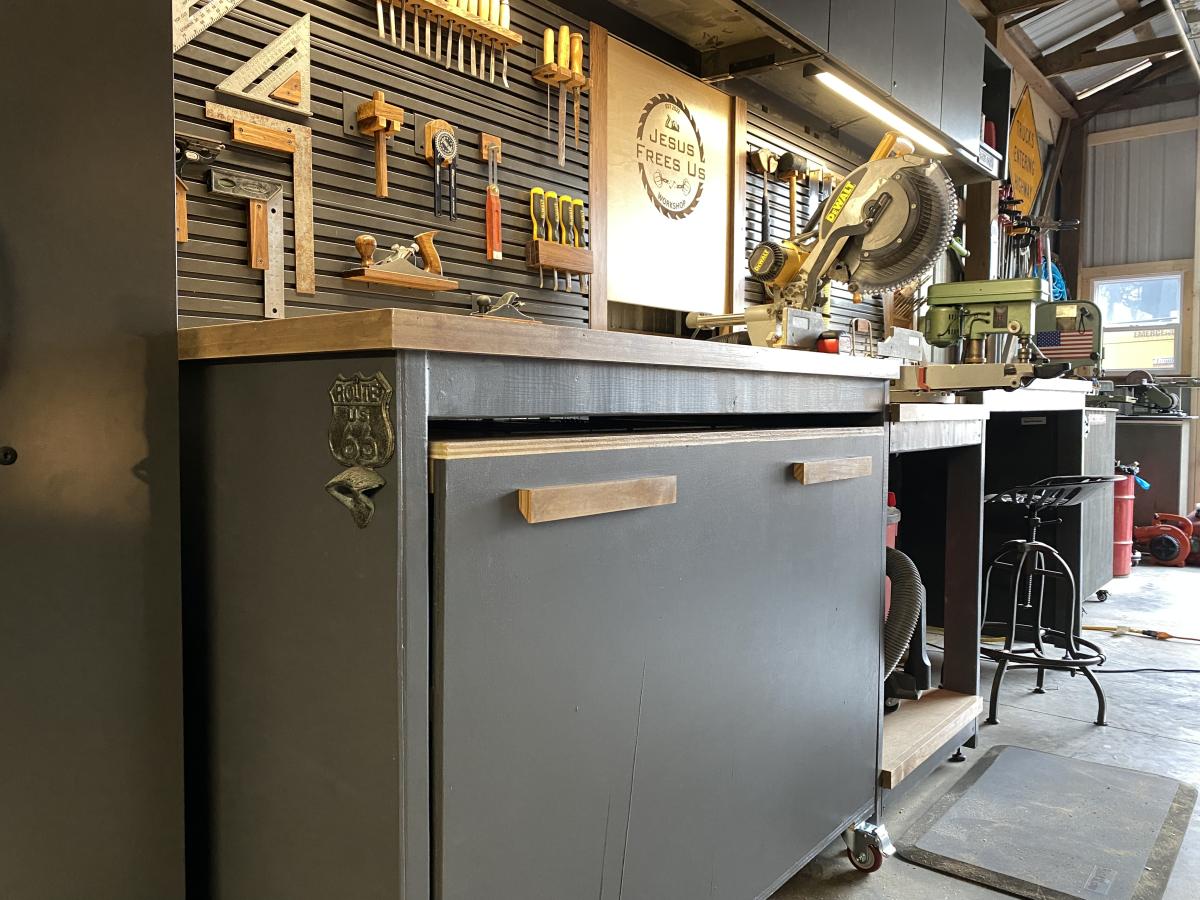
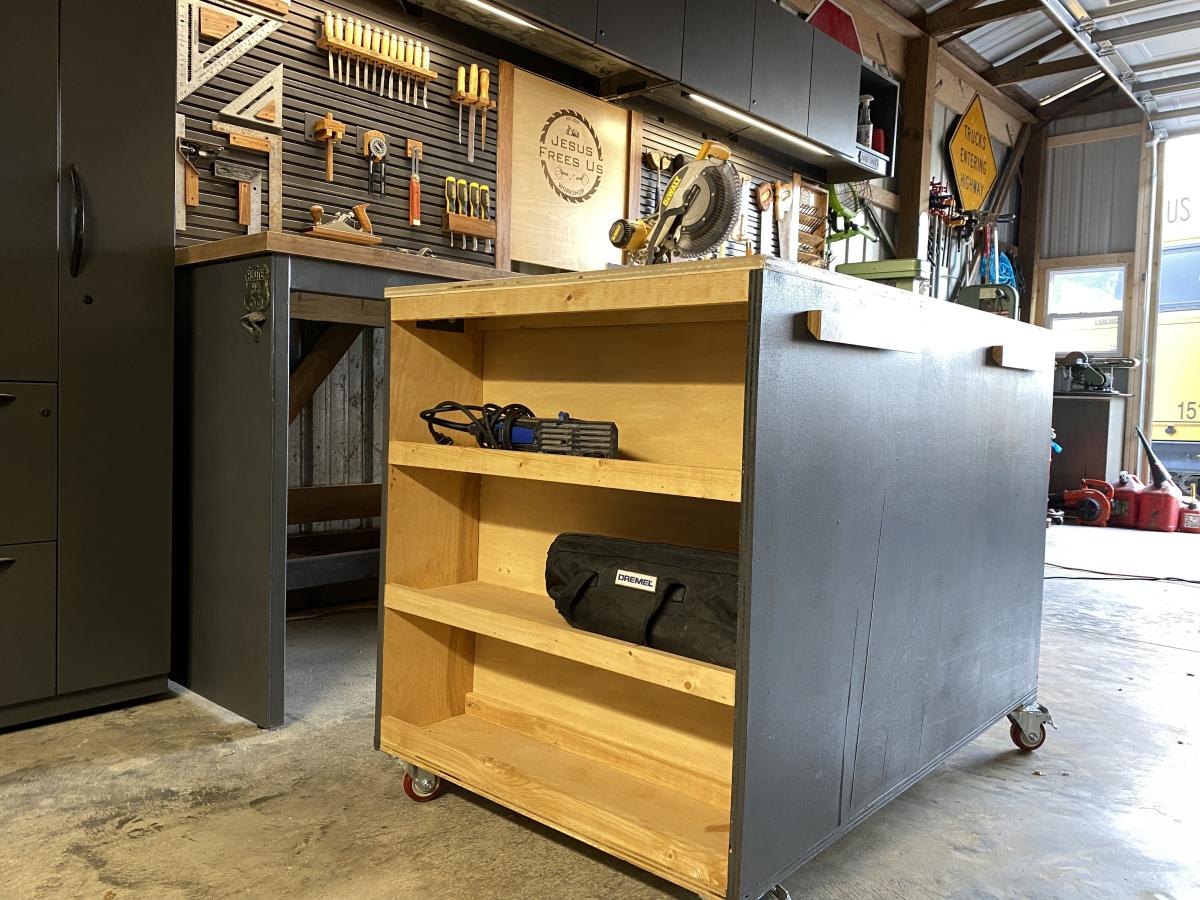
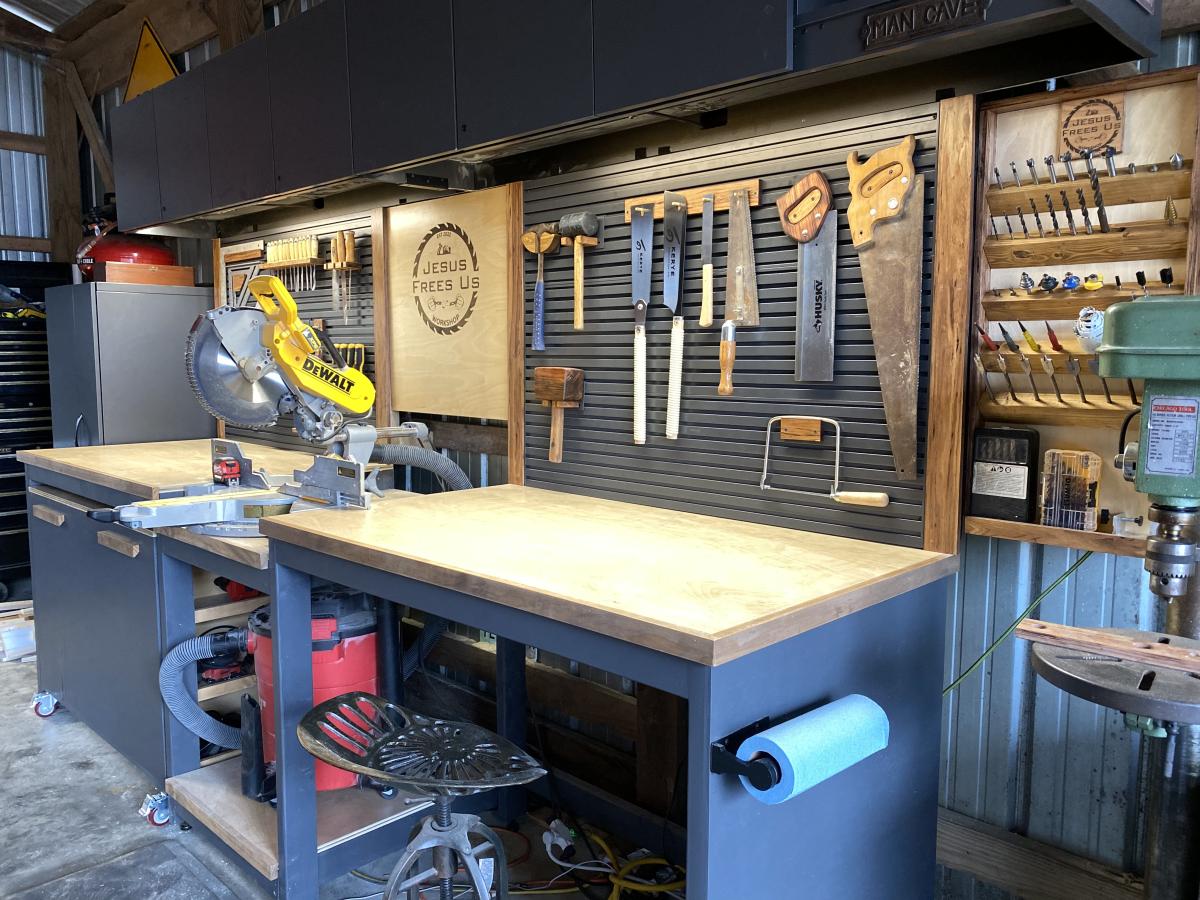
This plan is exactly what I needed for my workspace. I ended up adding some slat wall pieces and cabinets above from cubicles in an old office nearby that closed down for a tool wall and storage. I left the right opening empty due to how unlevel my floors are. I may close it in later with drawers or cabinets, but it will be my sitting workspace for now. I trimmed out the edge with 1x2s and painted and stained everything for aesthetics.
Mon, 03/06/2023 - 17:36
WOW, this looks so good! Thank you for sharing your amazing work.

I slightly modified the Rustic X Desk plan to make my L shaped computer desk with a monitor platform! The desk surface is Shou Sugi Ban with an epoxy finish. All made from stock lumber and a lot of pocket hole screws. Thanks for posting your plan Ana to give me the idea! Construct for around $200.
Tue, 03/14/2023 - 18:34
Love your modifications, additions and finish! Thank you for sharing.
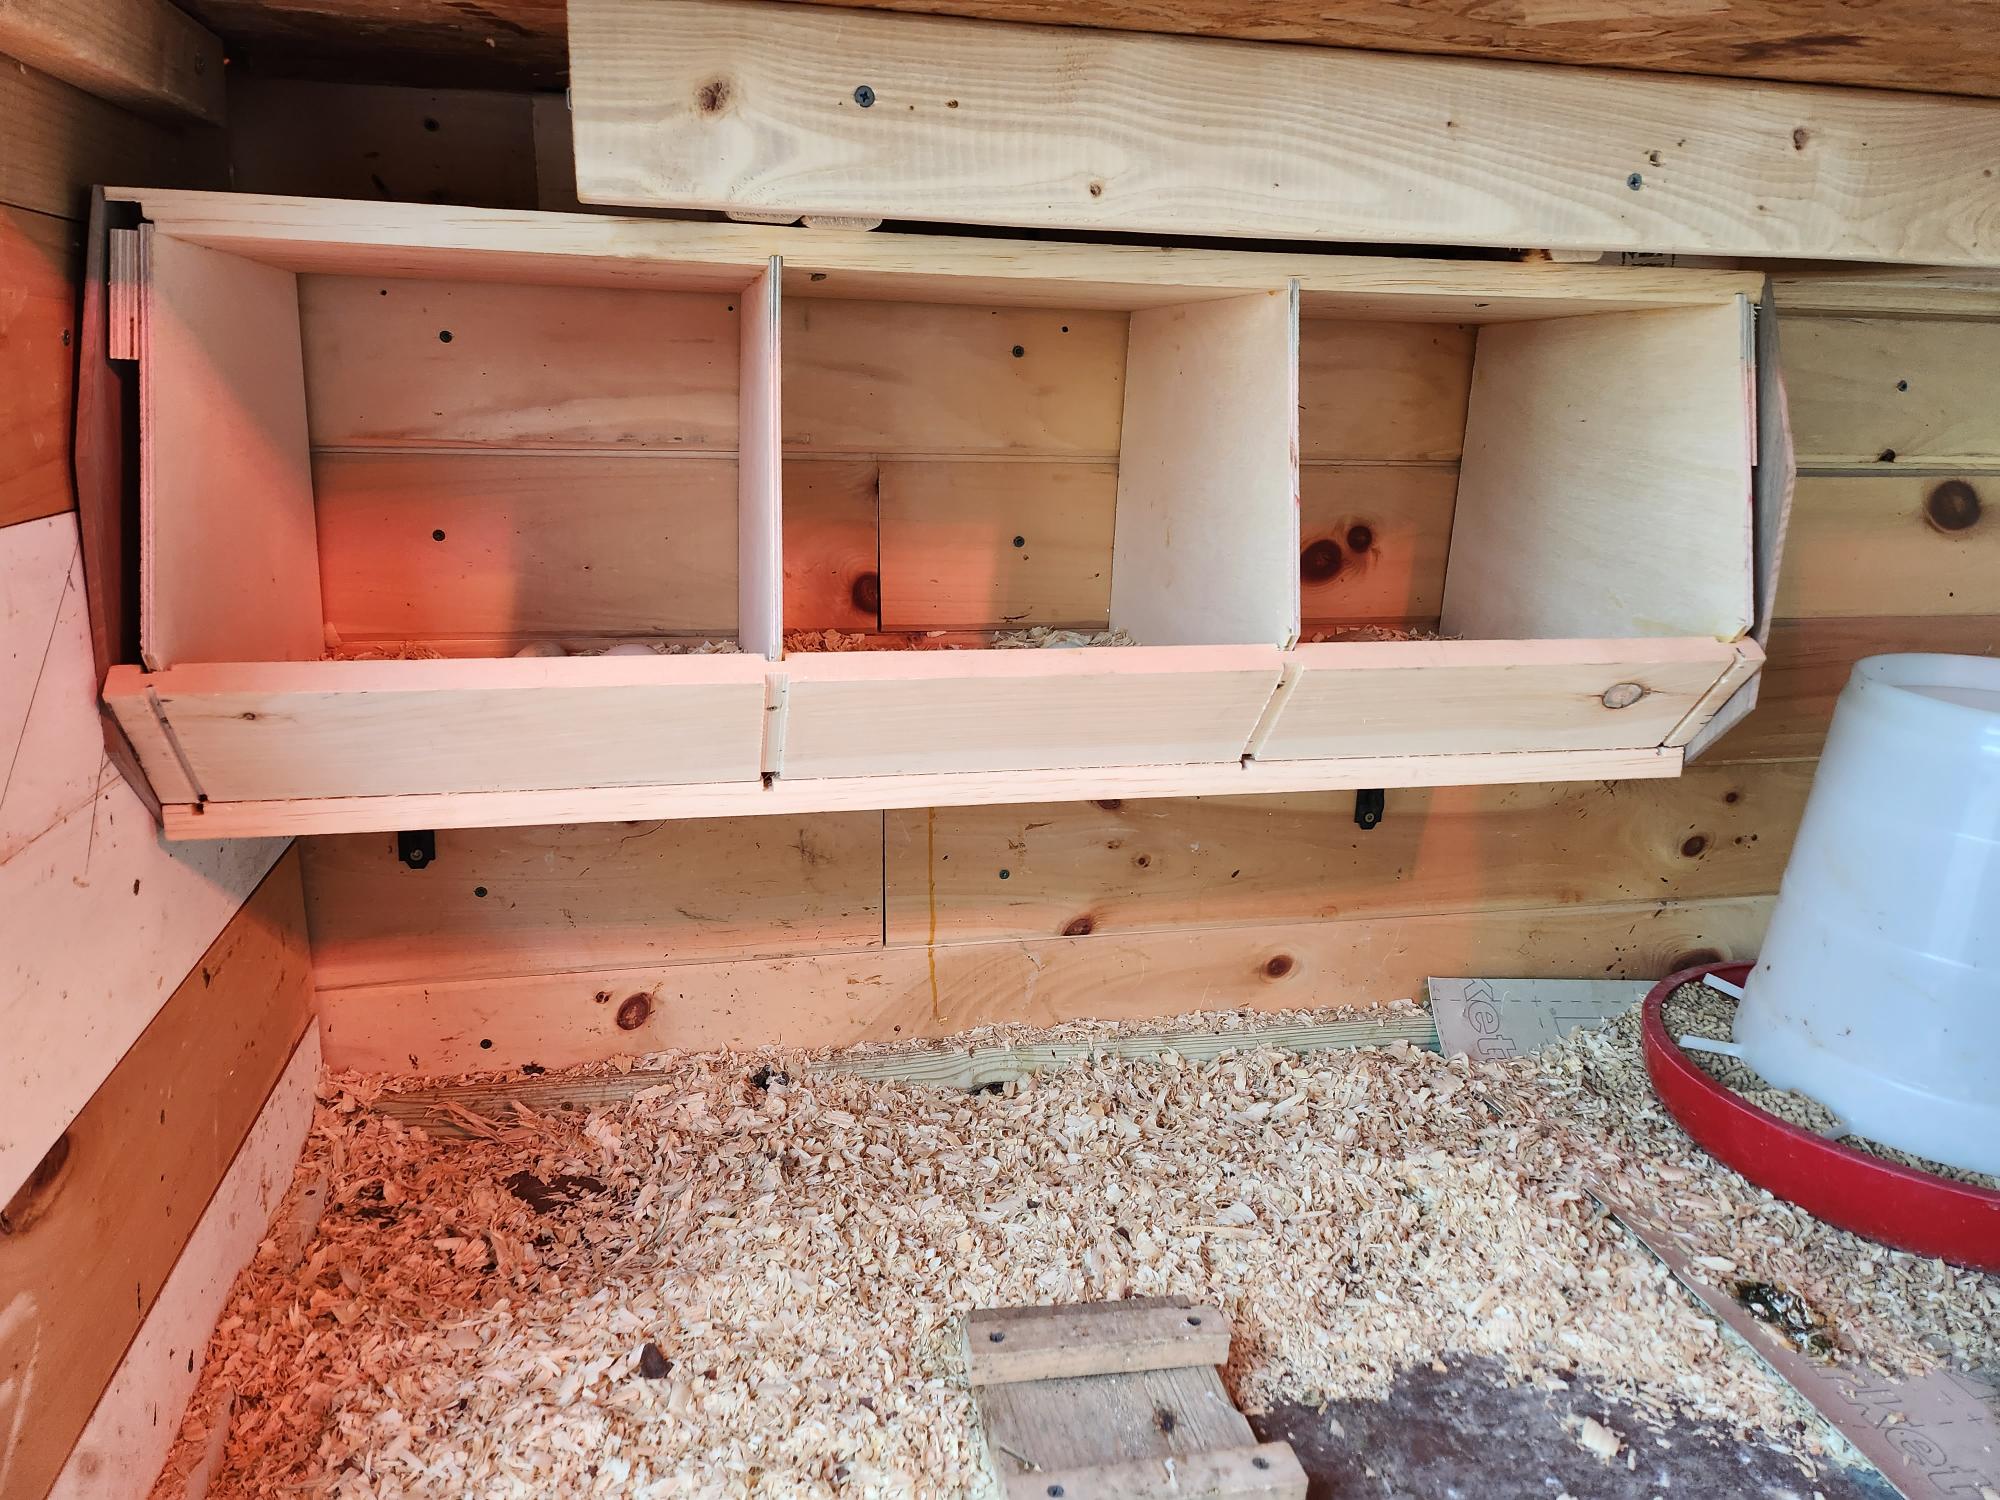
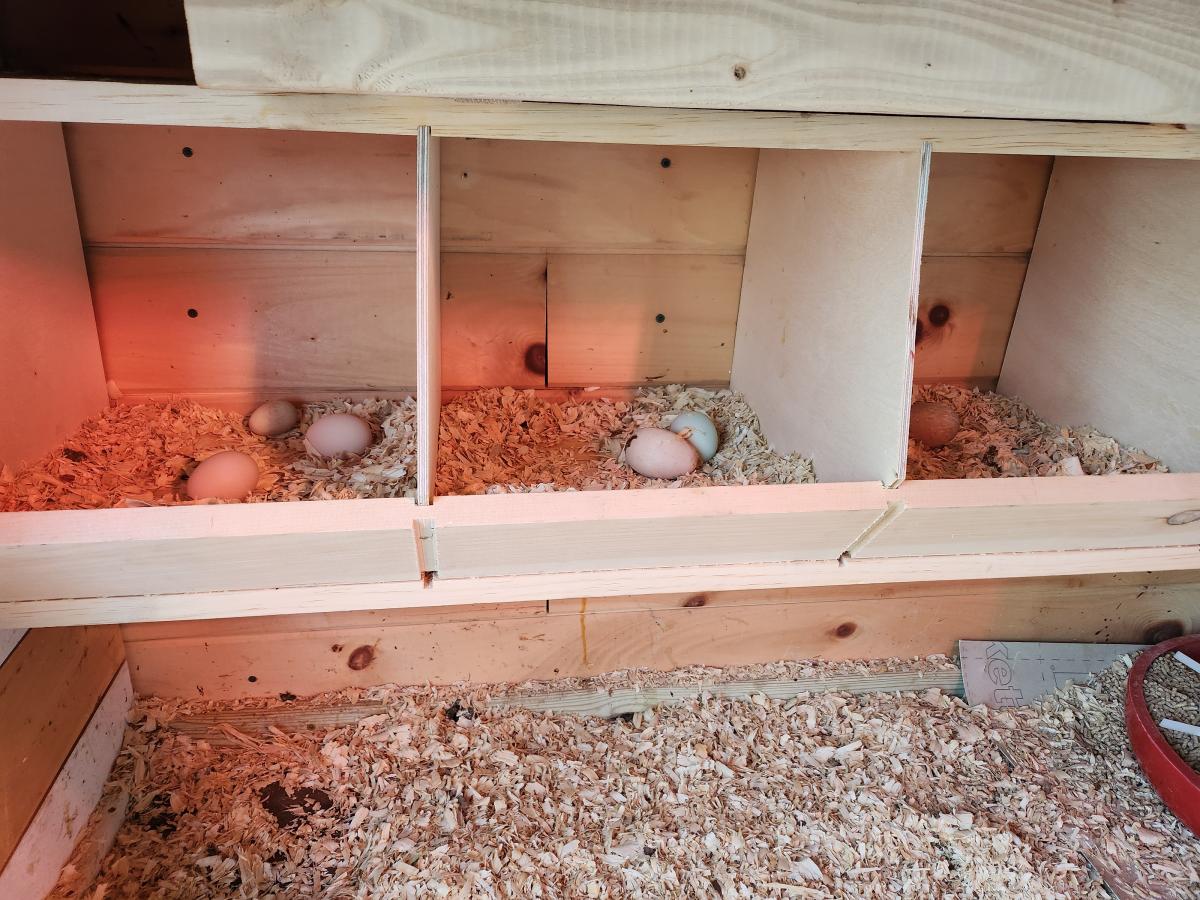
I have tried all sorts of nest boxes. No one ever used them. I decided to make the one from Anna White's site. I used joinery to attach the various pieces. The best thing of all: I find girls sitting in the boxes and take eggs from them. It really is awesome. I got a photo with real eggs and you can also see the wooden eggs to entice them to try it out. Thank you so much! I will build another one for the other side of the the wall.
Fri, 04/21/2023 - 10:18
Love the fresh eggs, looks like a win to me! Thanks for sharing.
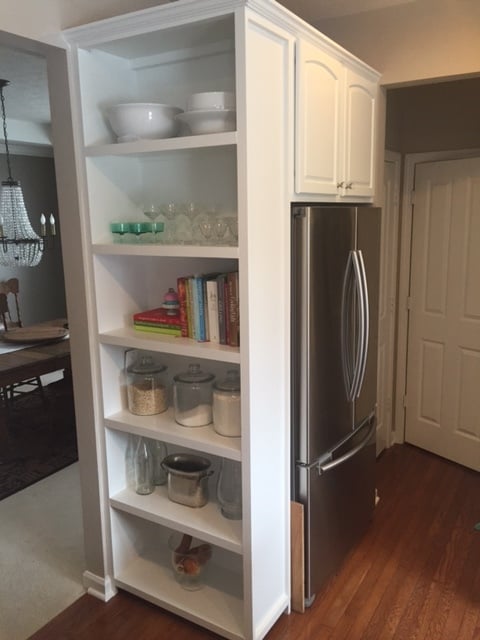
I used this plan to build this cabinet space around the fridge. Before this was built, we just had a small dinky counter space and the overhead cabinet. I had to make a few minor adjustments in order for it to fit in the space.
Fri, 08/05/2022 - 08:38
This is awesome. I love the utilization of space. Is this a shelf that you built ? How deep are the shelves?
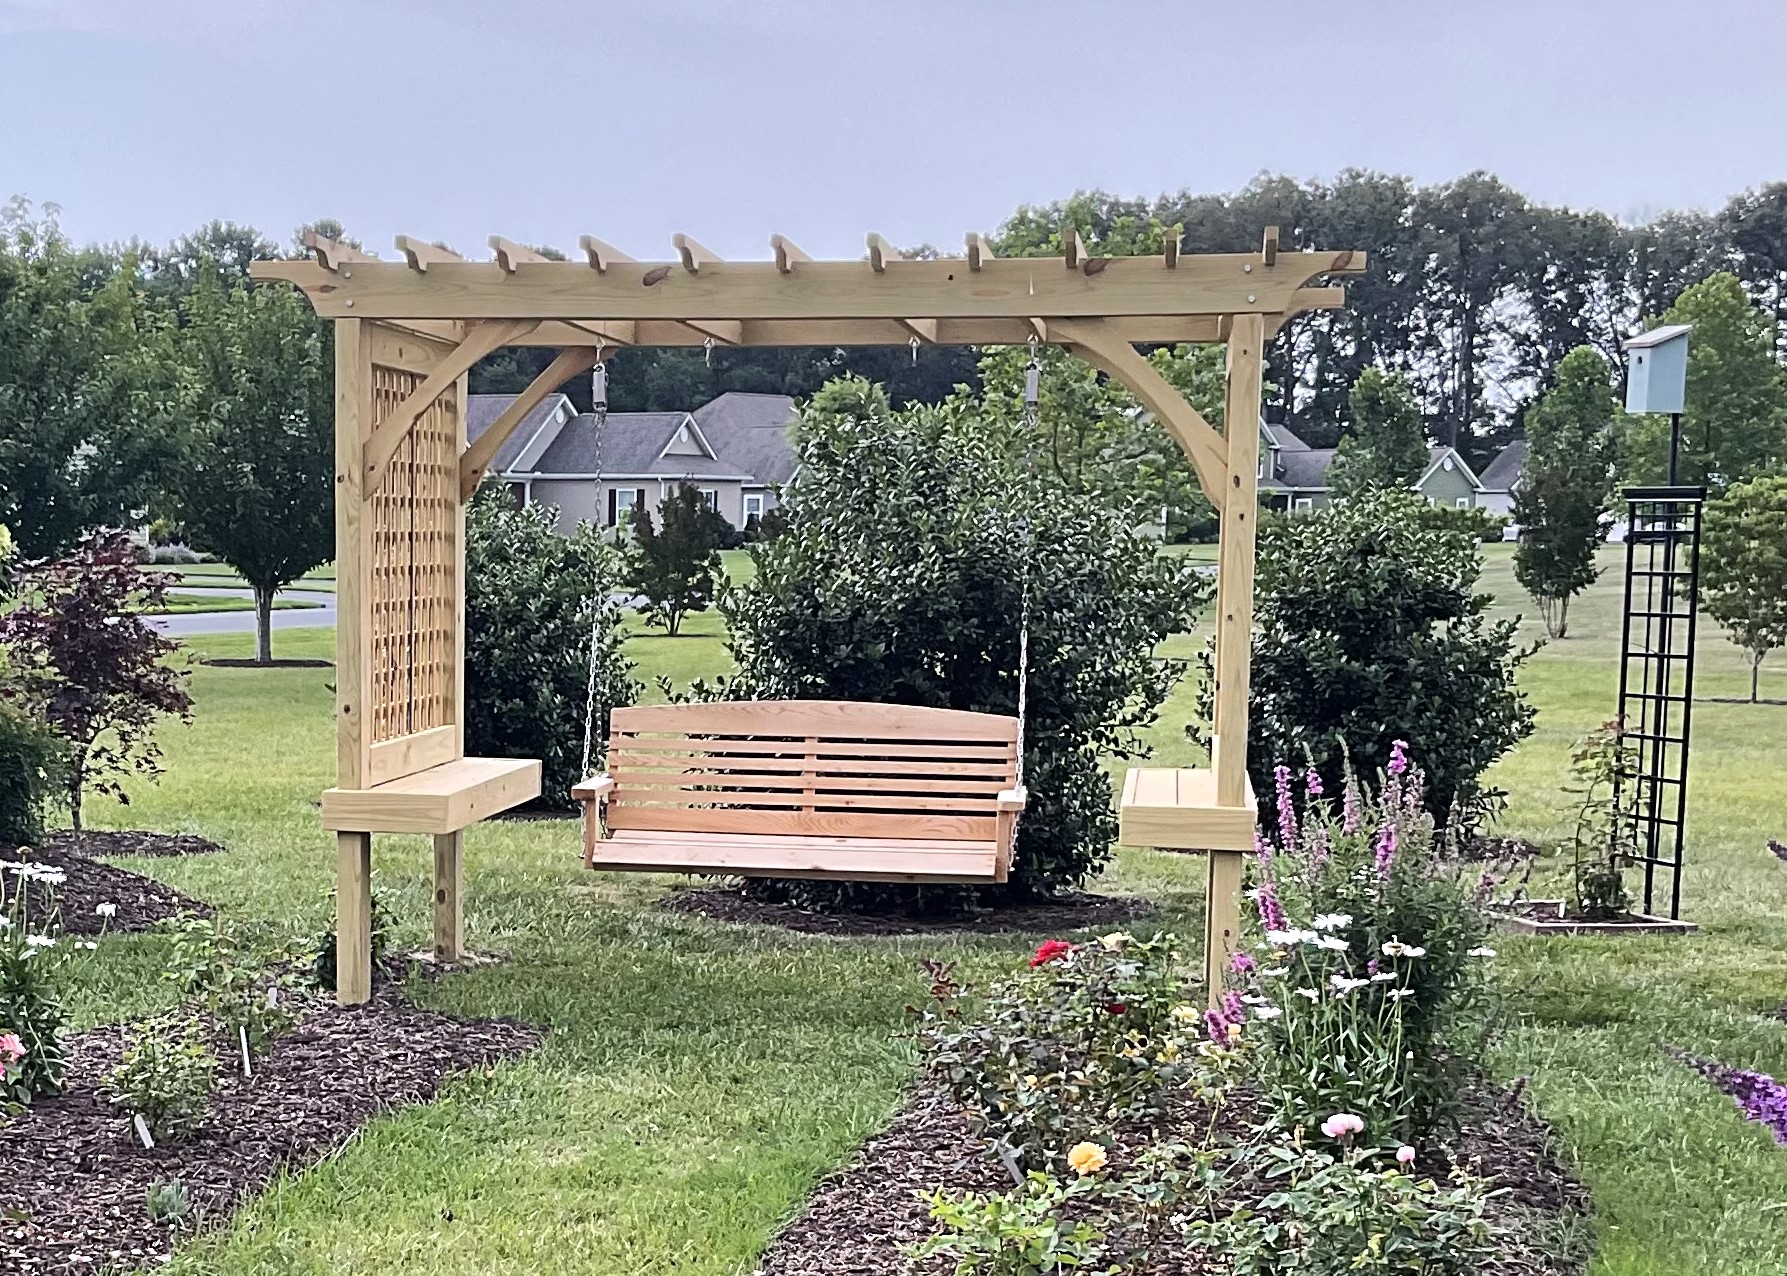
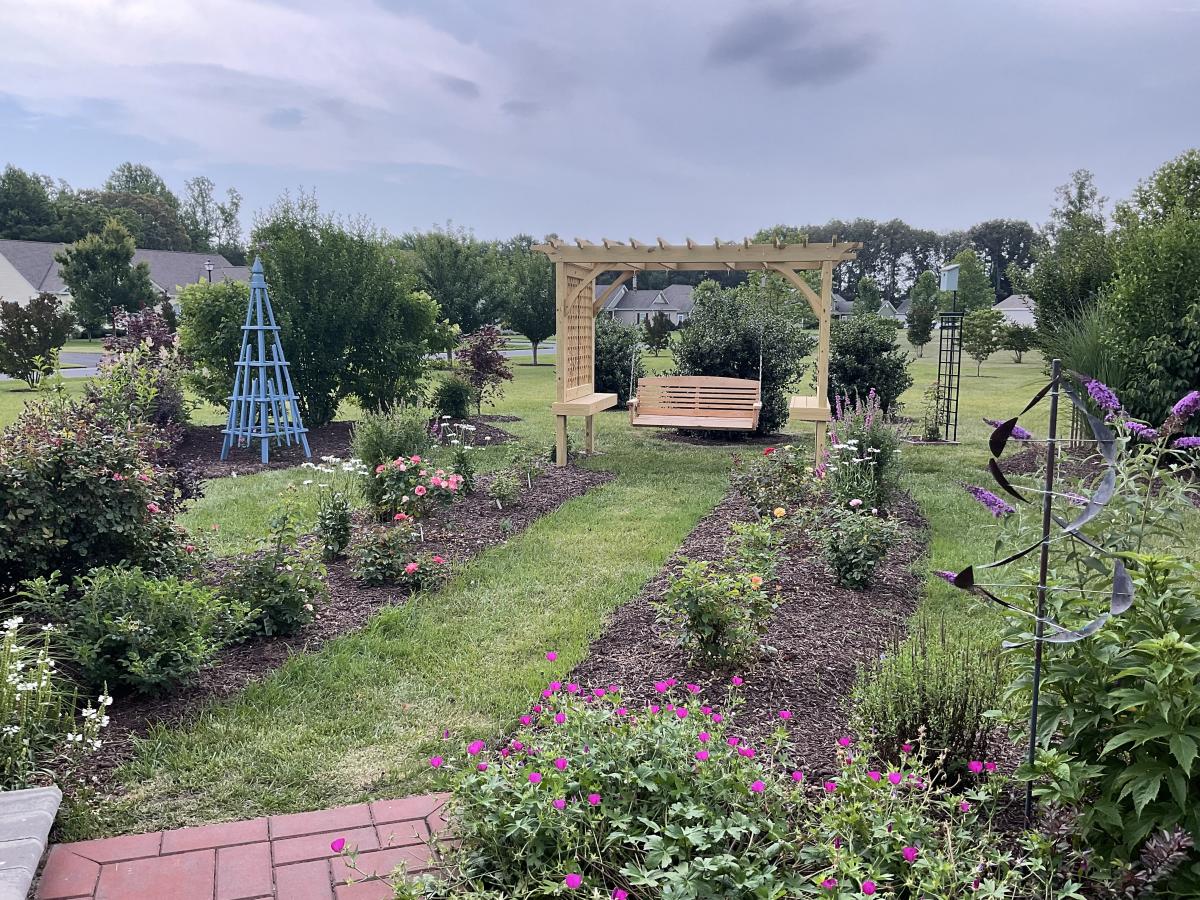
Just saw on instagram that no one bragged about this plan yet. We did order the swing online, but built the outdoor room from your plan. We did put our support posts in concrete, very windy here. Just waiting for the roses to grow up the sides. Thank you for making it easy with your plan.
Bill and Maryann Tate
Wed, 08/02/2023 - 16:18
Thanks so much for sharing and adding this project to our brag board, it looks so great!


Comments
Ana White Admin
Thu, 08/26/2021 - 20:44
Looks fantastic!
Thanks for sharing, I can see a lot of awesome builds happening there!