Bar / Buffet Table
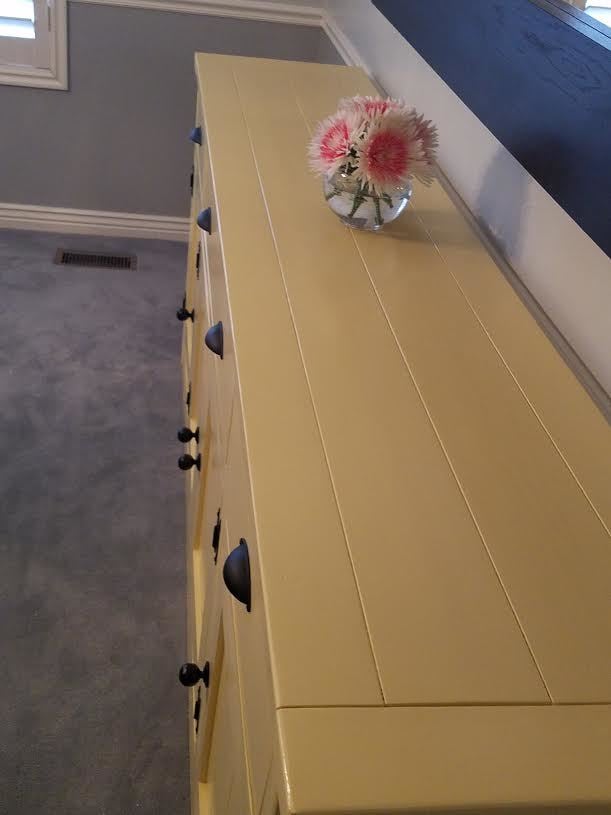
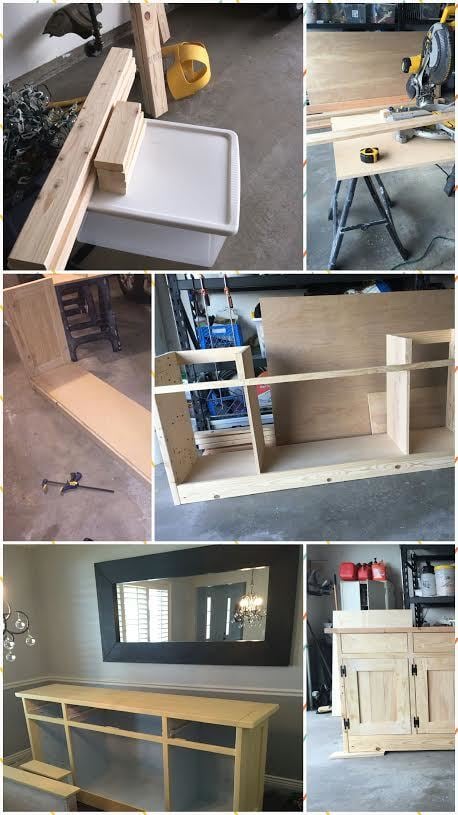
Made from a combination of Ana White plans to build the ultimate home bar! I used the Rustic Sideboard / Buffet Table and Modular Bar Wine Grid Hutch plans for this custom build
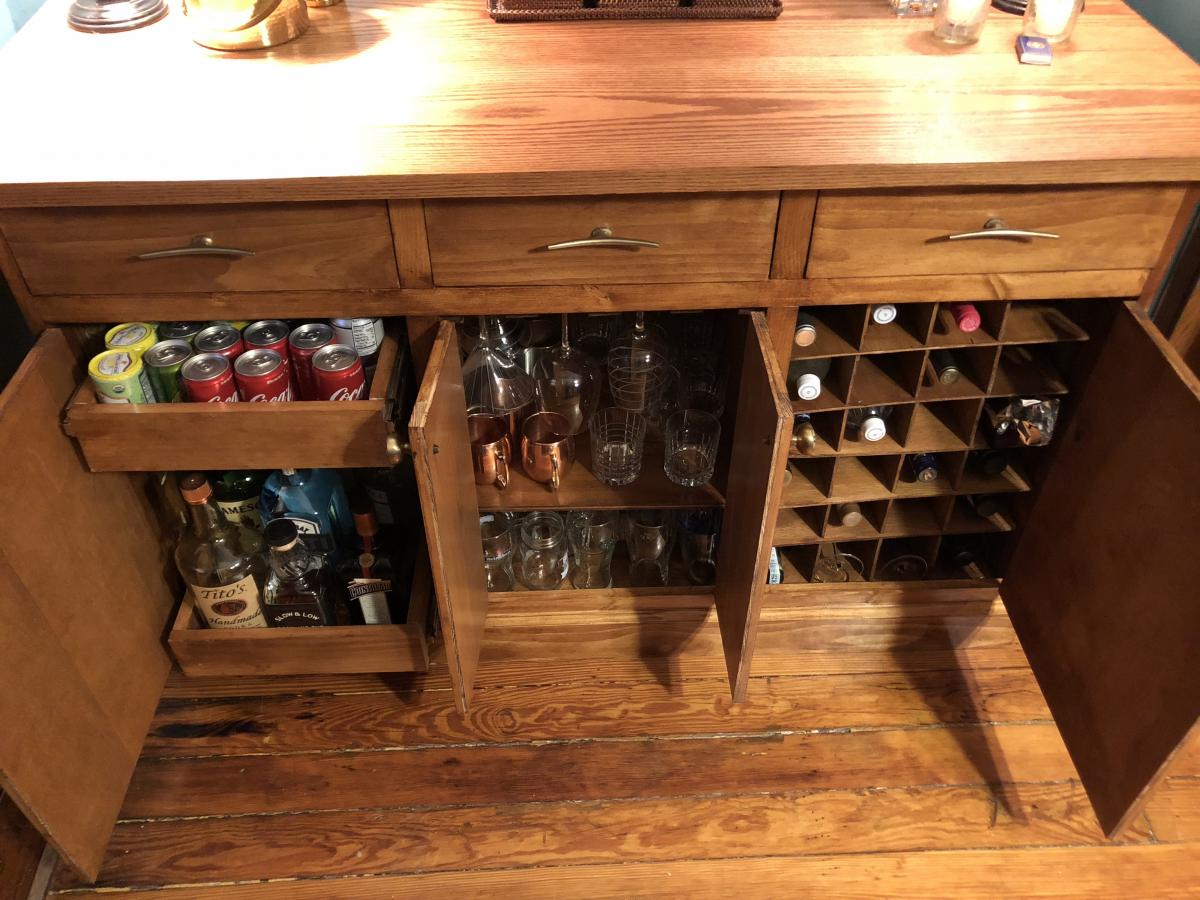

Made from a combination of Ana White plans to build the ultimate home bar! I used the Rustic Sideboard / Buffet Table and Modular Bar Wine Grid Hutch plans for this custom build


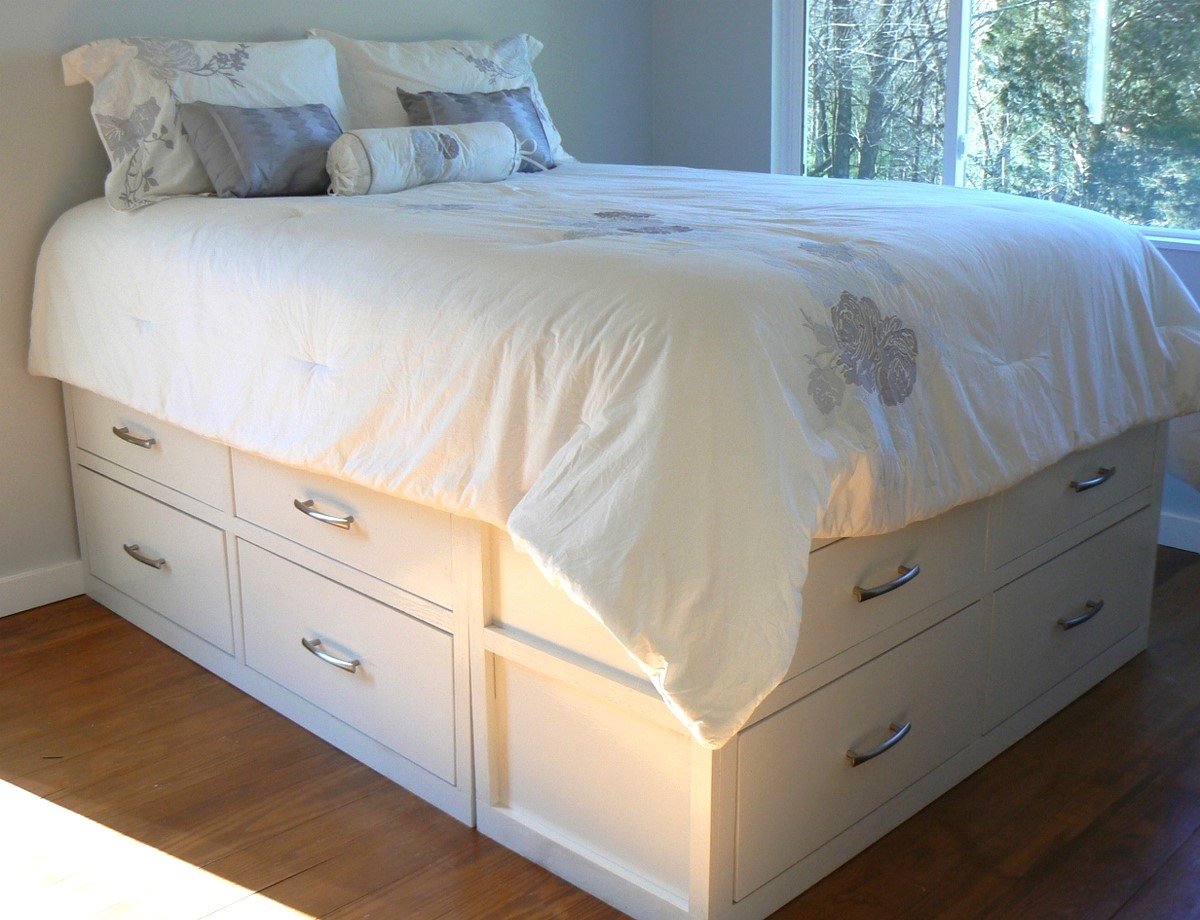
After we built the first level, we decided we didn't like how low to the ground the mattress was going to be, so we made another level. Our master bedroom is very small so this gives us plenty of storage space! The floor throughout the house is wavy, so theboxes do not meet perfectly ( you can see a slight gap at the bottom) which drives me crazy, but I will have to live with it for now. We kept the drawer face simple (less work, and we like the clean lines). Our mattress is quite thick, so I see myself building a step stool in my near future! This was our first project and very easy to follow. Already working on my next project. I am addicted! Thanks for the great site, Ana!
Wed, 02/22/2012 - 13:05
Total height is 25 inches. I love how tall it is, because the dogs cannot jump on the bed! I wish we would have thought about the double drawer height before we started as it would have brought the cost and time down significantly. We live and we learn. Enjoy your new bed!
Tue, 07/31/2012 - 19:48
Just wondering how you attached the double drawer layers together... Love the look of it...
Mon, 06/10/2013 - 17:41
Sorry for the delay in response. I haven't been on the site in awhile and I could not figure out my password! We used the Kreg Jig to attach the top level to the bottom. Looking back on it, we should have just built the walls as one piece, but since the top drawers were an addition, after the fact, we just had to deal. The 1x2 trim piece gave it a finished and less pieced together look. It has been so long since we built this, the details are fading!
Sat, 08/06/2016 - 20:37
I'm new to furniture making and was wondering if you had plans for your work since I like the height, queen and twin size? Also, I was wondering if any drawers are for storage purposes, as I would like them to be?
Mon, 10/08/2012 - 08:00
Hi this is exactly what I need to do!
we just bought a new bed and I new I'd be making this not thinking I decided not to buy the box spring, now I realize my bed will be on the floor...
I would love it if you could share everything you learned in making it double decker! please
thanks
Natasha
Mon, 06/10/2013 - 17:48
Better late than never, I hope...
First thing we learned, the bed is a little too high, so we should have made slightly smaller drawers. Still happy our dogs can't get up there, but I have to actually hop up on the bed every night, and still have yet to get around to making my step stool.
Second, cut the side pieces for the height needed for two drawers, then you have a cleaner look with no middle trim piece. I don't mind it, but I would like it more without, I think.
That is really all I would change. The plans were easy to follow and made it easy to alter for our needs.
Tue, 05/07/2013 - 23:52
I am flabbergasted by this AMAZING bed you MADE over the WEEKEND! This is simply unbelievable! I absolutely could never do something like this. Are you willing to make a King size one exactly like this and sell it to me??
Oh please?!
Renee
Mon, 06/10/2013 - 17:53
Thank you for those kind words! I was a little nervous about taking on such a big project, but we had a fun time building it { I can't say the same for sanding and painting :-) } and are very happy with the space it freed up in our very small bedroom! Just take your time, invest in a Kreg Jig, and you can do it too!
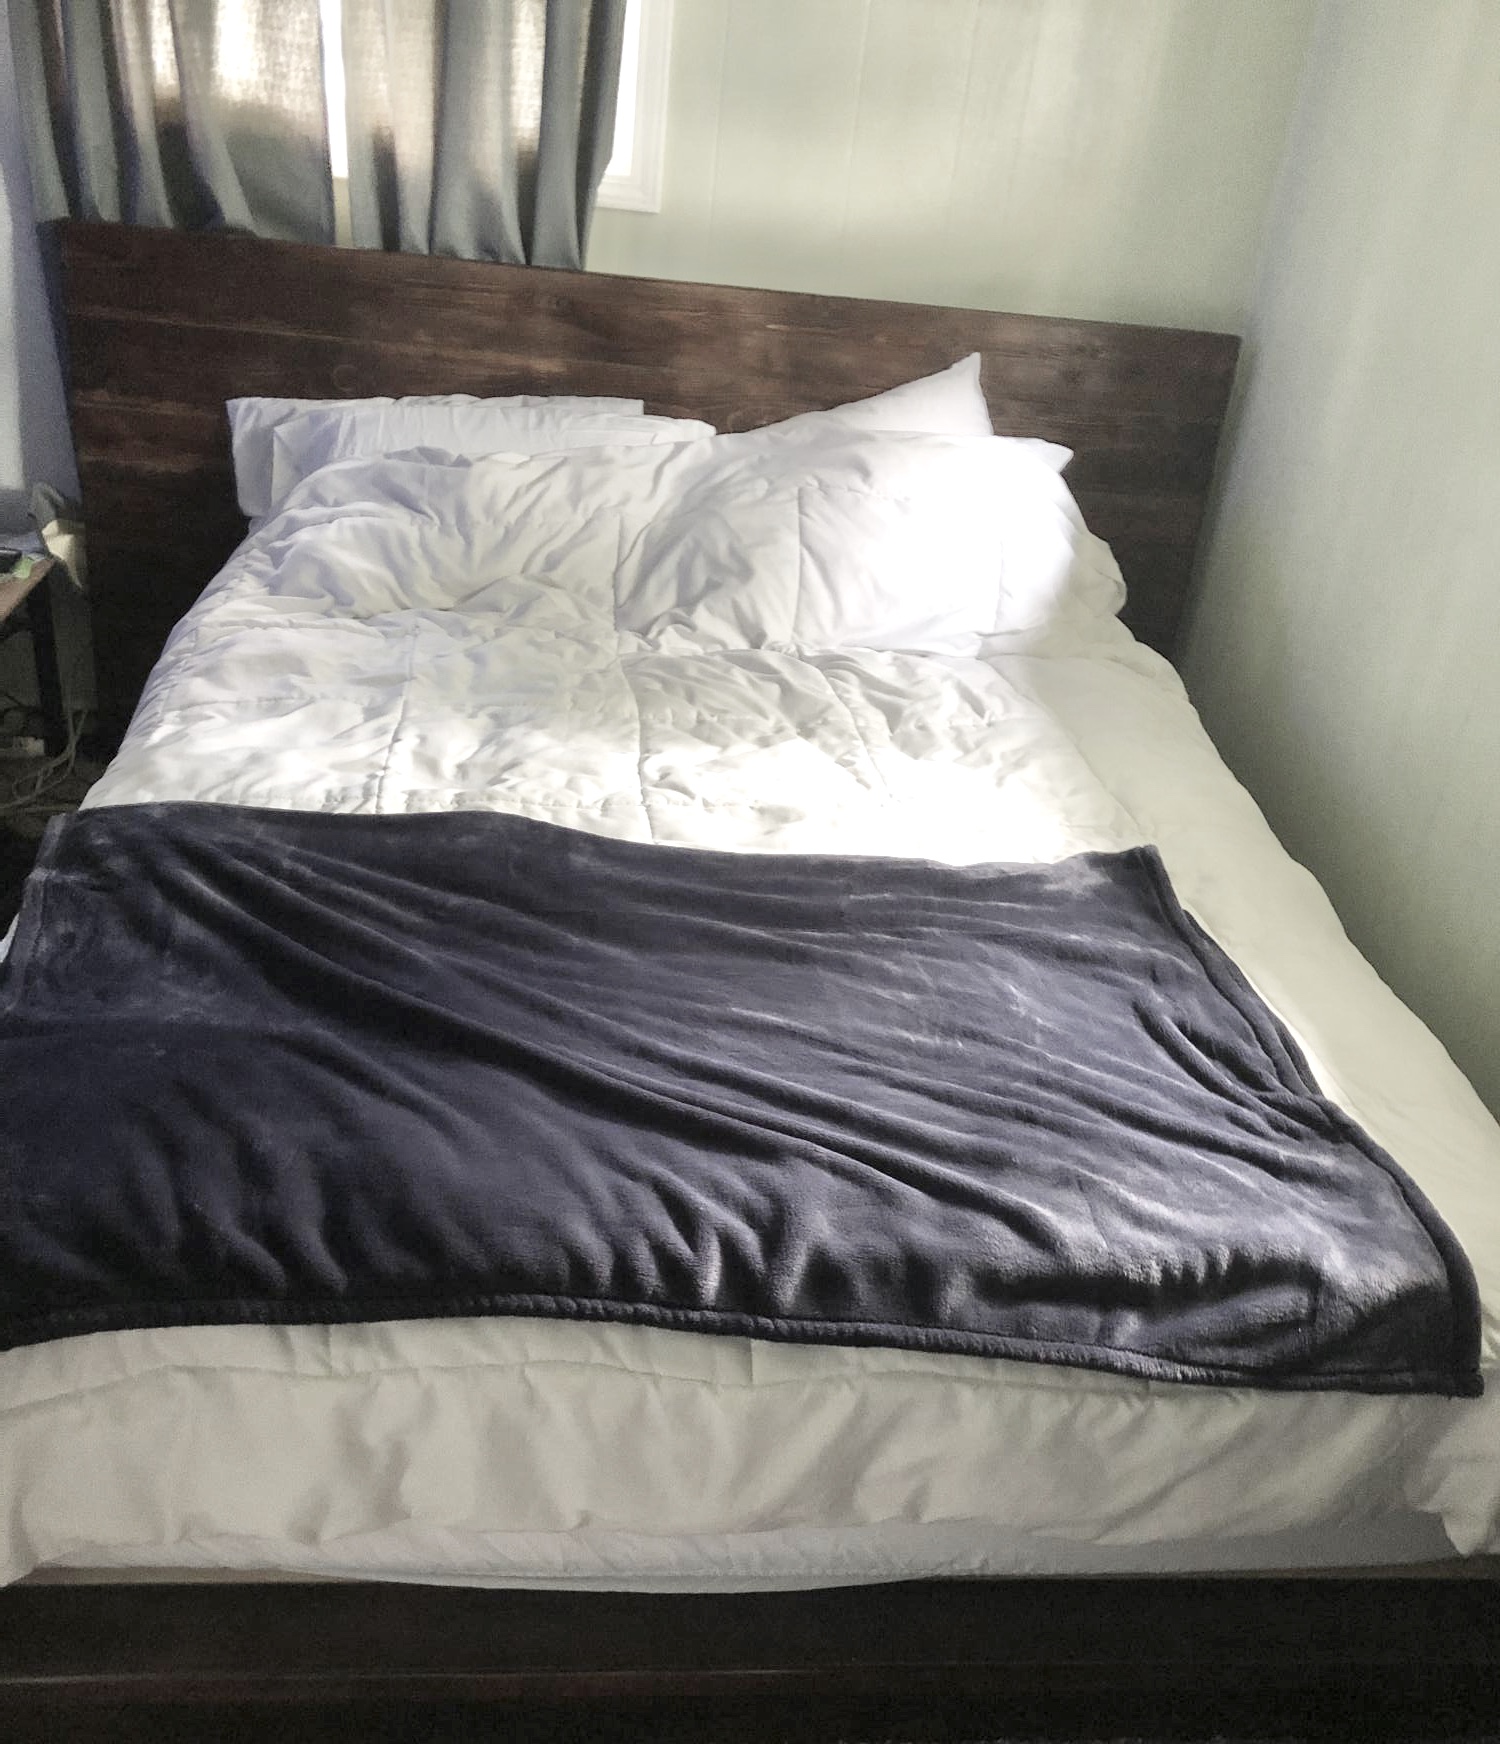
My son absolutely loves the platform bed I built him
For his birthday. Such a quick easy build thank you Ana for the plans
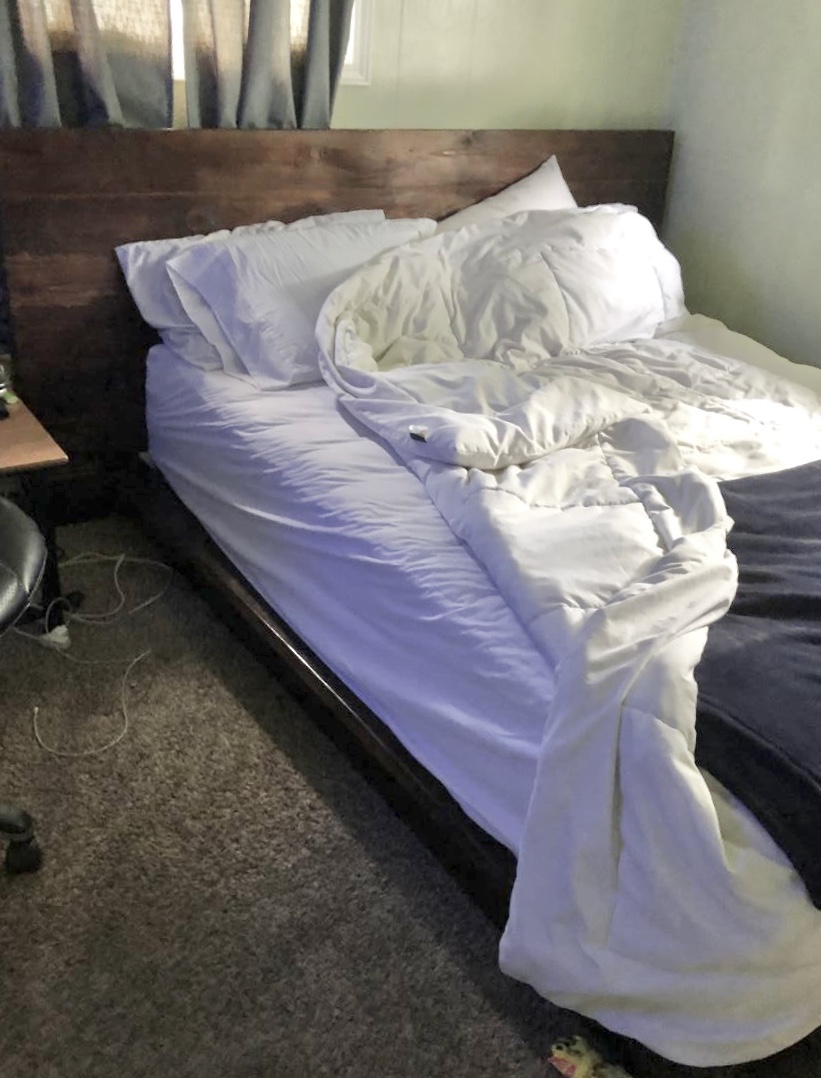

Made 2 of these for my coffee shop in Puerto Rico. Easy instructions. Thank you!
Javiel Cardona

I saw the plans on Ana White website and and used them to put this together. I changed it slightly to fit my needs. I made this for my in-laws and it was a lot of fun to do. Hardest part was using blue tape on stain and paint.

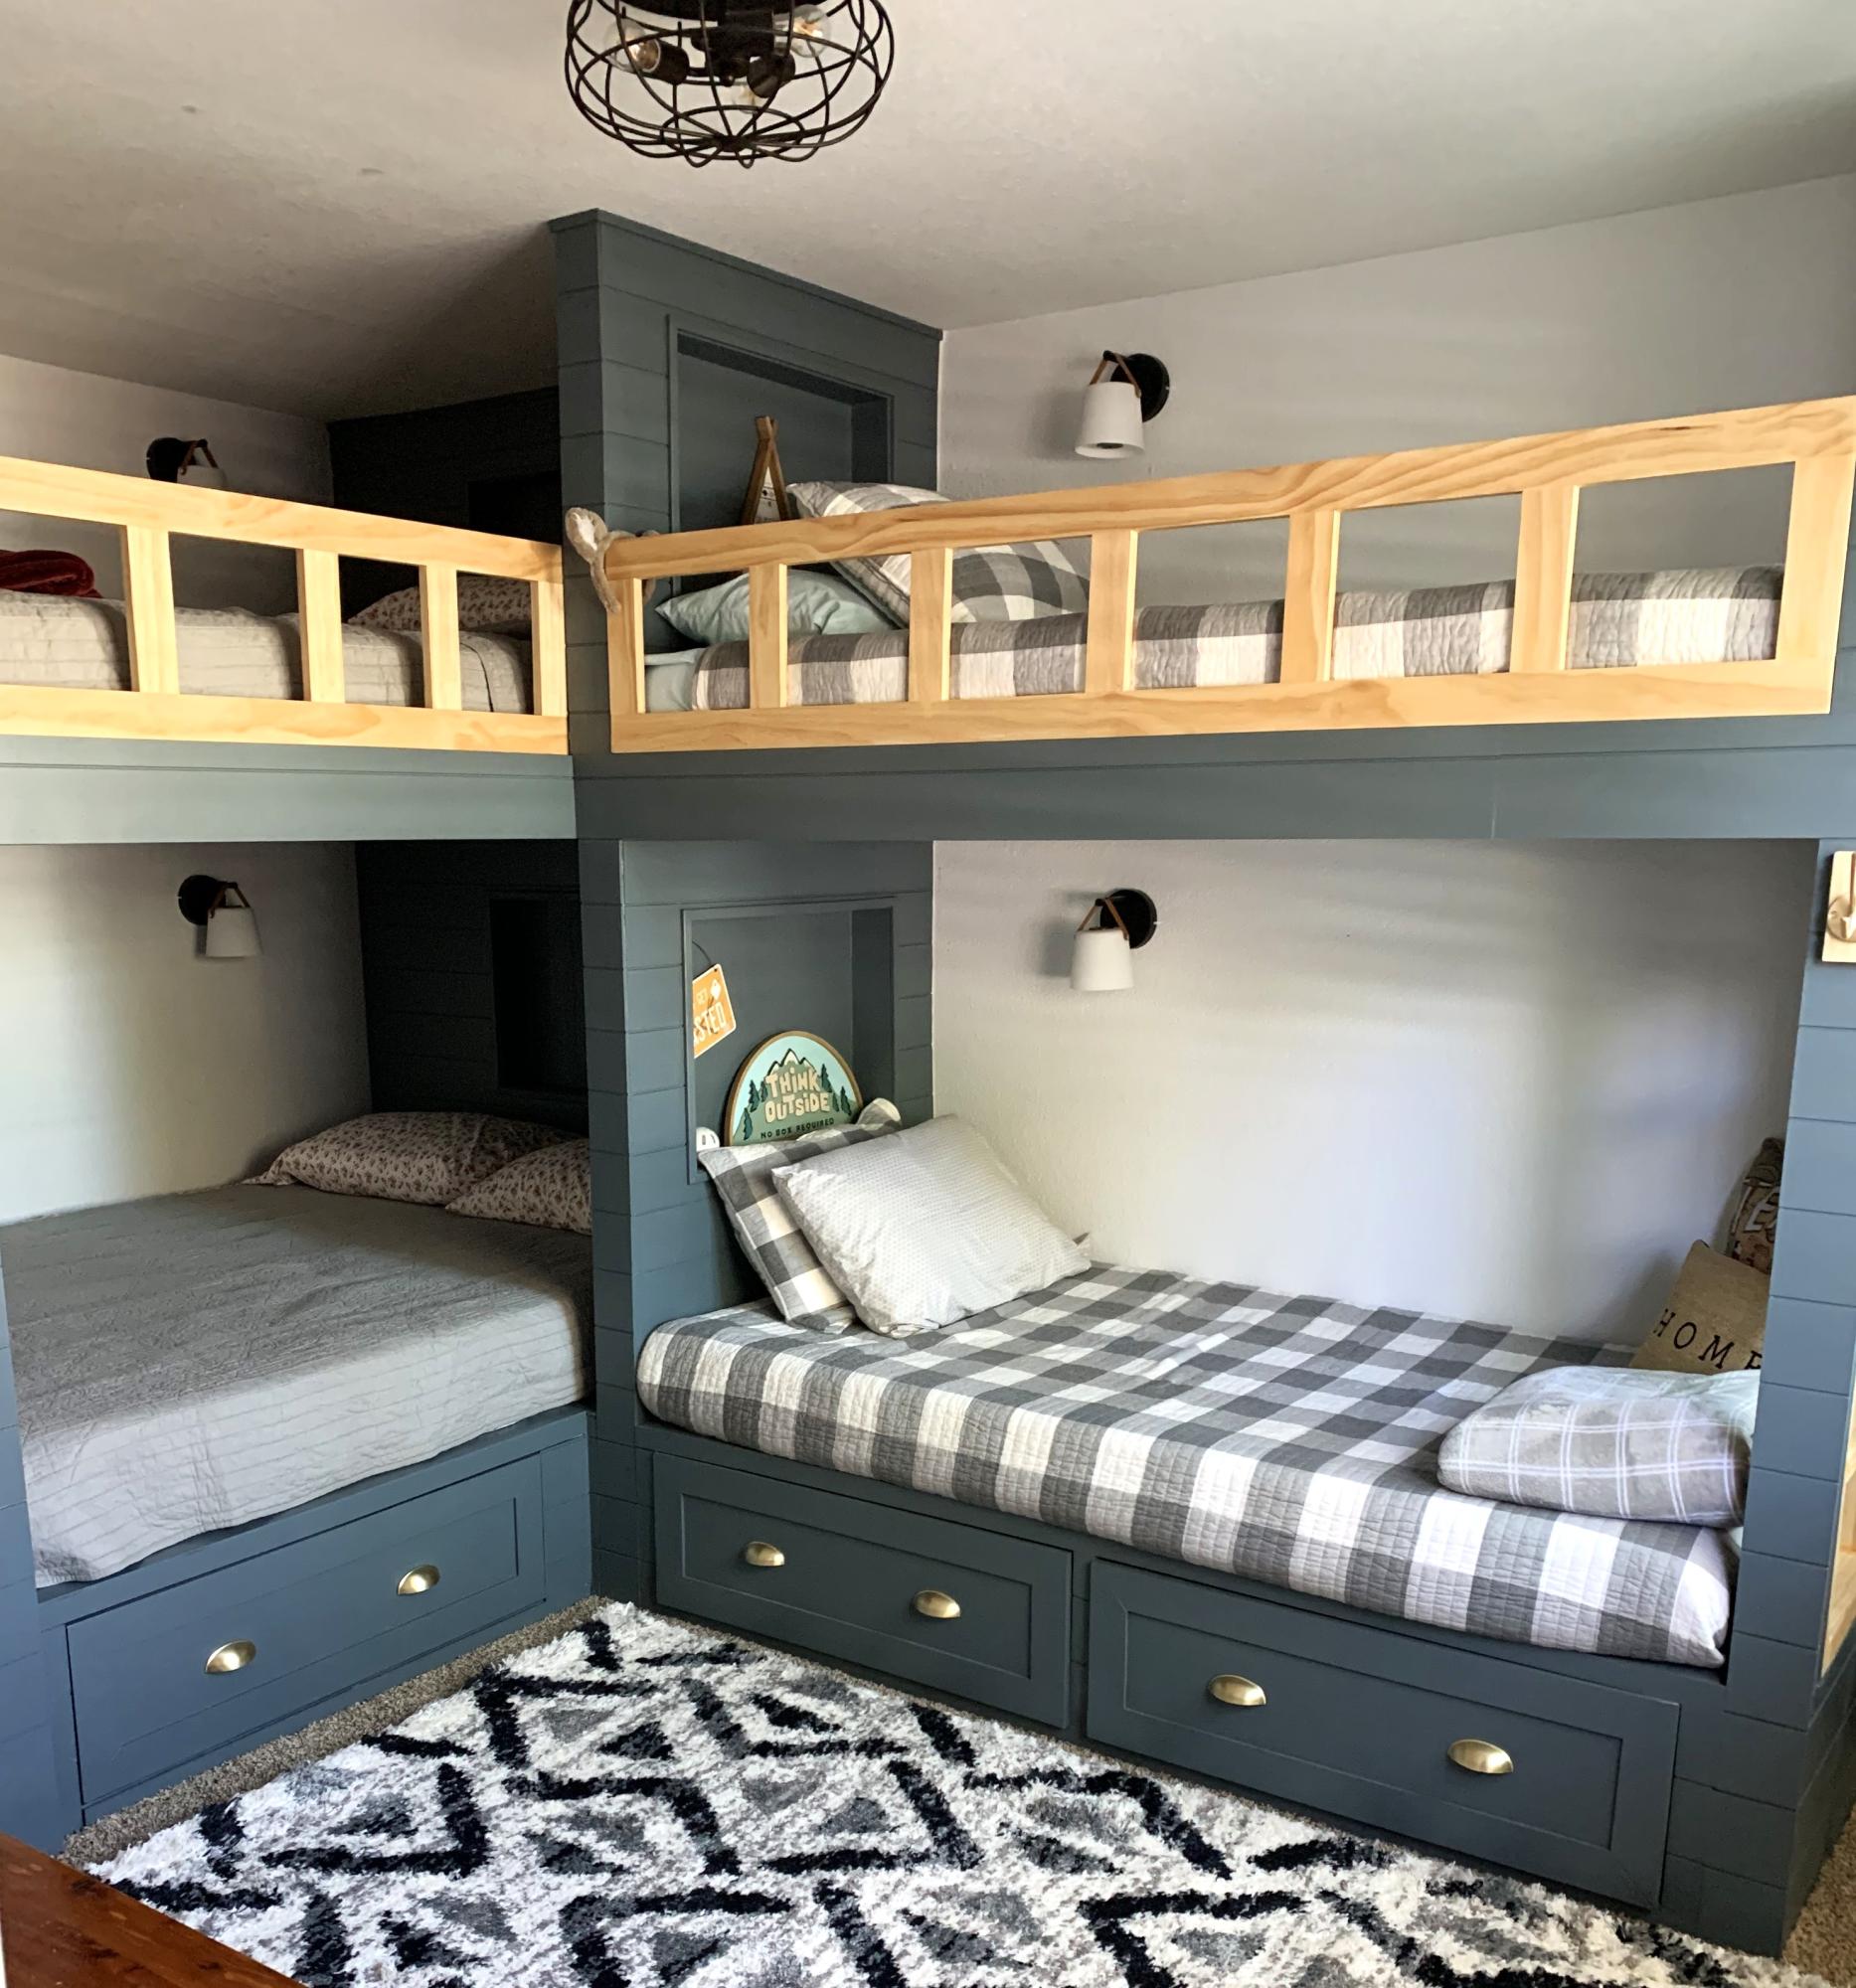
The queen and twin bases were base on your twin bed with storage. Pretty easy to do. This is my first time doing anything this big. I live in a four season resort town and needed beds for heads for ski season.
Debbi H - IG - callintn
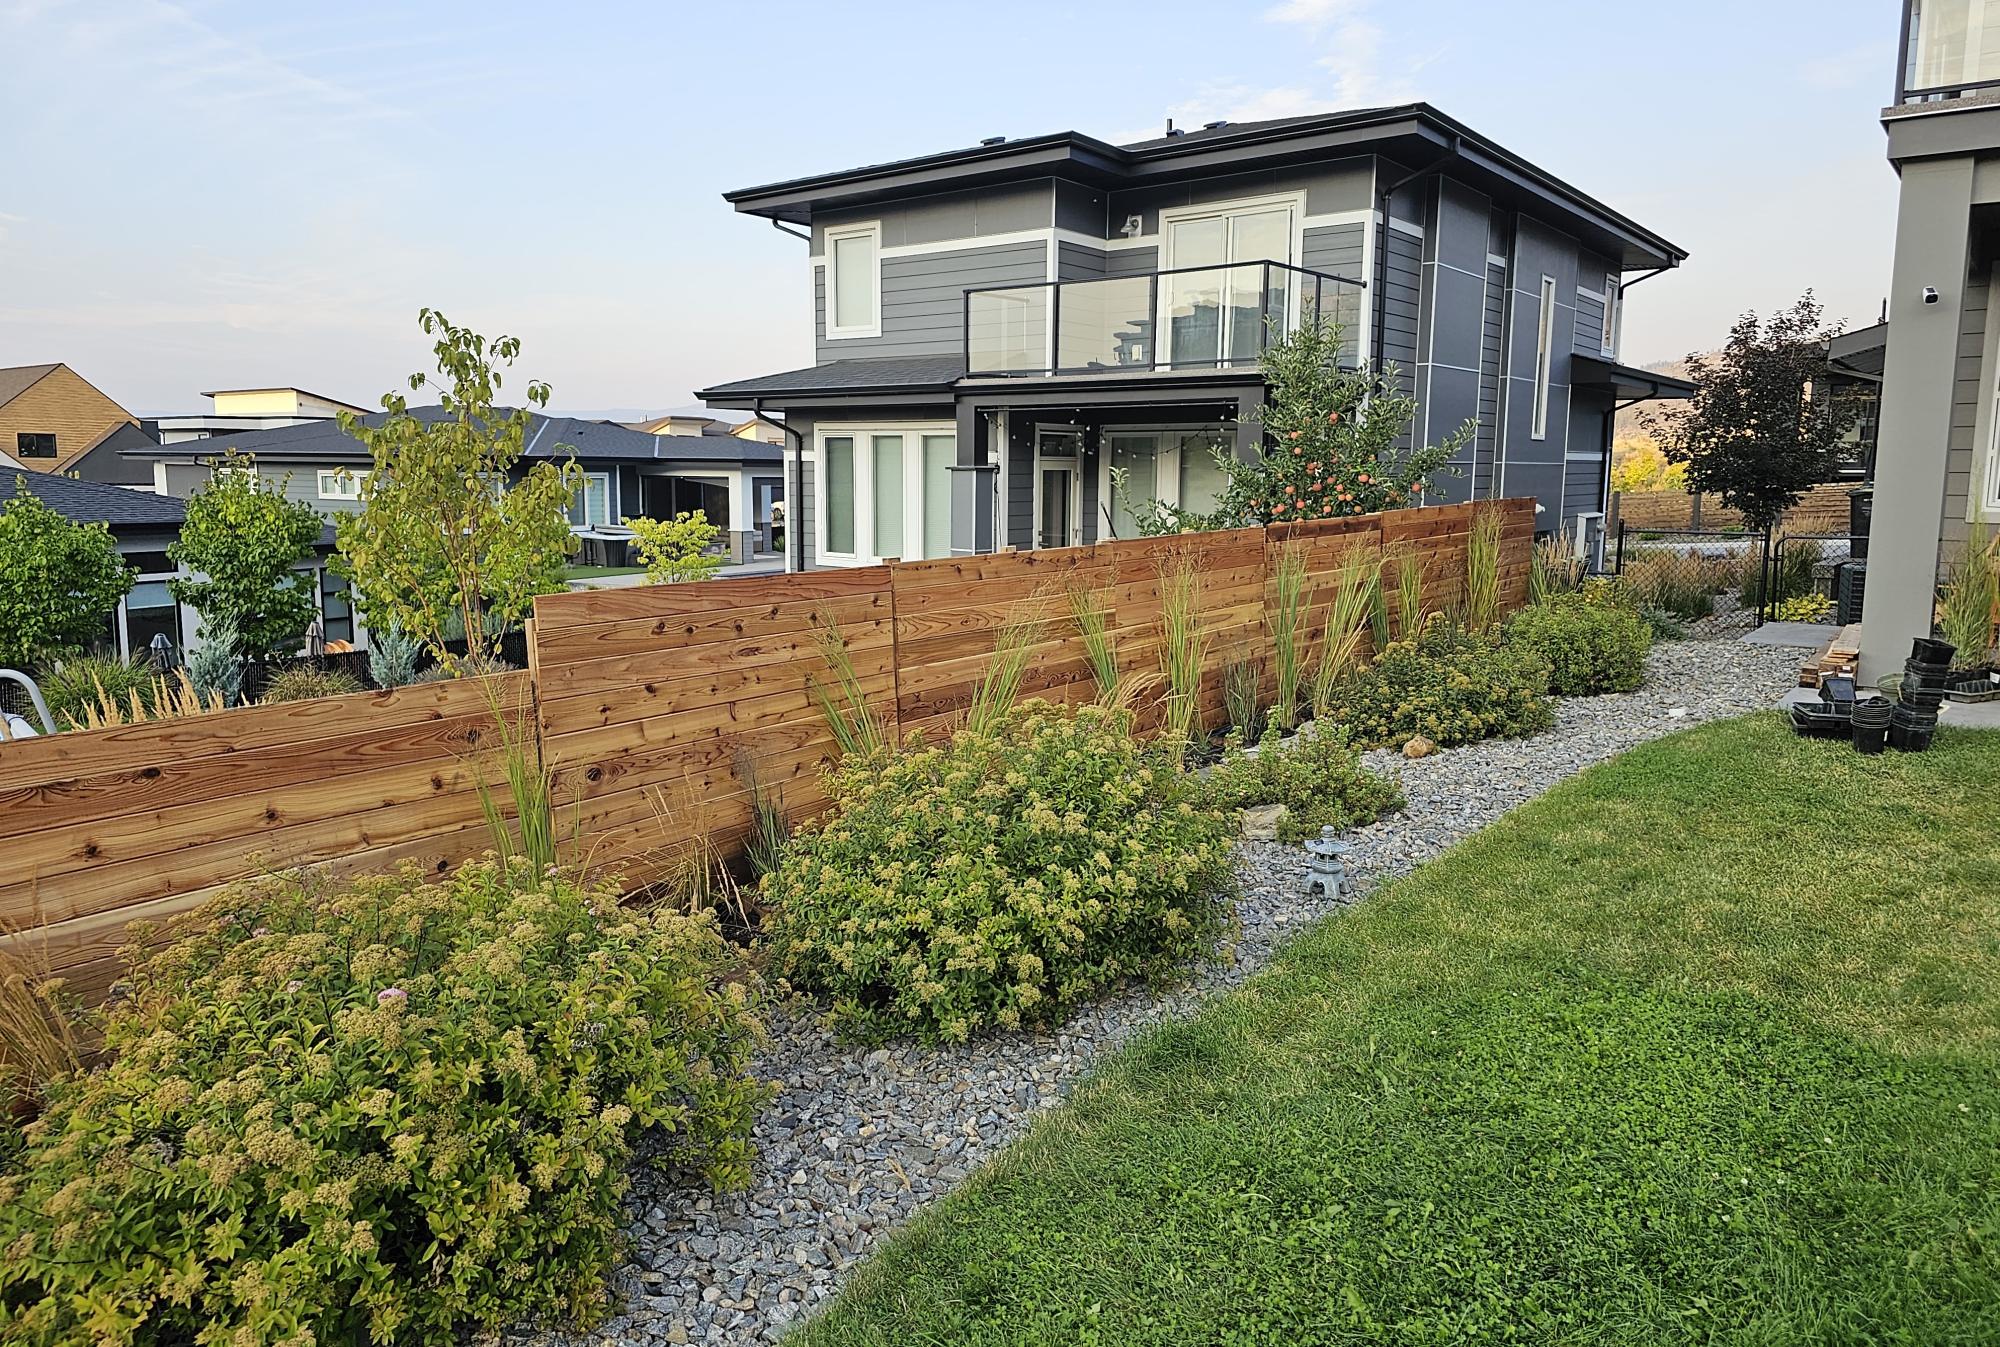
Created a privacy planter fence, using multiple planters. Most of the bases were custom sizes due to the existing rock wall. Tongue and groove cedar utilized and coated with linseed oil. I ensured the frames were square and plumb which the directions omit for some reason. Great week long project!
Kyle
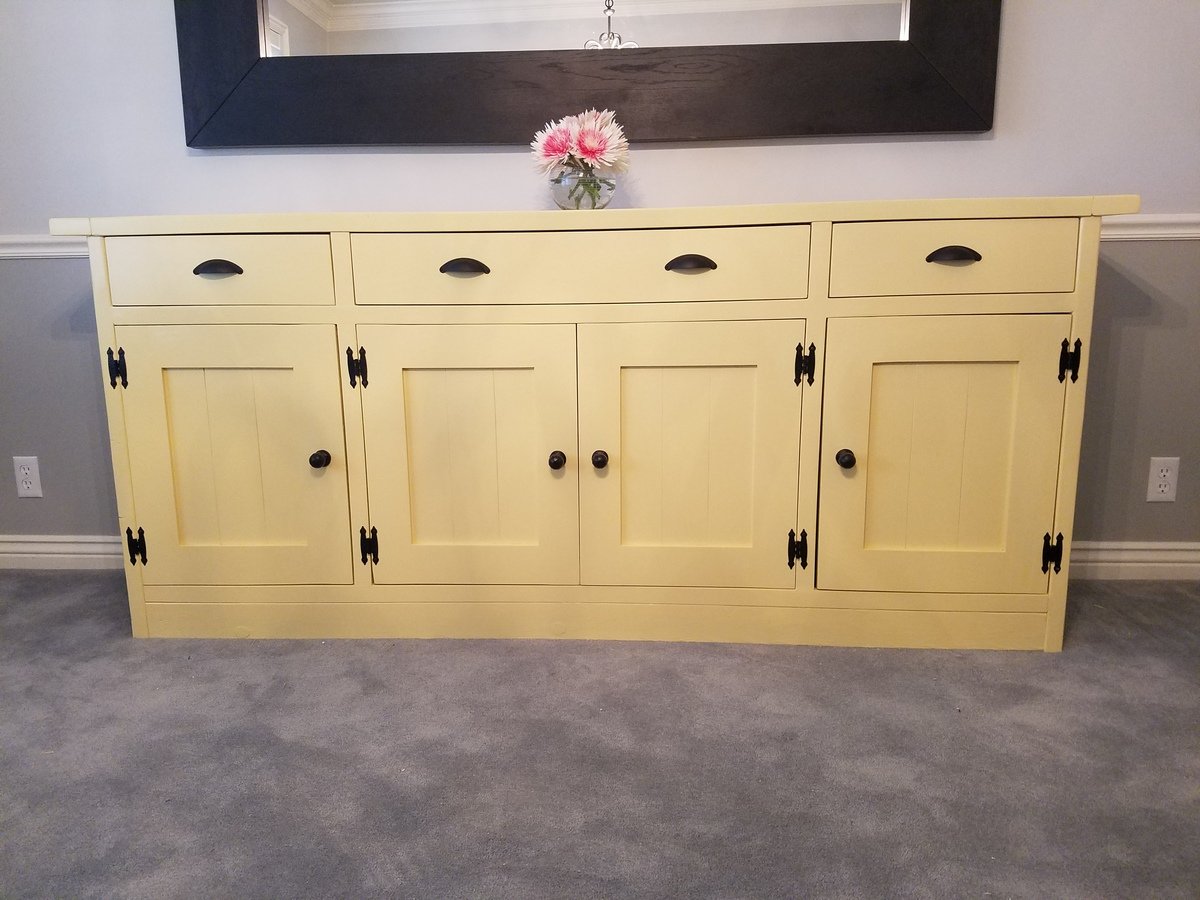
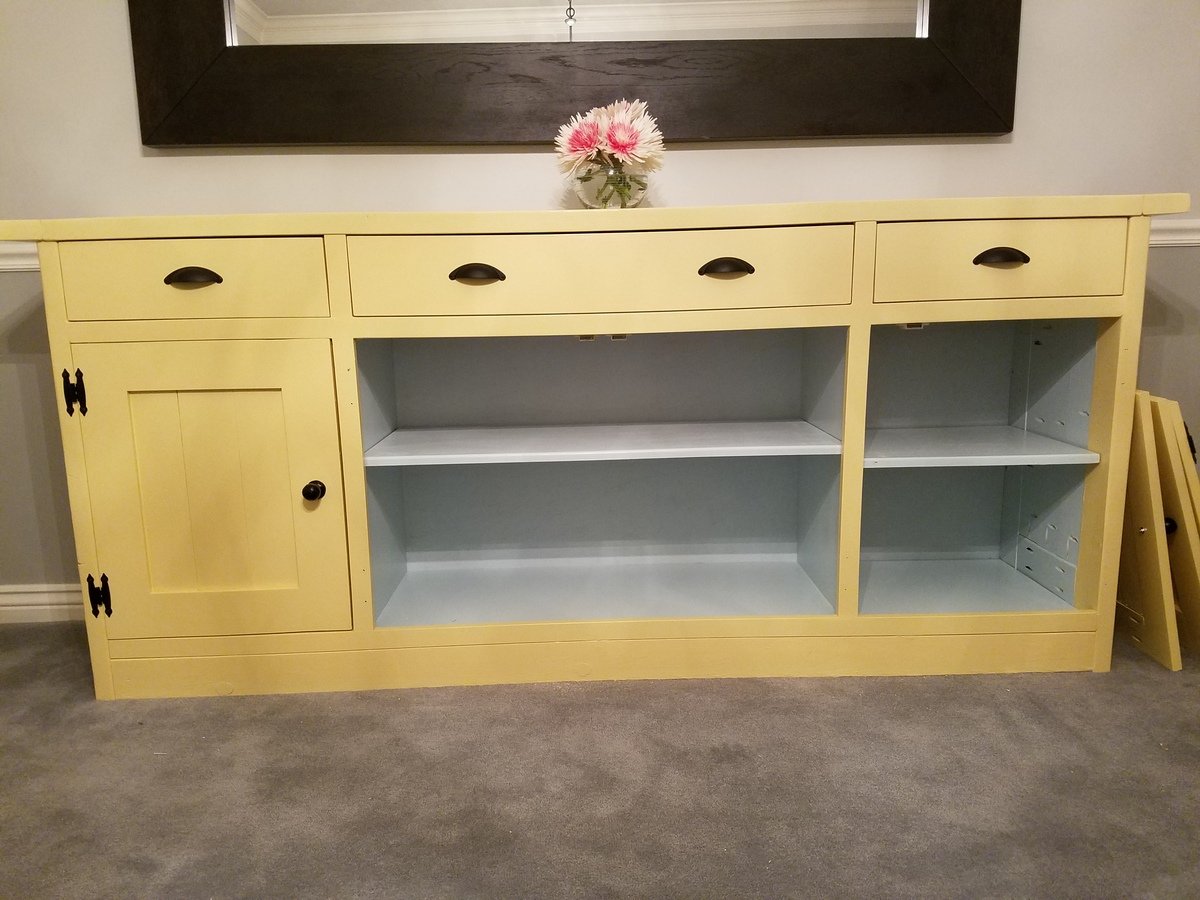
This was my first build from Ana White and my first piece of furniture. It is doable for a determined, handy beginner/ intermediate. I took my time and worked on it when I could, thanks to my wife for letting me take over the garage for several weekends and her great painting skills!

The wife has a hard time bending down so she wanted pedestals for the washer and dryer. The metal ones with a drawer were too tall. I showed her Sausha's and she really loved that design. I basically used the same construction plans idea from Sausha's project and some tips from Ryan's brag post. But, I wanted to beef it up some. I didn't like the L-bracket to attach the top and 4X4 legs. It didn't seem sturdy enough for me. I used my table saw to square the edges on the 4X4 posts and the 2X6 rails. Then I used my Kreg jig and glued and screwed everything together. I liked Ryan's trim ideas, so I used baseboard trim for the bottom and flipped it for the top trim. I made a 1/2" lip so if it were to vibrate, the washer/dryer would not fall. I put the trim on the bottom of the legs and was considering putting on the top but I put some different trim all the way around the bottom of the 2X6 rails. The wife liked that. I also added some carpet on the top to cut down on vibration and to help keep the units in place. I also put some 4X4 pieces of carpet on the bottom to keep the noise down and to help in moving it. I primed and used an gravity sprayer to paint it. Then I put 3 coats of polyacrylic to help in cleaning and to cut down on scratches from the laundry baskets.


Wed, 06/29/2016 - 14:31
I think you could probably drive a truck on top of yours. :) I was a bit concerned about the strength of the construction when I first decided to build it, but I decided that since it would be stationary once I have it in place and the only force would be straight down, it would be fine. Once I got it put together, it was actually sturdier than I thought it was going to be...from a horizontal force perspective. Virtically, that thing could hold 100 washer/dryer pairs...the plywould would give out before the 2x4s and 4x4s would even budge.
Anyway, nice work! I love the Kreg Jig...I need one of those.
Sun, 01/29/2017 - 16:23
Great looking build, thanks for the detailed photos!
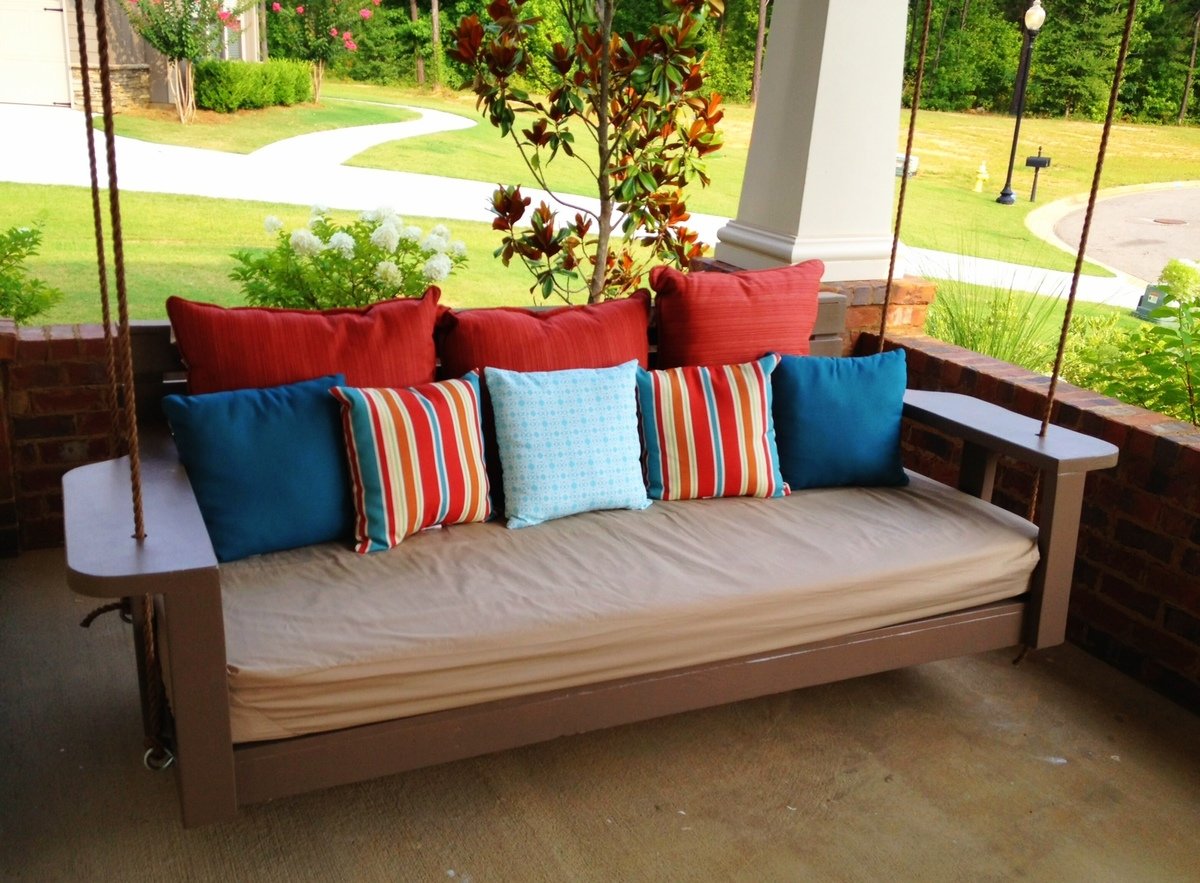
A few years ago our family vacationed in Watercolor, on the northwest Florida coast. We loved the house we stayed in so much when we returned home we put our house up for sale so we could build a home similar to the one we stayed in. One of the features we loved so much was the large covered front porch and most of all the swing bed it showcased. My wife spent every morning and night that week relaxing in that swing. I promised my wife then that I would make sure got her own swing. Thanks to Ana White, she was back in her (new) swing last night.
I began with the "Large Modern Porch Swing" plan and made some changes. I wanted to use a twin size mattress so I increased the size of the swing's base. Also, because the mattress was 6" I lifted the arms and back. The arms are the biggest and best change I think. I had seen someone else do similar arms, but I they used an 1x12 I think. I wanted a heavier look, so I used a 2x10.
Wed, 07/17/2013 - 13:56
Do you use a regular twin mattress? What do you do when it rains?
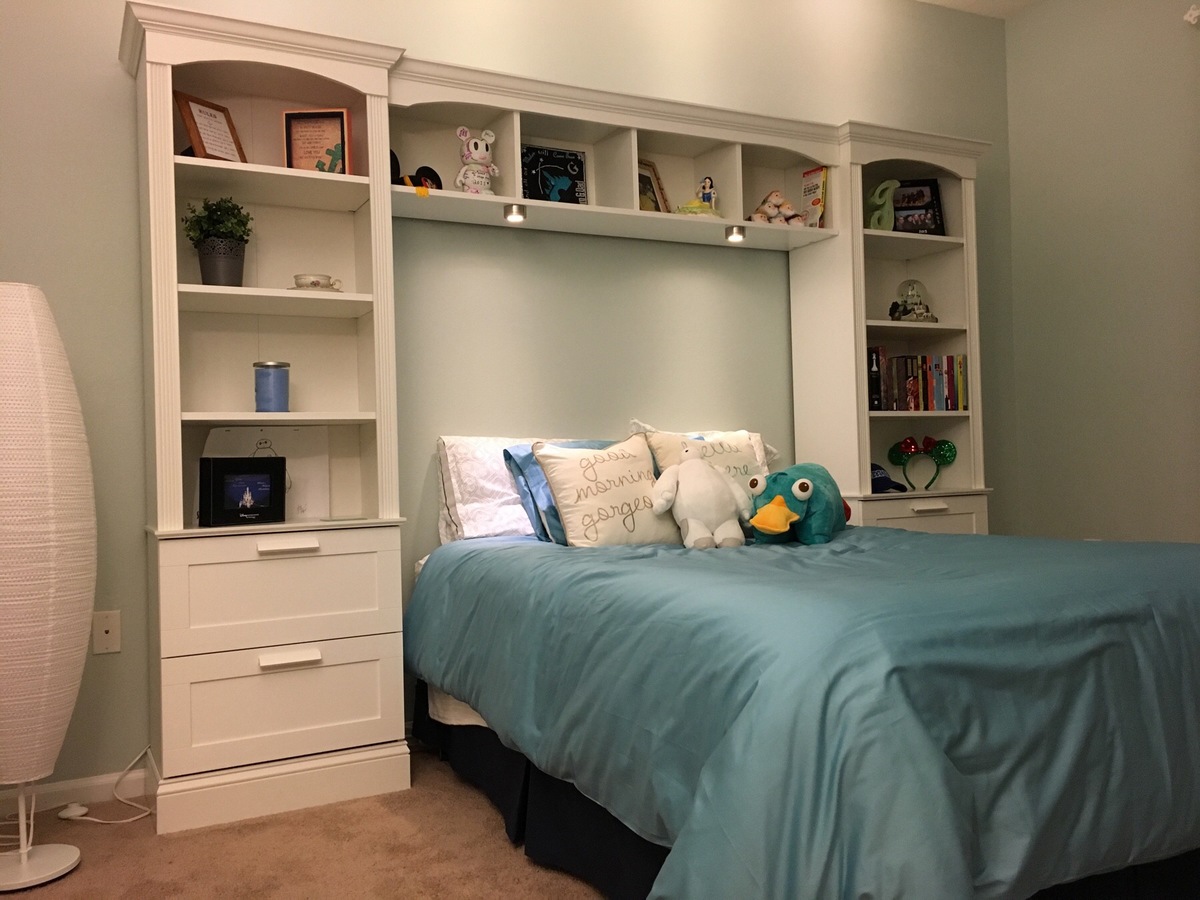
I hacked three IKEA bookcases into this beautiful bed for my princess of a daughter who was getting her first apartment in Orlando, FL, because she got a full-time dream job with Disney. Full details at http://handydad.tv/ikea-hack-bed-bridge-bookcase/.
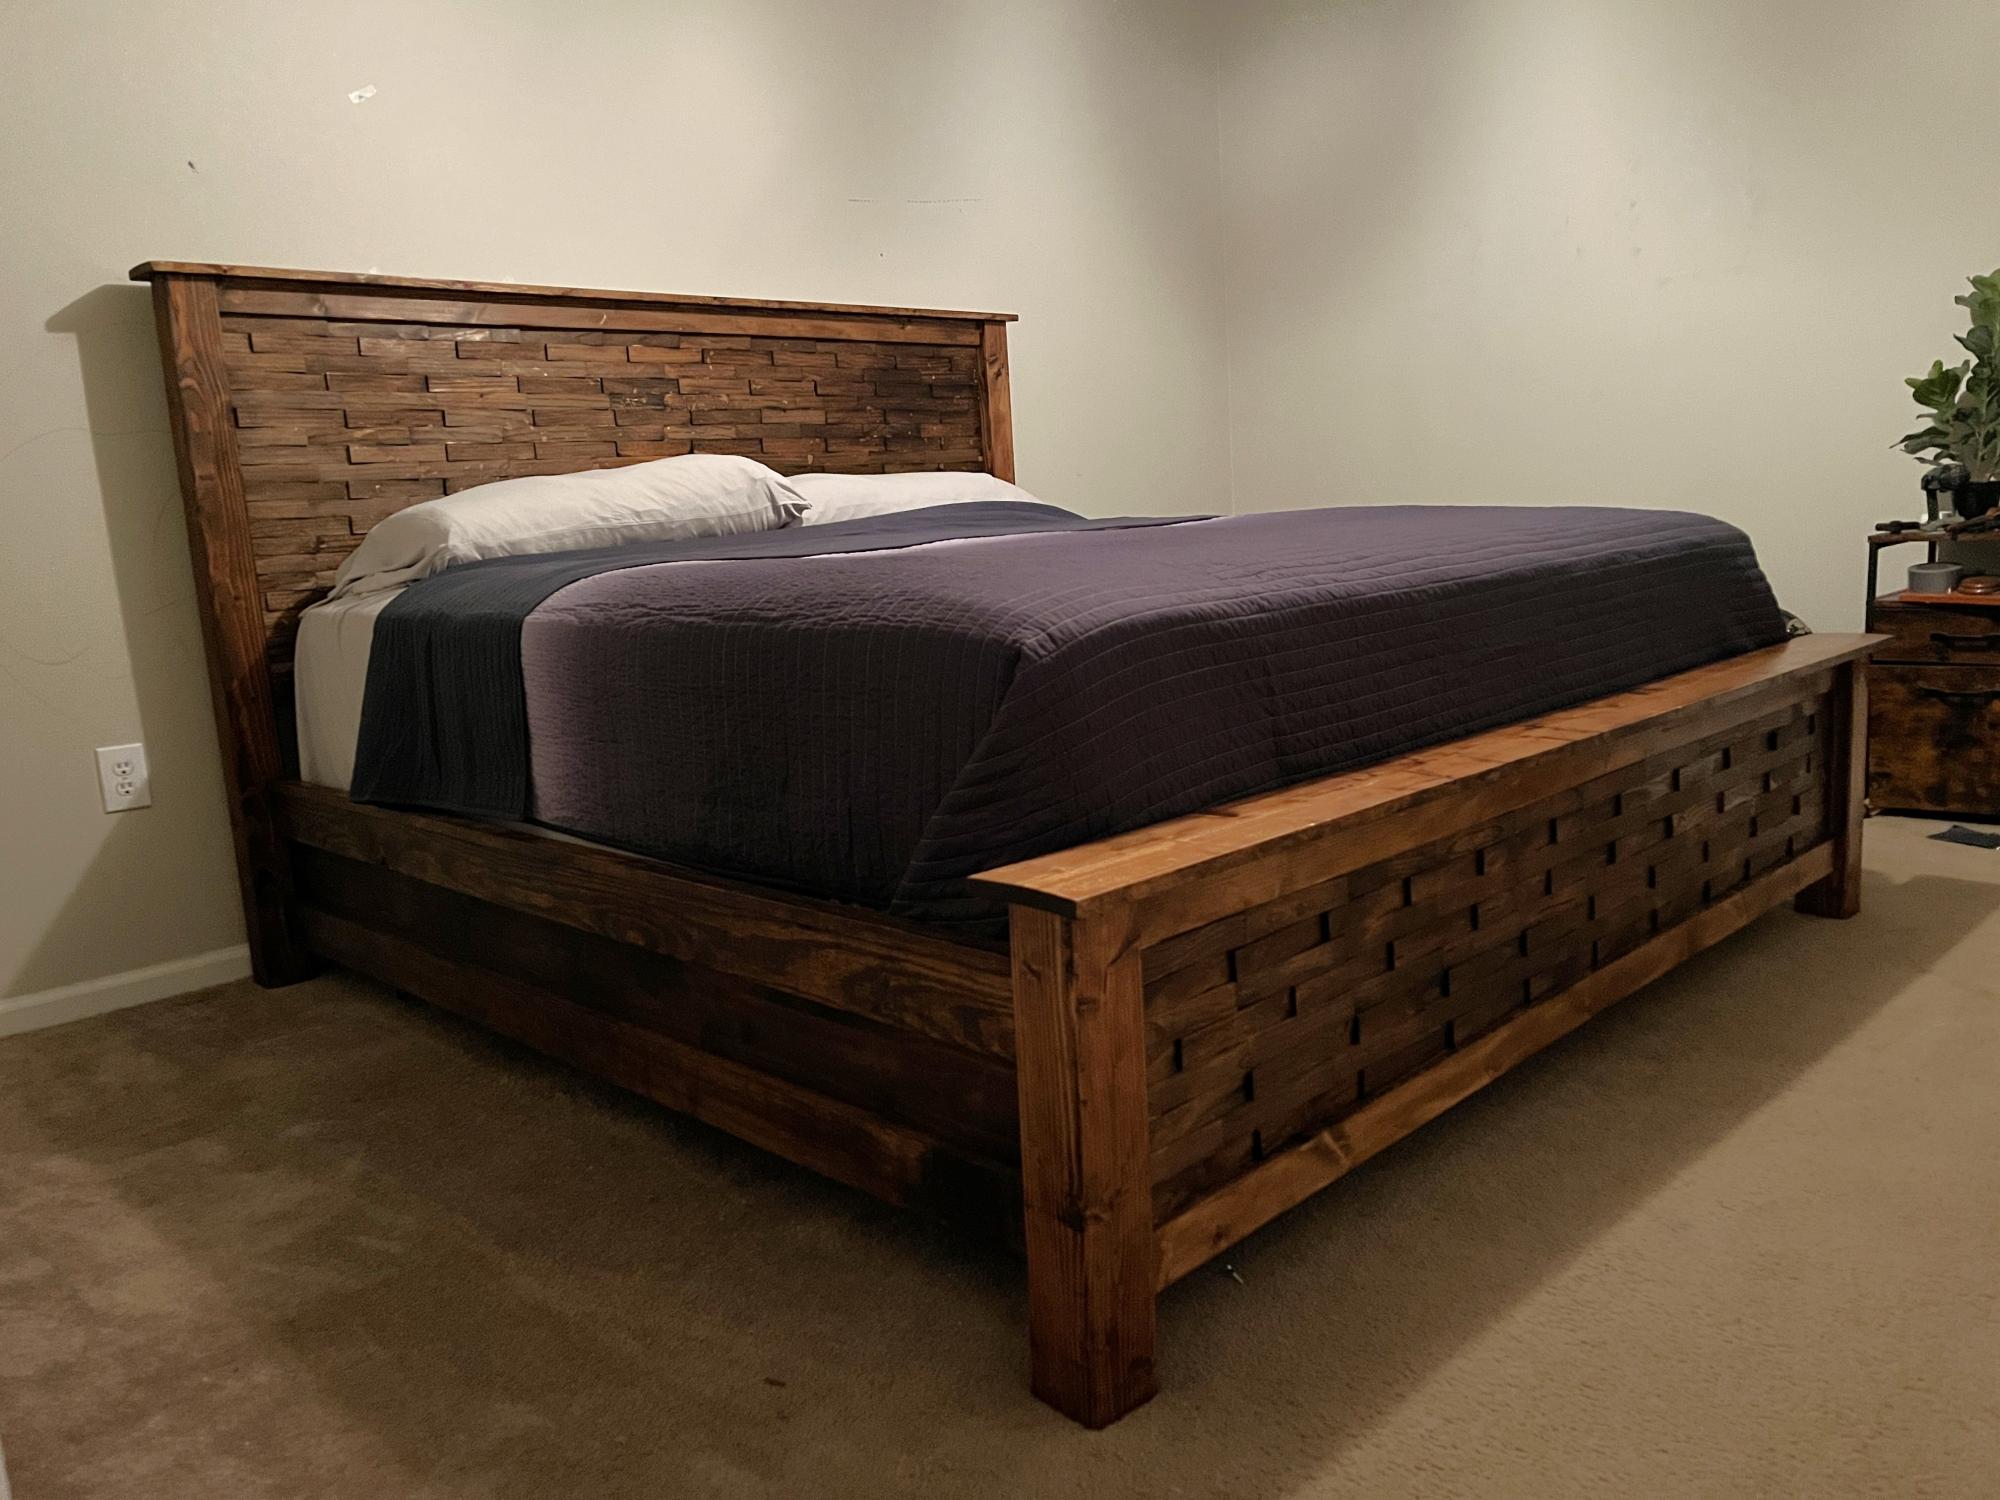
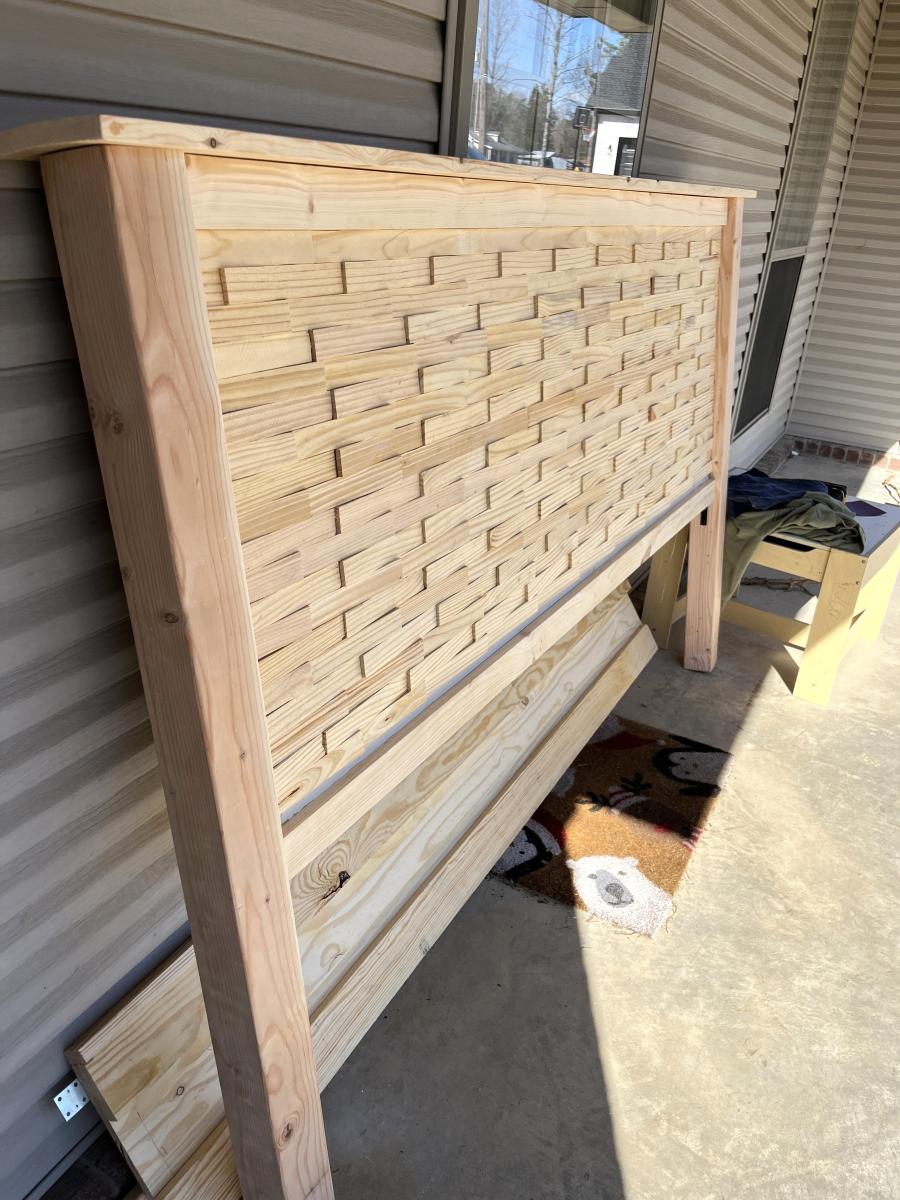
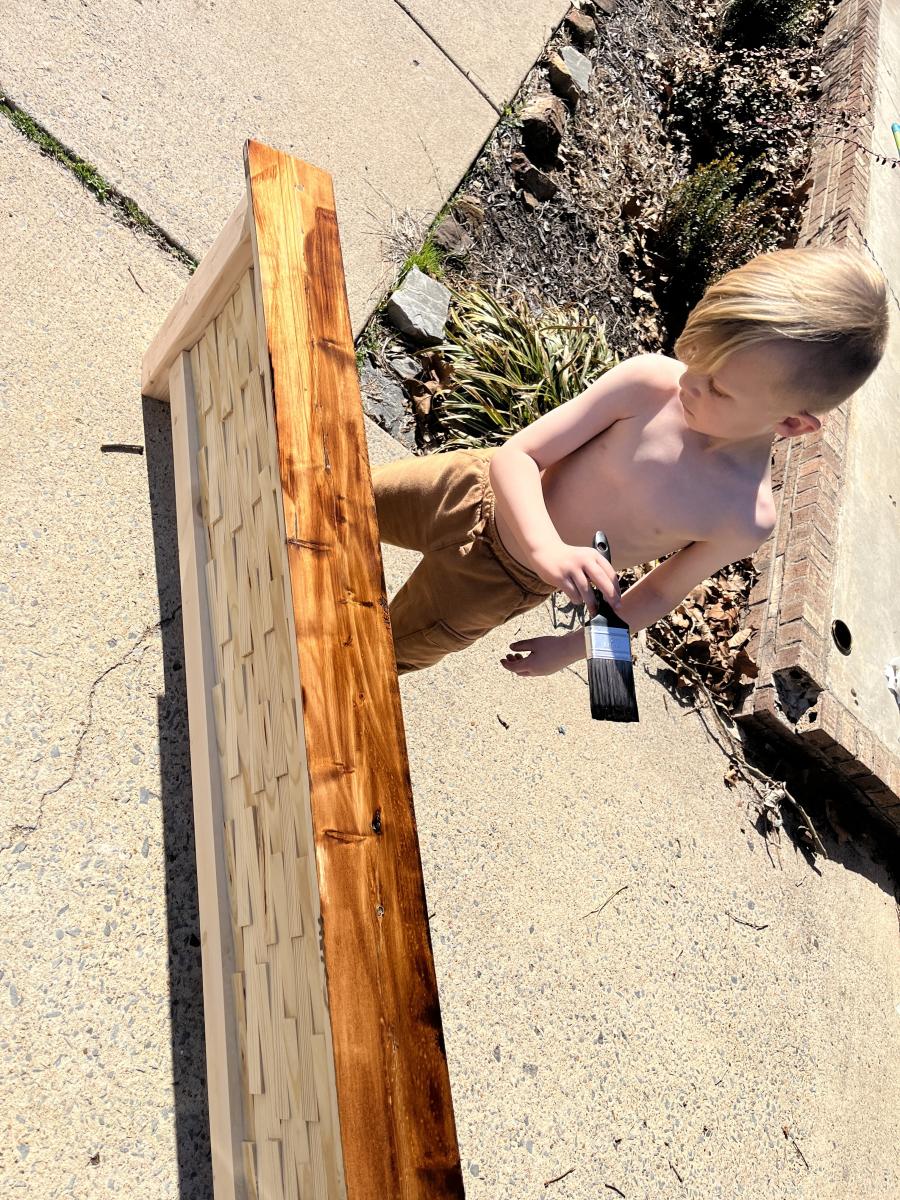
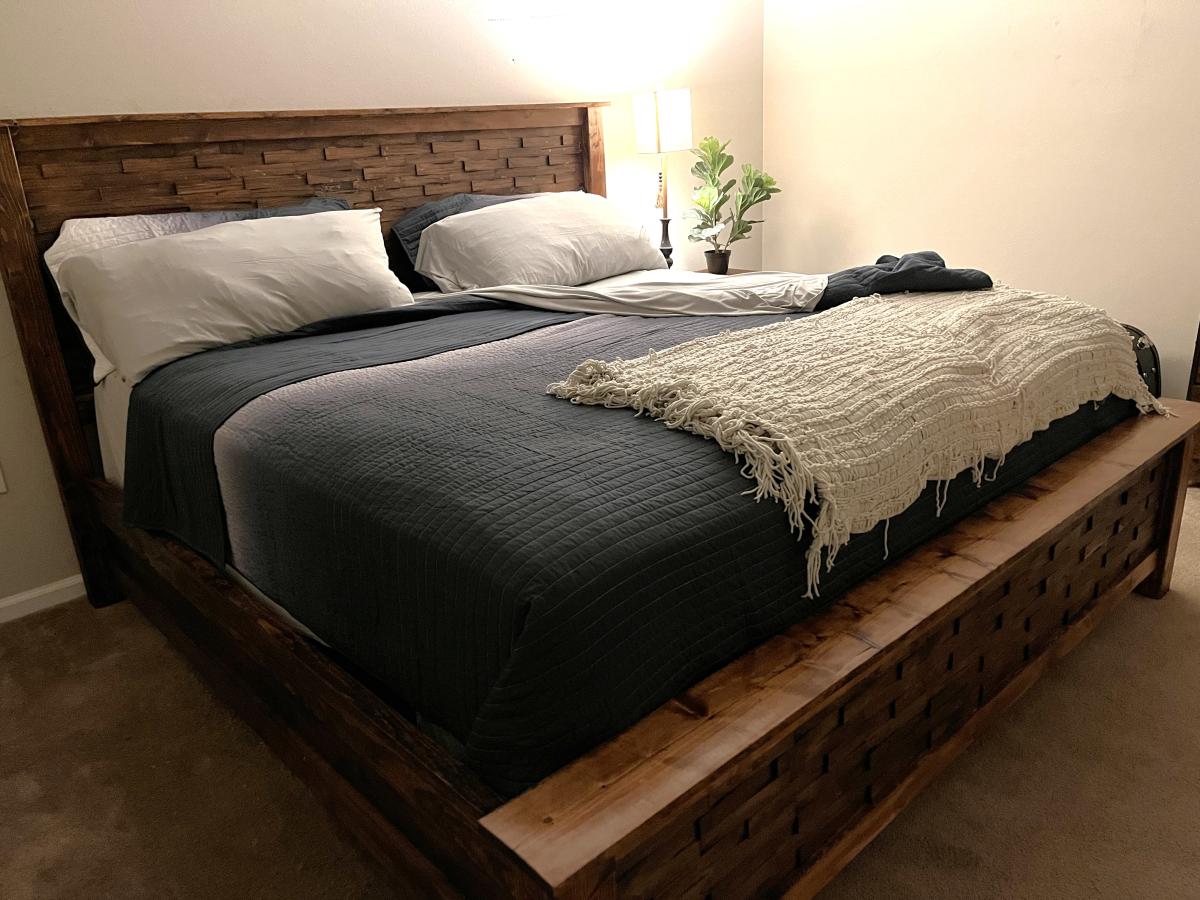
Built the Cassidy bed. It was a great project, and you’re right. The hot glue gun worked great on the shims.
Jonathan
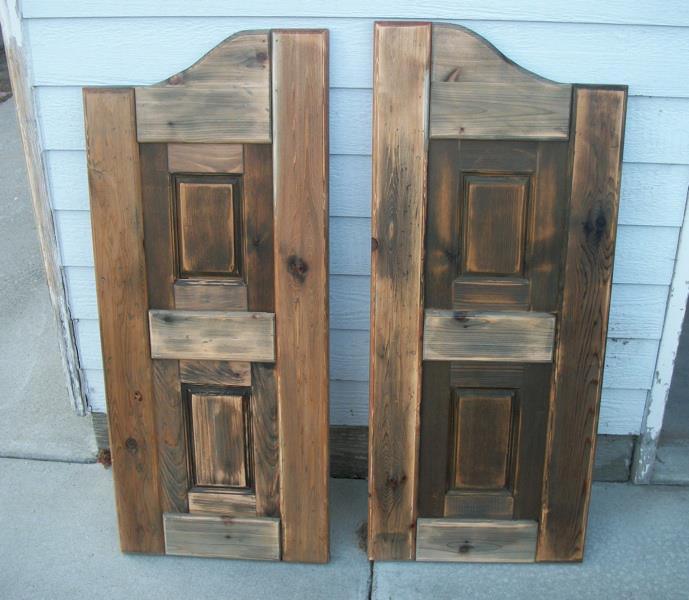
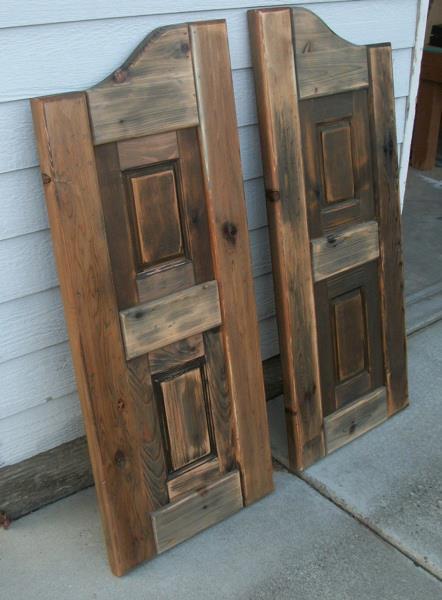
I built these doors for a very good friend of mine who actually helped me get started turning my new love for building (after finding Ana's site) into a way for our family to make some extra money.
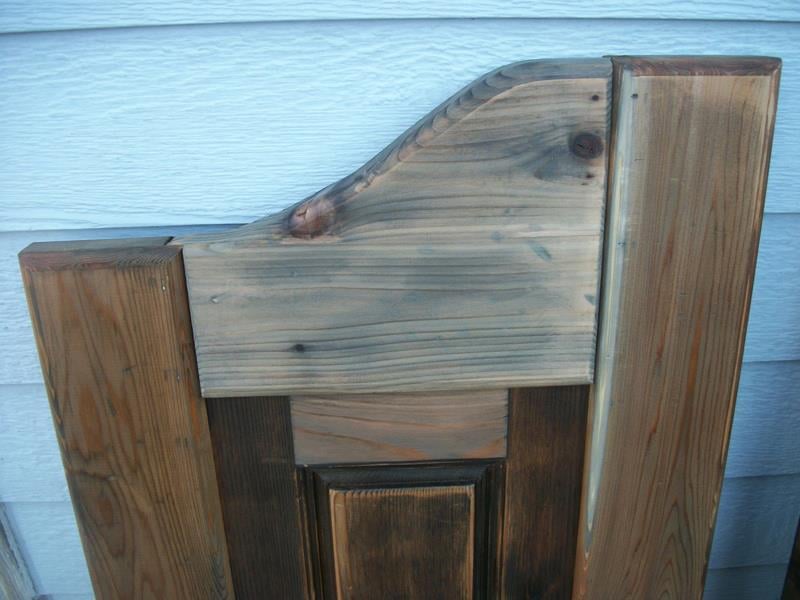
It took me a little while to wrap my brain around building something without using my Kreg Jig. I used a router table set up with some raised panels bits and put the whole thing together with glue and nails! Wonderful experience!
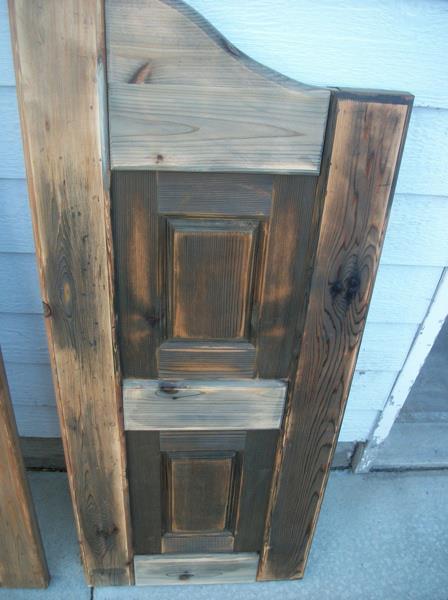
For the finish, I used a vinegar solution to give the cedar wood an old barn look. I think the final result turned out great and the final step was a clear coat sprayed on out of a rattle can.
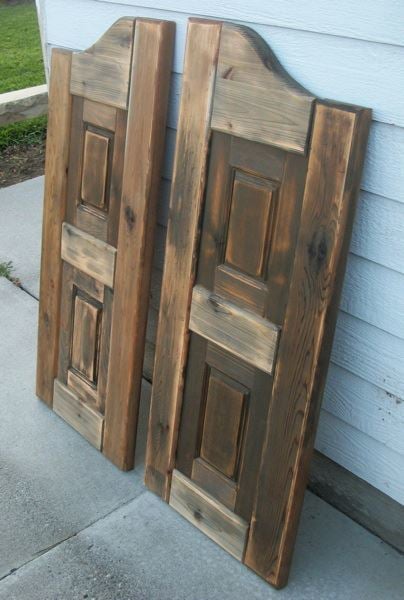
Thu, 08/02/2012 - 10:51
These turned out great! I haven't seen this style of door in forever! They used to be really popular, I remember my Aunt and Uncle having these in the entry to their kitchen. They were the coolest thing ever when I was a kid! Maybe they are a making a comeback?
I'm really impressed with your routing skills, that's a task I have yet to tackle, but I've got the bits laying around waiting.
Nice job!
Thu, 08/02/2012 - 21:10
Thanks a bunch! My friend is replacing an old set of louvered doors that went into her laundry room. Her family are farmers and rodeo people so the western decor really fits in their house. Great western stuff there. They made a chandelier out of a wagon wheel! Really cool!
This was my first attempt at routing so I really appreciate your compliment! It's really simple if you can get the basics of it. I'm sure you'll do just fine when you get to that point. If I can do it, anyone can do it! Thanks again!!
Mon, 01/23/2017 - 09:32
I really want to try and build this for a closet. Are there any instructions for this? This is the first door of this style that I have come across that I absolutely love.
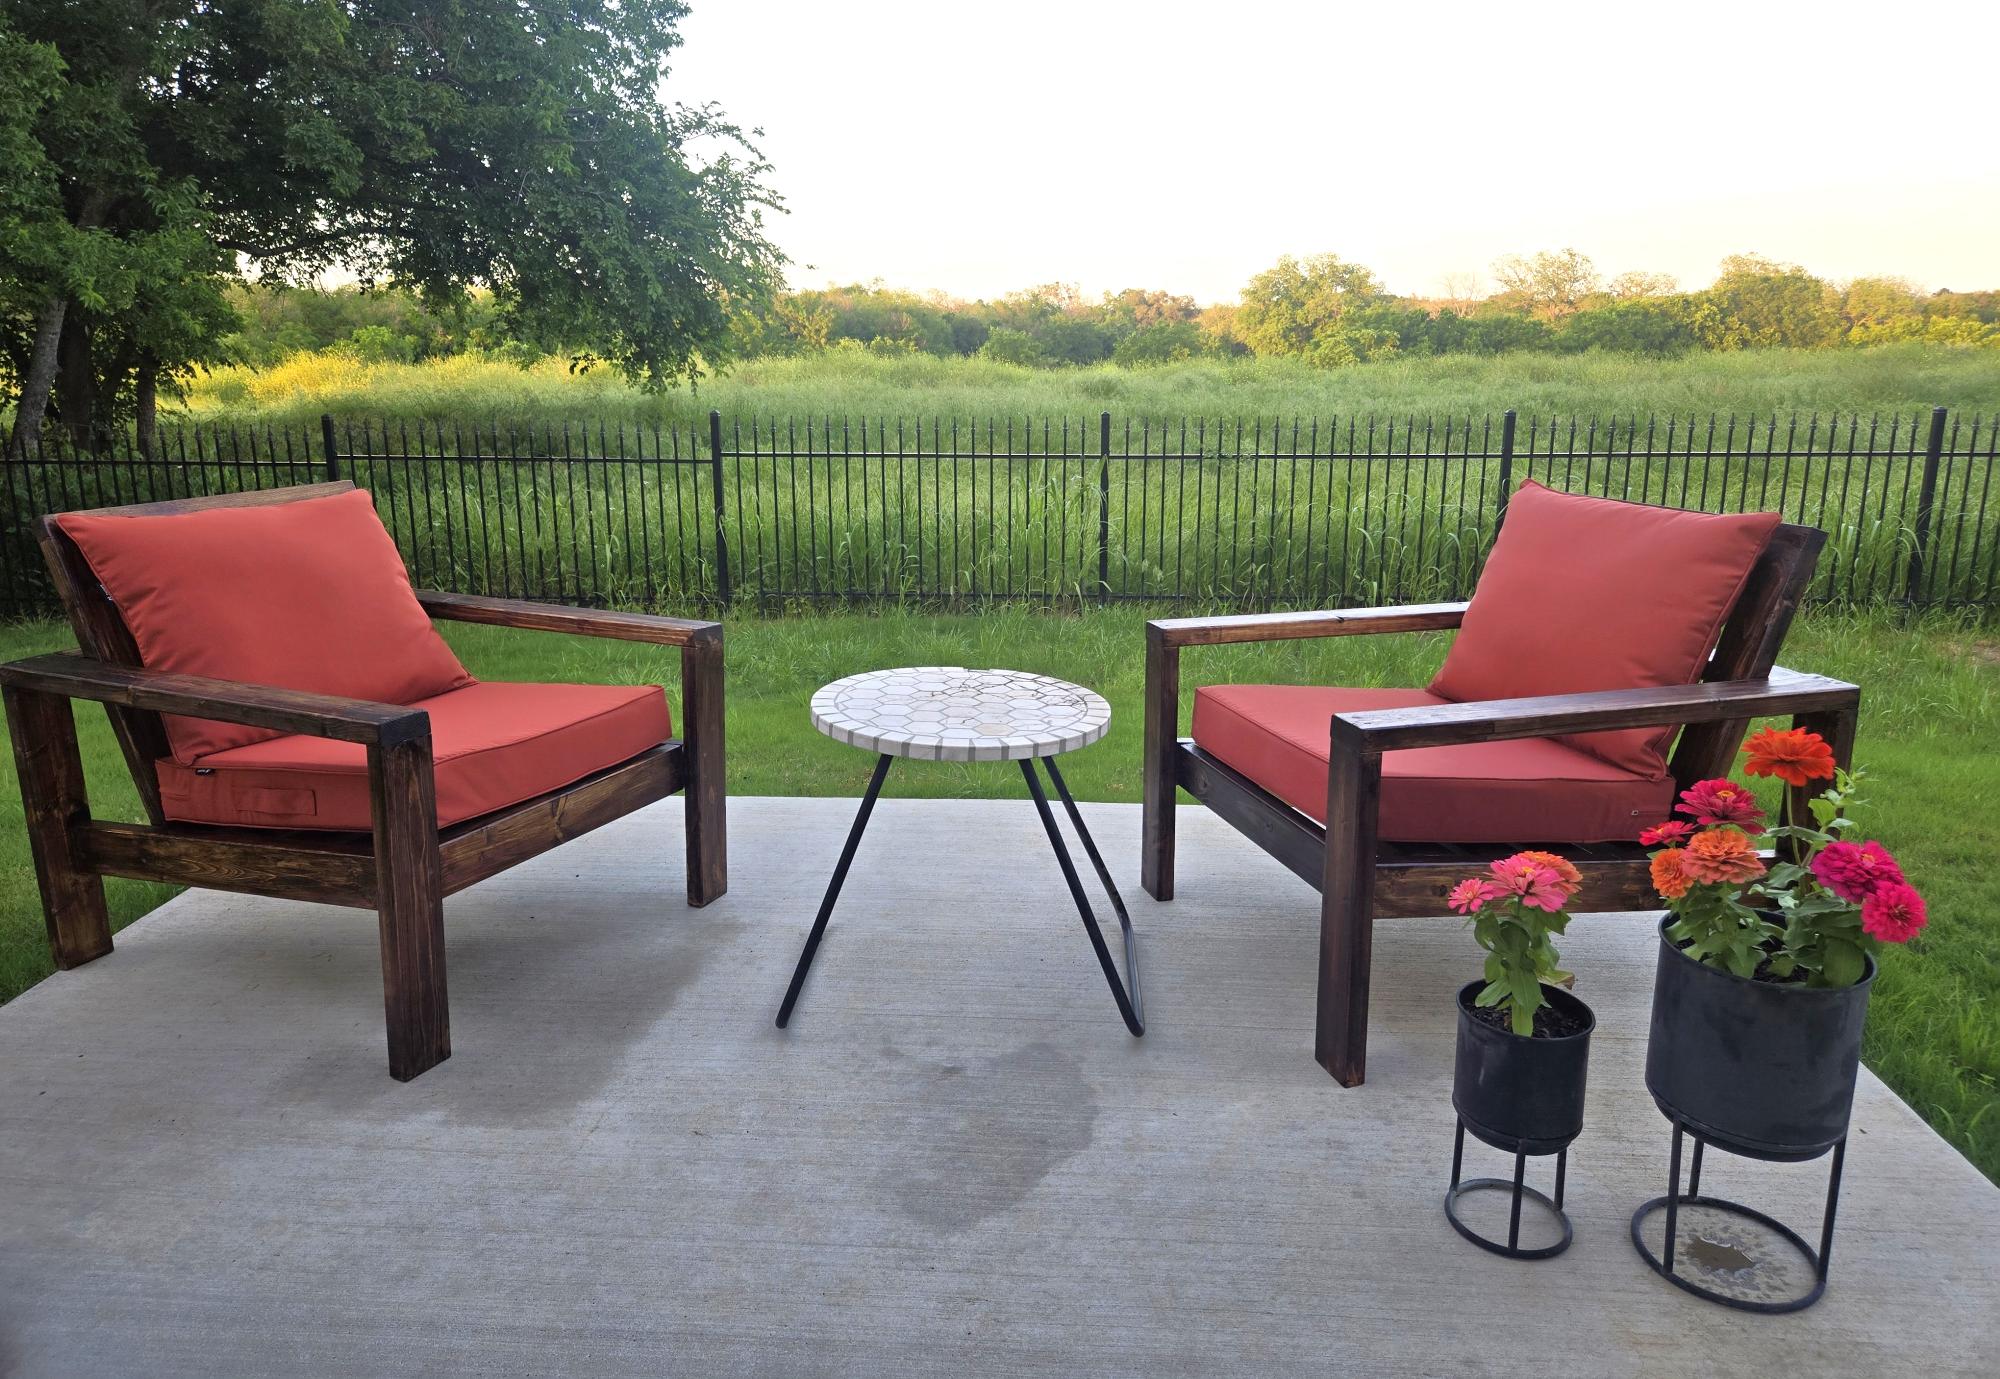
DIY Outdoor Wood Chairs
by Tara
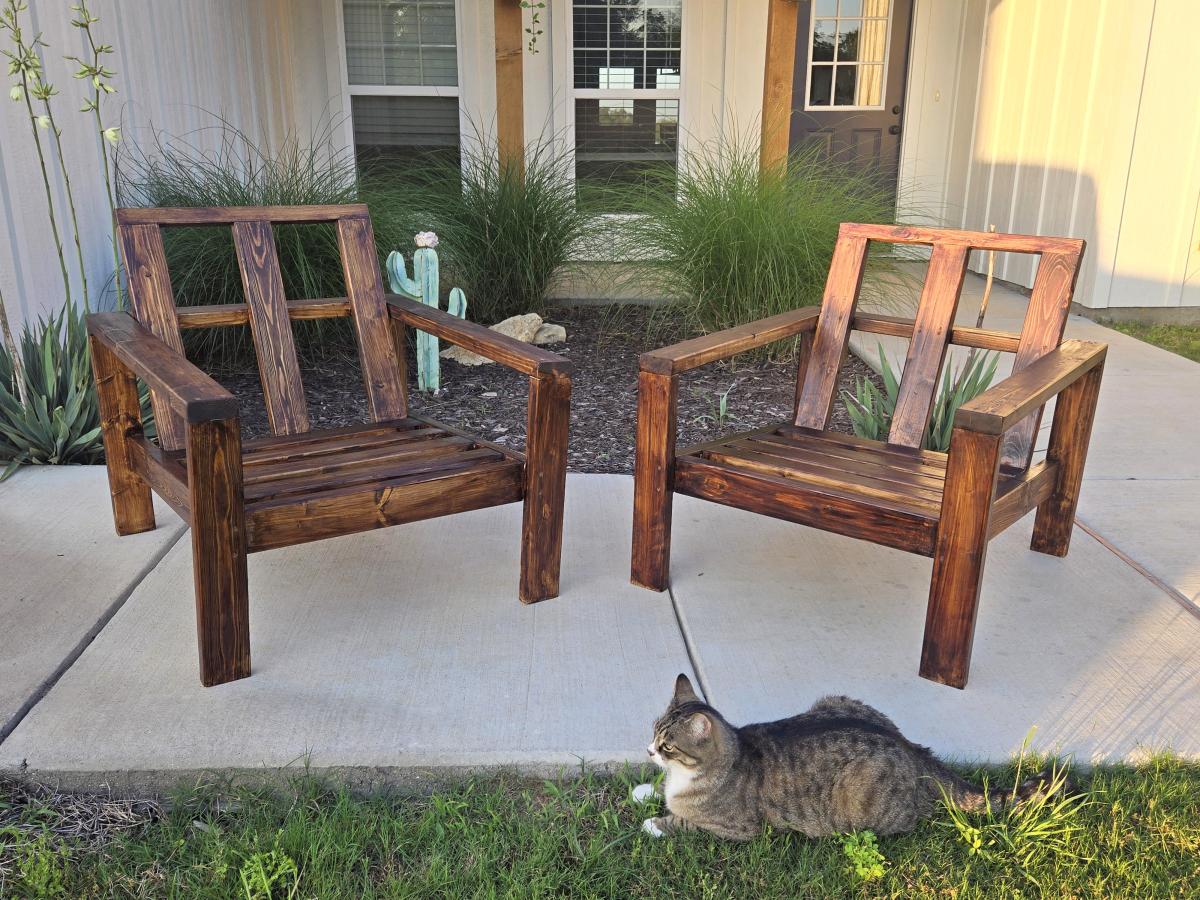
Built from plans from diyPETE.com.
One day project (another day for poly)
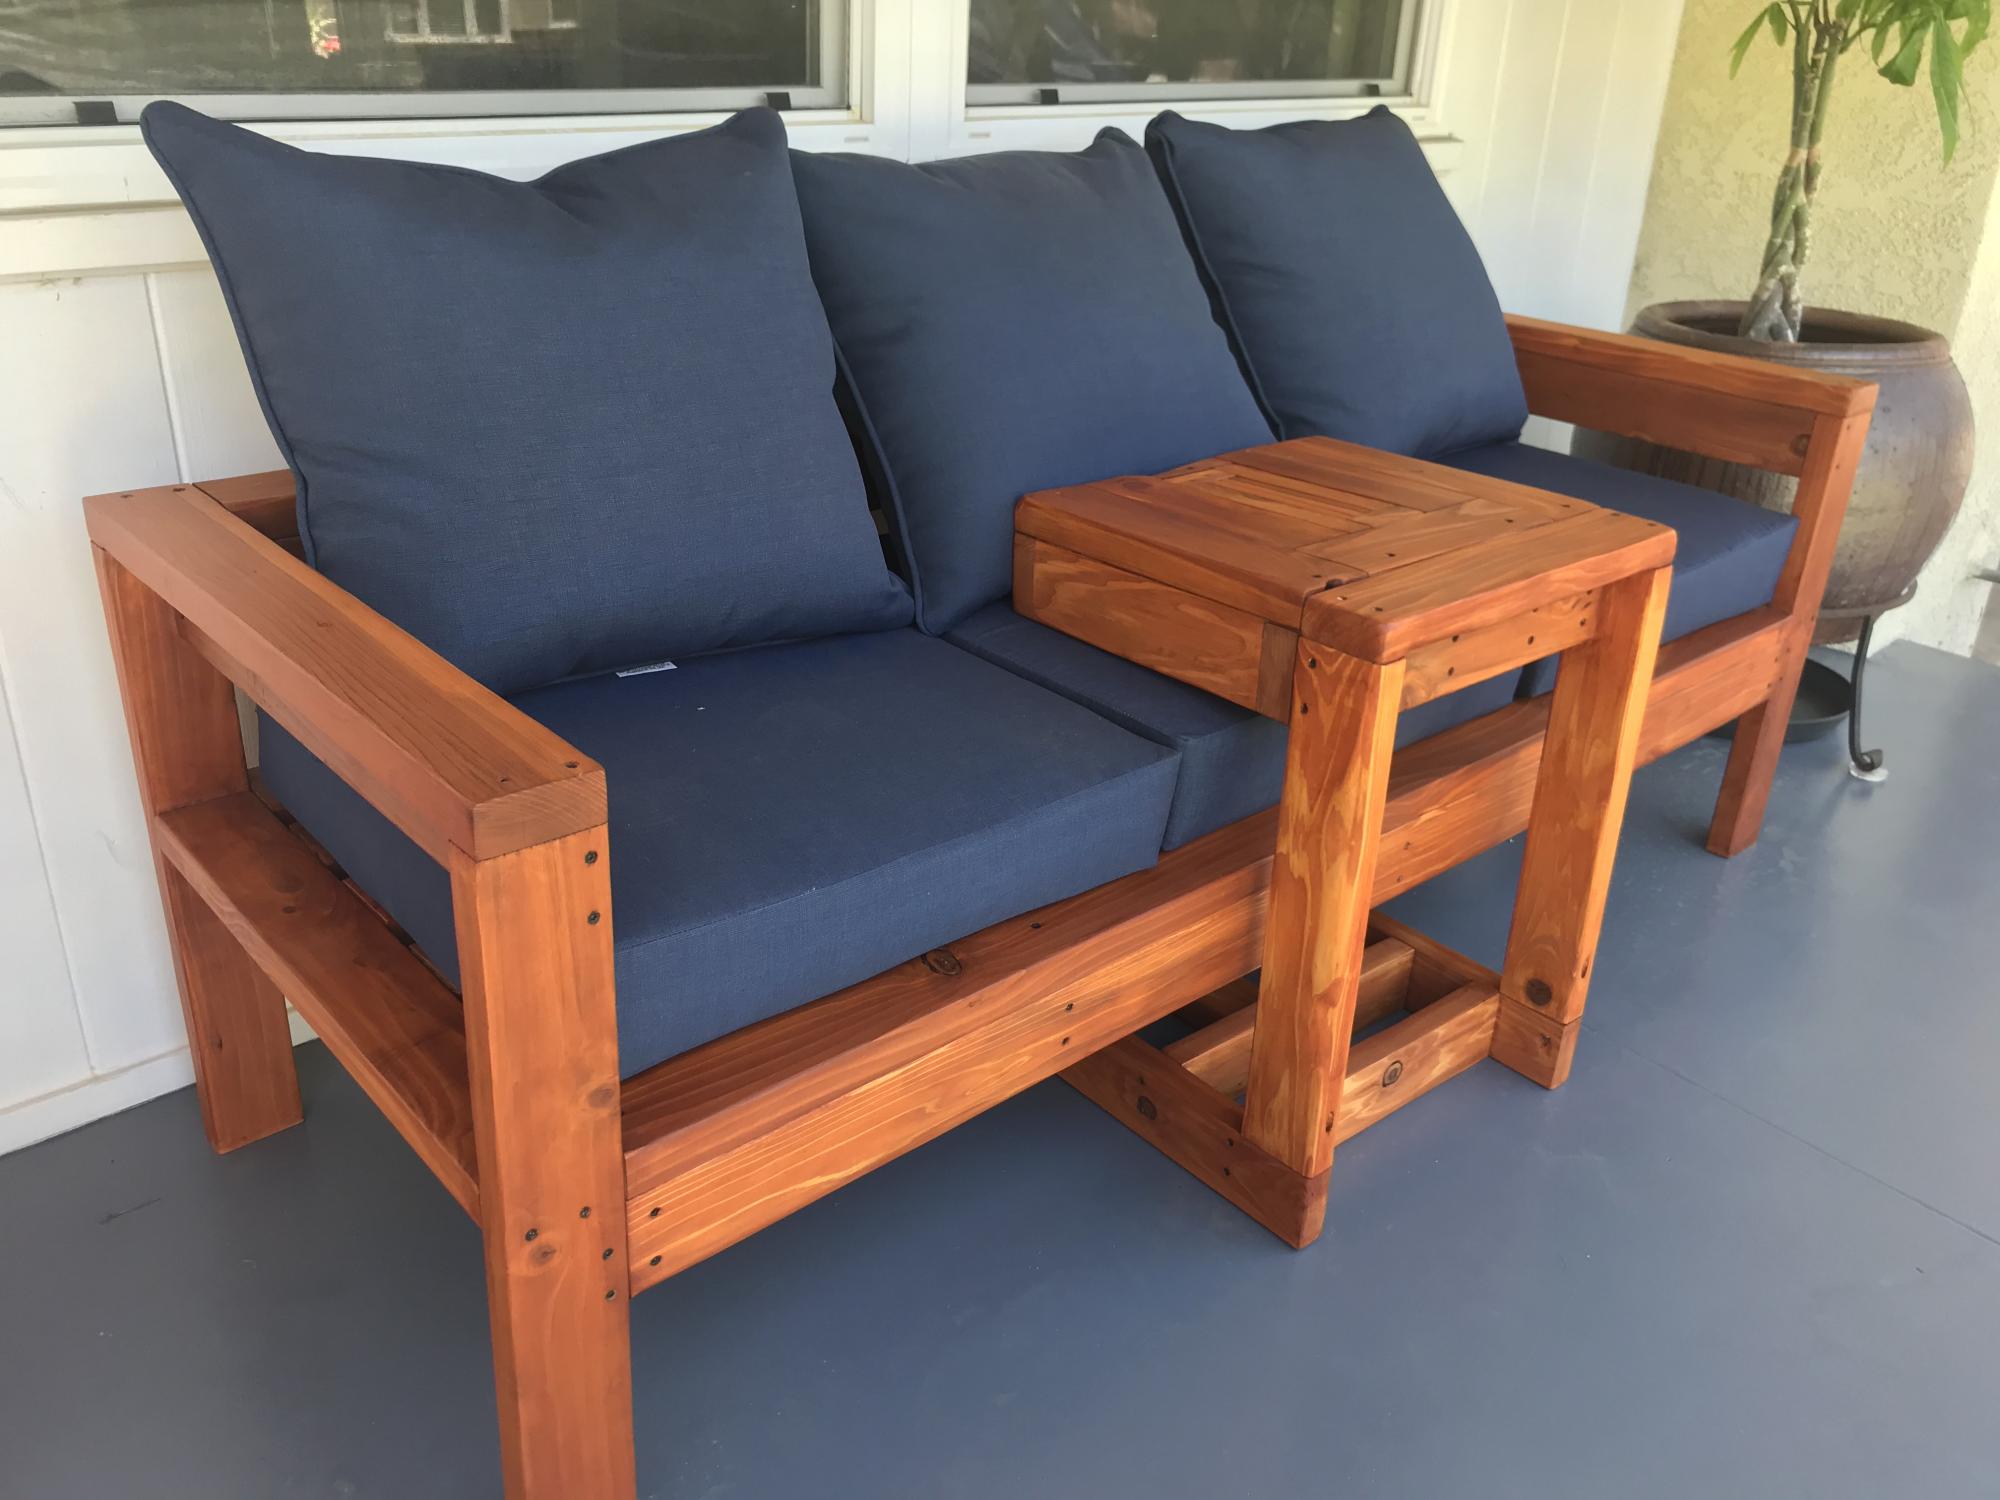
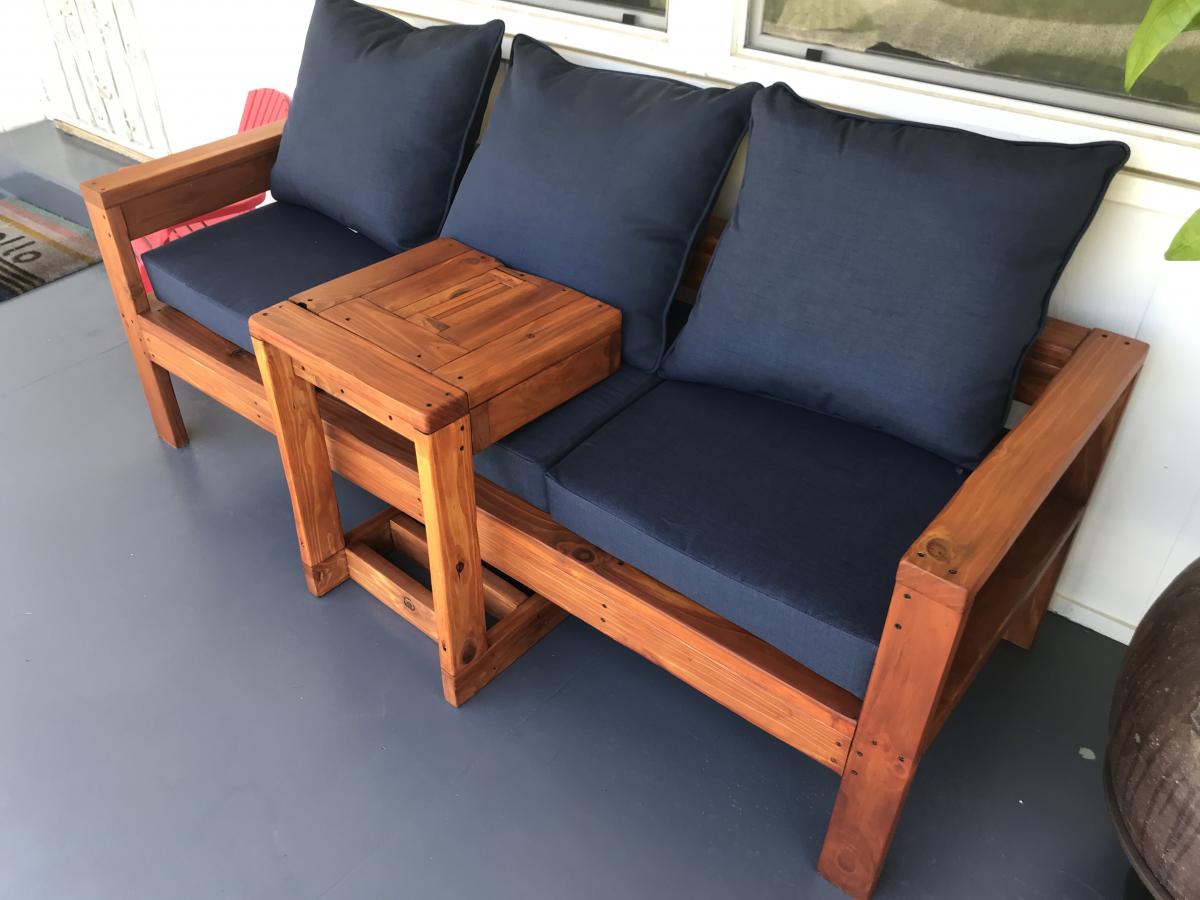
Ana has great instructions, definitely have been using her alot. During the pandemic picked up a couple new hobbies and tools. I did the sofa couch from her plans. The coffee table I created off the whim but used her basic instructions on how to make table tops / benches. These came out super nice, surprised me and my wife :)
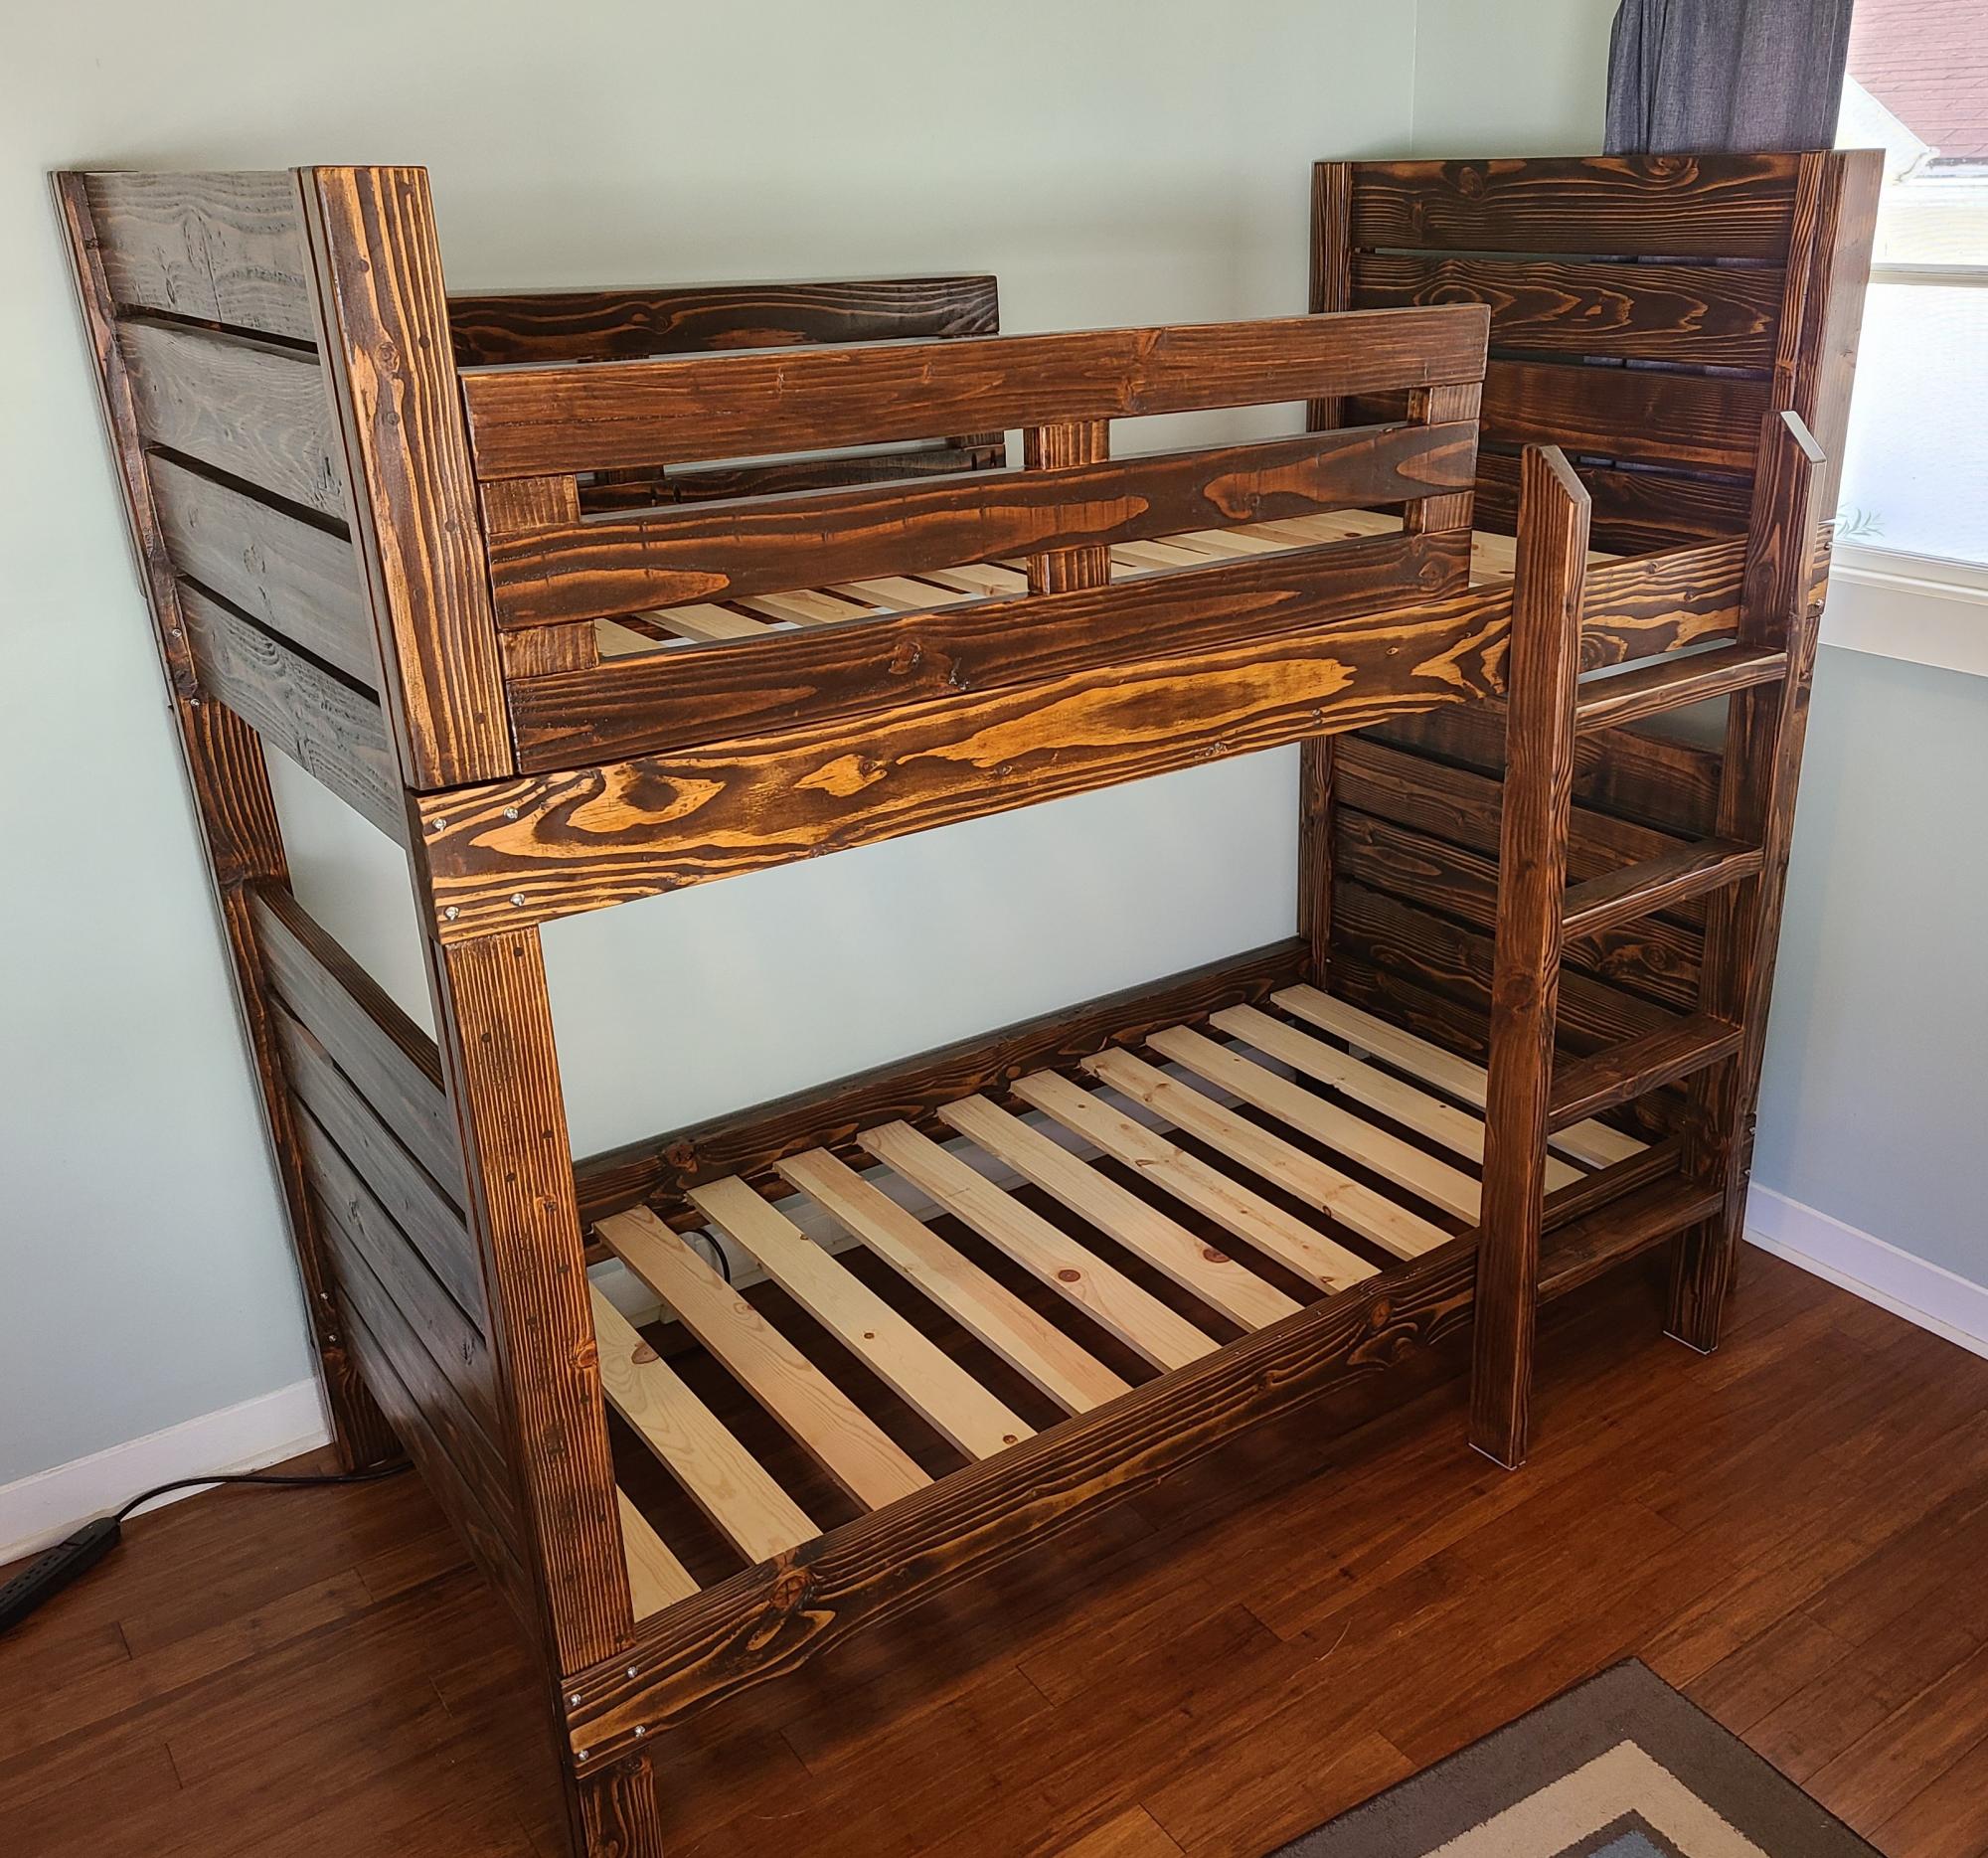
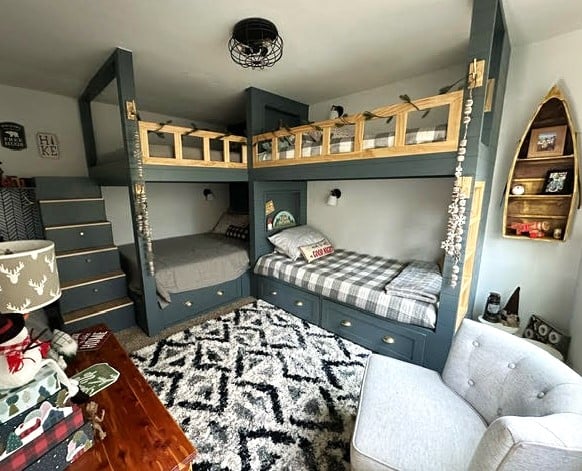
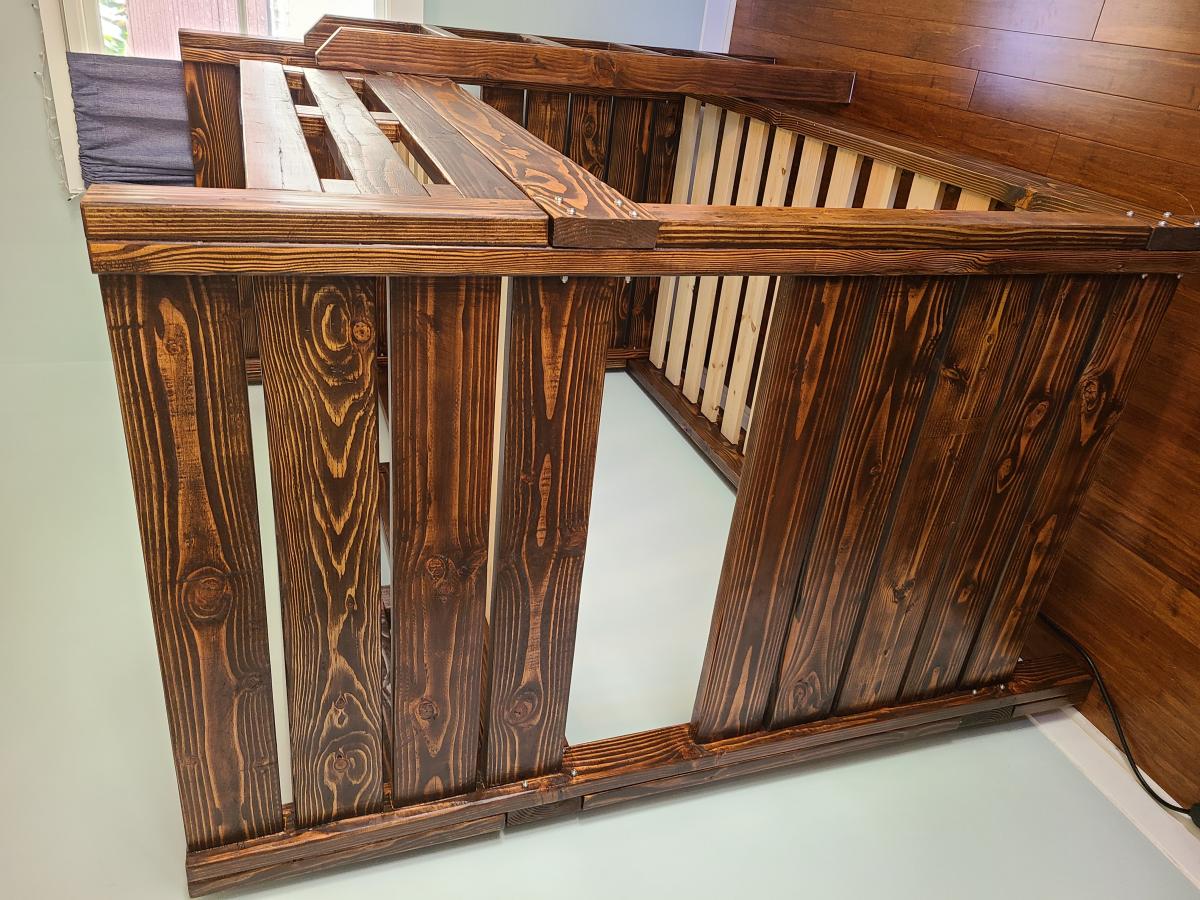
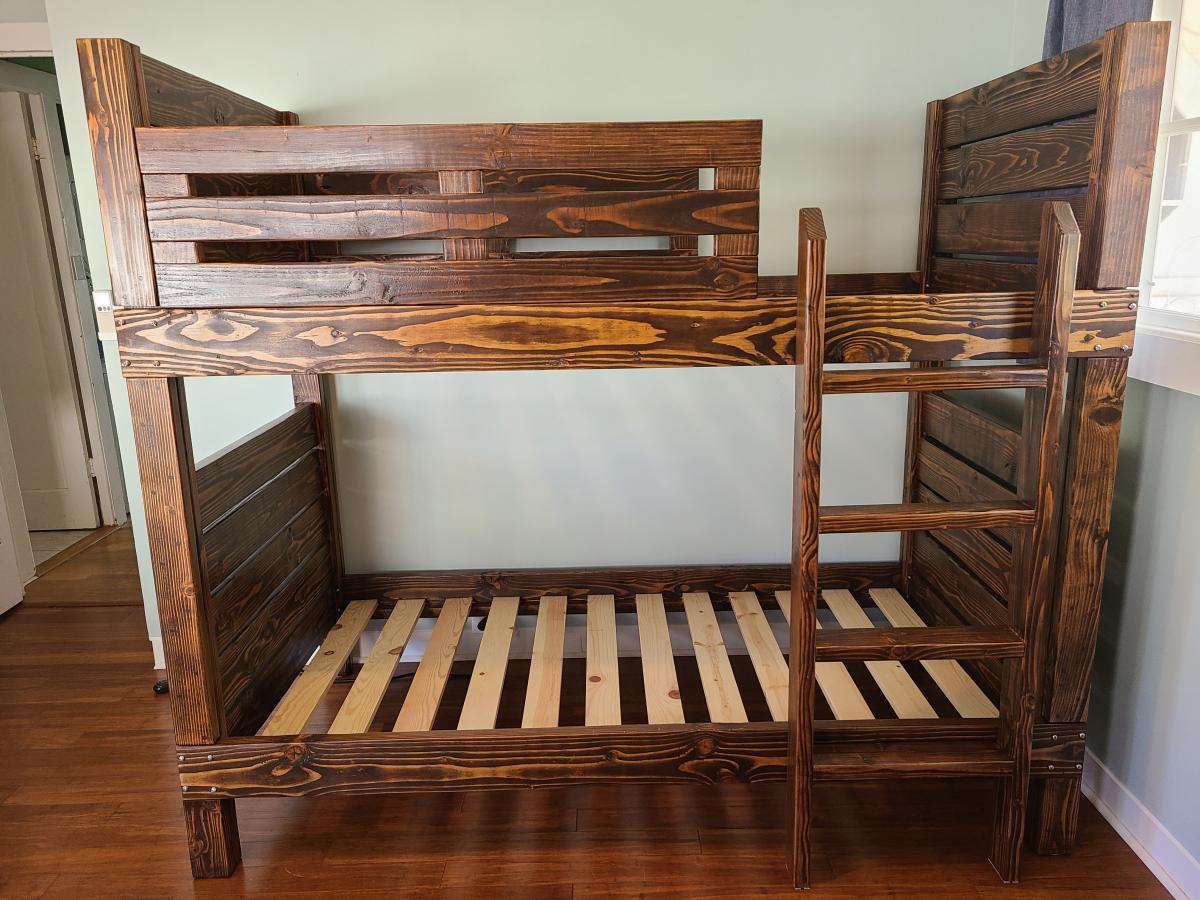
This was my largest project to date. Took me a LOT longer than I thought it would (big chunks of 4 weekends, plus sneaking in some time during the week), but enjoyed the process. The devil is in the details as always. The raw dog 2x6's took me hours upon hours to sand down to an acceptable state of smoothness. For the ladder, I kinda winged it and made it straight. My kids' room is really small, so every extra bit of square footage matters. My oldest is 5 and is fine going up and down. My youngest is 3 and hasn't quite figured it out yet, but that's probably for the best anyway. I also winged it a bit on the guardrails. I used pocket screws wherever possible in the joinery. I was planning on painting this since I knew staining/sealing would be a pain. But in the end, I'm glad I took the time (even though I was hating life during the staining). The kids are thrilled with the results. And I am VERY grateful for the plans you provided Ana! Thank you!
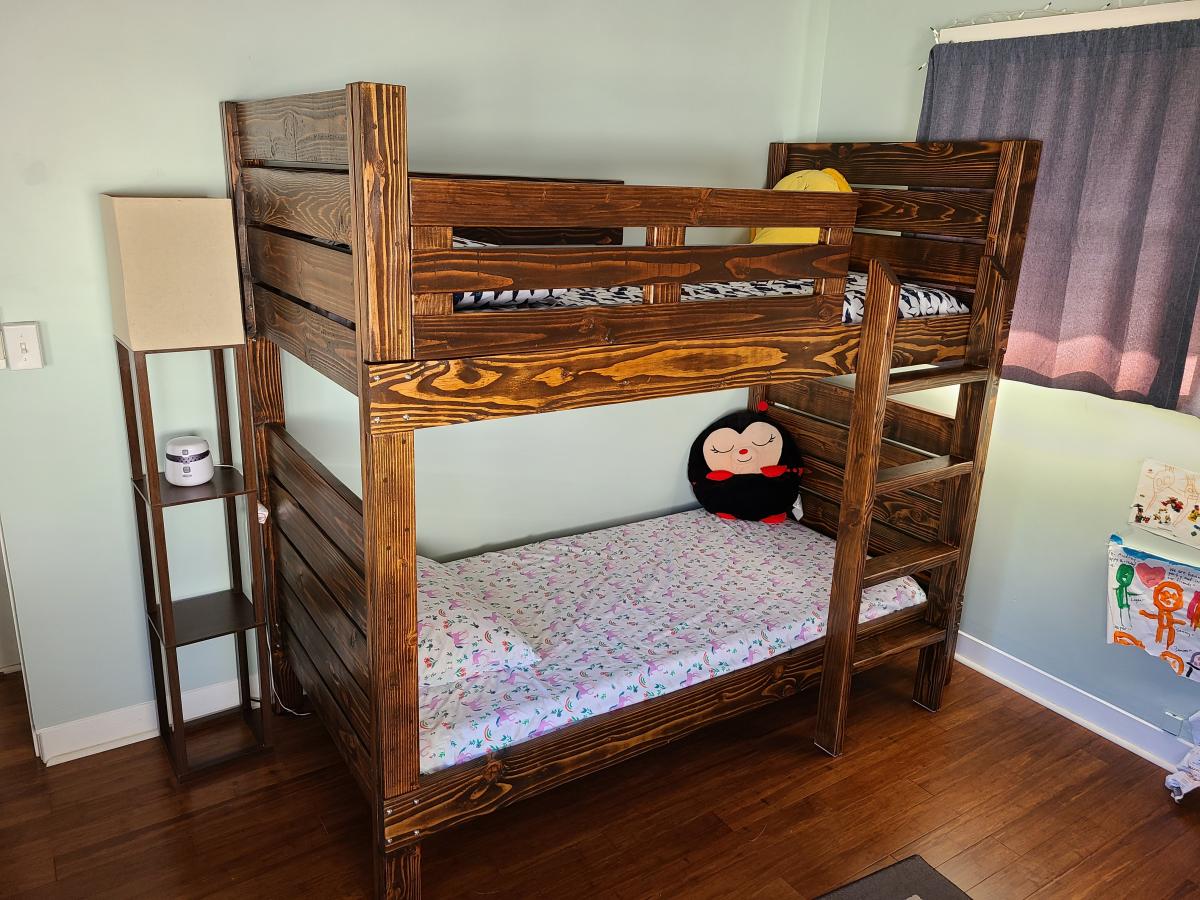
This was my first project ever. I had a lot of fun and it didn't quite turn out right but next time it will be perfect.
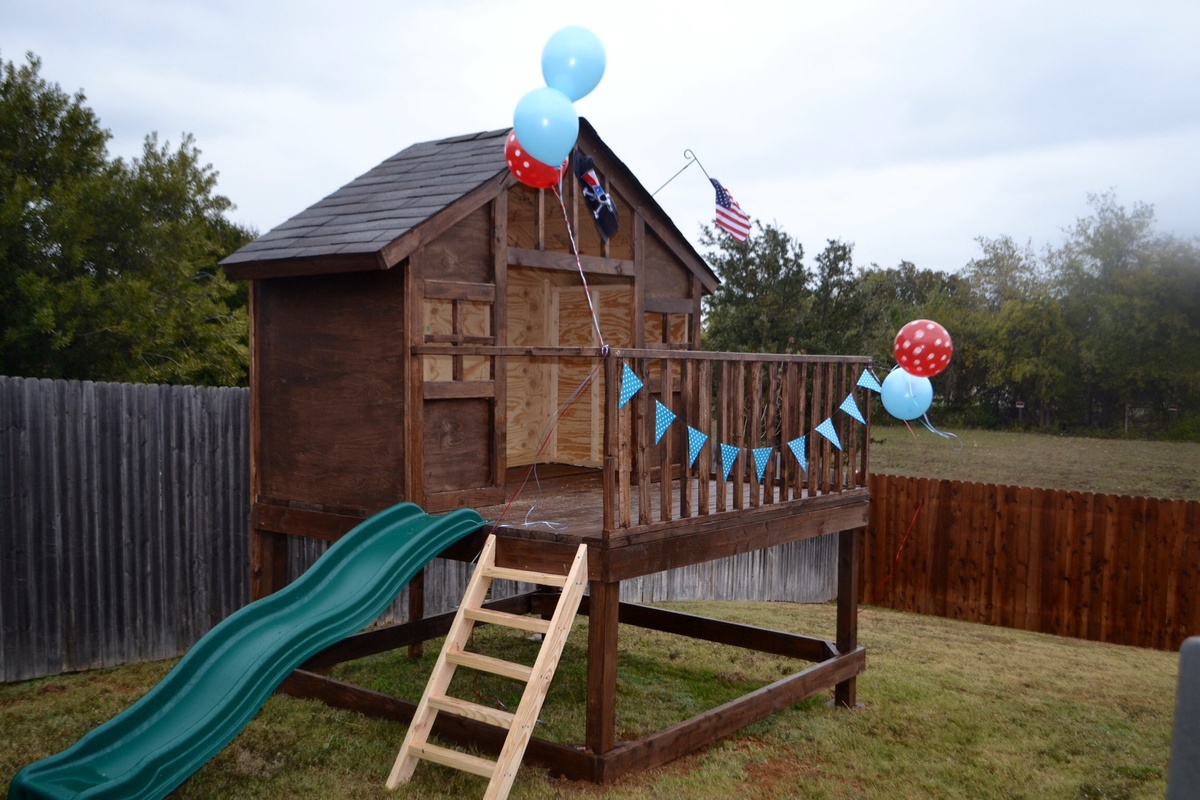
Love how this turned out!! Thank you thank you Ana!! Plans were great, I think we got it done for just about $250!
Thanks again!
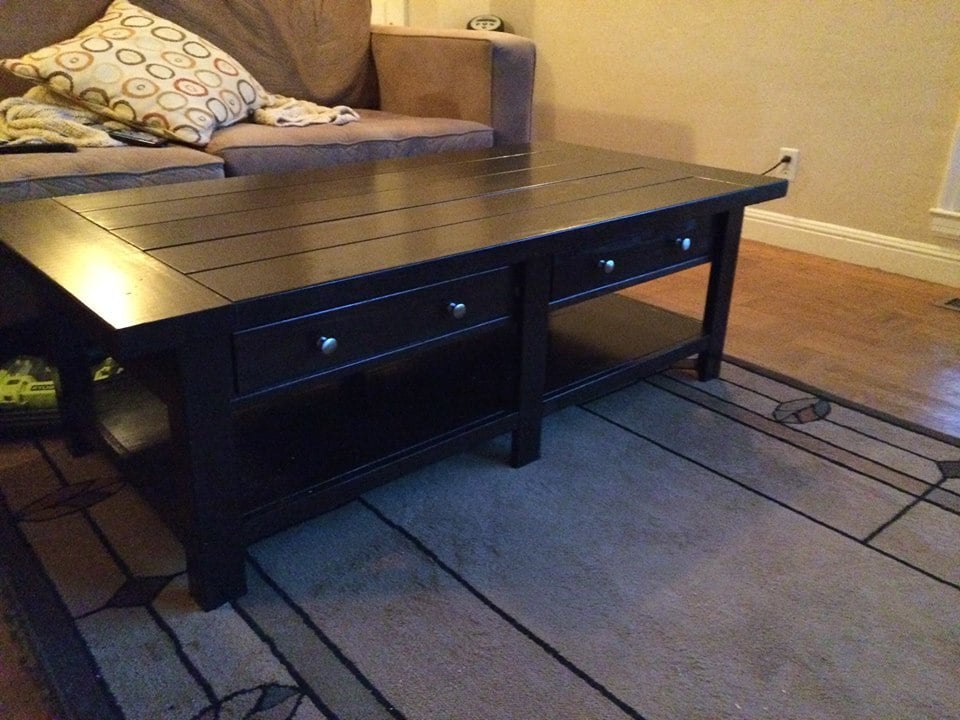
I used Douglas Fir instead of pine, which increased the cost but I love the warmth of the wood in this piece. The instructions were pretty easy to follow once I got going, and the longest part of it was the staining process. I love this piece and I'm ready to do another one!
I gave this one to my Dad to do. Of course he made some changes. But she loves her sand box and we love it too! Thought I would share some pictures of the construction after he brought the parts to our house. 400 pounds of sand later.
Comments
Ana White
Wed, 10/02/2019 - 09:38
Great project!
Great project!