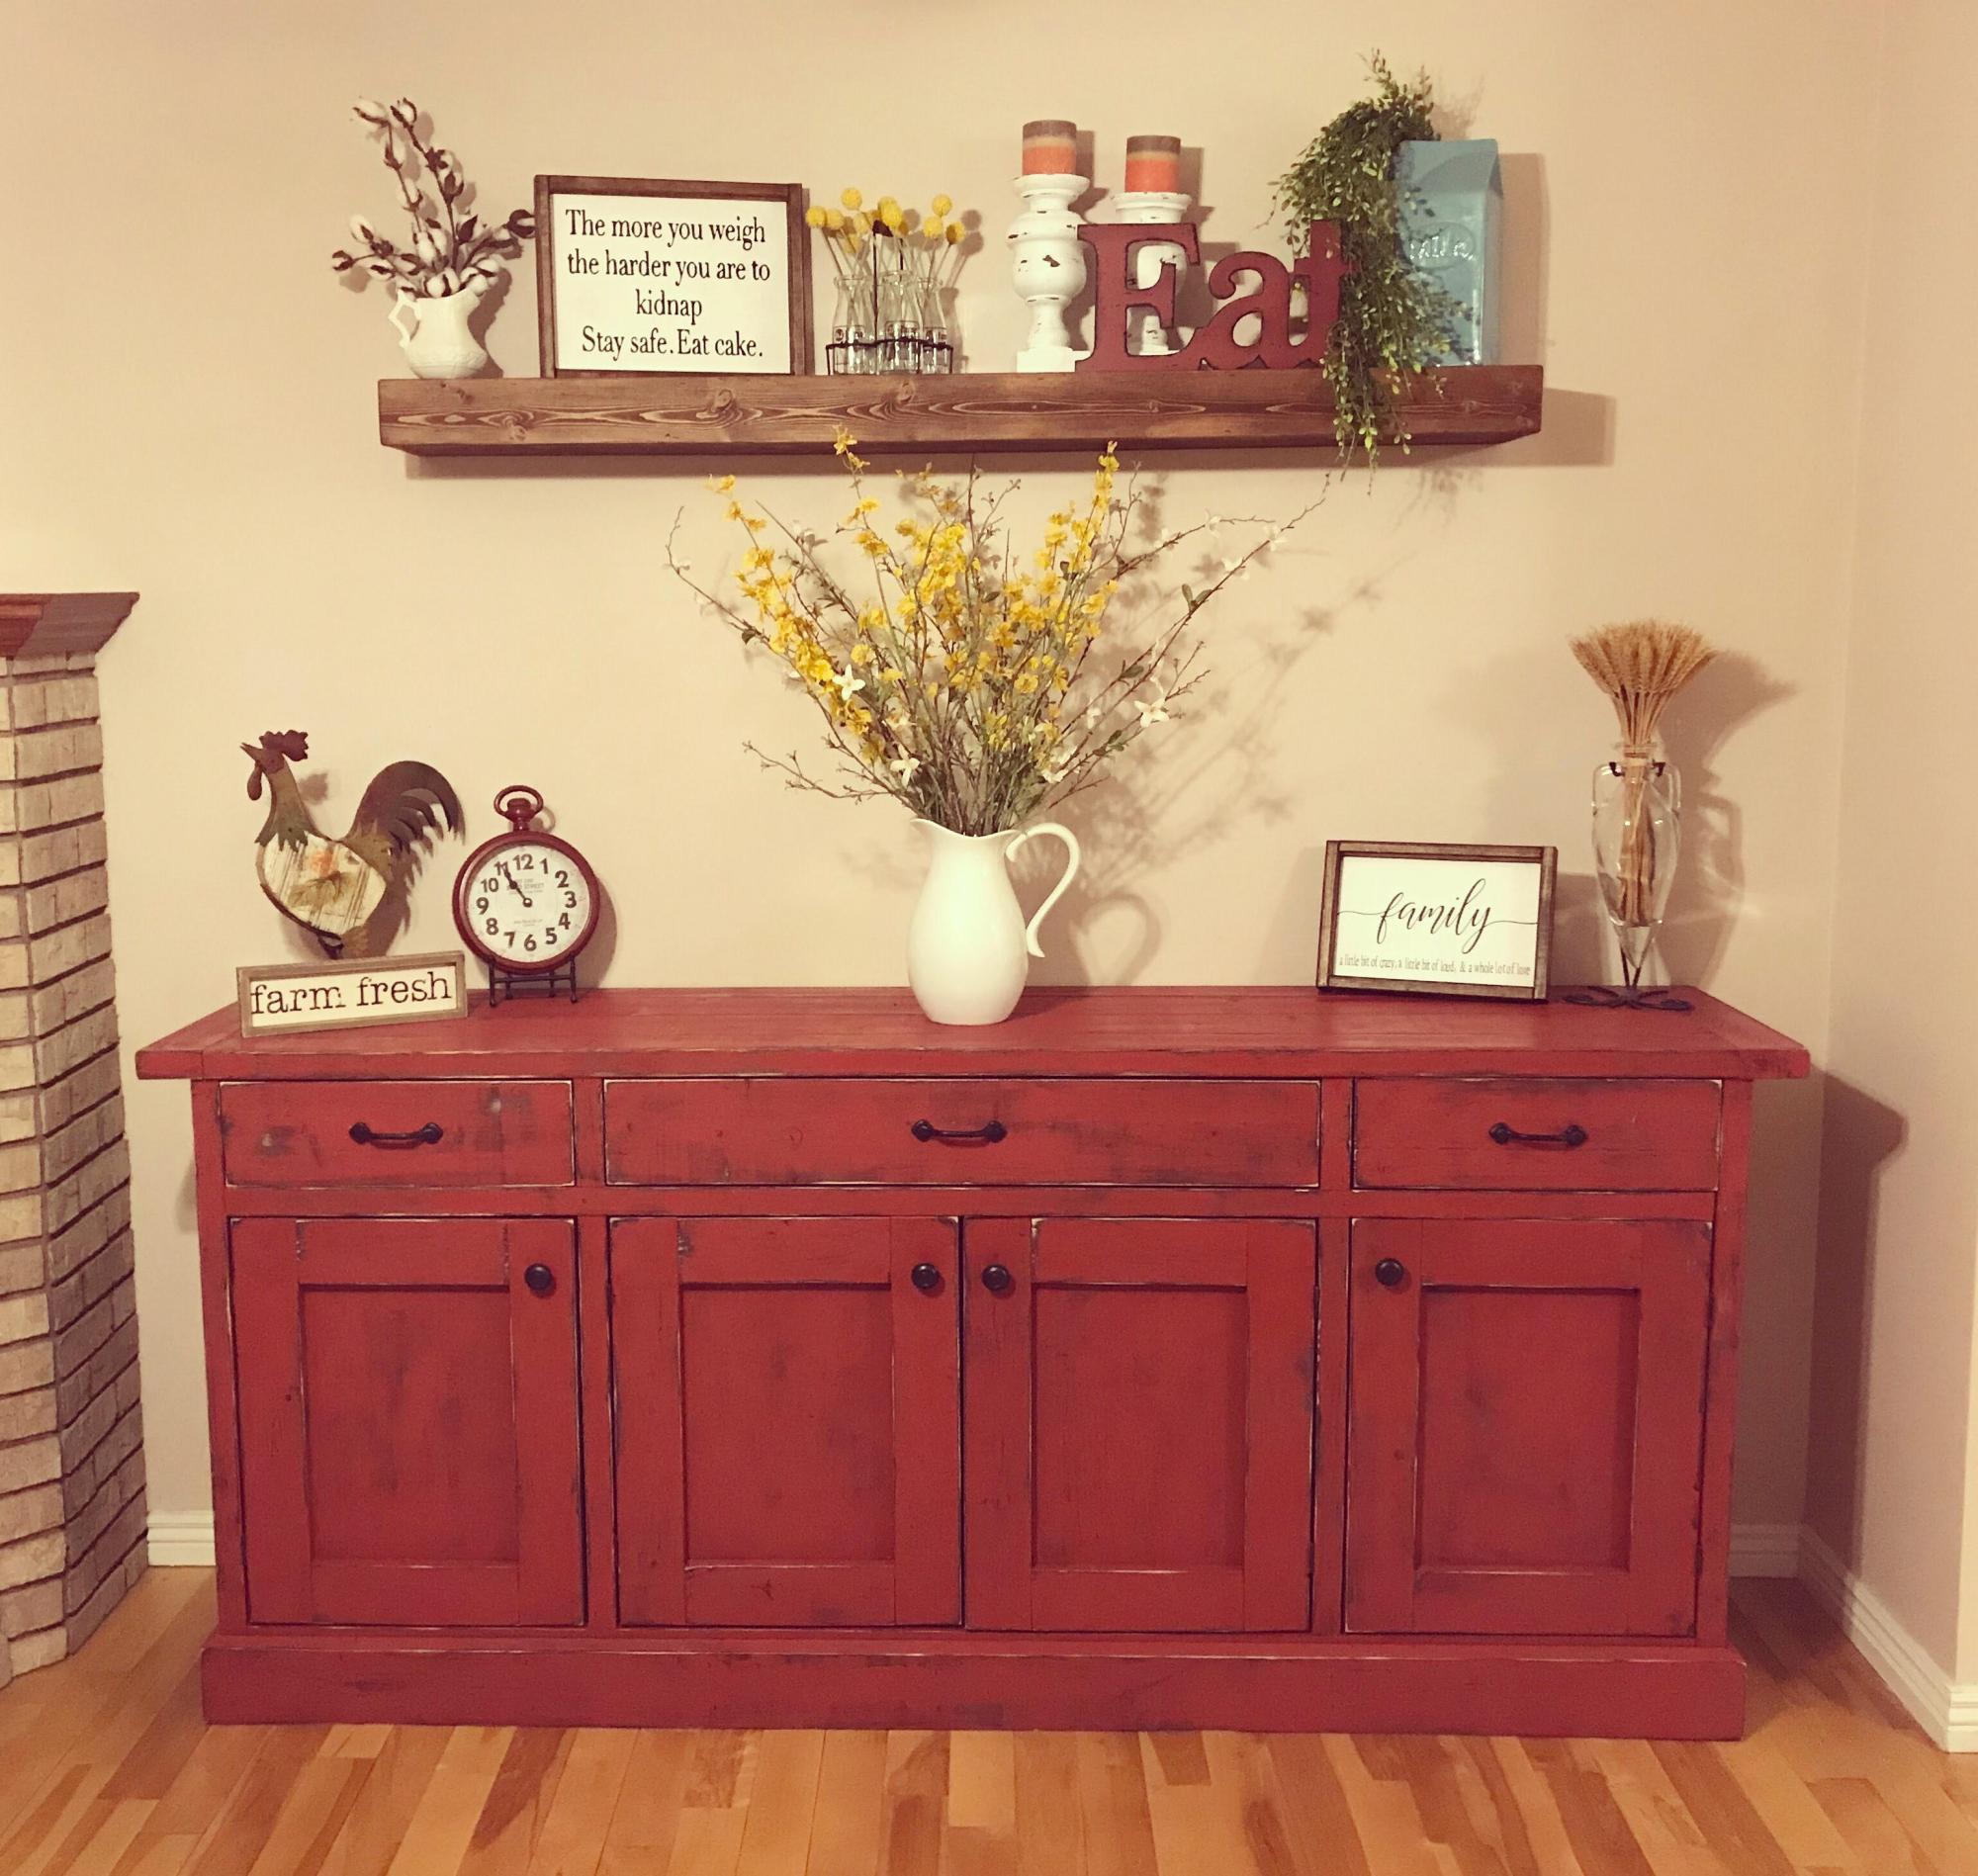
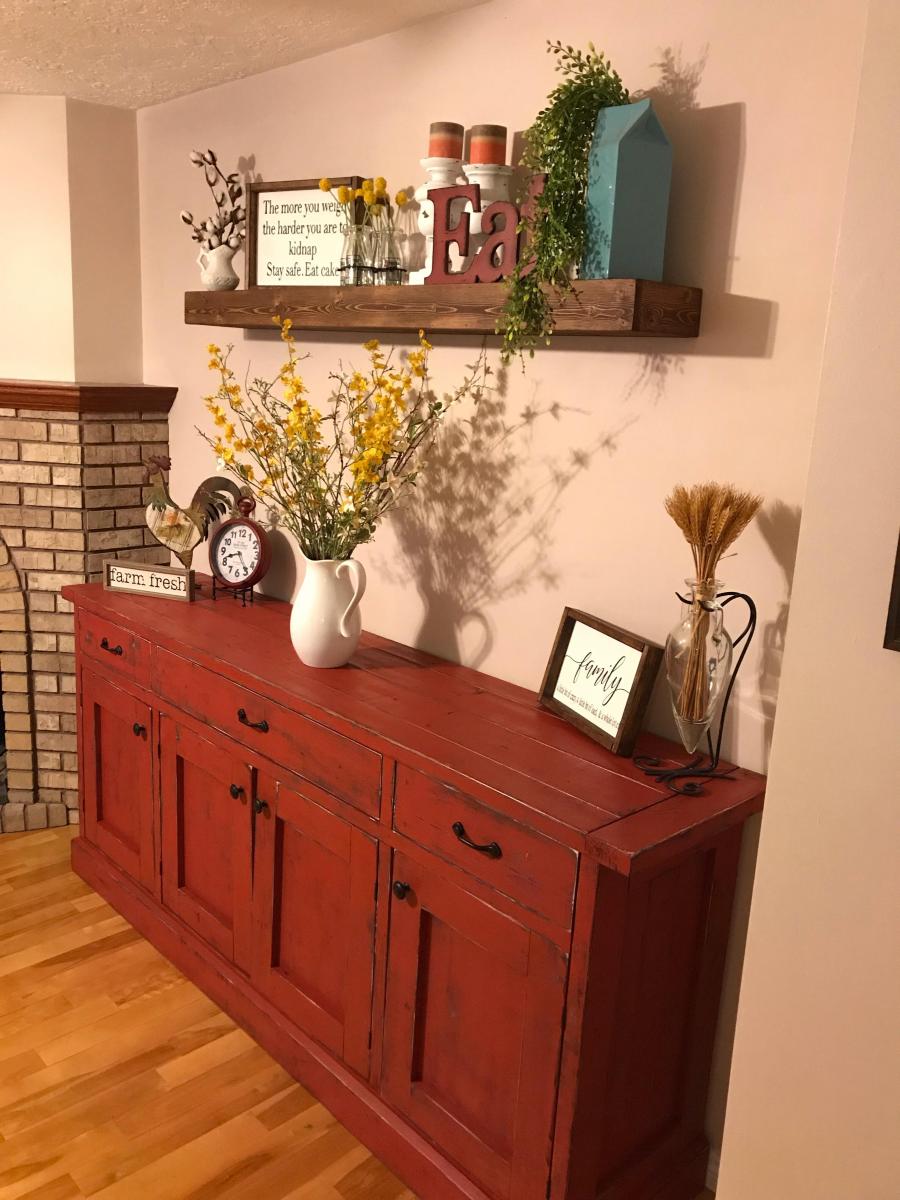
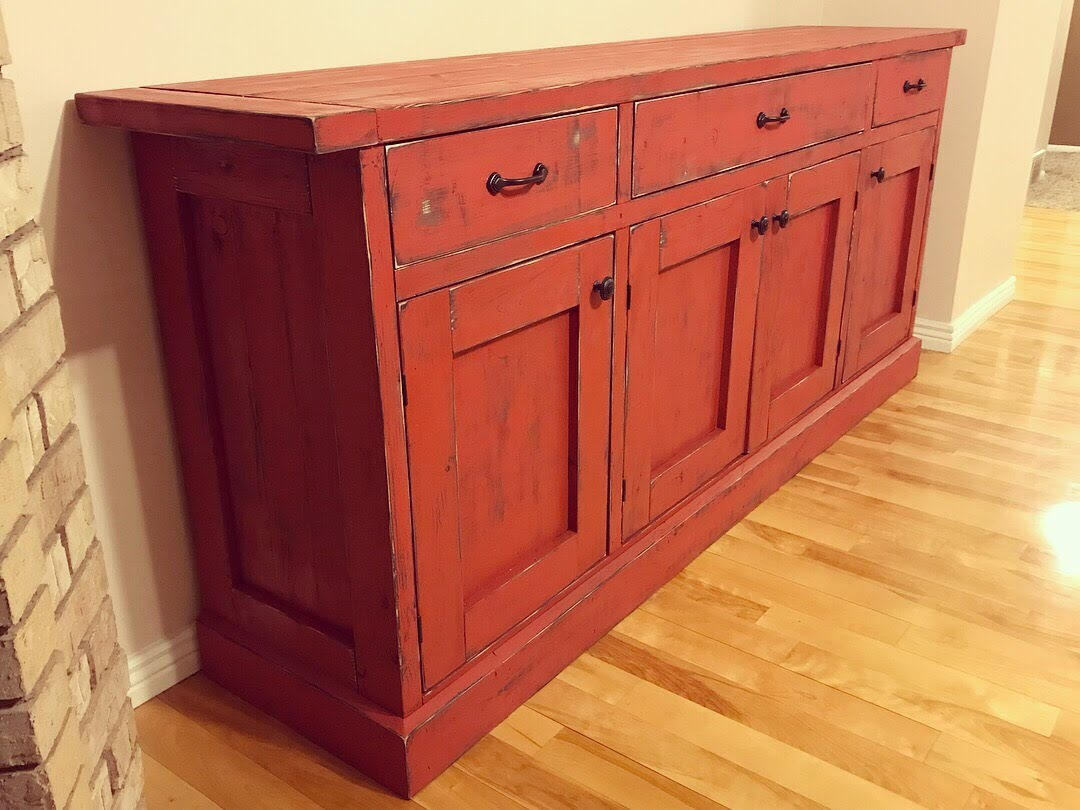
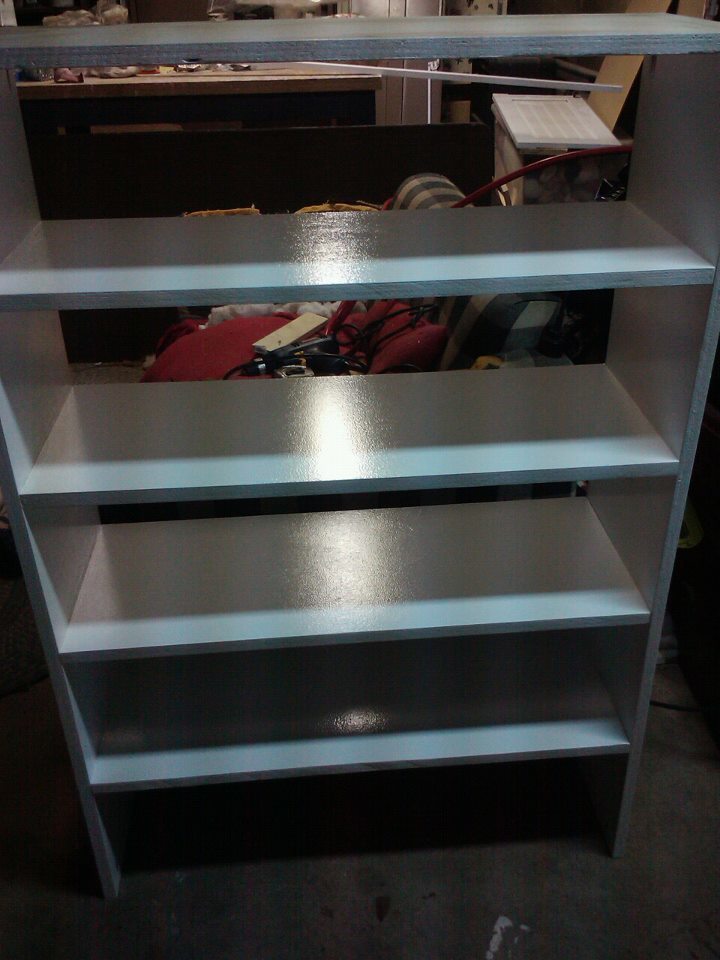
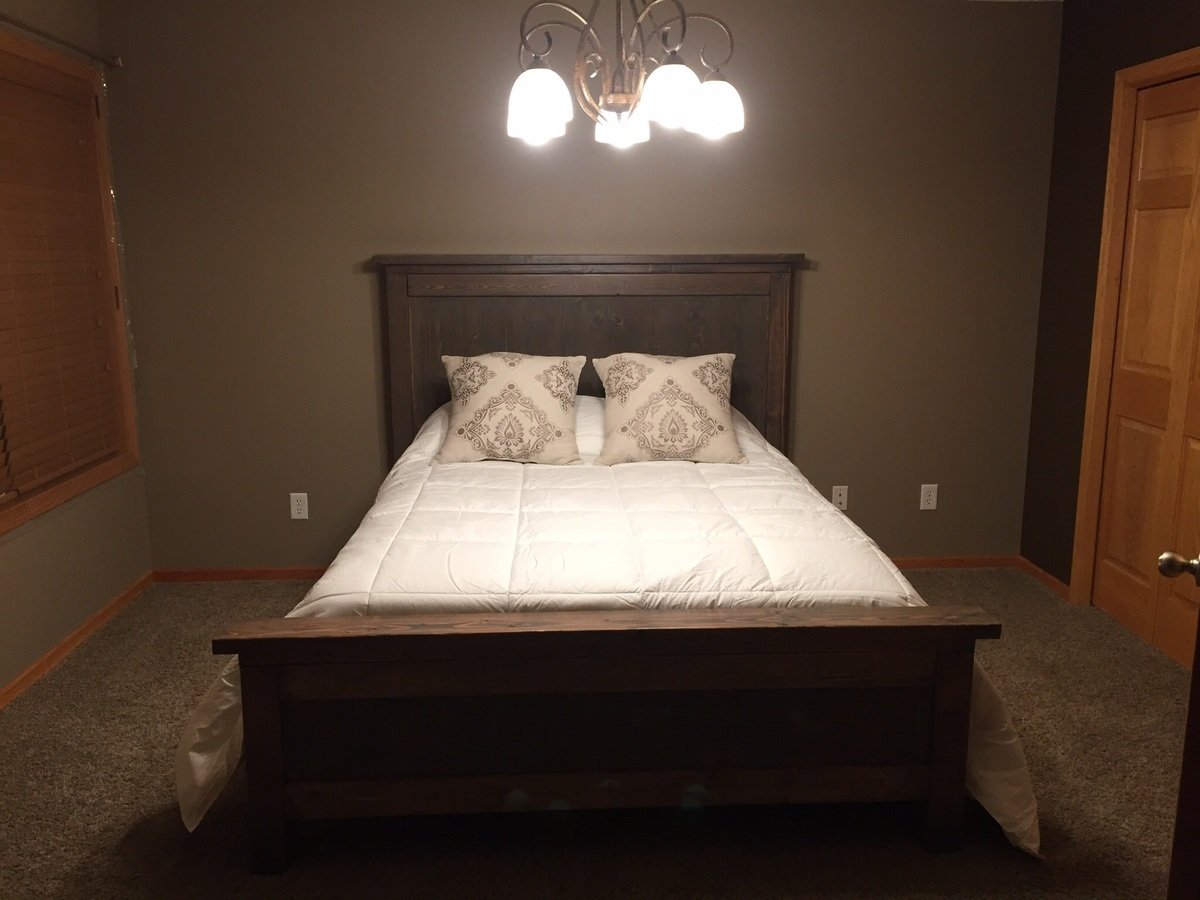
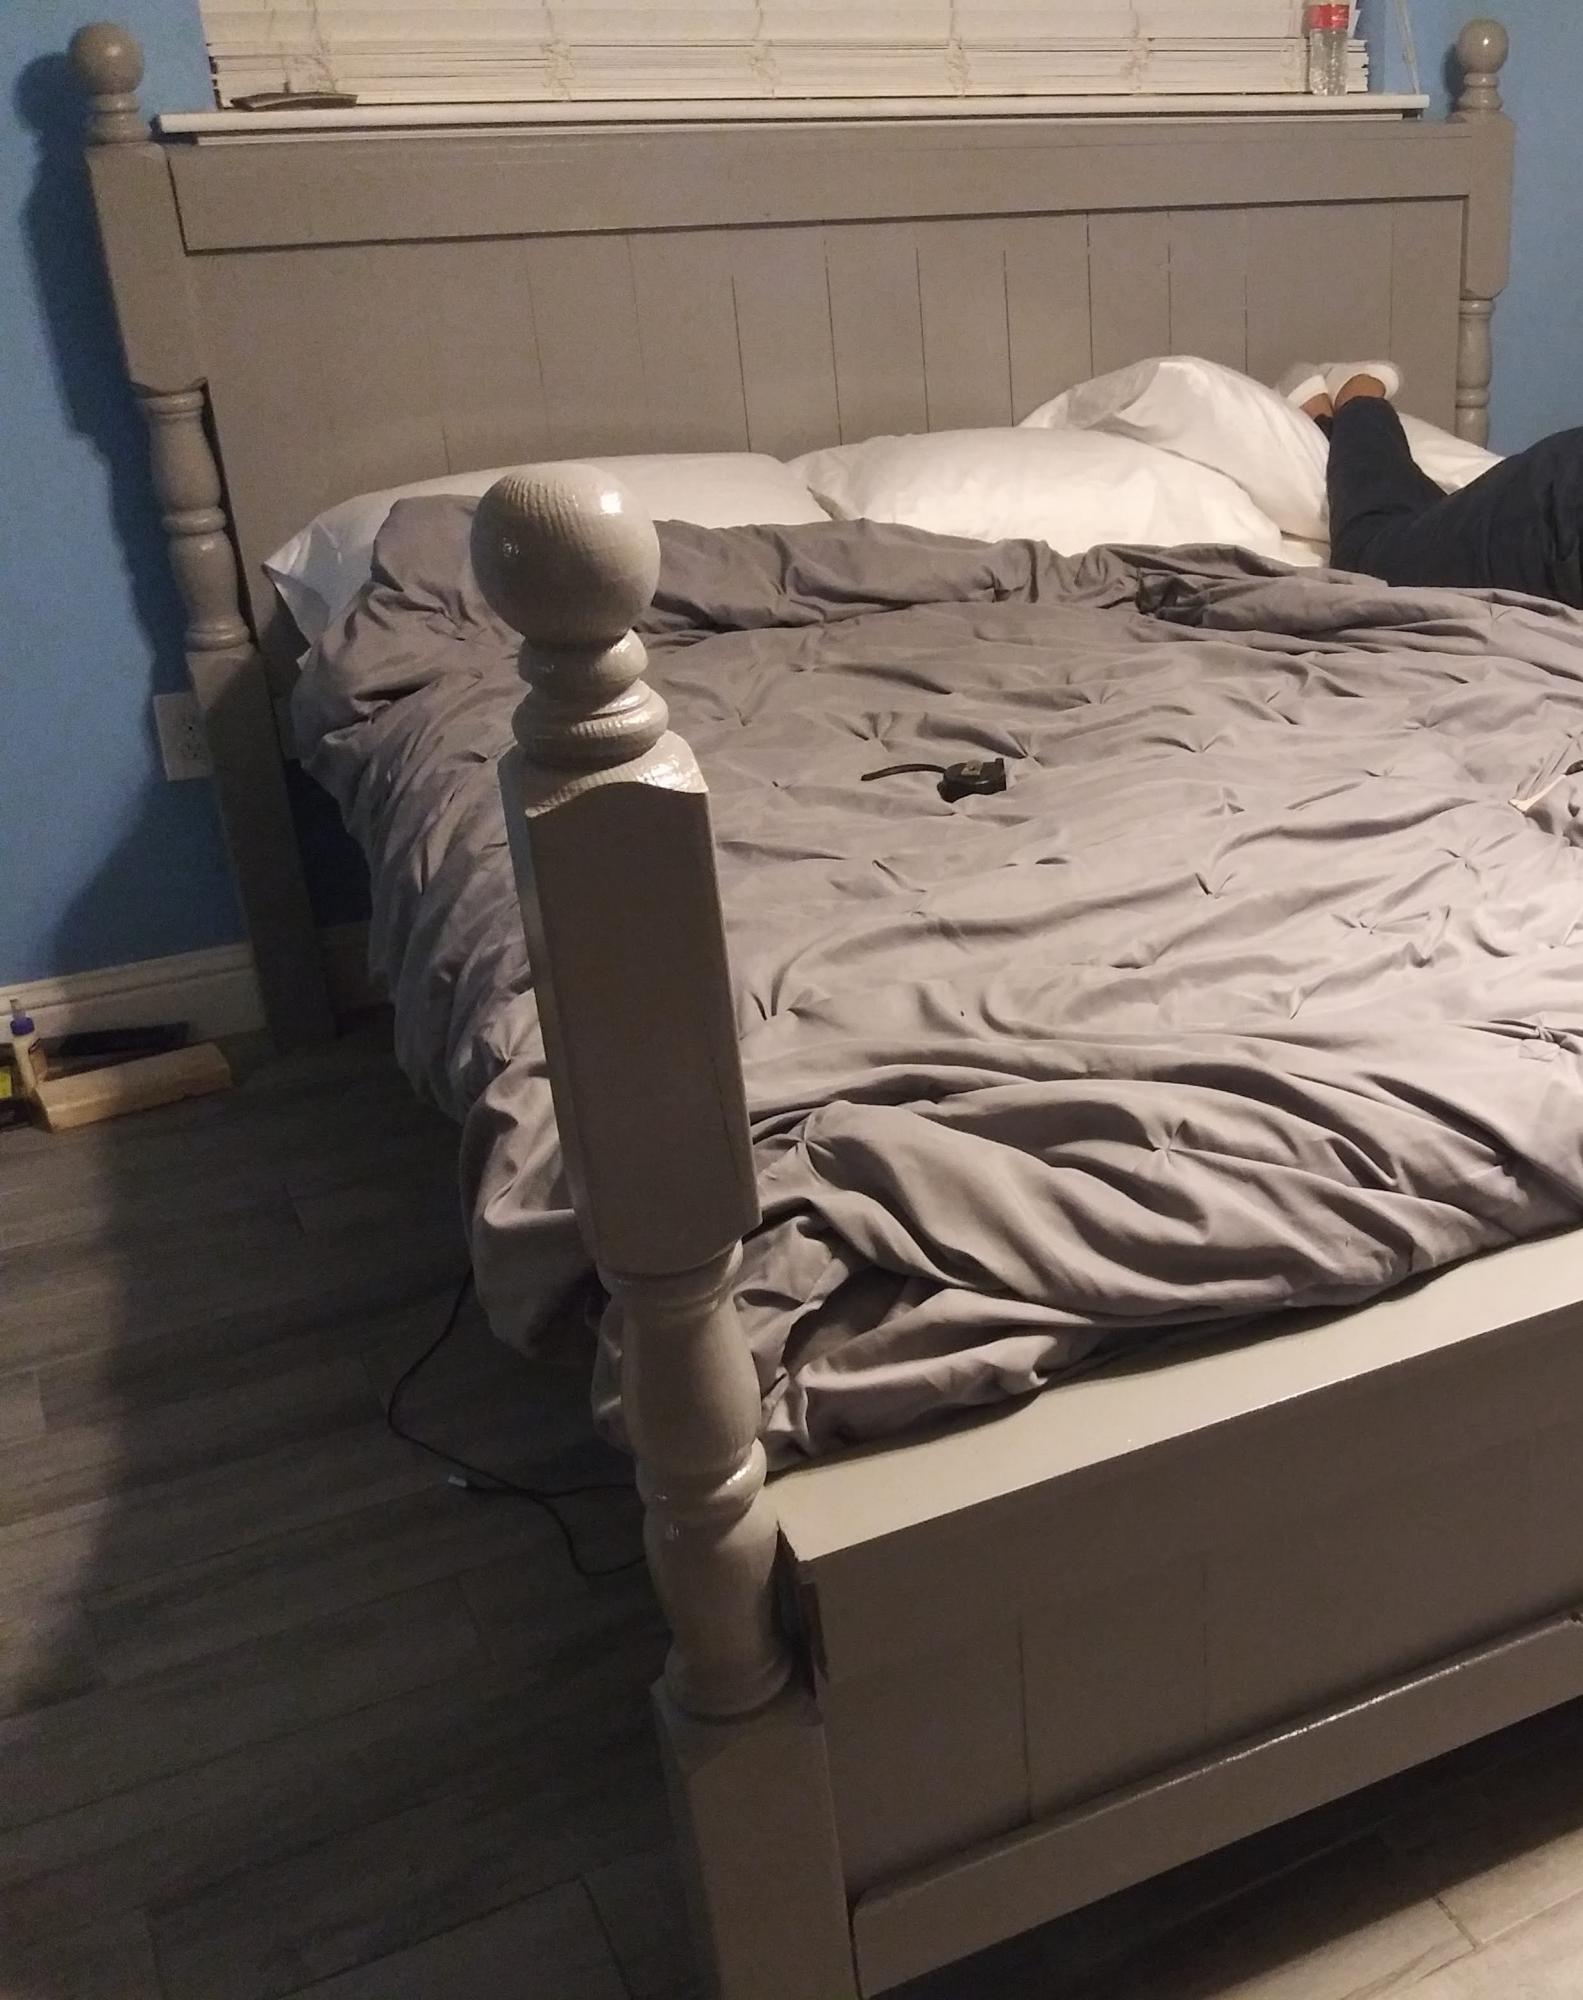
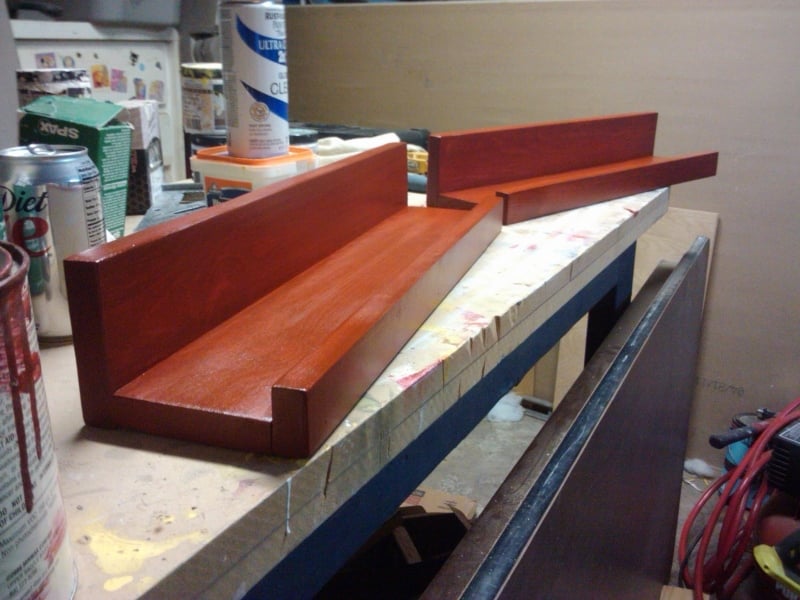
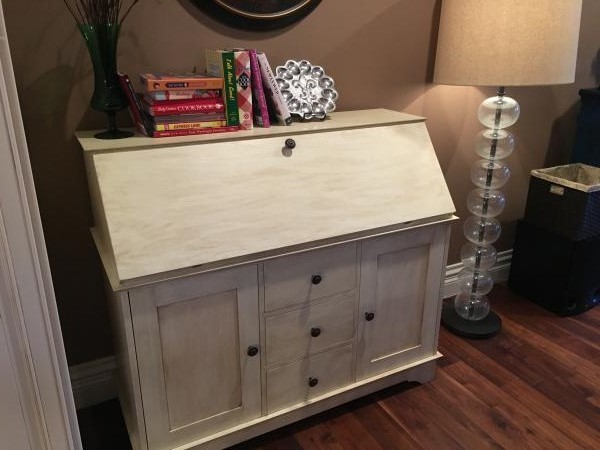
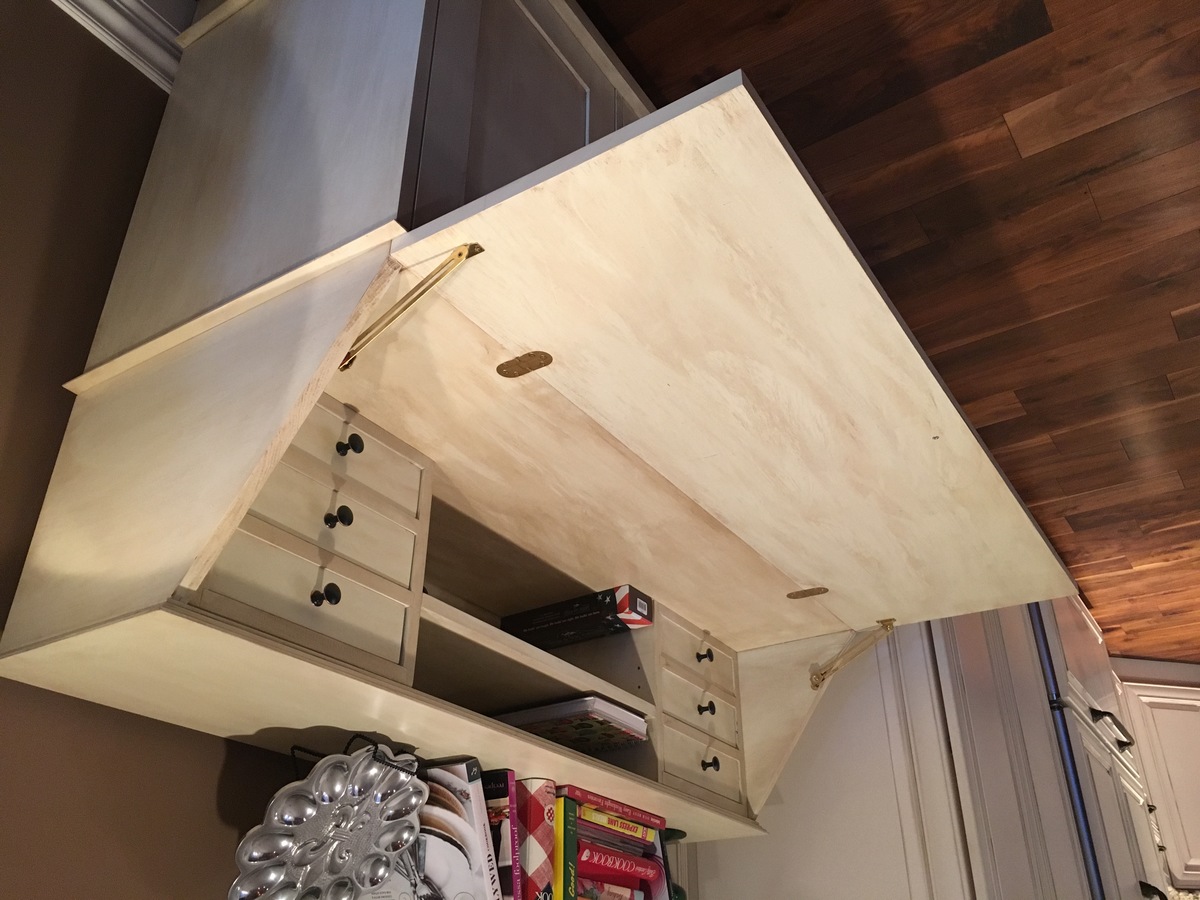
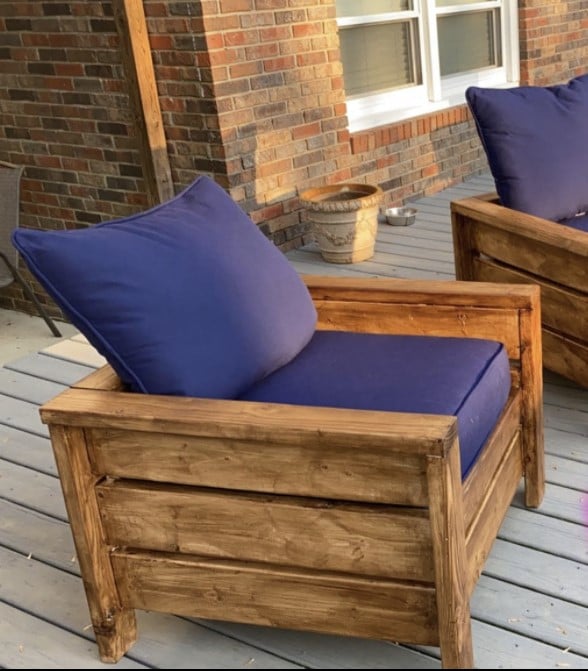
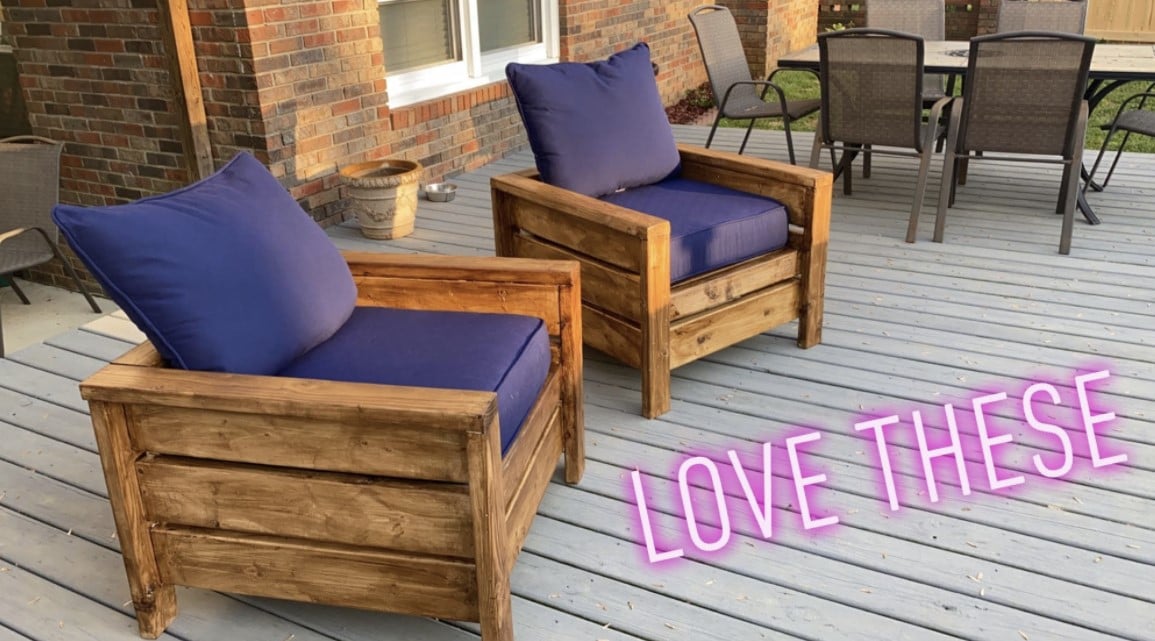
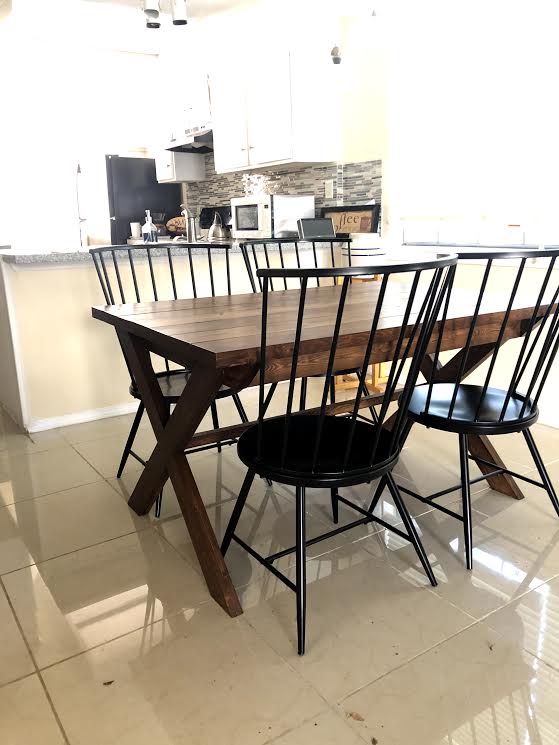
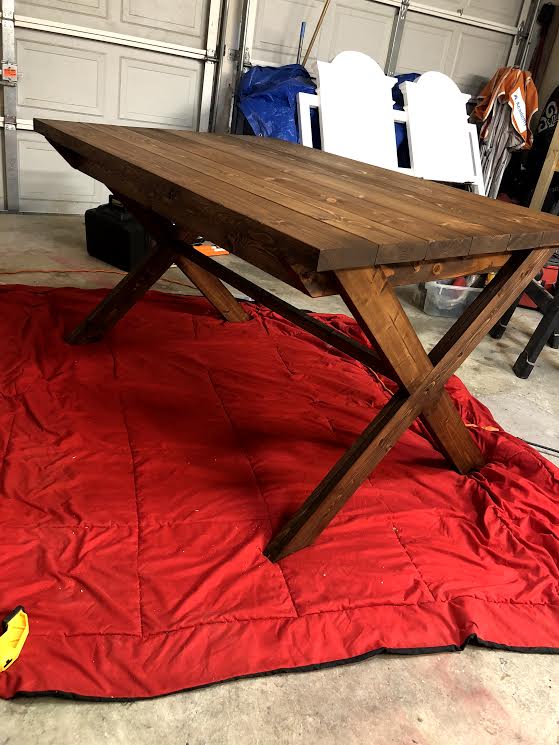
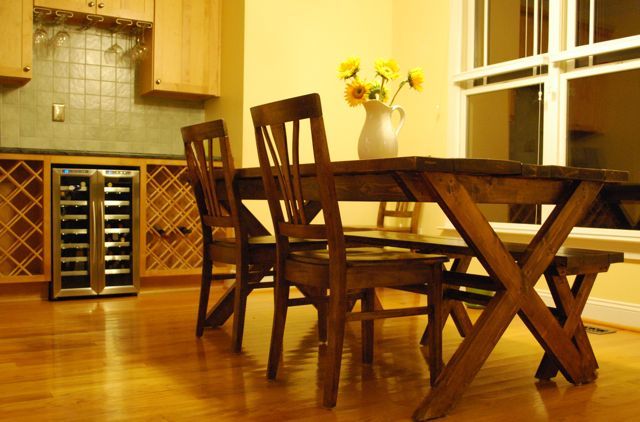
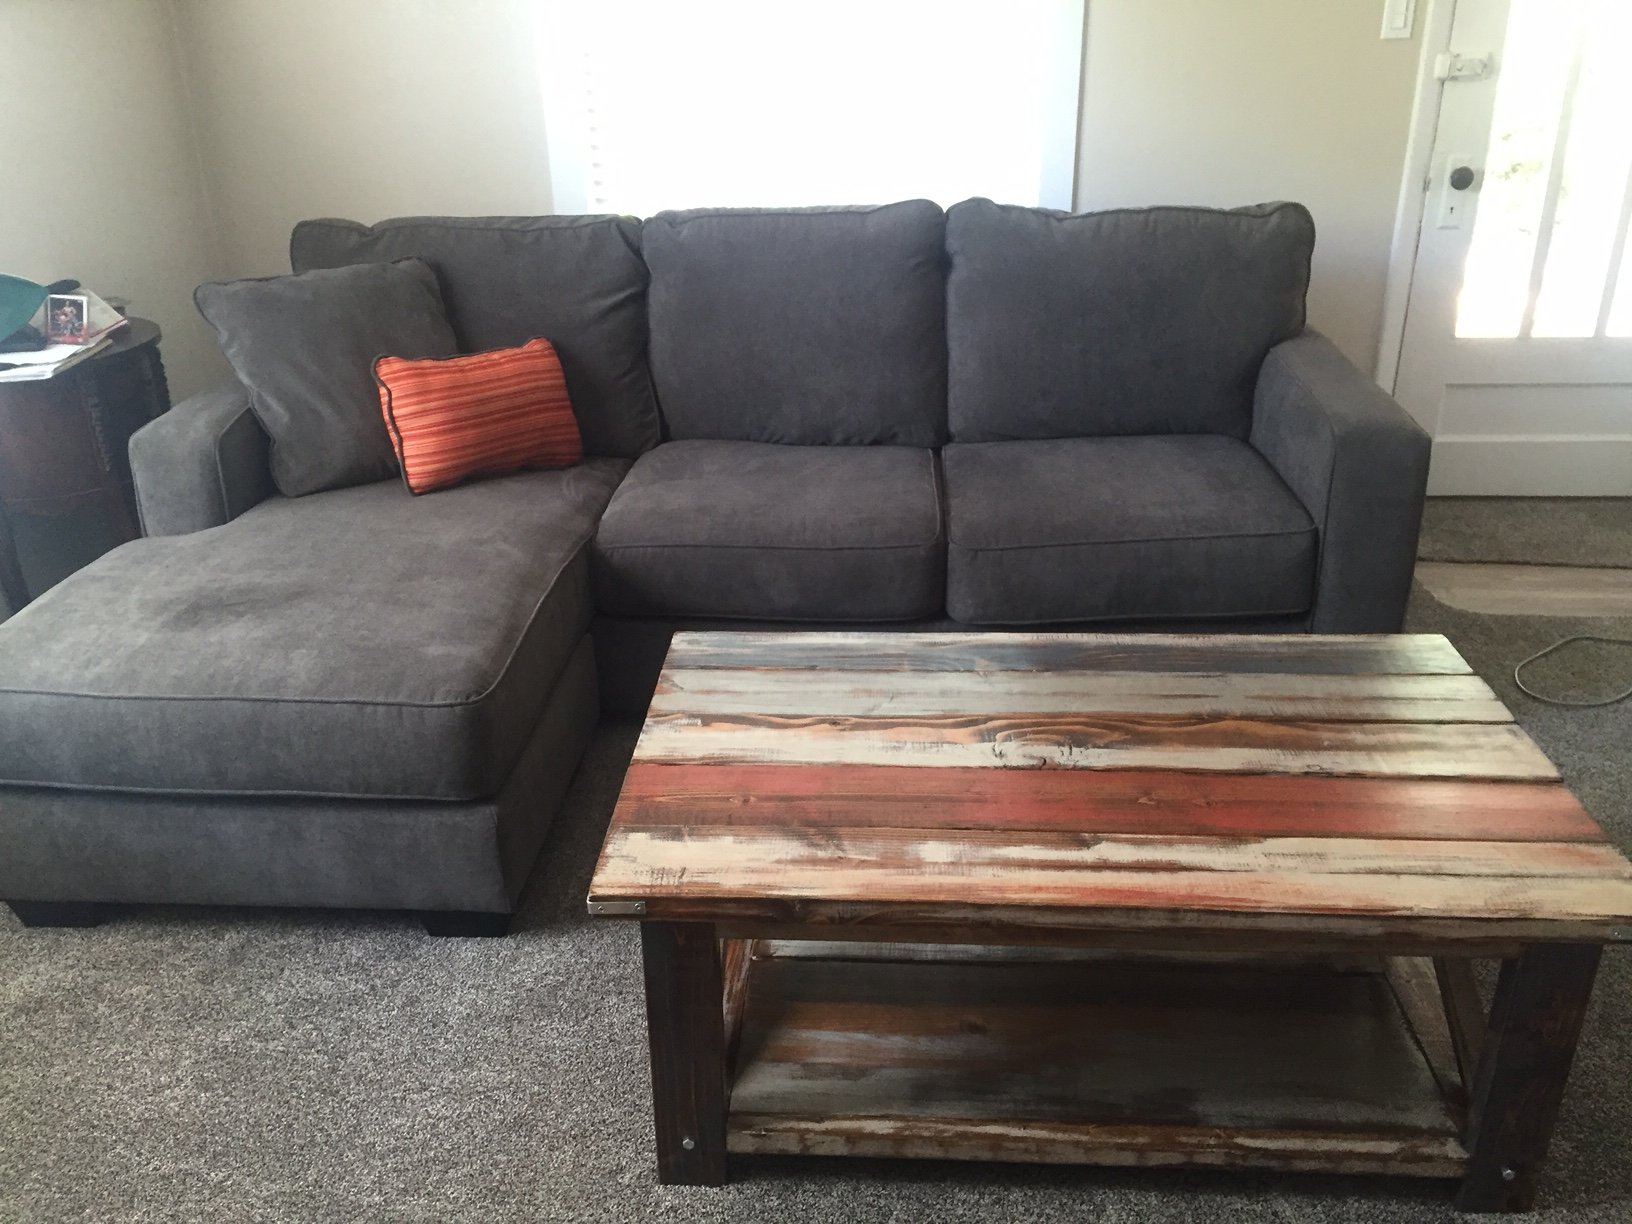
Rustic Coffee Table
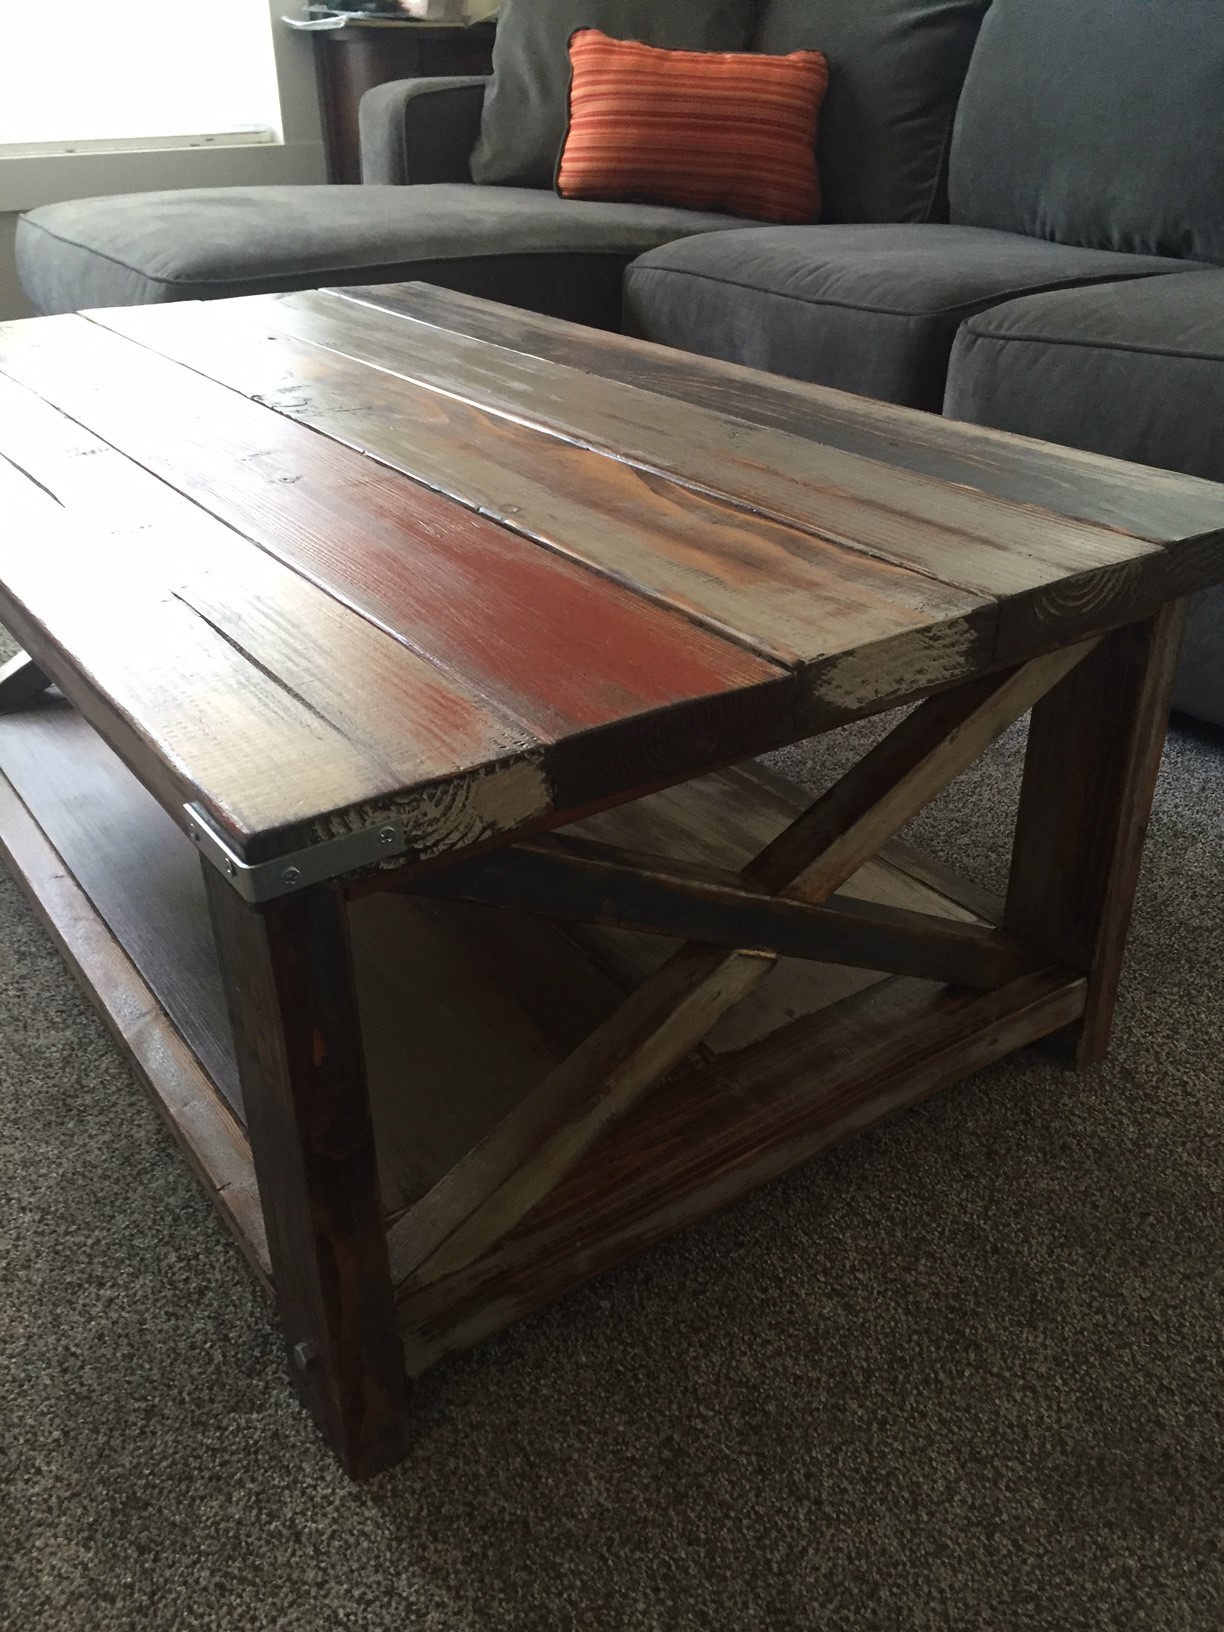
Because we needed this coffee table for a small living room, we scaled the length down a bit from the plans. It worked really well.
Built from Plan(s)
Estimated Time Investment
Weekend Project (10-20 Hours)
Finish Used
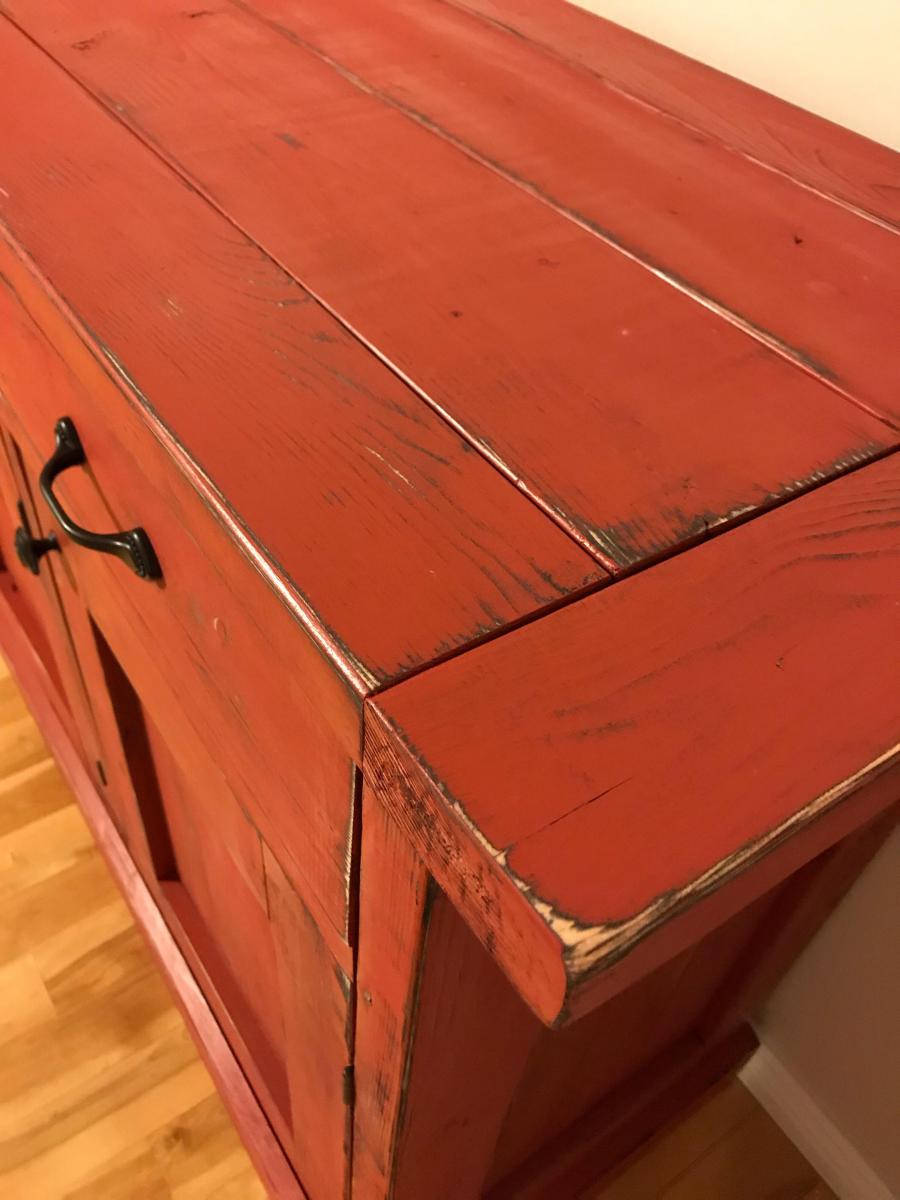
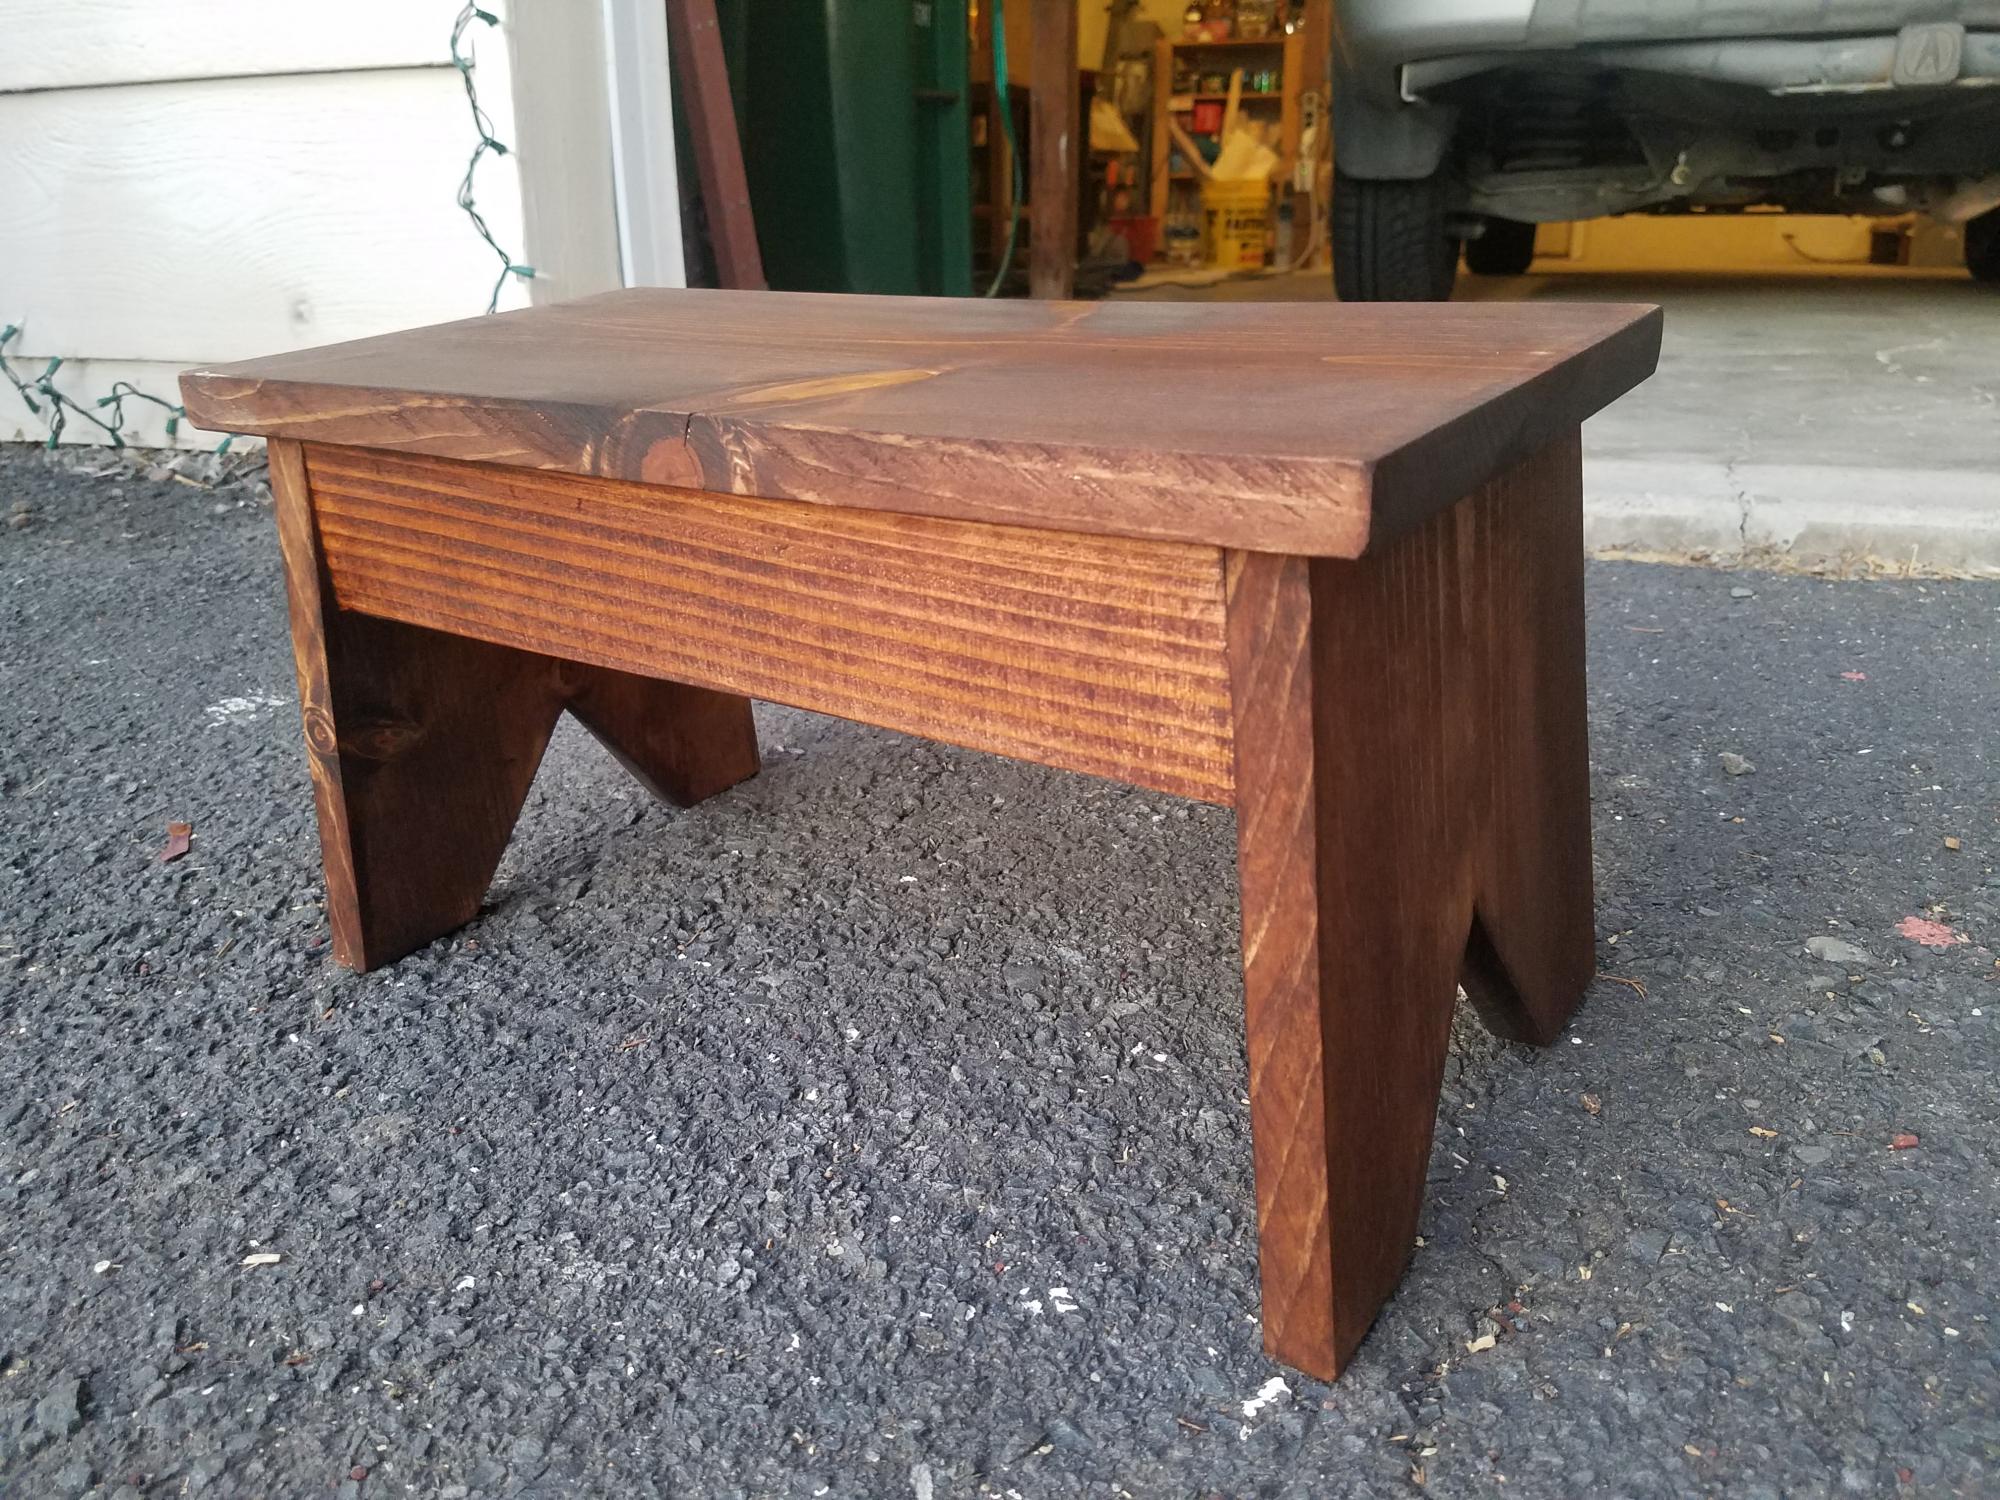
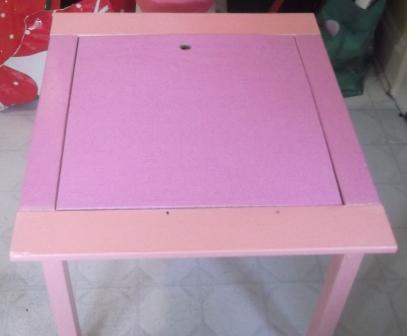
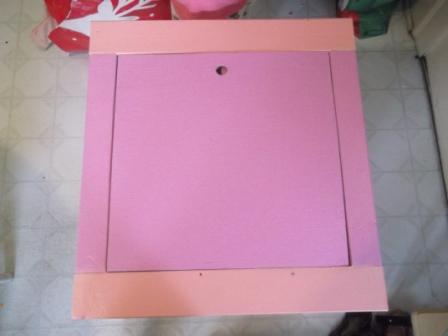
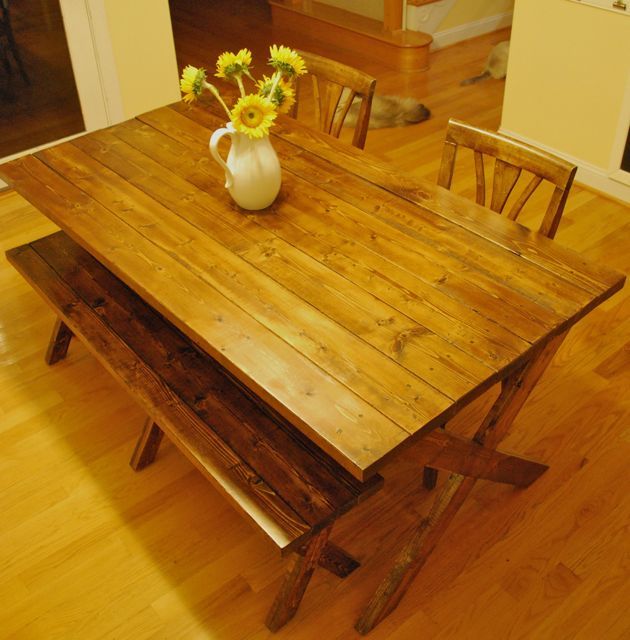
To achieve a rustic look I "sloppy painted" with 2 shades of grey, white, rust and some black. Once the paint was thoroughly dry, I used a course grit sandpaper to lightly take off paint in some areas, leaving it thicker in spots. I then applied minwax provincial stain and immediately wiped it. I finished with a satin poly.
Recommended Skill Level
Intermediate