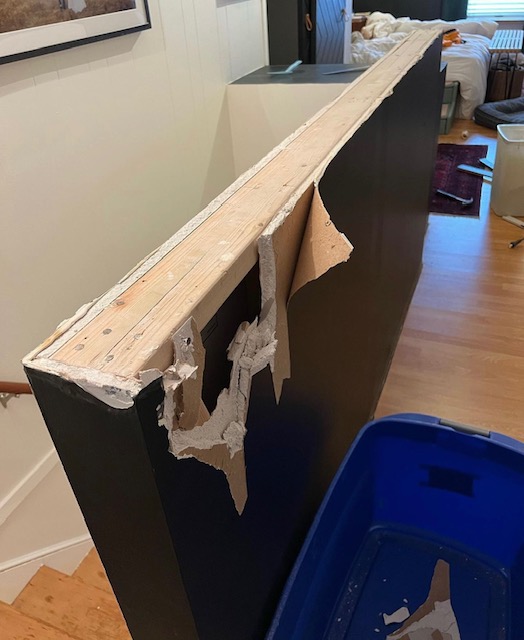
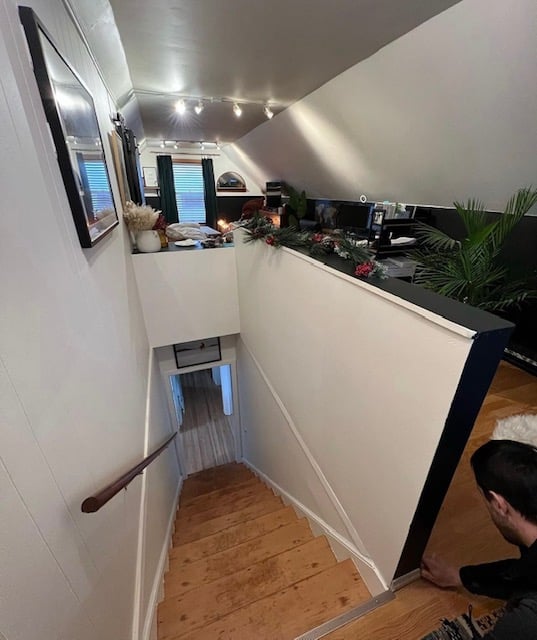
Farmhouse Railing Upgrade - by Sara and Chris
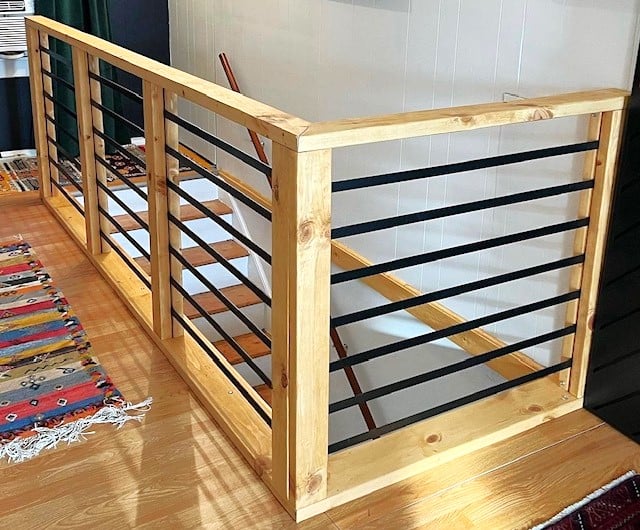
Amazing stair railing upgrade shared by Sara and Chris!
Built from Plan(s)
Amazing stair railing upgrade shared by Sara and Chris!
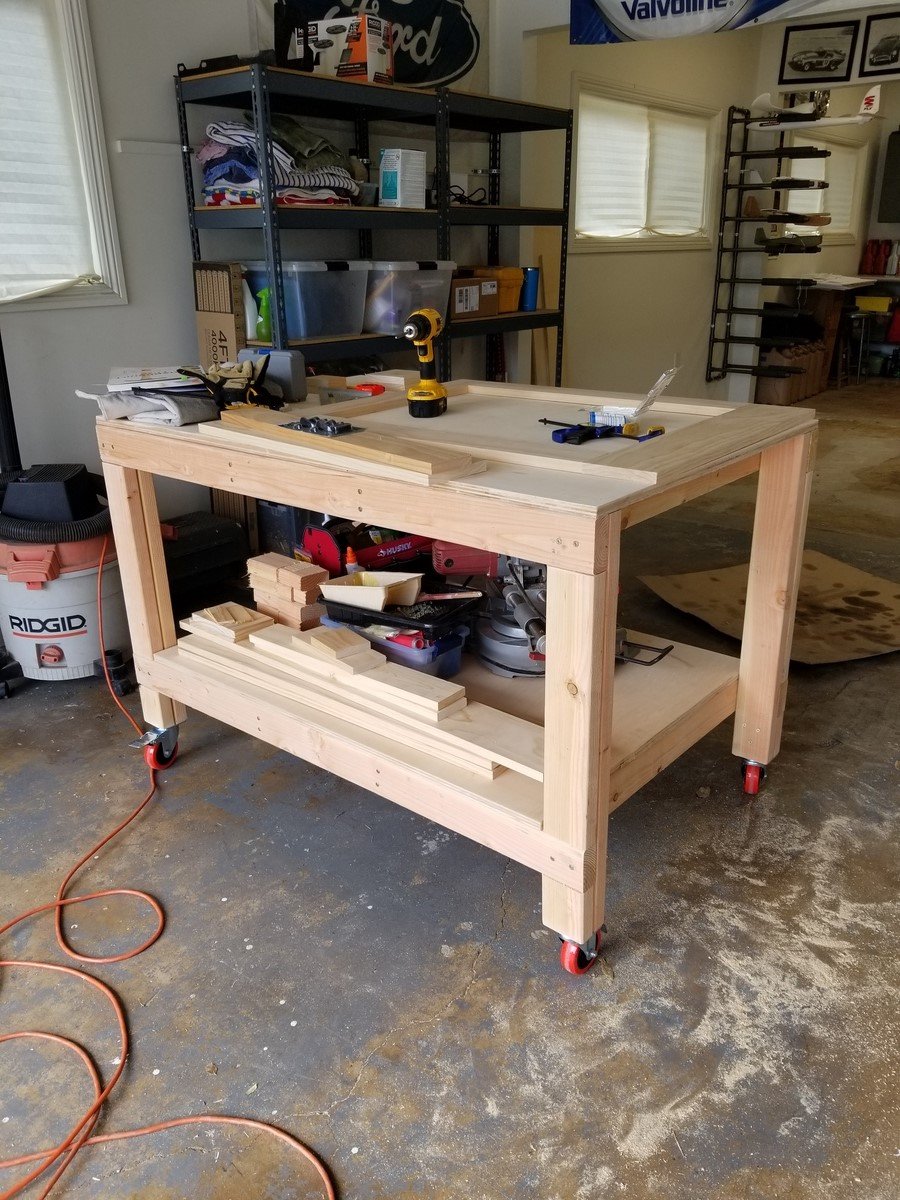
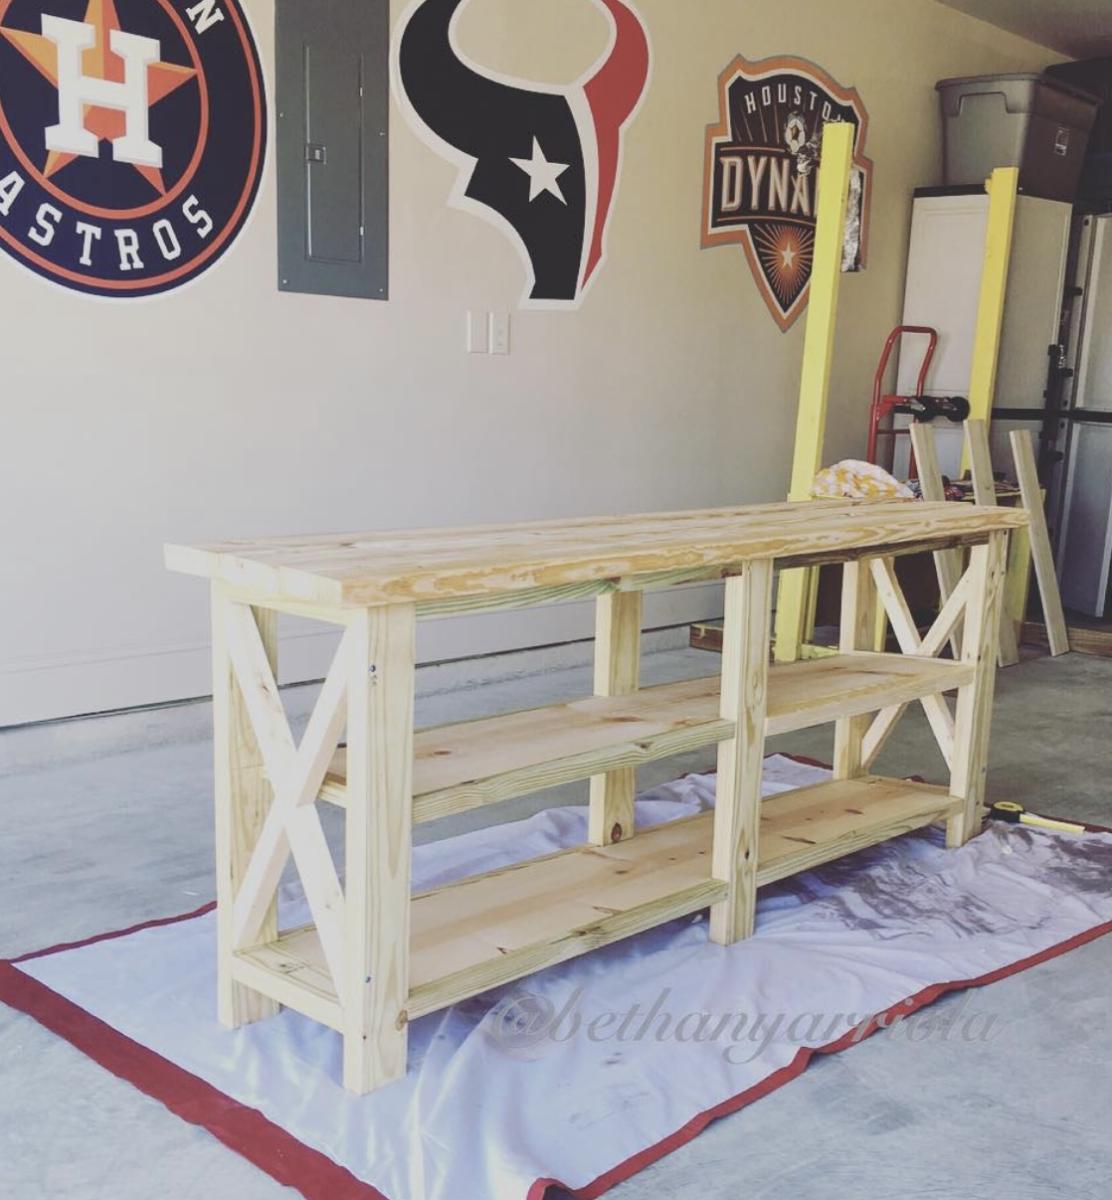
I love this workbench! I added casters so I can move it around the garage, outside, wherever it's needed. I just took 4 inches off the bottom of the legs. My hubby is admiring my handy work and planning on making one for himself.
Wed, 01/25/2023 - 14:31
Love this with the casters! So beautiful. I'm new here and wondering at what point you took 4 inches off the legs. Did you build the table and then just cut off the legs? Or did you adjust the measurements of the cuts? Thanks in advance! :)
Mon, 01/30/2023 - 02:32
The overall height of a 4-inch caster wheel is a little over 5 inches with the mounting bracket, so that also needs to be taken in to consideration. 2nd photo shows the overall dimensions, but to me the bracket and brake area appear to be a bit more than 1.03 inches. https://amzn.to/3DkMKzB
I think the best bet would be to have and measure the overall wheel height, prior to measuring and cutting the lumber.
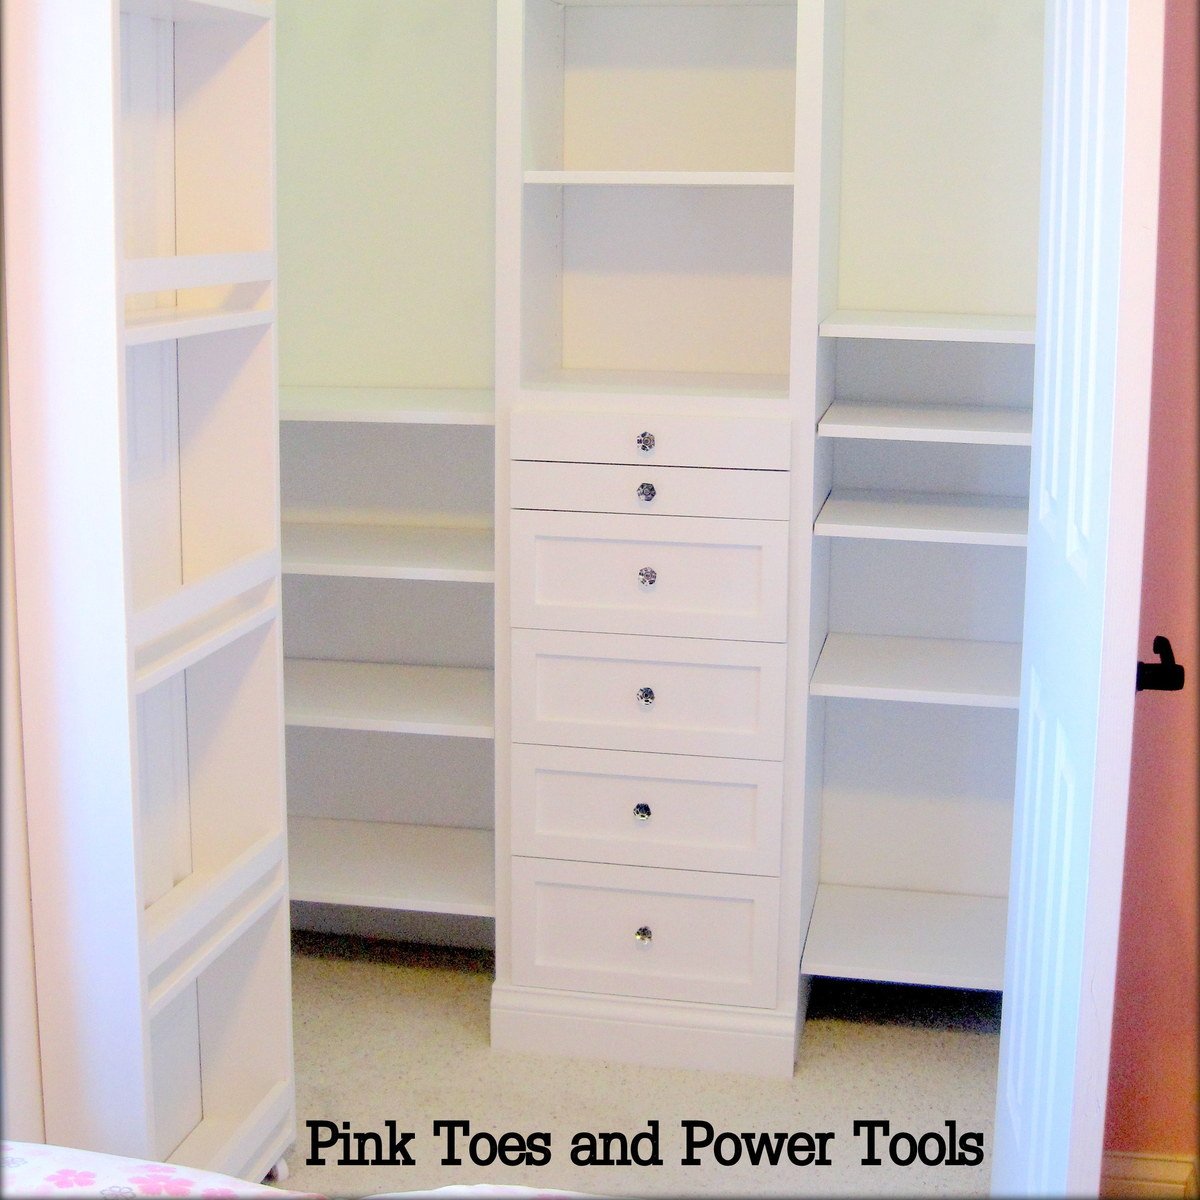
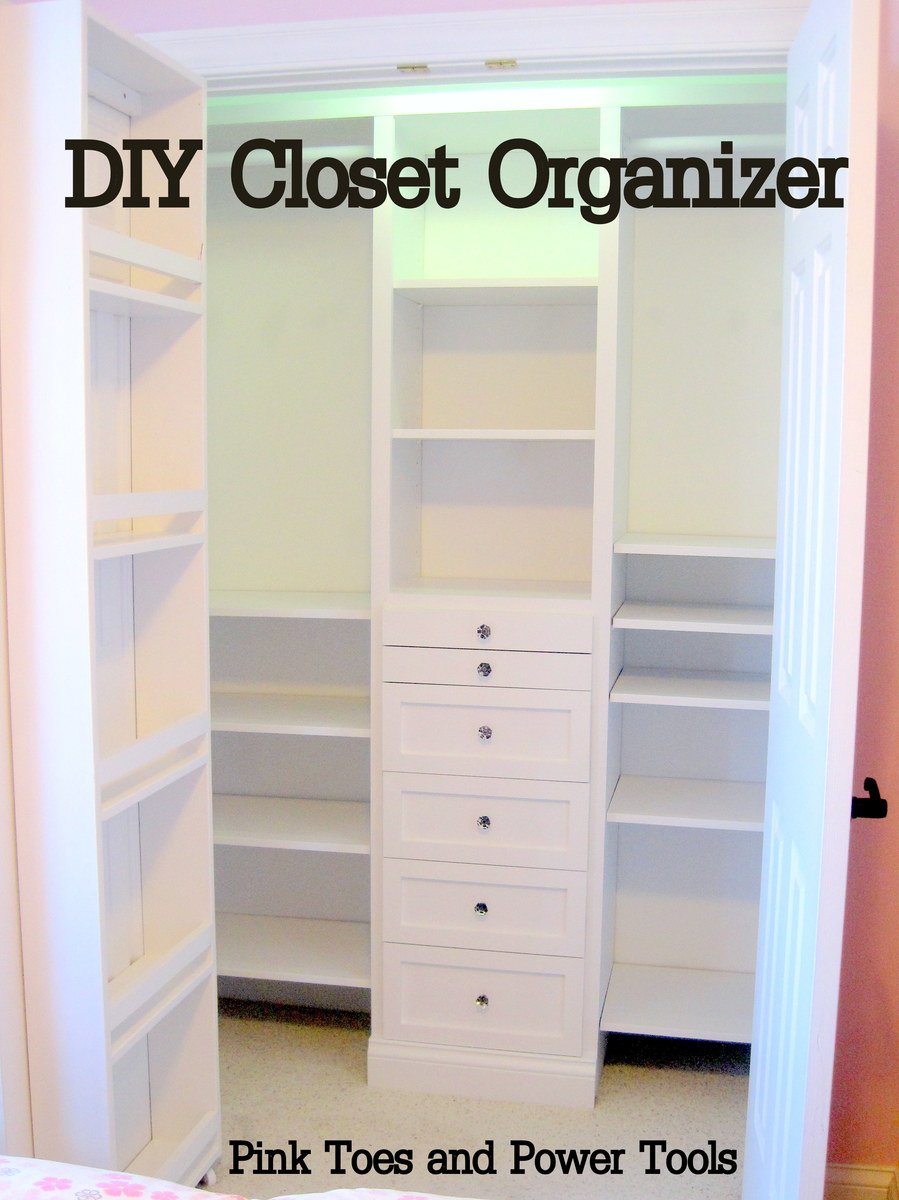
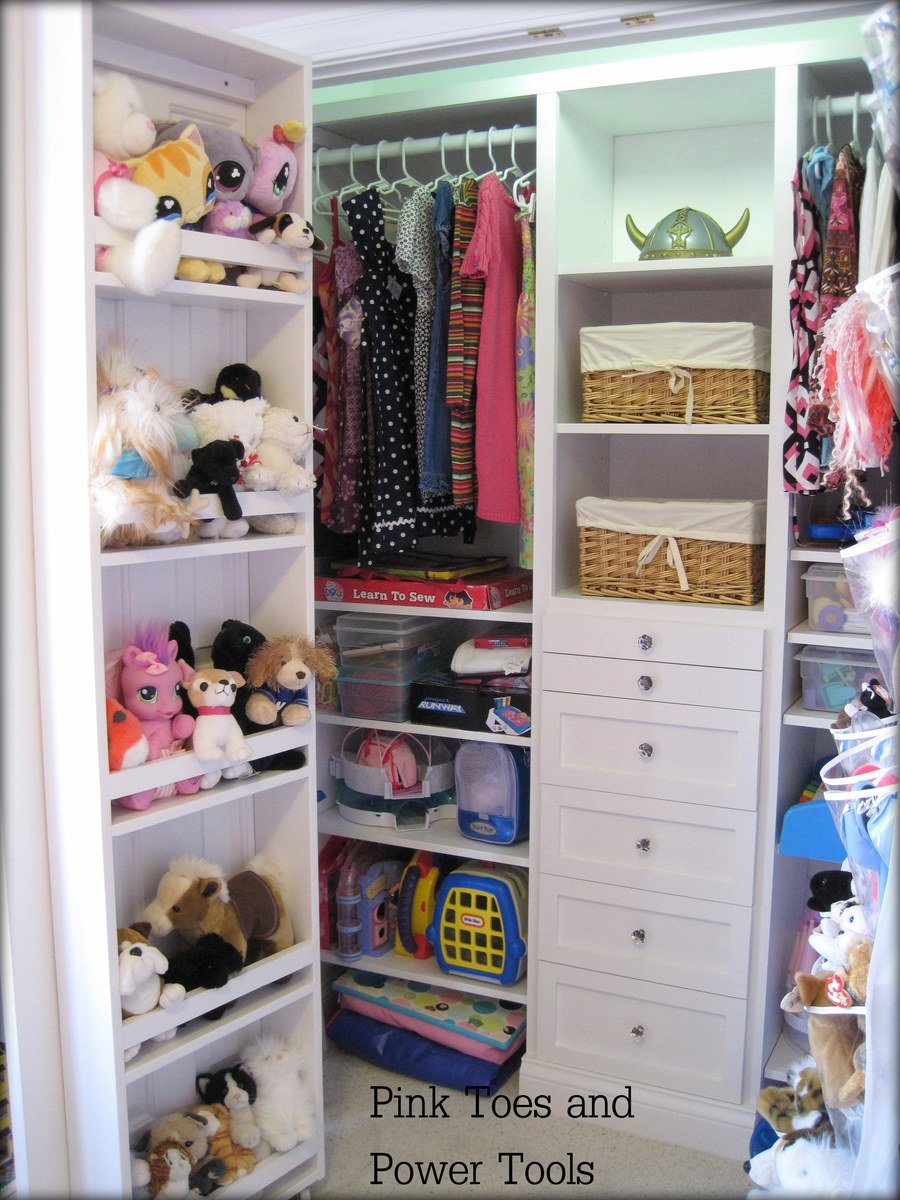
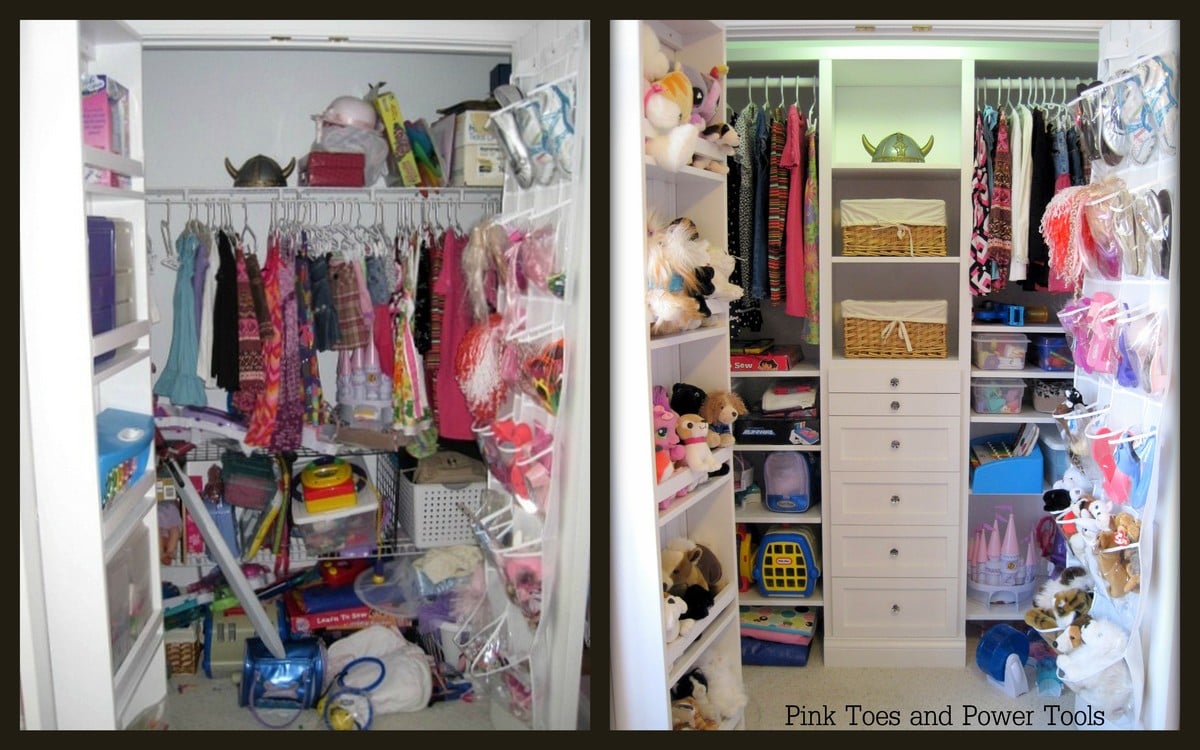
I needed a closet organizer for my daughter's room that could grow and change with her age. Right now it needed to have lots of shelves at her height to hold the massive amount of stuff an 8 year old can accumulate.
Once she transitions out of the toys, I plan on moving the shelves all to one side or the other for shoes, and adding another rod. Another possibility is shoes in the door organizer and 4 sections of hanging clothes...regardless, the end result has options that will grow with her!
I was able to keep the cost of this down because I used all scrap plywood to make the drawers. I did splurge in S4S pine lumber rather than trying to make rougher cuts nice.
On the left door is Ana's Behind Closet Door Storage plan as well :)
Sun, 02/05/2012 - 11:17
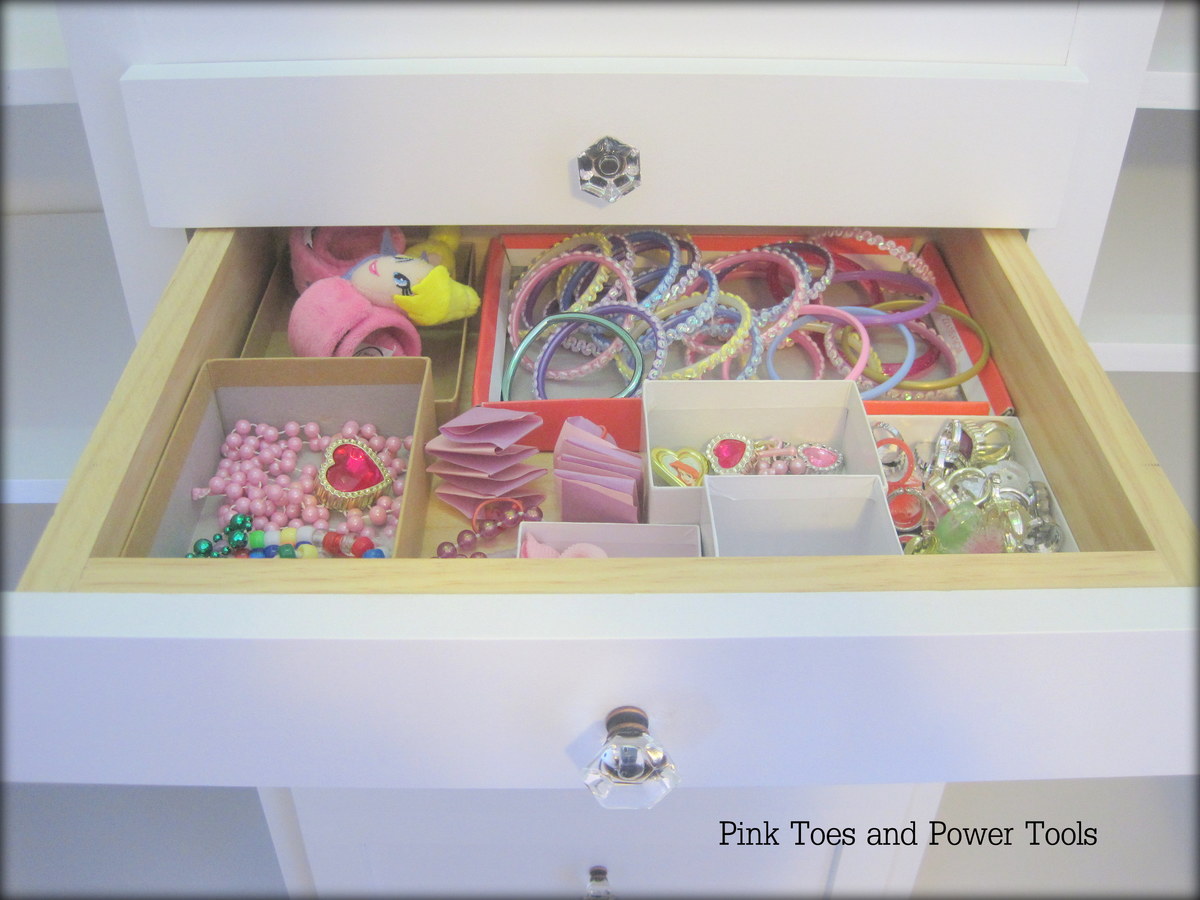
I love the idea of the stuffed animals on the door! Those things multiply so fast and get in the way of making the bed - great closet!
Sun, 02/05/2012 - 18:58
Right now DD's room is a blank canvas. One of the first projects (after getting her window in) is to figure out the closet. I think this will be my inspiration!
Looks great!
Sun, 02/05/2012 - 19:25
Thank you! I am loving how organized her whole room is because of the closet being in good shape. And everything has a spot now, so it's easy for her to get it back where it needs to go!
Oh, those stuffed animals. I mentioned to her the idea of paring her collection down and she was horrified at the idea!
Mon, 02/06/2012 - 06:40
A shocking notion. I think there's a box in our storage area with my wife's stuffed animals somewhere. Keep in mind, my wife isn't a 20-something who just moved out of her parents' house. We have a grand-daughter. Stuffed animals are forever. In fact I think one of my nephews still has my teddy bear.
In reply to Paring Down Stuffed Animals?! by claydowling
Mon, 02/06/2012 - 09:04
...at the bottom of the basket where her stuffed animals used to live, were two of mine from when I was little, lol!
But you bring up a good point about forever. I think I need to put a ban on any new ones joining her stuffed animal family from here on out. Pretty soon I'm going to need to add another closet to her room just for those!
In reply to drawers by Guest (not verified)
Sat, 06/30/2012 - 20:46
Hi--sorry I missed this comment somehow this spring! I blogged the entire build, but here are the posts specifically on the drawers:
http://pinktoesandpowertools.com/2012/01/28/how-to-build-a-closet-organ…
http://pinktoesandpowertools.com/2012/01/30/how-to-build-a-closet-organ…
http://pinktoesandpowertools.com/2012/02/01/how-to-build-a-closet-organ…
Here's the reveal post with links to all the other posts:
http://pinktoesandpowertools.com/2012/02/05/how-to-build-a-closet-organ…

Thu, 02/23/2012 - 19:12
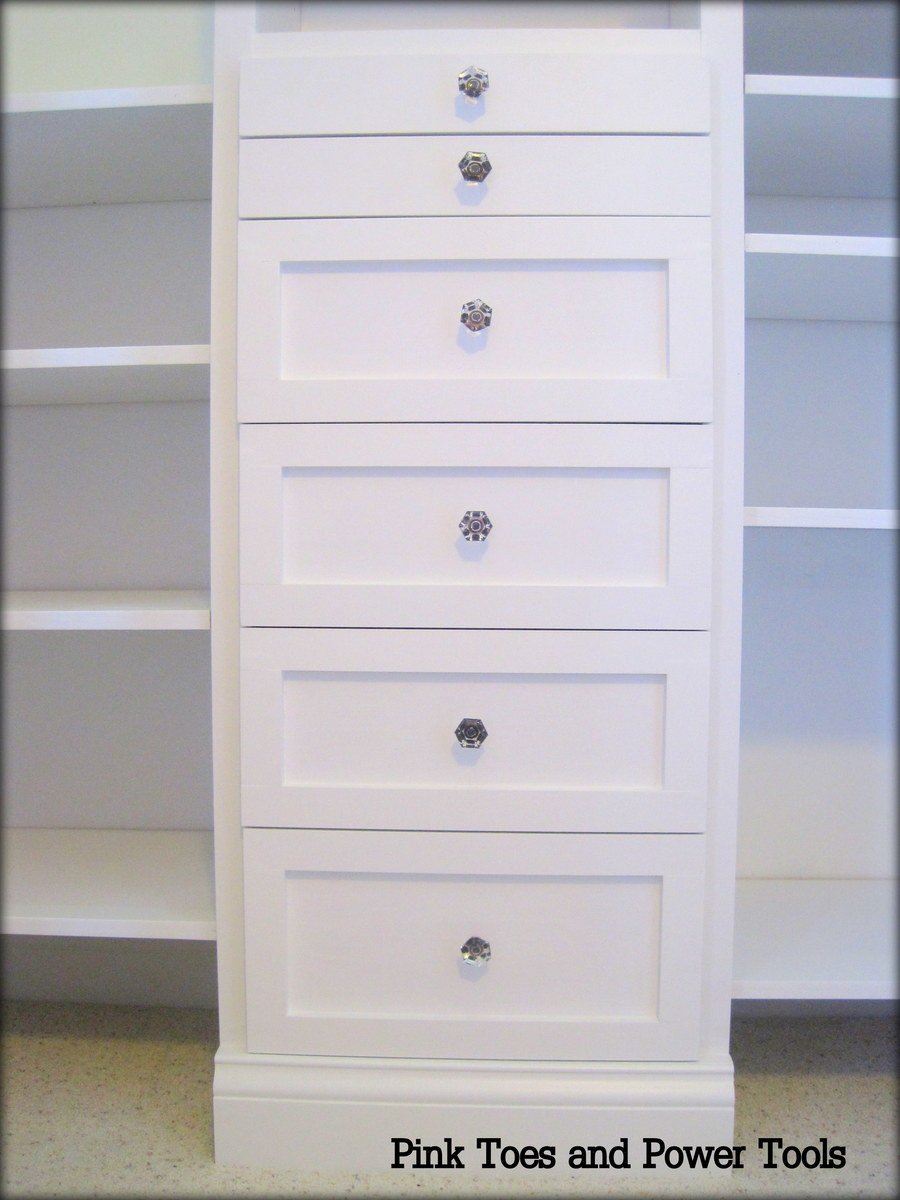
The easiest way to do a quick drawer, if you don't know how to do dovetails (and that's a simple skill totally worth learning), is to drill holes through the sides and into the front, and pin it with hardwood dowels. Use a domestic hardwood, you'll be a better dowel and a dimension that matches drills you own. The cheaper white imported dowels don't match any drill diameters that I can find.
In reply to Me likie! by hoffer5353
Sat, 06/30/2012 - 20:53
Here is the post with the plan mock-up with dimensions:
http://pinktoesandpowertools.com/2012/01/24/how-to-build-a-closet-organ…
It says 65.5" wide on there, and I don't believe I made any changes, so that should be accurate. I think you could get away with having an approximately 46" wide closet. You could have the drawers in the middle and then 12" wide shelves on either side that would fit sweaters, jeans, shoes. If you made them adjustable like mine, then you could really maximize the space in there. Just make sure you give yourself plenty of room in front of the shelves if there is wall there--you want to be able to easily take things in and out.
Good luck!
Tue, 02/05/2013 - 15:08
I'm looking forward to doing this to my closet too!! It's a good project to take on once you want to try out drawers for the first time--since it's behind doors, it doesn't have to be perfect. Good luck!
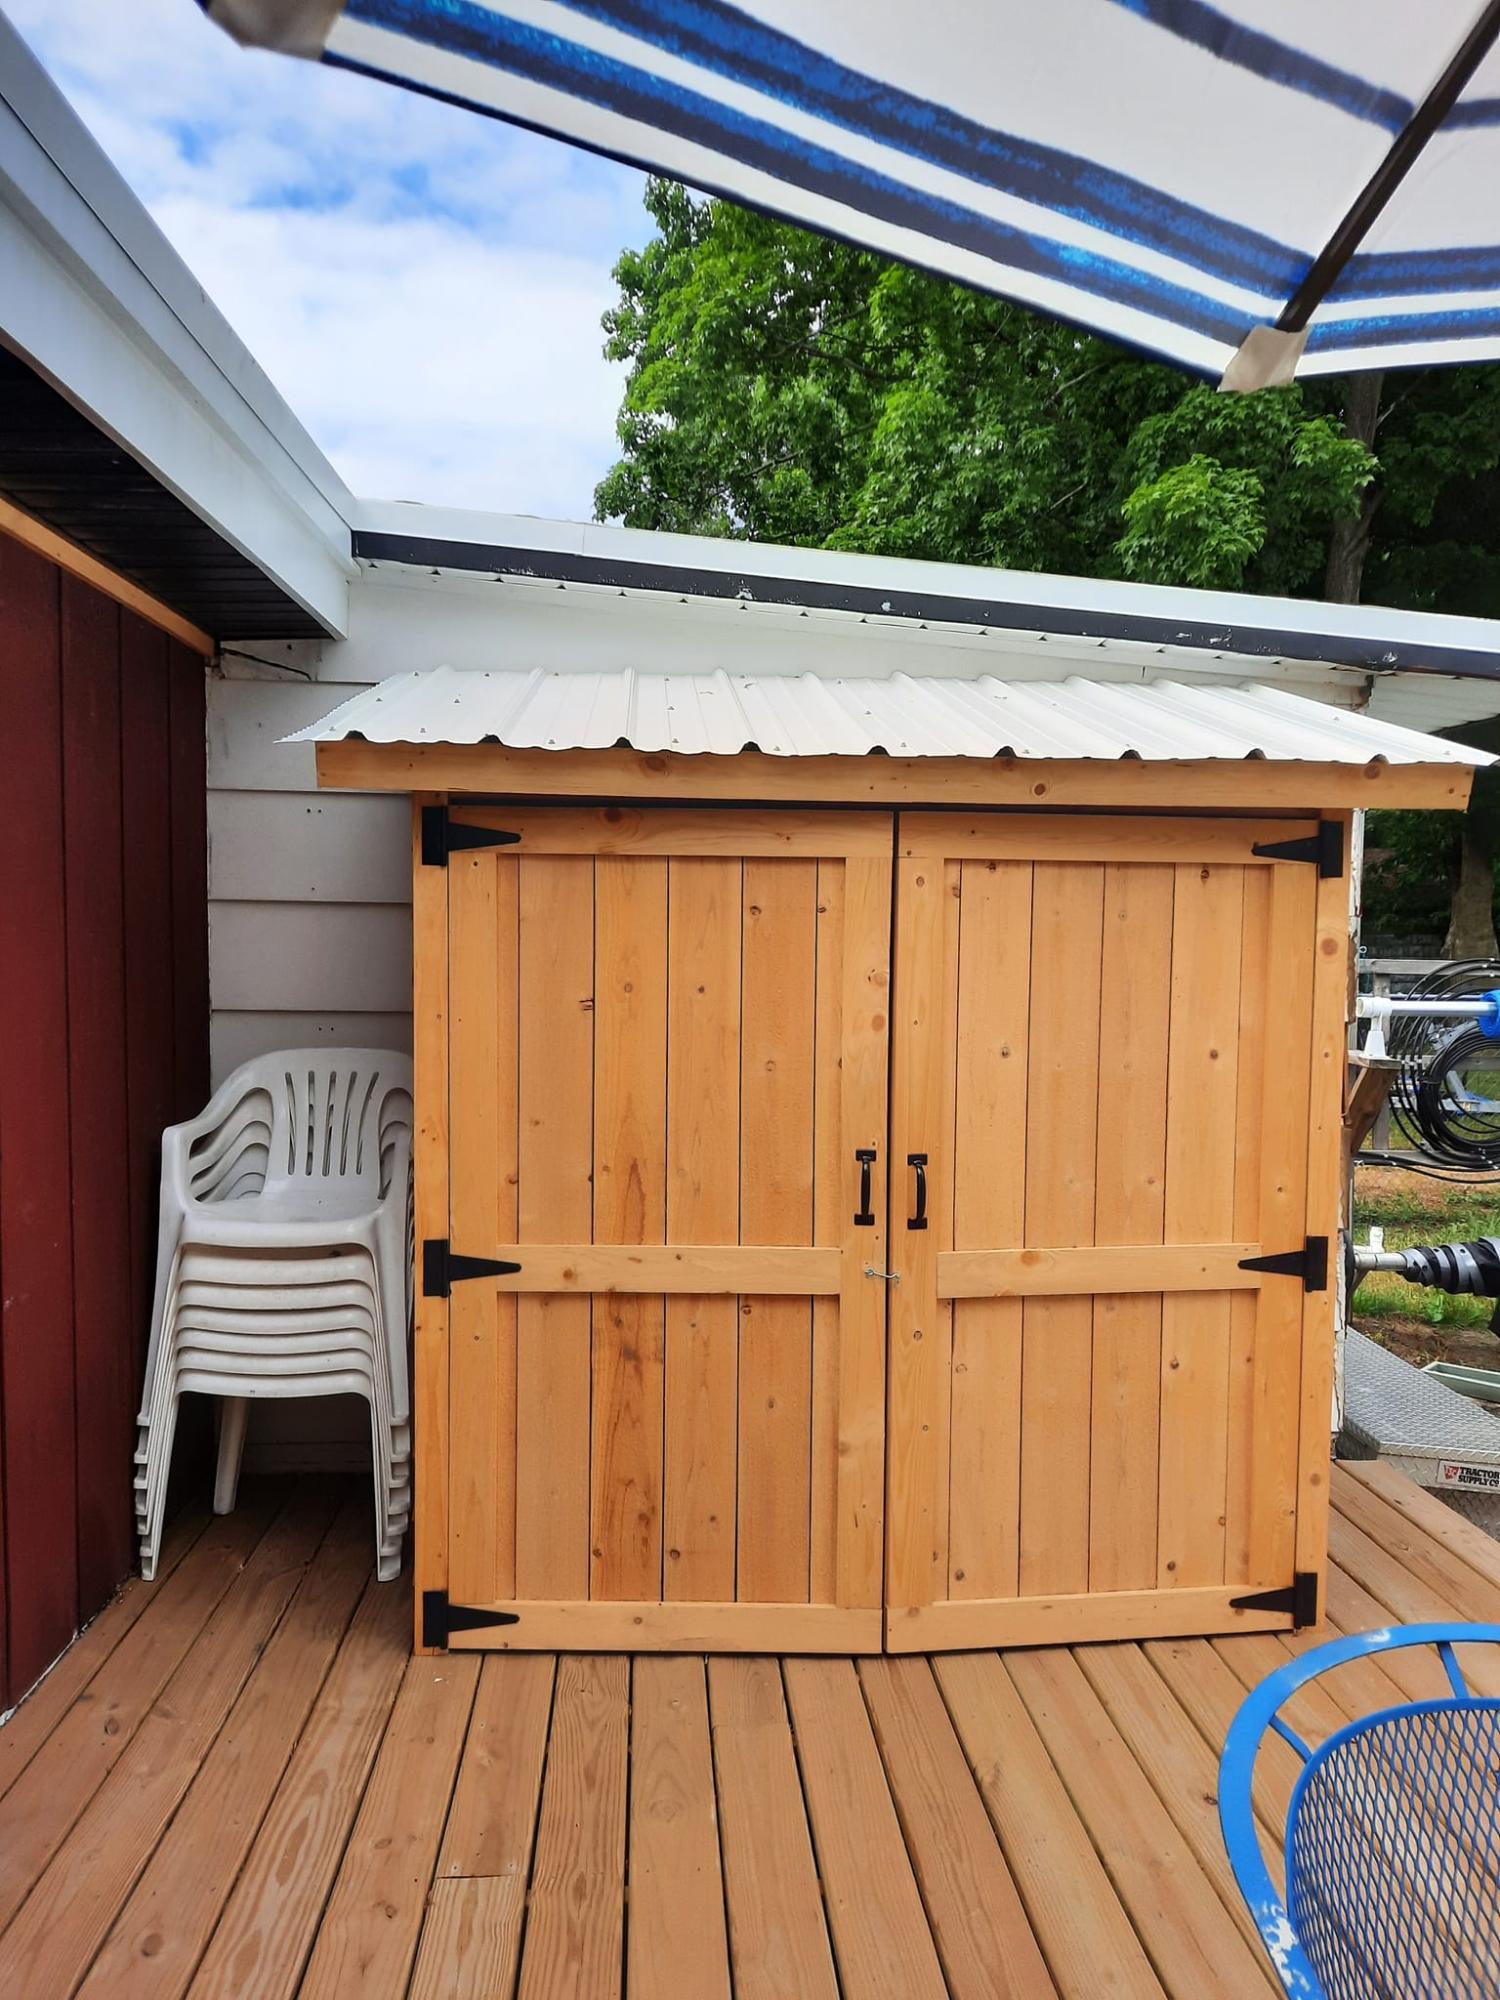
I was looking for a shed to keep pool towels and other deck and pool items. This shed hit every feature I was looking
for. My husband loved the plans. He's always saying he can build anything with a measured drawing and a
cut list. The only thing we changed was the roofing material. we were given some metal roofing by a friend.
Mon, 06/26/2023 - 12:20
Fabulous, so glad you found our plans helpful! It looks great.
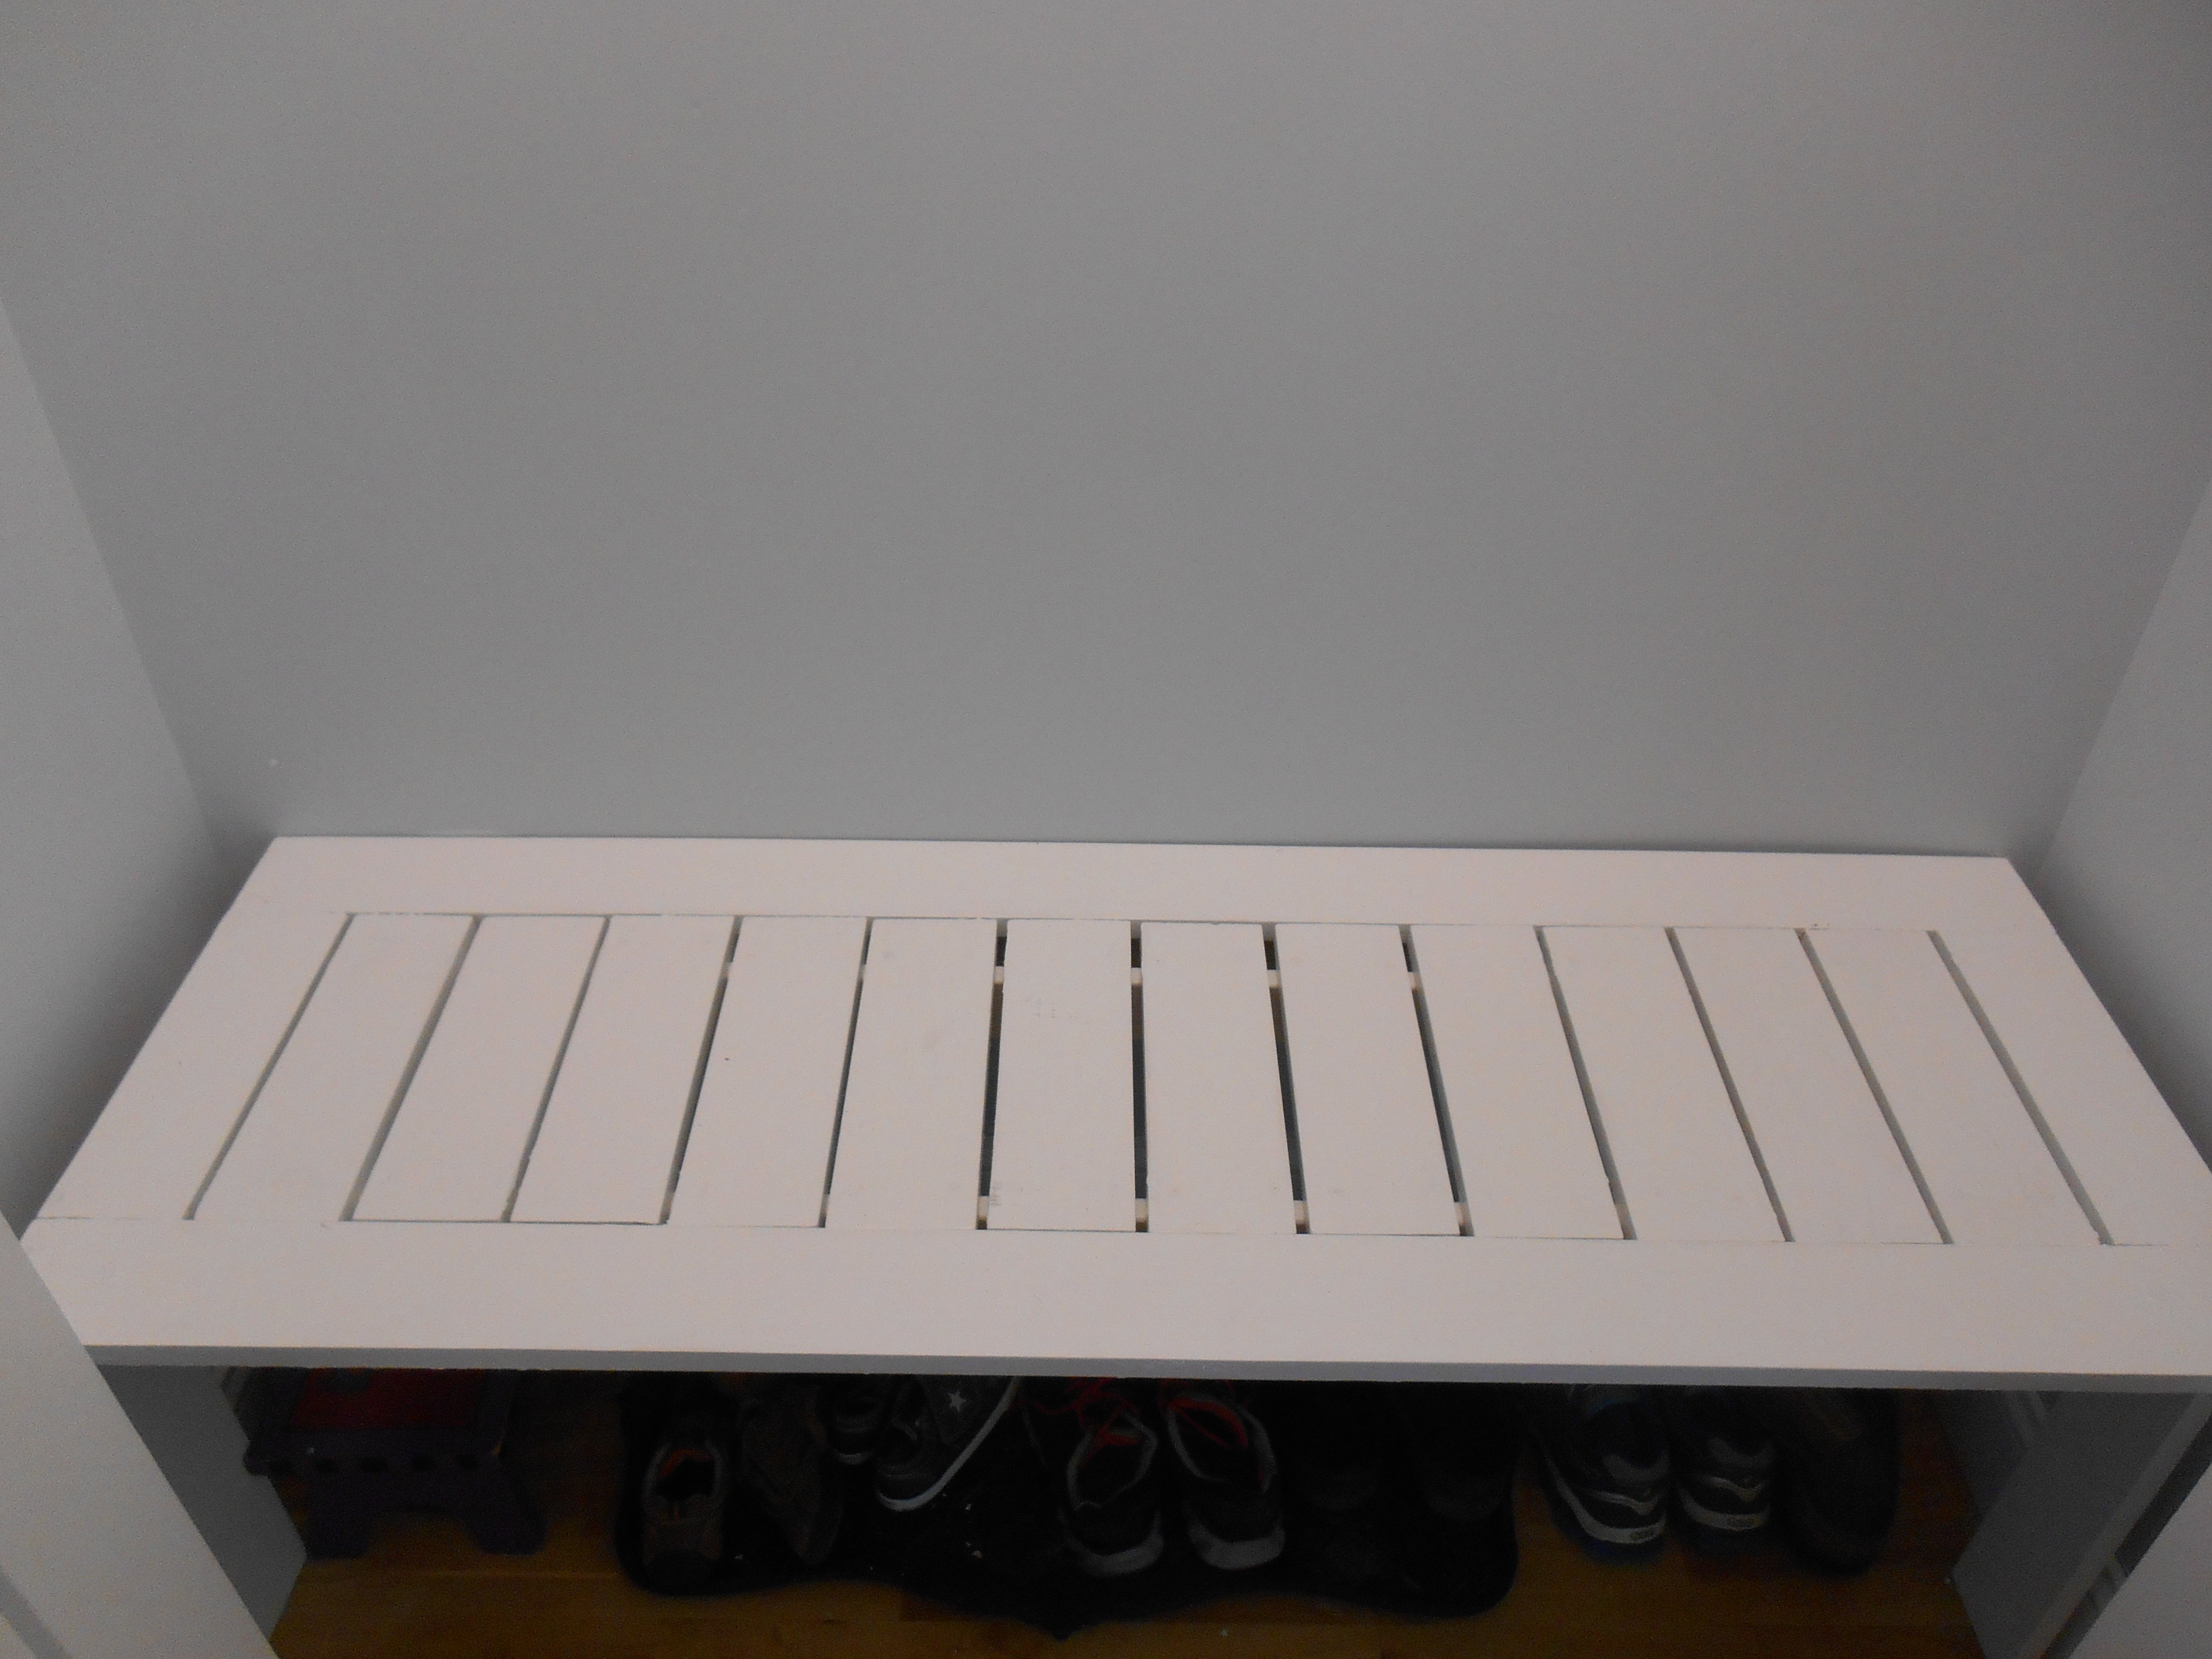
This is my first build. Ever! I used the plans for the simple outdoor bench to create a bench for the closet in my back hall that I am trying to convert into more of a mudroom space.
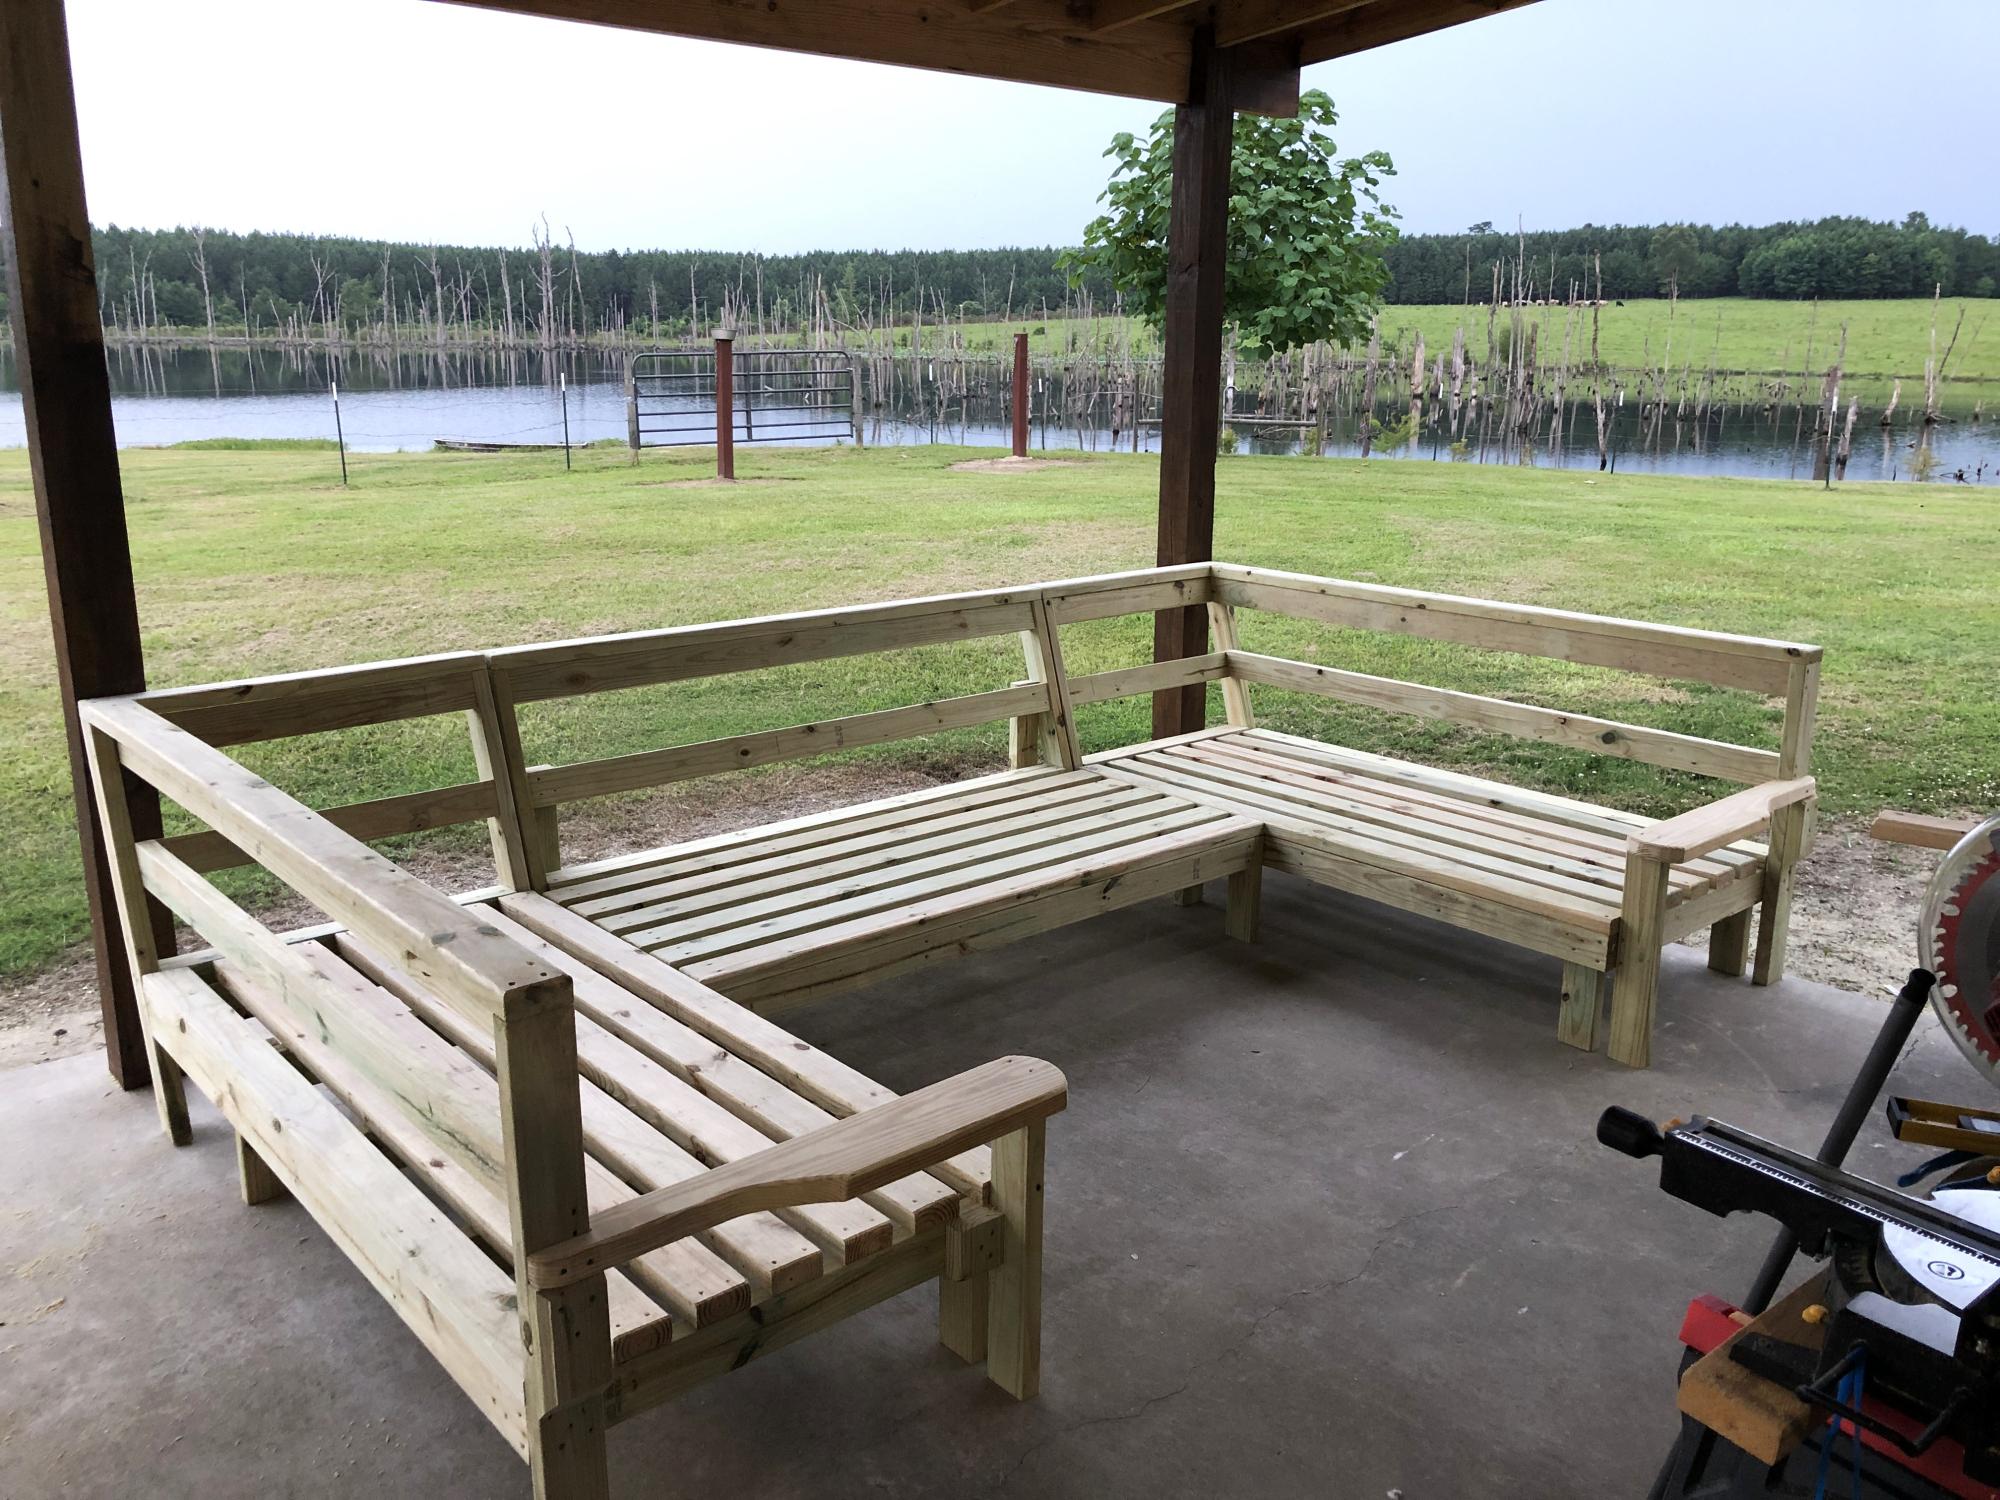
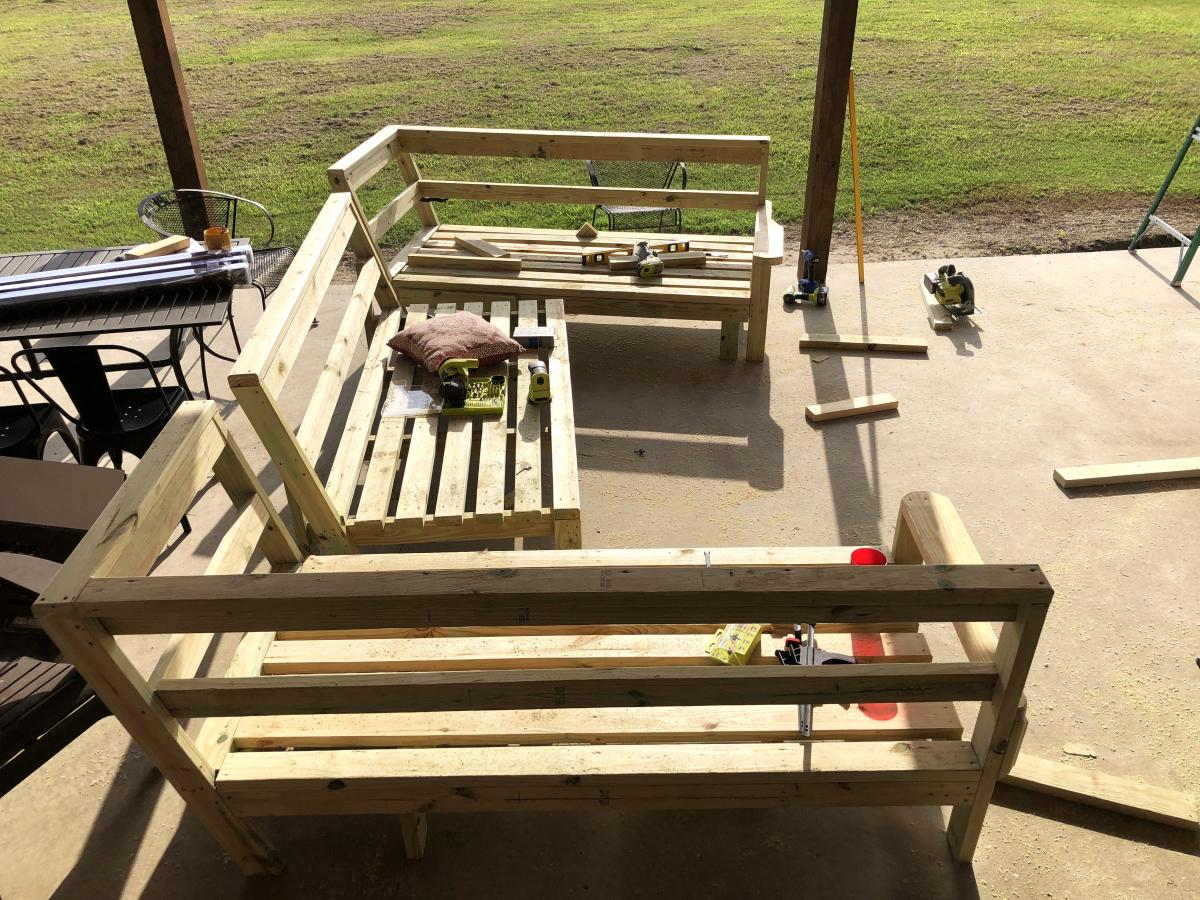
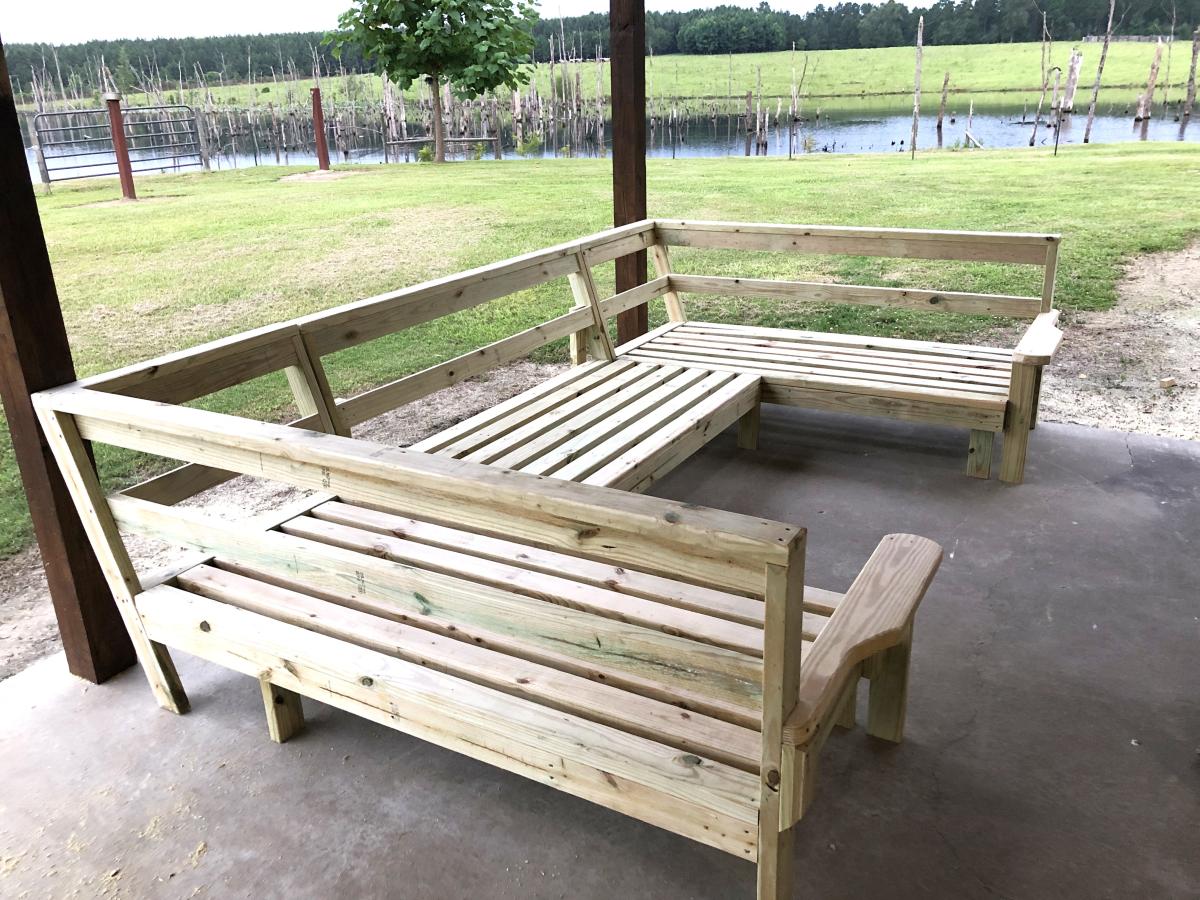
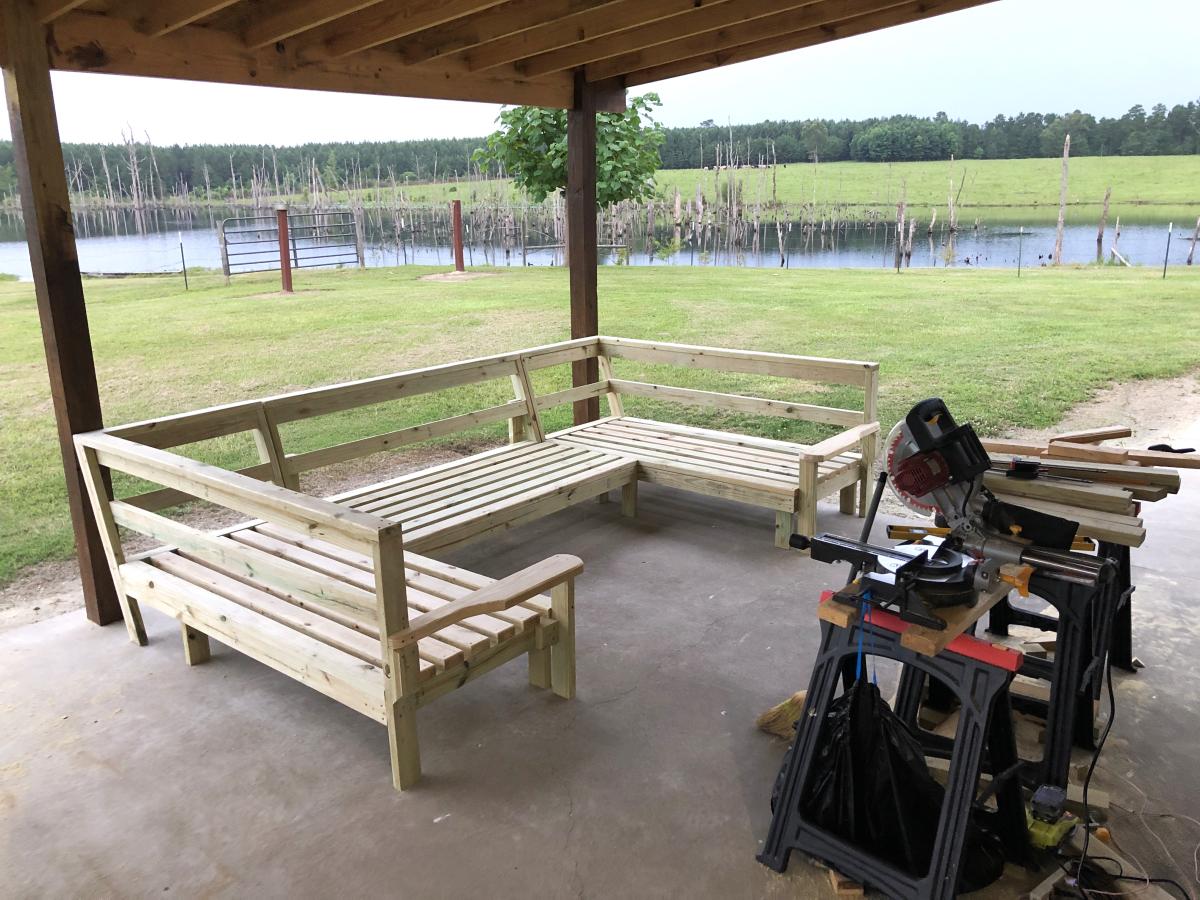
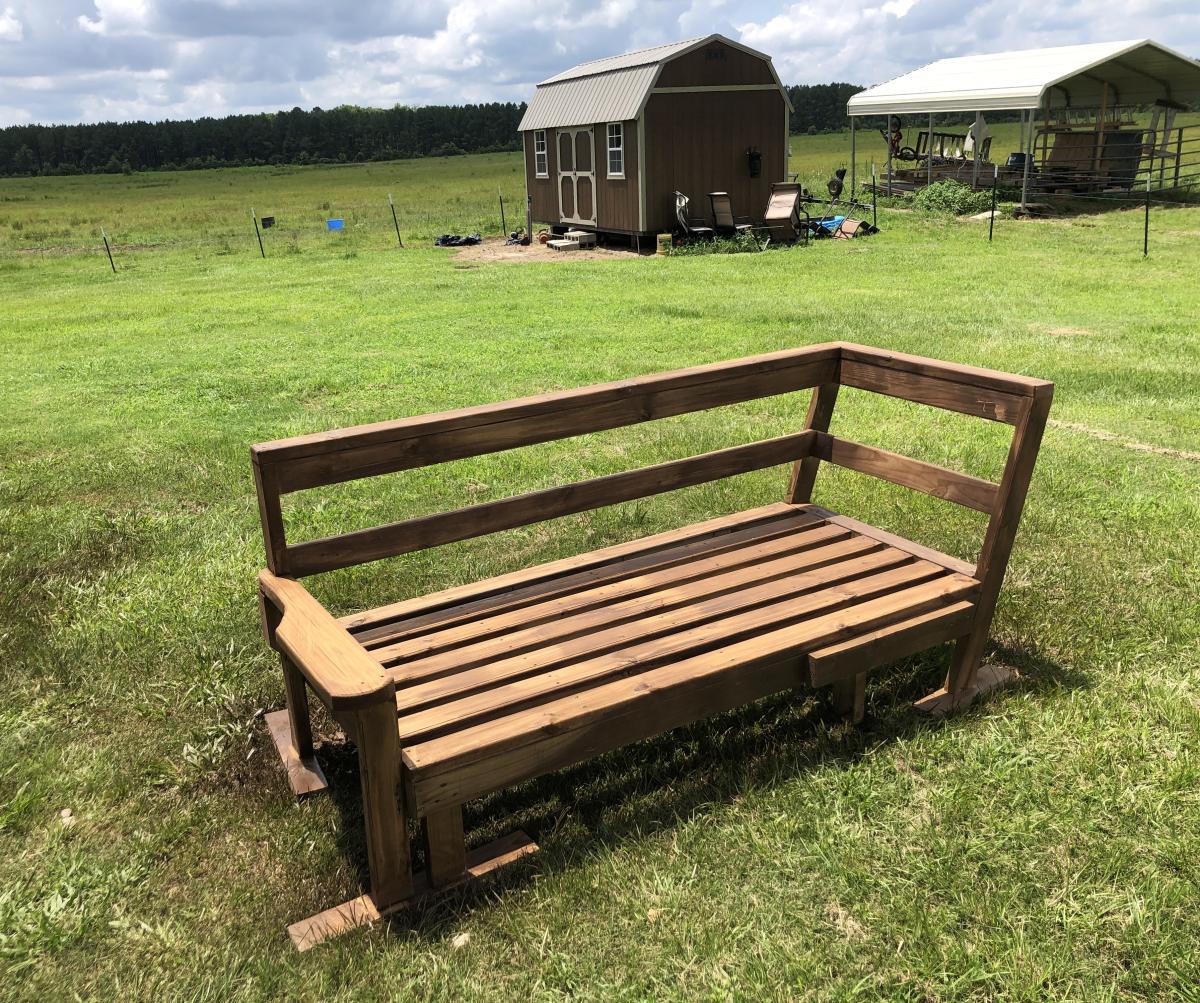
I did your same couch but made the back lean in the middle parts 15 degrees. Love your website. I'm 3 years sober and to try to sell this on facebook marketplace.
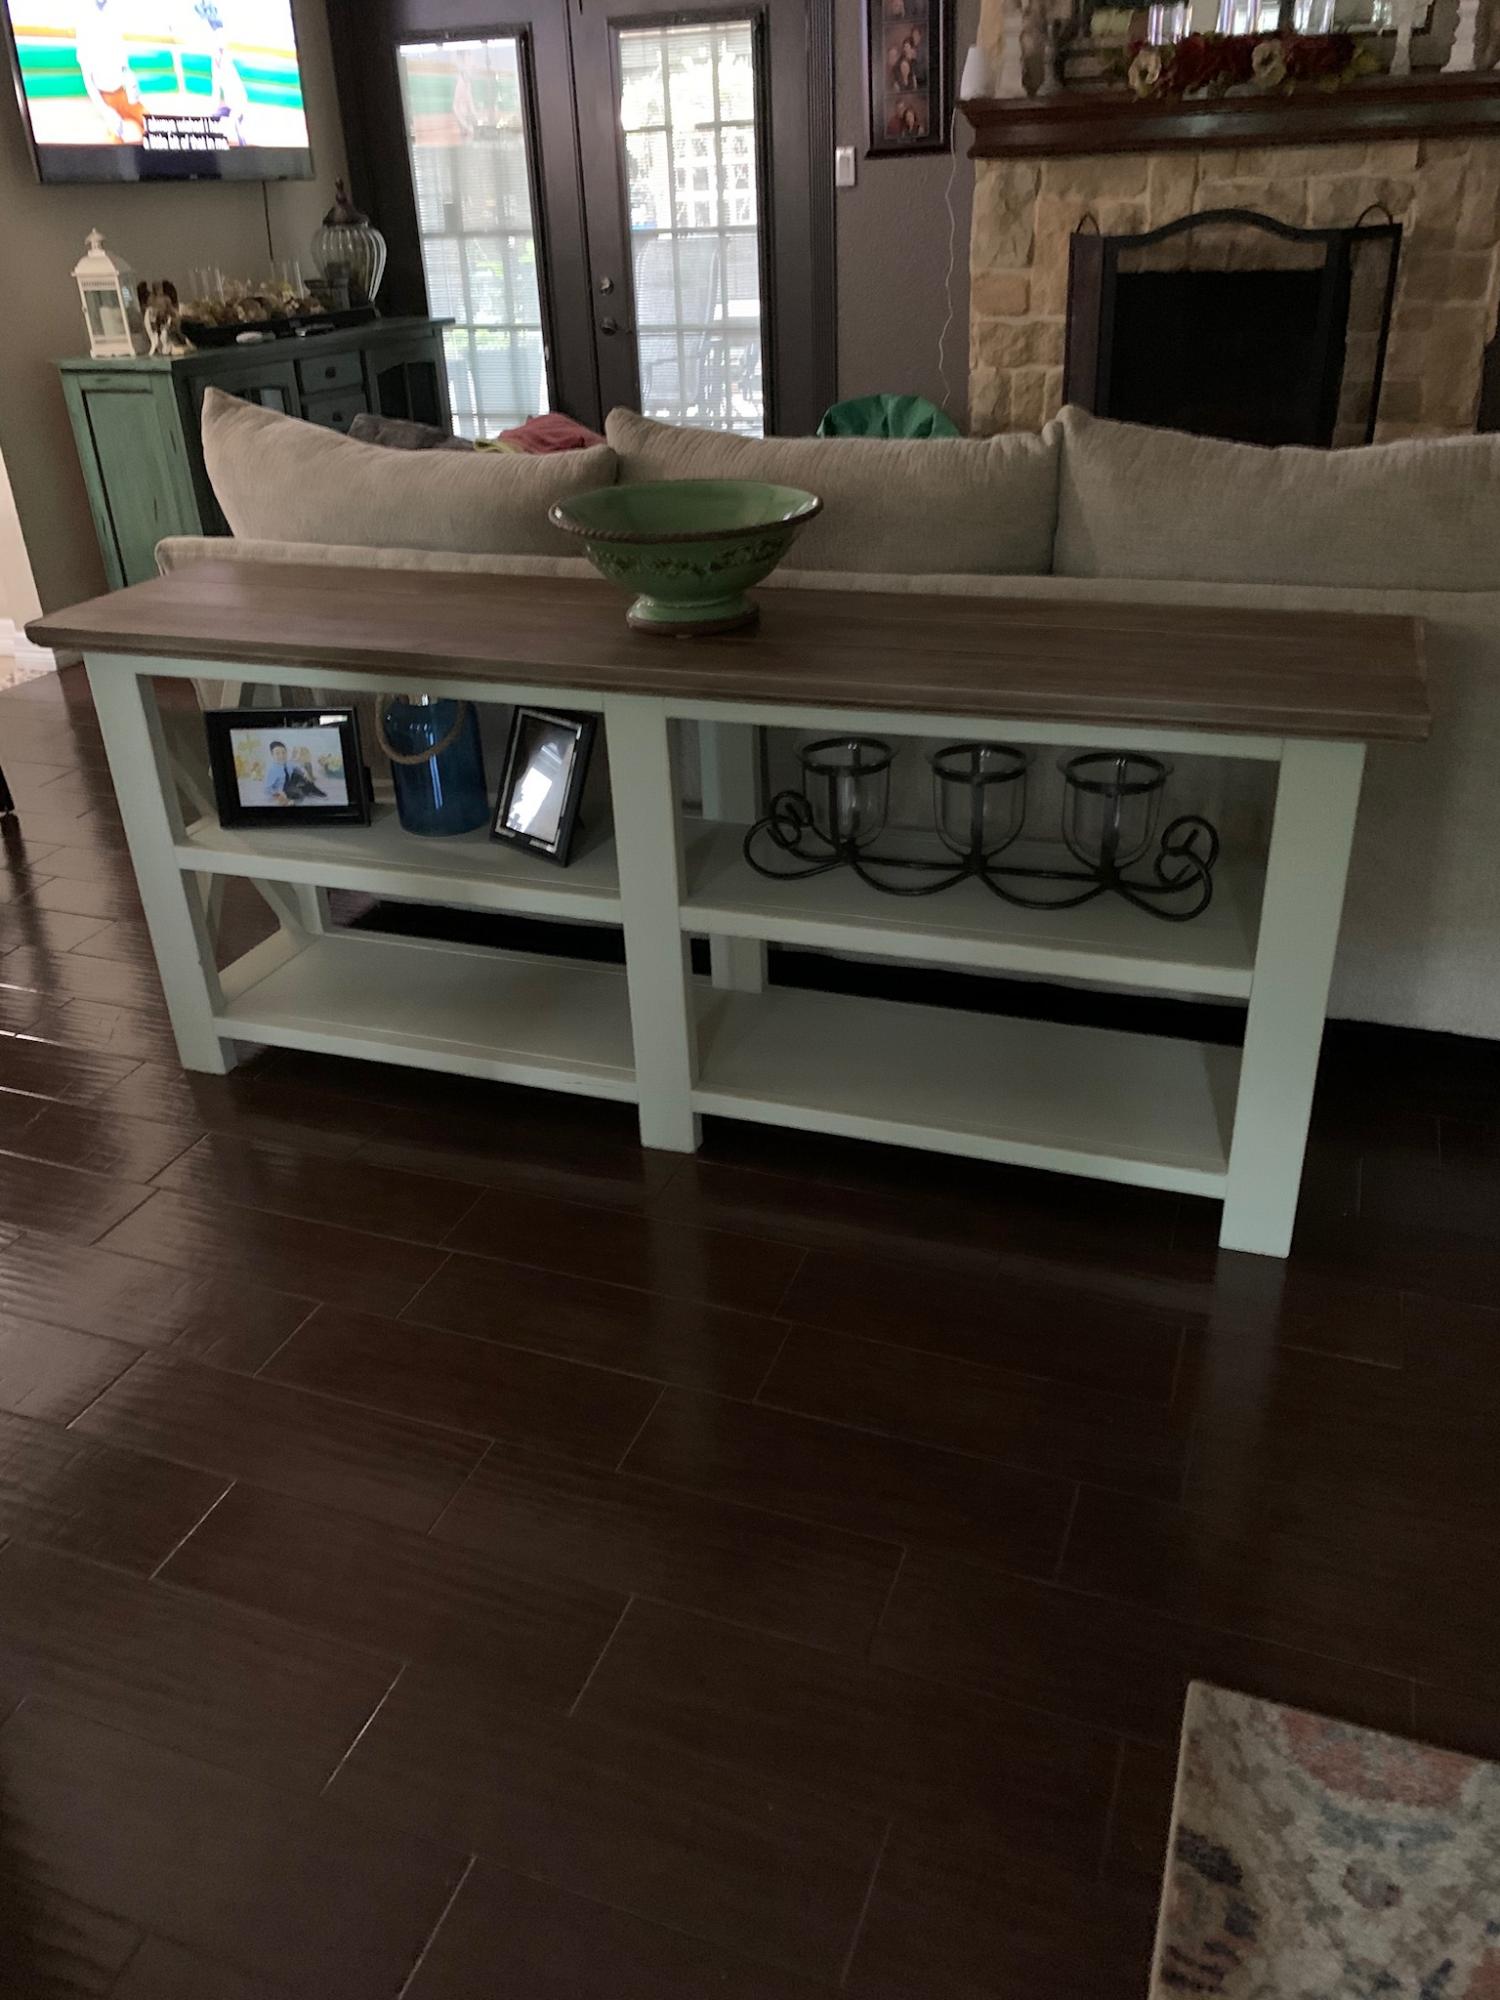
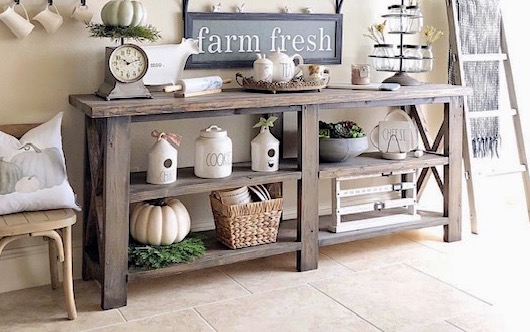
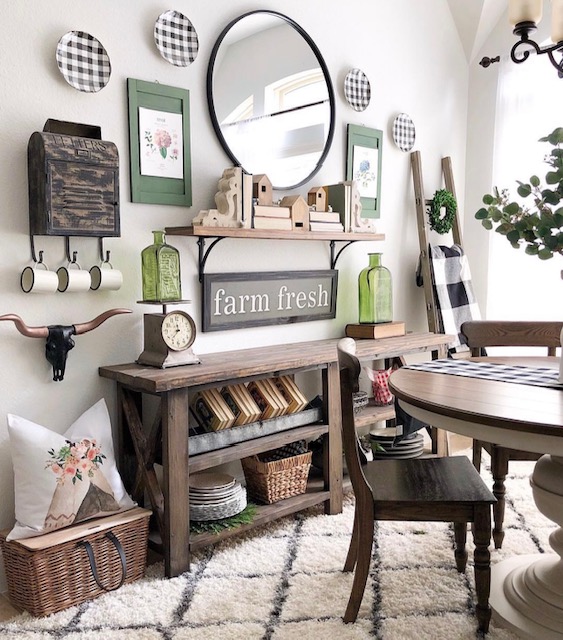
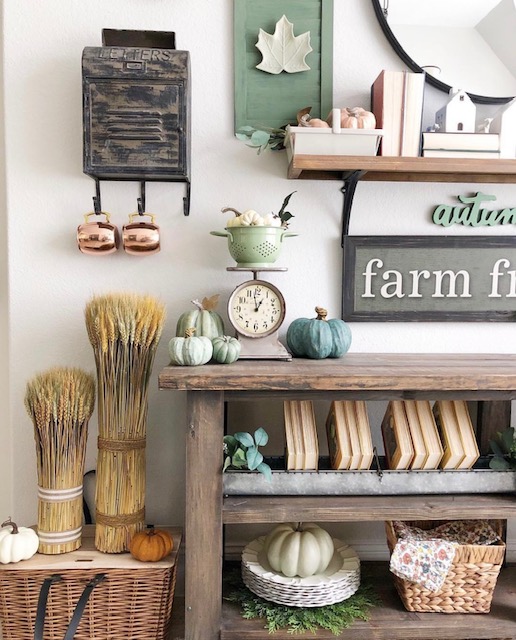
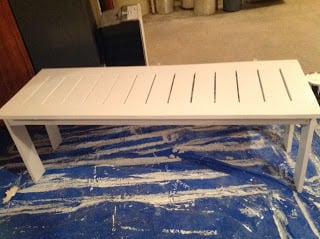
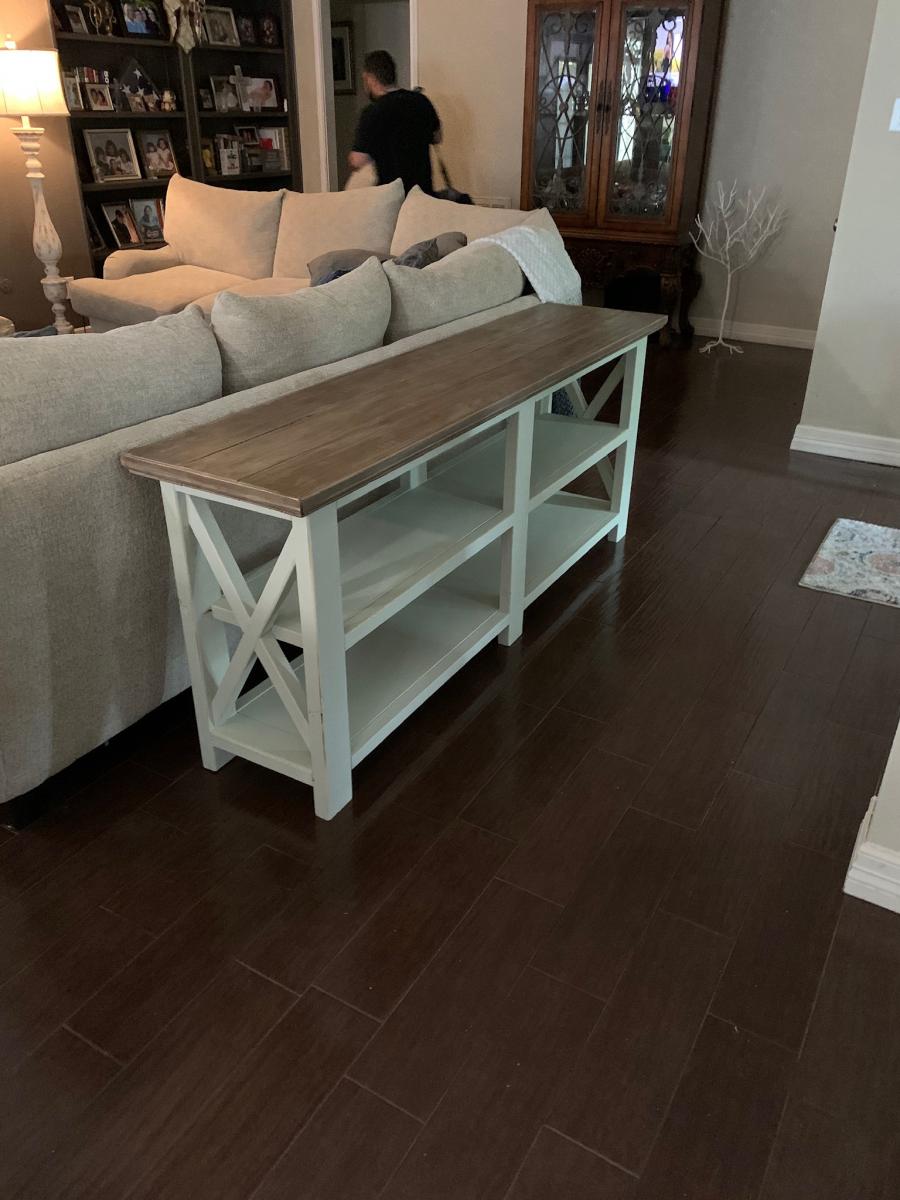
I built this from the Ana White Console X Table plans and specs. I originally had planned on a rustic style like on your blog, but once my wife saw it she liked it and decided she had the right spot for it providing I painted it.


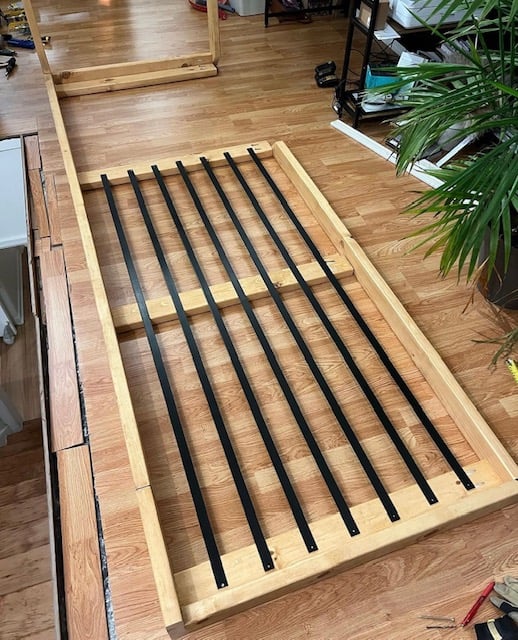
I have built two of these modern farmhouse beds. One from the original farmhouse bed plans and one from the updated plan. This bed was basically the original plan but with the headboard and footboard built with horizontal boards. I did not like the revised farmhouse bed plans and the sides were way to heavy and more complex than they had to be. The were also supported only by pocket screws but I did block underneath each end to add more support. For the slats I also purchased #1 prime 1 x 4's as opposed to construction grade. They were nice and smooth and no need to sand or paint.

Sat, 02/20/2021 - 21:02
I love this! It’s exactly what I want. It’s like the mix of Ana’s two different farmhouse bed plans. I like the horizontal boards instead of the vertical and I didn’t want the ledges on the side trails. Thanks for showing me the way. :)
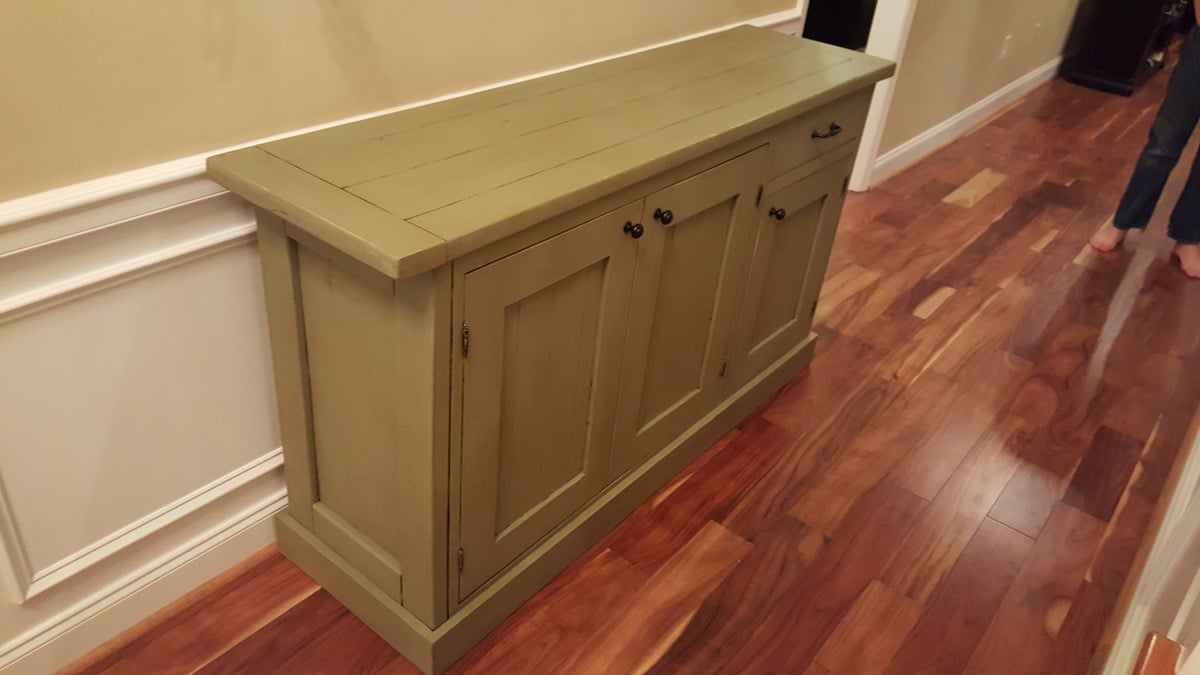
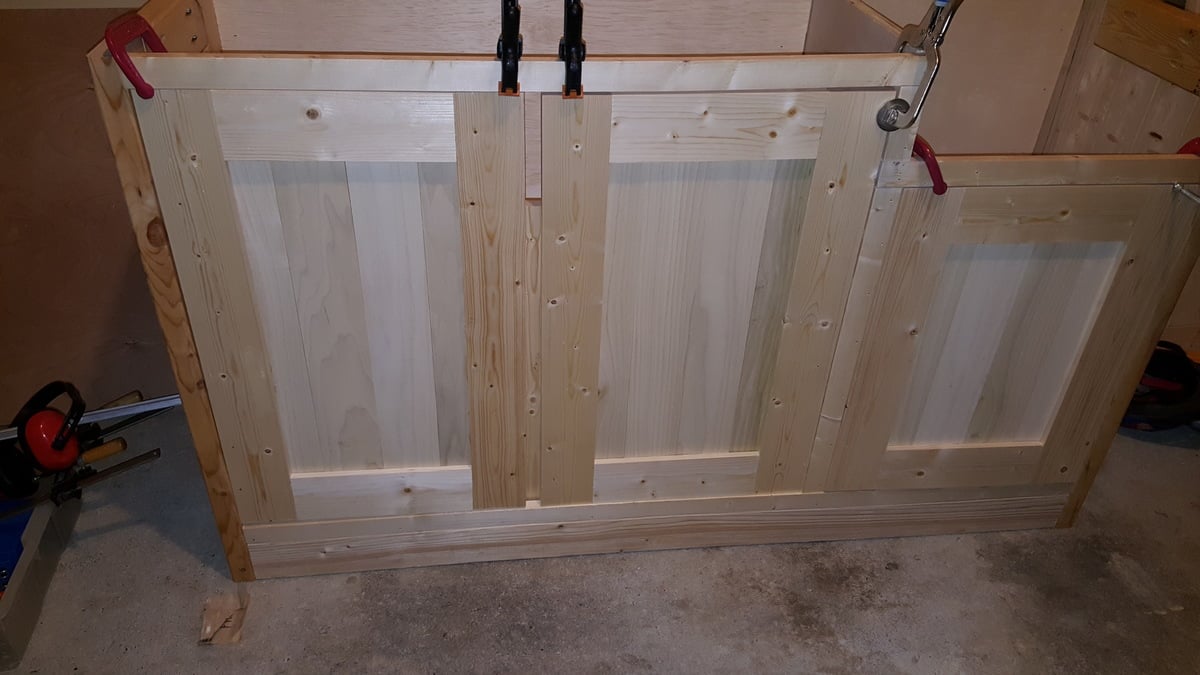
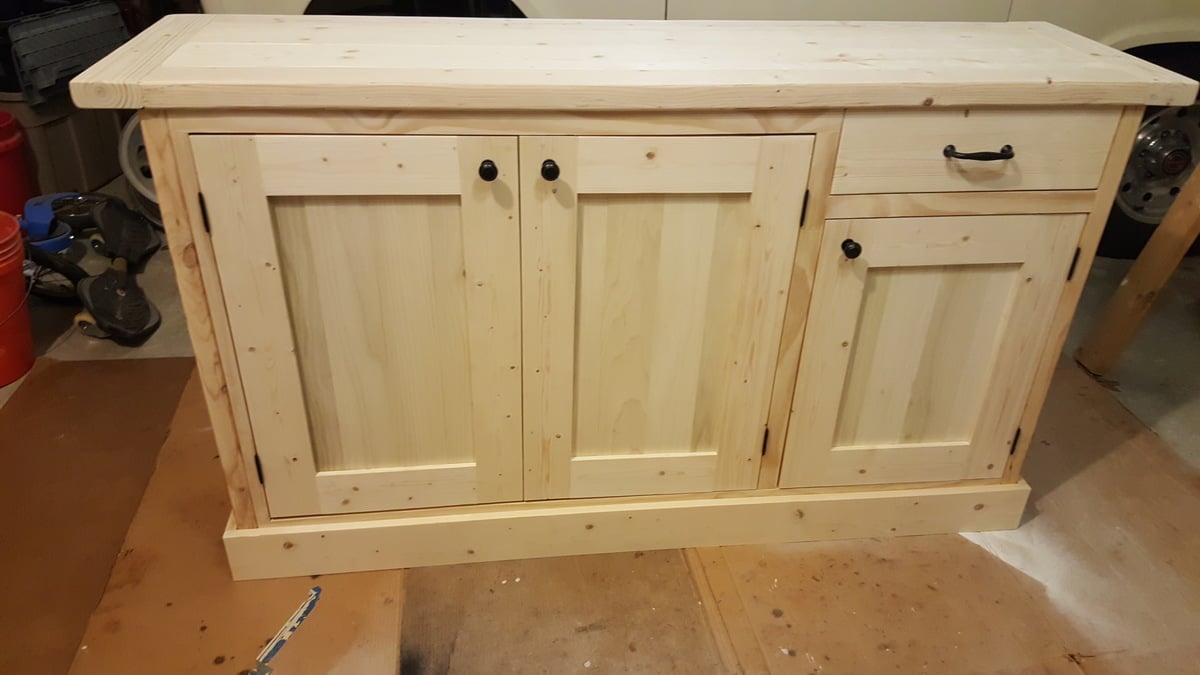
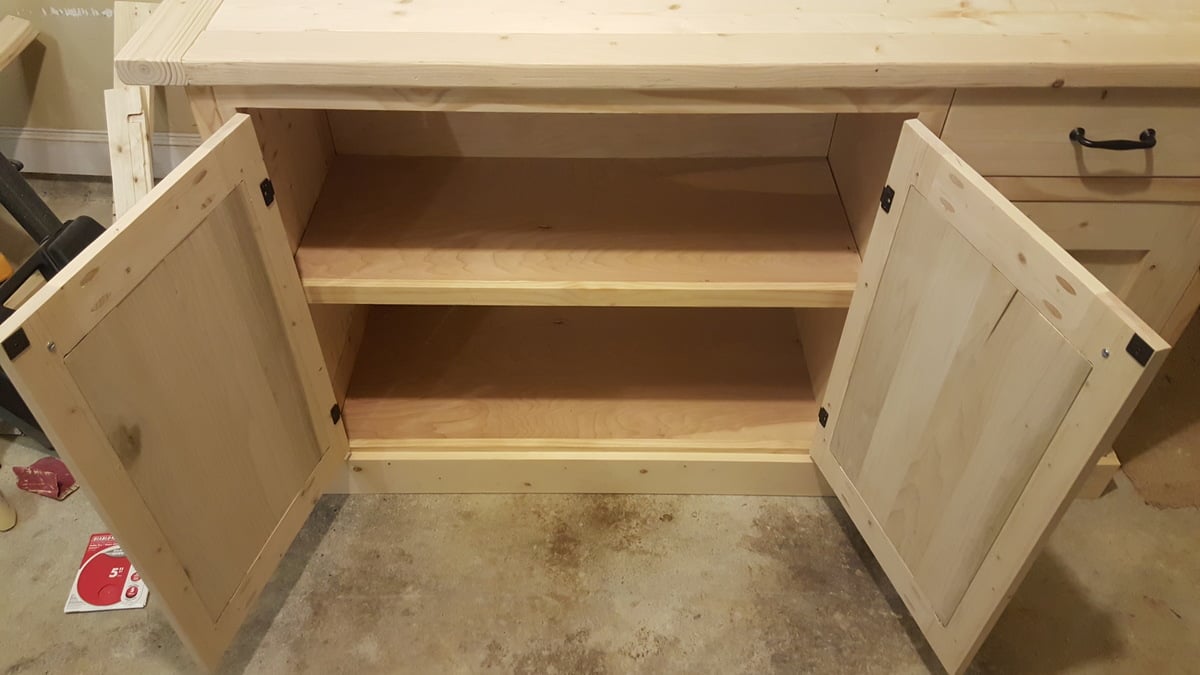
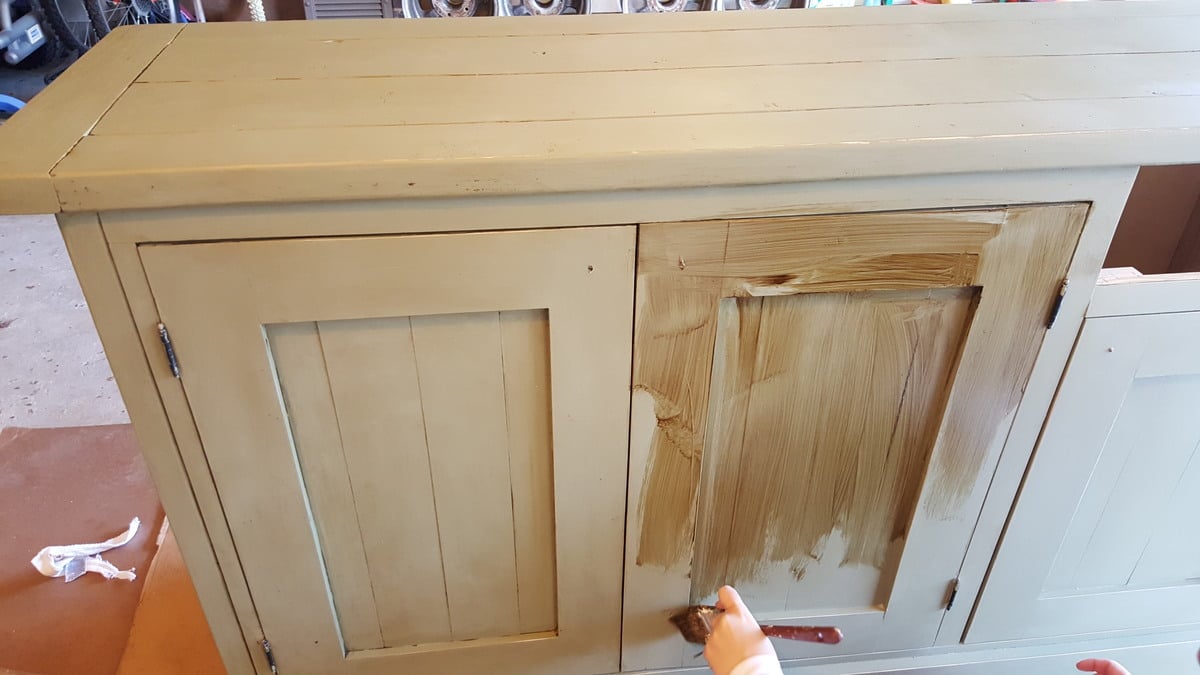
I built this slightly modified version of the buffet for my wife. She LOVEs it and did a great job finishing it with Annie Sloan paint and a wax (she's the finishing expert in the house). Plans were right on and I'm very pleased with the final product. Thanks for a great website and plans! Getting ready to undertake a dining room table now.
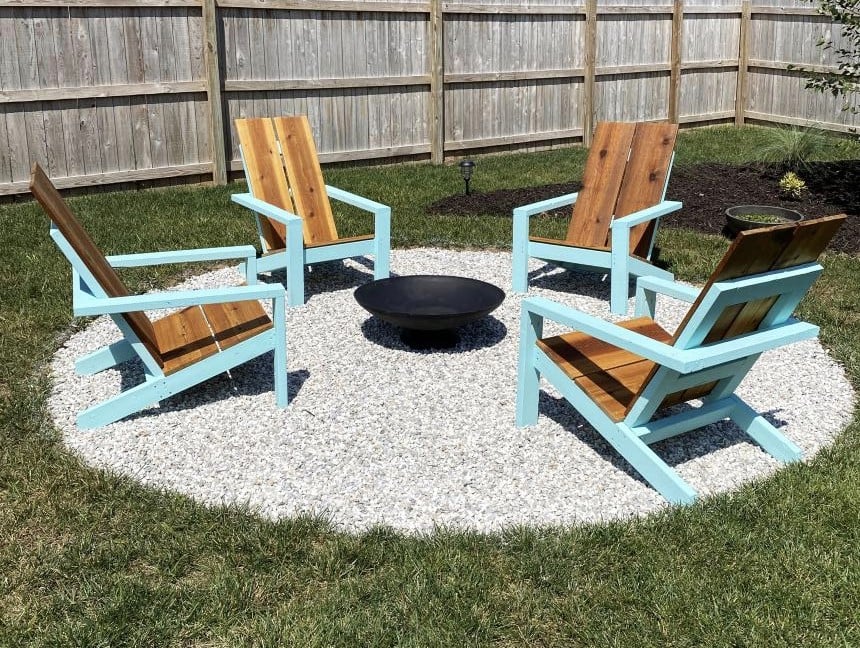
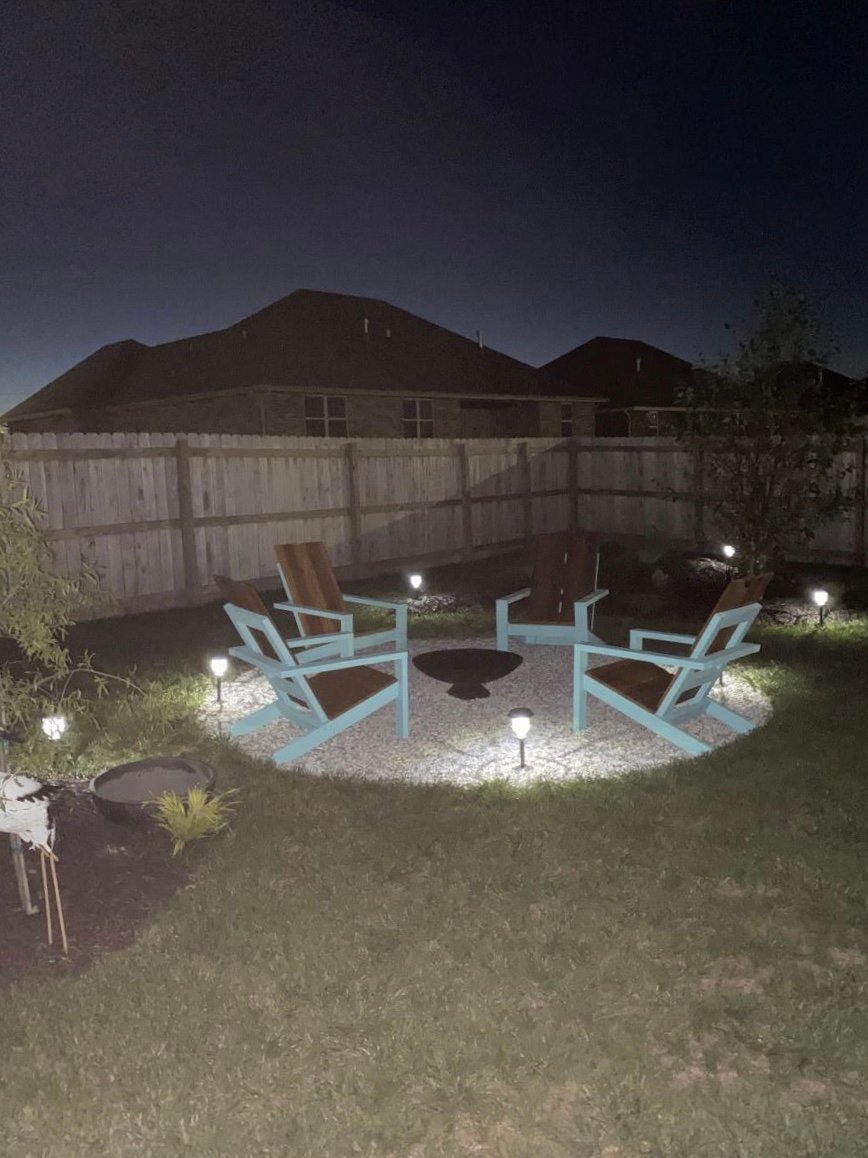
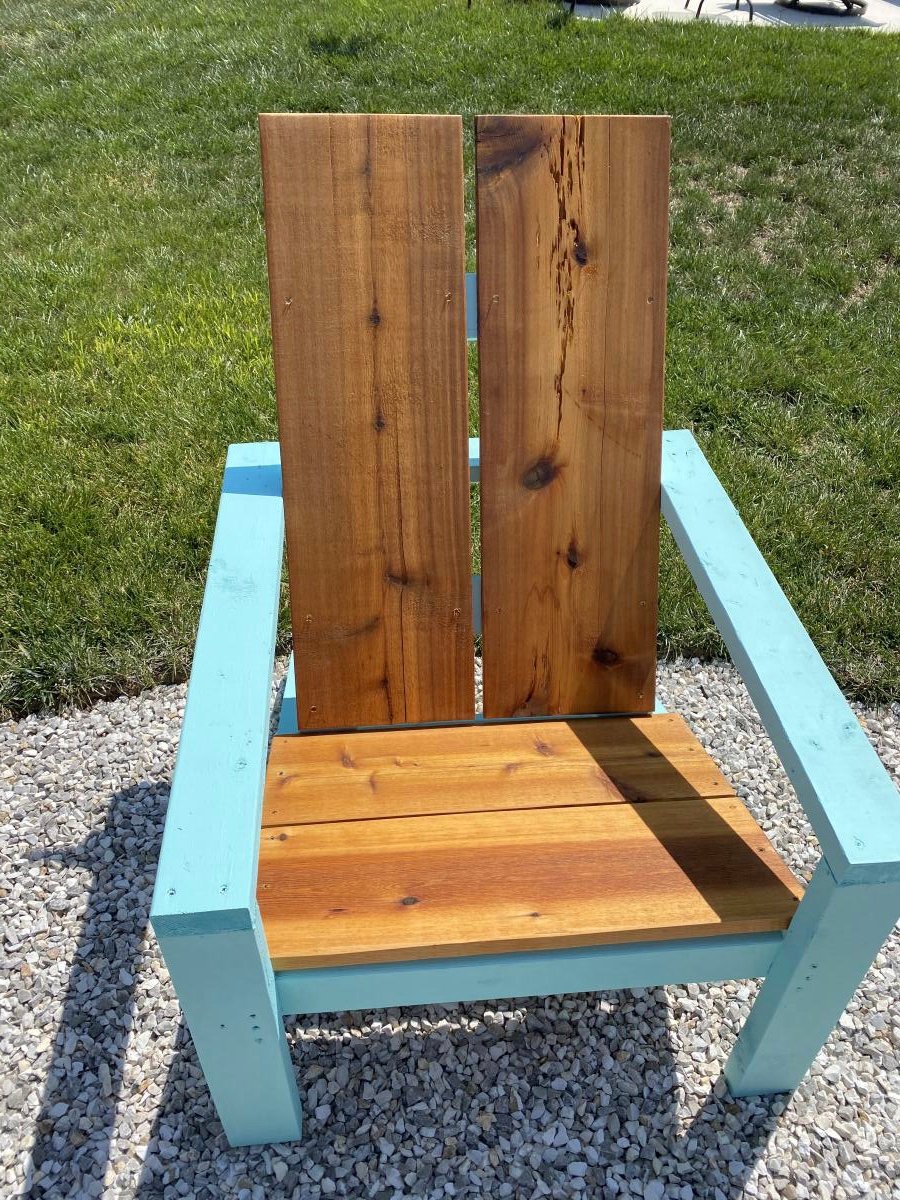
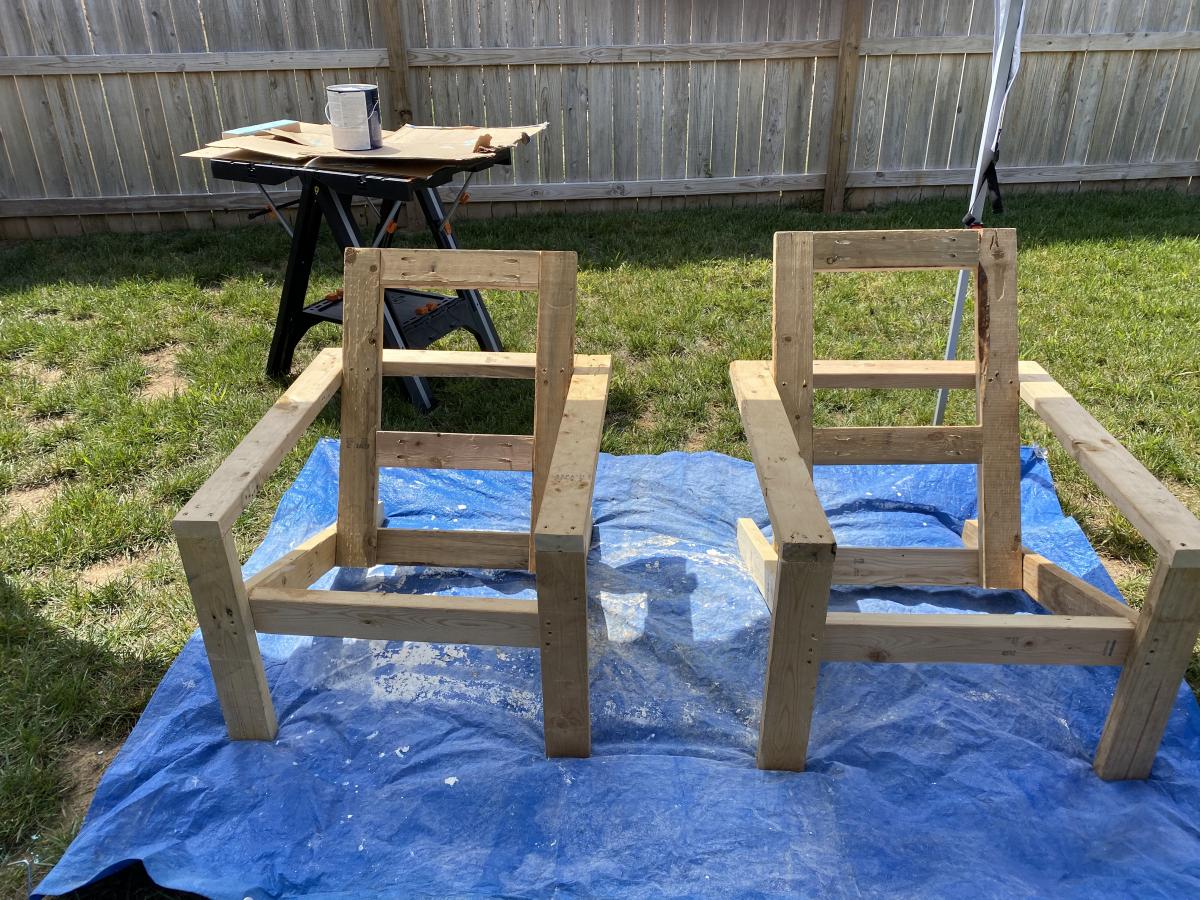
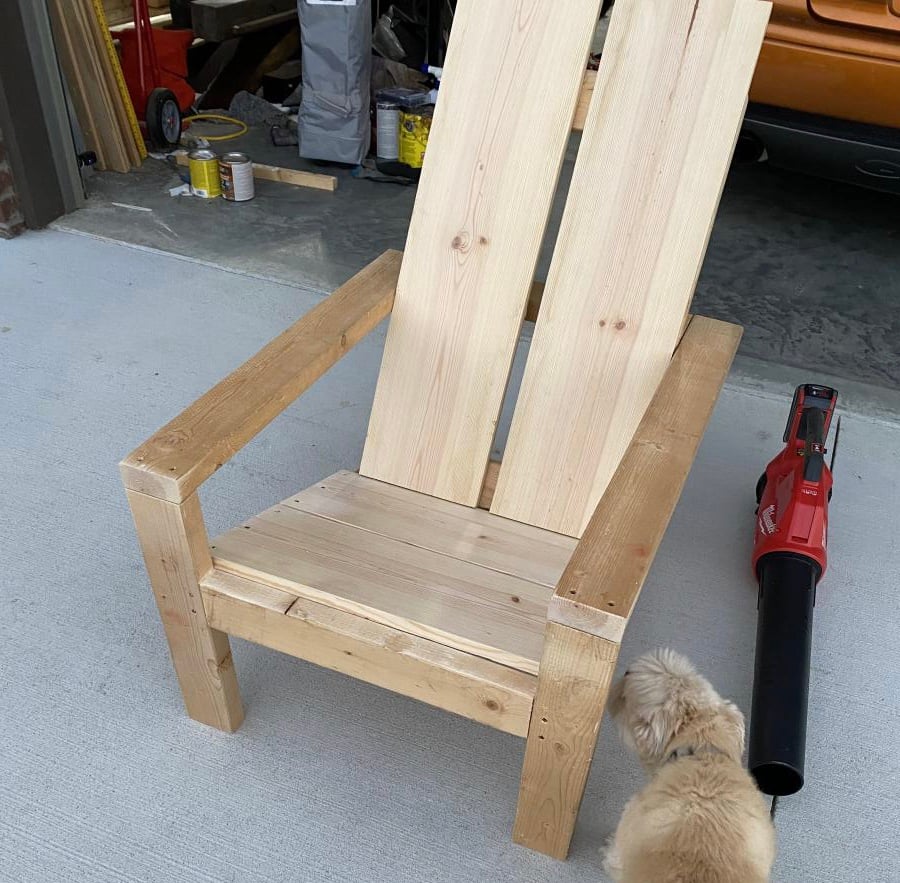
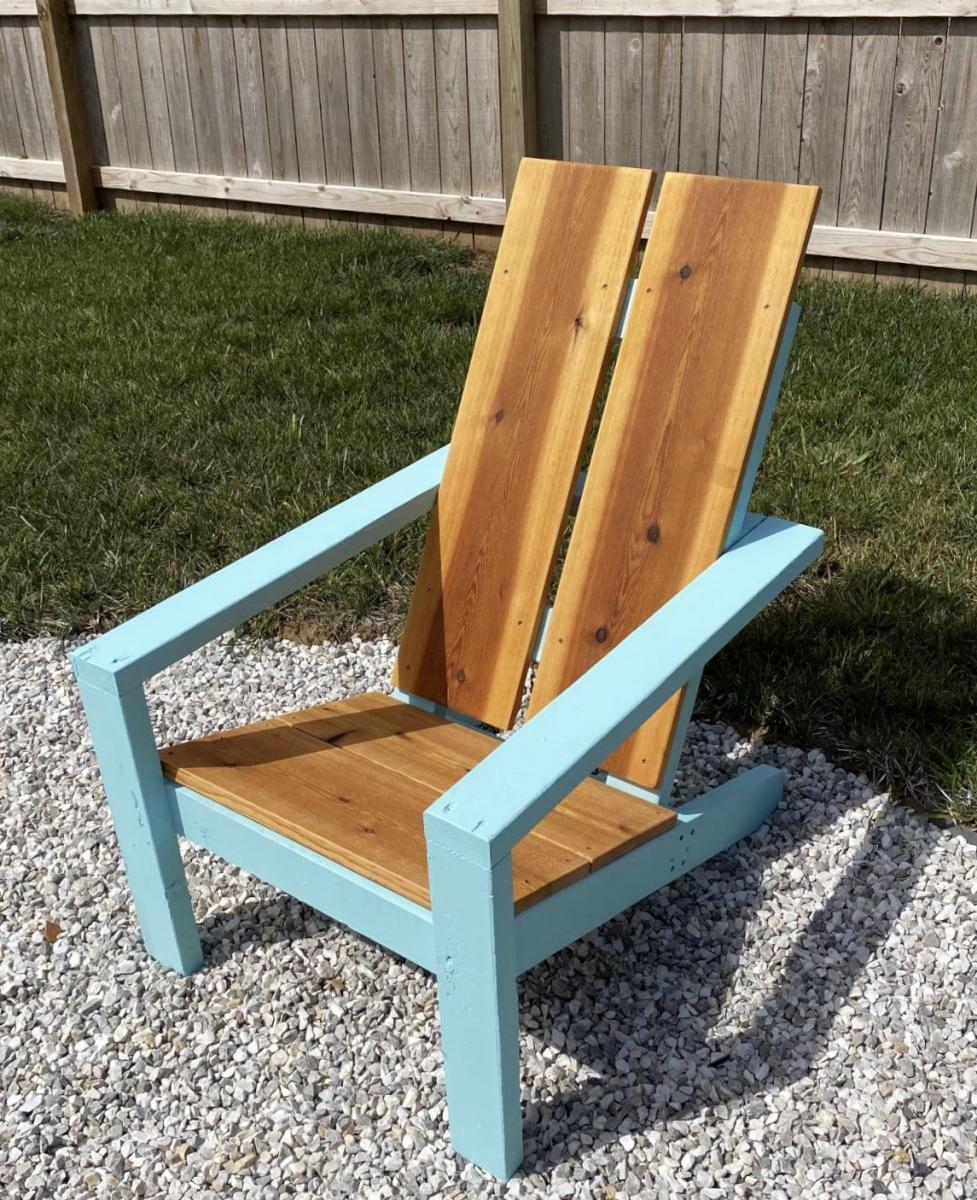
Am a big fan of Ana's work, and have used several of her plans in prior builds including the more traditional Adirondack chairs. Those stayed with my old house, and I wanted something different for my new house. Really liked her Modern Adirondack design with the floating arm rest. However, plans are like recipes to me--a guideline. I wanted the back boards to run up and down, and I am a bit more robust than the lovely and petite Ms. White, so they would need to be wider after I built the first one at 19 1/2" wide per plan. The next three I made 22" wide and that worked well without throwing off the geometry and angles of the other parts. Since I ran the backboards up and down, I needed some cross beams for stability and to give an attachment point for the middle of the boards. Cut some 2x4s at 15" wide, drilled pocket holes in both ends, and attached in between the back supports with the pockets facing up to be hidden by the back boards. All of the 2x4s were leftover cut-offs from the houses being built in my neighborhood. Since the frames were free, I splurged and went with cedar boards for the backs and bottoms. With the wider frames, I had to use 1x12s ripped down to 10 3/4" to get the right look (about a board's width in between). Needed some color, so I painted the frames Teal Seaglass from Menards. Cedar was stained with a natural deck stain from Sherwin Williams. I experimented with salt paint (mixing unsanded grout with the paint) to give a heavily textured and weathered finish but this was unecessary--the wood was distressed enough and I am a terrible painter. It also toned down the color so I skipped that step and just went with 2 coats of plain paint. It looks like outdoor furniture should up close. As always, am pleased with Ana's plans. Thank you for doing all the hard work!

Fri, 08/21/2020 - 16:59
I absolutely love how the back was done!! Thank you so much for sharing!

Ana doesn’t have a plan for a catio but she does for a playhouse and a cedar shed made from 2x2’s. I sort of combined my knowledge from making her plans over the last 10 years and came up with this for my cats. It was fun to make!! My baby kitten is loving it. I used garden fencing and stapled it to the outside and pocket holes for the walls. I made each wall individually like the playhouse then connected them once in place.


Wed, 06/09/2021 - 12:36
Thank you for sharing! My daughter wants a cat for her birthday but it can't be inside due to our son's allergies. Roaming outside isn't really an option because we have coyotes. We are going to use one of these in combination with an underground electric fence.
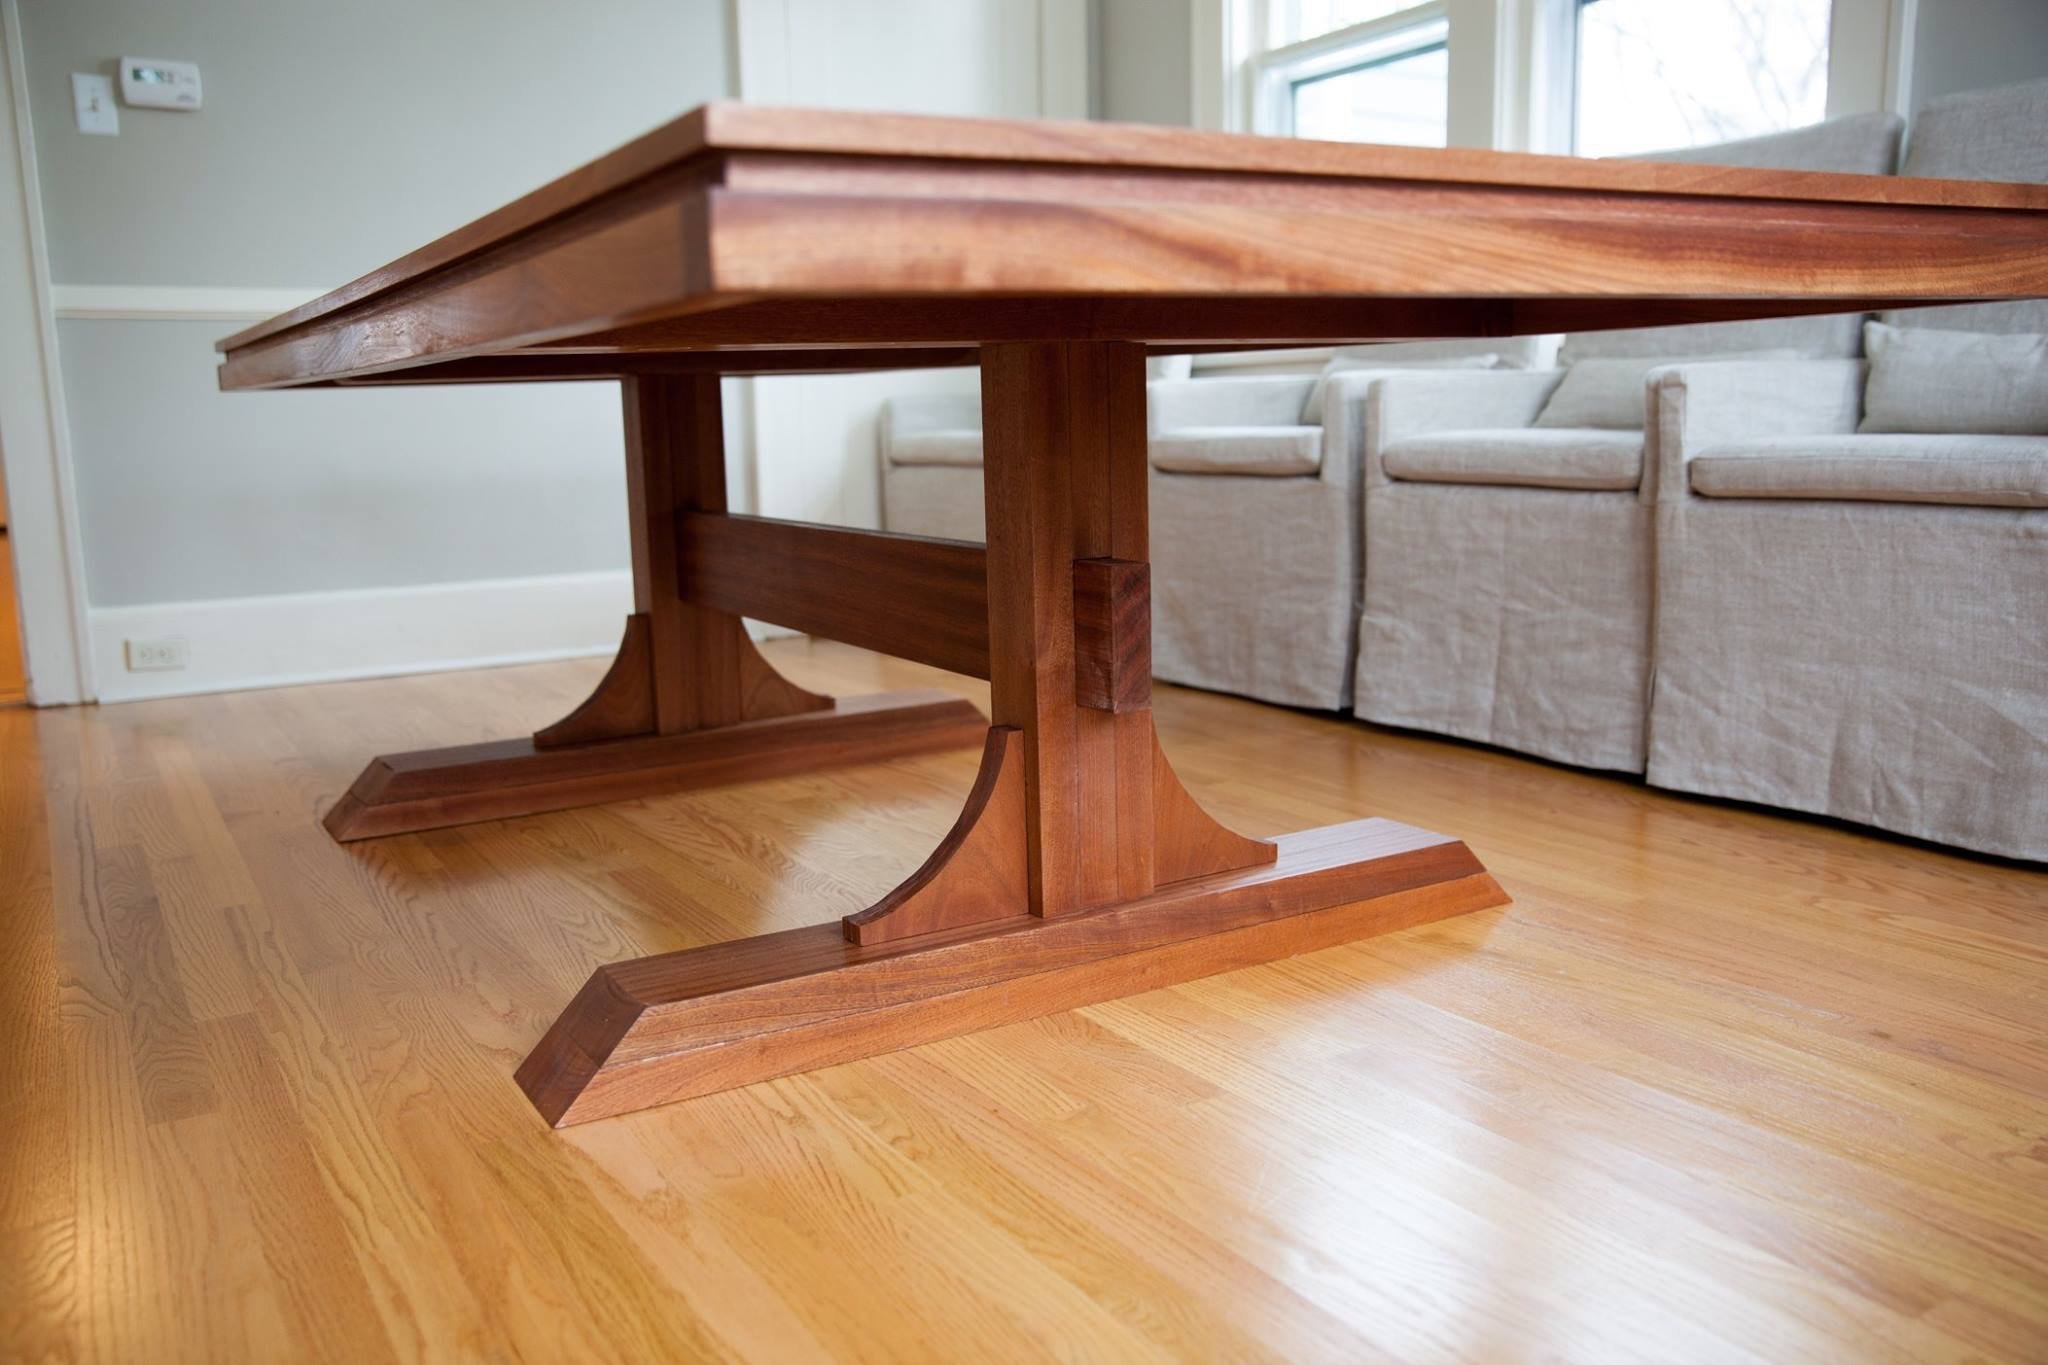
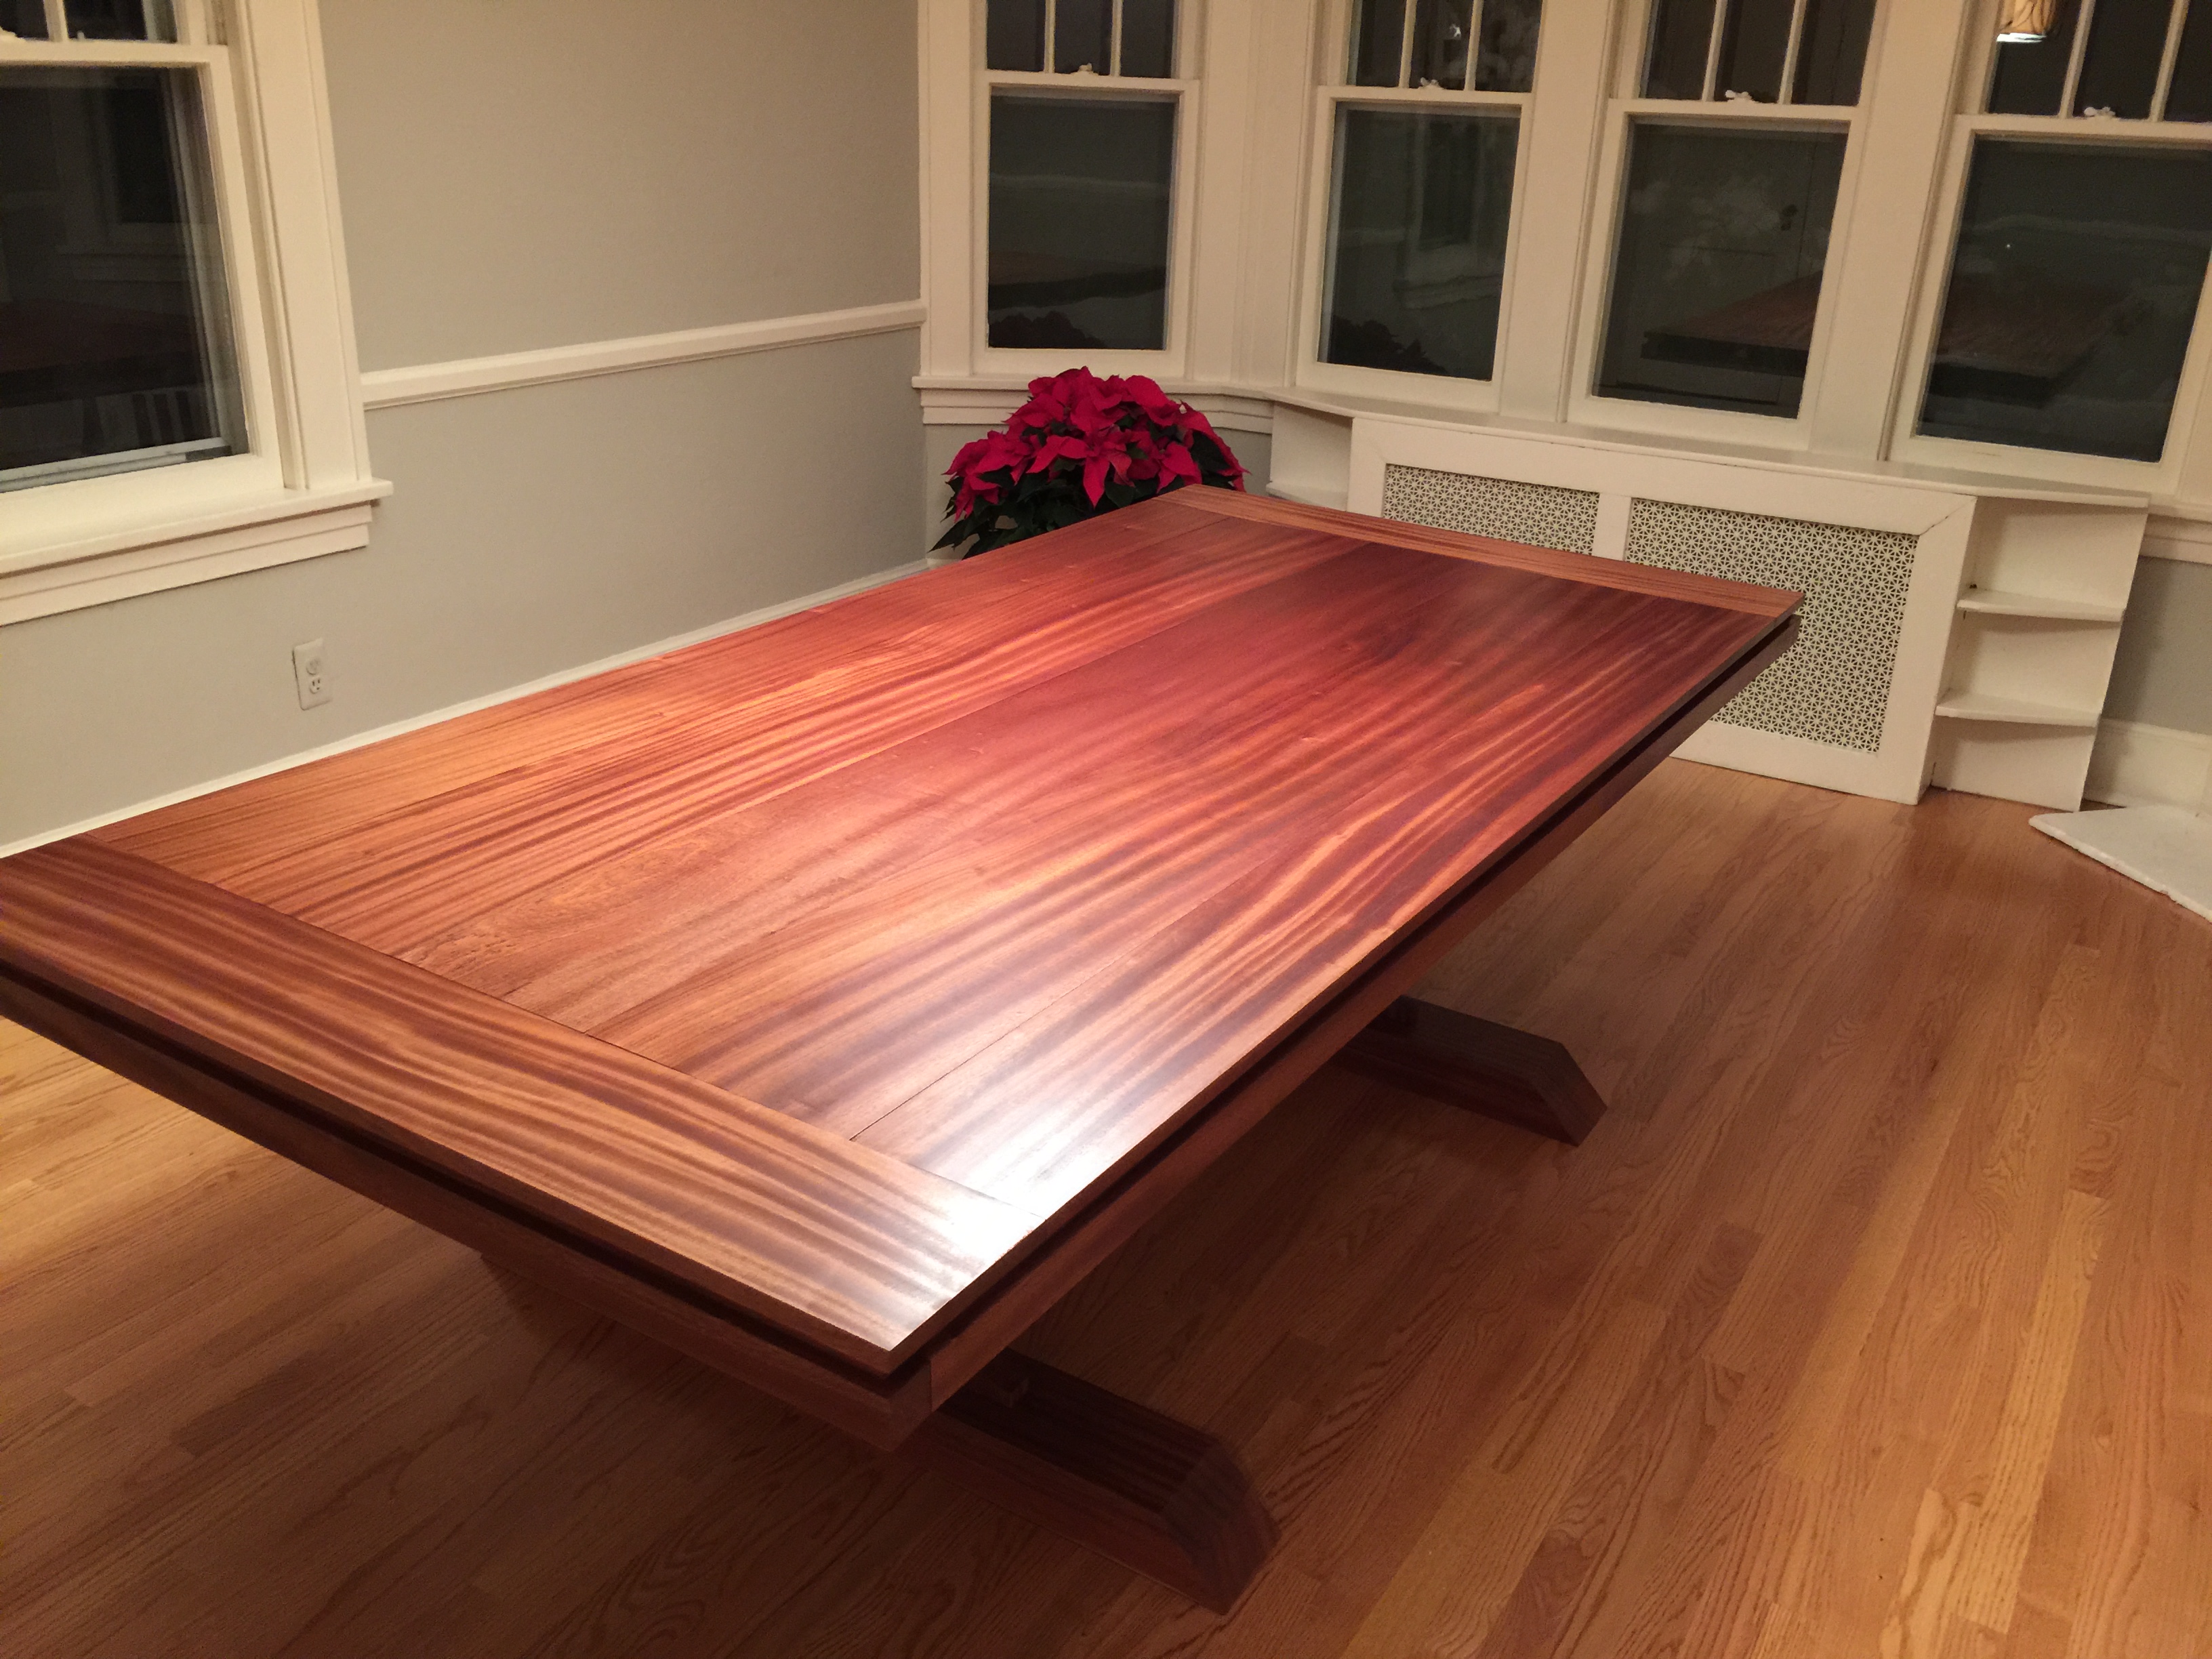
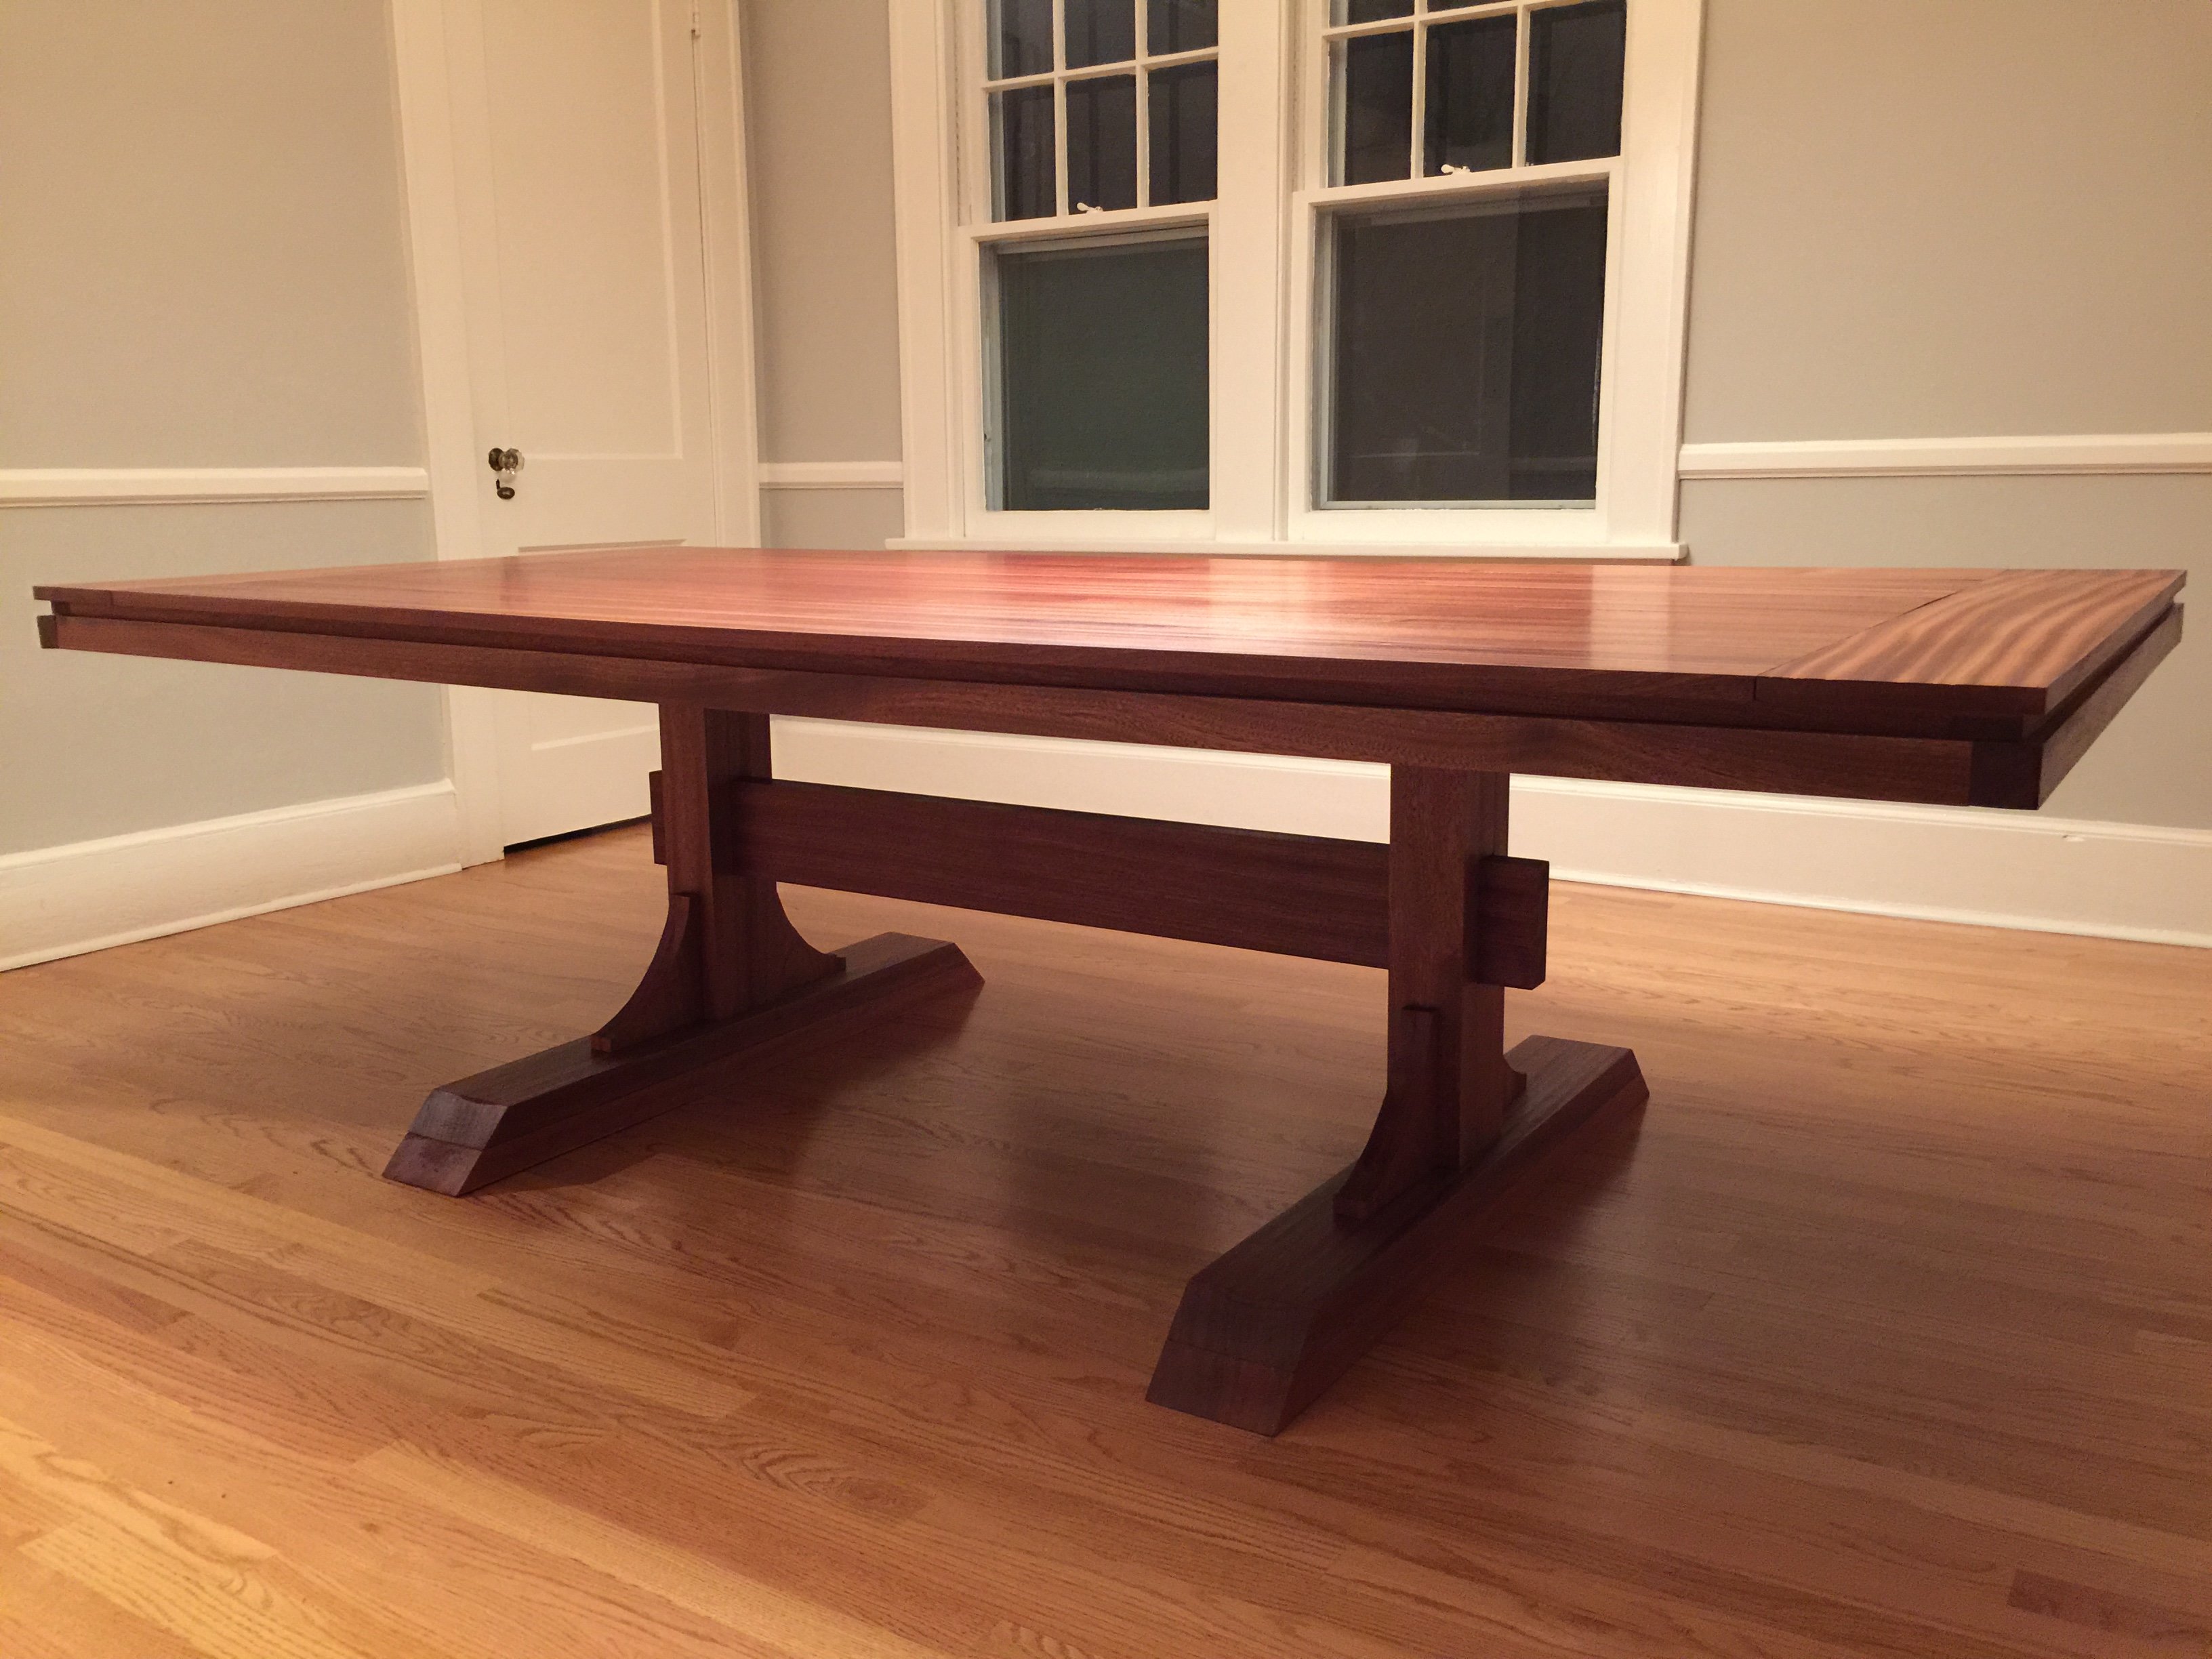
I decided to build a dining table after finding Ana's site and being encouraged from the straight forward plans and great brag posts. Thank you for the encouragement, Ana!
This project took much longer than anticipated since we changed around the plans, used mahogany which is unforgiving, and I'm a bit of a perfectionist so we spent a lot of time on each step to make sure things were correct. In terms of modifications, we used 1x12, 1x10 and 1x8s on the table top. We only made two pedestal legs so we could fit chairs on the end. The overall dimensions are 96.5" x 46.5" x 29". We kind of fell into those dimensions after having to change things to make sure the breadboards fit properly.
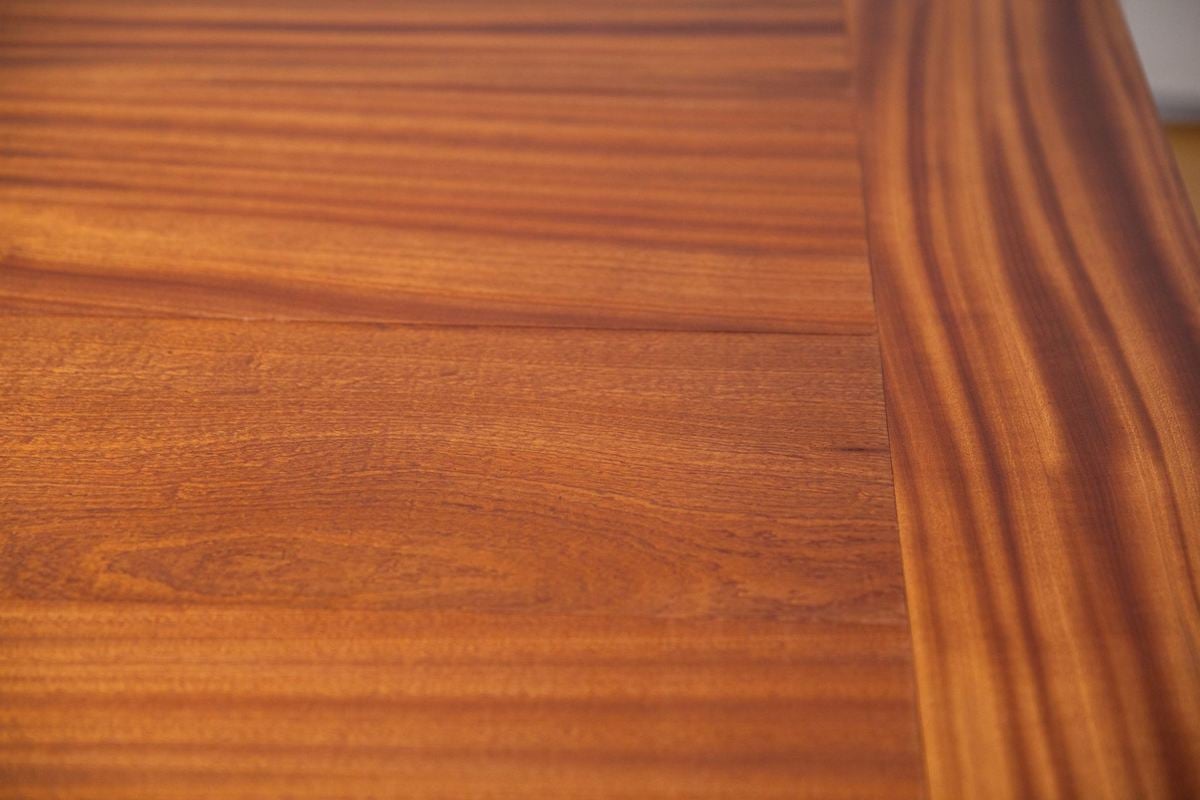
I'm happy to share any additional plans/information with folks who want to build a similar table. We didn't use a stain but rather just 3 coats of MinWax Wipe-On Poly. It really brought out the beauty of the grain and color of the wood!
Thank you again, Ana! I hope future generations will keep this table and think it's cool that their family made it. I'm planning to have a plaque engraved with our names and the date to attach to the table as well.

Fri, 05/22/2015 - 20:41
Out of all the pedestal table plan variations yours is my favourite. Not only because of the beautiful wood but I like your modification of the base the best. Can you tell me what is the inner width between the two pedestal legs? Also how many people can you comfortably fit around that table and how many can you squish around? If you have a moment to answer my questions, thanks so much.
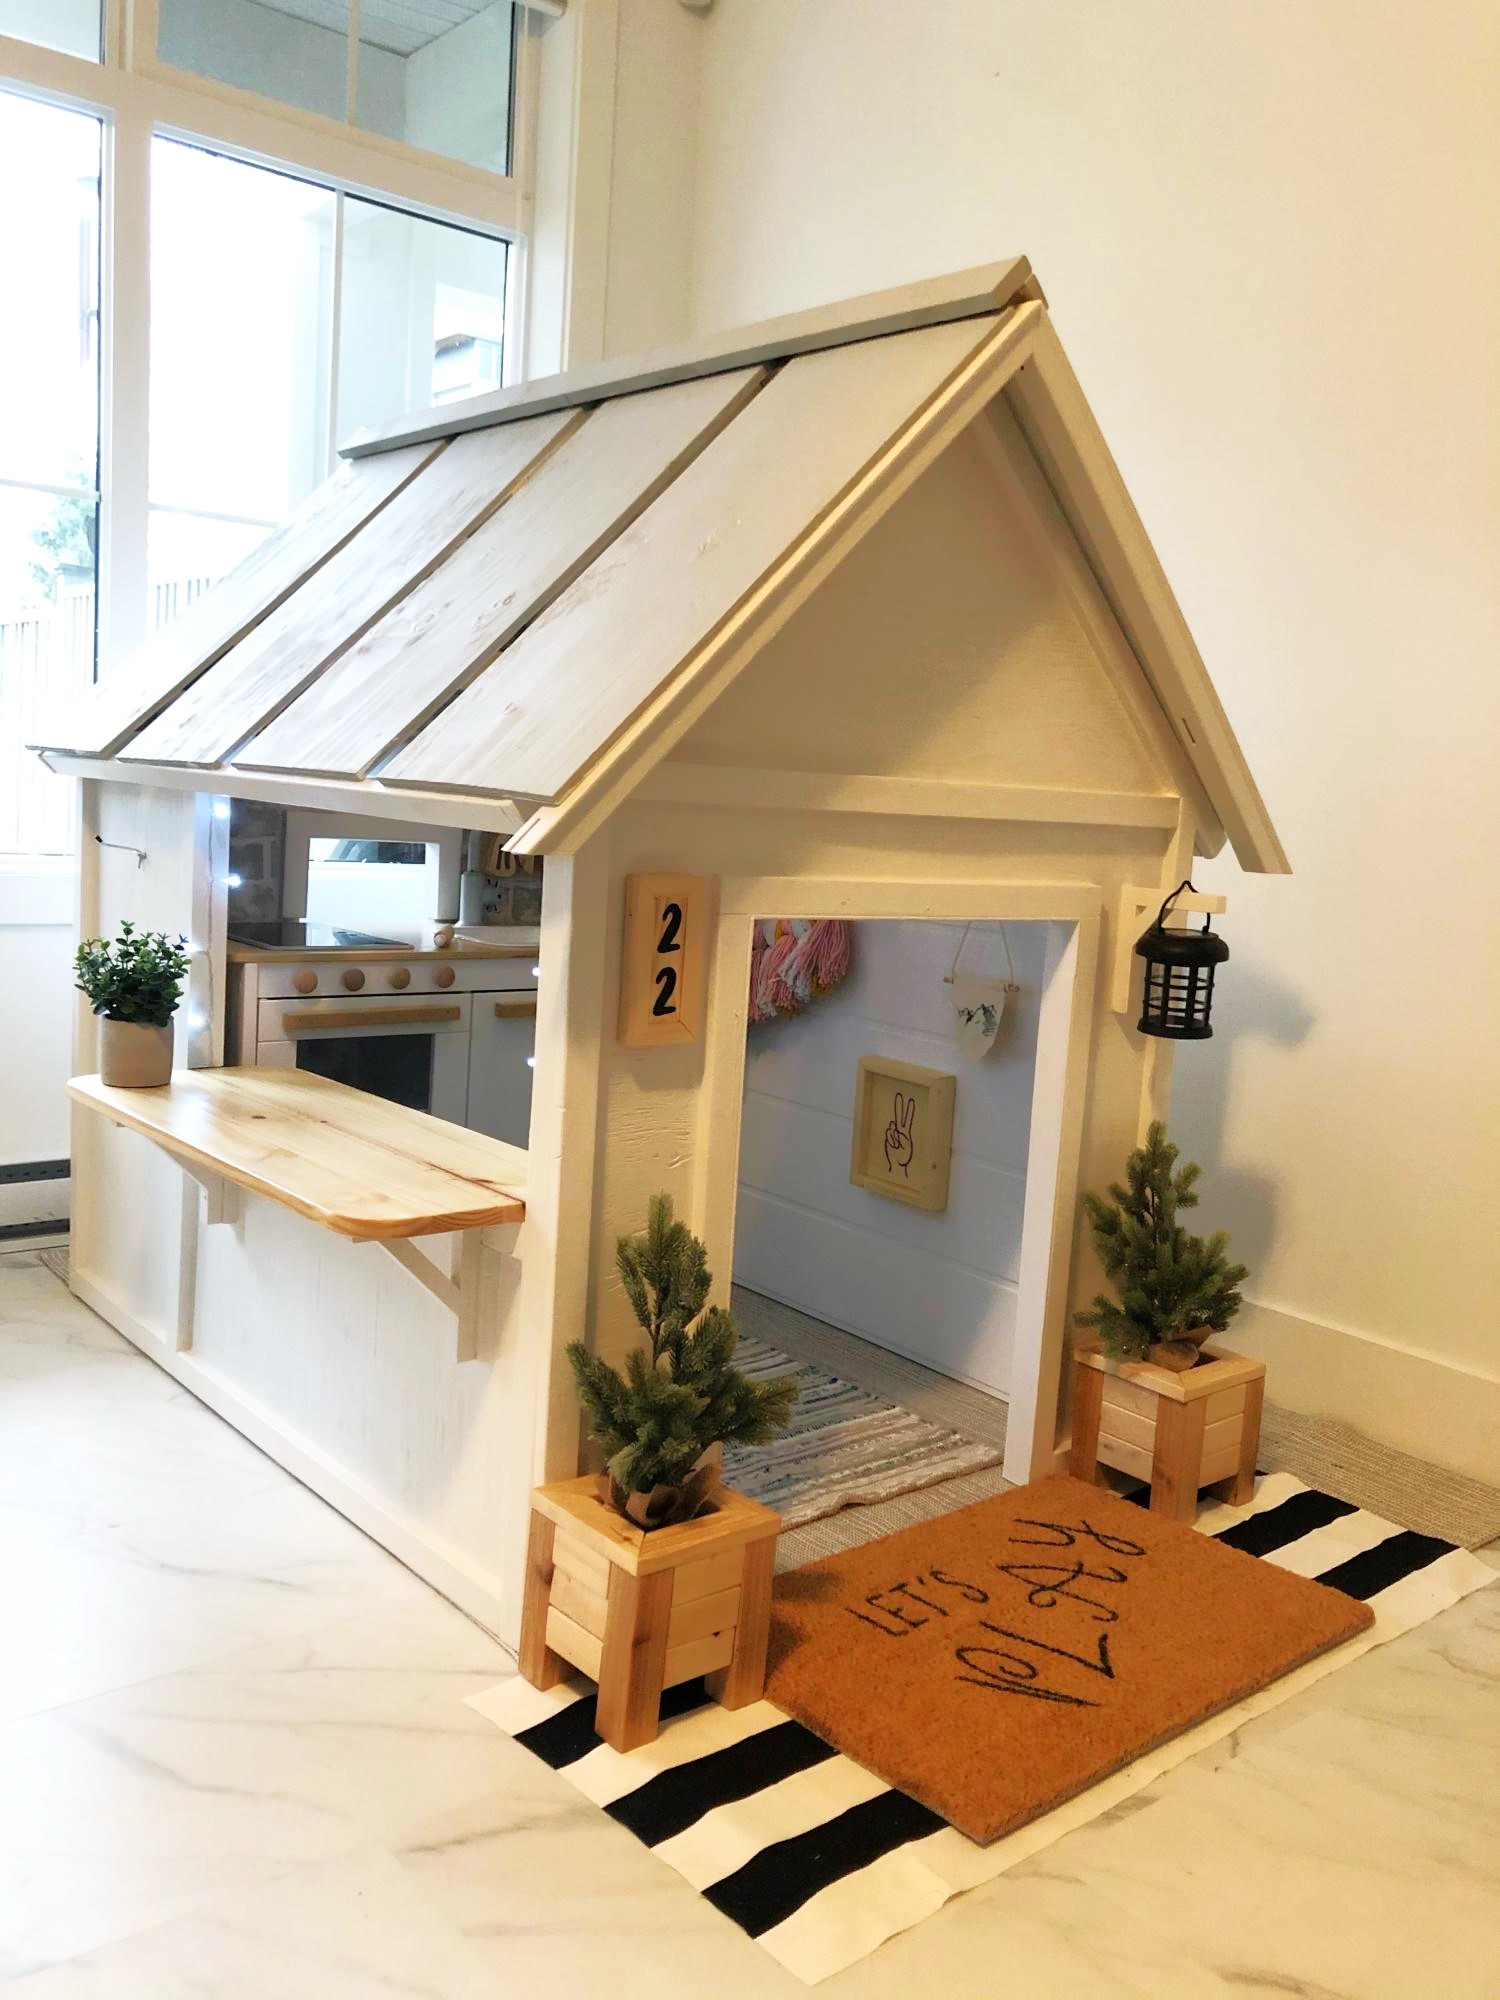
Thanks for your amazing Farmhouse Indoor Playhouse plans!
So easy to follow your directions! I may have gone a little overboard.
I used some scrap wood from recent Renos and wood from an old boxspring my parents had.
The kitchen was originally from Ikea with some updates.
The shrubs are silk plants from Ikea and scrap wood.
The only real cost was Paint $30 ish.


Used square laundry baskets instead of regular rectangular baskets. The square ones aren't as deep but are a bit taller so I had to modify the plans. I added a backsplash and some wooden tags to the baskets to designate them for certain colors. I also added some decorative trim and finished the bottom in a gray stain and used white chalk paint for the top.


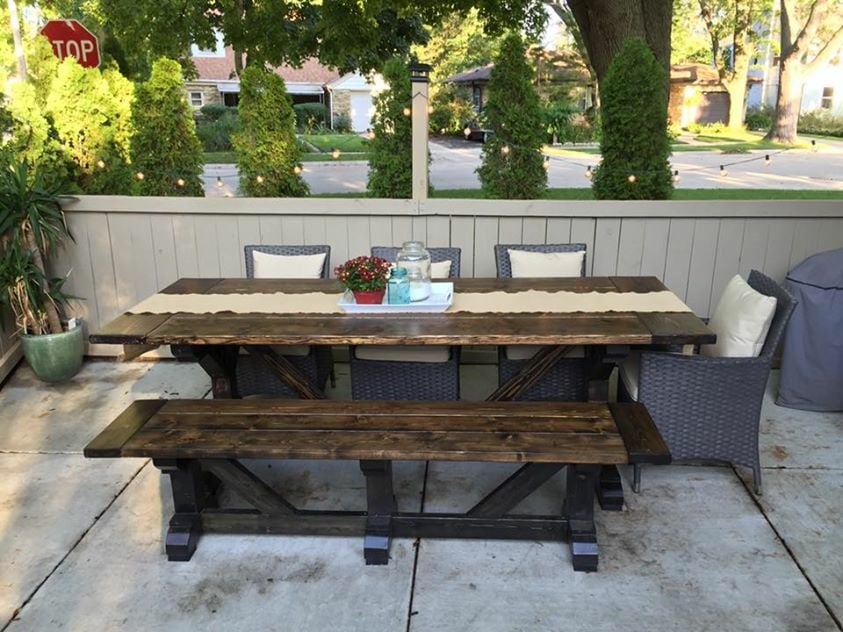
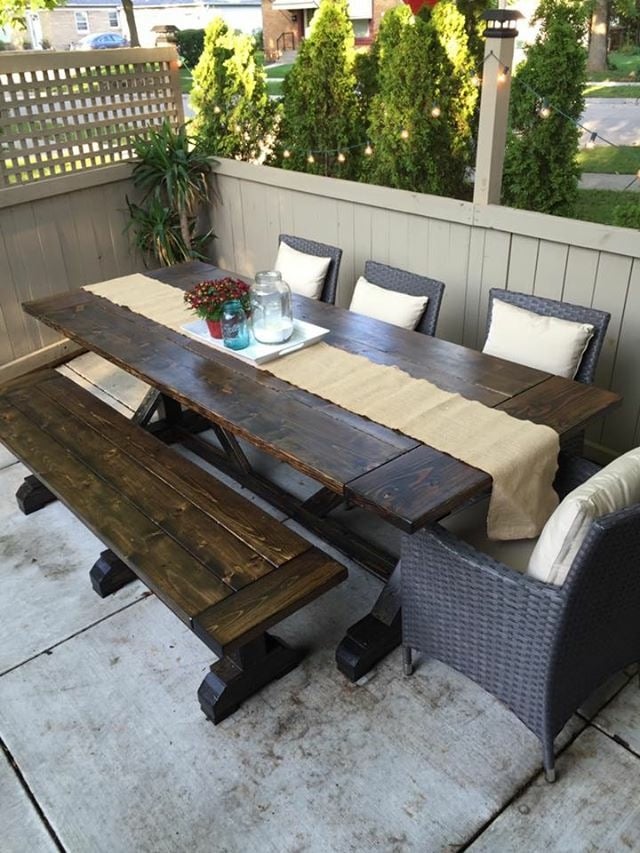
This is a table and bench that I built for our patio!

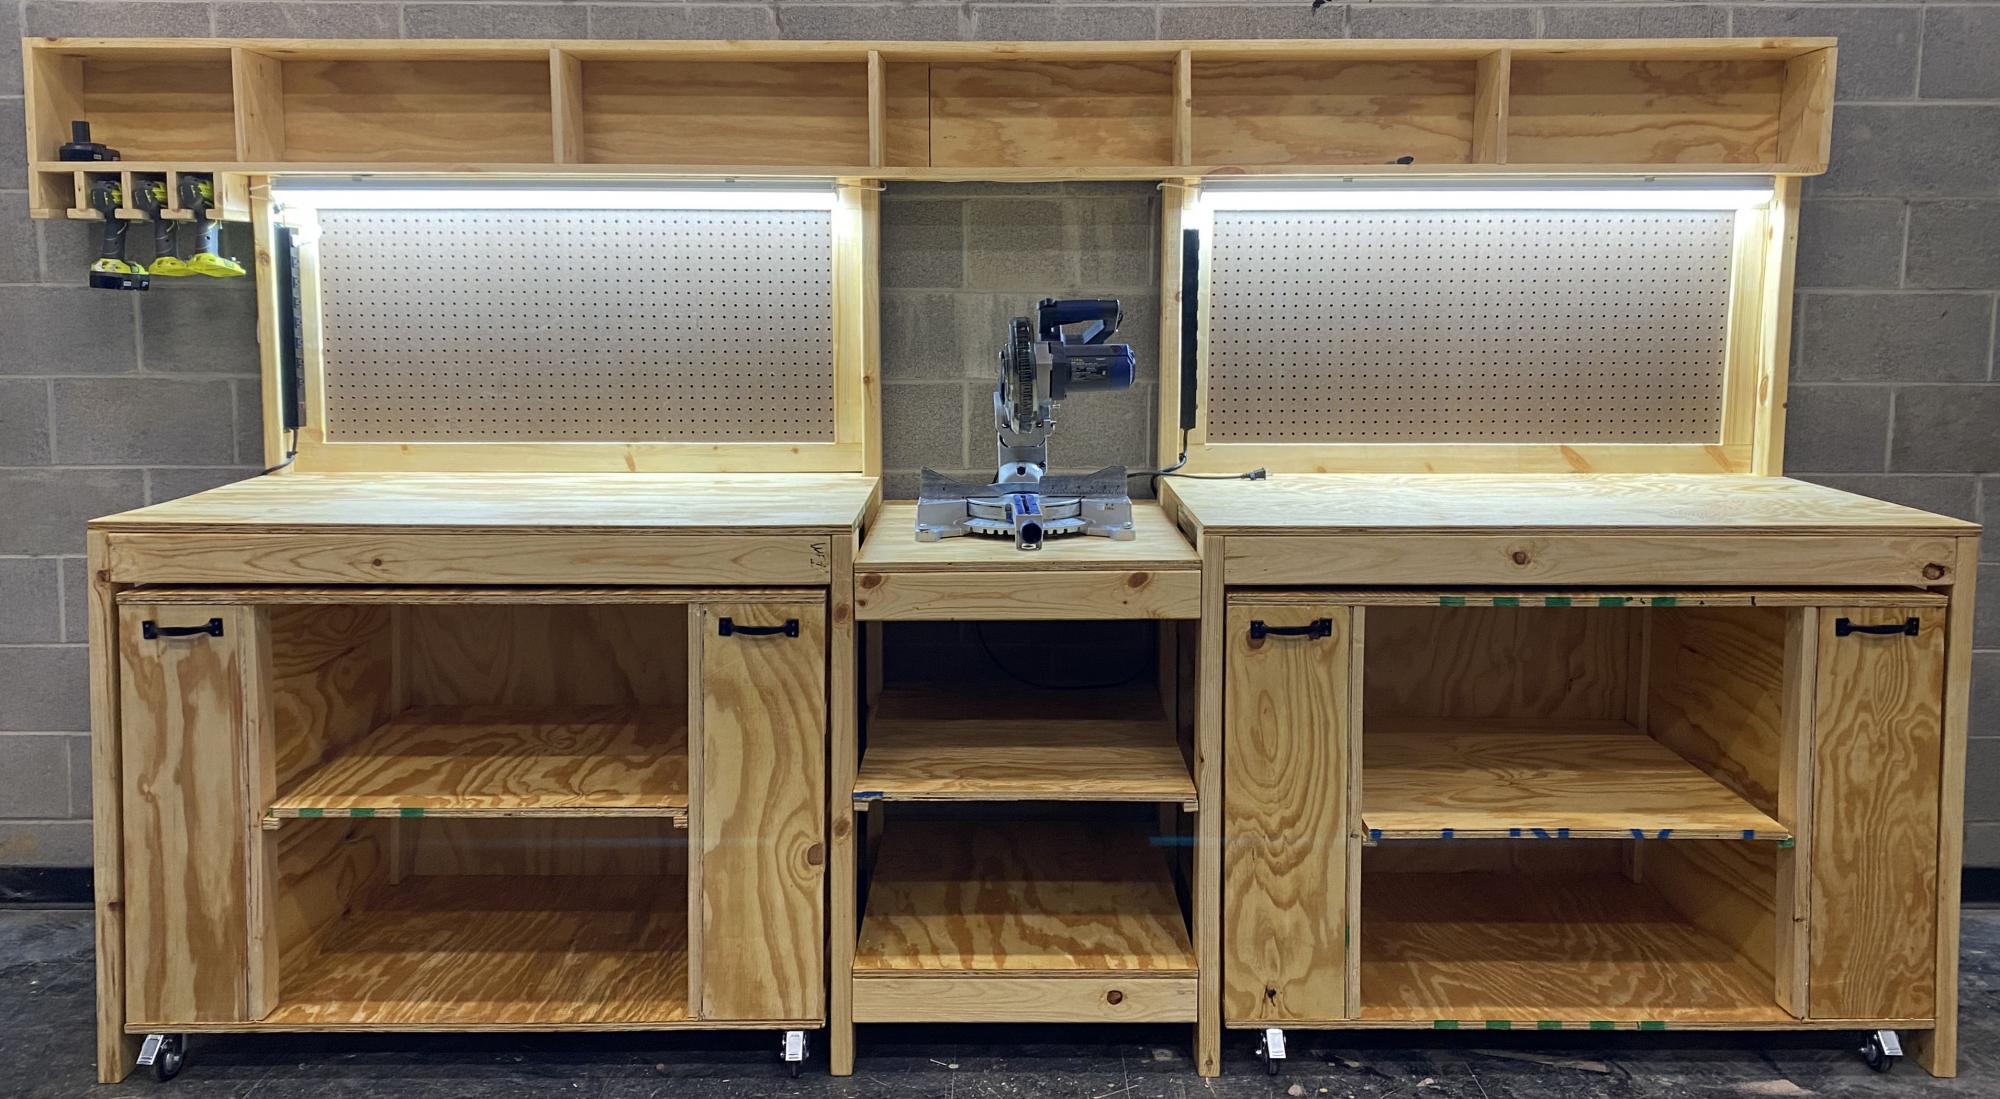
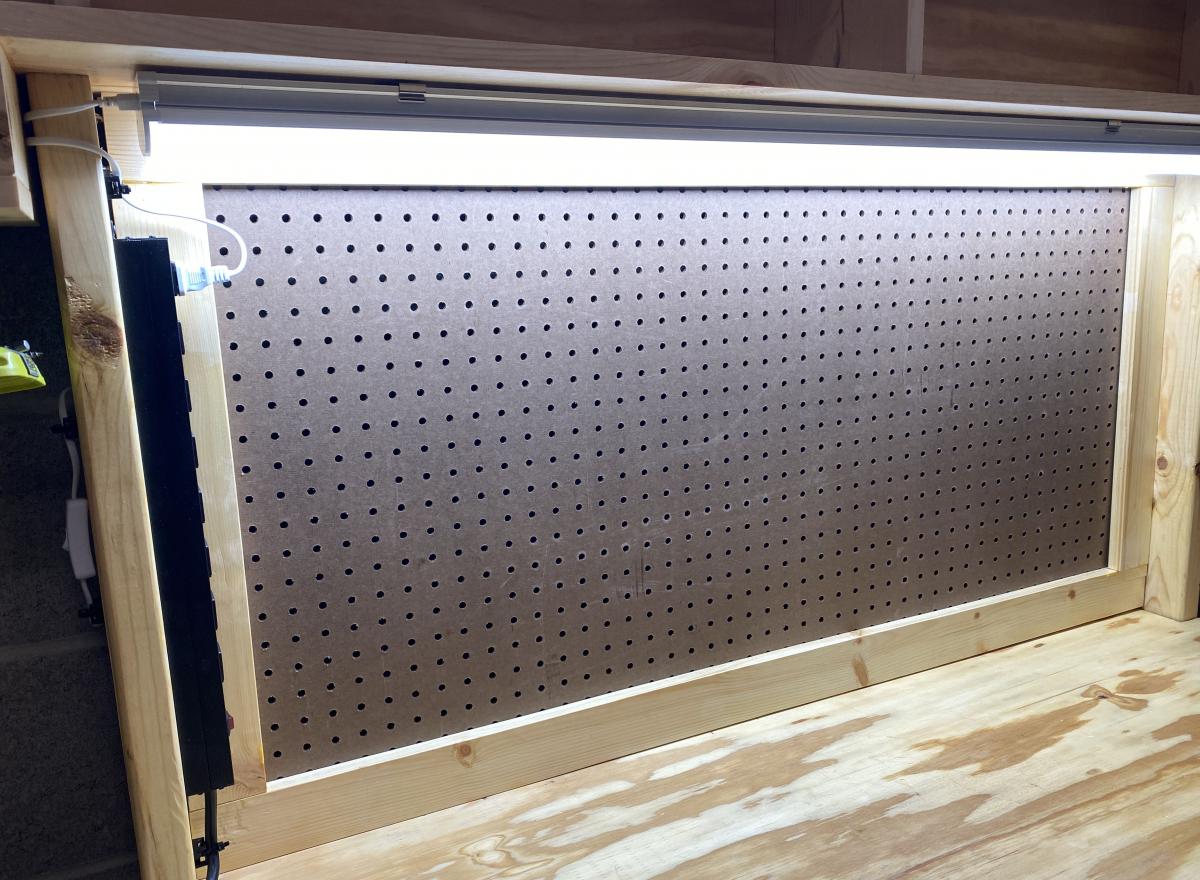
My son chose to make a workbench for his high school theater for his Eagle Scout project, and selected the Ultimate Roll Away Workbench with Miter Saw Stand as the basis for the project. The theater teacher wanted pegboard for tool storage, so we extended the rear legs on each workbench and notched the top to allow them to pass through. We built two frames from 1x3s to fit inside the rear legs, then put a pegboard inside each one.
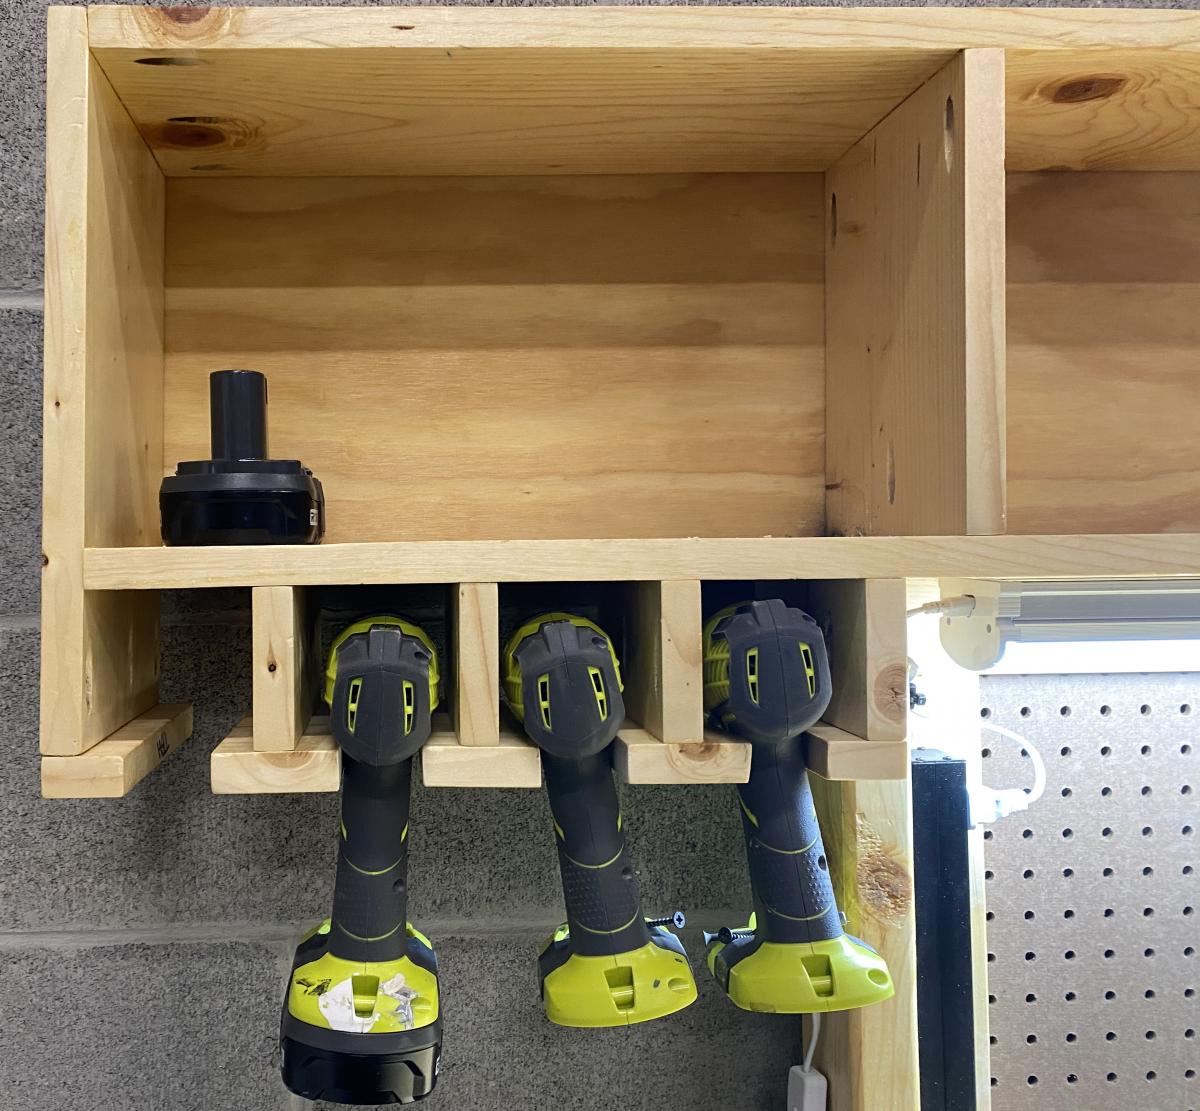
To secure the extended legs, we added a riser shelf from 1x8s. We put a storage station for drills at one end of the riser shelf.
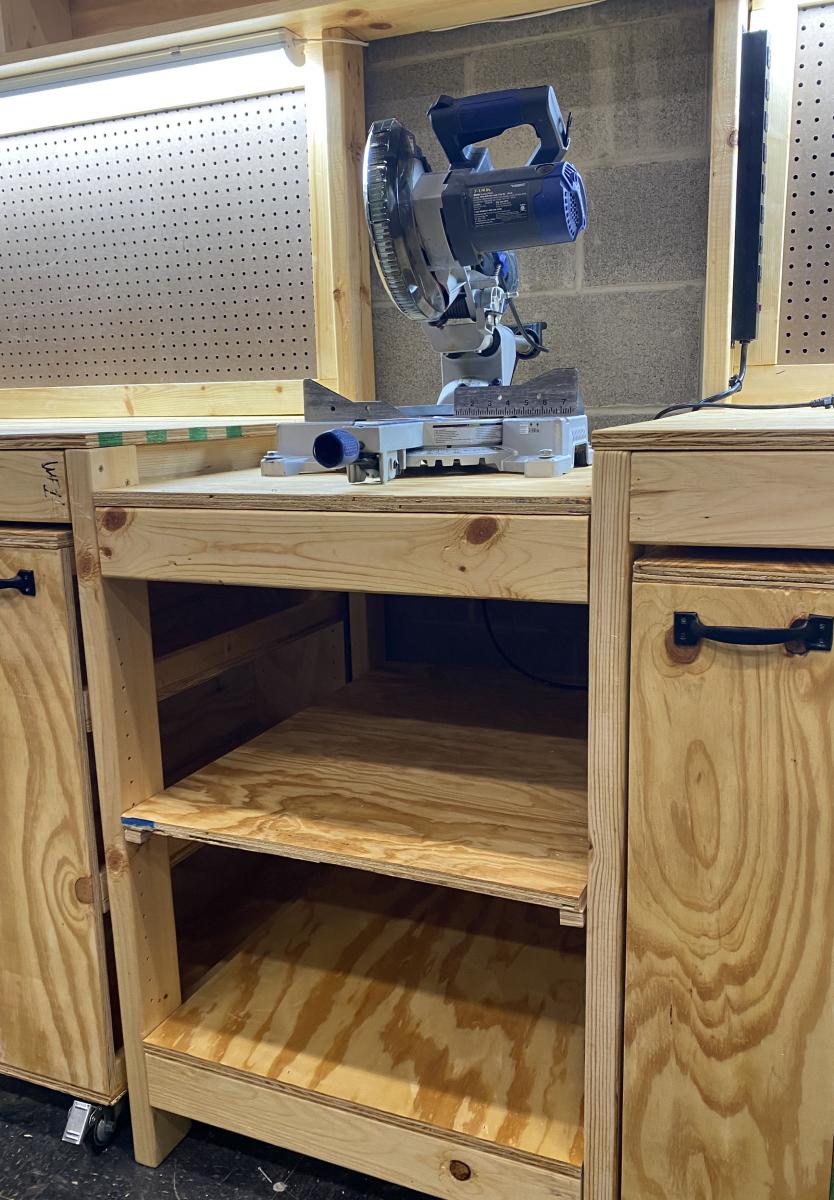
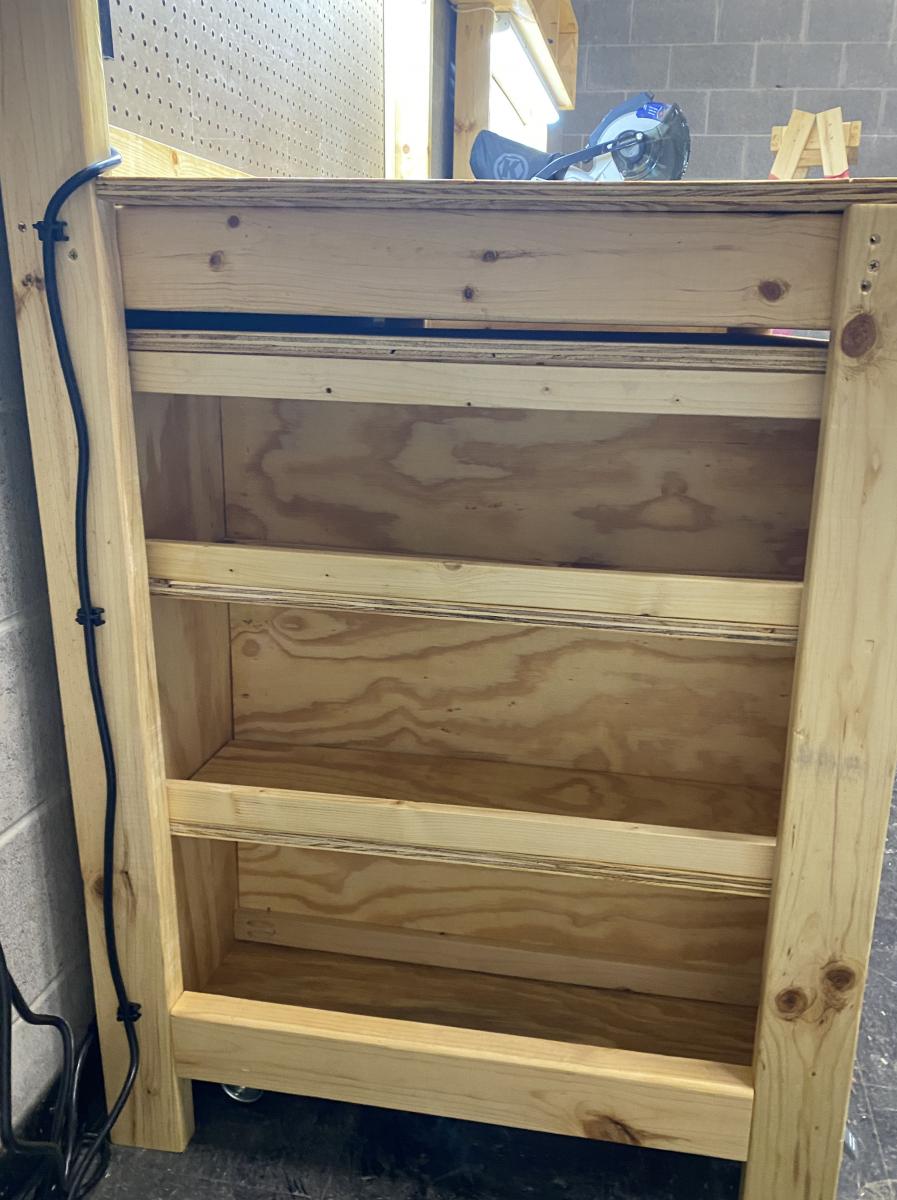
We also made all the cart shelves adjustable and added an adjustable shelf under the miter saw, and added lighting and power strips.
We left out the panels at the end of the workbench to allow access to the shelves there without having to remove the carts. Once we had constructed it, we added a brace at each end of the workbench to better support the outside front legs.
This plan was the perfect one for the theater, giving a stable work area for the miter saw and allowing for tool and materials storage. The carts can be rolled around to where a work surface is needed. This will come in handy for years of set construction in the theater. So proud of my son and all the leadership and hard work he put into this project!
Mon, 10/18/2021 - 11:54
WOW, that is absolutely amazing, thank you so much for sharing this story!
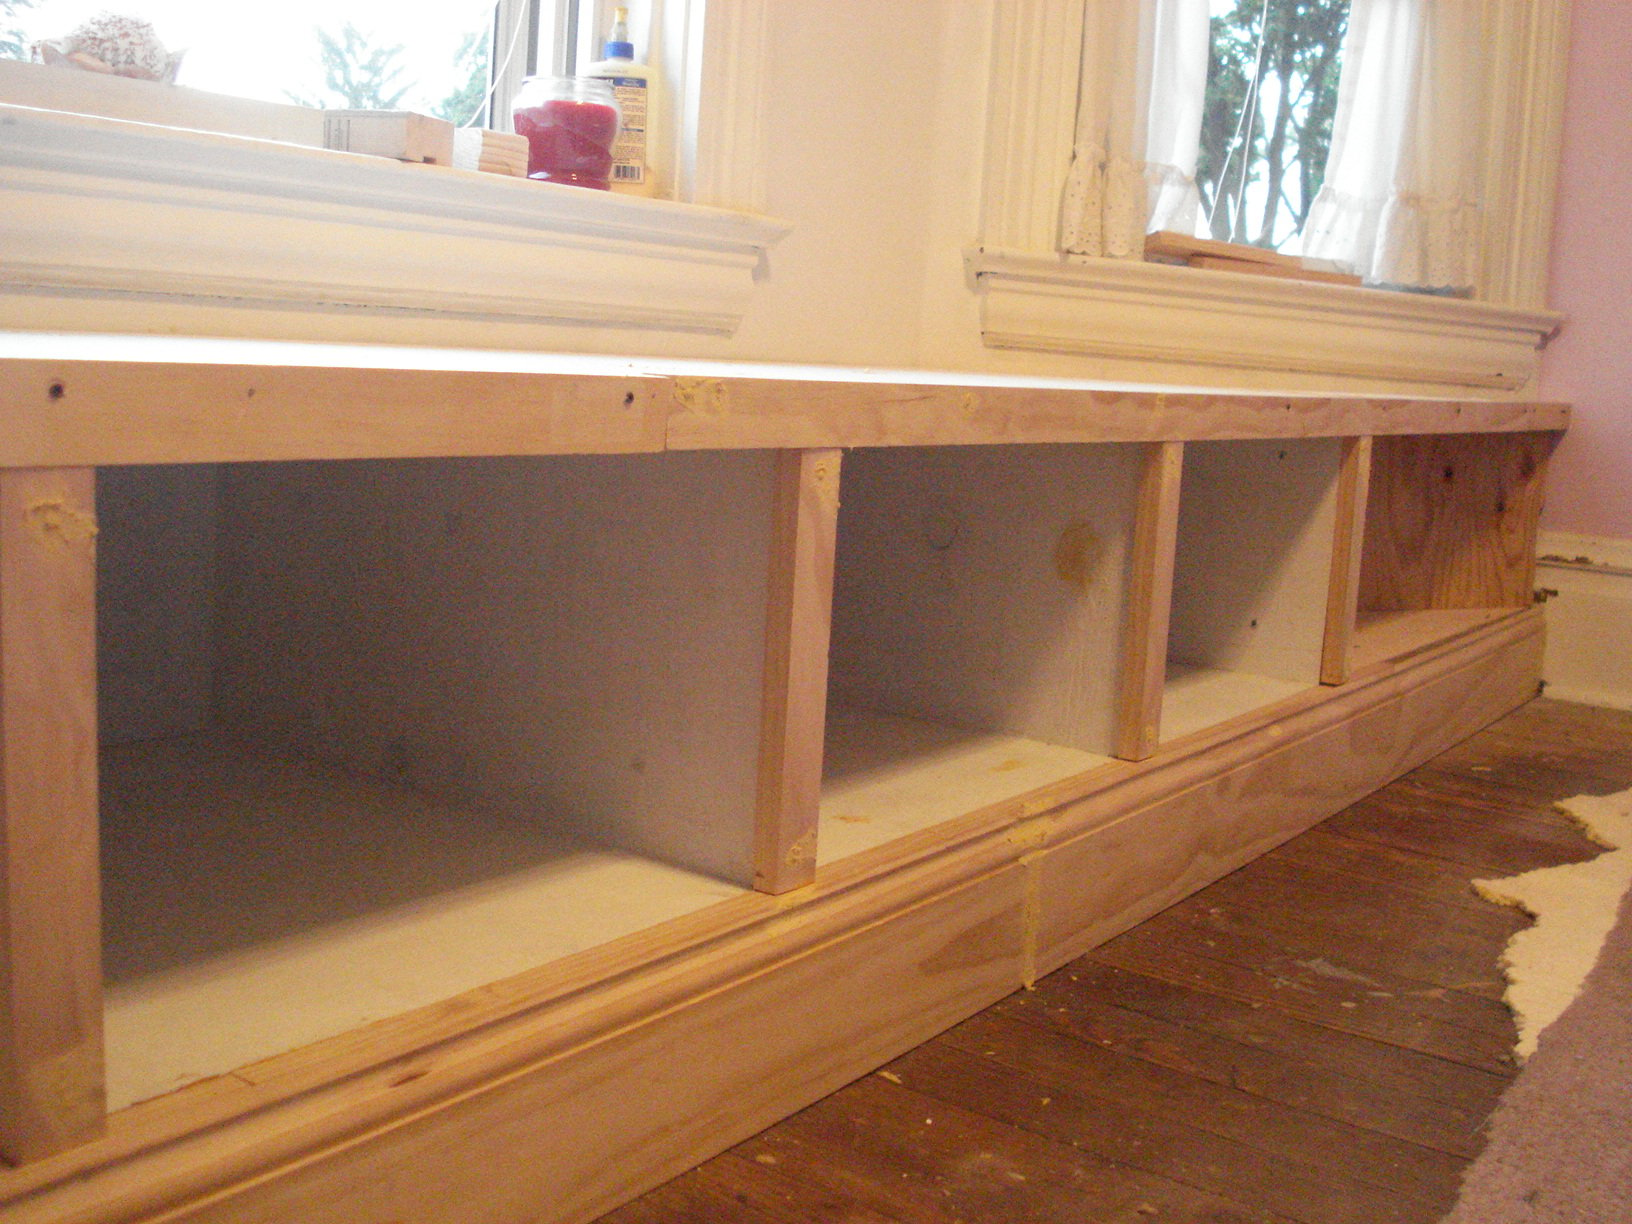
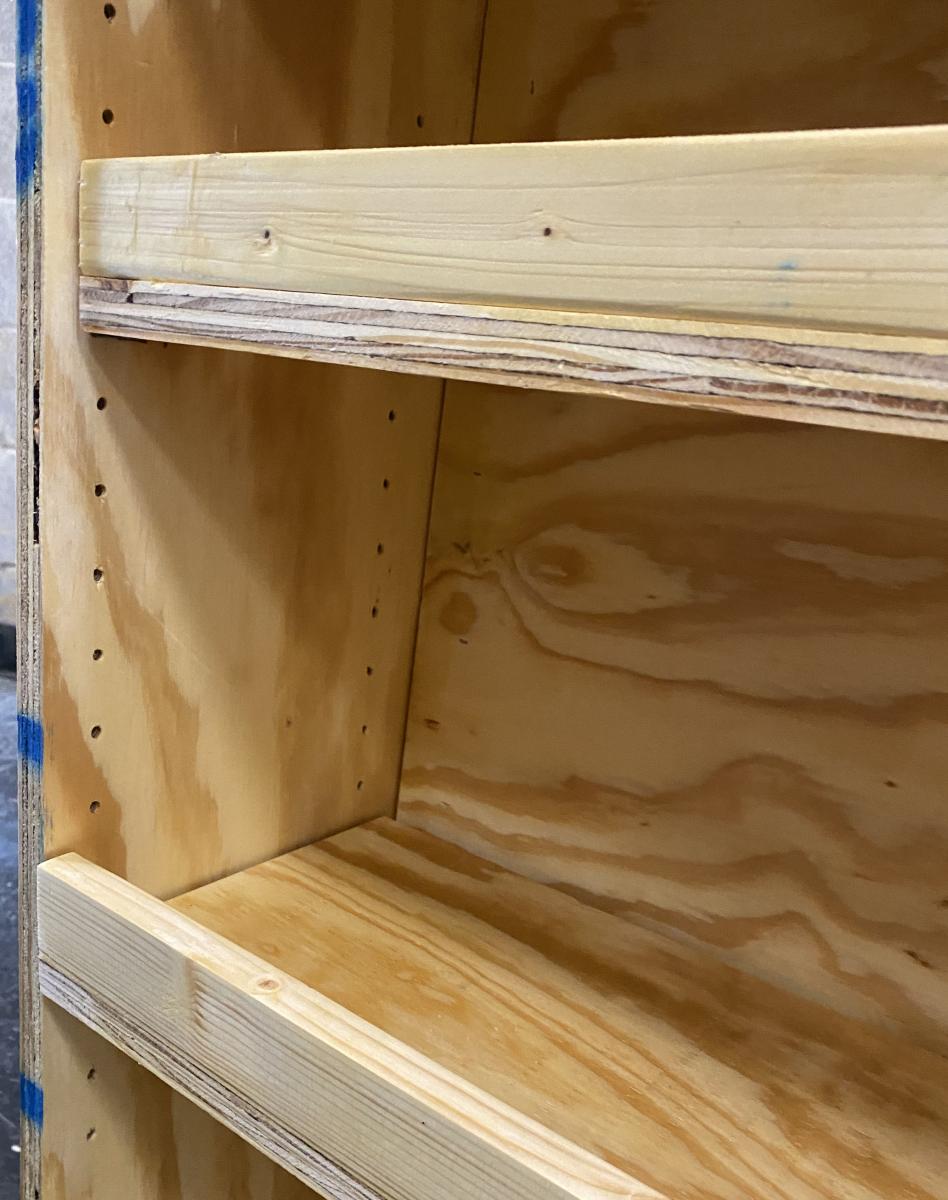
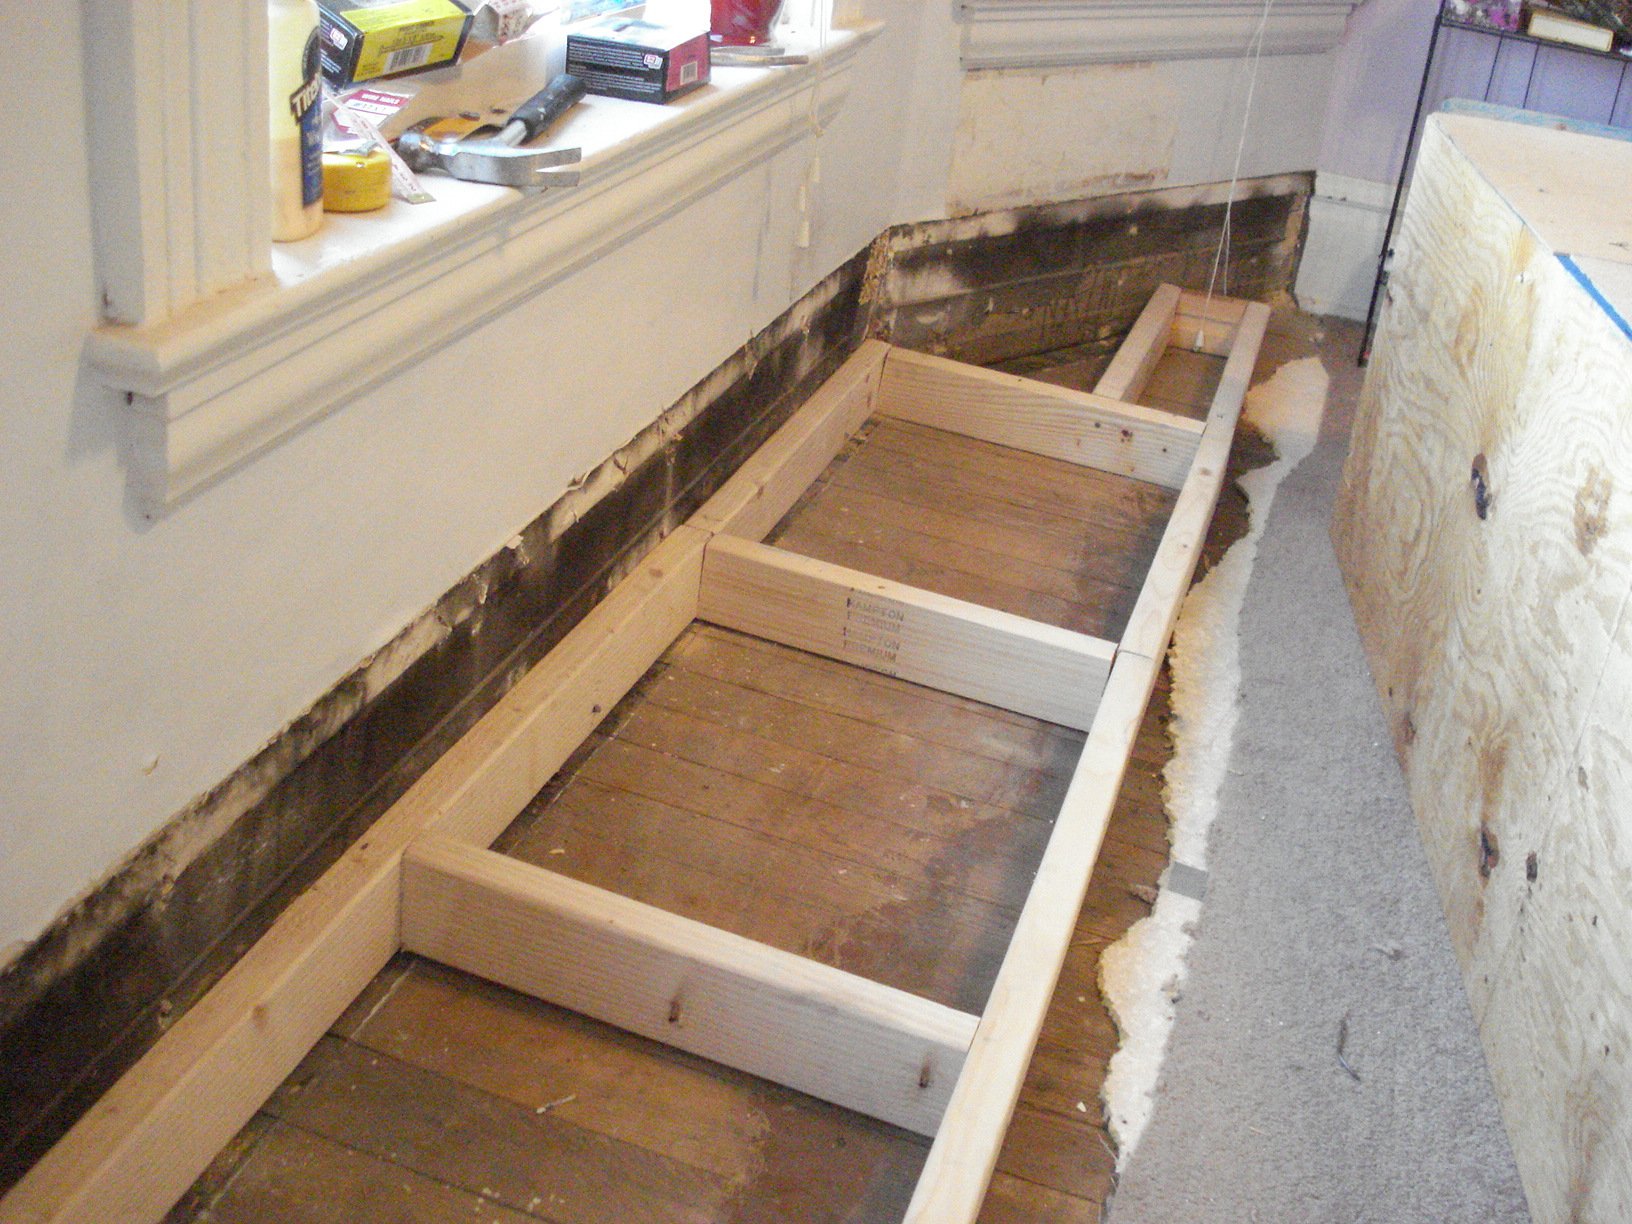
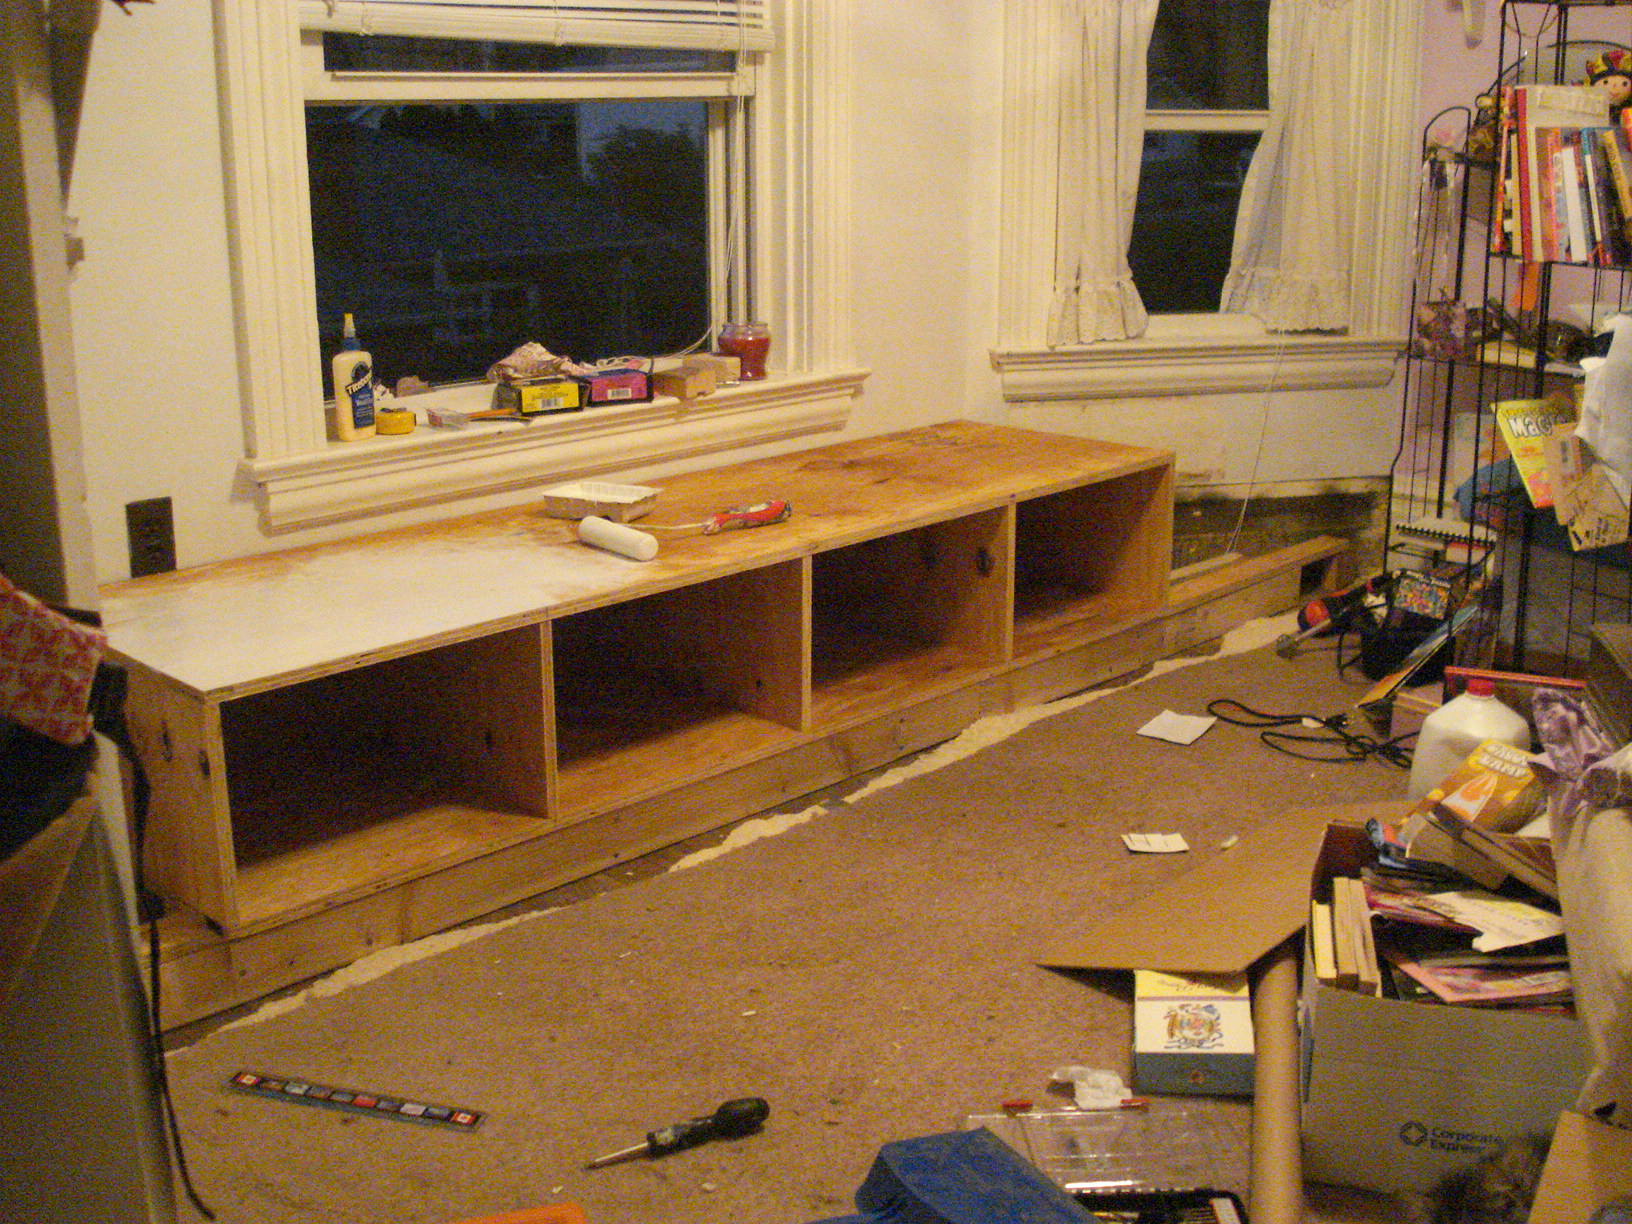
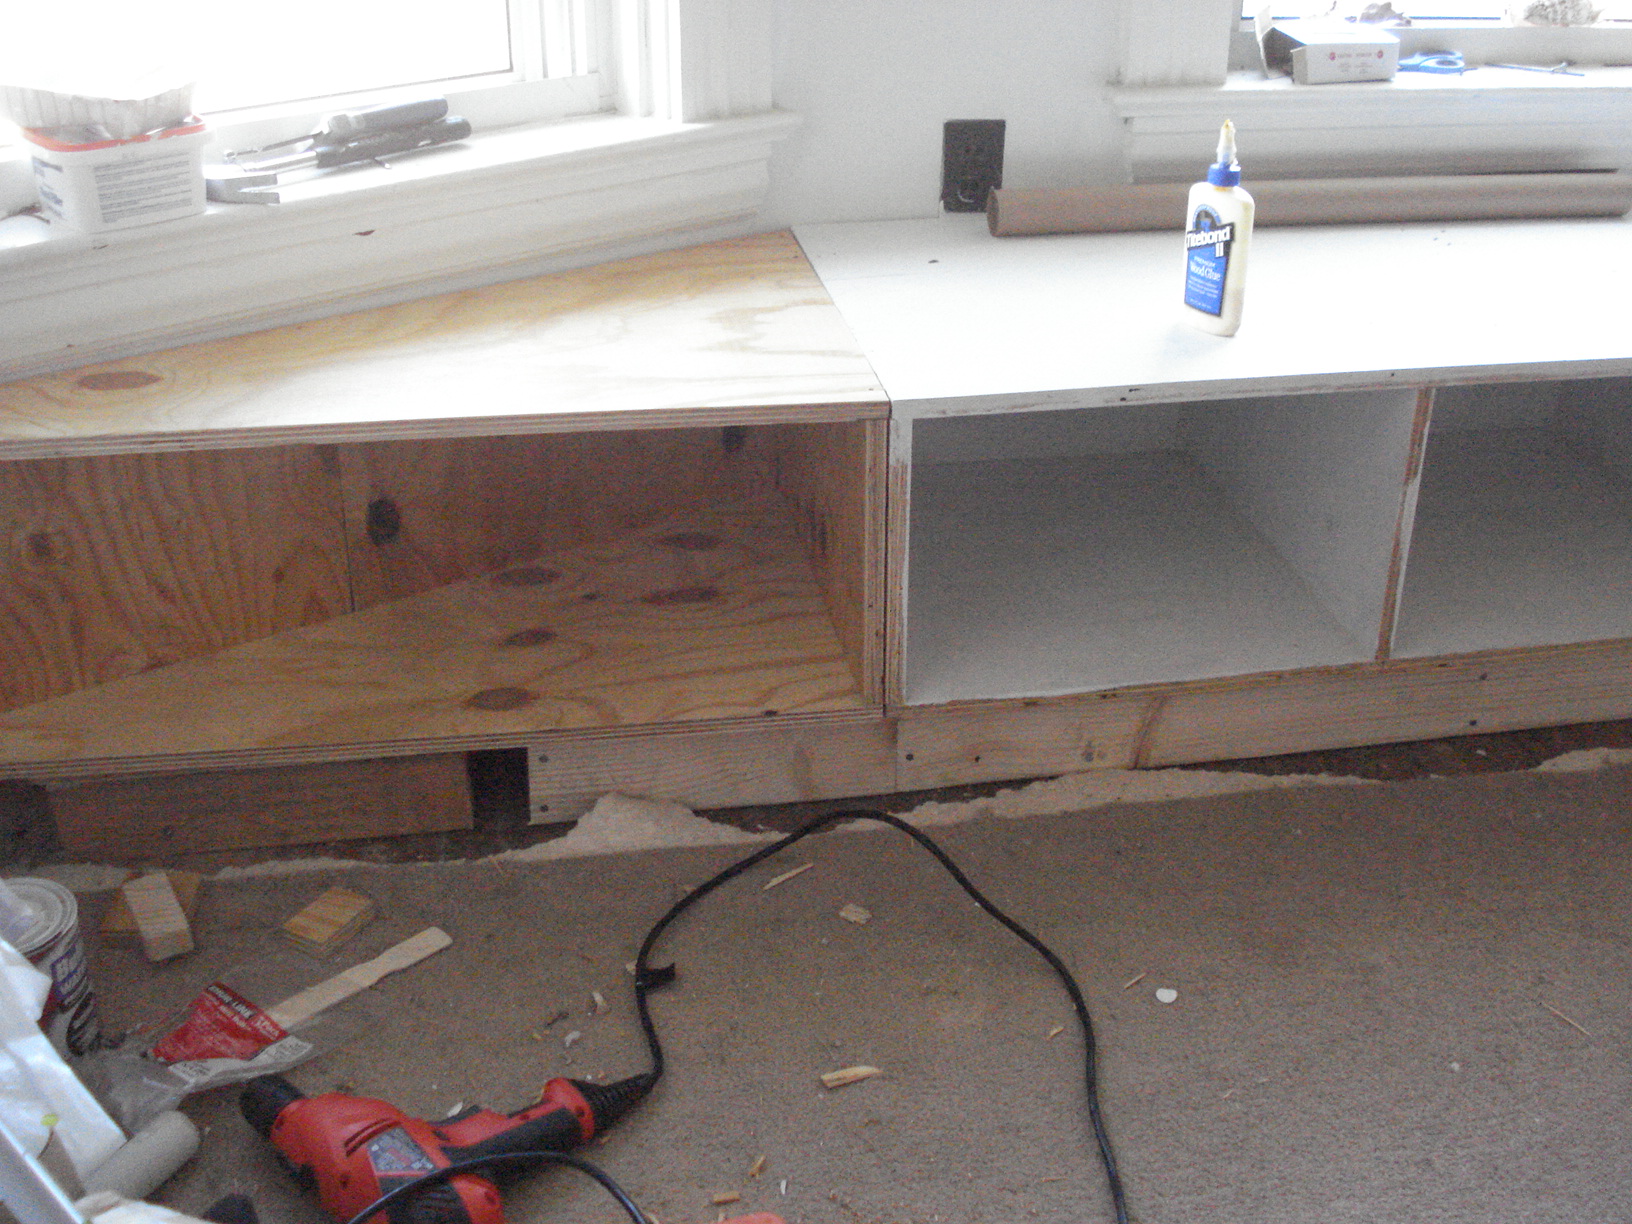
I made this two years ago in my daughter's room, before I got to know Ana's site. This was my ever first carpentry project. It took me 4 whole days to finish. The whole wall is like a bay wall so I had to custom make the built in. Also – I did that when my husband was out of town so in order for me to be able to lift all the pieces from the basement to the second floor, I made it of 4 pieces. When my husband came back home he thought I paid someone to built it.
I made it out of 2x4’s and plywood. I trimmed the bottom with a trim.
One day I will add drawers and the cushions are in the making.
Mon, 09/19/2011 - 06:52
Looks great. I'm getting ready to build one for my room. You did a wonderful job on yours.

Mon, 01/23/2012 - 16:43
I have an area in my bedroom that screams for a window seat and something to accommodate the stacks of books I'm reading. I love this.
Thu, 06/11/2015 - 20:20
Do you have more pics of the finished product...especially where it meets the angled wall? I don't have a table saw (yet) so I'm trying to figure out if I can handle this without one. :(
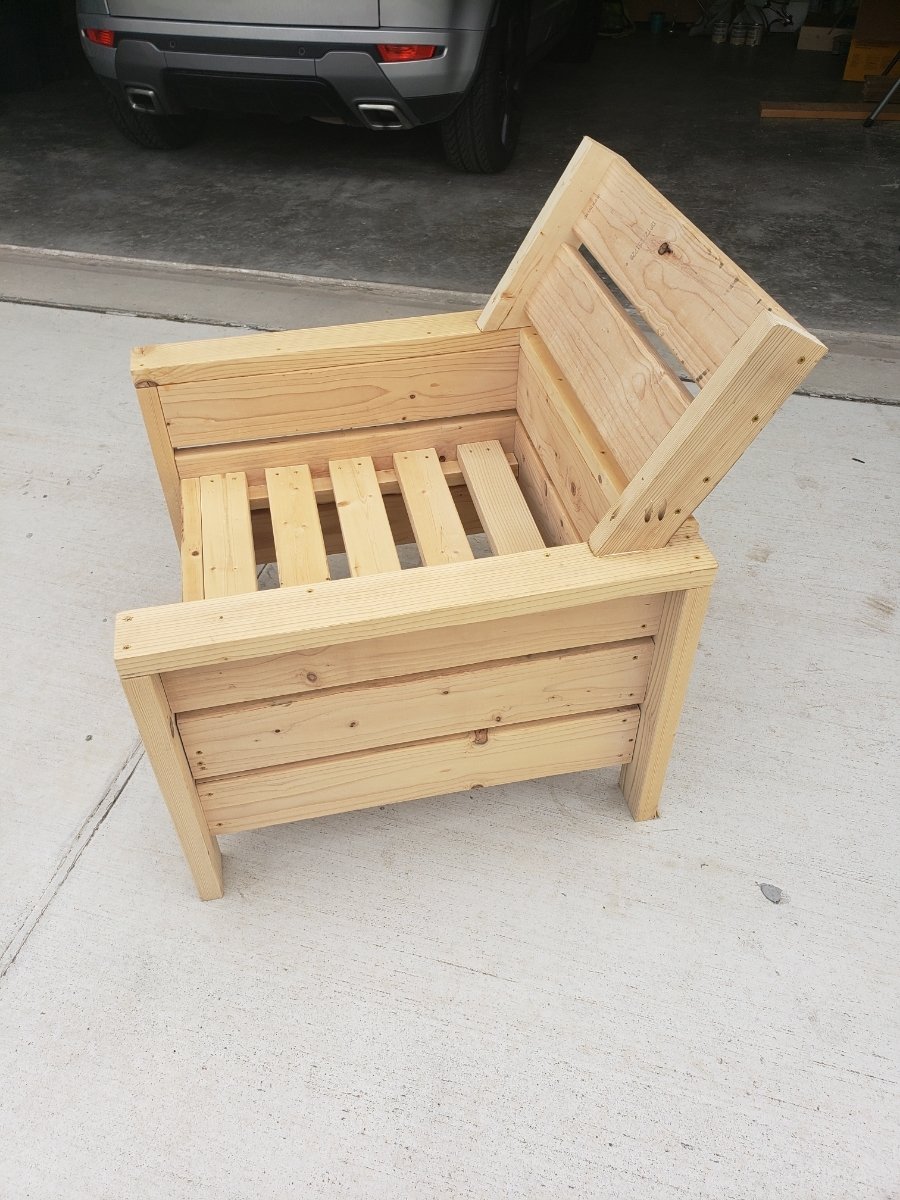
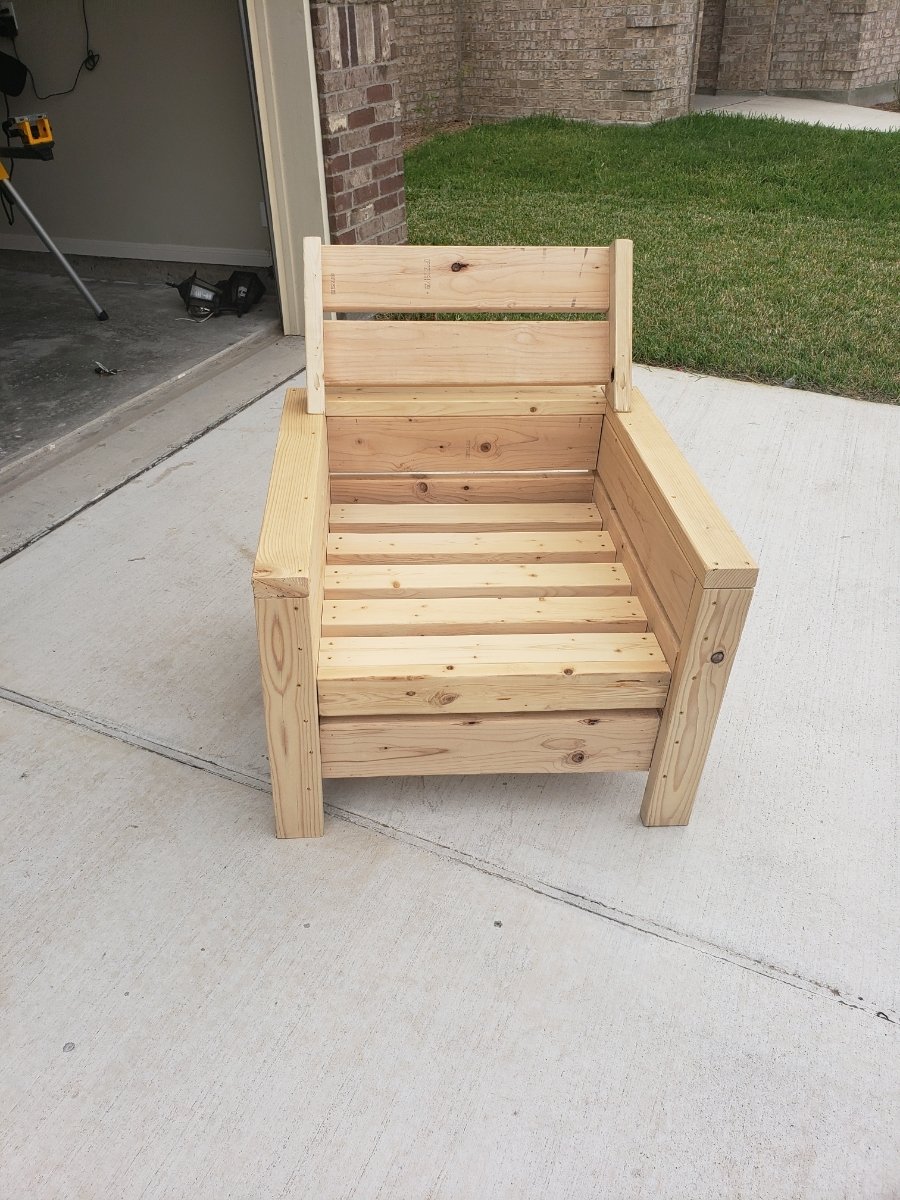
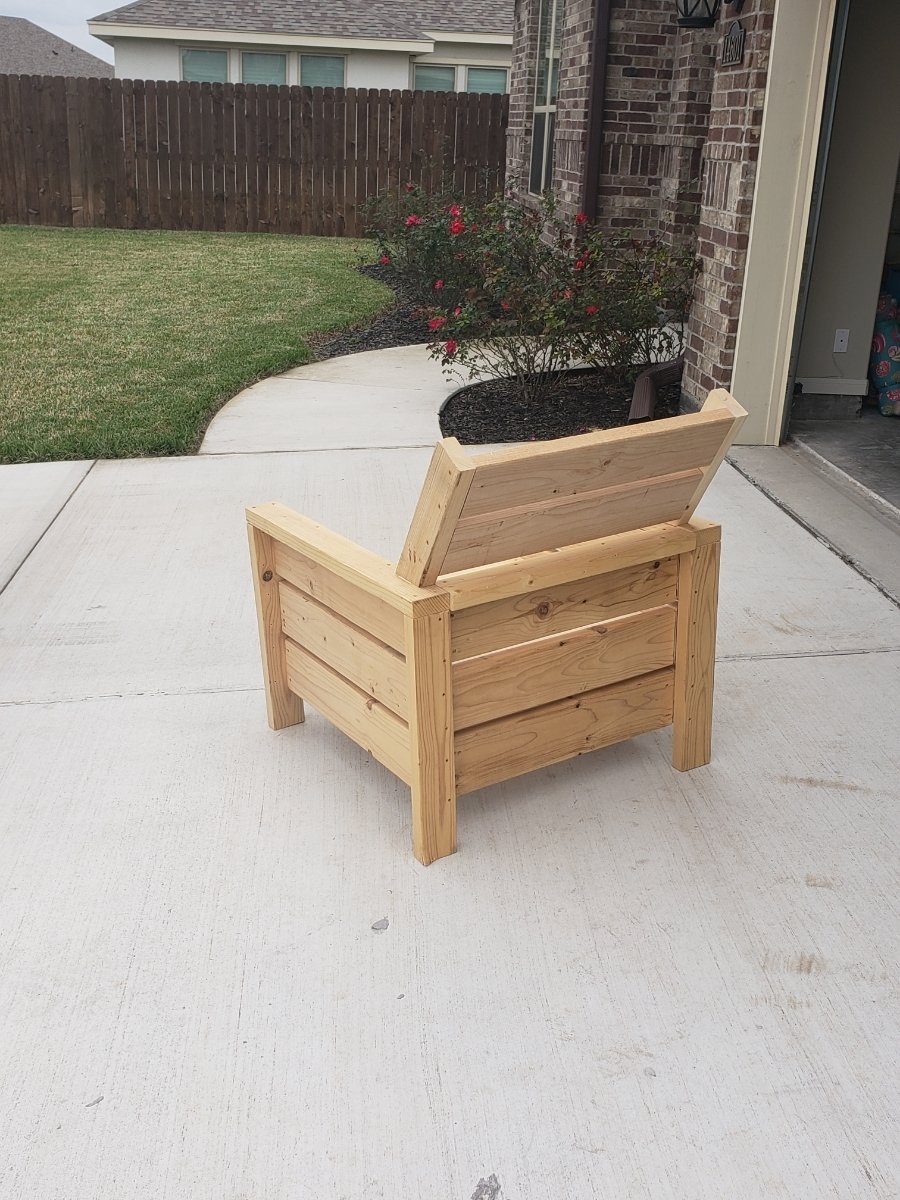
This chair was made off Ana white'smodern outdoor chair with modification to add back support. Without the back support the back pillow would keep falling off. The cushion are 25x25 but very thick for comfort.
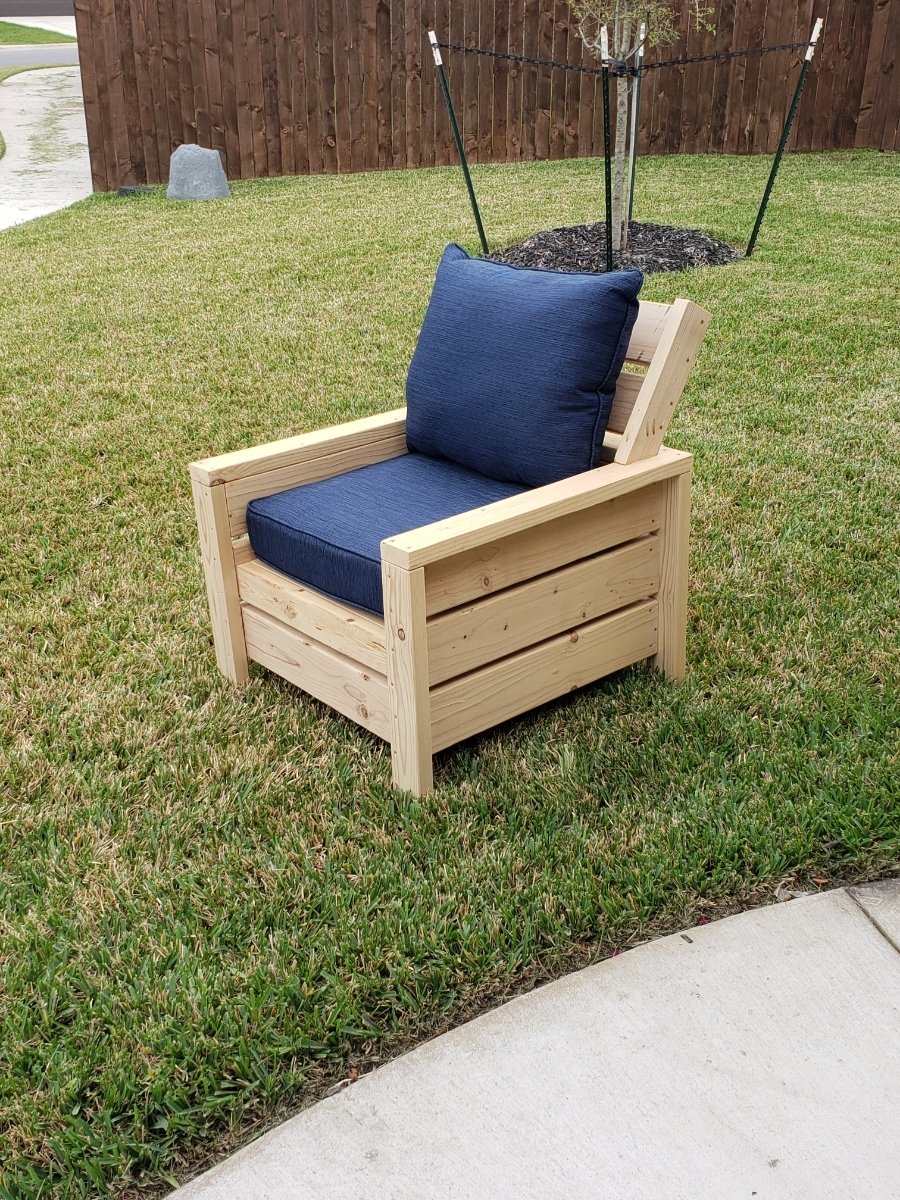
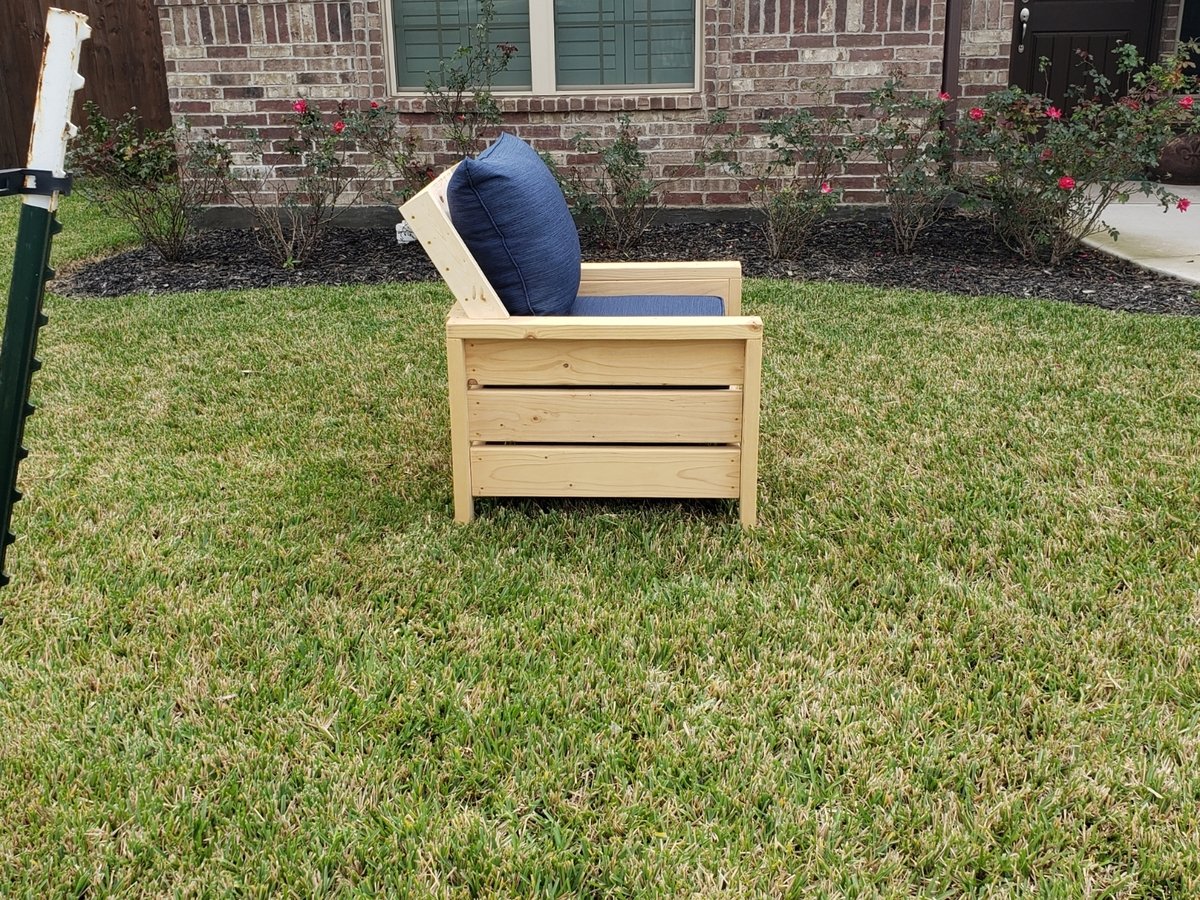
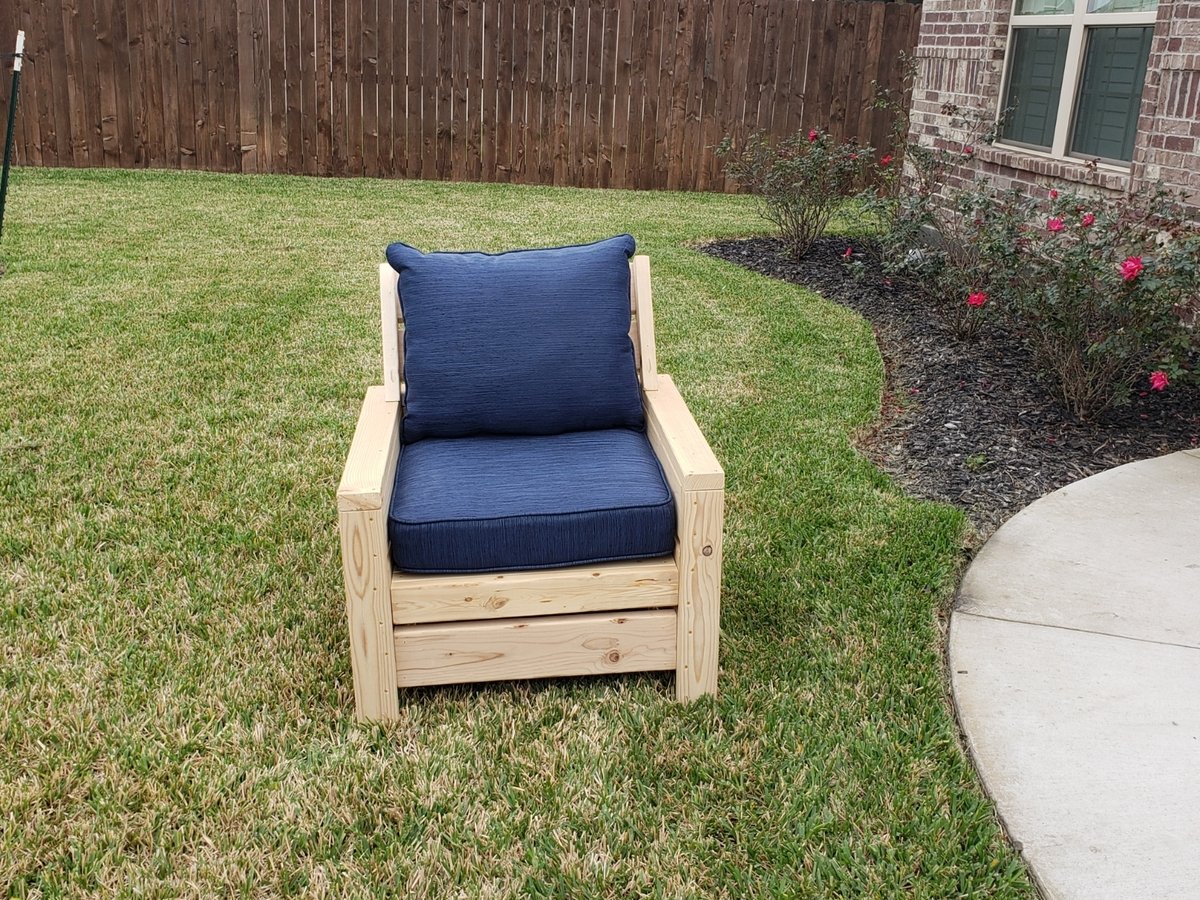

Thu, 07/04/2019 - 12:48
What degree angle is the extended back cut. I can't find any instructions on this?