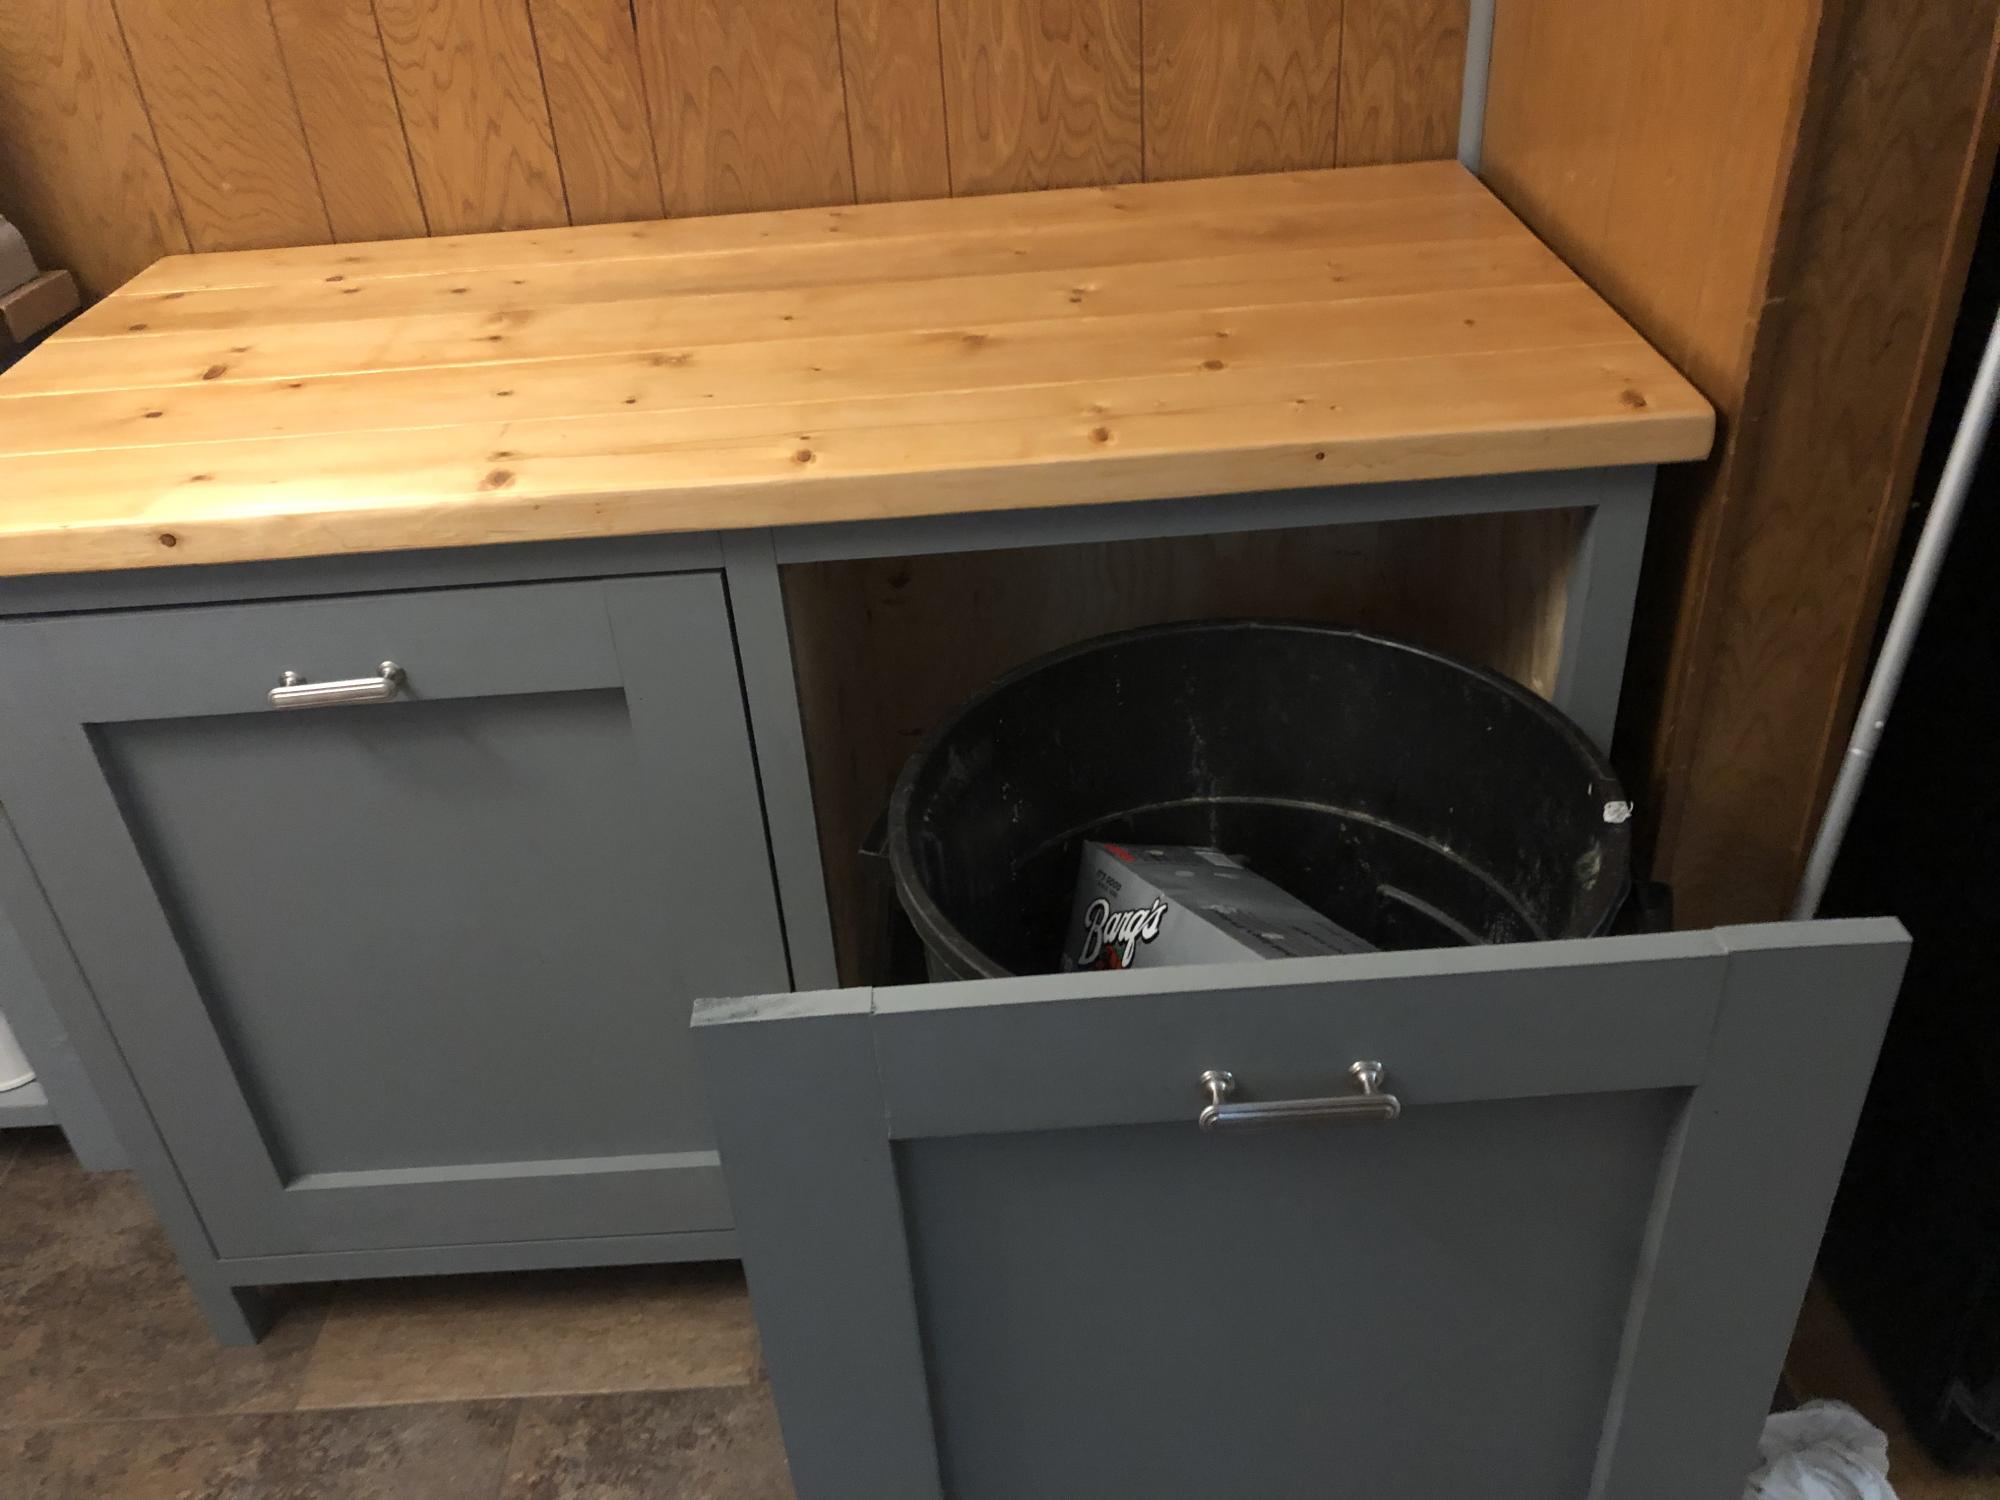
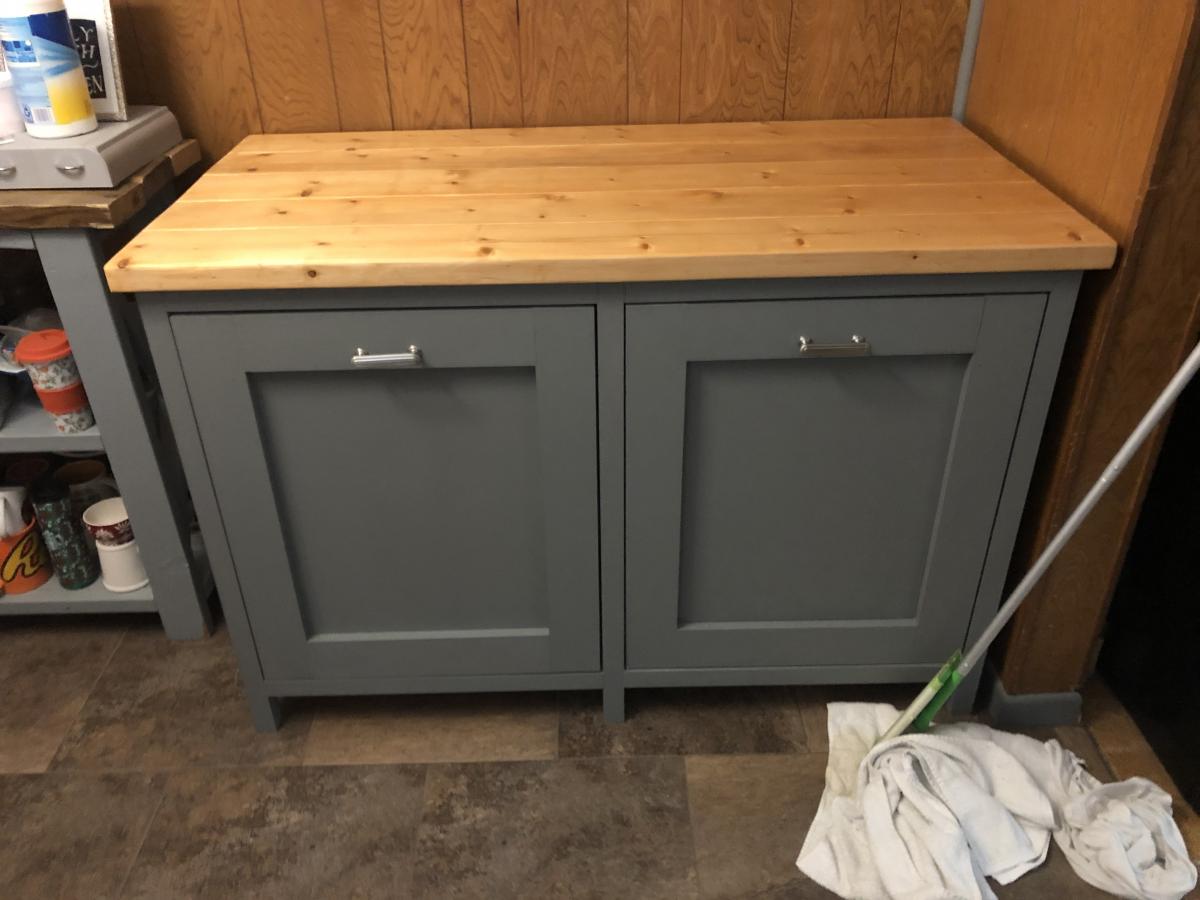
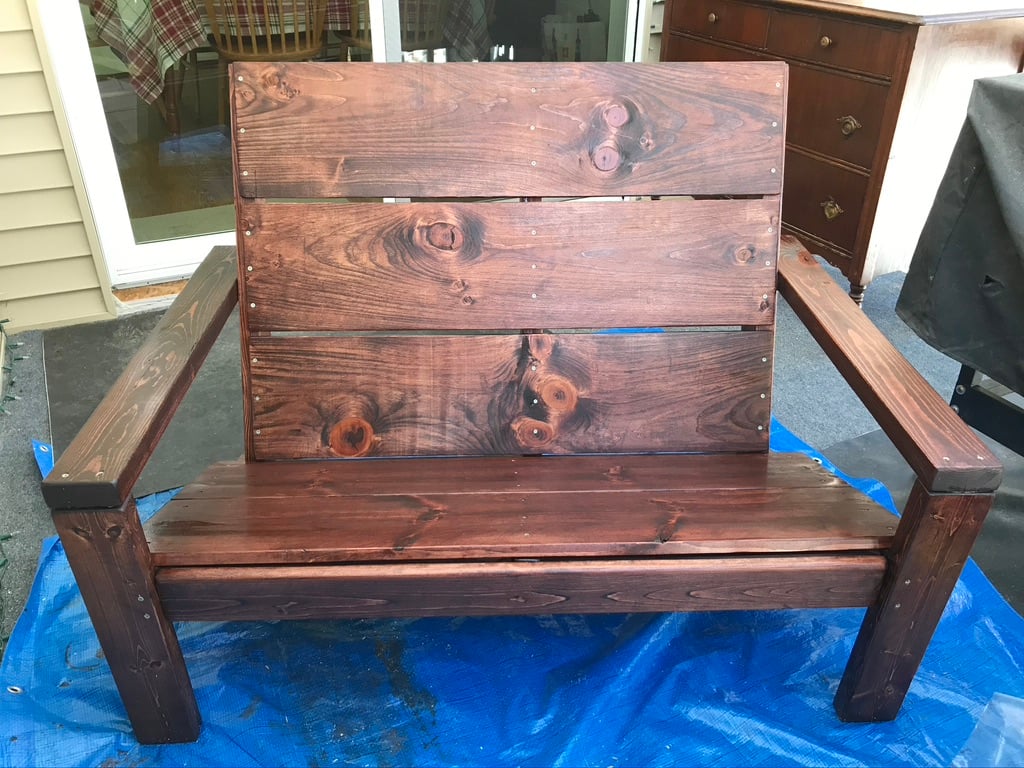
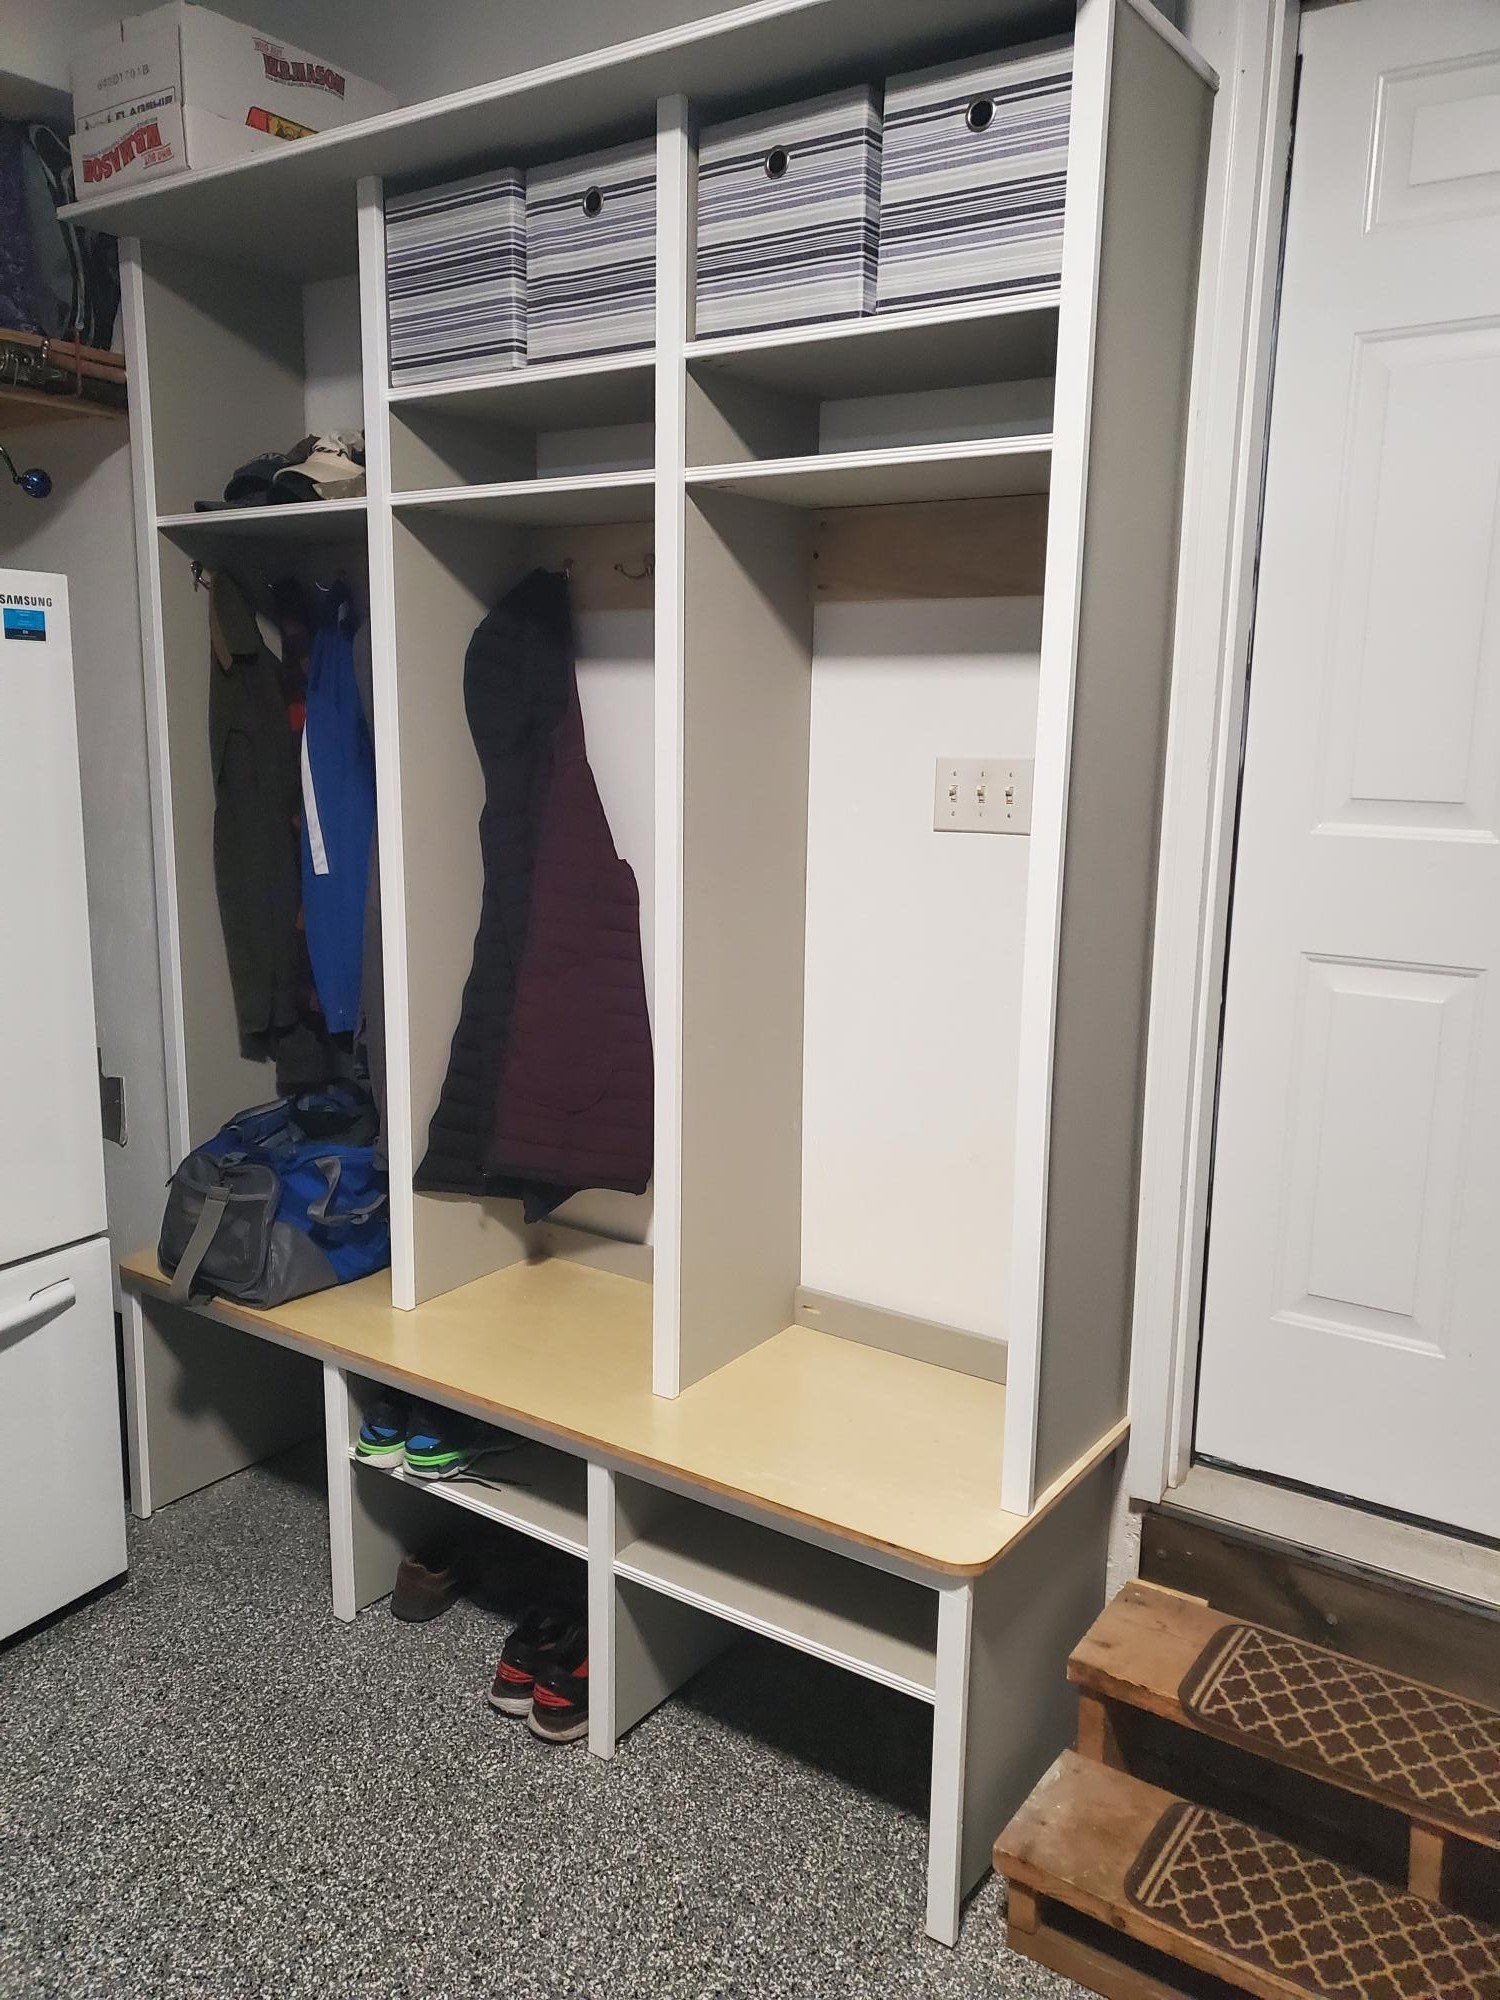
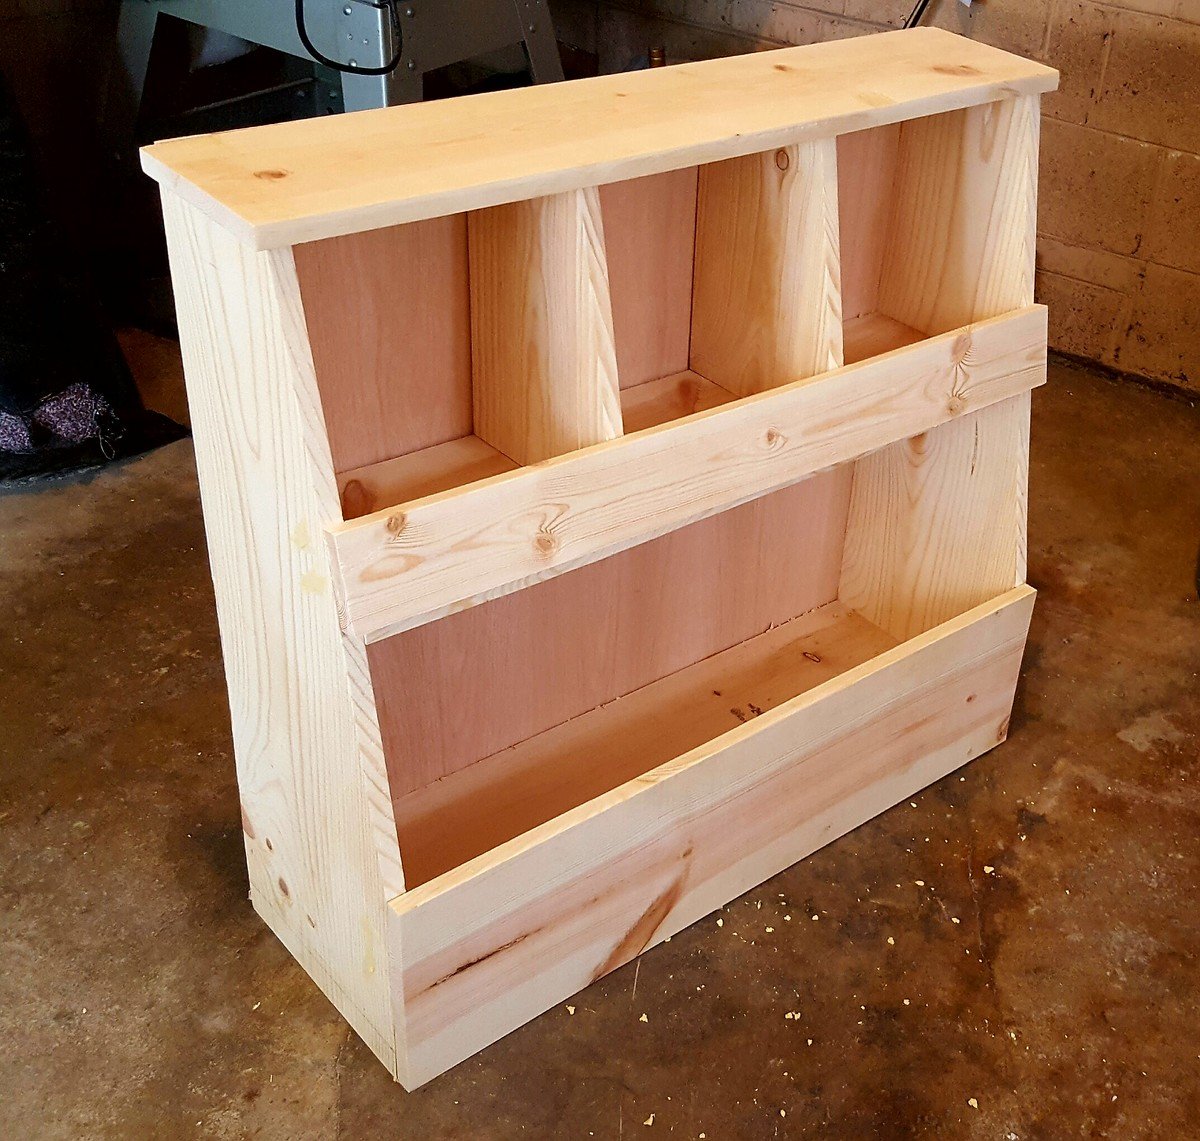
Toy Storage Bin Box with Cubby Shelves
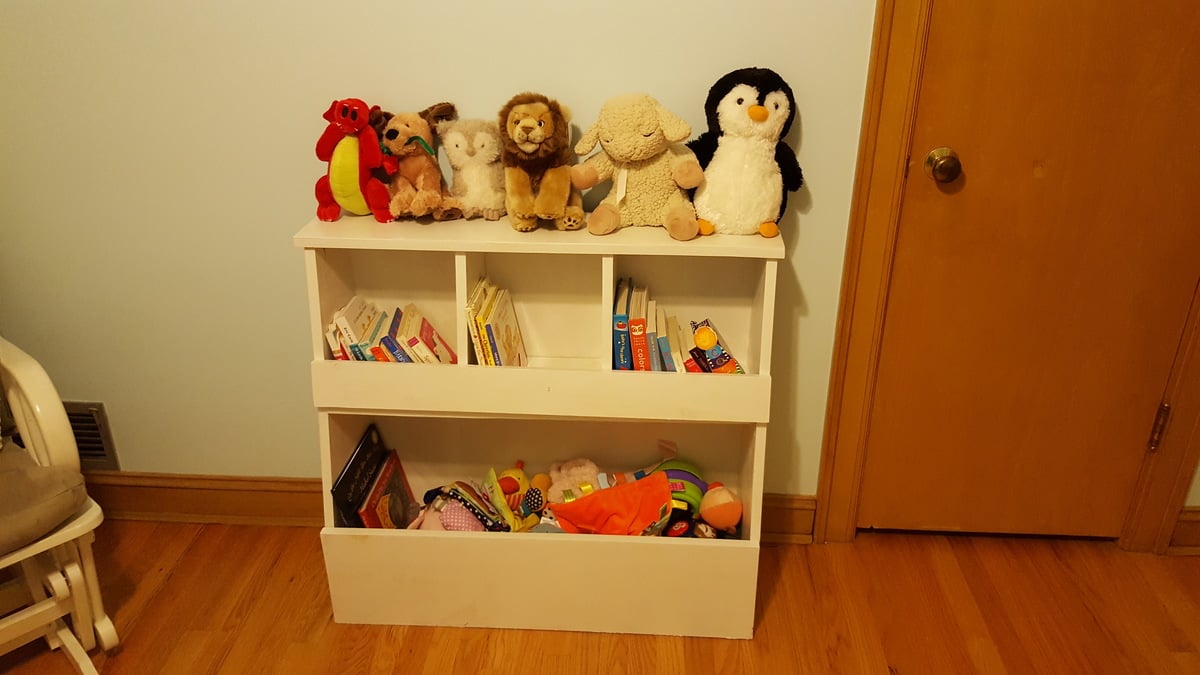
My very first piece of furniture. Same dimensions as Ana's but I used pocket holes instead of nails and glue (excepts for the plywood backing panel).
This was based on the "Small Kitchen Island" Plans but needed to put 2 - 33 Gal Trash cans in. I used Select Square edged Pine. The depth remained the same as the plans but the width changed dramatically (52" wide). I also increased the height to match the other furniture (3' High). I added 4 - 1 X 2's to the top of the cabinet to secure the top.
I made this chair for my 3 year old son who is obsessed with Disney Cars based off of Ana's
Super easy little Adirondack chair plans.
We made some modifications to the greenhouse to include a bench with three levels, a working bench and a square foot garden. We also put it on concrete to keep all the weeds out from the bottom as well.
In the plans of selling our home and move from Indiana to Washington, I visited Ana's website I was able to build this easy, simple attractive outdoor furniture to give a little "Curb Appeal" Besides the couchs, I made a corner table. The cushions are made for chairs and the pillows are cheap pillows with new covers that my wife made. Sad thing about this is I hate to leave. I will just have to make another set some day?
I loved the Rustic Adirondack Chair so much I felt I needed to make a bench in the same style. I had to be a little creative with the chair plans and modify them to make my bench work. I am absolutely thrilled with how it came out! I already have a friend who has requested a chair and bench (love seat) for his son's wedding gift!
Mon, 08/16/2021 - 10:51
Can someone tell me the dimensions of the wood (1x10) for the bench and the dimensions for the frame (2x4)
Please
Thank you
Fri, 08/20/2021 - 16:37
You can make the 1x10 in any length you want. I’m planning on making a loveseat too and The measurements I chose for the seating area will be 48” long (which is the size for 2 seat cushions).
The Step 1 in Ana’s plan, all measurements will be the same.
Step 2: The two 2x4 horizontal supports will be cut at 48”.
Step 3: the two 1x10 seat panels will be 3 inches longer than the horizontal supports. So you will cut the 1x10 seat panels at 51”.
Step 4: Instead of two, you will need THREE seat supports. So cut three 2x4’s @ 32 3/4”. The third seat support will go in the middle of the other seat supports, drilled to the horizontal back support.
Step 5: Attach your back bottom horizontal support which will be a 2x4 at 48”.
Step 6: Attach the 1x10 seat back panels. You will cut (3) 1x10 @ 48”.
Here is the cut list for the loveseat version of Ana’s Adirondack plan. These are the lengths I chose. So with this cut list your loveseat should be big enough for two 24x24” seat cushions. I plan to add cushions for extra comfort.
My cut list:
(2) 2x4 @ 31 3/4”
(2) 2x4 @ 19 1/2”
(2) 2x4 @ 33 1/4” Cut at 20 degrees as per Ana’s plan.
(3) 2x4 @ 48” Horizontal supports. One goes behind your calves.
The other connects the end frames/arm rests at the back.
(2) 1x10 @ 51” Seat panels.
(3) 2x4 @ 32 3/4” Vertical supports for the back panels.
(3) 1x10 @ 48” The back panels.
Fri, 08/20/2021 - 17:32
P.S.
You will also need an extra support attached underneath the seat panels in the middle for extra support and keep the long seat panels from bowing.
Very straightforward, but extremely functional
We made this sewing/craft table by combining plans from the modular office. It was a big job but SO worth it! We love your plans and use them all the time!
Submitted by Candace Ann Williams
I saw the Ana White Farmhouse king bed and used it as inspiration. I made a few modifications and adjusted the measurements to fit a queen bed.
Thanks for the inspiration!
These are great chairs! Easy to build, comfy to sit in. Check out my blog post for more info.
Mon, 06/24/2013 - 10:59
Beautiful chairs Hillary!!!! I love the green!!!
Thanks so much for building and bragging!
Ana
Fri, 06/28/2013 - 15:58
I'll be making four of these this week in turquoise to match the little ones I made for the kids. Yours is an inspiration!
Sun, 05/10/2015 - 05:17
Are these kid size or adult, and where are the plans for them....
thanks bunches,
Debbie.
king sized headboard. Various wood. Finished in a weekend. First project!
I had two large pictures I no longer liked. I took scrap pieces of 1x3 and 1x2's and created a frame, after covering the inside with burlap. I thin took and blew up photos into black and white, mod podged them to the center frame, and added stained L molding. the cost $15.00 each frame to update two old pictures that would have been given to goodwill or trashed.
Tue, 07/09/2013 - 11:04
I love this, especially that touch of burlap matting. Moreover, I love that you reinvented something you owned to make it amazing.
Thanks for the inspiration to add great storage to my garage.
Just downsized into a much smaller house after 20 years and I lost my mudroom area.
This mudroom/garage locker bench and hutch is a great looking unit!
Looking forward to seeing more on your site.
Thank you!
Mike
Thanks for this design. I've used it and adapted it for my very hot weather location. http://imgur.com/a/dsVlc#18
I am using film instead of plastic sheets, which reduces the price and allows for easy swapping to shade cloth.
Hi friends!
Jen here from Jenwoodhouse.com, sharing some exciting, free plans! How adorable is this Easy Kids Indoor Playhouse?
Is that not the most adorable thing you ever did see?
The tongue-and-groove planks!
The transom window!
The flower box!
Seriously. I can’t even. I am dying over here.
Your kids will love it. OR maybe just build yourself an adult sized one for when you need some me-time. No judgements here!
If you want more details for this build, you can grab them on JenWoodhouse.com!
Be sure to tag me @jenwoodhouse if you share photos of your build on social media.
Build this greenhouse using your plans, by myself over 2 weekends. Turned out great!
Fri, 05/06/2022 - 07:40
Wow, this looks so good, love the color combo! Great work, thank you for sharing:)
After building a large planter from Ana's plans and my salvaged fence wood I thought 2 smaller planters for the entrance to our kitchen garden would be nice. The complete instructions are on my blog, Let's Face the Music. Jo
I used Ana's plans to build floating shelves and the ledge shelves for my nursery.
Sun, 07/24/2011 - 09:03
It looks great! Also, where did you find the vintage reading week posters? I'd LOVE to know! Thanks!
Tue, 07/26/2011 - 08:10
What a beautiful nursery!! Nice job on the shelves!
Our daughter asked for a kitchen island so my first stop was Ana's website to see what plans I could find. I built the base while my husband was out of town one week. This was a zero trip to Lowe's project as I raided our wood rack and scrap bins. My husband came home and built the countertop.
Mon, 09/19/2011 - 20:48
I have to say I'm so jealous. Absolutely beautiful! Words can't even say. Great job!
Tue, 11/01/2011 - 09:10
How did you build the butcher block top? Any recommendations, additional resources or anyting?
"I built these from @anawhitediy plans online. Love how they came out. Super cute style too. I've been selling them online to support my DIY habit." Monica
After looking at some terribly overpriced particle board vanities, I found the lovely Rustic Farmhouse Double Bath Vanity plans and decided to go for it. I think this vanity turned out much better than anything I could have bought with the same amount of money, and it will last much longer too!! Thanks Ana!!
Thu, 05/04/2023 - 10:26
Absolutely stunning, thank you for sharing your beautiful createion!