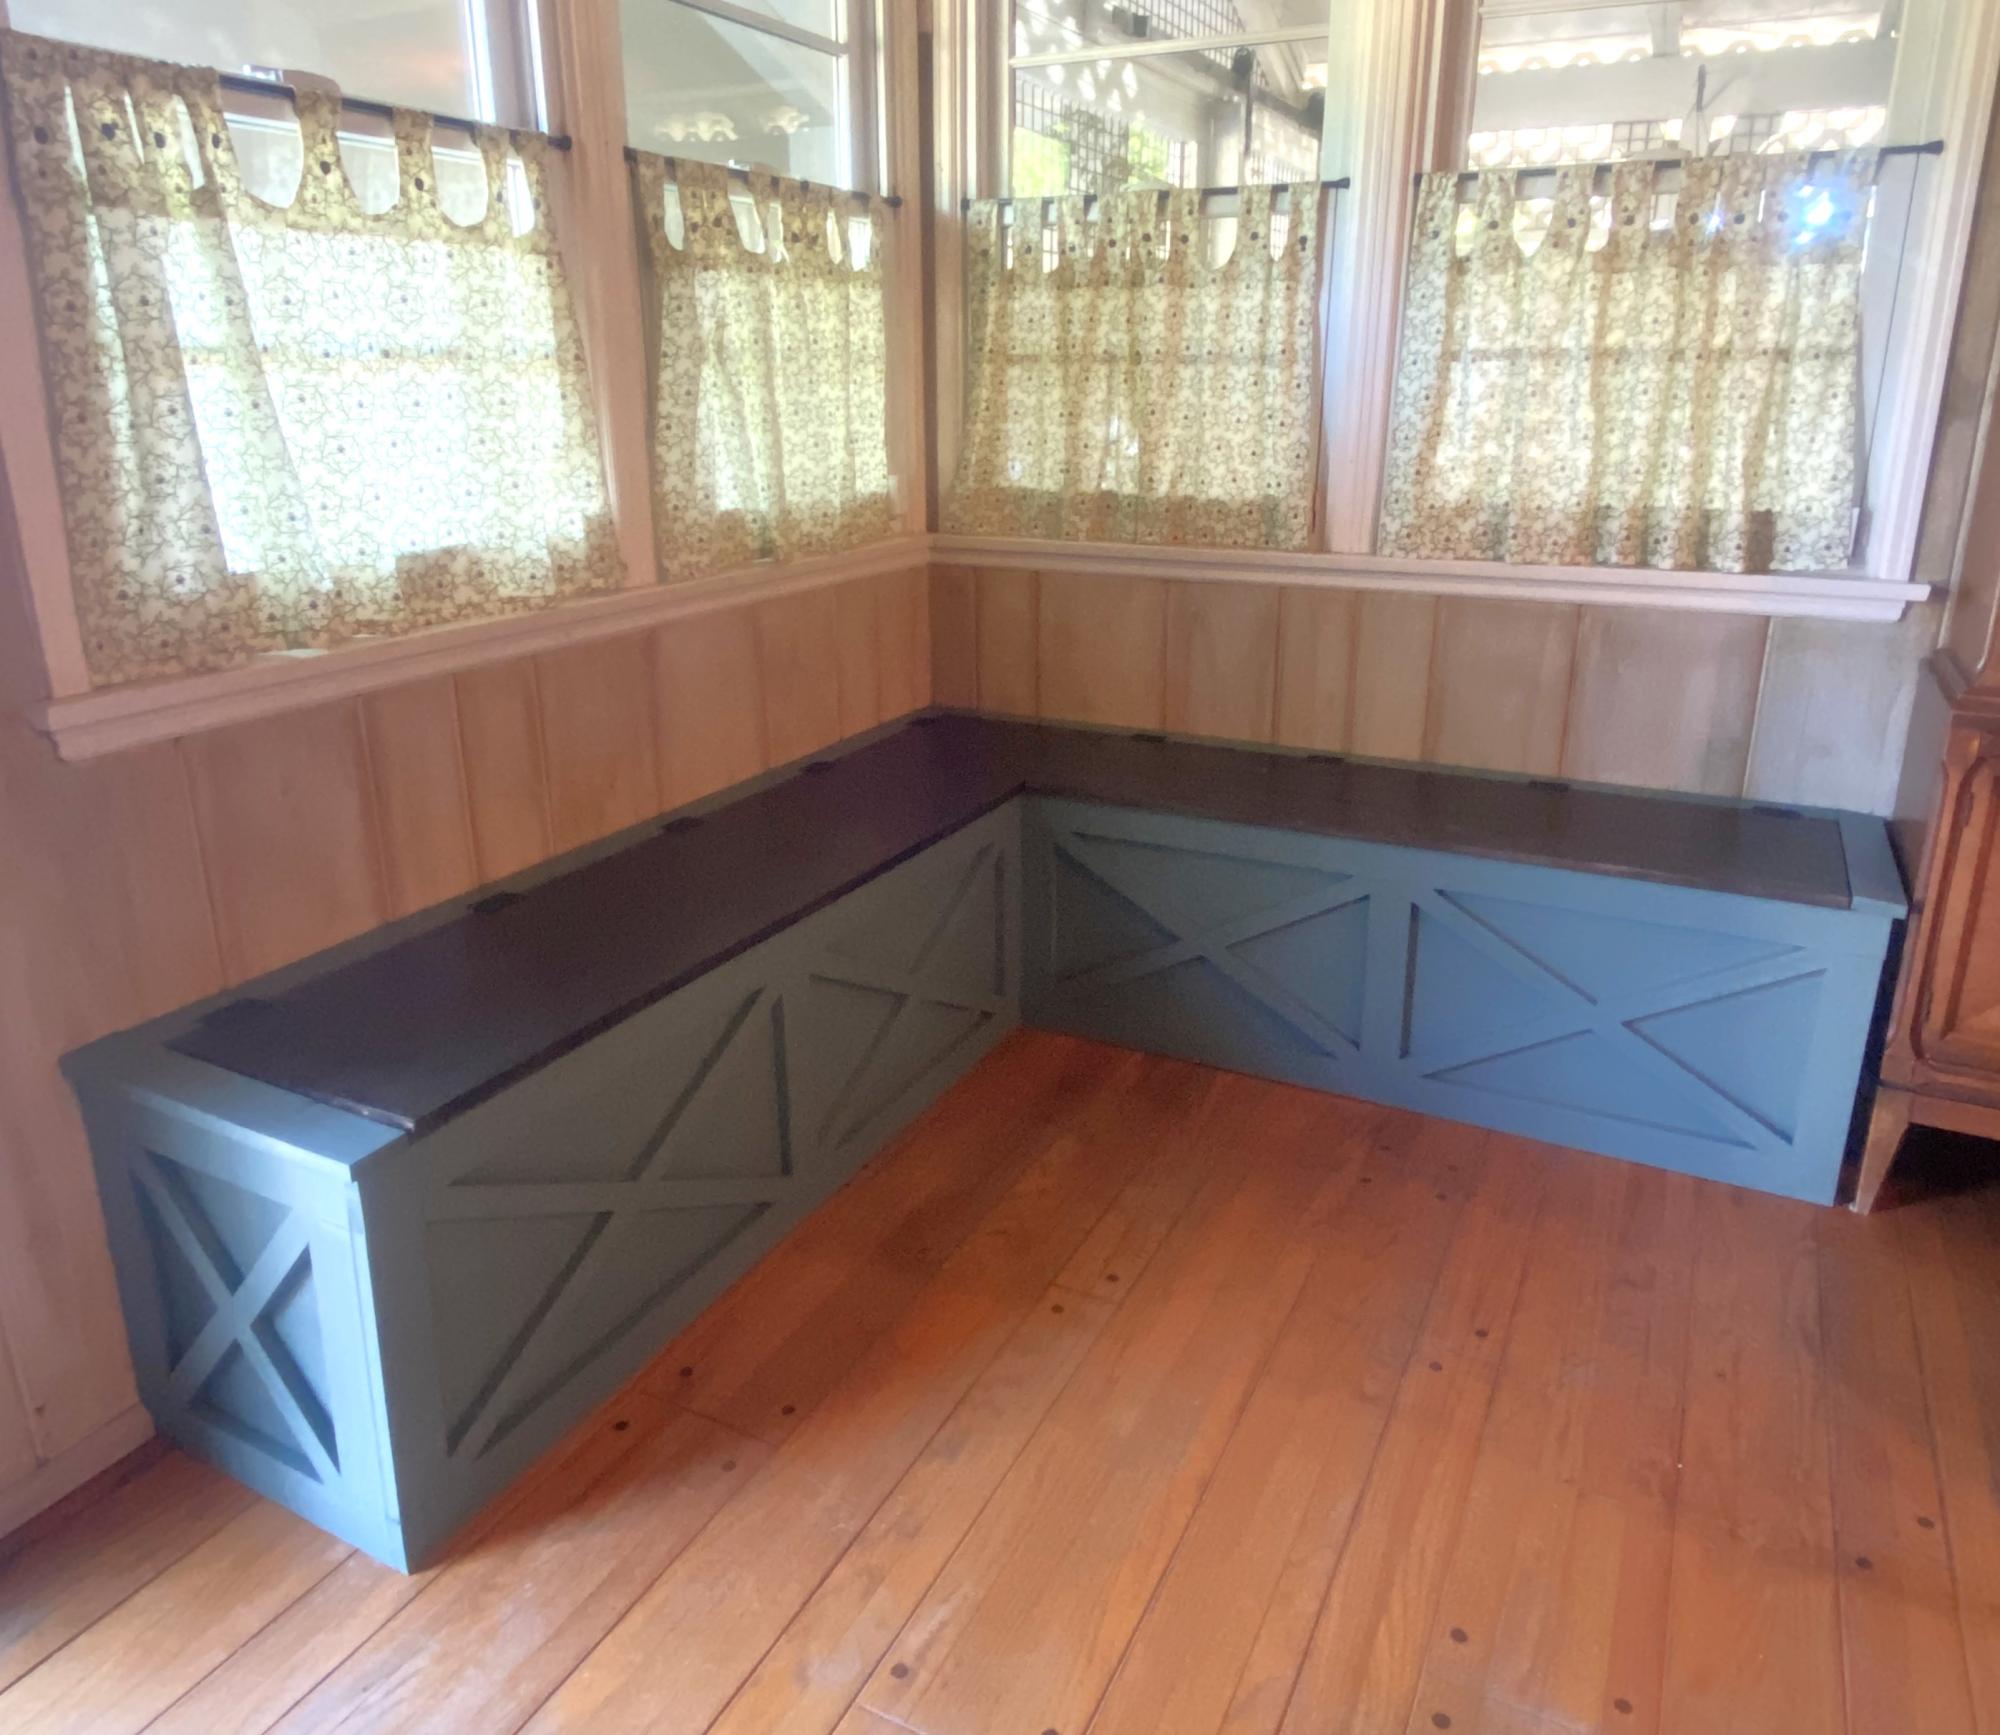
Corner cabinet
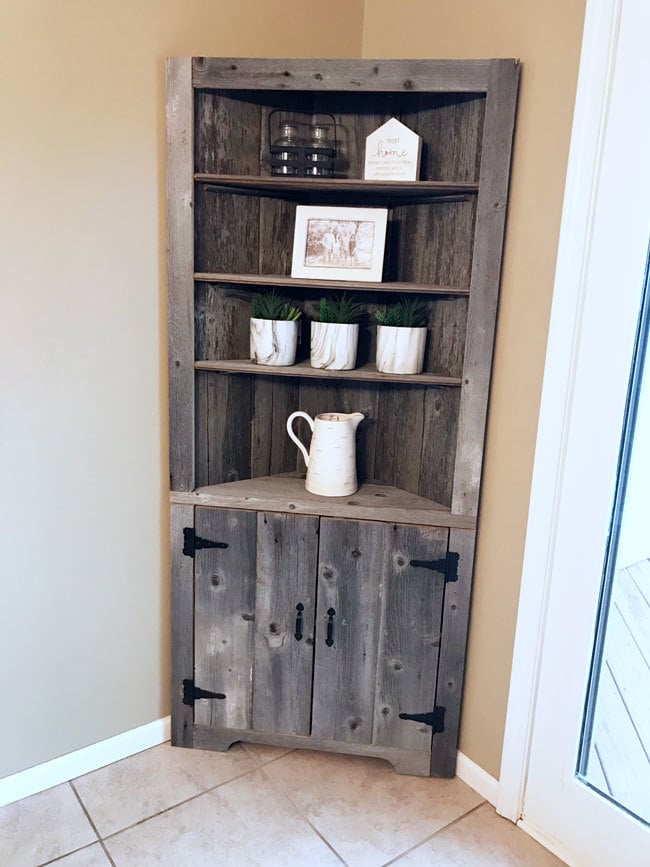
Went to a local farmer, who had a barn falling down and asked if I could get some wood. He allowed me to take a few pieces and turned it into a corner cabinet for my wifeWent to a local farmer, who had a barn falling down and asked if I could get some wood. He allowed me to take a few pieces and turned it into a corner cabinet for my wife
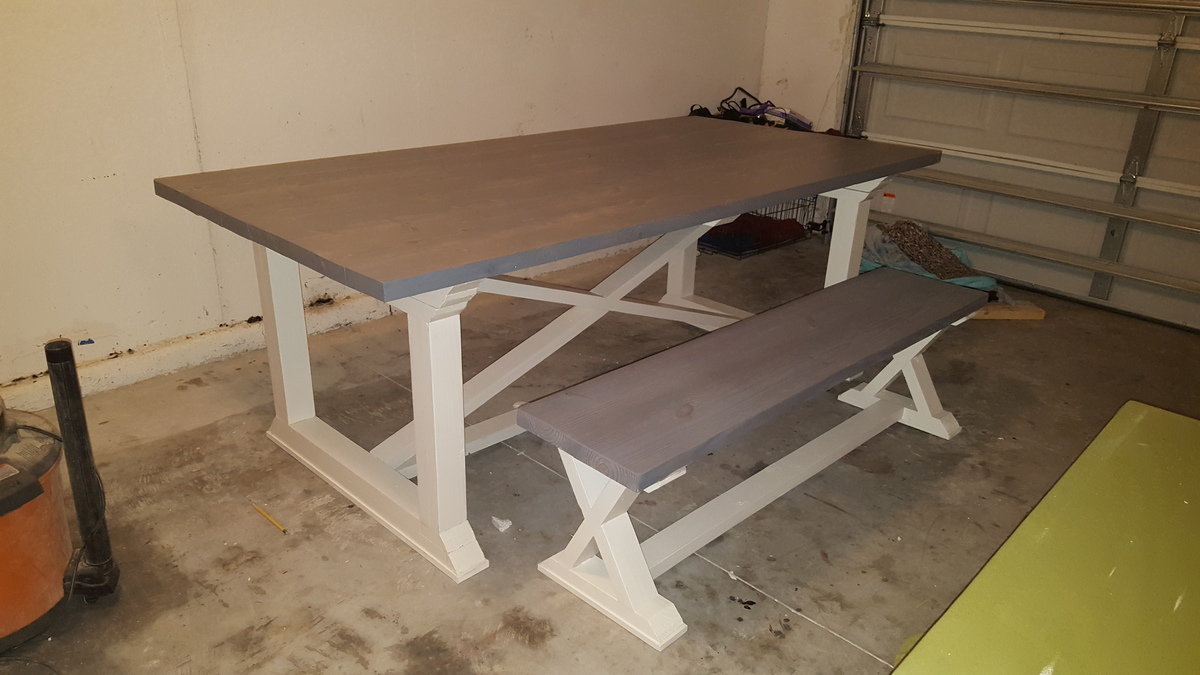
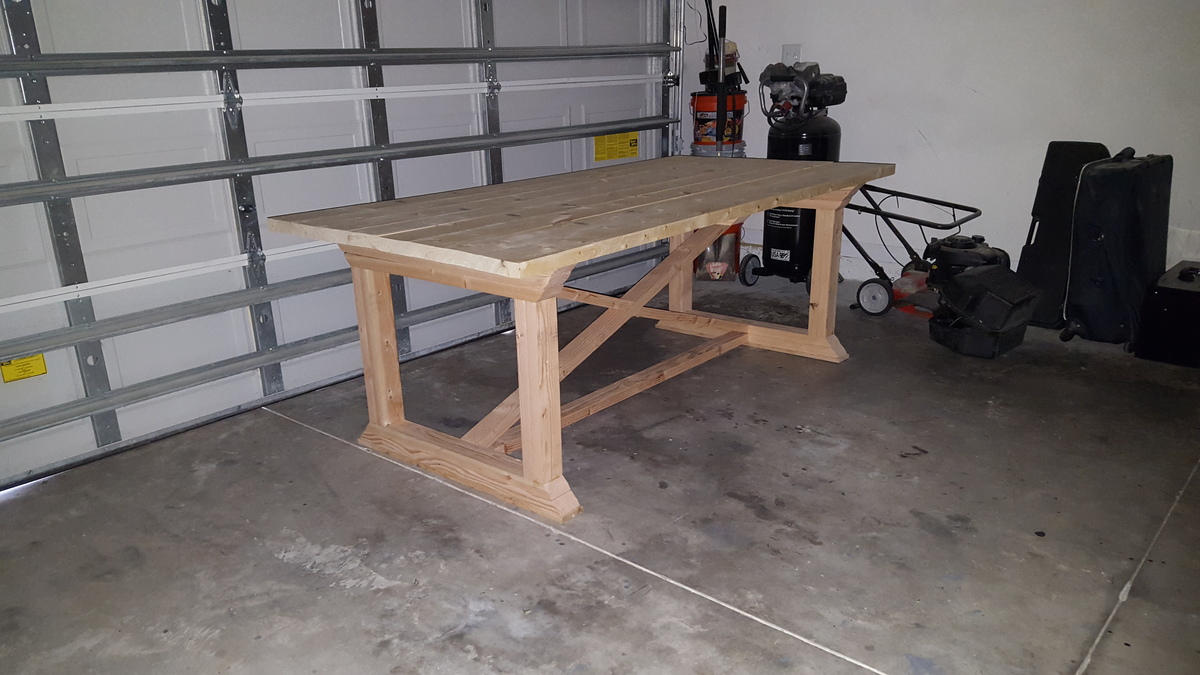
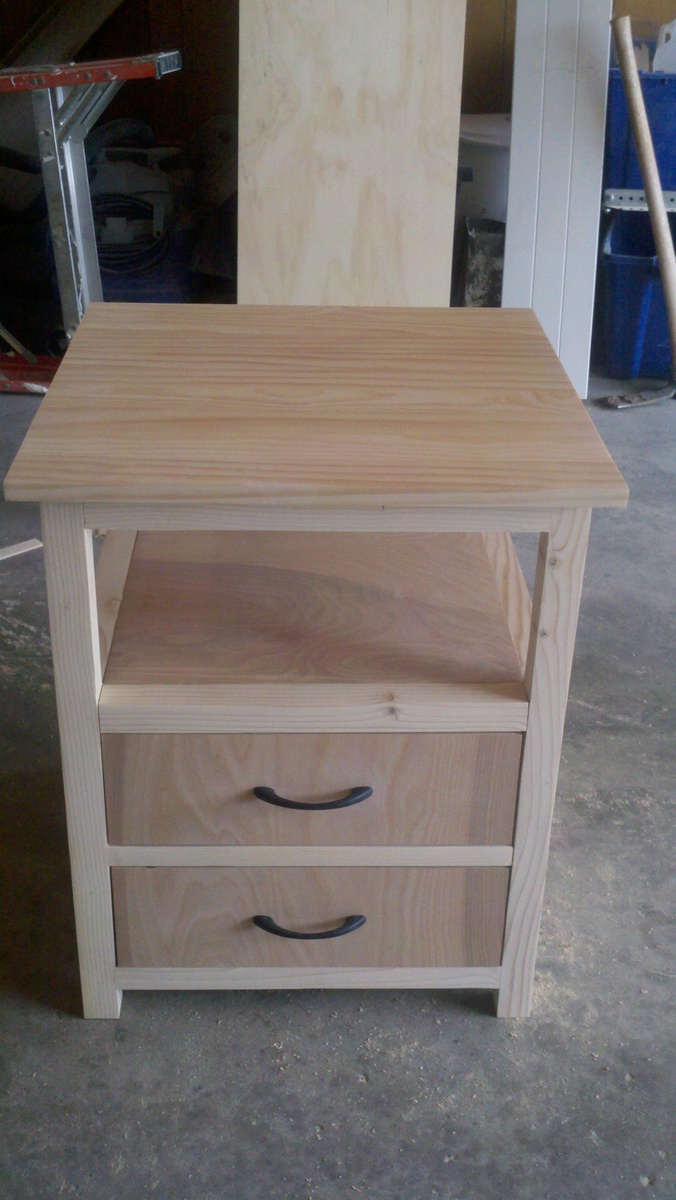
Built from Plan(s)
Estimated Time Investment
Day Project (6-9 Hours)
Recommended Skill Level
Beginner