Community Brag Posts

DIY Rustic Bathroom Vanity

I really like vessel sink vanities, so I did some research and found a couple of DIY projects I liked on Pinterest. I showed them to my husband and after telling him that I wanted a hybrid of about 3 vanities I liked he came up with the vanity that we (we as in he) built :)

Estimated Cost
Roughly $100 for the wood.
Estimated Time Investment
Weekend Project (10-20 Hours)
Finish Used
Stained and varnished
Recommended Skill Level
Intermediate

Farmhouse Table/Bench and Floating Shelves

Submitted by Al_on_Rose on Mon, 12/14/2020 - 14:09

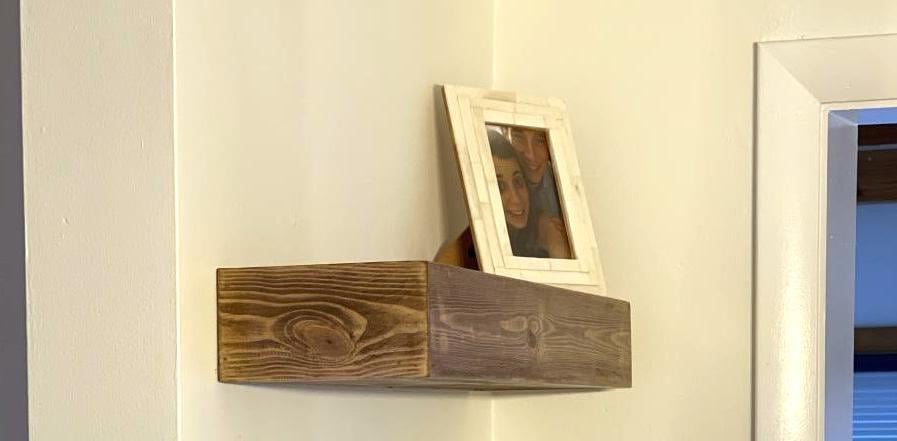
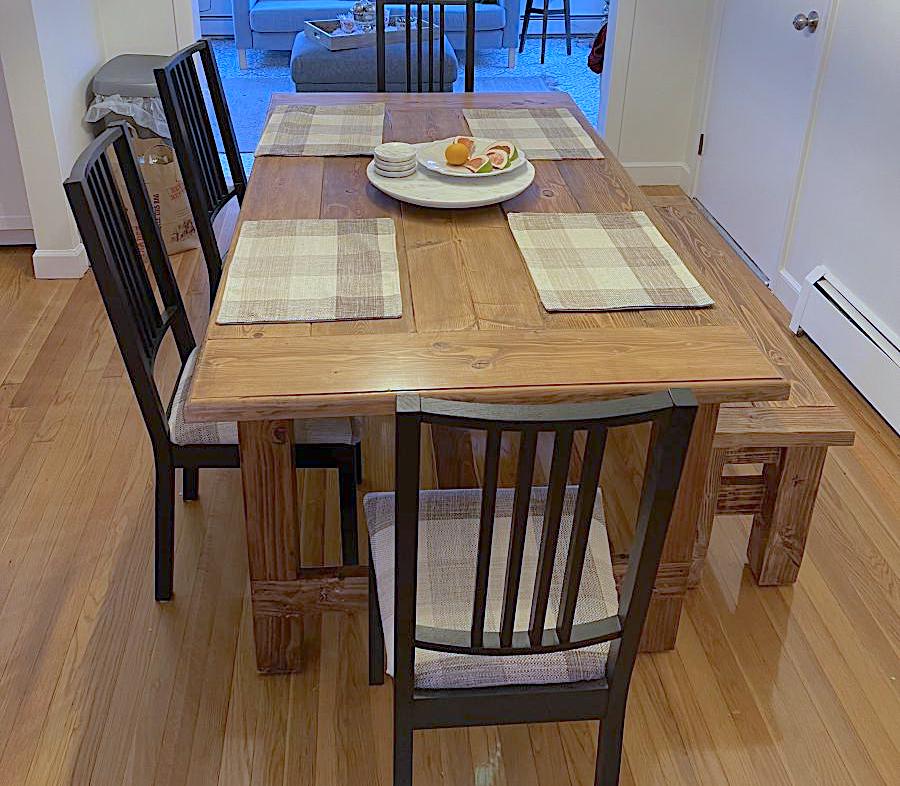
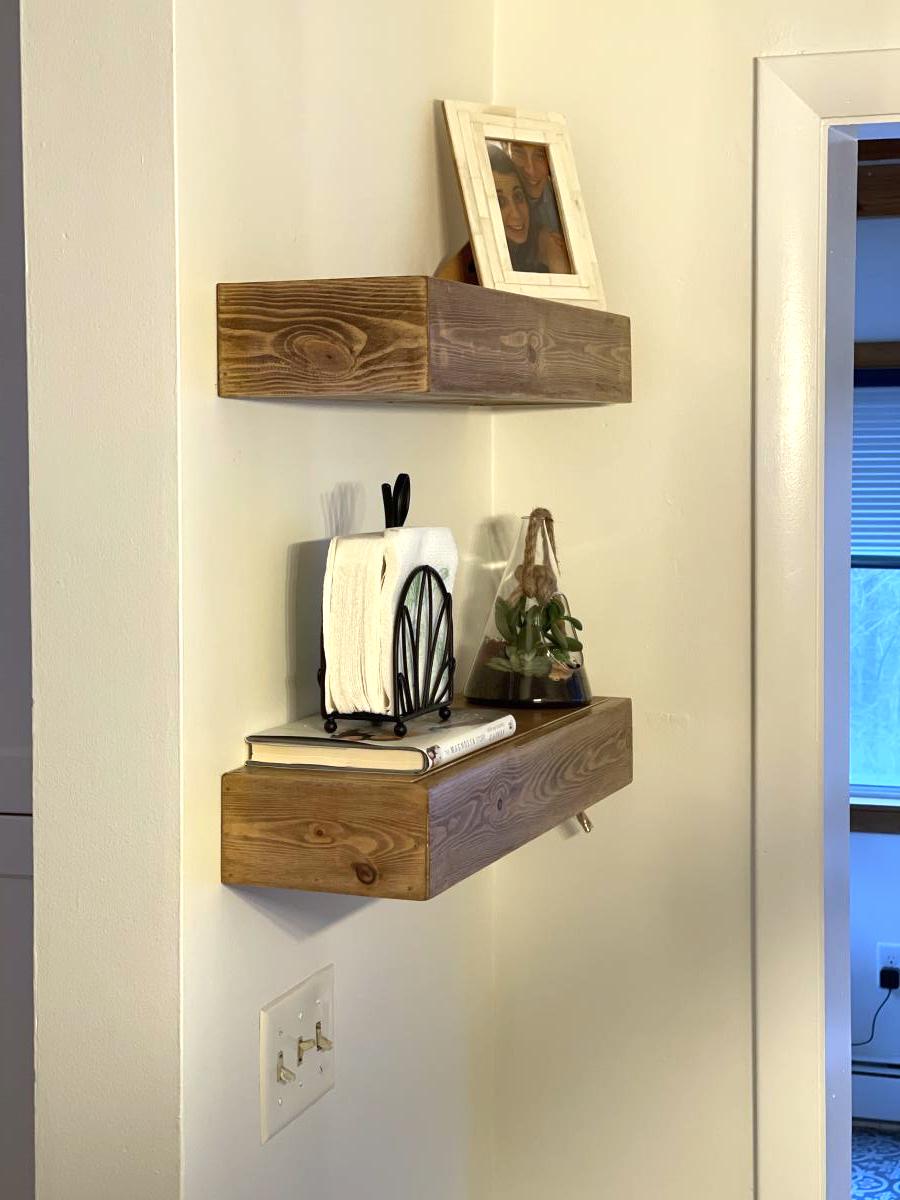
My daughter wanted to create the Farmhouse look for her New England home. Had so much fun building the Table, Bench and Floating shelves. The Plans were perfect, and of course customizable (she wanted it a little shorter). My next project is a real workbench for my garage. I think the only issue is the New Jersey winters.

Estimated Cost
$250
Estimated Time Investment
Weekend Project (10-20 Hours)
Finish Used
Early American Stain
Recommended Skill Level
Intermediate

Comments

My very first wood project- 6 foot farmhouse desk with modifications

Submitted by Thersha on Sun, 01/03/2021 - 15:48

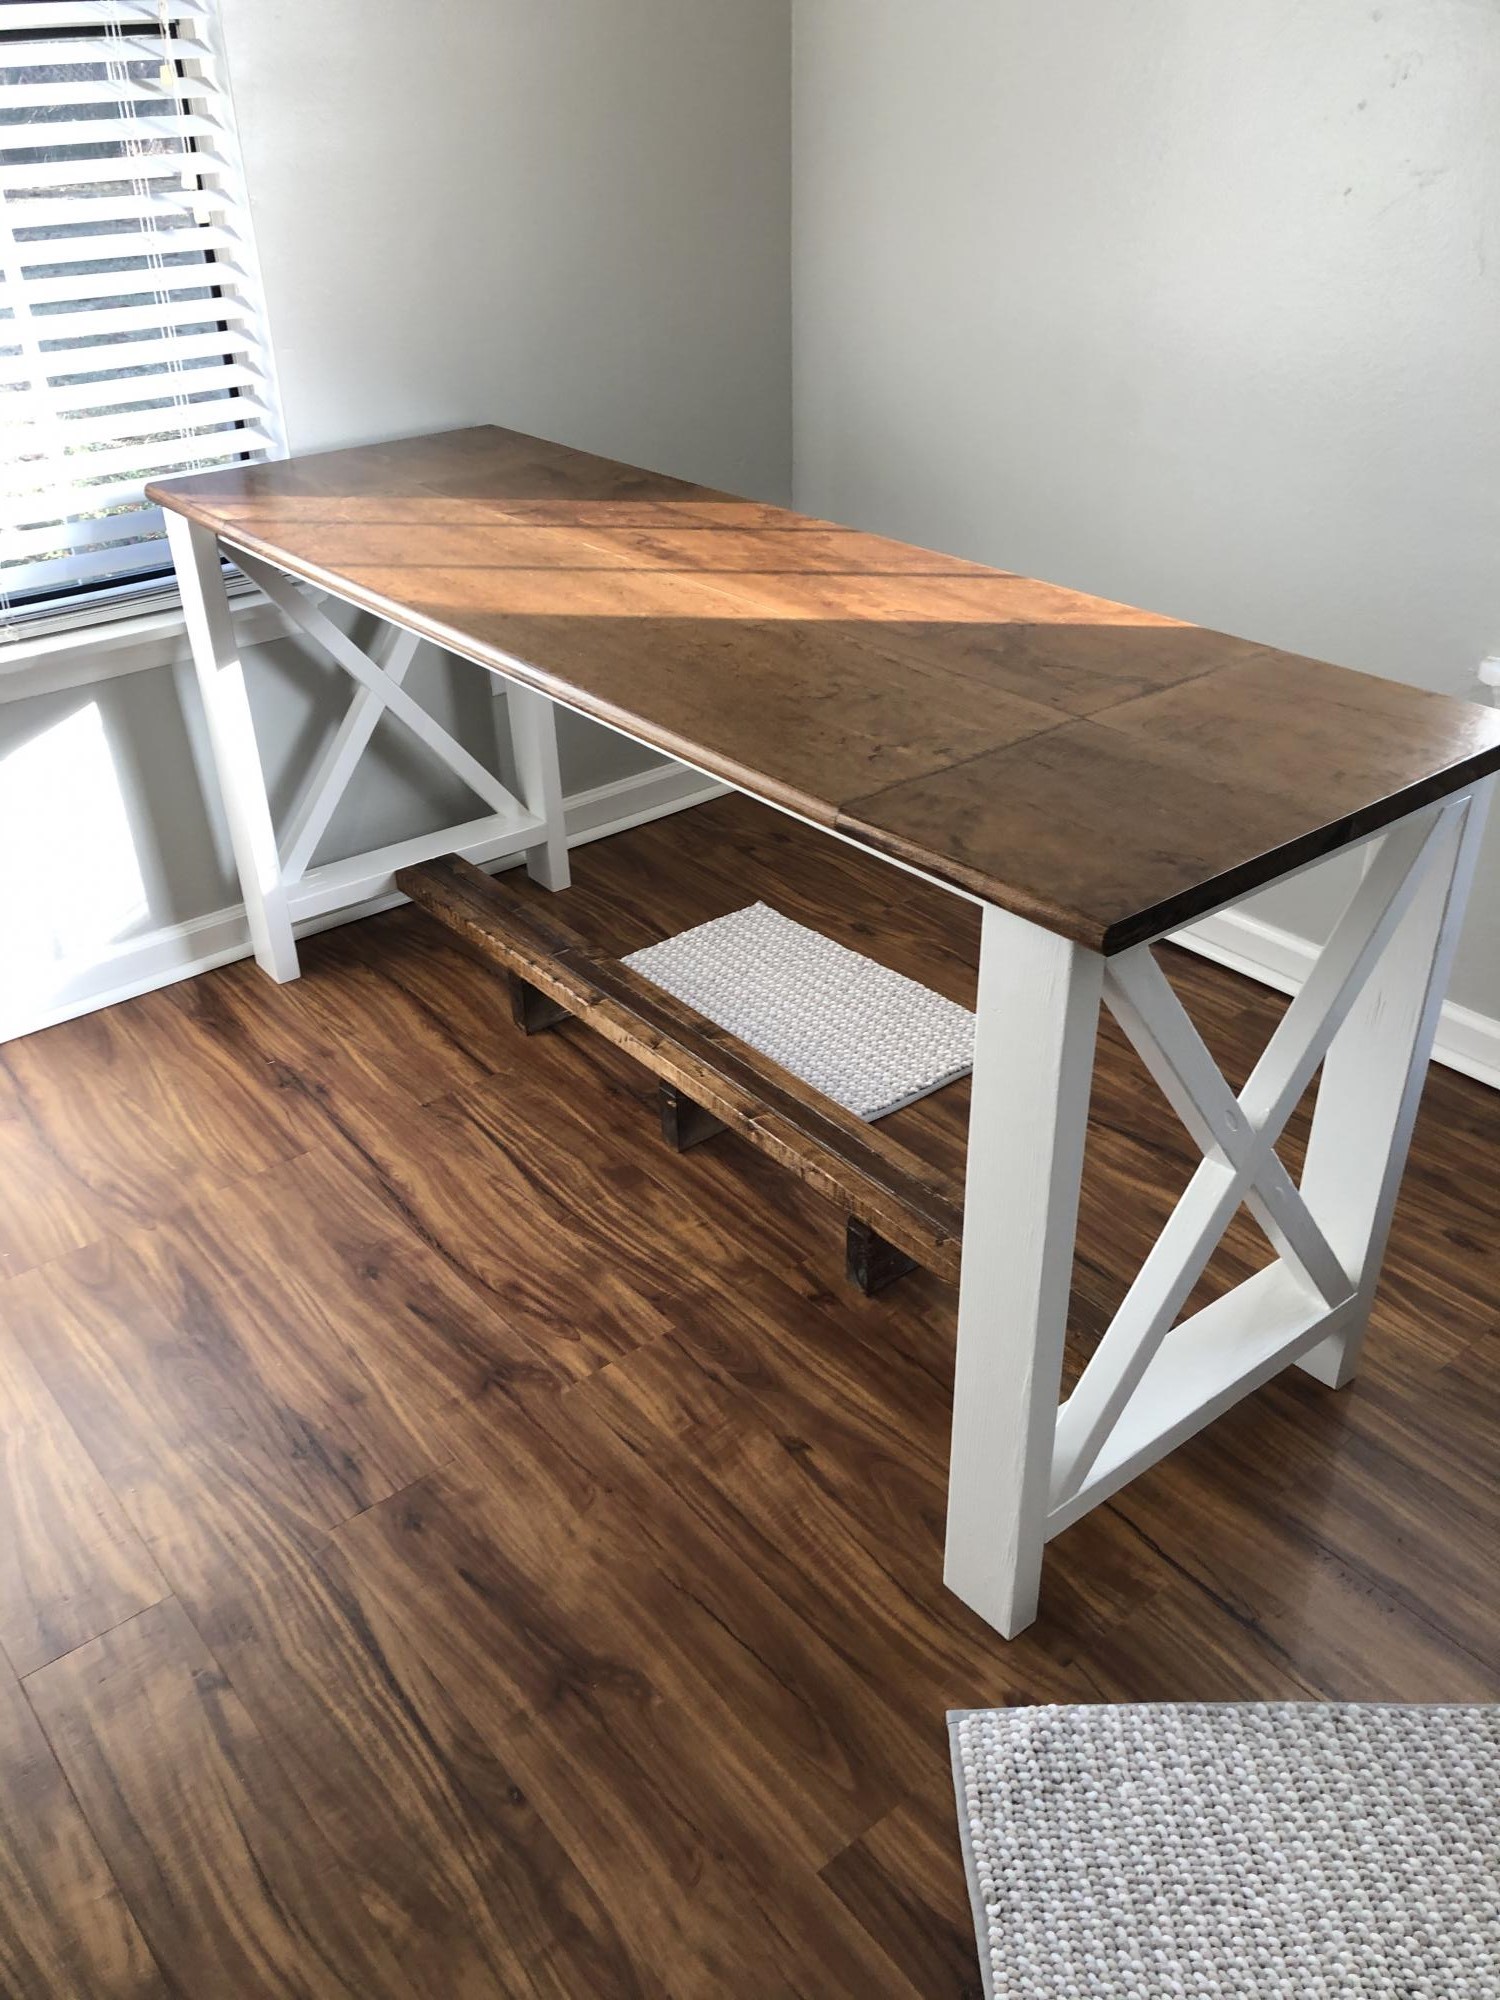
I needed a 6 foot desk, but could not find one online that I liked that was within my budget.. I decided to make this desk and modified it to a 6 foot with a foot rest in the middle so I can have both sides functional and have a spot to put my feet up... I also added 8 shaped fasteners to attach the top to the base.. I was so inexperienced when I started this project that I had to watch videos on how to use a drill and the pocket hole jig...So if I can do this, anyone can, Thanks Ana for inspiring me!! I am on fire to do so many more... !! I need so much more tools now!!!

Estimated Time Investment
Week Long Project (20 Hours or More)
Finish Used
Used American stain by MinWax
Recommended Skill Level
Starter Project

Comments

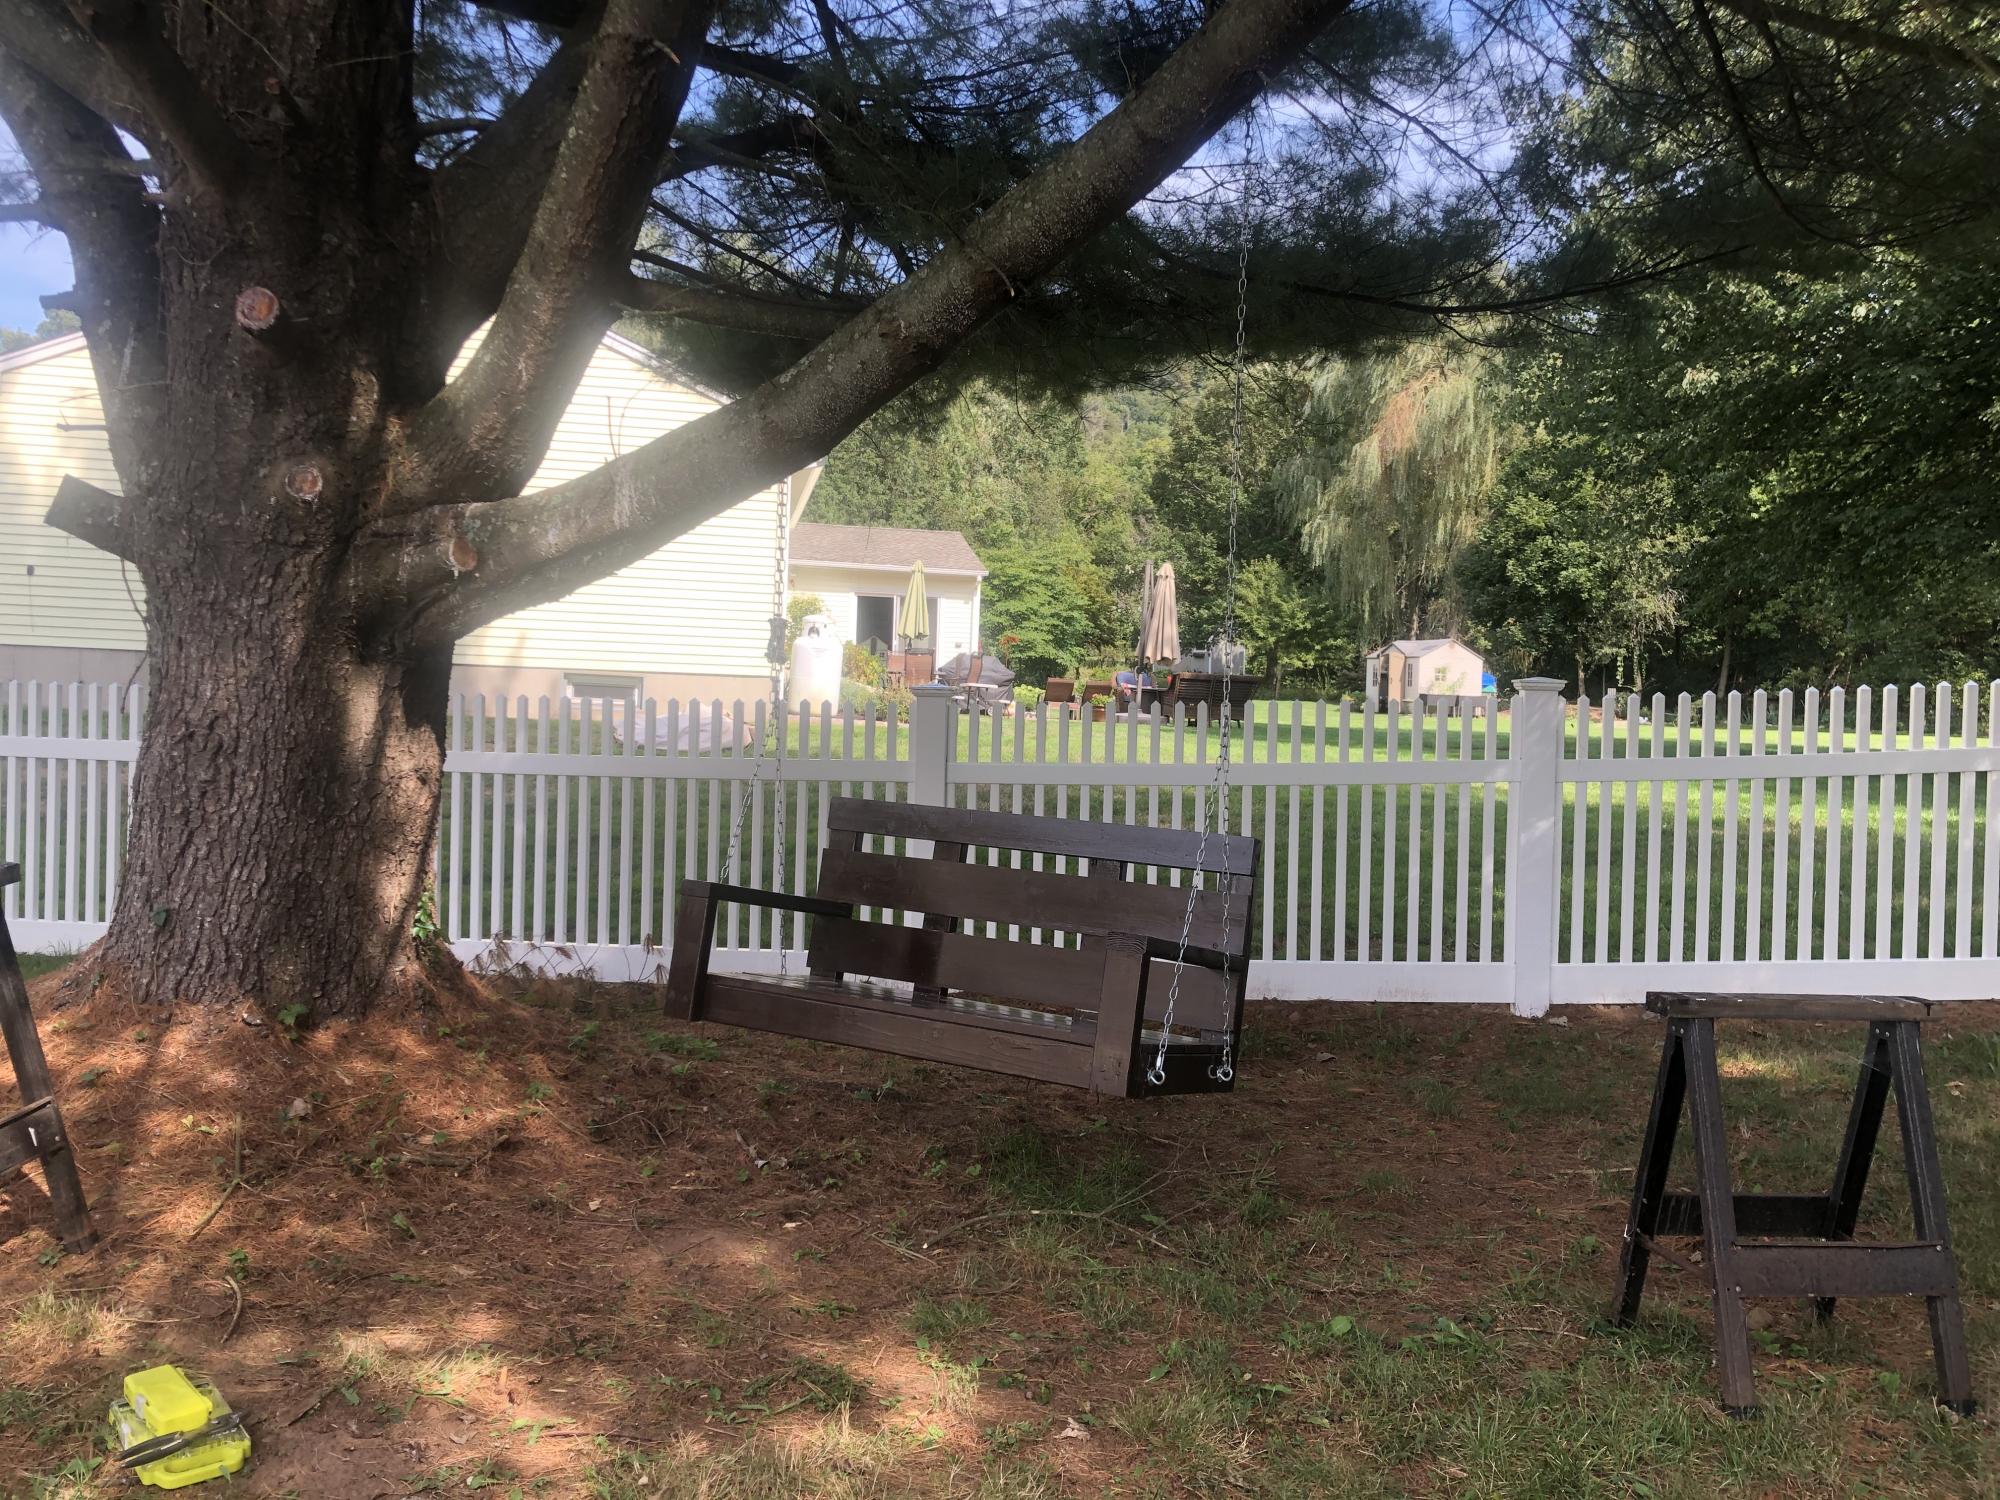
Simple Tree/Porch Swing

Submitted by jburke3424 on Sat, 01/30/2021 - 17:53

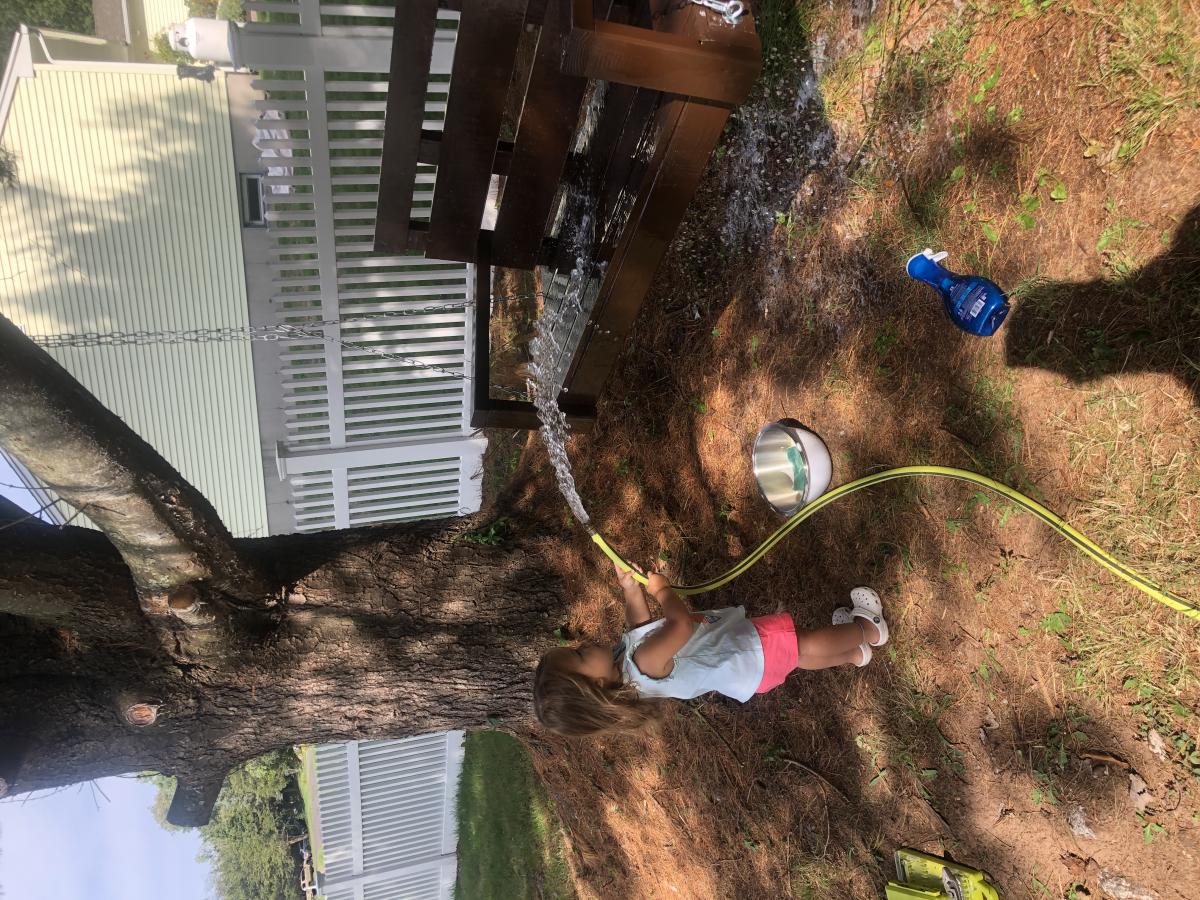
Awesome Tree Swing built in about an hour! Super easy plans to follow. Two quotes of Stain and Three coats of exterior Poly!

Built from Plan(s)
Estimated Cost
$75
Estimated Time Investment
An Hour or Two (0-2 Hours)
Finish Used
Minwax stain and exterior poly.
Recommended Skill Level
Beginner

Comments

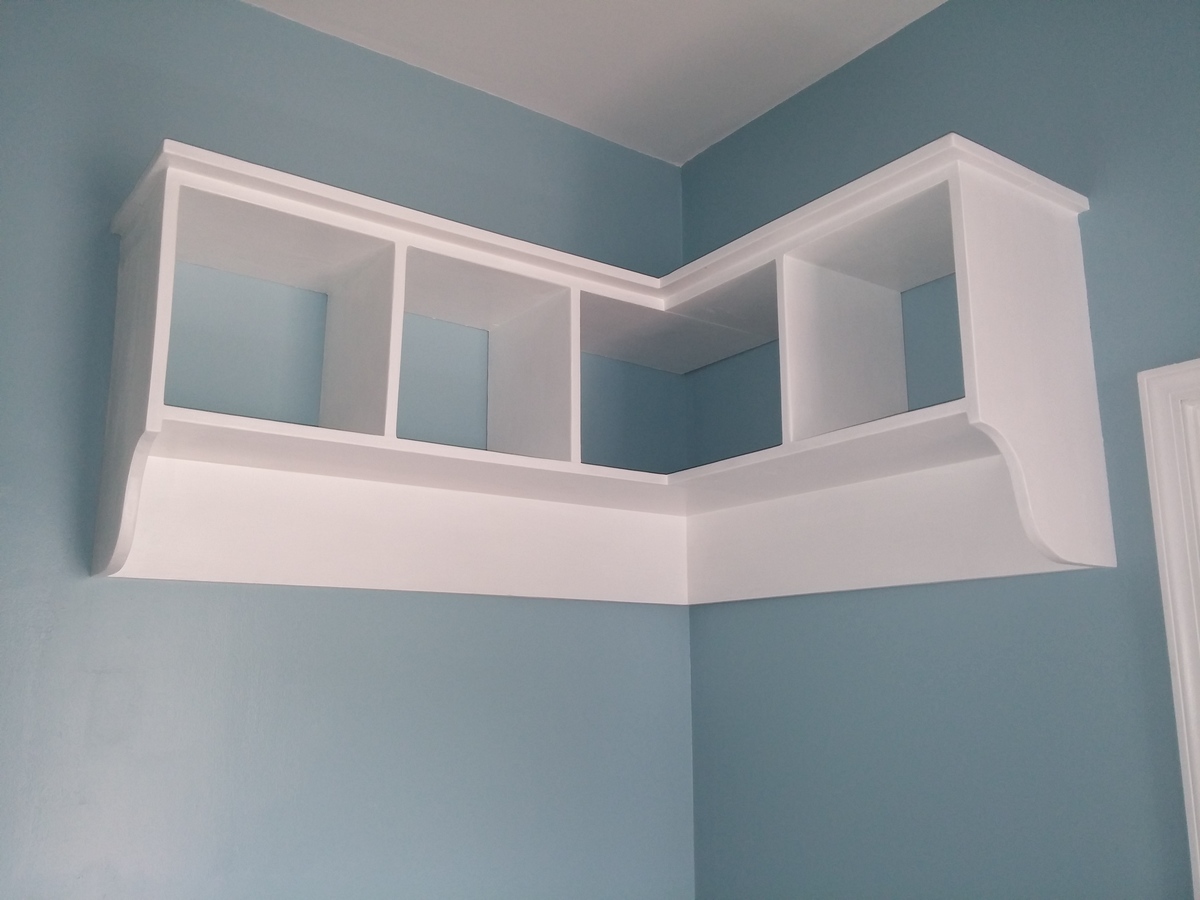
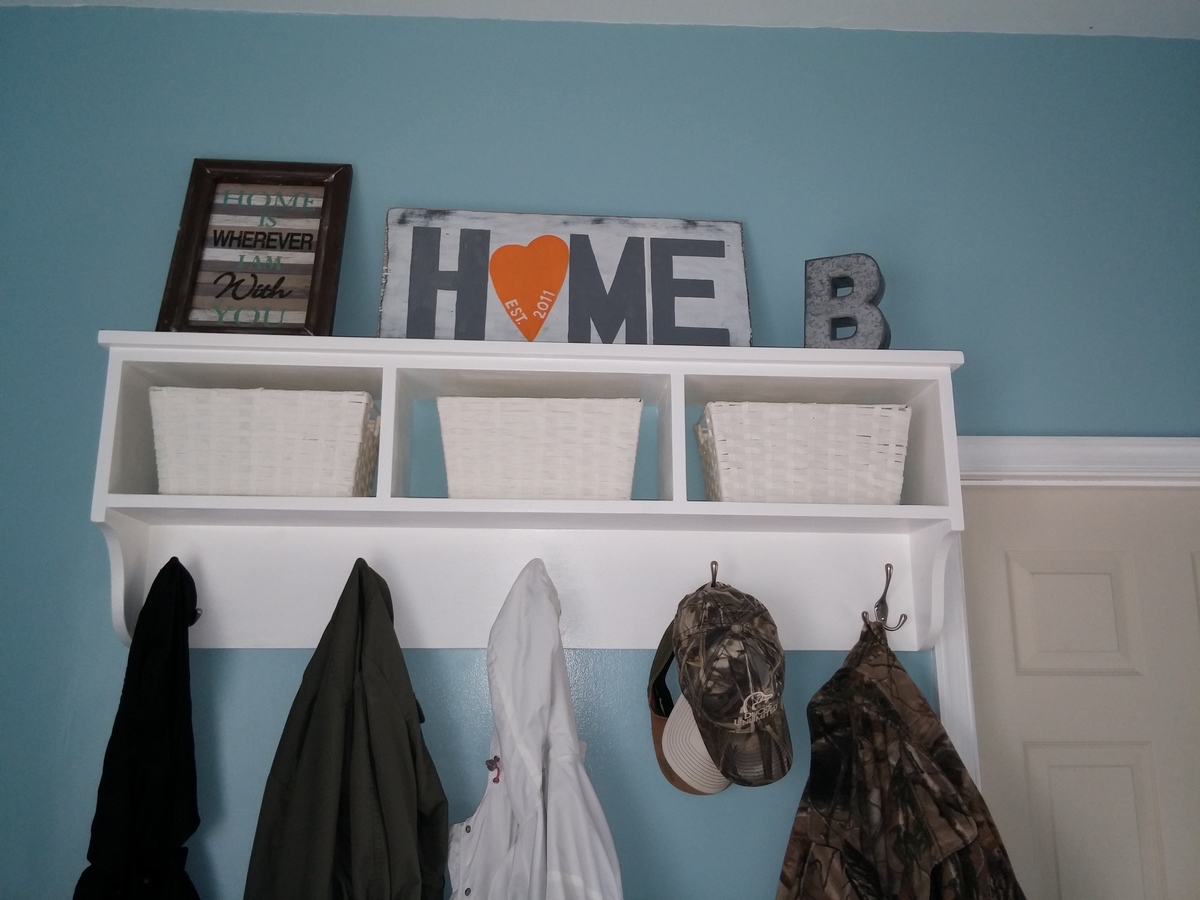
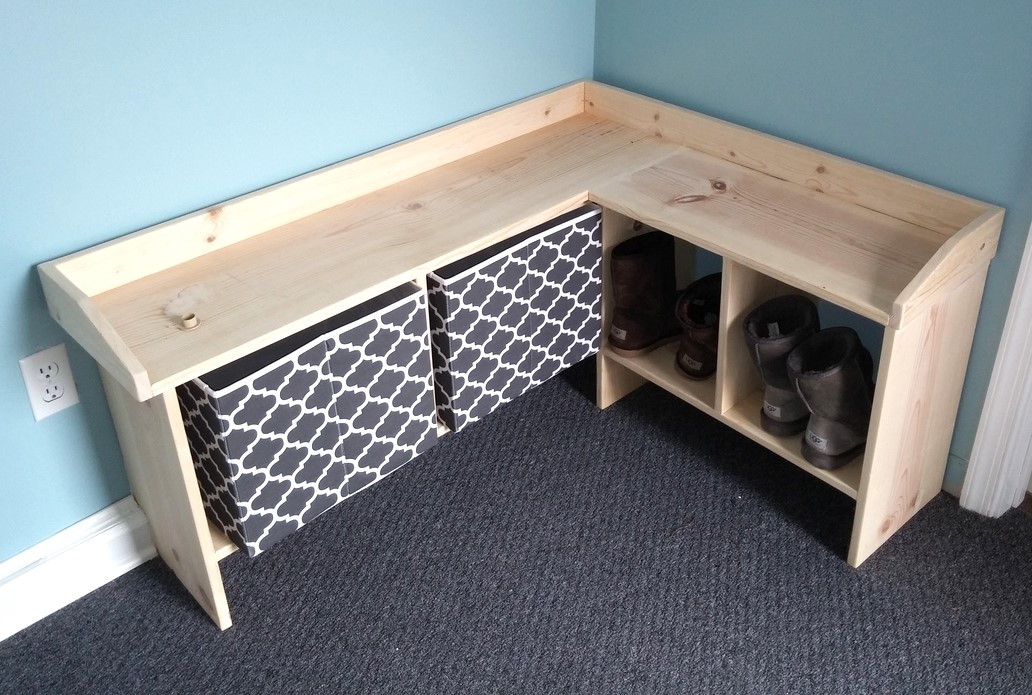
Entryway Bench and Storage Shelf

Used your plans to do these for our mudroom I just remodeled.My wife loved them.Took the original plan and modified it to fit the corner.The bench ended up being white with a grey top.And for xmas my step mother made cushions for it.Love your plans.Thanks

Estimated Time Investment
Day Project (6-9 Hours)
Finish Used
Gloss white
Recommended Skill Level
Beginner

Comments

Simple Outhouse

Submitted by Anonymous (not verified) on Thu, 04/20/2017 - 12:26

I had my nephew build this outhouse for our new 70 acre lot - no neighbours in sight so I had him put in an acrylic window (with a view).  I left off the deck and had him put the boards tight together so 'critters' didn't get in as easily. I made a sign for above the door - 'Waste Management' for a touch of humour.  The plans were easy to follow and I love it.  Thanks, Ana.

Built from Plan(s)
Estimated Cost
Approx. $300 for material and $250 for my nephew's labour.
Estimated Time Investment
Weekend Project (10-20 Hours)
Finish Used
sealer
Recommended Skill Level
Beginner

Comments

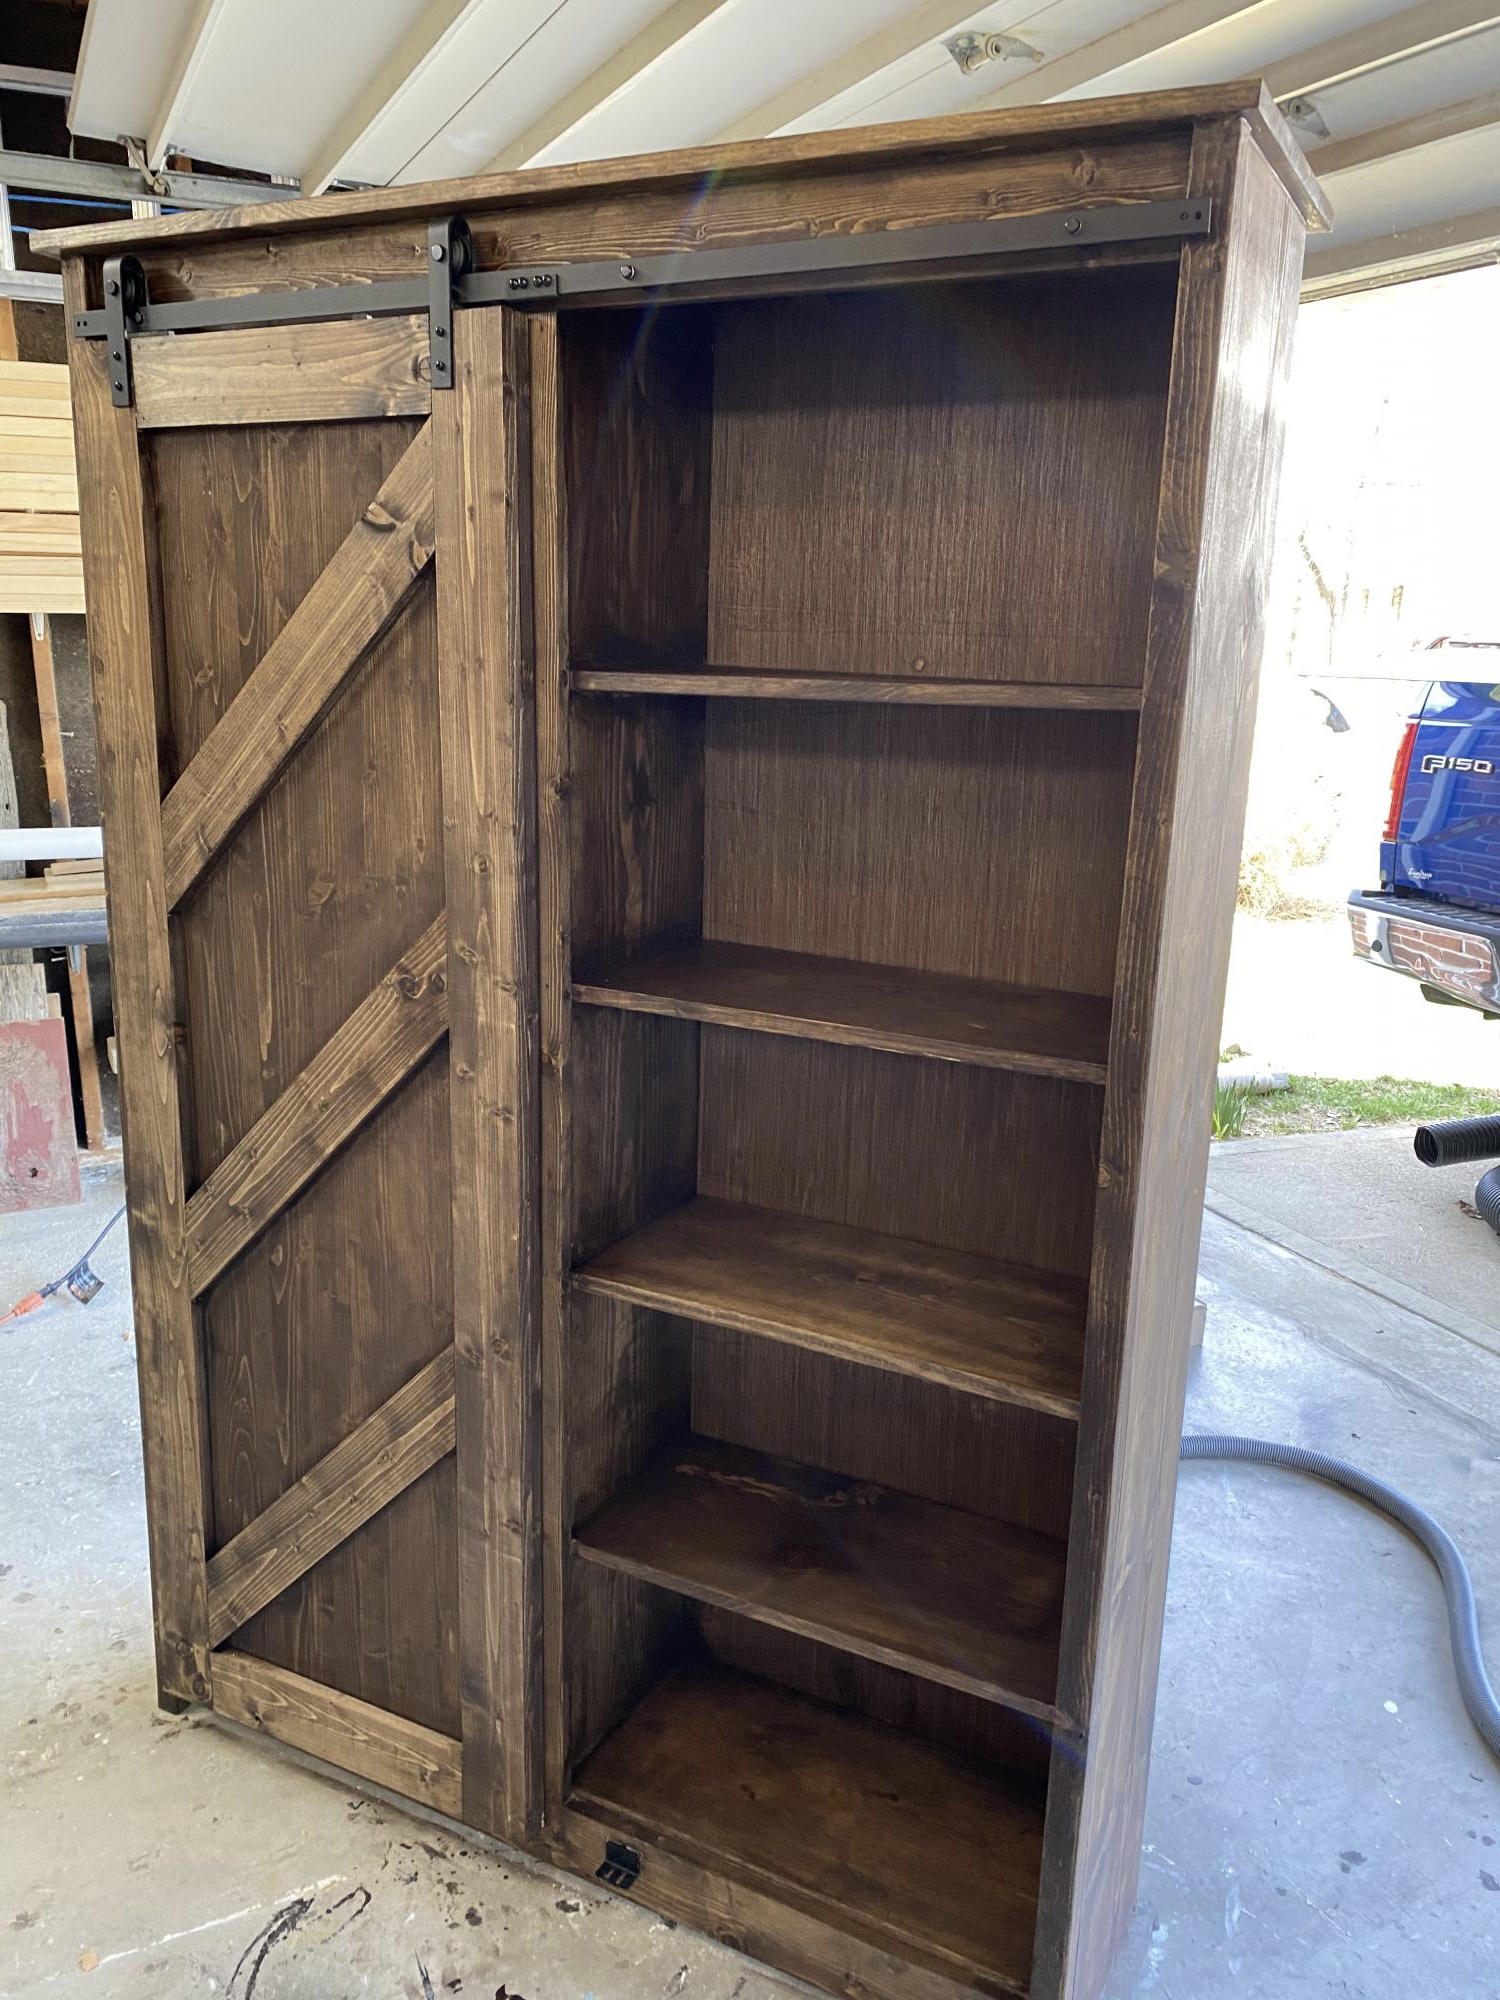
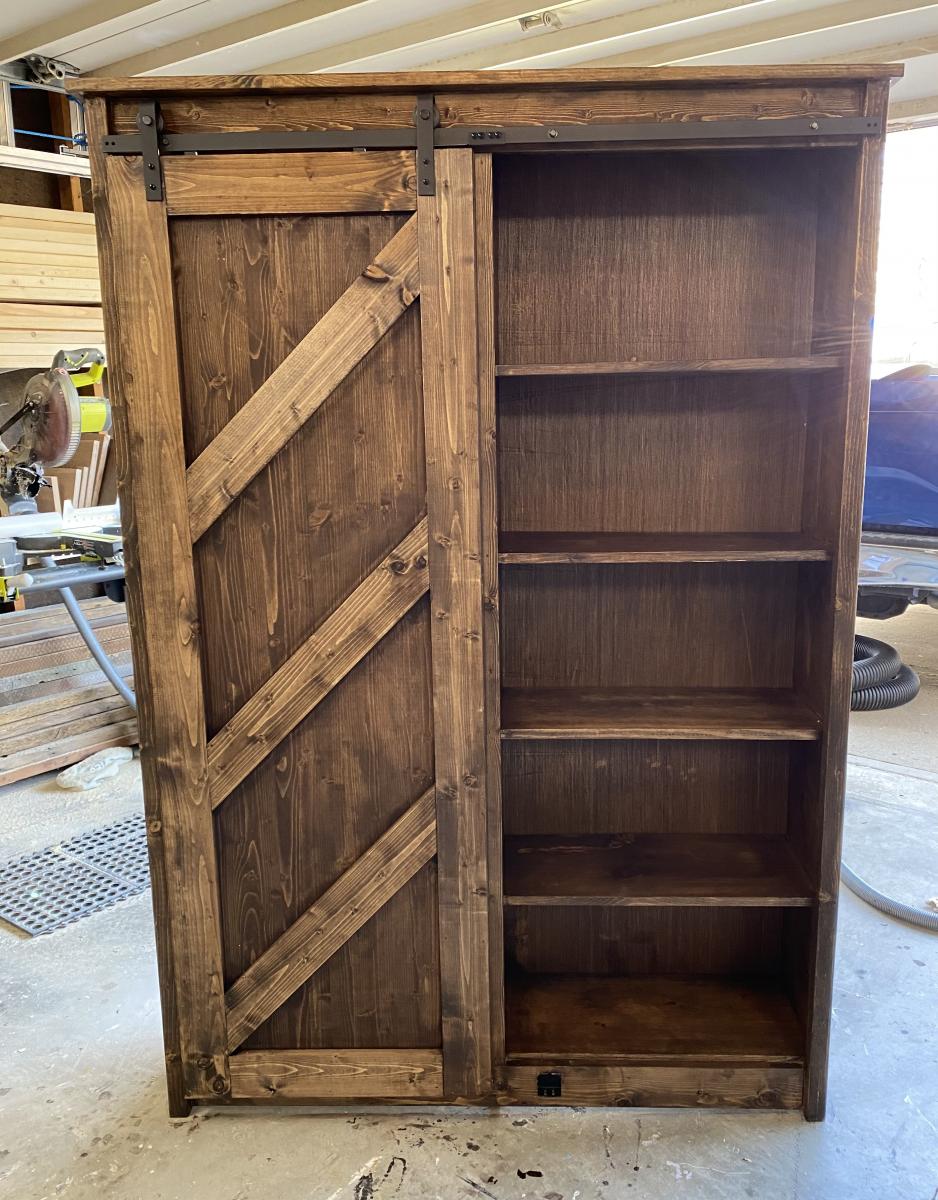
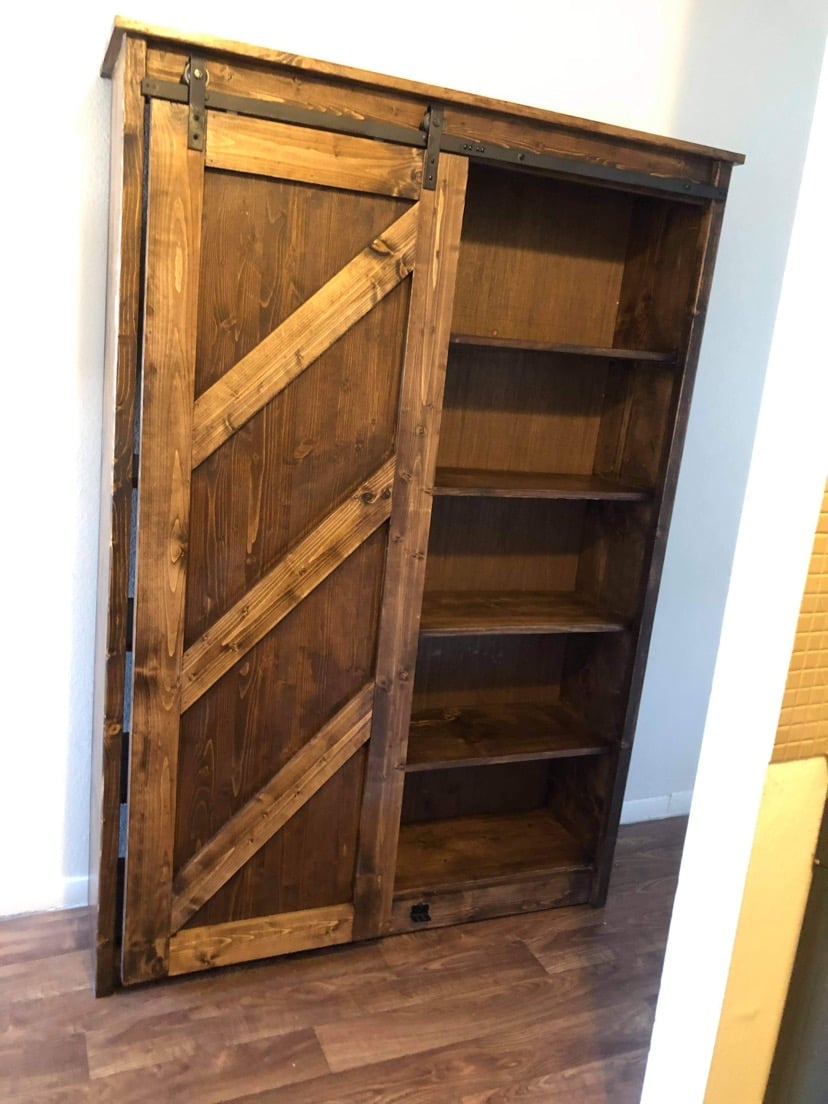
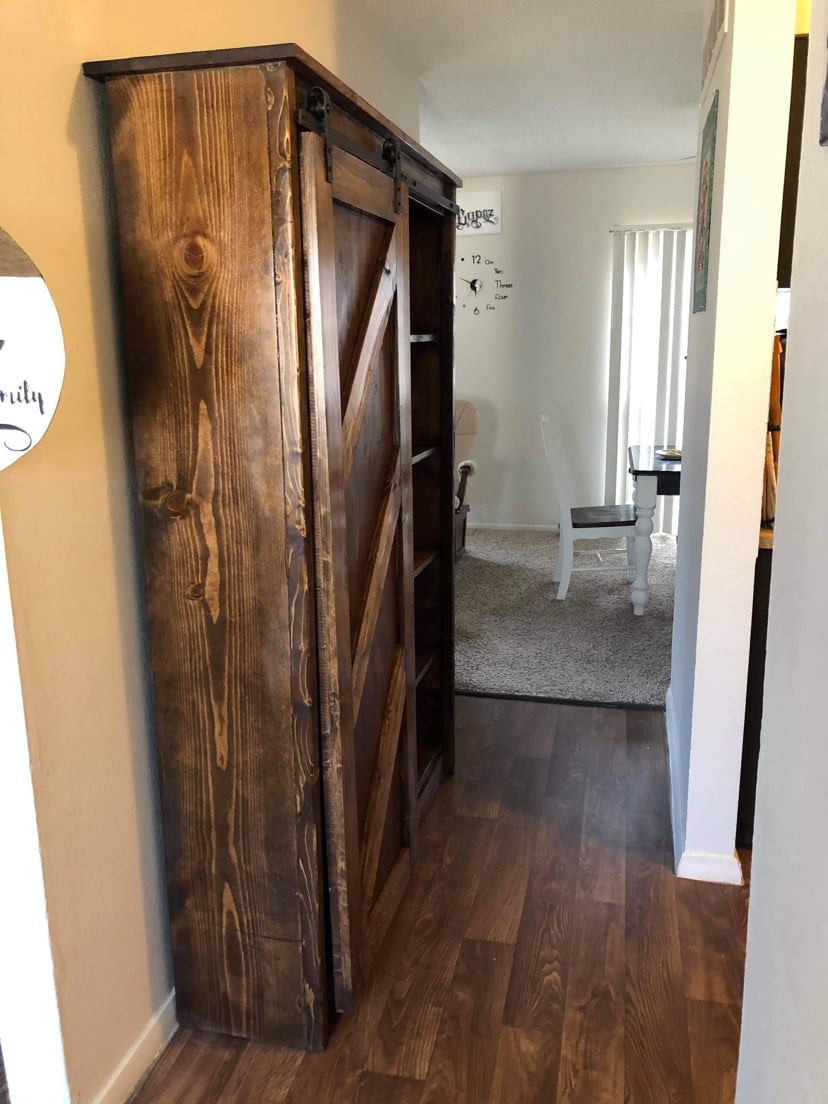
Barn door bookcase

Submitted by EOdonnell on Fri, 04/02/2021 - 08:14

Fun project!

Built from Plan(s)

Comments

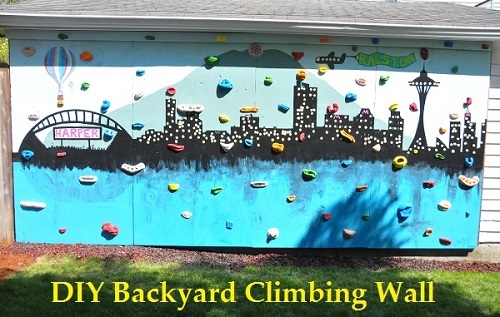
DIY Backyard Climbing Gym

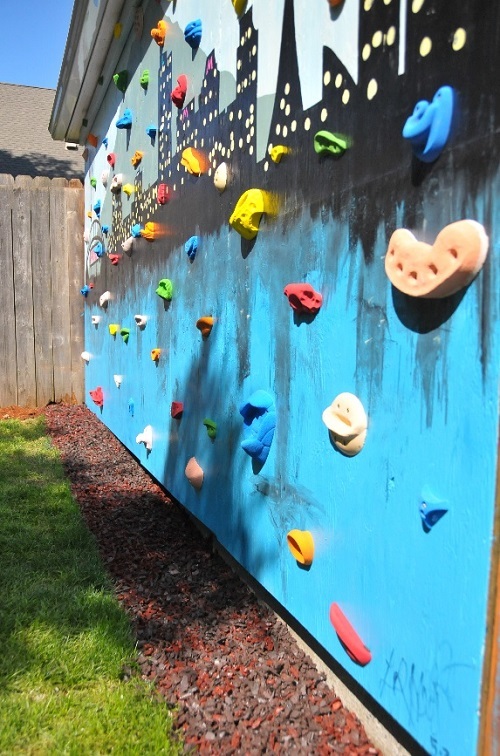
My very first woodworking project was Ana-White's farm house bed! I've made so many projects now, I decided to start fancy'ing up my backyard!. We took all pressure treated wood to make the wall foundation, painted it, sealed it, then used Screw on Holds to make the climbing portion.

I have a full tutorial listed here http://www.impatientlycrafty.com/2013/05/07/diy-backyard-climbing-wall/

Thanks Ana for helping inspire me to create more wood stuff!!!

Estimated Cost
$500
Estimated Time Investment
Weekend Project (10-20 Hours)
Finish Used
I painted with latex paint, and acrylic paint, then sealed it with rustoleum clear coat (4-5 coats)

we simply sketched out the design from ideas online..
Recommended Skill Level
Beginner

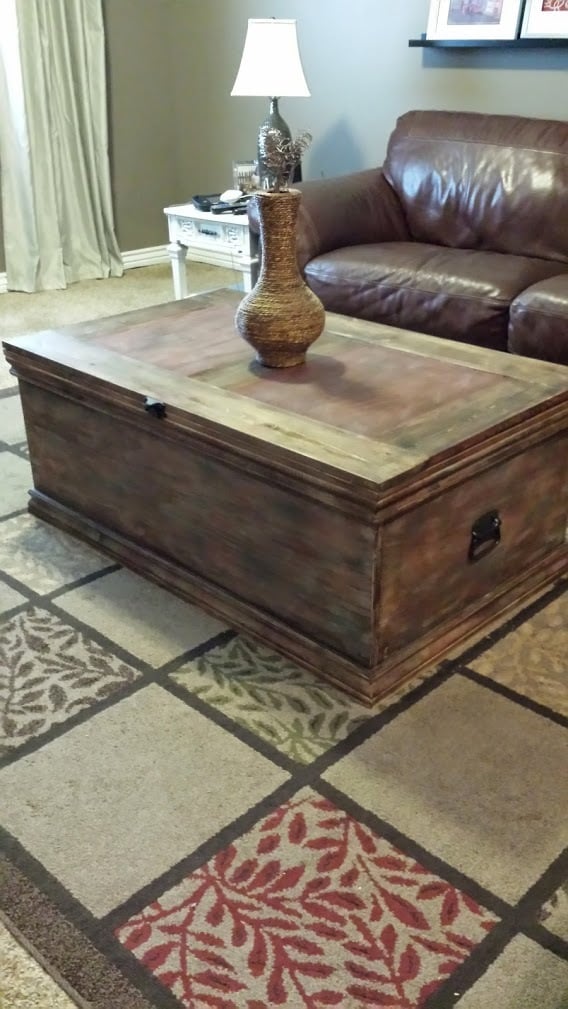
Becca trunk

Submitted by bzhayes on Mon, 04/06/2015 - 06:42

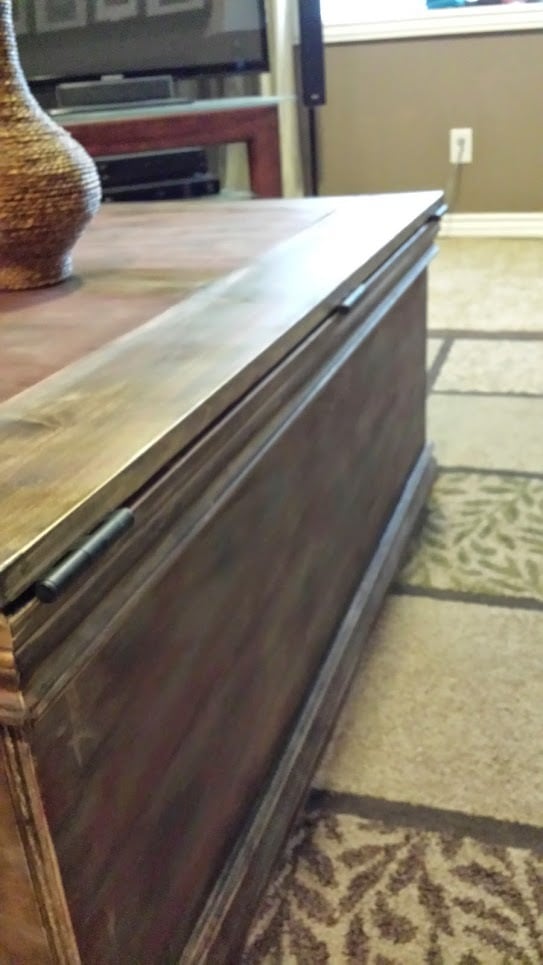
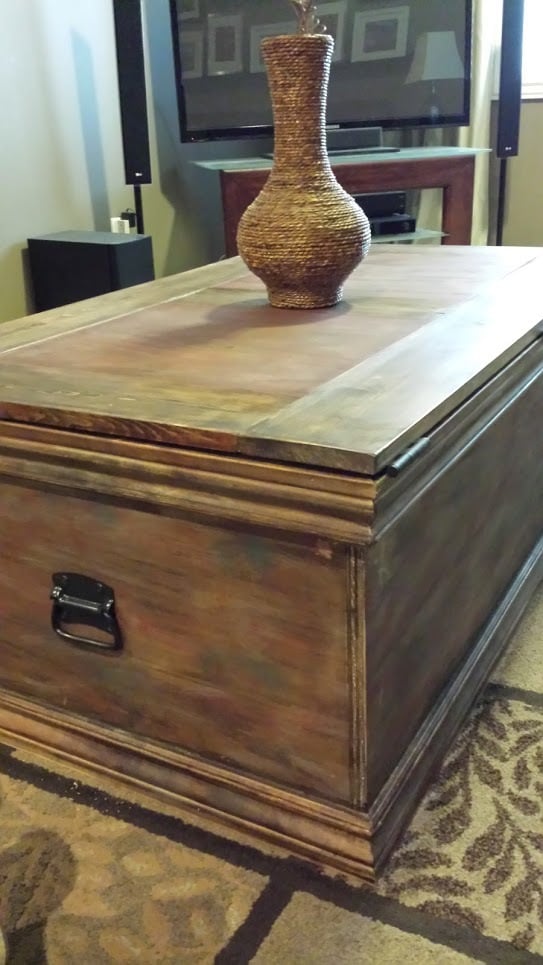
I adjusted the measurements to make it longer and wider. I also looked the original Pottery Barn trunk and tried to copy the multi color finish. I had so much fun building this!

Built from Plan(s)
Estimated Time Investment
Weekend Project (10-20 Hours)
Finish Used
stain and paint
Recommended Skill Level
Beginner

Comments

Linda7

Tue, 04/07/2015 - 21:21

This is indeed beautiful! Would you mind sharing where you found your handles? Any words of wisdom on the finish? Thank you!

In reply to by Linda7

bzhayes

Tue, 04/28/2015 - 12:07

The handles are from Ace hardware--I had to spray them antique bronze since they only had them in silver. I stained the trunk is dark walnut from minwax and then used diluted paint in barn red and teal to spread some color here and there. Finished with some polyurethane in satin (spray). That's it!

Linda7

Wed, 05/06/2015 - 17:39

Hi Beverly,

I just sent you another email, and then found your comments here. (I forgot we had communicated before. Old-timers disease! lol) Just checking on the hinges. Thanks, Linda

saomkinar

Tue, 12/25/2018 - 19:42

I don't know if you will check the comments on this brag post since you posted almost 3 years ago, but I'm also curious about the hinges to use. I have watched some youtube videos that show how to chisel out a space for the hinge, but I know there must be an easier way and an easier hinge to put on this box. 

Thanks so much ,

Apryl

Toddler Jeep Bed Easy DIY

Submitted by Anonymous (not verified) on Mon, 10/23/2017 - 10:22


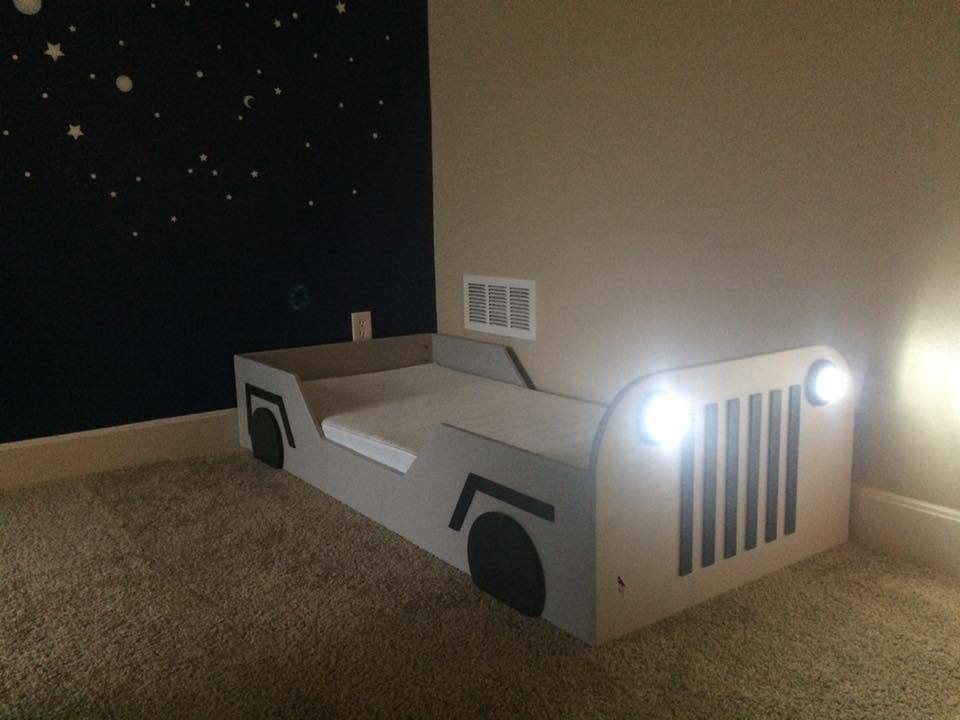
Designed and submitted by Andre

Toddler Jeep bed made to fit Ikea youth mattress. Looked at a lot of toddler bed plans before custom designing this one.

Recommended Skill Level
Intermediate

Cubby Storage System

Submitted by beckysnest on Fri, 04/01/2011 - 11:04

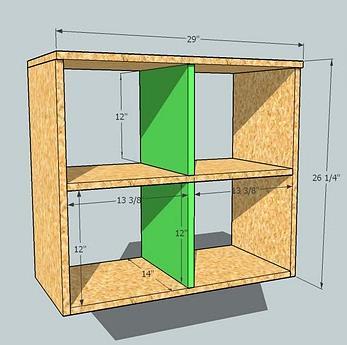
This was my first building project ever! Even though it took longer than I expected to complete (I have four tiny kids and snagged an hour here and there during nap time over the course of many months), it was absolutely worth the time investment (and wait)! Hanging the doors was tricky (my awesome husband tackled that part), but other than that it was easy to put together. Finishing it was the hardest part by far. If I were to do it again, I'd probably do some preliminary sanding of the boards before putting them together and I would most certainly not use oak (I was talked into it by the HD guys) especially since I ended up painting it. I think it would have turned out just as great if I'd used a cheaper wood or MDF. Thanks for the plans Ana!

Estimated Time Investment
Week Long Project (20 Hours or More)
Finish Used
Started with two coats of Behr Ultra Interior Satin (paint w/primer) color matched to Martha Stewart Barn Red (sanded between coats). After one final (light) sanding to distress, I finished with one coat of Ralph Lauren Glaze in Tobacco that I had on hand (brush on one side of surface and then quickly wipe away excess with an old rag--moving the rag in the direction of the wood grain). The glaze brought out the wood grain more and helped tone down the exposed wood.
Recommended Skill Level
Beginner

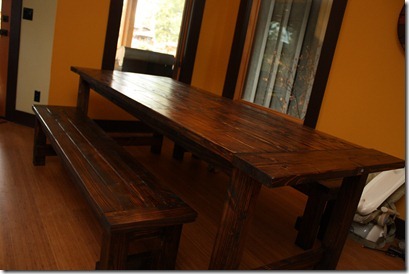
Farmhouse table and benches

Submitted by krclovesme on Wed, 04/20/2011 - 13:55

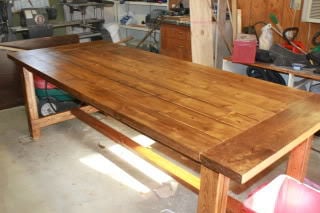
Took a couple of weekends to complete table and benches. As a sidenote, Orange was definitely the least expensive between the 2 box stores. They also had a much better selection of inexpensive wood. We made the table and benches for the same price we made our reclaimed wood king headboard (supplies purchased at blue).

Wood conditioner then one coat of dark walnut stain and poly. Top of table and benches got 3 coats of poly with light sanding between each coat. 

A word to the wise: DO NOT CUT THE END, PERPENDICULAR PIECES OF WOOD FOR THE TOP UNTIL THE LONG, 2X4S ARE ATTACHED. Just cut it to fit at home. We found the cut list is a little off in that regard and had to get a little creative so we wouldn't have massive 2x4 overhang,as the 1x6 cut was too short for us. We just cut to fit when building the benches and found it was much easier!

Estimated Cost
$150 for everything, used leftover stain and poly
Estimated Time Investment
Week Long Project (20 Hours or More)
Finish Used
Miniwax dark walnut (one coat) and clear poly (one coat all around and 3 coats on top surface).
Recommended Skill Level
Beginner

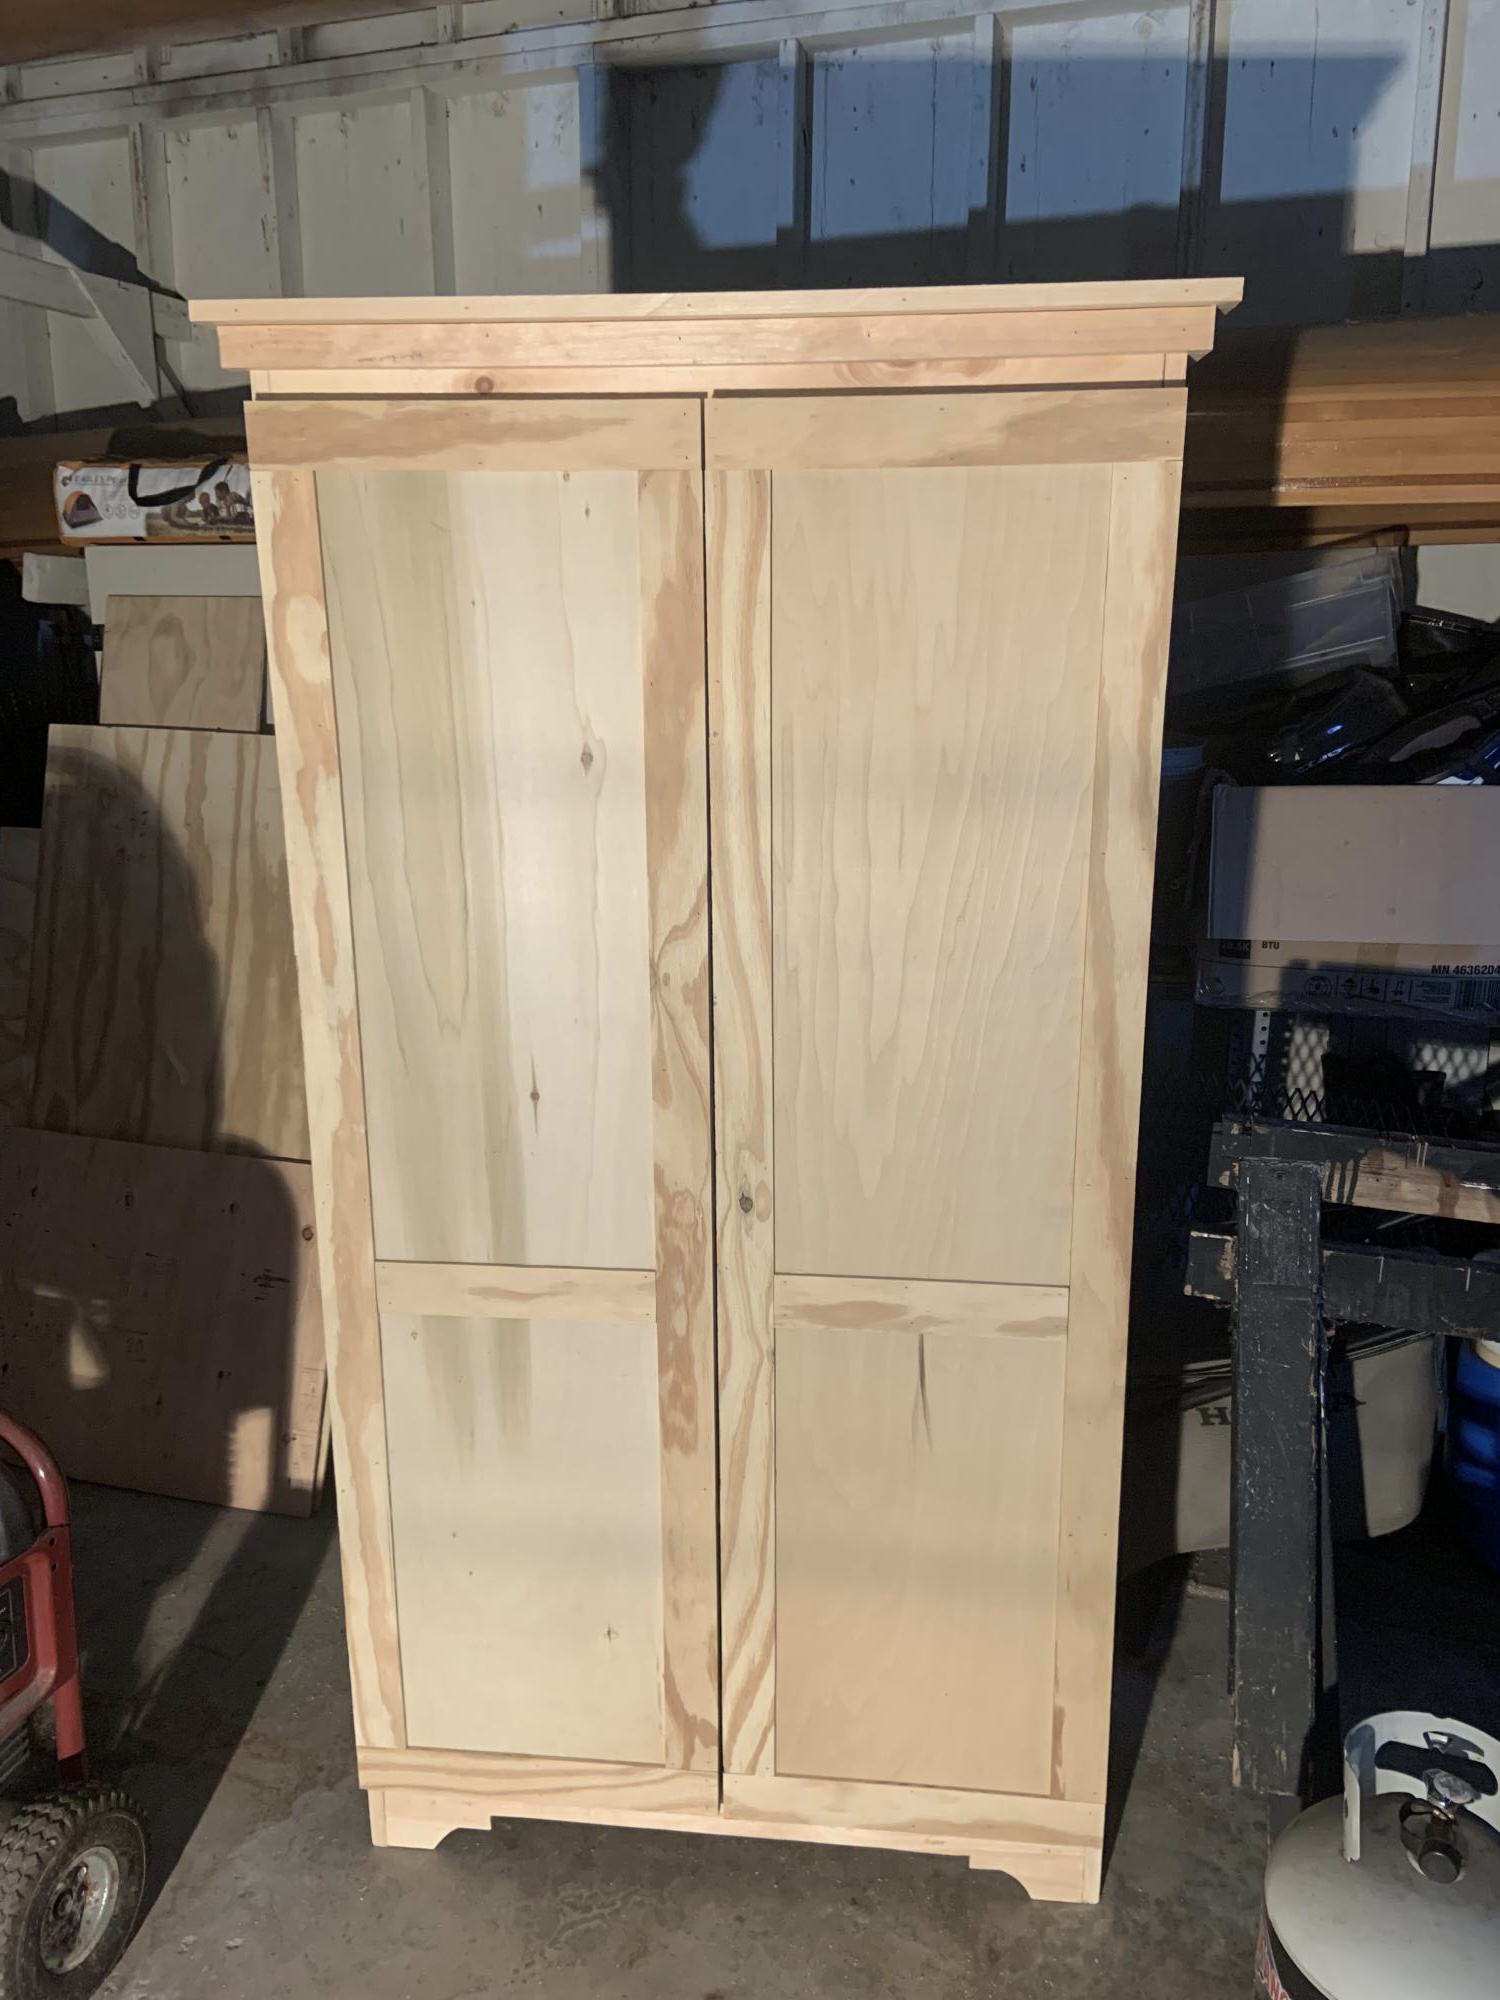
Armoire

Submitted by Anonymous (not verified) on Sun, 12/26/2021 - 15:20

For Christmas made this to hold all her kitchen appliances. Still waiting to get it painted. Very close to being finished. As my second project that I have attempted, I found it quicker as I learned how to use some of the tools I acquired from the first project I did in May. Thanks for great ideas.

Built from Plan(s)

Comments

sandbox with benches

Submitted by nananana on Fri, 07/10/2015 - 13:18

This sandbox has been around for some time BUT it is still a great project to build The plans were simple to follow and would be an excellent project for beginners. We built this for our grandson and future grandbaby. Was easy to complete in one day, including painting

Built from Plan(s)
Estimated Cost
Estimated cost was $75.00 including the wood, hinges and paint.
Estimated Time Investment
Day Project (6-9 Hours)
Finish Used
We used a flat exterior paint. paint color was Cool Bamboo. We put on two coats to preserve the wood.
Recommended Skill Level
Beginner

Comments

Seasonal And Holiday

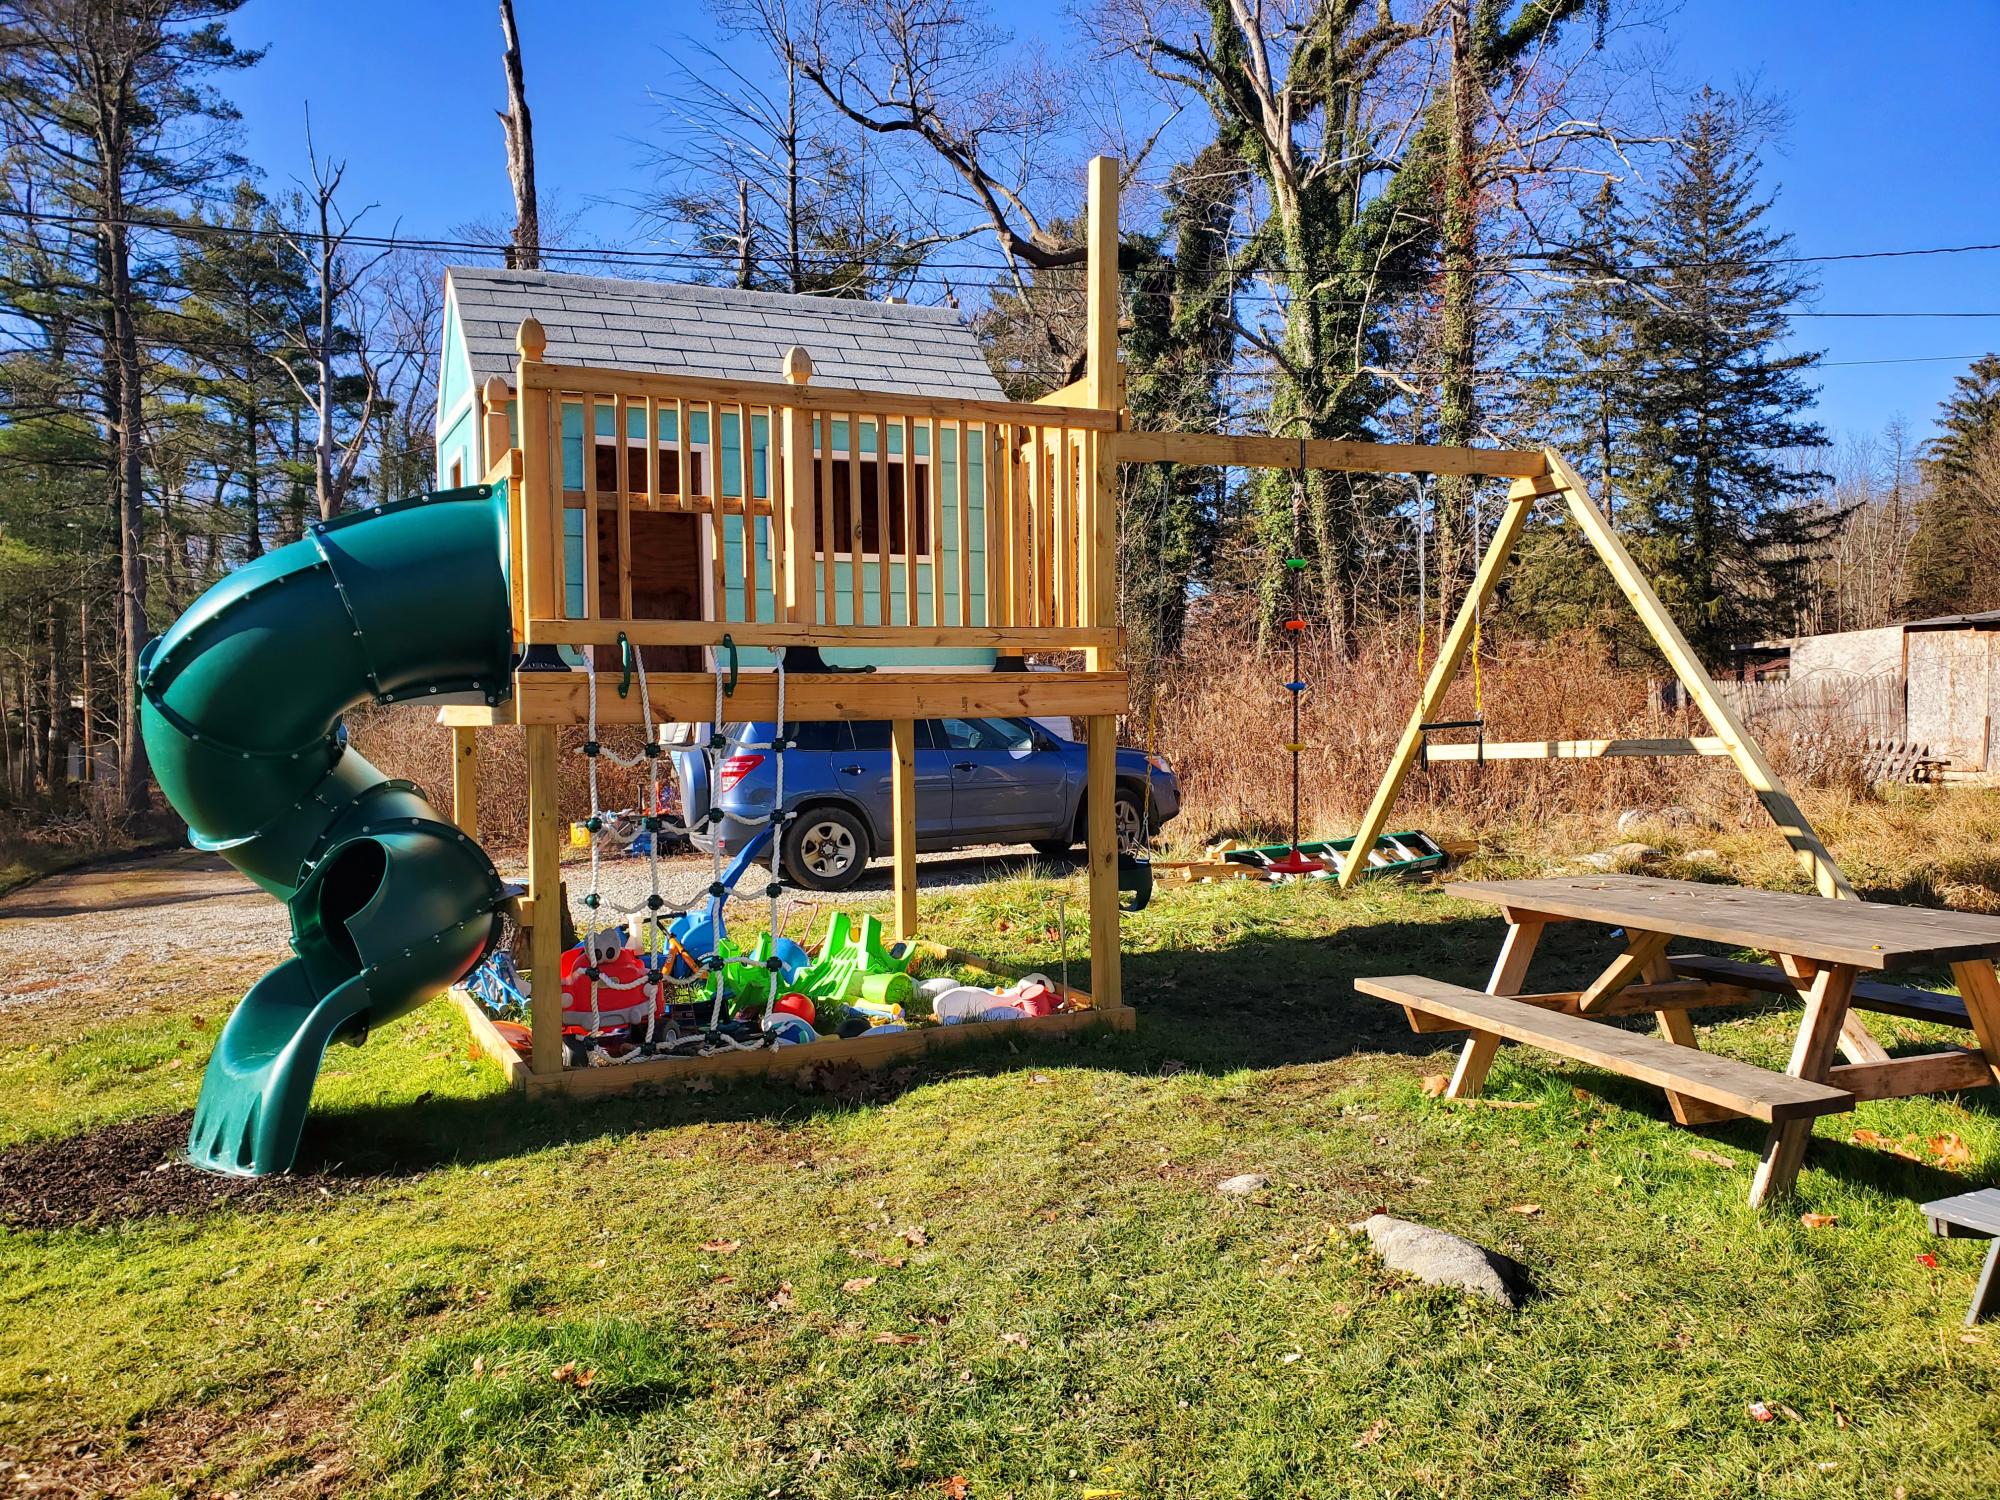
My Boys Playhouse!

Submitted by Anonymous (not verified) on Fri, 01/28/2022 - 03:18

We made a few changes to fit our needs but love the design. Way better than any kit you can buy!

Comments

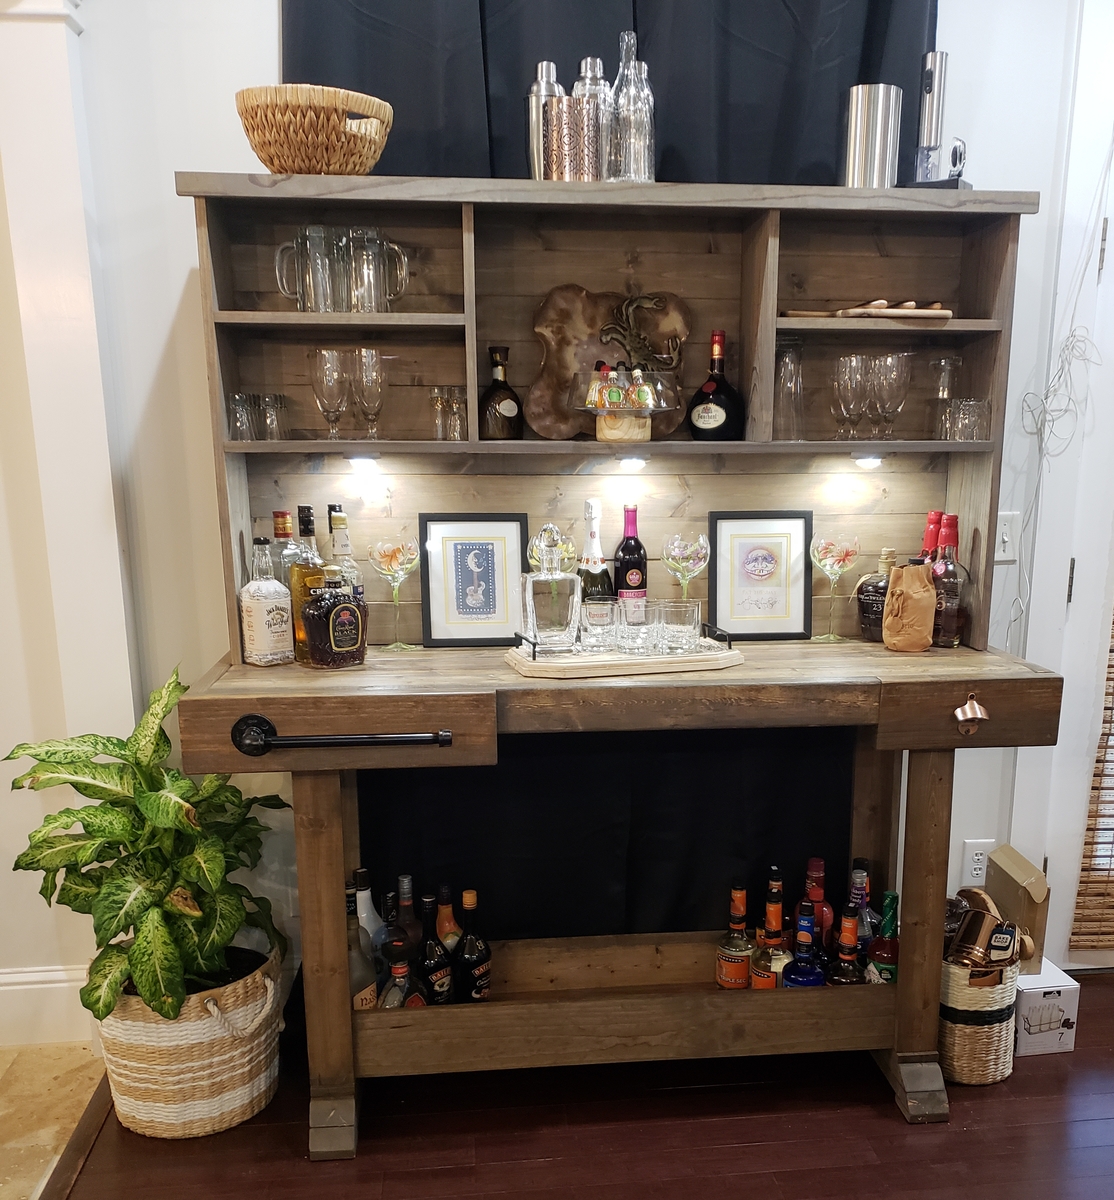
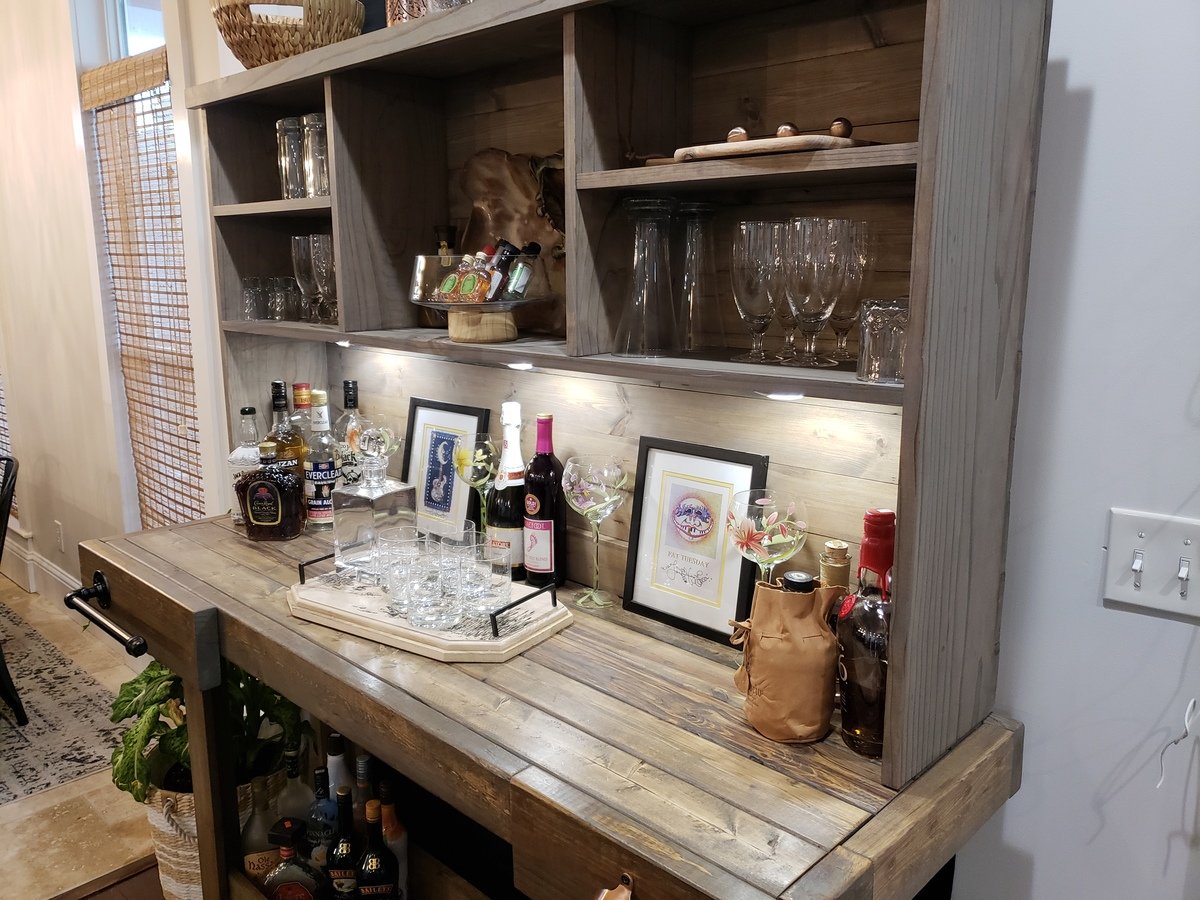
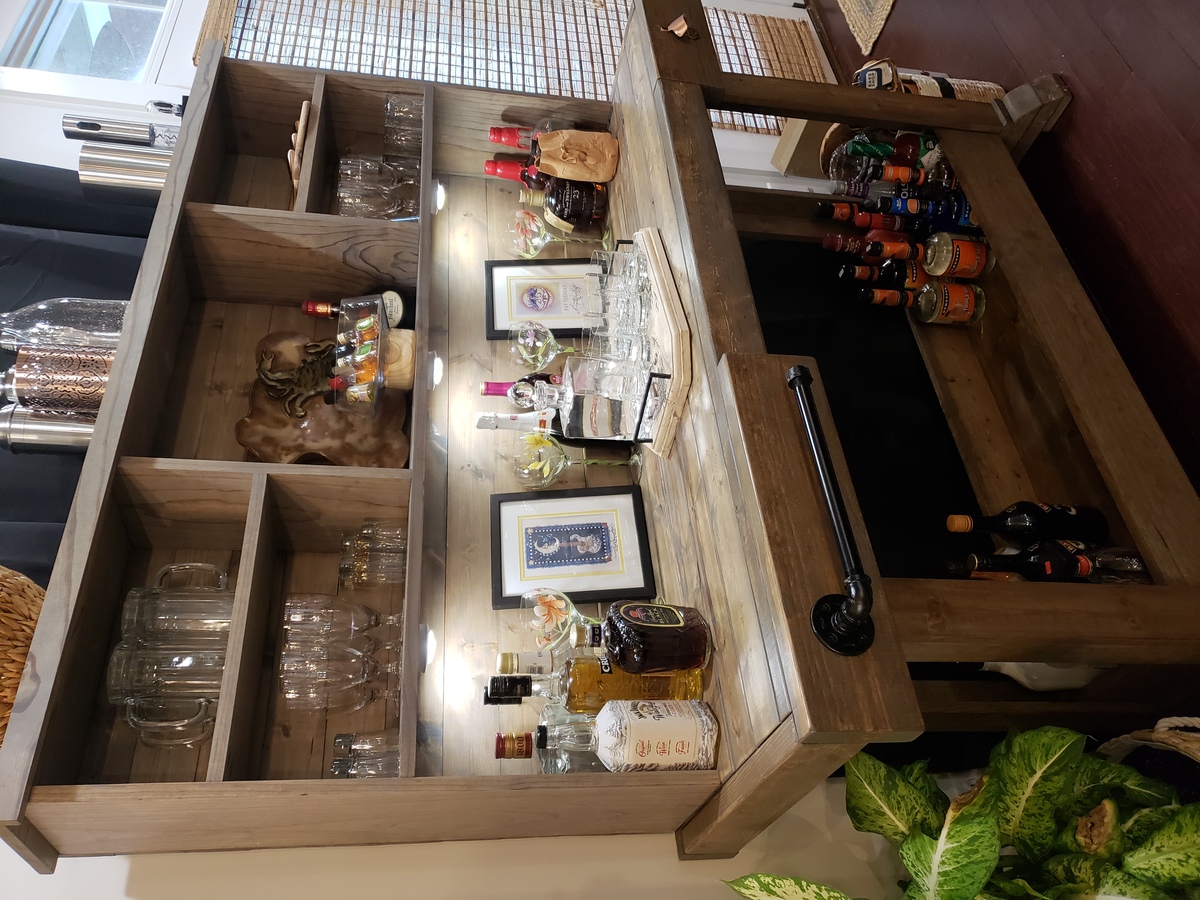
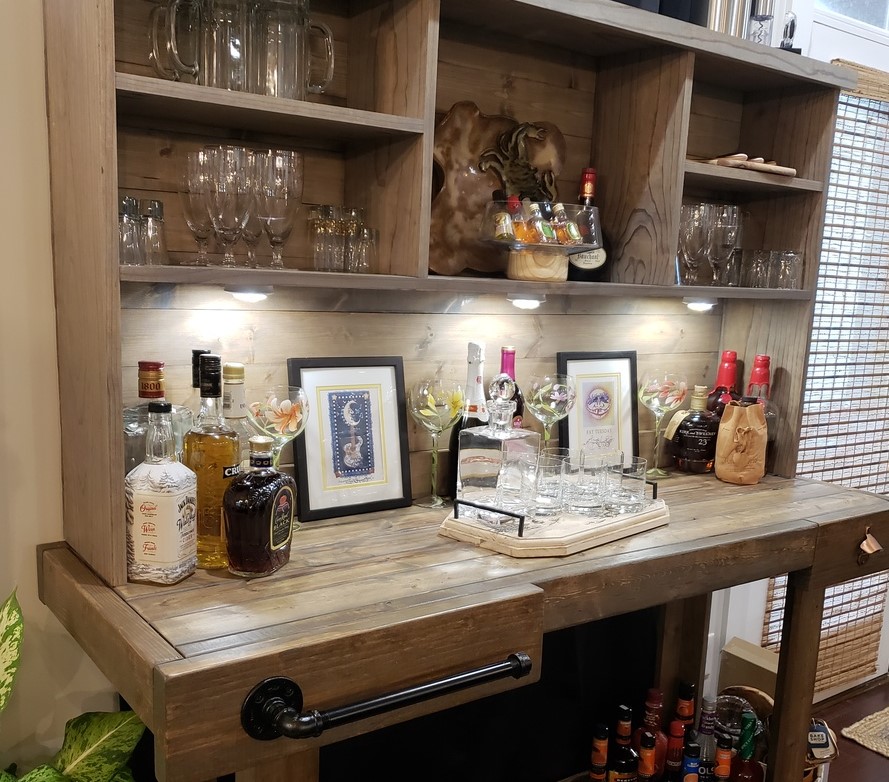
Workbench console and hutch minibar

Submitted by kwildman on Sat, 12/29/2018 - 05:14

Love my new minibar! Built using select pine for the 1x and stud grade 2x4s. 

I used Ana's plan for the Workbench console which is a pottery barn knock off for the Markham Console.  The hutch is Ana's plan for the Rustic Hutch.  I first stained with dark walnut danish oil and didn't like the color.  It was too yellowish.  I went over that with minwax grey wash and loved the color.  I finished with minwax dark paste wax. 

Estimated Cost
350
Estimated Time Investment
Weekend Project (10-20 Hours)
Finish Used
Dark walnut Danish oil and minwax gray oil based stain. Minwax dark paste wax.
Recommended Skill Level
Intermediate

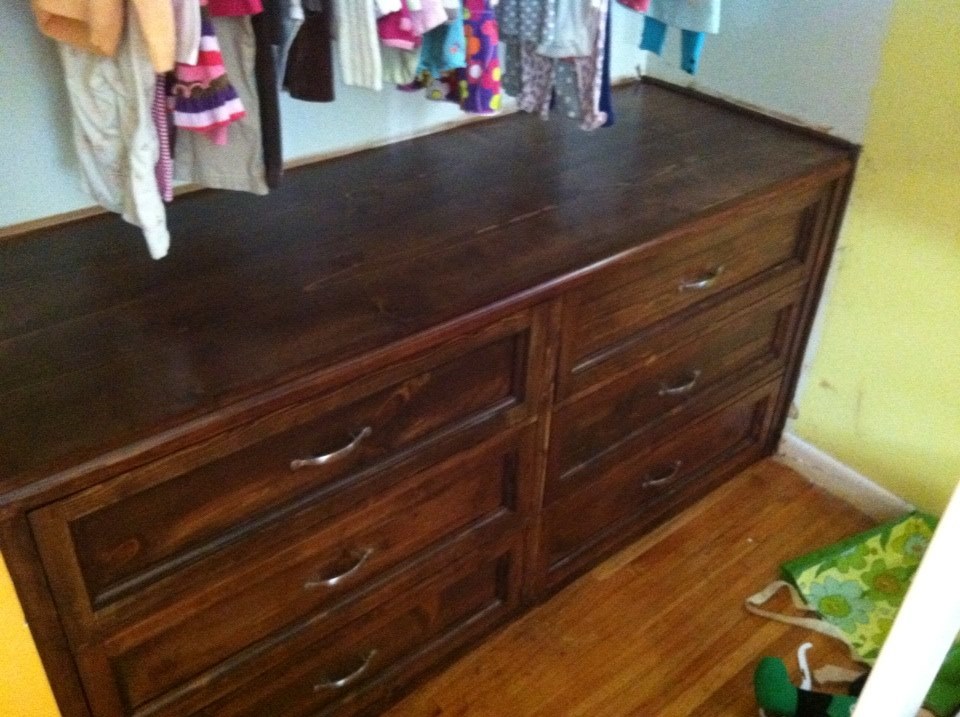
Built in dresser

Submitted by dmather82 on Sat, 09/21/2013 - 09:04

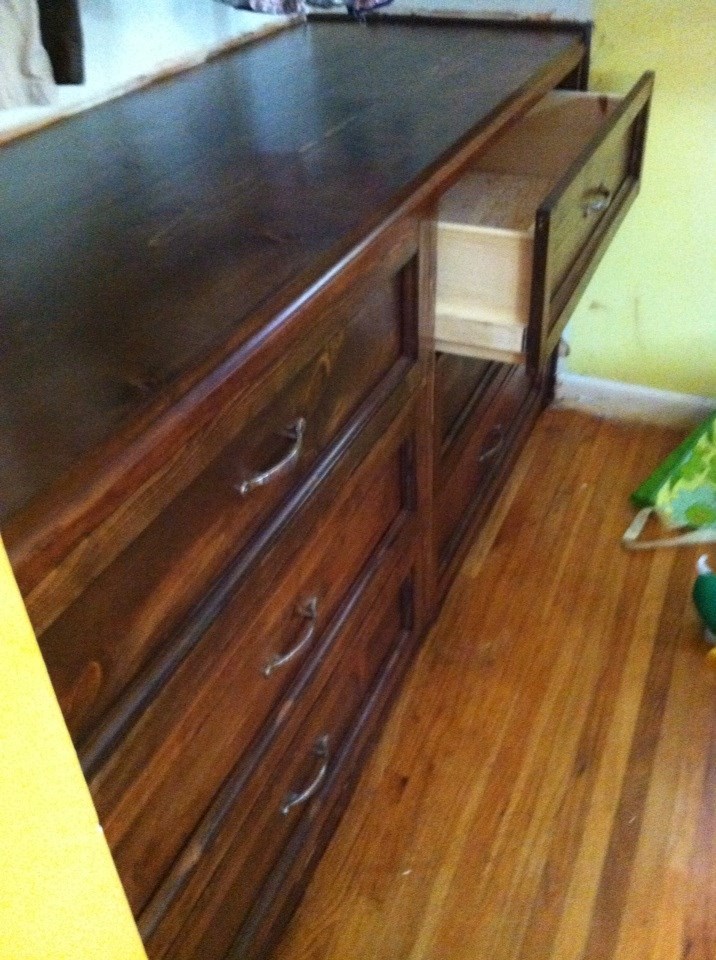
This is my favorite build so far! My two younger daughters share a room with an inevitable shortage of floor space. What they do have is a fairly large closet for 1 and 3 year old. I removed the crumby sliding doors and filled the bottom third of the space with the dresser, leaving plenty of room for kids clothes to hang above. I combined two separate plans and adjusted the measurements to fit the space. What I ended up with is a monstrous 6 drawer dresser that I would never have room for in the bedroom otherwise. The drawers are enormous (a must for a house with three little girls. They have more clothes than their mother and father combined).

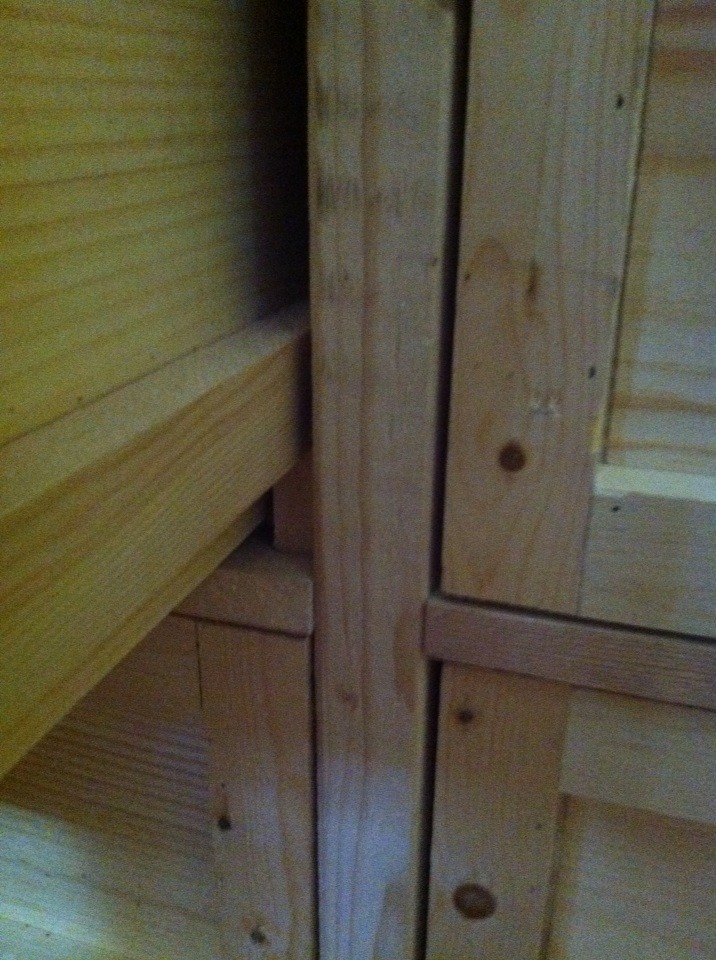
I took the frame concept from the Shanty2Chic rustic rolling dresser and the drawer concept from the Madison dresser from Old Paint Design. (Thanks Ladies!) It took me some significant math adjustments (I'm not a math guy) in order to alter the drawers for wood slides, alter the frame to fit that, and alter both to fit the 70 3/4" x 24" space.

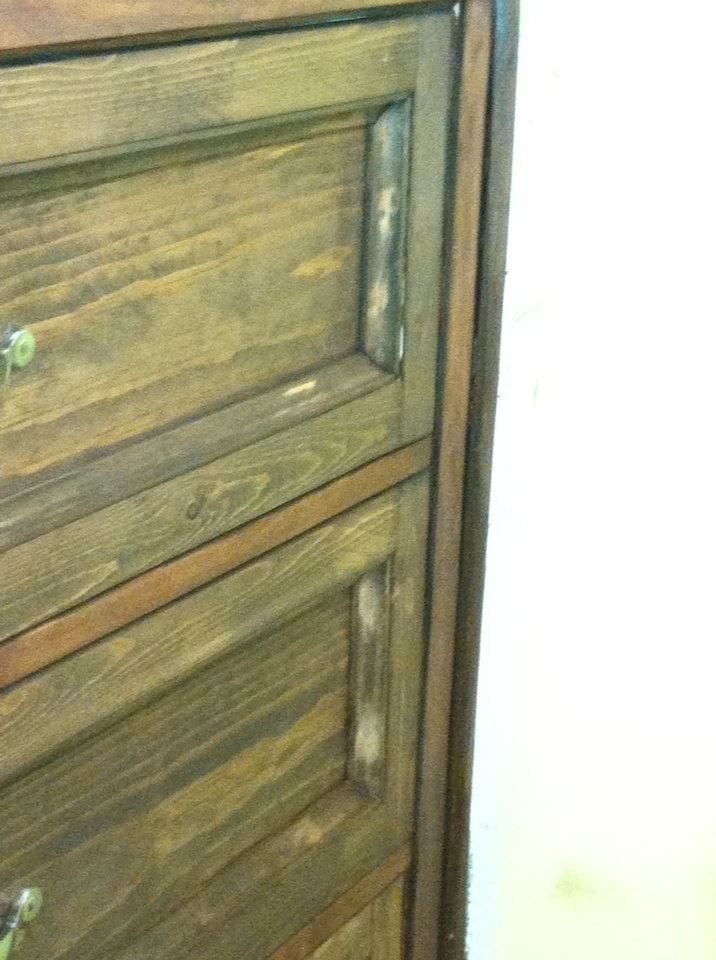
The finish took the most time with a bizarre mixing of Rustoleum Dark Walnut and Rustoleum Classic Cherry. I love the color now. Clearly I have not fixed the wall paint yet :)

The wood is big box pine as I am still working up the confidence to work with more expensive wood. The top is 1x12's and 1x2's. The sides (hidden) are 3/4" plywood. The hardware is from Lowes.

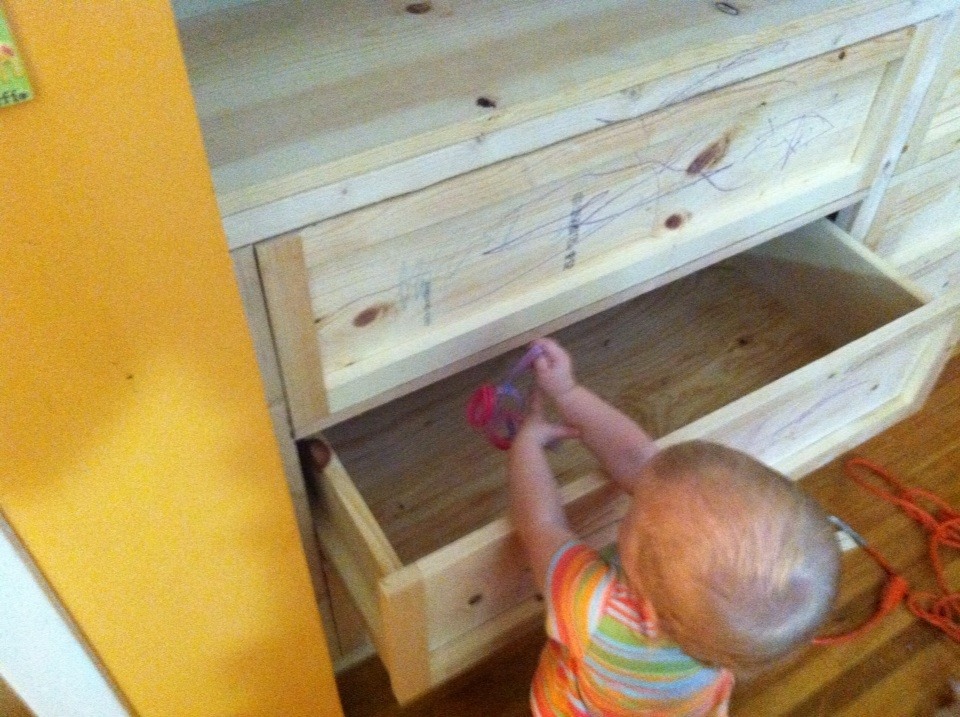
My daughters were nice enough to decorate the dresser during the build with crayon requiring a 40 grit sanding Grrrr.

Estimated Cost
$250
Estimated Time Investment
Week Long Project (20 Hours or More)
Finish Used
Rustoleum Dark Walnut
Rustoleum Classic Cherry
Rustoleum Ultimate Polyurethane
Recommended Skill Level
Intermediate

Comments

JW

Sun, 09/22/2013 - 12:40

Built-in closet dresser - genius! I am already thinking about how I can make this work for my daughter's room. Looks great, too. Good job!

Window seat built in

Submitted by daliae on Sat, 09/17/2011 - 20:19

I made this two years ago in my daughter's room, before I got to know Ana's site. This was my ever first carpentry project. It took me 4 whole days to finish. The whole wall is like a bay wall so I had to custom make the built in. Also – I did that when my husband was out of town so in order for me to be able to lift all the pieces from the basement to the second floor, I made it of 4 pieces. When my husband came back home he thought I paid someone to built it.

I made it out of 2x4’s and plywood. I trimmed the bottom with a trim.

One day I will add drawers and the cushions are in the making.

Estimated Cost
100 $
Estimated Time Investment
Week Long Project (20 Hours or More)
Finish Used
Primer and two coats of Valspar high gloos White Dove from Lowe's.
Recommended Skill Level
Beginner

Comments

nhoffer

Thu, 06/11/2015 - 20:20

Do you have more pics of the finished product...especially where it meets the angled wall? I don't have a table saw (yet) so I'm trying to figure out if I can handle this without one. :(

Farmhouse Table for our busy family of 8!

Submitted by baybones on Fri, 09/30/2011 - 13:23

This was our first ever building project. We our so happy with the results. Read more about it at http://www.sidetrackedsarah.com/2011/09/build-your-own-dining-room-tabl…

Estimated Cost
$80
Estimated Time Investment
Day Project (6-9 Hours)
Recommended Skill Level
Starter Project

Comments

kat (not verified)

Sun, 10/02/2011 - 05:21

Wow guys, what a great job! And only 1 day, thats amazing. This is on our to do list as well but lots of other "important" kiddy things to do first :) Was there anything when building you would have done differently? Any tips you may have :)

Sarah R (not verified)

Sun, 10/02/2011 - 19:57

Well, we did it in more than one day.....but an hour or two here or there. Our biggest tip is to watch Ana's tutorial on how to notch the legs. That was really helpful! Just be sure to check for square before you attach everything!

Play Kitchen

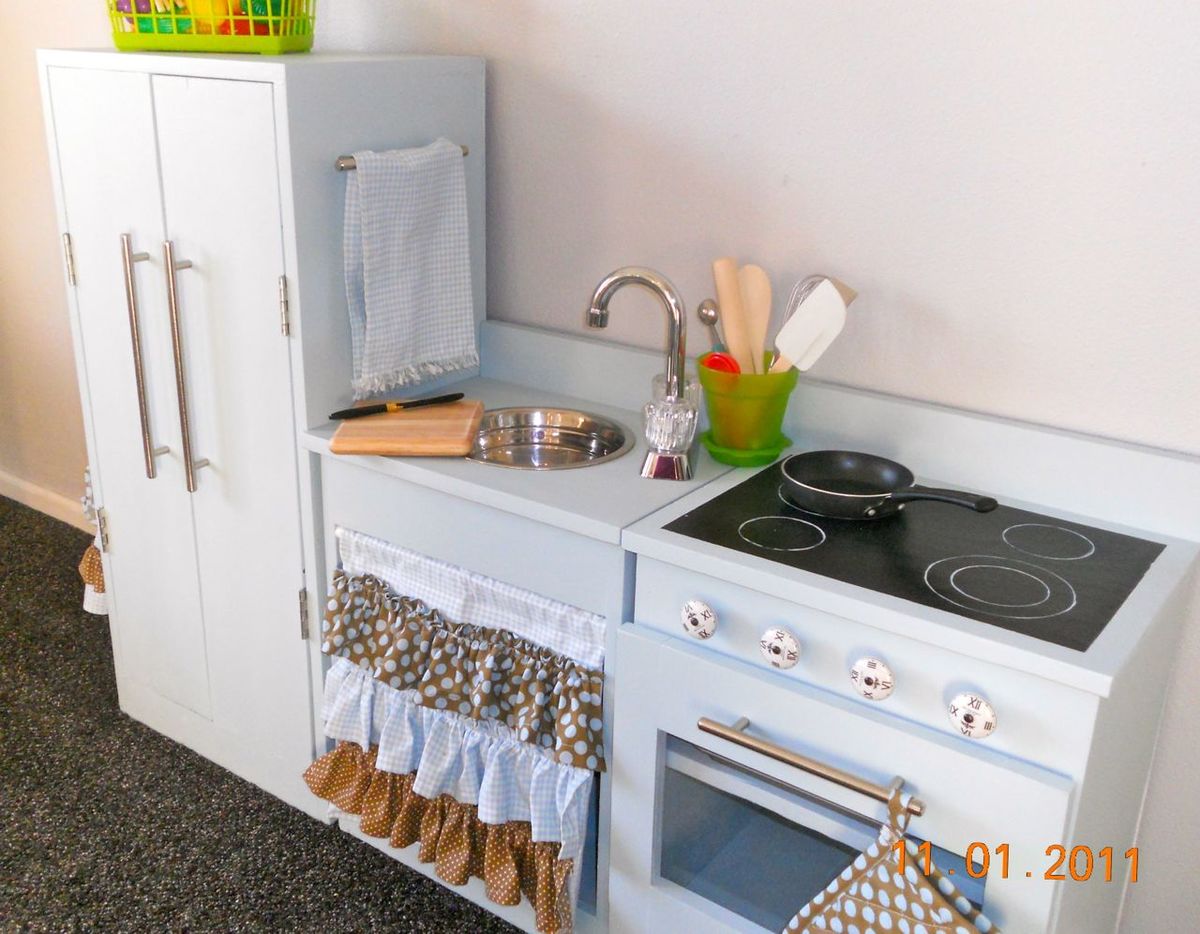
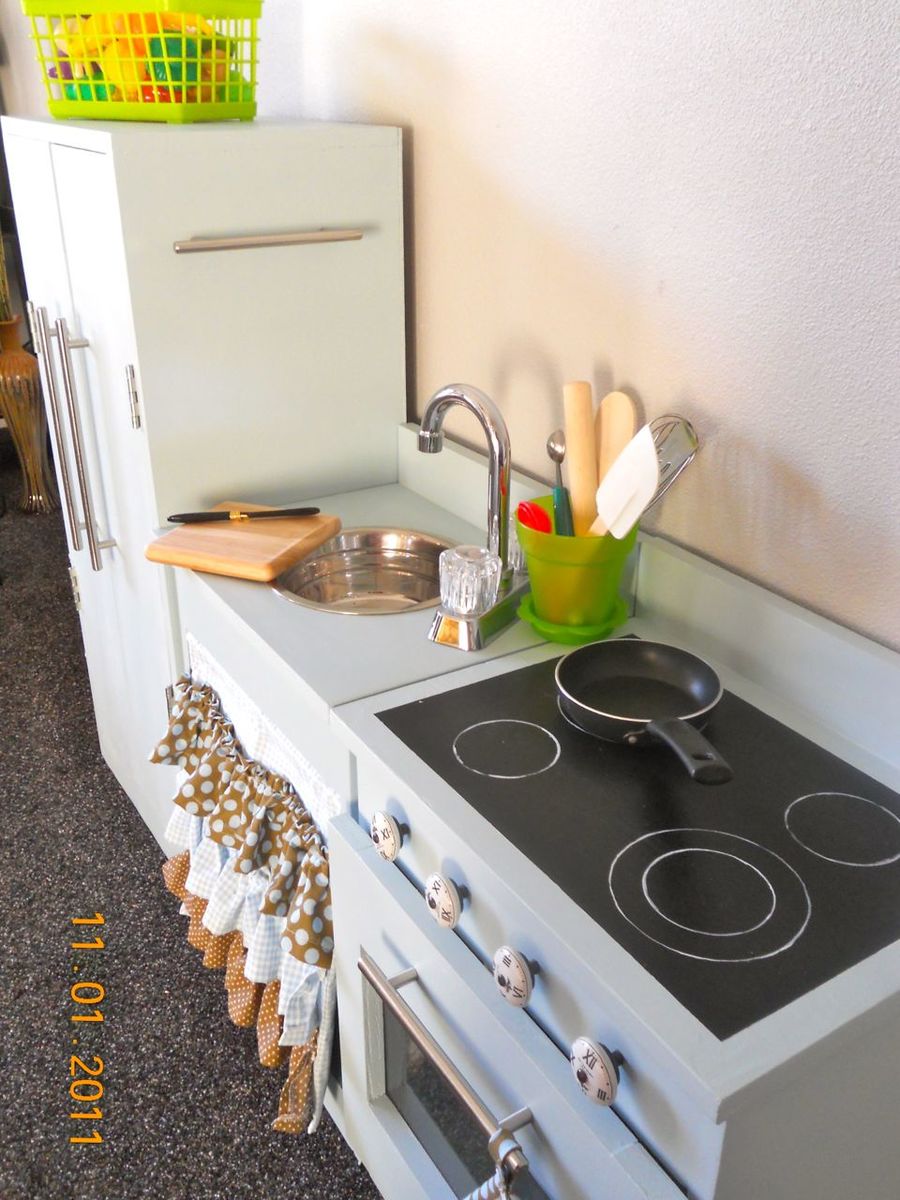
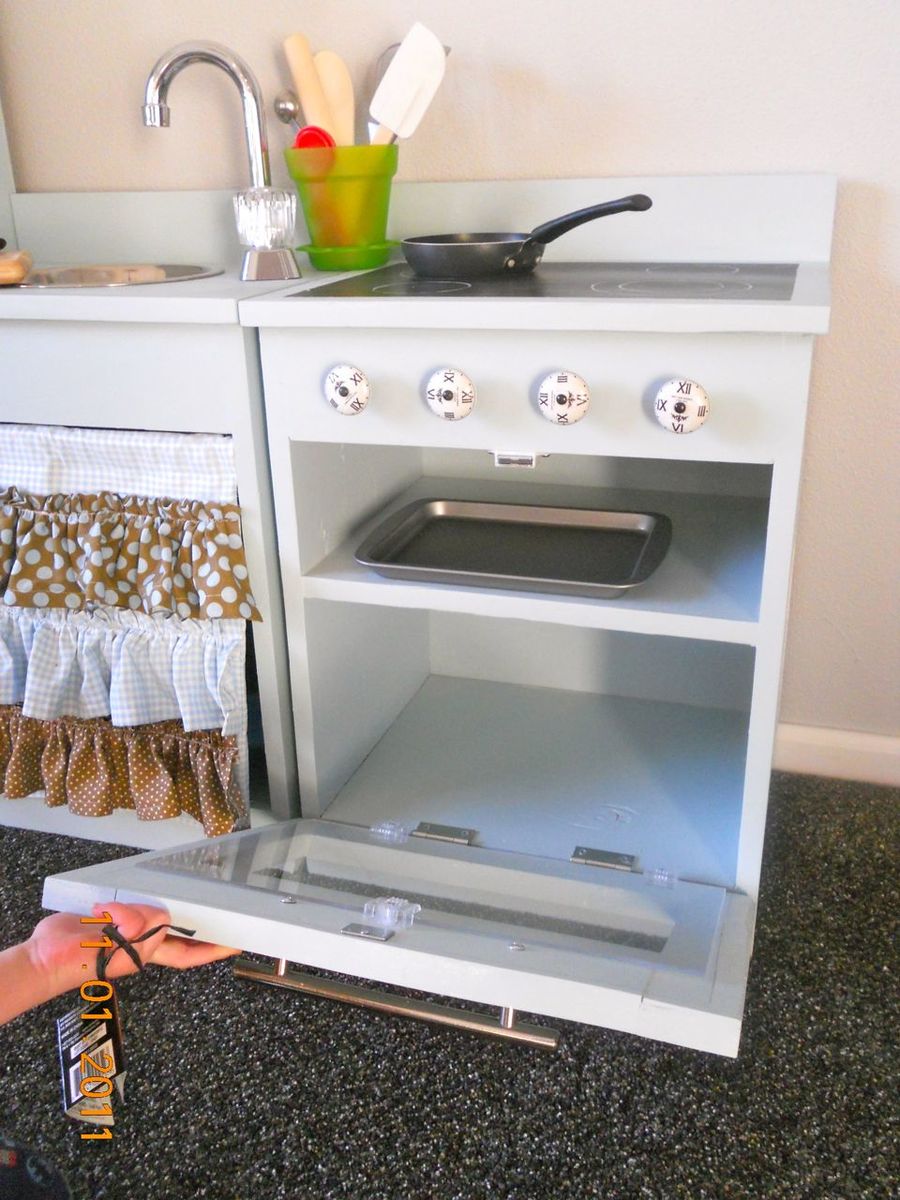
Submitted by jilllo27 on Tue, 11/01/2011 - 17:43

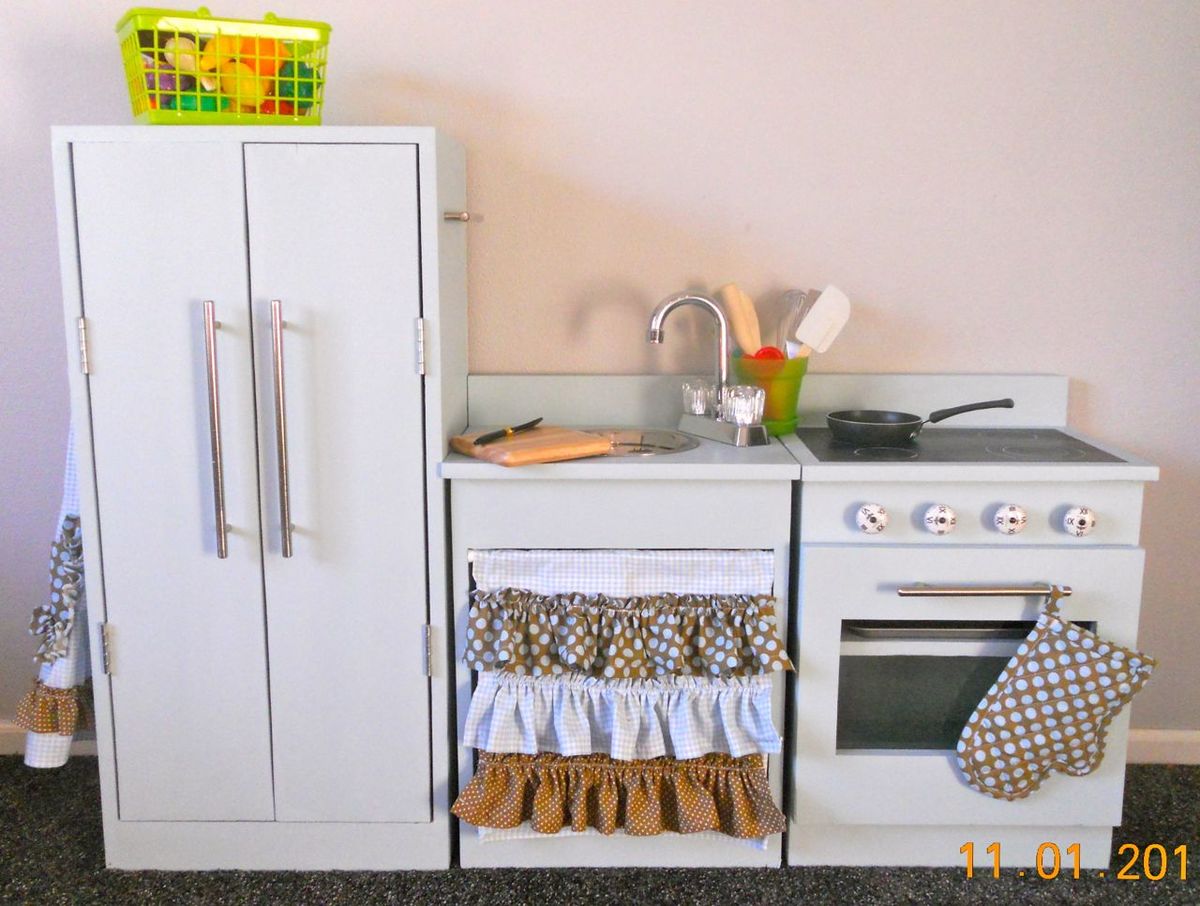
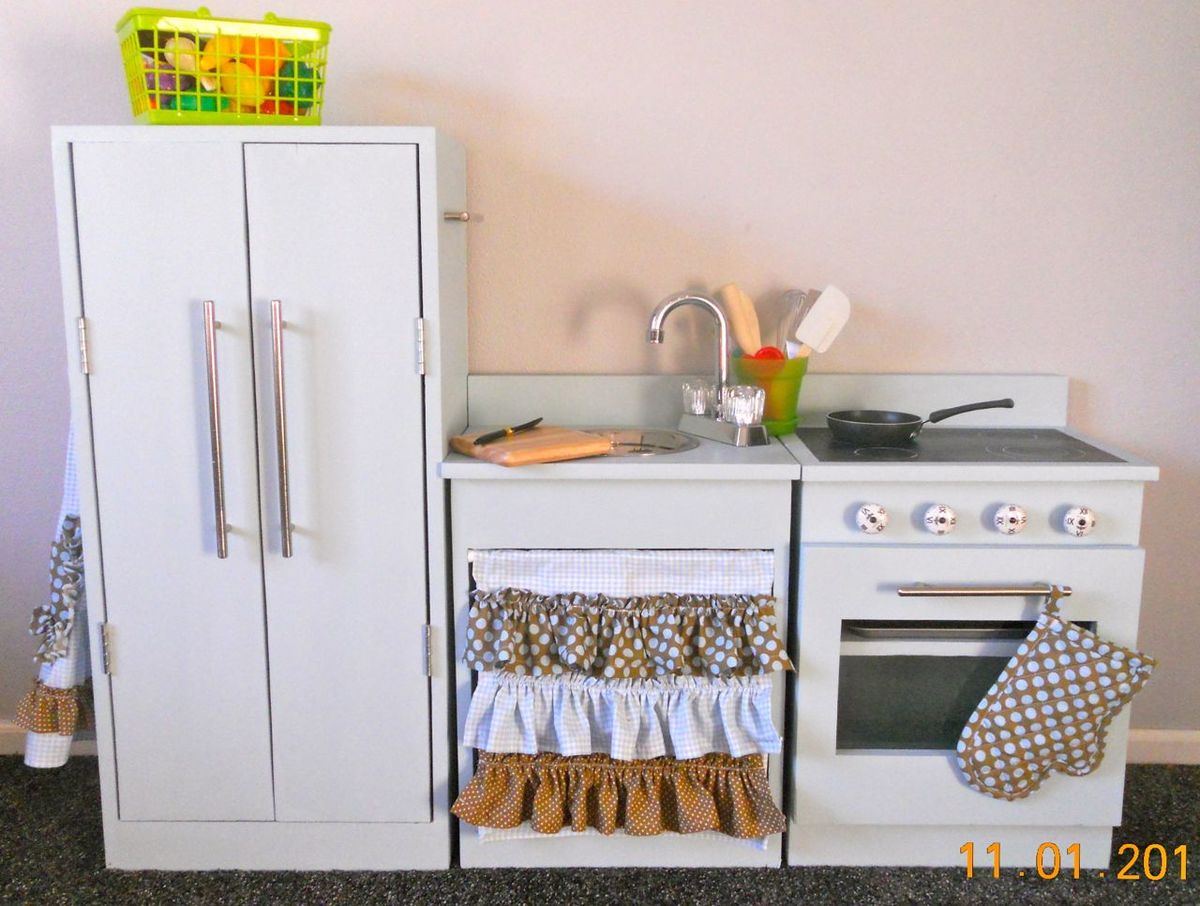
Thank you so much Ana for posting these plans for us! A huge thanks to Crafting Chicks for some artistic inspiration, too. I referred back to the "original" many times in order to make mine as adorable at theirs!

I've been planing on making this for a year. When I finally decided to start building I was, as always, surprised at how quickly it went together and how simply. The finishing details is the most time consuming, but also the most rewarding. I'm in LOVE with this thing. It will be auctioned off at my childhood elementary school. I hope whoever goes home with it will enjoy it for generations! I wish I had time to blog about all the details for those of you that are interested! I'll be happy to share my finds, experiences to any questions posted.
Built from Plan(s)
Estimated Cost
$150-$200 including all accessories, paint, etc.
Estimated Time Investment
Week Long Project (20 Hours or More)
Finish Used
Oil based white primer with latex blueish green paint (I can't remember the color at the moment!), the stovetop is an oil based gloss black paint with stovetop rings painted in the same finish as the rest of the pieces. All is covered in a clear satin spray.
Recommended Skill Level
Intermediate

Comments

Jilllo_23 (not verified)

Sun, 11/06/2011 - 11:20

It went for $400 to a couple that is pregnant with a girl :)

Guest (not verified)

Fri, 12/09/2011 - 06:26

Love this!! I am currently in the middle of building one for my daughters. Can you tell me where you got your faucet for the sink, and the knobs for the stove?

Diana (not verified)

Fri, 06/22/2012 - 21:58

Hi there,
I know you said that you are going to auction your gorgeous little kitchen you made and was interested how I can bid on it or buy it if possible. I would absolutely love this for my little girl.
Are you at all planning to make more as I would definitely be interested.
Thanks
Diana