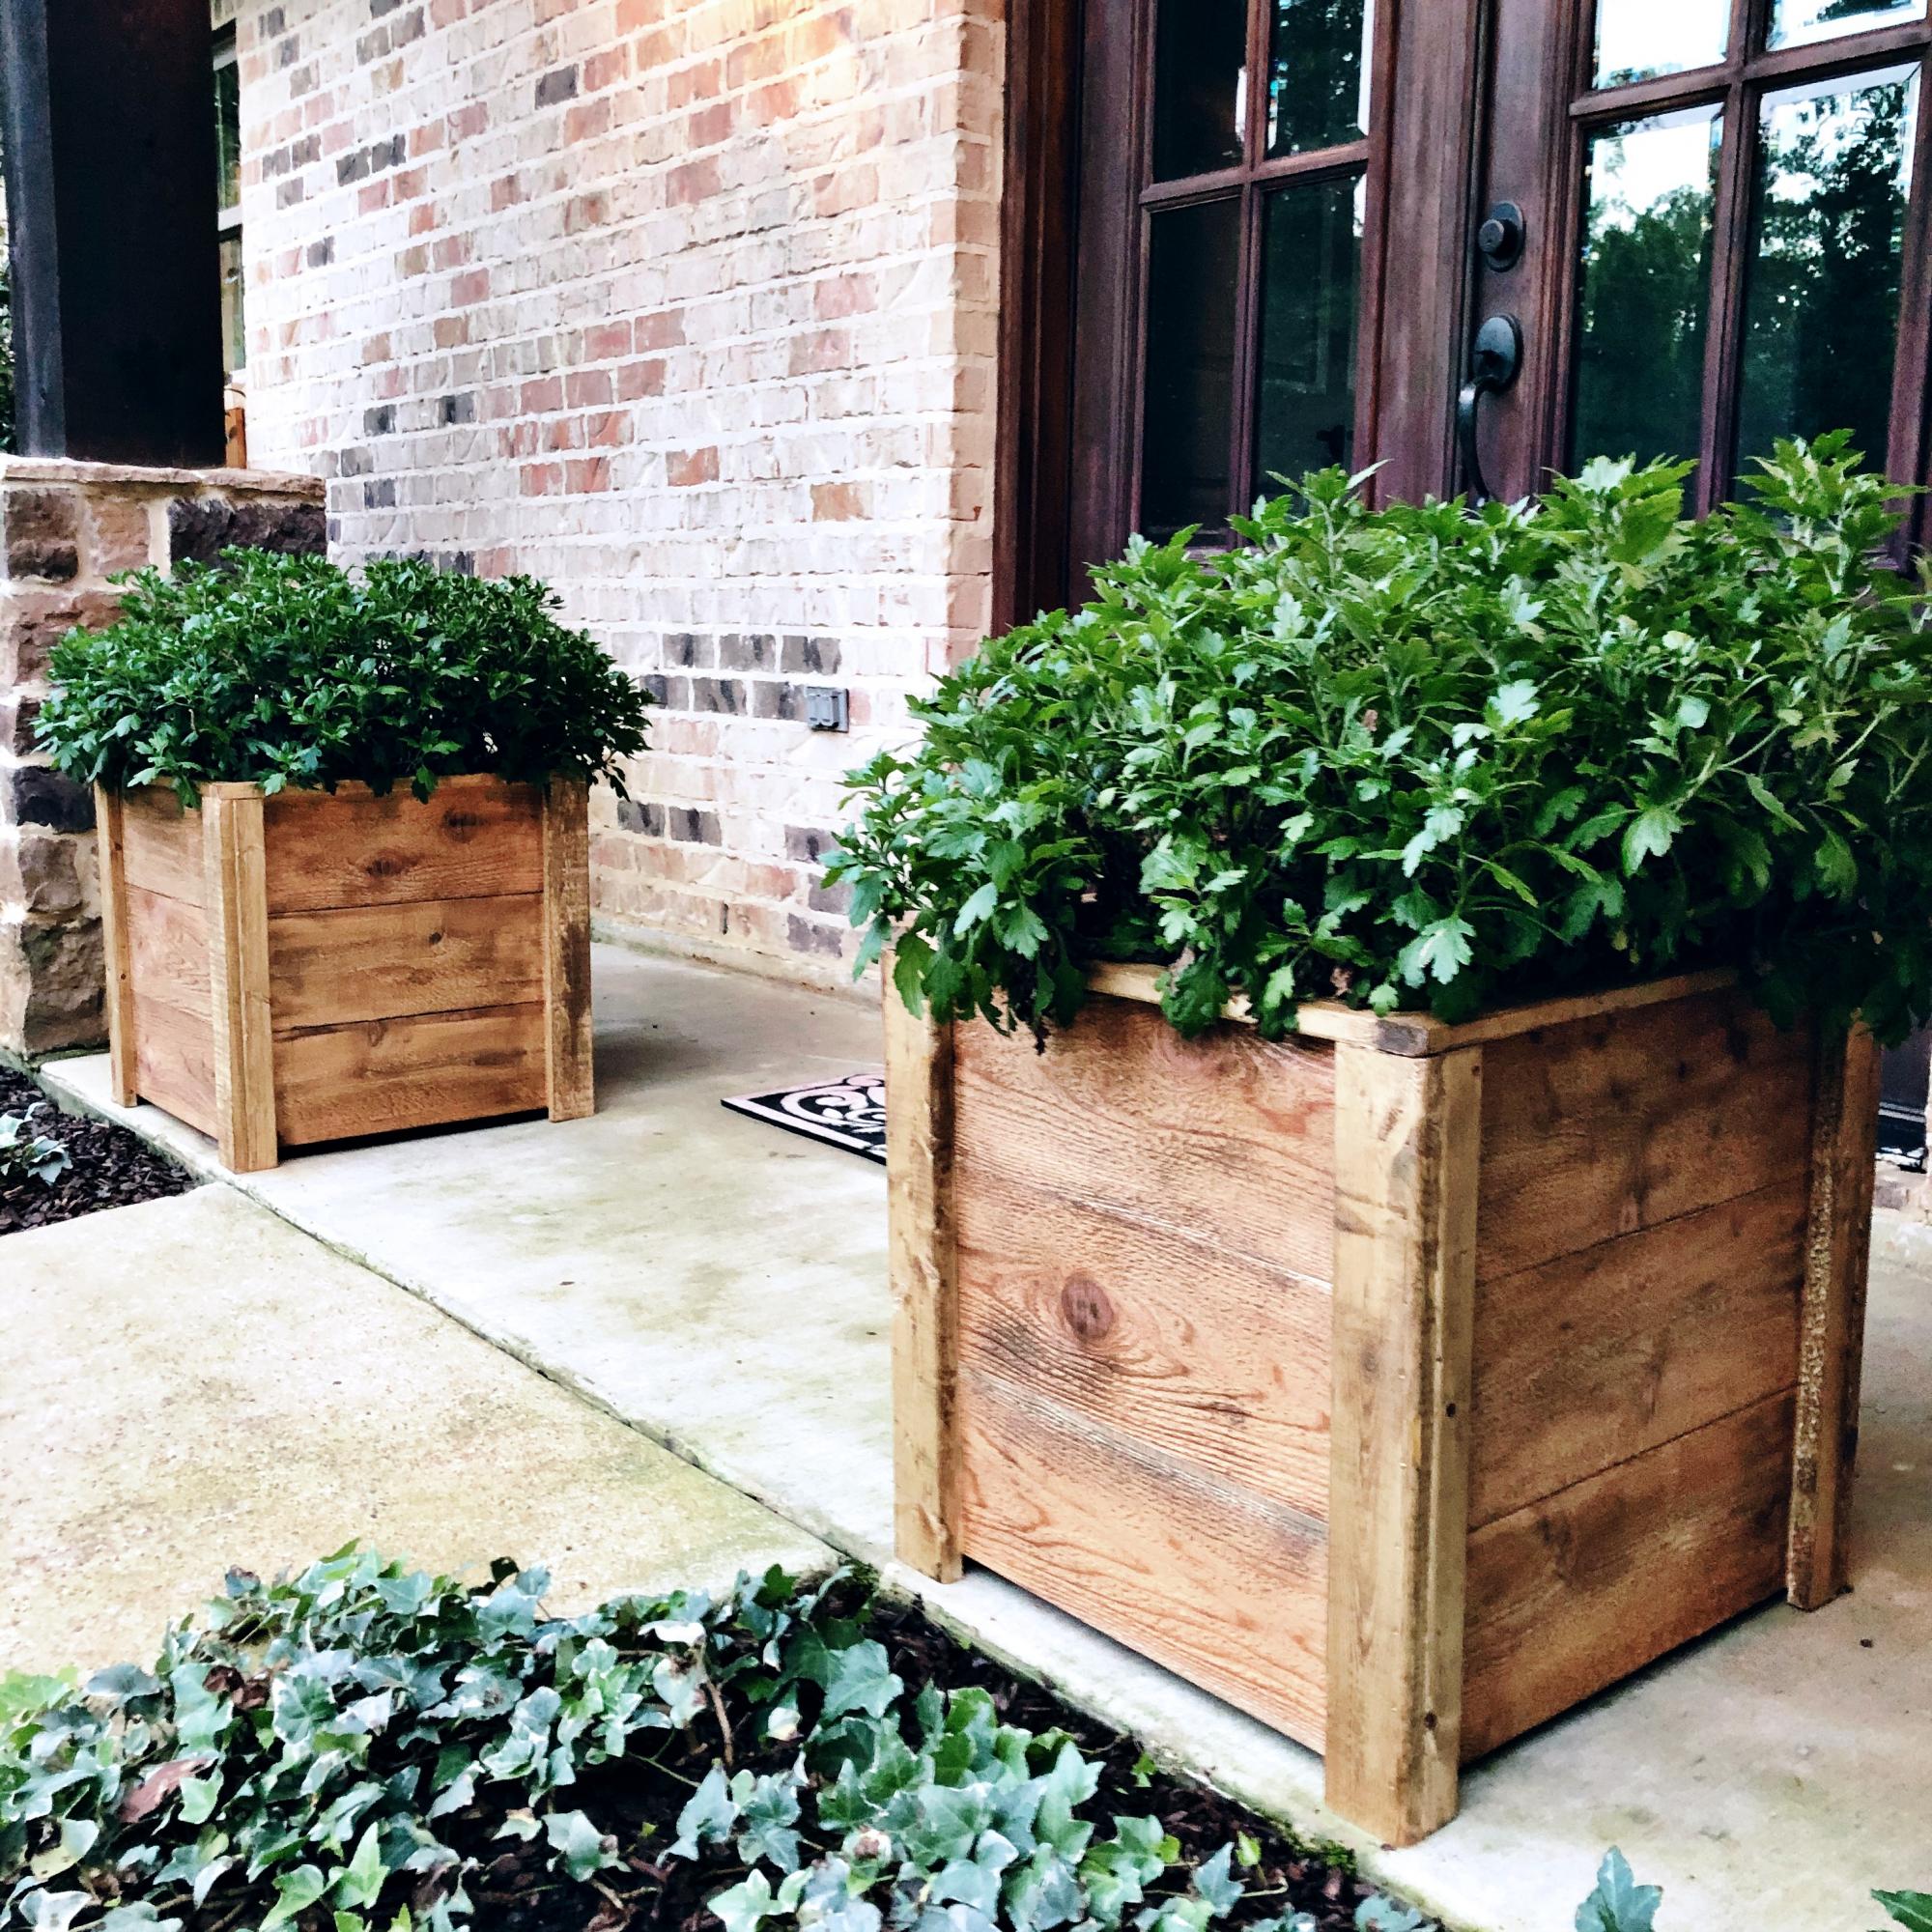
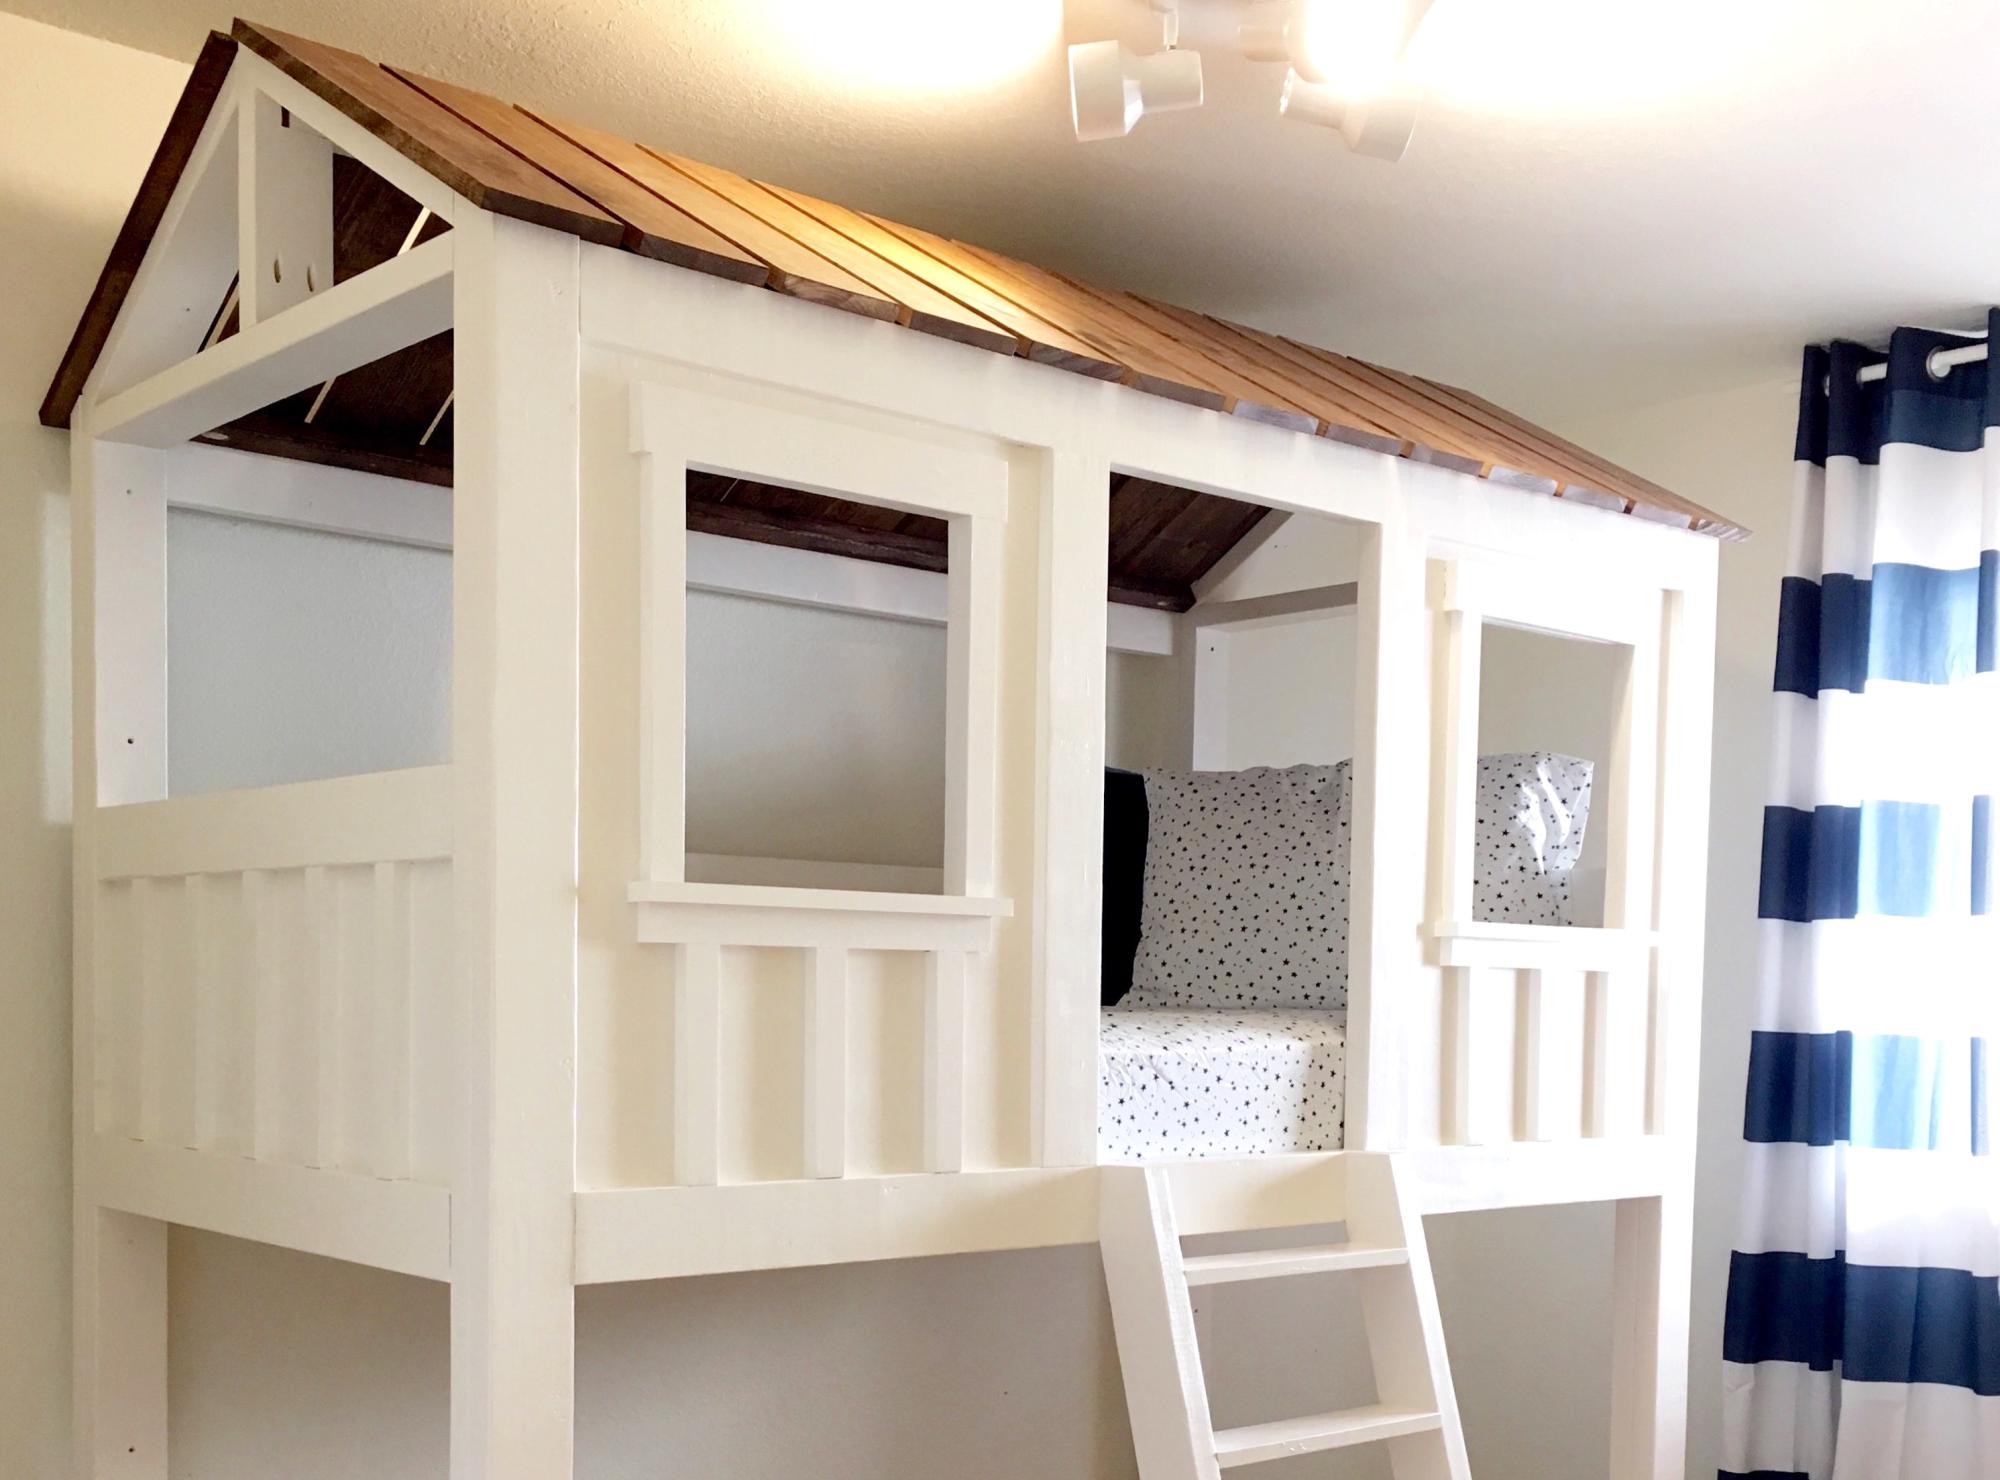
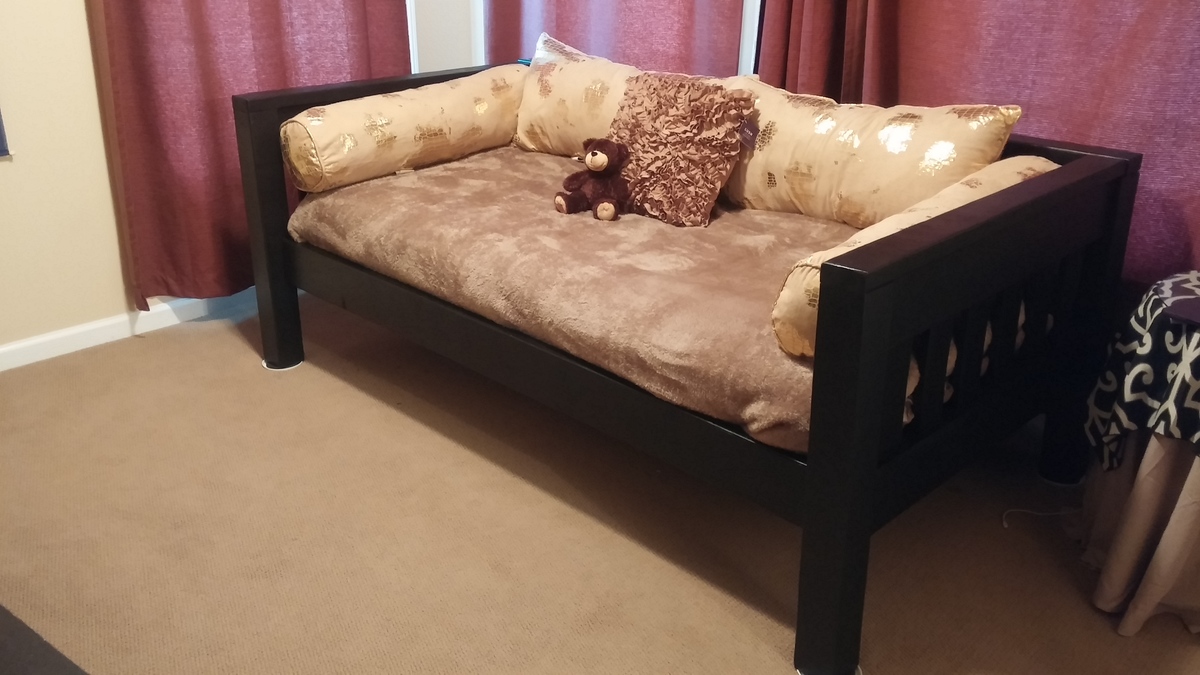
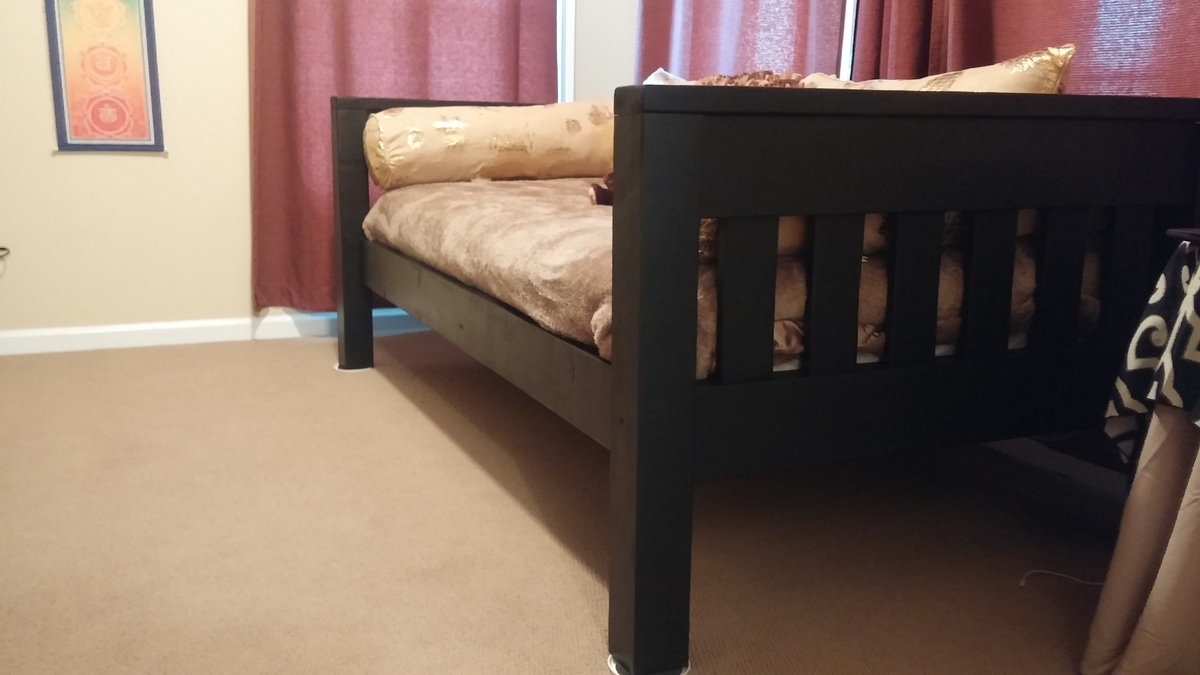
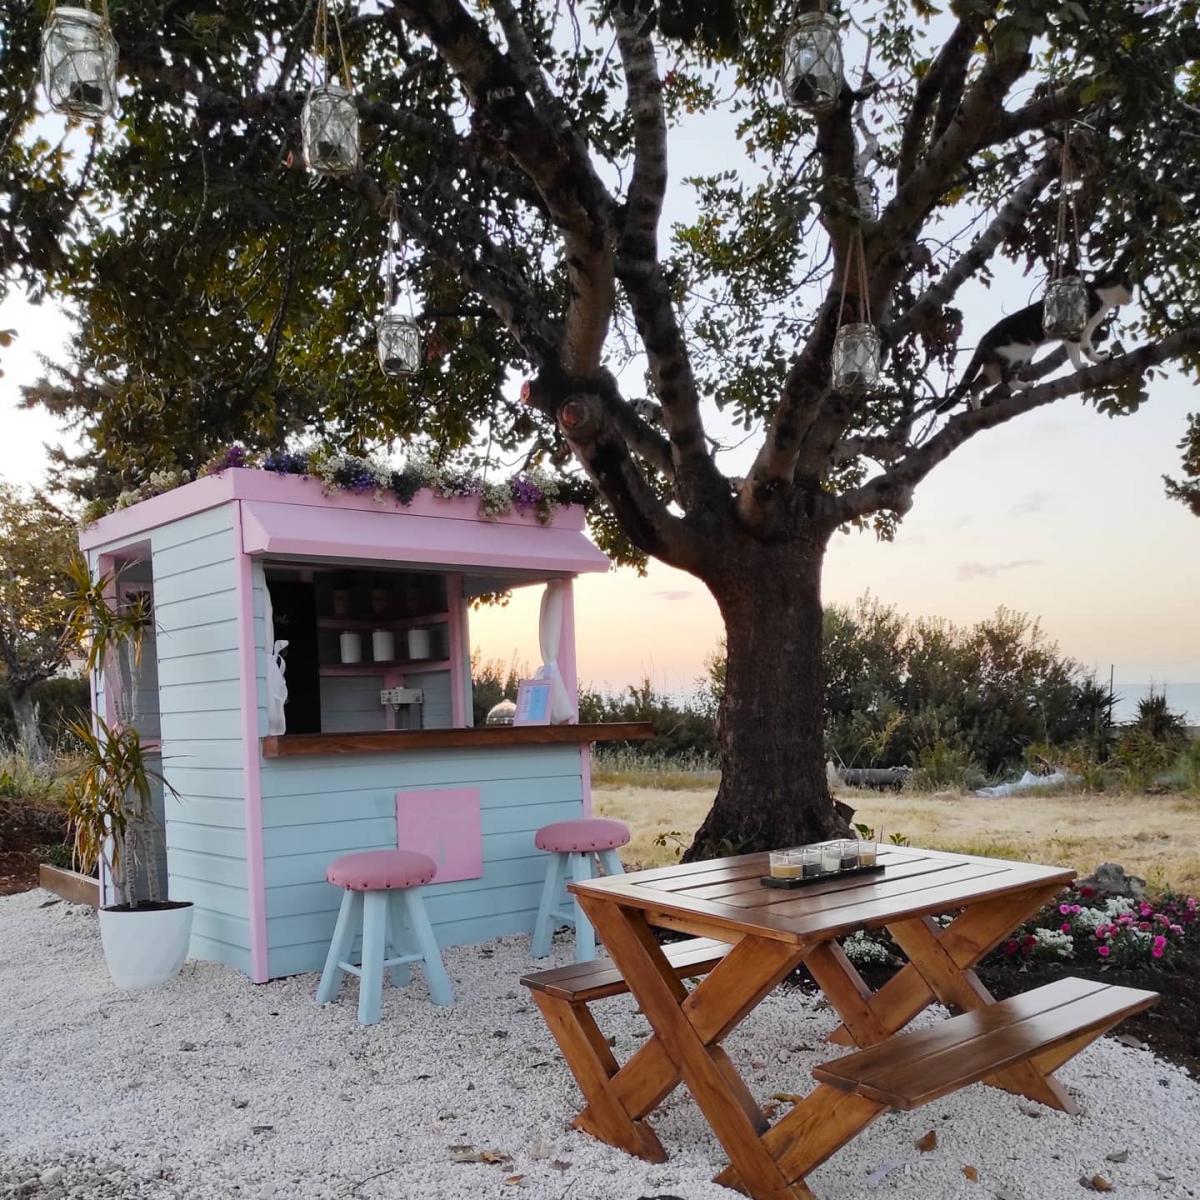
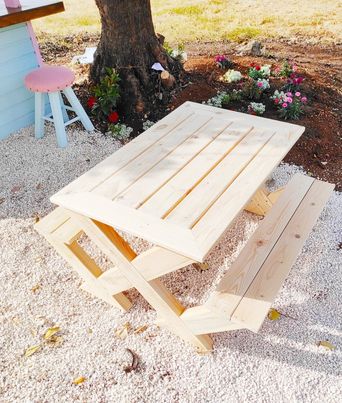
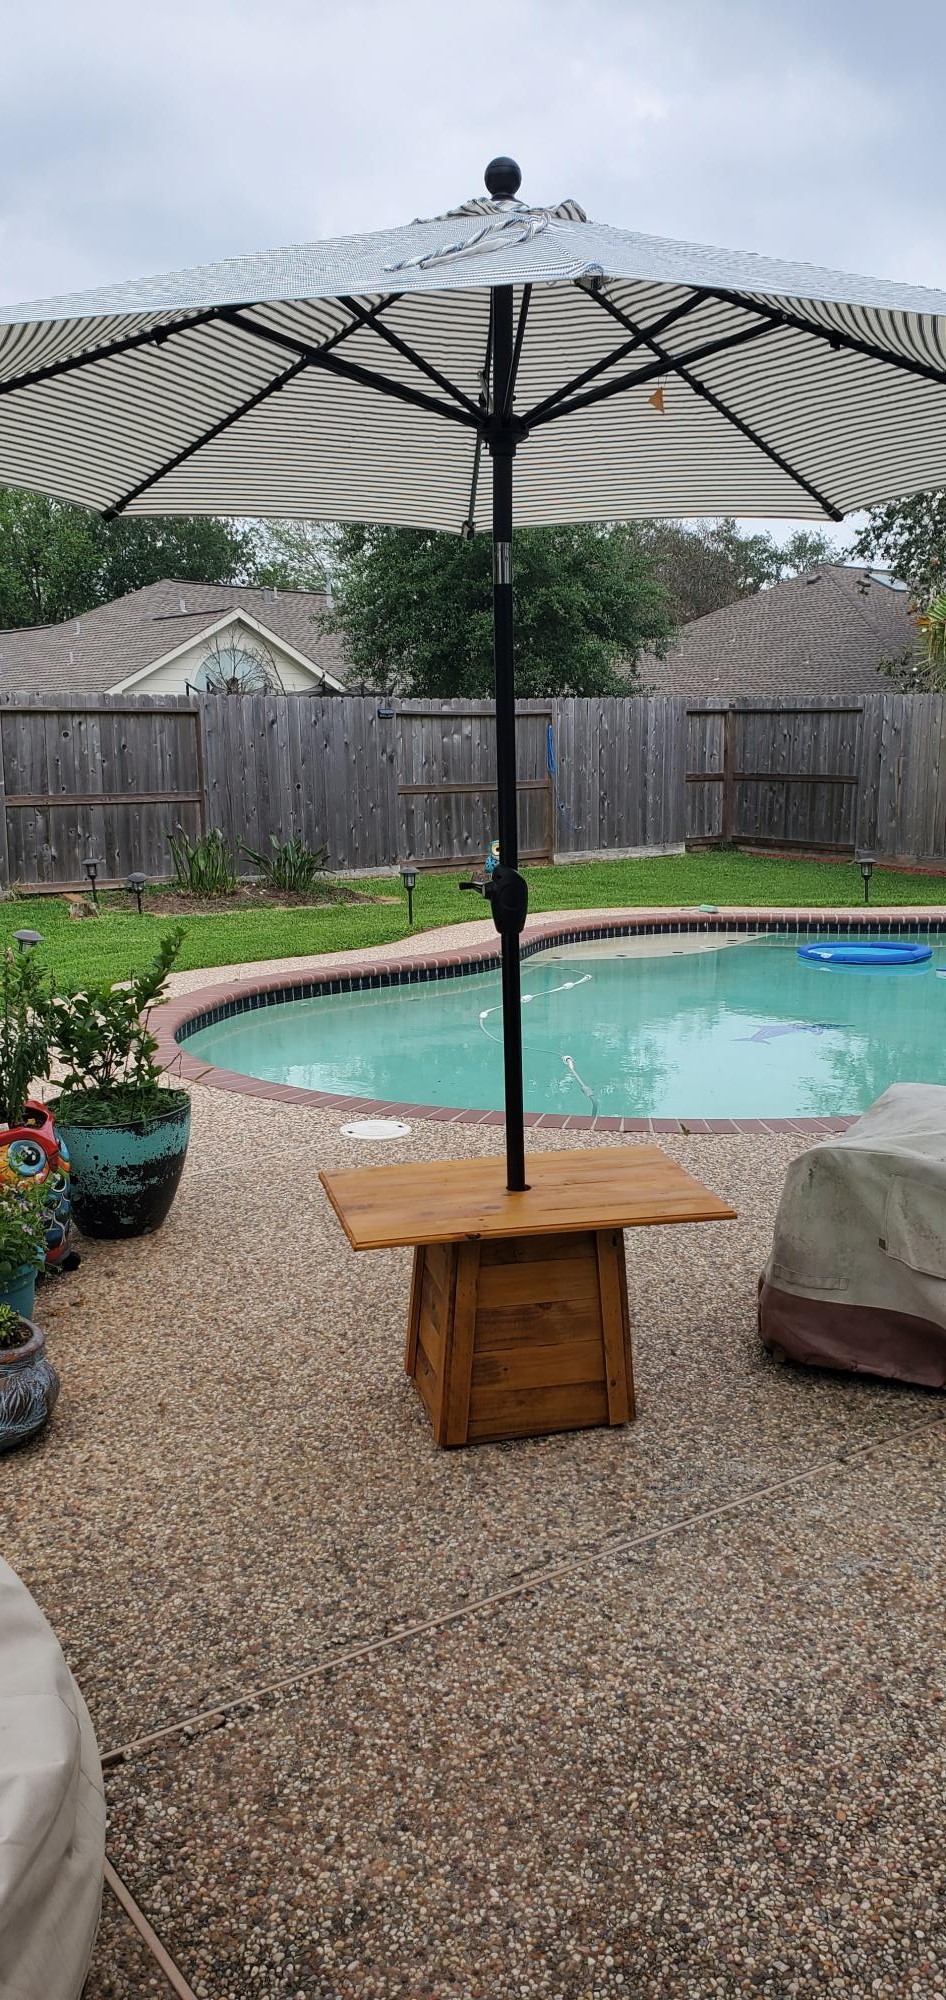
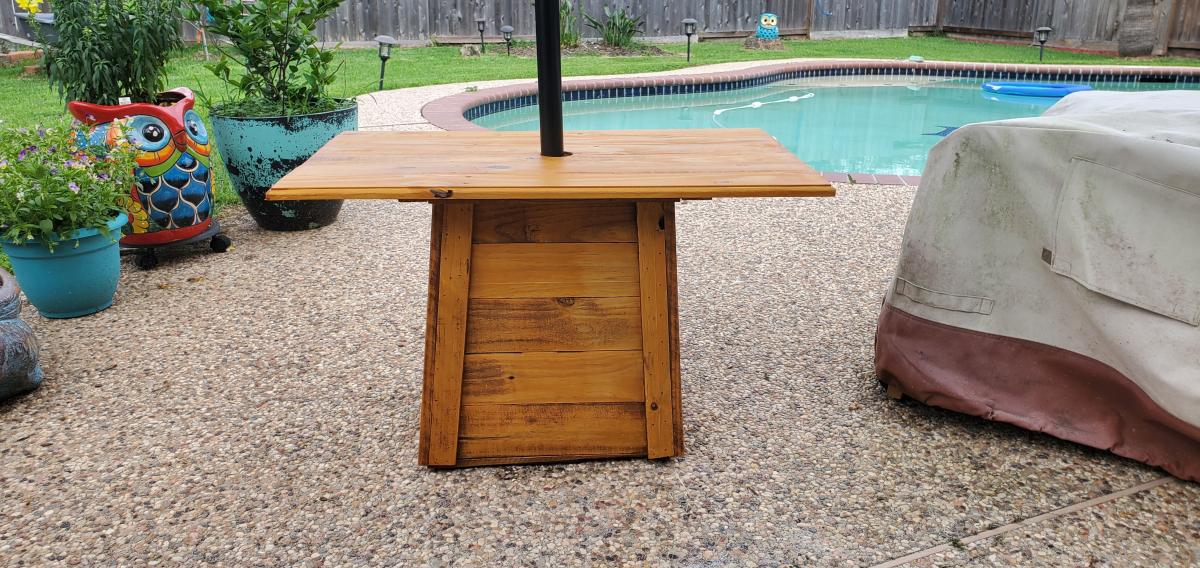
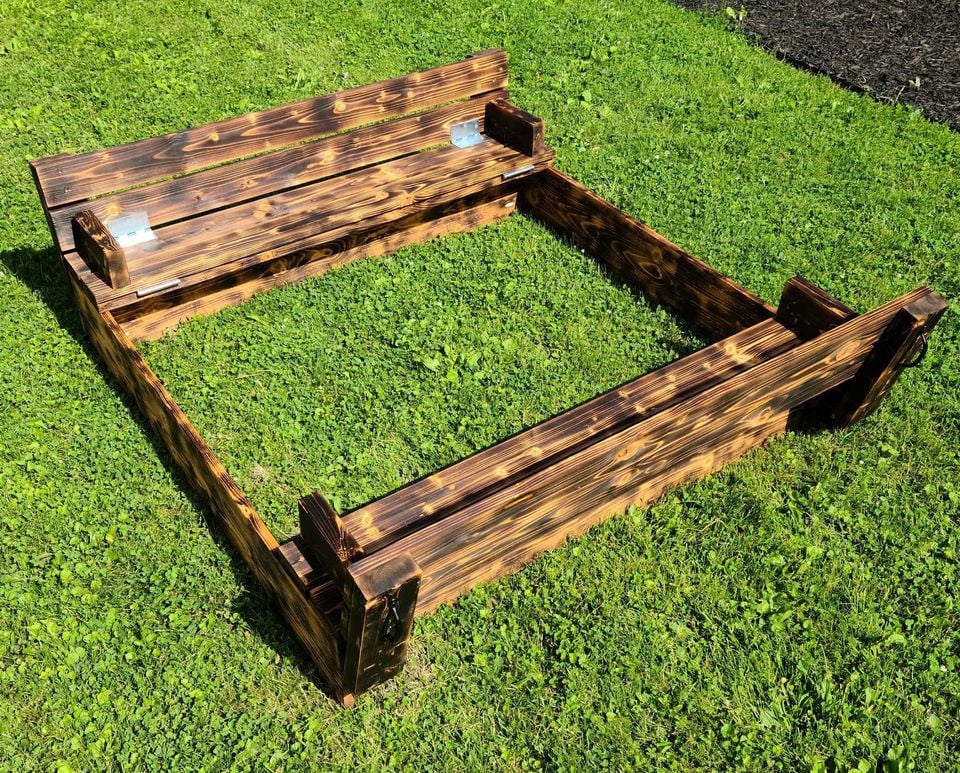
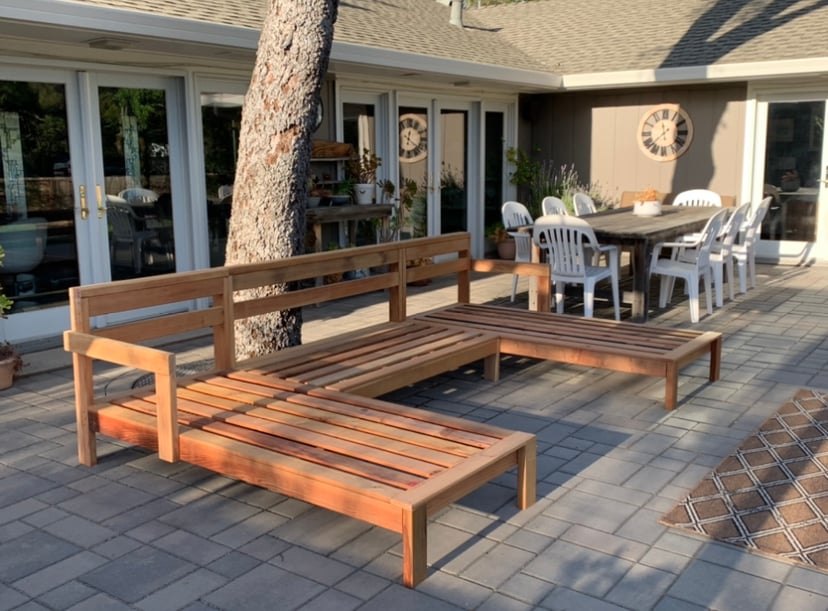
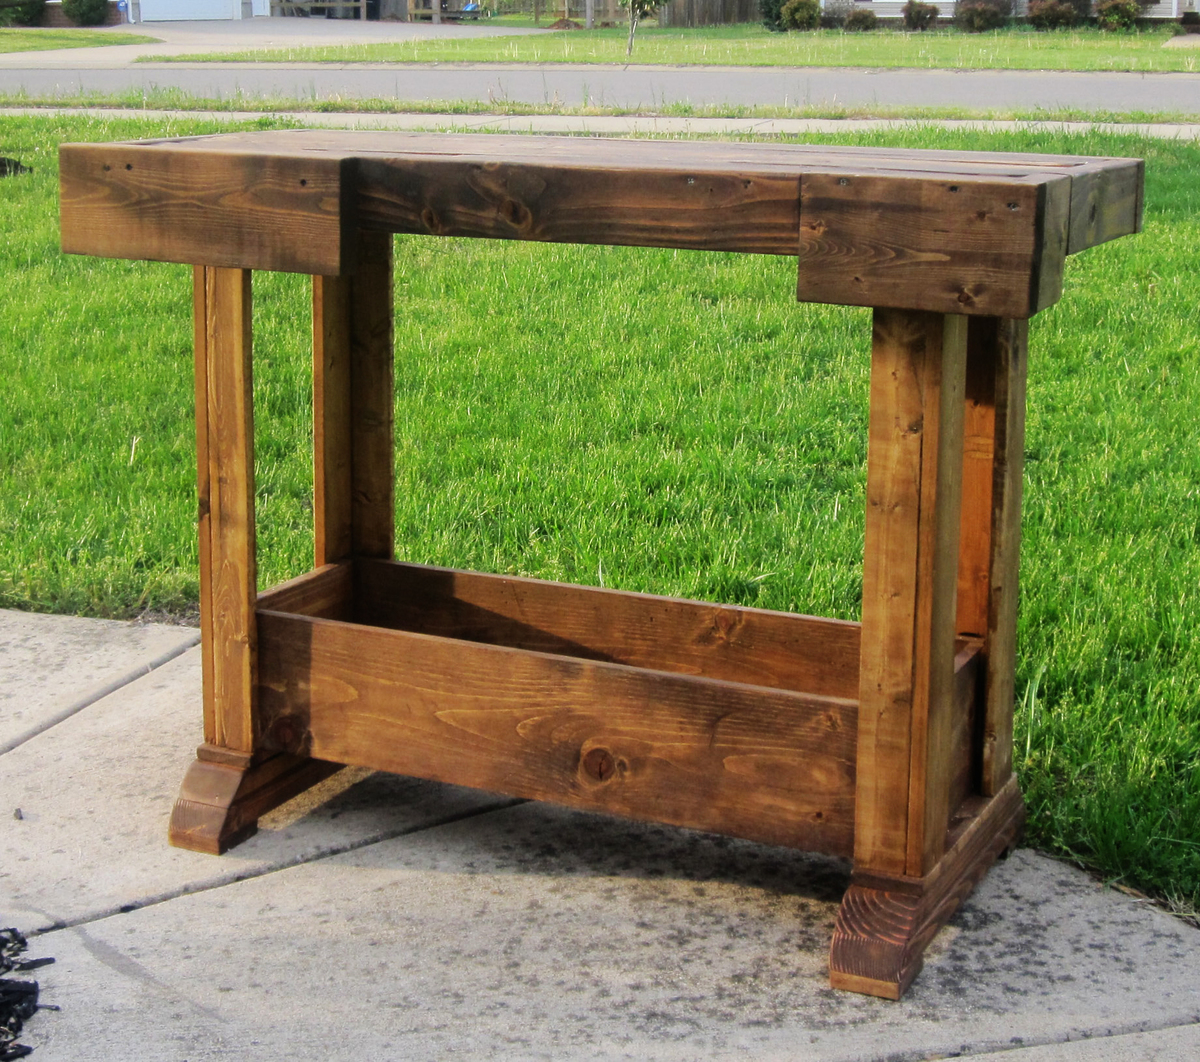
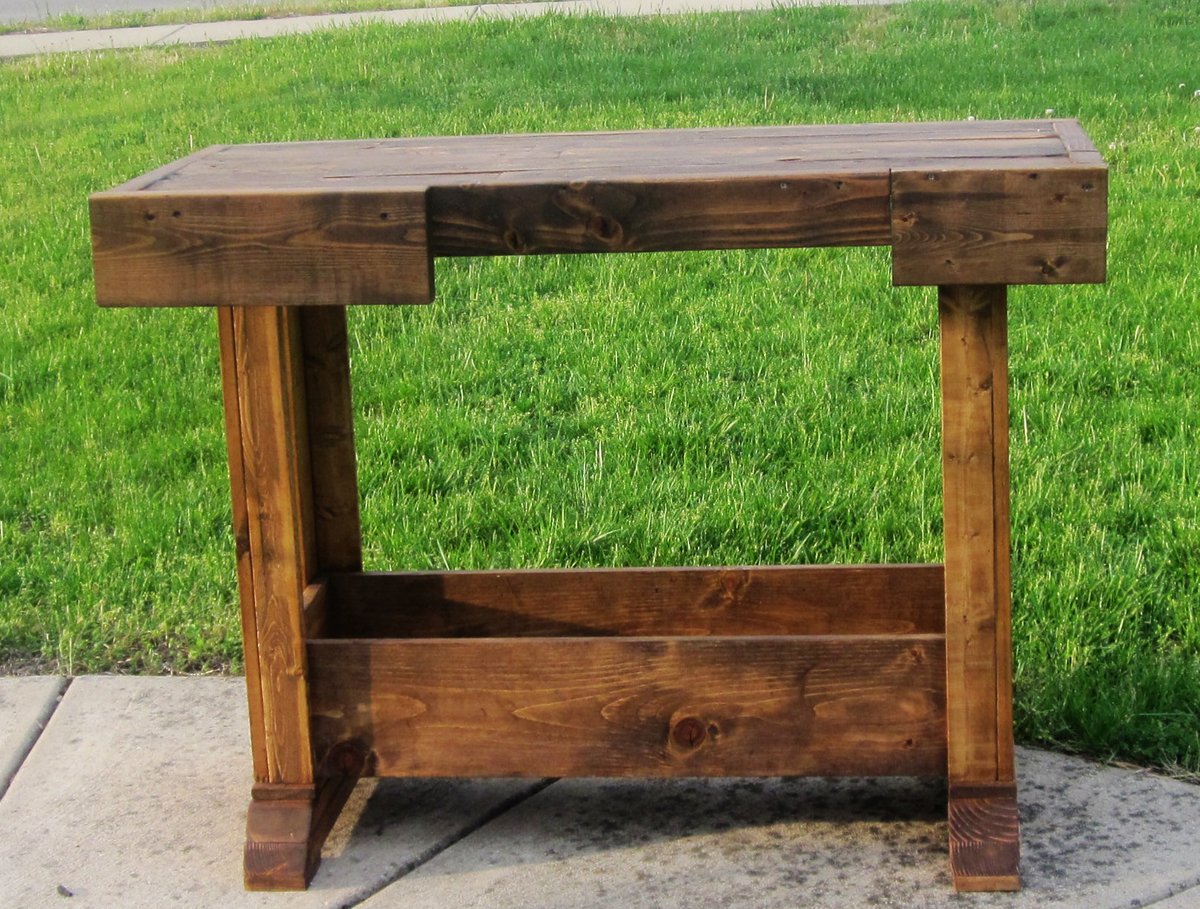
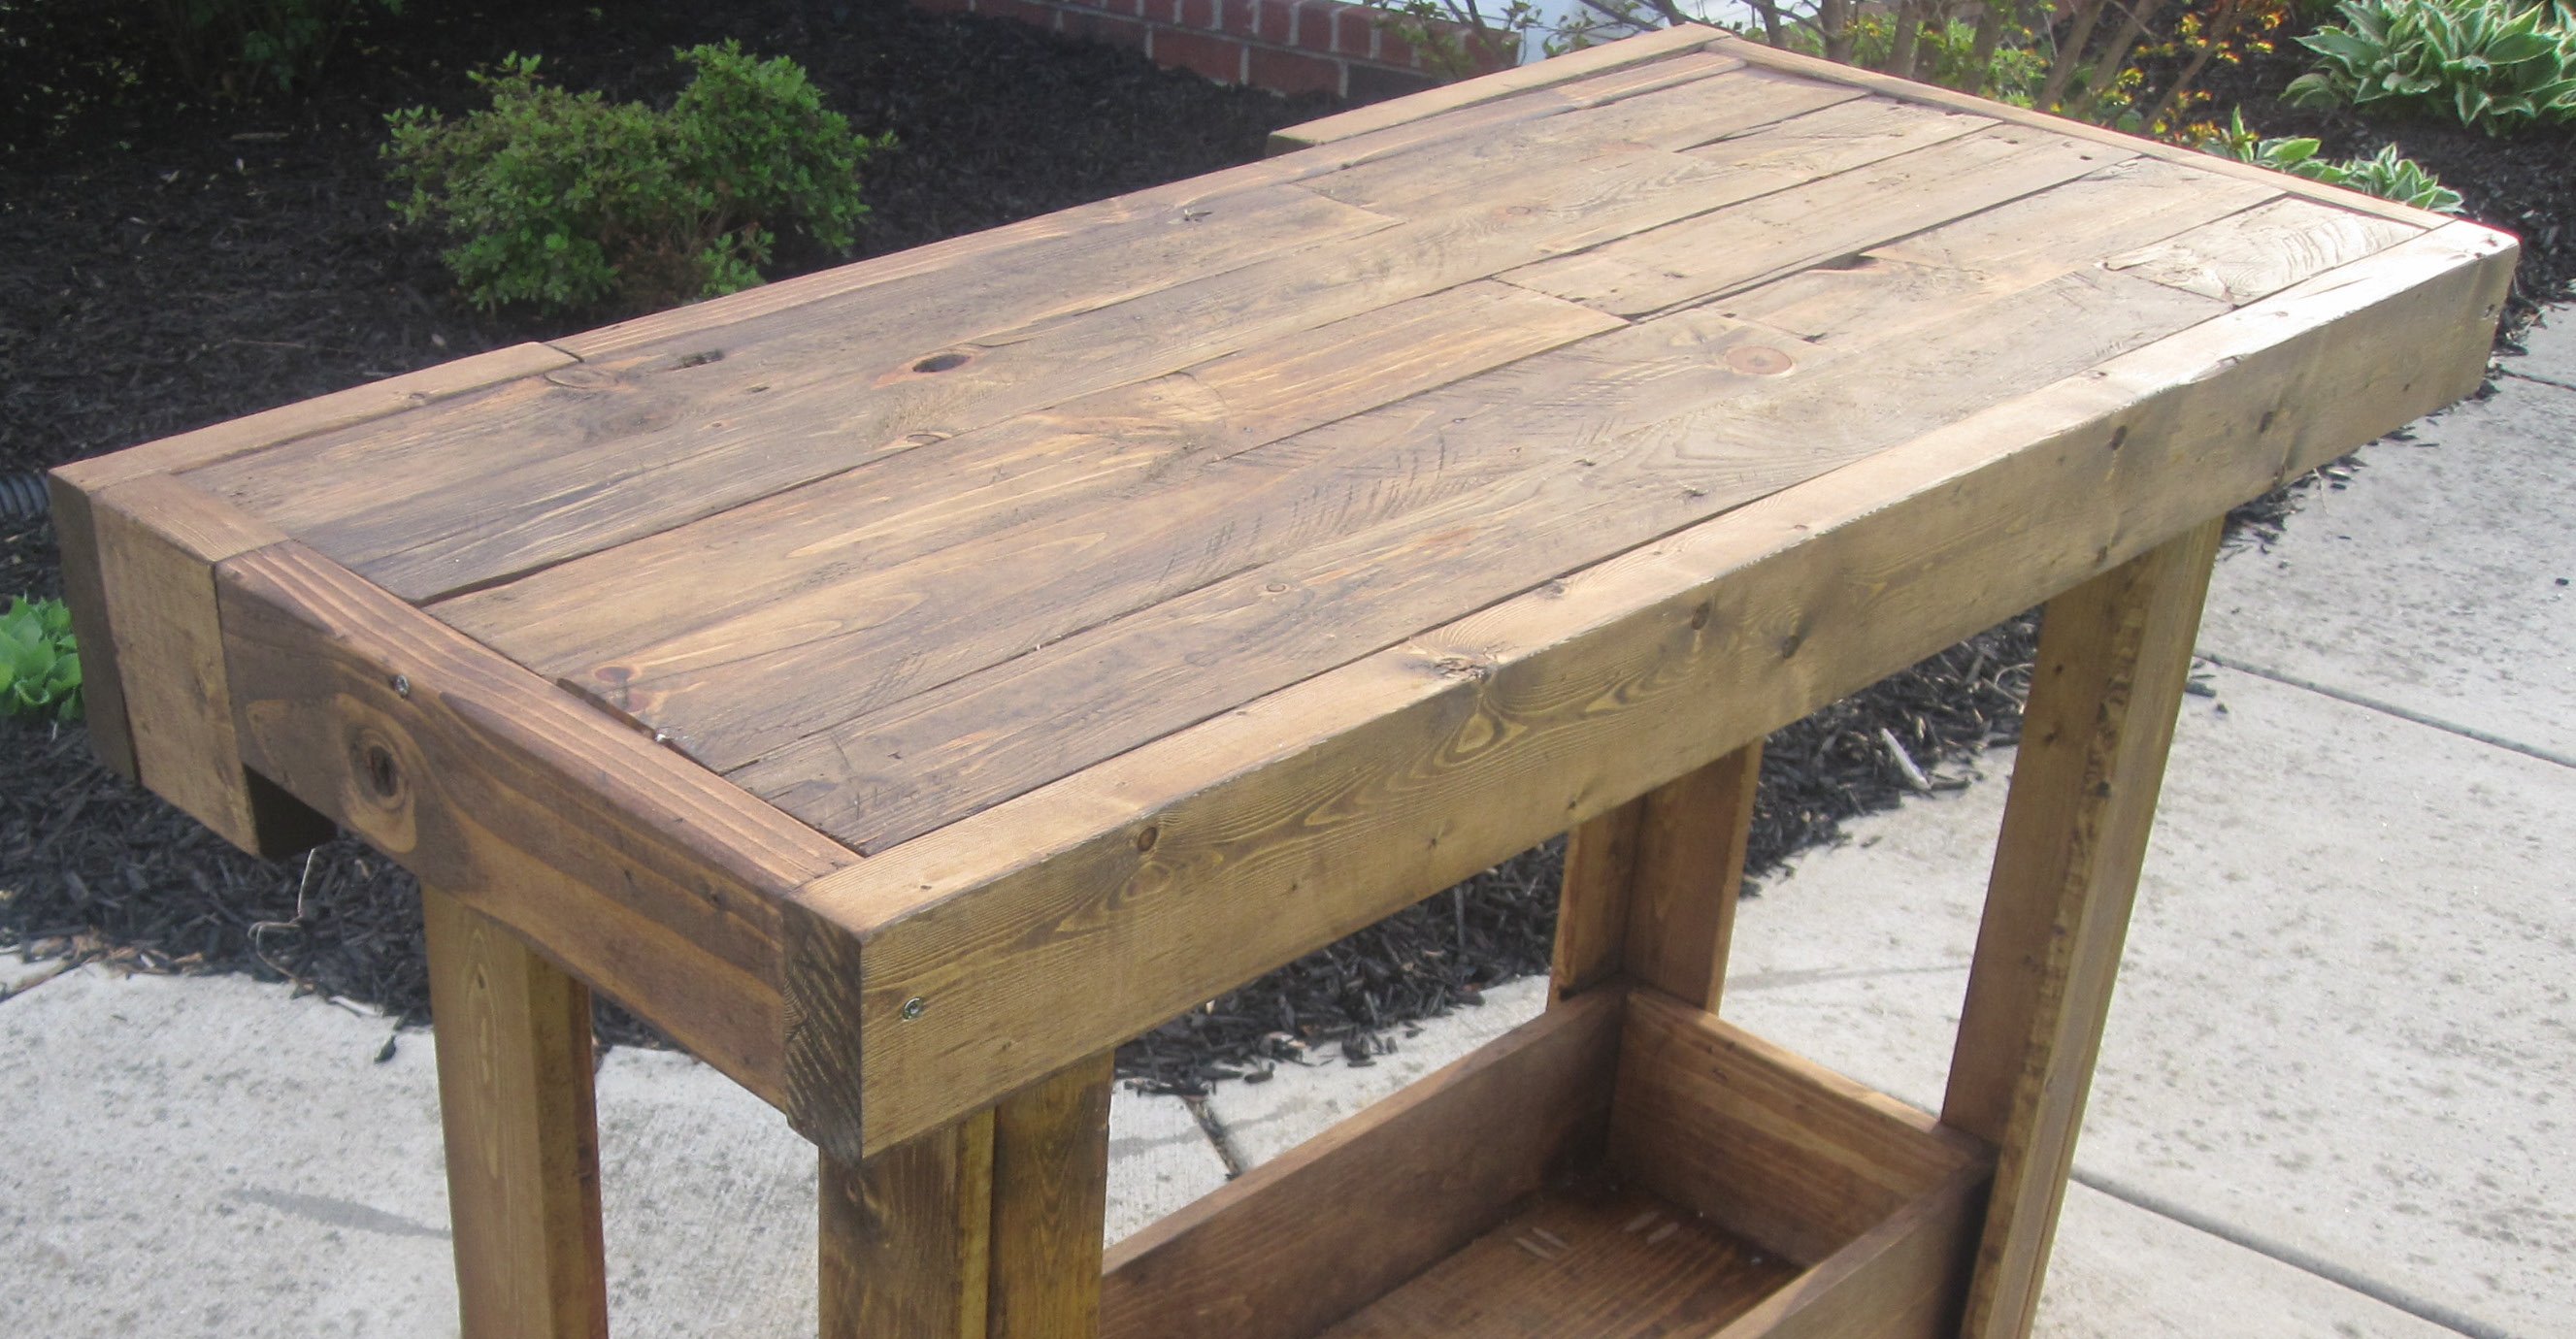
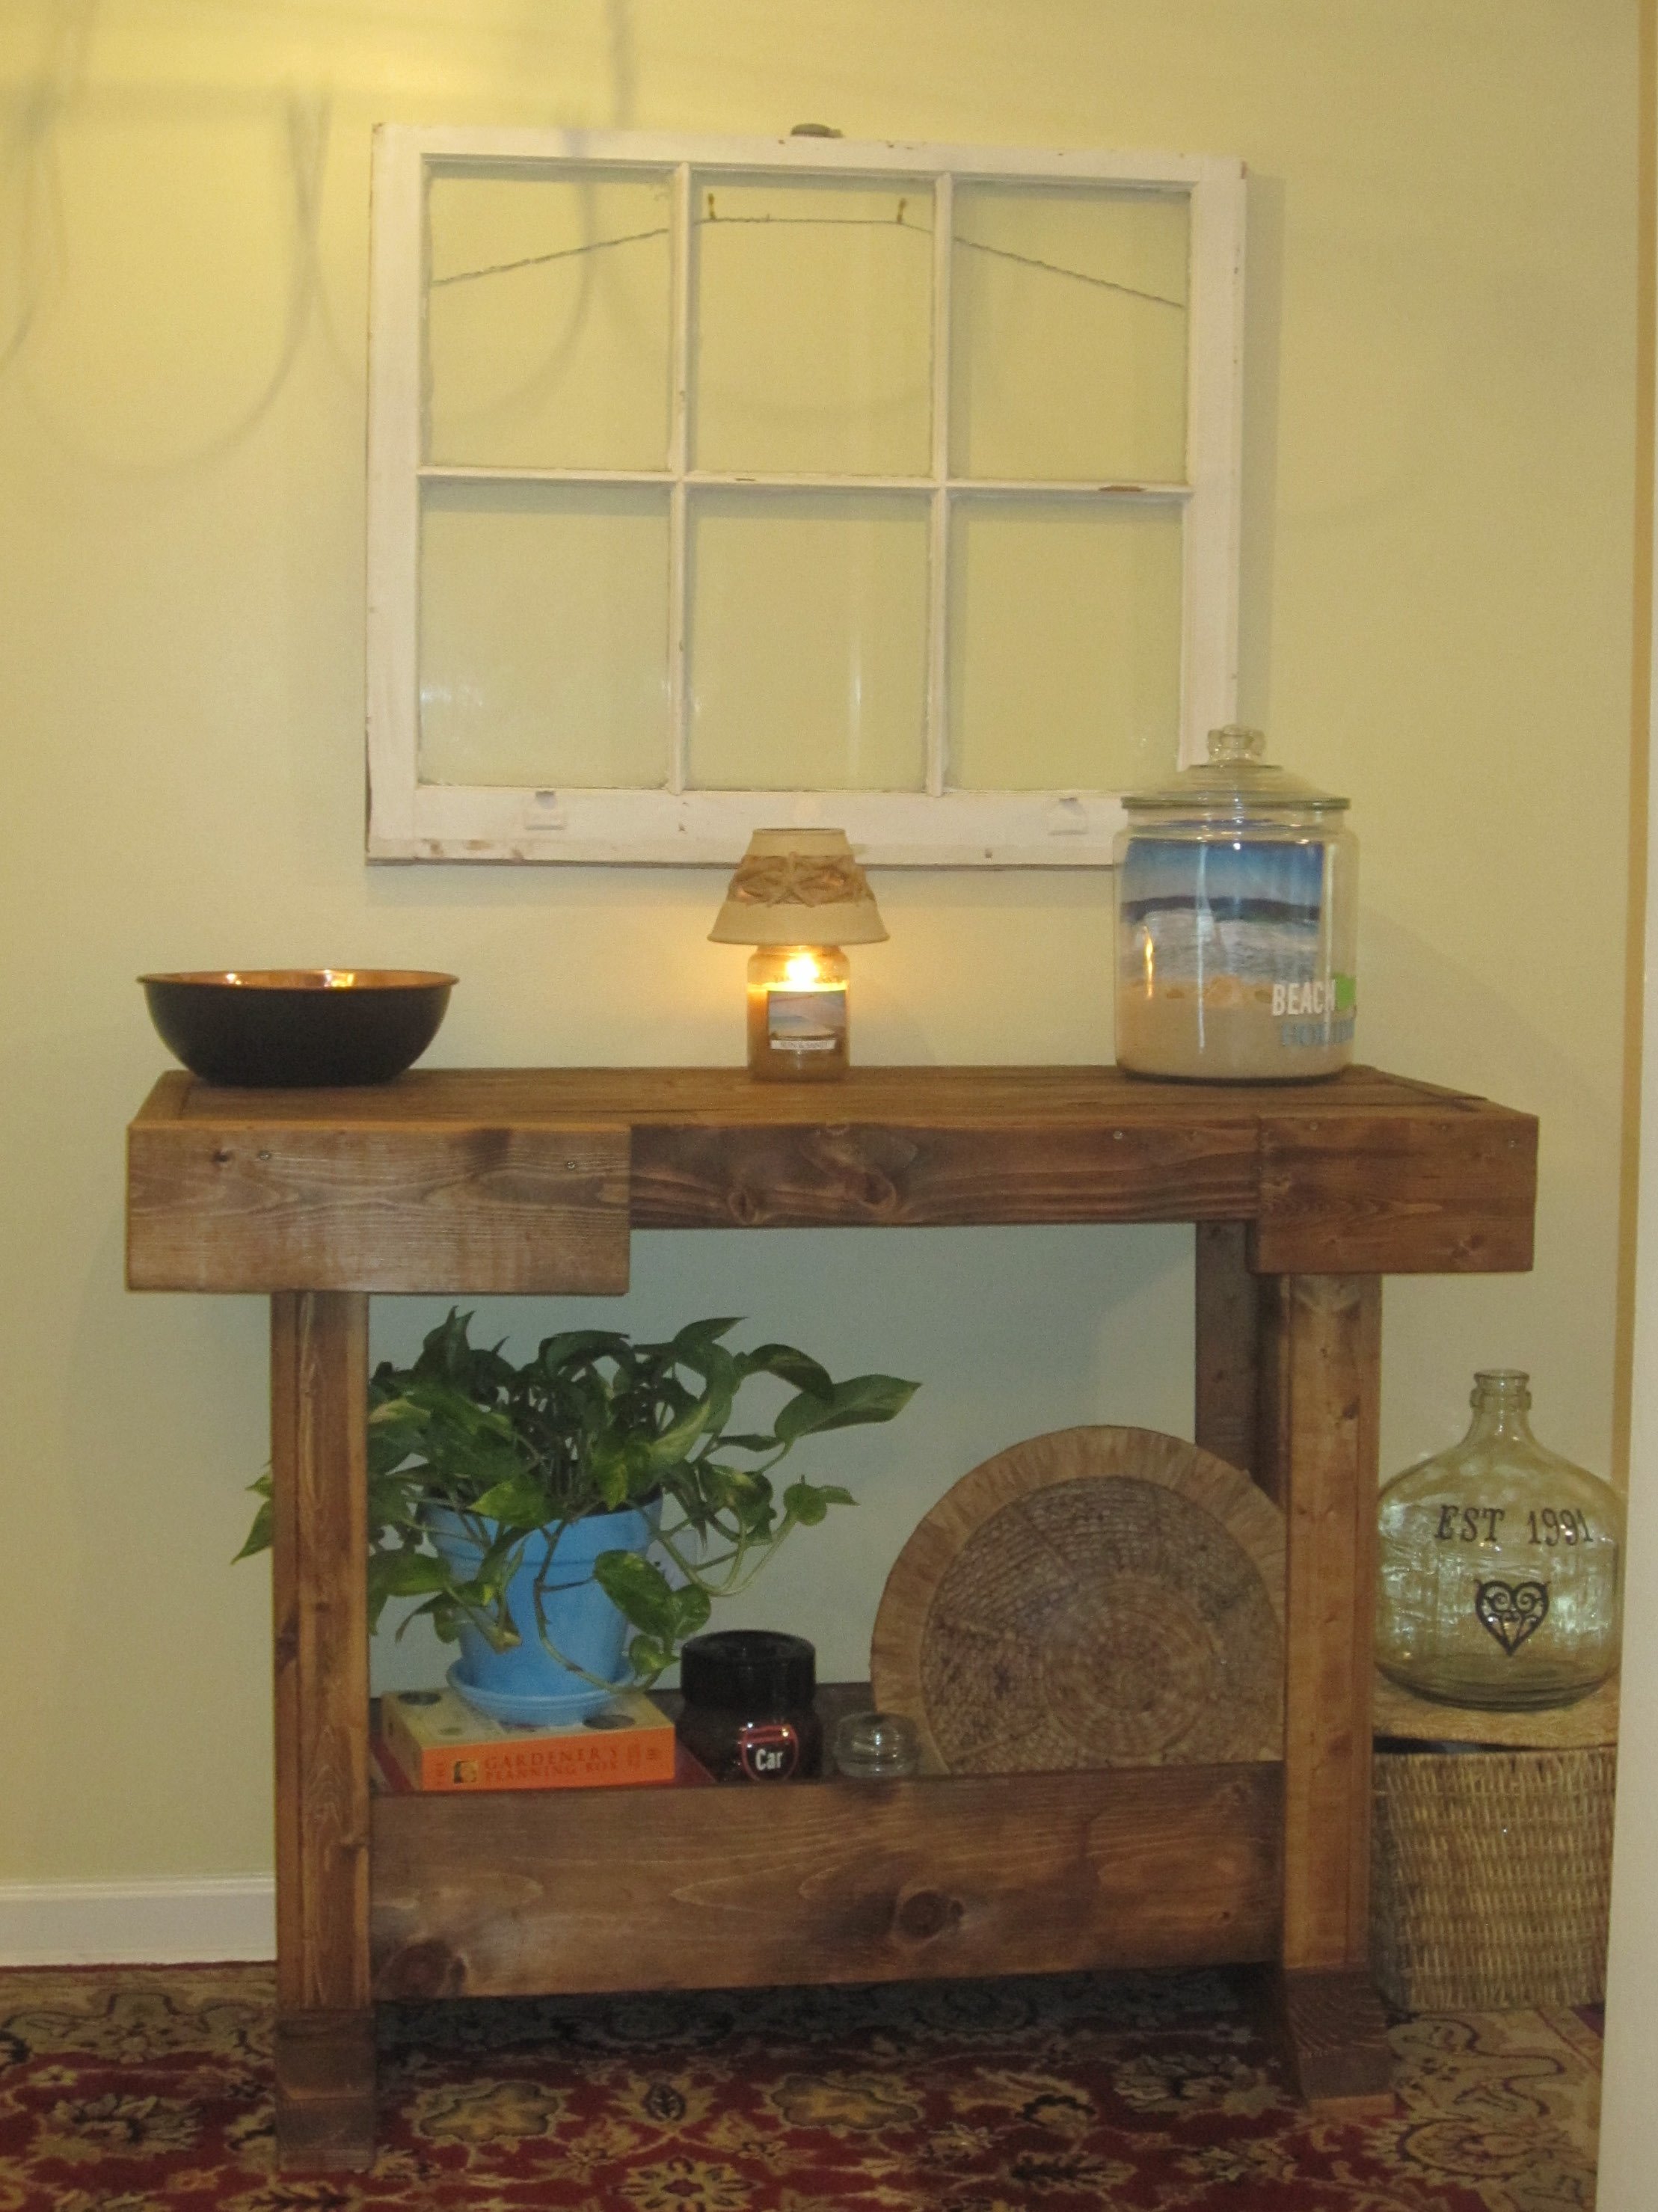
Easy small space side table

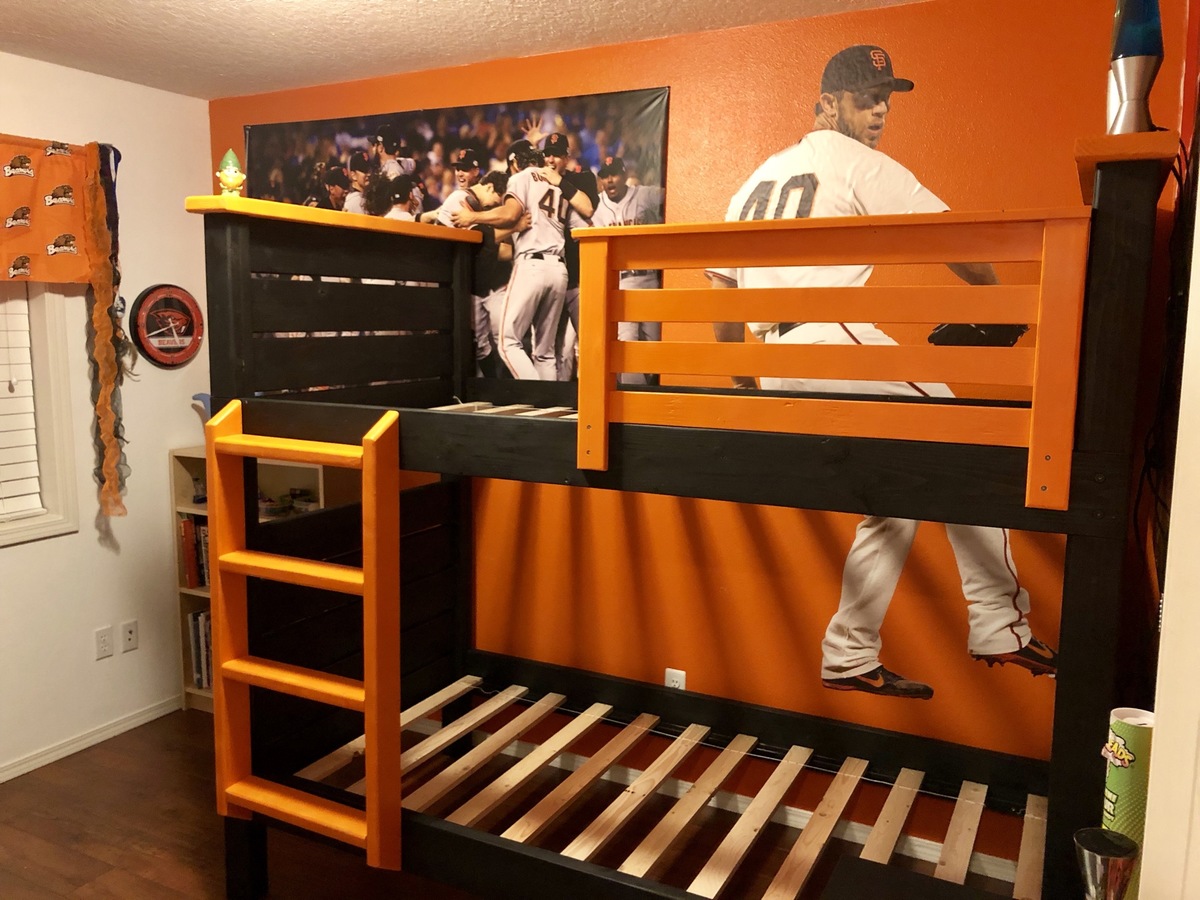
This was my first project. It was relatively easy but I did make some mistakes that are now design features


Built from Plan(s)
Estimated Cost
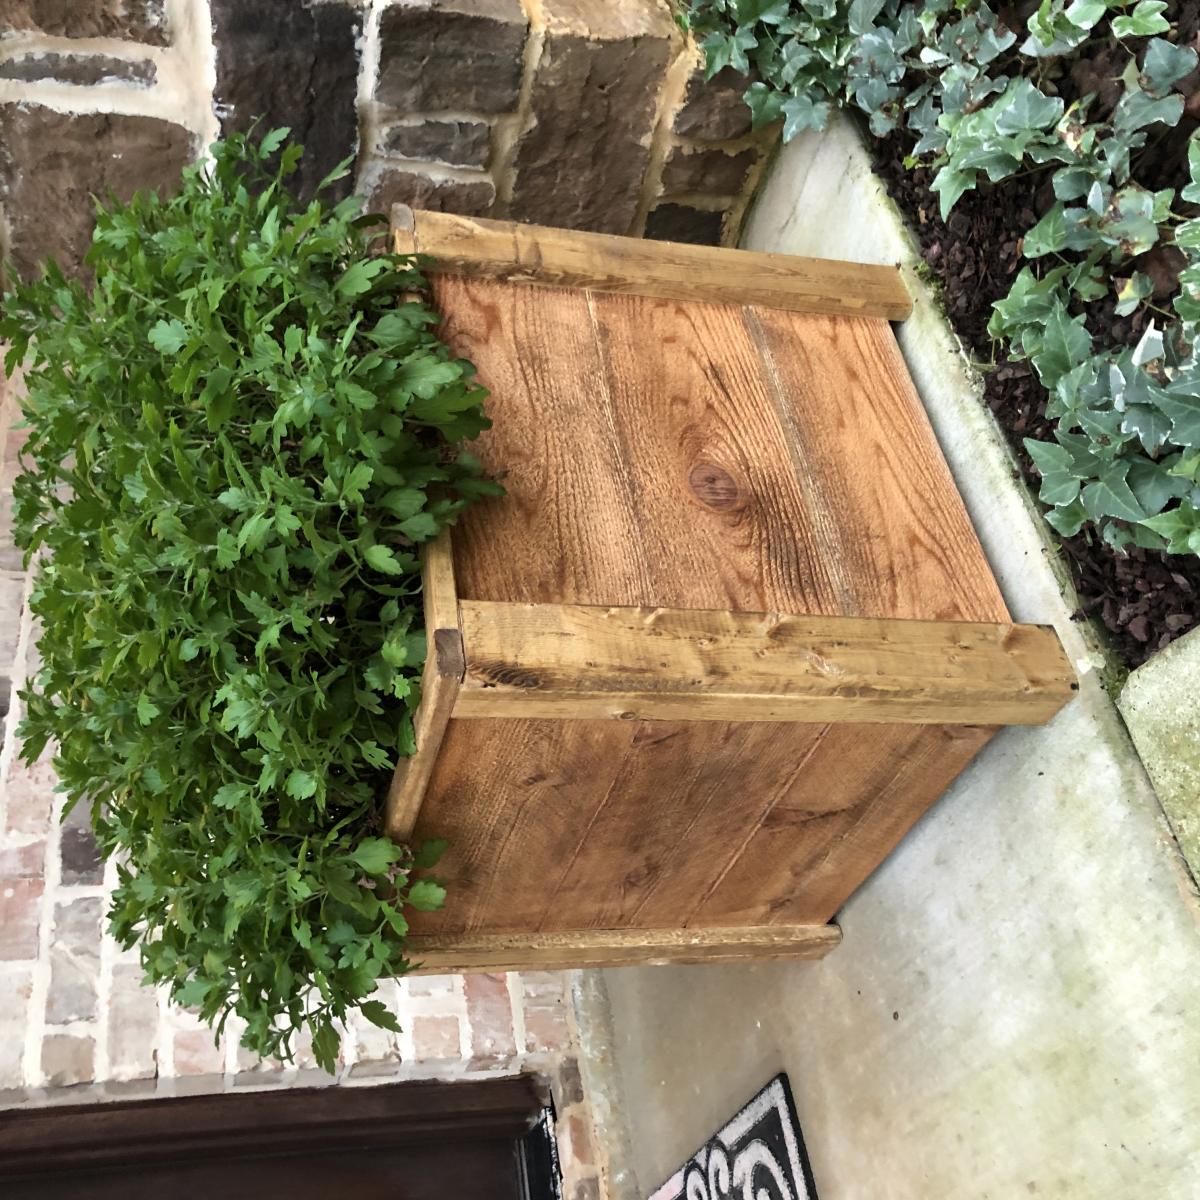
Reclaimed wood
Estimated Time Investment
Afternoon Project (3-6 Hours)
Finish Used
Minwax English chestnut
Recommended Skill Level
Beginner