Community Brag Posts

Popcorn Machine Stand and Storage on Wheels

Submitted by advanlente on Sat, 03/28/2020 - 10:55

My parent organization at the elementary school had just bought a brand new popcorn machine but had nowhere to store it. So, I offered to try my hand at building a stand with storage. I knew that we needed the stand to be mobile as the idea was to pop the popcorn in different classrooms for incentives, etc. I modified the kitchen prep cart to have a large cabinet underneath to store the popcorn, bags, etc. The pullout drawer was home to the measuring cups, directions, etc. I used my Cricut and cut out our school logo, placed on the popcorn machine and then polyurethaned it to the side. It turned out great!!! I could not be happier :)

Estimated Cost
$120
Estimated Time Investment
Weekend Project (10-20 Hours)
Finish Used
Red paint and polyurethane

Kids Storage Bench

Submitted by ValBryant on Thu, 08/16/2012 - 09:10

After building a few things from plans I decided to come up with something on my own, and from scraps I made this bench for my son.

Built from Plan(s)
Estimated Cost
Scraps
Estimated Time Investment
An Hour or Two (0-2 Hours)
Finish Used
Dark Walnut
Recommended Skill Level
Starter Project

Rustic X Console Table

Submitted by Monique on Sun, 06/21/2020 - 18:44

This is our second time building the Rustic X Console Table. It is such a fun project! I have all the details and more pictures on my blog.

Built from Plan(s)
Estimated Time Investment
Weekend Project (10-20 Hours)
Finish Used
Varathane Dark Walnut
Satin Polyurethane
Recommended Skill Level
Beginner

$40 Ping Pong table top game

With Father's Day rolling in, my sons and I needed a gift, stat! My husband thinks that Table Tennis is the quintessential father-son activity, so that was an obvious choice.
We needed something easy to make, easy to store, and budget friendly. With a 6, 4, and 2 year old helping out, I made a foldable mdf ping pong table that could easily be placed on our picnic table outside.
We had home depot cut the mdf in half, primed it, taped off some lines, spray painted it with chalkboard paint (bonus, you can keep score!), and screwed 4 small hinges to attach the 2 halves. We added a removable table tennis net, some paddles and balls, and have played nearly every day!

Estimated Cost
$40
Estimated Time Investment
Afternoon Project (3-6 Hours)
Finish Used
Chalkboard spray paint
Recommended Skill Level
Starter Project

Comments

Tilt Out Wooden Trash Bin

Submitted by paigers01 on Mon, 01/09/2017 - 11:27

Tilt Out Wooden Trash Bin

After 7 years of our trash can sitting out in the open, my wife decided we needed to do something about it. I saw the plans for this tilt out wooden trash bin, and slightly modified it using tongue and groove for the face panel.


Estimated Cost
$50-$75
Estimated Time Investment
Afternoon Project (3-6 Hours)
Finish Used
Minwax English Chestnut
Recommended Skill Level
Beginner

Greenhouse

Submitted by Anonymous (not verified) on Tue, 01/05/2021 - 08:08

We made some modifications to the greenhouse to include a bench with three levels, a working bench and a square foot garden. We also put it on concrete to keep all the weeds out from the bottom as well.

Built from Plan(s)
Estimated Cost
2500.00
Finish Used
We start our own seeds and plan to grow 15 different varieties of vegetables inside this greenhouse all year long.
Recommended Skill Level
Intermediate

Comments

Kitty Outhouse

My first Ana White project. Built Ana’s awesome small cedar shed as an outhouse for our many cats. The have access to it from inside the house. Great way to keep litter boxes and the mess out of the house. It is stand alone, and attached to the house, in front of a bedroom window. There are two ‘entrances’ as well as two, one-way, escape hatches, if a cat in the outhouse is interrupted by another cat (I.e. a male cat comes in and the female feels trapped) they can exit to the outside (one way so no critters can come inside!). Ana has easy to build plans, great site! I plan on making the square table just posted today for my newly refurbished deck. Keep in mind, my estimated costs and time reflect a LOT of additional features on the inside. The shed itself, very easy, simple, inexpensive. Very little waste with Ana’s projects as well.

Built from Plan(s)
Estimated Cost
$500
Estimated Time Investment
Week Long Project (20 Hours or More)
Finish Used
No finish, at least not yet.
Recommended Skill Level
Intermediate

Comments

DIY Murphy Wall Bed

Submitted by Dstor22 on Sun, 03/15/2015 - 07:05

Just finished up my Murphy Bed project. Hope you like.

Estimated Cost
280.00
Estimated Time Investment
Weekend Project (10-20 Hours)
Finish Used
Weathered Oak Stain
Recommended Skill Level
Intermediate

Comments

Half furniture/half art farmhouse table

Submitted by Anonymous (not verified) on Wed, 06/14/2017 - 12:29

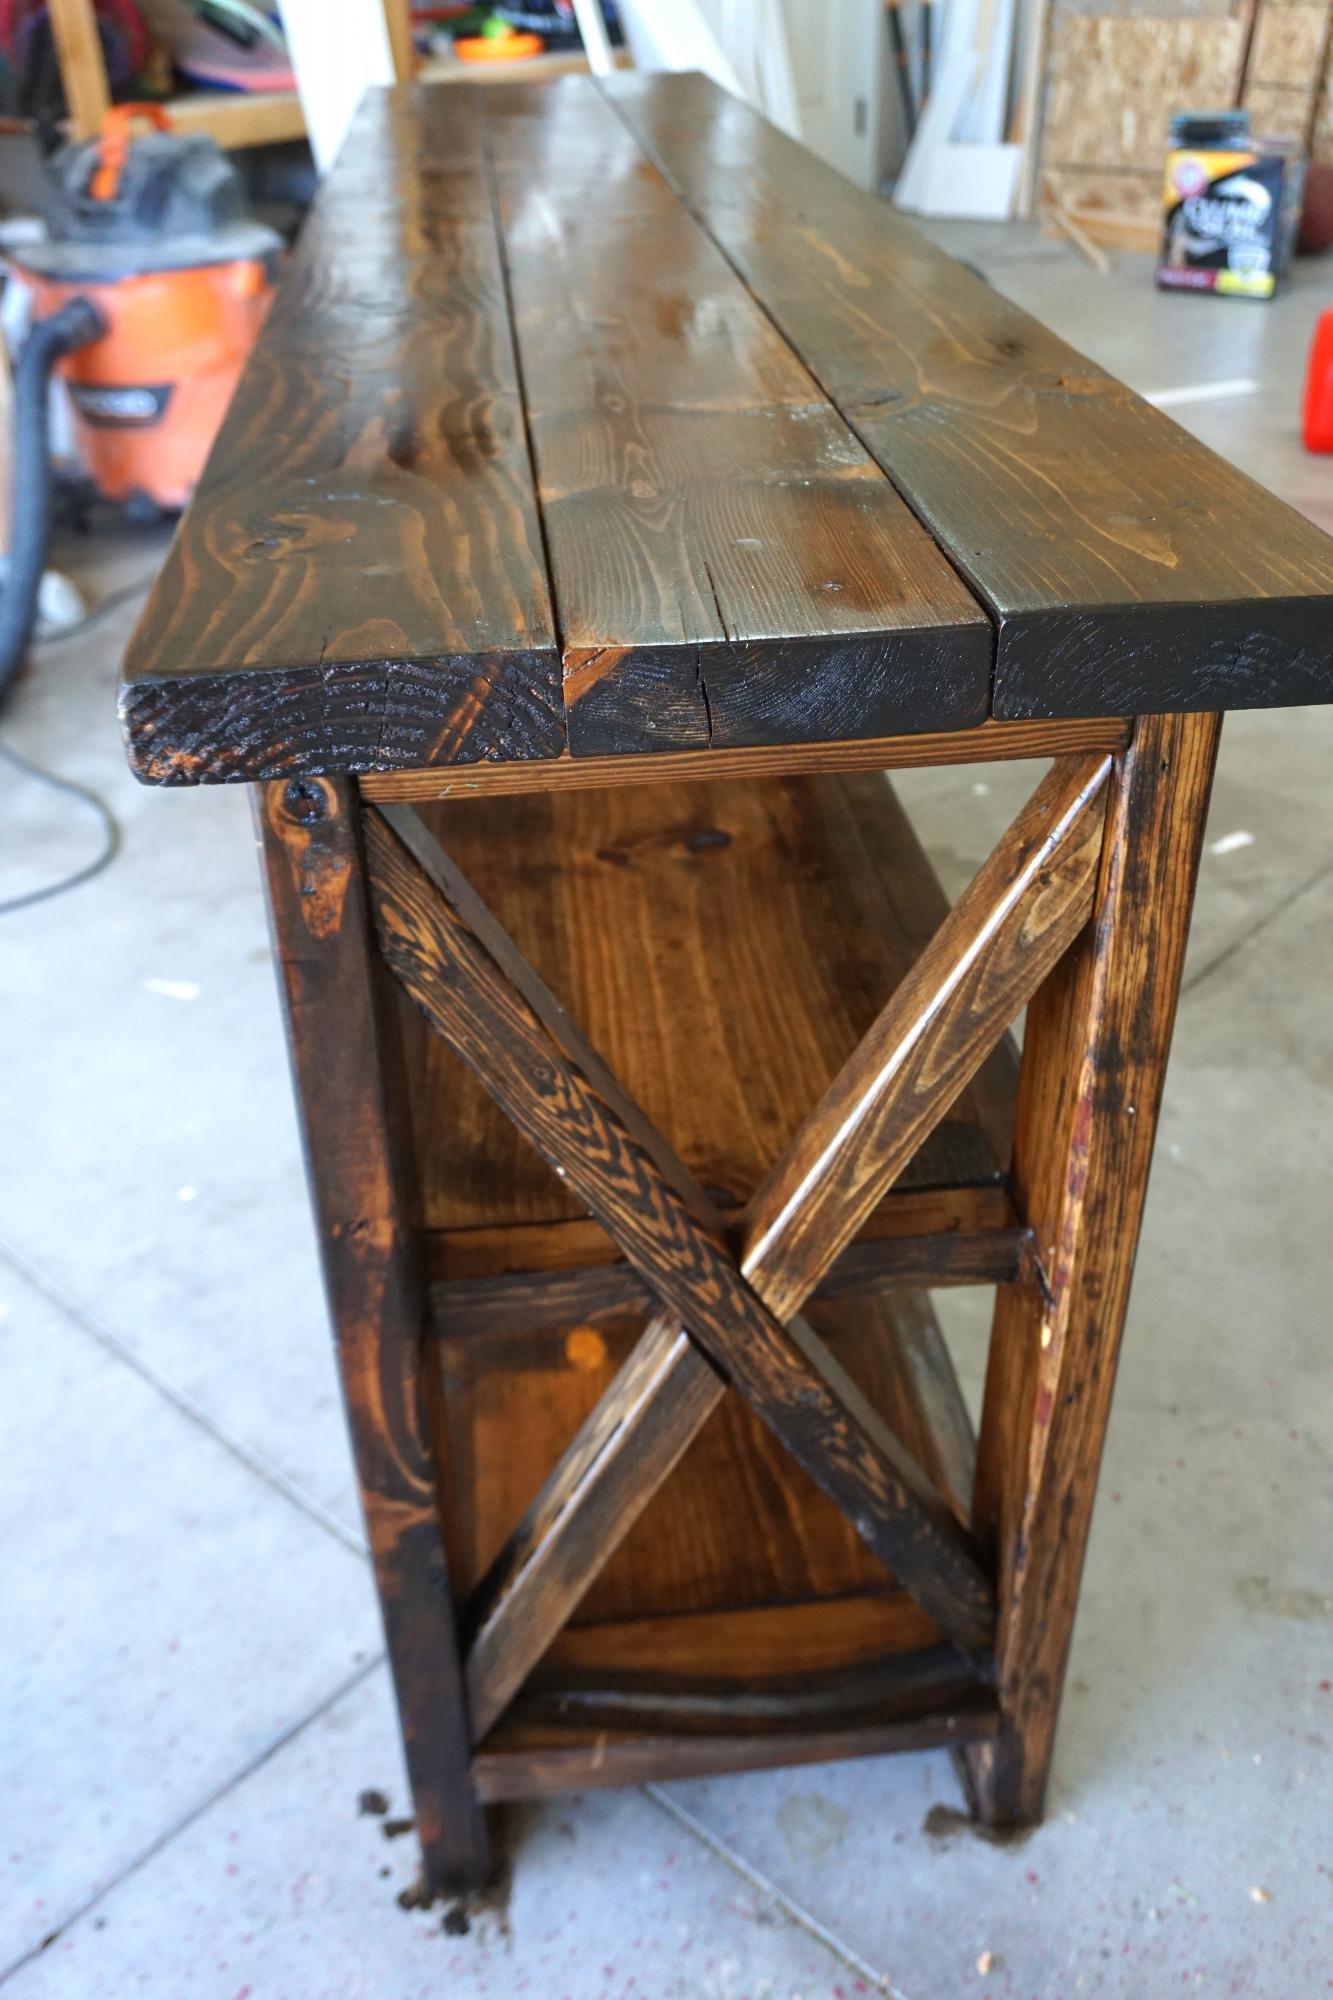
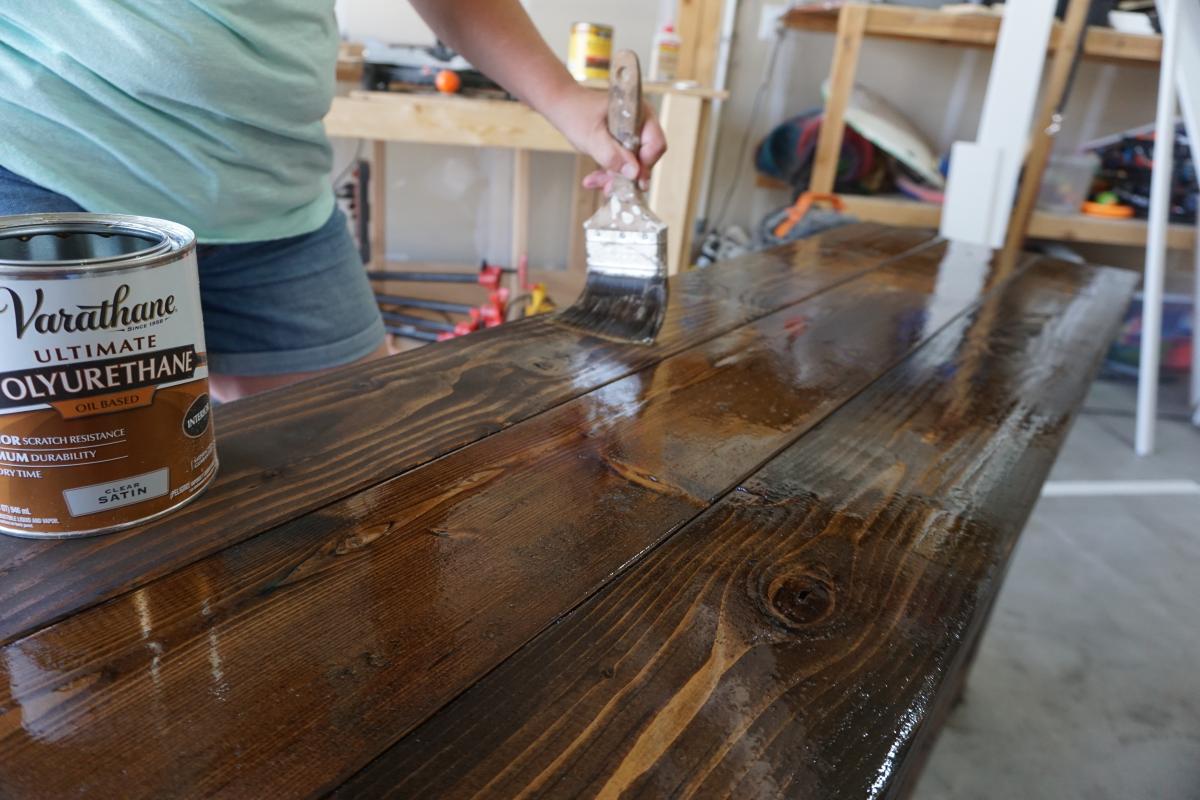
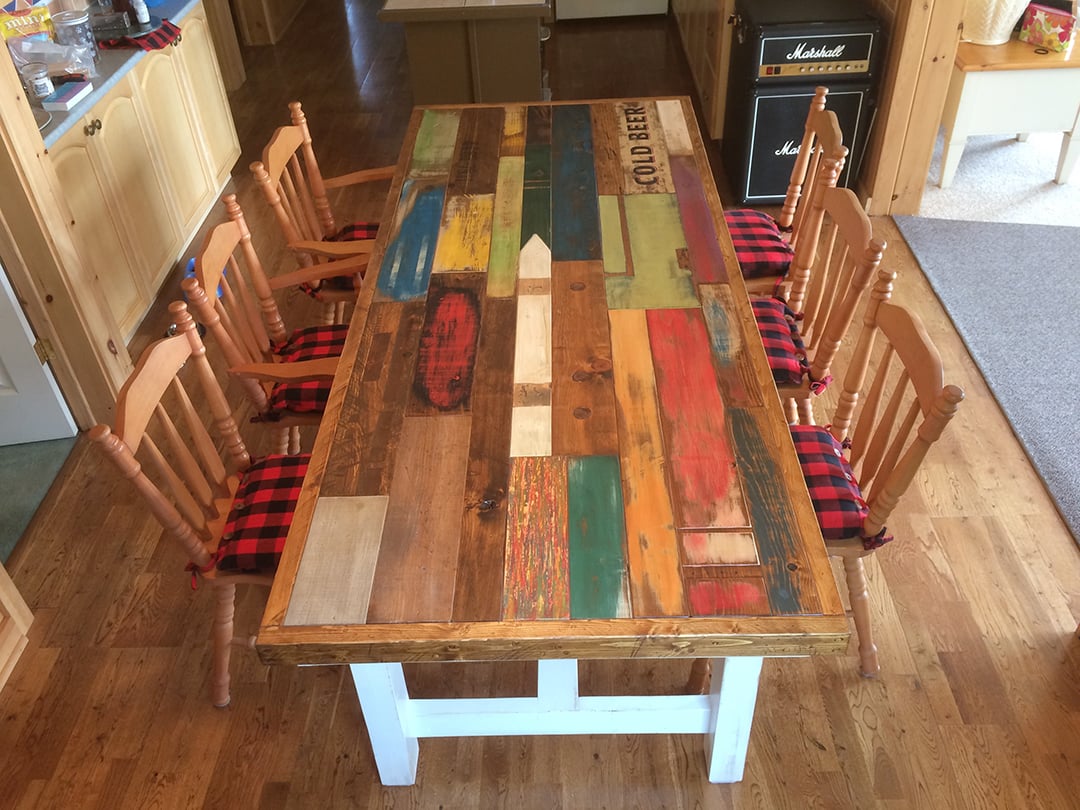
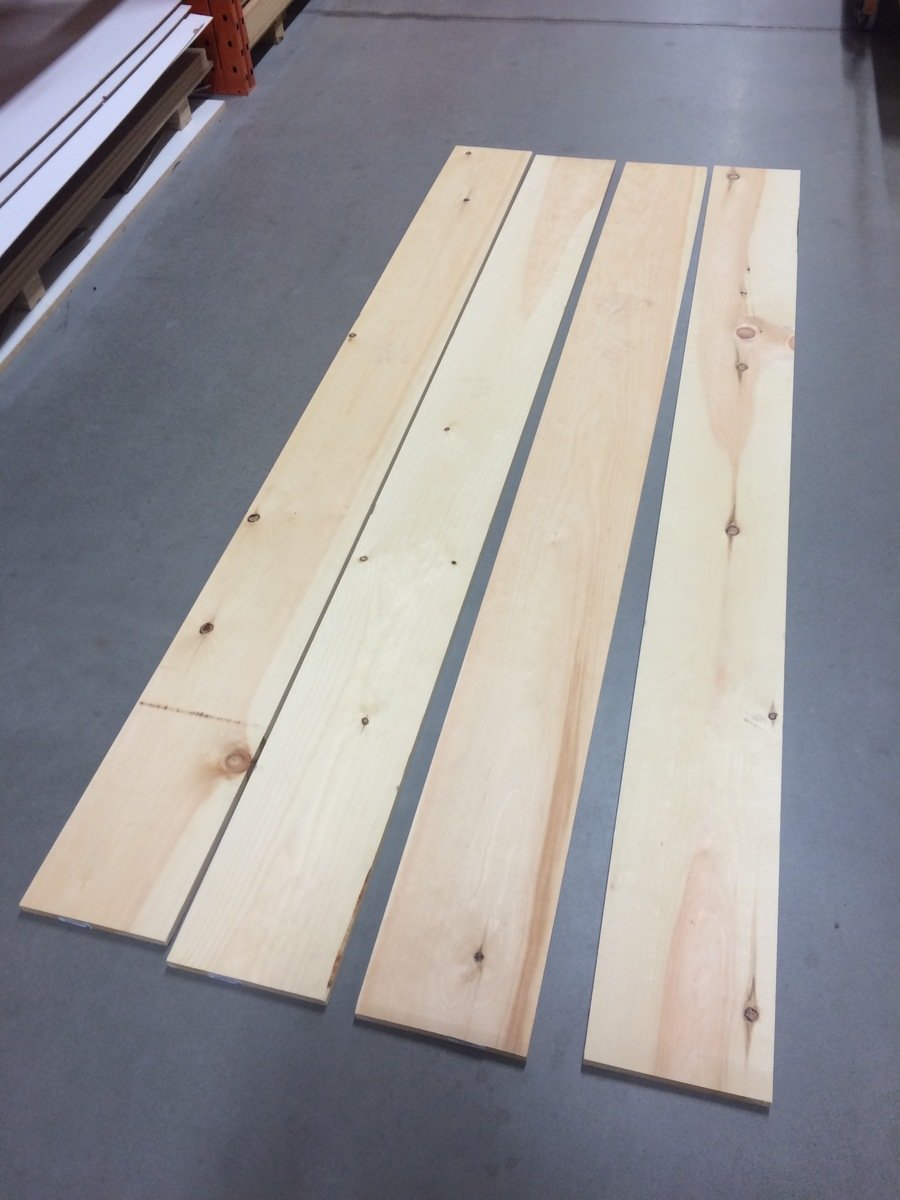
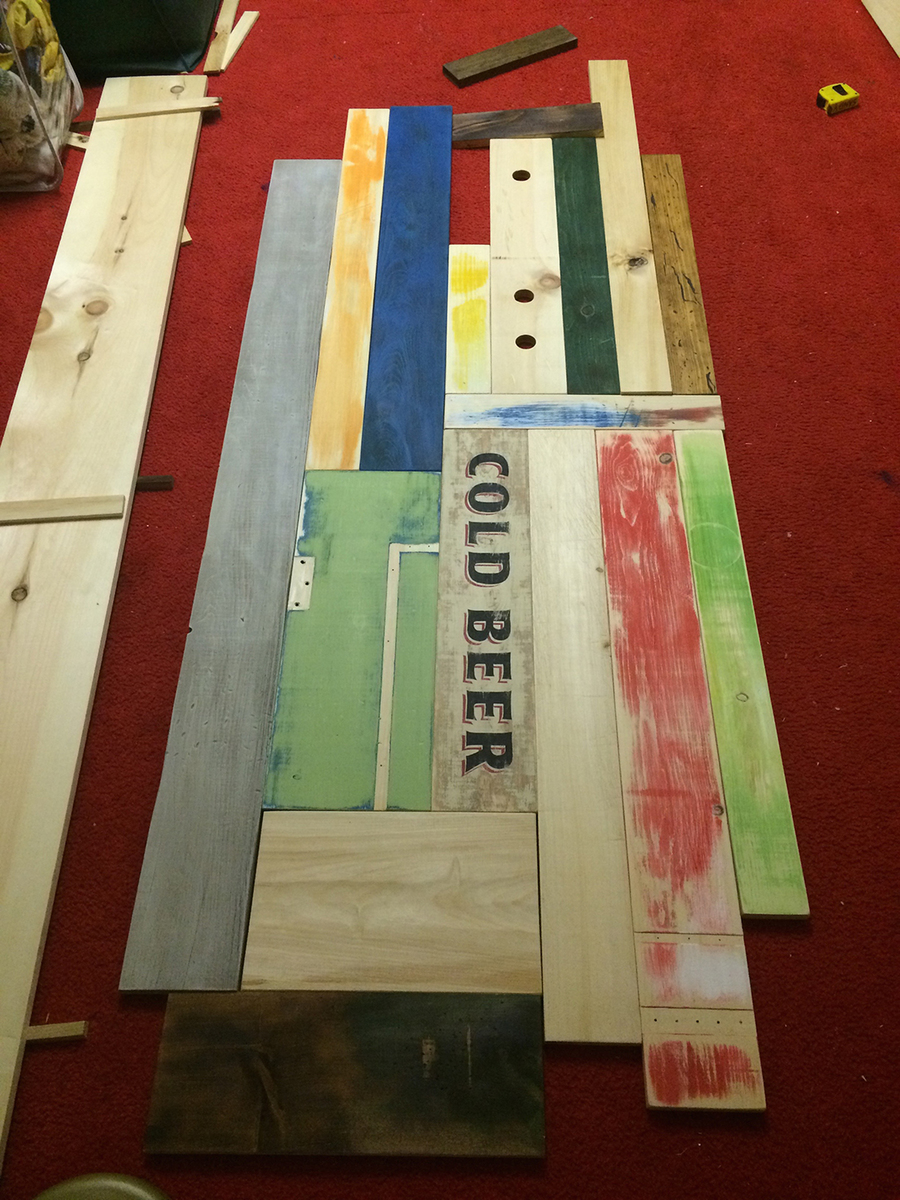
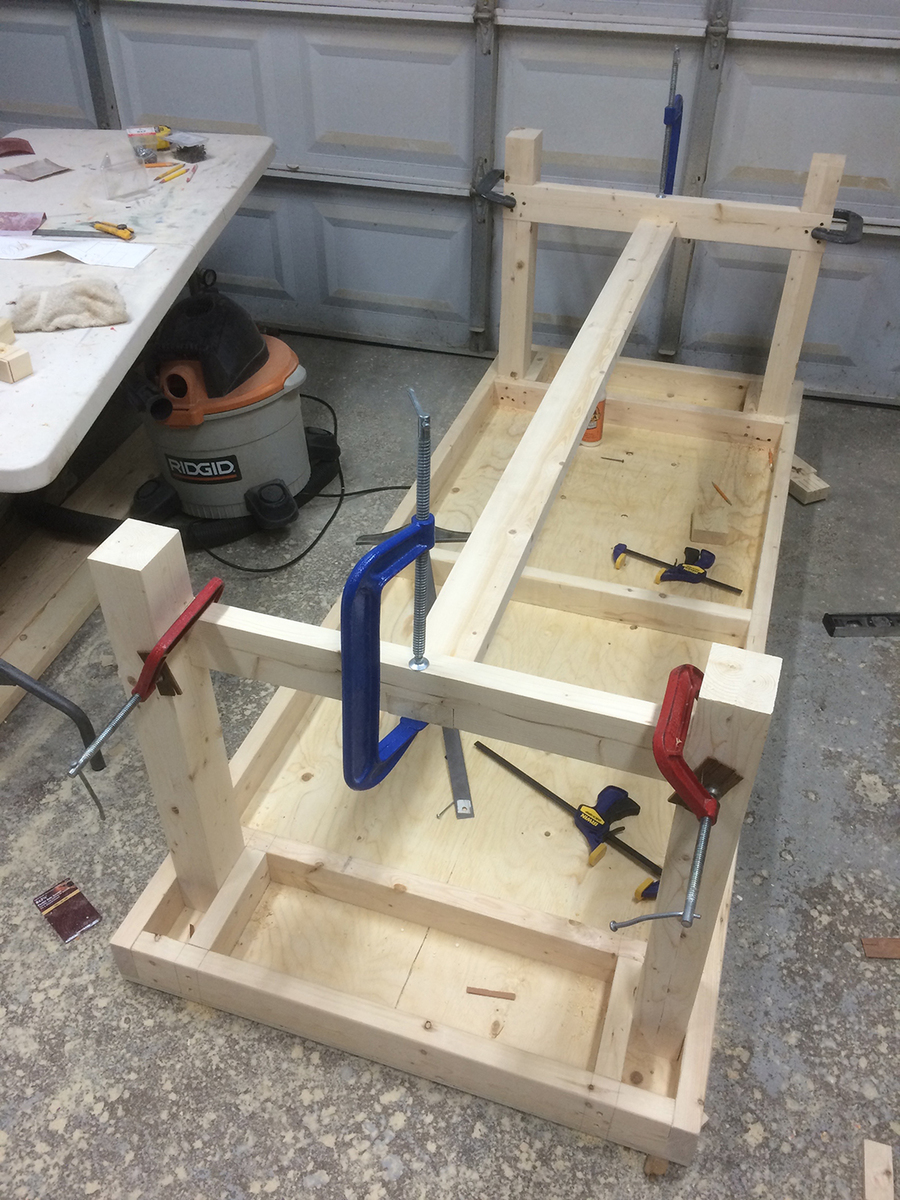
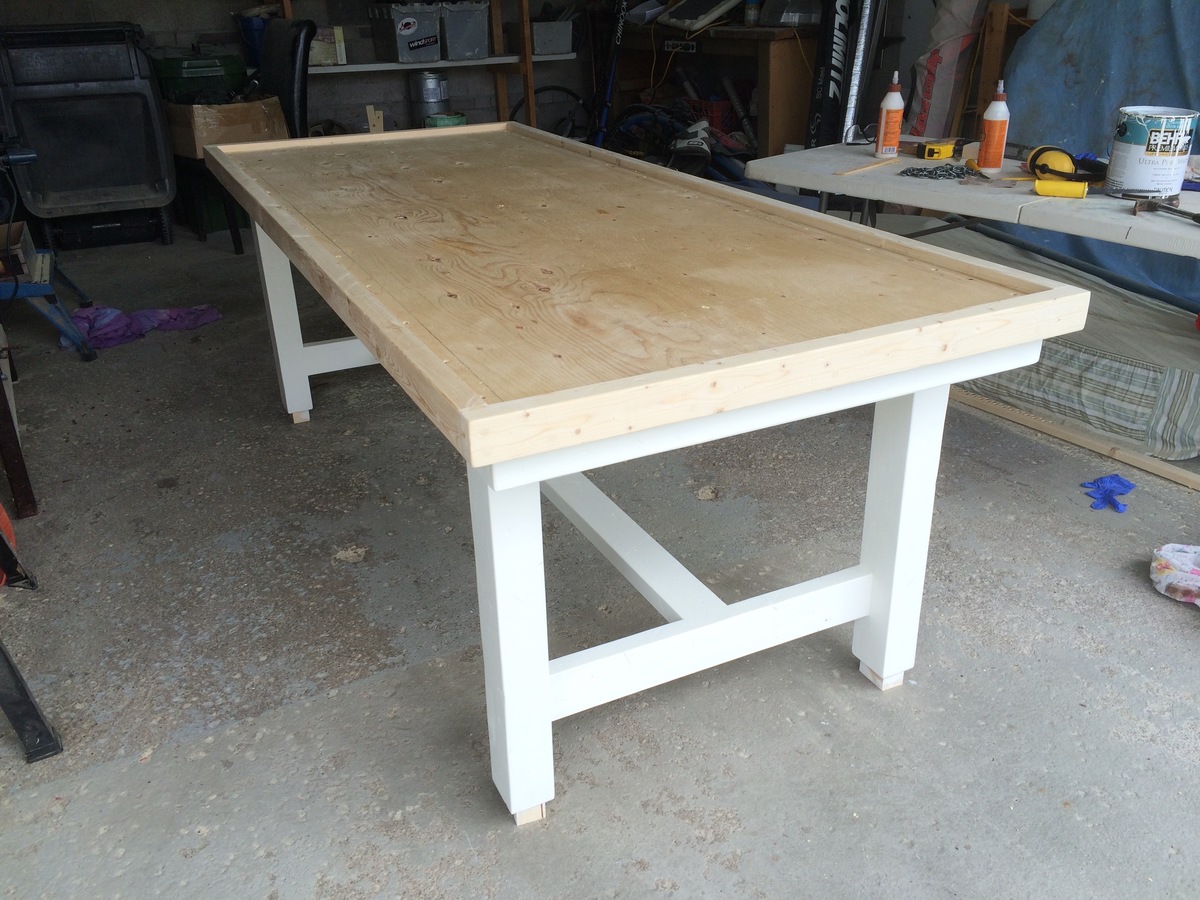
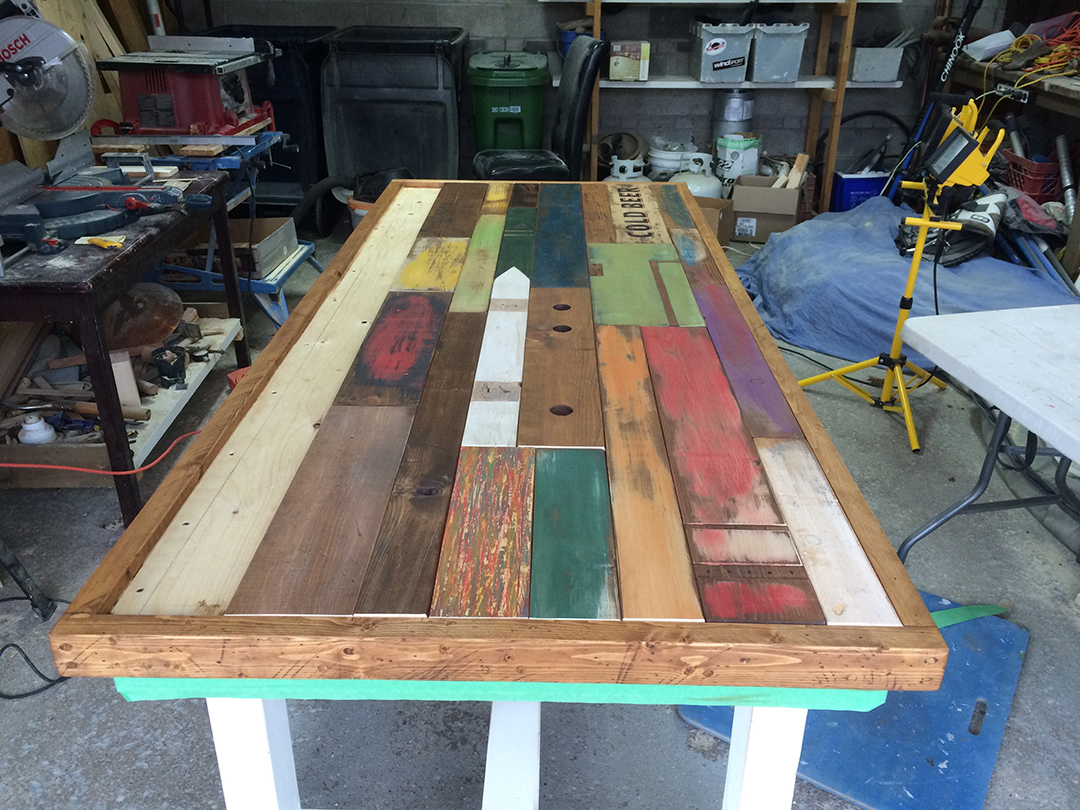
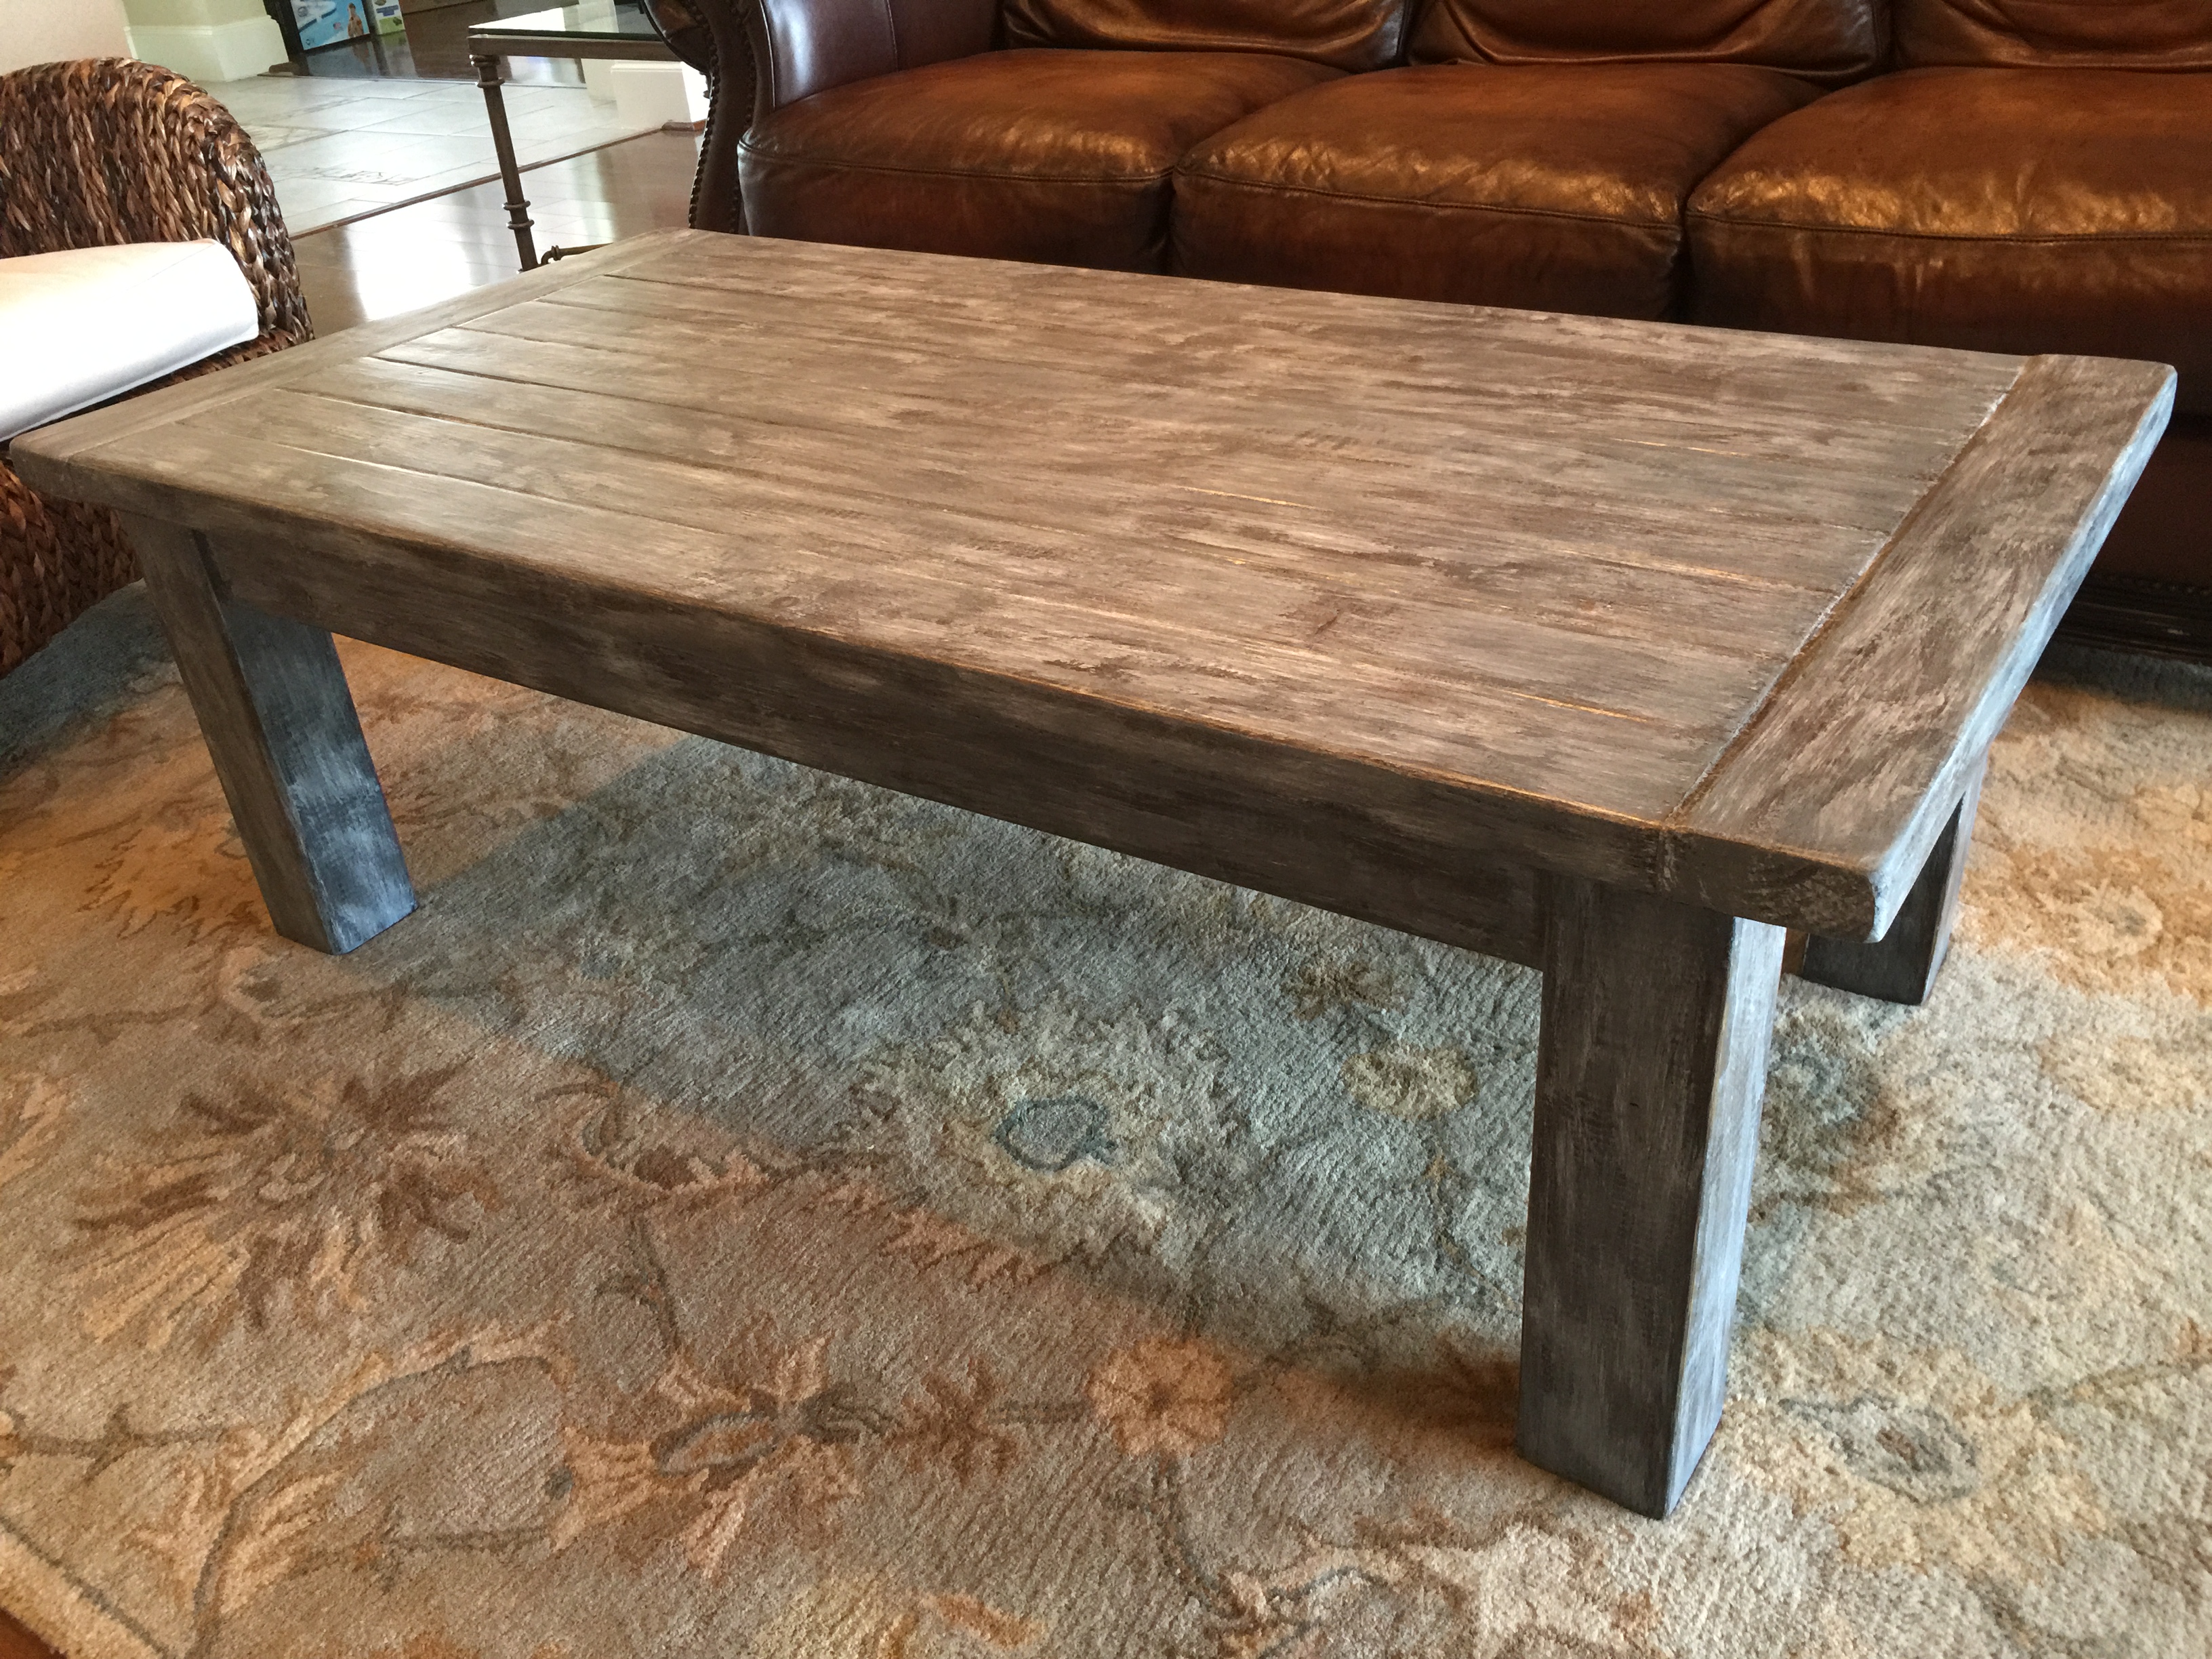
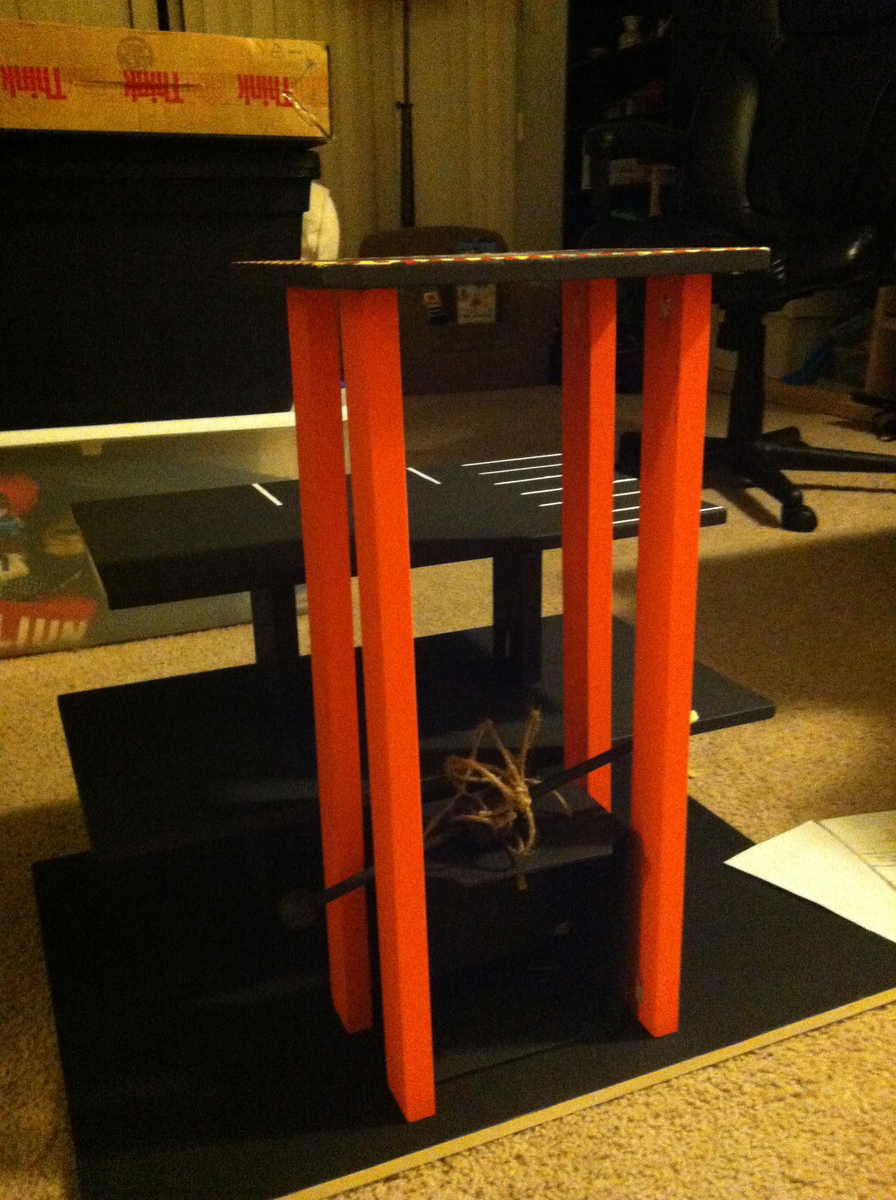
For the most part I followed the plans for the legs and base structure as suggested. In our area the 2x4s are sold with rounded corners. To avoid a very obvious seam on the legs, I used 2x6s which I screwed and glued together then cut back to 3x4 (1.5x2) x 4 to make the legs and cross beams a little beefier with little or no seem on the legs. As I decided to build the top from reclaimed wood I framed in the top with 2x4 ripped down to approx.. 2x3 with a sheet of plywood to support top boards. As I don’t have a planner to level any reclaimed top boards I could find, I decided to make my own faux reclaimed boards out of ¾’ x 9’ – 8’ planks. I distress the wood using a chain, rocks my table saw, hammer, nails, blowtorch and bow saw. In hindsight, I wish I had distressed a little more vigorously but everyday use will augment it over time. I continued to paint, distress and sand on the fly, using paints I had left from previous projects. In some cases, I mixed paints to get additional colour varierty. All boards were stained at the to colour bare areas which as a bonus added a slight yellow hue making the paint look older. I did some scraping and blowtorching of semi-dry paint and stain to get a variety of looks and textures. I dry fit the boards and reorganized the puzzle pieces to get a random but organized look – controlled chaos. Once I was close I glued and screwed the board down clamping as I went to keep the boards tight. This paid-off later as the tighter seams allow less food to fall in-between. I cut down the last row from over sized pieces to get a tight fit in the last row. I finished with 11 coats of poly to toughen up the pine and again to seal the seams from food. My wife suggested painting the legs off-white as our cottage already is max-ed out on natural wood. We will follow by painting the existing chairs the same off-white and adding a little distress for age. Cost was approx. $175 to 200. The plywood alone was $45, paint I had. Time was easily 50 hours as the artistic on the top, time although fun, was time consuming.

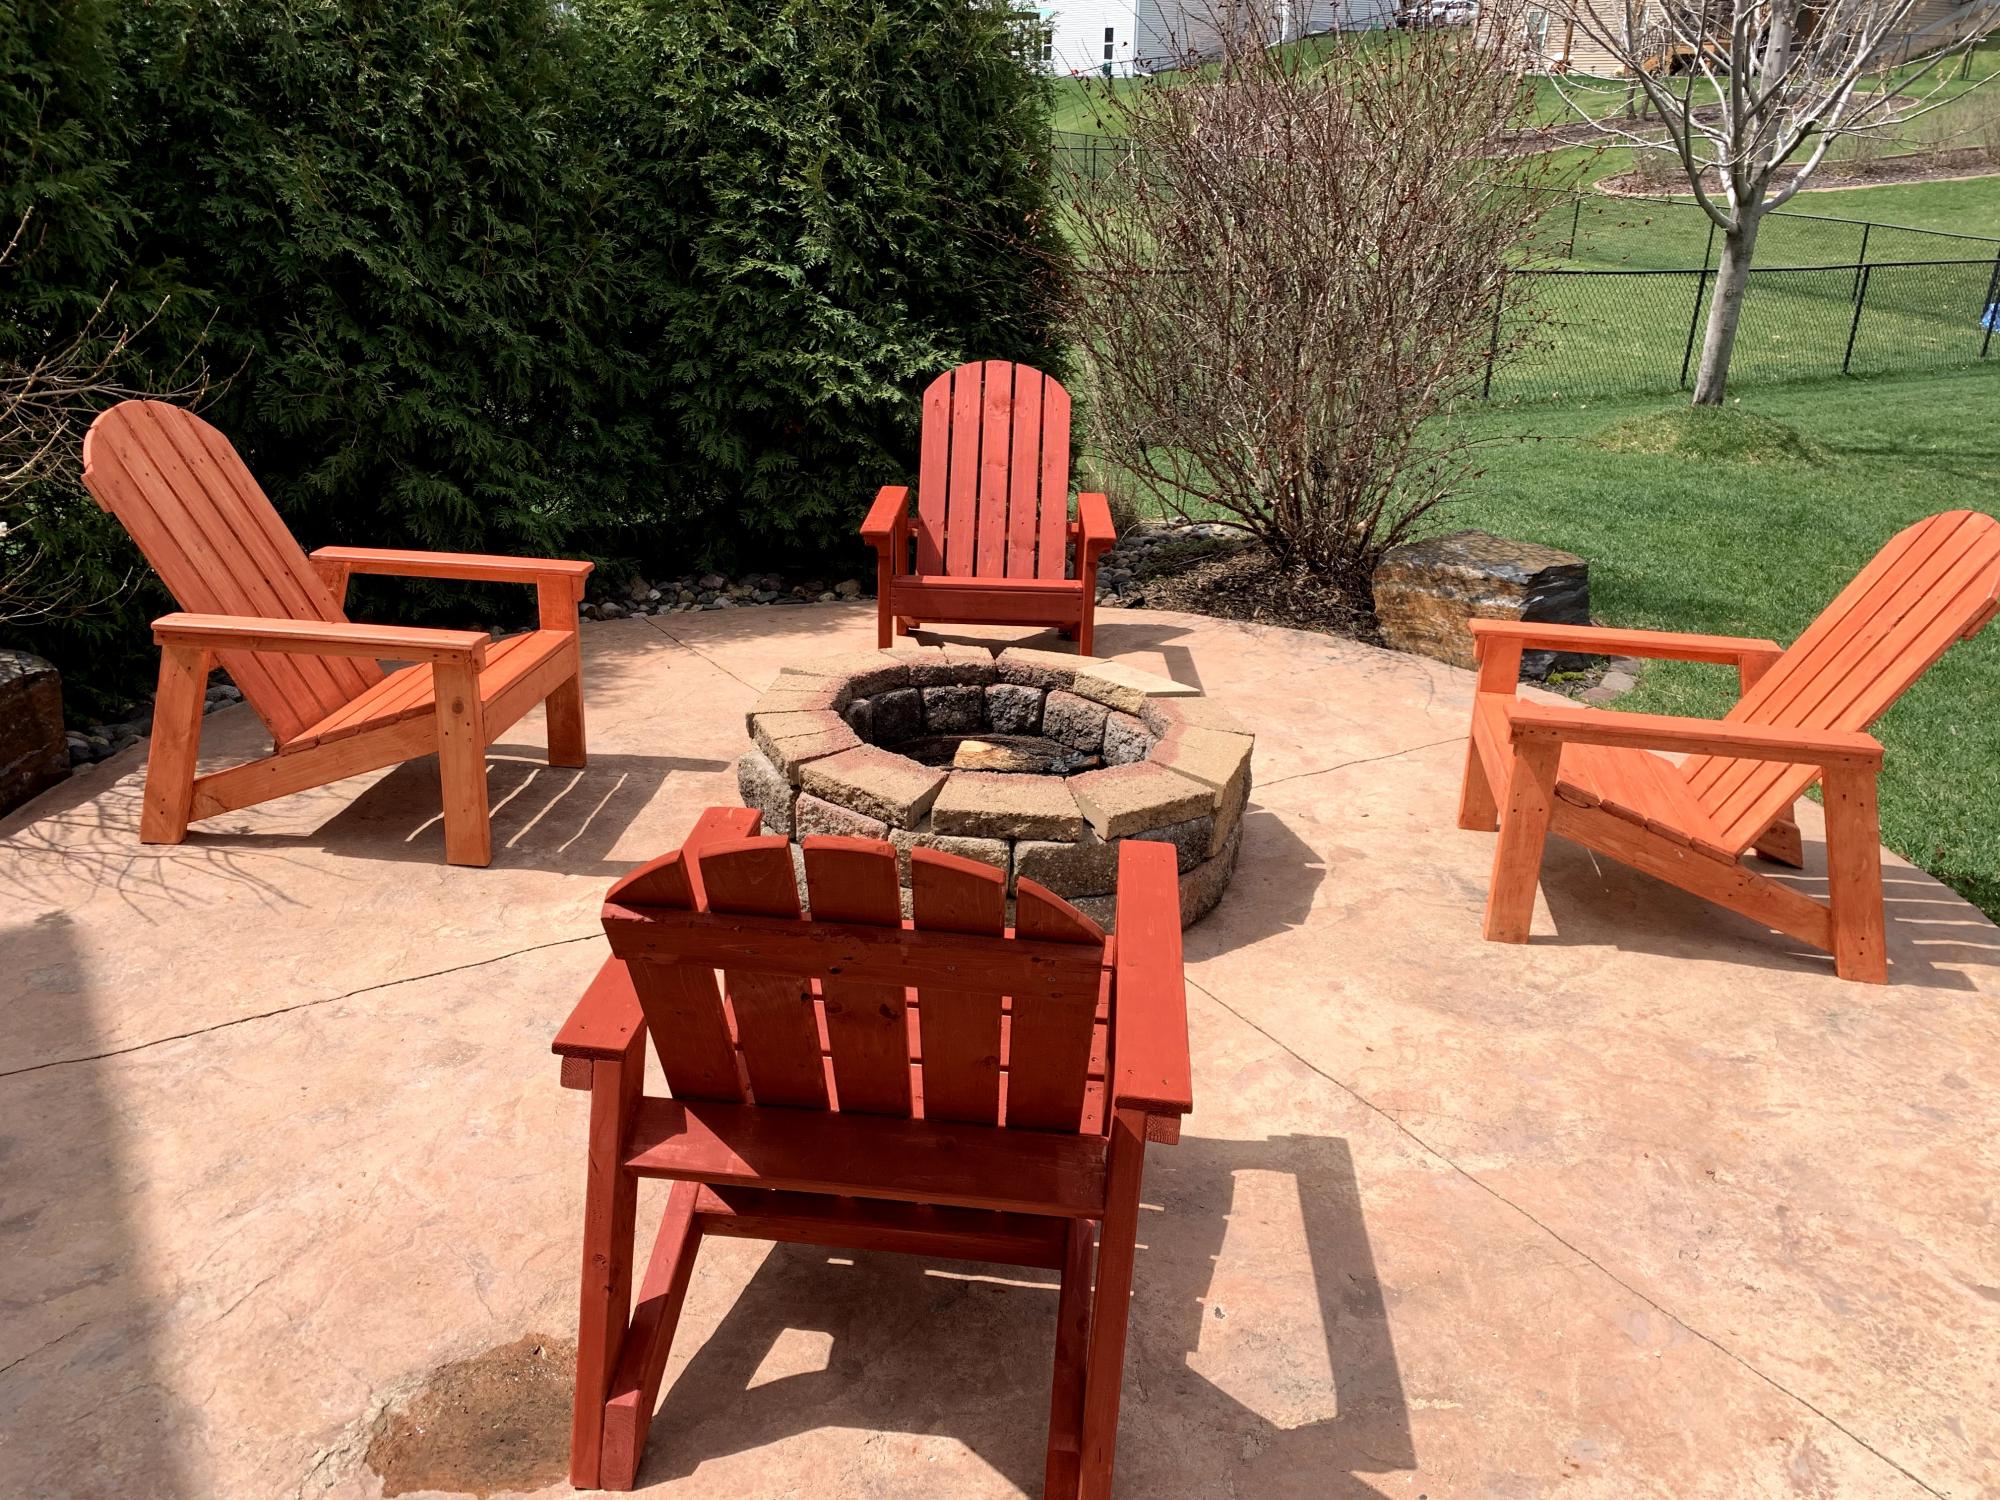
Anna’s website is great I have had many compliments on my table. I have pointed many people to the site for direction on their own projects. Thanks for the great plans.

Sandy

Estimated Cost
$175-200
Estimated Time Investment
Week Long Project (20 Hours or More)
Finish Used
Latex paint
Varathane Premium woodstain – Tuscan
Minwax® Polycrylic® Protective Finish – Satin
Recommended Skill Level
Intermediate

Our Lemonade Stand

Submitted by Anonymous (not verified) on Sun, 07/02/2017 - 14:42

This was a fun project... i really enjoyed it! It was my first time staining, so I learned some things, and it got a lot of compliments from customers!

Built from Plan(s)
Estimated Cost
50
Estimated Time Investment
Day Project (6-9 Hours)
Finish Used
2 coats of Early American stain.
Recommended Skill Level
Beginner

Rustic Bench as Wedding Guestbook

Having already built a rustic bench to go with my Farmhouse Table, I knew it would be the perfect guest "book" bench for my wedding. For only $15 (I had the lumber for the top on hand), and the help of all my bridesmaids during my bachelorette weekend, we built this bench in just about an hour. Everybody had a hand in it, which makes it even more meaningful. It sits at the foot of the Farmhouse Bed my husband and I built from reclaimed barnwood from my father. I love that we have something so hand-made and sentimental to commemorate our wedding celebration. It makes me smile every time I look at it!

Estimated Cost
$15
Estimated Time Investment
An Hour or Two (0-2 Hours)
Finish Used
I sanded the entire bench with 80,150,200. I primed the entire bench (including the underside, just to cover all my bases) then painted 2 coats of semi gloss white, sanding with 200 between coats. To make the center design, I printed out my art onto computer paper, covered the back with graphite (just scribbling with a pencil) then taped it to my bench. Trace the outline of your art with a pencil and a firm hand. When you remove the paper, you'll see the outline of your design. I traced it with silver paint pen, then filled it in. After I had all my signatures I sealed the top with two coats of Mod Podge (but polycrylic would probably work too).
Recommended Skill Level
Starter Project

Large Wood Storage Chest

Submitted by danicarby on Tue, 05/14/2013 - 07:25

I wanted a large chest to store toys, books or blankets. I wanted it to be cheap to build and be rustic. This project turned out perfectly! I used 2" and 4"-wide furring strips and rope for the hinges and handles. I used 1/4" plywood for the bottom and made a groove with the router for it to slide into while assembling. I helped 16 girls make these who had no previous experience and they loved it!

Estimated Cost
$20-$40
Estimated Time Investment
Afternoon Project (3-6 Hours)
Finish Used
Mixwax Stain and Polyurethane
Recommended Skill Level
Beginner

Comments

benjaminrogers

Fri, 12/27/2013 - 06:21

Can you provide a lumber list for this? I know you said you used 2x4 but the lumber I see in the photo doesn't look like 2x4.

Thanks,

Ben

danicarby

Fri, 12/27/2013 - 07:17

Hi Ben!

I used 1x4's and 1x2's. I have a shopping list and cutting list on my blog. I can't post the link here but you can click on the link where it says "Blog Link" under "About This Project"

Let me know if you have any other questions!

First Project

This was my first project and I loved it!!  Can't wait to do more!!

Built from Plan(s)
Estimated Cost
$50
Estimated Time Investment
Weekend Project (10-20 Hours)
Finish Used
Started with Kona stain, then lightly added white acrylic paint. Used steel wool to get an older look. Then I went over that lightly with Weathered Gray, and scratched that up with steel wool again. Three coats of satin poly later...and here we are.
Recommended Skill Level
Beginner

The only thing missing is 8 pies!

Submitted by AlpsJon on Tue, 05/26/2015 - 14:29

This was my first project with doors! Everything worked perfectly, except there seems to be a small mistake on the cut list - the 4 1x3's for the doors should be 14", not 11" each. The picture is correct but the cut list should be revised. Otherwise, instructions were easy to follow. I used a metal grill pattern for the door insets - purchased from Lowes, cut with tin snips and spray painted matte black. This cabinet is a great storage space and an all-around great project. One extra small tip - it may be better to set the top piece back a 1/4 inch more so that it goes over the top edge of the plywood backing on the rear - it would make for a cleaner finish. Thanks Ana - this is my 4th project from your website and I hope to furnish an entire (tiny) house all by hand!

Built from Plan(s)
Estimated Cost
$200 including several new tools and extra supplies
Estimated Time Investment
Weekend Project (10-20 Hours)
Finish Used
Minwax Sangria stain, pre-conditioned and then 2 coats of poly
Recommended Skill Level
Intermediate

Comments

Wooden Play Parking Garage

Submitted by DMax2010 on Fri, 06/21/2013 - 14:23

I was looking for a wooden parking garage plan for my little guy, but couldn't find one! I looked a bunch of the dollhouse plans for inspiration and found a wooden toy garage online that I based my plans on. I still need to add the ramps and a few more parking spots, but my son loves it! It has an elevator (need to refine it) and helicopter landing zone!

Estimated Time Investment
Weekend Project (10-20 Hours)
Finish Used
Chalkboard paint for parking levels, regular orange craft paint for the elevator
Recommended Skill Level
Beginner

Comments

DMax2010

Sat, 06/29/2013 - 09:53

My son loves little cars and parking garages, so it was fun to do.

terdickison

Mon, 07/01/2013 - 11:26

I love this! I want one. Better hide this screen before the kid sees it and gets some ideas :)

snoopy369

Tue, 02/25/2014 - 10:05

Hi, curious if you ever finished the project. I'm planning to do something similar next week and would love to see the finished project (and plans if you made them!)

Green Adirondack Chairs

These are great chairs! Easy to build, comfy to sit in. Check out my blog post for more info.

Estimated Cost
$32 per chair for lumber, plus finishing and hardware
Estimated Time Investment
Day Project (6-9 Hours)
Finish Used
Exterior latex paint + primer in one, color matched to Sherwin Williams Dill
Recommended Skill Level
Beginner

Comments

WorkShopWendy

Thu, 06/27/2013 - 20:23

Hi Hillary, Great job. These are great chairs aren't they, and sturdy. I work at Home Depot and I hosted the Do it Herself work shop for them. Very easy to build and inexpensive. I really like the color you chose, very cheery.

keribeth

Fri, 06/28/2013 - 15:58

I'll be making four of these this week in turquoise to match the little ones I made for the kids. Yours is an inspiration!

Seasonal And Holiday

Pergola

Pergola is 10x12 made of all cedar except posts.  Posts were 6x6 brown wood then covered in 1x6 cedar. Slats on top were attached using L brackets. Stained the same year.

Estimated Time Investment
Week Long Project (20 Hours or More)
Finish Used
Cabot in Natural finish
Recommended Skill Level
Intermediate
Back