Modern Outdoor Chair with a twist
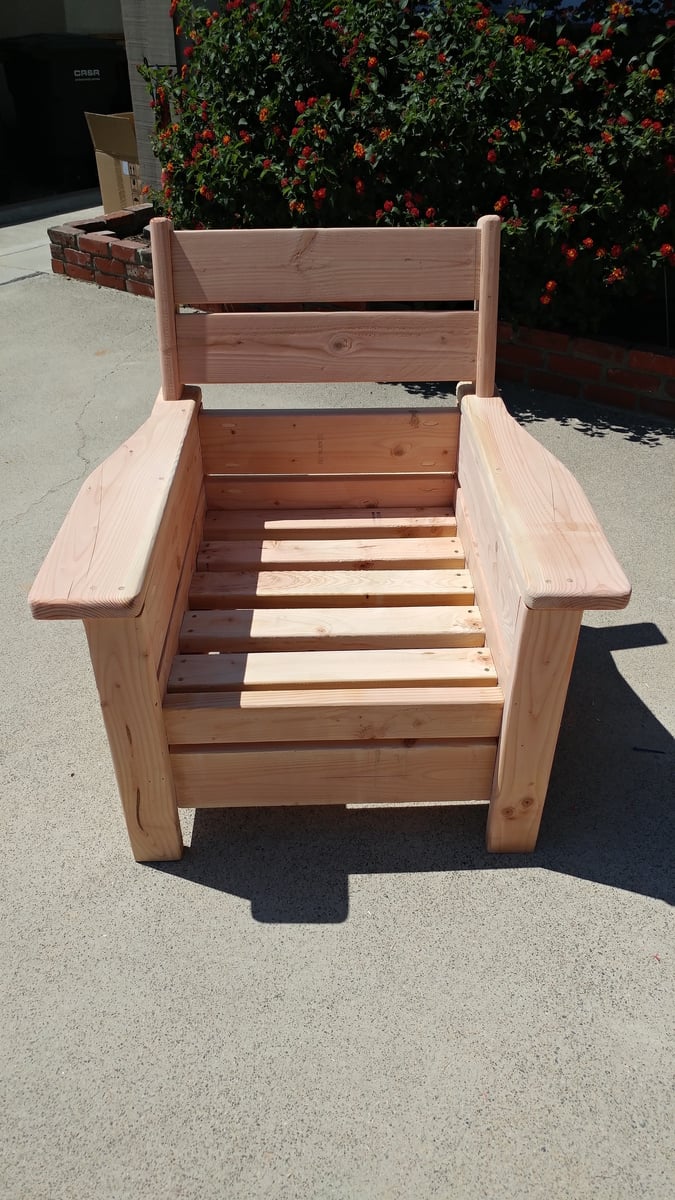
Taken from the Modern Outdoor chair project and added a back. Then decided that I love the andorak style chair arms and thus the Andrmodern chair was born..
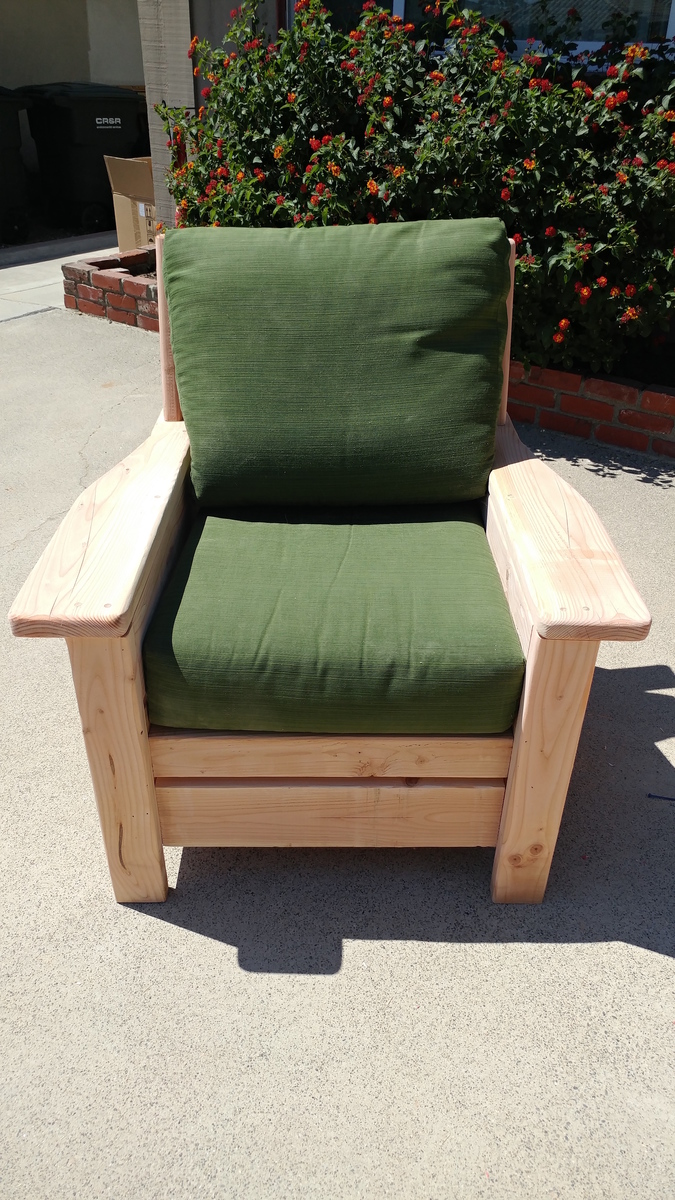

Taken from the Modern Outdoor chair project and added a back. Then decided that I love the andorak style chair arms and thus the Andrmodern chair was born..

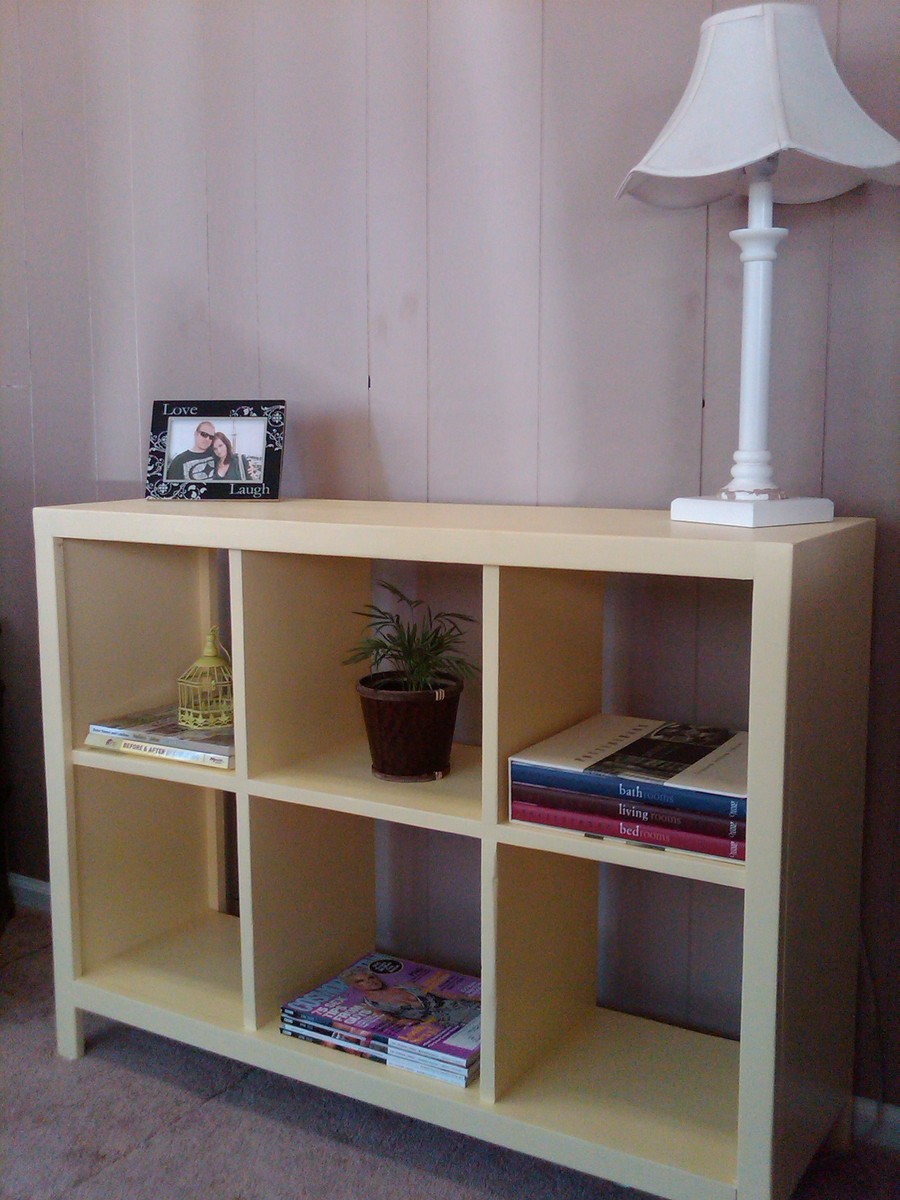
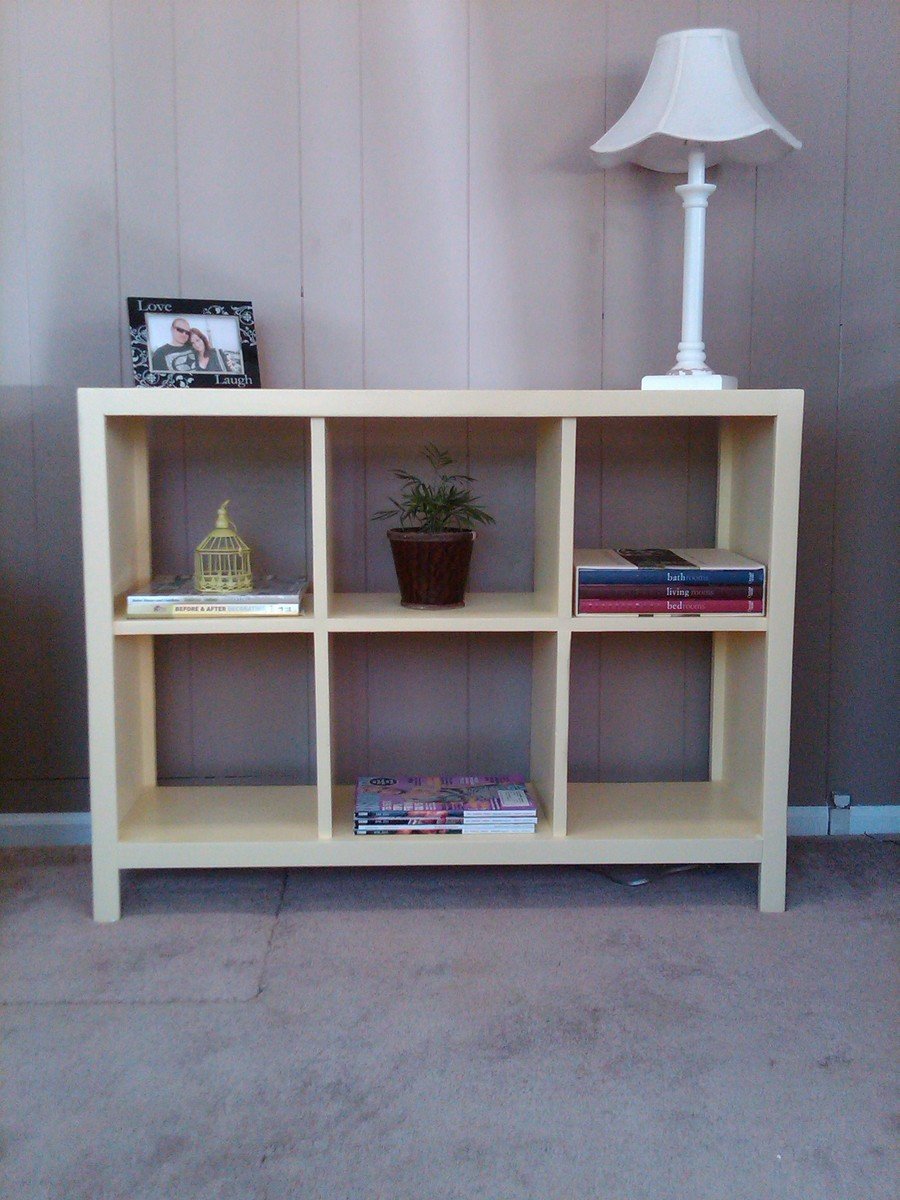
Totally lovin' my new cubby shelf. I painted it bright yellow, but I may paint it a more nuetral color after noticing it does not math anything haha! This is a super sturdy shelf...LOVE IT! Thanks ANA!
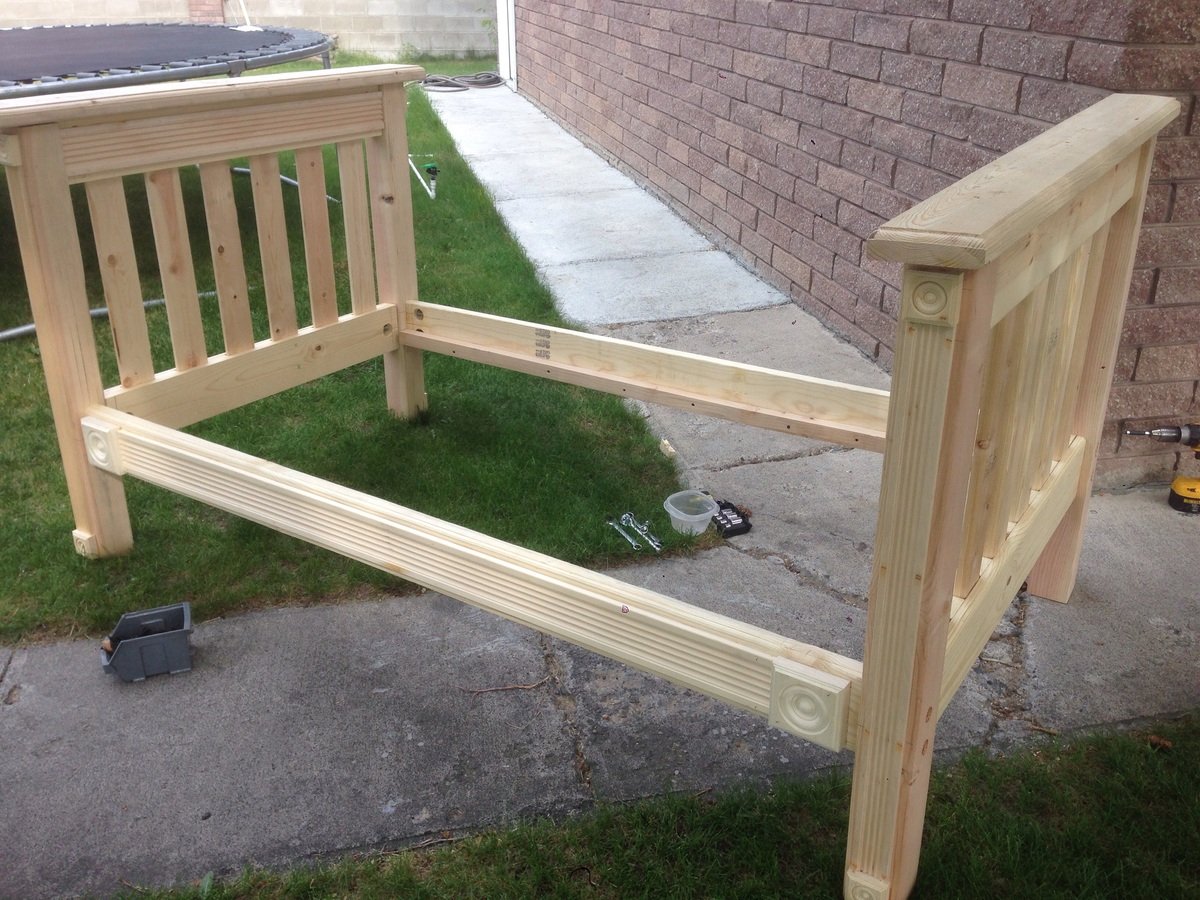
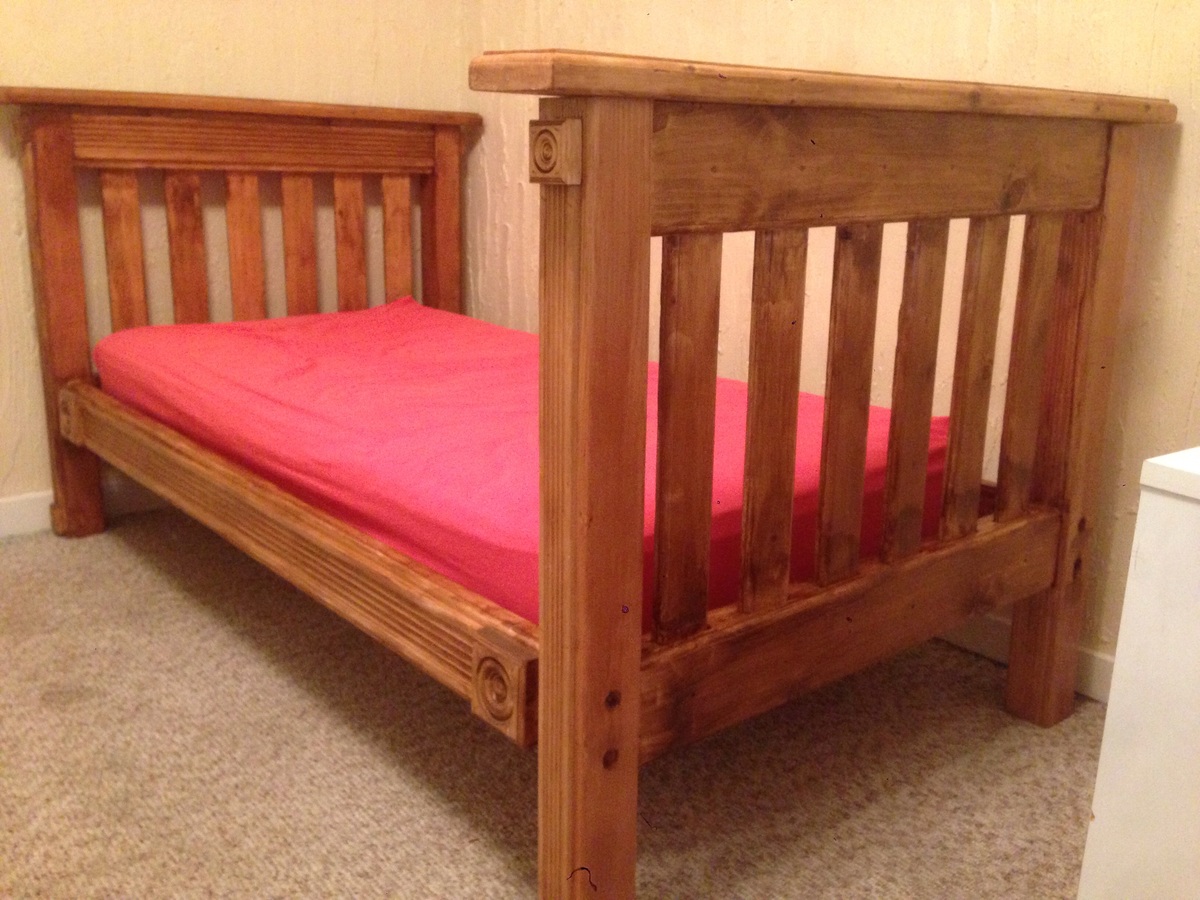
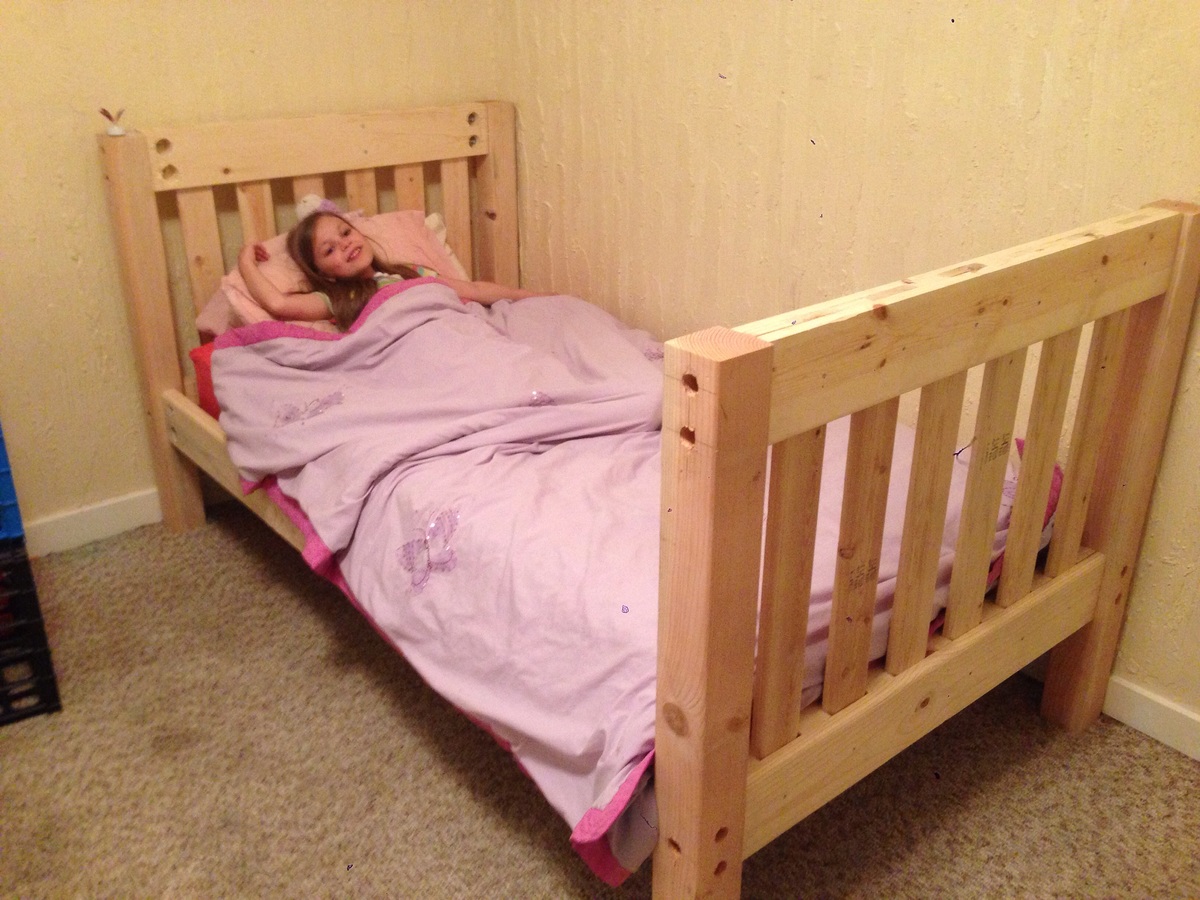
This was a pretty easy build. This was my first project and this looked like a pretty straightforward plan. I read over it several times before deciding what to do. I didn't like that it was held together using only screws. I anticipated that these beds will be moved several times over their lifetime and I did want to hassle with the screws stripping out the wood. Instead I used a 3/8 bolt and washer/nut set up so I could take the bed apart without worrying about stripping out the wood with screws. This necessitated drilling several large unsightly holes at the connection points. To help disguise this I trimmed it out using door casing and finished it out by staining the whole bed. The result was a classic look that will last my daughter's lifetime.
I will note that I changed a few parameters. I routed and the edges including the slats with a rounded corner edge. I used a 2x6 for the top cap of the head/footboards. With the addition of the trim work and bolt hardware, this did change the overall cost of the project. Total cost was probably close to $200. Had I stuck strictly to the plans I would have been closer to $100.
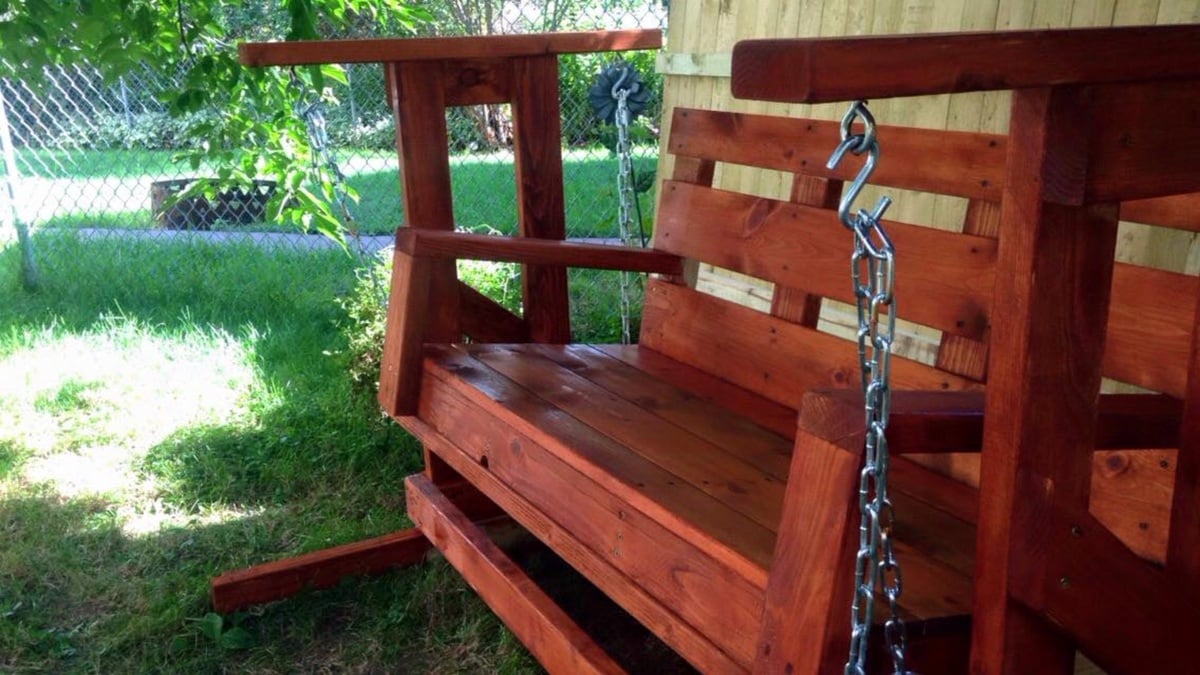
The bench was easy to build with great instructions. I had Home Depot make my cuts for this first project and then I went and bought a miter saw and other power tools for future ones. So much fun.
Mon, 03/14/2016 - 08:35
Great work. DId you do anything different to the swing itself? How did you build the frame. I'm looking to do this exact thing for my patio. I don't have anywhere to hang the swing.
Thanks for sharing any info.
Sat, 06/13/2020 - 16:54
Made the chair and then built the glider frame for it just eyeballing the picture. I can't figure out how to upload a photo of my design, but can try to describe it.
I made mine with a 4x4 on the base of each leg, but a 2x4 would work as well, it was just what I had on hand. The base board on each leg I made 48". From there I put two 48" vertical boards. The vertical boards were centered and from the front edge of the first board to the back edge of the second board. Two 16" boards were then used at the top and bottom of the vertical boards to hold them in place. Cap it off with a 30" board on top of the verticals. This is where you'll attach your eye bolts. I put both eye bolts 3 1/2" back from the front (a scrap of 2x4 works well as a guide). To join the two legs, I used two 52" boards on top of the base 4X4 of the verticals (one in front of the legs and one behind).
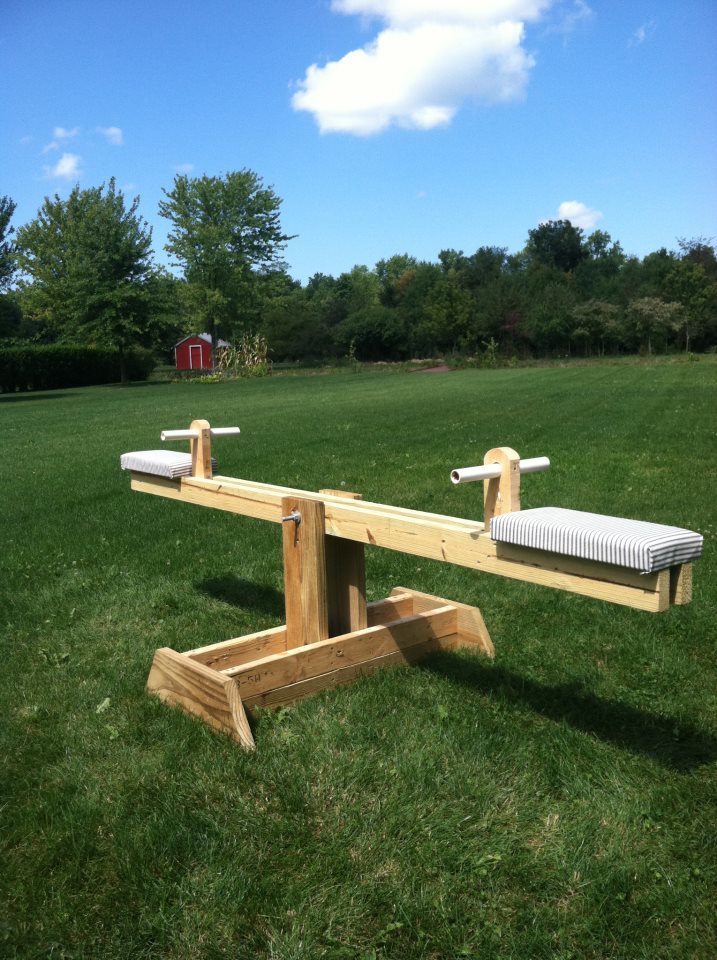
This is one of the cheapest projects for my kids I have ever completed!! And the most rewarding. I think everyone of my neighbors has been on the teeter totter...including adults :) My kids just love it and I am thinking of making a few for my nephews for Christmas. I was able to find all the wood I needed in my scrap pile. I had the PVC pipe and bolt already also so all I had to make a trip to the store for was the foam for the seats. My son helped me build this in an hour. I liked the unfinished look so I just sprayed it with a little Thompson Water Seal. Thank you Ana White!!
I had a great time building this project. Thanks For the idea and plans. I added floating shelves to the room.
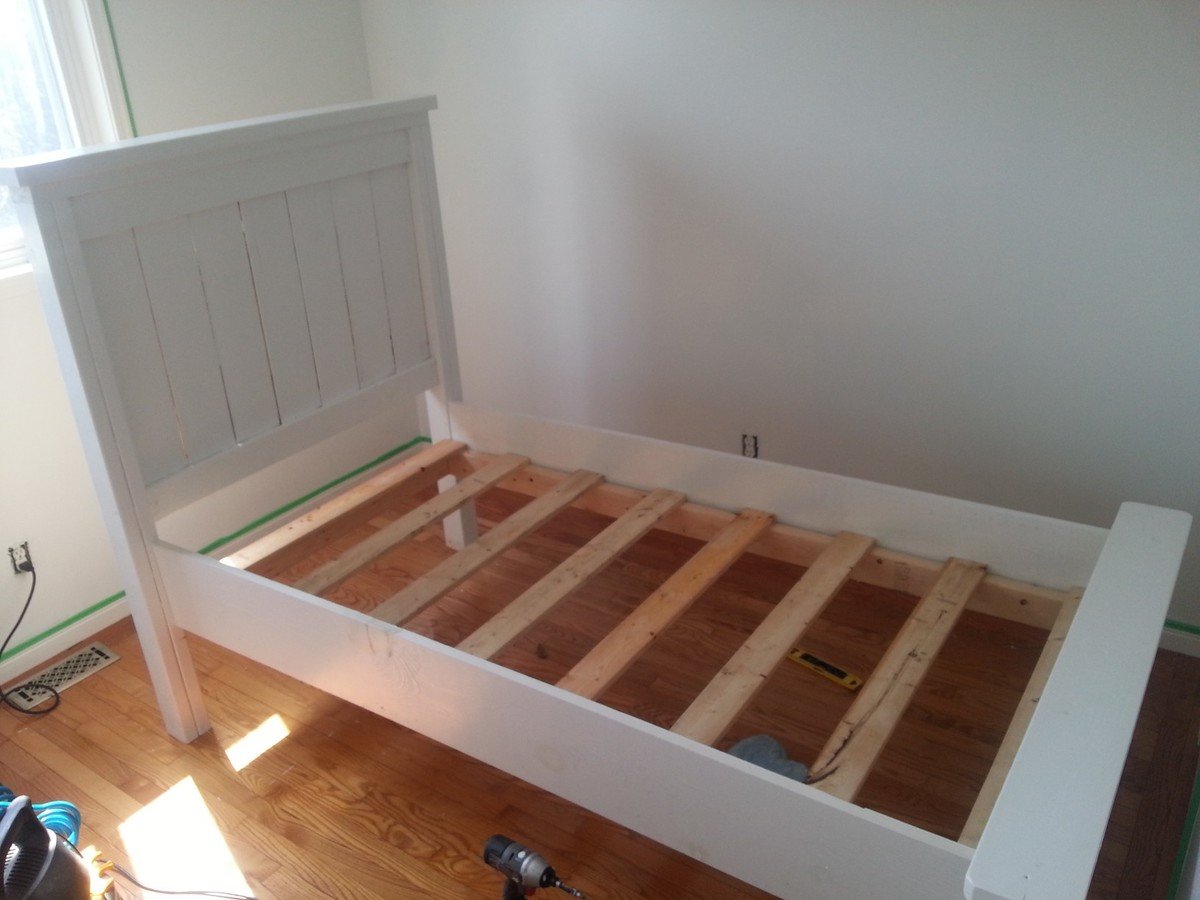
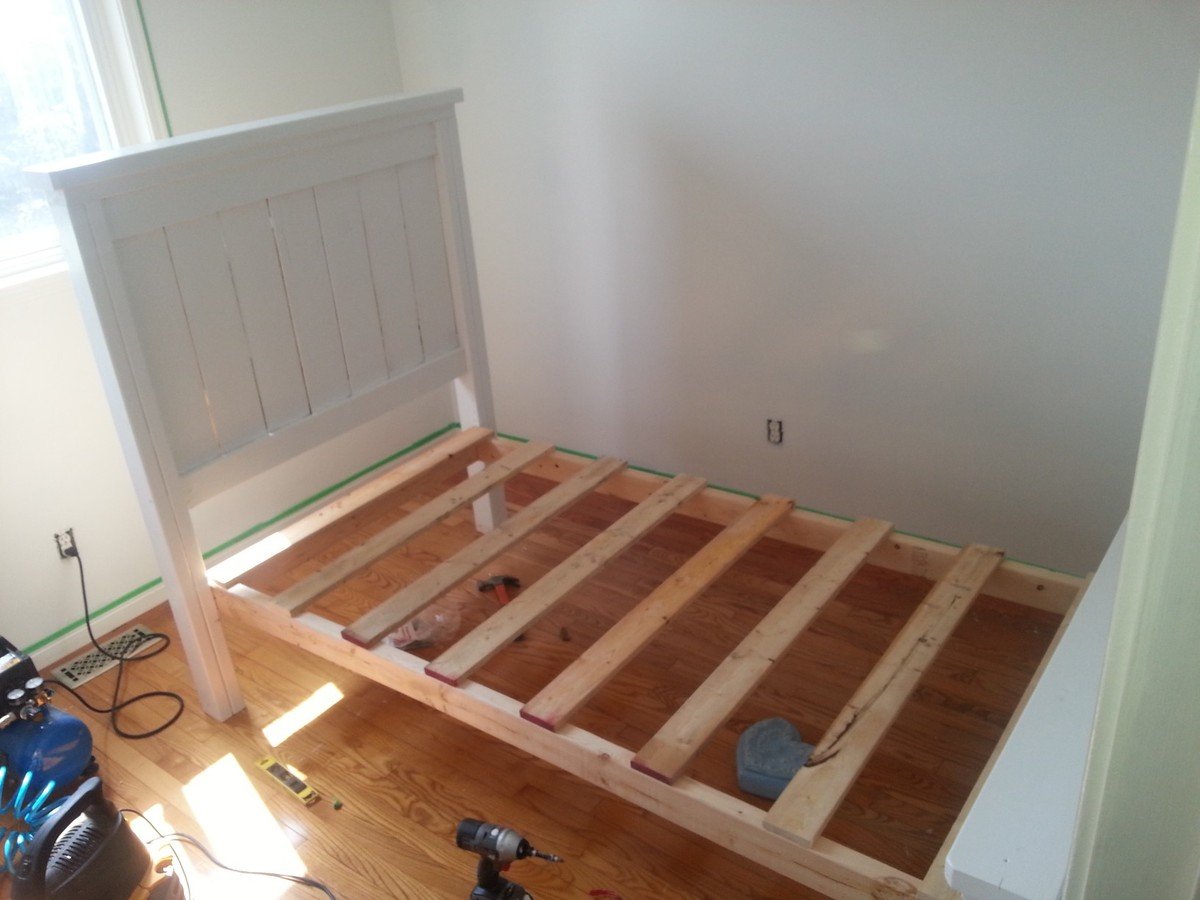
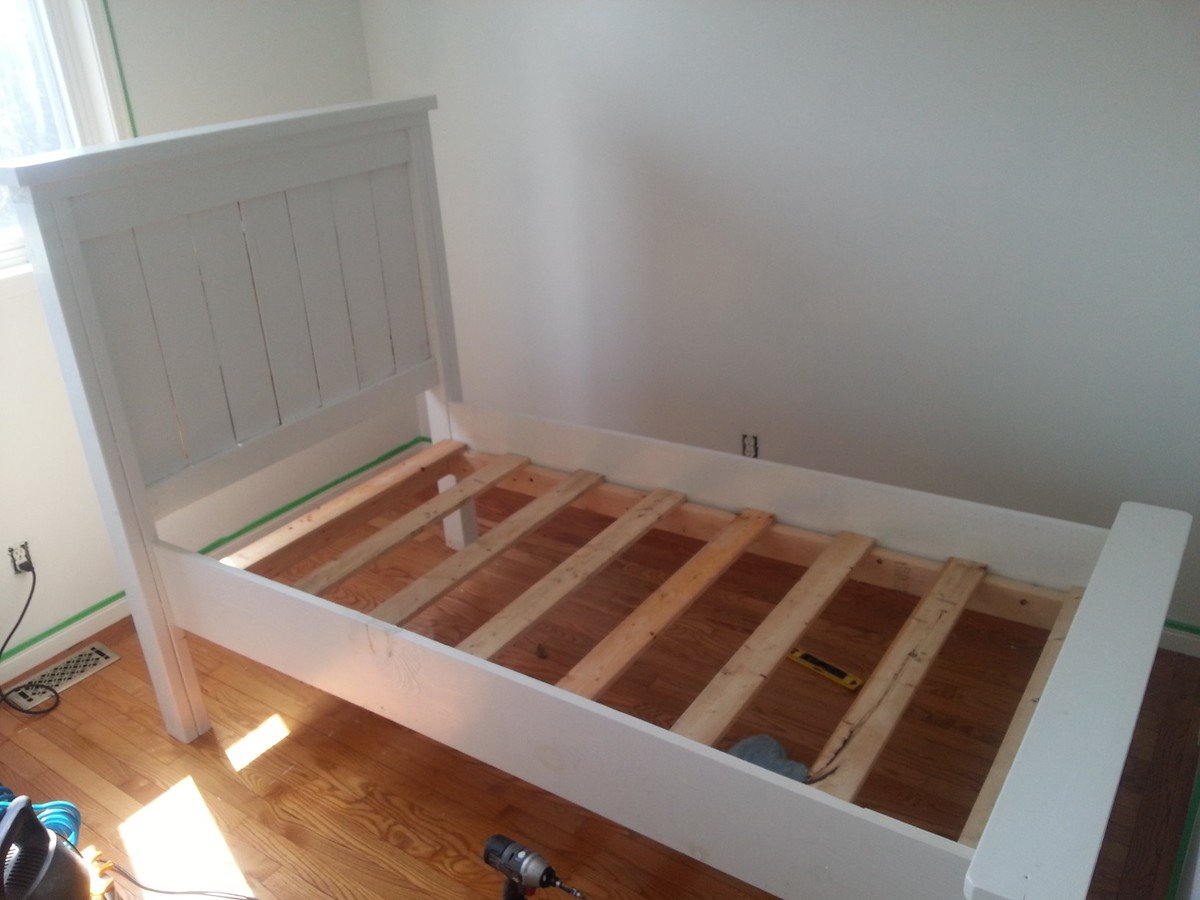
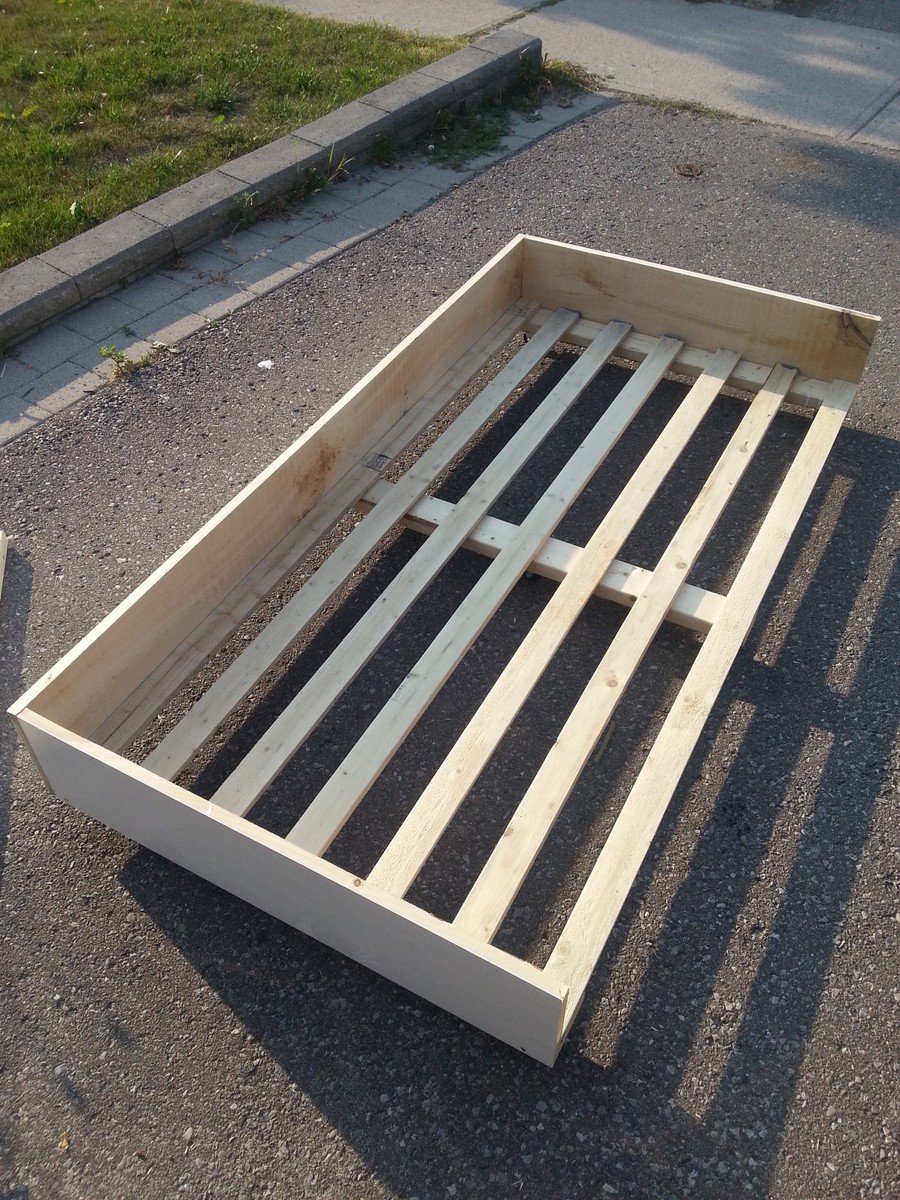
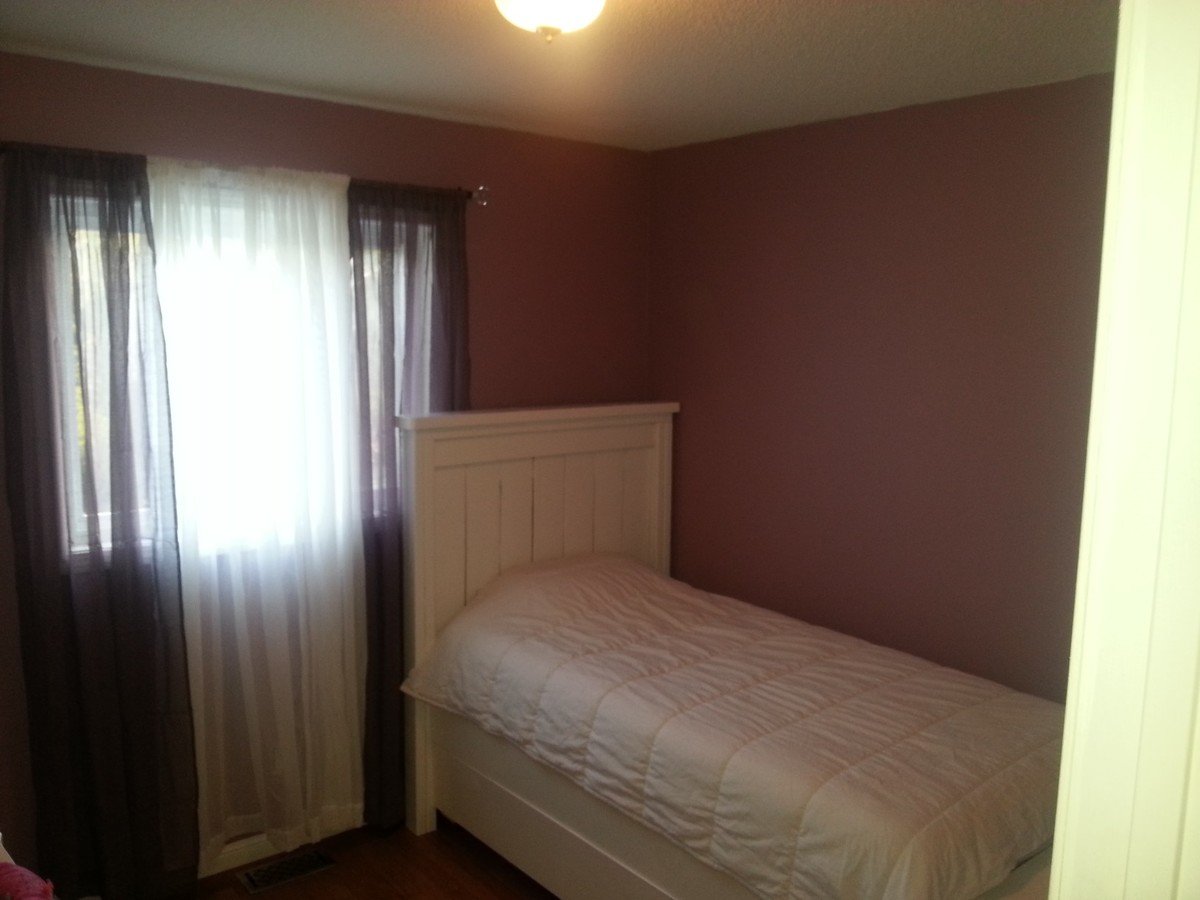
Took the farmhouse plan and added a Trundle. Was initially going to build two farmhouse beds for my two girls, but thought adding the Trundle would free up some much needed floor space. The girls love it!

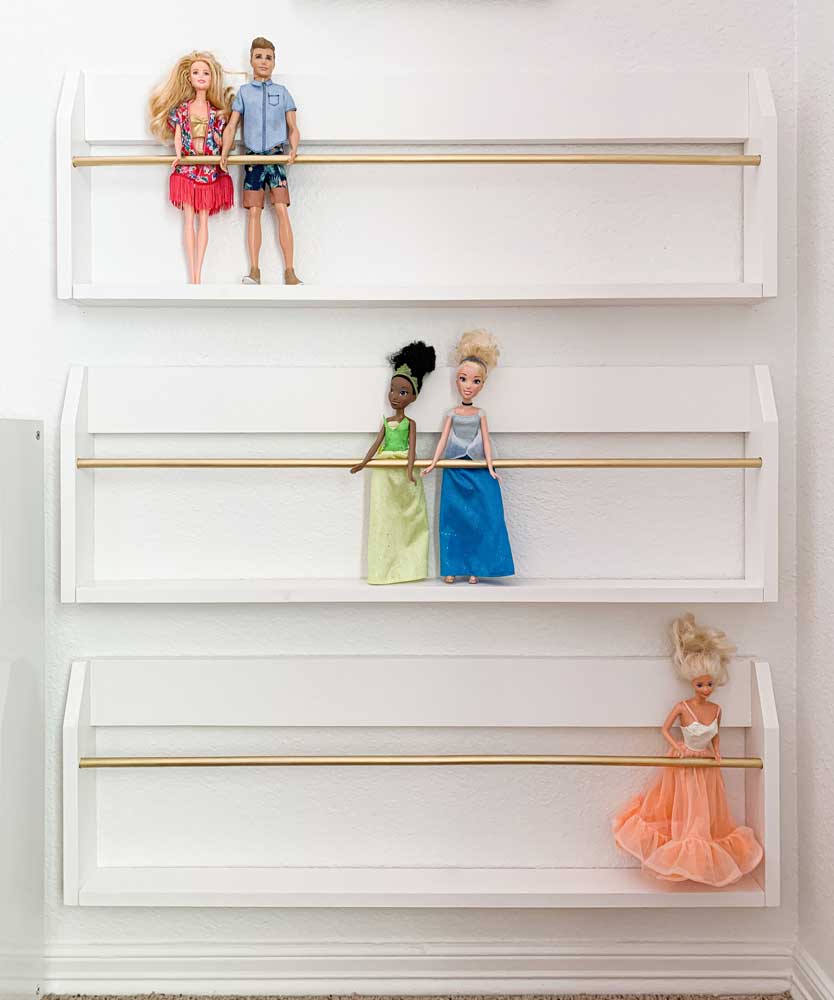
I was inspired to make these wall racks for my daughter's Barbie dolls after seeing a magazine rack on the Anthropologie website that sold for $118! I made 3 of them for under $15 each. Storing the dolls standing up keeps their hair from getting so tangled. It also makes it easier for my daughter to see her dolls, play with them, and put them away when she's done. Finally, they make wall decor out of toys she already owns and loves. This was an easy project that a beginner can do, and it only took a couple of days. We love our Barbie racks!

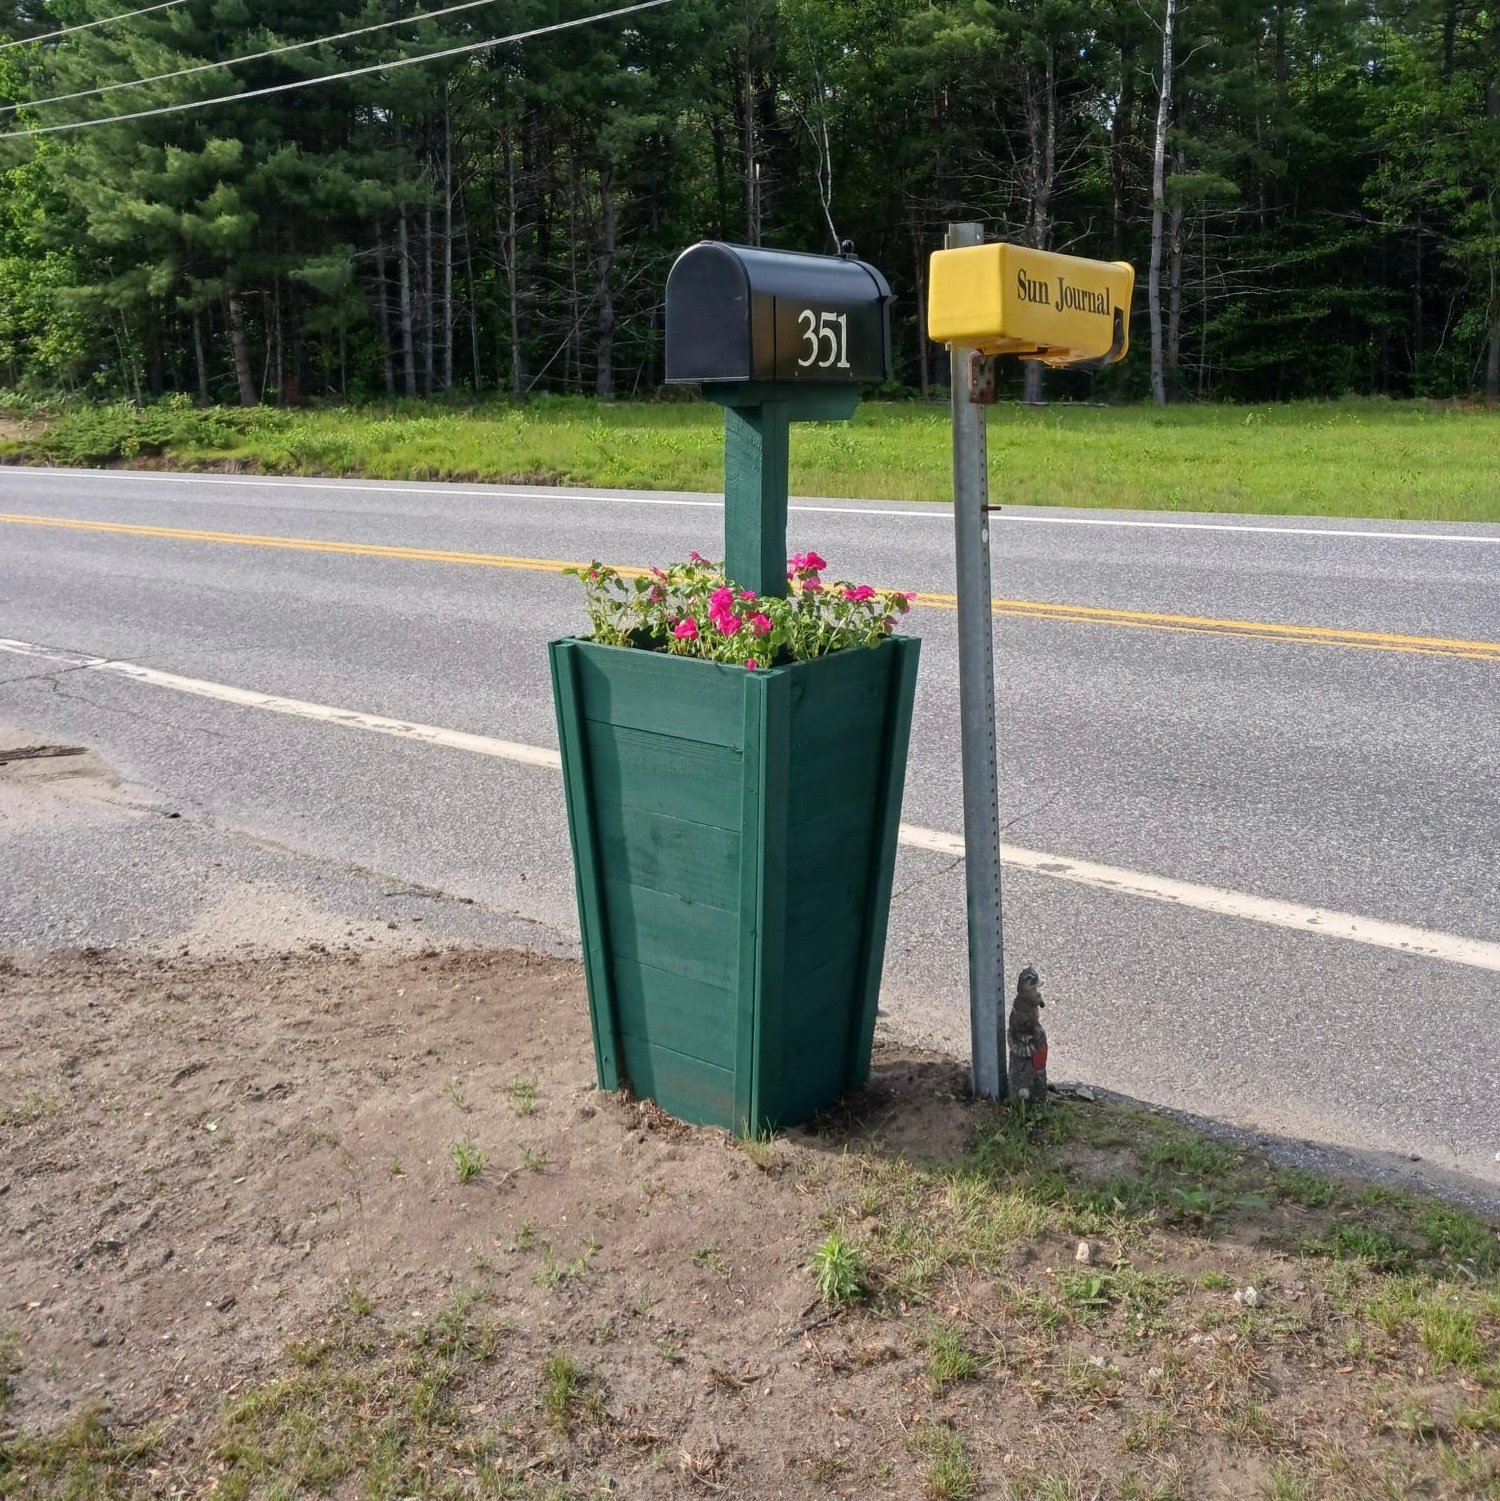
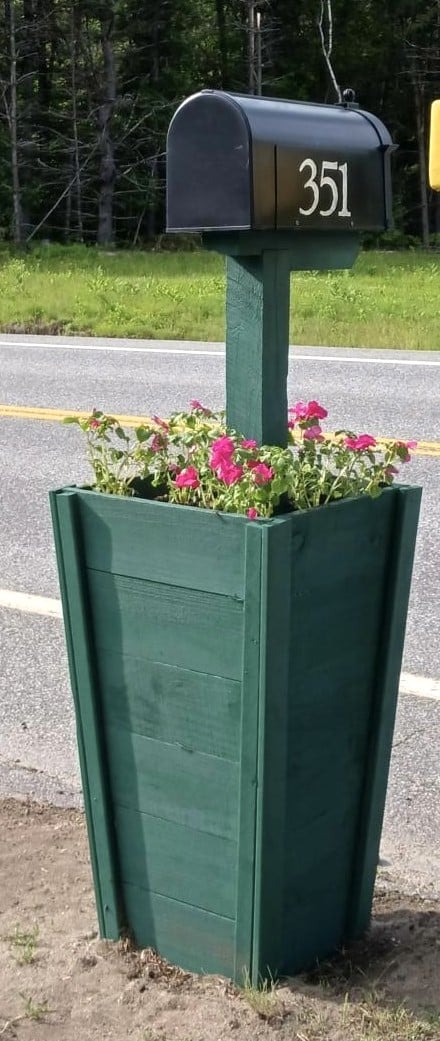
Thank you, Ana, for providing such great plans and video so I could accomplish the mailbox planter. It took me a lot longer than it did you, but I got it done! Had a hard time finding cedar pickets in my area, but ended up using the dog-eared ones as that's all I could get. Keep up the phenomenal content on your site...it is very much appreciated!
Thu, 06/15/2023 - 14:29
Love the idea of using this plan for a mailbox planter, well done! Thank you for sharing.
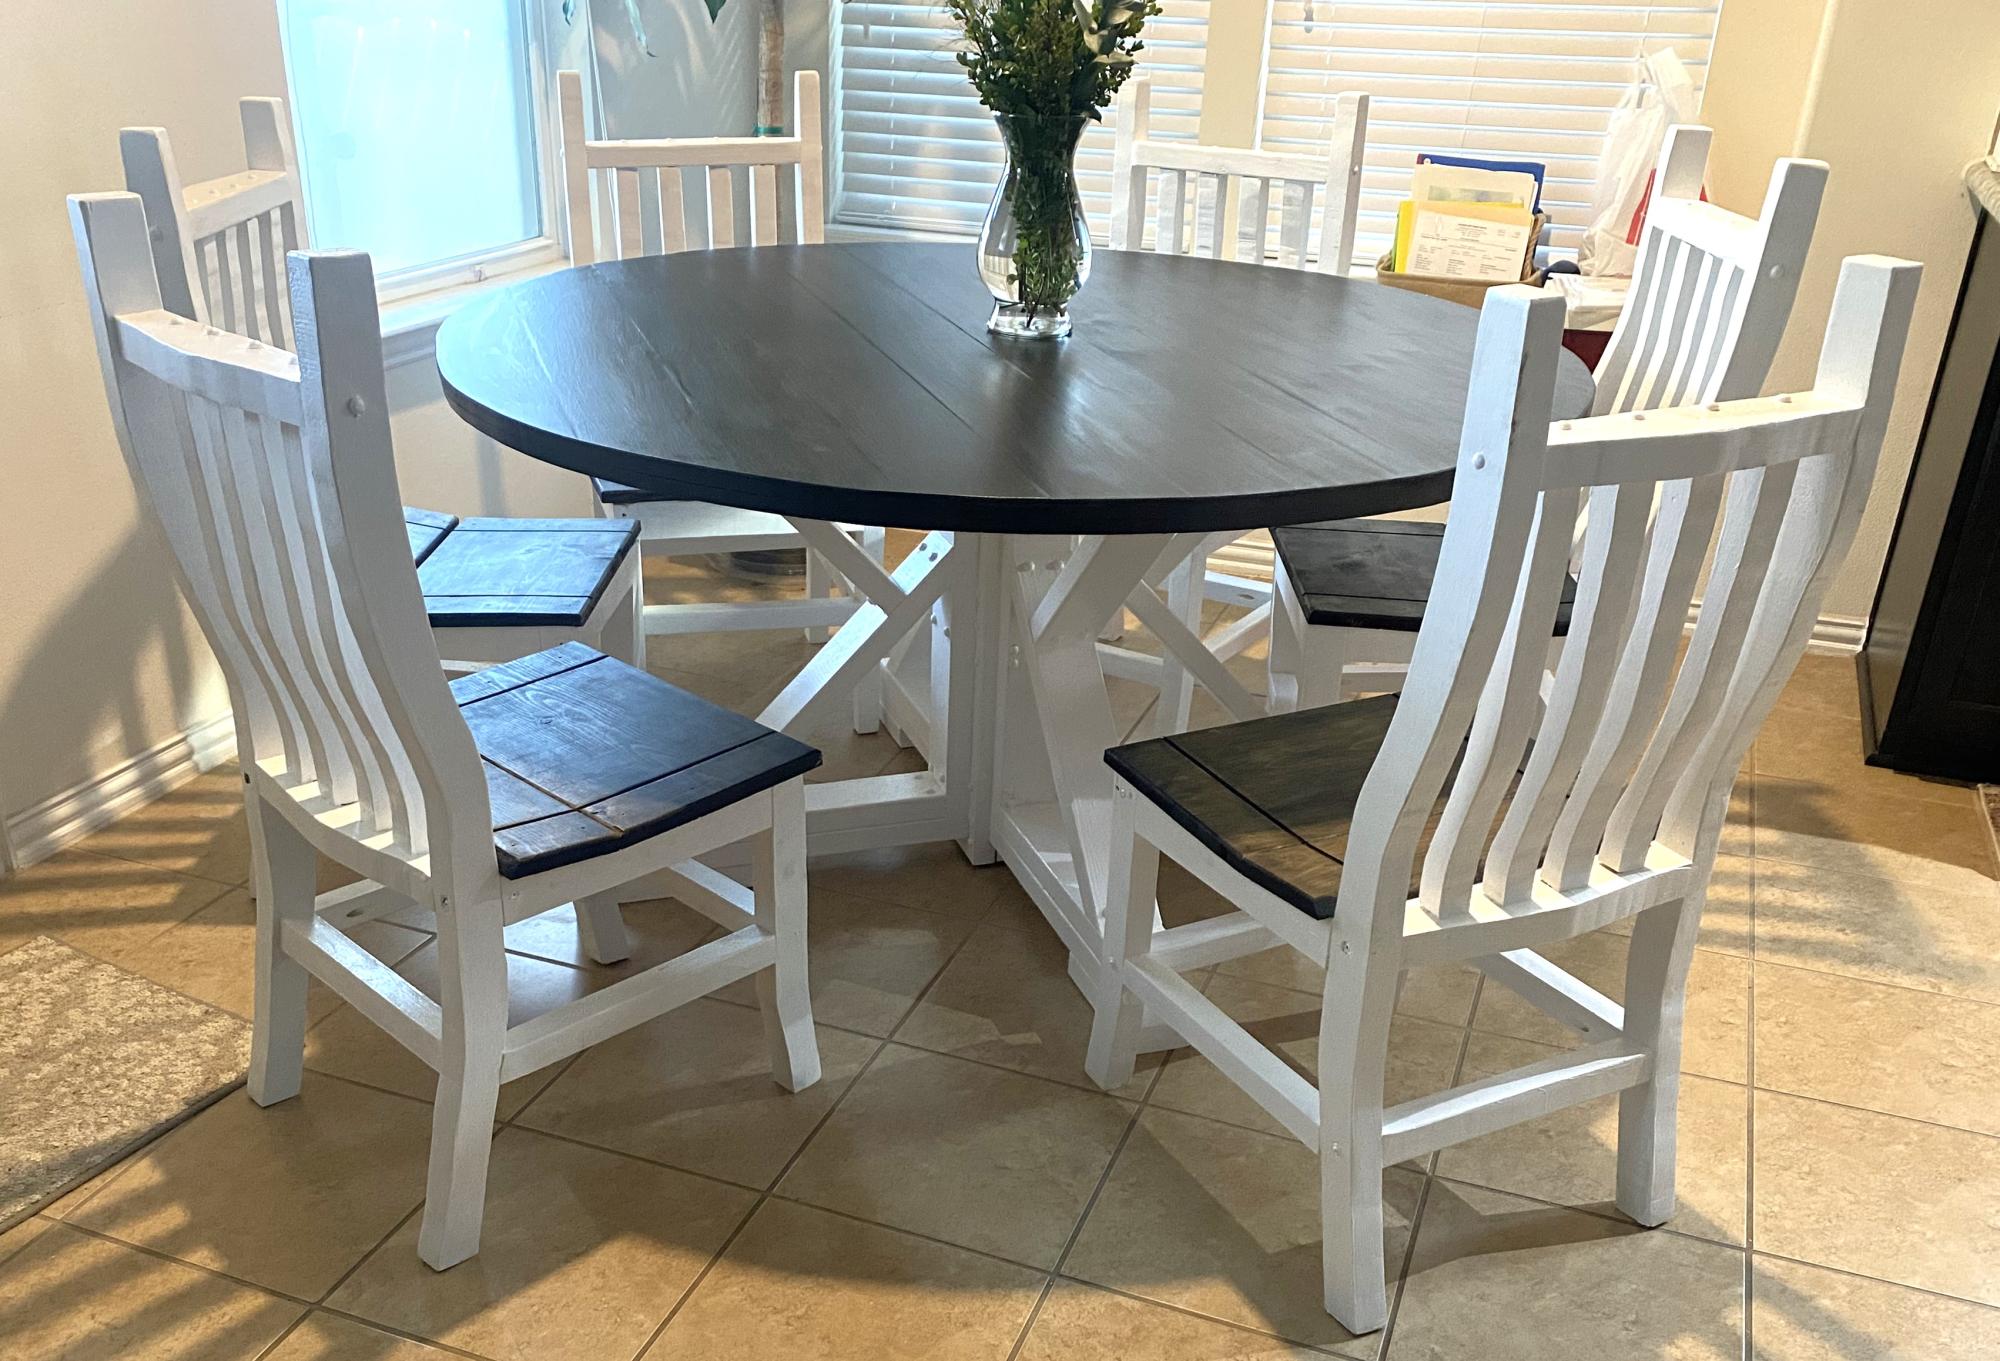
Built this for my wife for our anniversary. Plans for the table was easy to follow. Used poplar for the table top. I copied the chairs from our large dining room table that we purchased so the two sets would match. I’m an Ana White follower looking forward using more plans. I used a jig saw to cut the circular table top instead of the skill saw using a fence.
James / League City Texas
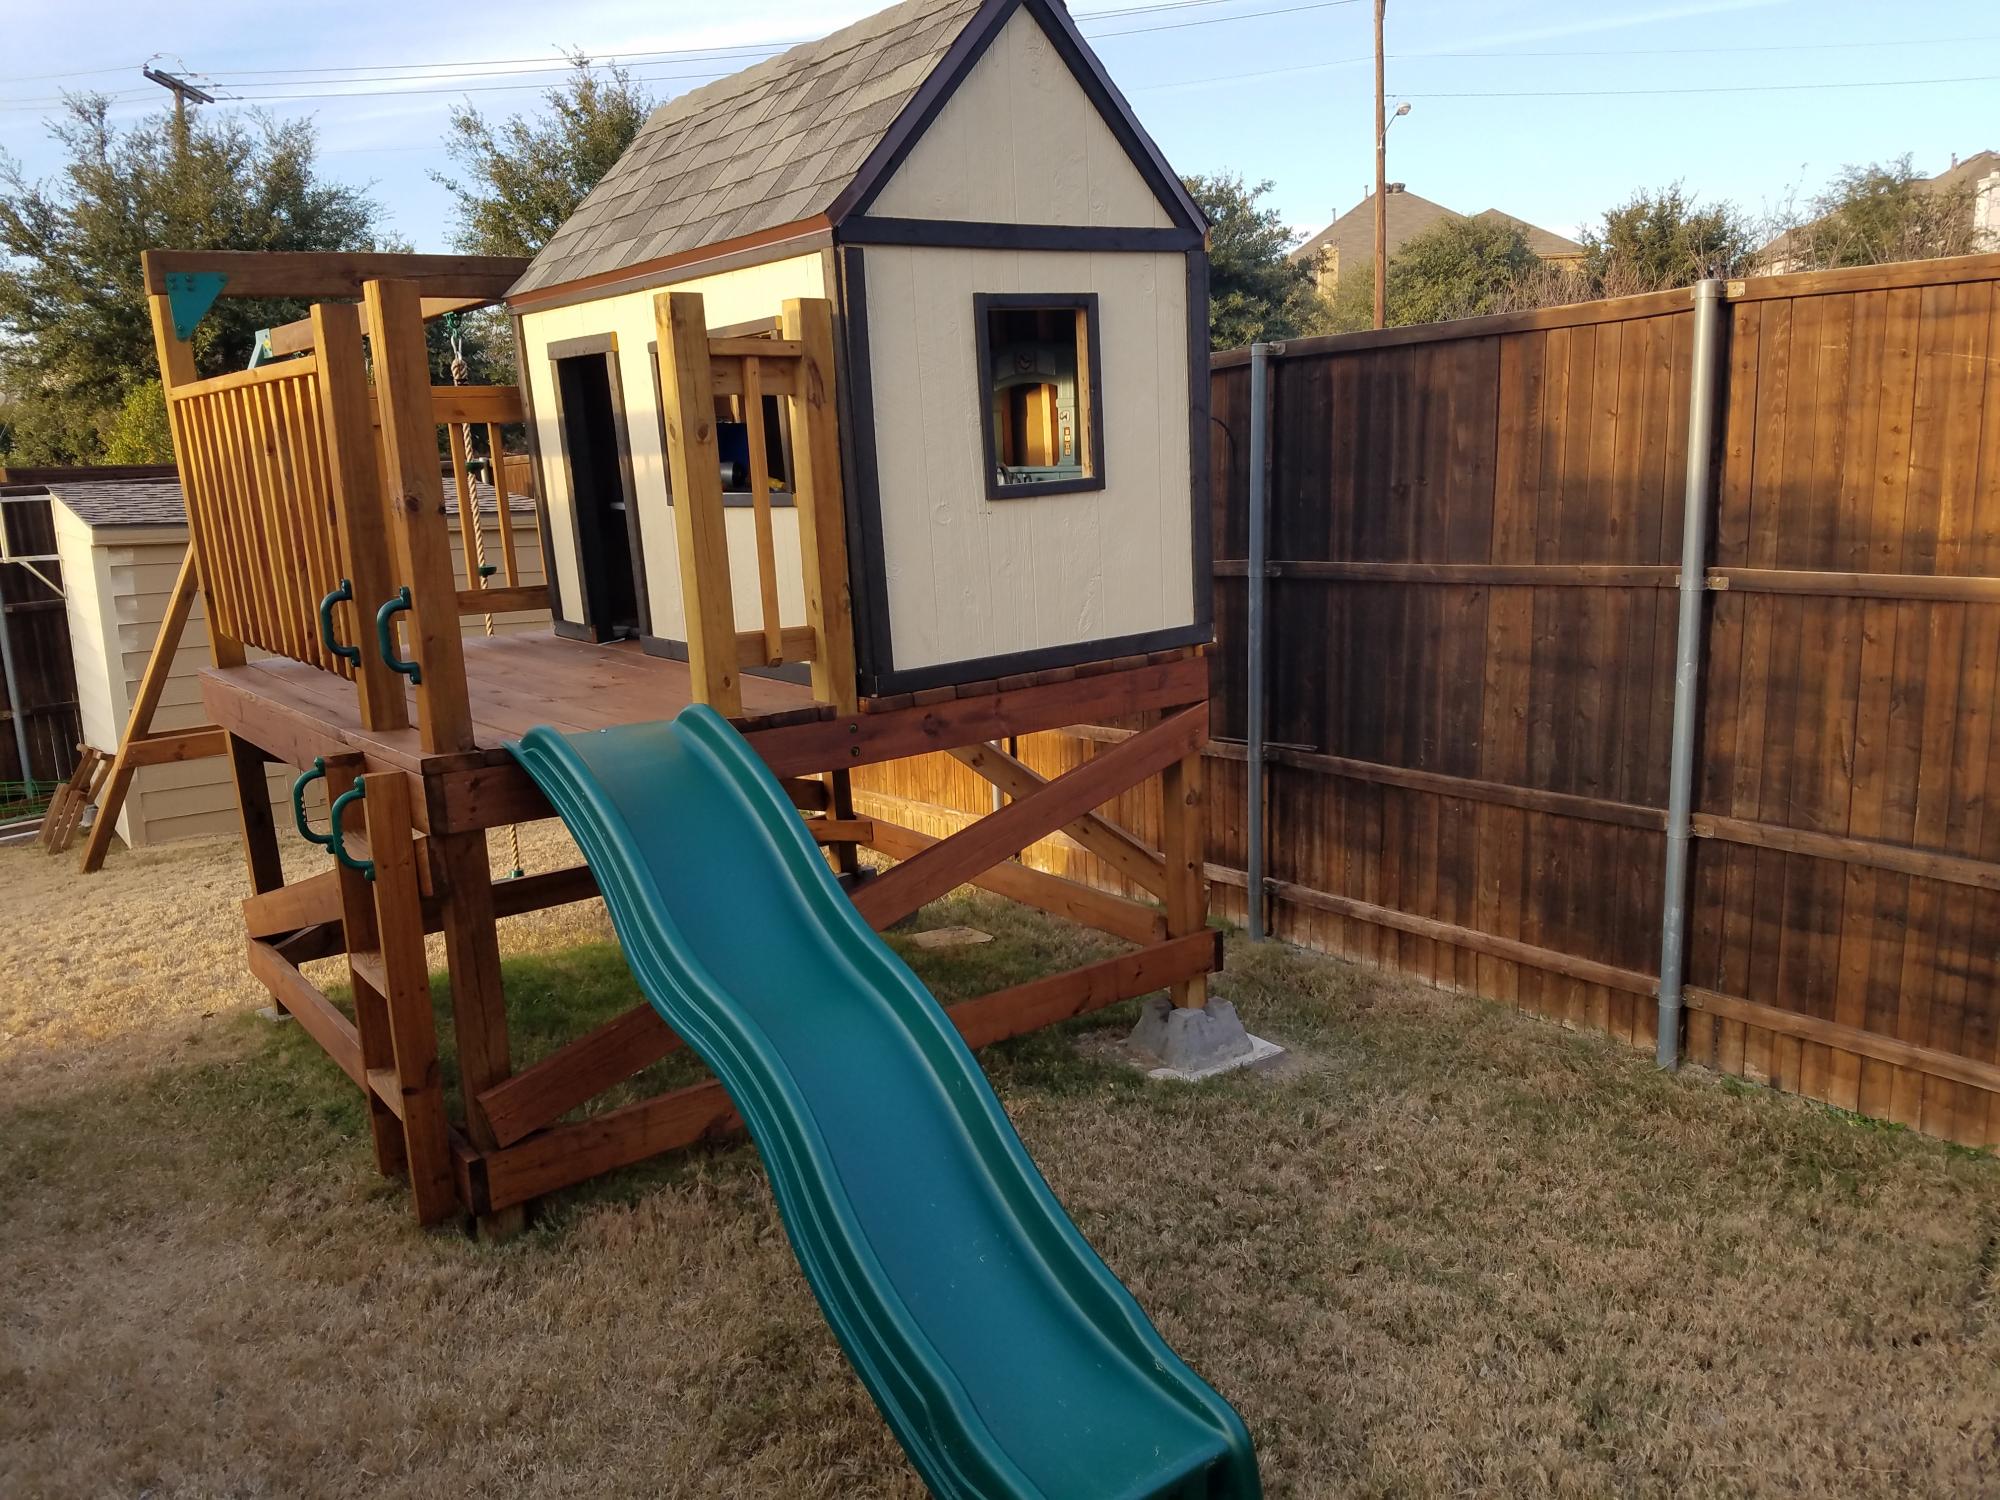
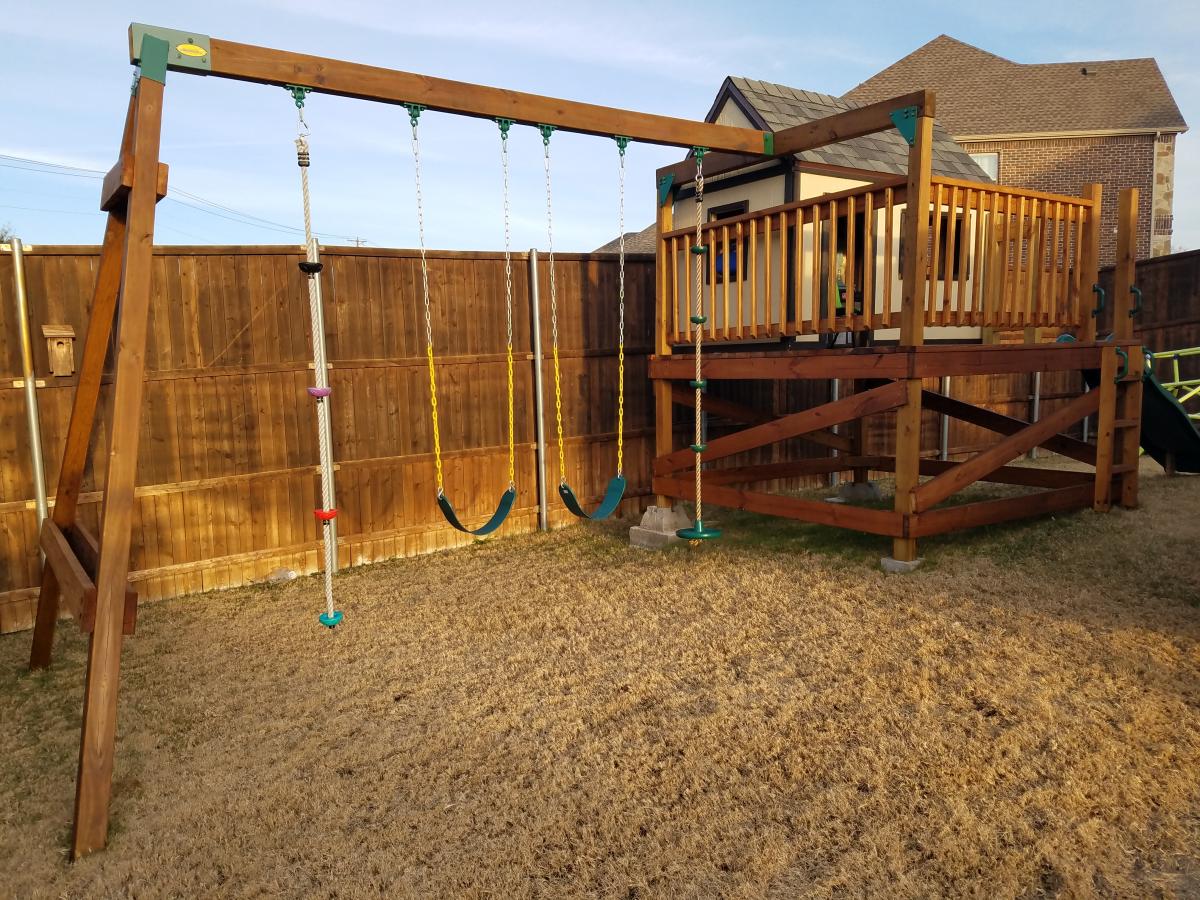
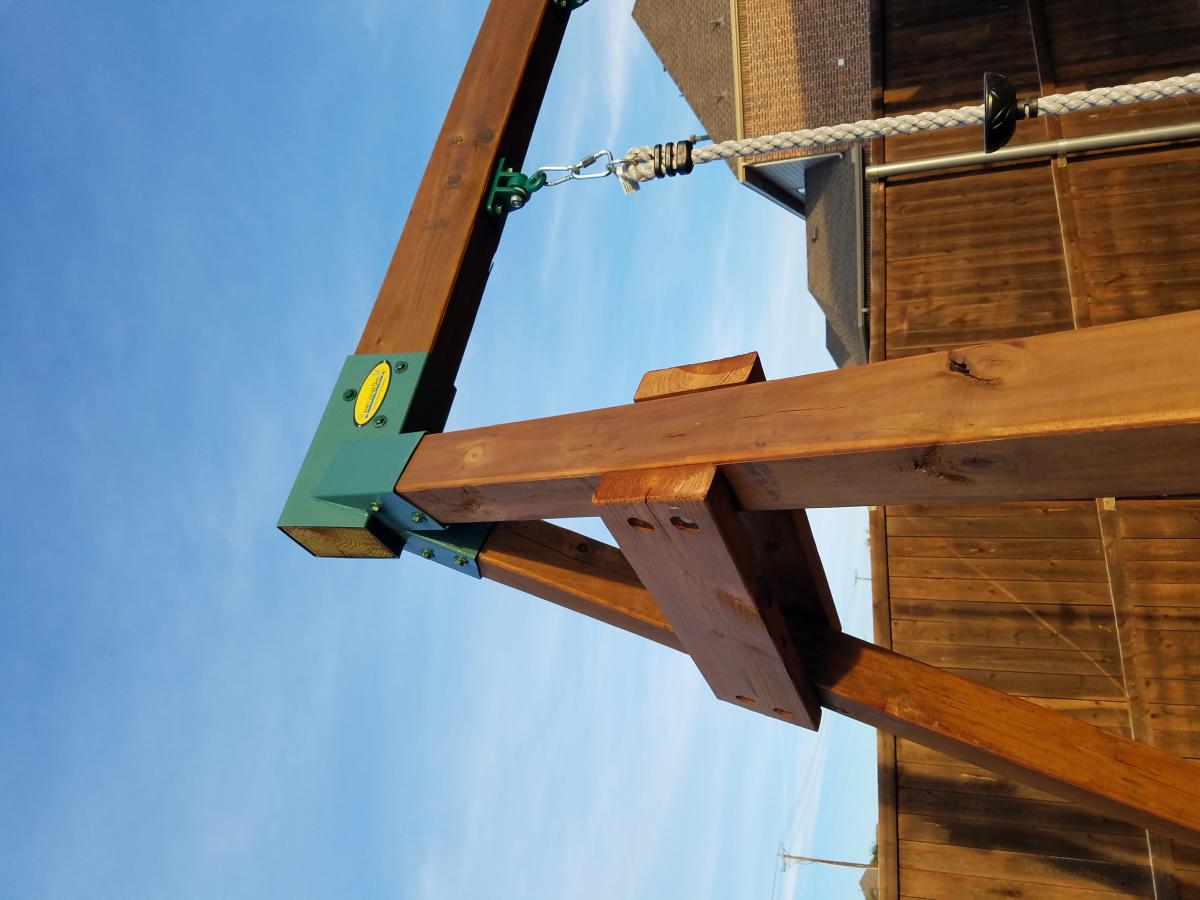
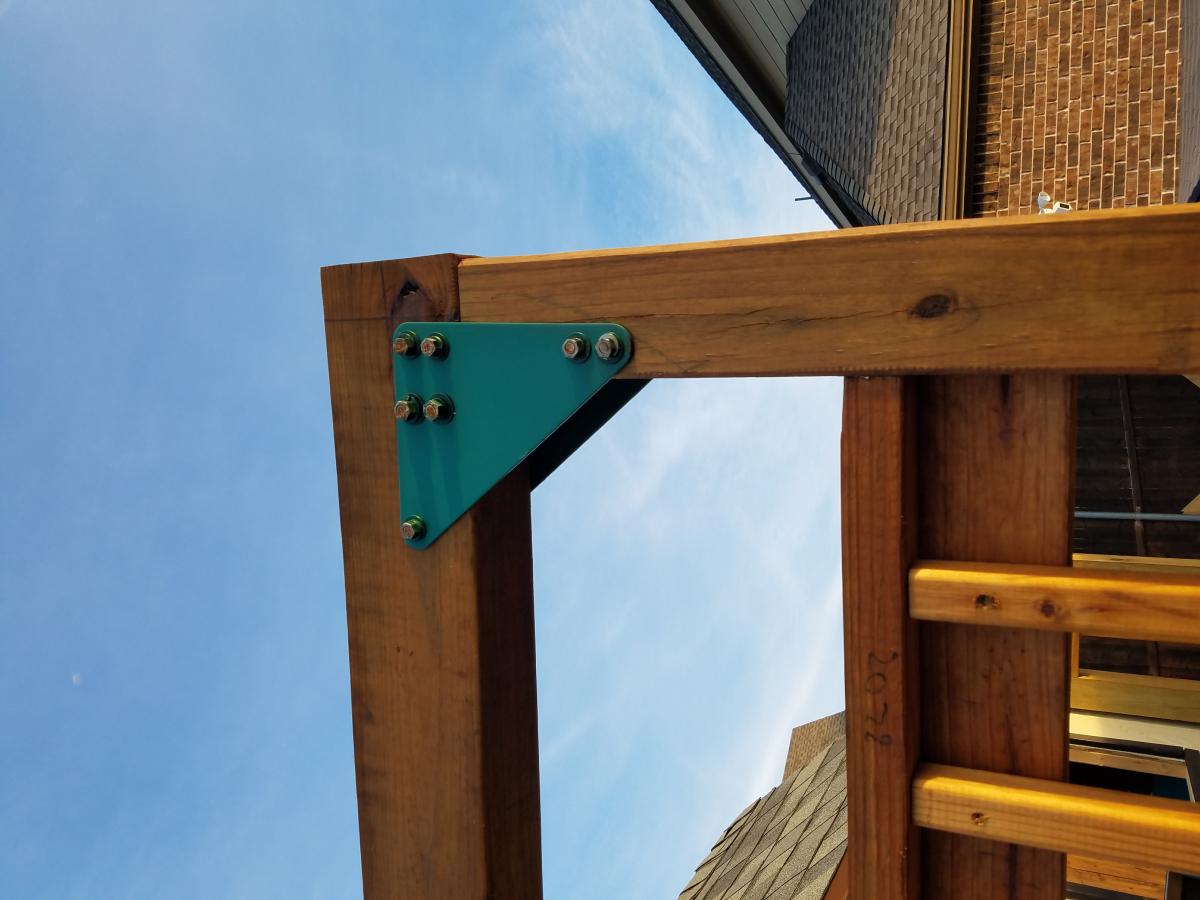
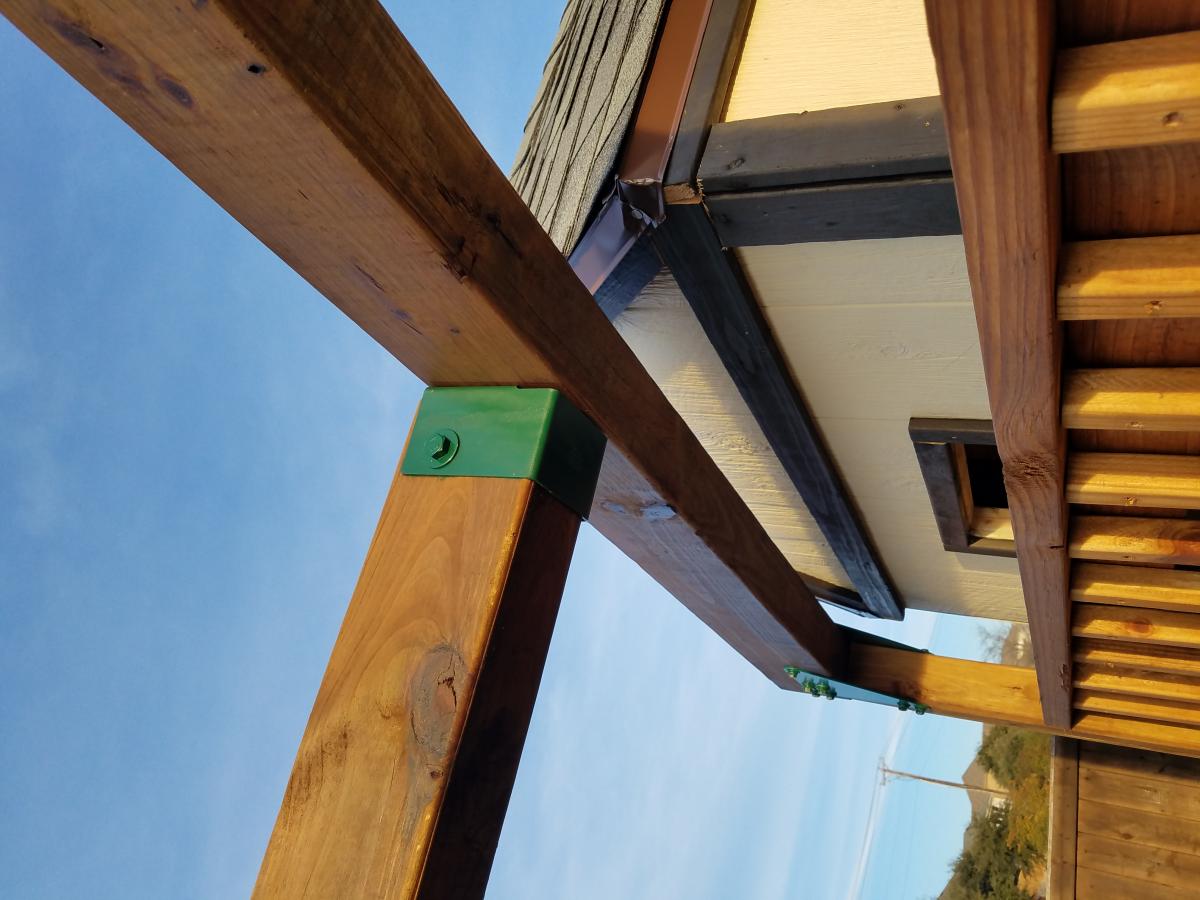
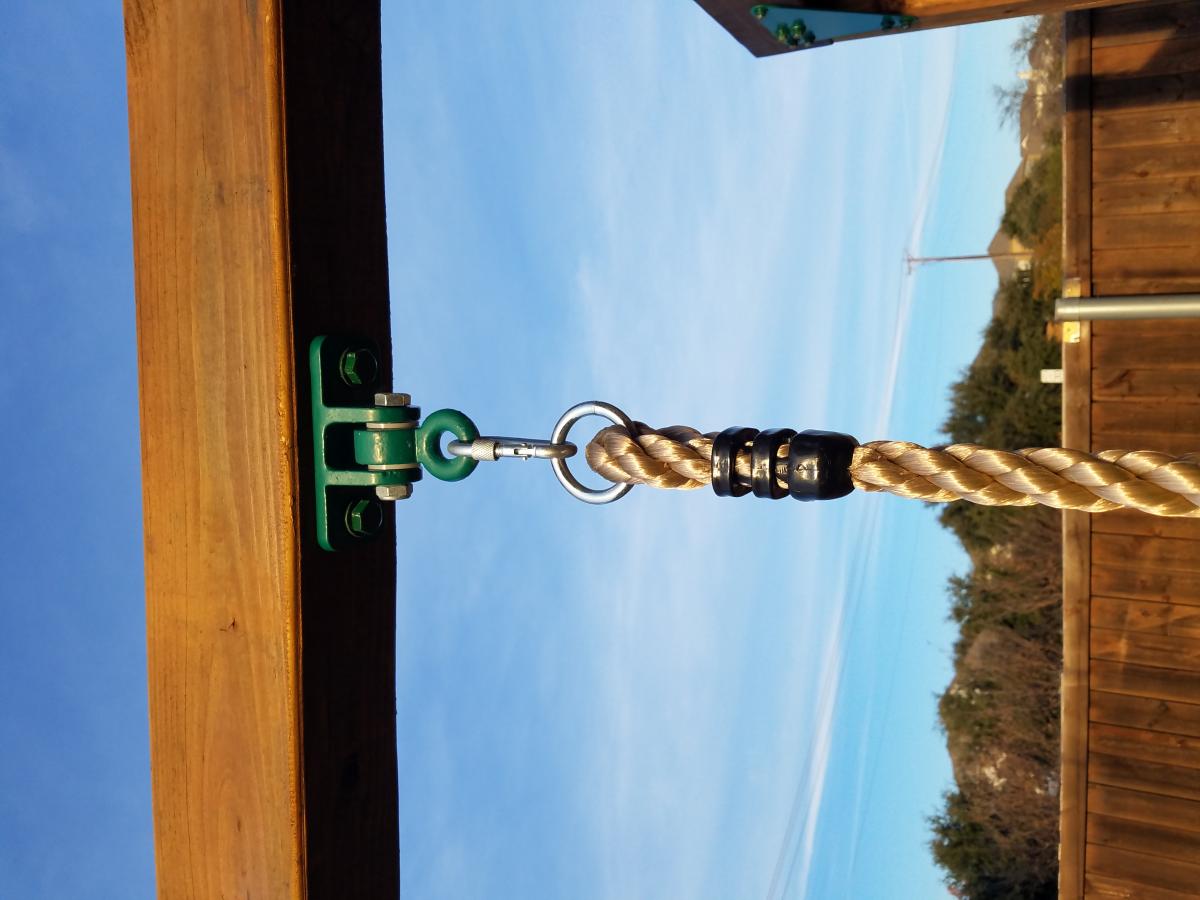
I deviated quite a bit from the plans. Mostly, I used readily available swingset hardware to beef up the design. This stuff can be found on big online sites or specialty sites.
I bought all of the swings, and ninja rope online along with the 4ft slide and safety handles.
Mon, 04/12/2021 - 15:48
did you put your pillars into concrete? It looks like you have a few different bases.
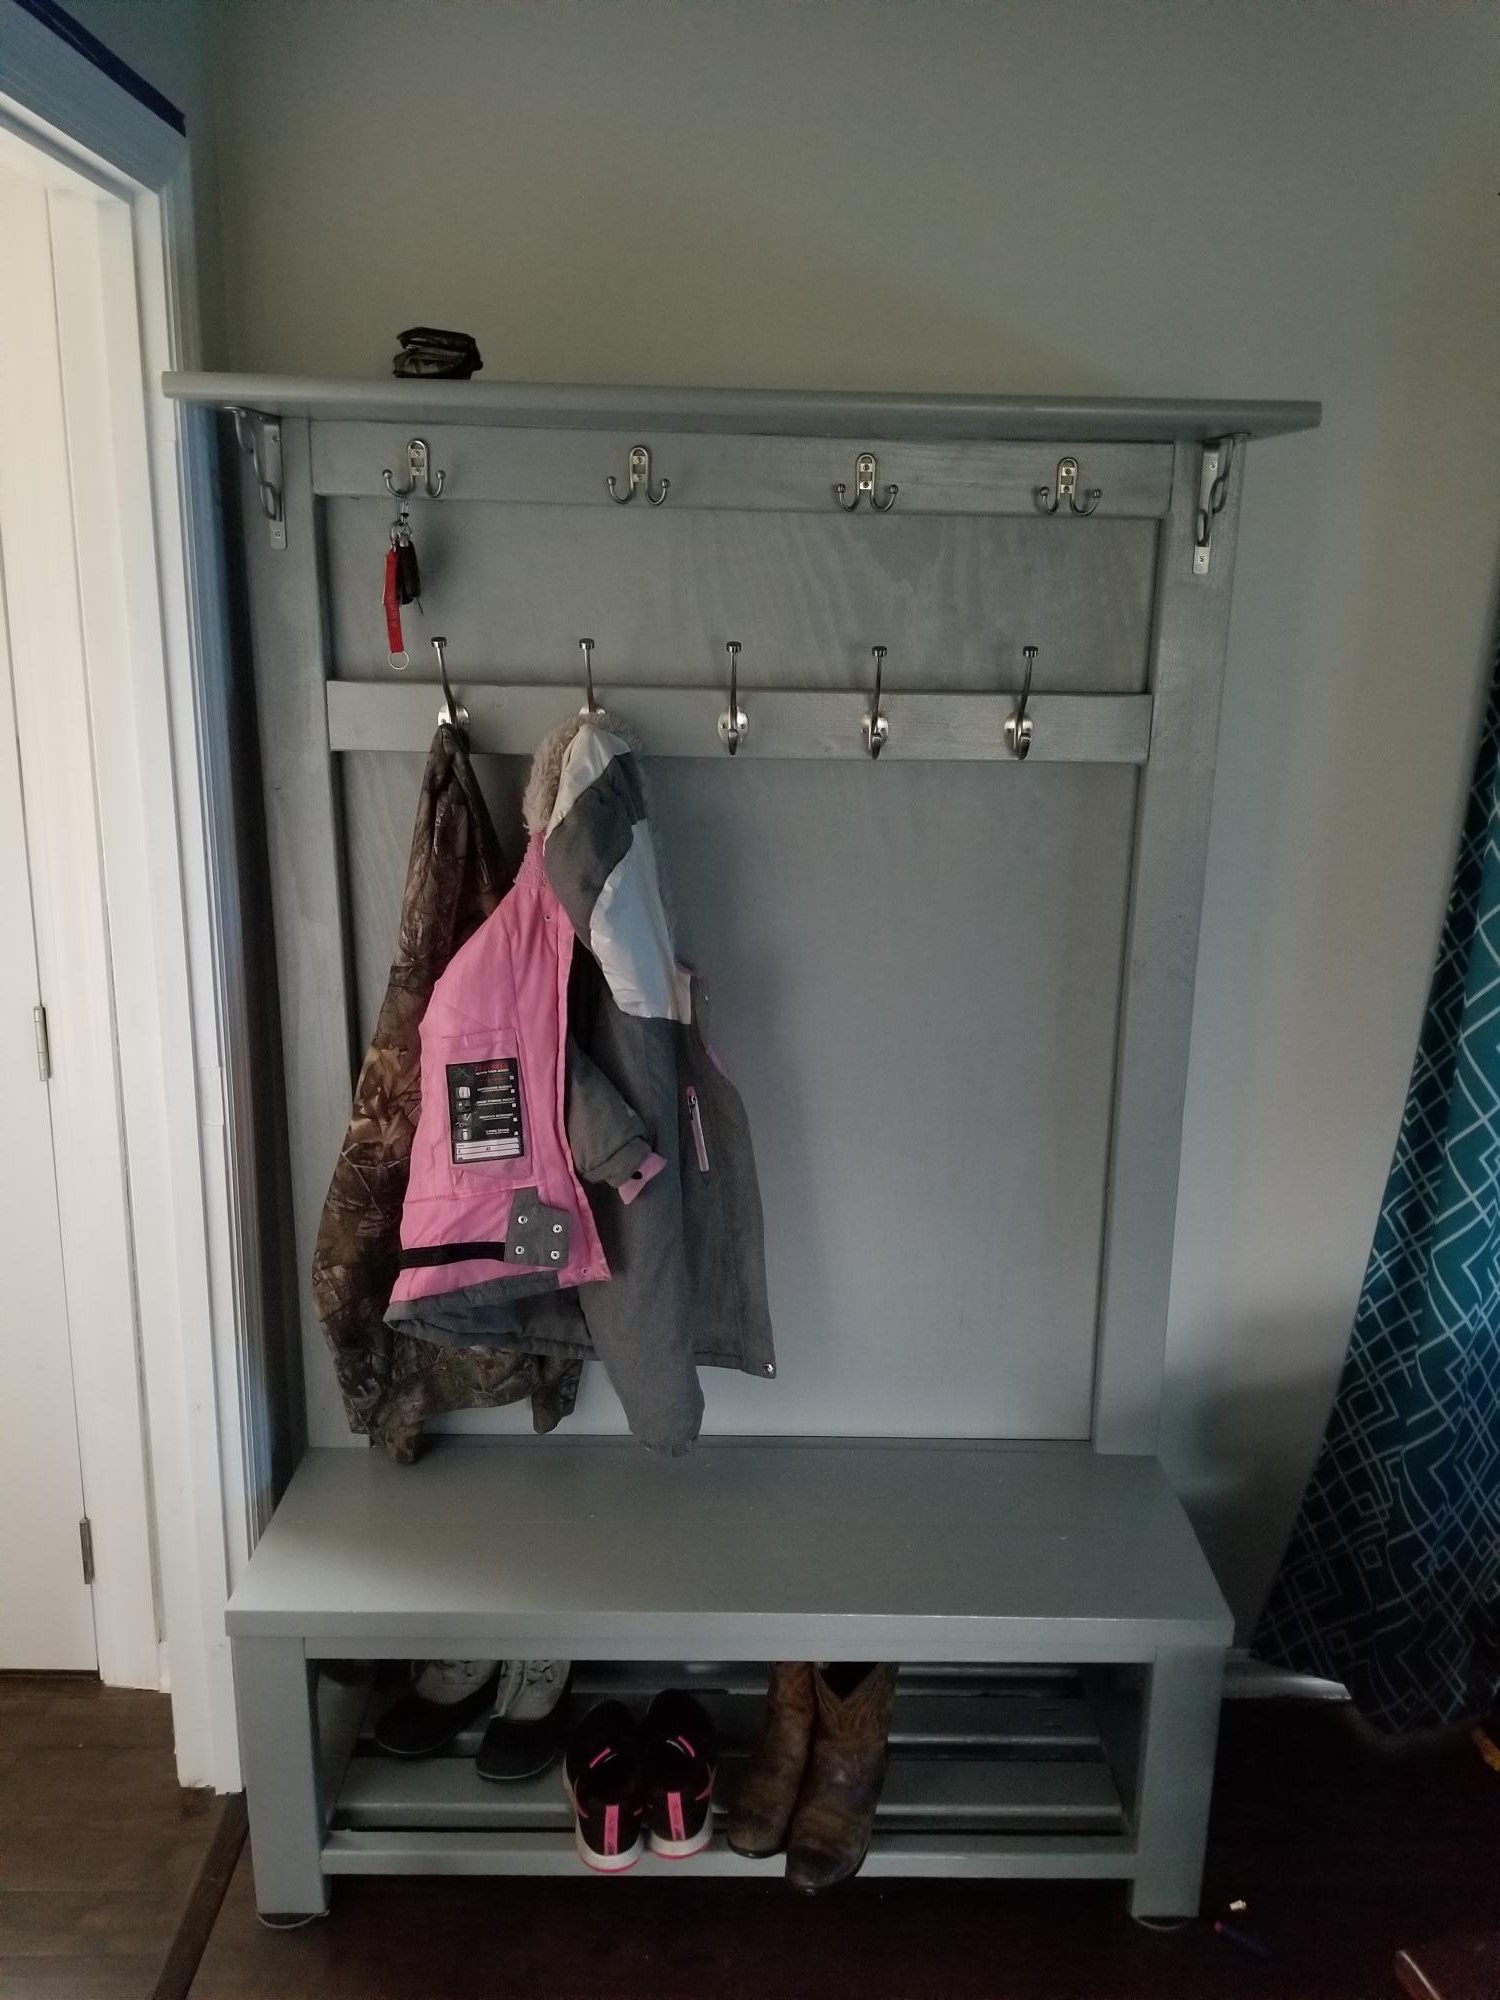
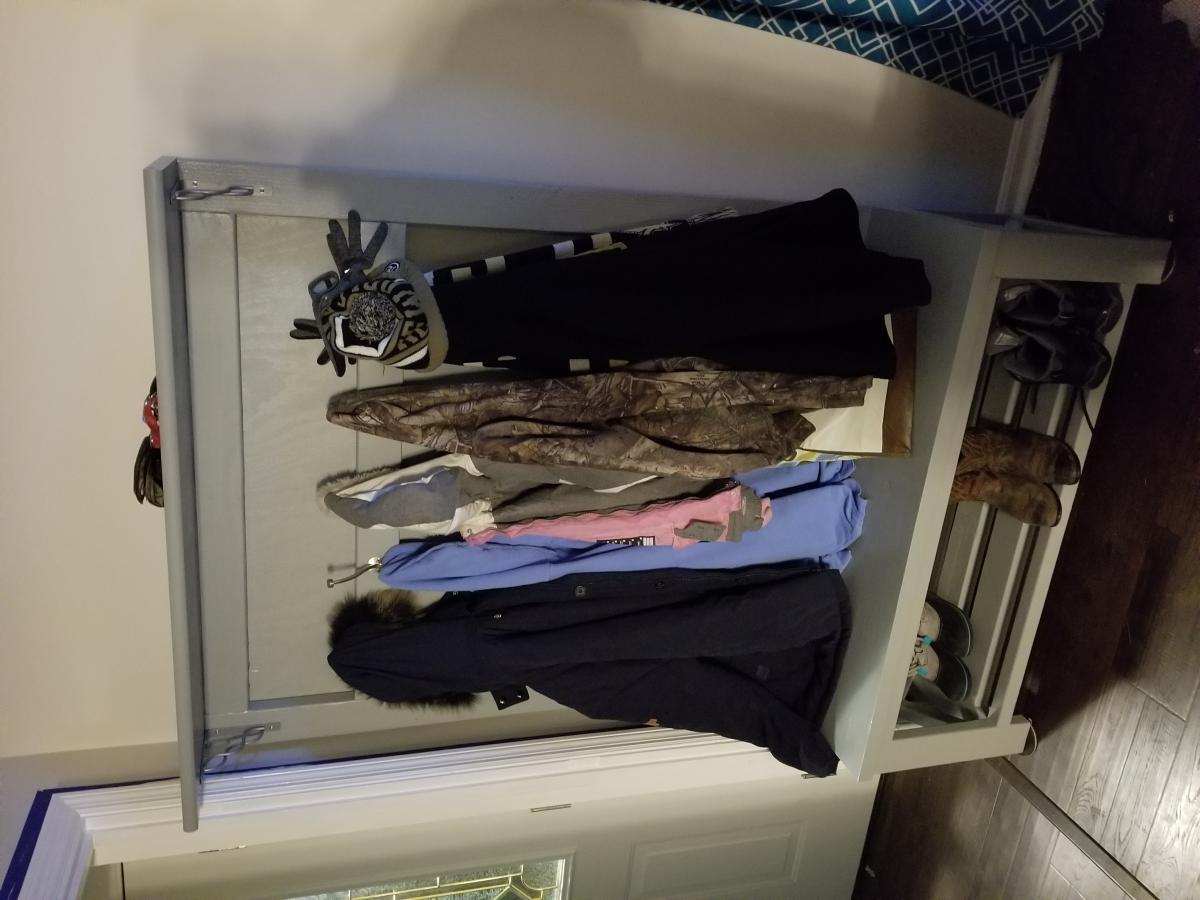
These plans were awesome! Thank you so much for sharing!! I added a few hooks on top for my keys and found this top board at Lowe's for $10, no I have a place to lay my wallet and phone. I tweaked mine to fit my needs but again, this plan was amazing, that KS for sharing! I look forward to making more of your projects.
Note: I chose this project as a weekend long project because I applied paint and it did take much longer for the paint to dry in this cold weather. The build was approximately 1 day.
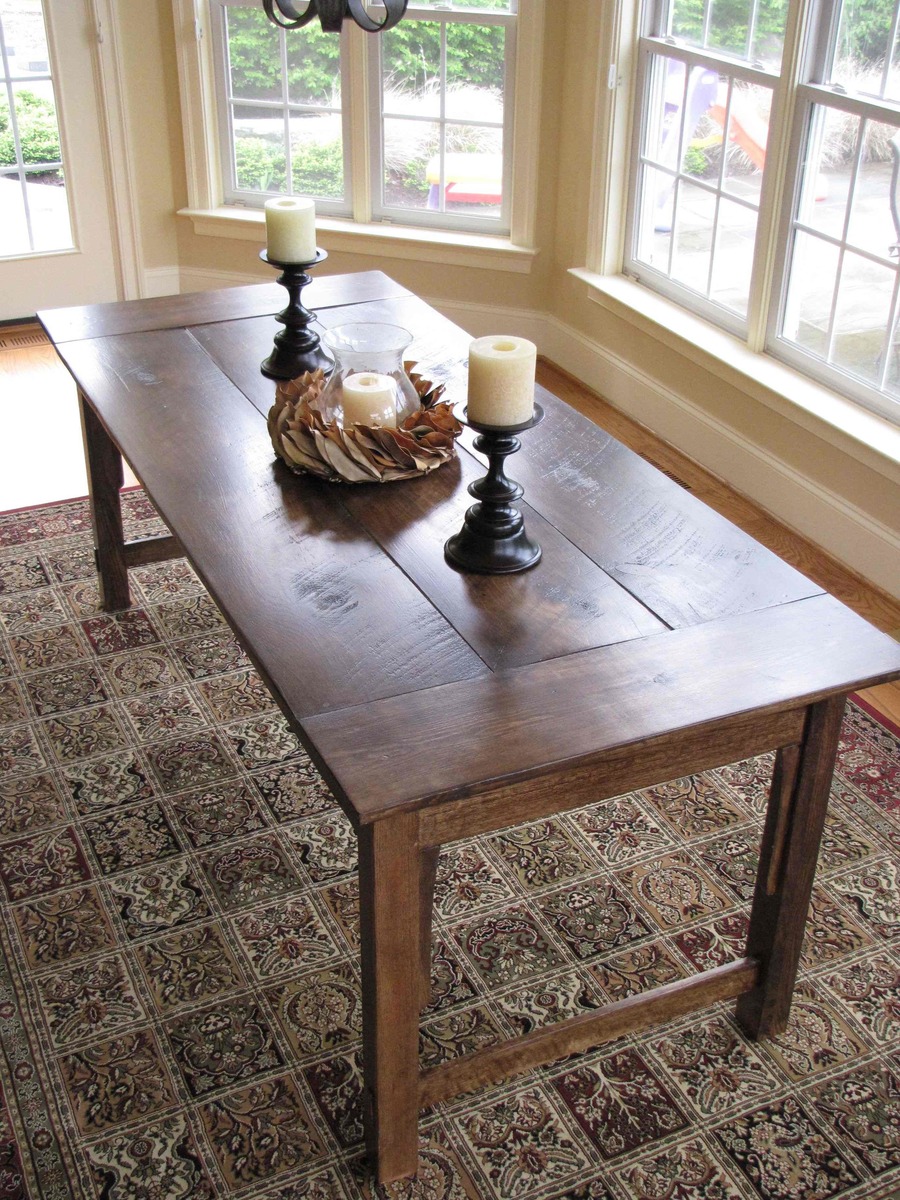
Since I am in the middle of a divorce, my ex- took my dining room furniture. I decided instead of buying something new, or getting a hand me down, I would build a new table. The wood top was made of 3 wood planks from my sister in laws hardwood flooring leftovers. It was sooo fun to make this. The stain was a mix of Minwax Providence and Ebony 3 to 1 mix appx. I did not add the bottom wood piece, as I did not think it needed it, it is plenty strong without it. I am working on the bench and chairs now. This has been by far my most fulfilling project ever. Enjoy!
Tue, 04/24/2012 - 09:55
I think you came up with a great solution to your dining room problem. As a victim of the "ex furniture snatch" myself, I also decided to build my own instead of buying. It was quite the confidence boost! Love the table with the wider boards. I also didn't use a stretcher for my Farmhouse Table, and it's held up perfectly for over a year now.
In reply to Looks great! What size did by whitney_smith
Tue, 04/24/2012 - 16:53
The finished size is 36x 85x32 high. It may be about 1/2- 1 inch too high, but I custom made the bench for it and am repurposing some bar height swivel chairs to size as well. Thanks for the compliments
Thu, 09/27/2012 - 08:38
I am looking to do the same design with the larger boards in the middle. What size are the boards running vertically on the ends? 1 x 6?
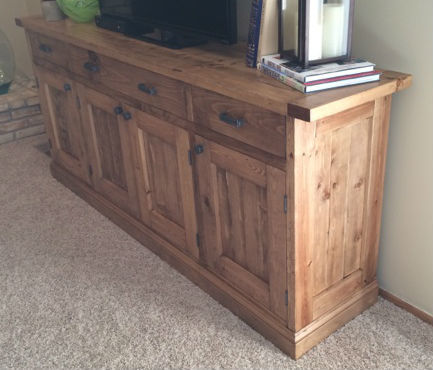
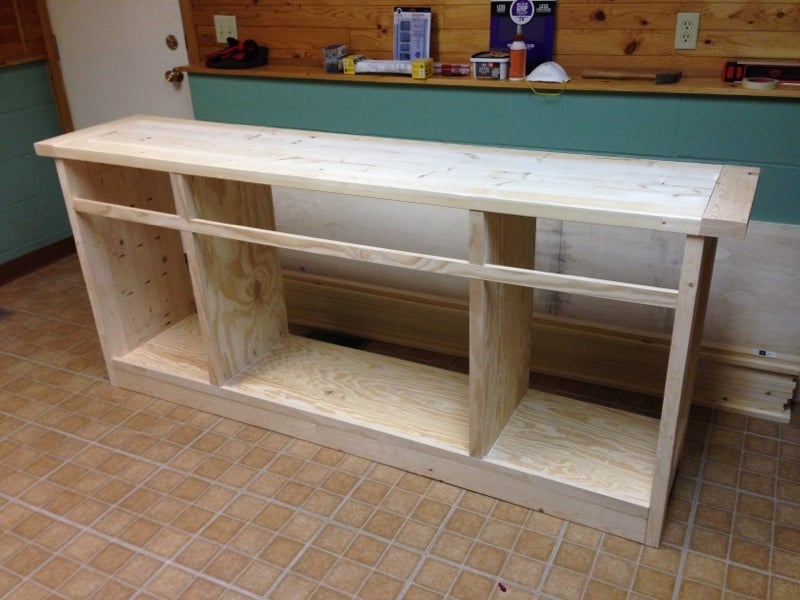
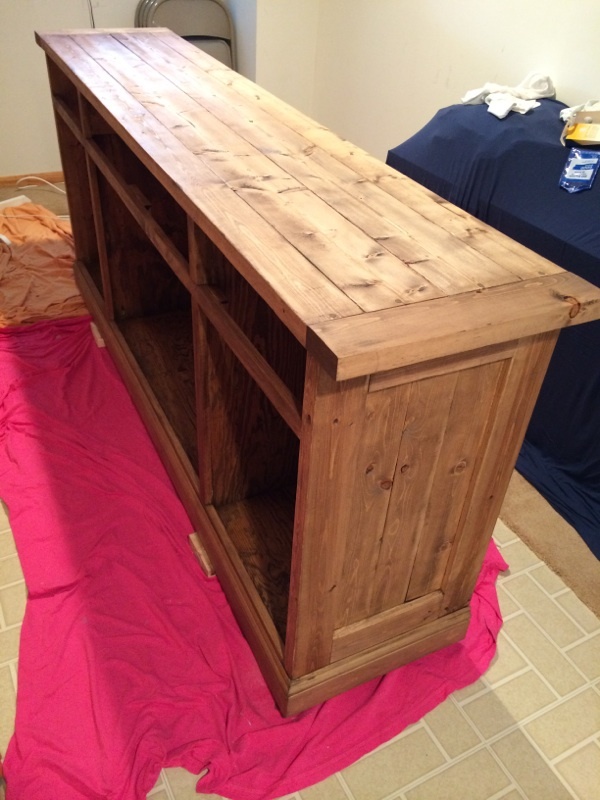
This was my first finished project using plans from Ana's site, and I am very pleased with the finished product. Every aspect of the finished sideboard is based on something from the site. I started with the plans for the Planked Wood Sideboard, and made no modifications as the dimensions were perfect for our basement family room. I decided to inset the back (http://www.friendly-home.net/2012/02/gigantic-rustic-sideboard.html) as Ana explained that Hillary had done, and love the final result. This will allow us to use this to potentially divide a room in an open concept space at some point in the future.
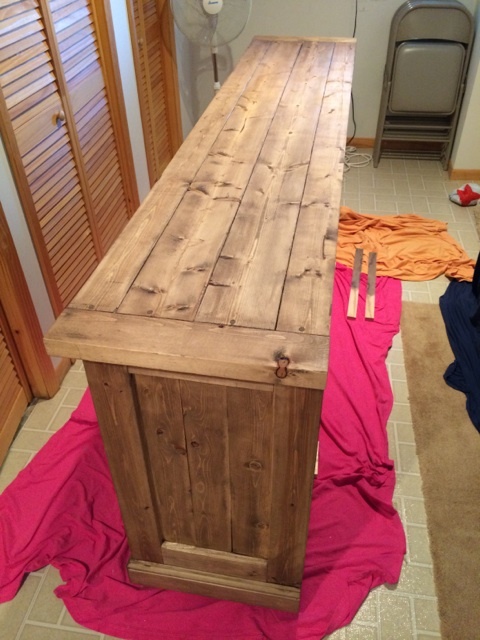
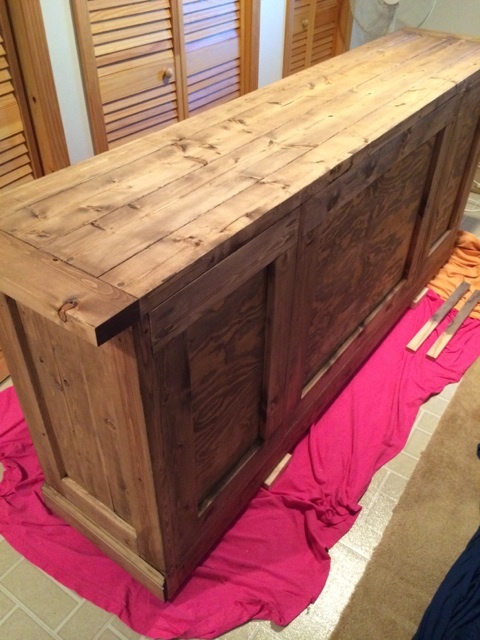
For the finishing process, I decided to follow the "Rustic Yet Refined" finish tutorial highlighted on both the Ana-White site (http://ana-white.com/2013/08/rustic-yet-refined-wood-finish) and Jen Woodhouse House of Wood (http://jenwoodhouse.com/blog/2013/06/07/diy-dining-table/). I fully intended to complete the 9 step process, but found that after we applied the Minwax pre-stain wood conditioner, followed by Minwax special walnut stain and wiped it off within 15-30 seconds, the finish mirrored the restoration hardware finish that we were going for. We decided not to proceed with layering on the weathered oak or applying the whitewash, and went straight to the spar urethane satin coats.
Overall, the project was a success, but was difficult to finish during the Minnesota winter as it was unbelievably cold and was forced to complete the finishing process in our basement/laundry room, which extended the length of the project. I am very excited to begin building other pieces from Ana's plans.

Mon, 03/03/2014 - 10:01
Absolutely beautiful! Thank you for all the details on how you did this!
In reply to Absolutely beautiful! Thank by moosmani
Thu, 03/13/2014 - 07:09
Thank you so much for your kind words. I am extremely impressed with your brag posts as well, and you may have been inspired to take on the picket storage shed project as soon as the snow melts.
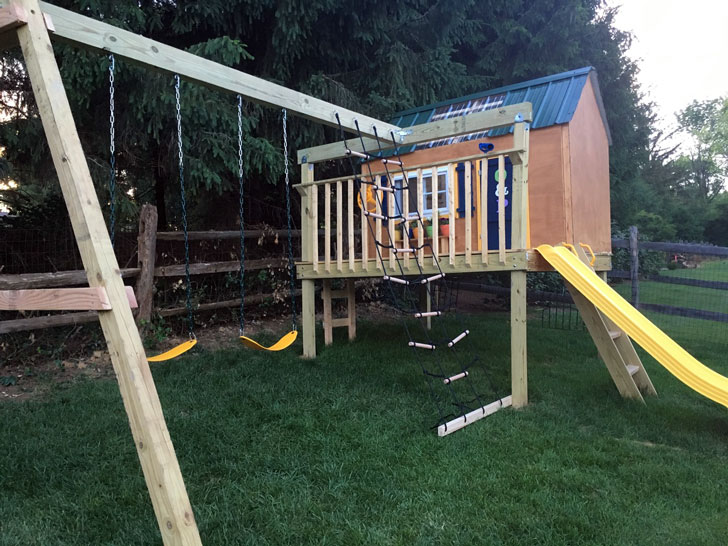
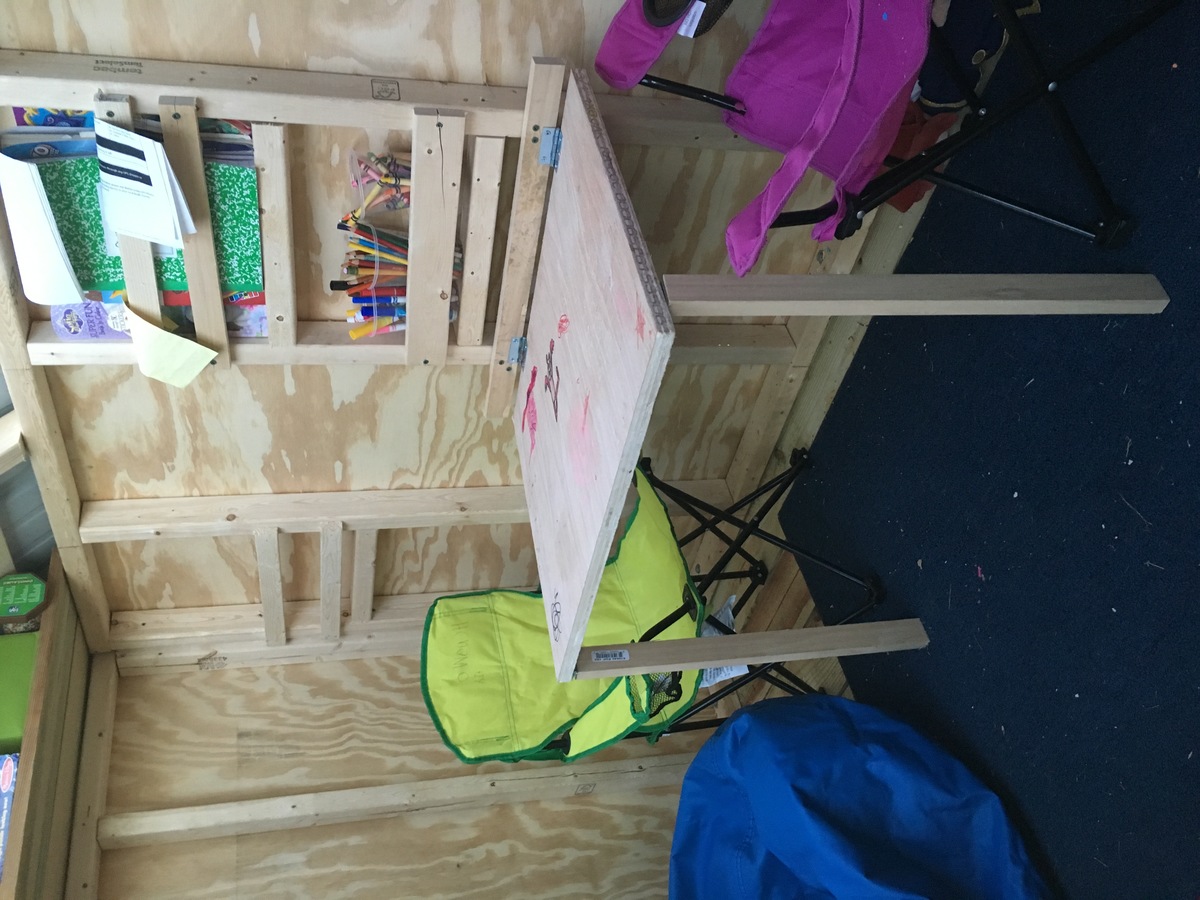
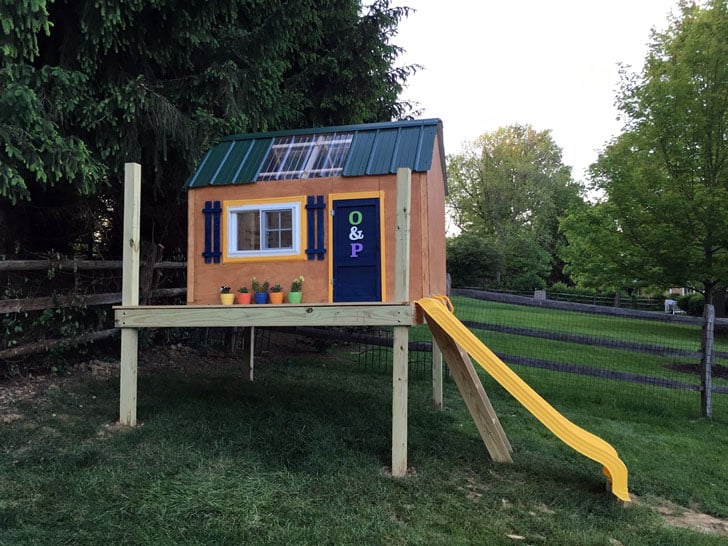
We really enjoyed building this playhouse swing set for our kids. We have a decent slope to our backyard, so we needed to sink our posts, which required a bit more work thank Ana's plans. We also used a real window (my dad just happened to have in his garage) instead of the 3 open aired windows Ana's plans called for. Inside we built a fold under table, shelf, and a chalkboard for thier entertainment.

Used the heavy galvanized mesh to make it more chew proof. Obviously it hasn't been painted and stained yet. It took quite a bit more work than the plan to rabbit out for the steel. I'm pleased with the outcome.

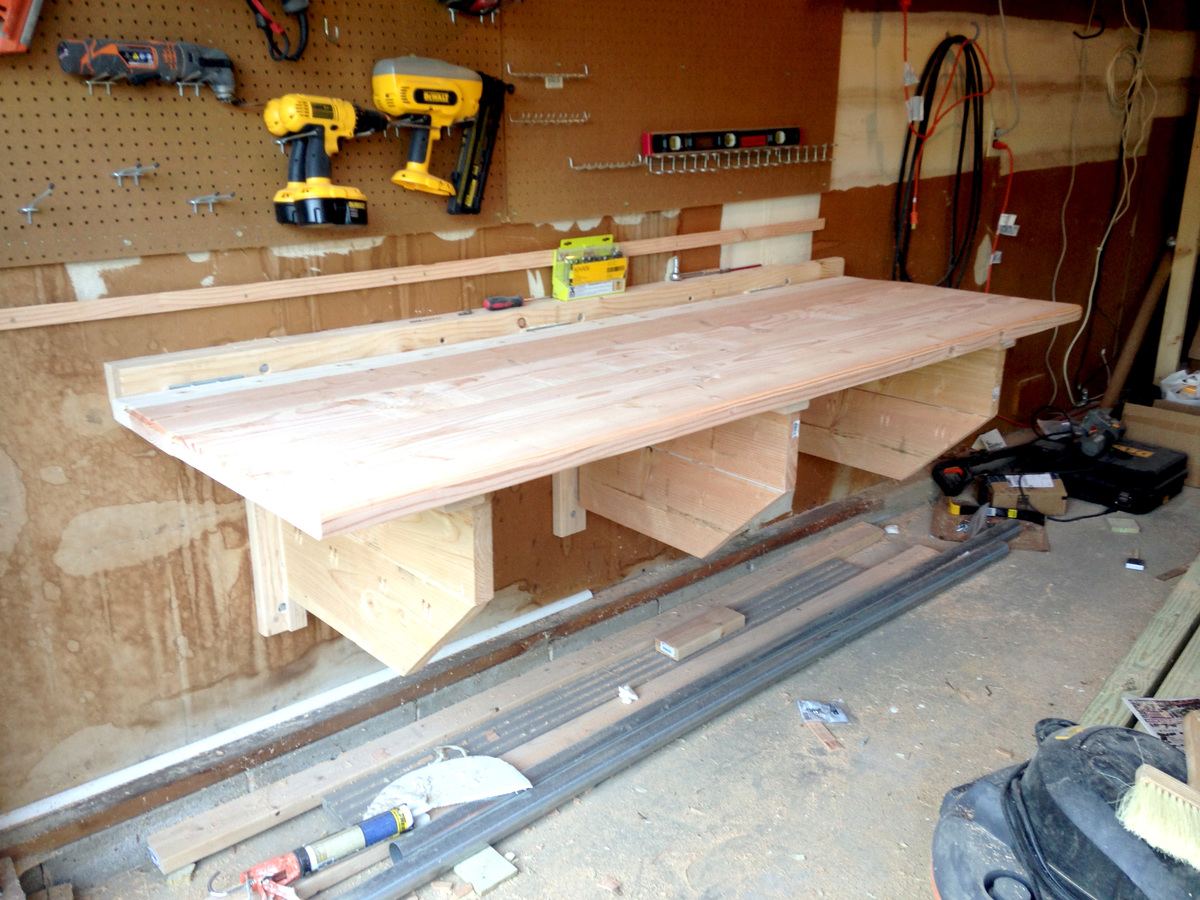
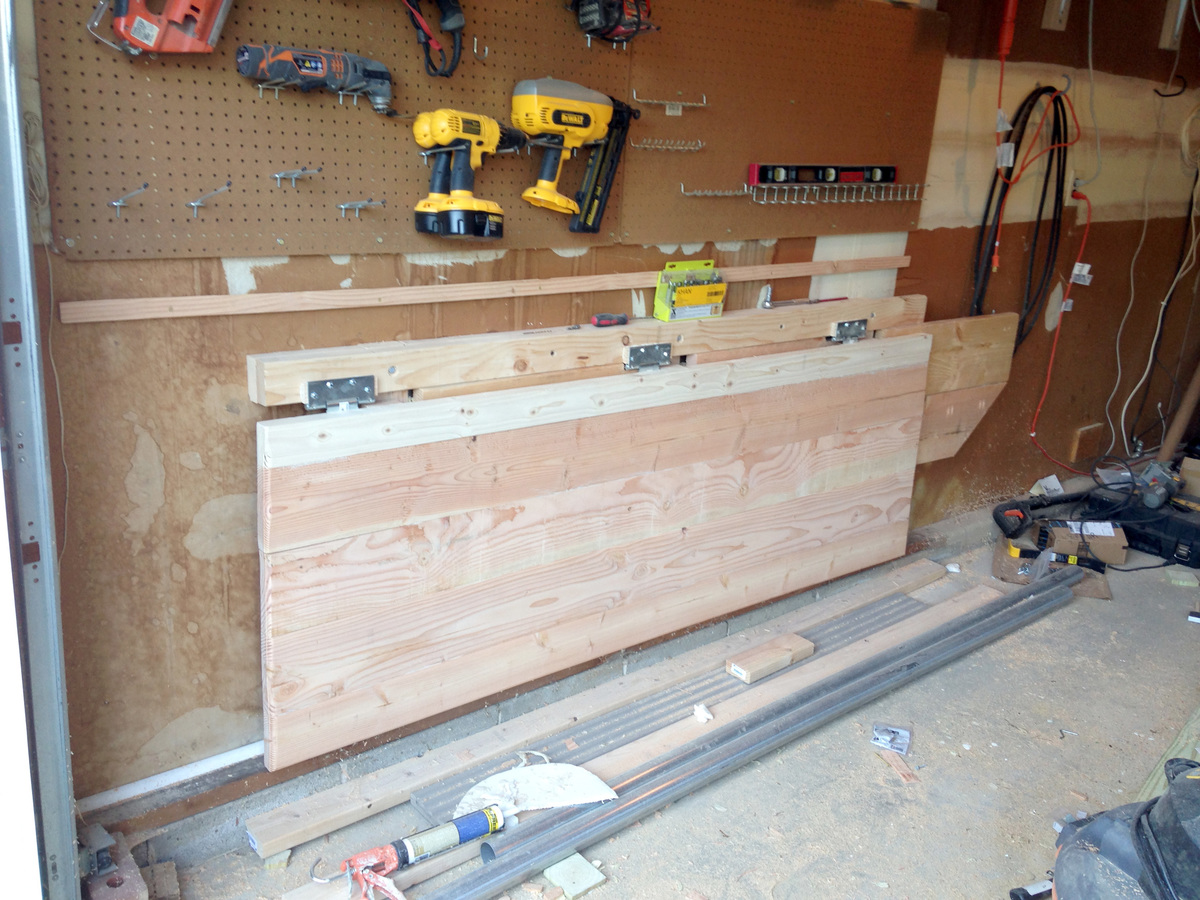
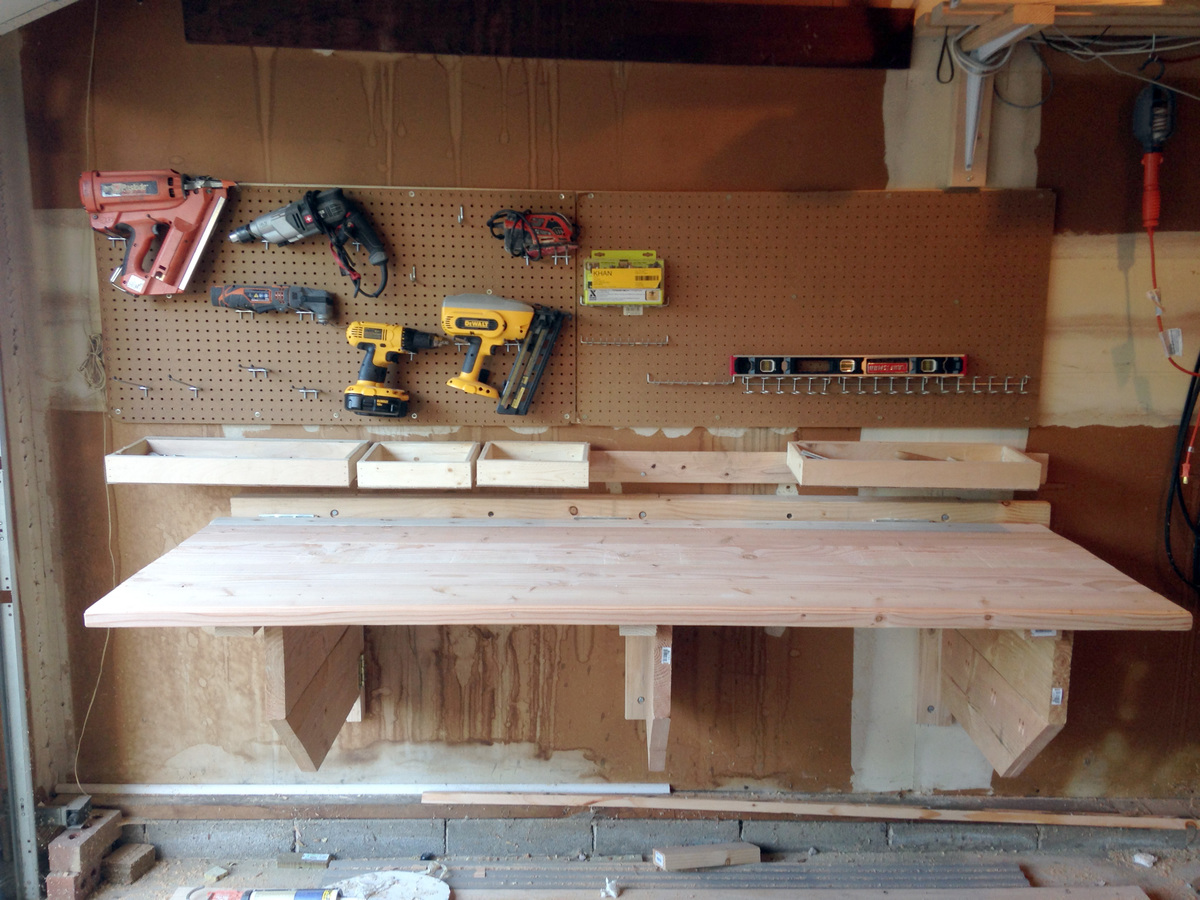
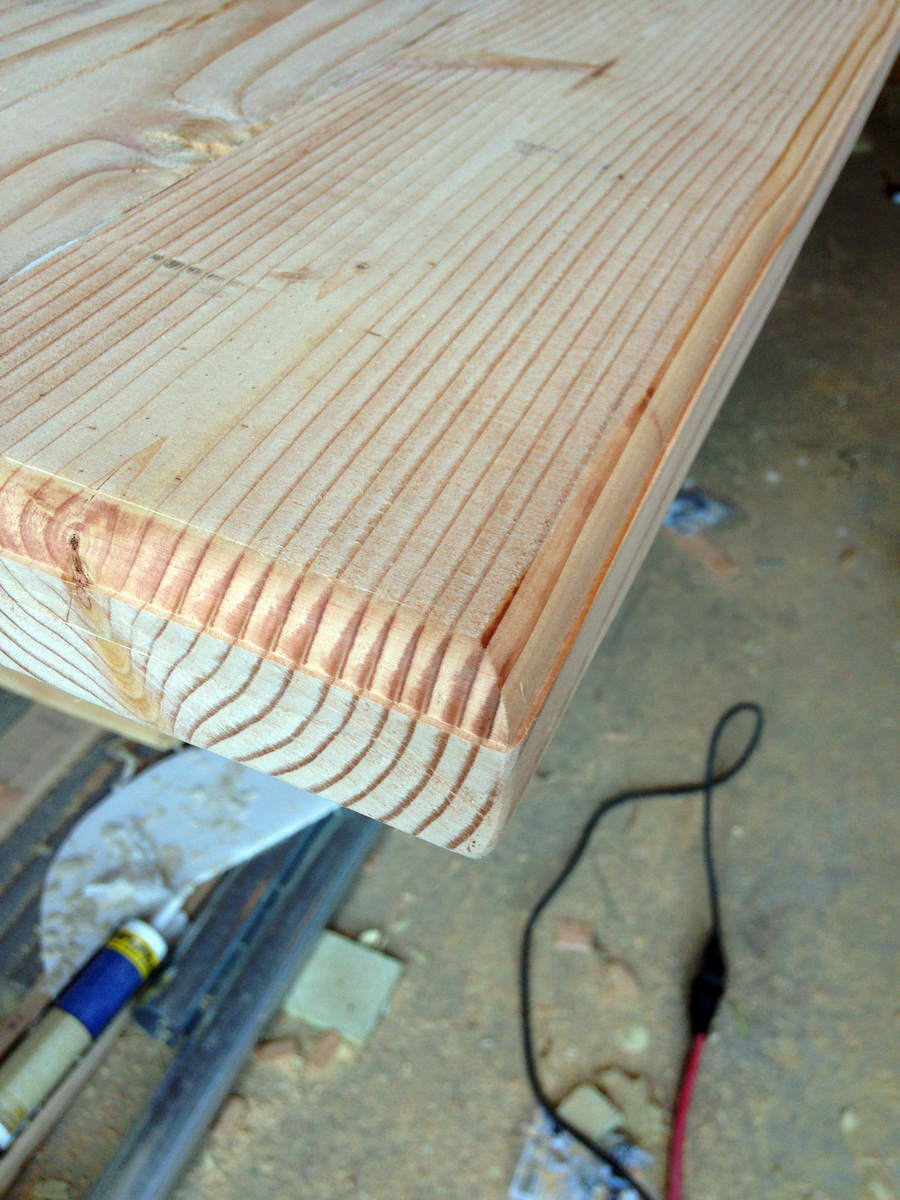
Digging through my scrap wood collection, I came across some pieces of pegboard from our previous home that I had forgotten about. I had just relocated a lot of garden tools to the shed, and there was an empty wall in the garage that would now be perfect for the pegboard. After mounting the pegboard and hanging up some tools, the wall still looked a little empty. I had a vision of mounting a heavy duty folding workbench to the wall. This was the perfect location, and if the workbench folded, we could still fit the car in the garage. You can read all the details about my folding workbench on my blog at:
http://www.justmeasuringup.com/blog/building-a-folding-workbench-with-french-cleats
The workbench is a perfect addition to my garage, and its used every day. Best of all, I just fold it down when I need to park the car!
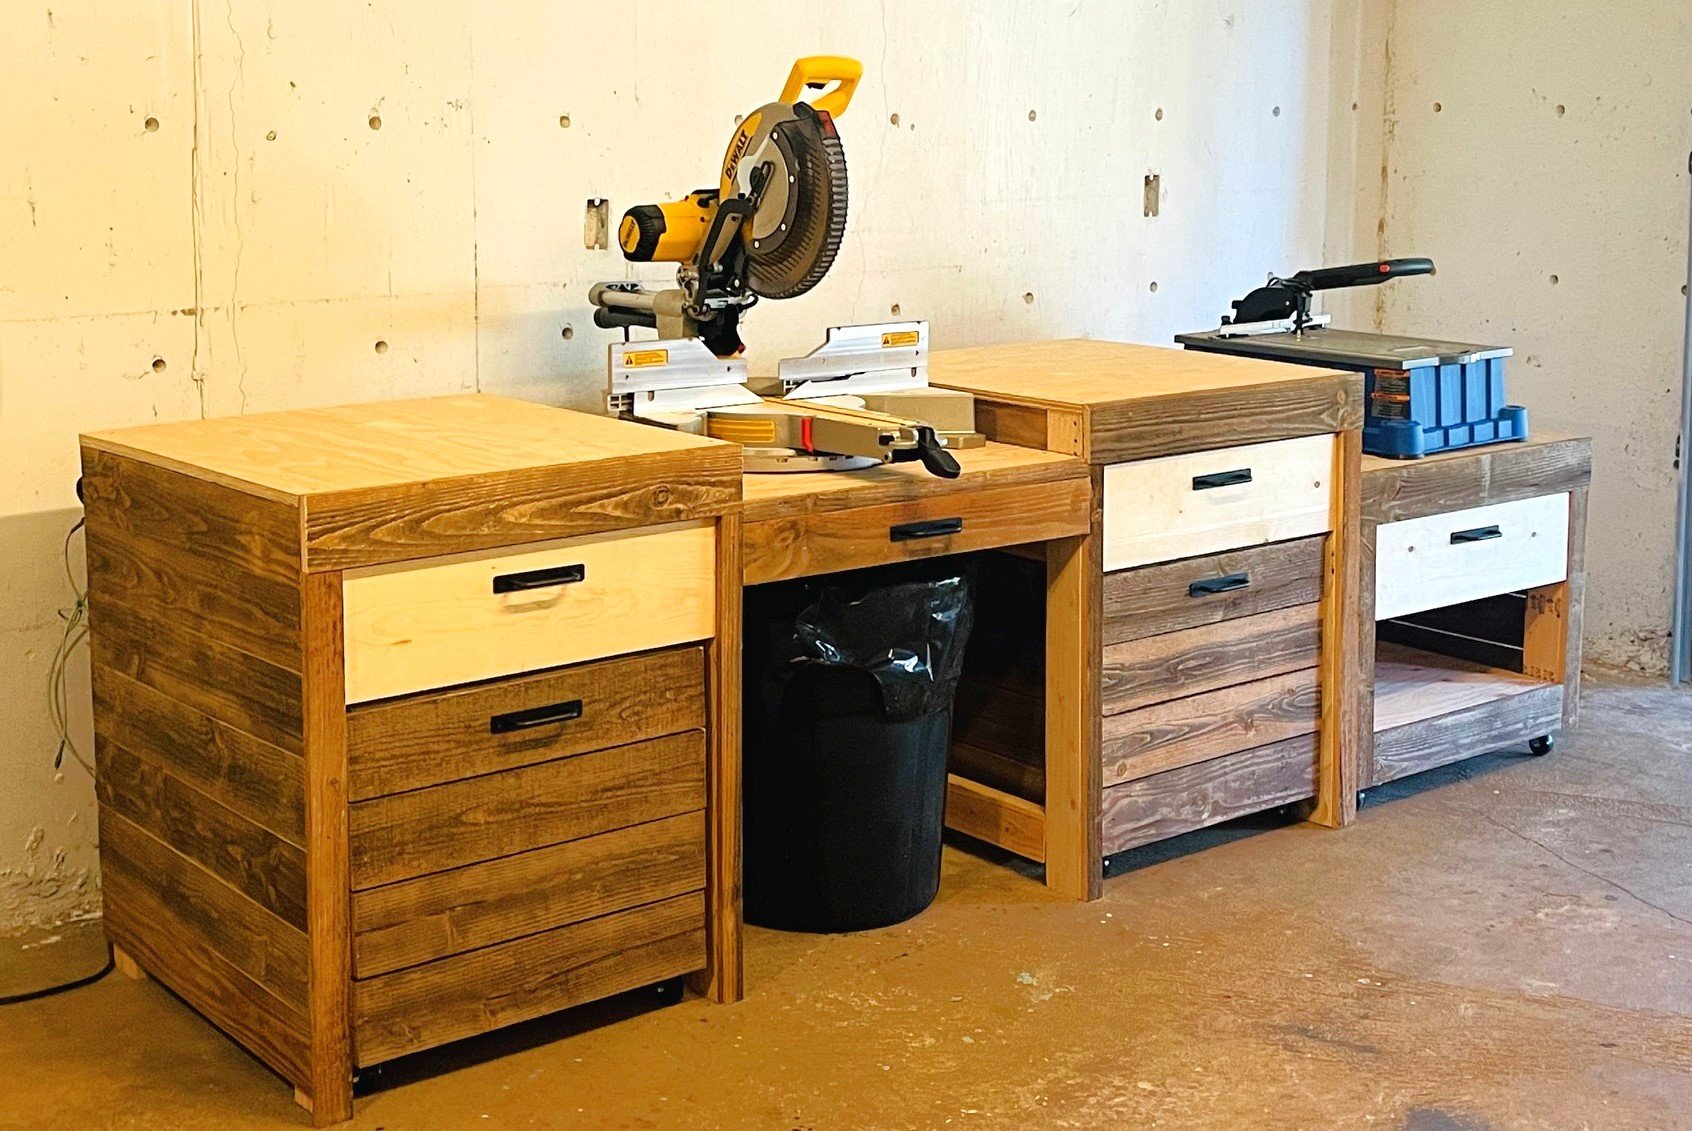
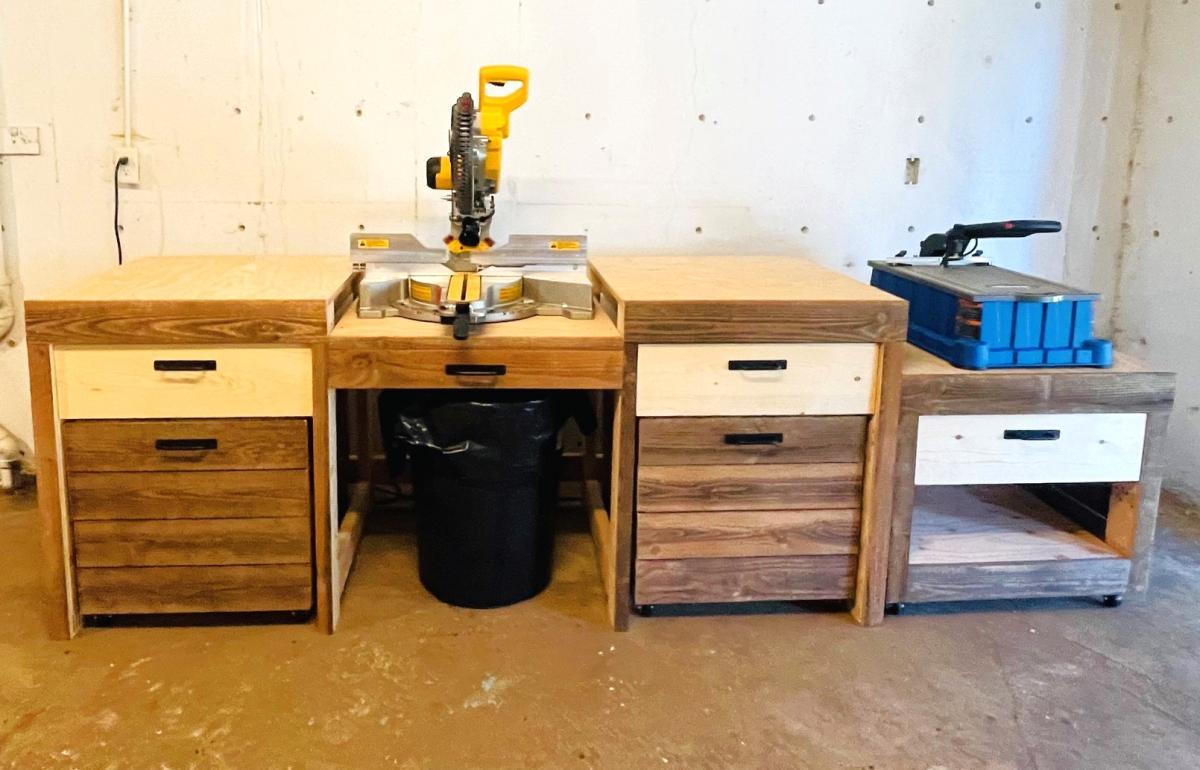
Using Ana's Ultimate Workbench Plan and her easy drawer method I built this. I decided to do storage carts that roll in and out for small scrap lumber storage. The Kreg Foreman got it's own cart, I made it so the deck of the machine was at the same height as the work surface. I added a drawer so all of my kreg bits and screws can be in one place. I had batteries and chargers laying all over my small shop, so I incorporated a battery charging drawer. I'm excited for the projects to come using my new set up!

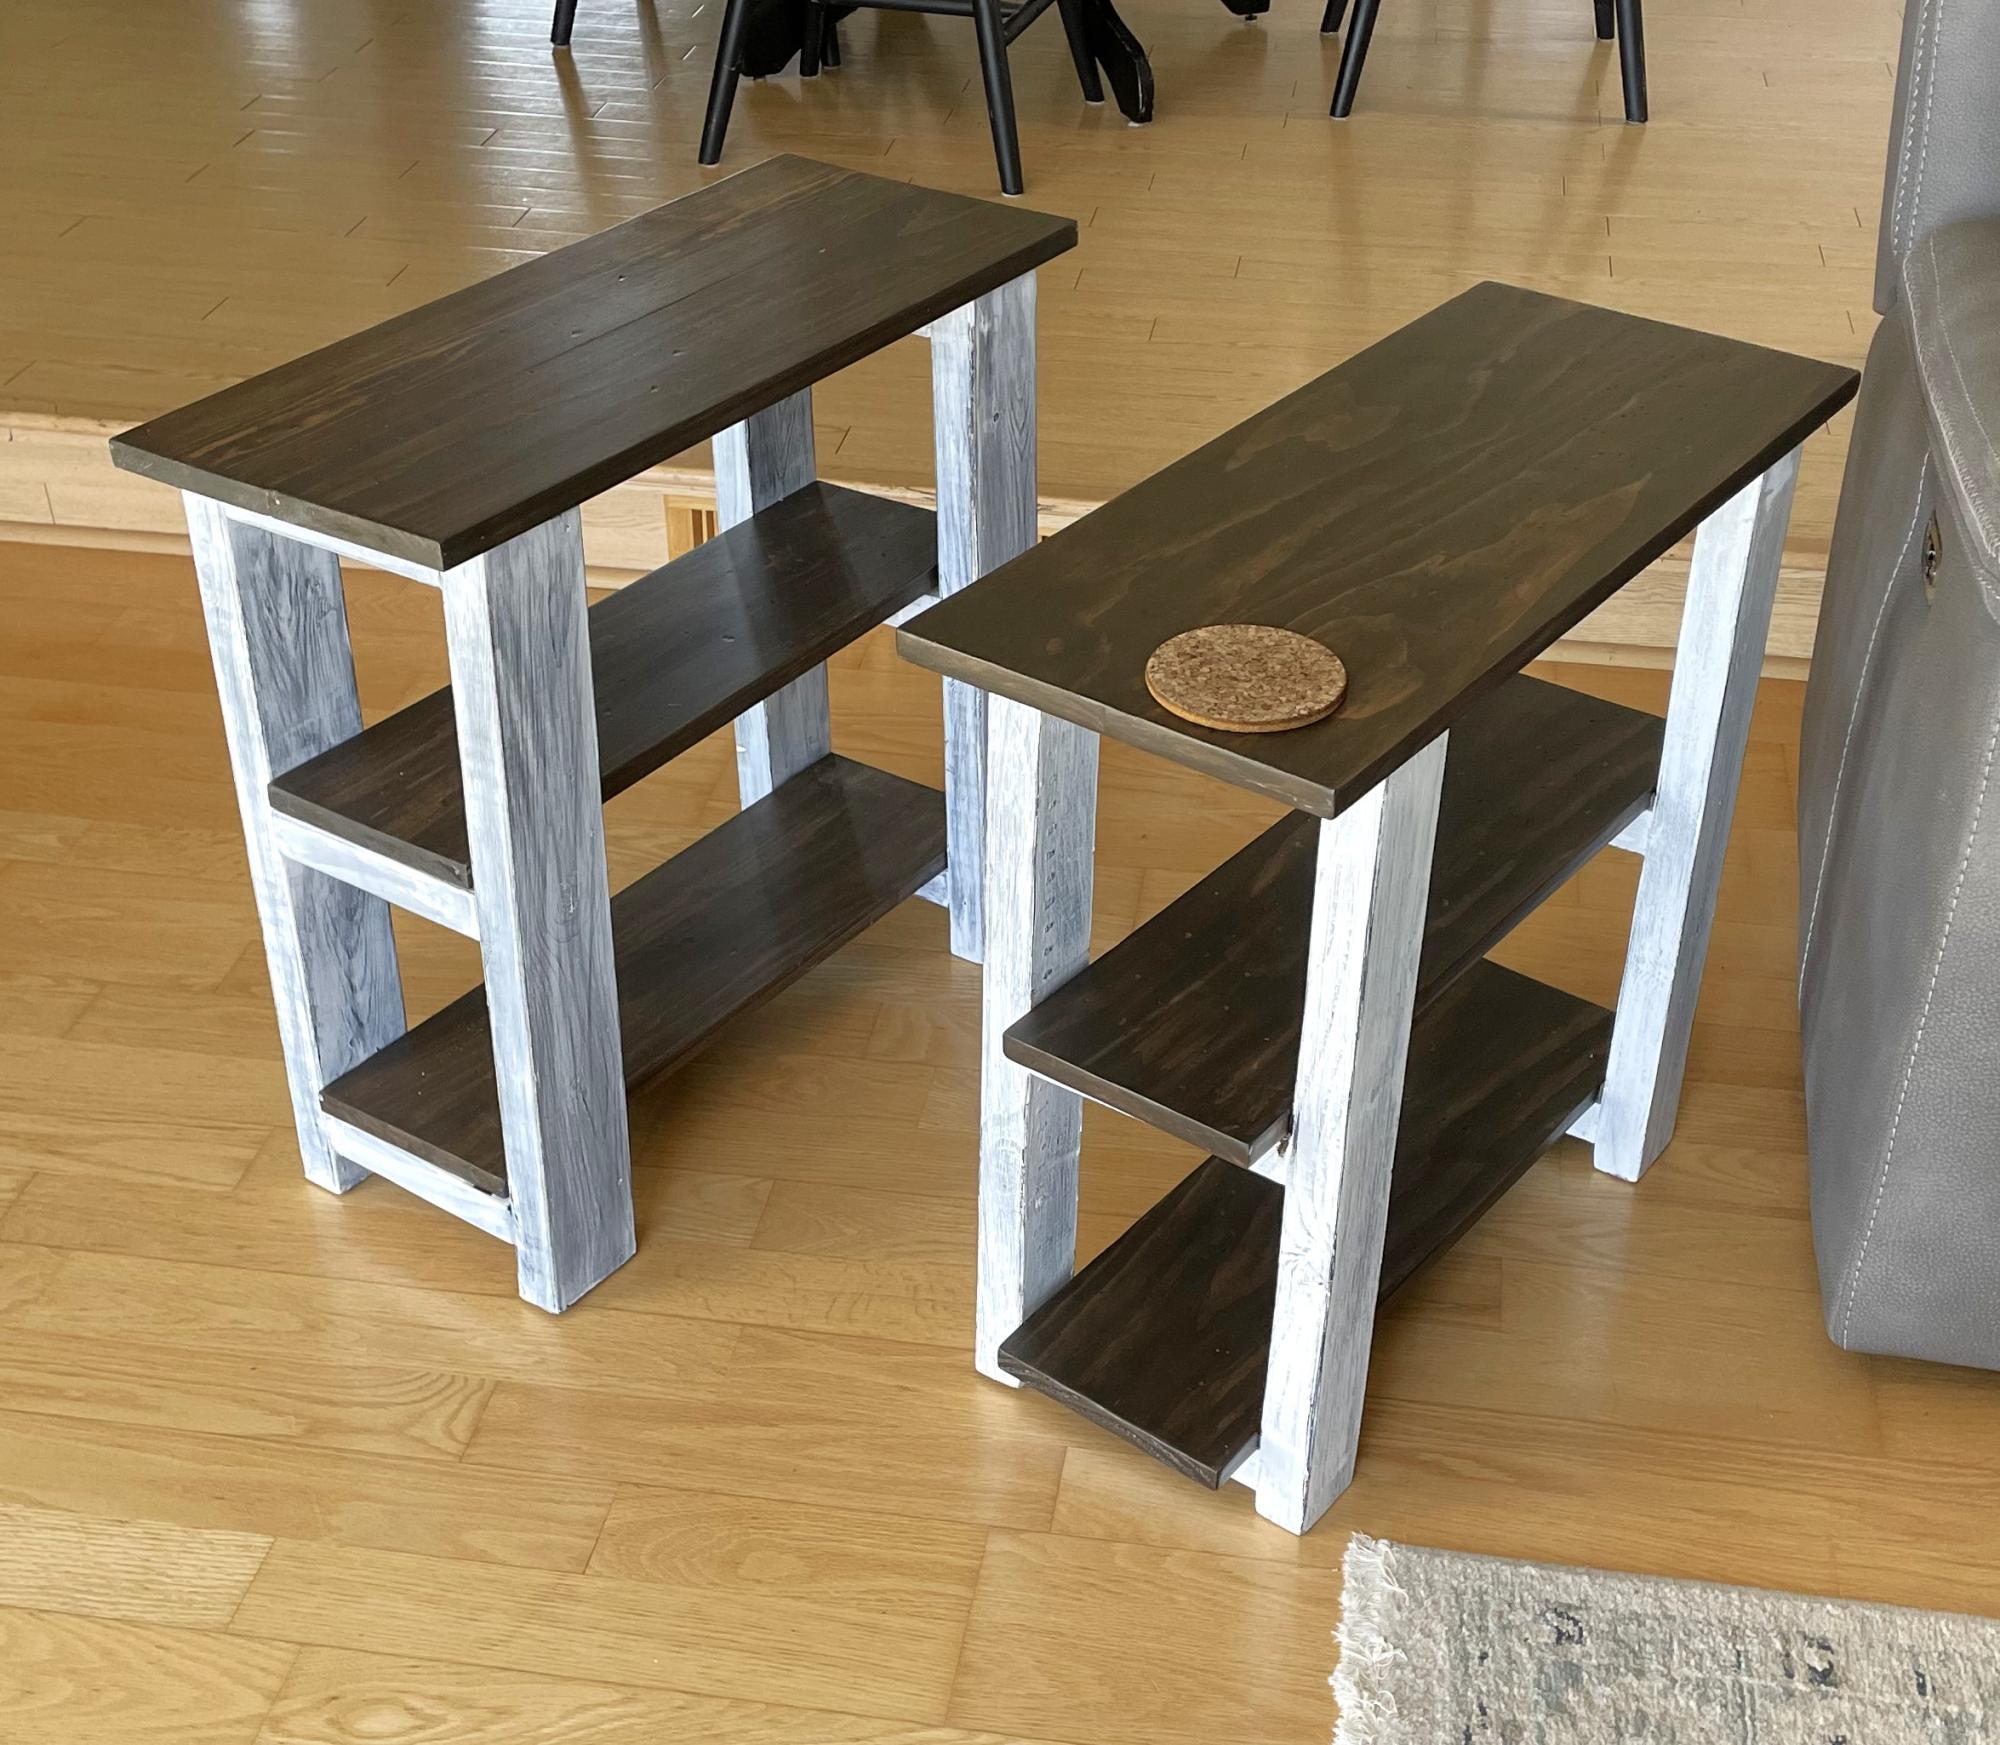
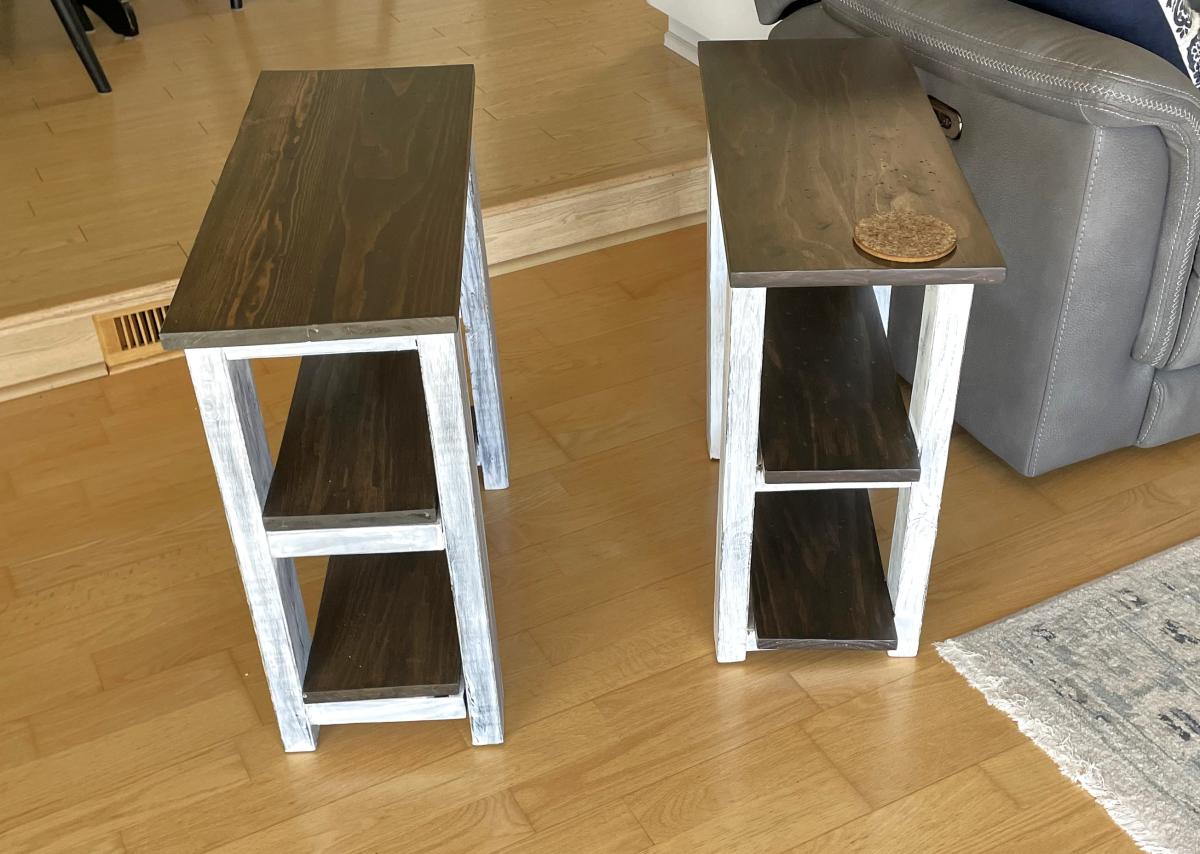
This a good build! I learned a lot especially about measuring where the middle shelf should go so it is even. I am so happy to have made all the tables in our family room!
Kim Rachow
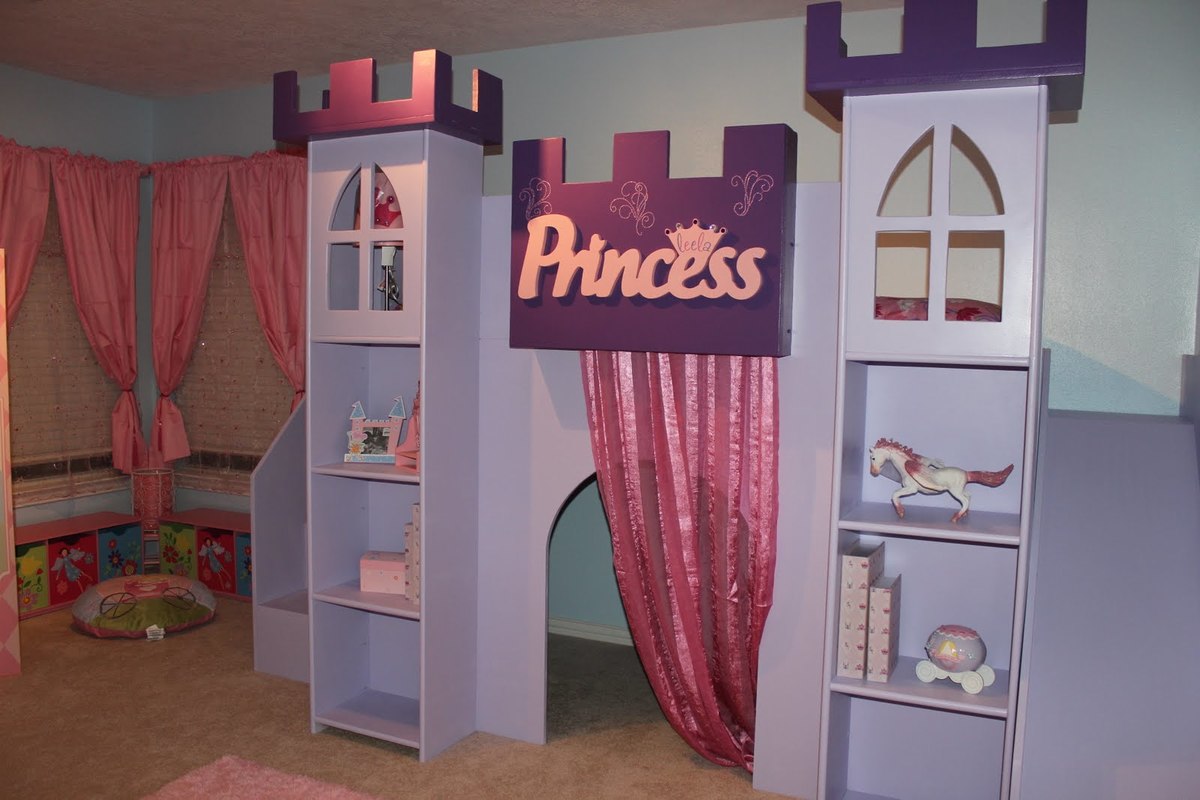
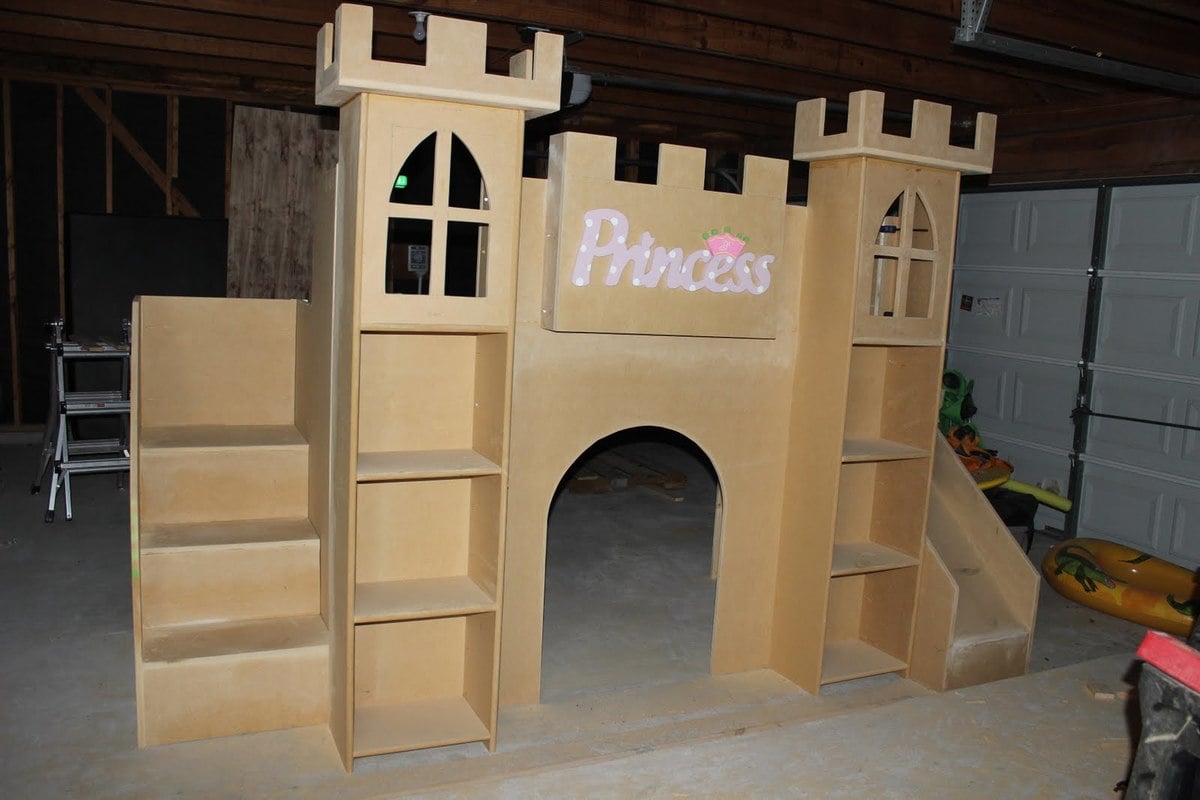
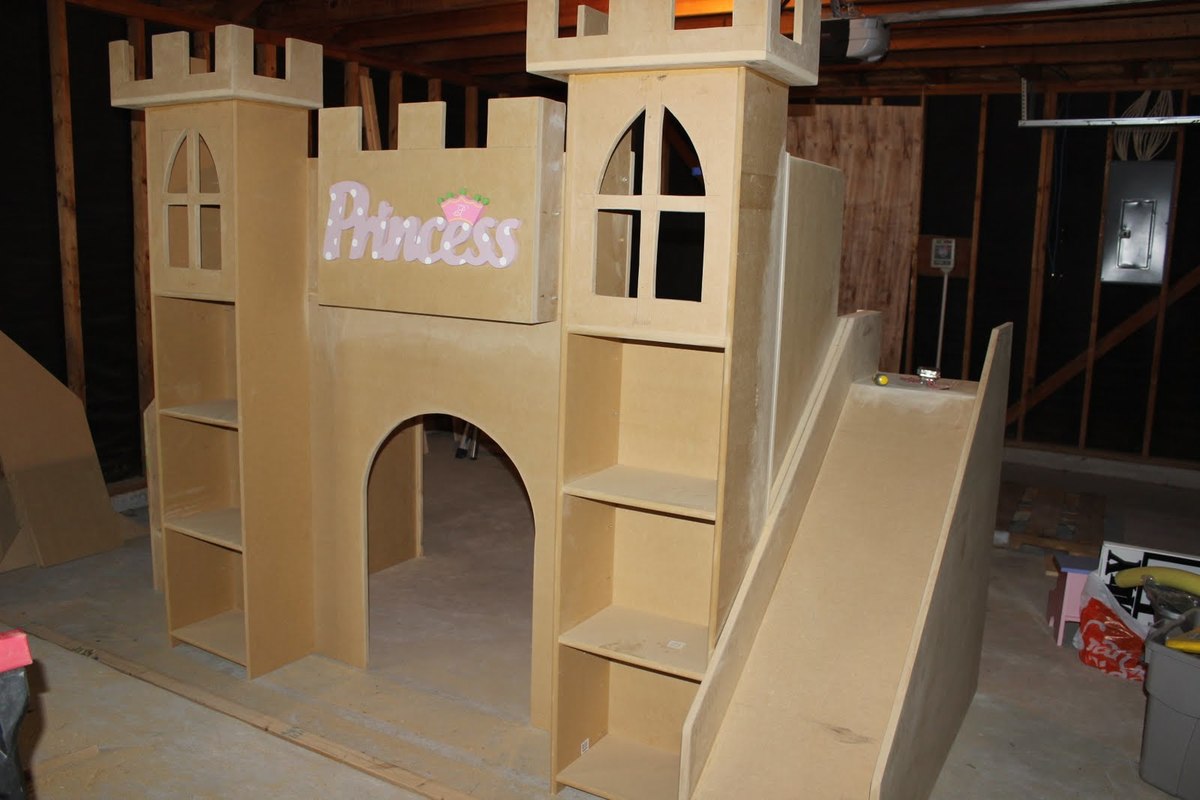
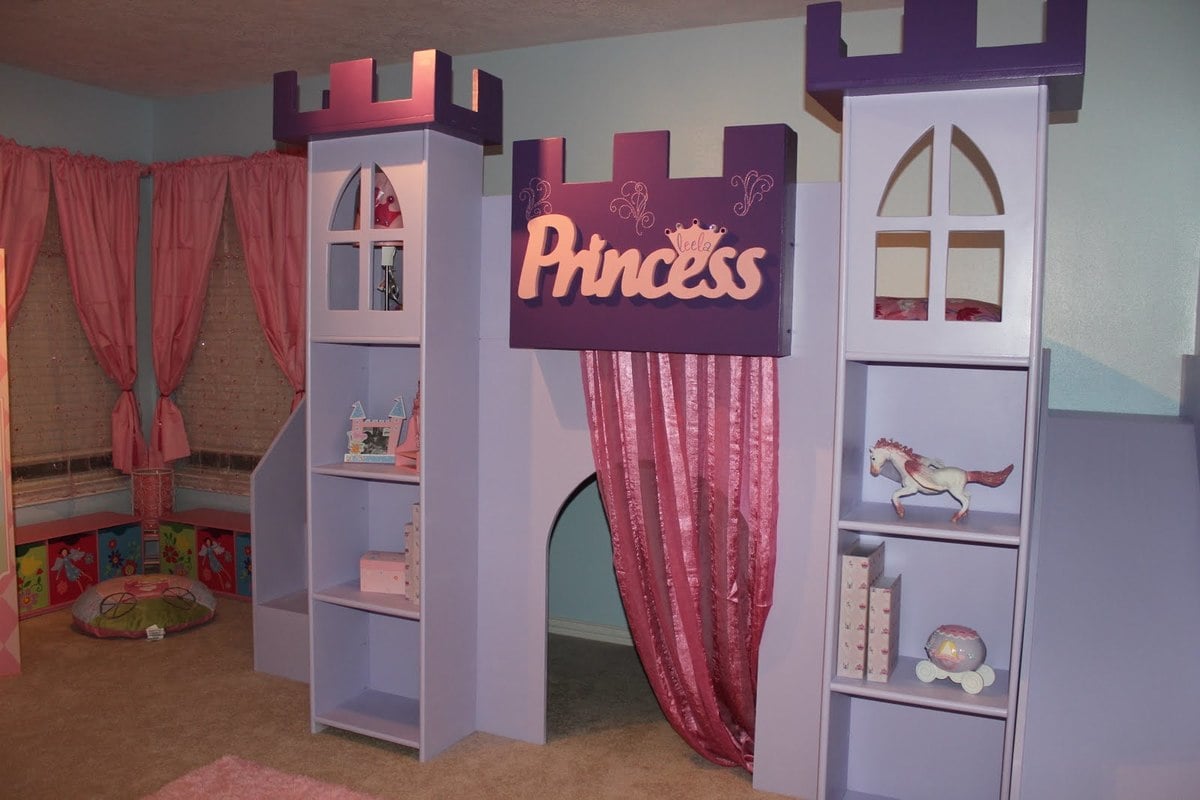
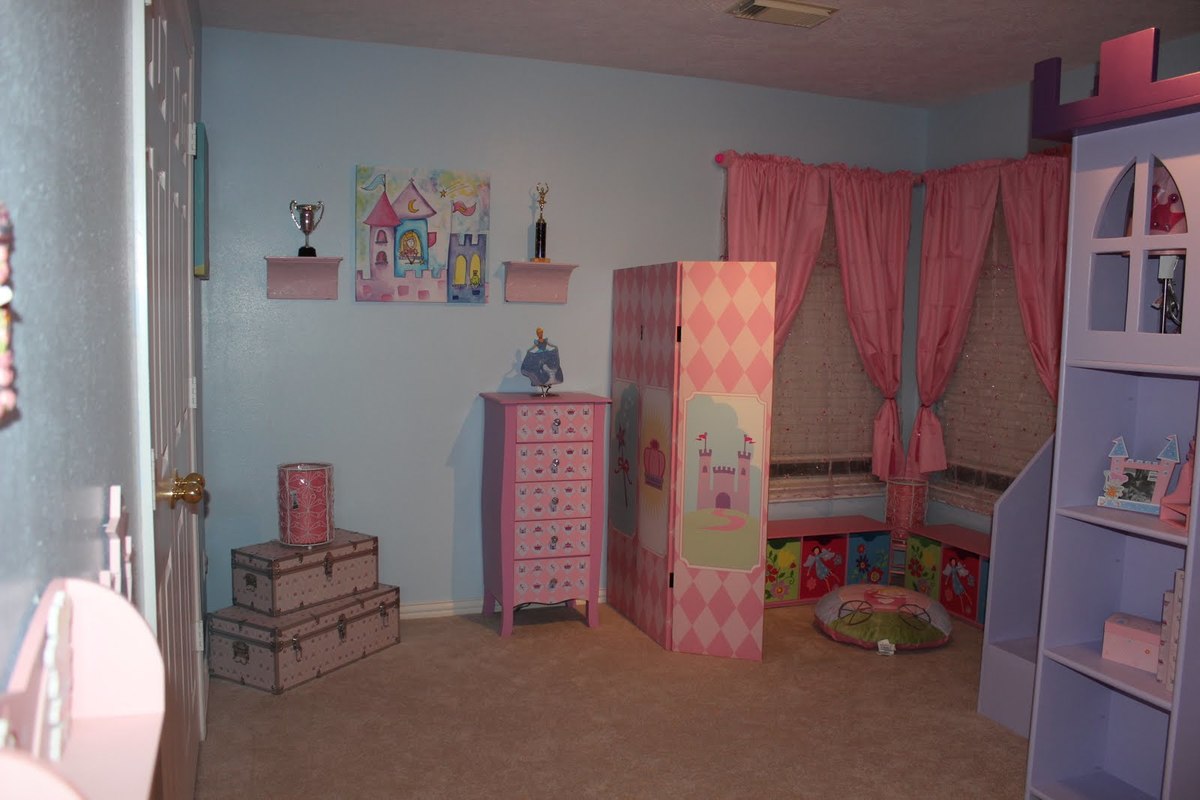
Thanks to Ana White and fsmumford, I was inspired to create a castle bed for my princess. It was a lot of hard work but it paid off seeing her going up the stairs and down the slide a million times the 1st day!

Wed, 01/13/2016 - 05:12
I am looking for the plans for this bed as well.
Have you had any luck finding them?
Thu, 11/26/2015 - 15:49
Thanks so much for being so generous with your plans. I just had my first granddaughter and you've given me so many options for what I can do for her. The castle bed will be great in a few years. Thank you.
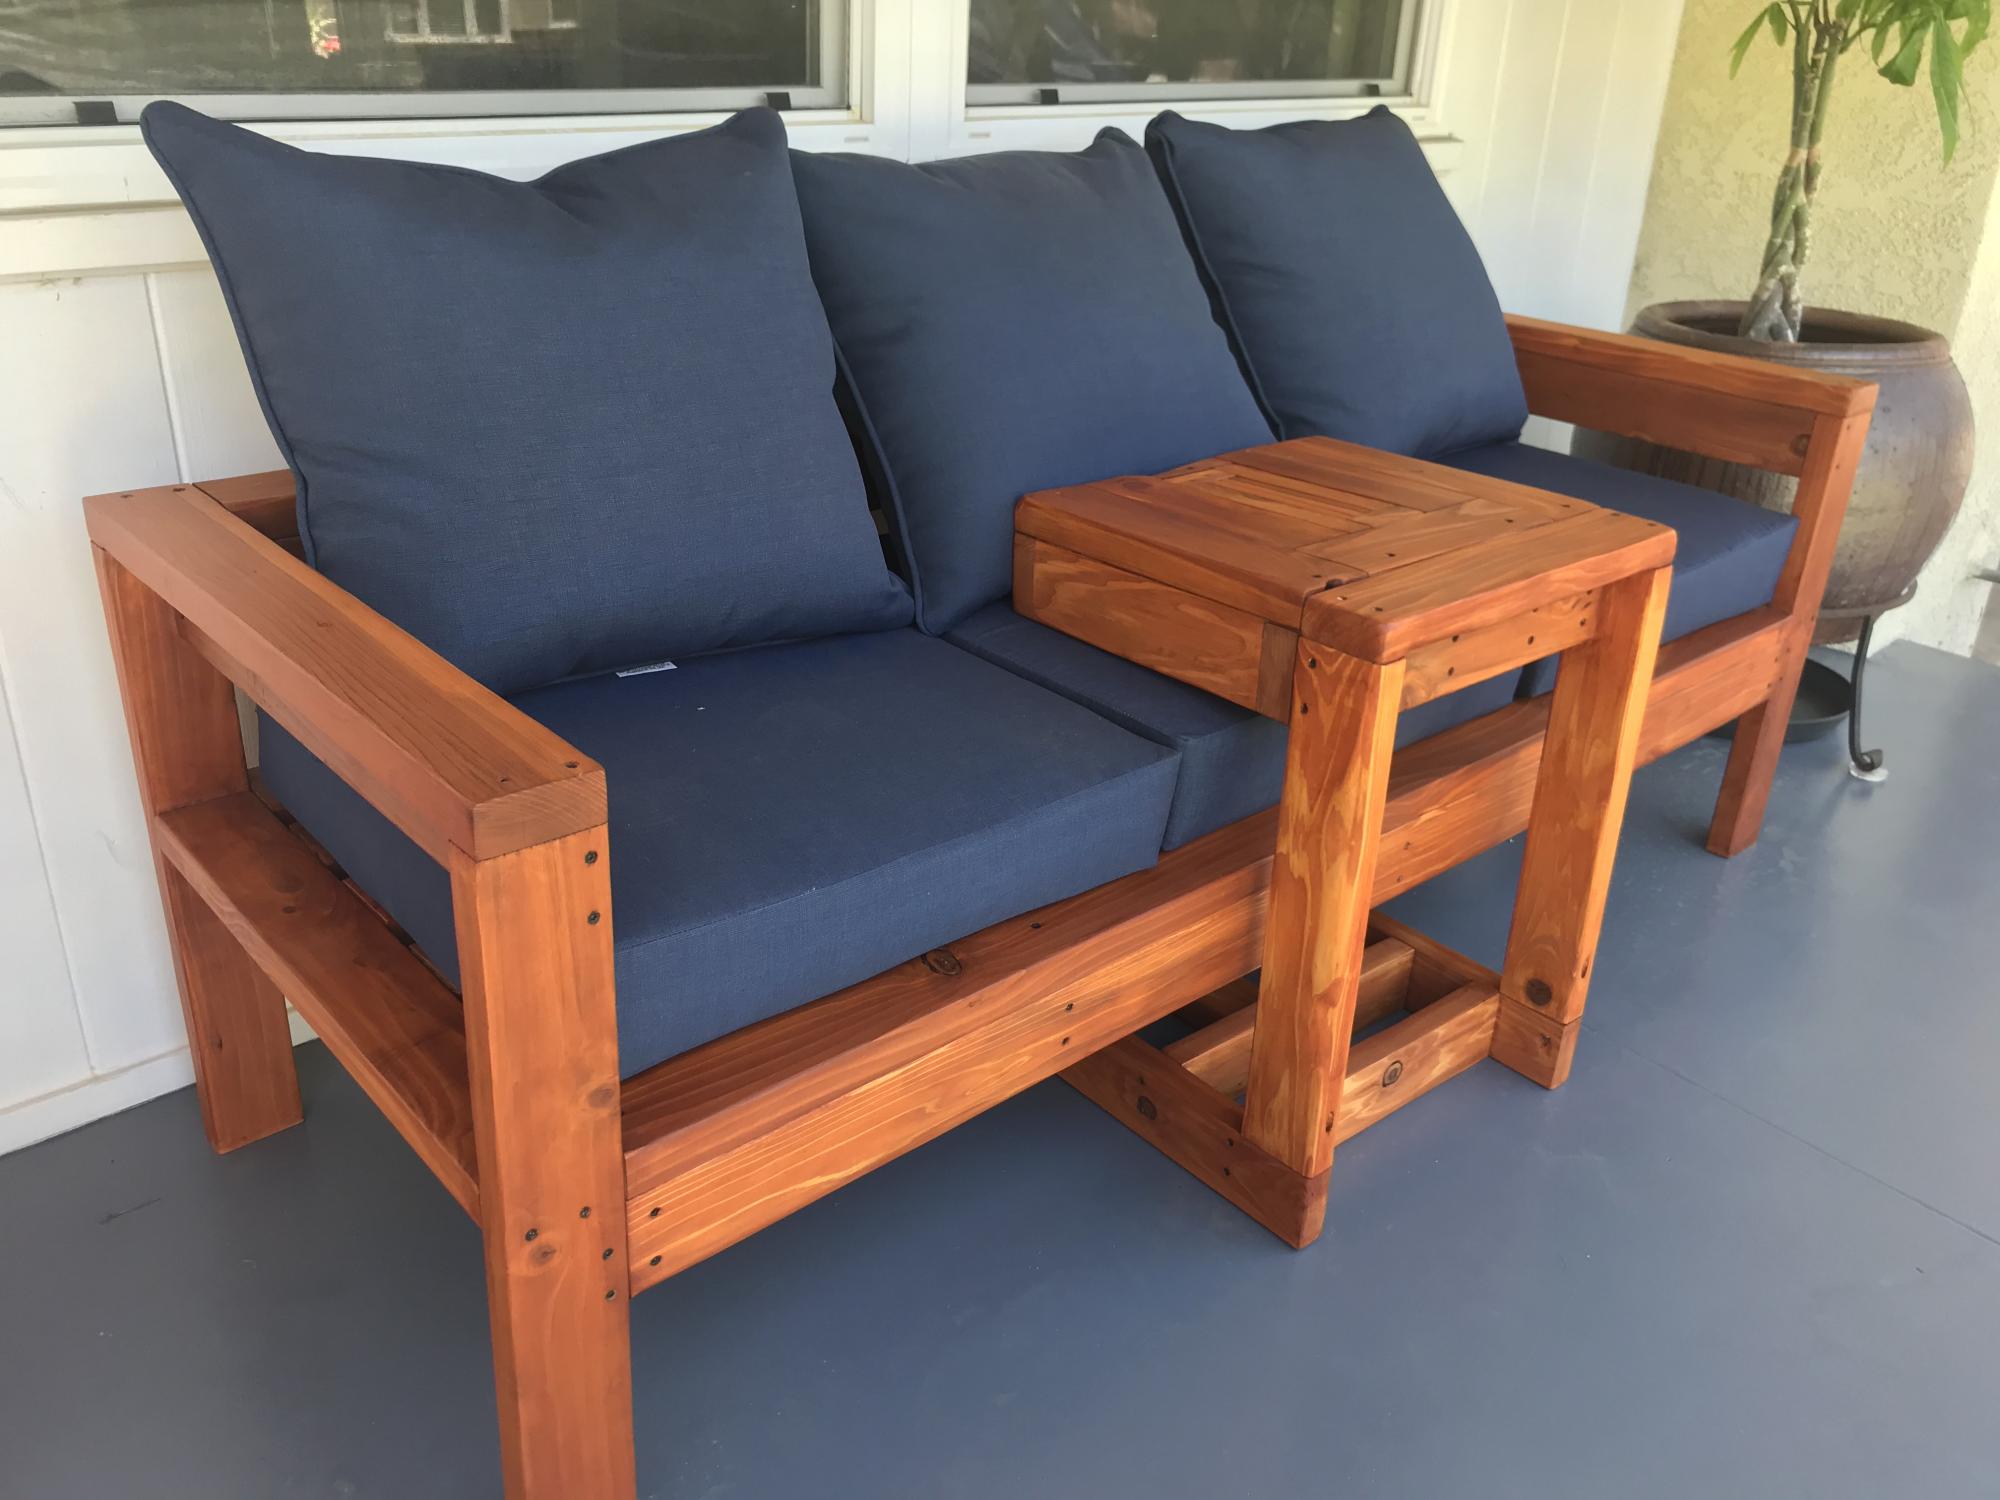
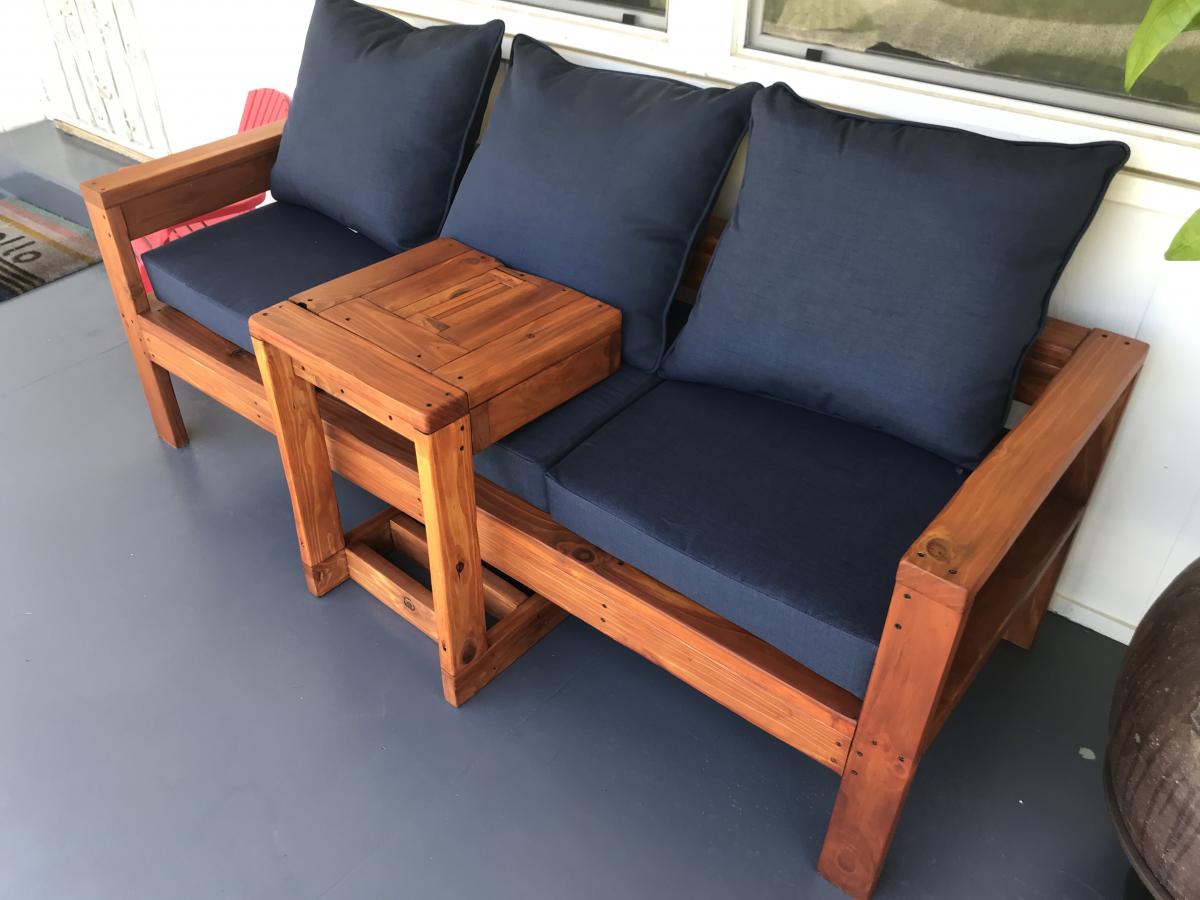
Ana has great instructions, definitely have been using her alot. During the pandemic picked up a couple new hobbies and tools. I did the sofa couch from her plans. The coffee table I created off the whim but used her basic instructions on how to make table tops / benches. These came out super nice, surprised me and my wife :)
Comments
jkess44
Tue, 06/09/2020 - 13:36
Plans?
Wow! I really like this look, Im sure its very comfortable. Do you have plans to share? I am very much a beginner and need guidance, lol.
Momatt2112
Mon, 08/03/2020 - 09:02
I’d love to know how you…
I’d love to know how you made the changes, love it!
suescrogg
Thu, 03/18/2021 - 09:20
Modern outdoor chair with a twist
Could you please share how you added the back and arms to the modern chair plans.