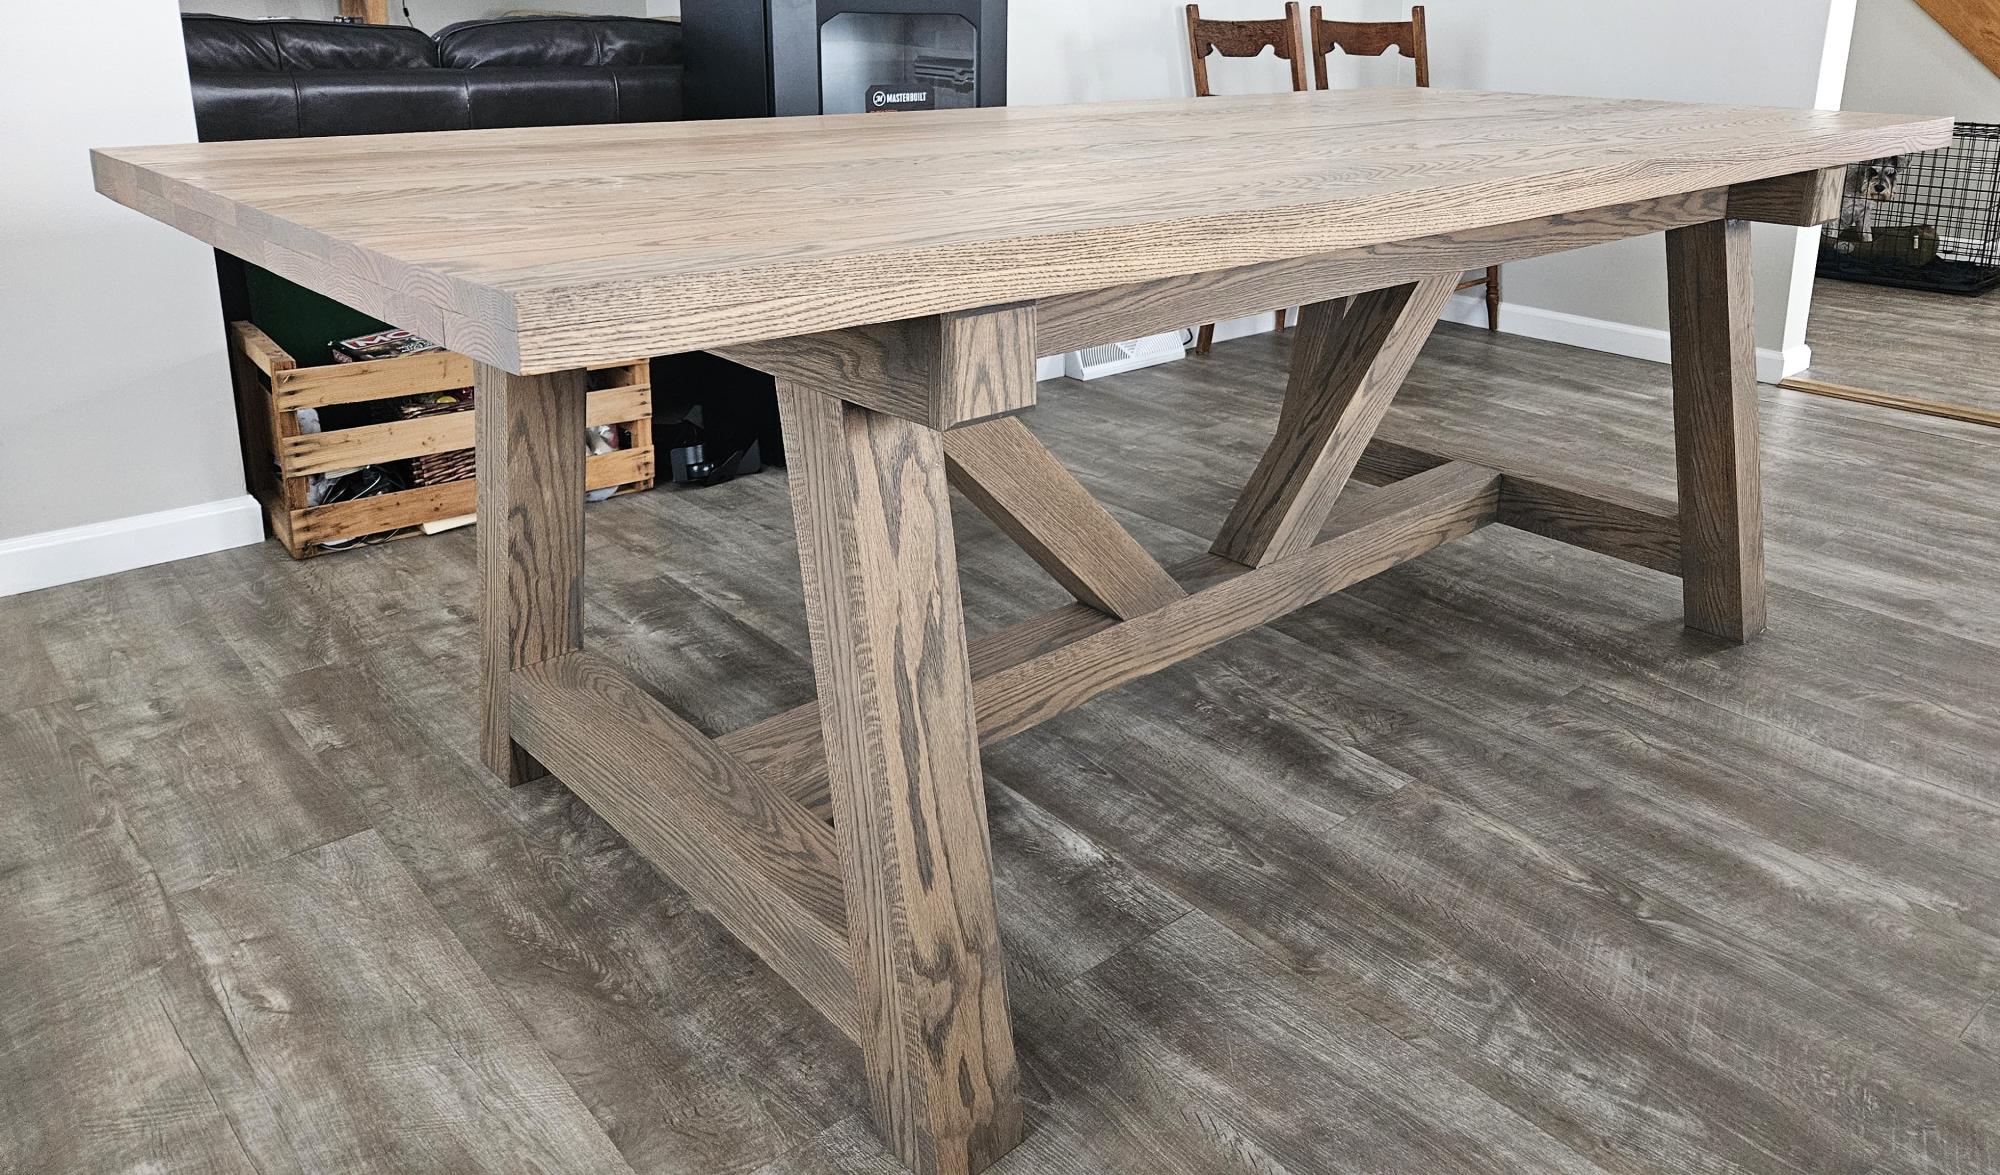
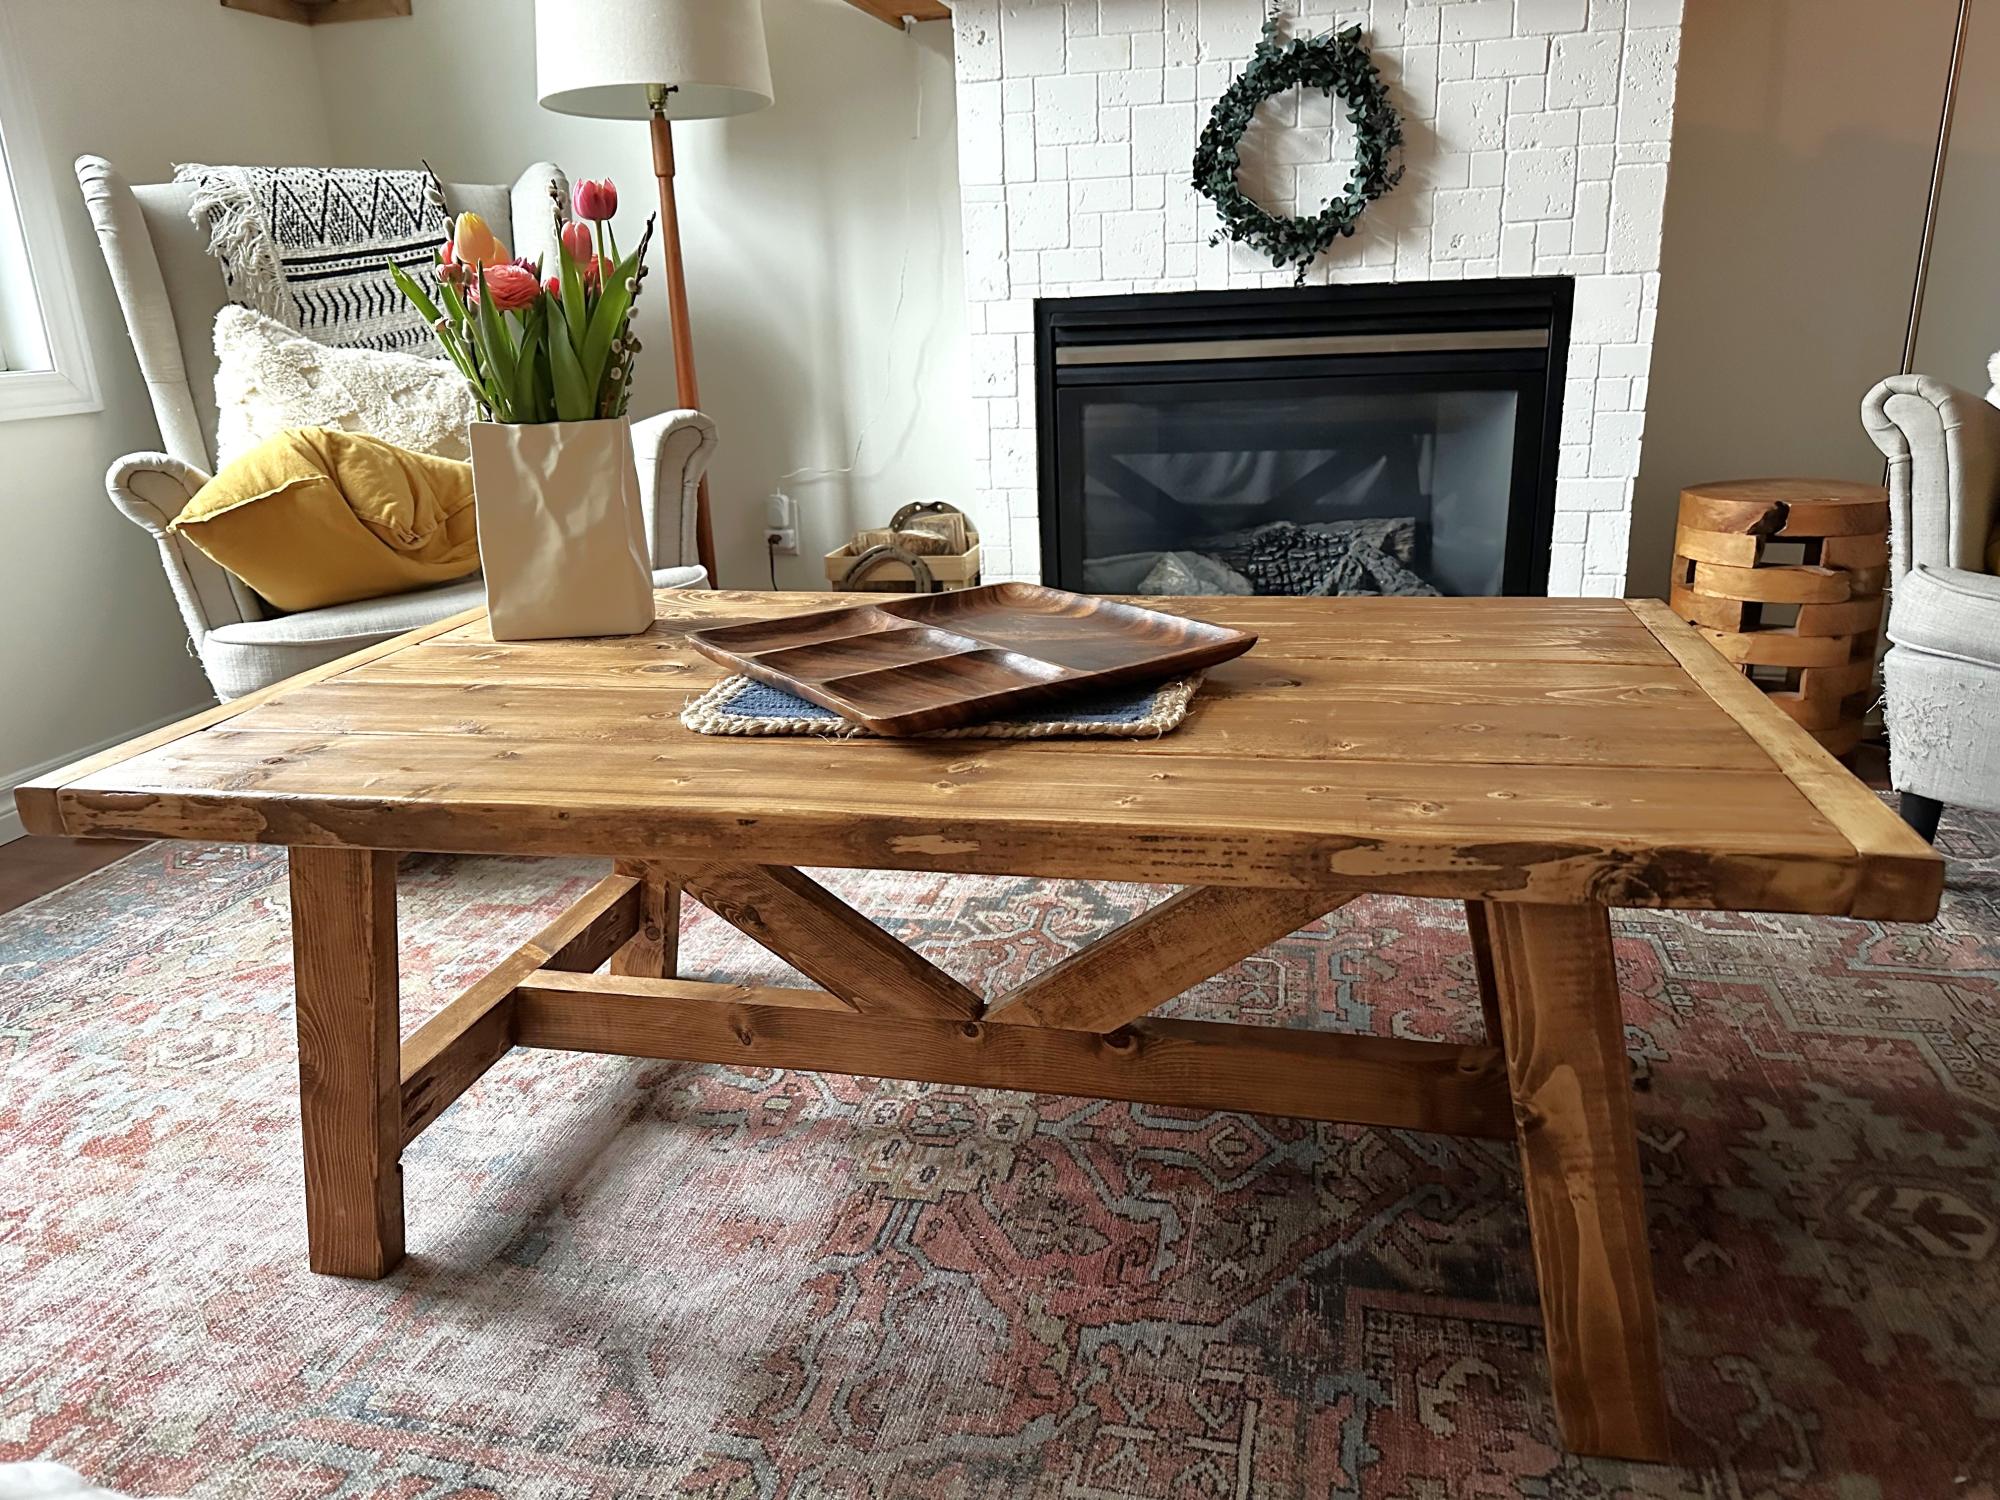
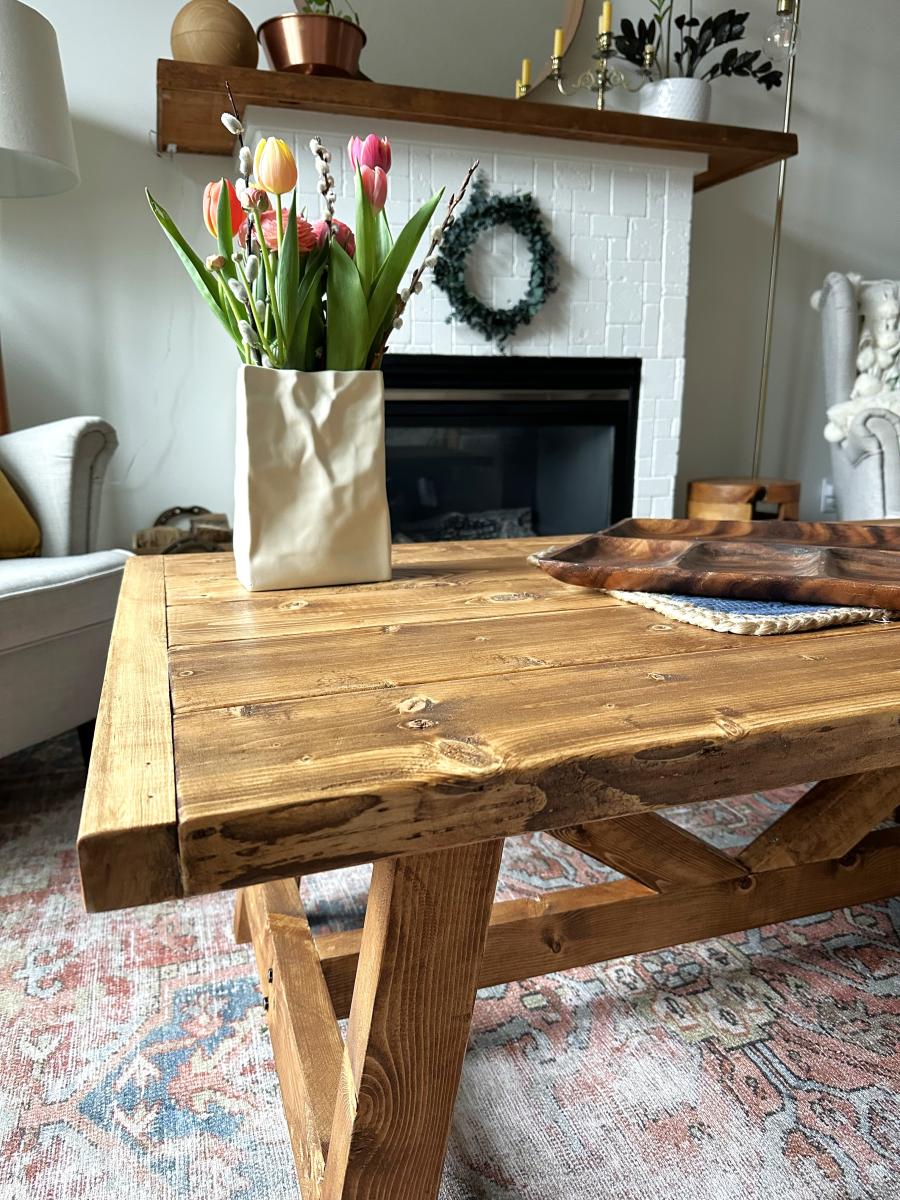
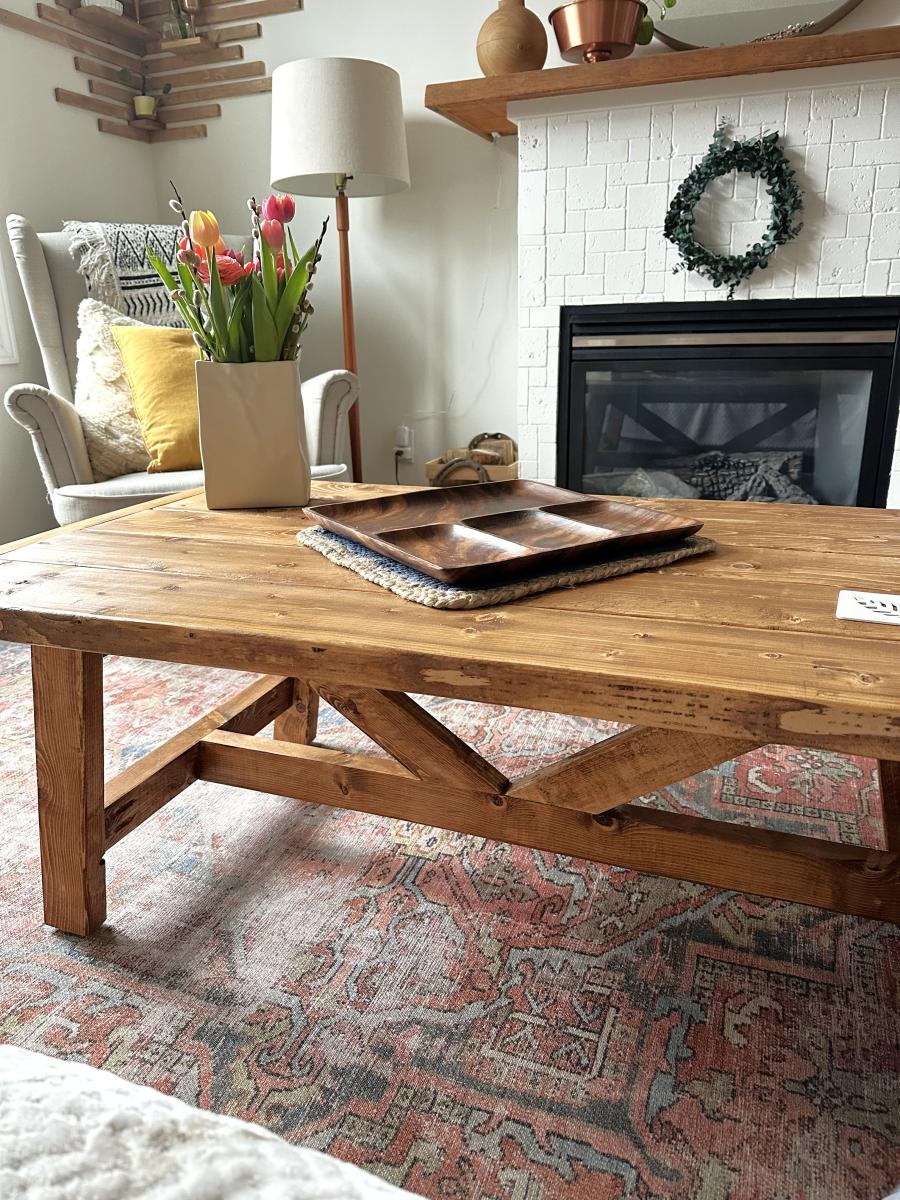
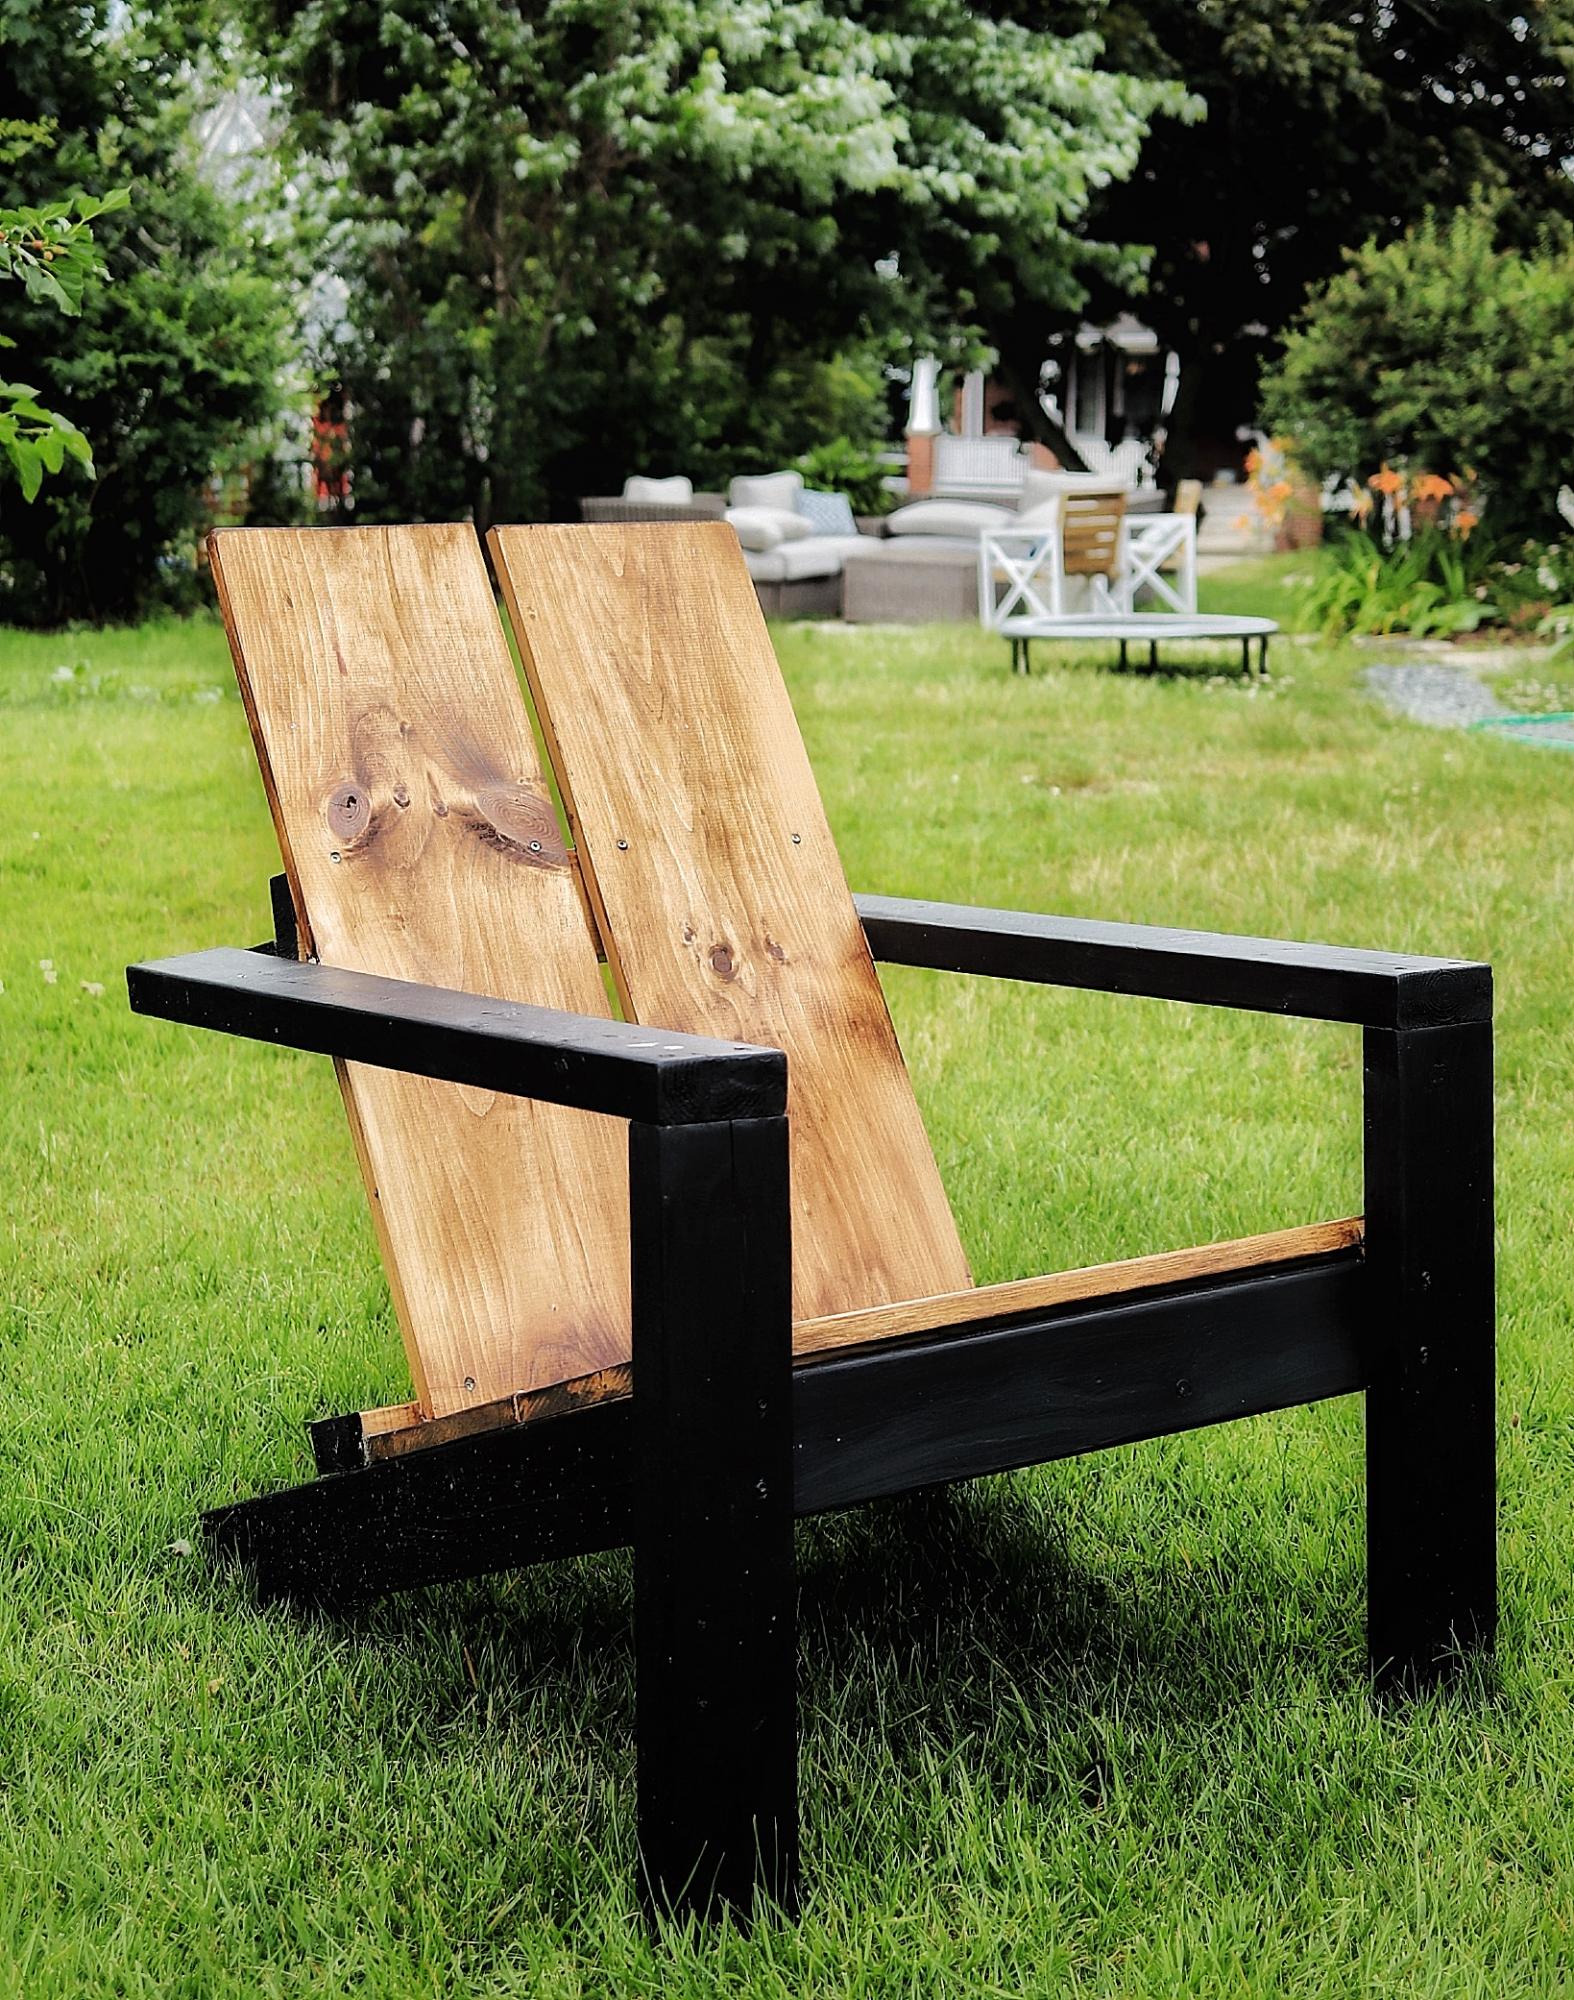
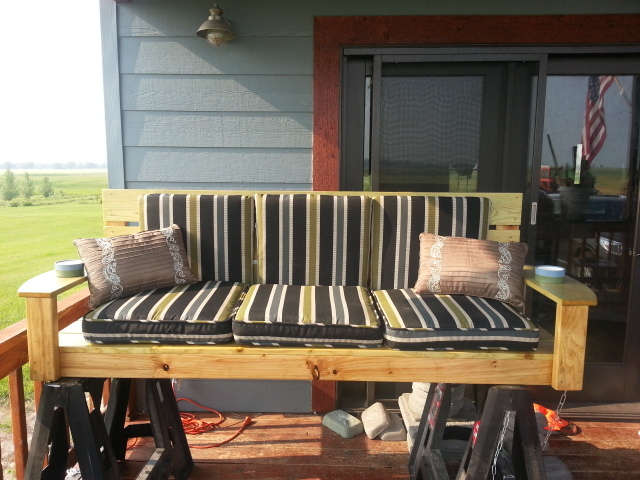
My take on Ana's Wood Chaise Lounge
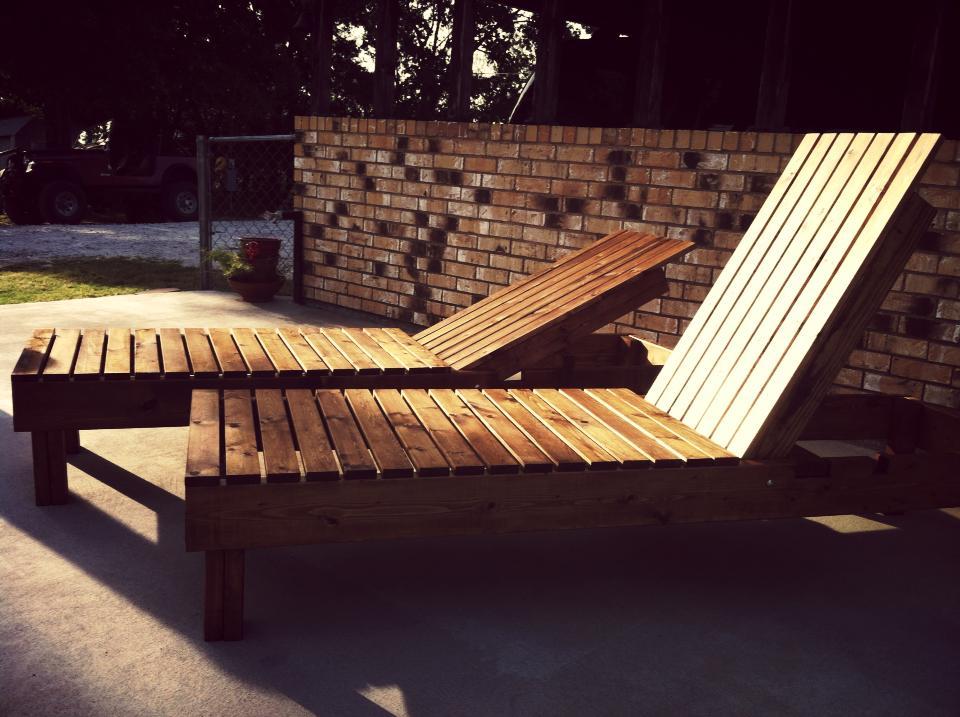
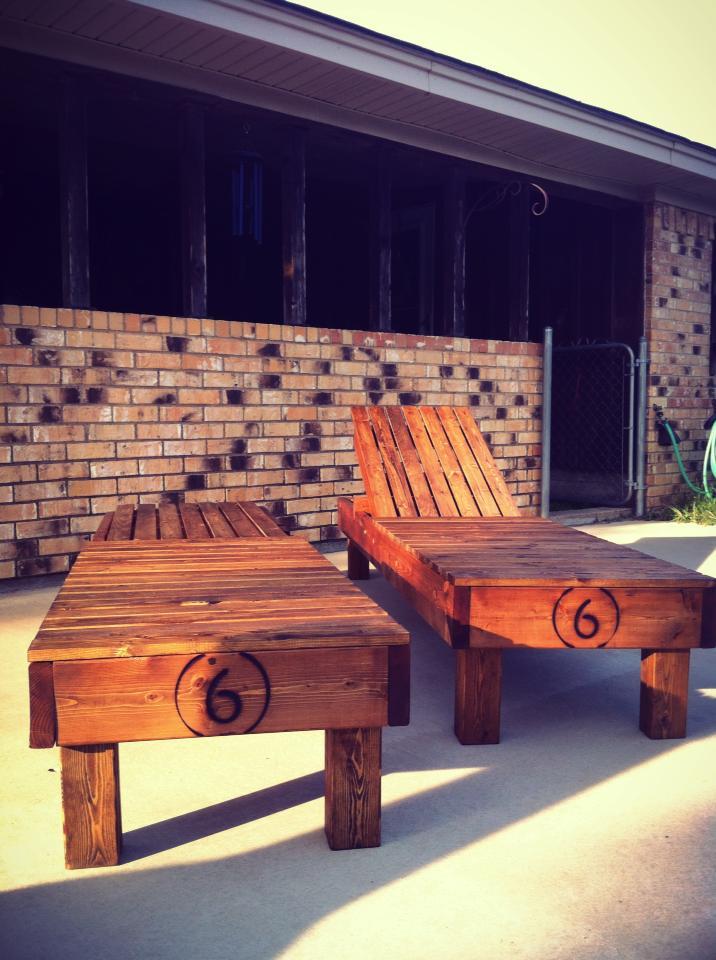
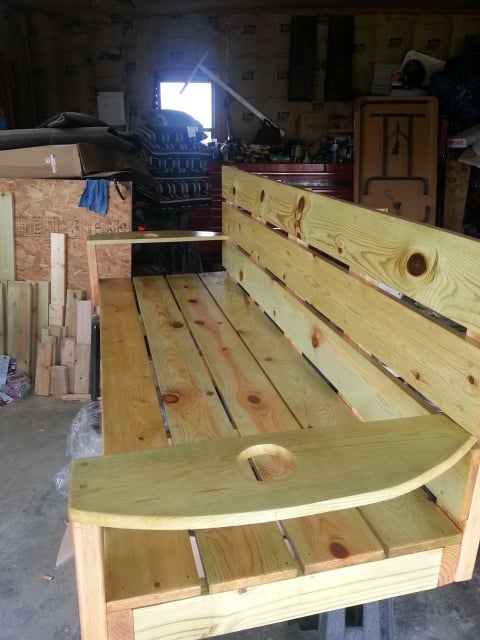
I used the plans for Ana's $35 Wood Chaise Lounge plans, but changed the frame to the 2x6 boards to match a loveseat & two chairs that I've previously built. My husband helped me with the notches, but now I think I can do them on my own. The chairs are so comfortable, even without cushions.
Built from Plan(s)
Estimated Time Investment
Weekend Project (10-20 Hours)
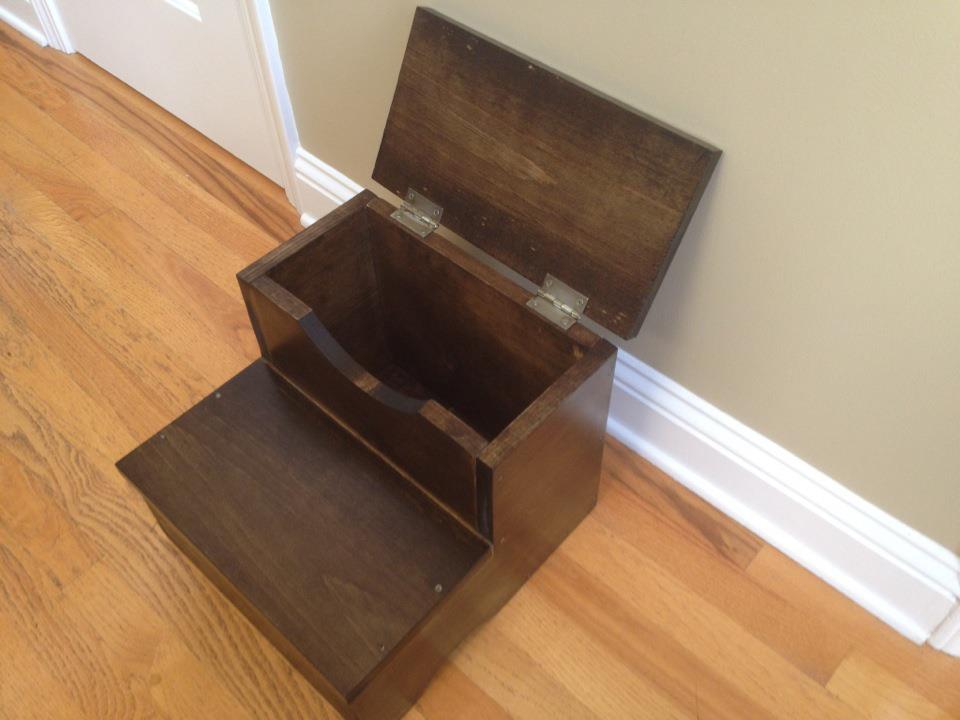
Finish Used
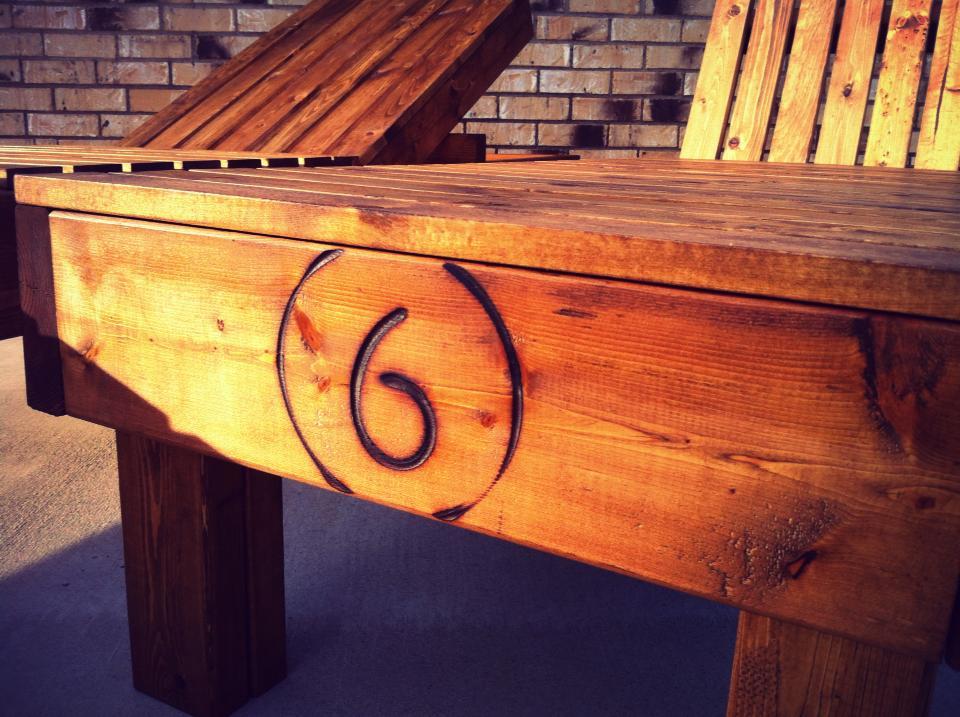
Minwax Outdoor Wood Sealer (I can't remember the exact name) in clear over Minwax Provencial stain. I customized the furniture with the family's cattle brand.
Recommended Skill Level
Intermediate


Comments
dsipe
Sun, 05/17/2020 - 15:00
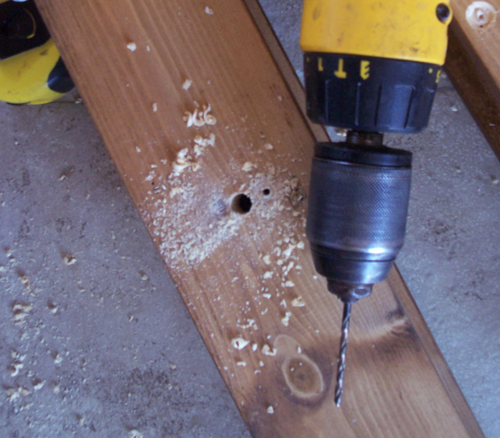
Stop Block Help
How did you get the stop block to fit using the updated 2x6 plans?