Community Brag Posts

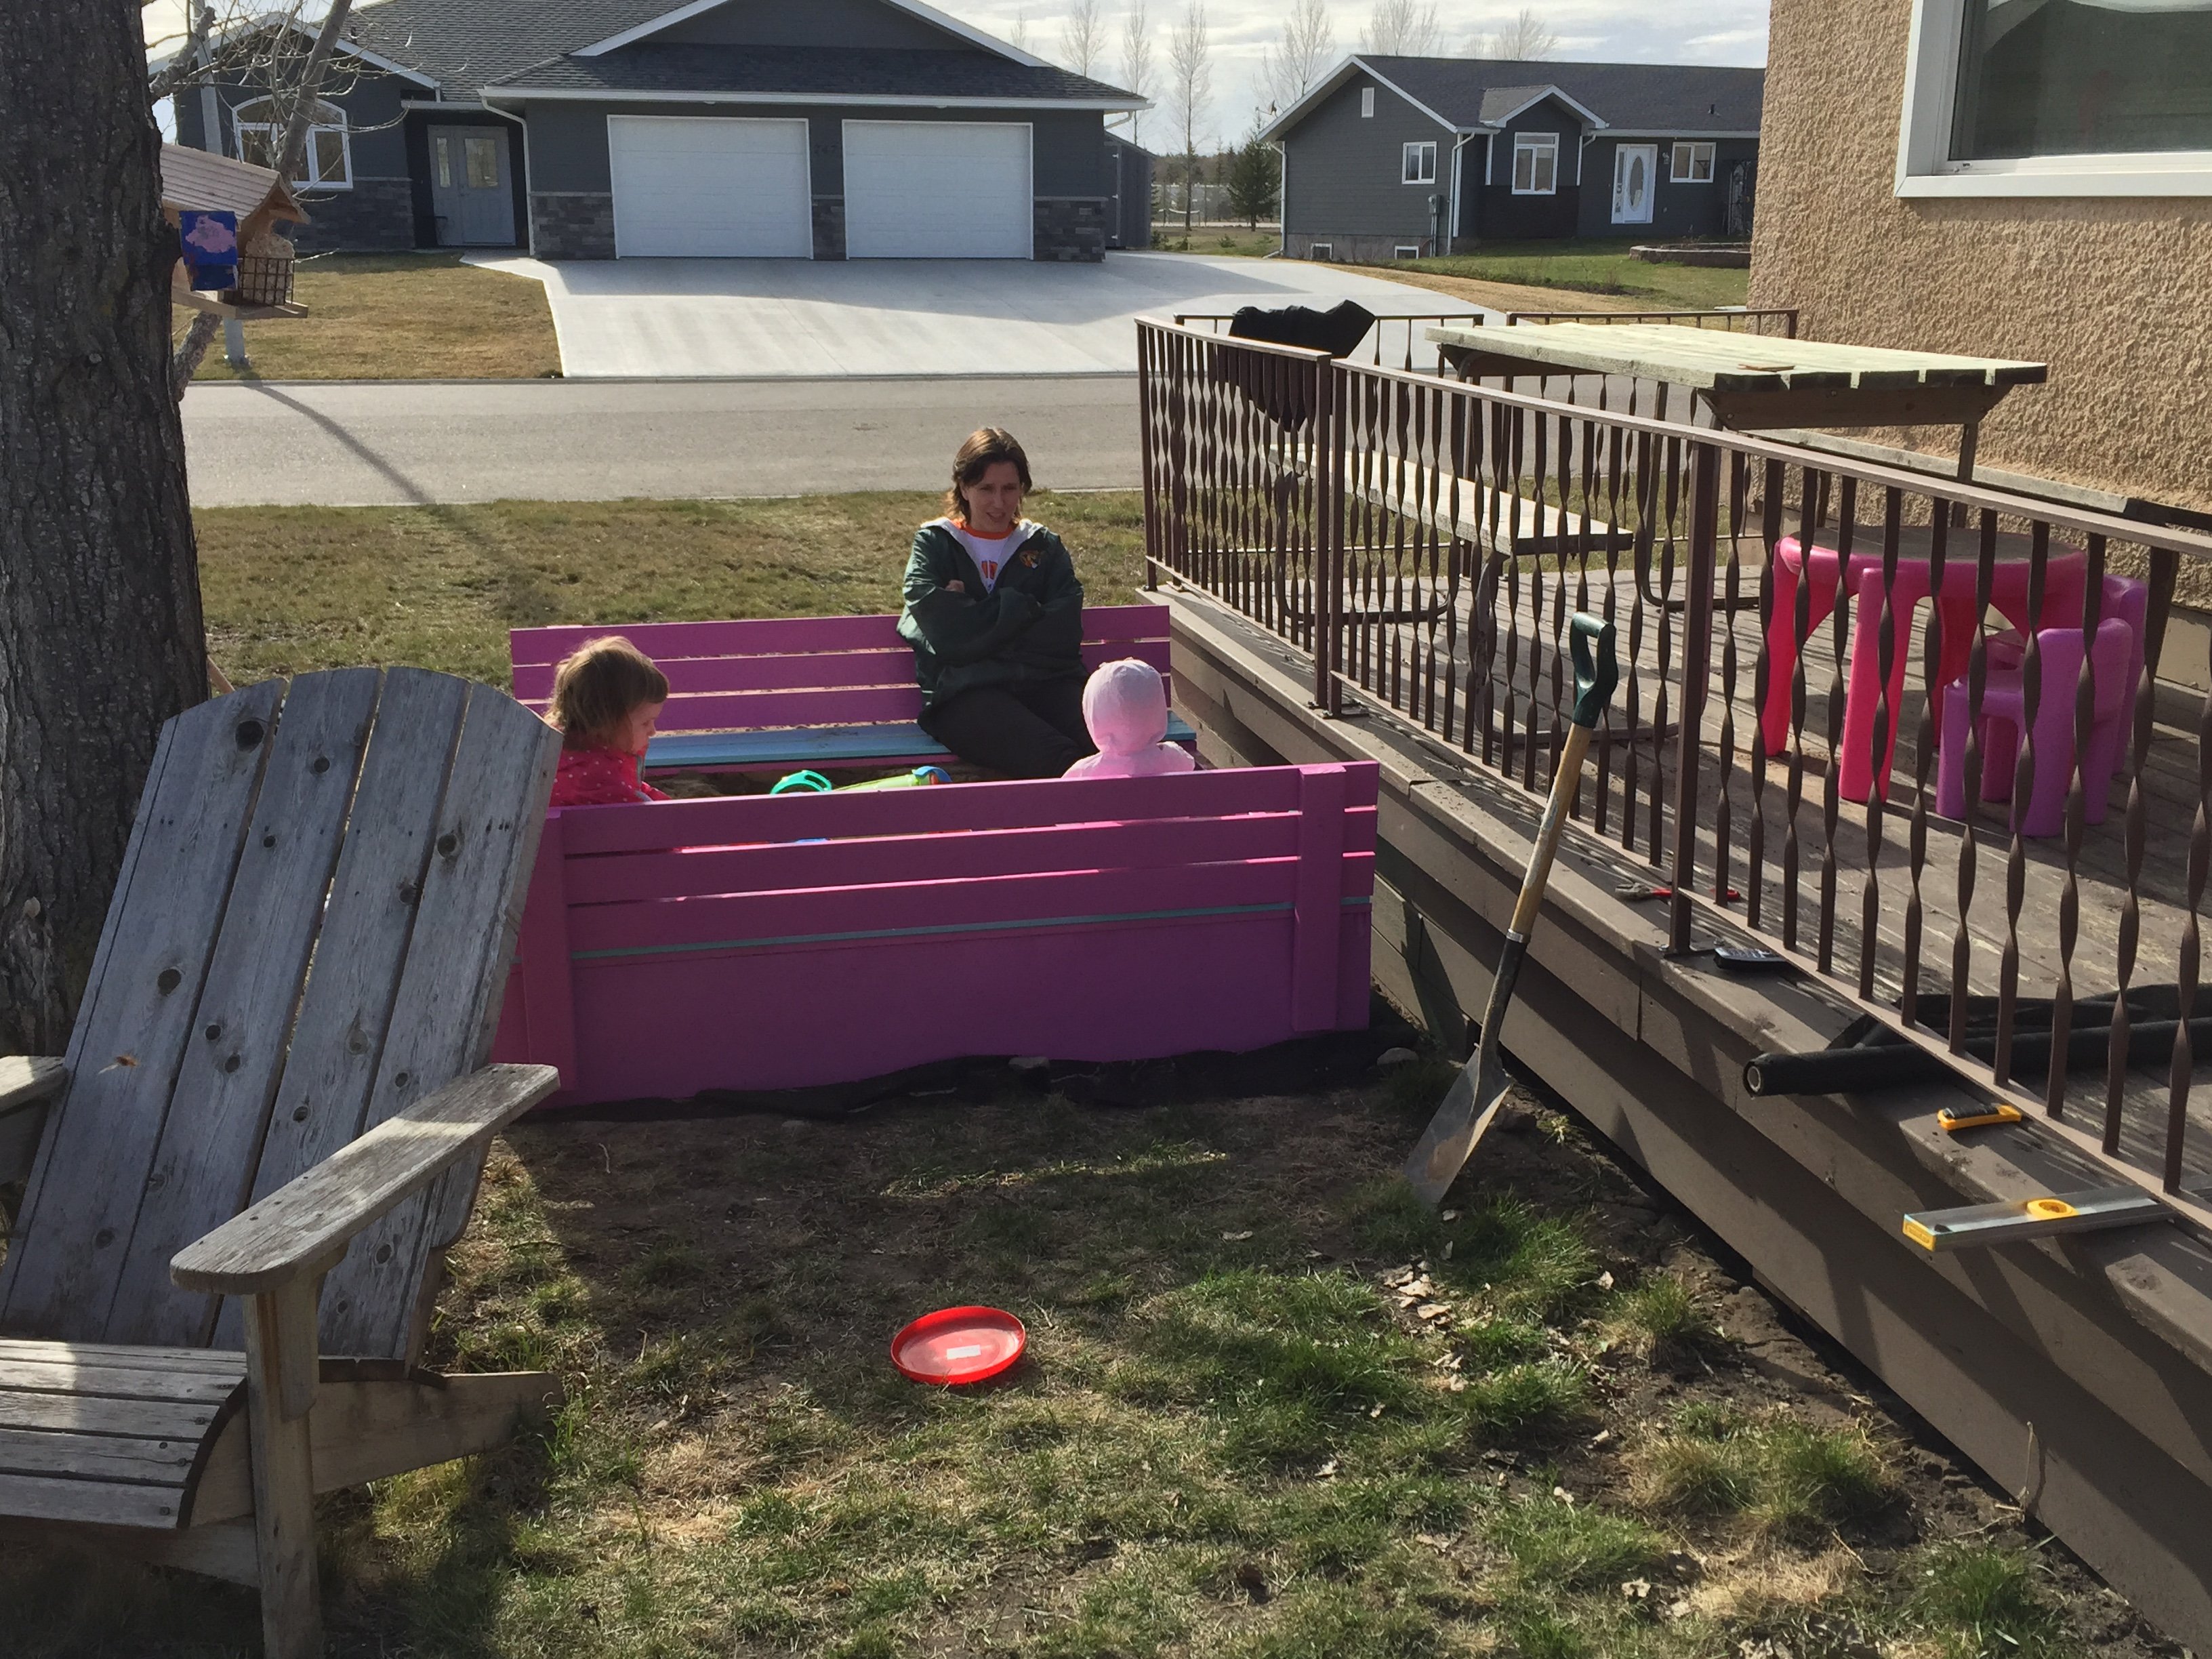
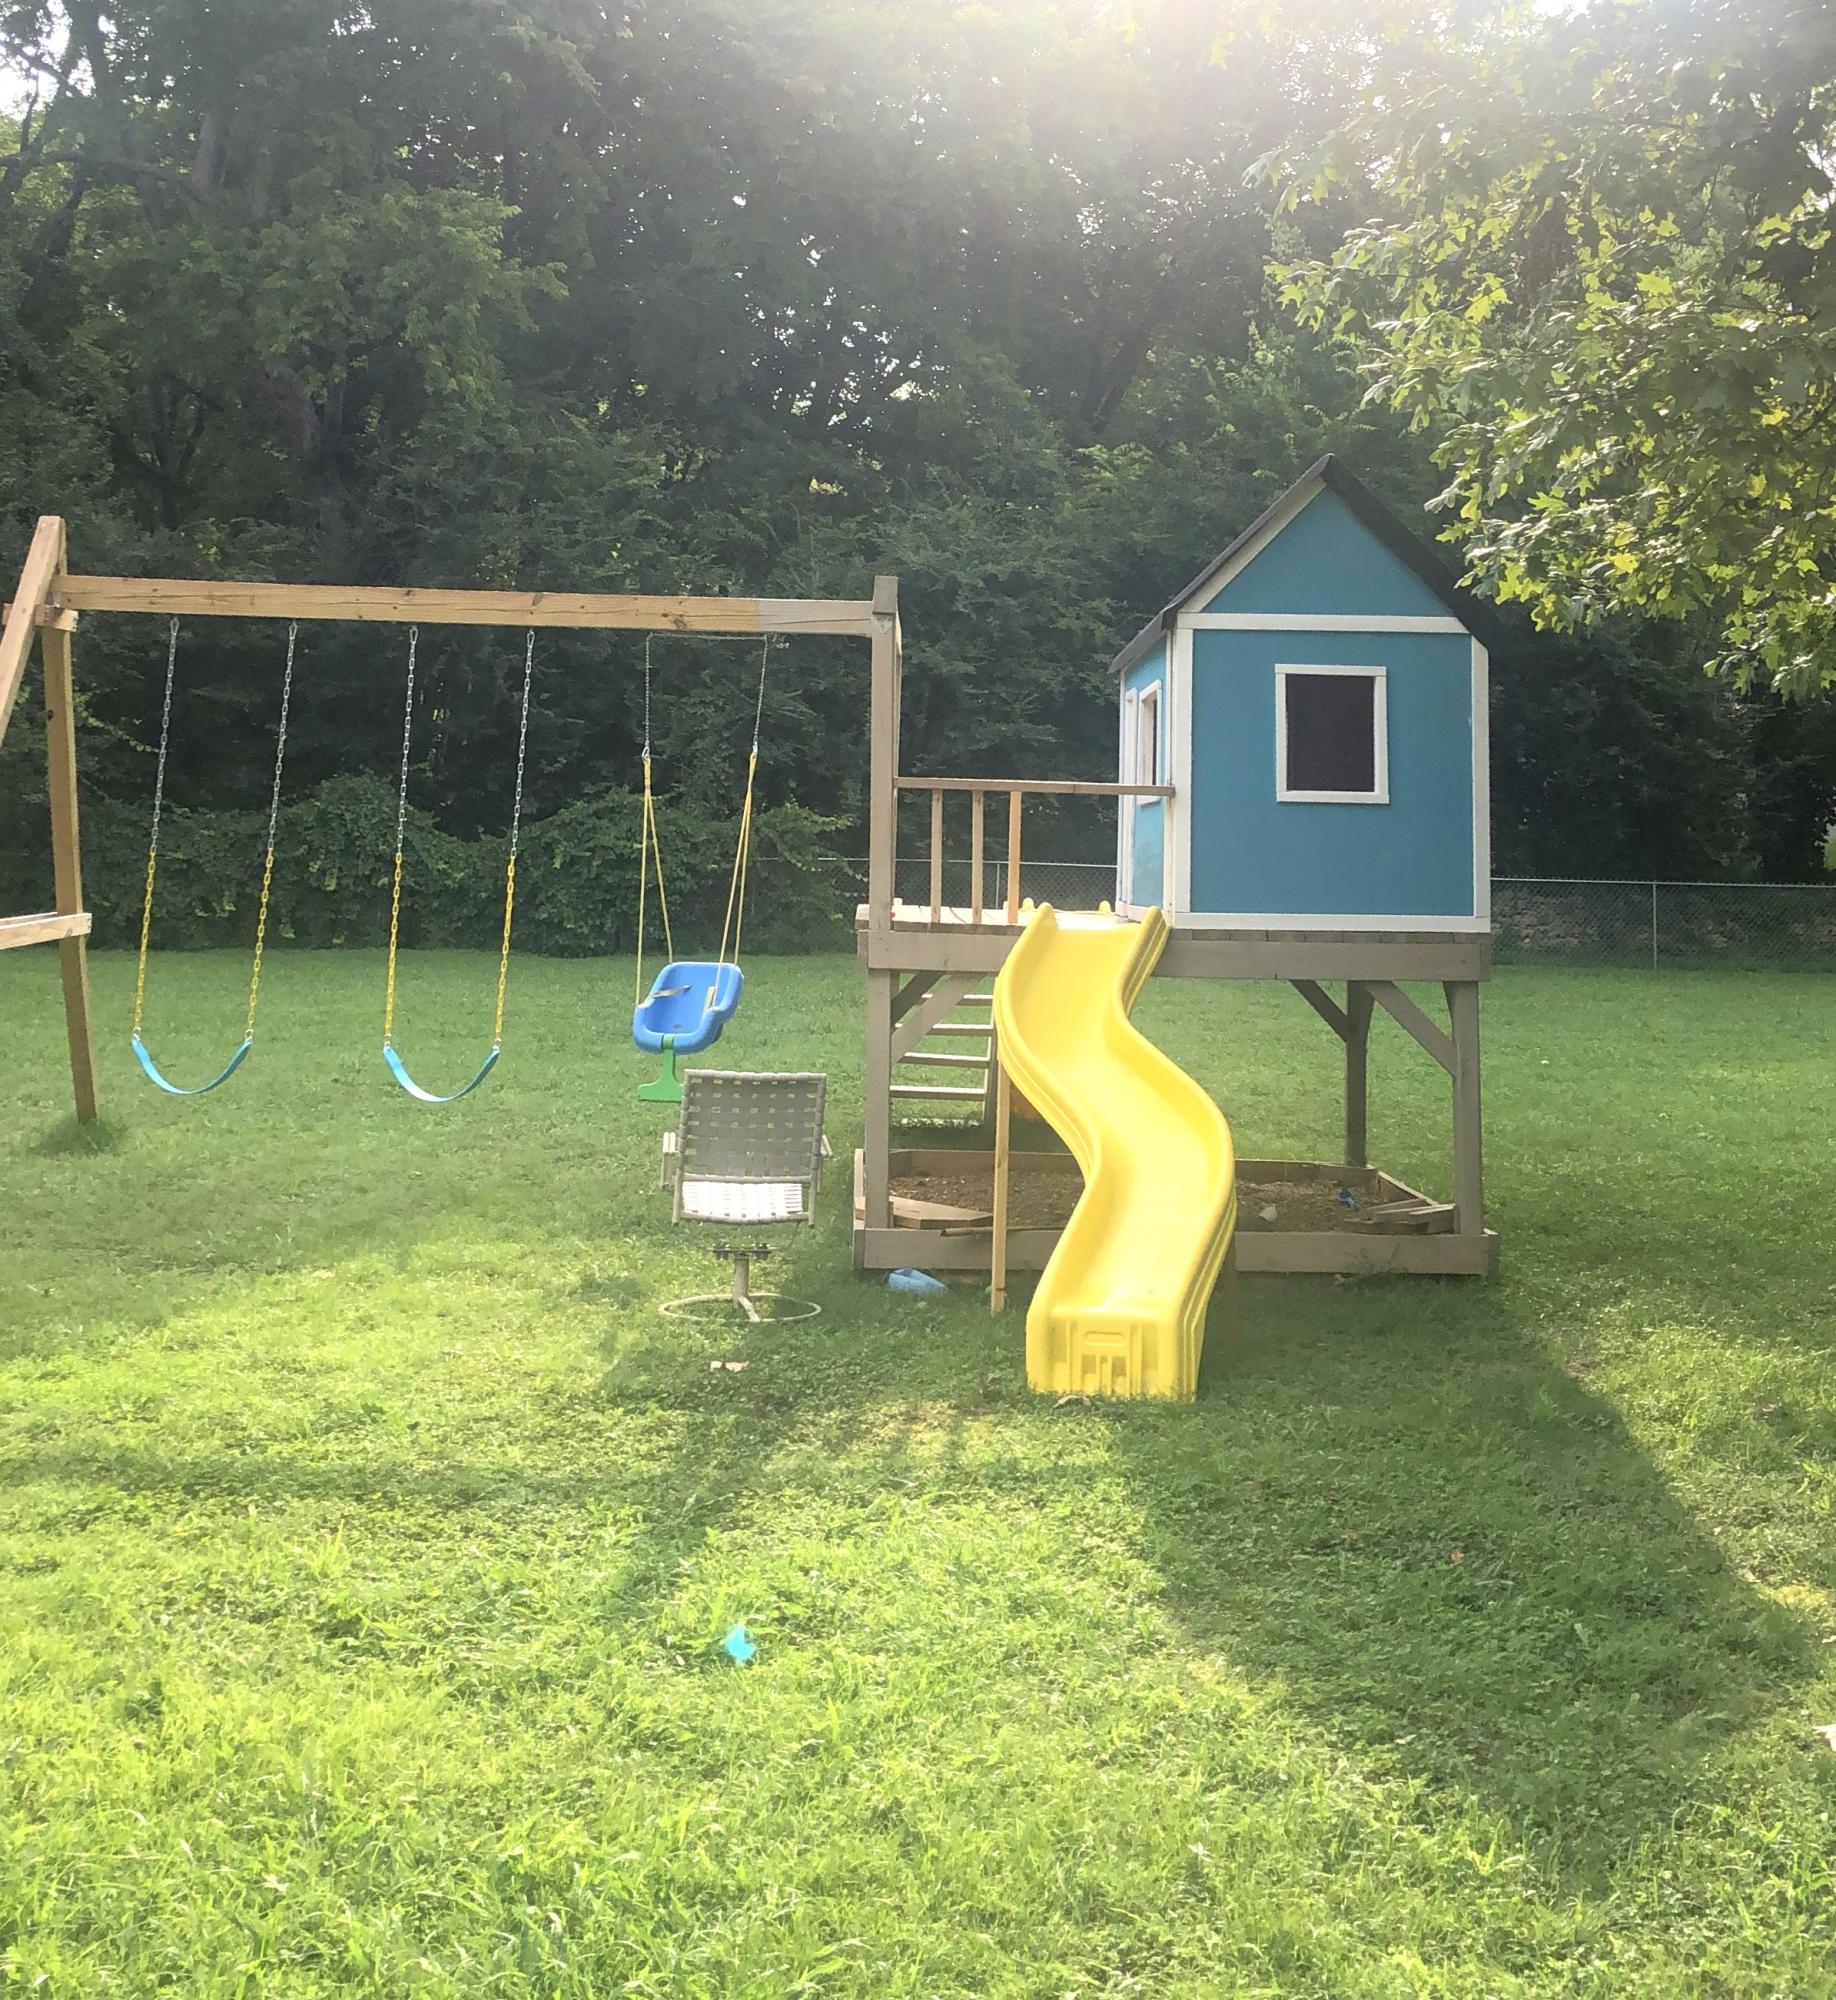
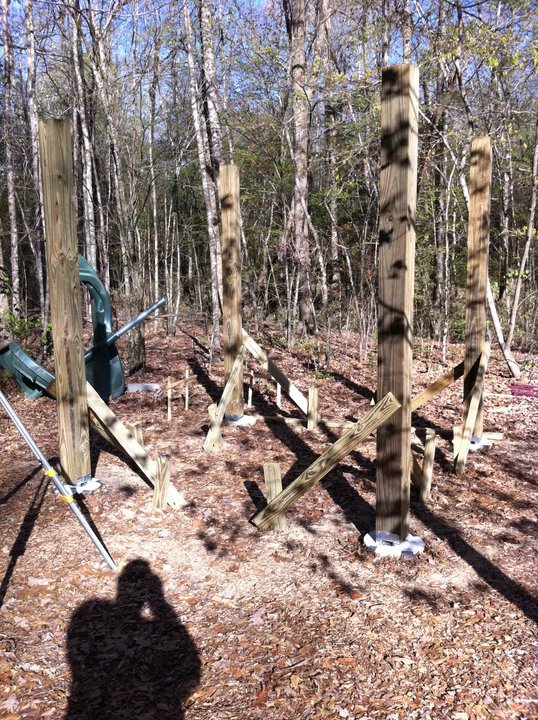
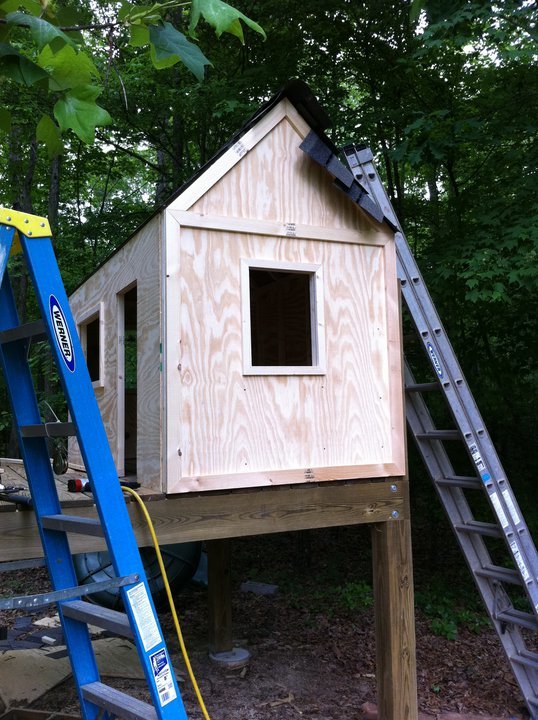
Playhouse in-progress

Submitted by DoctorEw on Mon, 05/02/2011 - 06:49

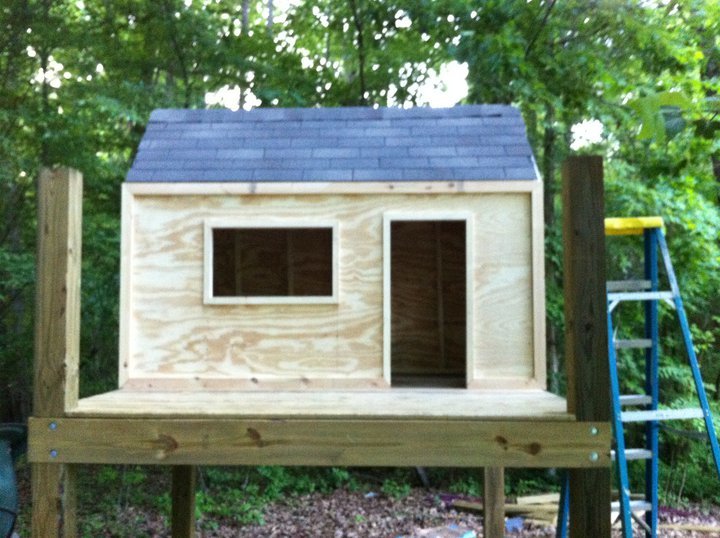
Due to rain (and horrible ability) this project has been taking a LONG time it seems. =) We had one of those "cheap" playsets from one of the warehouse clubs that would scare me to death anytime my girls got to swinging on it. So... we knocked it down and I took some liberty with the details from Ana's playset plans.

Estimated Cost
~$600 so far (concrete, wood, fasteners, shingles, etc..)
Finish Used
Will paint
Recommended Skill Level
Intermediate

Adirondack stools or end tables

Super strong stools and/or end tables! I LOVE them. Wanted a rustic vibe, stained with Varathane Briarsmoke with Varathane matte poly. The build took no time at all... The only reason this is a day project in my opinion was the true time it takes for drying between finishing coats. They were both built in one evening. Can't wait to build the Adirondack chairs from Ana's book to go with them!  

Built from Plan(s)
Estimated Time Investment
Day Project (6-9 Hours)
Finish Used
1coat of Varathane Briarsmoke + 3 coats of Varathane Matte Poly
Recommended Skill Level
Beginner

Closet shelves

Submitted by mom of 4 on Thu, 09/19/2013 - 22:12

I needed to use my small coat closet more efficiently (observe the disaster in the before picture!), so I installed built-in shelves along a side wall for all our board games. Not a plan really, but just a simple solution. Measure the height you want your shelves to be, install a 1X3 at that height on either side wall, making sure they are level and secured to studs or anchored (Mine are 1 foot apart up to 5 feet). Then install plywood or solid wood shelves across the supports. Screw in to secure and you've got functional, inexpensive shelving, built to fit your unique space.

Estimated Cost
Scraps or the cost of 1 sheet plywood and 1 1X3 or 1X4.
Estimated Time Investment
An Hour or Two (0-2 Hours)
Finish Used
It's all just bare wood.
Recommended Skill Level
Beginner

Miter Saw Cart

Submitted by Anonymous (not verified) on Wed, 11/16/2022 - 07:16

I had my mitre saw on a stand I had purchased and it was ok. Hard to move around, but it supported the saw ok. Frustrated over having to drag it around every time I was using it. This cart is smaller than the old stand and easier to move around.

Built from Plan(s)

Comments

2x4 Sectional , table, and chairs

Submitted by Anonymous (not verified) on Fri, 04/14/2023 - 04:57

Your easy to follow 2x4 proje ts turned out amazing. My outdoor set is complete. The chairs, also, came from your plans. I built all of it by myself in one weekend. Thank you

Comments

Sonny's Play Mud Kitchen

Darling Mud Kitchen by Sarah Jean Gammon

"I had this idea of making Sonny a mud-kitchen, a kids play kitchen for the yard. I mentioned it to Brent and he laughed saying he had enough projects on his list. This was not something he was going to build. Sooo I built this all by my self...or as Sonny would say, “me do this my own self”. It cost ~30 bucks in lumber and a trip to the thrift store for some second hand pots and pans. 3 hours later, a little paint, a little stain and voila... Sonny Side Up Mud Kitchen! Thanks for the plans Ana."

Built from Plan(s)

King Modern Bed

Submitted by Anonymous (not verified) on Fri, 05/05/2023 - 05:52

Made this with pallet 4x6 and 4x4 posts, and construction lumber.

Built from Plan(s)

Comments

My First Project

Submitted by Anonymous (not verified) on Wed, 05/24/2023 - 05:04

My very first woodworking project and could not have done it without you!!

Mistakes were made and lots was learned but pretty happy with how it turned out in the end.

Built from Plan(s)

Comments

Pizza Oven Cart

Not quite big enough for Pizza Oven, but love the plans!

Comments

Shanty Open Shelf Console

Submitted by carongirls on Tue, 12/24/2013 - 07:55

I had been eyeing this for awhile but, doors scare me. This is my daughters Christmas gift. It was a fairly easy quick build.
I am pleased with it.

Built from Plan(s)
Estimated Time Investment
Day Project (6-9 Hours)
Finish Used
Rustoleum Dark Walnut
Recommended Skill Level
Beginner

Comments

Val Manchuk

Tue, 12/24/2013 - 22:24

Doors scare me too, but seeing what a great job you've done encourages me to give it a try. Looks beautiful. I like how the hardware ties in with your choice of stain. Nice work!

Val @ artsybuildinglady.blogspot.ca

carongirls

Wed, 12/25/2013 - 10:21

The measurements for each door is a bit different because I wasn't careful with the trim. I used shims on all sides of the door to keep it straight and spaced to attach the hinges. Big plus is they open and close :-)

Modern Park Bench

Submitted by TaylorMade on Tue, 03/08/2016 - 18:42

HI Ana! Just wanted to tell you thank you for sharing all your knowledge. I really got inspired reading your book and looking through your website. I was quite intimidated but I finally completed my first build. It feels amazing and I am so grateful for your help! XO Sarah Taylor

Built from Plan(s)
Recommended Skill Level
Intermediate

Comments

6 x 6 Sandbox

Submitted by Anonymous (not verified) on Wed, 03/23/2016 - 20:54

This was our first attempt at making a woodworking project but knew it had to be done to save our plants from our son digging in them. It took us all weekend (mostly because of the staining) but we completed the project in 2 days. We went a little bigger (made a 6 x 6 box) to give our son some room and allow for friends. I loved putting the project together and look forward to many years of use from this box. Thank you for such simple plans!

Built from Plan(s)
Estimated Time Investment
Weekend Project (10-20 Hours)
Recommended Skill Level
Beginner

DIY Campsite Outdoor Storage and Grill Station

Submitted by Anonymous (not verified) on Thu, 08/31/2023 - 11:28

We made the grilling station to keep at our seasonal campsite and it's absolutely fantastic! We have since added some L brackets and 2 shelves, and this is where we store our extra cases of water, soft drinks, outdoor cooking utensils plus an air fryer! Super easy plans, with well written instructions for even the novice (me and hubs) diy builders!

Ali W.

Sandbox with built in seats/lid

6'x6' with 12'' Treated Sides, 1x4 and 1x6 SPF tops/seats and 2x4 Brace under Seats to accommodate the 6 foot span. Sanded and Painted.

Completed in 2 days, couple hours each day, sanded/painted all boards before assembly.

Built from Plan(s)
Estimated Time Investment
Day Project (6-9 Hours)
Finish Used
Exterior Grade Paint.
Recommended Skill Level
Beginner

Basement Sofa Table Bar

Submitted by advanlente on Sat, 03/28/2020 - 12:04

My husband and I had been looking at many different stores to try and find a bar table for behind our new couch in our basement. We wanted something that people could eat and drink at when we entertained and/or be able to sit at and play video games. I should have known we were better off to build our own rather than look in a store. It was only $30 in lumber and took 3 hours to build. And another project in the books!

Estimated Cost
$30
Estimated Time Investment
Afternoon Project (3-6 Hours)

Comments

megs502

Fri, 04/03/2020 - 11:03

do you have the plans for this? i've been looking and looking for what i needed and this is it!!

mferrara

Sat, 04/04/2020 - 05:39

Hi - exactly what I've been searching for....do you have plans available? Please and thank you!

beckaroo

Tue, 06/02/2020 - 23:04

Hello,
I would also love to see the plans for this sofa bar table.
Thank you
Becky

Work Bench

Submitted by Anonymous (not verified) on Tue, 09/06/2016 - 17:23

I needed more room, so I changed the dimensions to a 4 x 4 table.  Used the same amount of materials.  I made the side leg measurements 48" wide and the cross braces 45".  My top sheet of plywood is 48" x 48" and the bottom sheet is 48" x 41".  The rest of the leg measurements are the same. 

A little overkill on the screws, but made it extra sturdy. 

I saw this site, copied down the materials list, bought everything I needed and was finished before dinner.  I did it all myself, only had my husband cut the plywood, the rest was all me!  Woo hoo, so proud of myself!

I rough sanded the edges and corners to get rid of any splinters.

Estimated Cost
$50
Estimated Time Investment
An Hour or Two (0-2 Hours)
Finish Used
Rough sanded the top, corners and edges.
Recommended Skill Level
Beginner
Back