Community Brag Posts

Workbench

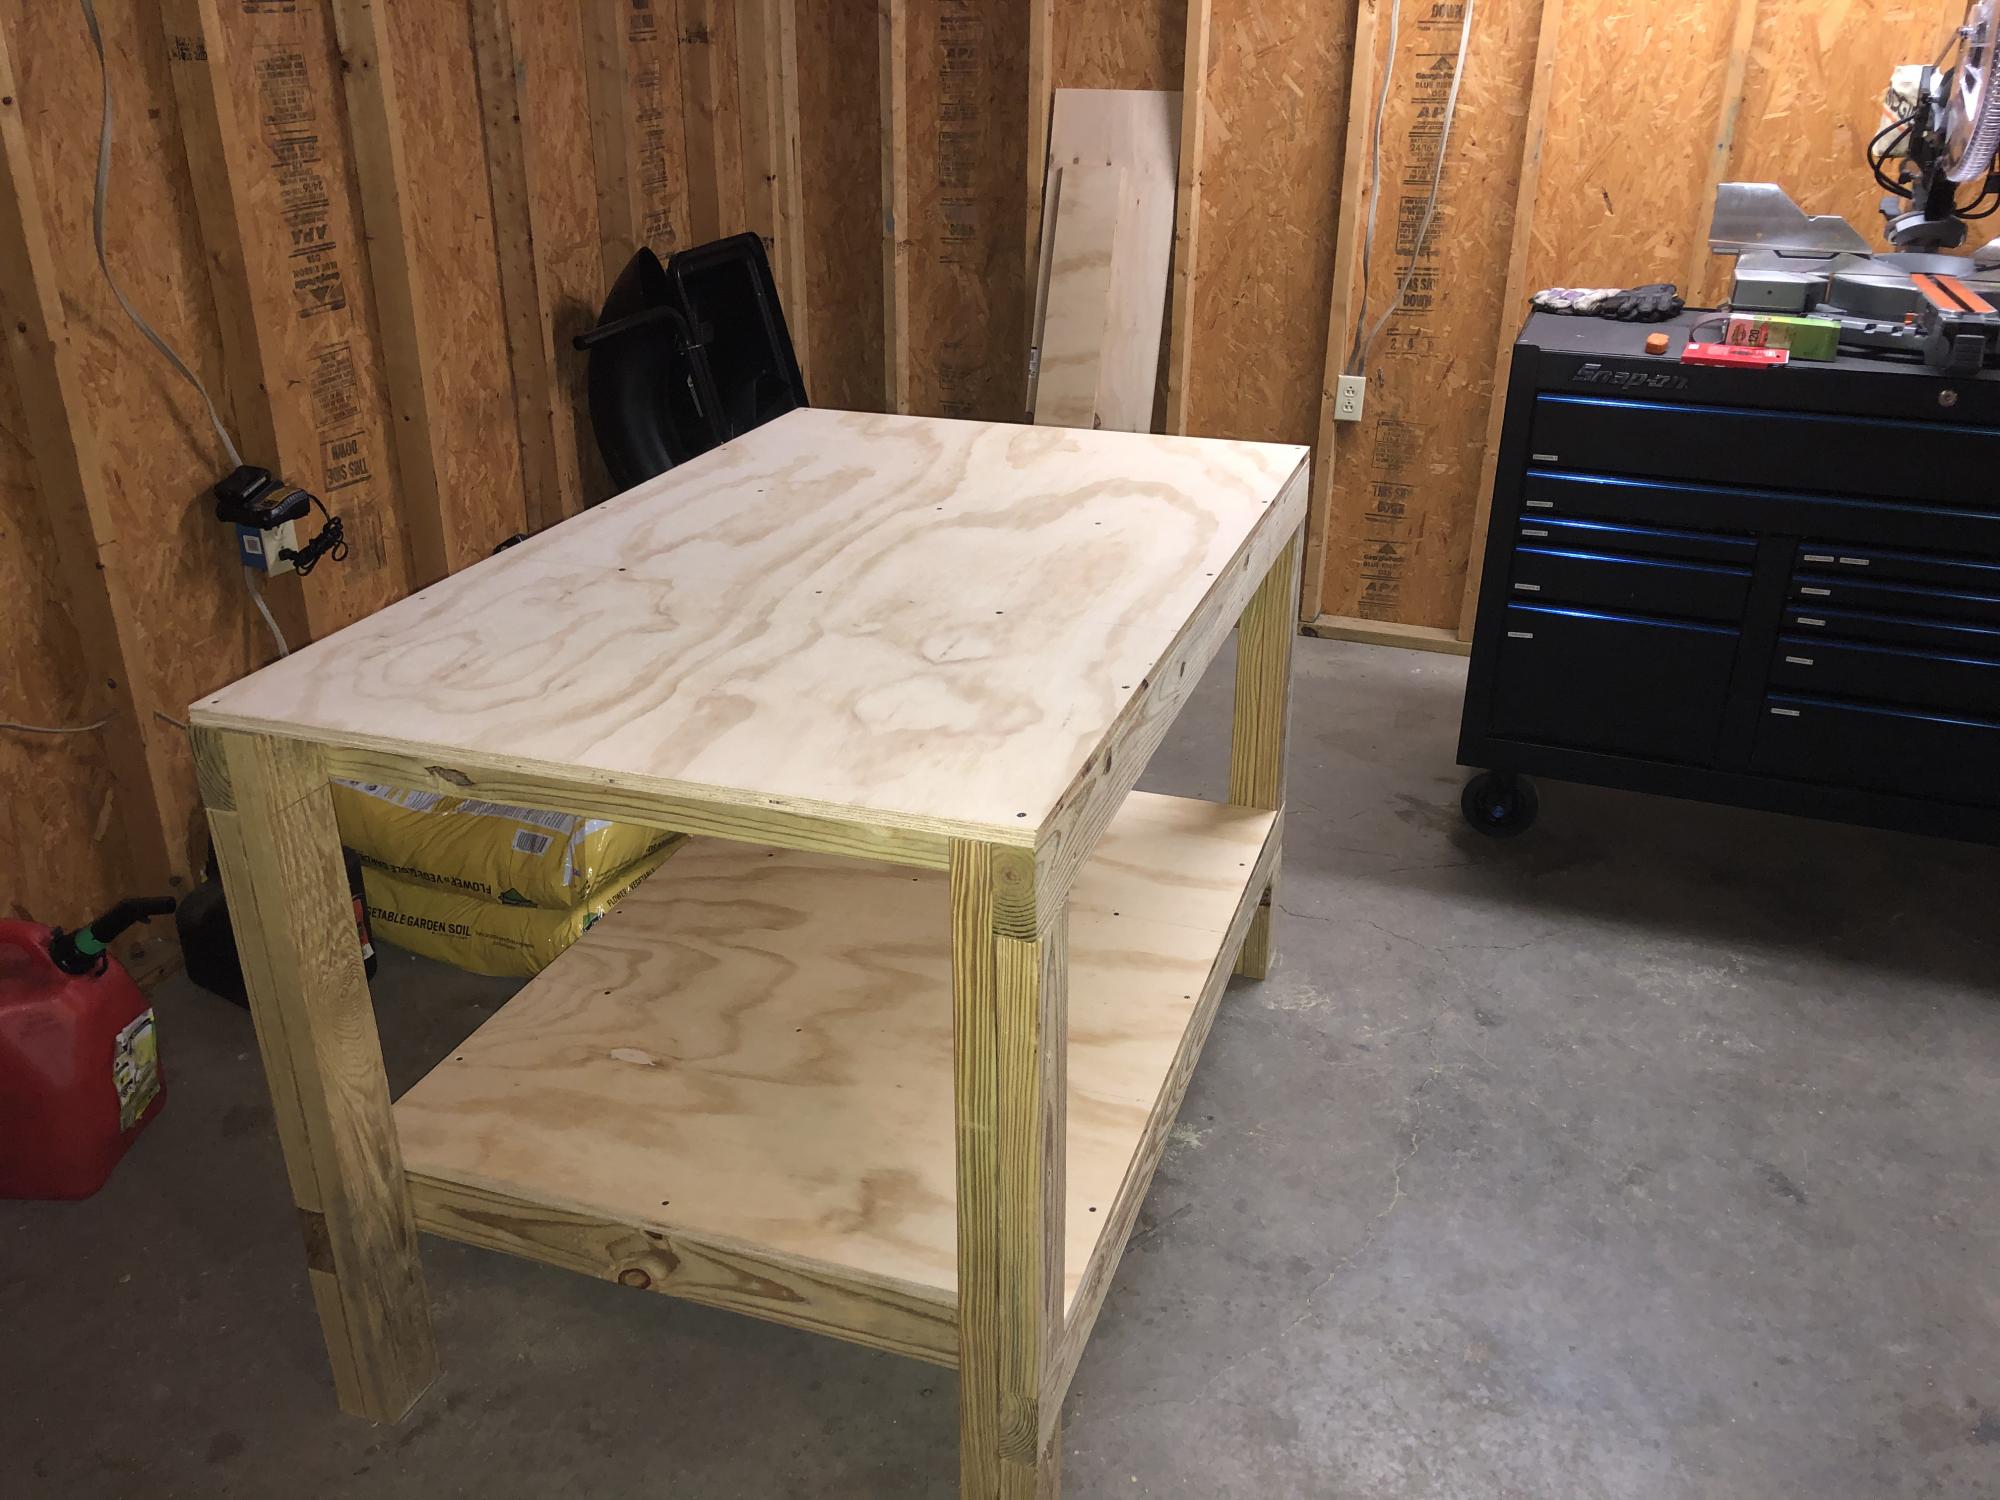
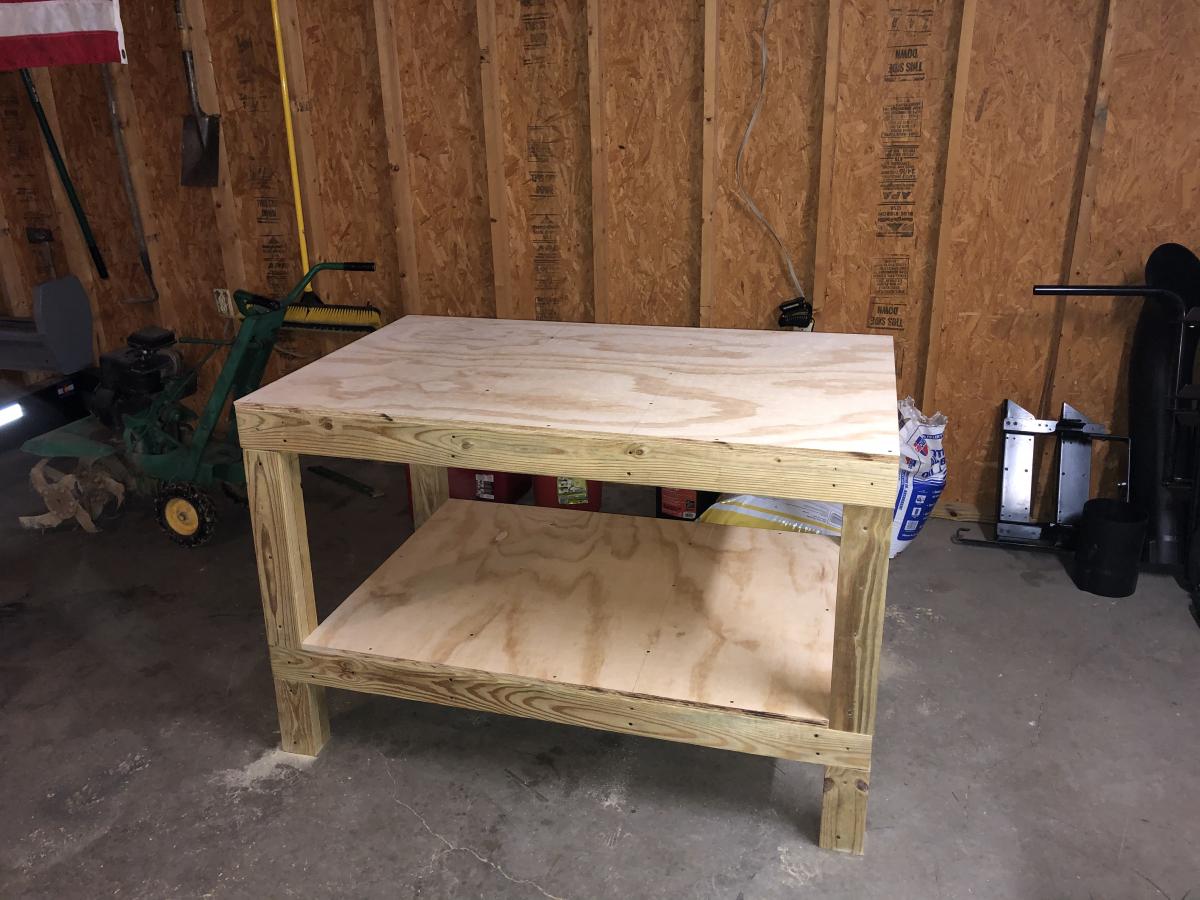
Wasn’t too awful bad. The cuts were basic and easy to duplicate. I would recommend having some clamps to hold the supports in place while you try to screw them together. Otherwise, this table is pretty heavy duty and a lot bigger than I thought it would be. I sprung for a more durable and harder wood top, oak so the cost was about $25 more.

Estimated Cost
100
Estimated Time Investment
Day Project (6-9 Hours)
Finish Used
None
Recommended Skill Level
Beginner

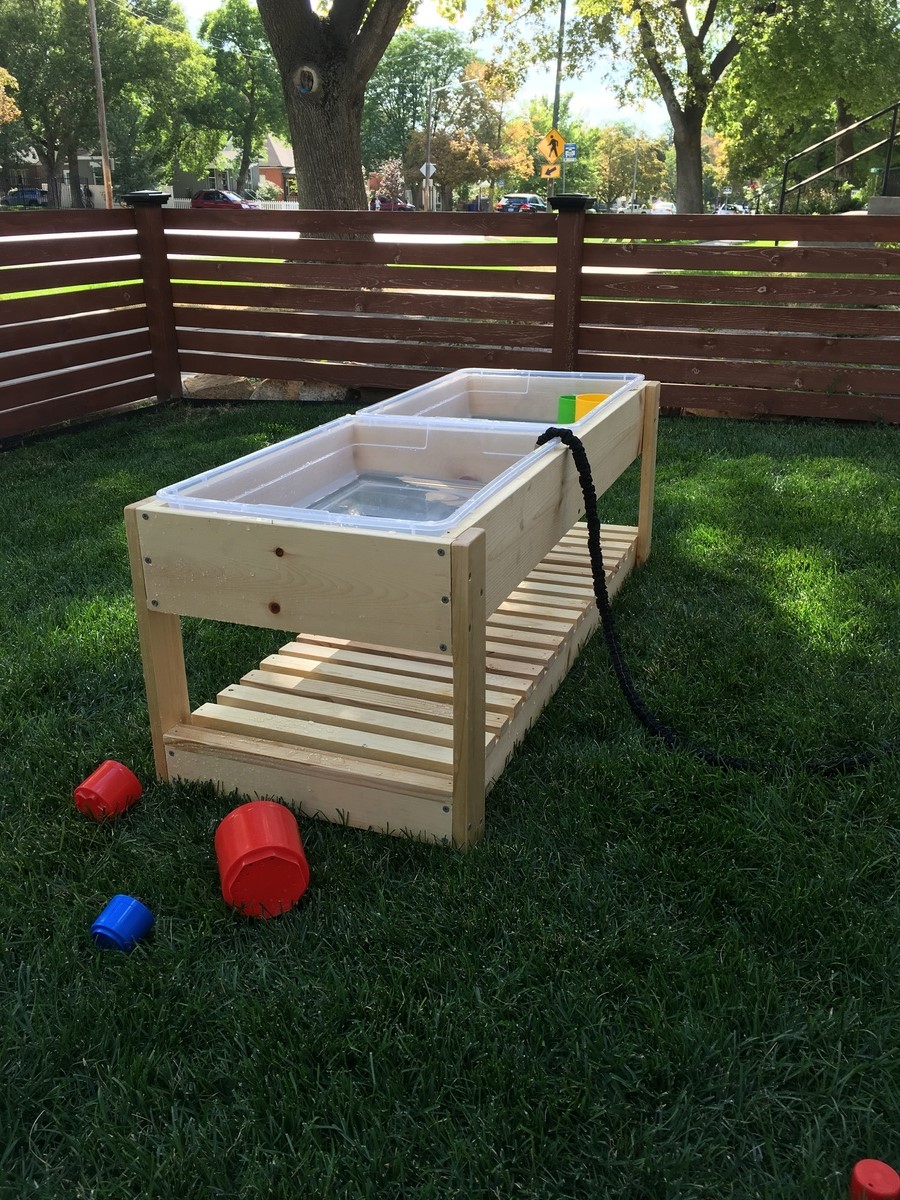
Water table for 1 year old

Submitted by Anonymous (not verified) on Fri, 09/02/2016 - 15:42

Shortened the legs to 17" and used 1x2s on the shelf because that's what we had on hand. Sealed with Thompson's aerosol clear waterseal. 

Built from Plan(s)
Estimated Cost
$38
Estimated Time Investment
Afternoon Project (3-6 Hours)
Finish Used
Thompson aerosol clear waterseal
Recommended Skill Level
Beginner

Linzy's outdoor play escape

Submitted by Myk3 on Mon, 06/09/2014 - 13:03

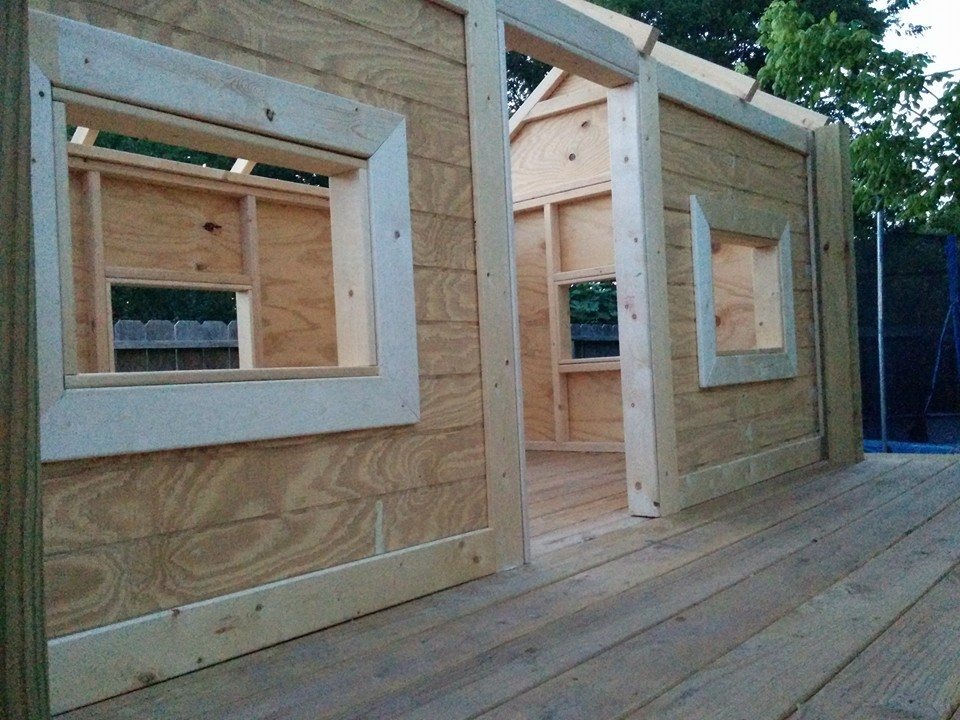
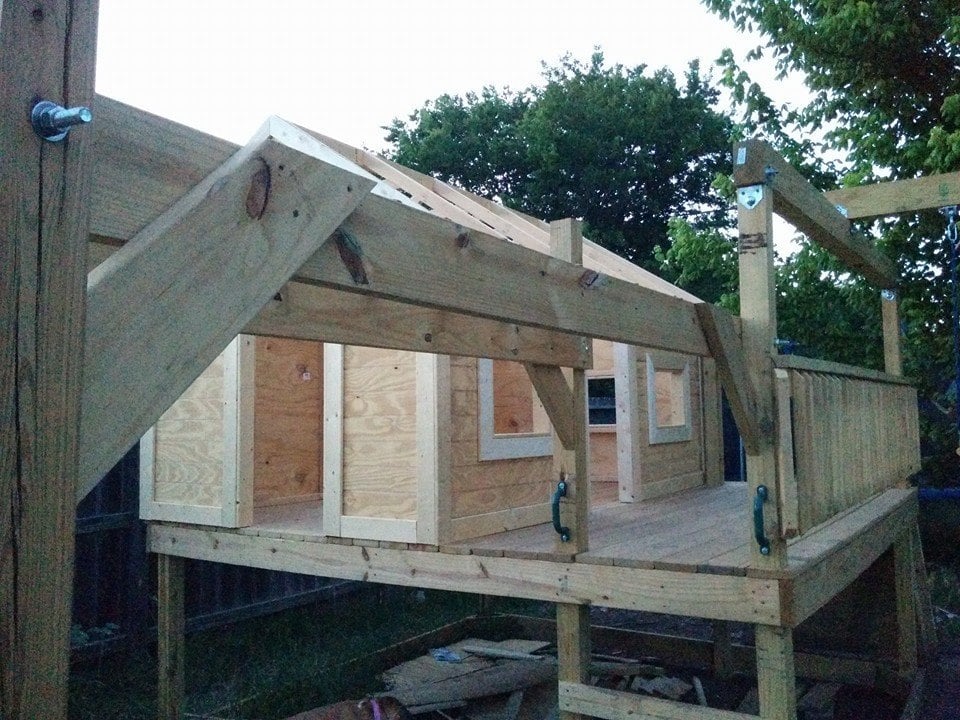
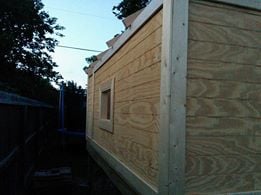
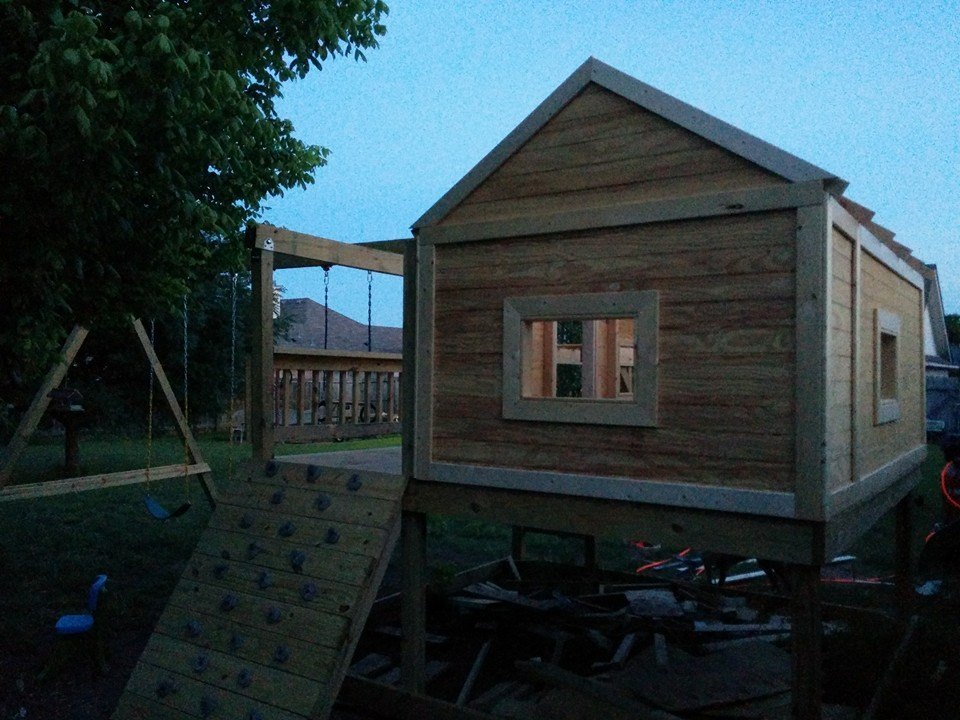
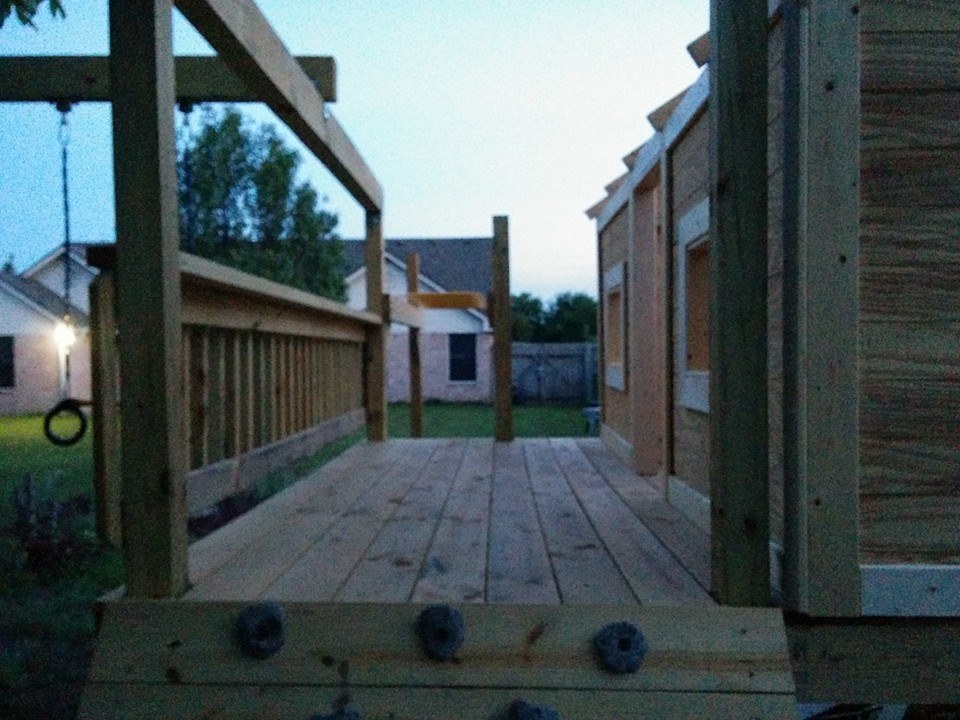
Built using the plans as a starting point and built it bigger than the plans called for.. The deck is 10x10 and the playhouse is 6x10. I used pressure treated lumber for everything but the playhouse. I still need to paint the house and stain the deck, then put the roof on.. if it would stop raining.. Once i'm done staining the deck I can put the slide back on also. ''

Swings, monkey bars, and rings / trapeze was ordered from Amazon.

Built from Plan(s)
Estimated Cost
2000
Estimated Time Investment
Week Long Project (20 Hours or More)
Recommended Skill Level
Intermediate

Outdoor Play Kitchen

Submitted by Anonymous (not verified) on Mon, 04/15/2024 - 10:05

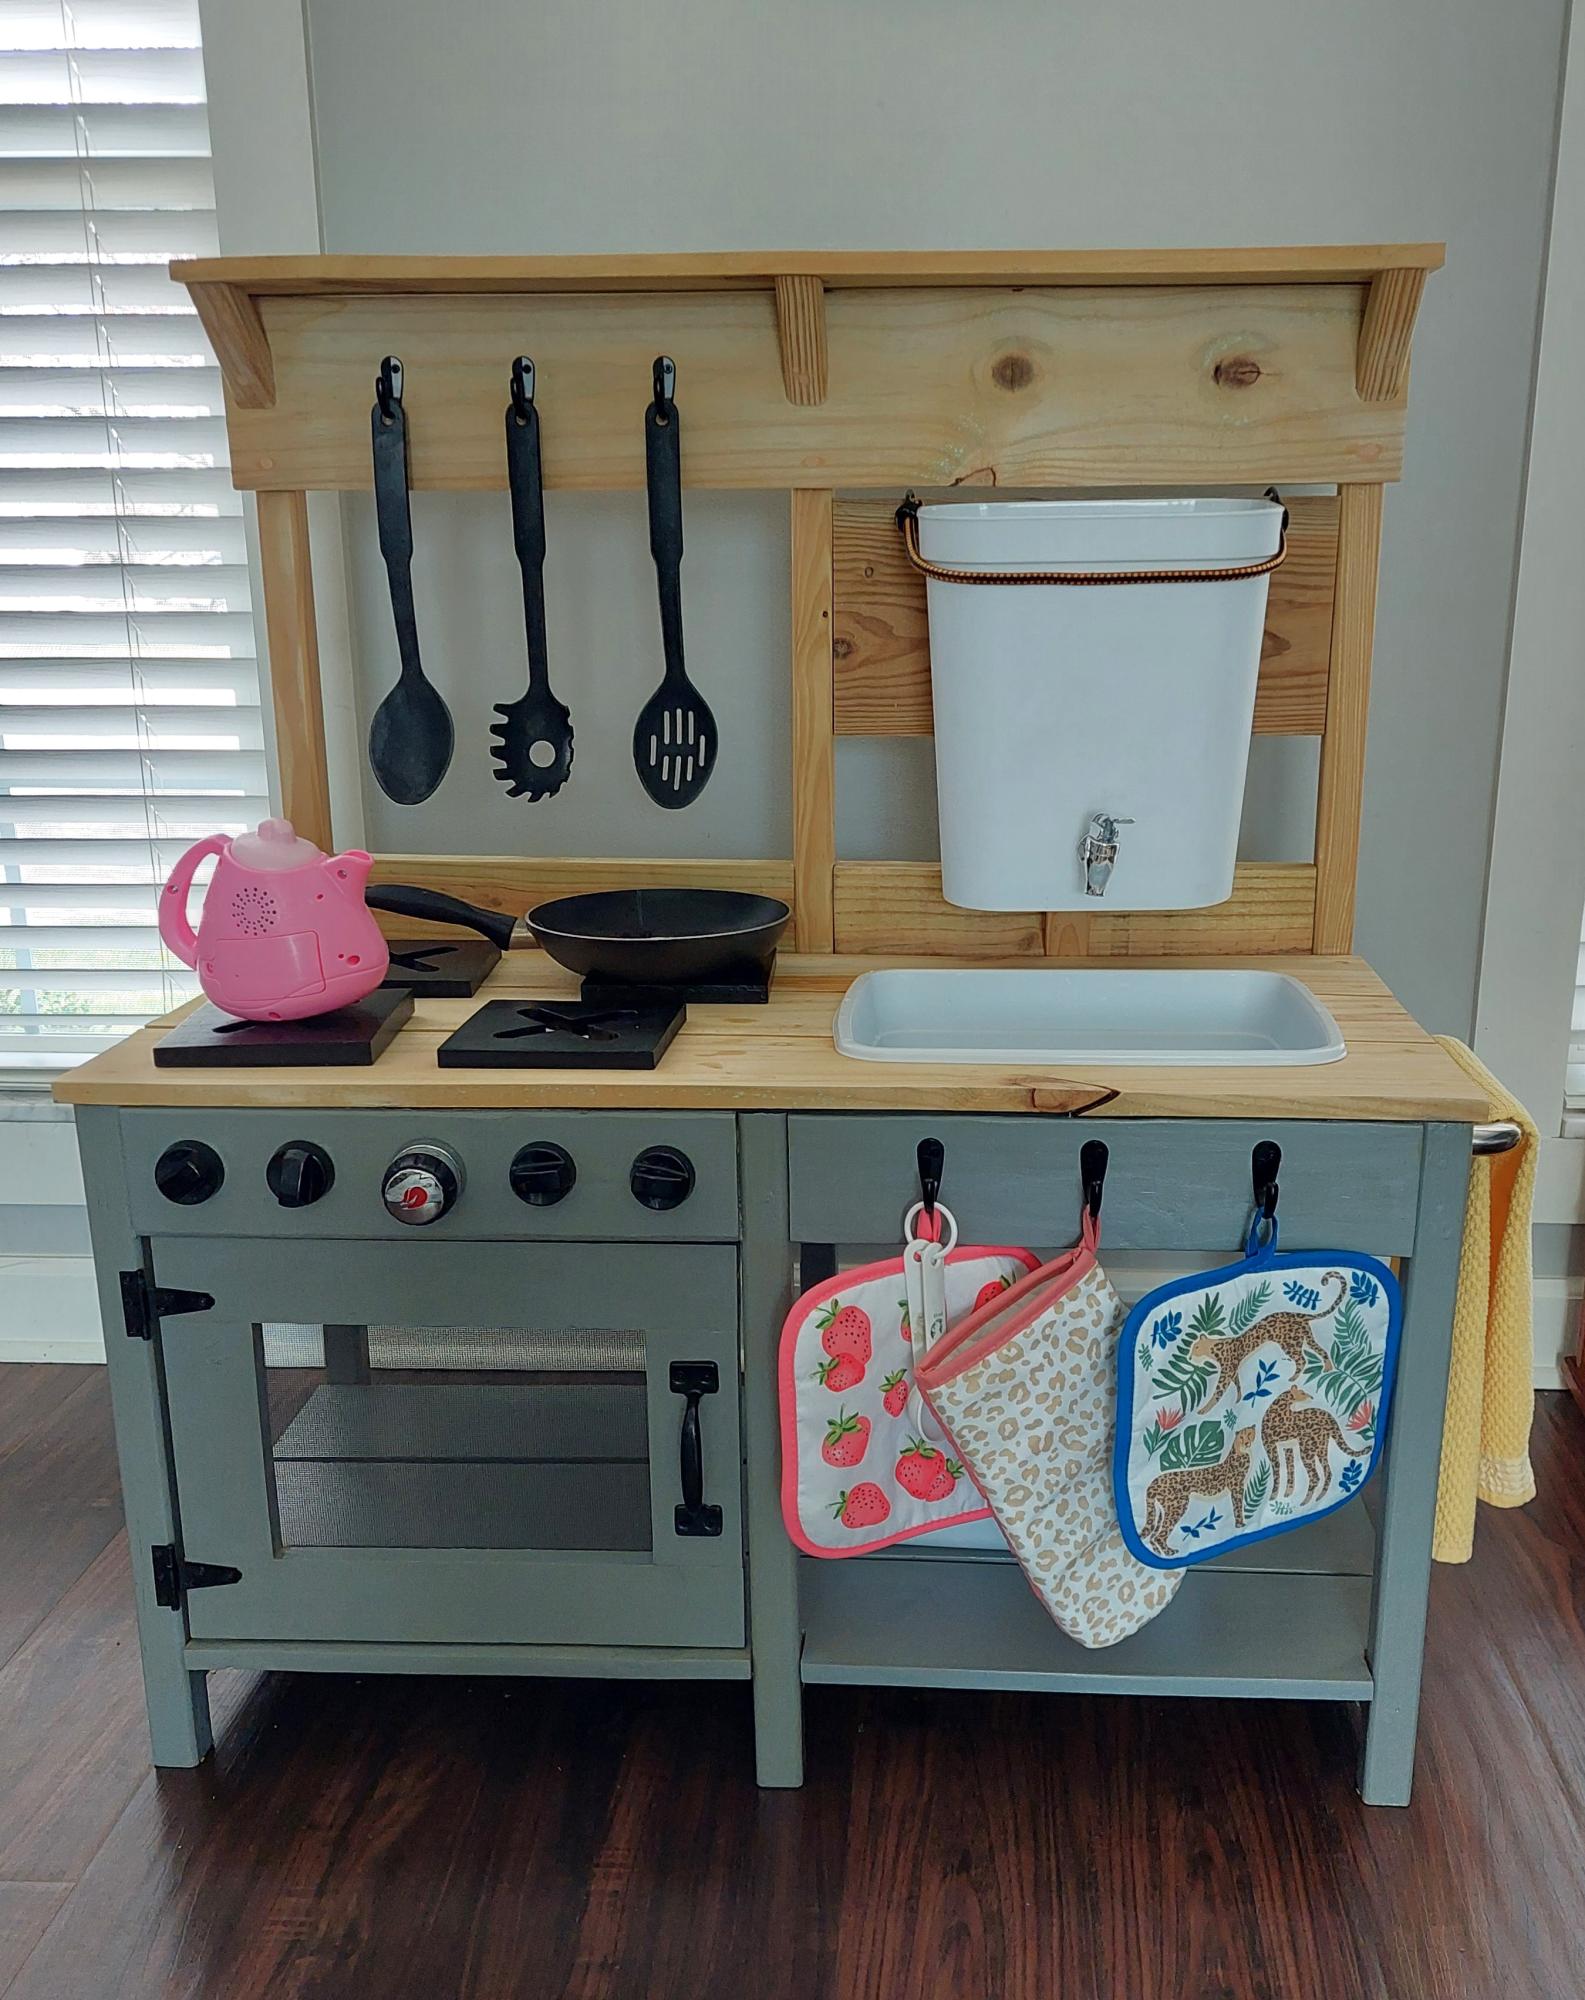
I built this using Ana's plans for her outdoor play kitchen. I live in North Carolina and took it to my grandchildren in Ohio. They love it! I used an inexpensive beverage dispenser installed into a trashcan and connected a small aquarium pump to recirculate the water from the sink to the water tank. I'm super pleased with how it turned out!

Nancye Butterworth

Built from Plan(s)

Cornhole Boards

Submitted by SaraLodise on Fri, 09/23/2016 - 13:15

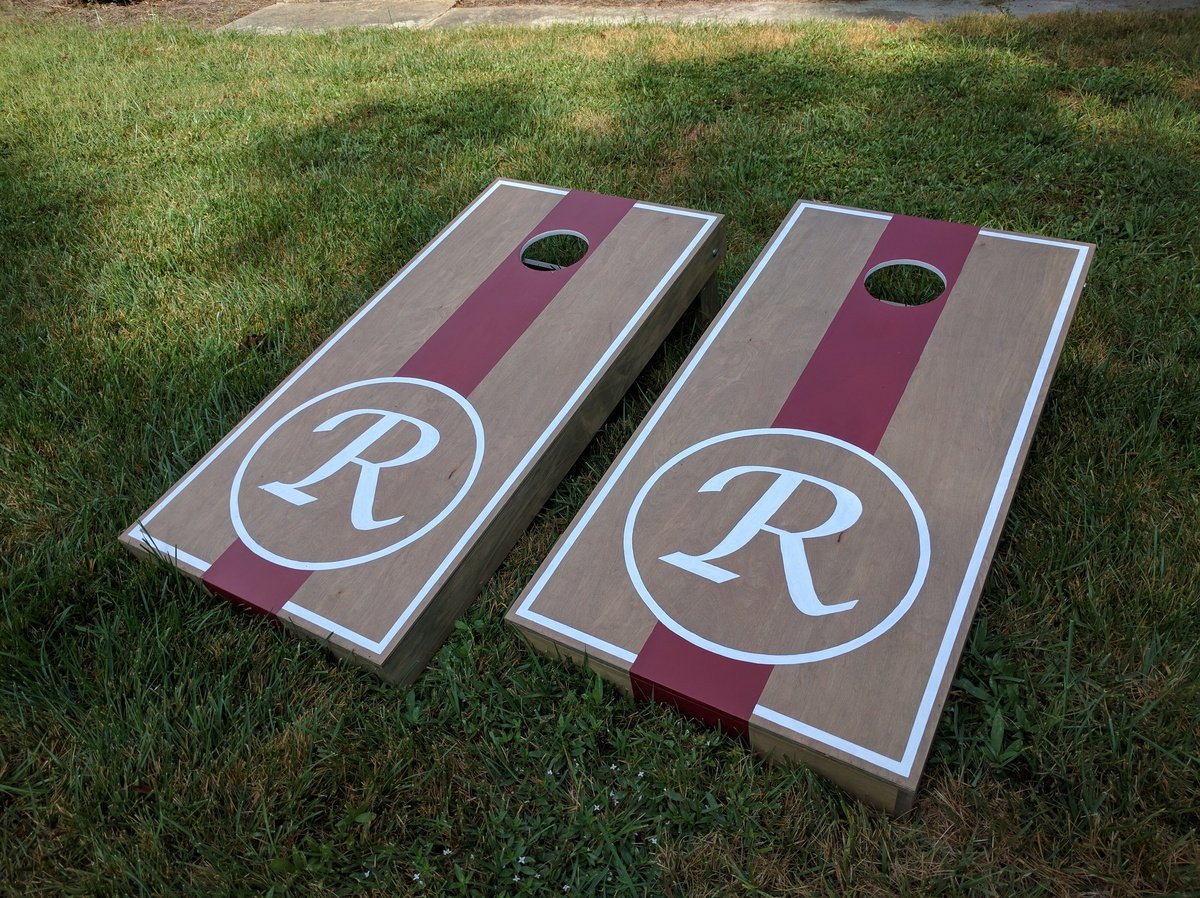
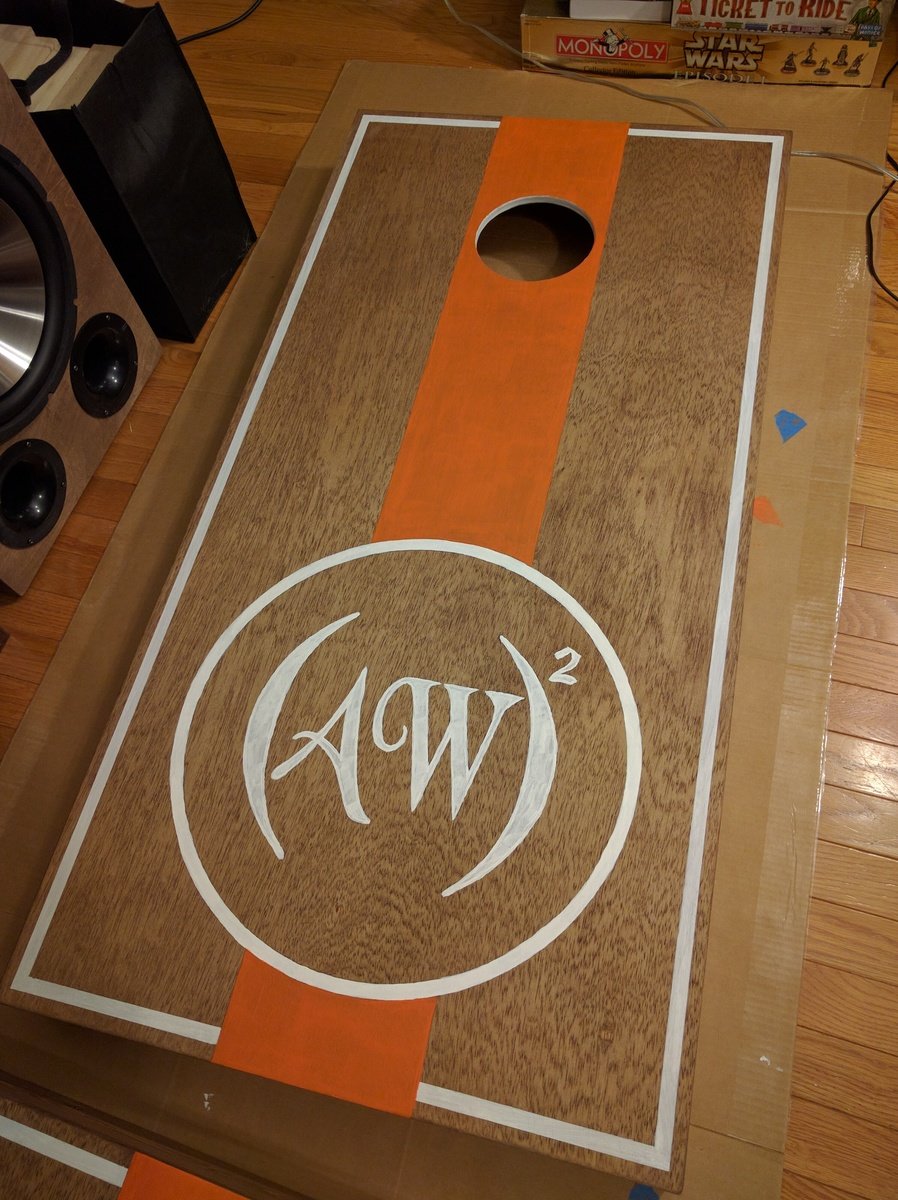
Cornhole boards for friends and family :)       Used 1x4s for framing and legs, 1/2" ply for top.


"R" set:  Birch plywood tops w/ (2) coats of Miniwax Weathered Oak oil stain. Red stripe is Behr 'Cherry Cola.'  (3) coats of Polycrylic finish.


"AW" set:  Regular plywood tops w/ (1) coat of Miniwax Special Walnut oil stain & Glidden 'Clemson Orange' stripe.   (3) coats of Polycrylic finish.

Estimated Cost
$100/set (2 boards)
Estimated Time Investment
Weekend Project (10-20 Hours)
Finish Used
(see description)
Recommended Skill Level
Intermediate

Comments

Seasonal And Holiday

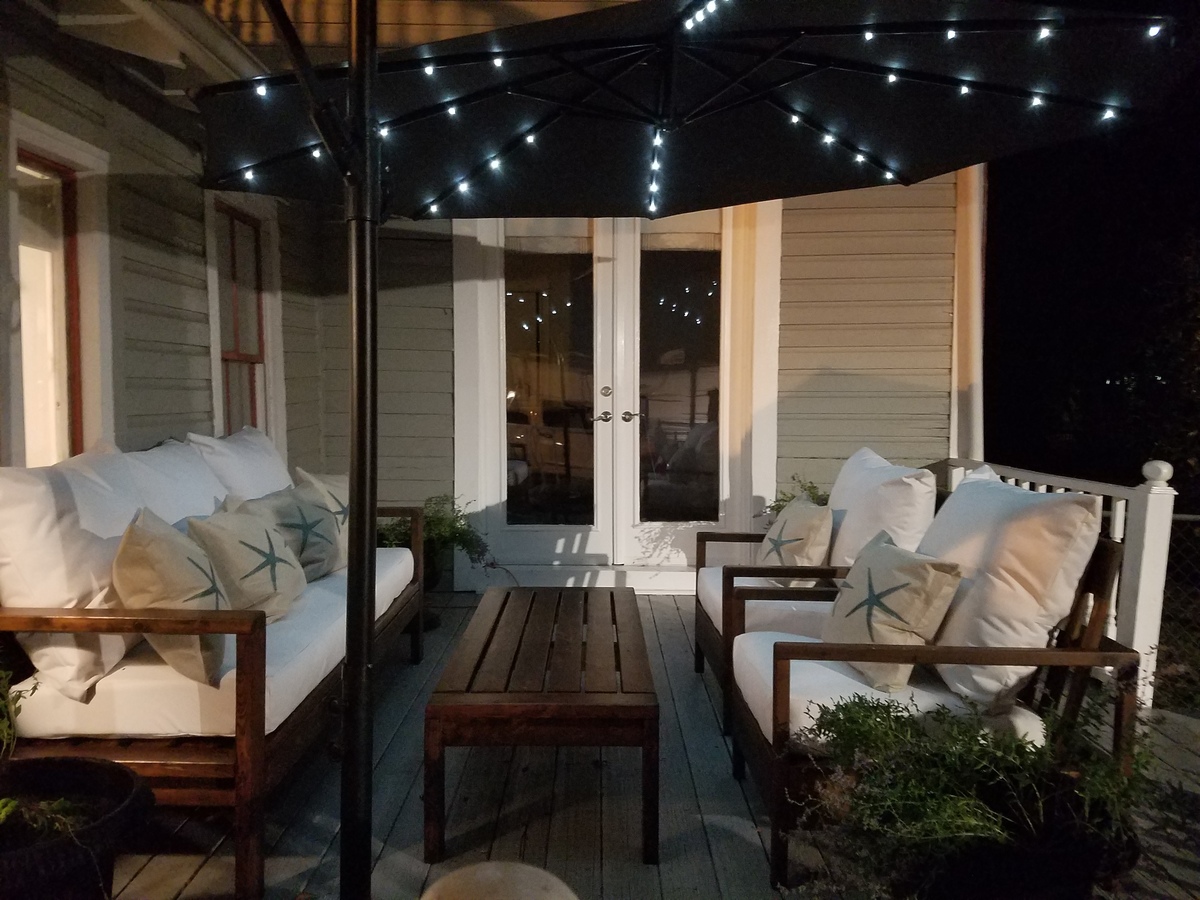
Needed a new Patio set after Hurricane Matthew destroyed mine.

Submitted by Anonymous (not verified) on Tue, 03/03/2020 - 18:00

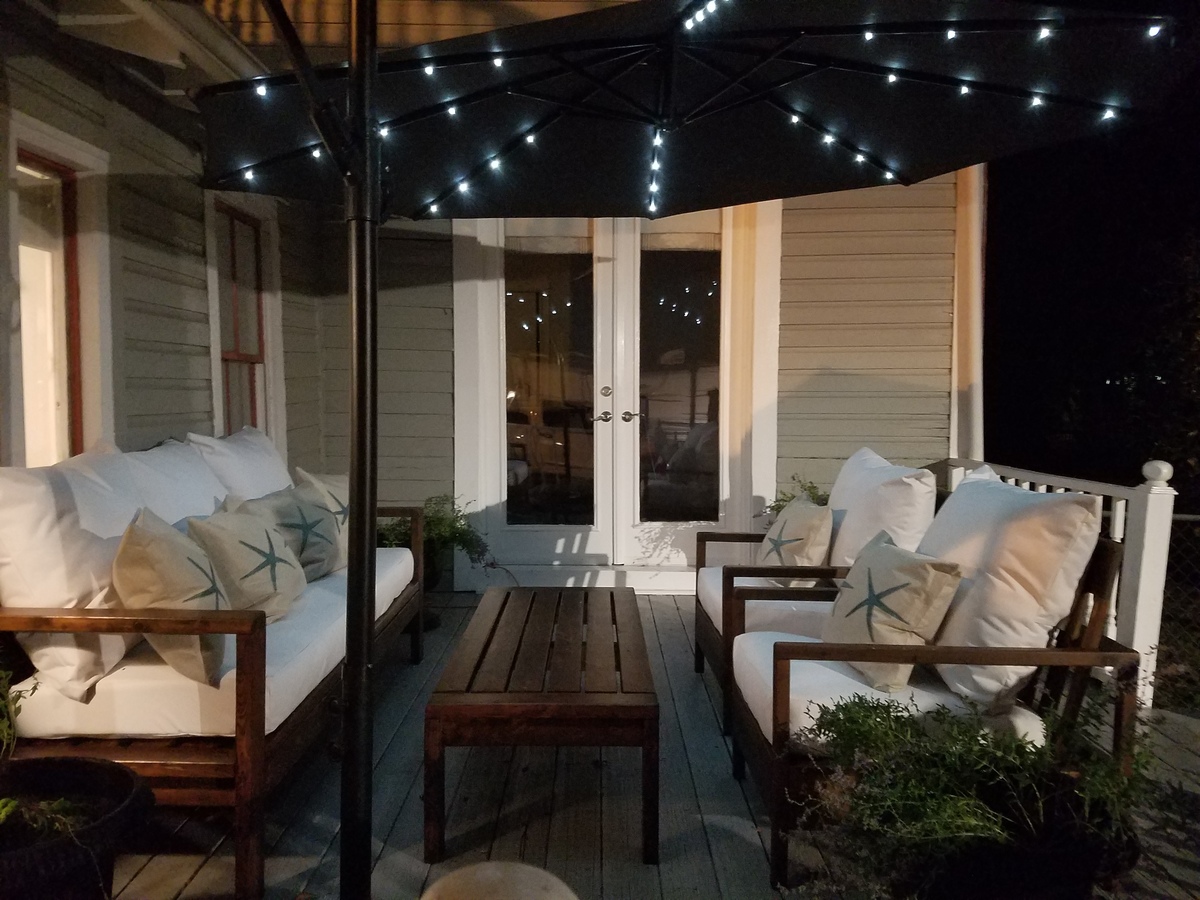
Between my day job and daily chores I somehow managed to build this, make the stain with the vinegar/steel wool, and sew all the cushions in about a week and a half.  The hardest part for me was lifting the sofa onto the deck by myself after I built it.

I also made the chairs from this site (simple white outdoor chair) and the coffee table.

Thanks Ana and everyone for contributing your plans and for everyone posting their projects.  It helps me do it to.


Estimated Cost
for foam, wood, screws, sand paper pillow stuffing, waterproof fabric 400 bucks
Estimated Time Investment
Week Long Project (20 Hours or More)
Finish Used
steel wool/vinegar/coffee grounds and then UV flood protector
Recommended Skill Level
Beginner
Seasonal And Holiday

Modern Industrial Adjustable Work Stand

$120 for 2 bases, one top ... less if you have scrap lumber and pipe

The hard part of some woodworking is what to do with the stuff BEFORE and AFTER it goes through the tools.

We need an infeed and outfeed table for routers, drill press, and saws but have no room to install a permanent workbench with an adjustable tool lifter.

We saw the coffee table to desk height adjustment mechanism and lightbulbs went off! This adjusts! We can take the top off! It stores!

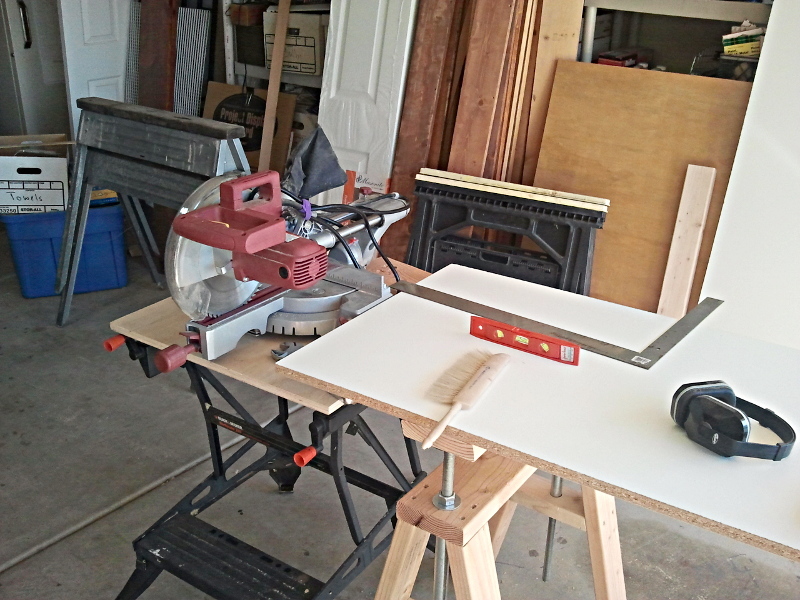
The first photo shows it adjusted to align with the miter saw's cutting area.

As built, there are a couple of changes:

1 - It's taller. Lowest table height is about 30" ... add 8 inches to each leg.

2 - We only used 1 leg brace, about half way down the leg. Cut it to fit after you get the legs screwed to the top.

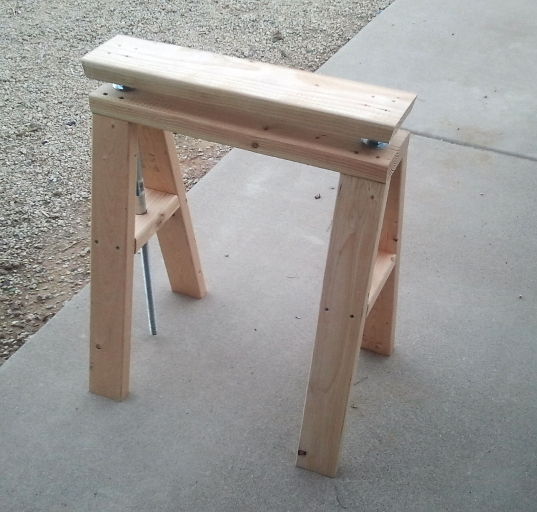
3 - the wobble of the adjustable bar on the threaded rod is not good for precision woodworking ... the second picture shows the guide pipe that keeps the threaded rod straight up and down.

4 - No pocketholes (sorry Anna) because this is a workbench, not fine furniture.

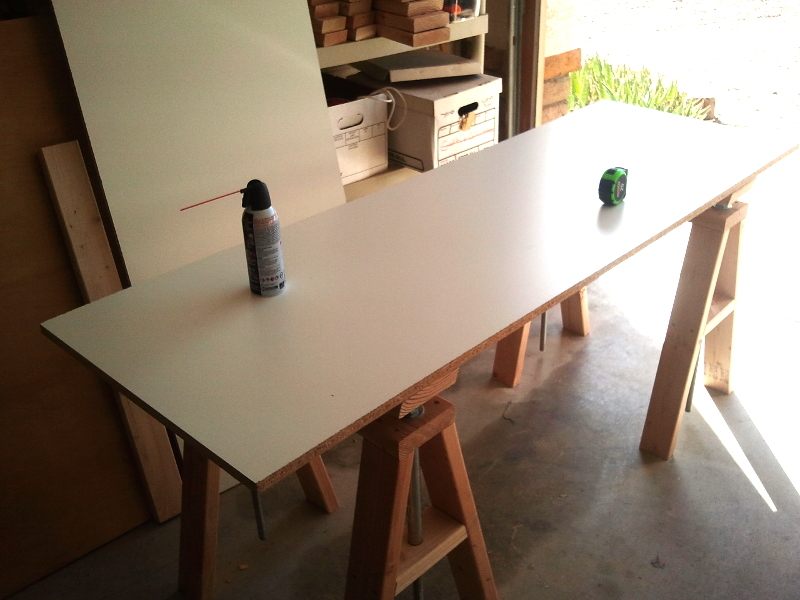
5 - The tops are cut from one sheet of 4x8 3/4 in melamine coated MDF ... 2 are 2x6 and one is 2x4.

This could also make an adjustable craft table. Raise or lower it to handle fabric for your sewing machine.
Estimated Cost
$120 for 2 bases, one top ... less if you have scrap lumber and pipe
Estimated Time Investment
Day Project (6-9 Hours)
Finish Used
None
Recommended Skill Level
Intermediate

Comments

coffee table

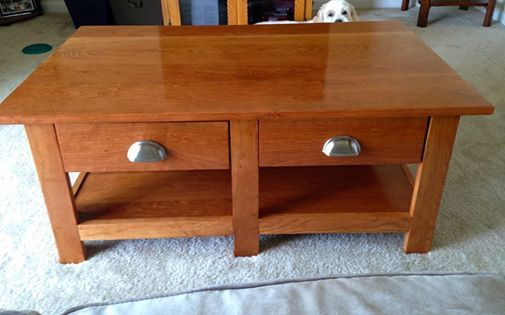
My version of benchright coffee table. Made this for my daughter. It's made of solid cherry.

Estimated Time Investment
Week Long Project (20 Hours or More)
Finish Used
Poly 3 coats
Recommended Skill Level
Intermediate

Comments

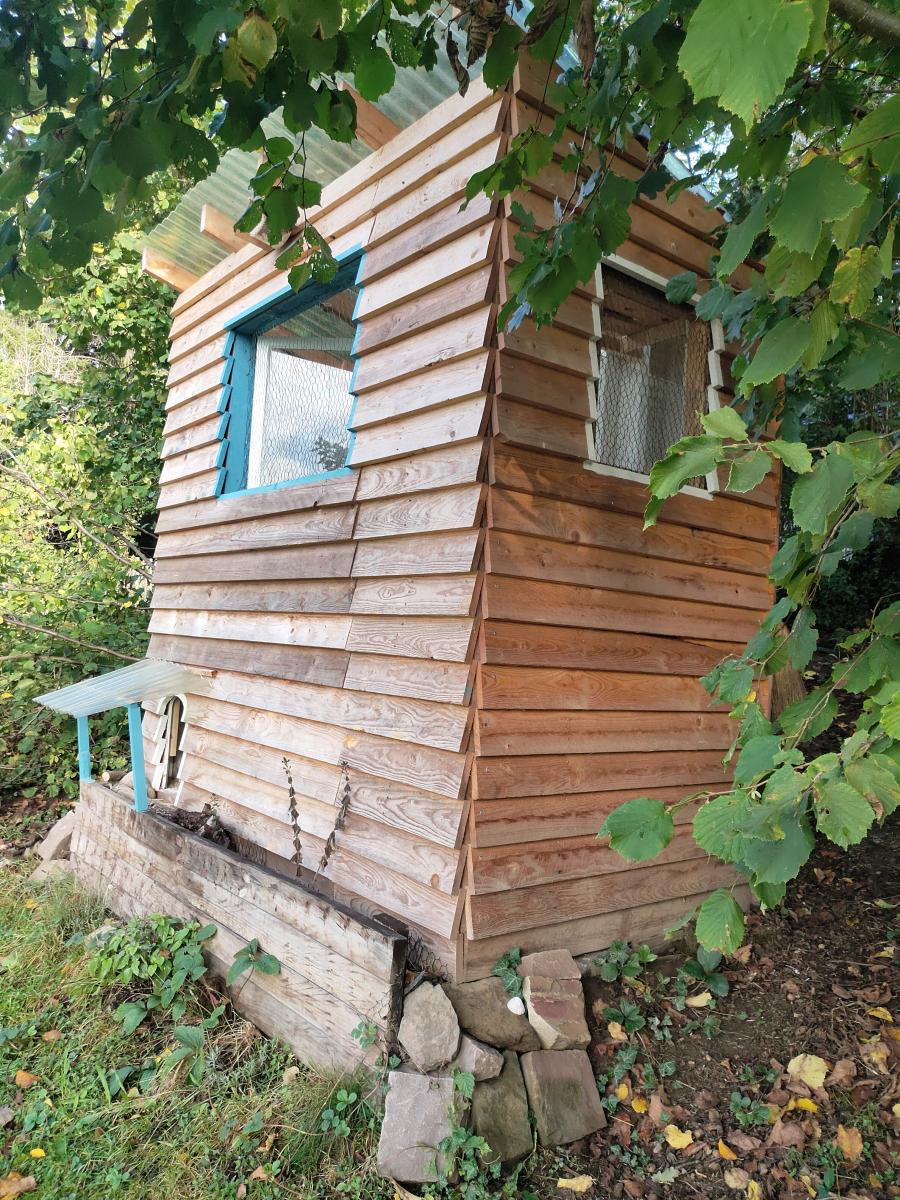
Chicken shed

Submitted by diegaeb on Wed, 10/07/2020 - 08:32

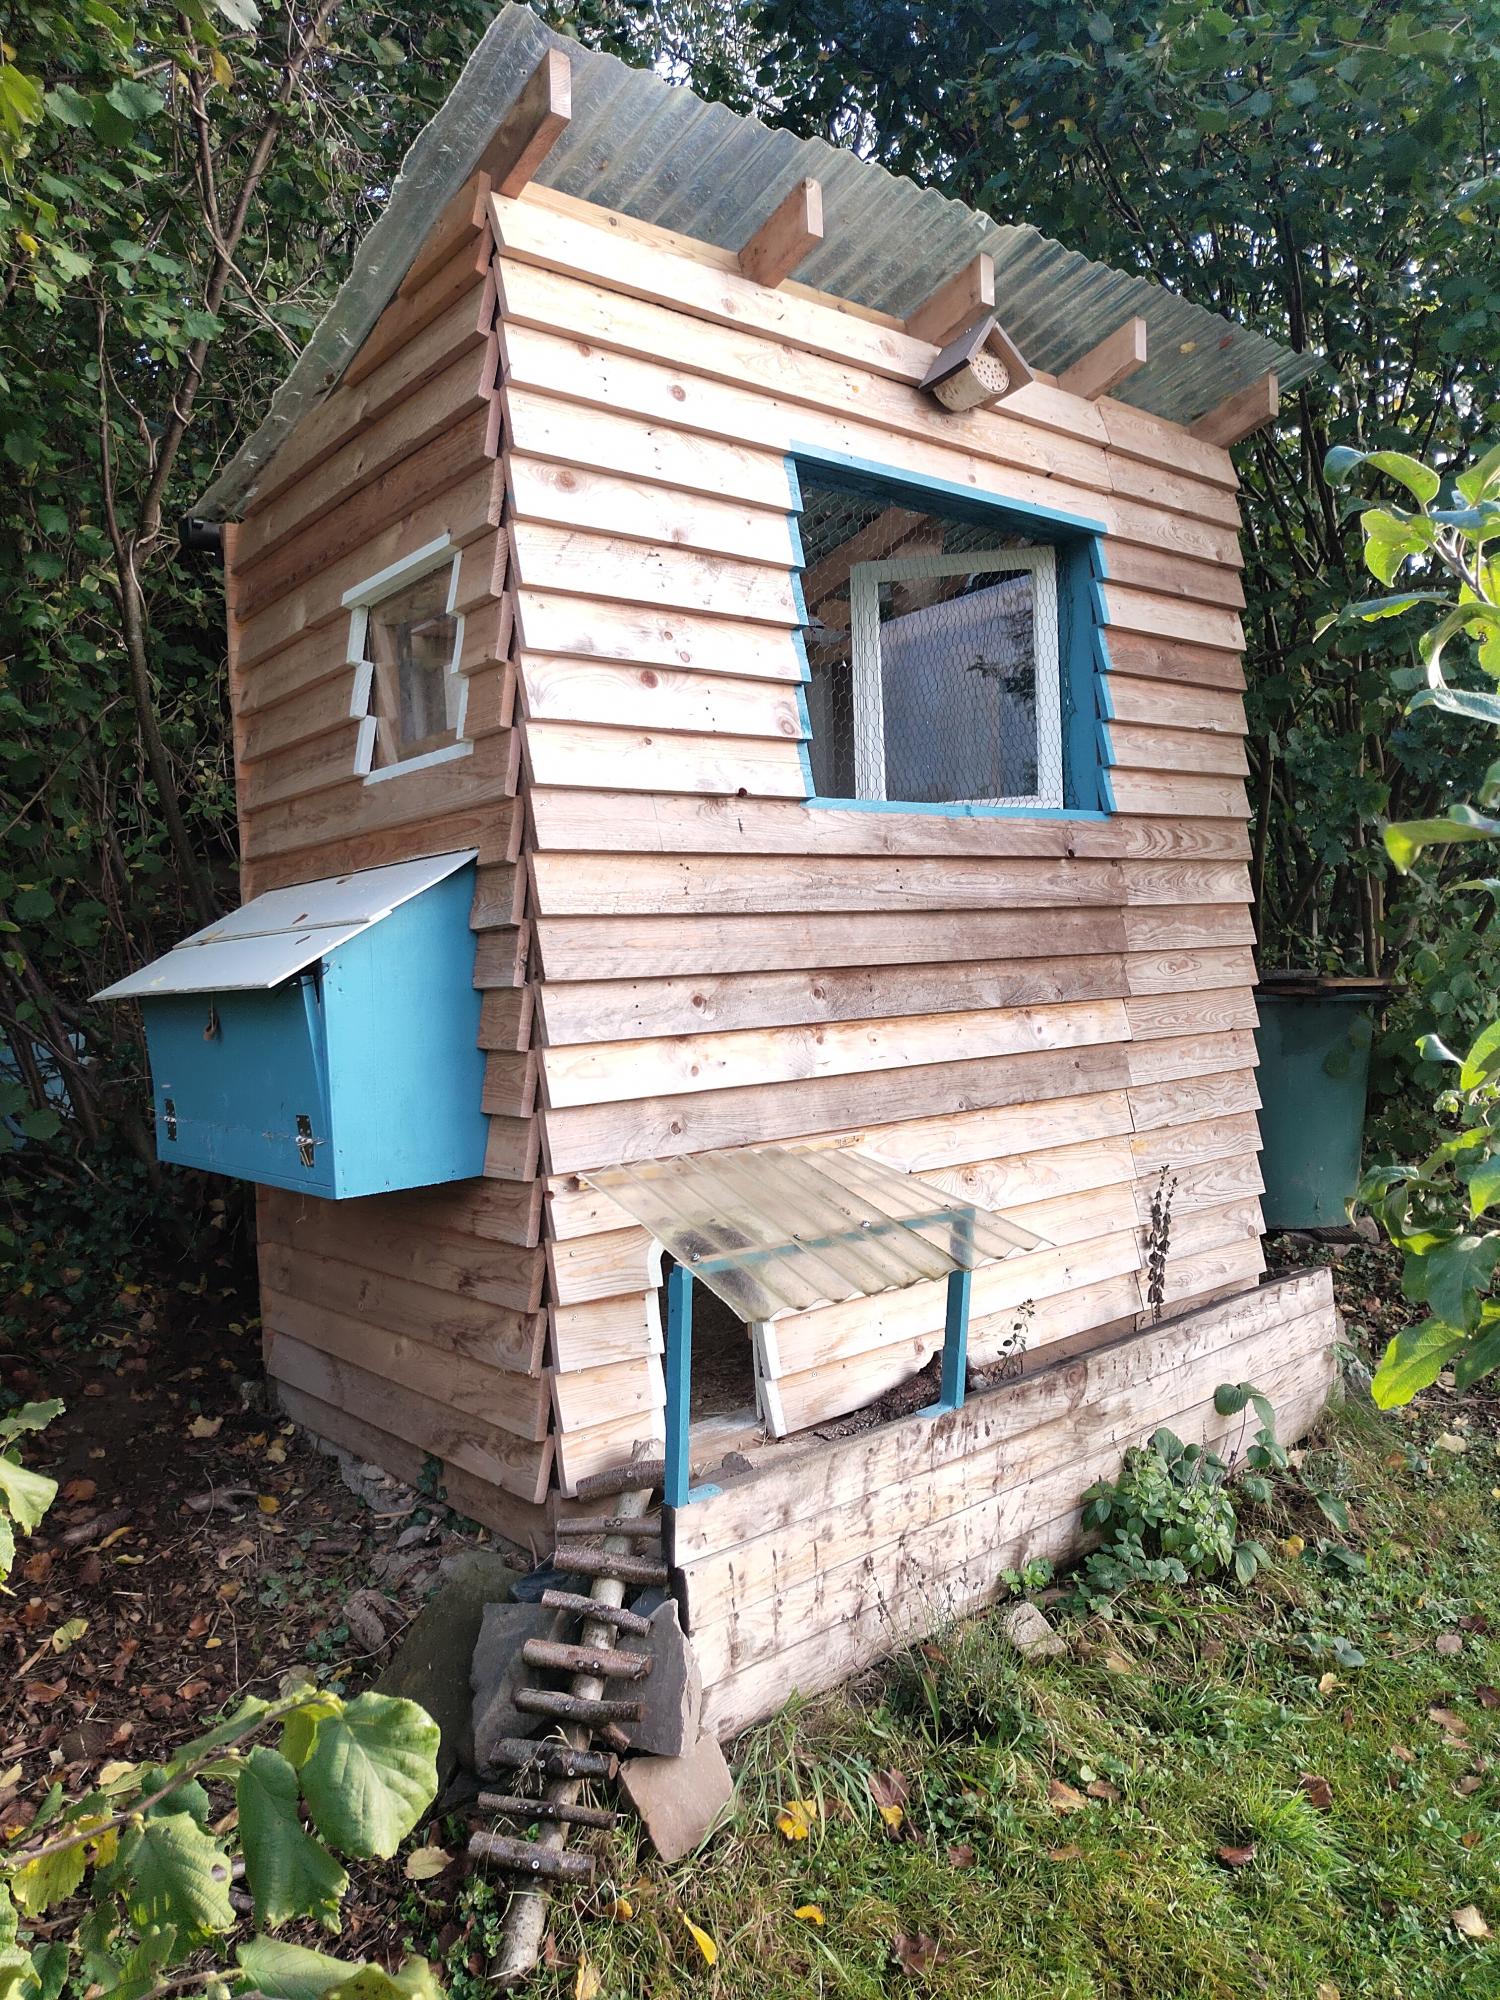
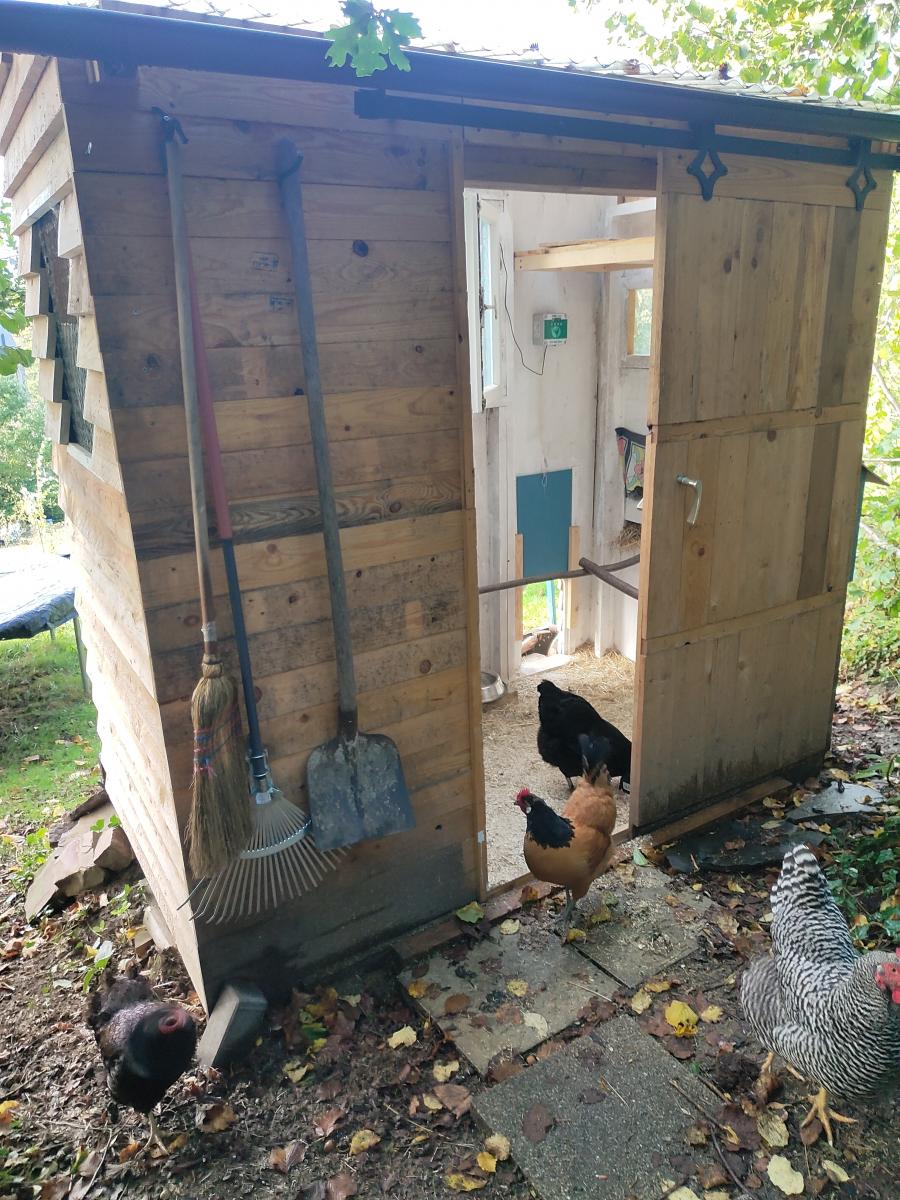
I had started this project last year in September and finished it finally 2020 in March because I get my chicken then.
I did modify the chicken coop a little bit due to the material I got.
The instructions and most of all the cutting list I like best!

Antje

Built from Plan(s)
Estimated Time Investment
Week Long Project (20 Hours or More)

Comments

Outdoor Furniture Set

Submitted by Anonymous (not verified) on Sun, 11/08/2020 - 16:56

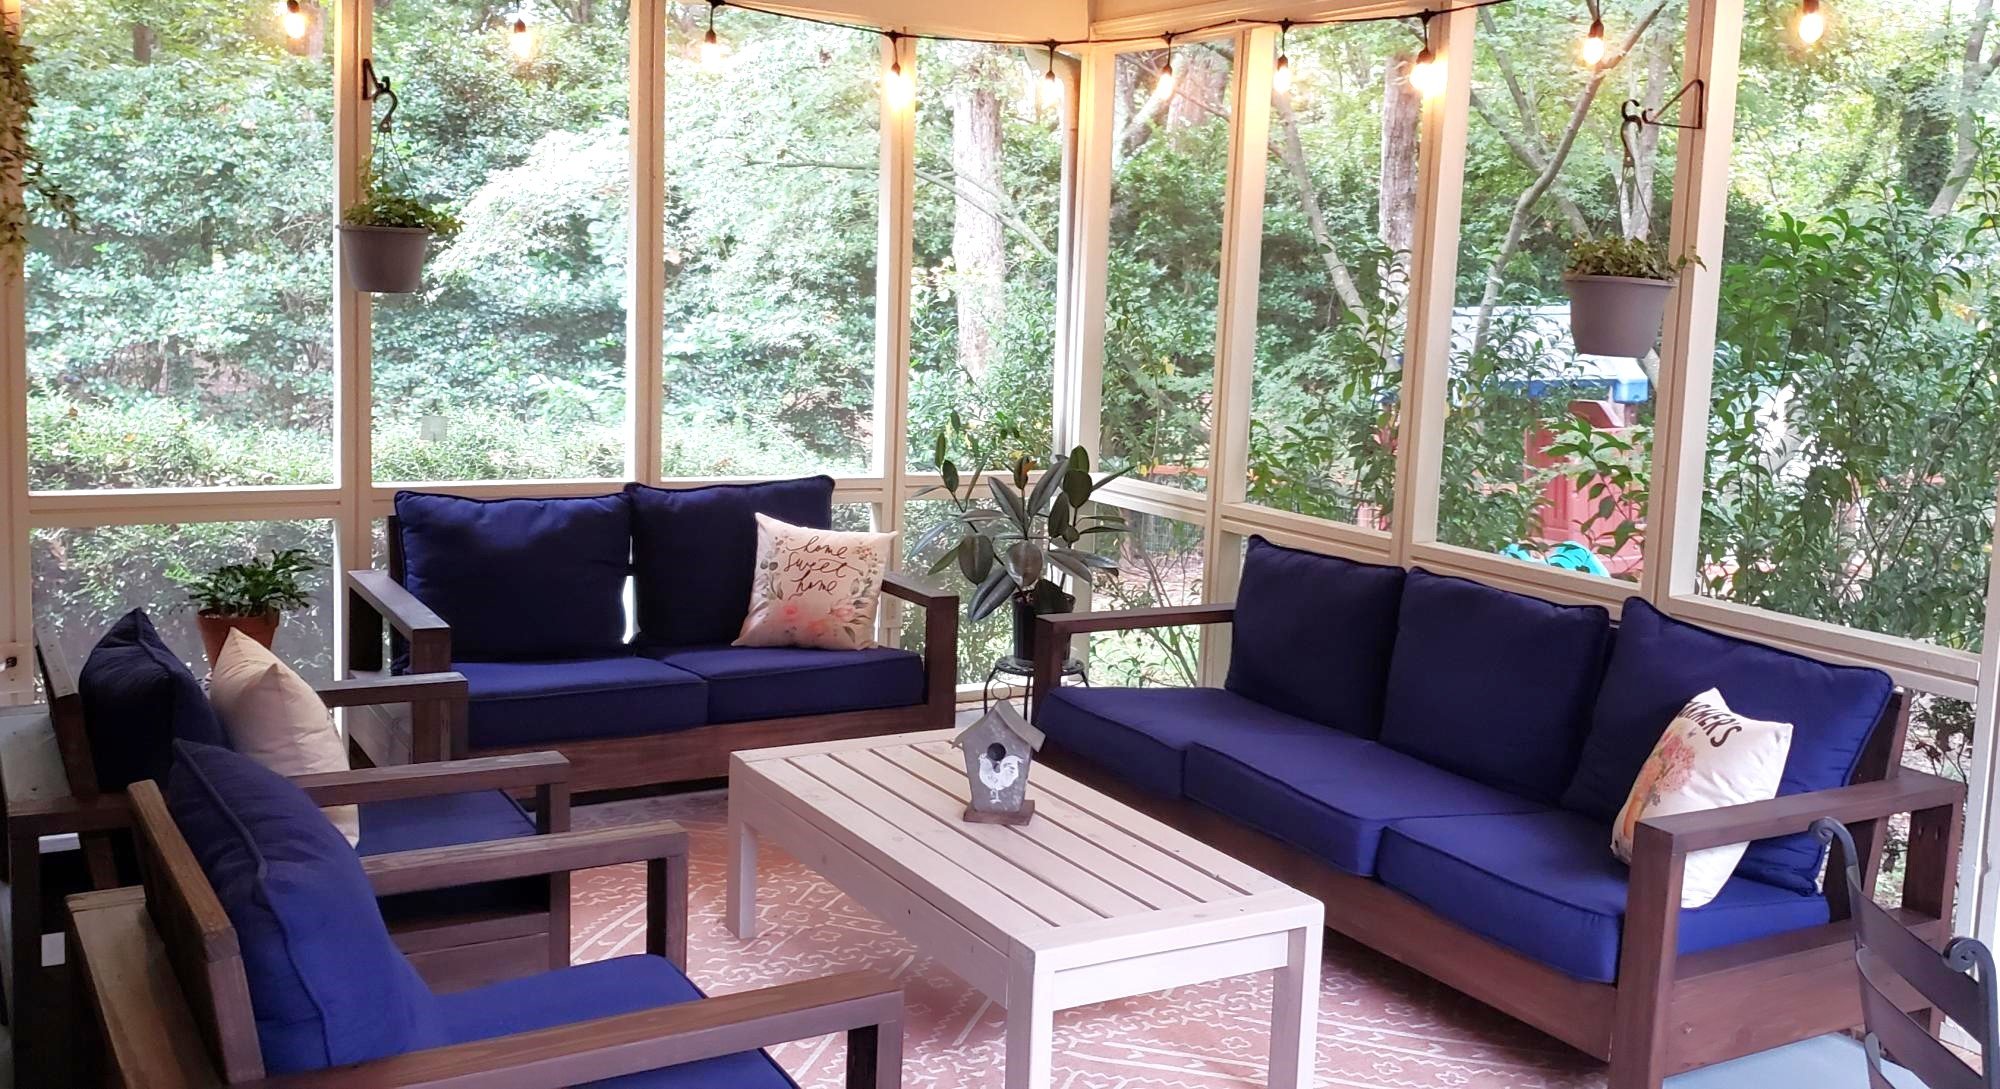
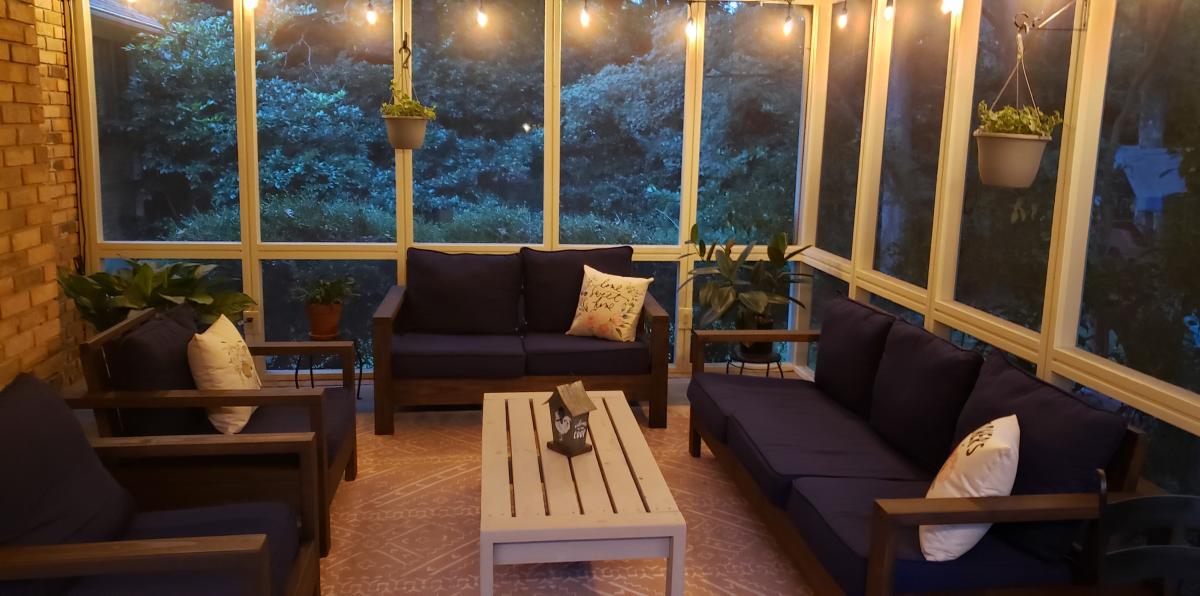
This set was the first thing I've built. I did it completely by myself and am so proud! I started with the coffee table to get a hang of the tools the. Moved on and made the sofa, love seat, and two chairs. I had a little trouble finding cushions but eventually found some at Lowe's. The cushions are just so expensive. I didn't love the color of the stain on the coffee table and the plan was to sand it and retain after staining the rest but I actually like how it stands out. It took a long time to finish because I had to work on it whenever I had spare time but a motivated individual with some building experience could do this all in a weekend or two. Coat of wood and screws for the whole project was $350. All the cushions were $518.

Estimated Cost
$875
Estimated Time Investment
Week Long Project (20 Hours or More)
Recommended Skill Level
Beginner

Comments

Seasonal And Holiday

Garden shed

Submitted by Anonymous (not verified) on Sat, 11/28/2020 - 13:19

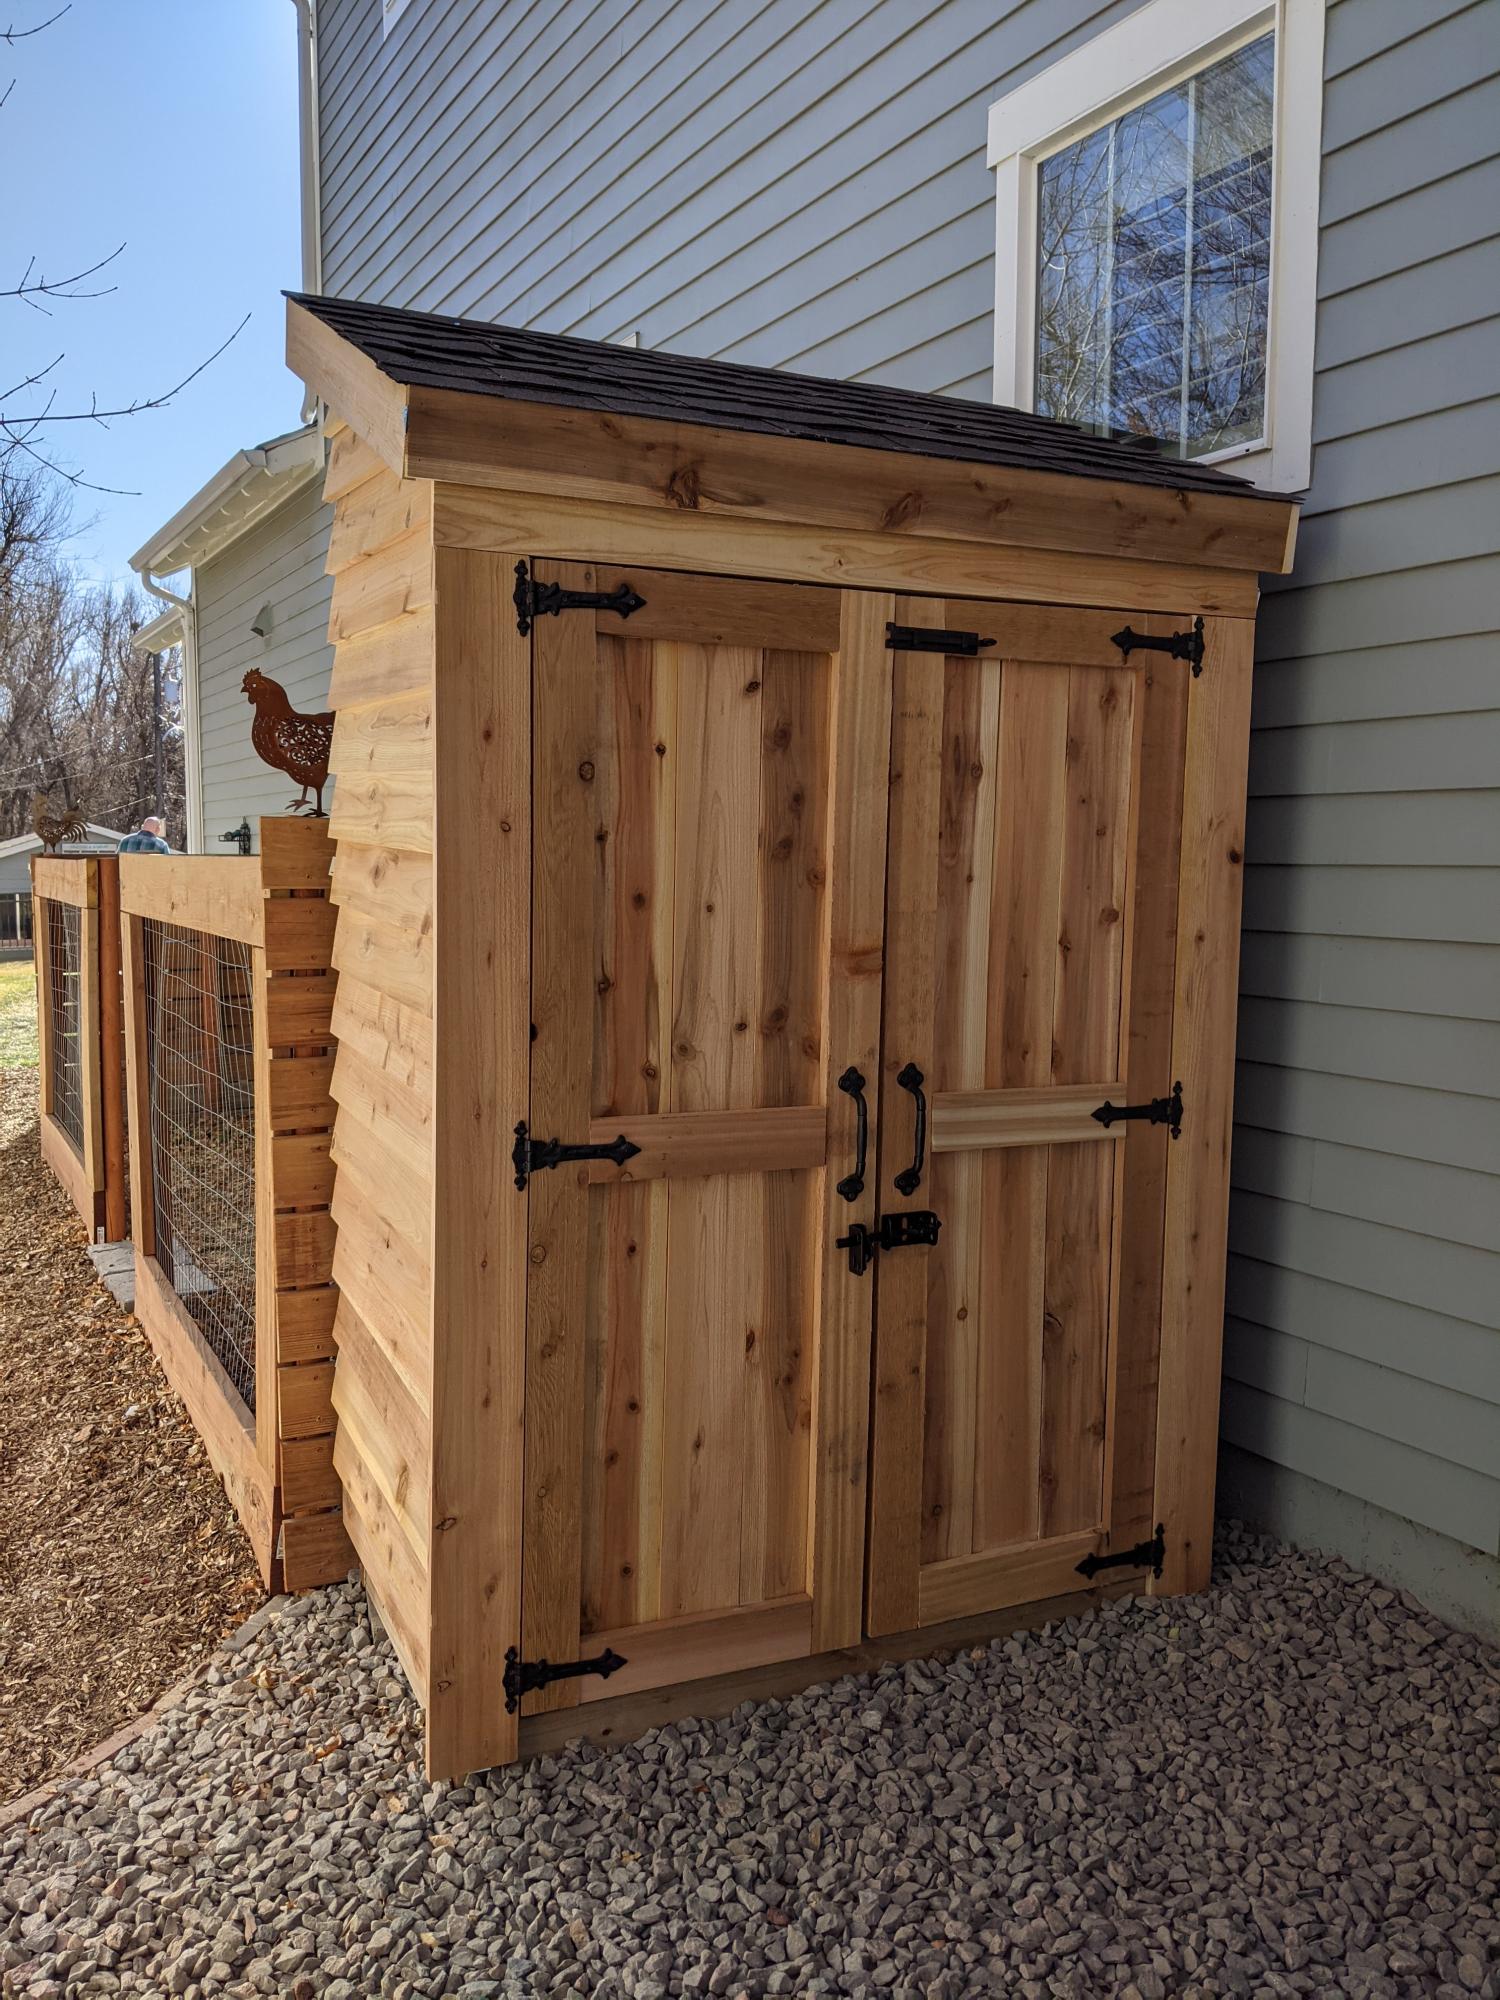
Our take on the small garden shed. Ours is 4 1/2 by 7 feet. We used cedar fence pickets and 2x4 construction. Left over shingles from when our house was built. We are definitely not roofers or framers, also chasing around a 3 year old didn't make things easier. Turned out beautiful for what we want it for. Just rustic enough. Great intermediate project.

Built from Plan(s)
Estimated Cost
$400
Estimated Time Investment
Weekend Project (10-20 Hours)
Finish Used
Thompson's clear water seal will be applied this summer.
Recommended Skill Level
Intermediate

Comments

Seasonal And Holiday

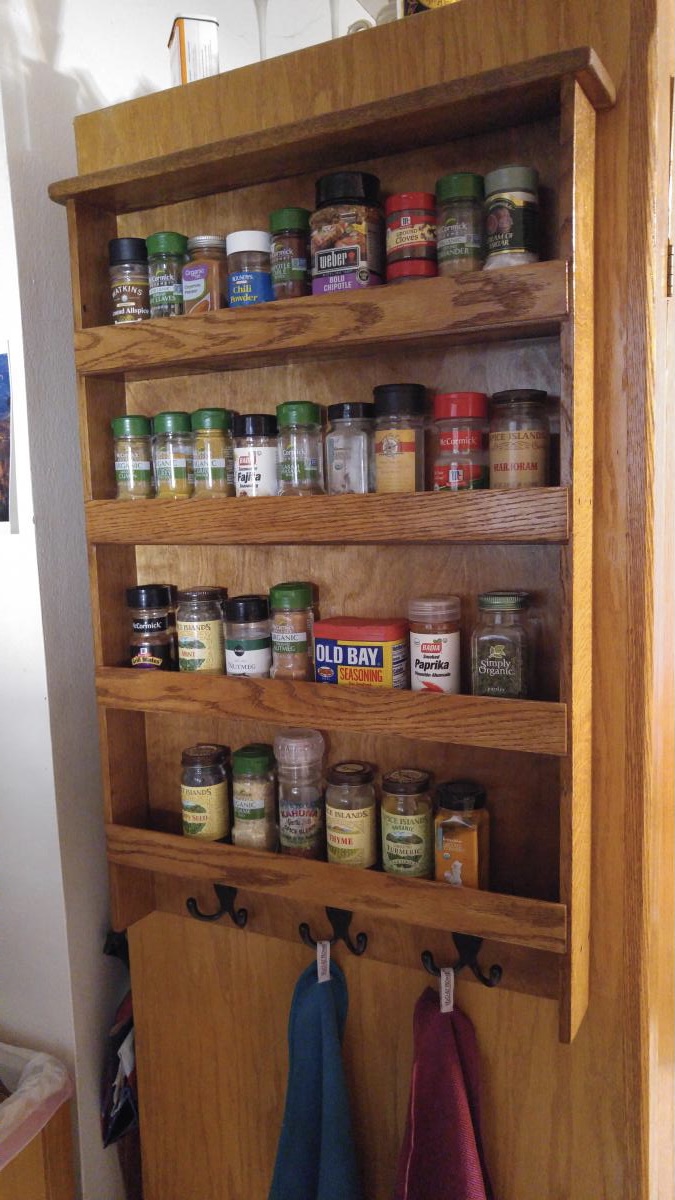
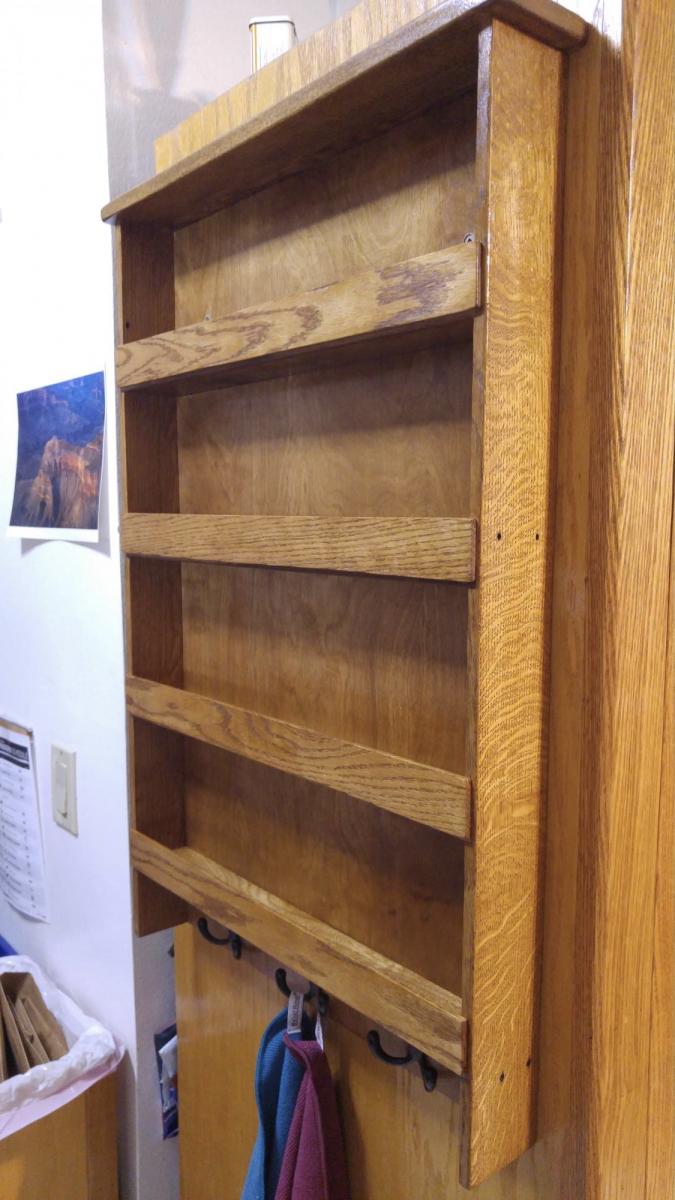
Spice Rack

Submitted by Anonymous (not verified) on Mon, 01/11/2021 - 15:48

I made a spice rack for my wife. I asked if I could use it for a Mother's Day gift but she said I could use it for a Valentine's gift. Rabbit joint 1/2" maple plywood into back. Shelf bottoms dadoes into sides. No nails or screws, only glue joints. Sides are 3/8" thick and top is 5/8" thick. Slats are 1/8" fat glued to shelf bottom and sides with 1/8" shadow reveal line on three sides.

Built from Plan(s)
Estimated Cost
scrap wood from the shop
Estimated Time Investment
Weekend Project (10-20 Hours)
Finish Used
McCloskey Marine Spar Varnish
Recommended Skill Level
Intermediate

Comments

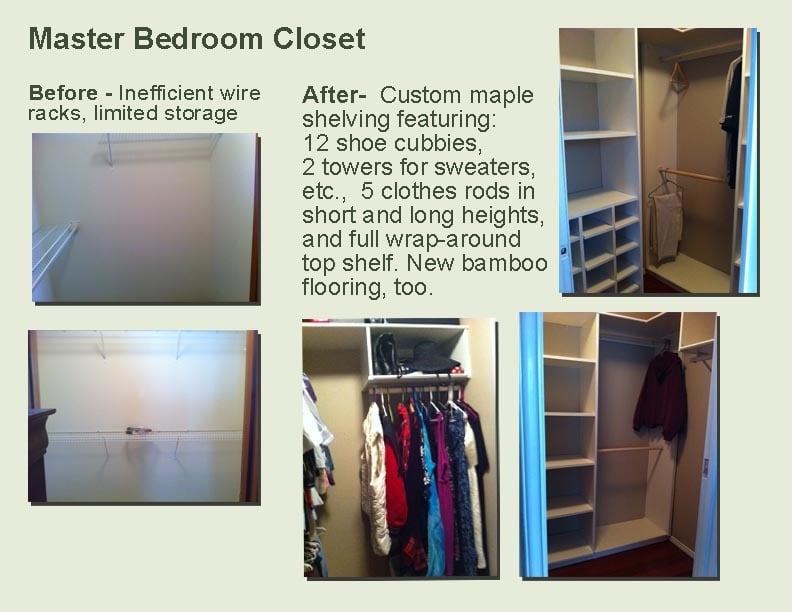
Walk-in Master Closet

Submitted by DionneM on Fri, 03/15/2013 - 17:18

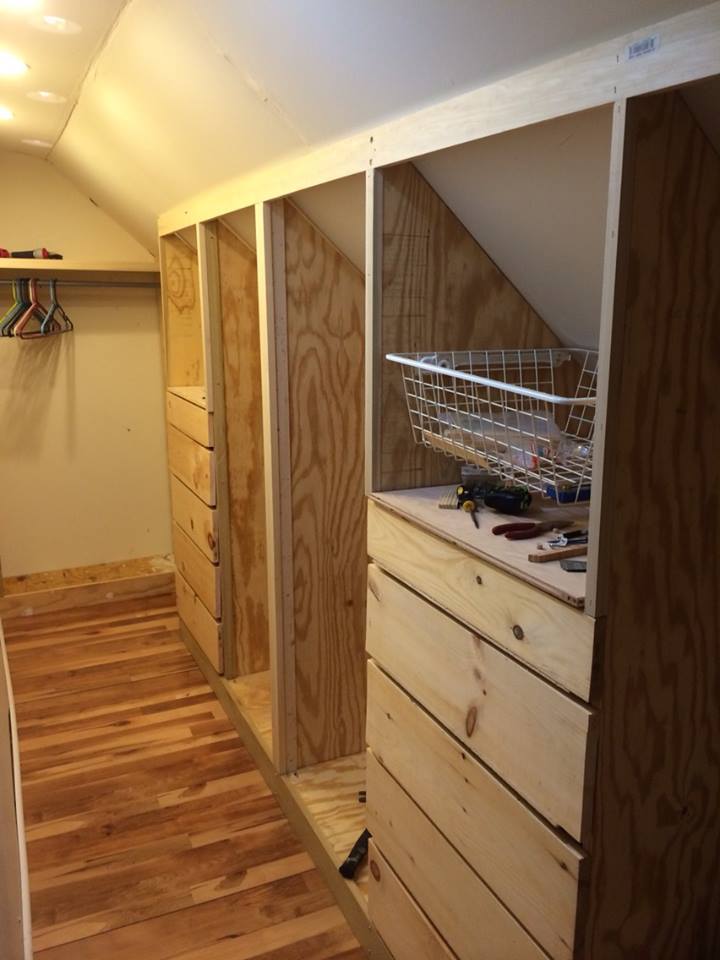
I've been drooling over those custom closet organizers for years, but they were either too expensive, not well made or some combination of not right for us. So seeing Ana's master closet plan really sent my imagination soaring. My challenge. My master closet is a small walk-in 5'x7' so I did have to do some adjusting. I love having a place for shoes and sweaters. One of my favorite parts is the continuous top shelf that connects all the parts together forming a big 'U'. I used my Kreg jig to connect each of those pieces. Anyway, thanks Ana White for the inspiration.

Estimated Cost
$300
Estimated Time Investment
Weekend Project (10-20 Hours)
Finish Used
Ace Hardware Trim and Cabinet Paint
Recommended Skill Level
Intermediate

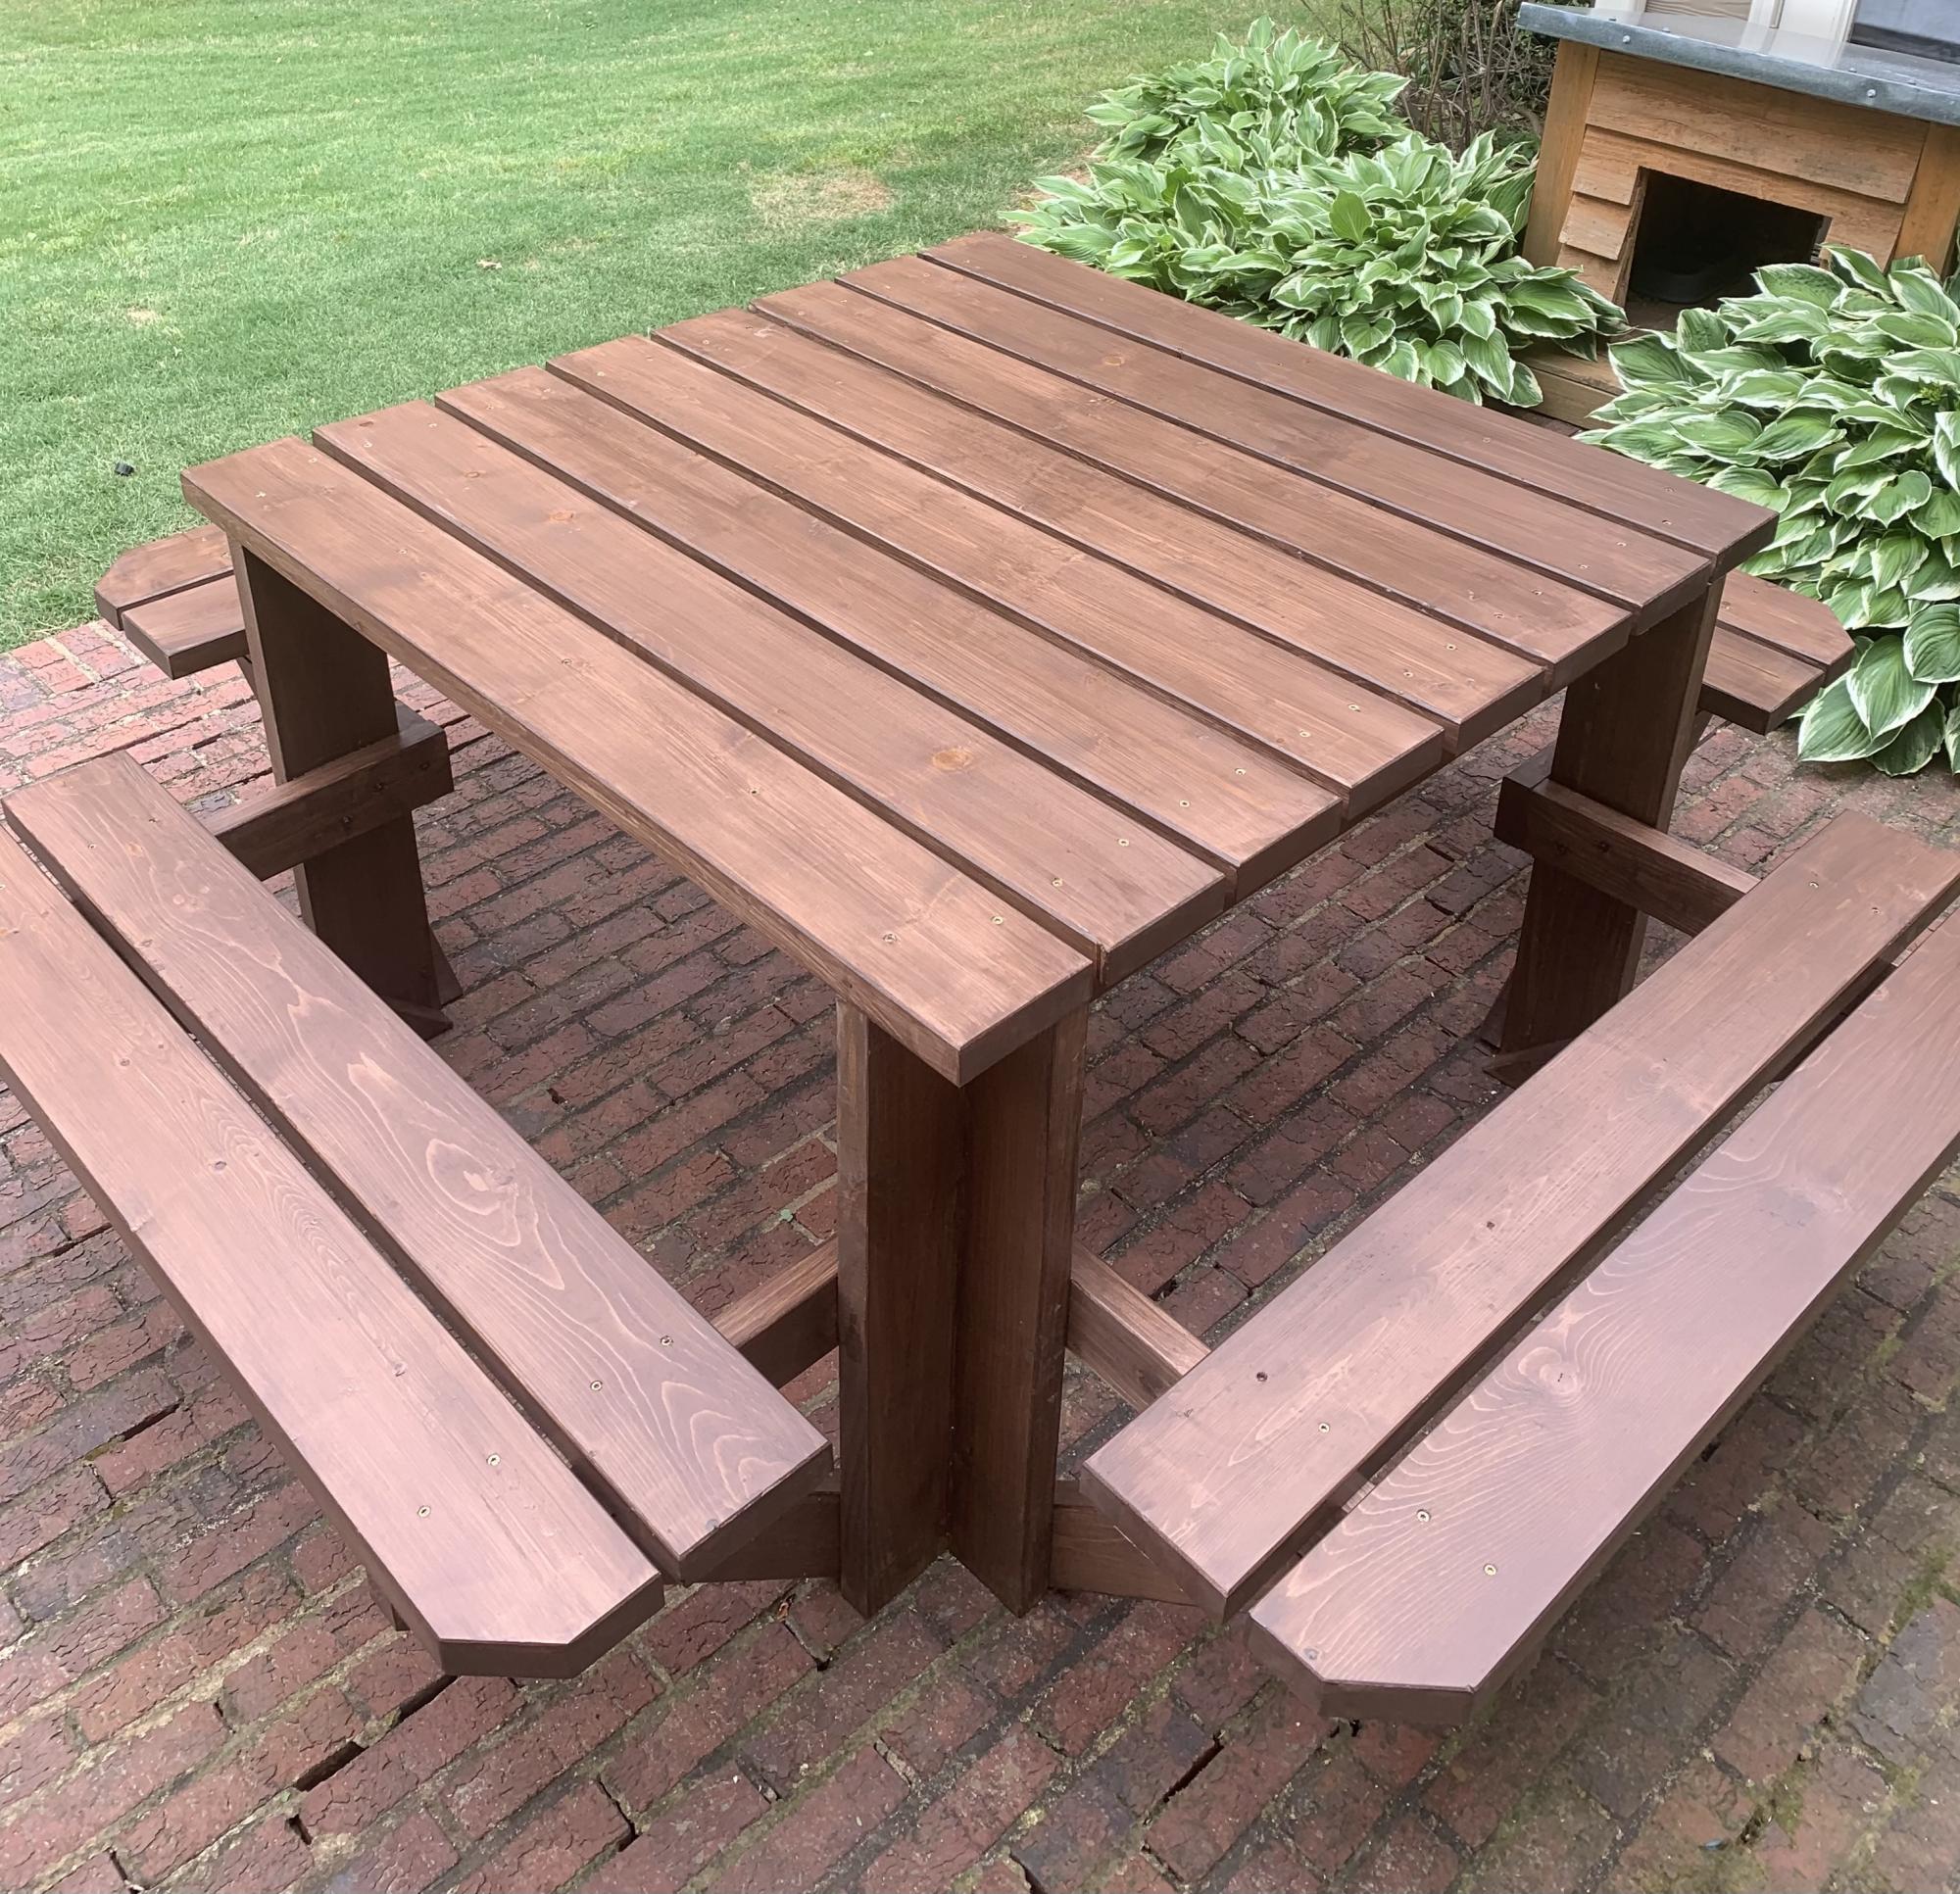
Square picnic table

Submitted by Anonymous (not verified) on Sat, 05/08/2021 - 14:13

Followed Anna White’s plans except I beveled all the edges and flooded the table leg bottoms with penetrating epoxy sealer. The table looks great!

Built from Plan(s)
Estimated Cost
$425
Estimated Time Investment
Weekend Project (10-20 Hours)
Finish Used
2 coats exterior semi-transparent sealer (Padre)
Recommended Skill Level
Intermediate

Comments

Amazing Farm Table and Benches

Submitted by Anonymous (not verified) on Mon, 10/04/2021 - 19:55

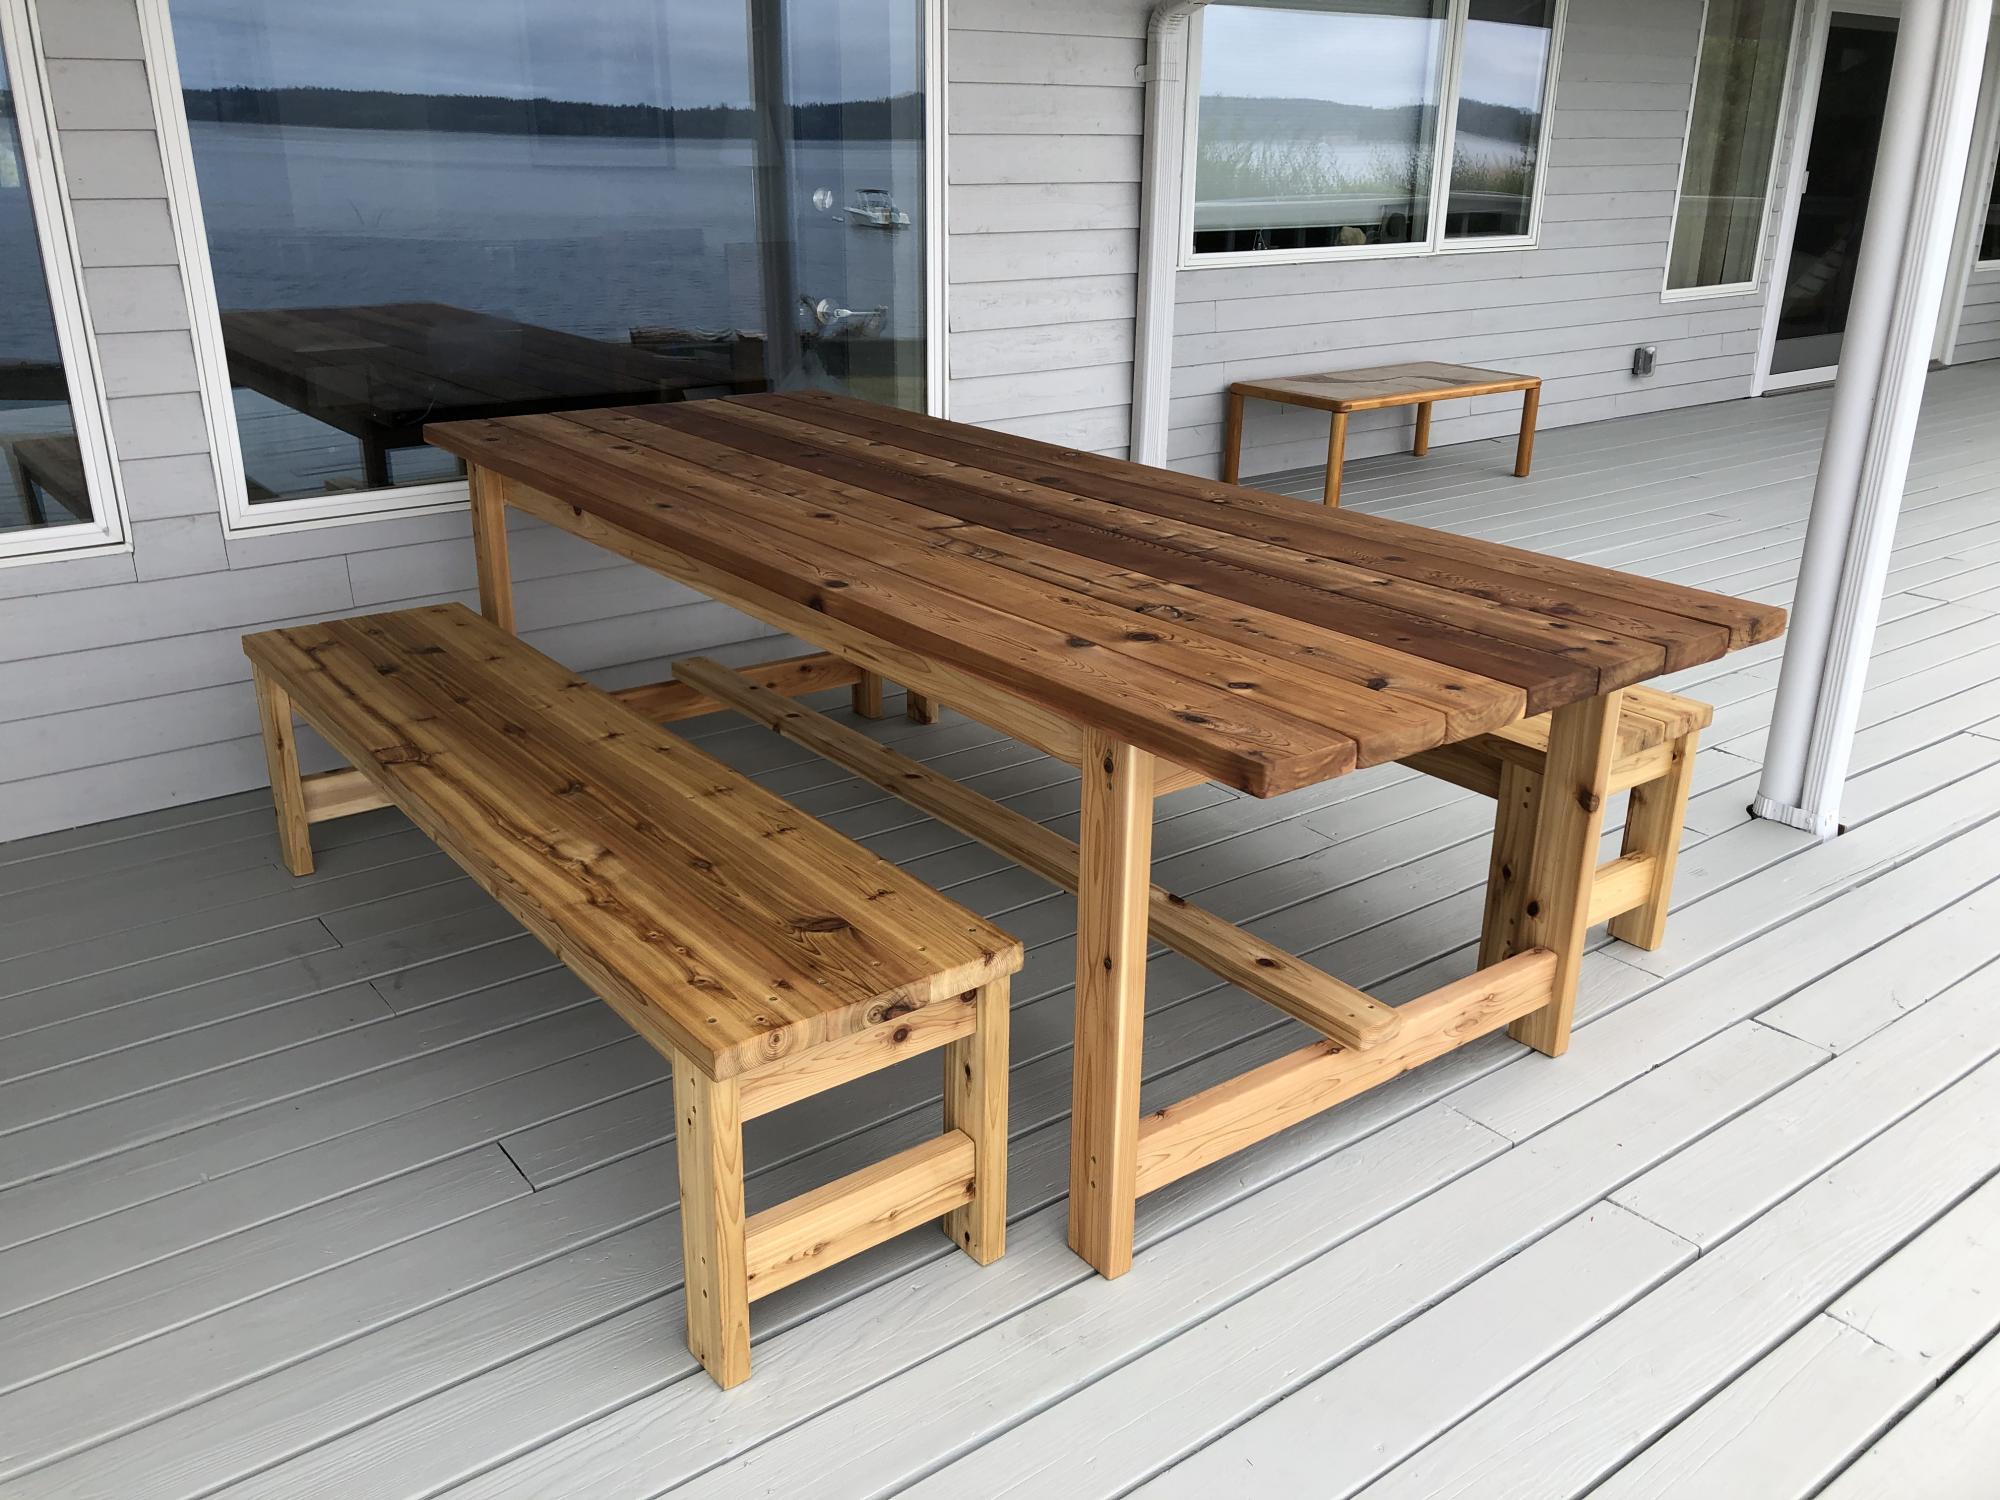
Built this deck dining table and benches from Lowes cedar, and the results way exceeded my expectations! The plans were so well written, it was easy to slightly modify (made both table and benches wider and longer) and the build was very simple. The clear directions helped give me the confidence to do this and we have got so many nice compliments. There was nothing this sturdy and simple even available to buy. I even built a coffee table and bar table after modifying the plans a bit. Thank you Ana!

Comments

Bike Storage

Submitted by vendo on Wed, 10/13/2021 - 10:10

I live in a smaller rental with limited garage space, so I needed a place for my kids bikes. This is what I came up with. It required minimal screw holes in the treated fence posts and I attached a rail system(rubbermaid fasttrak) for the bikes to hang from. I used Ana's easy shelves plan for the upright supports and then just added some corrugated roofing and cedar fence pickets (which I had on hand) to finish off the top.

8 foot long shelf with a little twist

Submitted by Daniel_ram on Mon, 01/03/2022 - 17:25

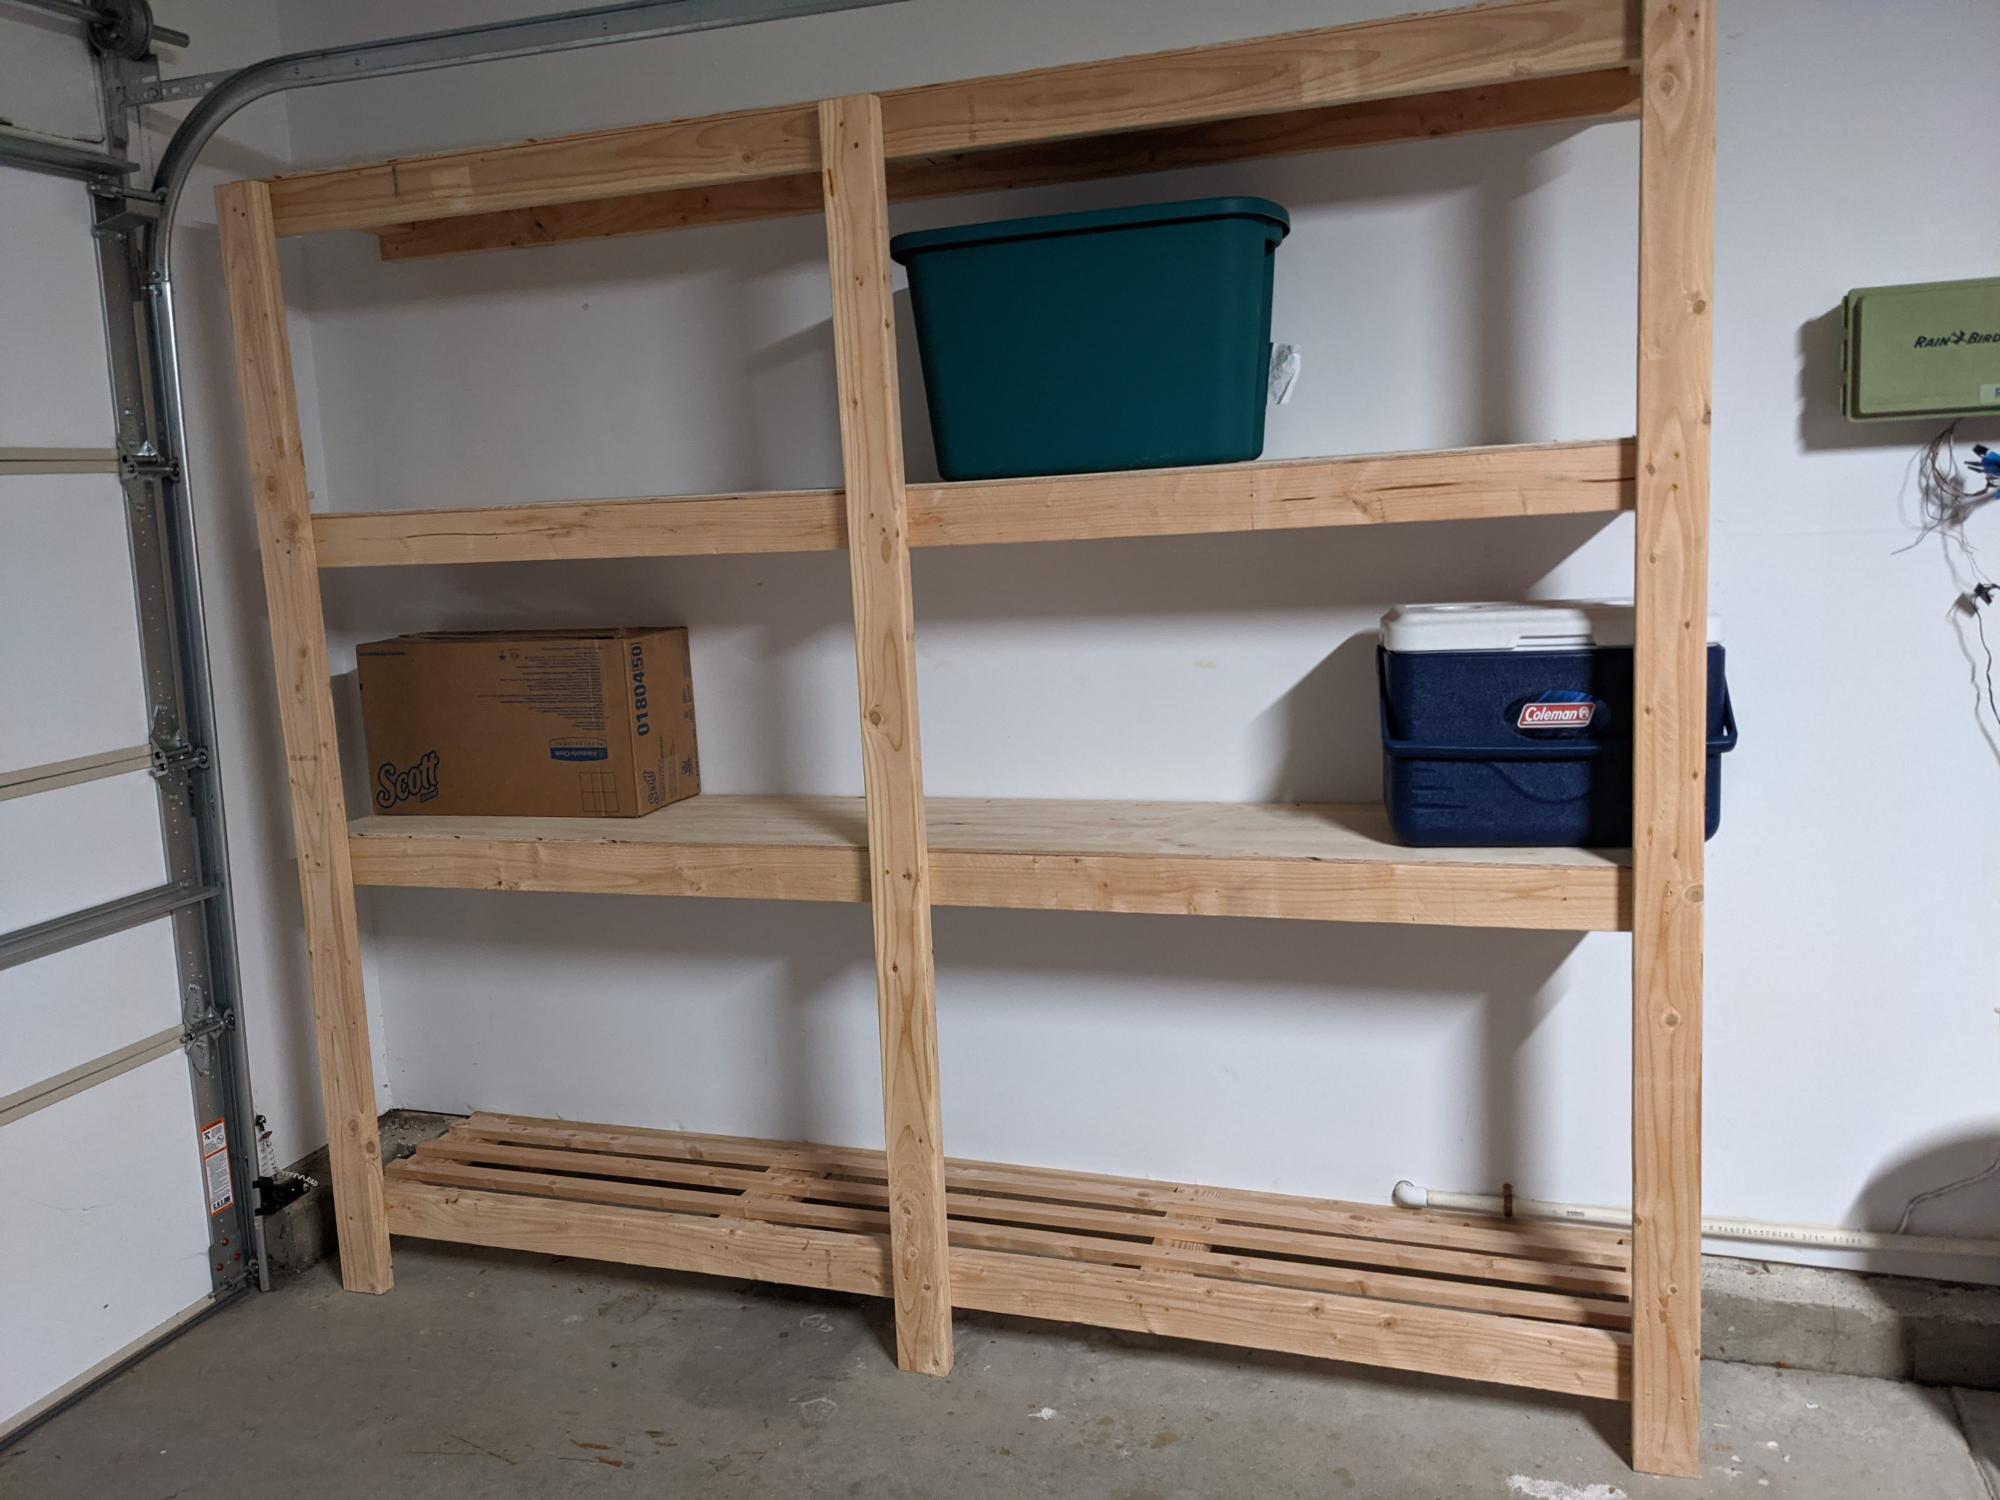
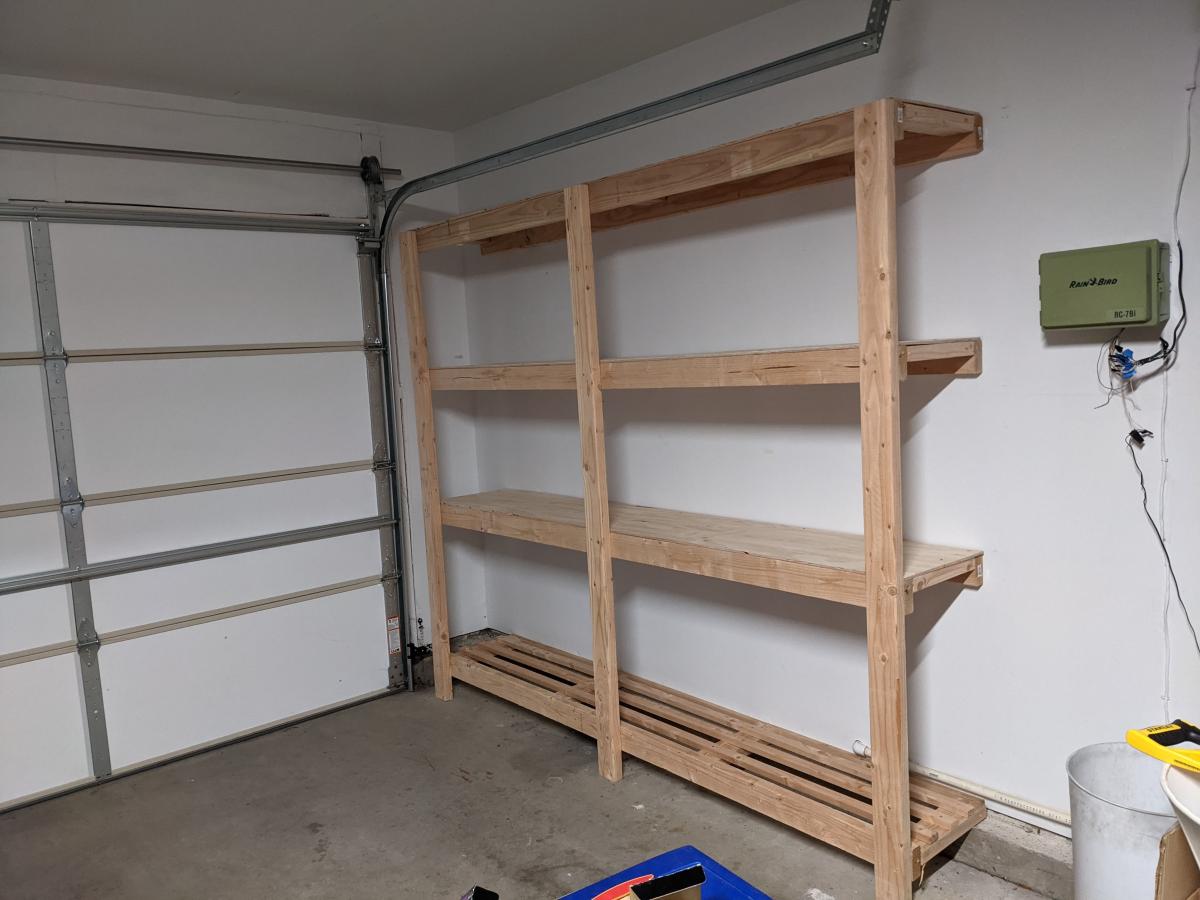
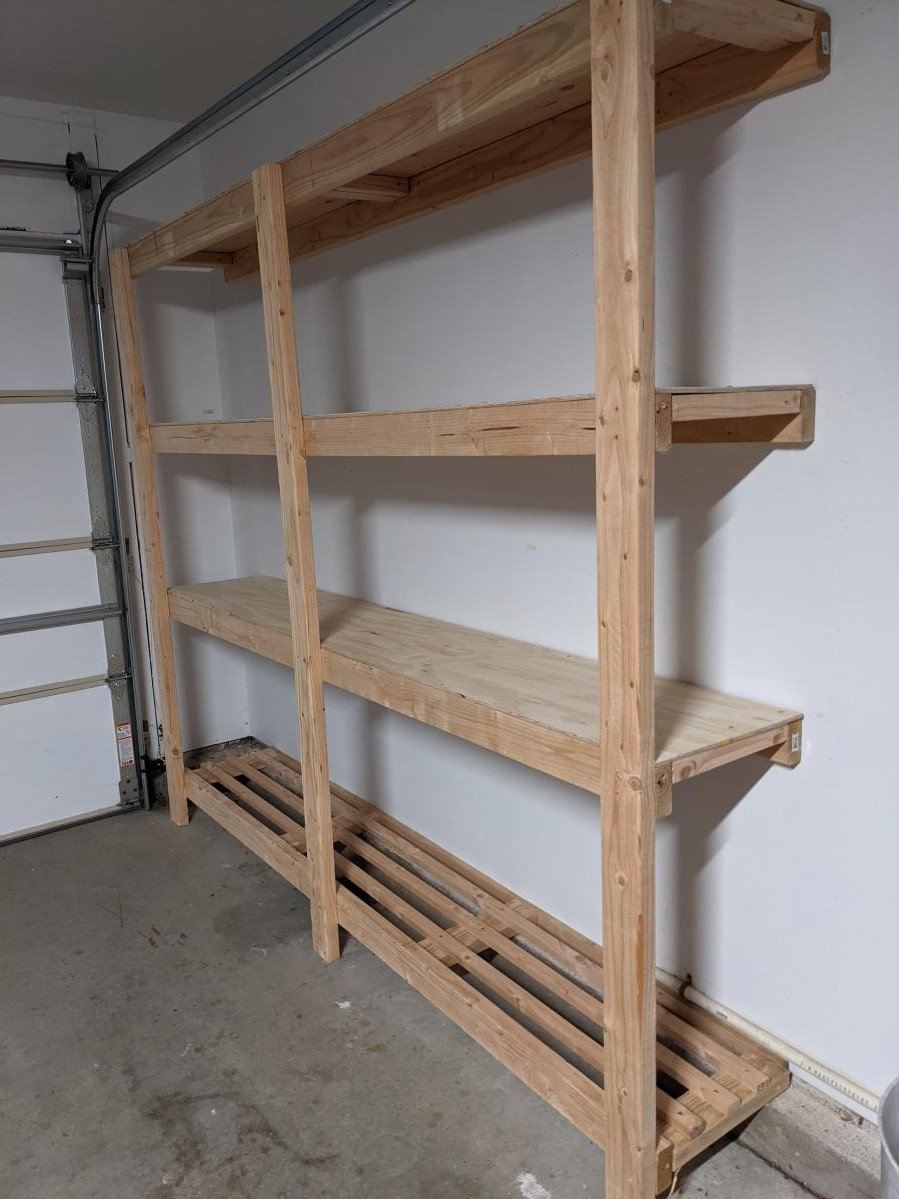
I just made this shelf using 2x4s 8 ft long wood. It is very strong and looks great. My garage size required the shelf to be max 16 in deep, so I used a 1 plywood sheet divided by 3 equal parts for the upper 3 shelfs. Since I made a 4th shelf, I used 3 1x2s for the 4th bottom shelf instead of a new plywood sheet and avoided having extra 2/3 of the sheet around and also saved like 30$ since the 2x1s were only 2$ea. That touch makes it look a bit stylish too so a win win. If you do that, here's a tip: use the outer 2x4s as rails - make sure that the cleats on the lower shelf are placed a bit lower ~ 1in. In such way, you can place the three 1x2 rails at the same level as the outer 2x4s and this you end up having 5 rails total in the shelf. Do use the wooden screws with star head if you can, they were muuuuuch easier to use compared with the regular ones. Note, this shelf is very strong, probably too strong for my needs. For a 8ft long, and my storage needs (camping, Christmas stuff, other lighter things), I'd probably use 2x2s instead of 2x4s. That would save costs, specially since wood isn't cheap these days( I spent ~$150 in materials Jan 2022).

Comments

Tool Caddy

Submitted by docbromo on Thu, 01/20/2022 - 15:21

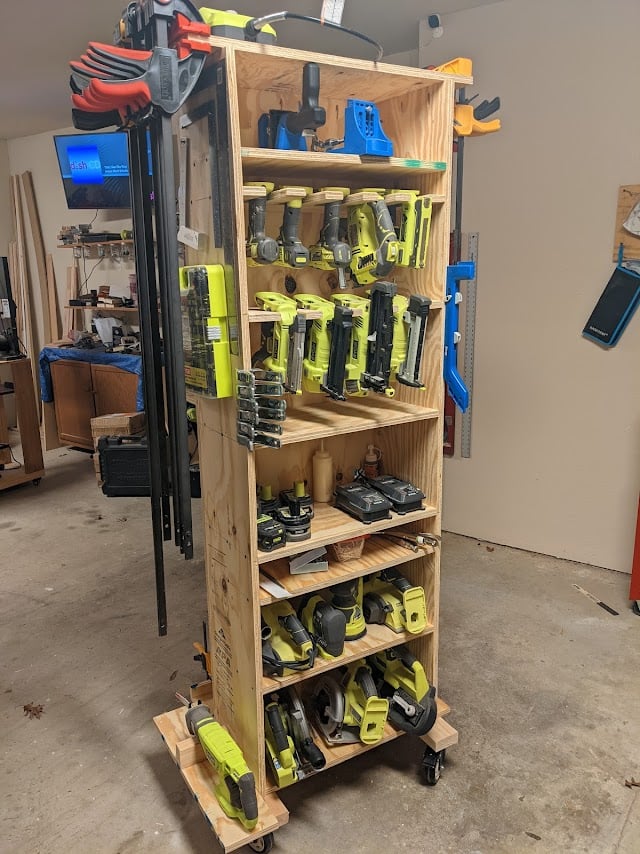
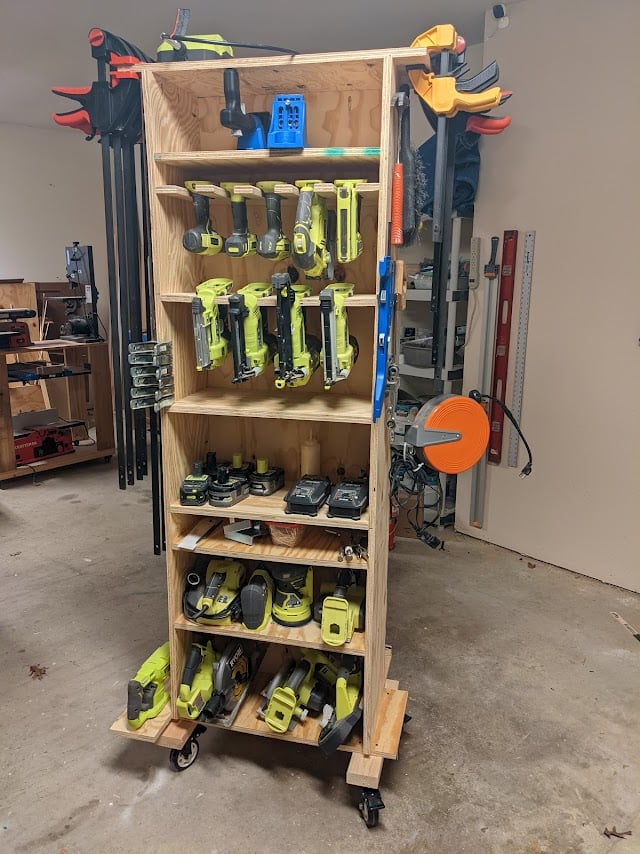
I repurpose furniture as a hobby and I got tired of having my tools hanging on a wall on the other side of the garage so I bult this rolling tool caddy. It is made out of 3/4" plywood, a couple of 2x4's and some heavy-duty casters. I built one about 3 years ago and realized that there were some things I wanted to do differently so I sold it and bult this one. My wife gave me a subscription to SketchUp and I had fun drawing it up and tweaking it. I left an over hang of 3" on both sides so I could store my clamps. I also attached an electrical cord reel on the right side and reversed the ends so the male end can plug into the wall and I can roll the unit across the room allowing me to be able to charge my batteries. The back side has a 44 drawer storage organizer and also a few shelves for additional tools like a router and a multi-tool. I'm not nearly the craftsman many of you are and I'm sure you could do a much better job. I didn't build it to look pretty but to be functional and it works for me.
Comments

Jayp413

Fri, 01/21/2022 - 09:16

I really like this idea. I have my tools hung up neat all around the garage, but I keep walking back and forth for tools and batteries. It would be great to roll this over to a project and have everything you need right there. Nice work. I will modify one for my needs.
BigMacQue

Fri, 01/21/2022 - 10:06

there are some very thoughtful features on this, notably the wings at the top and the bottom for clamps and extra tools and the different shelf heights. Well done! I'm going to build one just like it and a power strip for battery storage.

Back