Community Brag Posts

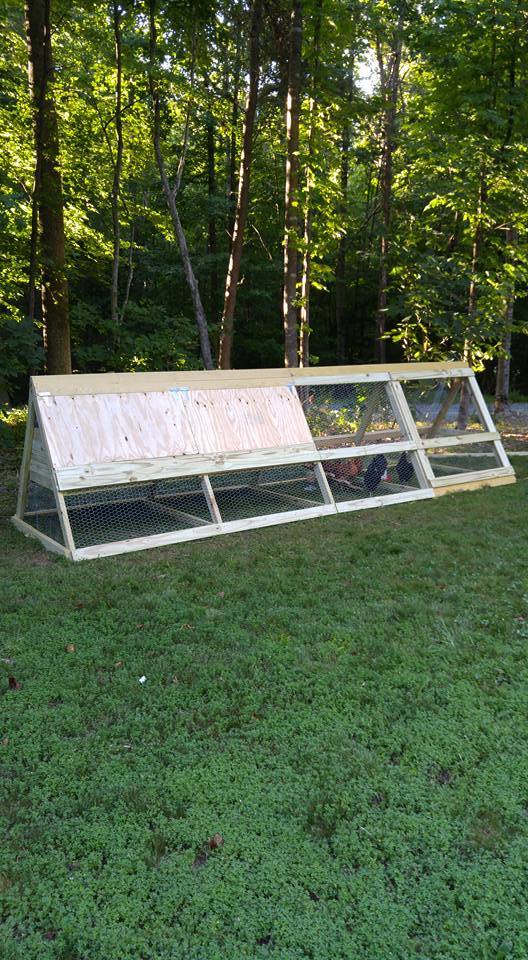
Coop and run for Six

Submitted by Anonymous (not verified) on Sat, 09/24/2016 - 08:10

We wanted our chickens to have plenty of room for when we ere not home and could not let them free range in the yard.  One of the six was a rooster-- and long story-- but we don't have him any more-- so 5 chickens now enjoy this coop/run.  It cost about $300 in supplies.  It is 16 feet long.

Built from Plan(s)
Estimated Cost
$300
Estimated Time Investment
Weekend Project (10-20 Hours)
Finish Used
unfinished
Recommended Skill Level
Intermediate

Comments

Tailgate Bench

Submitted by K Brown on Wed, 07/02/2014 - 14:38

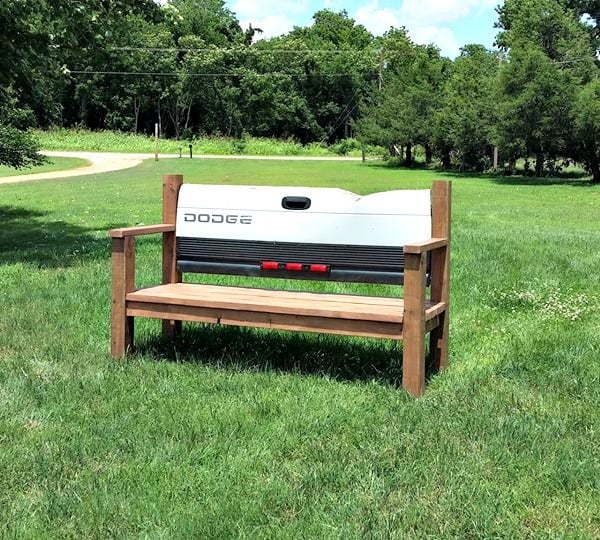
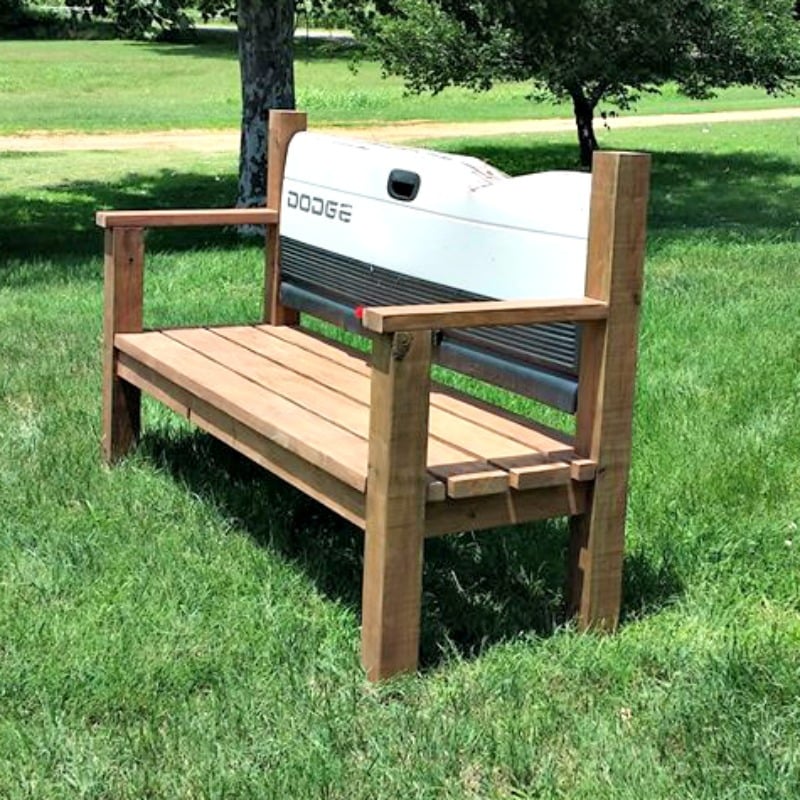
I want to give a big THANK YOU!! to Ana. I found your website a few years ago when I wanted to move my toddler to a big girl bed. Since then I have built several things but this is the first that I have shared on the site. Long story short this is a bench that I made for my father in law for Father's Day. It was a pretty simple build that I believe came together pretty well. Next, a tailgate bench for my own dad for Father's Day. Luckily he doesn't mind that it will be late.

Built from Plan(s)
Estimated Time Investment
Weekend Project (10-20 Hours)
Finish Used
Behr Premium Weatherproofing Stain in Valise
Recommended Skill Level
Beginner

Awesome! Thank you for the plans!!!

Submitted by Sherice on Tue, 07/15/2014 - 07:41

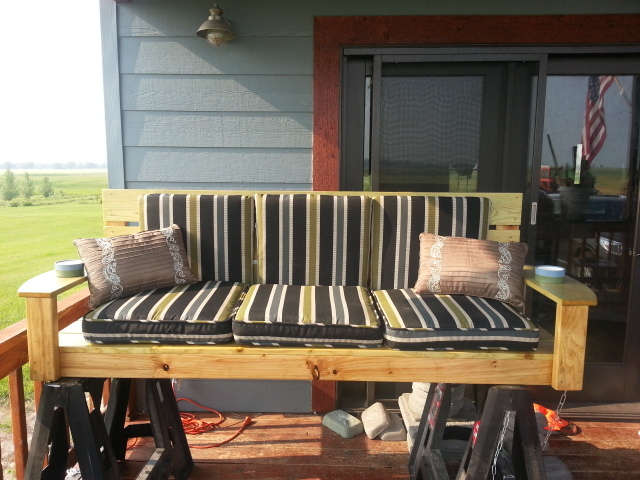
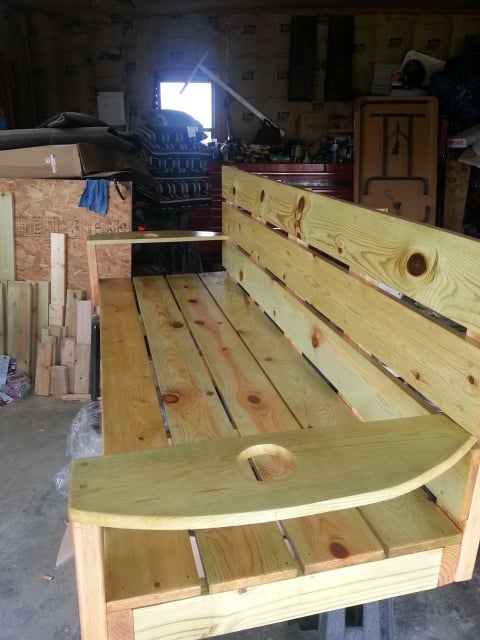
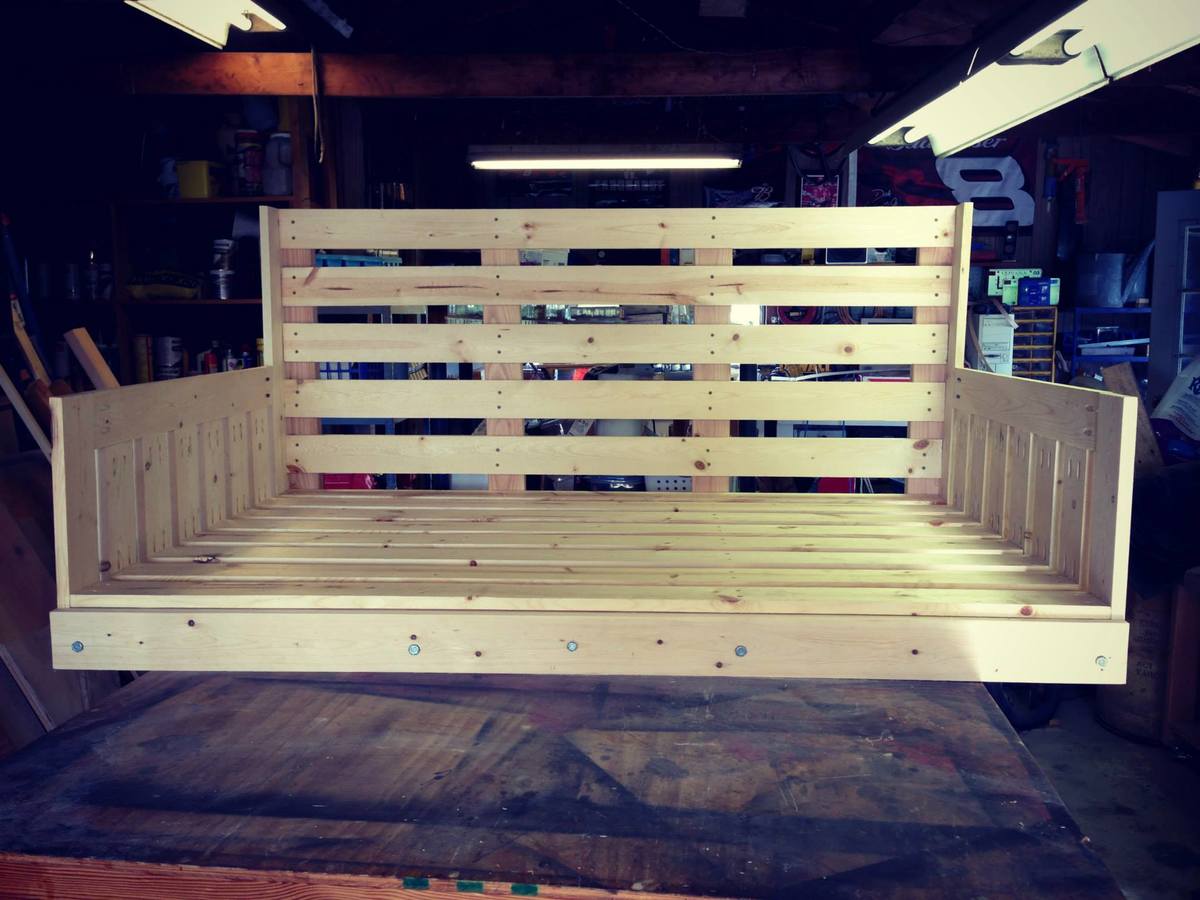
This is the second project I attempted and it was a huge undertaking for me, but it was fun and went well! I had planned to sew a cushion for it, but by the time I completed the project, I was DONE! So I bought some for now.

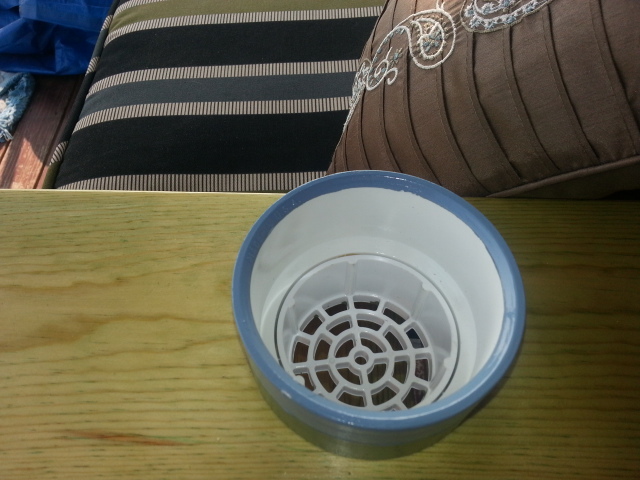
The only modifications I made were larger arm rests so I could put cup holders in them. The cup holders I made out of PVC 3" Male end and a 3" drain, which I glued together. I then scuffed the entire thing and painted them with acrylic paint (trying to get them to match the blue and green in the cushions) before spraying them with gloss sealant.

My family LOVES the new "swing bed". It weighs ALOT so I had to make sure to get proper hanging gear. It's obviously not hung yet when I took the pics tho.

Thank you for another beautiful project!

Built from Plan(s)
Estimated Time Investment
Weekend Project (10-20 Hours)
Finish Used
About seven layers of spar urethane, natural/clear, with sanding in between the layers.
Recommended Skill Level
Beginner

First Project

Submitted by dragondad on Thu, 08/06/2020 - 11:34

Well, I started with one chair and finished with a full set. Not bad for a first timer. Definitely room to improve. Little tip if you're going to make this amazing set... raise the backs as they are too low with thicker cushions. I built a casing to go on top after the fact. Pretty happy with how it all turned out. Thanks Ana for the plans... now onto the next project!

Comments

Bed swing

Submitted by ltodd on Fri, 08/22/2014 - 20:11

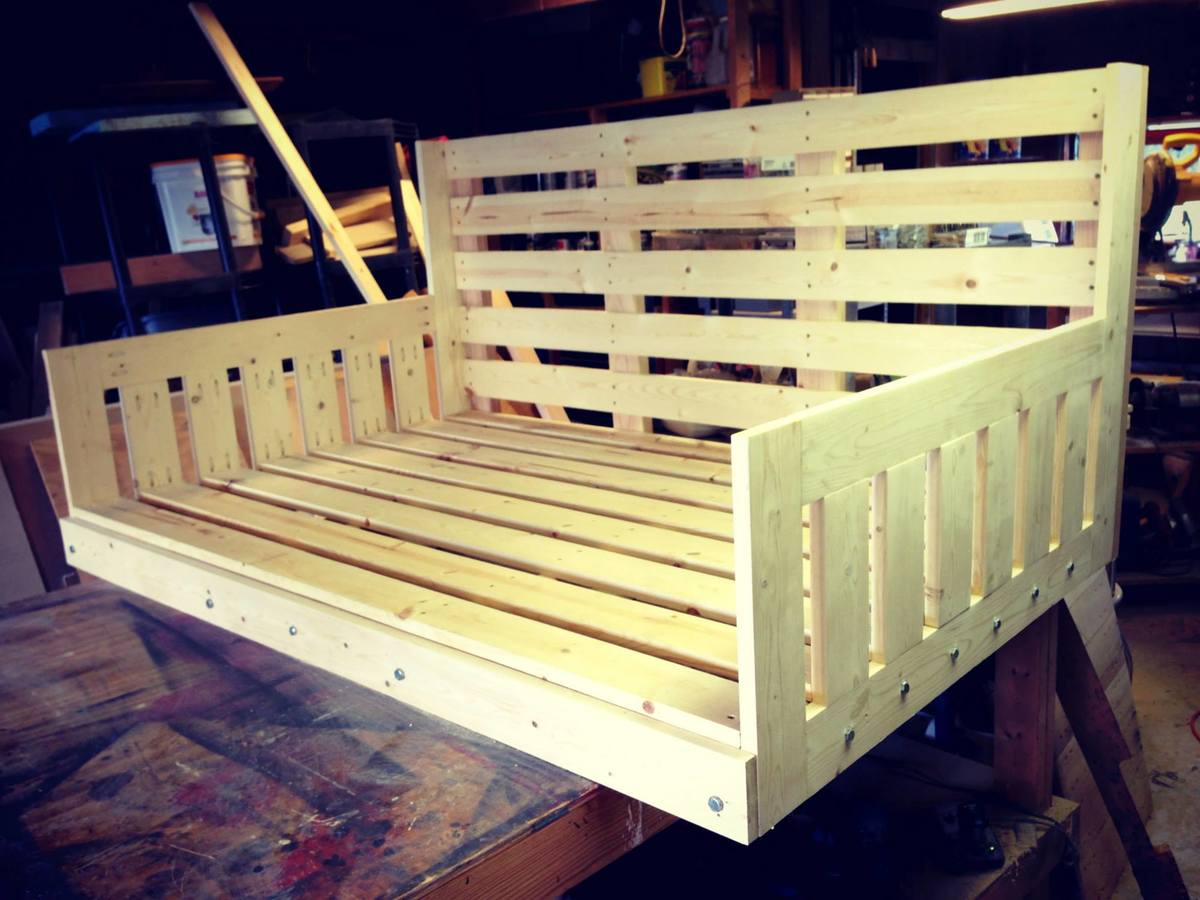
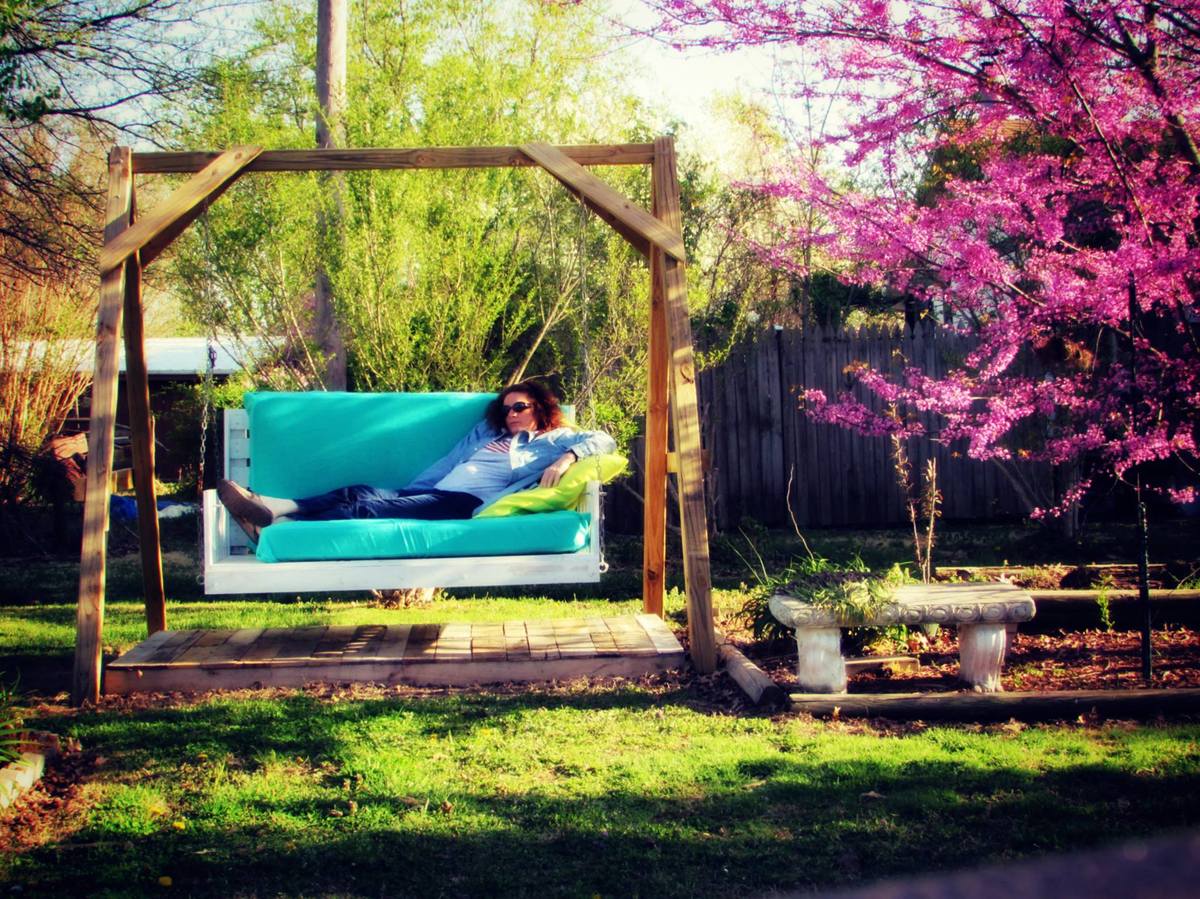
Don't get in this bed swing unless you have time for a nap. This is a modified version of the "large modern porch swing". Very comfortable to lie down and swing. The mattresses are 2 baby crib mattresses that I found really cheap at a yard sale and on Craig's list. I probably should have shortened it several inches to fit the crib mattresses, had I known in the beginning that was what I was going to use. I made the swing myself, but had help with the A-frame. My friends are envious.

Built from Plan(s)
Estimated Cost
$200
Estimated Time Investment
Week Long Project (20 Hours or More)
Finish Used
Painted with rustoleum white.
Recommended Skill Level
Beginner

Desk/Craft Space Table

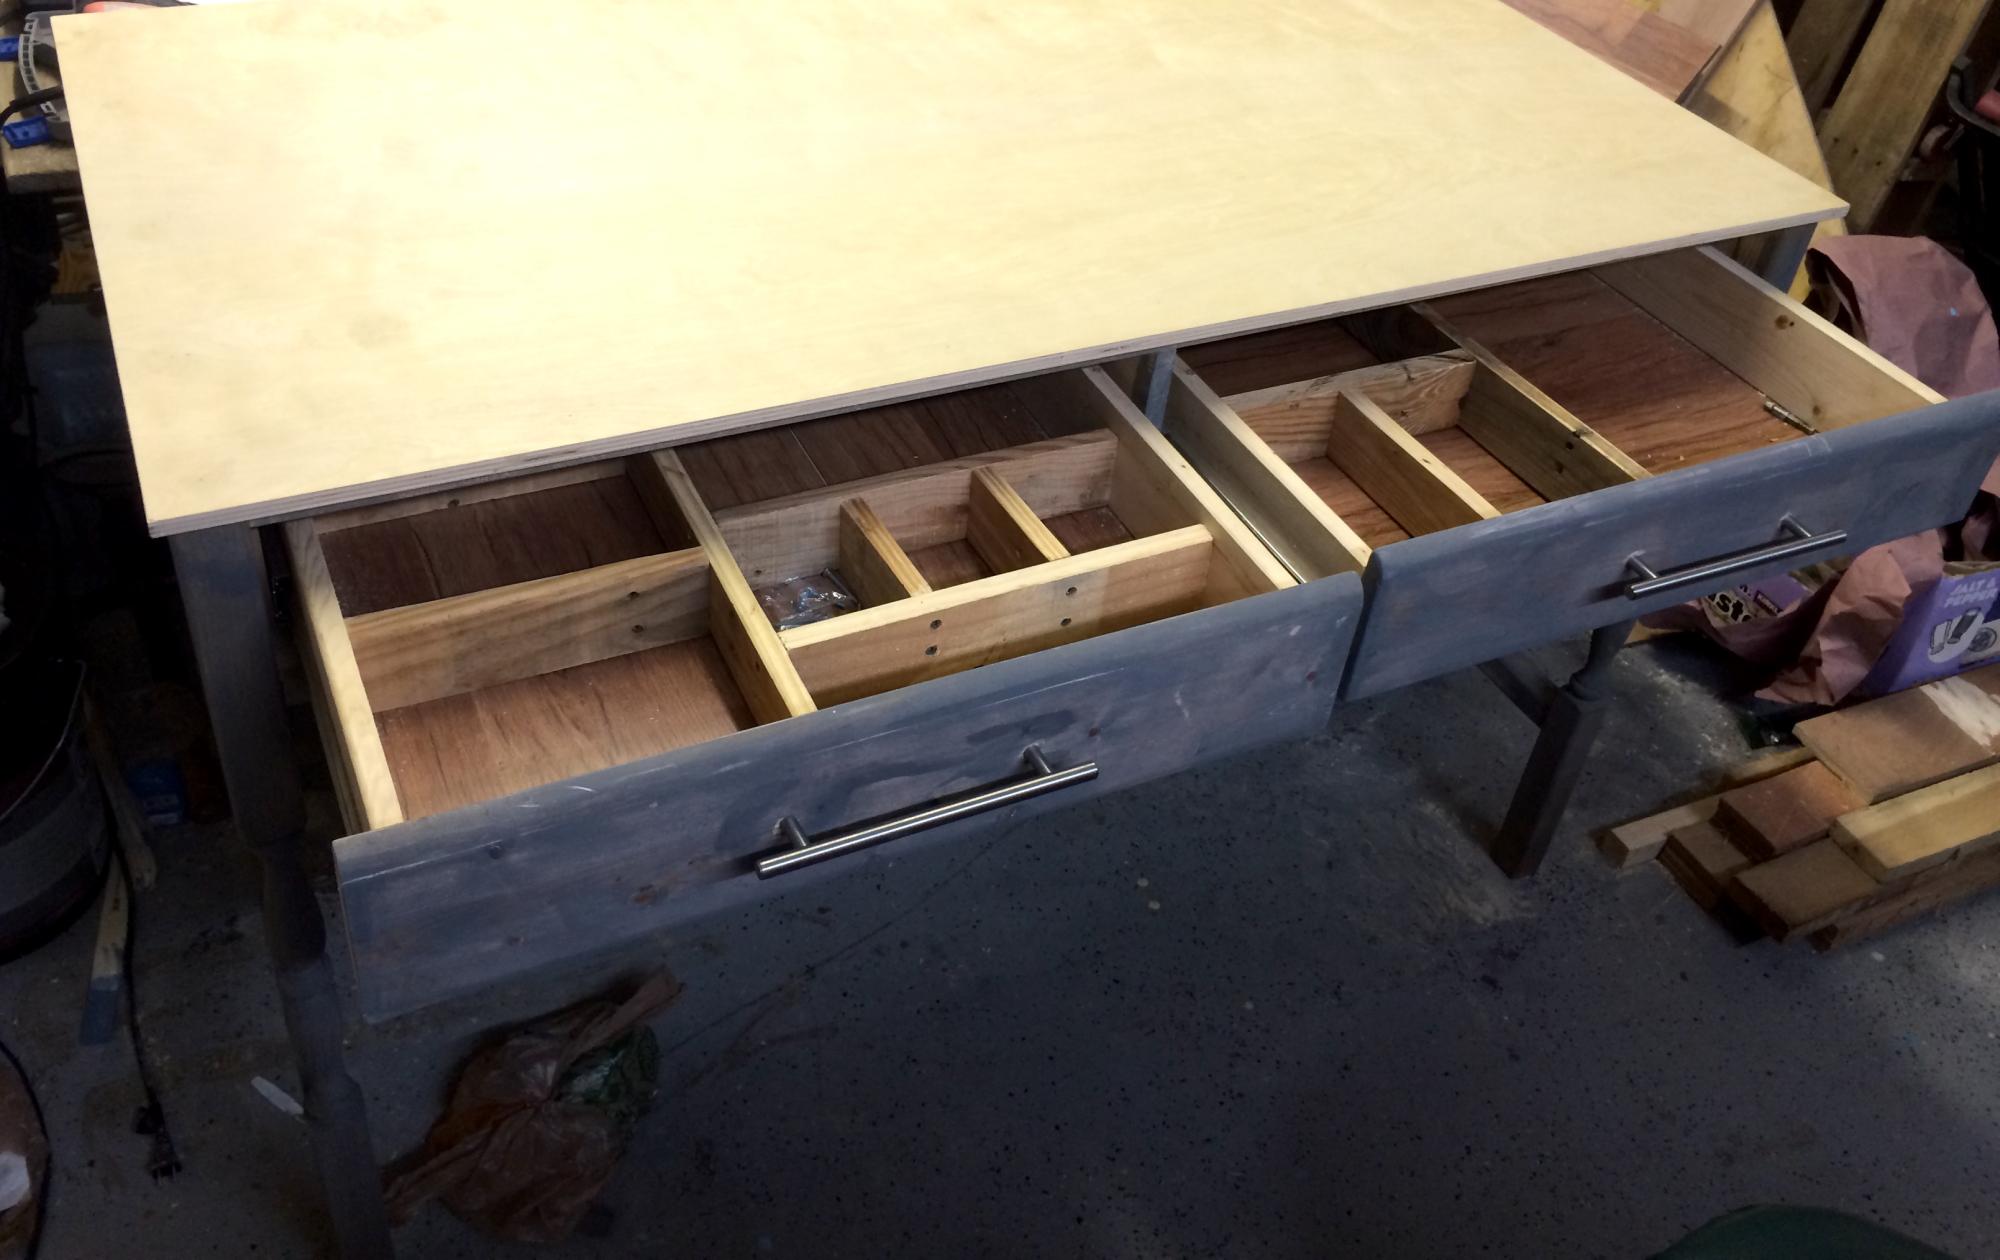
I just started wood-working and found this to be a really nice build. I did, however, adjust the height of the desk legs from 31 inches to 36 inches, because I am 6'6" and felt I needed the leg room. I used 4 Severe Weather 2 1/4in x 2 1/4in x 36in Colonial Treated Deck Spindles from Lowes at $2.88 each for the legs. I also, added the drawer dividers to help organize the storage space. Otherwise, I stuck to the plans. 

Severe Weather 2-1/4-in x 2-1/4-in x 36-in Colonial Treated Deck Spindle http://www.lowes.com/pd_7954-432S2236T15N_4294610196__productId=3185415&Ns=p_product_qty_sales_dollar|1&pl=1&currentURL=%3FNs%3Dp_product_qty_sales_dollar%7C1&facetInfo=

Stainless Steel Drawer Pulls http://www.homedepot.com/p/Liberty-8-5-6-in-Steel-Bar-Cabinet-Hardware-Appliance-Pull-117060-0/202023671?MERCH=REC-_-NavPLPHorizontal1-4-_-NA-_-202023671-_-N


Estimated Time Investment
Day Project (6-9 Hours)
Finish Used
Smokey blue chalk paint (1 cup of paint, 1 teaspoon of plaster of paris, & 1 teaspoon of water)
Minwax classic gray stain (used to give distressed spots more dimension)
Minwax dark walnut stain for desk top
Johnson paste wax
Recommended Skill Level
Intermediate

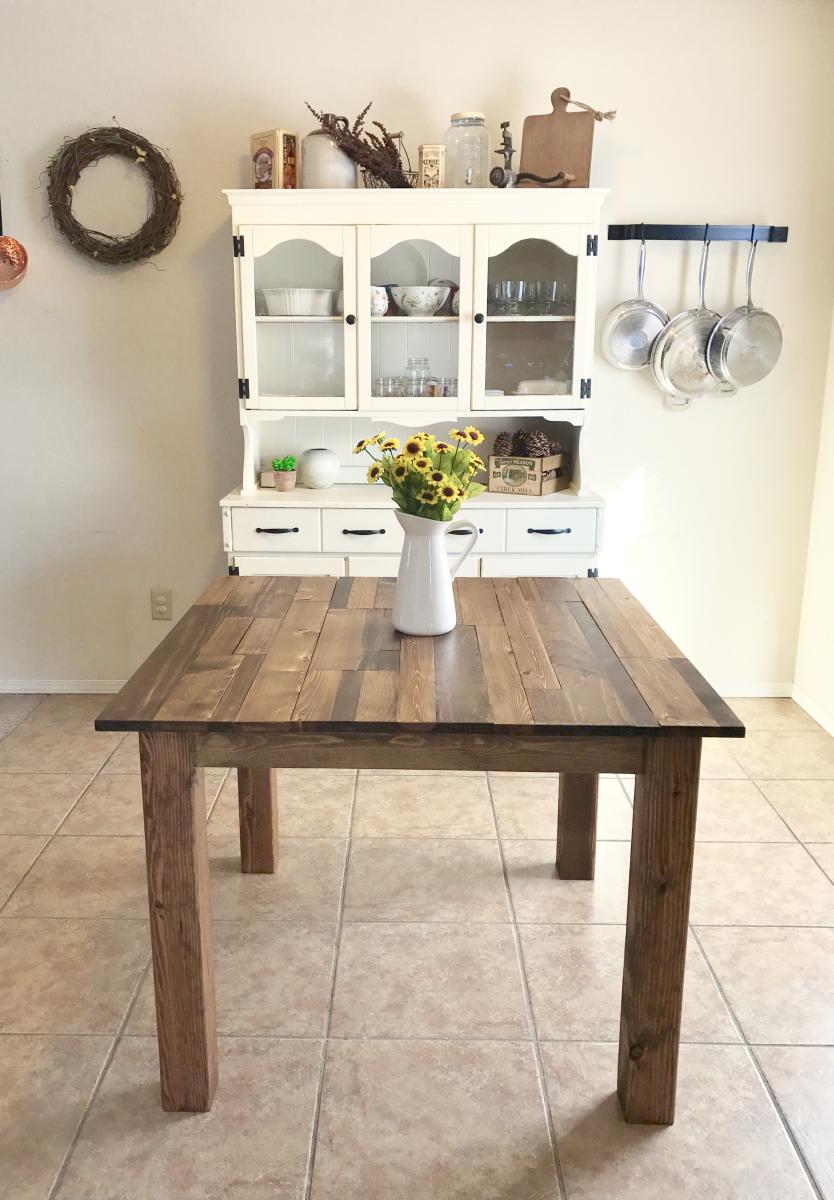
Square Farmhouse Table

Submitted by eddingsr on Sun, 01/08/2017 - 13:17

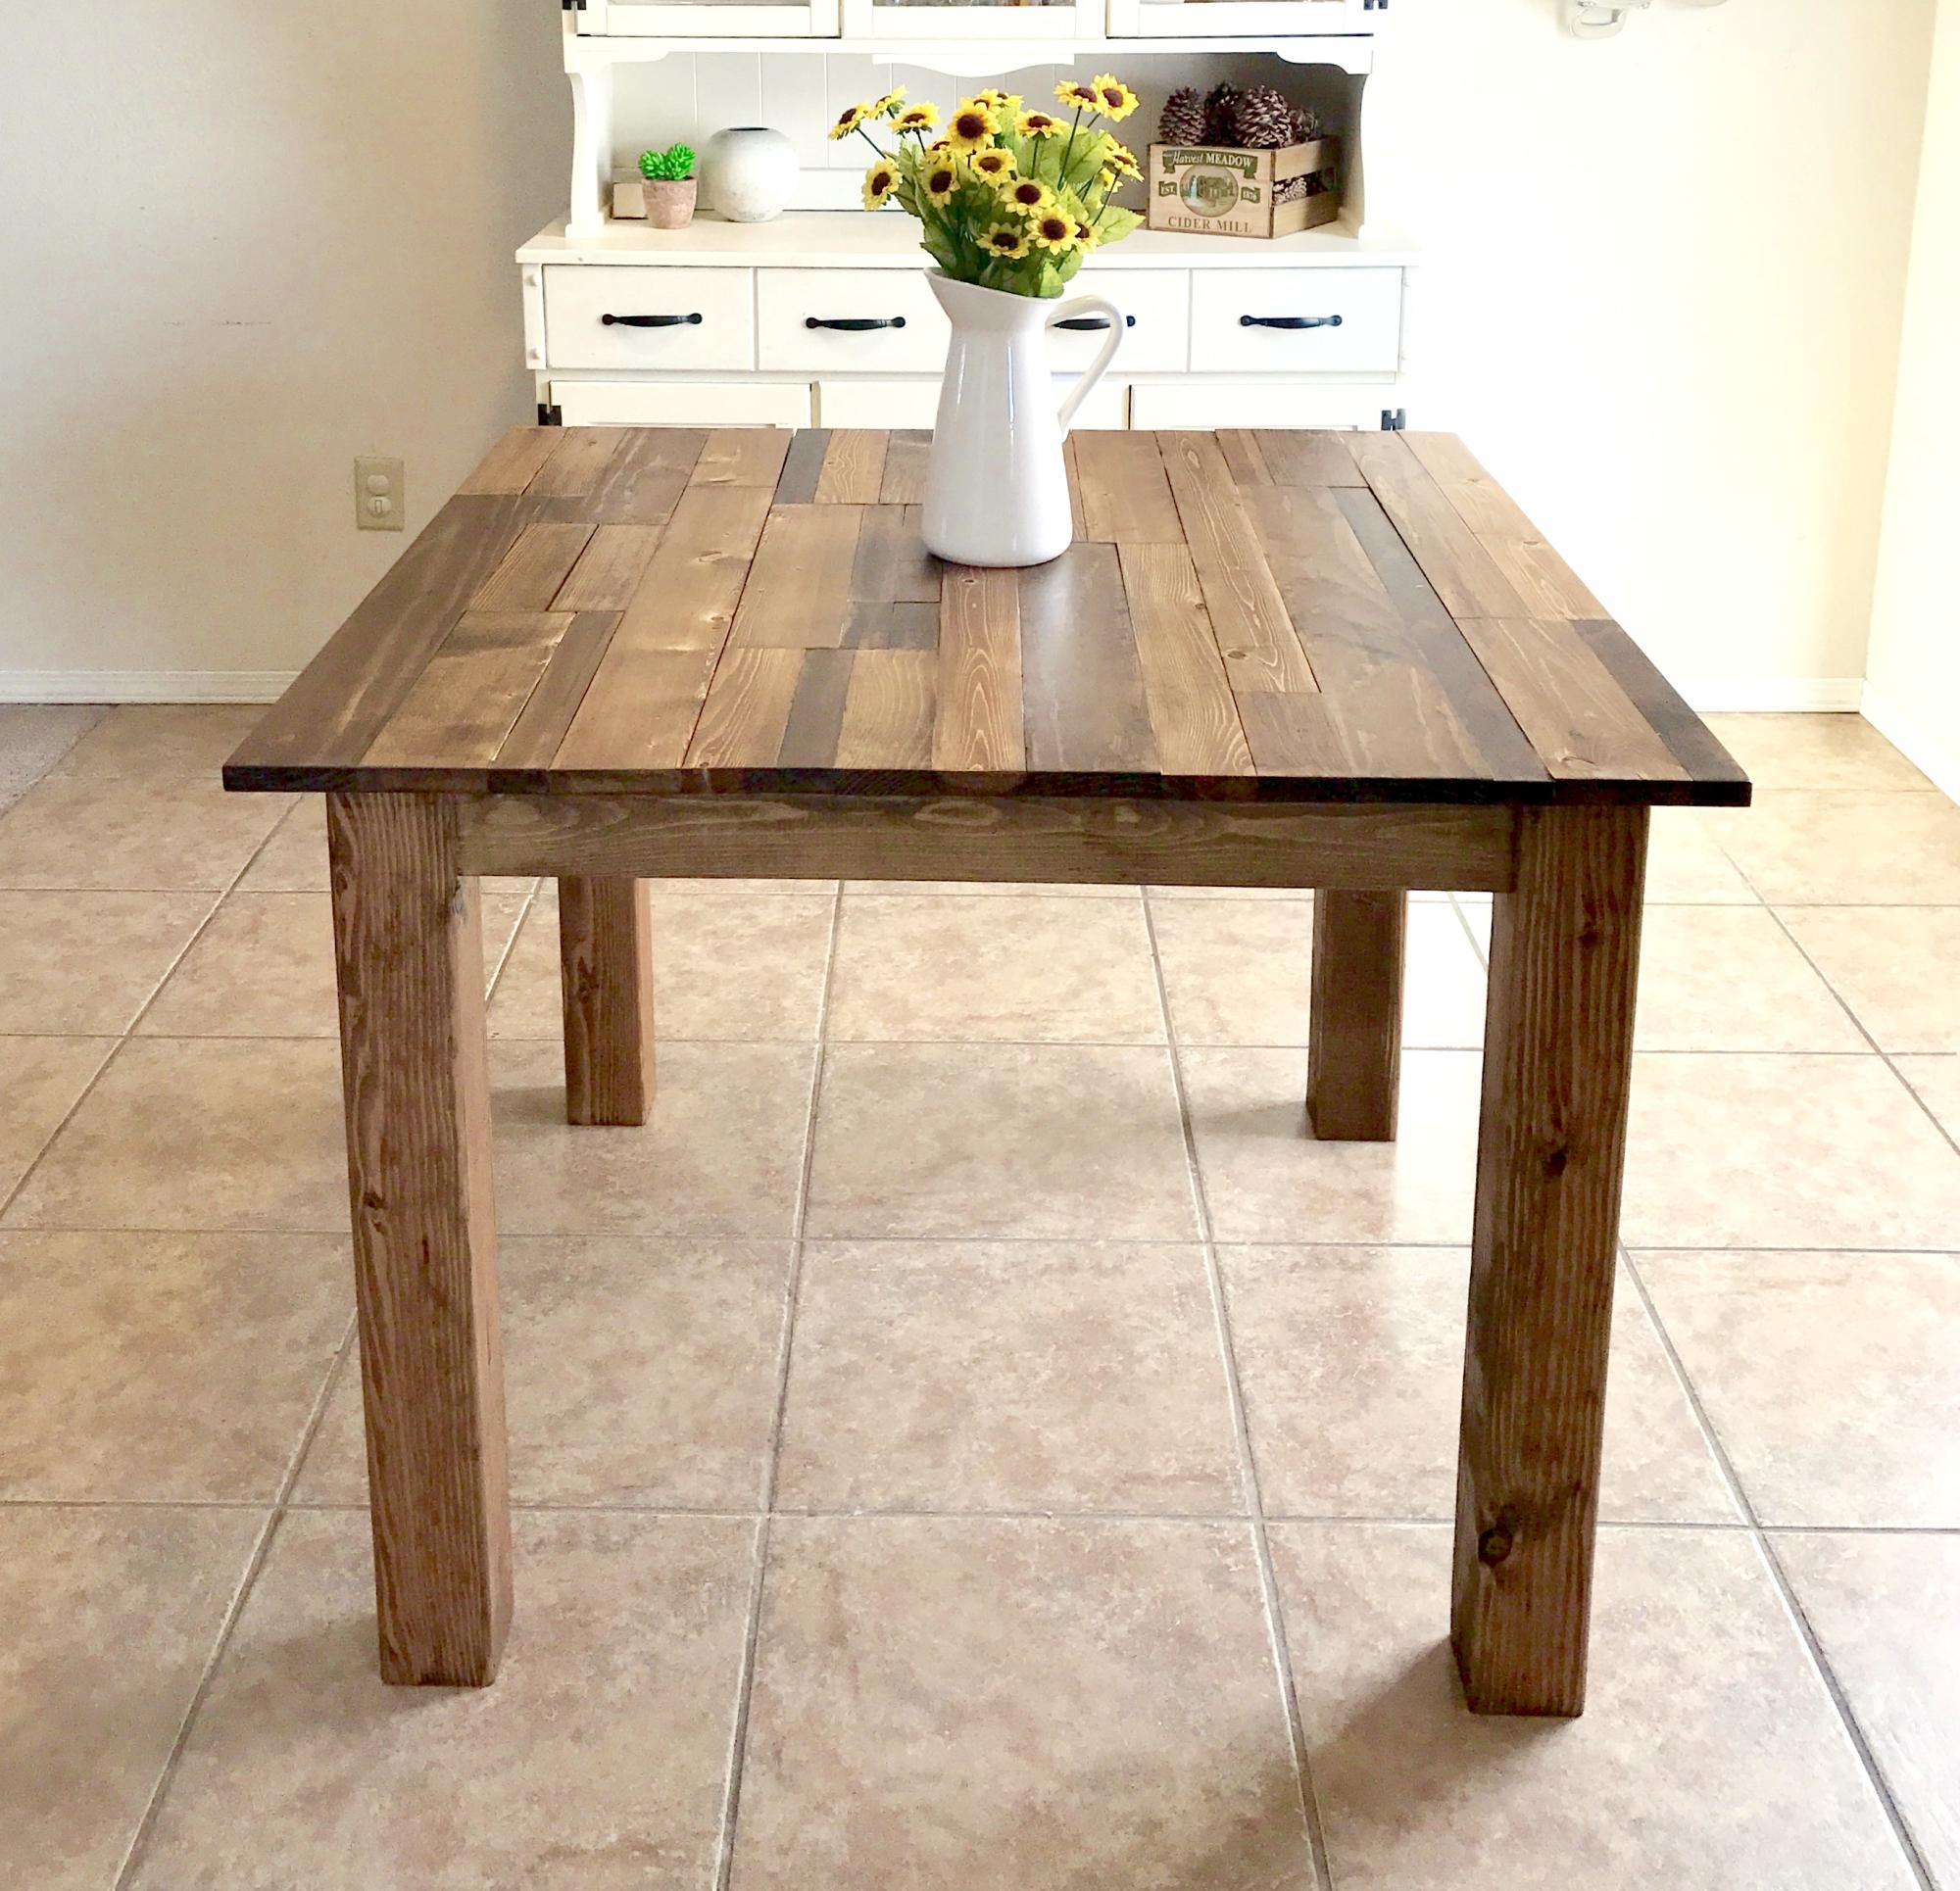
I built this table for a friend who wanted a rustic, plank-top kitchen table. She wanted a square table with 4x4 legs. Since I don't have clamps, I used pocket holes and wood glue for the table top. Also, I only have a 7&1/4" miter saw, which means the 4x4s were too thick to cut. So I made one cut in the legs, then flipped them and made another. It worked! :) I sanded down the sides of the table top with 80 grit. They needed to be evened up since some of the planks were a little longer than others. I back braced underneathe the top with (3) 1x3s. Then, I sanded all over with 120, vacuumed, then wiped it down with a damp towel. Fun build!! 

Estimated Cost
~$100 for lumber, screws, wood glue, sandpaper, and finishing products.
Estimated Time Investment
Week Long Project (20 Hours or More)
Finish Used
For the finish I used Minwax wood conditioner, then a coat of Minwax stain in Provincial. I went back and put a second coat of stain on a few of the premium pine pieces, because they soaked up the first coat really well, and I wanted some darker pieces on top. I let those soak for about 15 minutes. Afterwards I did 2 coats of Polycrylic all over, then a third coat for the top only. I dry sanded between coats with 600 grit sandpaper.
Recommended Skill Level
Intermediate

DIY Glass Top Vanity

For anyone who is interested in building their own glass-top vanity with pull-out drawers :)

Estimated Cost
$150
Estimated Time Investment
Weekend Project (10-20 Hours)
Finish Used
Valspar Ultra White
Recommended Skill Level
Intermediate

Comments

Just My Size Closet

Just My Size Closet!

Built this from Ana's plans with a few modifications.

Started with a big empty box after ripping the old stuff out and finished with this look.

Adjustable shelves and all !

Built from Plan(s)
Estimated Time Investment
Weekend Project (10-20 Hours)
Finish Used
Whatever white paint my wife bought !!
Recommended Skill Level
Beginner

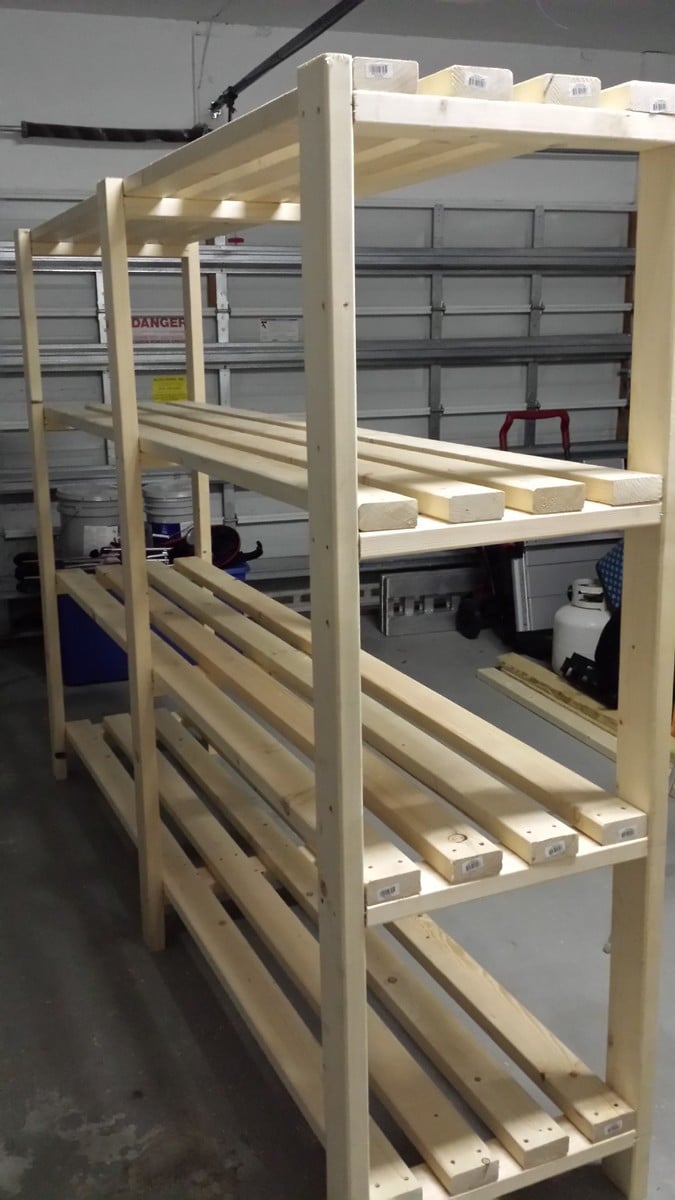
Great Plan for Garage Shelf!

Submitted by edapina on Wed, 11/26/2014 - 07:35

This was an easy project to complete in an afternoon that does not require any advance woodworking skills

Estimated Cost
About a $120 bucks considering that I had to buy all the wood and a box of 2 1/2 In screws!
Estimated Time Investment
Afternoon Project (3-6 Hours)
Finish Used
No finish used.
Recommended Skill Level
Beginner

Comments

edapina

Wed, 12/10/2014 - 09:41

This is my second completed project with plans and ideas from your website. Thanks for your good work!

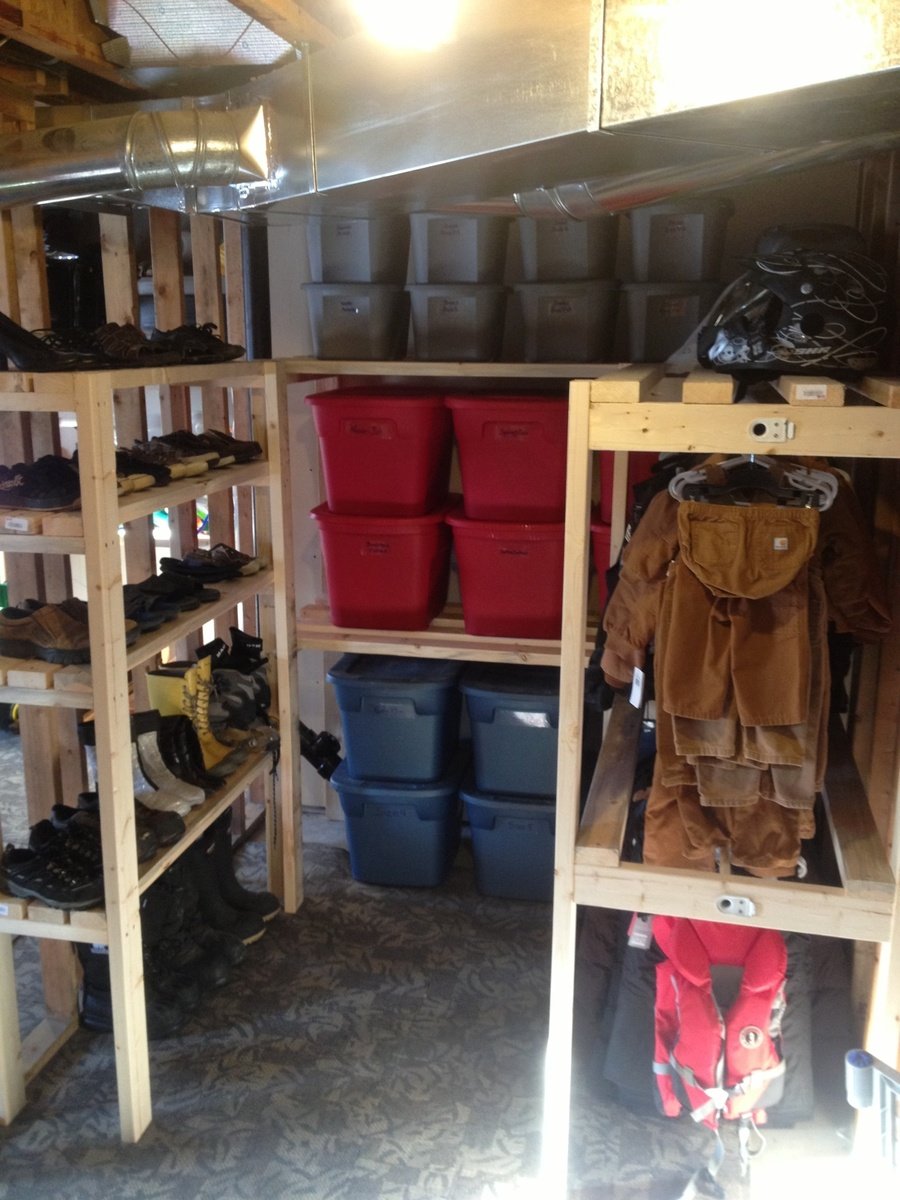
Economical Basement Shelving 2

Submitted by Veronica P on Sun, 12/14/2014 - 19:41

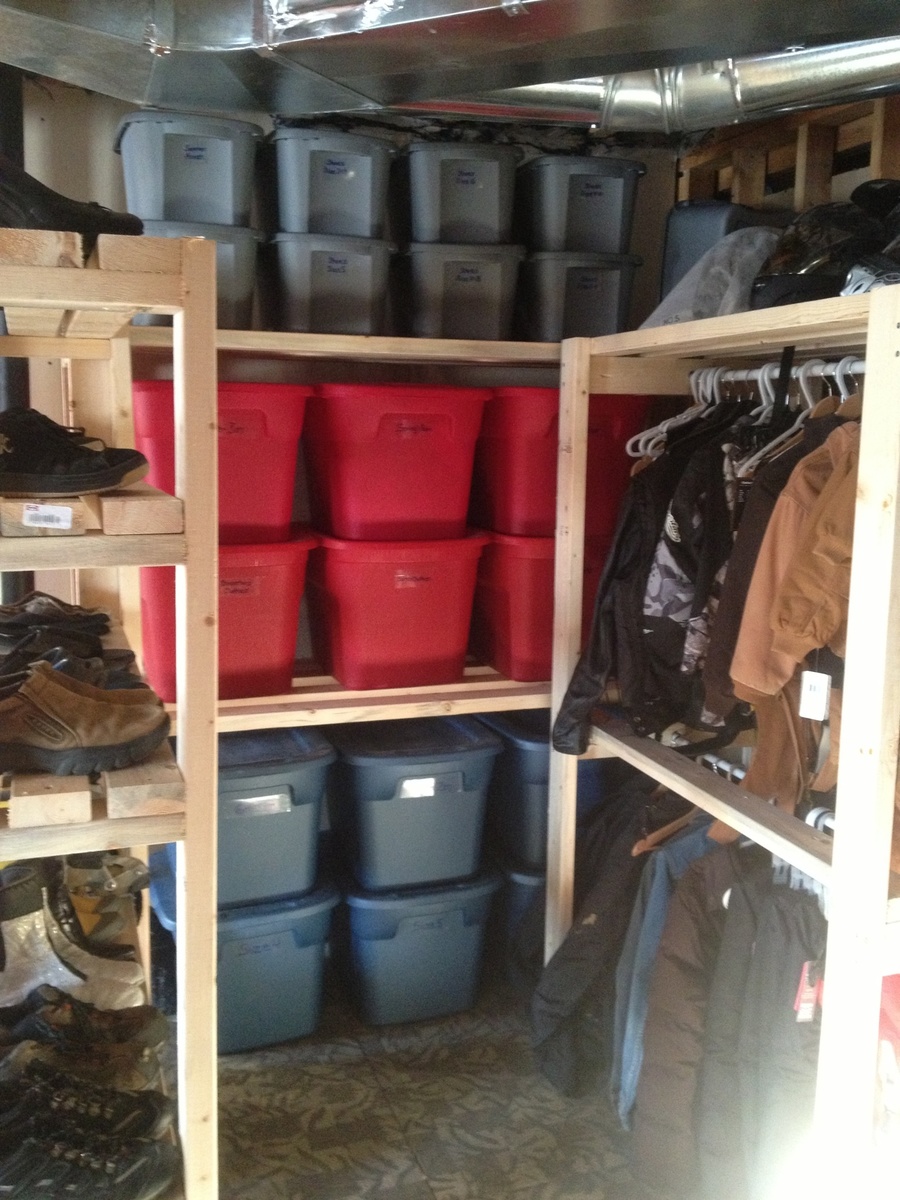
I've been organizing our unfinished basement so that my boys have more space to run and ride their bikes over the winter. I needed something to organize our off season clothes and bins of clothes that my boys are growing in/out of. This plan was perfect. It's not my prettiest build but it's soooo functional!

Estimated Cost
$100
Estimated Time Investment
Afternoon Project (3-6 Hours)
Finish Used
None
Recommended Skill Level
Starter Project

Comments

Boy Scout Project

Submitted by Anonymous (not verified) on Mon, 03/27/2017 - 14:04

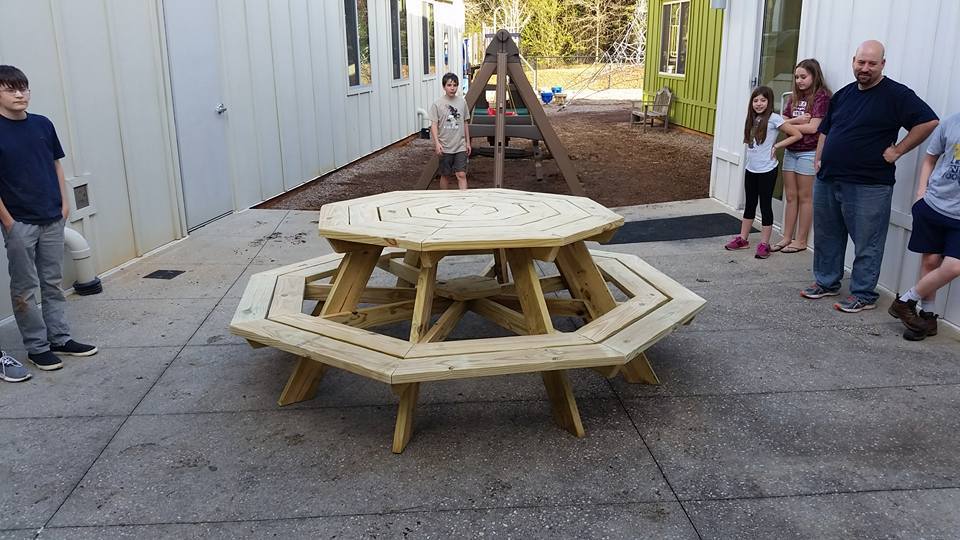
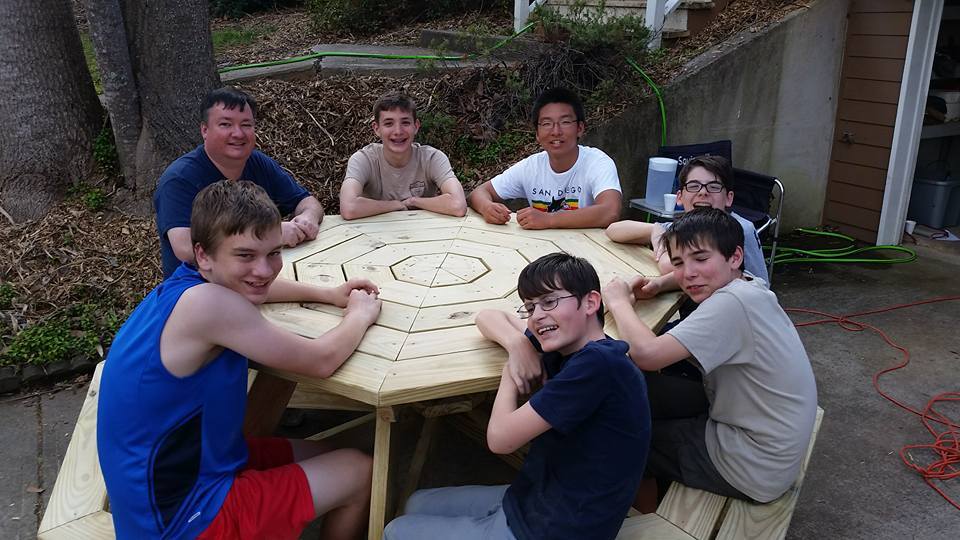
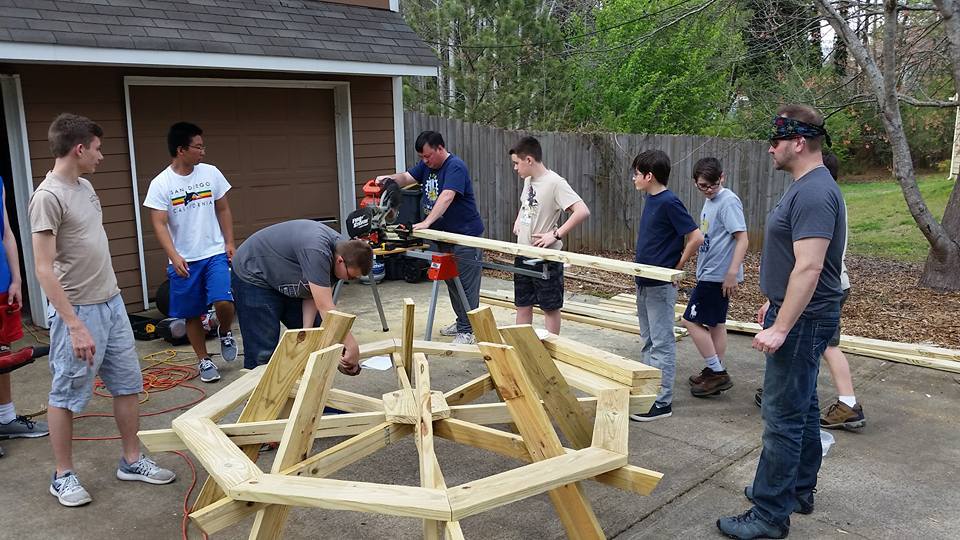
Table created for the chartering organization for Troop 4900 in Woodstock, GA (Woodstock Community Church).

Some deviations from the plans...we notched two of the cross member that support the seats and glued/screwed them together for greater strength in the center. That left 4 supports to be installed with pocket screws (weak). We added two small 2x6 supports where all these members join in the center and screwed the supports to the cross members, reinforcing the center and taking load off the pocket screws (see photo). Also, as you can see, we built the framing for the seats and table top, then added legs and placed the table top last to assure a level table top.

Finally, a recommendation - use 1x6 boards for the table top and seating areas for a lighter and more manageable table.

Built from Plan(s)
Estimated Time Investment
Weekend Project (10-20 Hours)
Finish Used
Picnic table and parent table (by the playground) for a church.
Recommended Skill Level
Intermediate

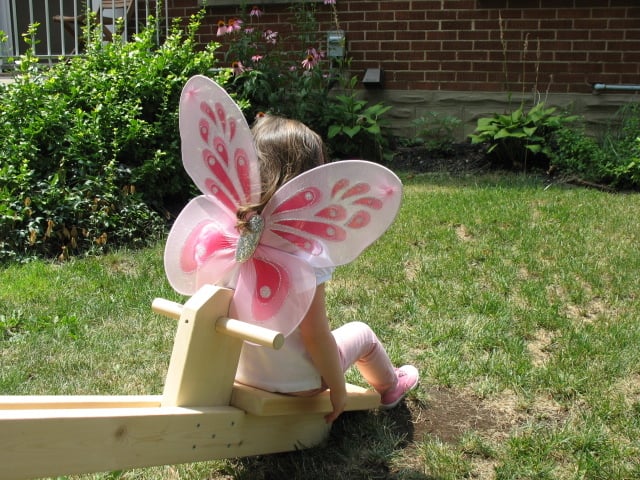
Fairies Do Ride Teeter-Totters

Submitted by Tea Granny on Wed, 03/06/2013 - 11:38

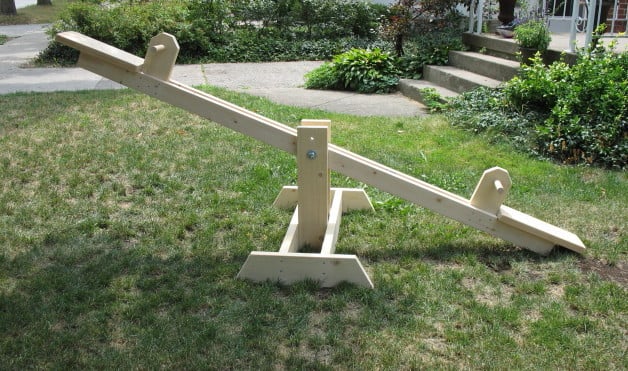
This was a very quick project. Only took 5.5 hours from start to finish, including dragging out and putting all the tools away afterwards!

I left the teeter-totter unfinished, not sure how it will make it through the winter. I may decide to paint it this summer.

I used a length of copper pipe for the bolt to ride through, along with some washers between all the pivot points. This should help keep the boards from wearing away over time.

This has been the BEST outdoor toy around! It gets used EVERY day in the nice weather.

Thanks Ana for the great plans!

Built from Plan(s)
Estimated Cost
Total of $20.52 without screws ($14.20 for wood, $6.32 for washers, bolt, and nut)
Estimated Time Investment
Afternoon Project (3-6 Hours)
Recommended Skill Level
Beginner

My take on "Lady Goats" cedar shed

Submitted by donbay91 on Sun, 03/14/2021 - 19:02

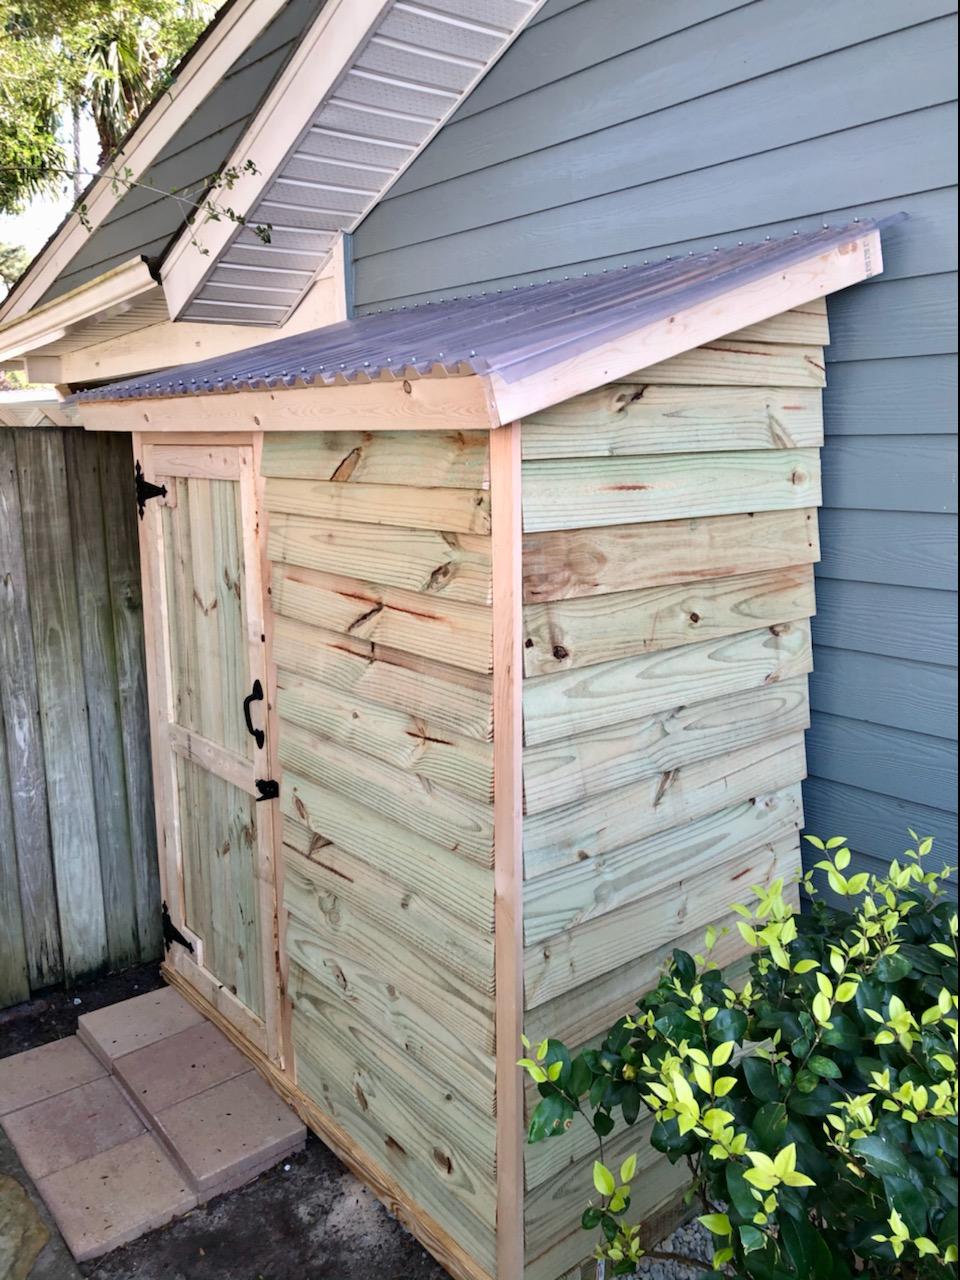
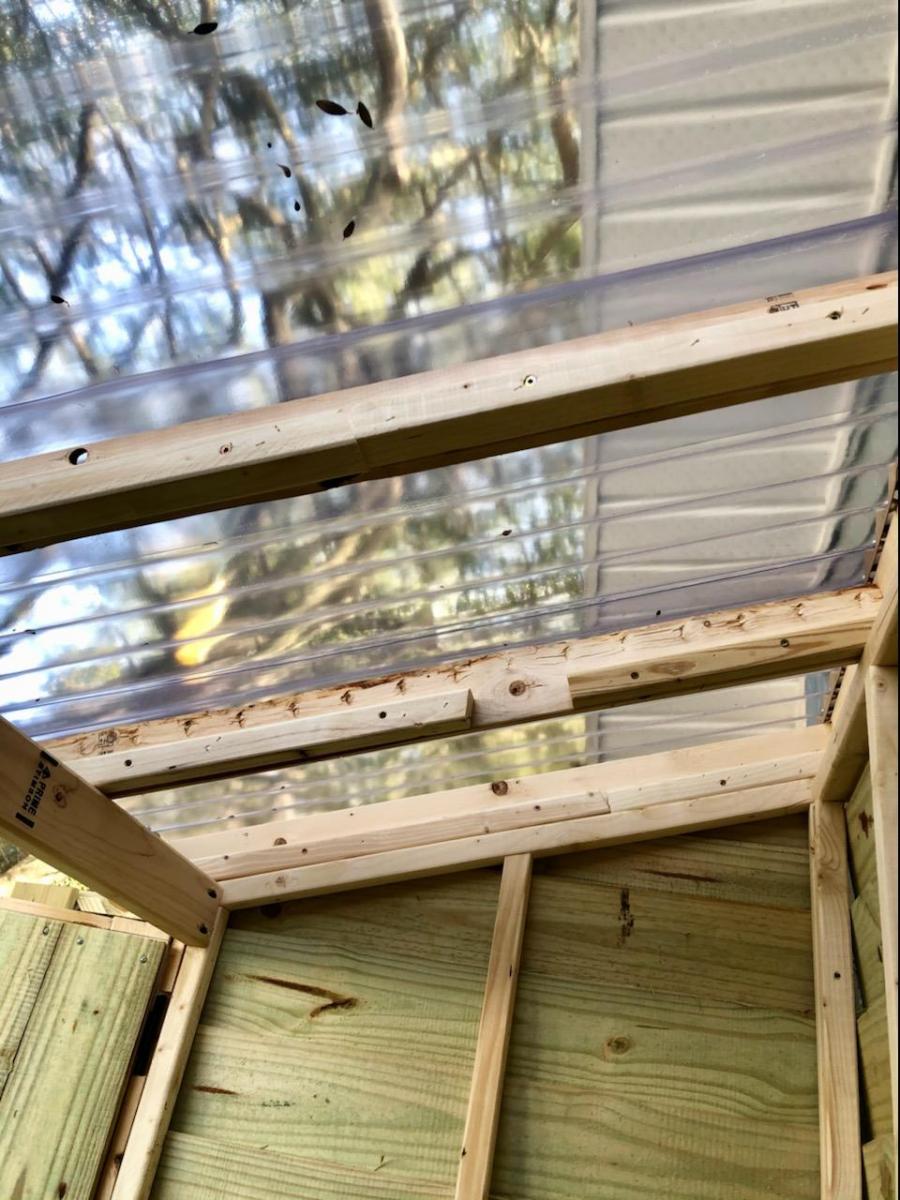
I absolutely loved these plans for this shed. I'm new to the site but I've been using your plans for things here at home... love it. I went with just one door to give me more places for shelves and I also went with a clear corrugated roof since it's shaded on that side of our house.

Built from Plan(s)
Estimated Cost
$300ish
Estimated Time Investment
Weekend Project (10-20 Hours)
Finish Used
No finish yet. I haven't made up my mind
Recommended Skill Level
Intermediate

Comments

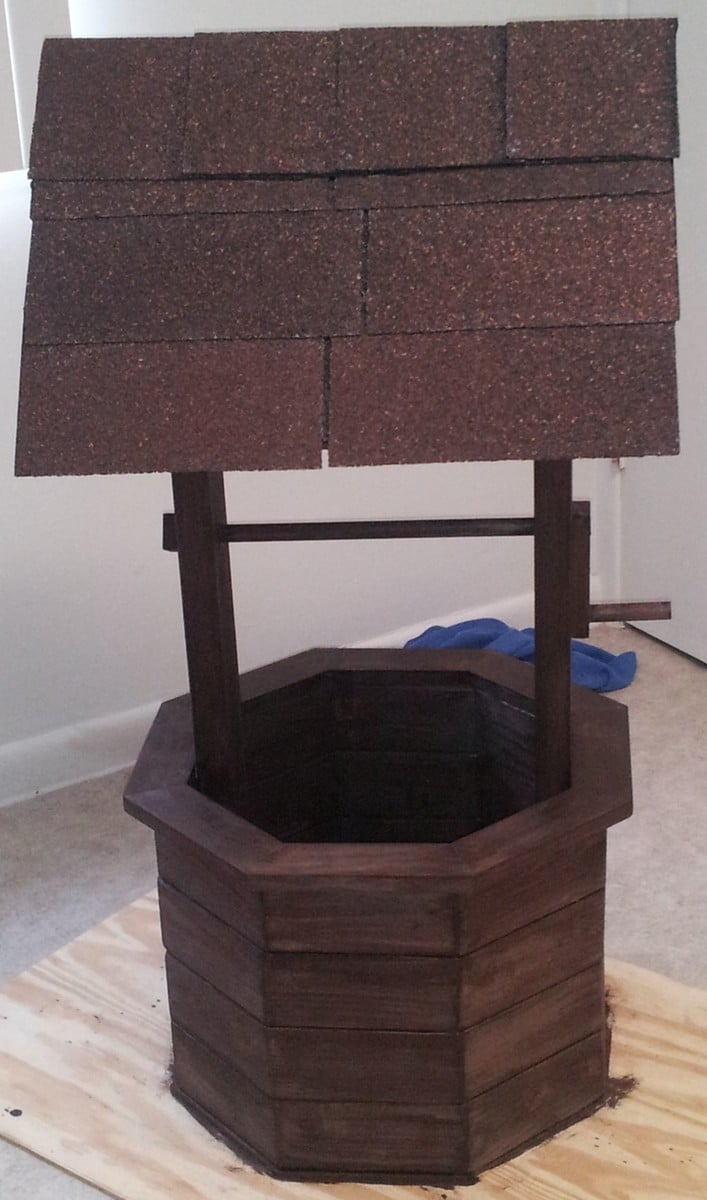
Wishing Well Planter

Submitted by RobKelly3 on Sat, 03/16/2013 - 16:57

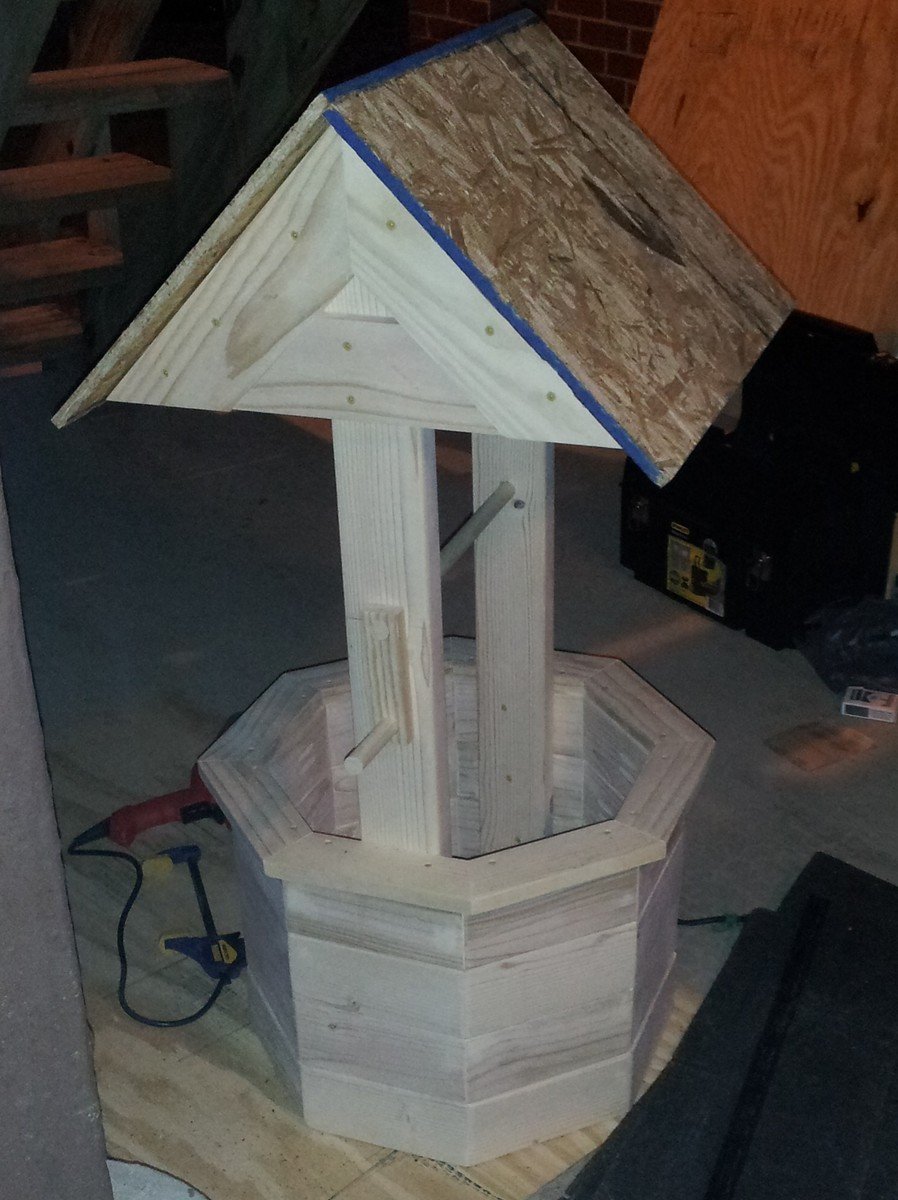
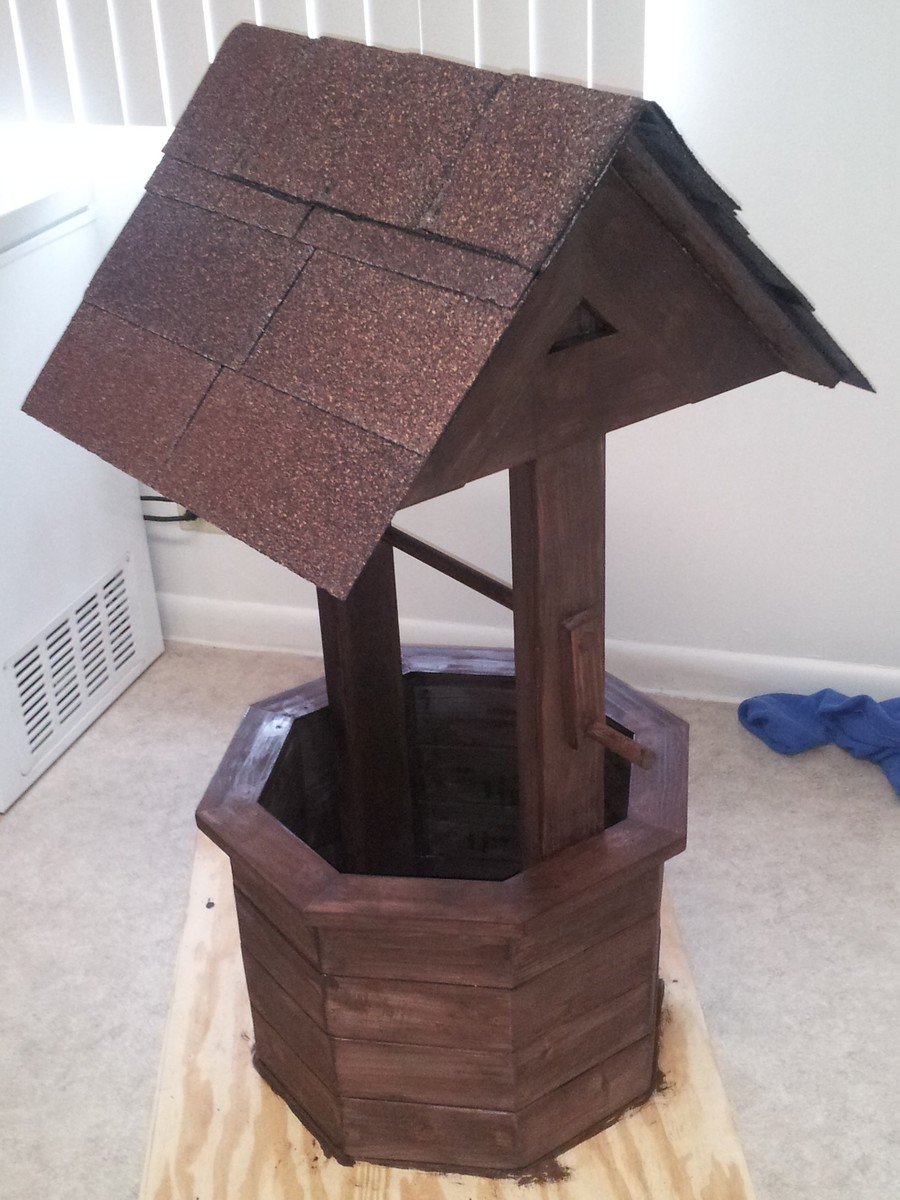
This is a wishing well I made for my sister for her wedding. It will be used during the wedding for people to drop "wish you well" cards into and afterward she can use it as a planter in her yard.
I followed ideas from multiple plans here on Ana-White.com, but I didn't follow any specific plan. Mostly I followed tips and instructions for cutting angles, drilling pocket holes and some finishing tips. This is the first "big" project I've done and I"m quite proud of it.

With everything, it measures 44.5 inches high. The well measures 21 inches across and 15 inches high. The roof measures 22.75 inches by 23.75 inches.

I hope y'all like it. I worked hard on this! :)

Thank you, Ana and everyone who contributes to this site. It's been so much fun and I've got lots of ideas for more stuff. If I was any good at all at Google Sketchup I'd put up the plans but I'm not. If anyone could help me with that, that would great. :)

Have a great day!

Estimated Cost
about $100
Estimated Time Investment
Weekend Project (10-20 Hours)
Finish Used
Olympic Maximum Stain and Sealant in One, Semi-Transparent, in Oxford Brown. Use 2inch stain brush. Used 100, 150, and 220 grit sandpaper before staining.
Recommended Skill Level
Intermediate
Comments

bellows86

Mon, 07/21/2014 - 20:04

Anyway you can please tell me the angle for the boards ont the walls. I reallly like your well, and would like to build this for my wife but im not sure on what angles to use thank you

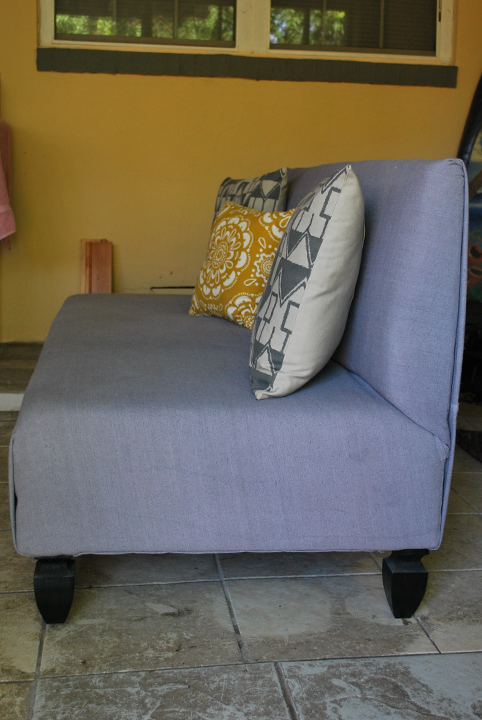
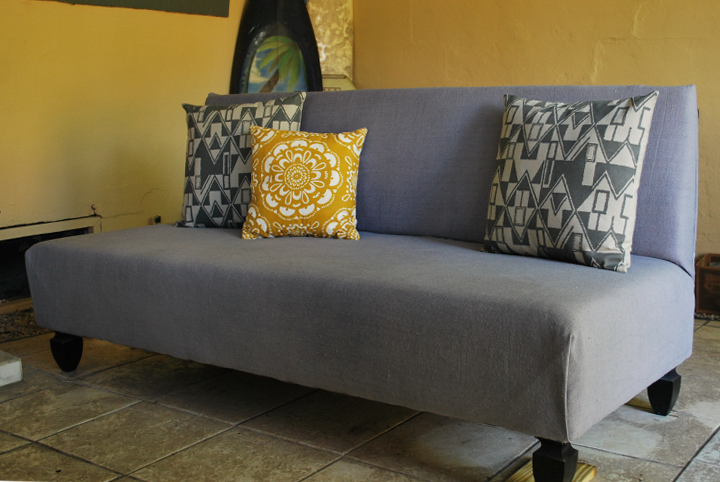
West Elm Inspired Upholstered Outdoor Sofa

My husband and I built this modern upholstered outdoor sofa for our back porch. As it was going outdoors we used treated lumber, a painters drop cloth (dyed with Rit dye), and coated deck screws. We are so proud of the way it came out! Please see my blog for more details on the build.

Estimated Cost
$300-350
Estimated Time Investment
Weekend Project (10-20 Hours)
Recommended Skill Level
Intermediate
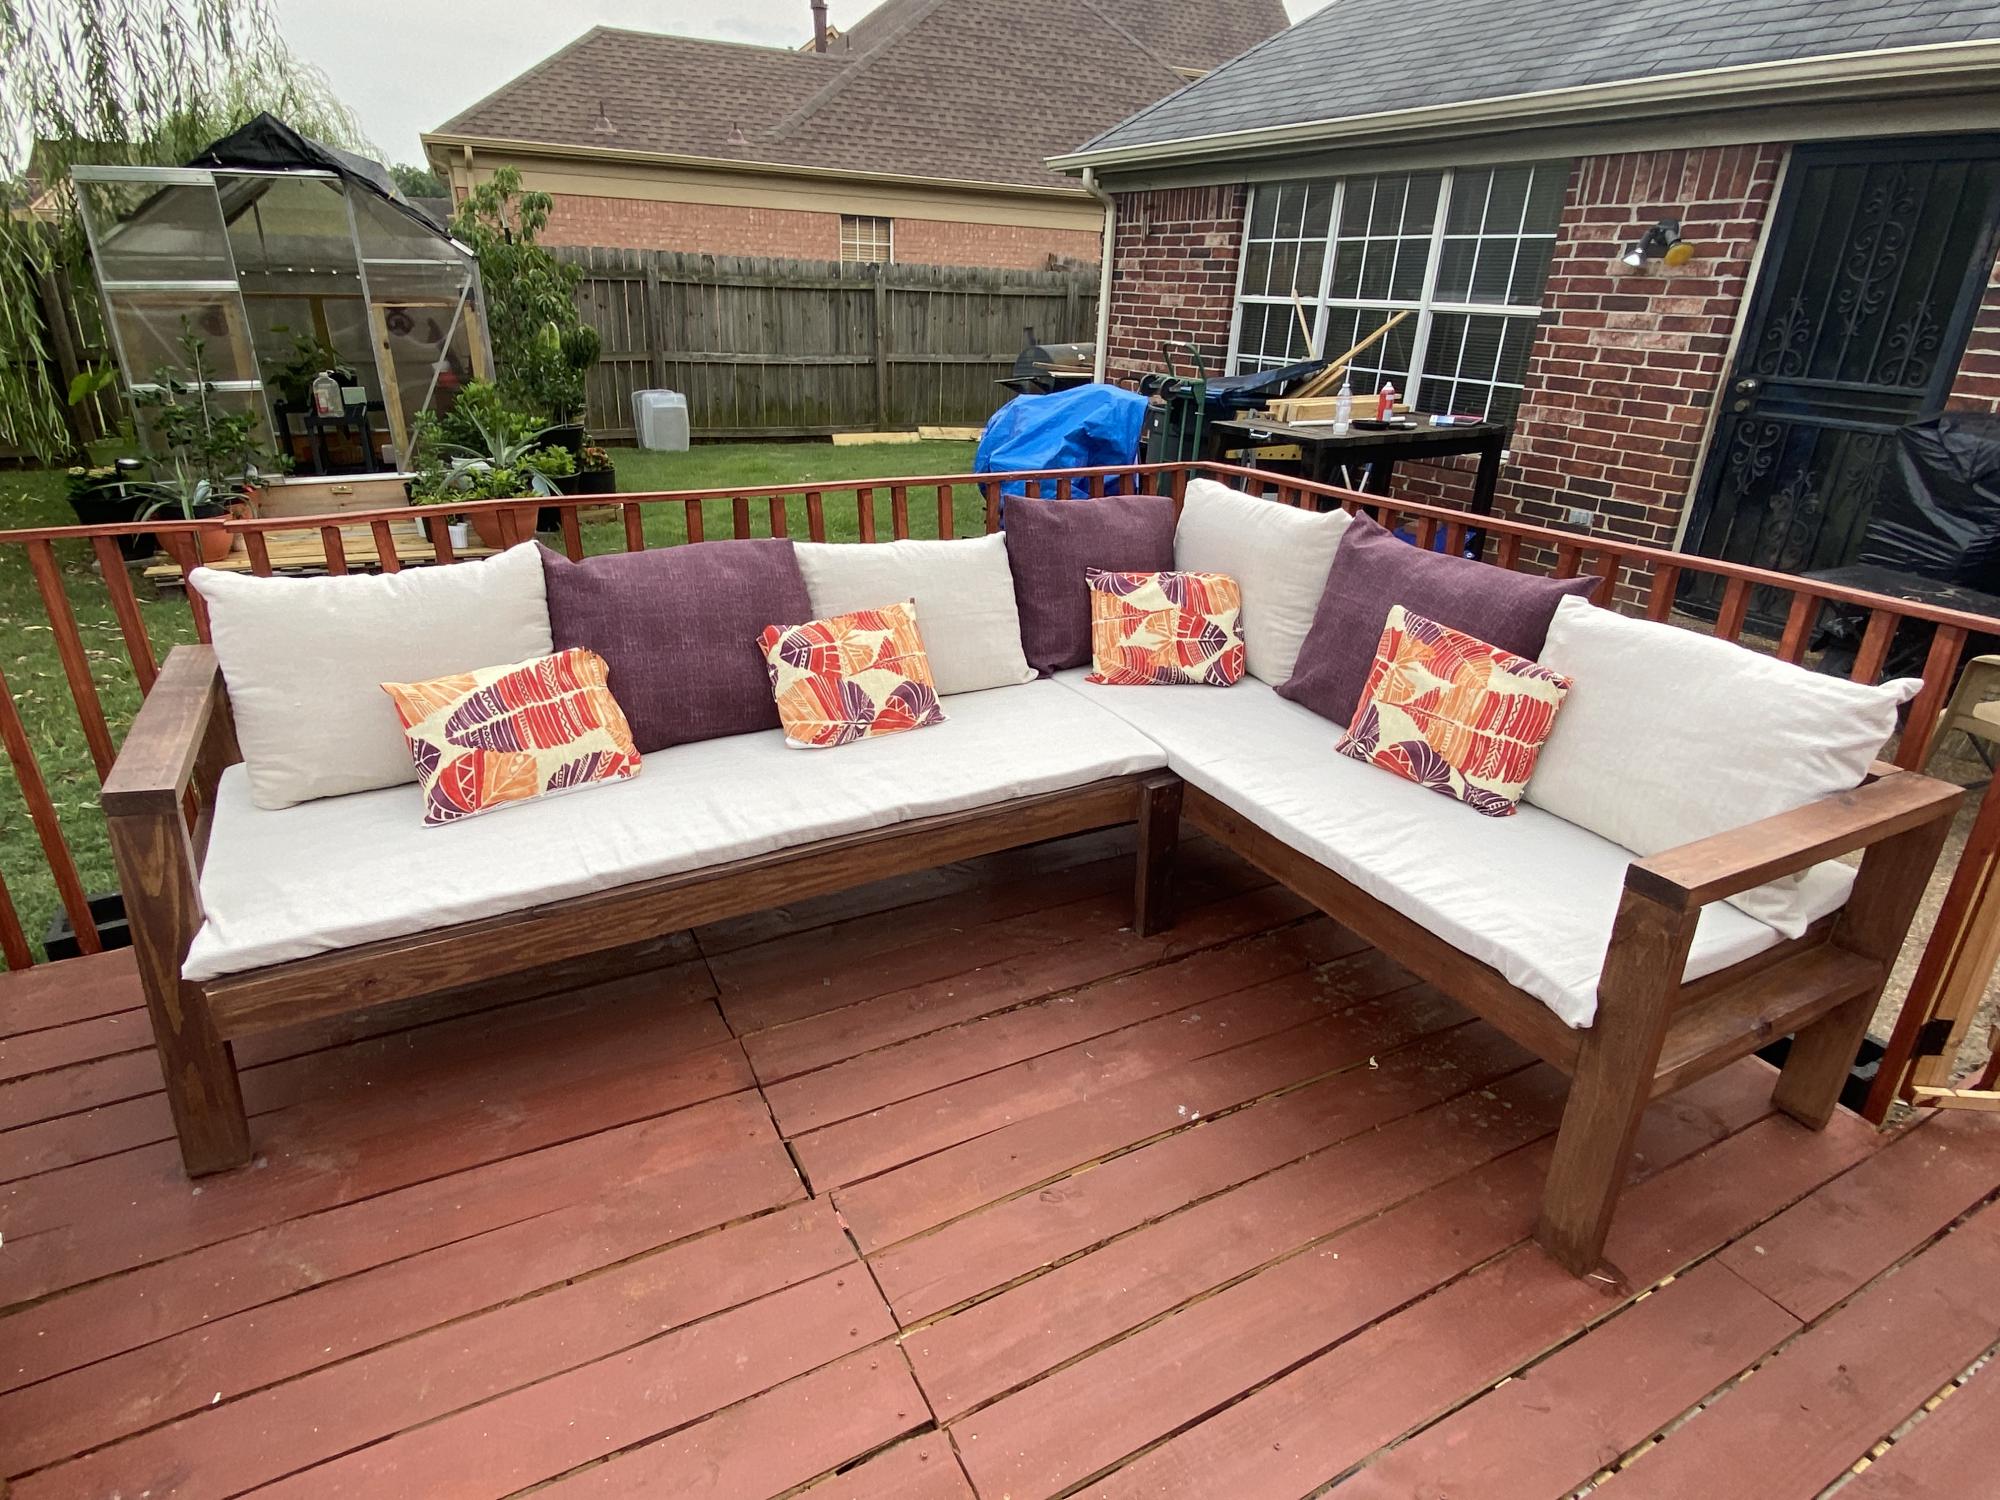
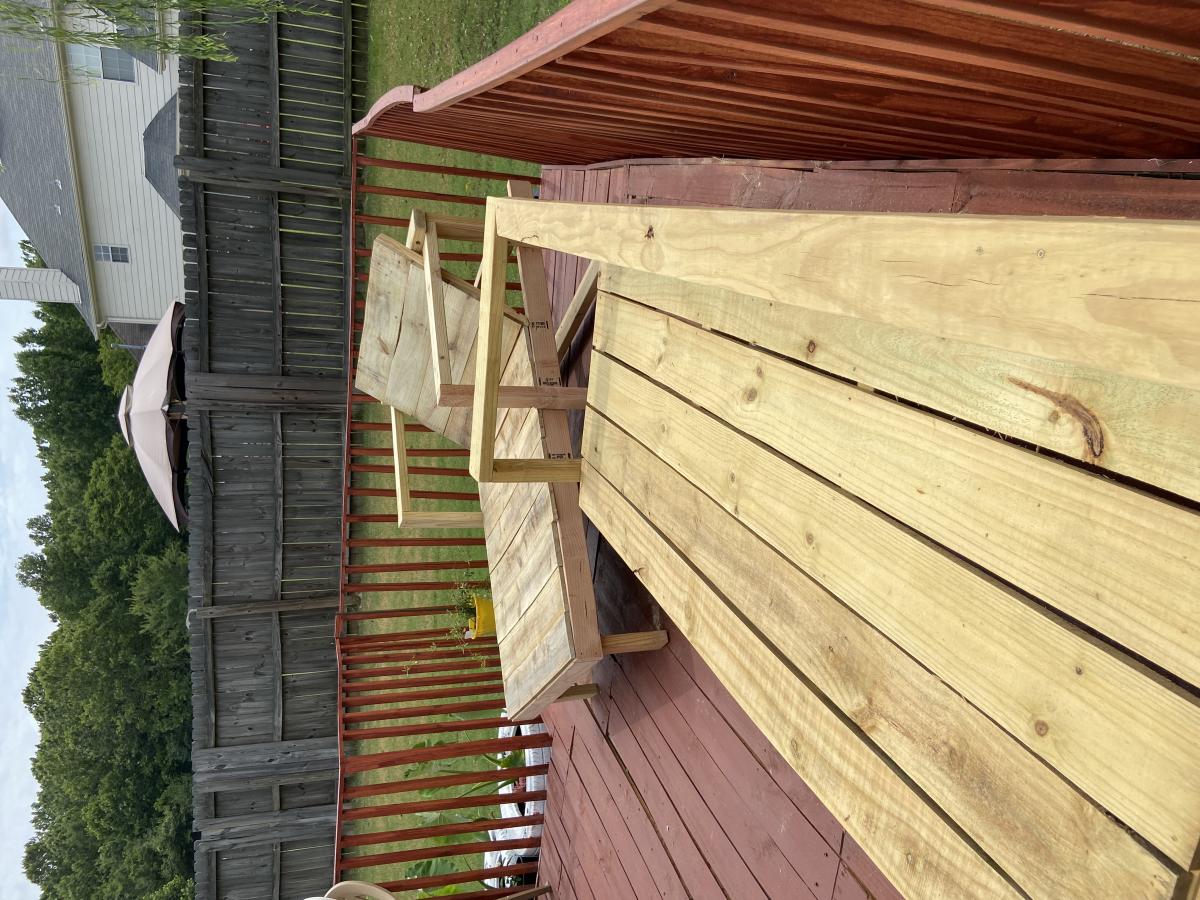
My first patio furniture build

Submitted by Anonymous (not verified) on Mon, 10/04/2021 - 13:31

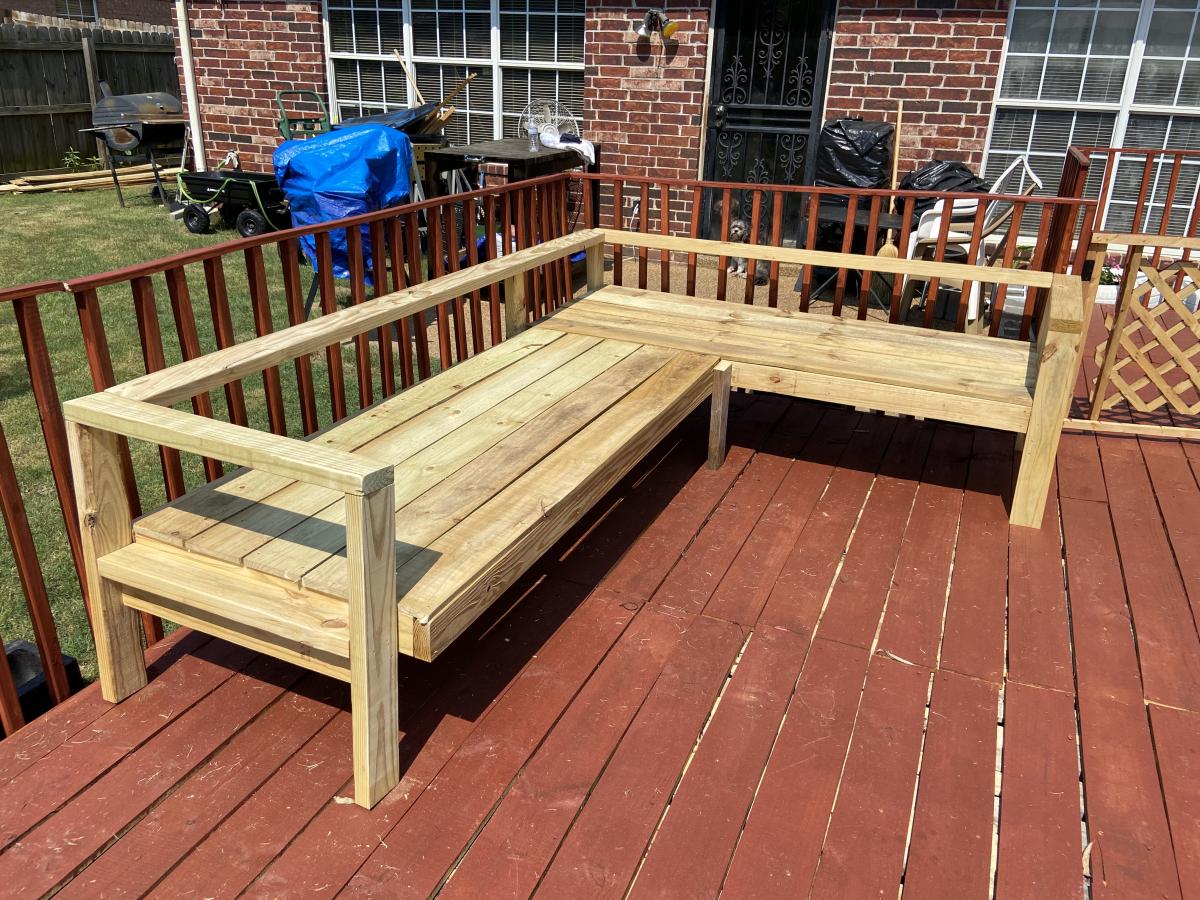
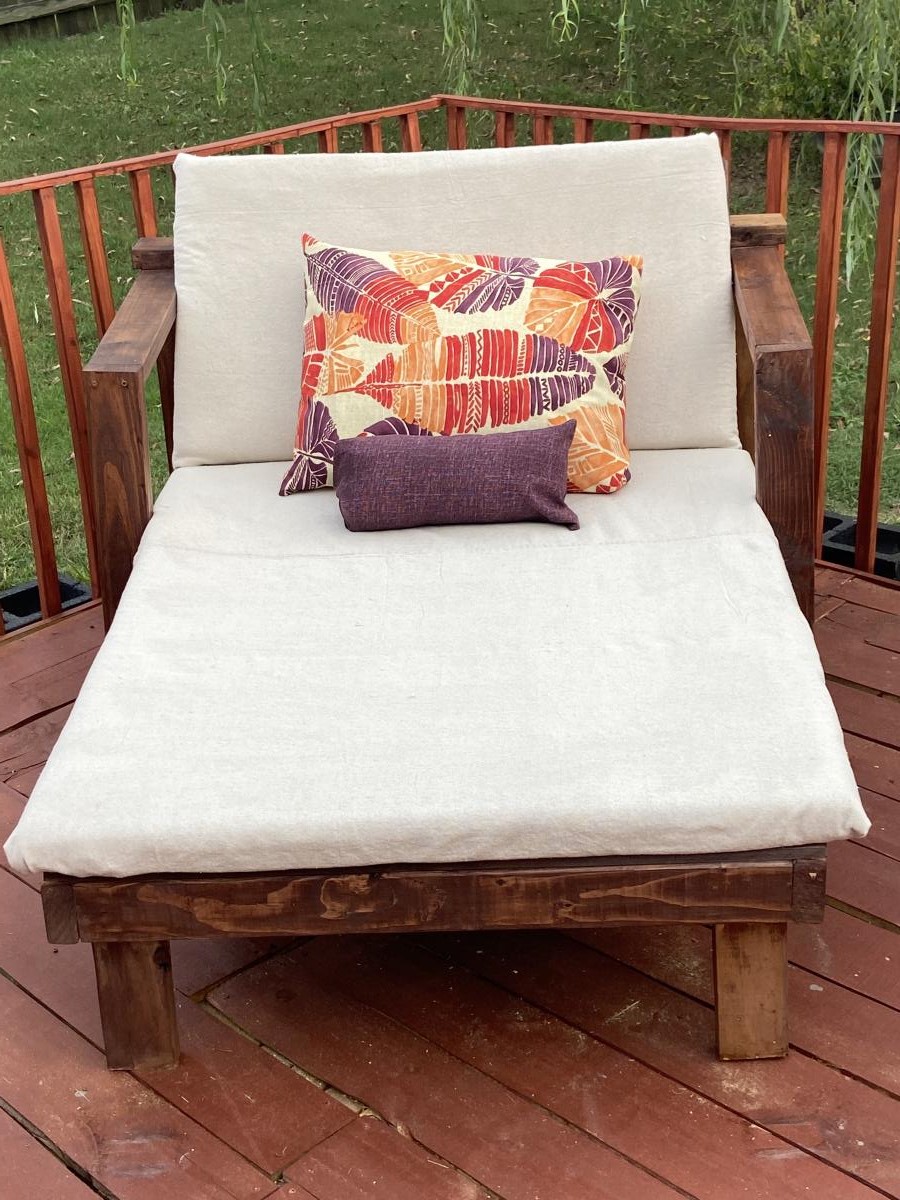
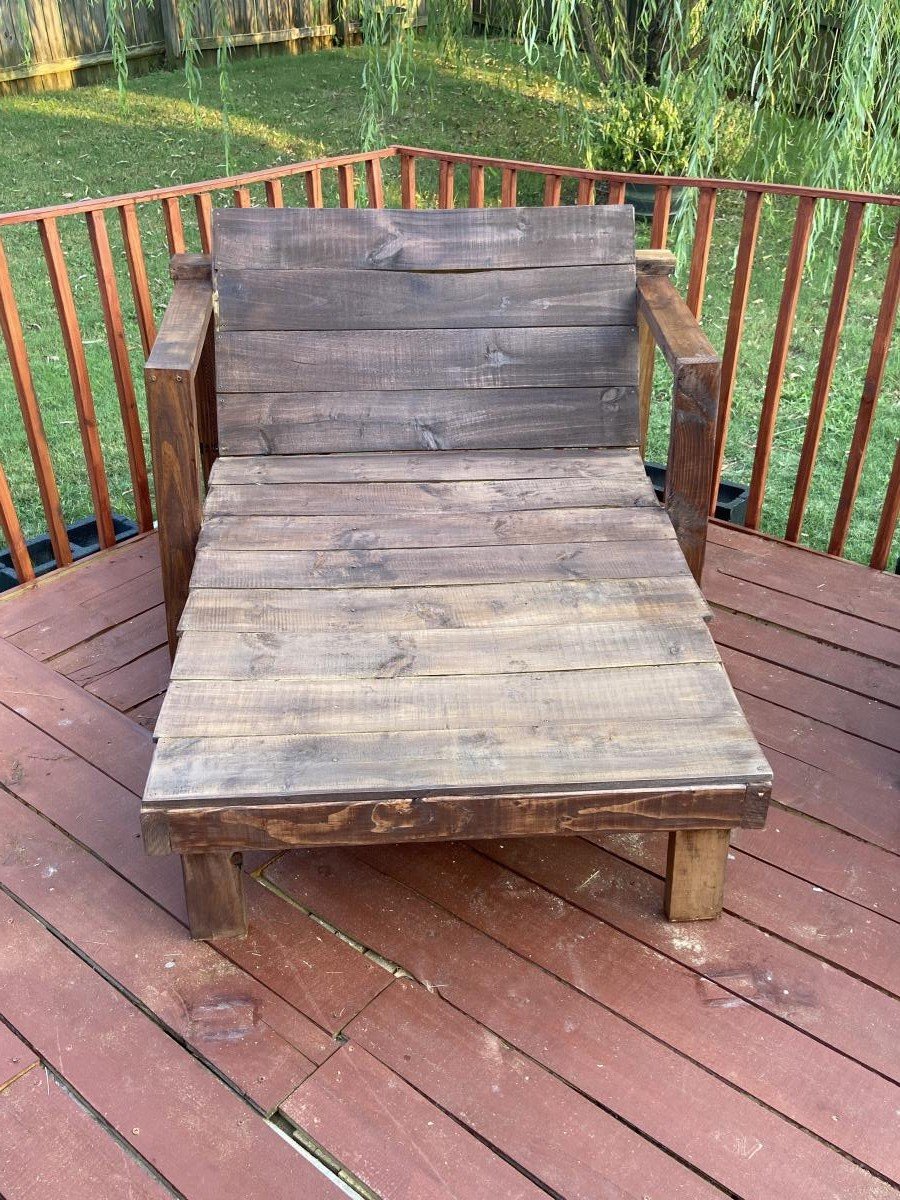
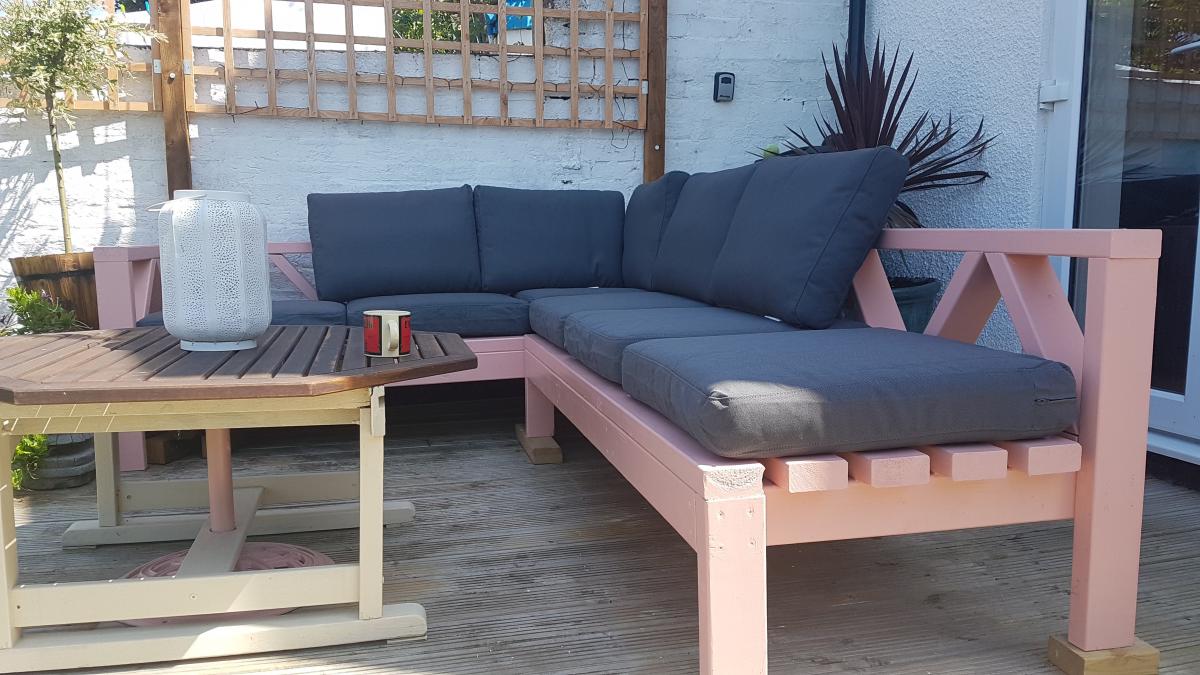
The sectional is based from Anna’s design. The lounger was a combination of different design. I love Anna White designs. As a beginner in woodworking, I find her to be easy to follow.
Comments

4x2 Patio Seating

Submitted by Anonymous (not verified) on Tue, 10/05/2021 - 02:12

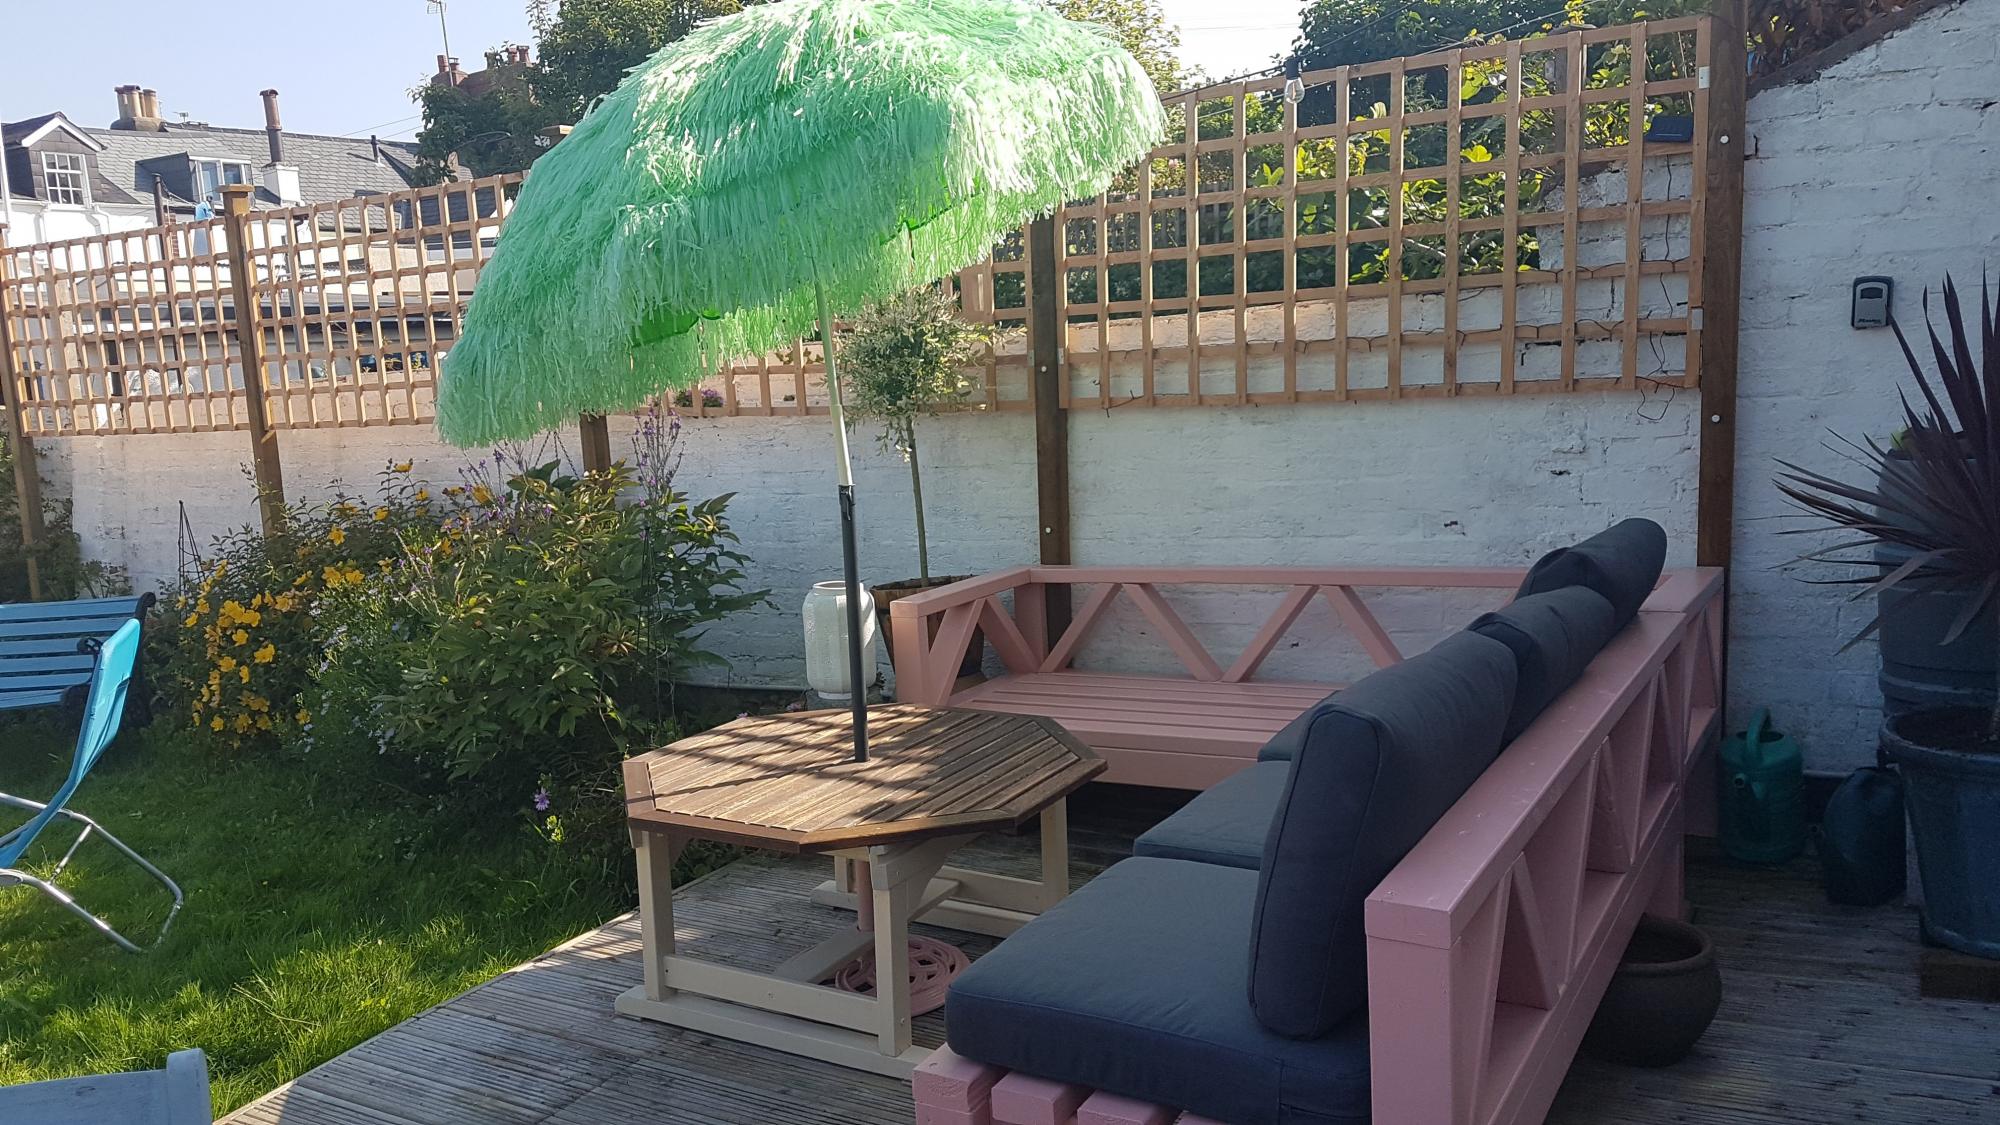
Easy to make 4x2 Patio Seating with Ikea style cushions.
Added the diagonal designs on the back.

Comments