Community Brag Posts

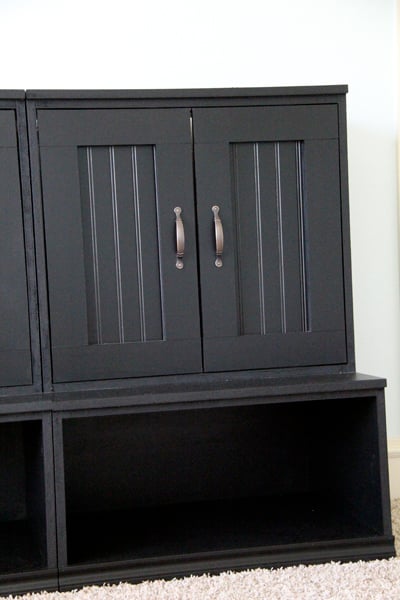
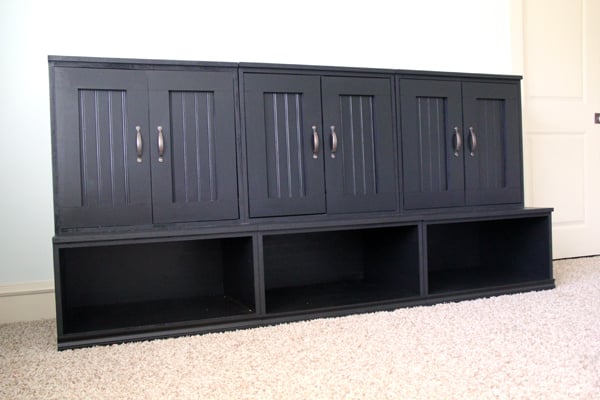
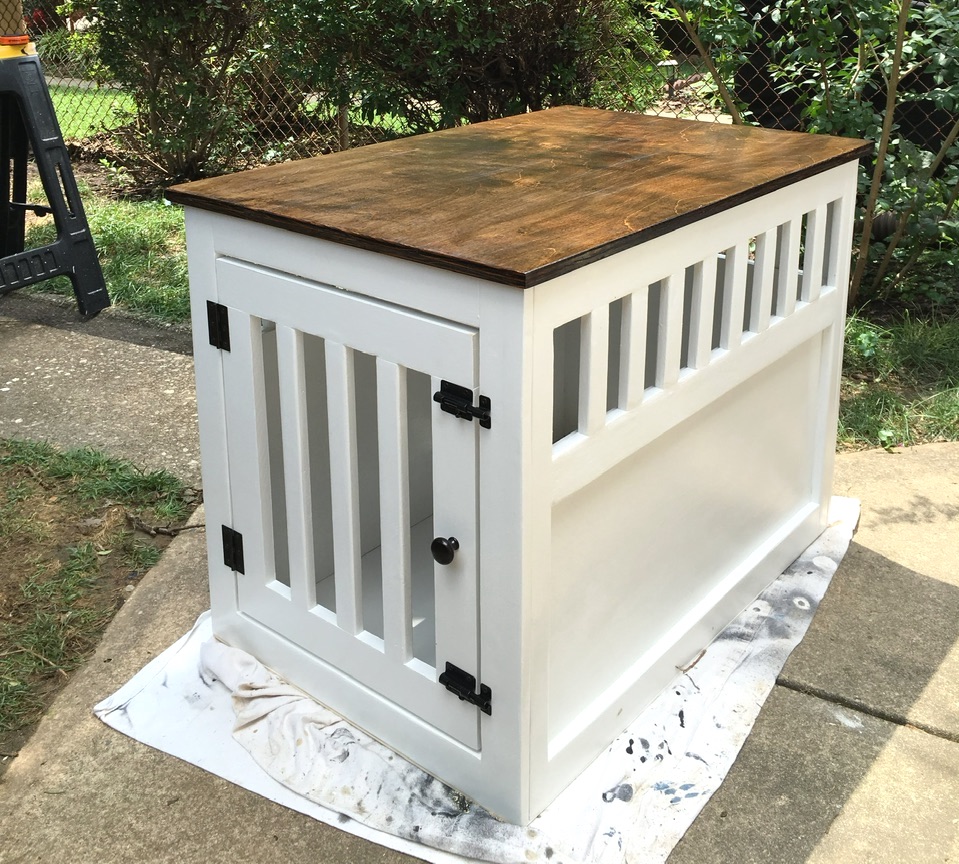
Medium Dog Kennel / End Table Combo

Submitted by kmhanrahan on Fri, 07/05/2013 - 11:54

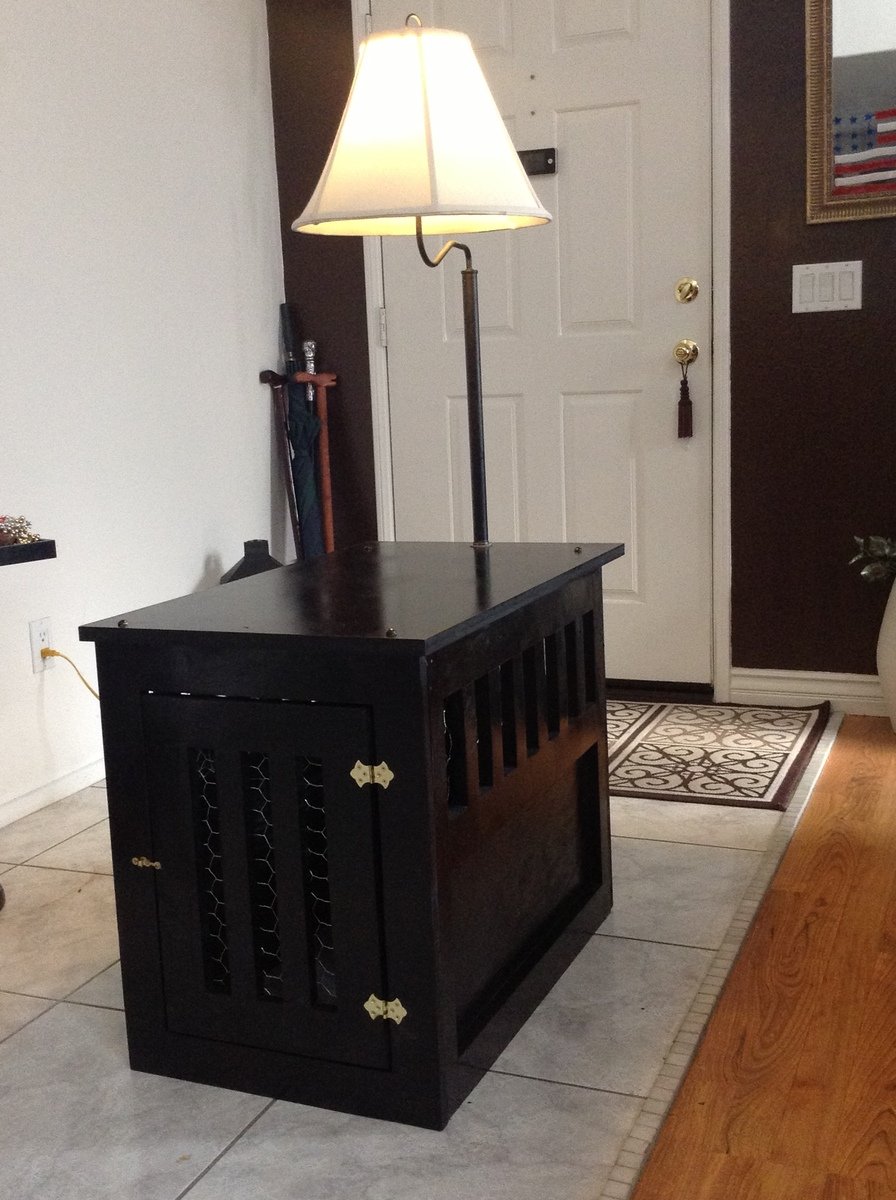
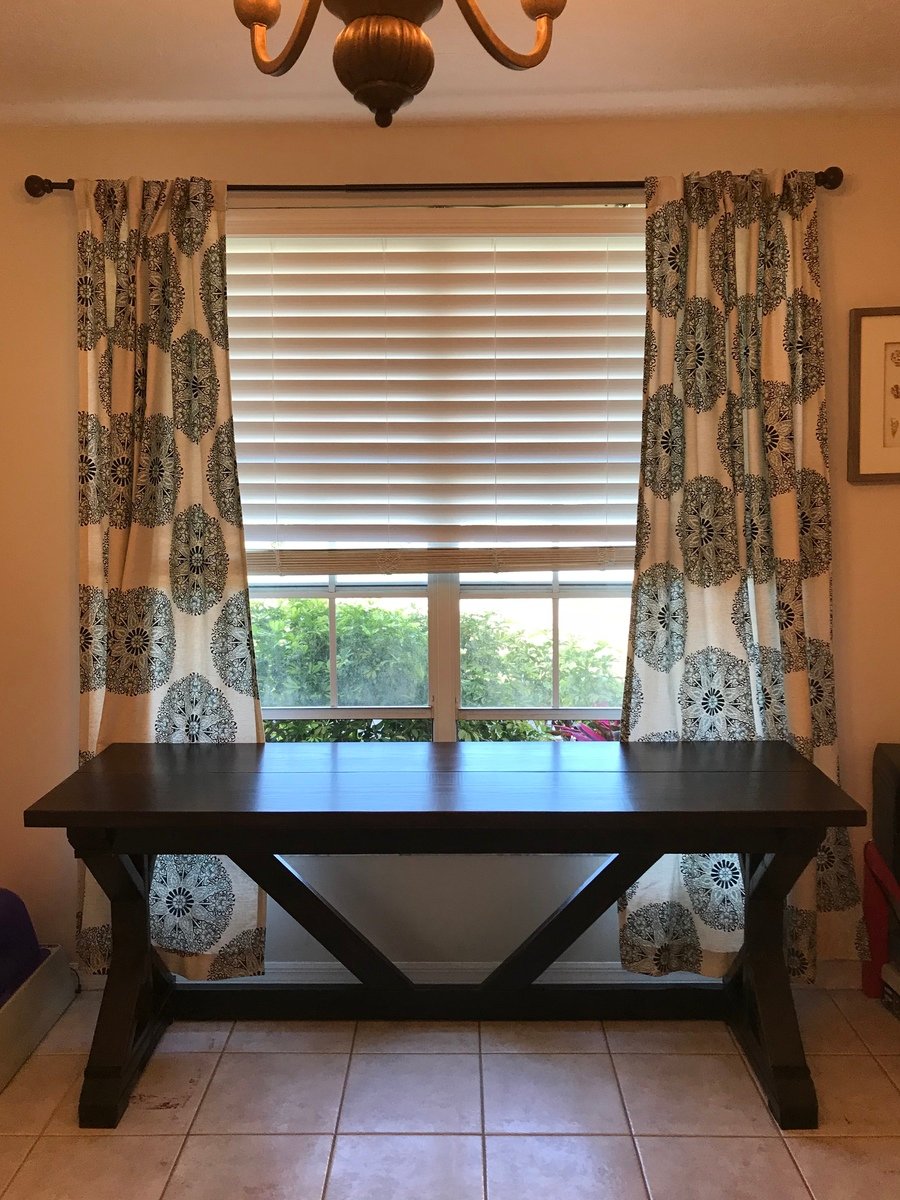
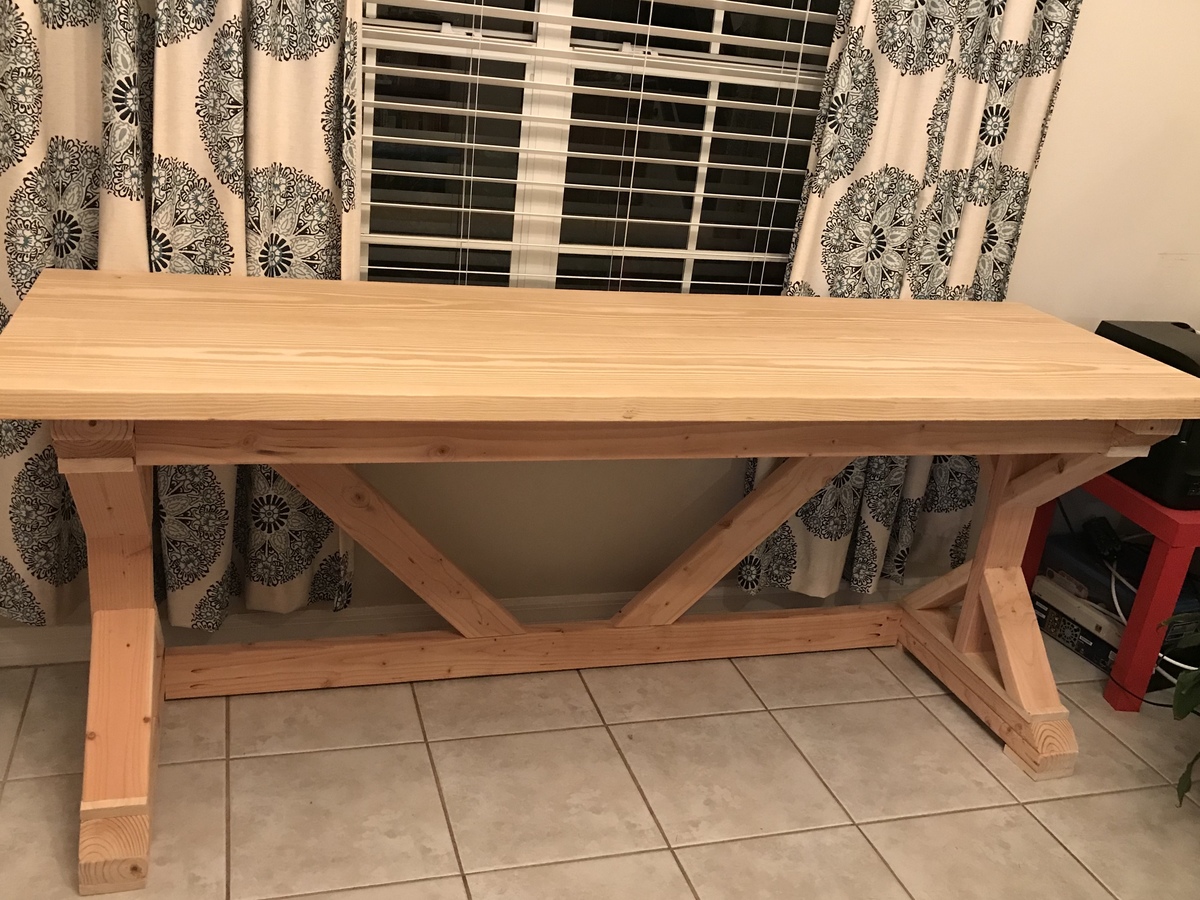
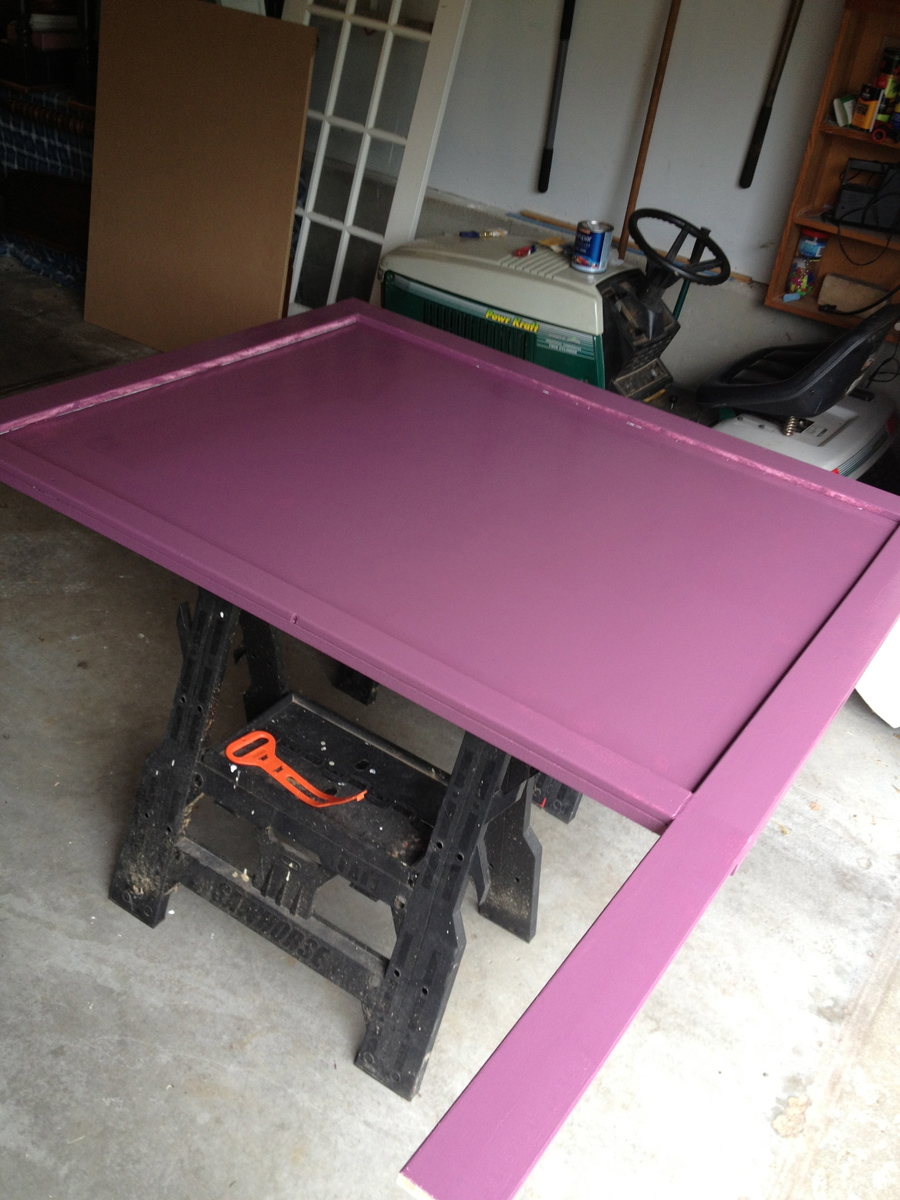
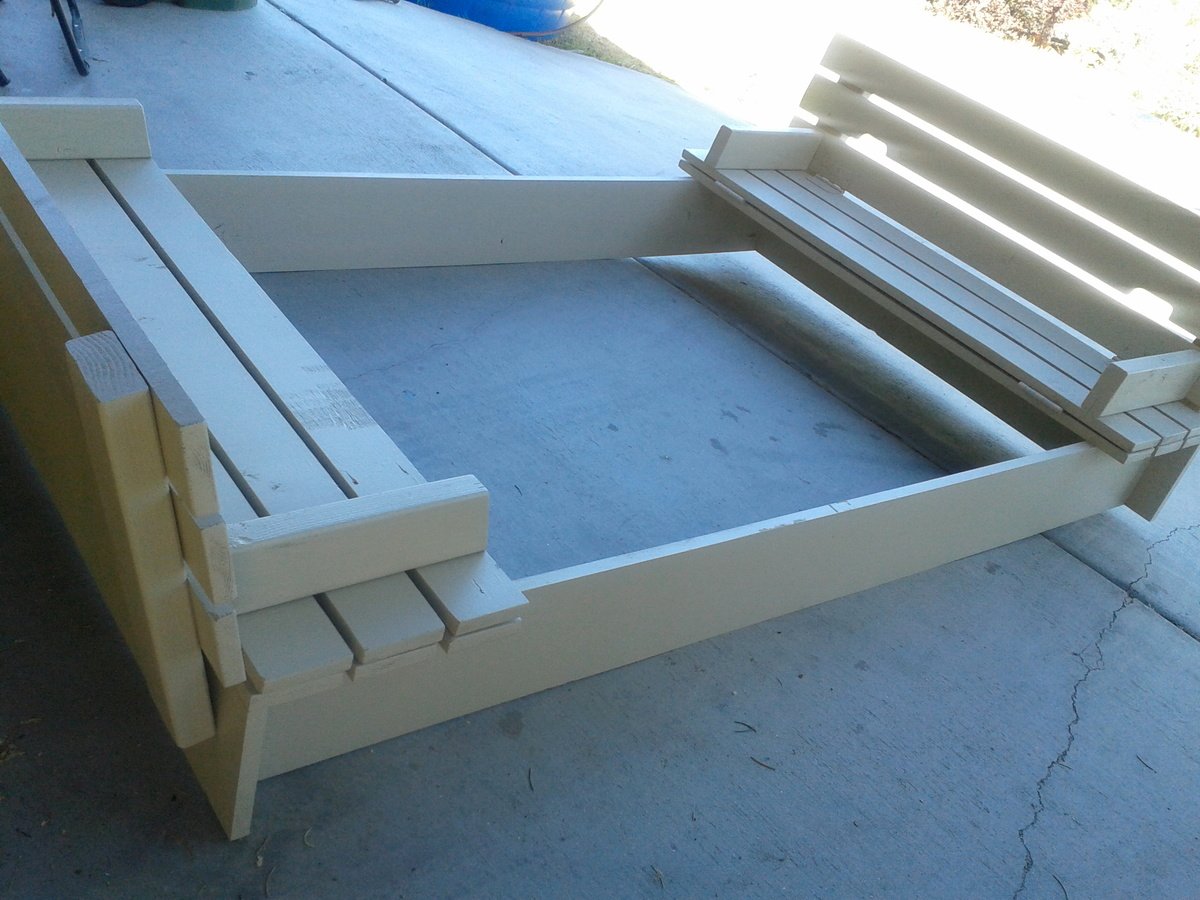
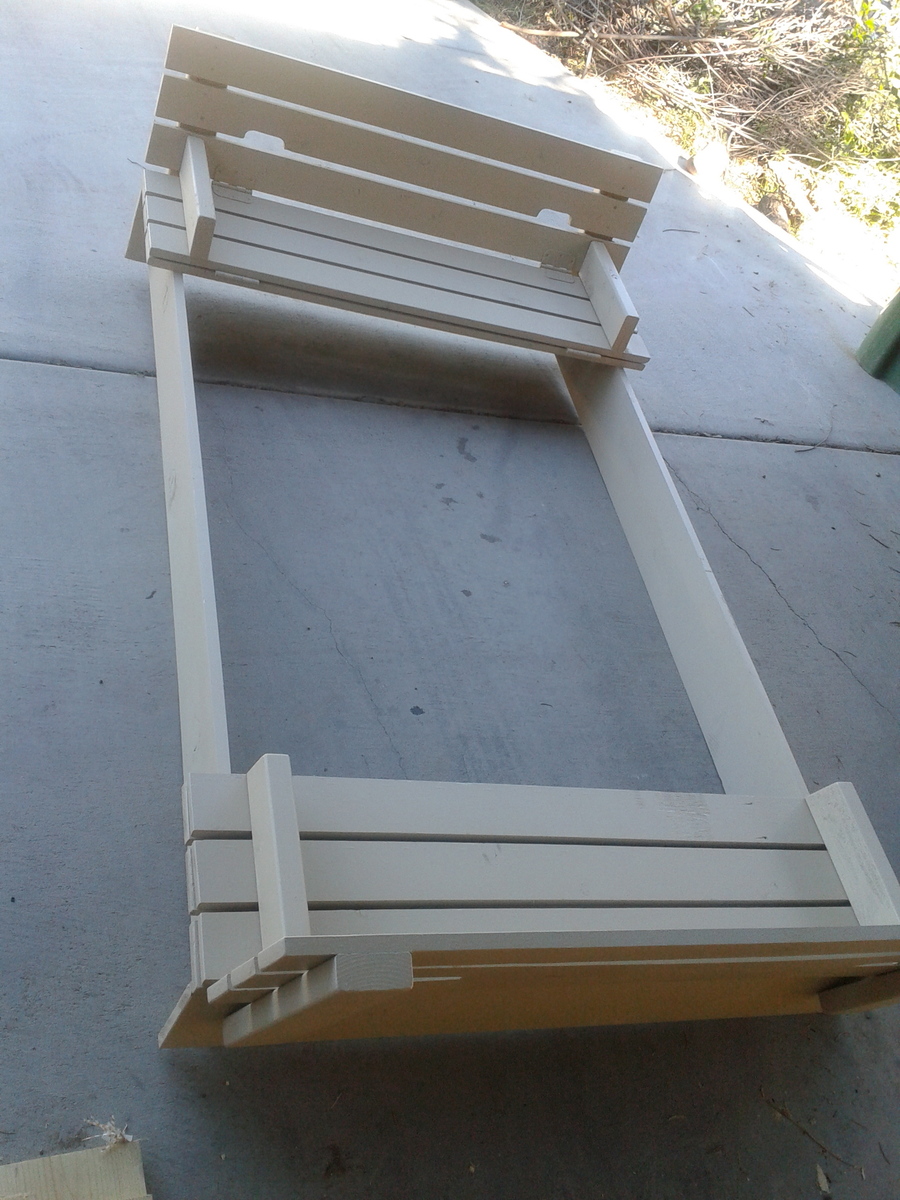
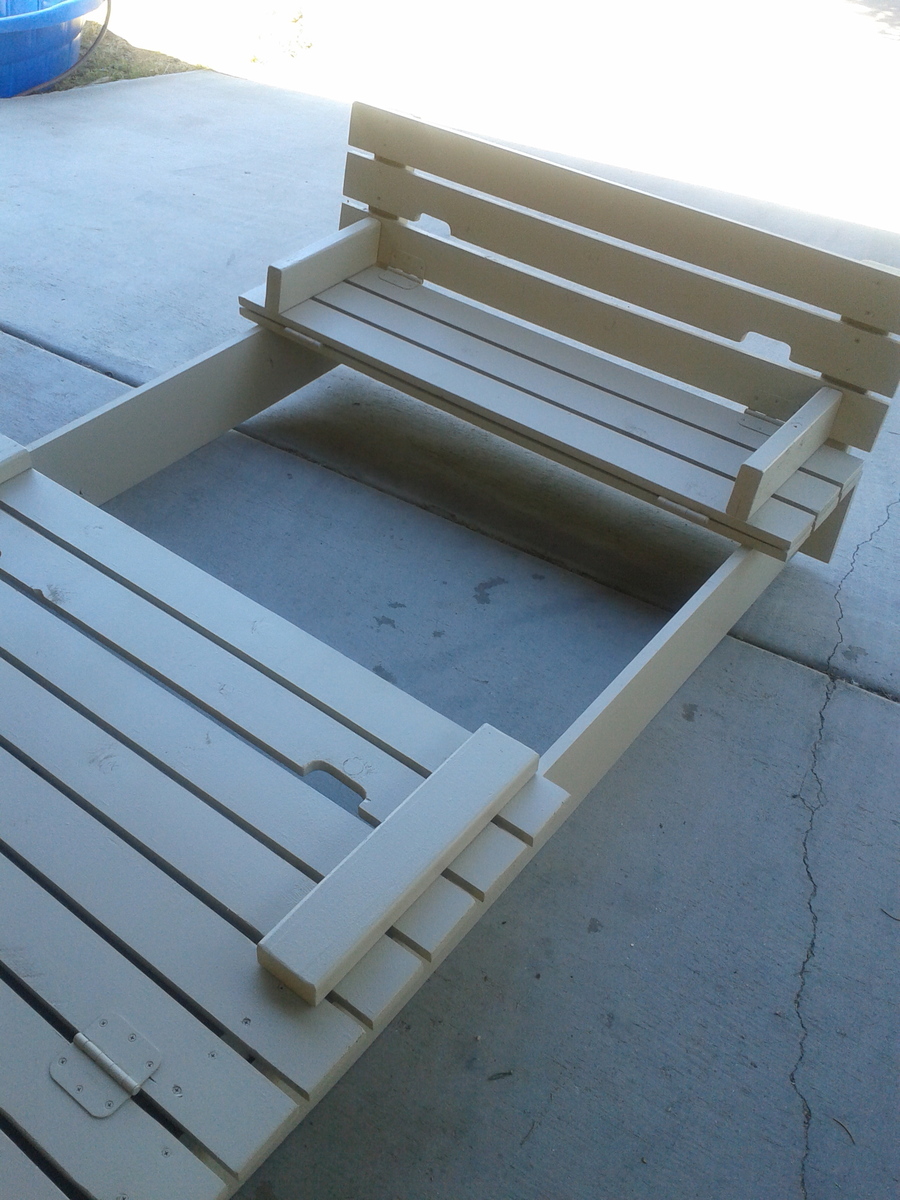
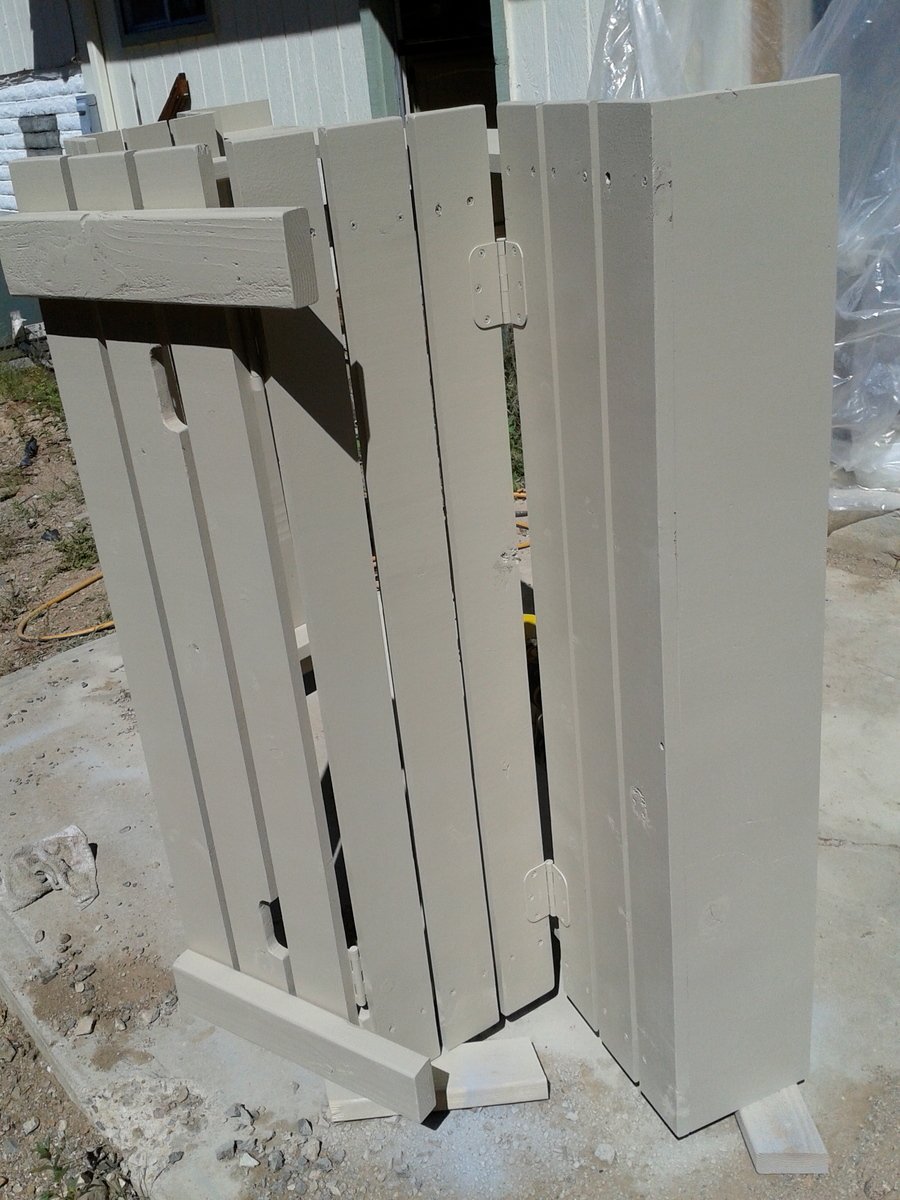
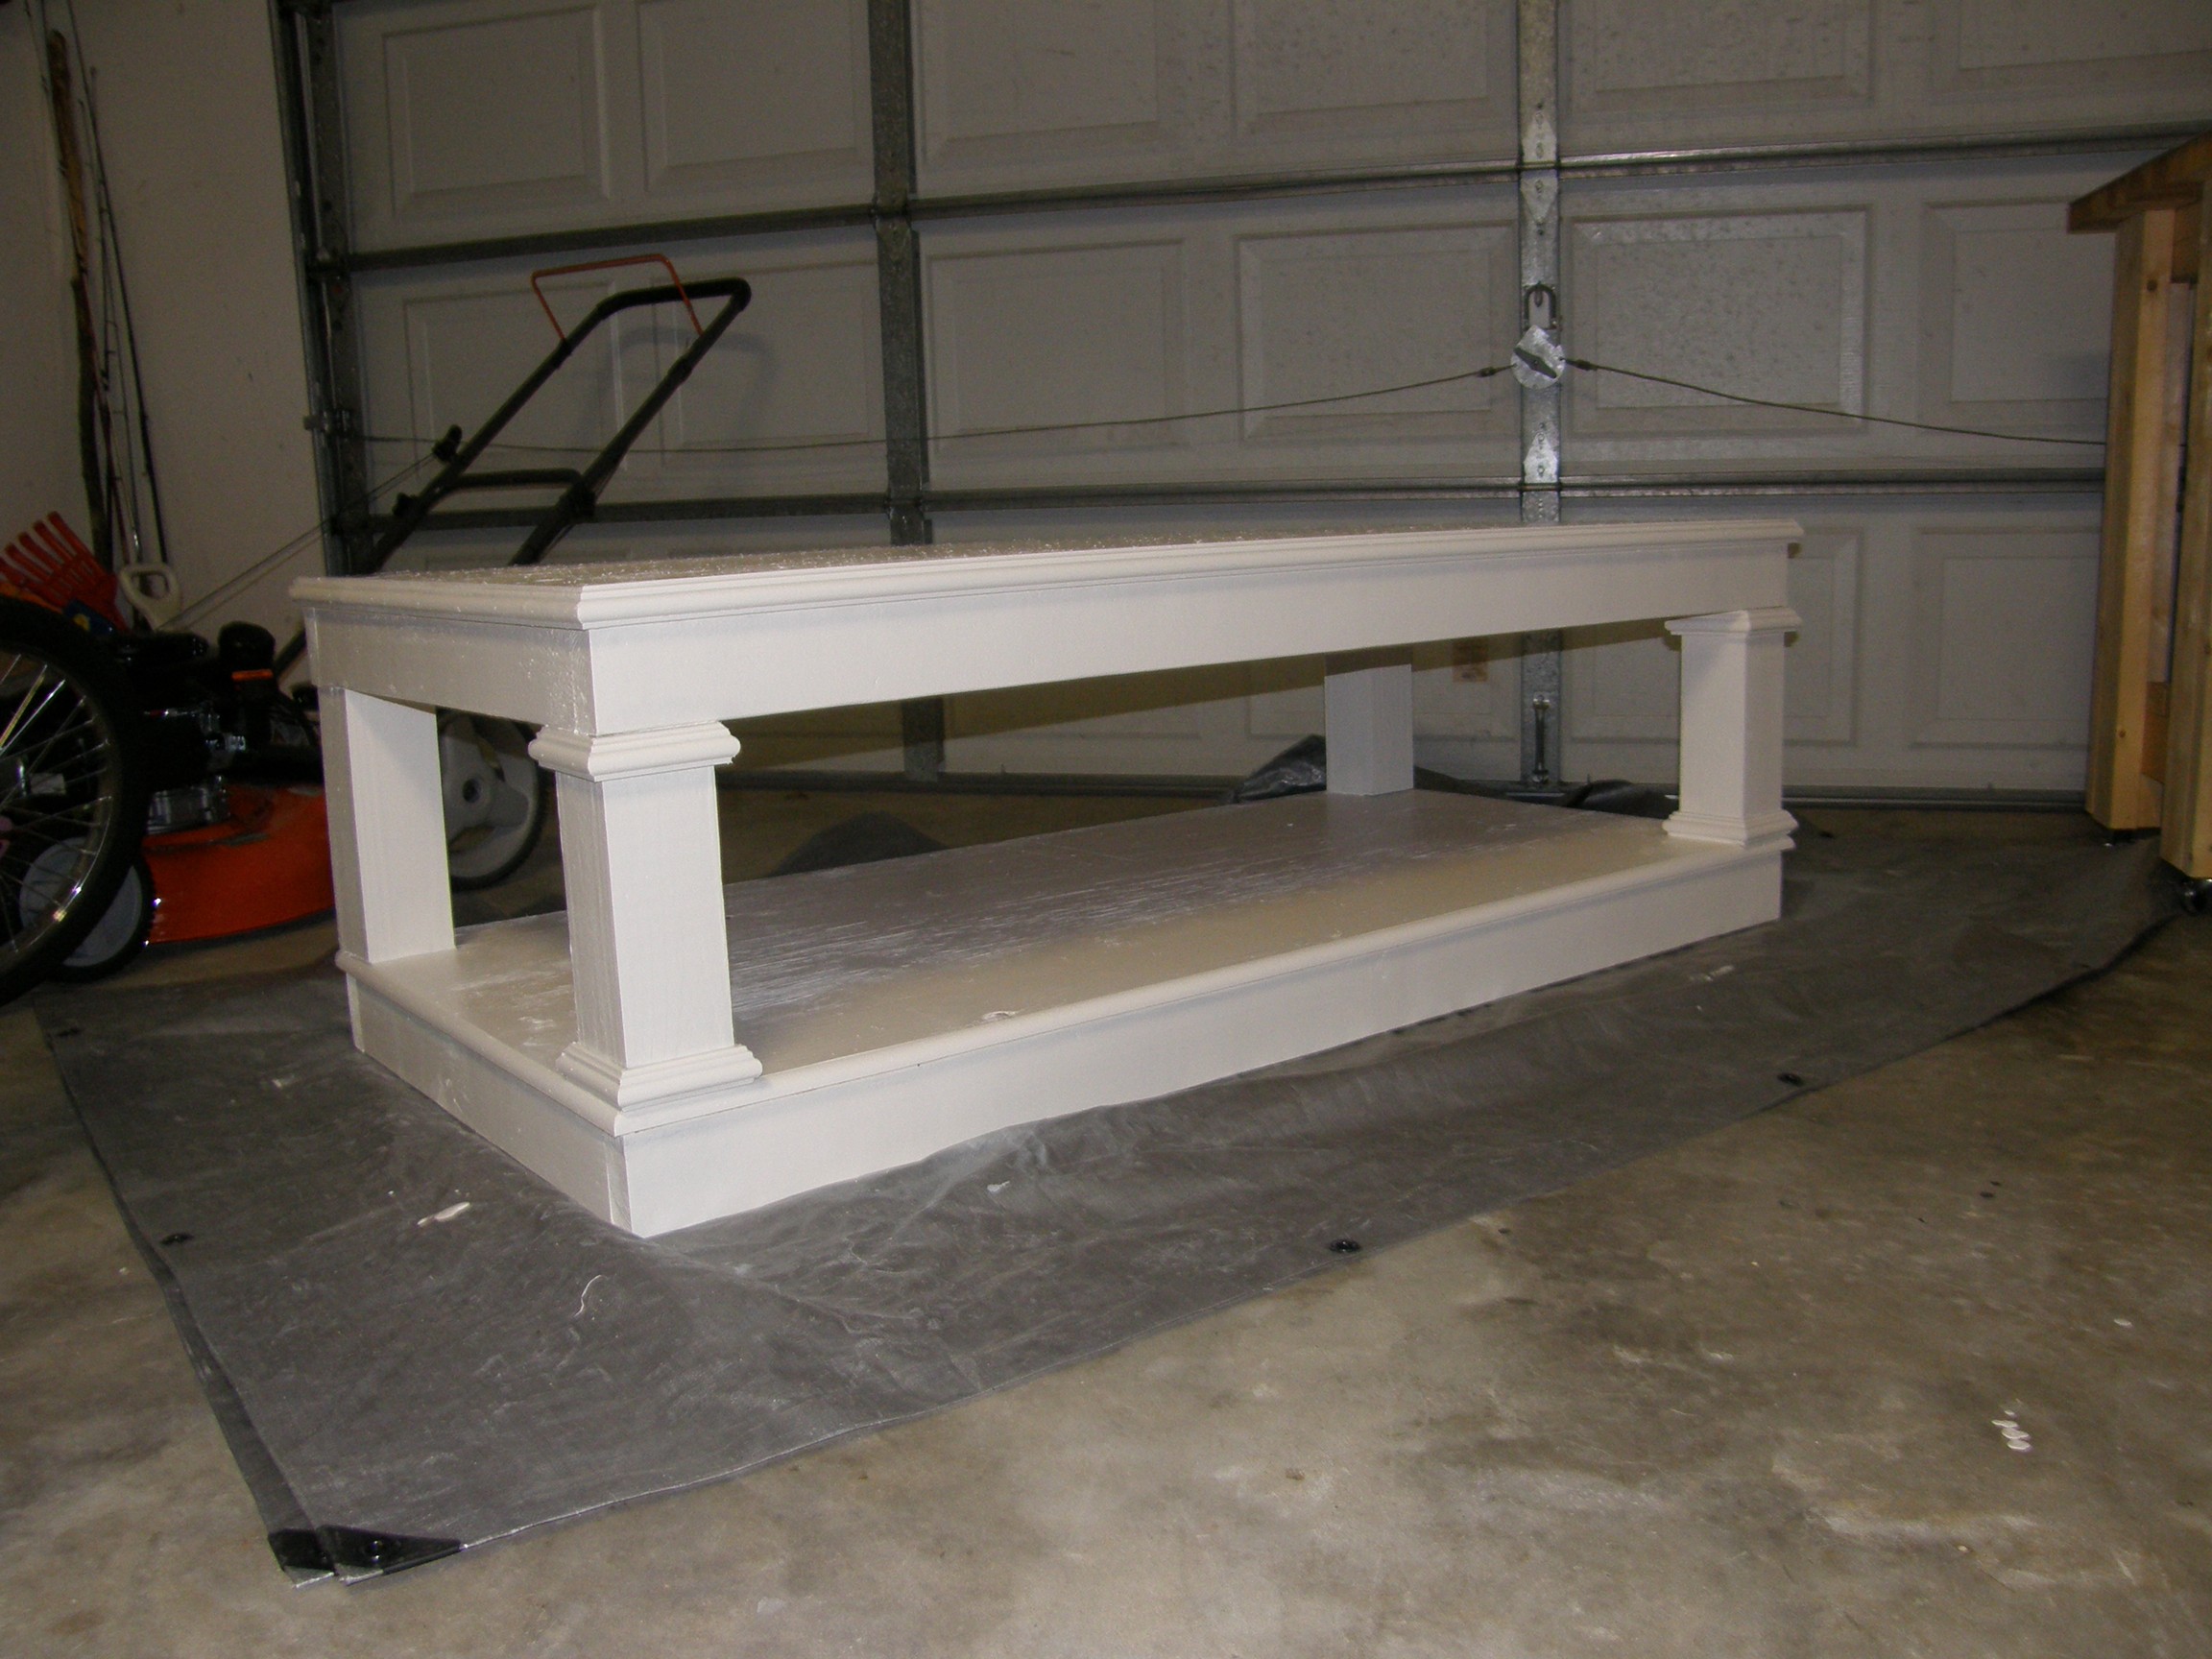
We loved Ana's plans for the large pet kennel / end table combo but we needed a medium-sized one for our Welsh Terrier, Watson. I reduced all the dimensions, ending up with a kennel that's 18"(W) X 24:(H) X 28"(D), perfect for Watson.

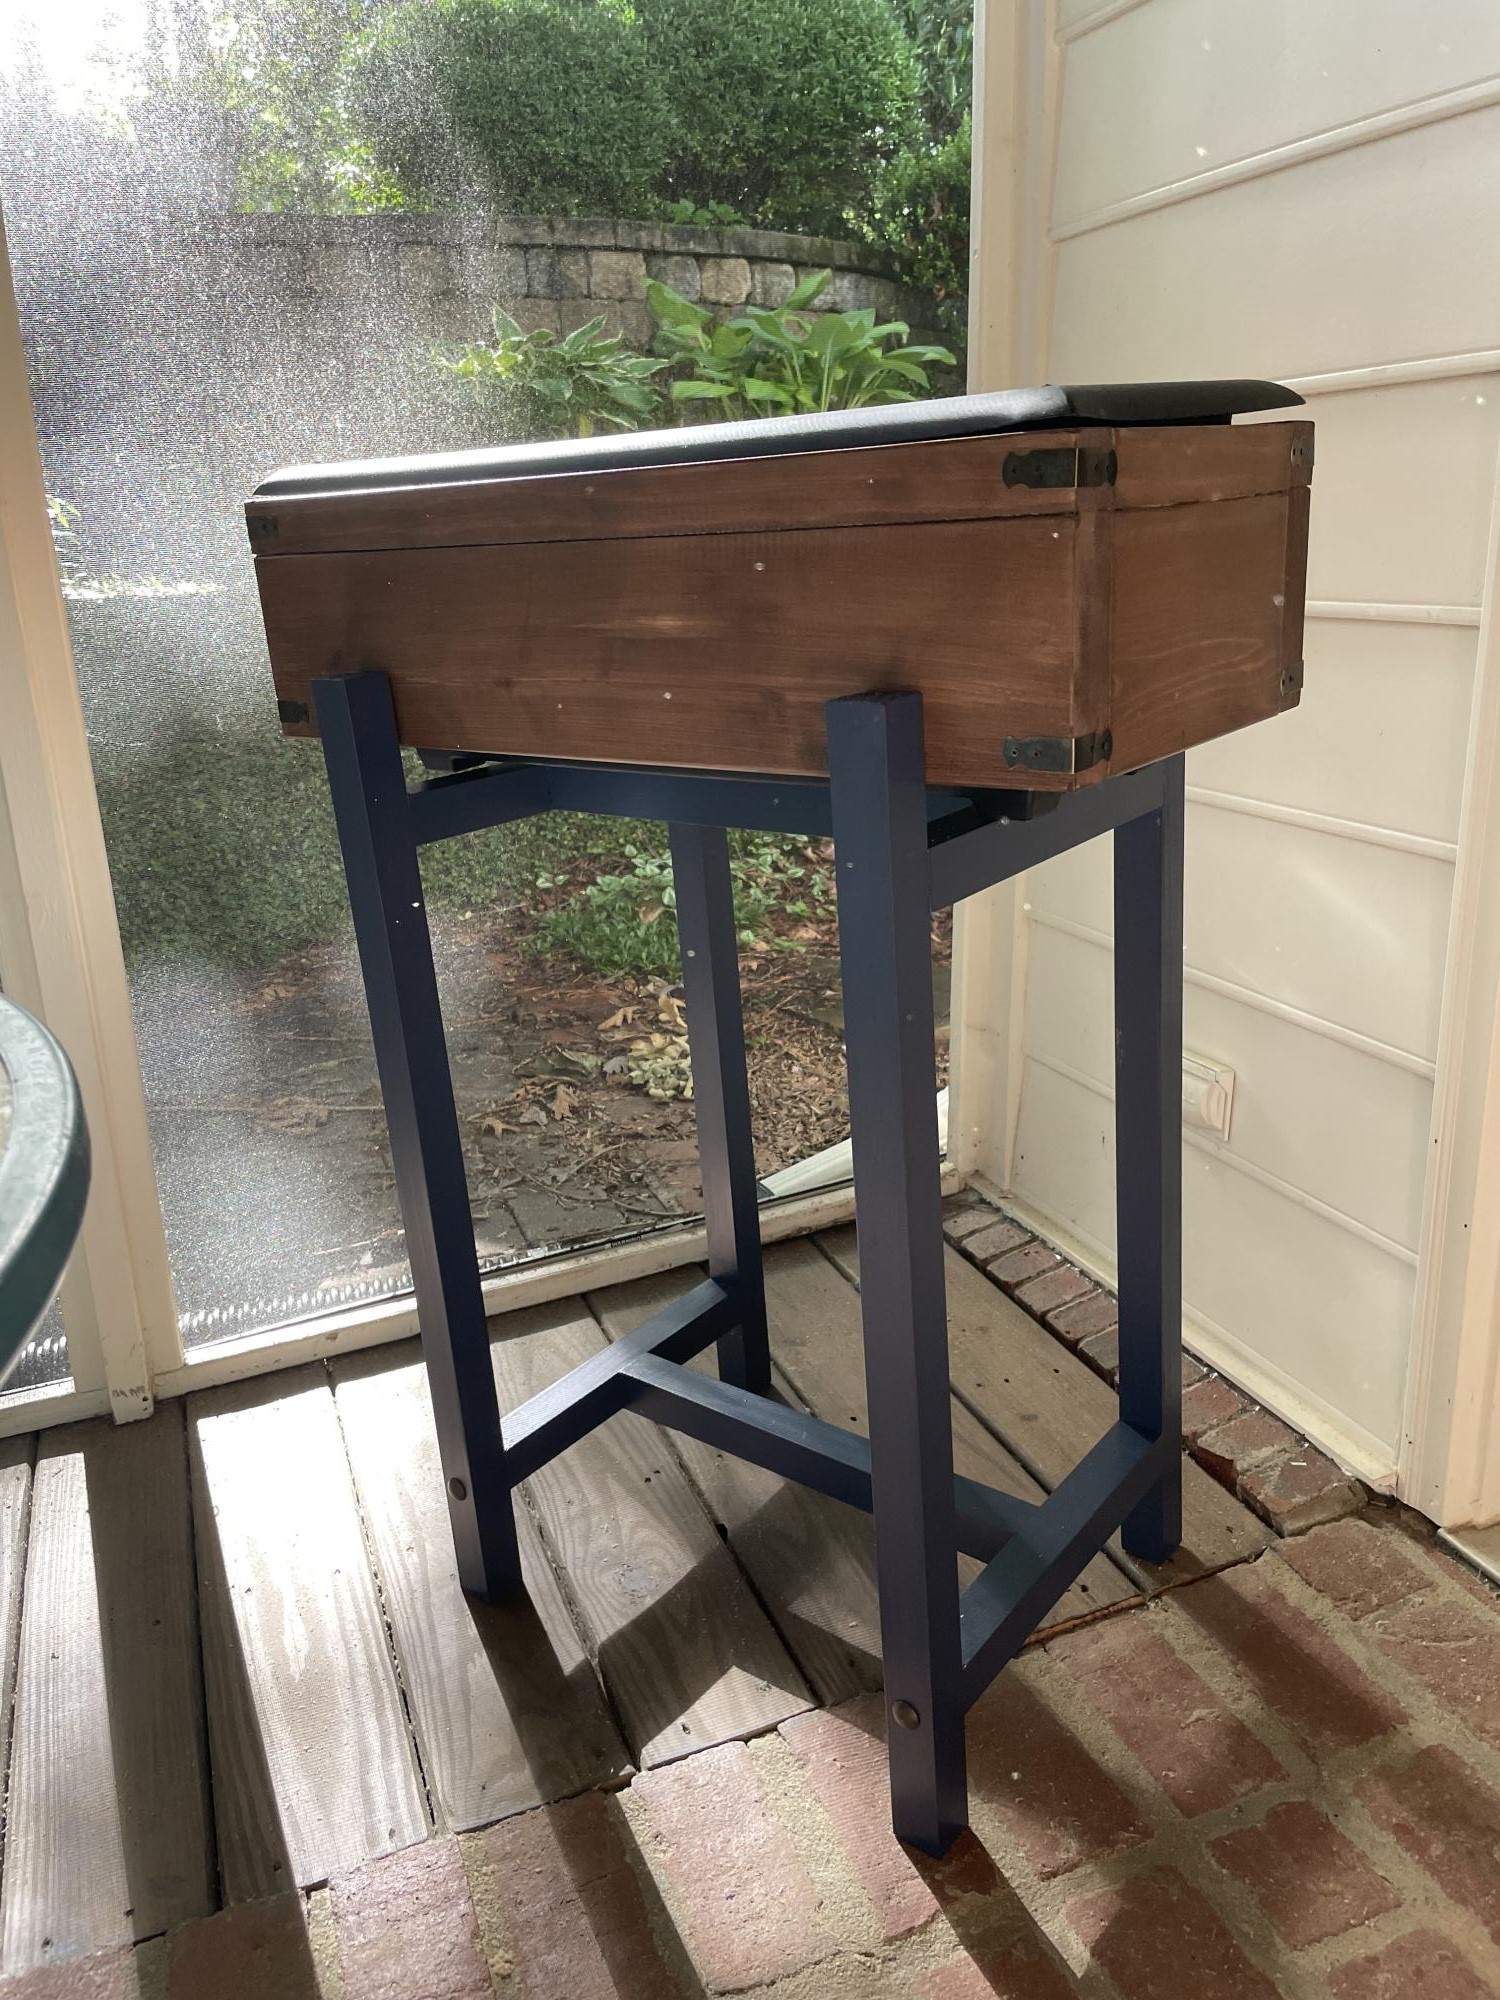
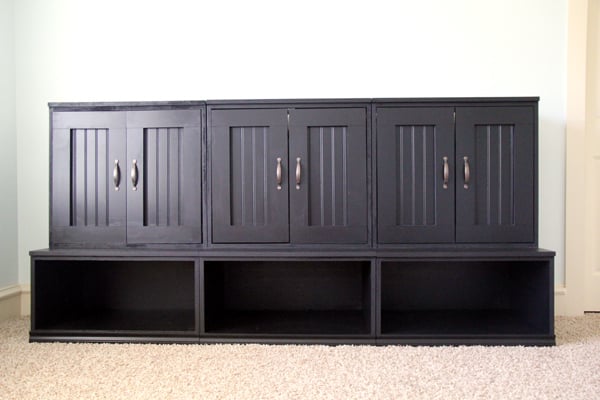
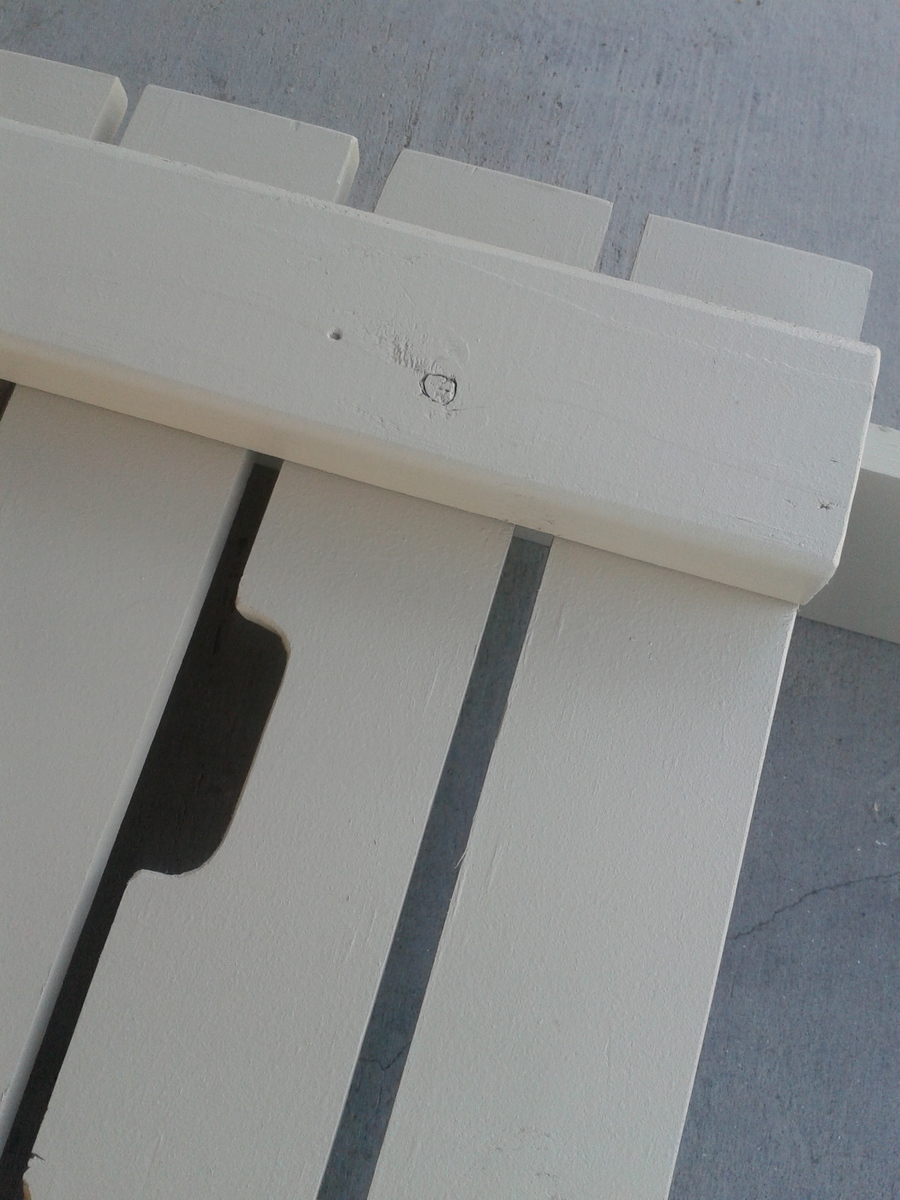
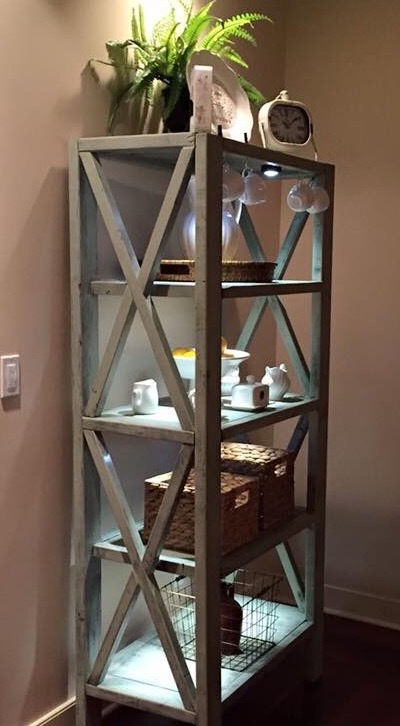
To prevent Watson from using the rails as chew toys, I lined the inside of those areas with chicken wire. I also extended the table top an extra 3" to accommodate a swing-arm end table lamp (with the cord outside of the kennel, of course). We painted the kennel black to match our other end table.

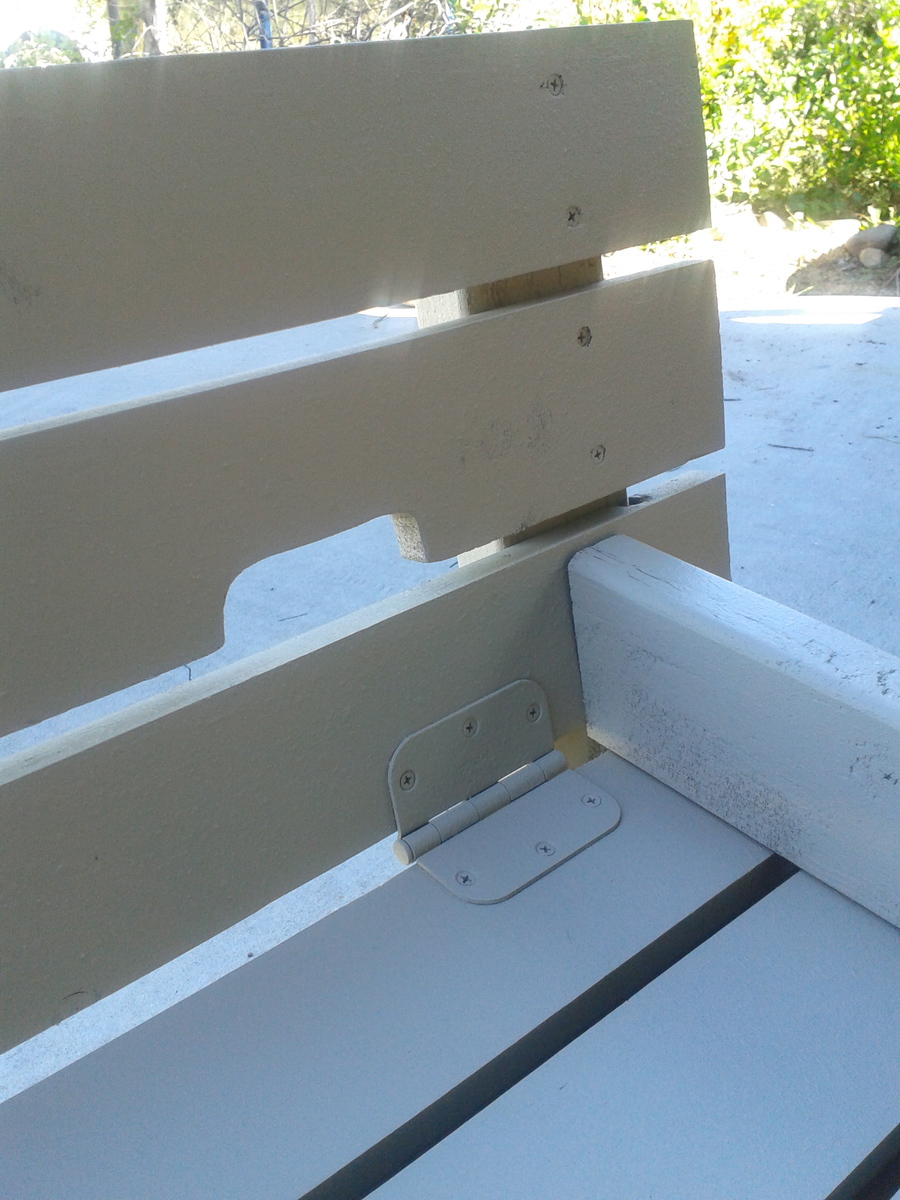
This was my first time using the Kreg Jig (80+ times on this project!) and I love it!! In fact, I'm looking for more projects that require the Kreg just so I can play with it some more. :-)

Built from Plan(s)
Estimated Cost
$100
Estimated Time Investment
Weekend Project (10-20 Hours)
Finish Used
Rustoleum spray paint and black semi-gloss spray paing
Recommended Skill Level
Intermediate

Comments

kathybusche

Fri, 09/15/2017 - 18:33

I was wondering if you still happen to have the scaled down instructions for this dog kennel and would be willing to share them through email?


Kathy

Modified King Farmhouse Bed

Submitted by Jbland72 on Thu, 07/09/2015 - 21:13

This was my first major project to build. I modified it to resemble Macy's Captiva bedroom set. I finished it with General finishes lamp black paint with some slight distressing.

Estimated Cost
$250-$300
Estimated Time Investment
Week Long Project (20 Hours or More)
Finish Used
General finishes lamp black paint and satin top coat.
Recommended Skill Level
Beginner

Comments

Fancy X Desk, Or my Chunky Medieval Desk

Submitted by Labumy on Sun, 03/04/2018 - 14:27

We estimate that the cost of this project was right around $50, but we had a lot of tools and materials already.  This was a fun project and a great piece for the cost. I would suggest staining as much as you can before assembling those legs!  Staining and applying poly was a pain in the butt!  We used a dark mahogany Minwax stain and 2 coats of Minwax poly. It took us a while to do it because we have a 11 month old that keeps us on our toes. 

Estimated Cost
$50
Estimated Time Investment
Week Long Project (20 Hours or More)
Finish Used
Minwax Mahogany and Minwax quick dry poly
Recommended Skill Level
Beginner

Comments

Dianne Kynaston

Fri, 11/04/2022 - 13:34

Looking for plans, but how far forward do the two slanted pieces come under desktop. Can you slide a drawer unit under there?

Modge Podge black and white photos onto the headboard

Submitted by TanyaBell on Sat, 08/17/2013 - 06:57

I chose to modify one of your headboards by only doing step 1-4.

We made a queen headboard and I wanted it slightly taller than the plans suggested so I added 12". I used 3/4" MDF as the back cut 60" w x 48" H, 1x4s for the sides and top and a 1x3 for the bottom. I glued and nail gunned each piece to the edge letting the sides extend down for the legs of the headboard.

I filled the nail gun holes with wood filler. The piece was primed, then painted with 2 coats of color, and then the photos were Modge Podged onto the interior of the headboard touching and overlapping. As my daughter gets older we can add more photos or I can make a fabric insert to go over the photos. She loves it and I'm happy we could do something different.

Estimated Time Investment
Afternoon Project (3-6 Hours)
Finish Used
Paint is Valspar Gypsy Rouge 1010-9 in semi-gloss.
Recommended Skill Level
Beginner

Comments

yurra-bazain

Sat, 08/17/2013 - 16:23

I love how you made your daughter's headboard personalized. No one else in the entire world will have a headboard like hers! :) That's amazing! And the color coordination is great. =D

Small raised planter stand

Submitted by Anonymous (not verified) on Fri, 06/10/2022 - 17:04

Plan to use as a cooler :) adjusted dimensions to fit a bigger planter box and added some decorative details. It came out great!

Built from Plan(s)

Comments

Cameron Wall Storage Unit

I used Ana's plans to build a Cameron Wall unit for my new nursery. I used 3/4" MDF and 1 1/4" brad nails with lots of Gorilla Wood Glue to assemble. I also used bead board on the doors. Great storage! You can read more at http://www.shanty-2-chic.com/2011/07/furniture-for-the-new-nursery.html

Estimated Cost
$140
Estimated Time Investment
Weekend Project (10-20 Hours)
Finish Used
2 coats of Valspar Premium satin black paint, 1 coat of Polycrylic
Recommended Skill Level
Beginner

Comments

Outdoor Sofa

Submitted by Anonymous (not verified) on Fri, 06/24/2022 - 15:25

We built the outdoor sofa from 2x4 collection, me, my dad and my kids. Didn't take too long to put together, maybe 2 and a half hours from start to finish. It's my dad's gift for Father's day and we had a great time doing it together! We used pressure treated wood and sanded at the end. Just needs to be stained and get some throw pillows.

We did use an extra 10x2x4 (cut to fit of course) to box in the cushions. Which were 24x24 inches. Great project. 👍🏻 Thanks!

Built from Plan(s)

Comments

Toddler version of the platform bed

We reworked the plans for the pottery barn inspired bed into a toddler sized version. Arms were added near the head to prevent our child falling out in the first year. They ended up being something of a hazard in those early days, as our child kept hitting her head. If we were to recreate it, we would make the arms go up higher or without the finished top. The bed also was not lifted off the ground in as great of a proportion to the original.

The pine is left untreated and unfinished. The only glue used was homemade milk glue.

Estimated Cost
<$100
Estimated Time Investment
Weekend Project (10-20 Hours)
Finish Used
None
Recommended Skill Level
Intermediate

Comments

Final product with few modifications

Submitted by Anonymous (not verified) on Wed, 08/31/2022 - 08:22

Made few modifications. Added a 9th board to the tabletop to make it larger, horizontal aprons connecting the legs, and seat support. For stain and sealer, I used Olympic semi-transparent redwood. Overall a great project. Thank you, Anna.

Built from Plan(s)

Comments

4 ft table from plans

Submitted by Anonymous (not verified) on Sat, 01/05/2019 - 22:09

Great project and fun to do. I've actually made 6 tables off this same plan, all different sizes,from 4ft. To 8ft.. 

Built from Plan(s)
Estimated Cost
80.00
Estimated Time Investment
Weekend Project (10-20 Hours)
Finish Used
Walnut stain, 3 coats of poly, and distressed paint on bottom.
Recommended Skill Level
Beginner

Comments

Large Wood Pet Kennel End Table

Thanks for the plans!

Built from Plan(s)

Comments

Rustic X Kitchen Island - Double

Submitted by Anonymous (not verified) on Mon, 01/14/2019 - 01:54

I followed the plans except for the top, I used a 2x12, 2x4 and 2x12 pocket holes together.


Burnt the wood with a torch and stained over.

Thanks for the plans!


Questions? [email protected]

Built from Plan(s)
Estimated Cost
200$
Estimated Time Investment
Weekend Project (10-20 Hours)
Finish Used
Minwax provincial and topcoat polyurethane and mineral spirits 75/25 mix
Recommended Skill Level
Intermediate

Picture ledge

Submitted by Anonymous (not verified) on Wed, 11/30/2022 - 17:08

I used my router and router Ed the edges. Love this!!

Built from Plan(s)

Comments

Custom Sandbox with built-in seats

Submitted by Ljmommy on Sat, 09/28/2013 - 10:13

On this project we modified a few things like the arm rests which we cut at an angle to keep kids from pinching fingers in there if someone decided to move the bench back on them. We also modified the size which we made 6'x4' to maximize play sand space and kid space. Therefore this made our benches bigger so that big kids (my husband) could sit on the benches and play in the sandbox. Yes there was talk about putting cup holders but I won the conversation by mentioning sand in his drink and we would have to do a sippy cup. We notched out the handles instead of installing handles which made it look sleek. We used the template from the hinge so it matched the shape....clever huh? We decided to primer and paint this one sandstone in the brick and mortar sample book by Behr and had them put it in an exterior paint color for us. We used a wagner paint sprayer which made the project fast at the end. Overall still an easy project for anyone. I do suggest pre drilling all holes first before screwing in screws so the wood doesn't split when doing the slats on the top.

Built from Plan(s)
Estimated Cost
$50-$75
Estimated Time Investment
Afternoon Project (3-6 Hours)
Finish Used
Primer/Paint
Recommended Skill Level
Intermediate

Comments

Entryway Hall Tree

Submitted by Anonymous (not verified) on Wed, 01/11/2023 - 04:01

I modified the plans for the farmhouse hall tree to build this for our entryway. The farmhouse hall tree was a perfect base plan for this project! We went from a mess of jammed in jackets and piles of shoes to a clean and organized entrance! Thank you so much for providing the original plans! We love this!

Built from Plan(s)

Comments

Sausha's Washer/Dryer Pedastals

I liked Sausha's original design of the washer and dryer pedestals, but I wanted to add a few little personalized touches to it.

First, rather than using MDF, I went with plywood because of cost and weight. Also, I chose not to fill in the imperfections of the surface of the plywood. The top piece will be covered by the washer and dryer, and the bottom piece will be covered by baskets, etc. I like the look of the imperfections, as well.

Lastly, I spent an extra $10 on some additional cap molding for the base and the top, just to give it a more finished look. My wife chose white over black to fit the room better.

This was my first project and I am excited to build more!

Estimated Cost
$80
Estimated Time Investment
Day Project (6-9 Hours)
Finish Used
After sanding twice with 120 grit, I sanded once more with 320 grit to give it a smooth finish. I then painted it with a roller and brush using a semi-gloss paint.
Recommended Skill Level
Beginner

Comments

My Daughters Playhouse- My First Project

Submitted by SheilaS on Sun, 10/09/2011 - 08:32

My 2 year old daughter played in a playhouse at a farm and was just amazed by the "little house" every time we would see them at the store or driving down the road she would just scream "mom, its a little house, little house!" I knew I wanted to get her one and started to search. Couldn't believe the price of playhouse kits so I figured I could build it. This playhouse took about 2 weeks to finish but I only worked on it a couple of hours at a time just a couple times a week. Total cost for me for just the playhouse not including paint was $343.90. Thanks Ana for posting the plans and showing everyone that anyone can build!

Estimated Cost
$344.90
Estimated Time Investment
Weekend Project (10-20 Hours)
Recommended Skill Level
Beginner

Rustic X Tall Bookshelf

Submitted by Anonymous (not verified) on Sun, 01/03/2016 - 18:26

easy to follow steps. Good weekend project for a beginner. I just got tools for Christmas and I tackled this without prior building experience. Excited for more projects

Built from Plan(s)
Estimated Cost
$75
Estimated Time Investment
Weekend Project (10-20 Hours)
Finish Used
Dark Walnut stain and Sage page with rustic finishing
Recommended Skill Level
Beginner