Community Brag Posts

DIY Wall Mounted Concealed Jewellery Organizer
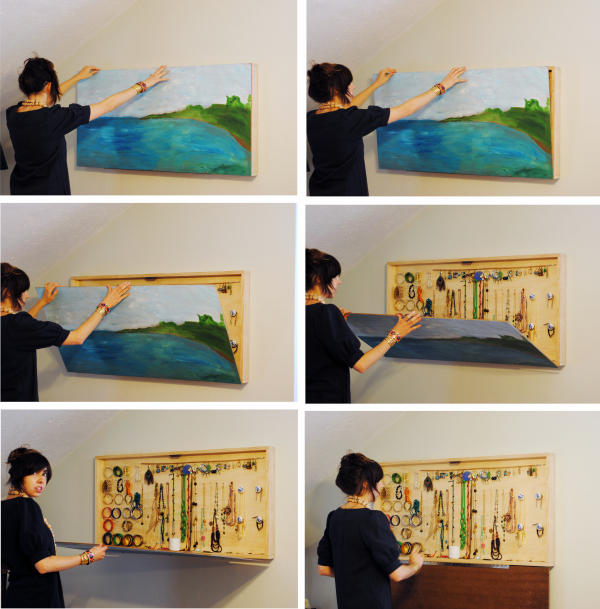
The idea for this project (and the final image that you see) came from the Whiskey Drink Studio ! Cheers to them for the original design. 

So, this is a really fun project that has to solve the following problems: 

  • Be a handy place to store jewellery
  • Feature a custom layout / organization system 
  • Be concealed, meaning it shouldn't be directly obvious it's a container, or if so that it contains jewellery
  • Be mounted on the wall (just because where else would you really put it)
  • The cover should be a painting on a canvas or another form of artwork. I mean not really SHOULD, but this was the original idea, you can modify it for your purposes
  • Should be styled to match the decor and interior design

Great, lets start with the:

Materials 

Materials for the concealed jewellery organiser

The sizes are entirely up to you, but if you're going to be using a canvas as a cover, you should first pick the size of your artwork and then scale everything else to size. 

They go as follow: 

1 x A3 Canvas Painting (420mm x 100mm)

1 x Same size hardboard cover (420mm x 100mm)

2 x Wooden Boards (420mm x 100mm x 50mm)

2 x Wooden Boards (287mm x 100mm x 50mm)

1 x Bundle of nails 

1 x Bundle of screws

1 x Bundle of screw hooks

1 x Magnetic catch set

3 x Standard cabinet hinges or 1 x Piano Hinge

This a very very beginner level build, so we're using the easiest techniques possible. Advanced users, who want to make the strongest box possible, can use alternative materials and methods. 


Step 1: Assemble the box
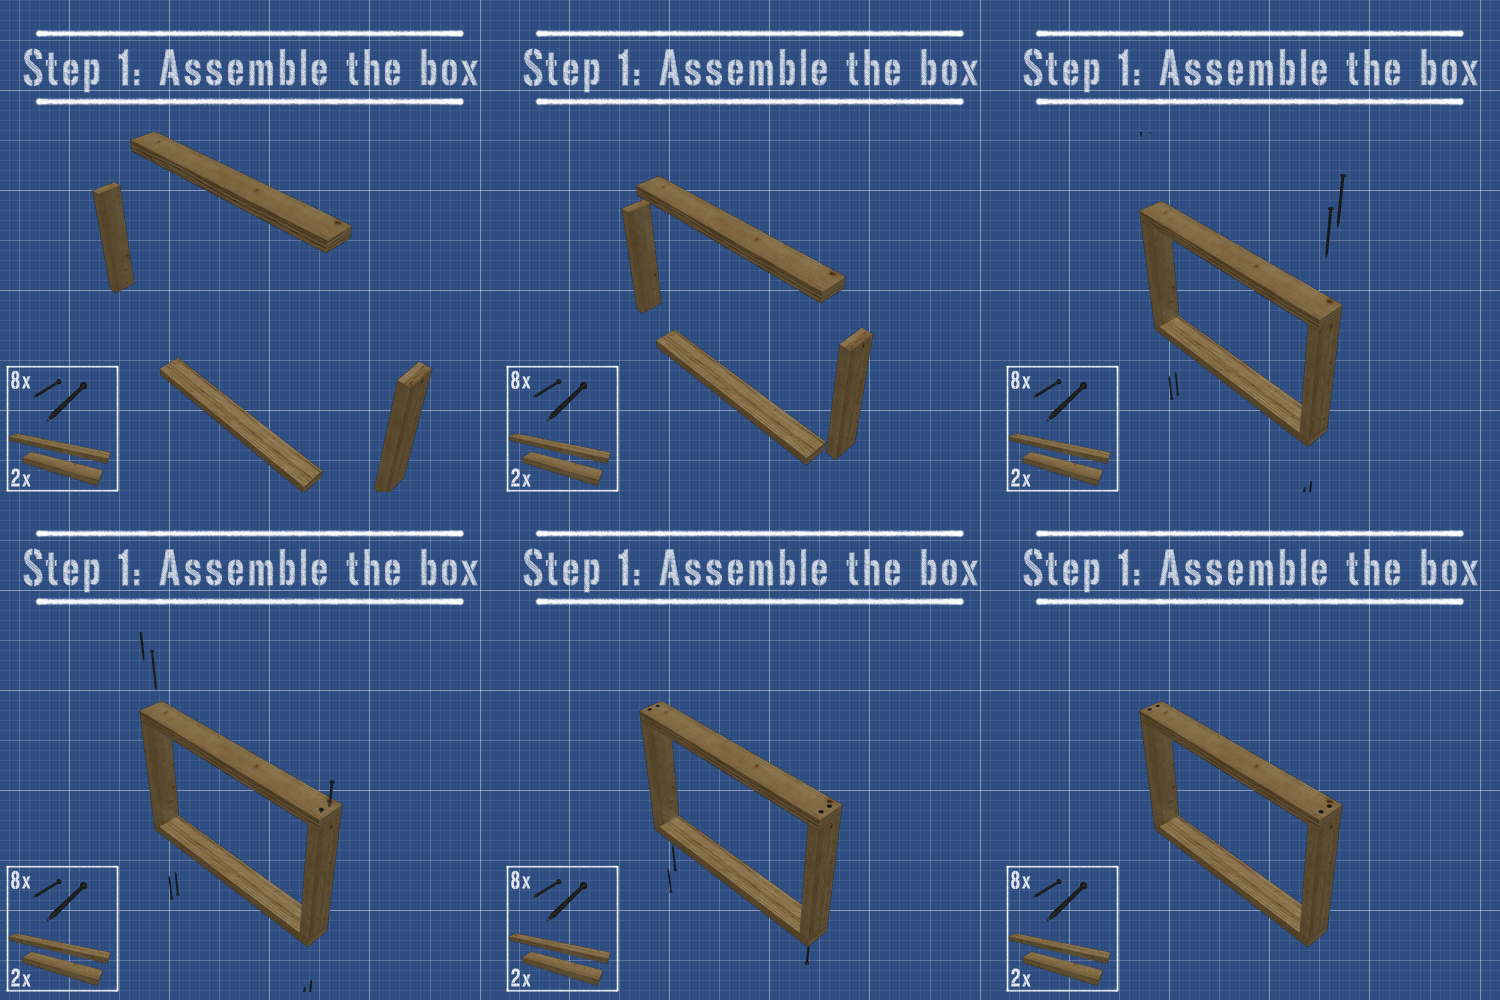
step 1 assemble the box - start with the frame

So, very straightforward, just start building the box, starting from the frame. In the GIF above you see how we put the shorter boards in between the longer ones and just nailed them together. 

If you want this to be extra strong, you can use corner braces on the inside. 
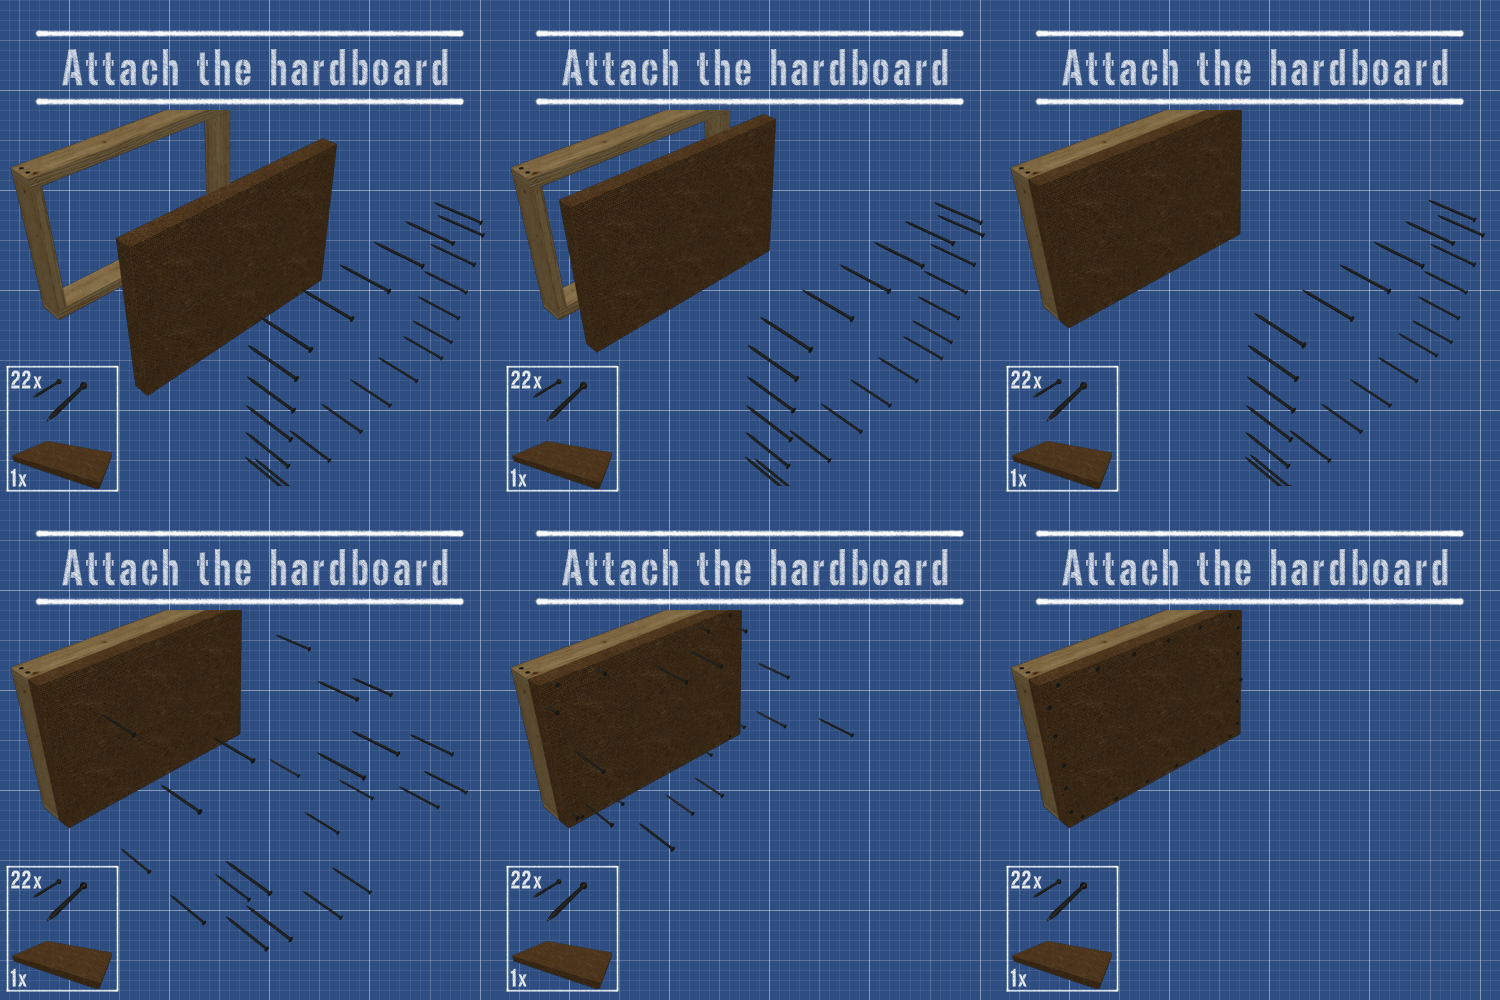
attach the hardboard

After the frame is ready, flip it on it's face and nail in the hardboard. The hardboard should be thick enough so it holds the screw hooks and your jewellery. It should also be pretty sturdy and well attached to the frame so use plenty of nails (well, don't go overboard).

Step 2: Attach the cover

step 2, attach the cover

Take your canvas (or whatever other cover you picked) and mark equidistant locations on the lower back side. Take your measurements and mark the same locations on the bottom of the frame. Put the two together and see if they match. 

Now screw the hinges in the cover and then, into the frame. 

At this point the door should open and close, lining up perfectly. 

Step 3: Screw the hooks

step 3 add the hooks

The next step is to think about the internal layout. Using a pencil plan and divide your space to represent your needs for storage. Then simply screw the hooks in. 

Step 4: Attach the magnet catches

step 4: magnet catches

The last part is attaching the magnet catches. They will hold the cover tighly close, with no accidental falls and issues. This can be substituted for a hydraulic arm, but we chose the simplest options. 


Special thanks to Rachel at Whiskey Drink Studio for the inspiration ! 

Check out the full tutorial over at my blog - DIY Wall Mounted Jewellery Organiser

Estimated Time Investment
Day Project (6-9 Hours)
Recommended Skill Level
Beginner

Comments

2 Drawer Modern Nightstand (with Charging station)

Submitted by mt51 on Mon, 09/02/2013 - 22:21

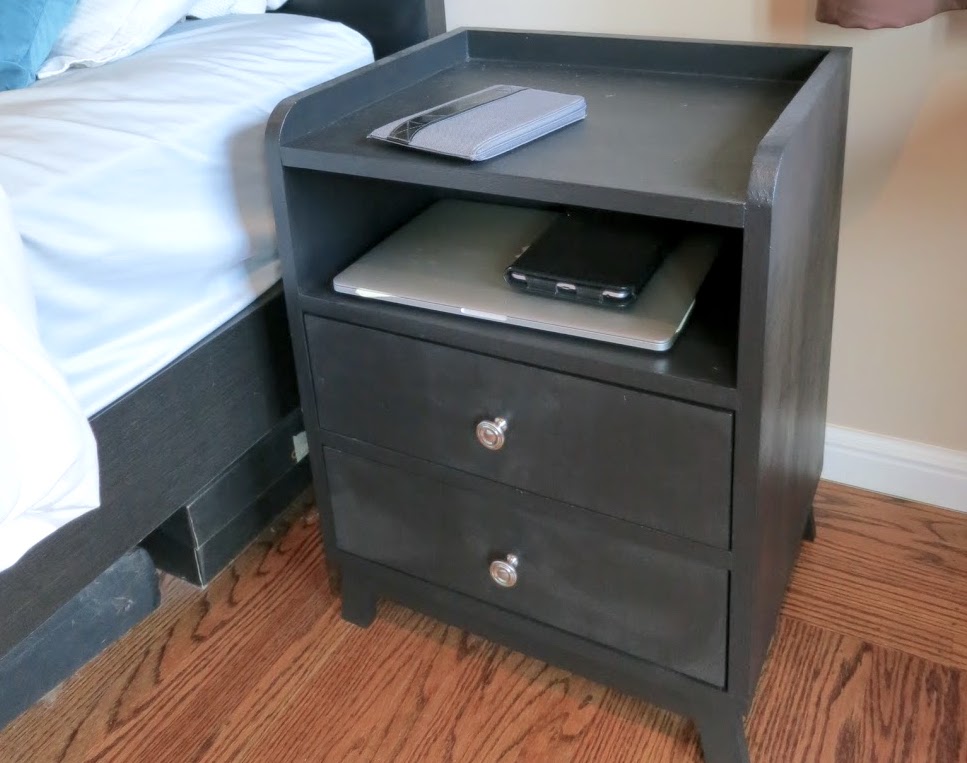
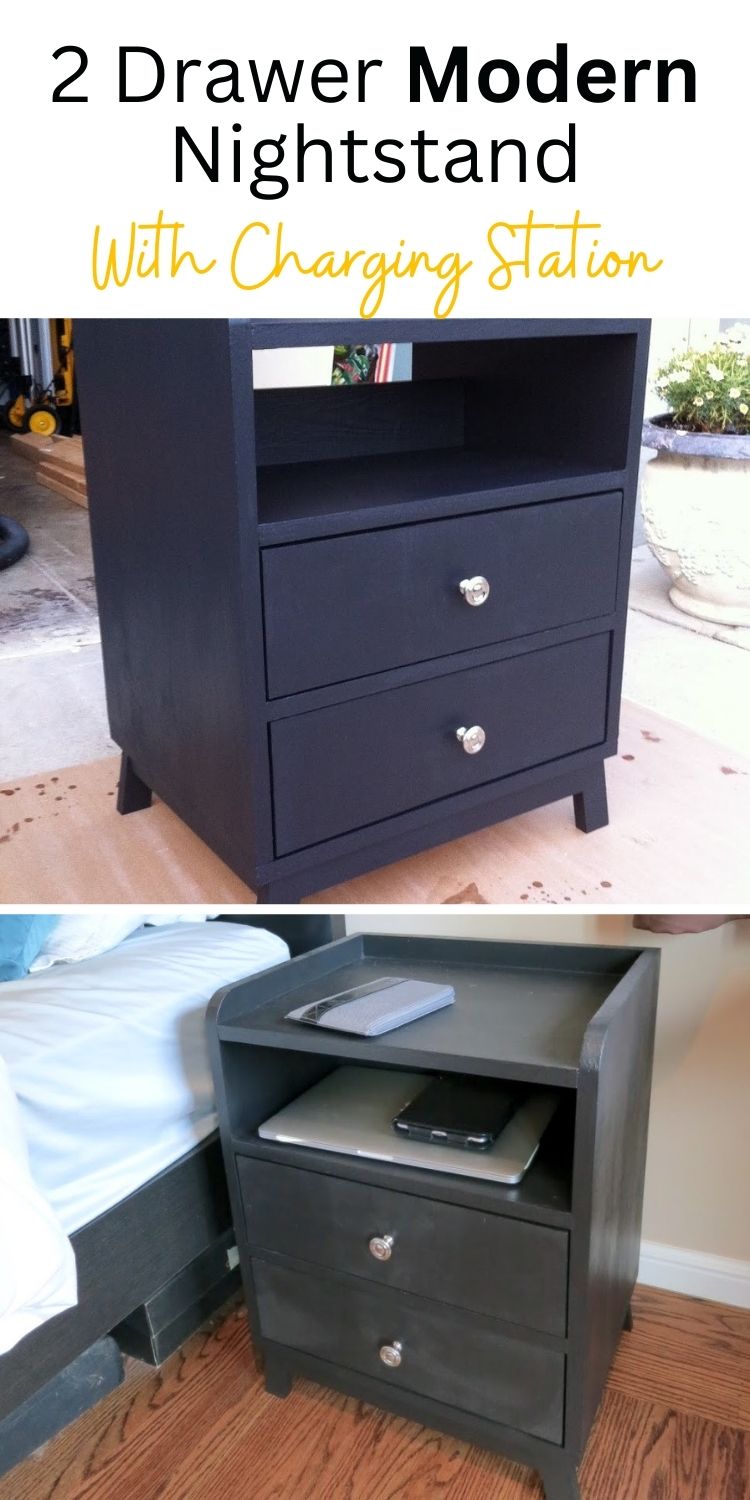
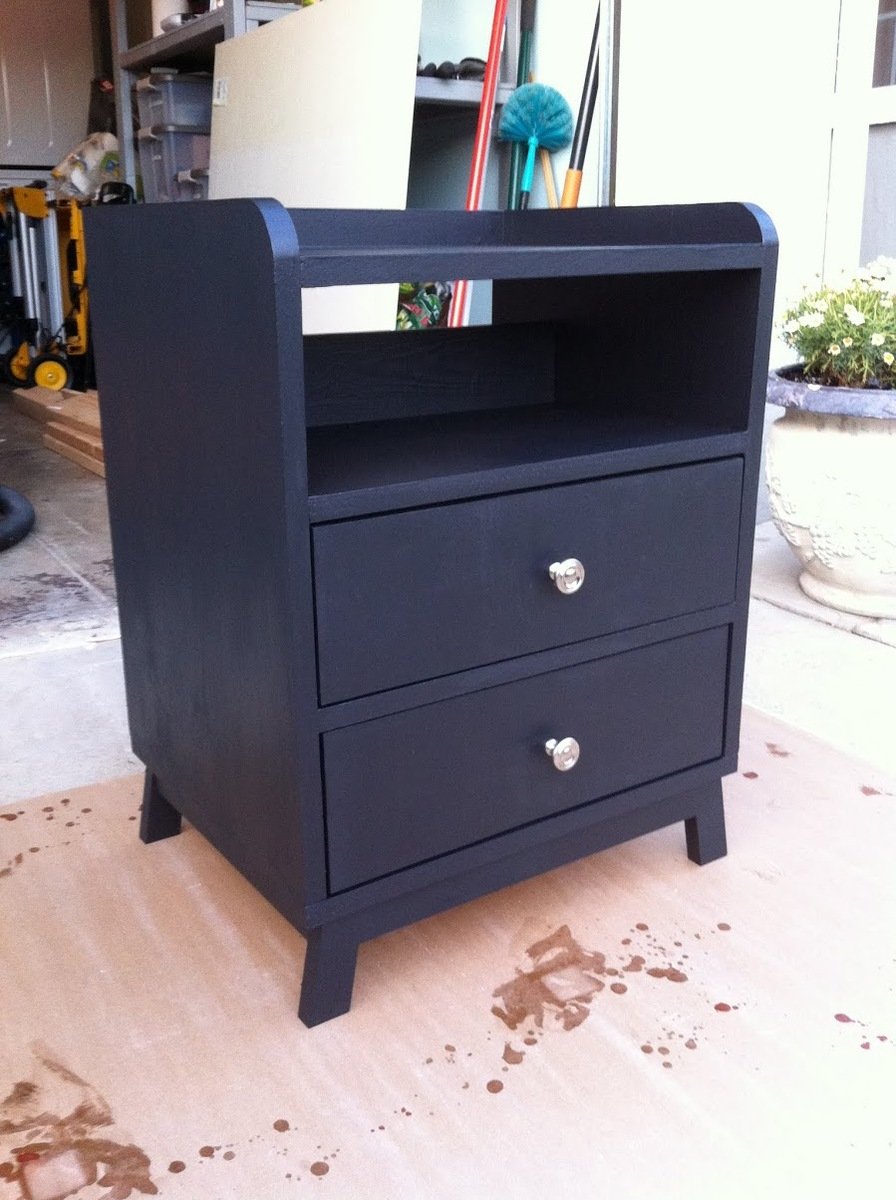
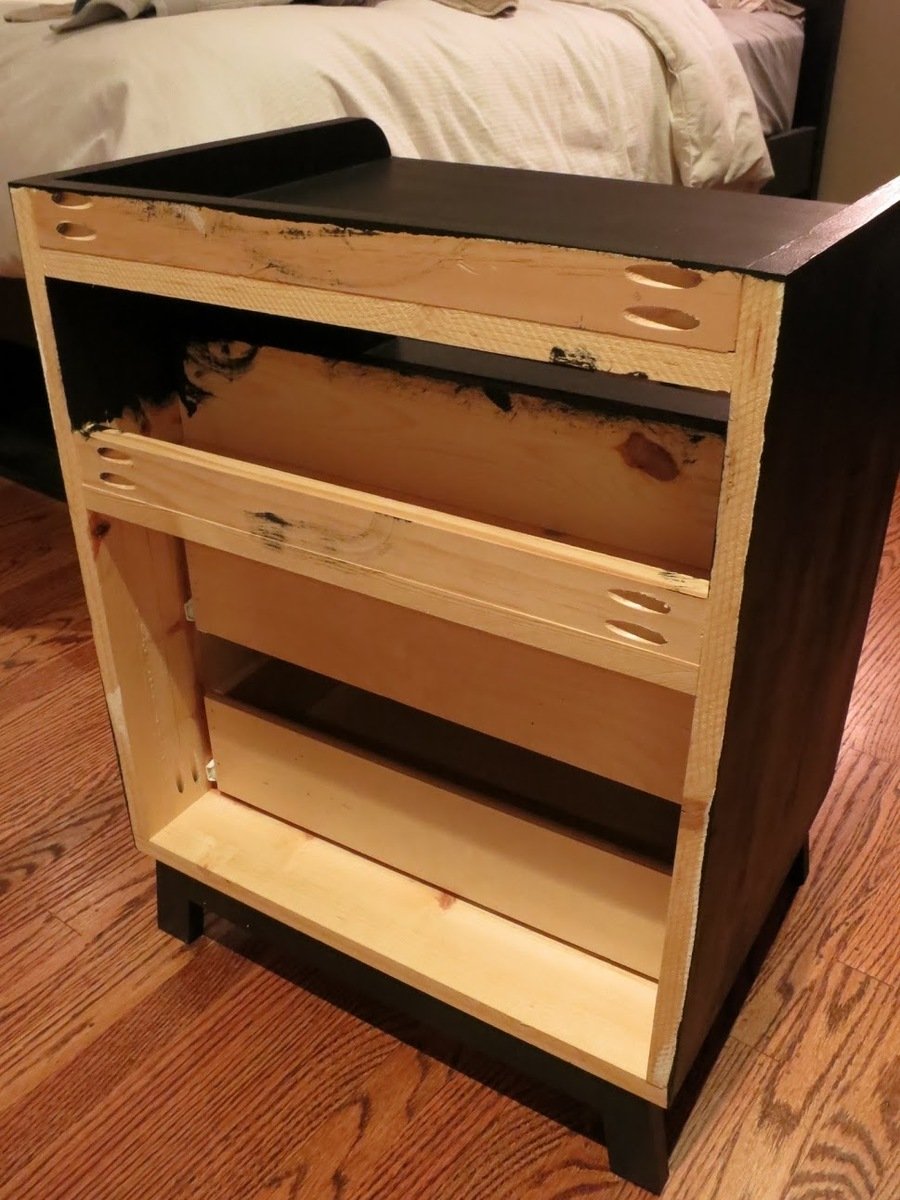
I really liked the look of the 2 Drawer Modern Nightstand but I wanted to add a twist to it. Since I can't live without my devices (laptop and phone), I decided to add an open slot to the middle shelf of the nightstand for power cables. It also has a space that I added in the back that can hold a power strip. Embarrassed that I did not paint the back of the nightstand but I was really done at that point after a long weekend's worth of work!


Pin For Later! 

2 Drawer Modern Nightstand (with Charging station)


Estimated Time Investment
Weekend Project (10-20 Hours)
Recommended Skill Level
Intermediate

American Girl Dollhouse with Farmhouse Bed, Bunk Bed, and Furniture

Submitted by Anonymous (not verified) on Tue, 01/08/2019 - 08:46

I've been building Ana White American Girl doll furniture for my two daughters for the last three years, culminating with my biggest build of all - a modified version of Ana's dollhouse.

My wife kept telling me it would end up being huge, and she was right.  The great news is that it doubles as storage when the girls aren't playing!  2 Bedrooms, kitchen, living room, bathroom, and upstairs bonus room for dance and gymnastics.  78" tall x 76" wide, mounted to the wall studs for safety.   Lots of joy in our home on Christmas day.  Thanks Ana!

Estimated Cost
$300
Estimated Time Investment
Week Long Project (20 Hours or More)
Recommended Skill Level
Intermediate

Comments

Simple jig to save time and increase accuracy

Submitted by Anonymous (not verified) on Thu, 06/15/2023 - 12:13

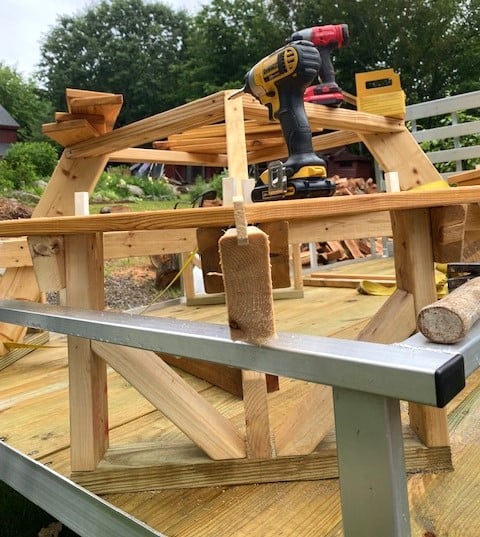
I downloaded the plans for the octagonal table. I have made several and used a few different woods, made a few minor design changes as well as creating a routine and using a jig or two. This jig fits in between the two boards that form the seat support frame. I used a large paint stick and a scrap piece of 2 x 4. Using a table saw, I cut a groove in the 2" edge, approximately 1/2" deep, this took two passes (pass it through, turn it and pass again), a slight adjustment and another two passes. Insert the paint stick and seat all the way down. Place jig between seat support frame, might be a little snug or use a clamp to hold in place. Adjust so just the paint stick sticks up enough to separate seat boards. With seat boards against the jig, it forms the perfect angle/guide to match cuts. I also used 1/2" spacers to create consistent spacing. Love the various plans you make available as well as your videos.

Comments

Spice Rack (Built-In)

Submitted by bhammond on Tue, 01/28/2014 - 21:00

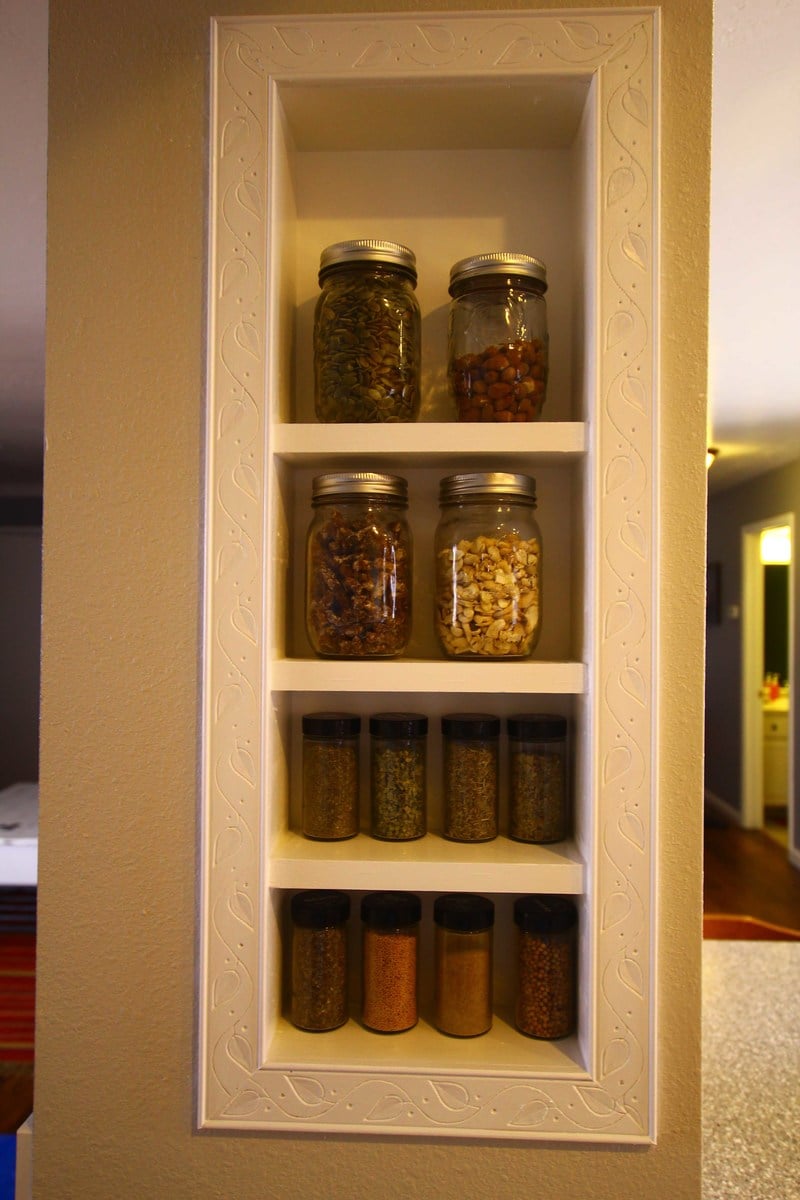
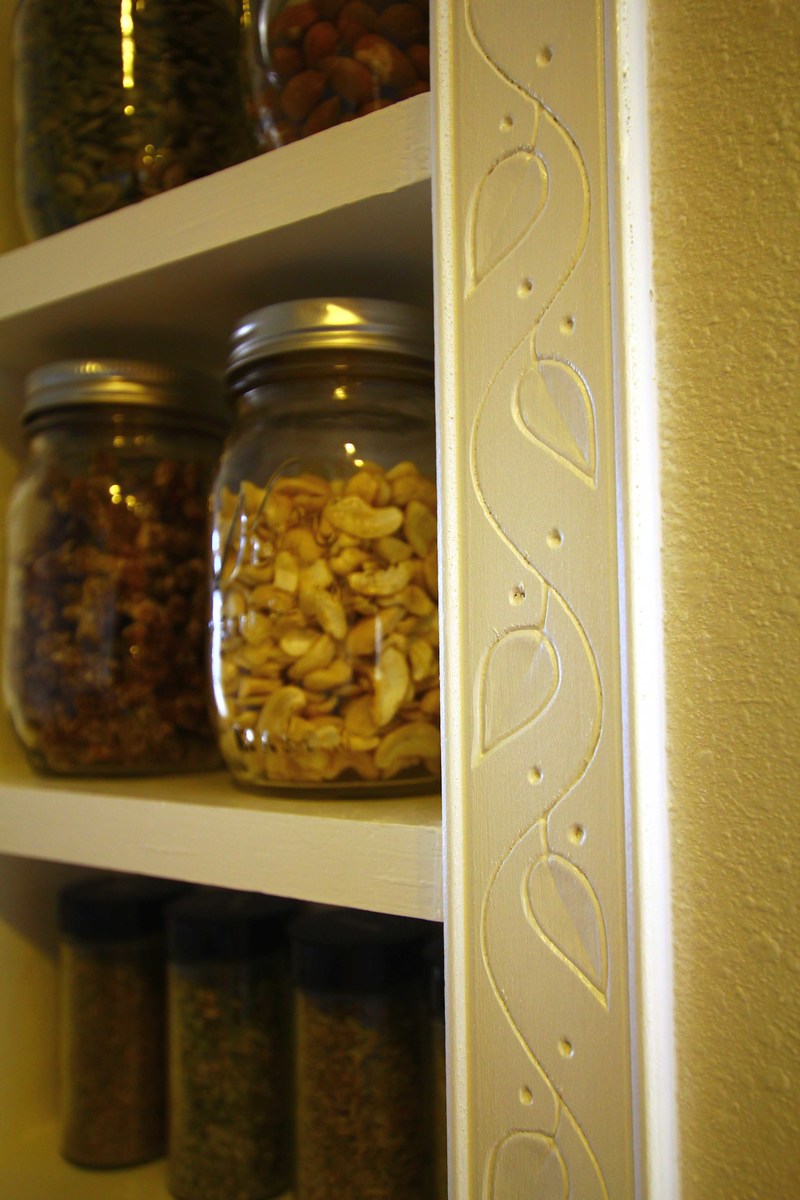
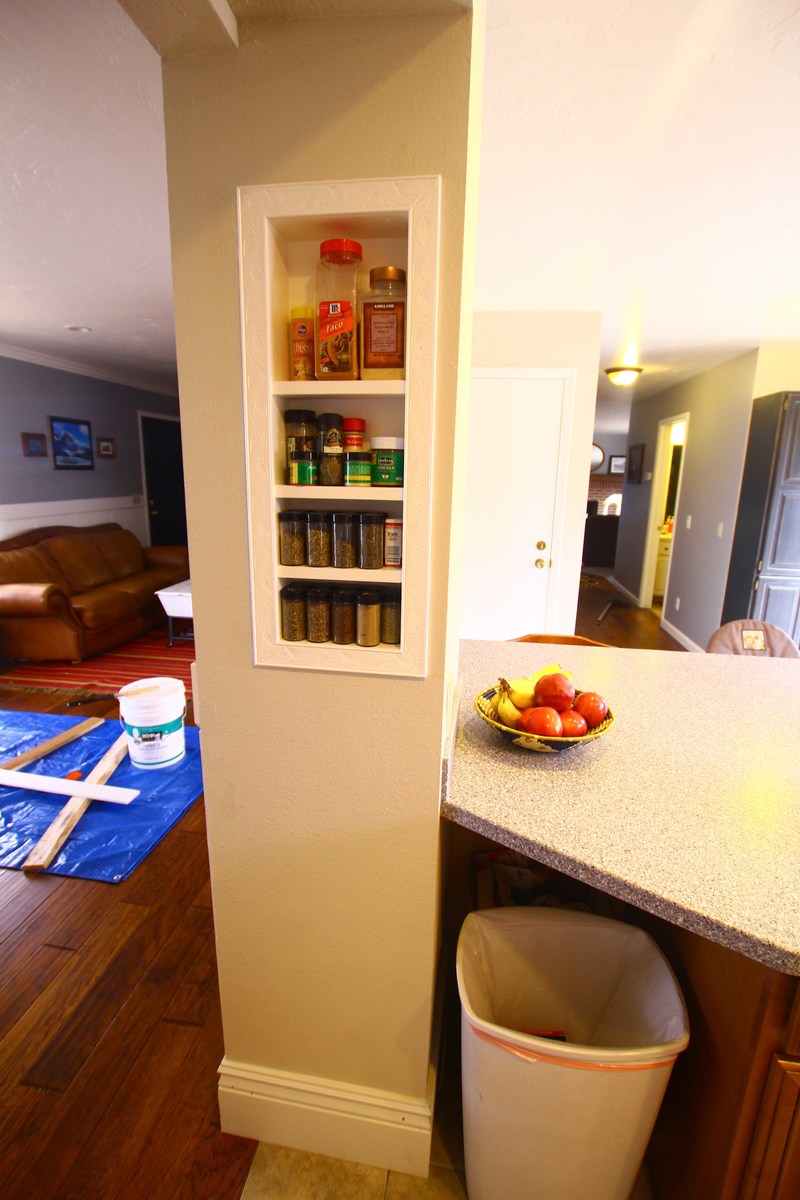
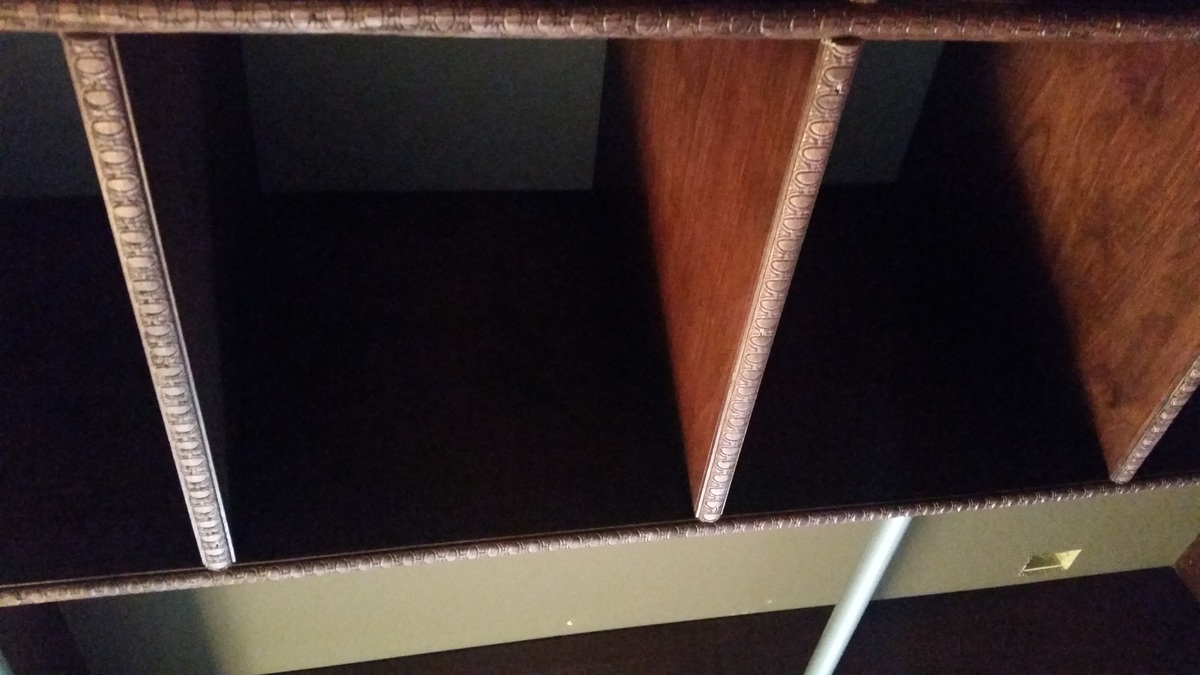
I followed the spice rack plans but put this right inside my wall and added a face frame. I love the detail in the carved wood!

Built from Plan(s)
Estimated Cost
$10
Finish Used
White paint and white caulk in cracks. The detailed carved wood was bought from Home Depot.
Recommended Skill Level
Starter Project

Master Closet - Wraparound

Submitted by Anonymous (not verified) on Fri, 04/29/2016 - 11:41

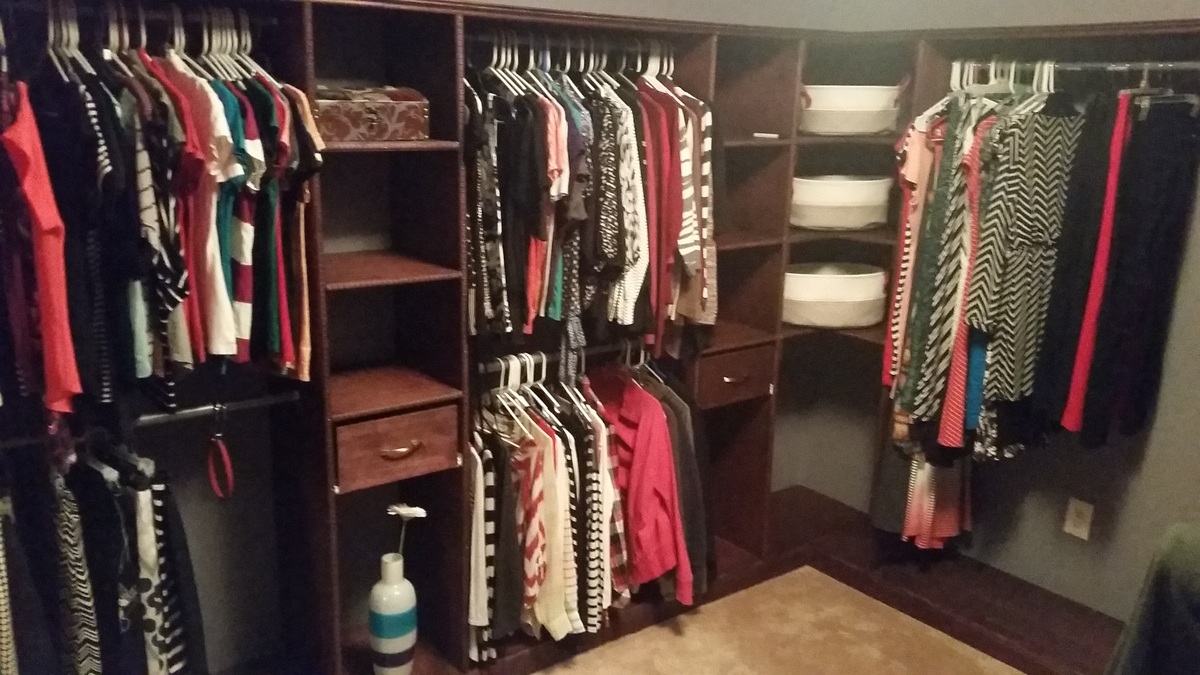
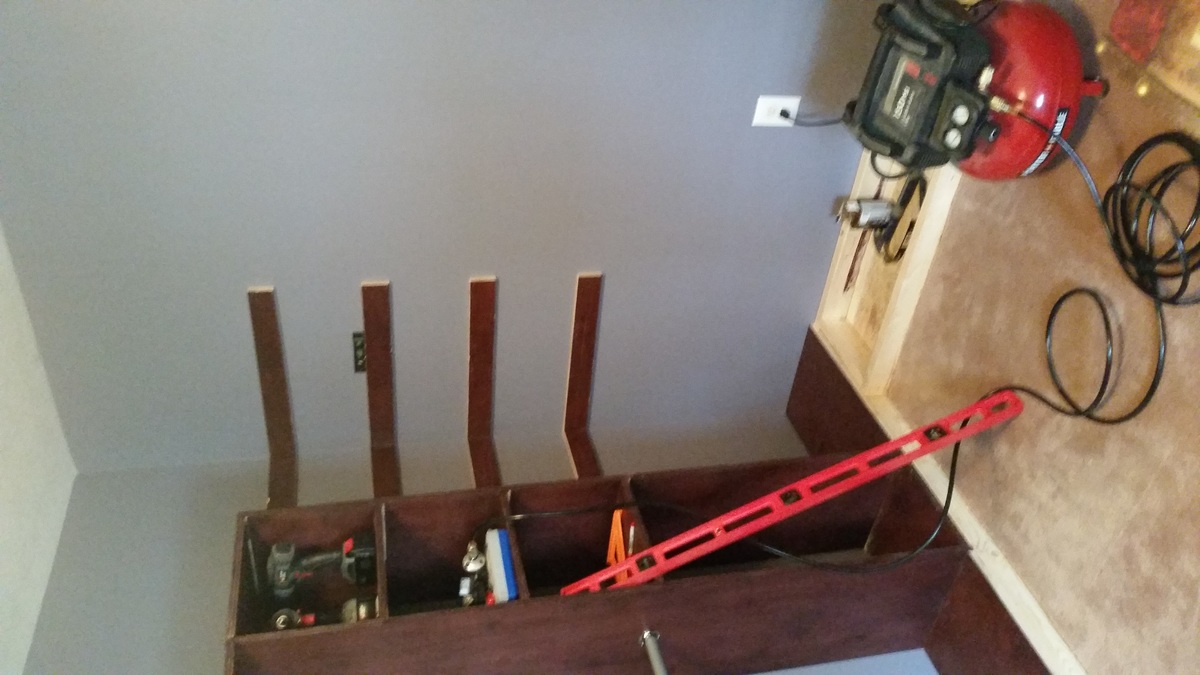
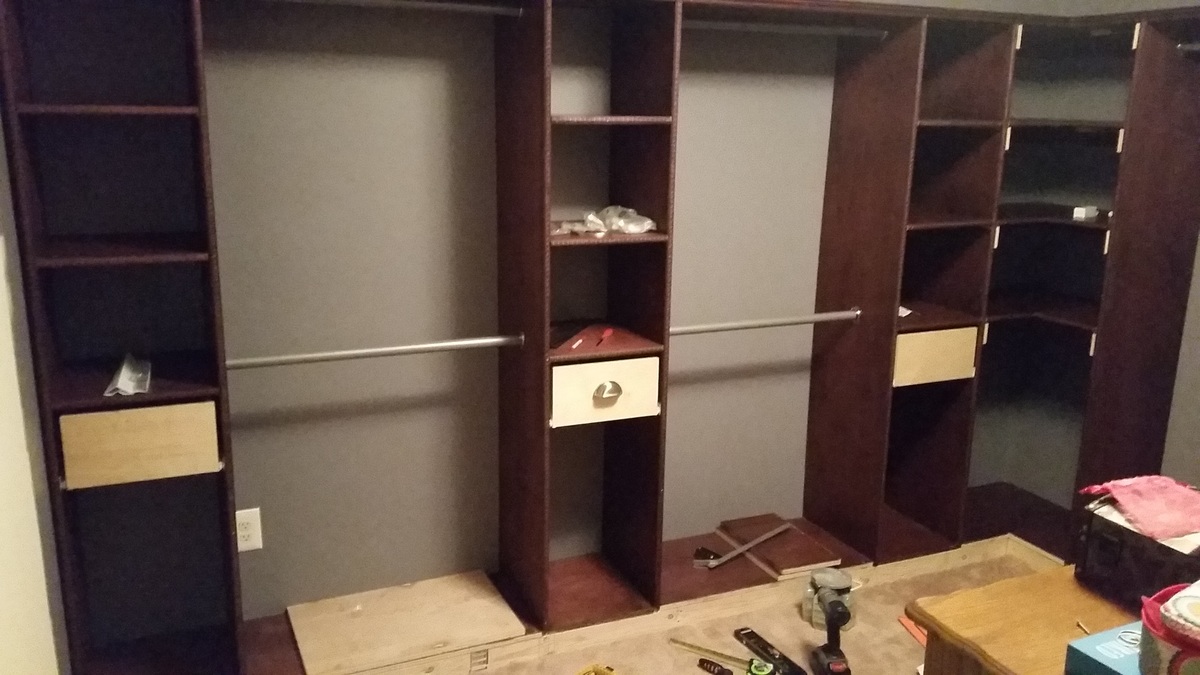
I thought I'd wait and take these glorious after photos once I was done - but nevermind that idea.  Here are some pictures of progress, start to finish.  I still plan to build some shoe cubbies for the towers so that my wife has a little more shoe-room.

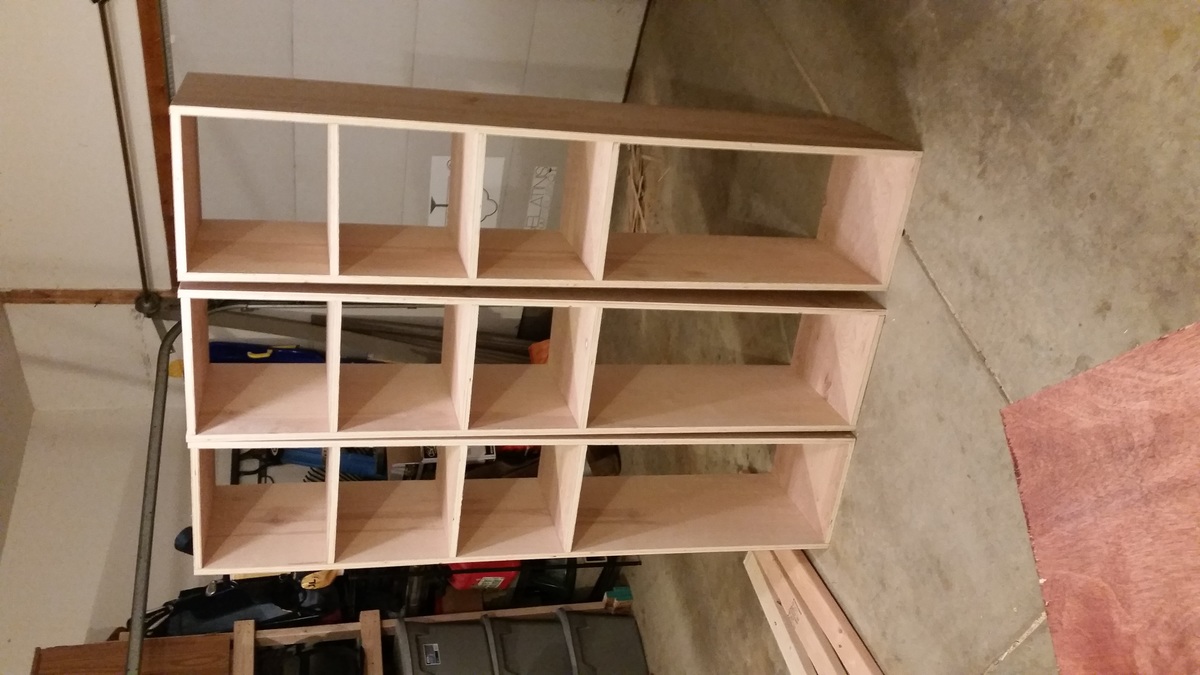
We have a 5th bedroom directly off the master with a double door entrance where the 5th bedroom's closet would have been.  The room had been an office for the previous owner and my wife decided it would be a perfect closet for her.  I followed the plans quite closely for the towers.  I wish I had considered my 8+ foot ceilings and just built the towers taller because 1) storing stuff on top will look messy, and 2) The hanger rods aren't spaced quite well enough for longer clothing.  Because of this, I had to build her another hanger on the other side of the wall, which increased the complexity of the project (corner shelves, more wood, more staining, more finishing, etc).  In the end, I think it turned out great.  I will walk through the process very quickly.

  • Bought premium birch plywood, had them cut it down in the store.  They did a good job.  If I were doing it again, I would buy Aspen or Pine in precut boards, and I estimated it would have cost less than $100 more with a much higher quality and more workability, especially considering I stained instead of painted.
  • Built Towers - used my kreg pocket hole jig a TON on this project.  For boards across the top, I put the pocket holes on top, where they will be out of site.  For bottoms, I was able to use finishing brads to nail down my boards to the frame.
  • Stained wood.  I used an oil stain.  After letting it dry 24hours+, I used finishing wax to turn make the plywood very smooth.  I painted on the wax real heavy and then buffed with an electric polishing wheel.  *tip* no matter what you are thinking, stain your wood before cutting and assembling.  It will save you hours.
  • Built 2x4 bases for the frame of the system.  I used my bases as a template for cutting back the carpet.  I then fastened the bases into the wall studs and sub flooring.
  • Installed towers, played with spacing until it felt right and then fastened them into the walls and into the base.
  • Cut wood down to size for the top and bottom pieces and installed and nailed down.
  • Cut down scraps into strips to support the corner shelves and nailed them into the wall.
  • Cut down scraps into corner shelves.  I used 2 pieces of wood for each shelf and added supports on the underside so that they can bear decent weight.  I should have just done more pocket holes.  It would have been stronger and cleaner.
  • Installed mini crown molding along top border.  Installed 1/4 inch trim on all facing edges (rather than mess with laminating strips). Installed baseboard trip to cover frame and clean up border of frame and carpet.
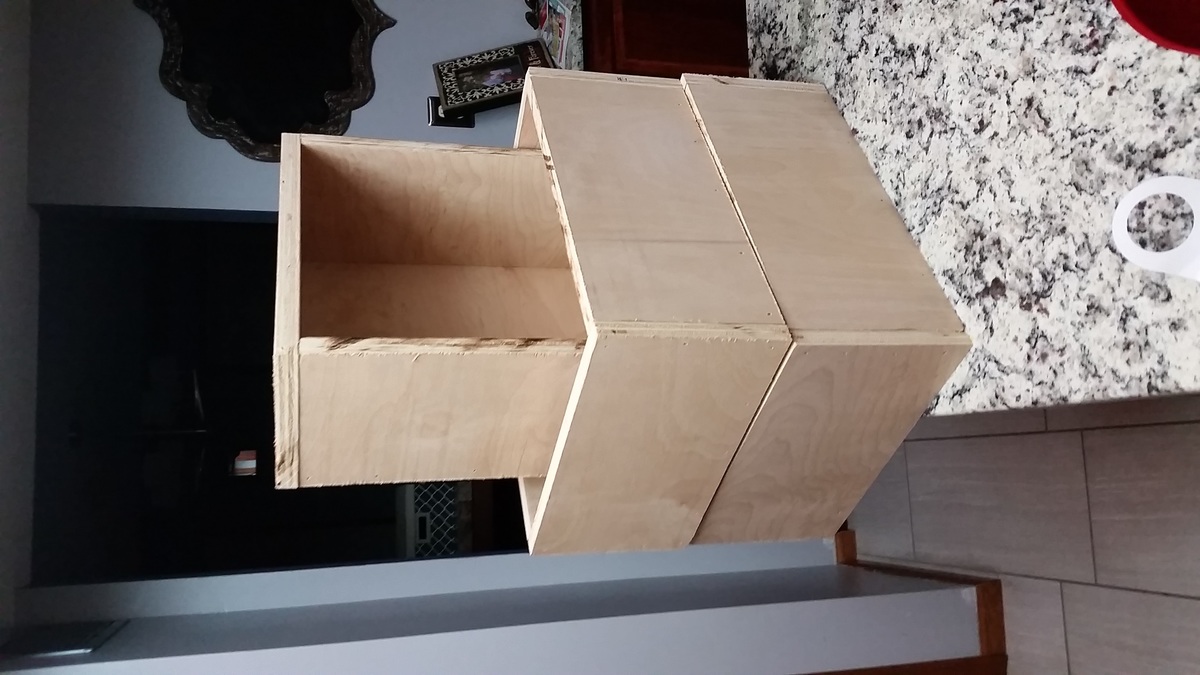
  • Built drawers using scrap plywood from the project (via the drawer plans on this site).  I didn't mess around, just cut my wood down to the right size and brad nailed the heck out of it.  They are very sturdy.  A thinner bottom and back would have decreased their weight, but I don't see any issues the way they are built.  I opted for the 1/2 inch gap around the border of the drawers.

That is pretty much it.  I think I have about $500-600 in it. Probably 60-70 hours.  If I did it all over again, I could do it better and faster and on the same budget.  As noted in the plans, SQUARE is the most important thing.  I had to fix all the tower shelves once I had them mounted to the wall because they just were not level/square enough.  

Estimated Cost
$500-600
Estimated Time Investment
Week Long Project (20 Hours or More)
Finish Used
Varathane Premium Fast Dry Oil Wood Stain and MinWax Dark Finishing Wax
Recommended Skill Level
Intermediate

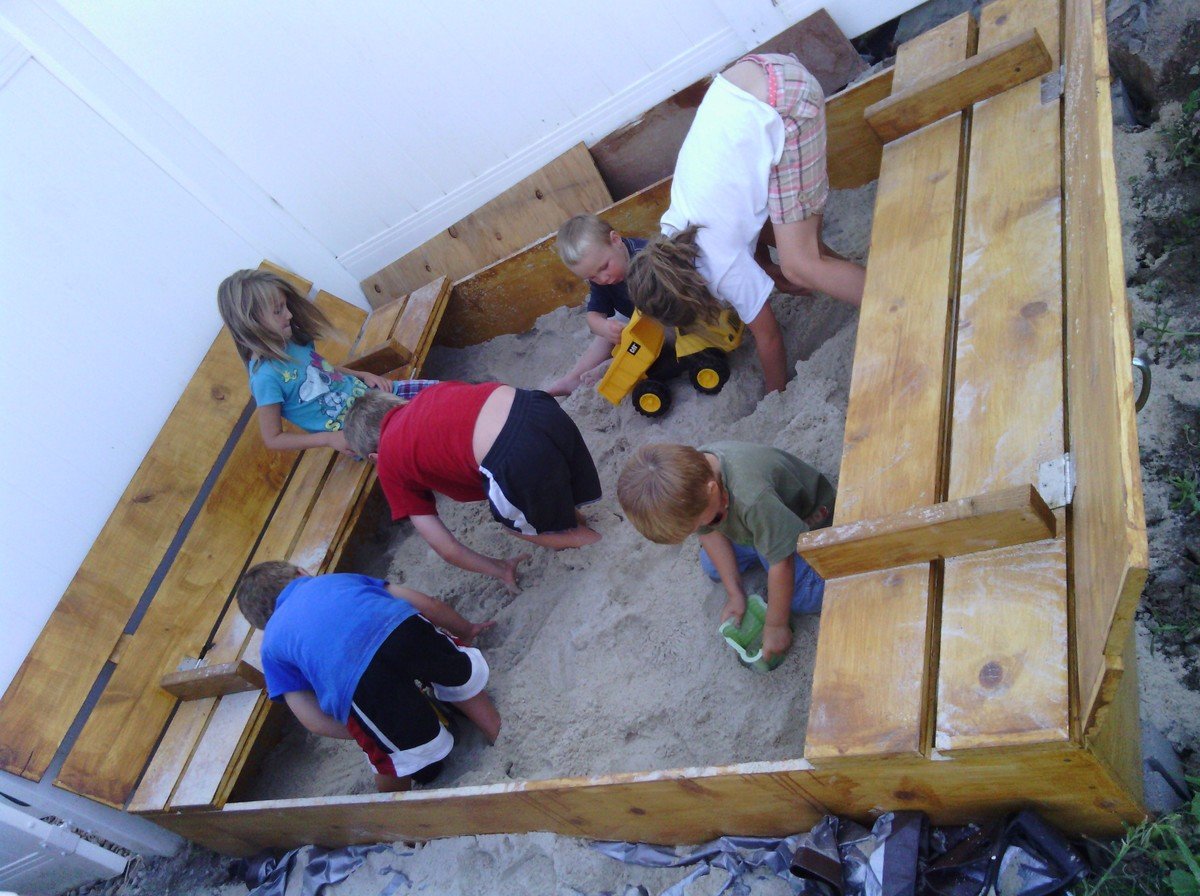
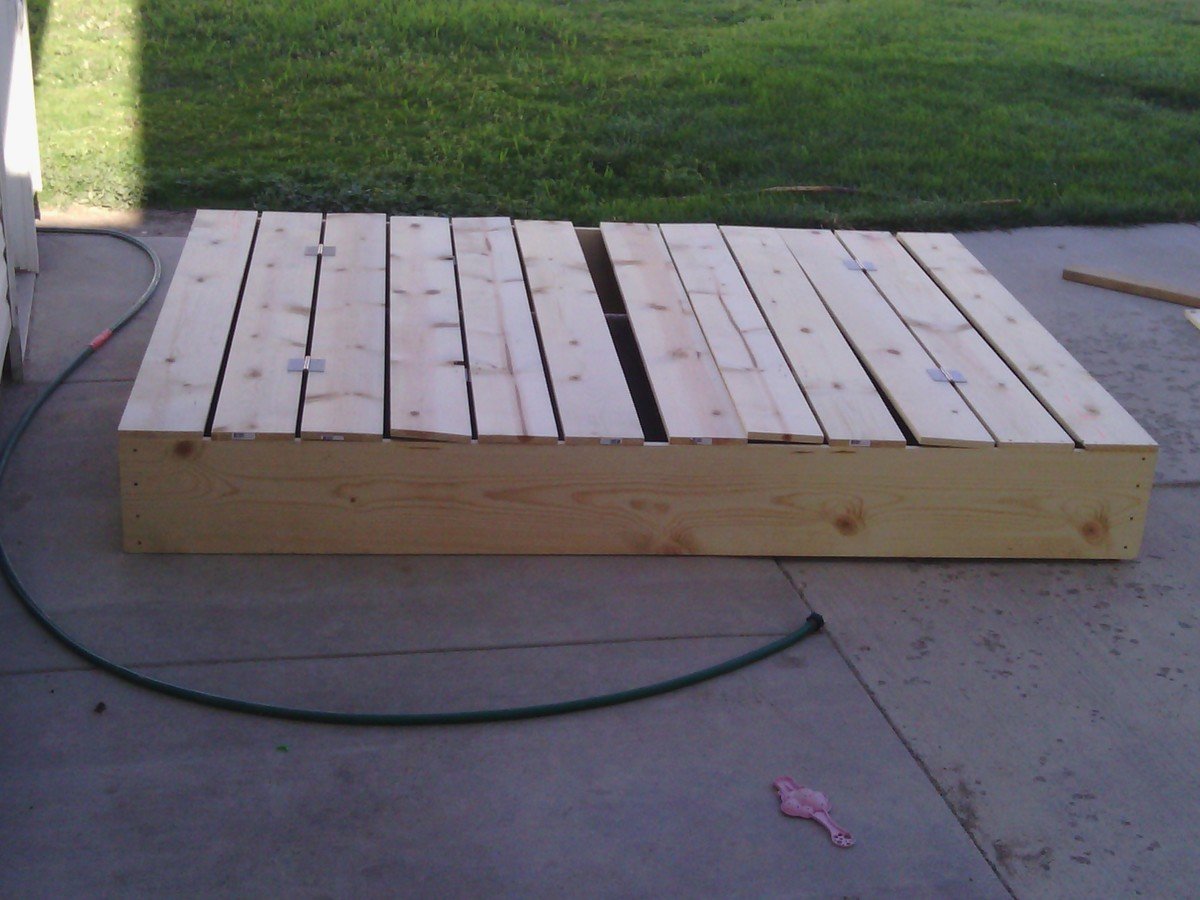
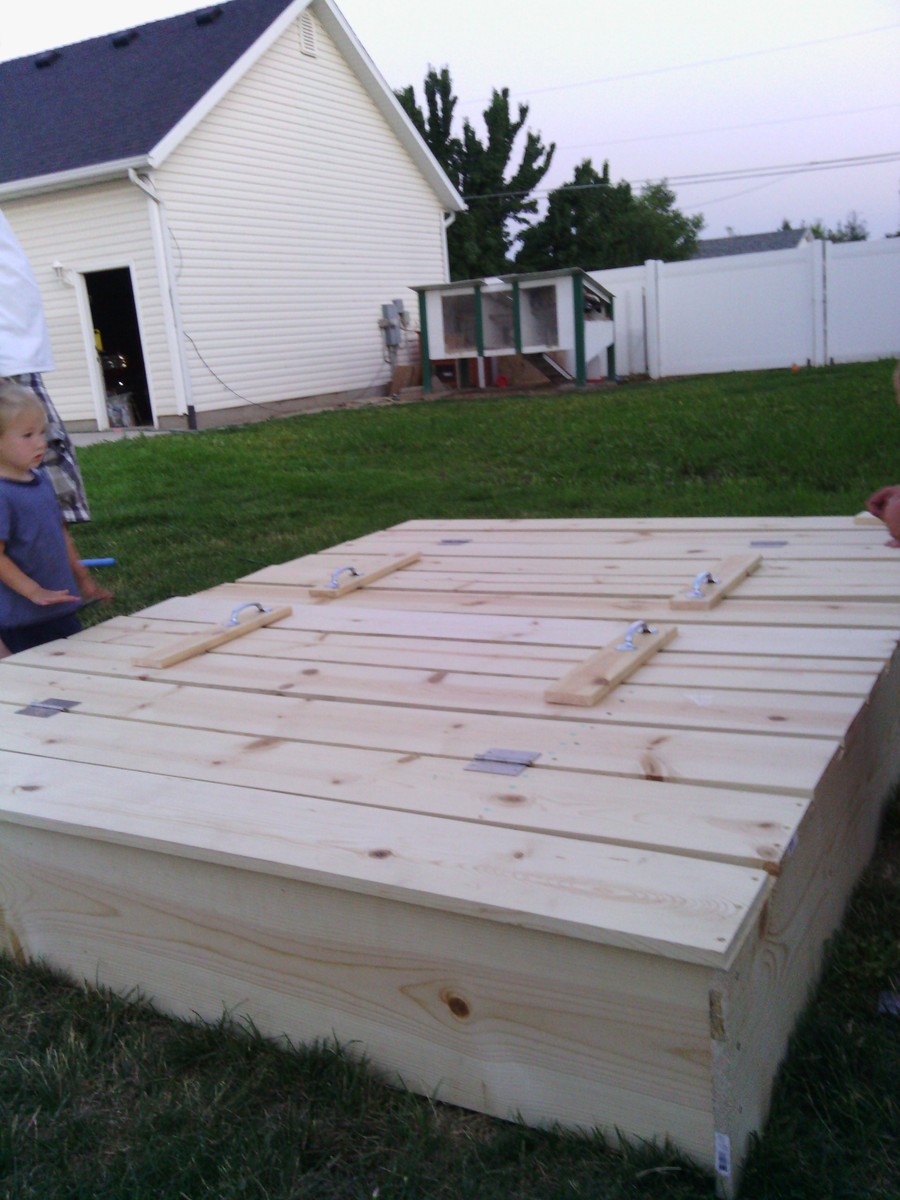
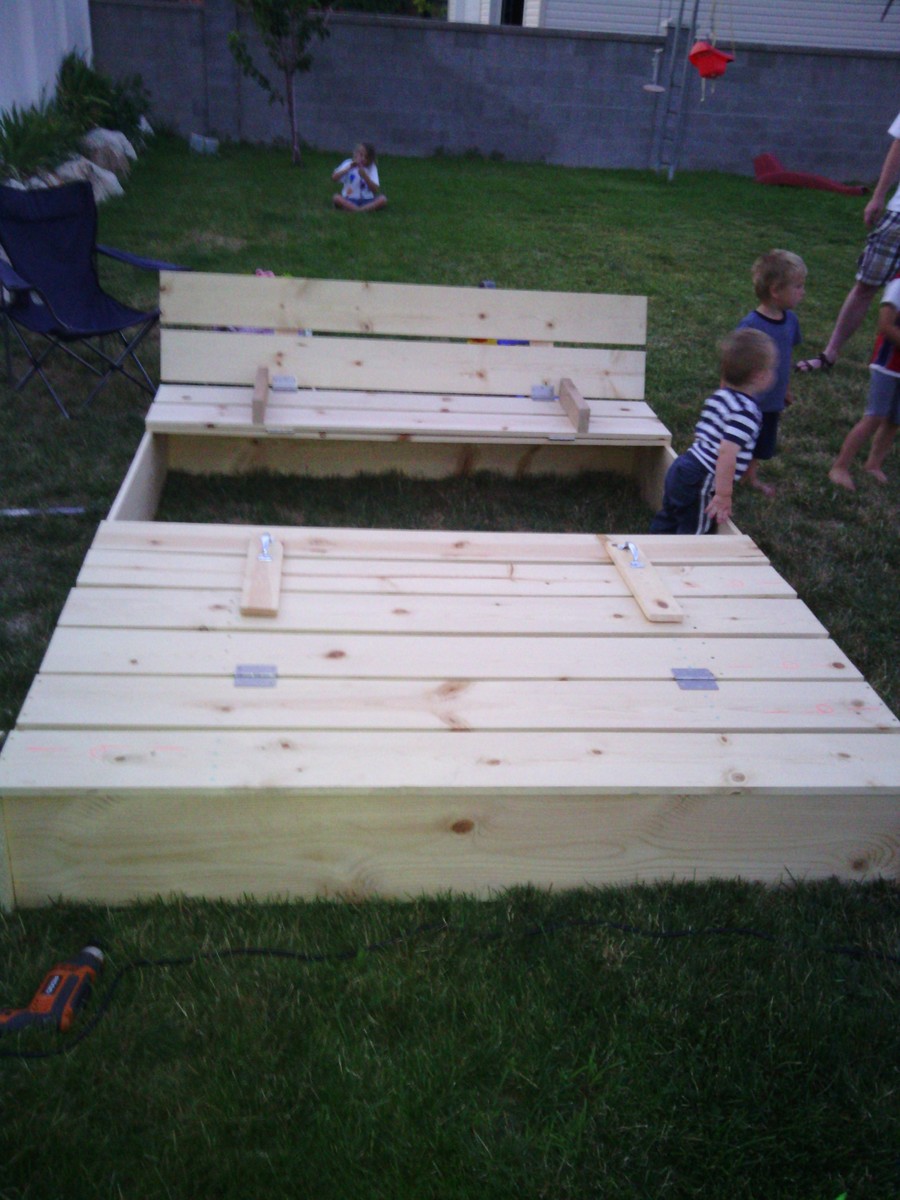
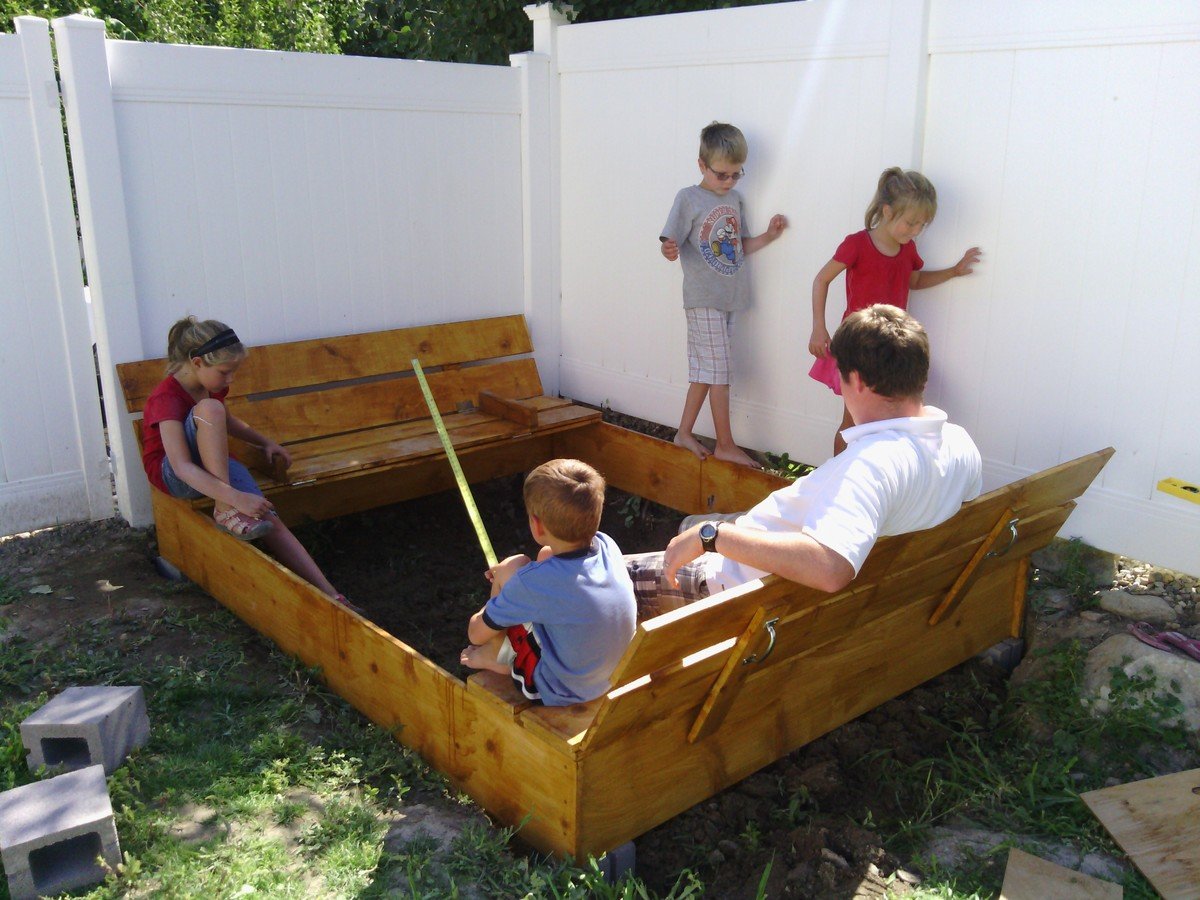
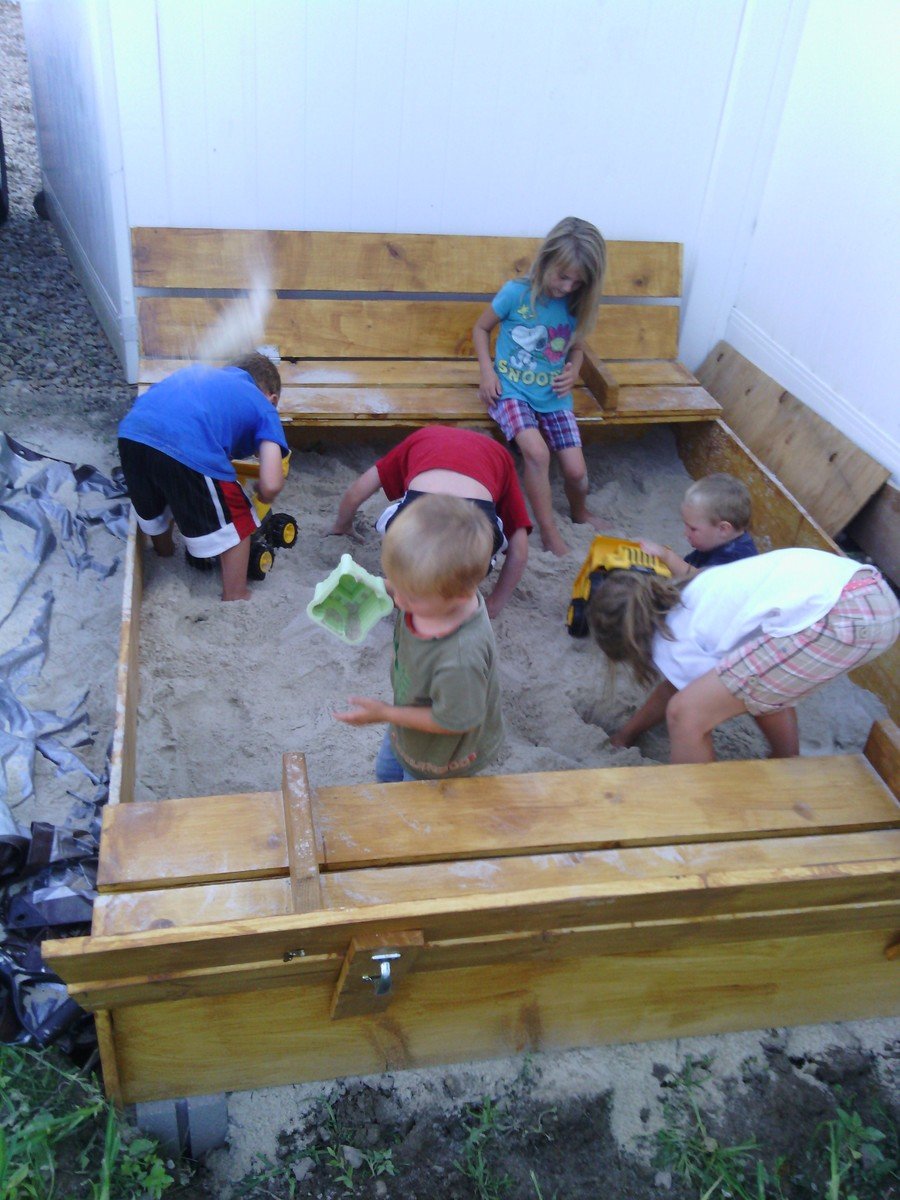
Large 6 X 8 Sandbox

We wanted to make a large sandbox for lots of kids. We love that it has an easy cover and two large benches to sit.

Supplies and Steps are shared at http://myhomedonemyway.blogspot.com/2013/07/building-6-x-8-sandbox.html

Built from Plan(s)
Estimated Cost
$250
Estimated Time Investment
Day Project (6-9 Hours)
Recommended Skill Level
Beginner

Comments

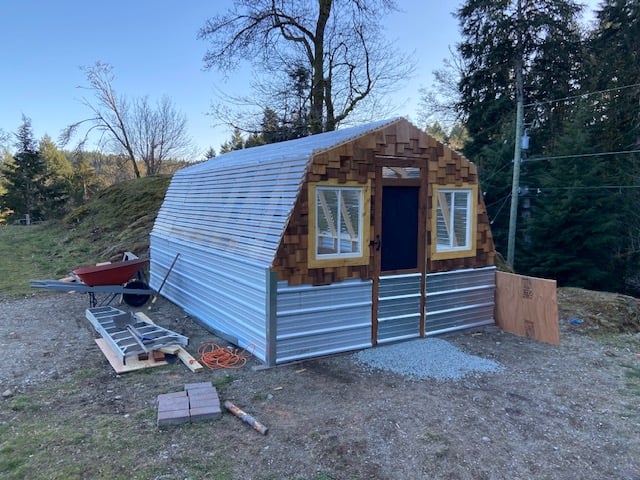
Greenhouse - BC, Canada

Submitted by Anonymous (not verified) on Tue, 03/24/2020 - 07:49

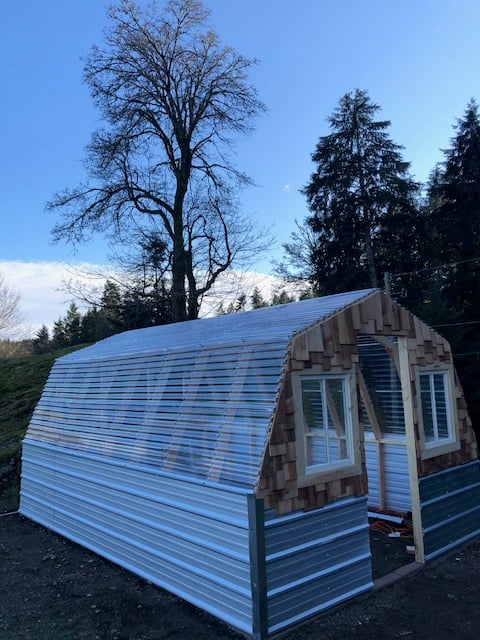
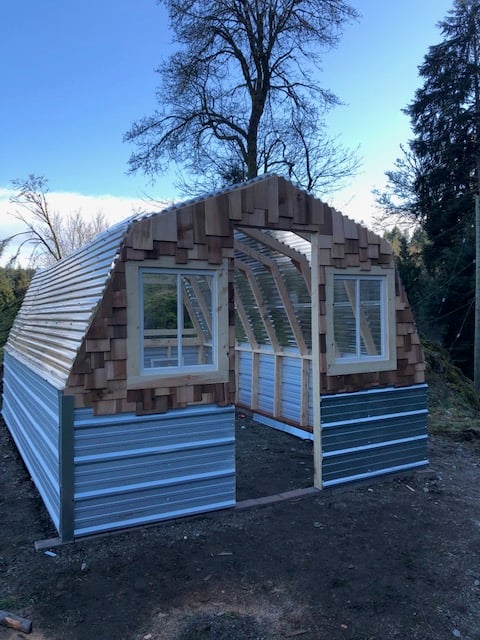
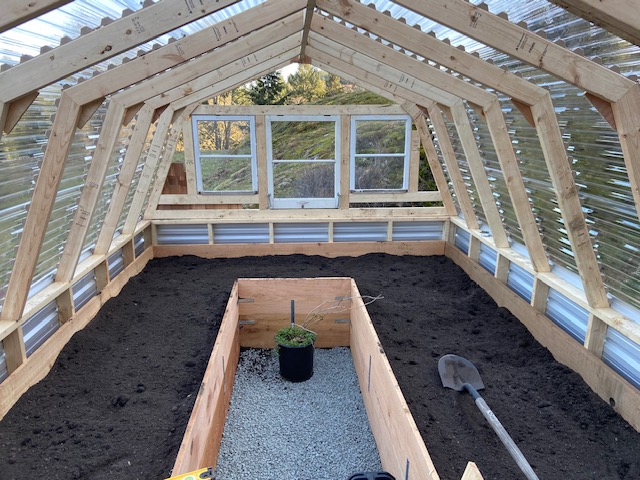
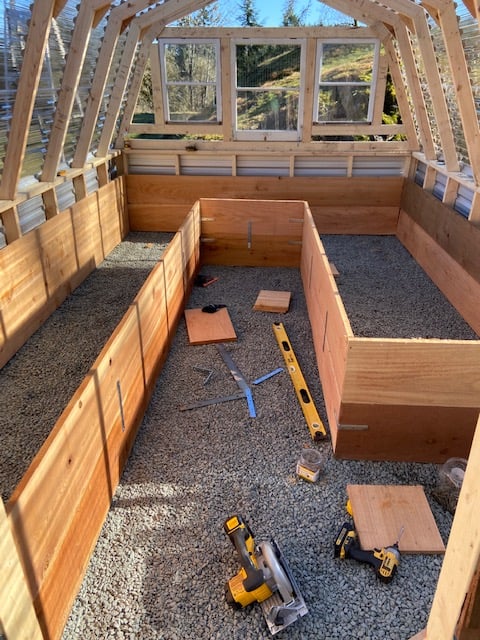
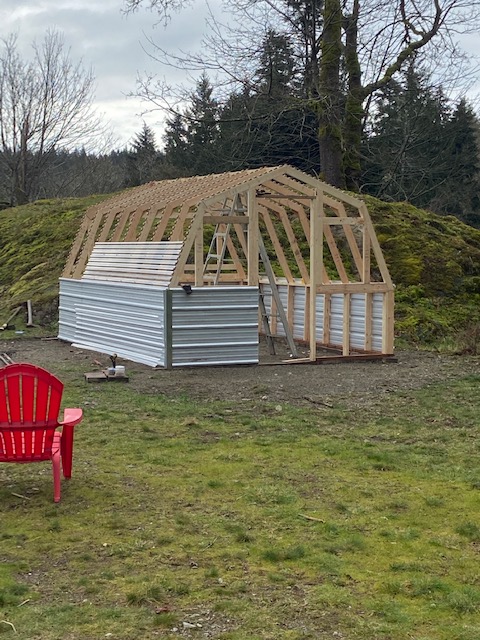
*NOT SURE MY PICTURES ARE UPSIDE DOWN??* This is the second time i've built this greenhouse. We recently moved to a bigger property so I built it 4ft longer at 16ft. I had some old windows to I modified the front and rear so I could incorporate them into the design. The cedar shake really adds to the appeal of the greenhouse as well. I still have to flash it off, but we are very happy with this greenhouse.

Built from Plan(s)
Estimated Cost
$2000
Estimated Time Investment
Week Long Project (20 Hours or More)
Finish Used
Stained the cedar shingles with a clear stain
Recommended Skill Level
Intermediate

Comments

Patio Table

Submitted by Rennie82 on Wed, 06/13/2012 - 17:42

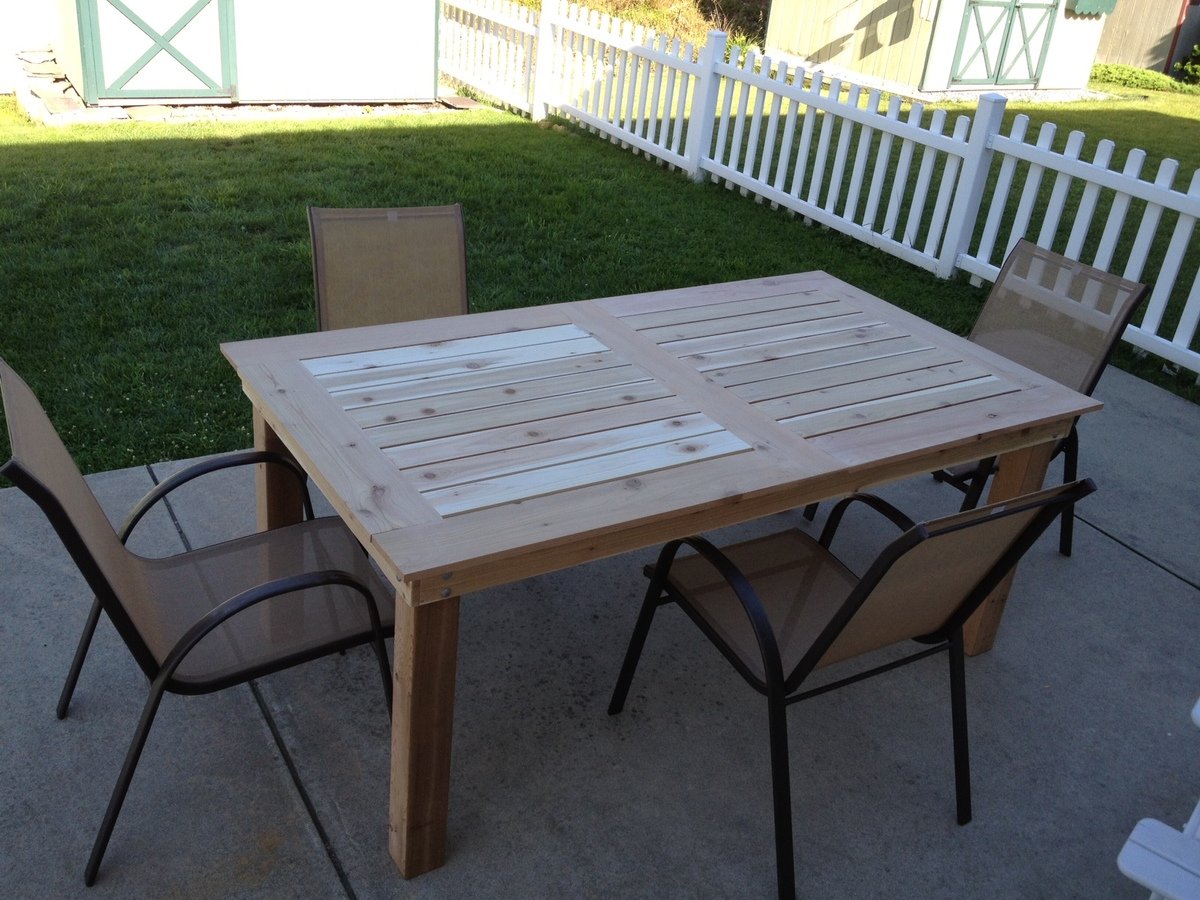
Project took a lot more time and patience than the last few little ones that I have done. I like the simple outdoor table but wanted a little bit more. I used the basic concept and mixed it with a patio table from PB that I really enjoyed but didnt want to pay $800 for. The table looks fantastic and am still debating on what type of finish, if any, to use. Hoping to make the matching bench soon for one of the sides of the table.

Built from Plan(s)
Estimated Cost
Around $120 including the carriage bolts so I can take off the legs.
Estimated Time Investment
Weekend Project (10-20 Hours)
Finish Used
None as of yet, leaning towards Thompsons clear waterproofer
Recommended Skill Level
Intermediate

Comments

Clara Play Table

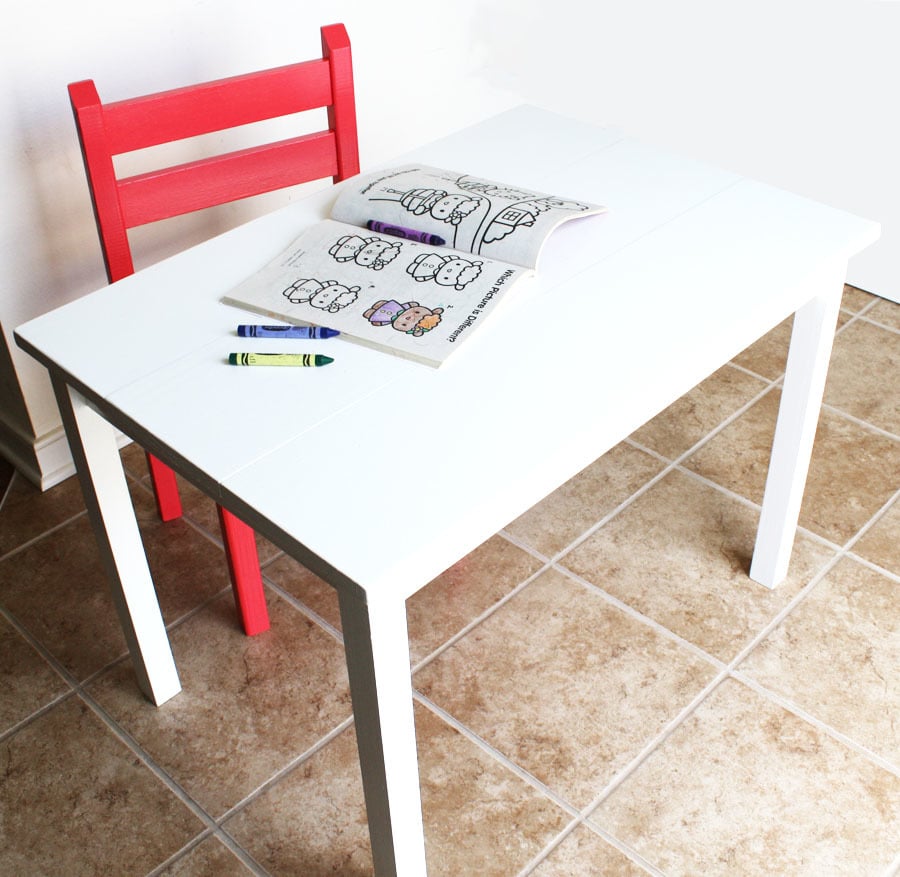
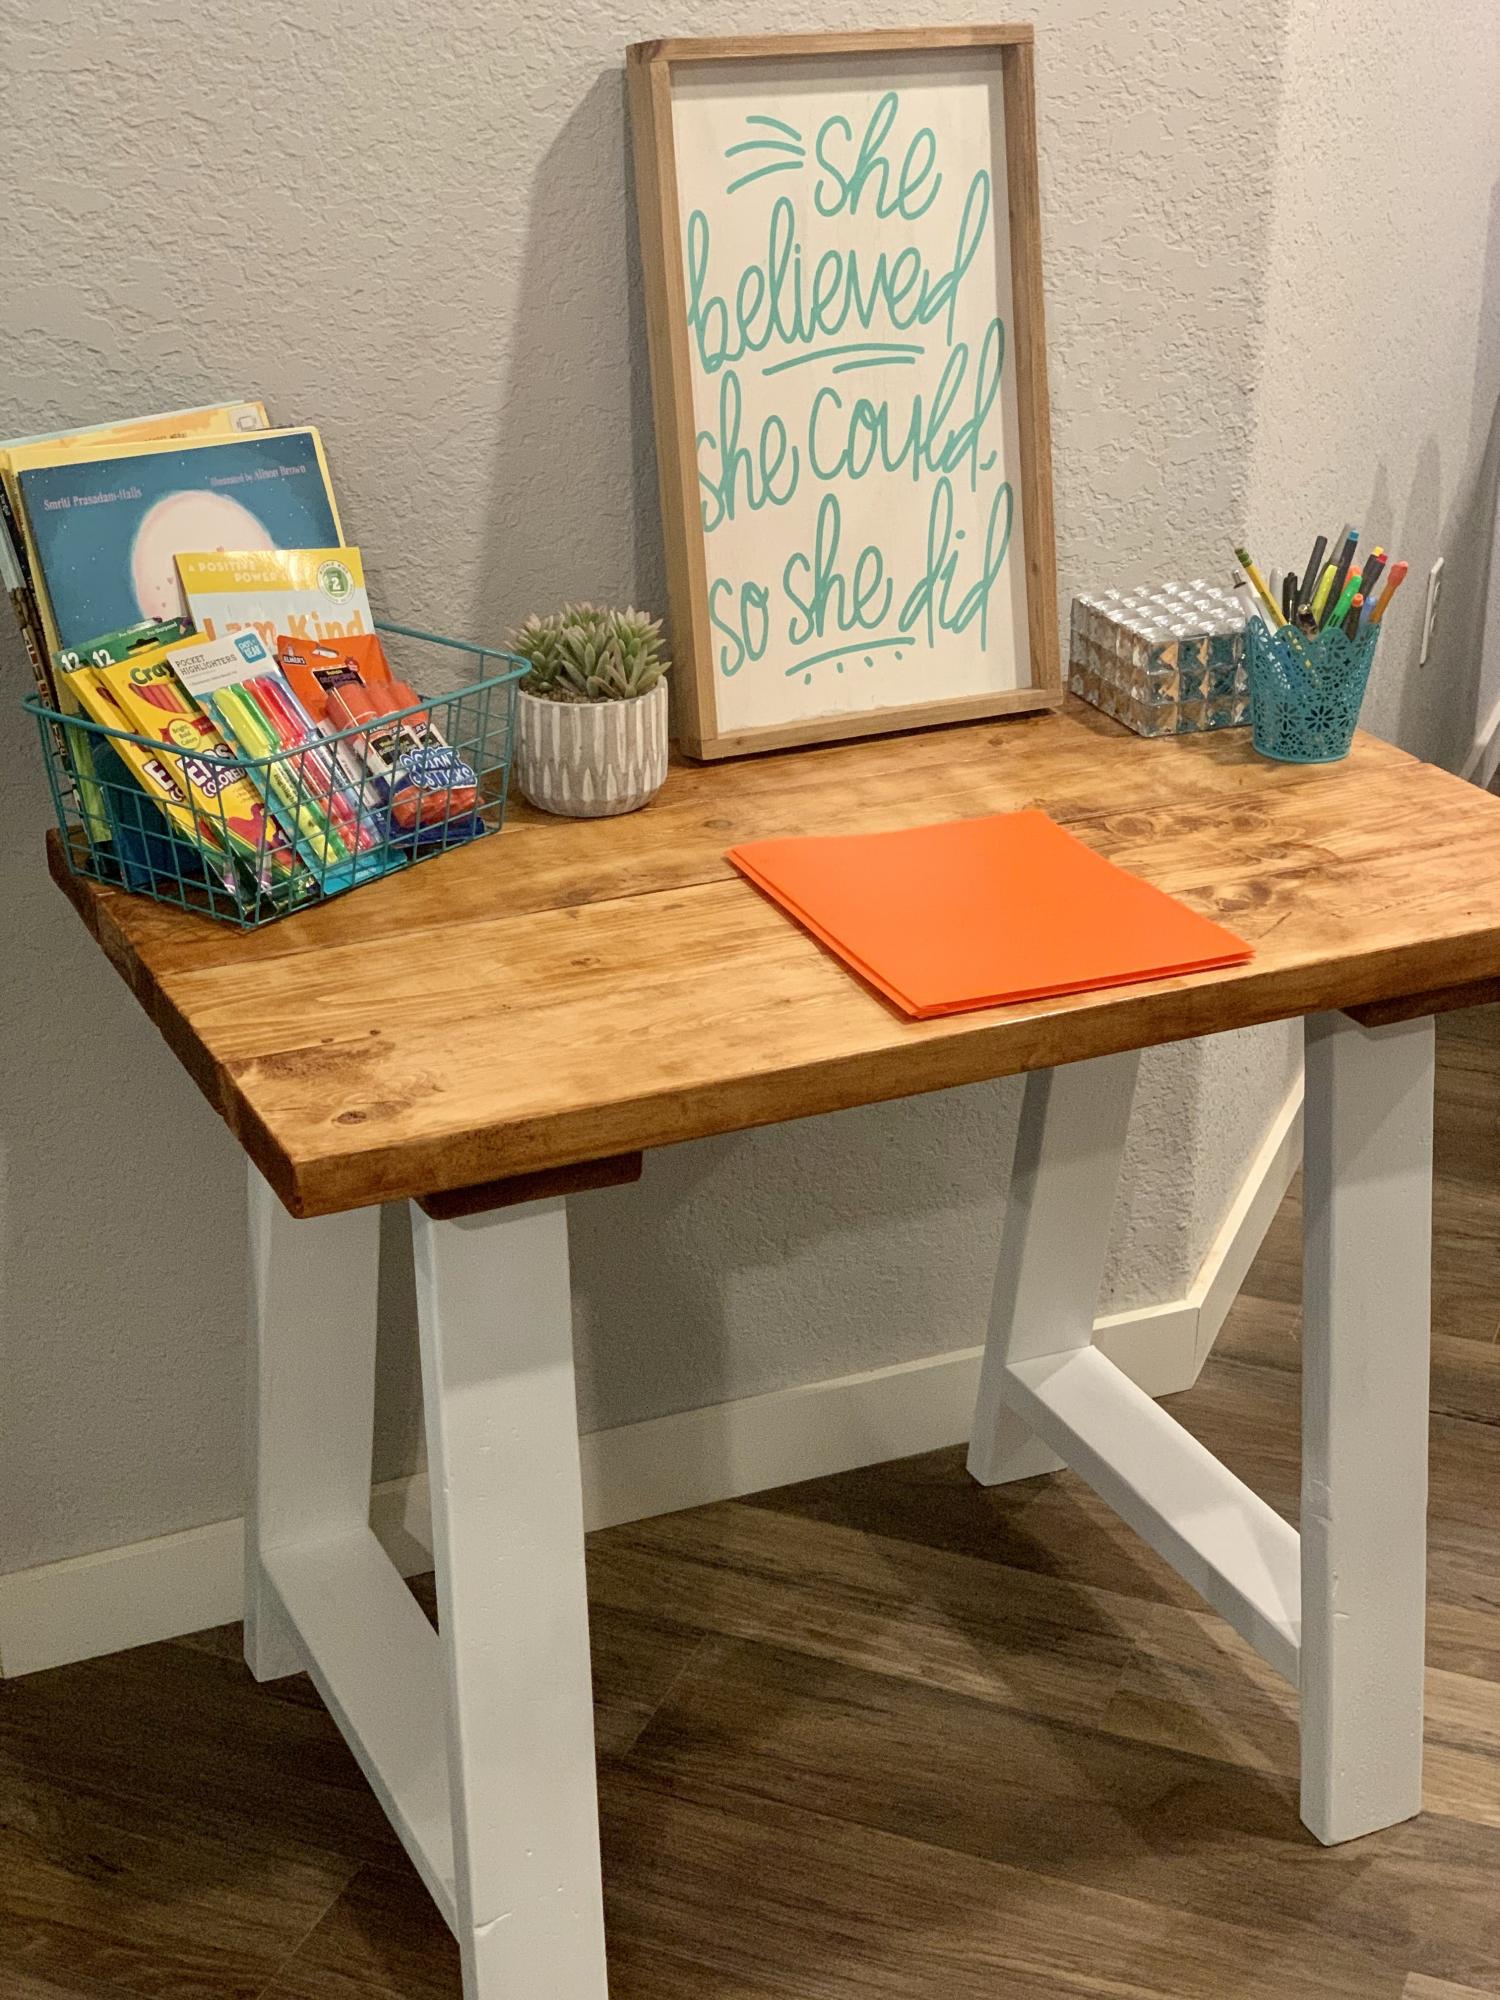
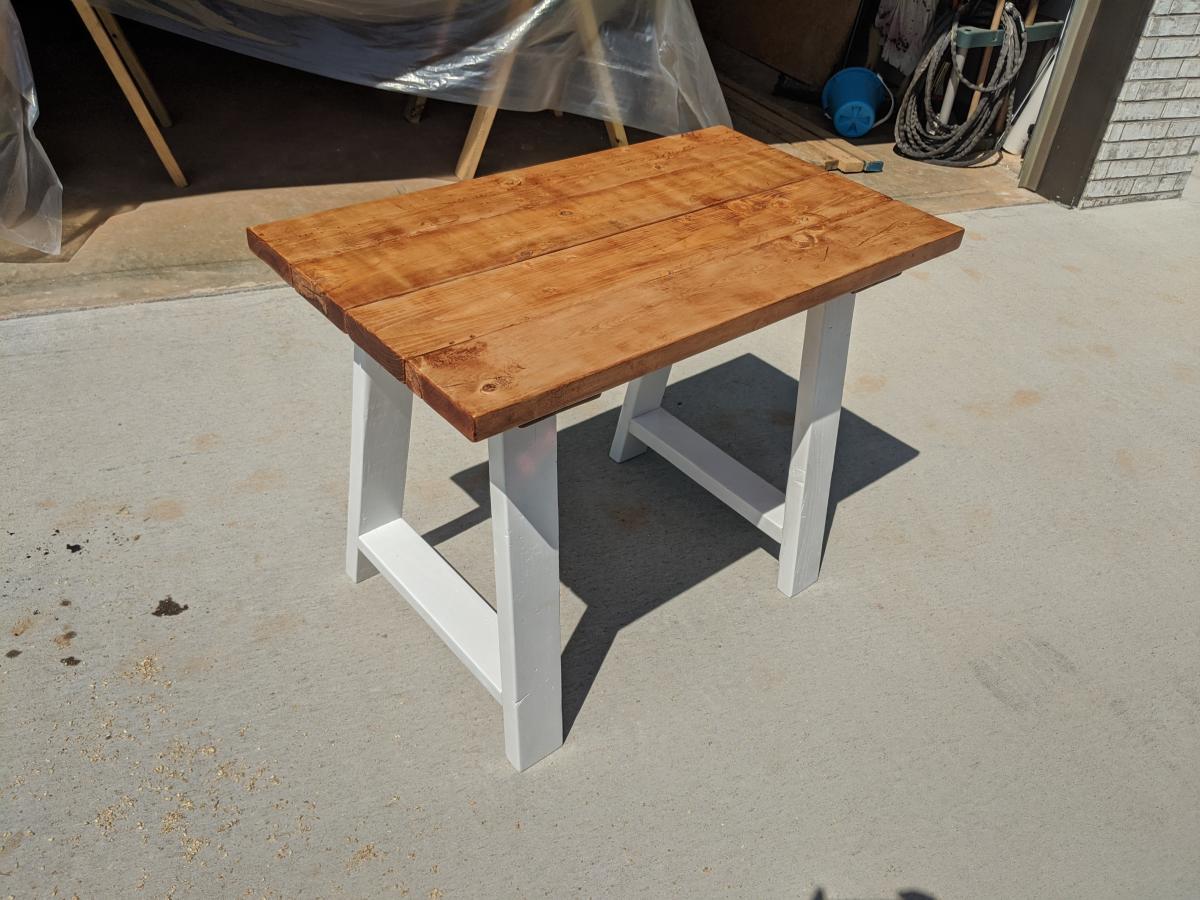
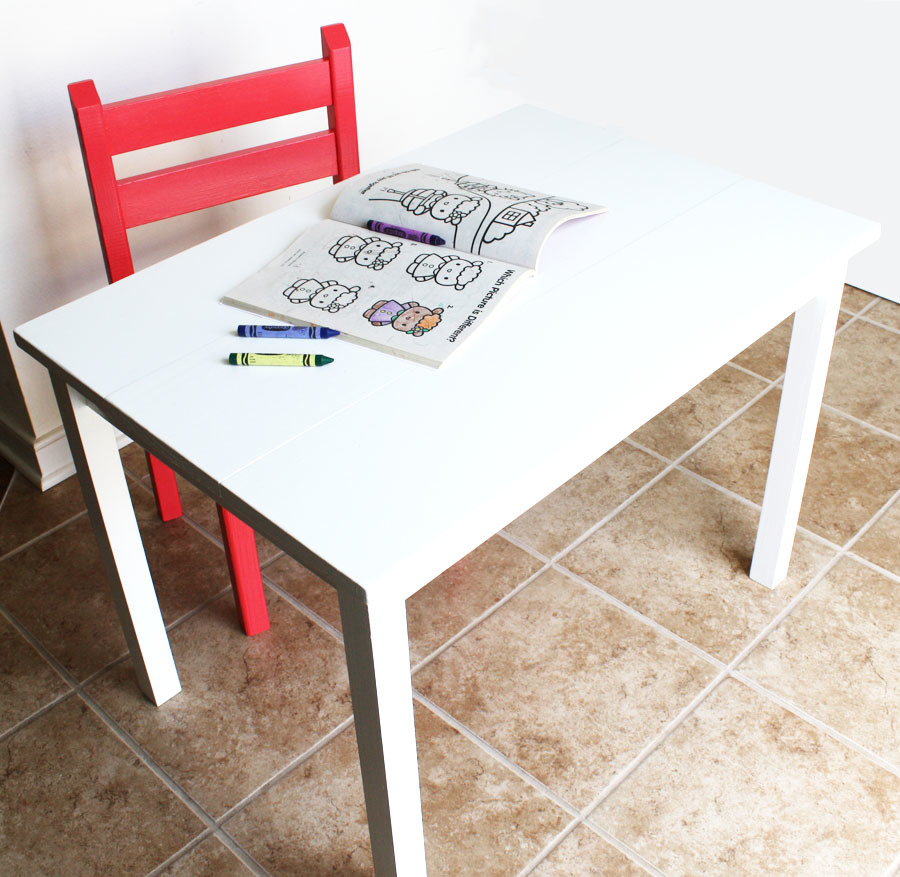
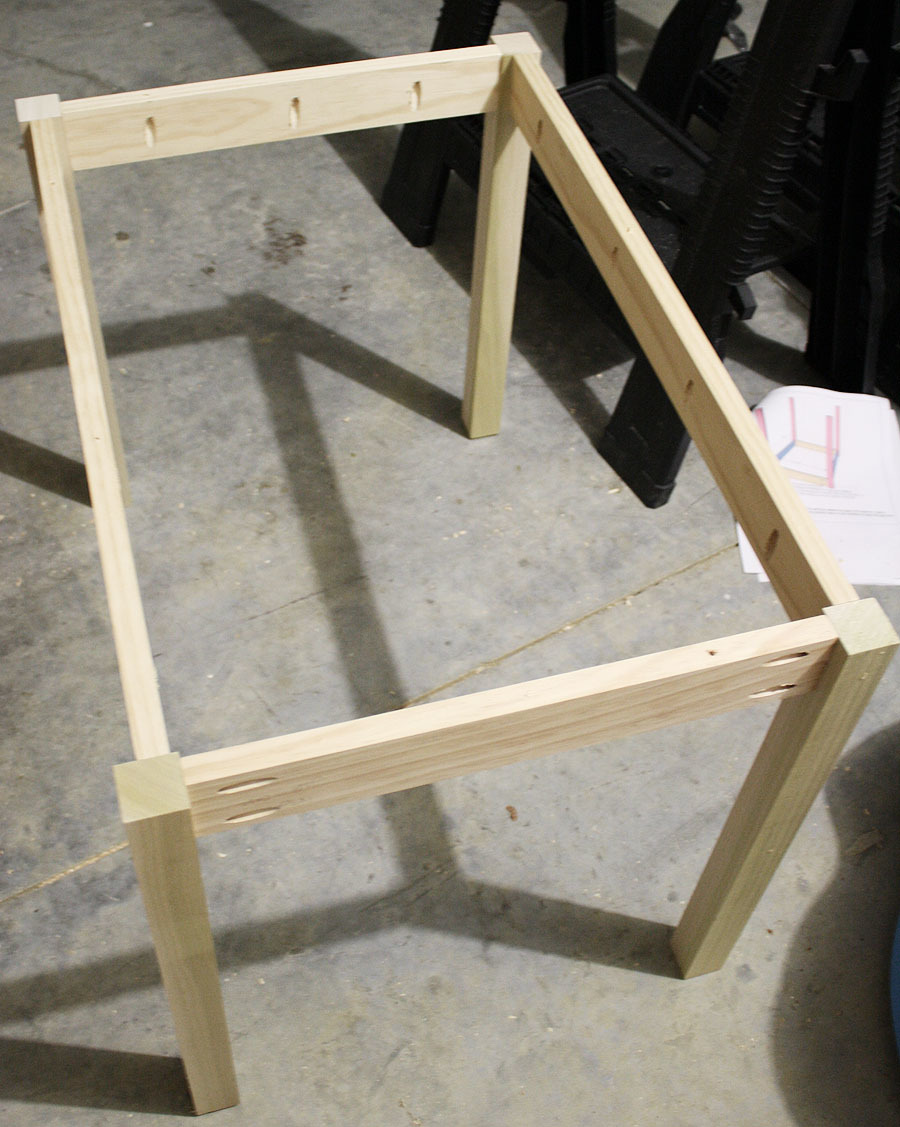
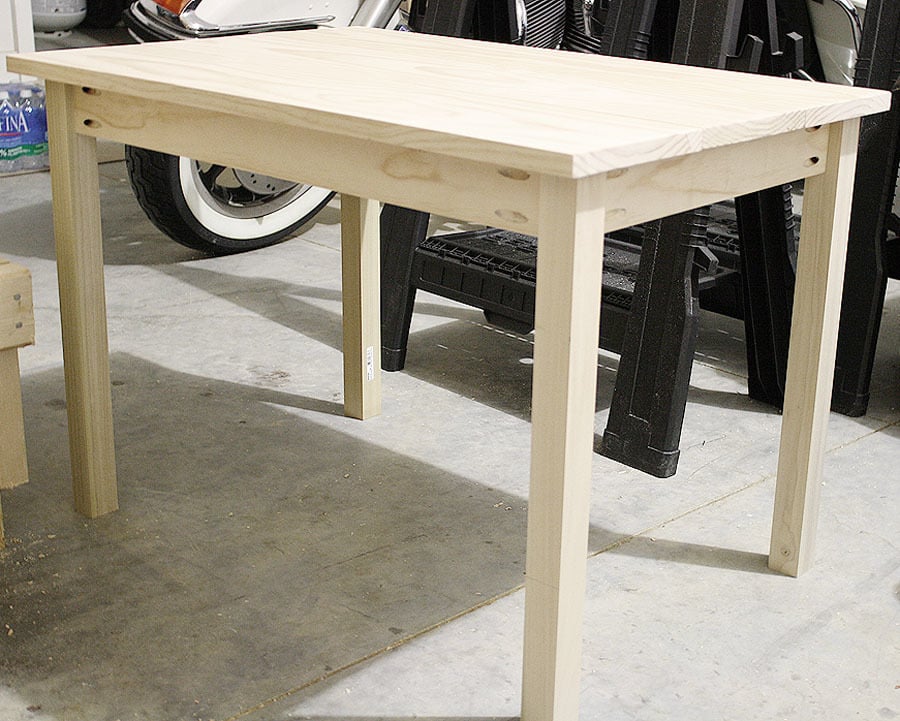
This table was super easy to build... it took me only 3 hours! I opted to use hardwood poplar 2x2s for the legs because furring strips frustrate me to no end (bowing boards, splitting wood, etc.) and the poplar also made it sturdier. Had I used furring strips, this table would have only cost me $15, but I opted for the more expensive route... but still, $35 ain't bad!

Also, I used the Kreg Jig for this project, set on 3/4" with 1 1/4" pocket hole screws - EXCEPT when I drilled the base frame onto the table top. I used 1" pocket hole screws for that, just in case the 1 1/4" screws were too long and came poking out the top of the table.

Click my blog link for the complete play-by-play!

Built from Plan(s)
Estimated Cost
$35.00
Estimated Time Investment
Afternoon Project (3-6 Hours)
Finish Used
Primed with Zinsser 3-in-1 Primer, then painted with 2 coats of glossy white.
Recommended Skill Level
Starter Project
Workbench with Drawers and Carts on Casters

Submitted by vendo on Tue, 03/19/2024 - 07:38

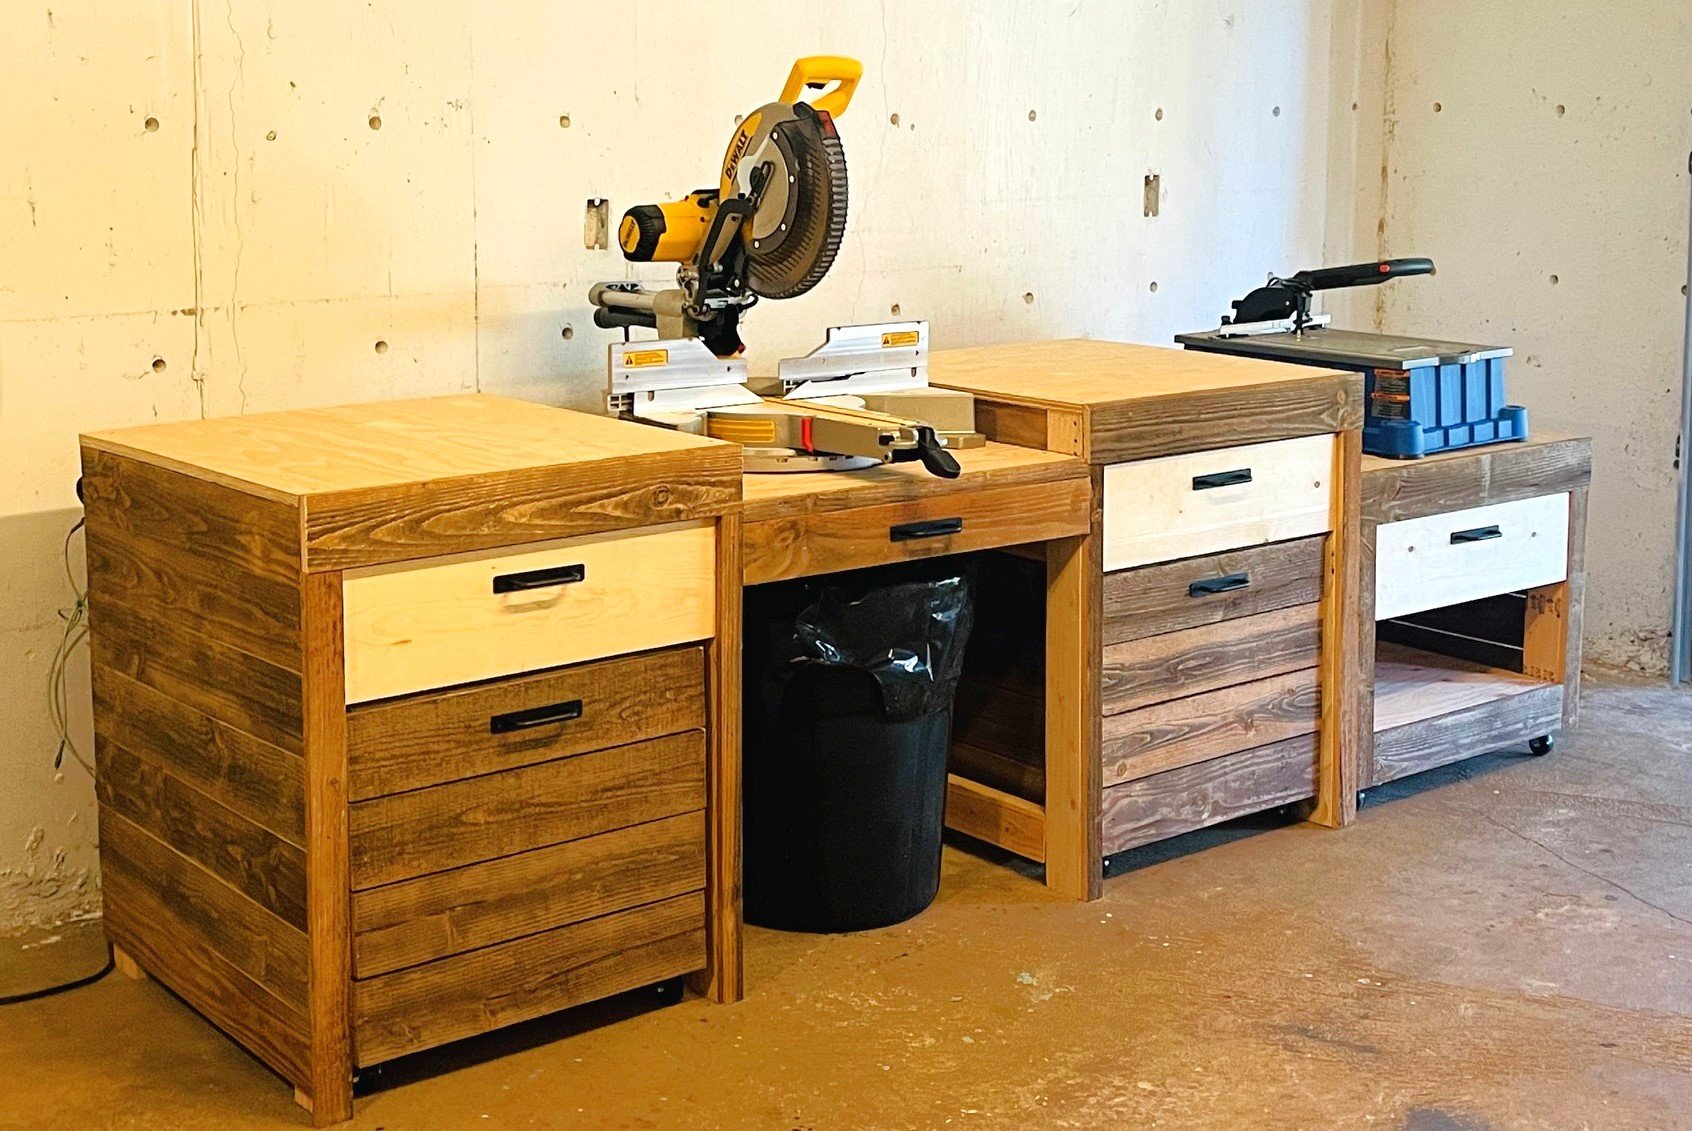
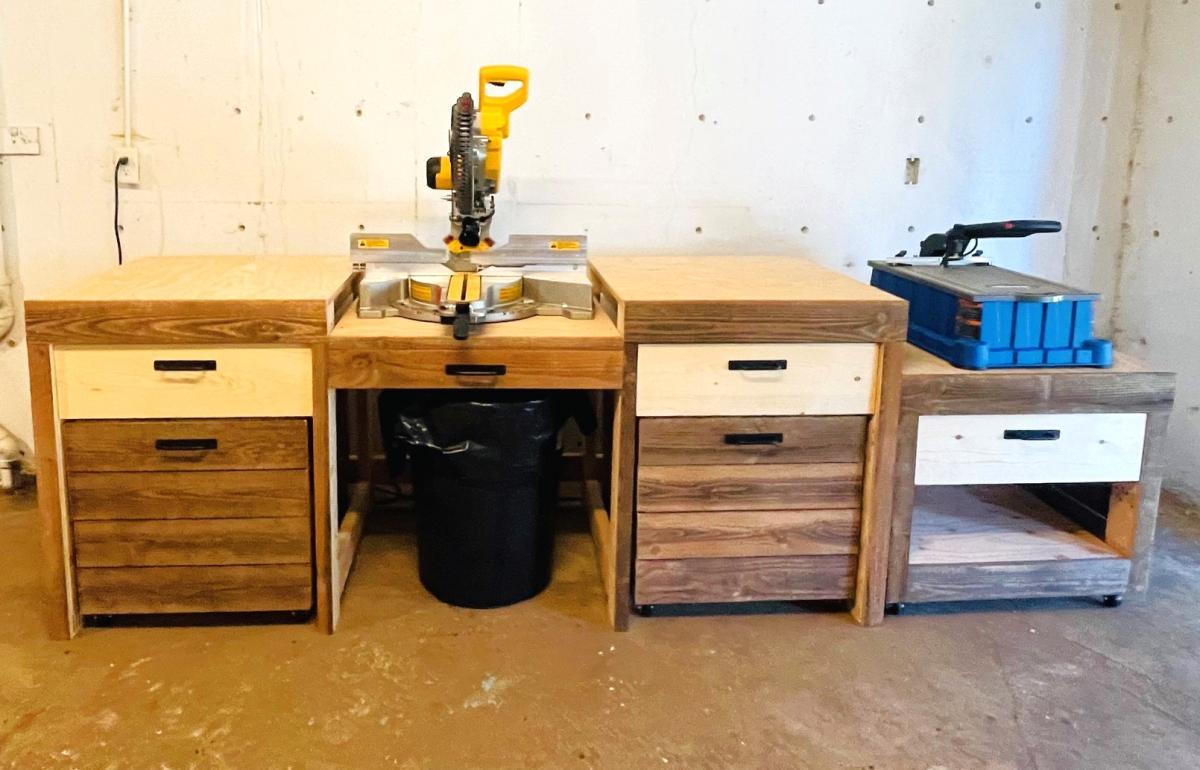
Using Ana's Ultimate Workbench Plan and her easy drawer method I built this. I decided to do storage carts that roll in and out for small scrap lumber storage. The Kreg Foreman got it's own cart, I made it so the deck of the machine was at the same height as the work surface. I added a drawer so all of my kreg bits and screws can be in one place. I had batteries and chargers laying all over my small shop, so I incorporated a battery charging drawer. I'm excited for the projects to come using my new set up!
Modern Outdoor Chairs

Submitted by tiacobazzi on Wed, 06/17/2020 - 15:31

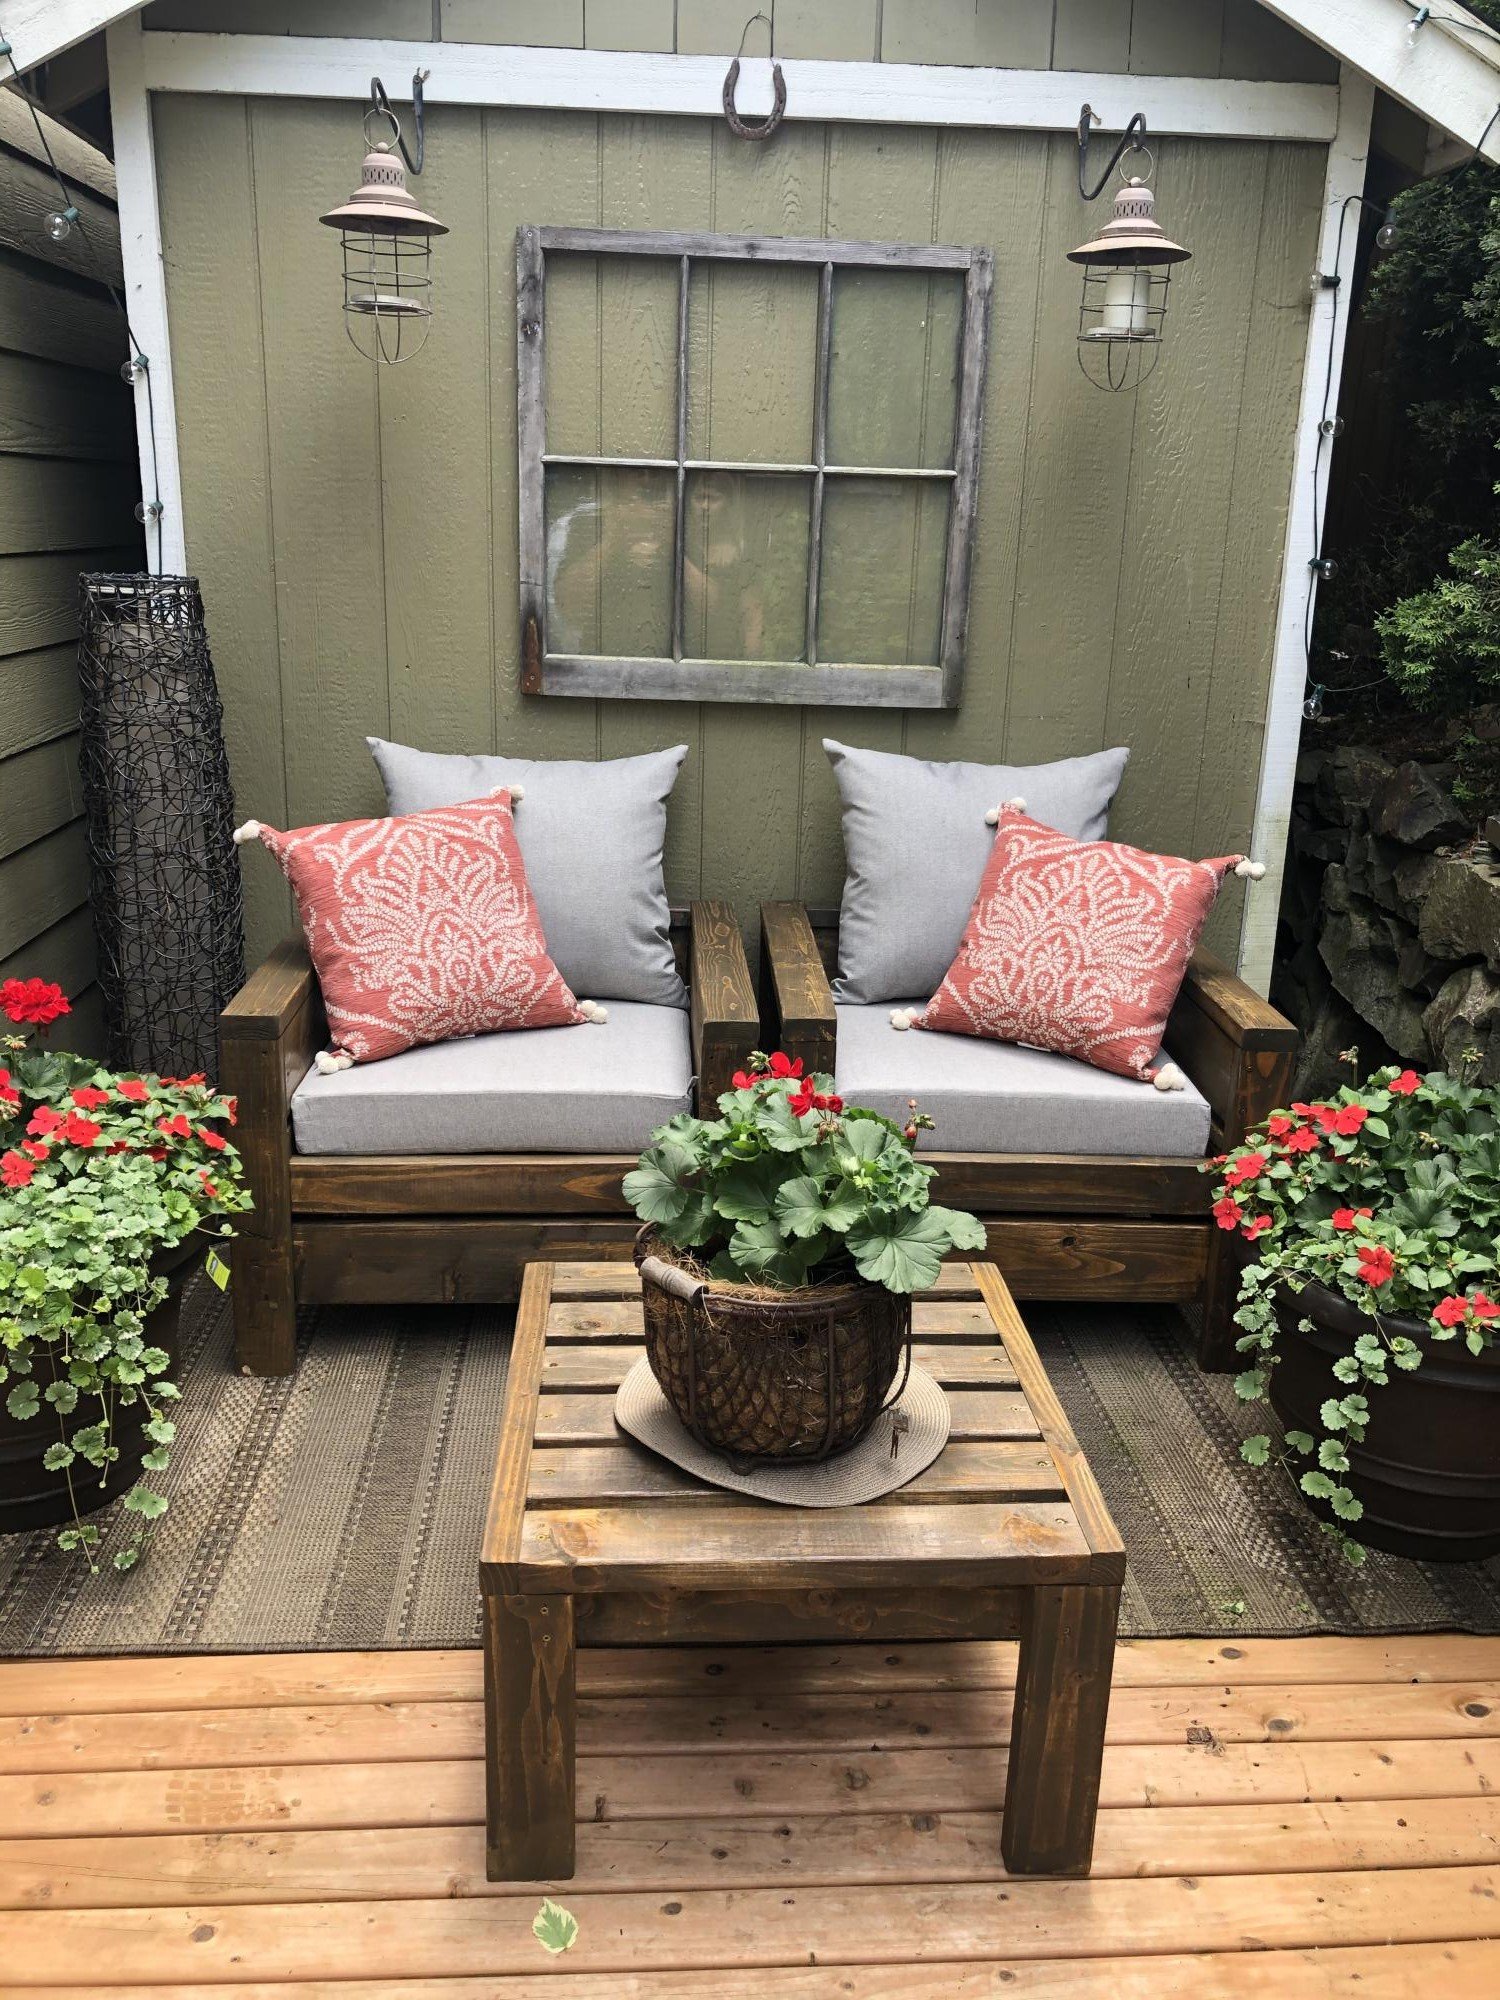
My husband built these for our little deck!!! They turned out AMAZING!! The plans were so easy to follow! I am so happy with how they turned out and can't wait to build our next Ana White design!! THANK YOU!!!

Built from Plan(s)
Estimated Cost
$60 for both chairs and table!
Estimated Time Investment
Afternoon Project (3-6 Hours)
Finish Used
Outdoor stain
Recommended Skill Level
Beginner

Comments

ladybug'13

Wed, 06/17/2020 - 20:38

He did a great job! They're beautiful! May I ask where you got the cushions? I'm thinking of making a few of these myself and would like recommendations :)

Raised Cedar Fence Post Berry Patch

Submitted by AmyJM on Fri, 12/07/2012 - 17:56

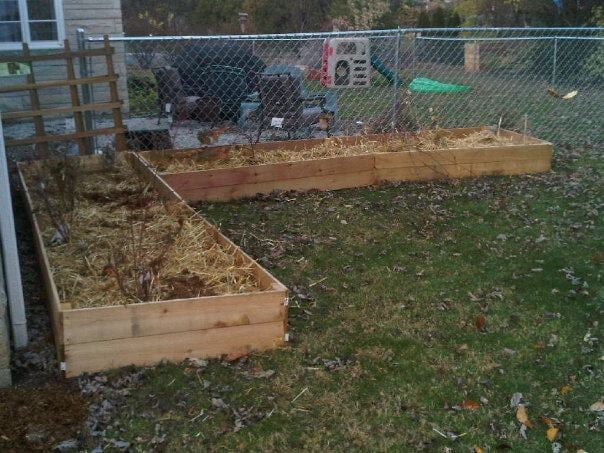
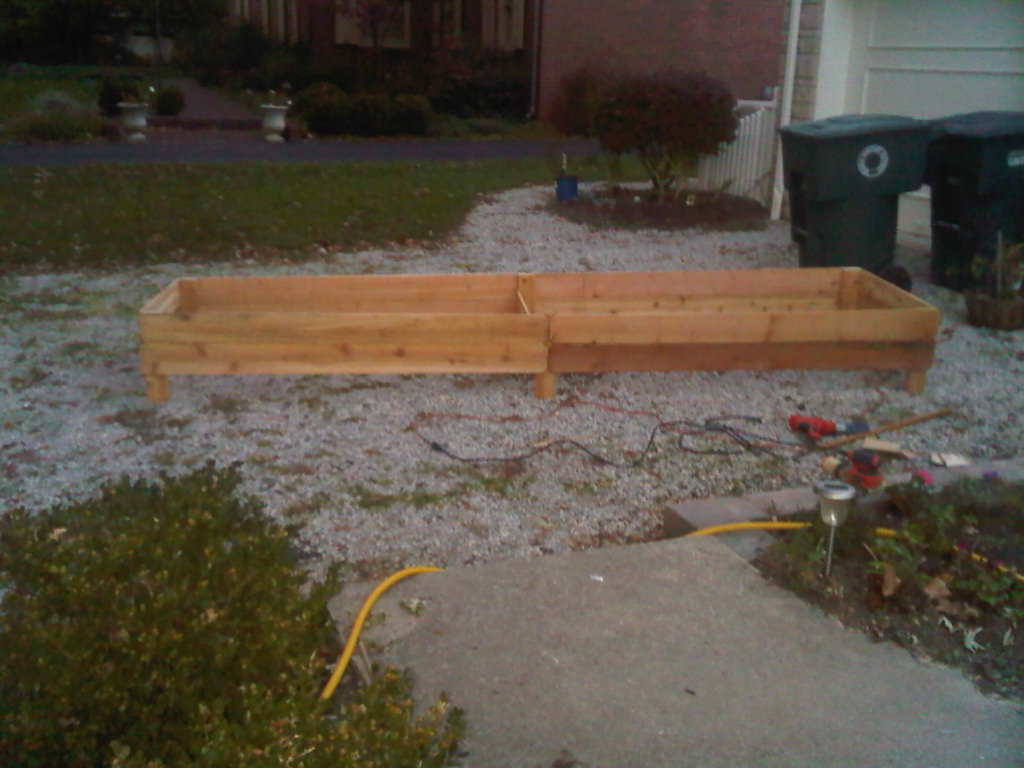
I used the same cedar fence boards, but for a large berry patch made with minimal cuts. The end boards are 1/2 the length of the long side boards. I made them 2 fence widths high - about 11 inches. Each bed is nearly 12 feet long. I joined the dogeared ends of 2 boards in the center, making a diamond cut out pattern that looked good. In order to support the tall sides, I used cedar 2x4x8 boards. Use 18-24 inch posts on each corner and at the center joint. I cut an additional board in half, affixing it to the center posts, to brace the long sides and add stability. Each box is approximately 3 feet wide, 12 feet long, and 11 inches tall. You'll need 8 fence posts for the long sides, 2 for the short sides, and 1/2 for the brace - you could use a different piece of wood for this, but the cedar fence posts are such a deal. You'll also need approximately 9 feet of cedar 2x4 for the corner posts - I bought 8 foot lengths and cut each into 2 foot posts for stability. The cost was around I'll add 2x4 posts in the spring and put a trellis behind the raspberries. If the birds start to steal my blueberries, I'll add metal or wooden corner posts that will support fruit netting. We're planting strawberries around the base of the larger fruit bushes. The 11 inch sides should keep rabbits from invading. If they are persistent, I'll add a few inches of chicken wire around the top edge. This made the equivalent square footage of 4 of Ana's original $10 beds.

Estimated Cost
Around $75 for 2 - most of the cost was in the 2x4s.
Estimated Time Investment
Afternoon Project (3-6 Hours)
Finish Used
Light sanding, no finish
Recommended Skill Level
Starter Project

Comments

CEFreeman (not verified)

Sun, 12/09/2012 - 10:40

I'm putting together several L-shaped raised beds out of 6x6s with the internal walls being 2x6s. This gives me encouragement. I really like the look of this! Thanks.

CEFreeman (not verified)

Sun, 12/09/2012 - 10:42

I'm putting together several L-shaped raised beds out of 6x6s with the internal walls being 2x6s. This gives me encouragement. I really like the look of this! Thanks.

simple outdoor chair

Submitted by Anonymous (not verified) on Sun, 01/15/2017 - 11:00

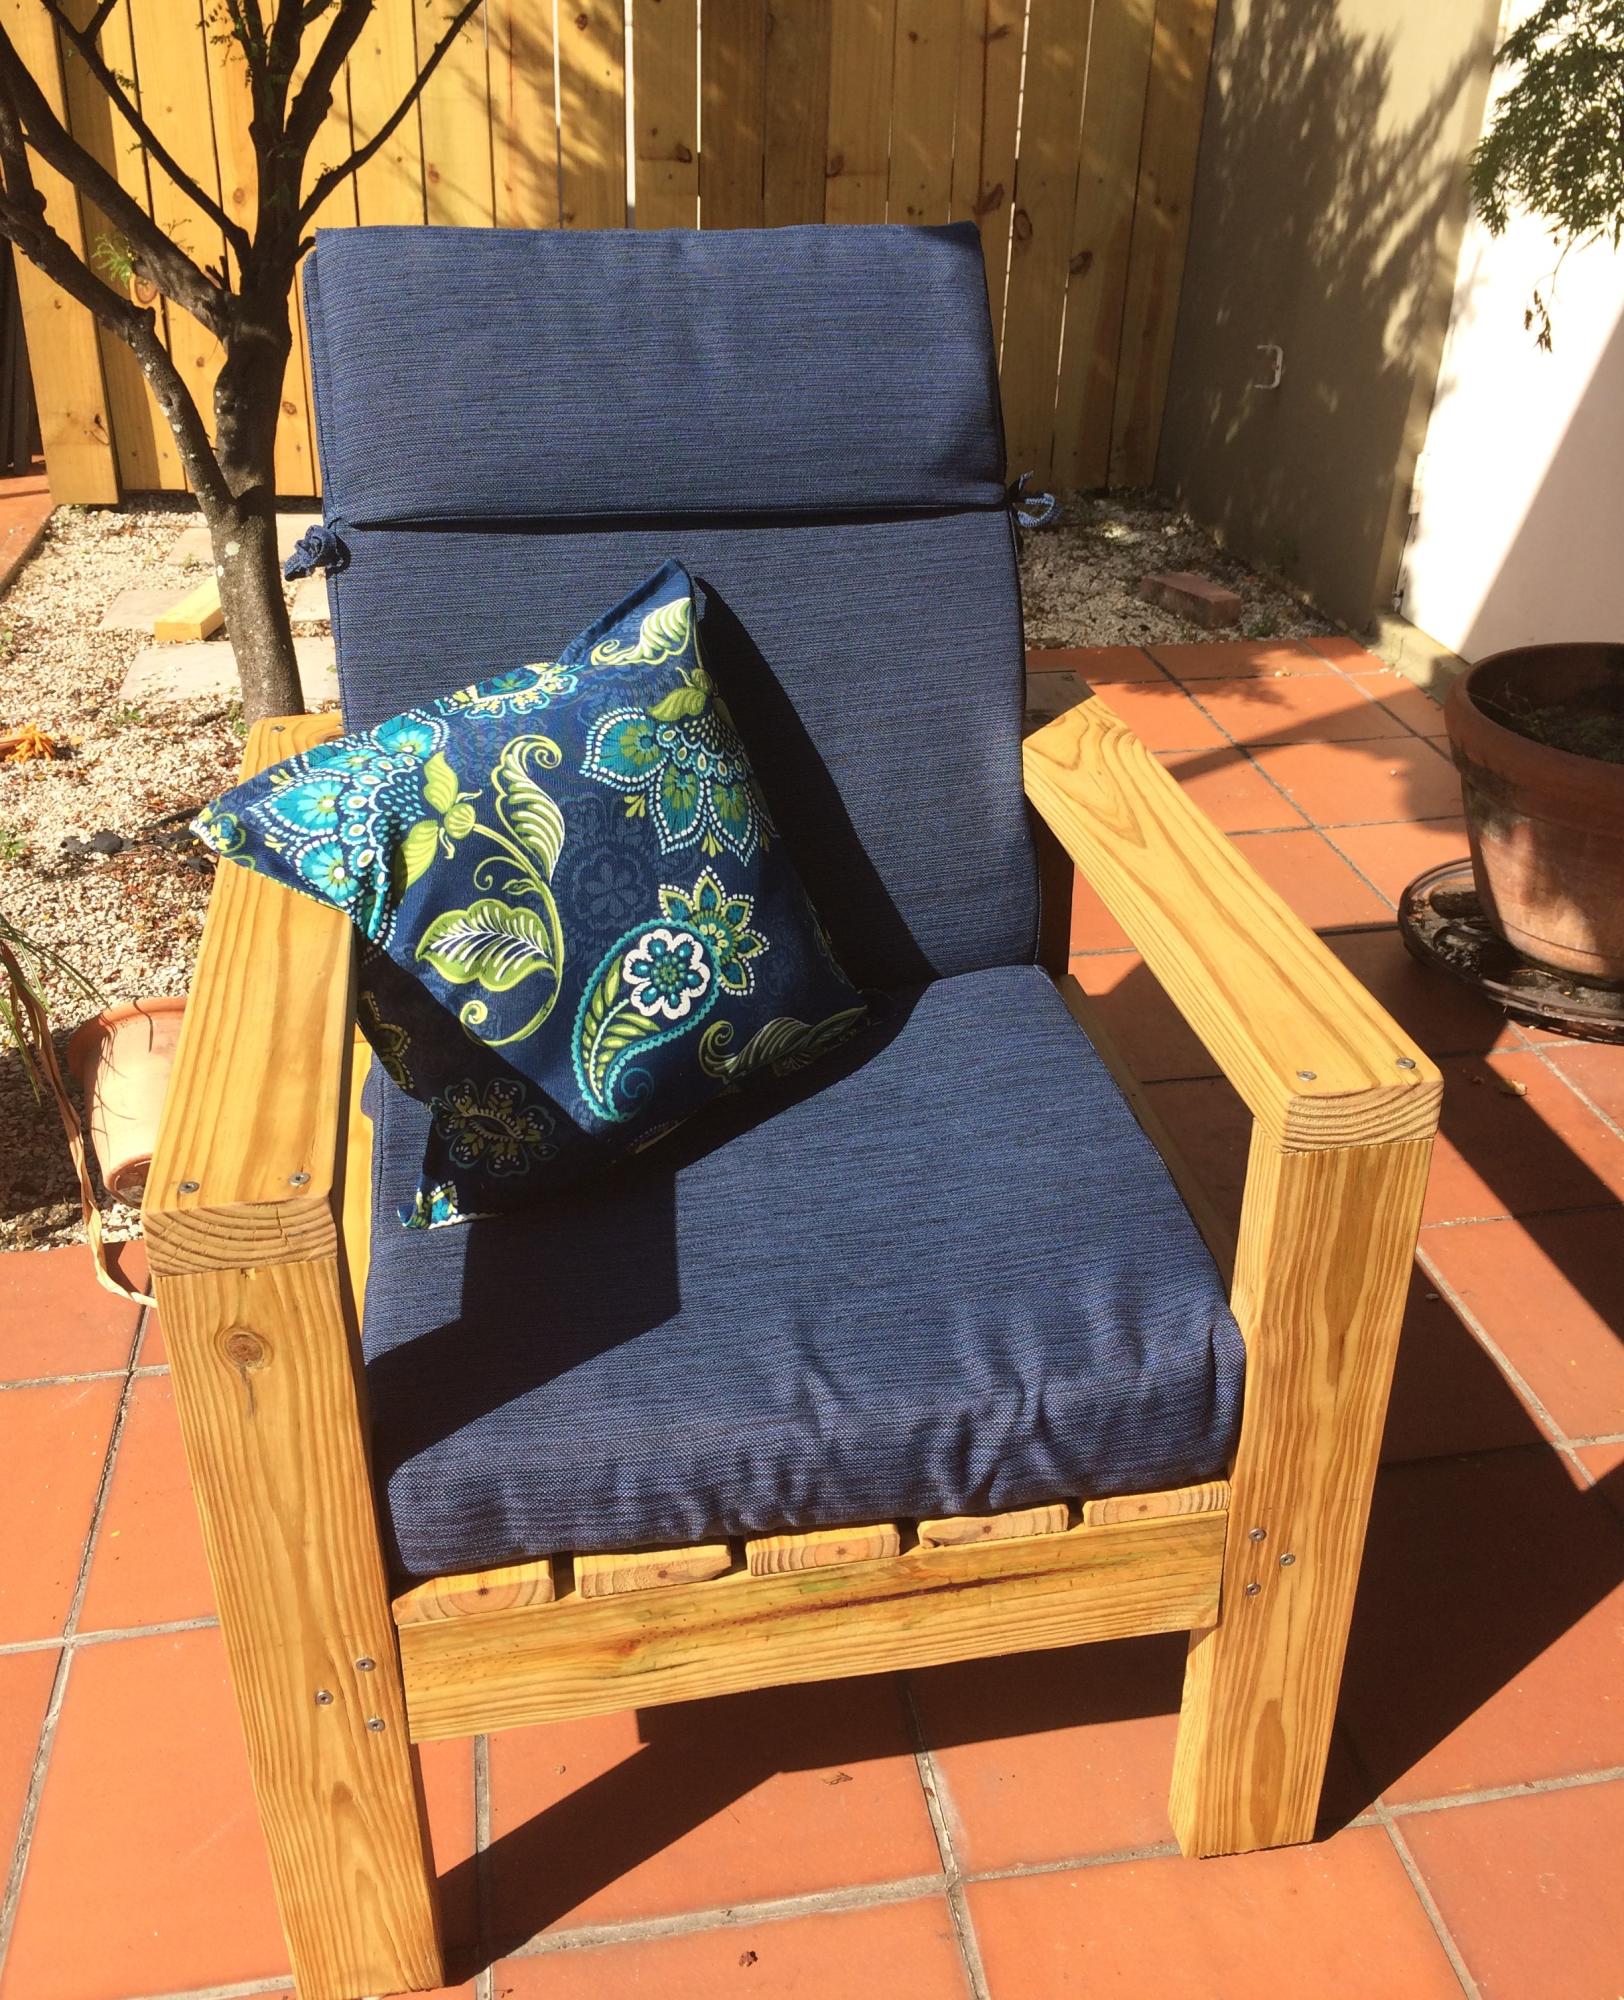
This was my first chair. I made the arms and base with 2x4's. I added a 2x4 apron in the front and back and 1x4 apron to the sides.  My next chair I will try to use the Kreg for the arms, the base will be hidden with aprons, so it doesn't matter. The slates are 1x4 as the instructions provided recommended.  I got the cushion from Lowes for $50

Built from Plan(s)
Estimated Cost
$50 - for pressure treated wood, exterior screws, stain and sealer.
Estimated Time Investment
Afternoon Project (3-6 Hours)
Finish Used
Ipswich Pine- used foam brush
spar urethane - clear satin
Recommended Skill Level
Beginner

Raised Planter Box

Submitted by ang312 on Fri, 01/25/2013 - 12:24

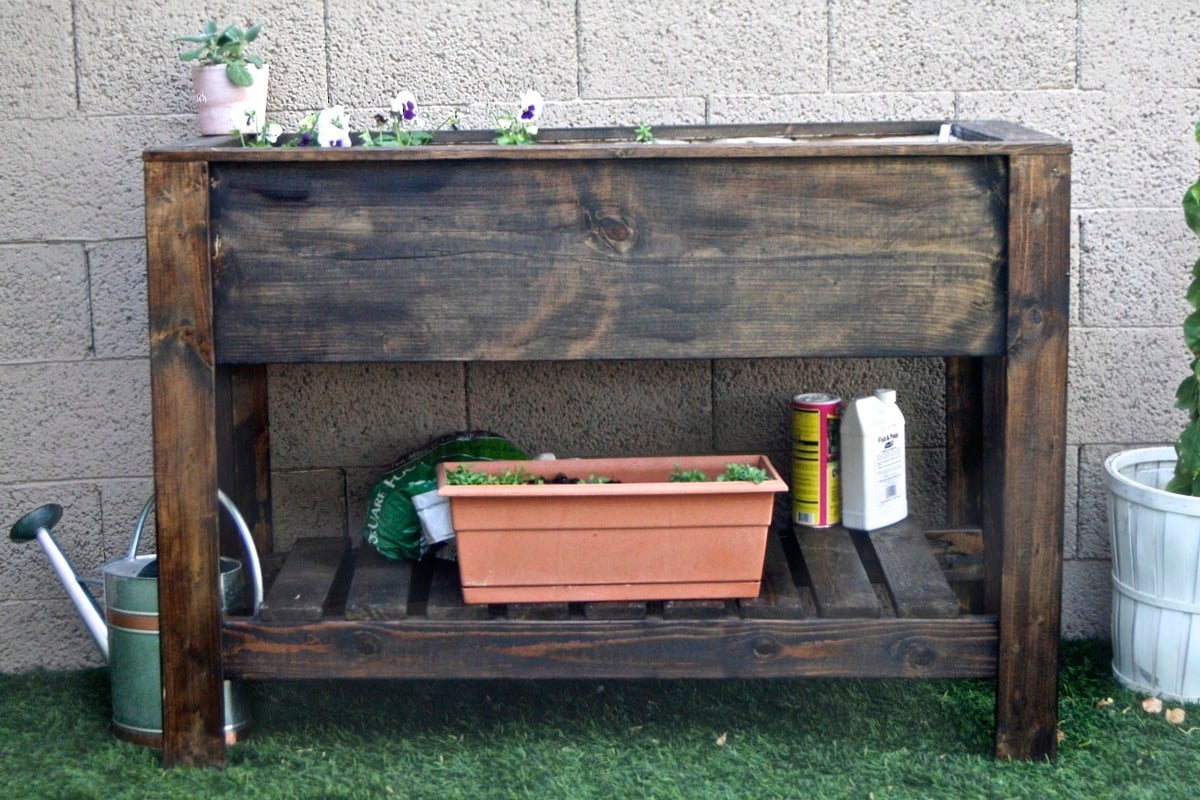
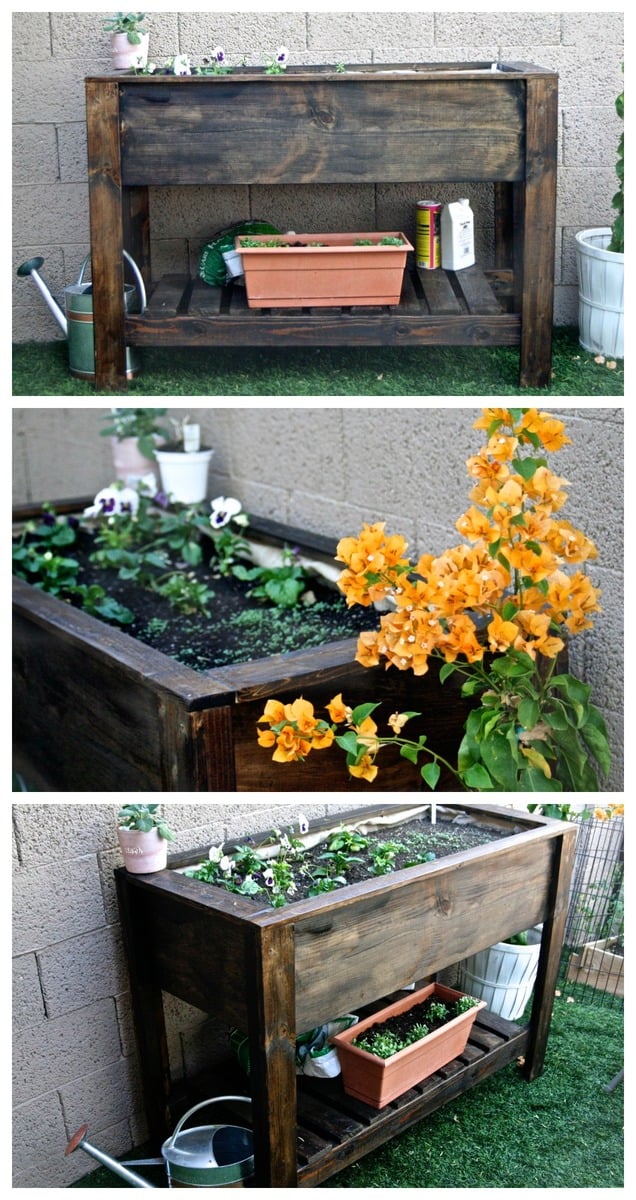
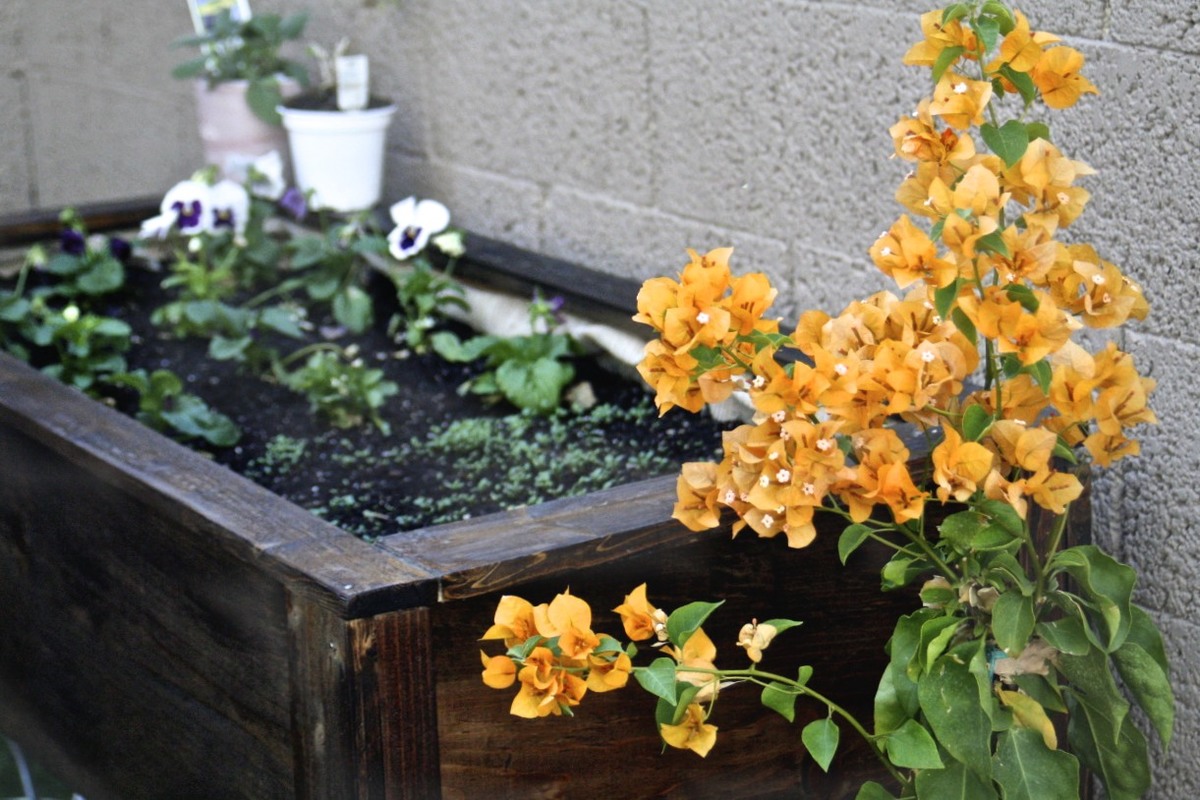
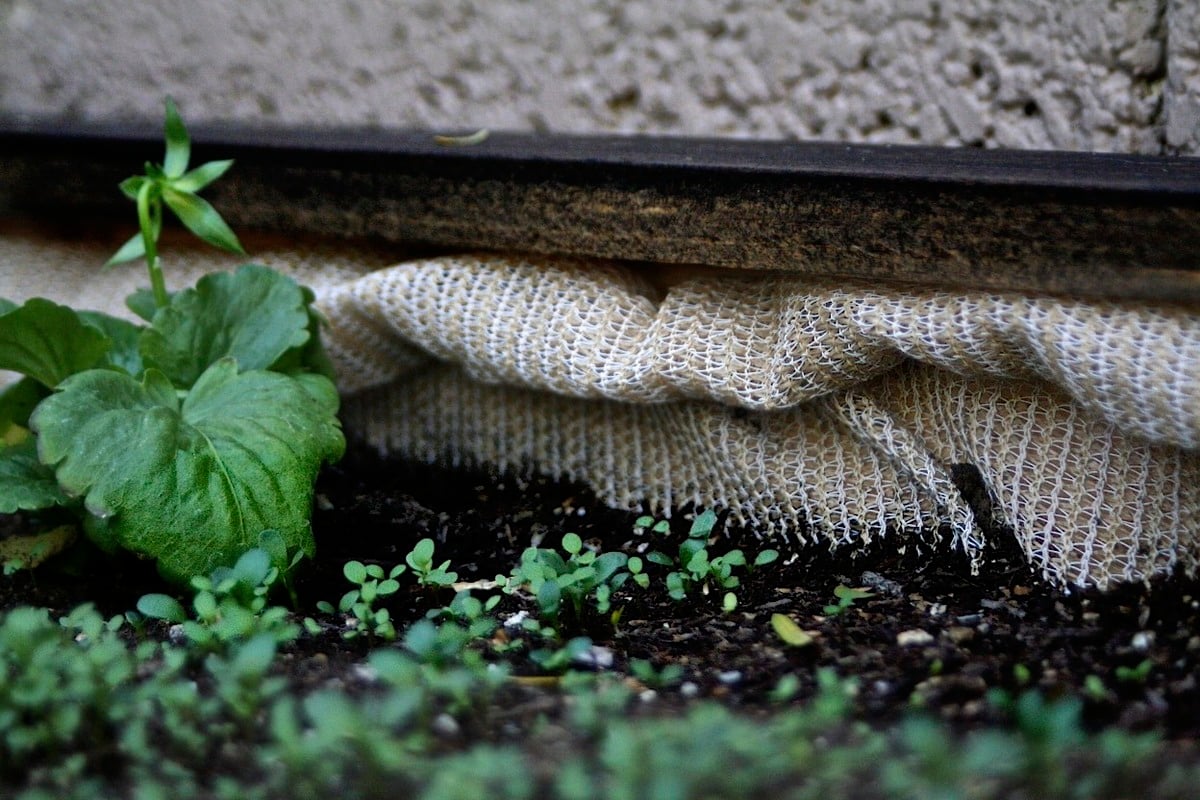
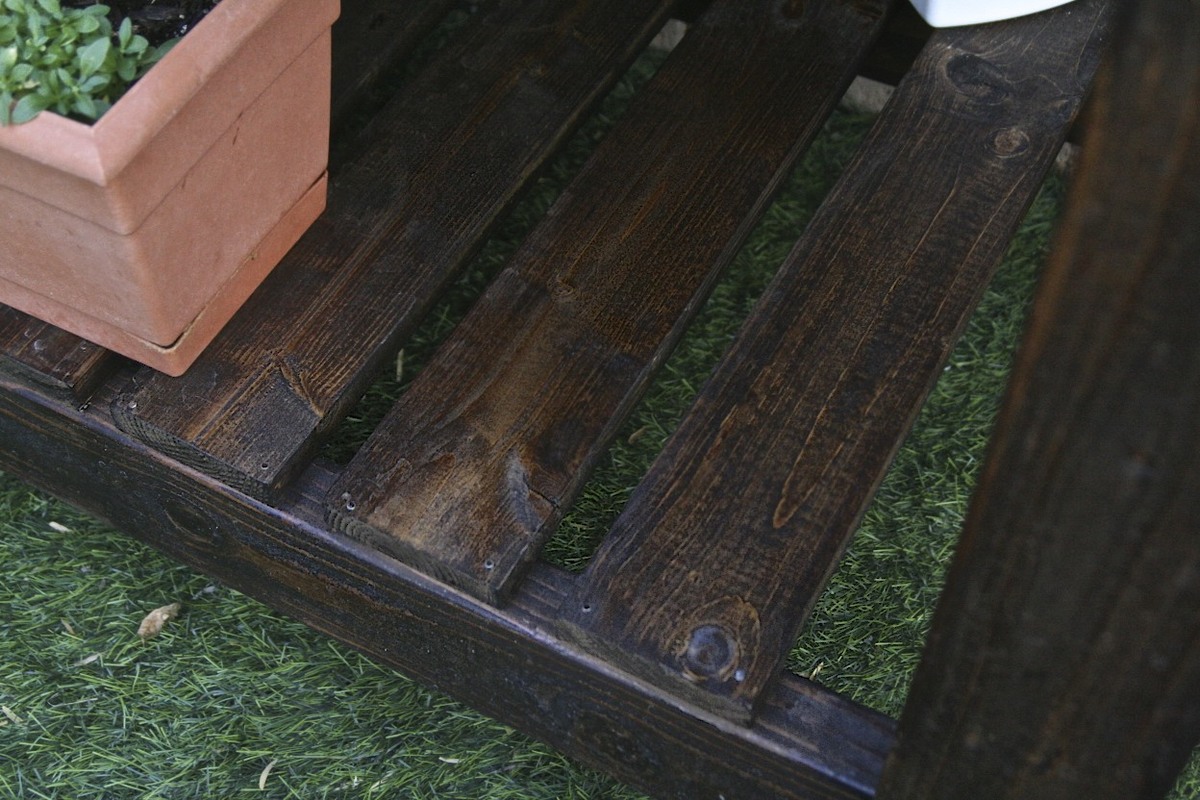
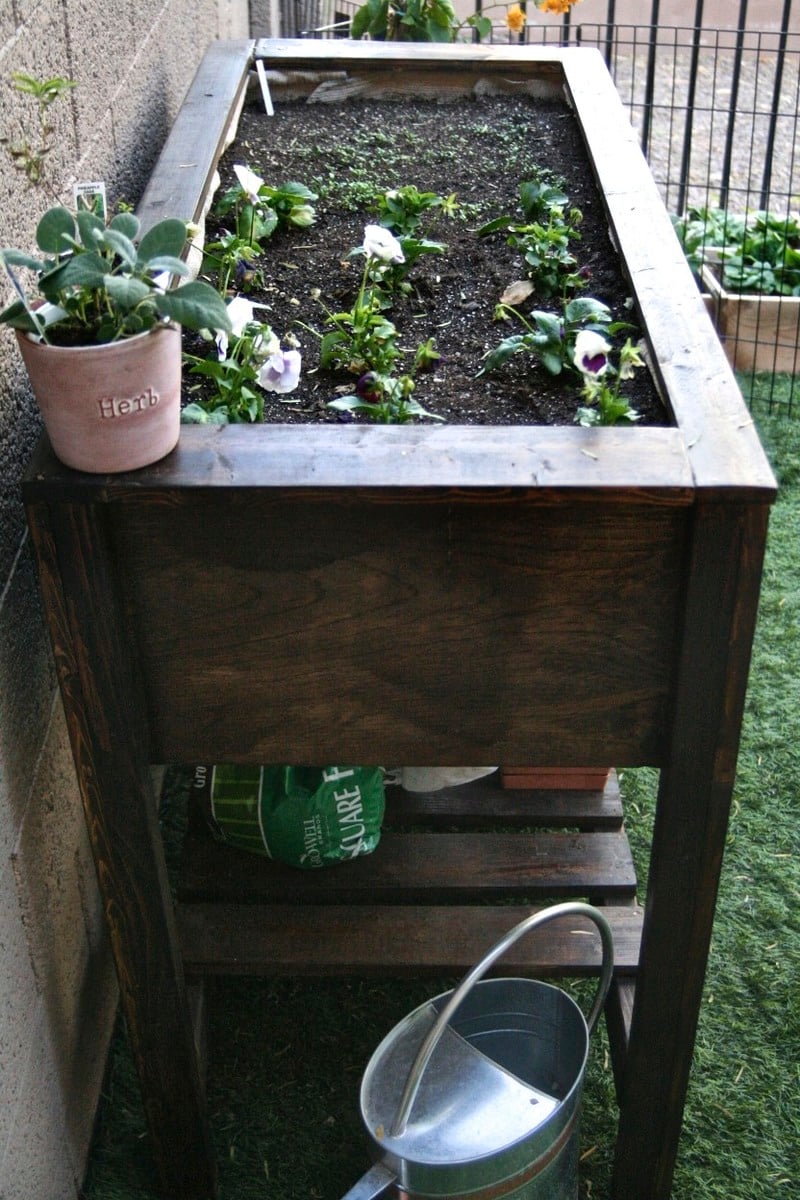
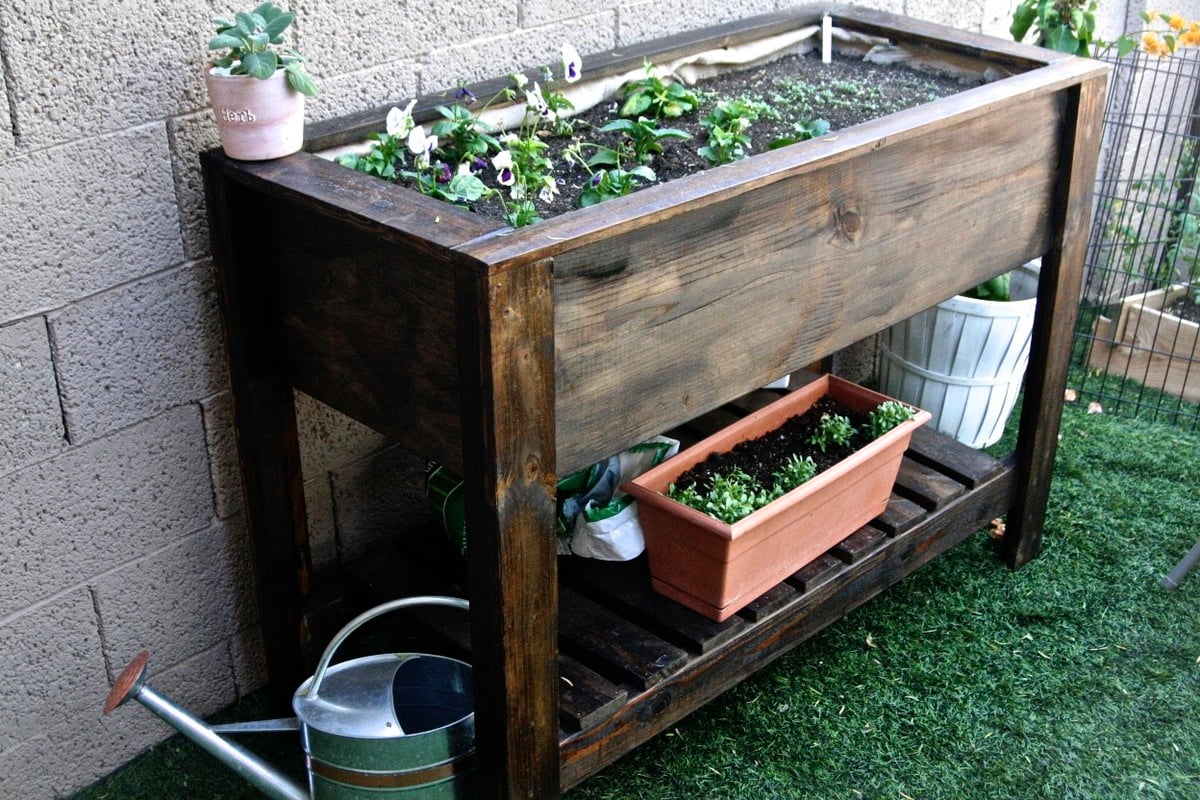
Living in Tempe, Arizona, I am always in need of creative planter boxes so that I can garden with more ease. I loved this tutorial and recommend it to anyone, even beginners! A full tutorial can be seen here: http://www.barerootgirl.com/homemade/2012/11/5/homemade-diy-raised-gard…


Estimated Cost
$30
Estimated Time Investment
Weekend Project (10-20 Hours)
Finish Used
Minwax Stain in Provincial
Recommended Skill Level
Beginner
Seasonal And Holiday

Fancy Baby Doll Crib and High Chair

Submitted by Linda7 on Sun, 02/10/2013 - 20:14

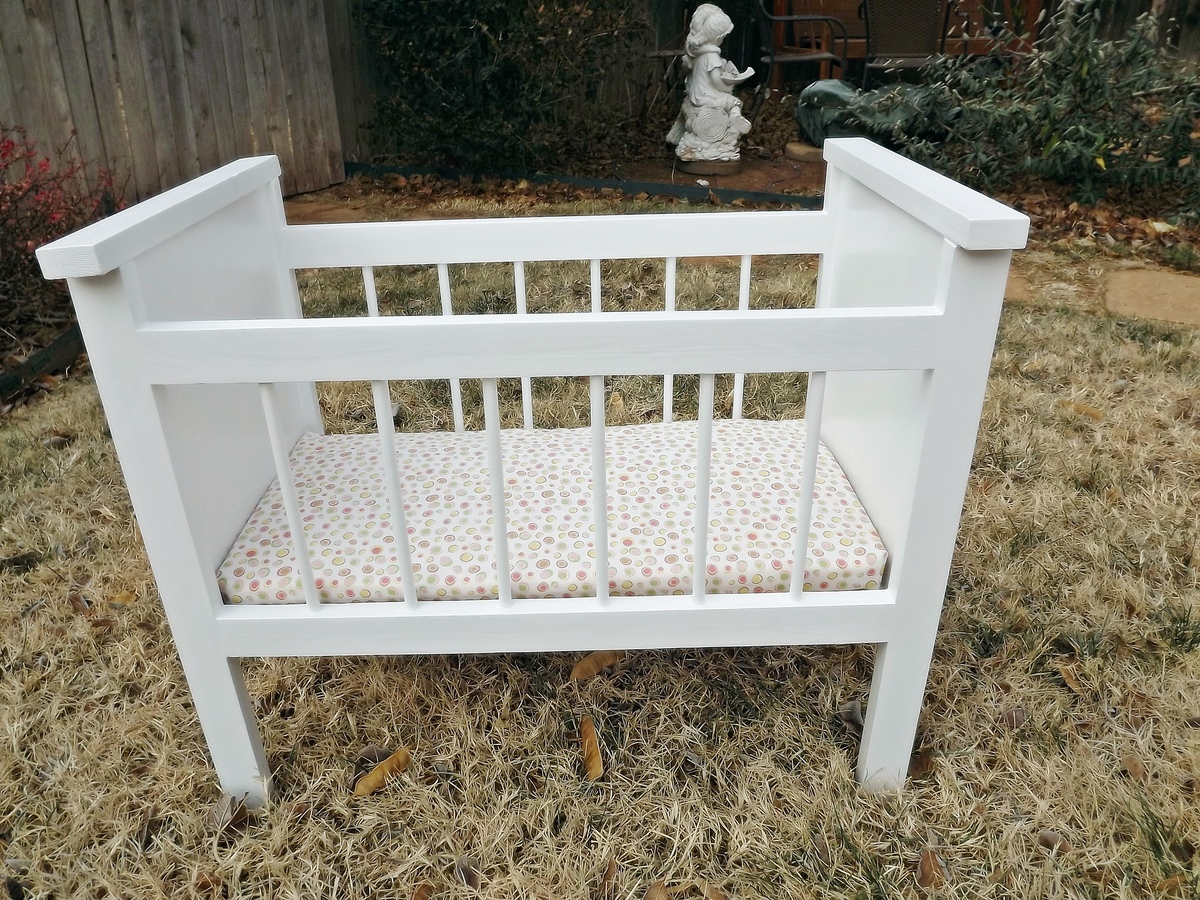
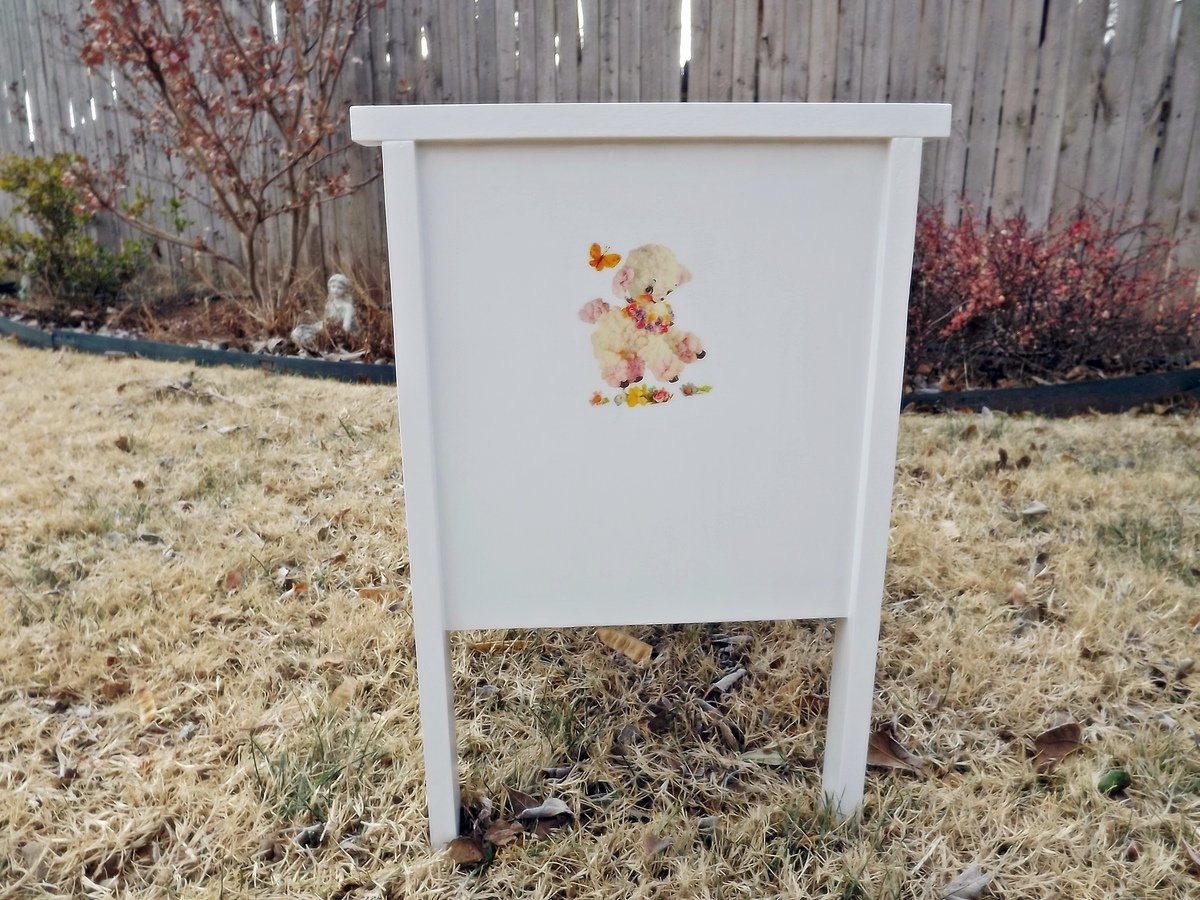
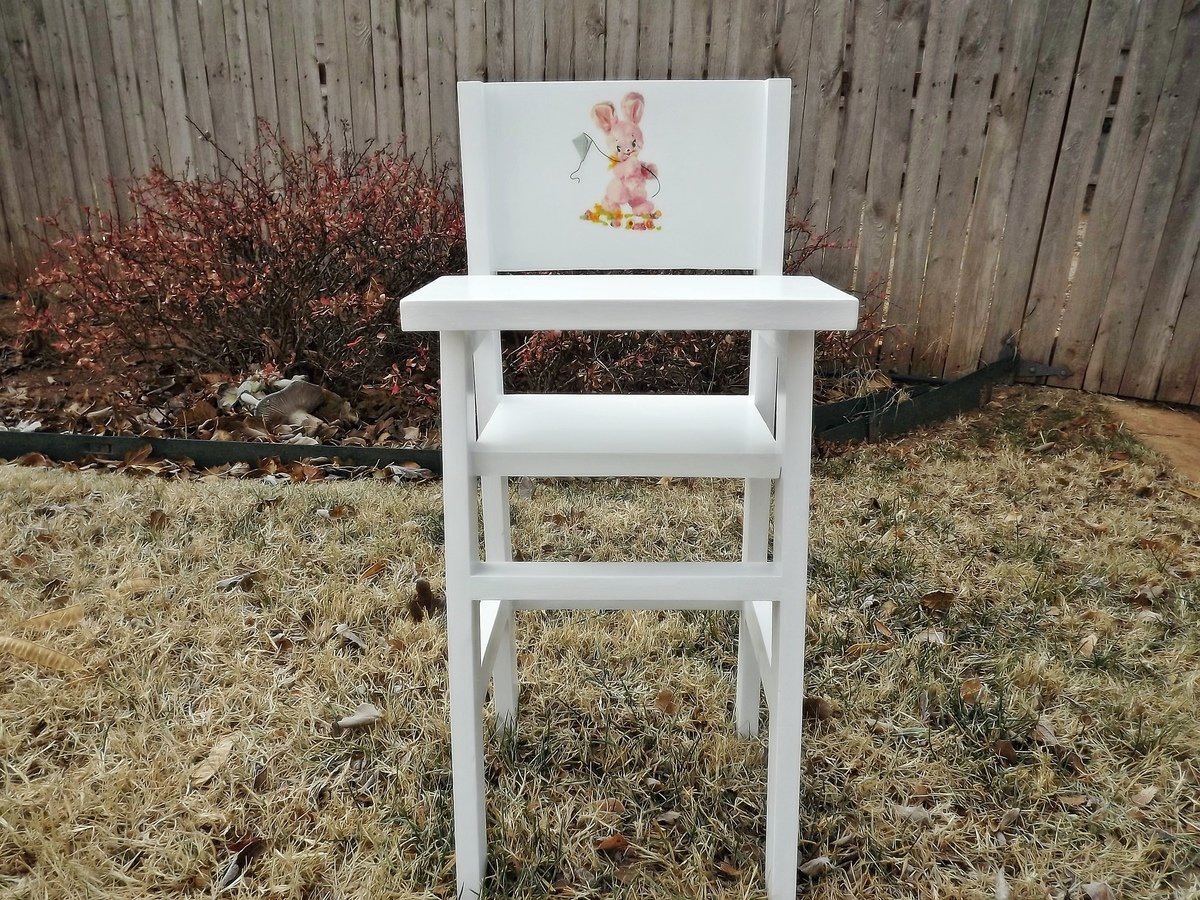
This is the final installment (#6) in the doll bed and high chair sets I've been building my great nieces. Each set was decorated with a lamb water-slip decal on the end of the bed (kind of a little theme going). This is the second crib I've built with dowels - I usually use 1" x 2"s - and I learned to use a spade drill bit rather than a regular drill bit. It doesn't split the wood around the holes. I've had a lot of fun building these for my nieces, and now I may have to start building them for my friends' children and grandchildren. :-)

Built from Plan(s)
Estimated Cost
$20.00-$25.00 not including paint which I had on hand
Estimated Time Investment
Afternoon Project (3-6 Hours)
Finish Used
Kills primer; Olympic bright white interior wall paint, semi-gloss
Recommended Skill Level
Beginner

Master Bath Barn Door

Submitted by Anonymous (not verified) on Fri, 03/17/2017 - 16:34

Created this door with pine wood tongue and groove lumber and pine wood planks. Purchase barn door hardware / track from Jet.com and door handles from Hobby Lobby. 


This replaced my Master bath door and I think came out pretty good. Thank you for the ideas!!!  Jeff M.   Brownstown, Mi

Estimated Cost
Wood 55.00
Handles 2 for 8.00
Stain ( left overs)
Barn door track 54.00

Total $117.00 and 10 % Military discount at lowes
Estimated Time Investment
Weekend Project (10-20 Hours)
Finish Used
Minwax. Mix of Kona and Driftwood Grey
Recommended Skill Level
Intermediate

Play House

Submitted by Anonymous (not verified) on Tue, 05/02/2017 - 21:12

Made from plans on website. Granddaughters favorite color is purple so that's the theme. Siding and room match house.  

Estimated Cost
$800
Estimated Time Investment
Week Long Project (20 Hours or More)
Finish Used
Flower boxes from scrap 1x4 with artificial flowers. Inside painted walls purple and white and ceiling is sky color.
Recommended Skill Level
Intermediate
Back