Outdoor Chairs with Side Table
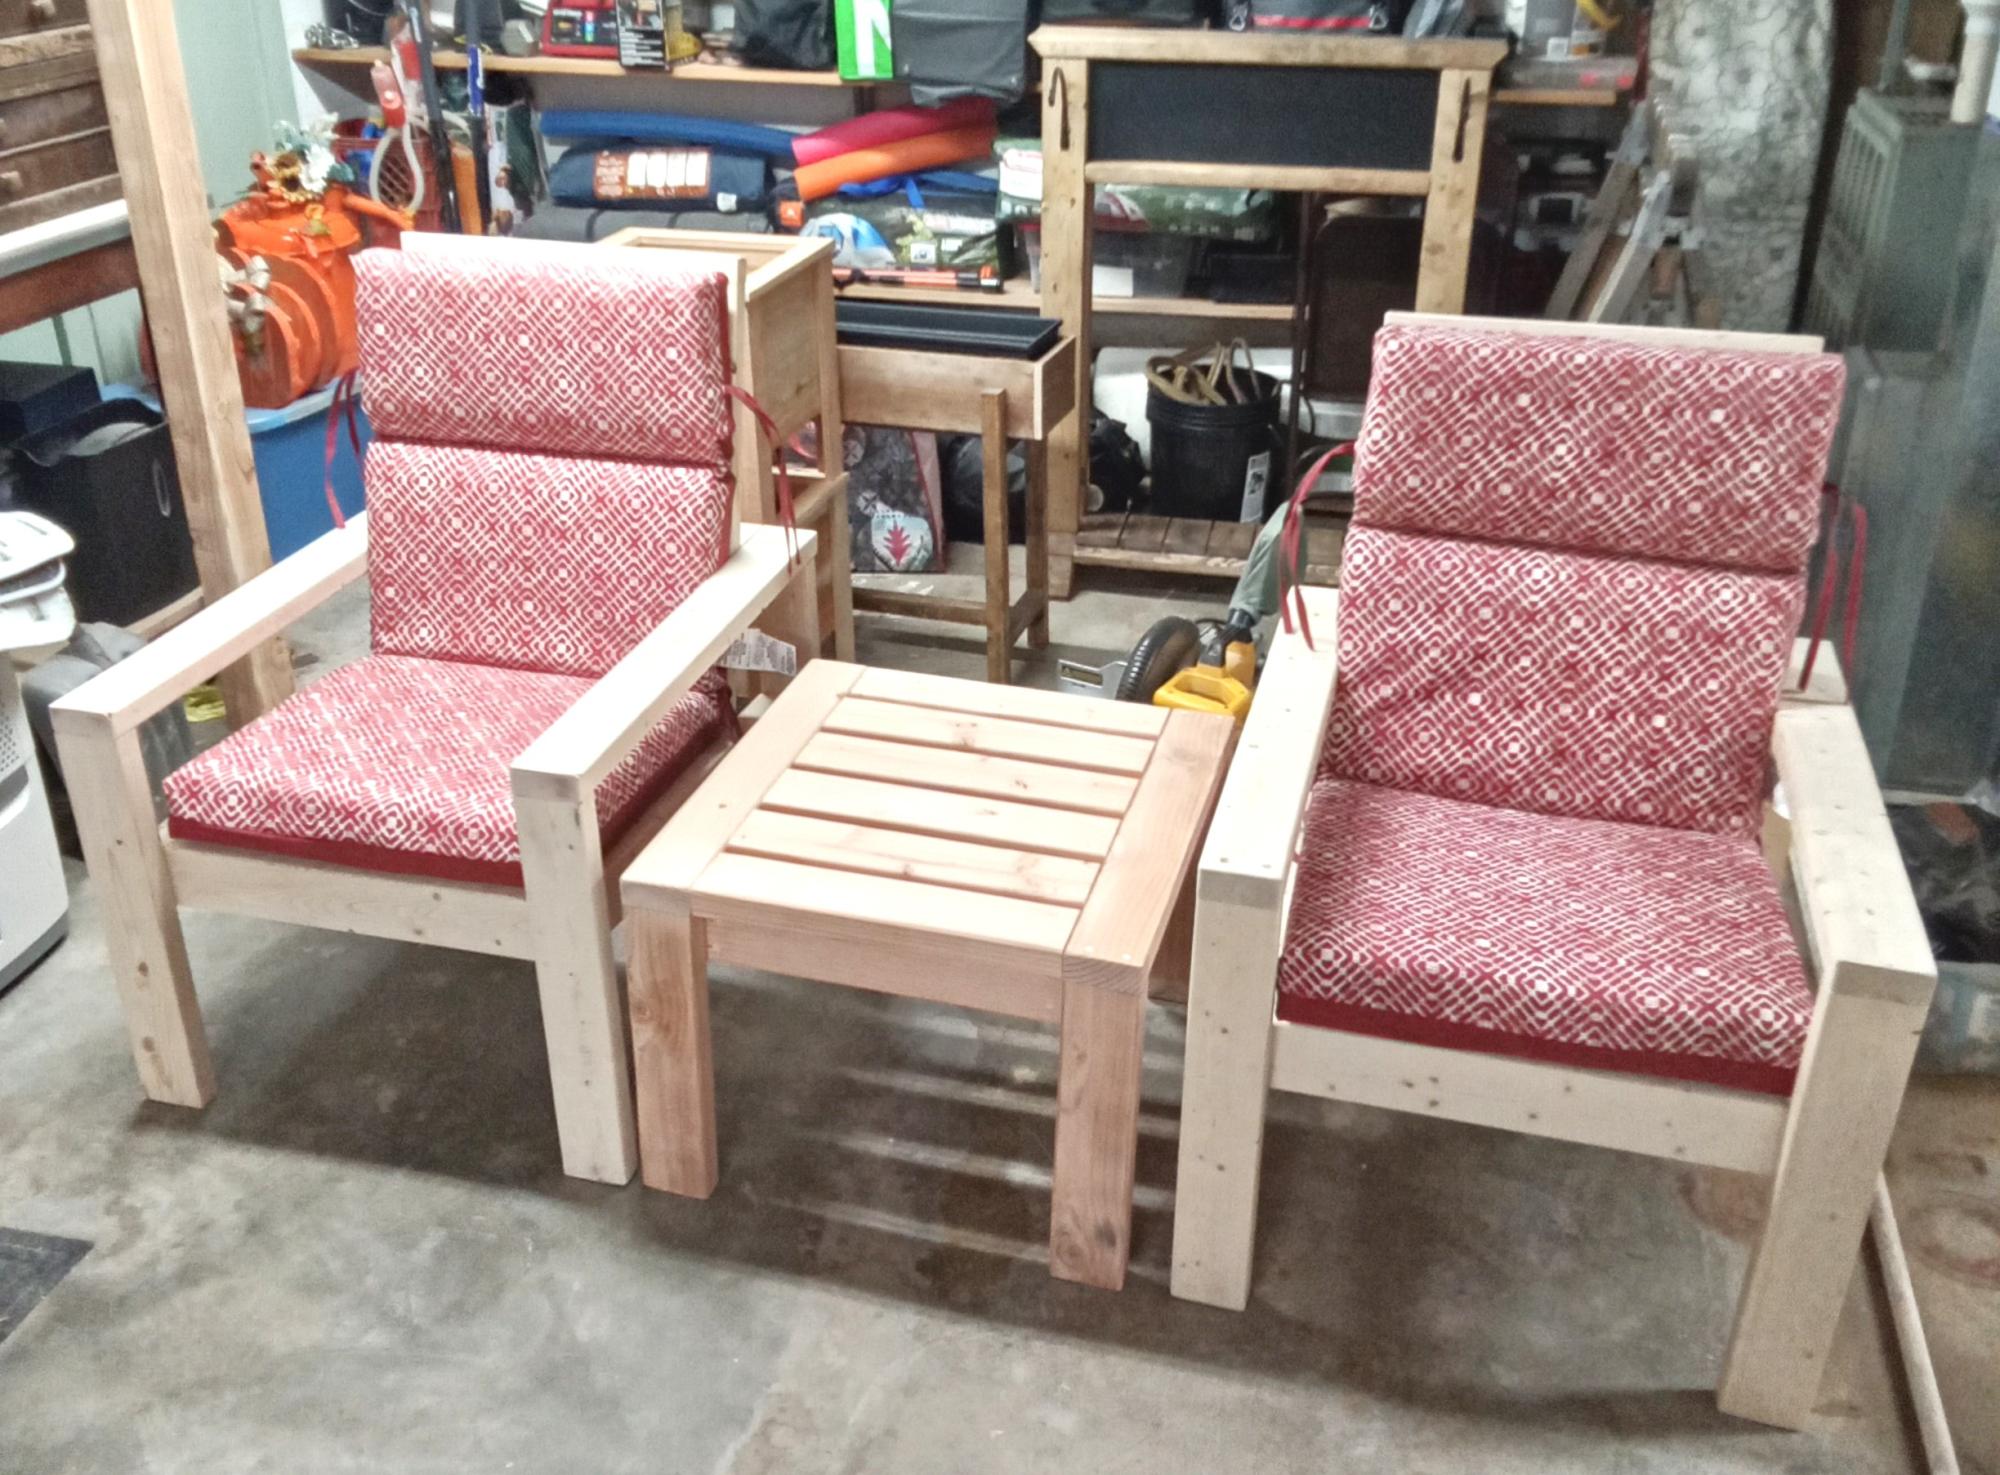
Done the 2x4 chair and table, I think it turned out well. Bought the cushions at Lowes.
Ray and Sandy
Done the 2x4 chair and table, I think it turned out well. Bought the cushions at Lowes.
Ray and Sandy

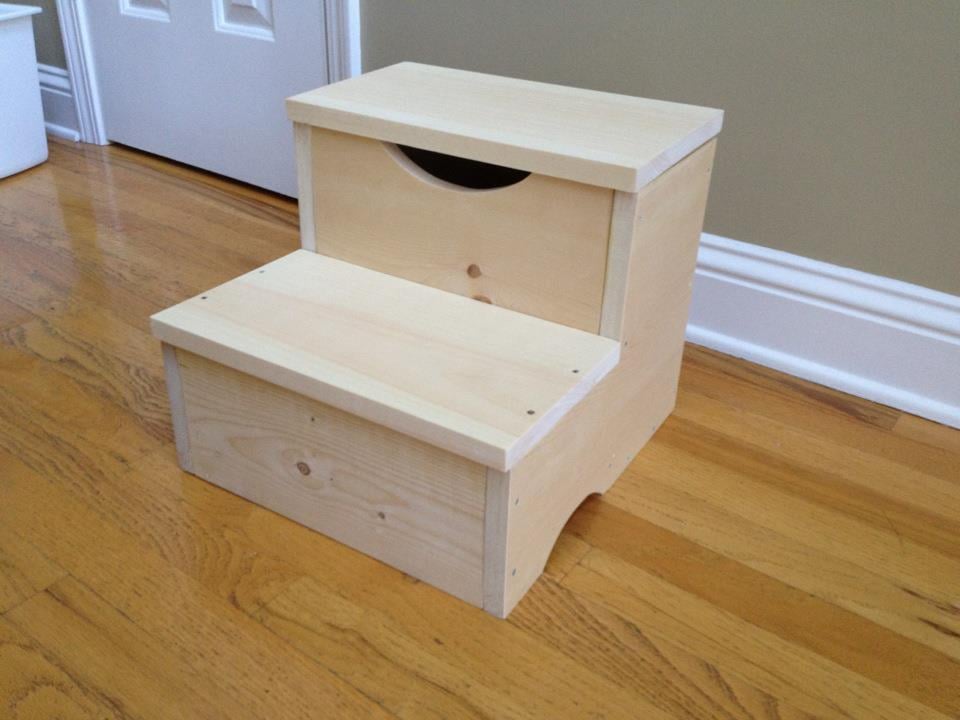
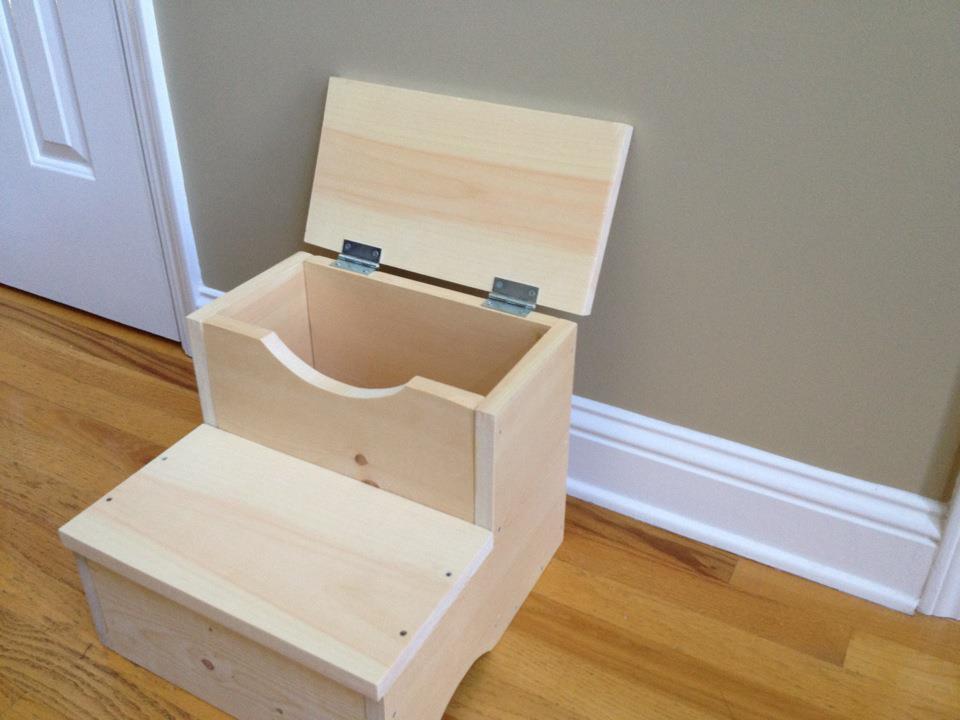
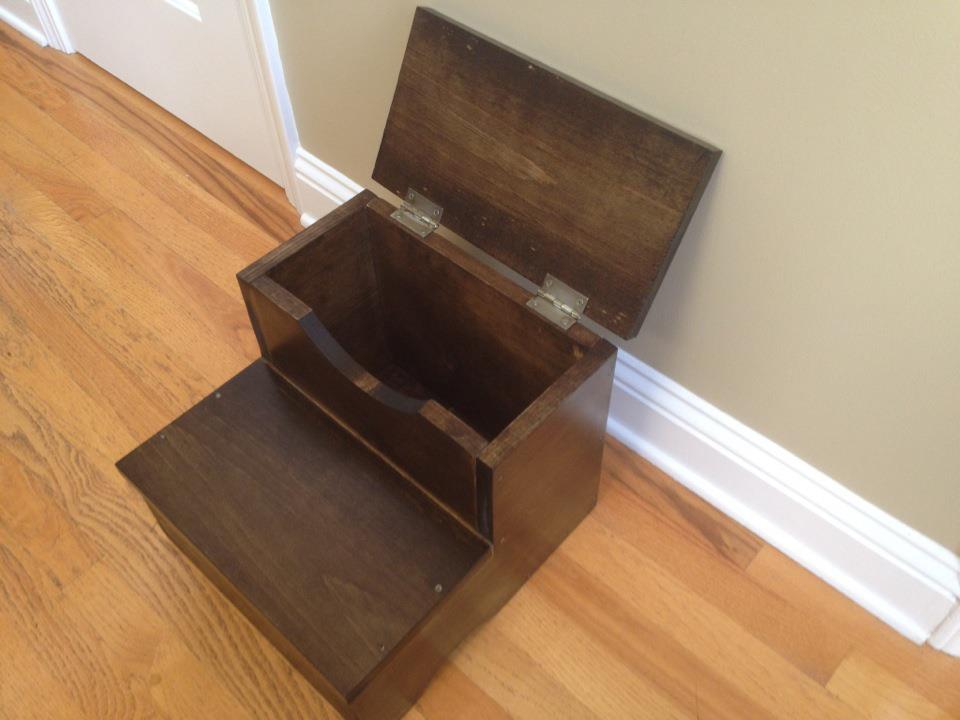
We moved my 3 year old son into his big boy room with a queen bed; it was a little tall for him so it was difficult for him to get in the bed so I set out to find a step stool. They were between $60-$80 and there was no way I was going to spend that kind of cash…..so that is how I found Ana’s site!
I built this with no problem and even got to know my jig saw a bit better.
**From a Woodworker First Project Perspective**
Power Tools: I used a circular saw (Ridgid, lifetime warranty) for all of my cutting because it was the easiest tool to use once I got into a rythem for cutting plywood and other materials.
Other helpful tools: I had 2 height adjusting saw horses that made it easy on my back made by Kobalt. There were some mistakes in the beggining with keeping the lines straigt but a circular saw track (kreg) easily fixed that problem for most of the cutting. After awhile it got easier to steadily cut following a drawn line with no track (hubby was impressed). Overall, this project was a process of trial and error but I learned from every hiccup along the way. Next up, chicken coop... :D
**How It All Started**
While deployed I had a lot of time to imagine my very own personal workspace to complete DIY projects and when I saw this design I could not wait to get home and begin my new hobby. This project inspired me to really get serious about woodworking. Never in my life had I ever built anything from plywood and 2x4s, much less had I ever used a circular saw. I'm proud of myself for completing this from start to finish as a first project. Thank you Ana!
Peace and Blessings,
WP
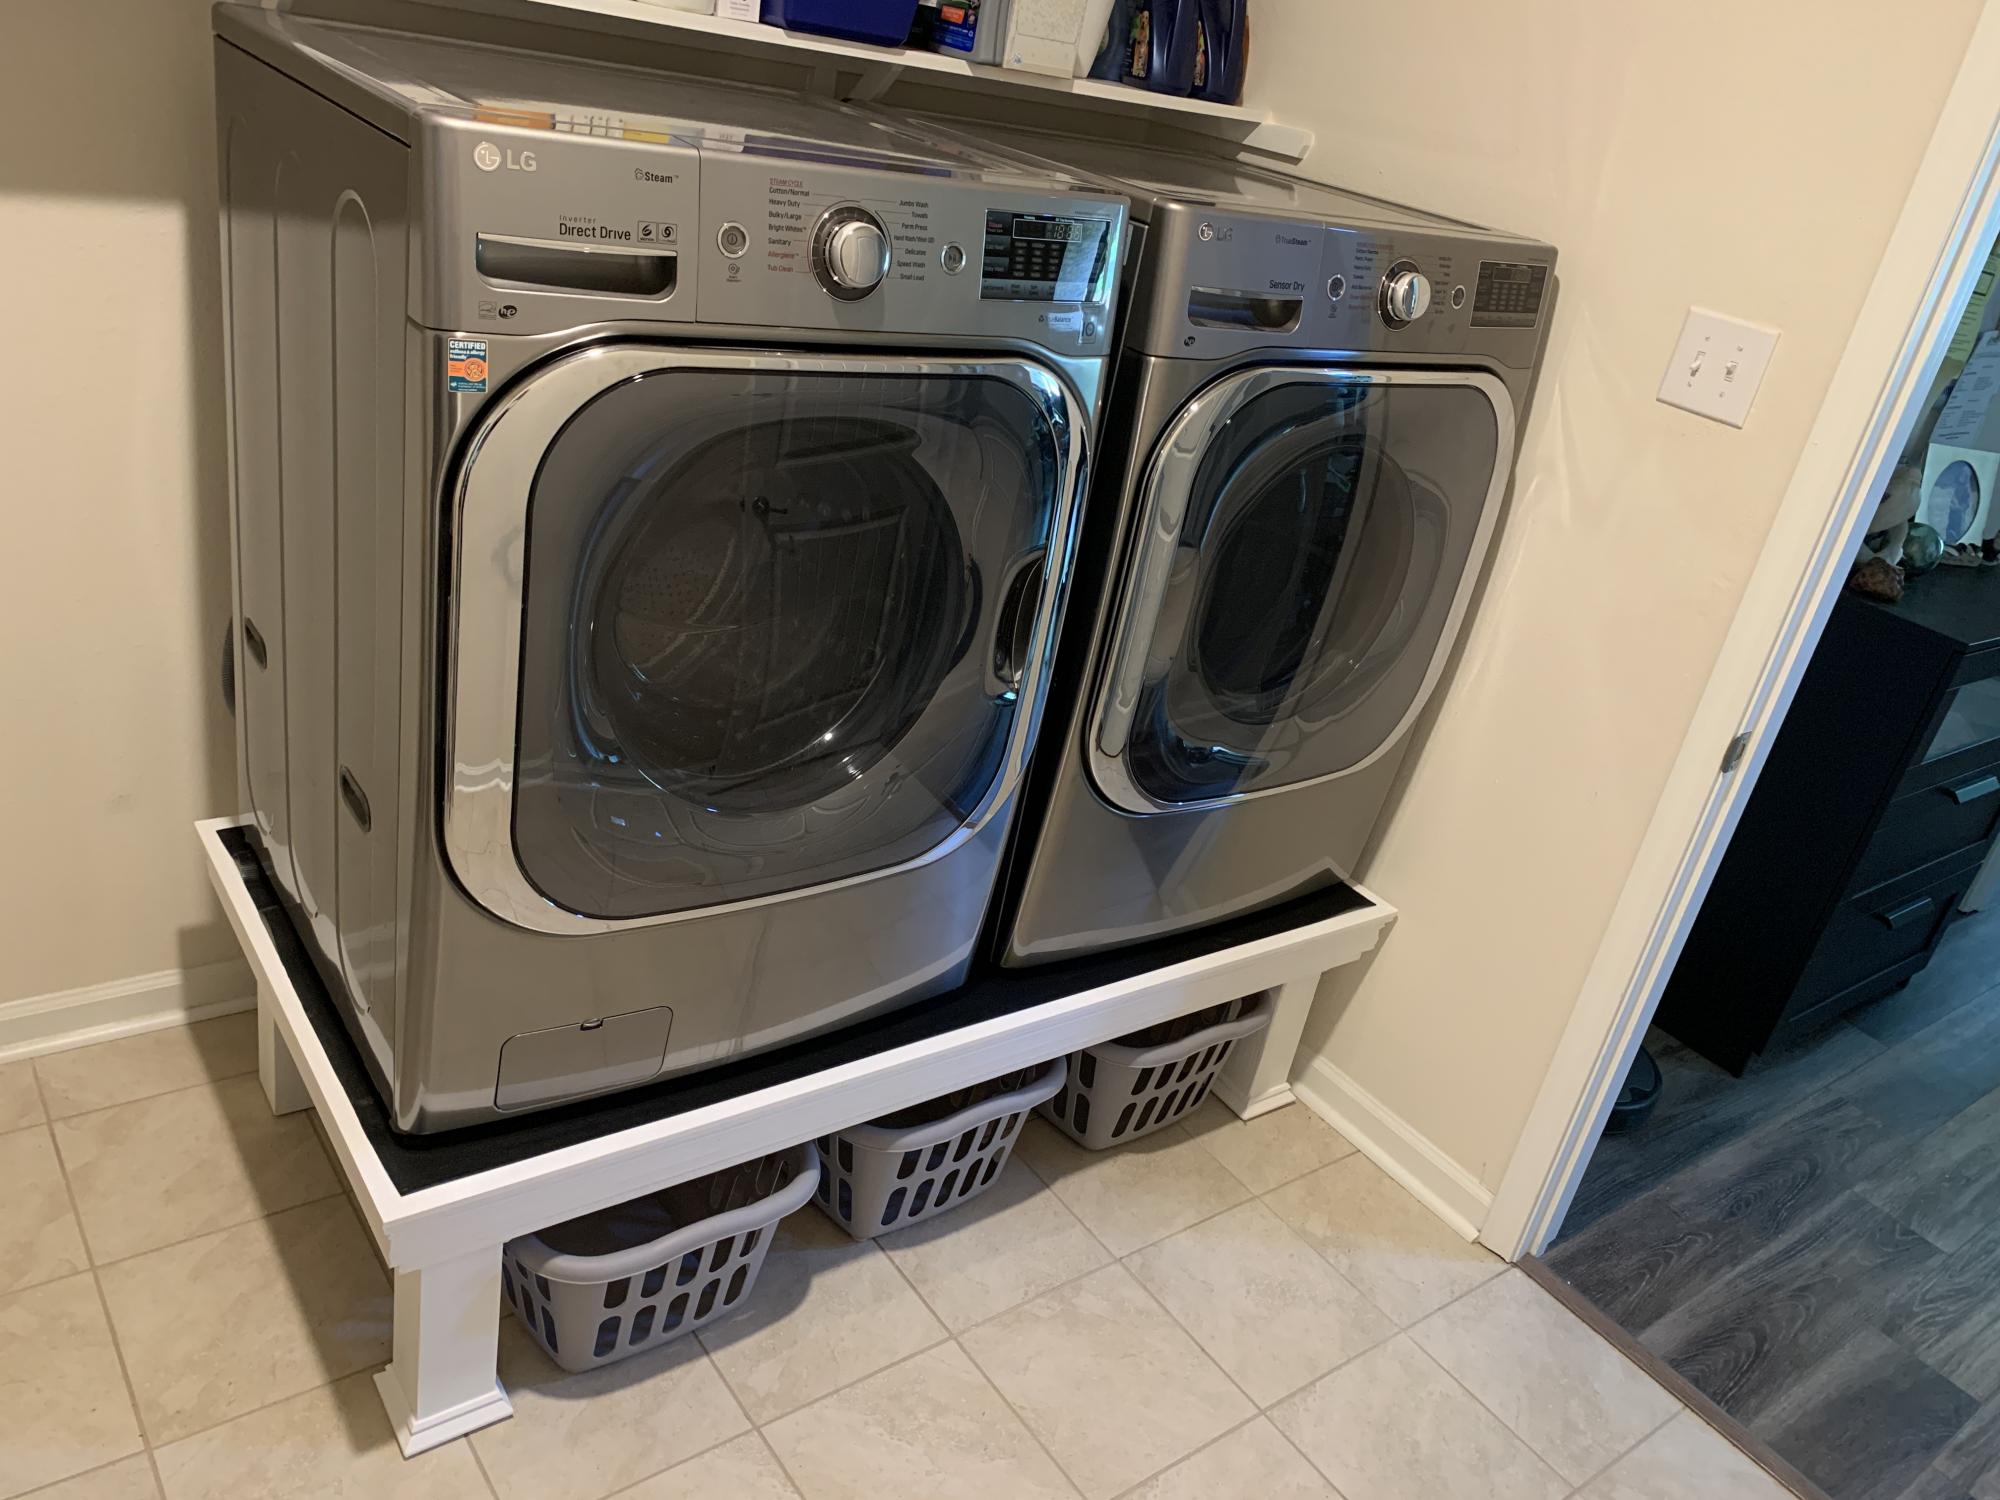
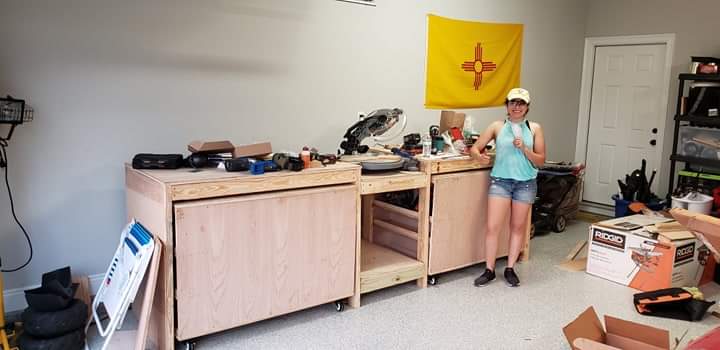
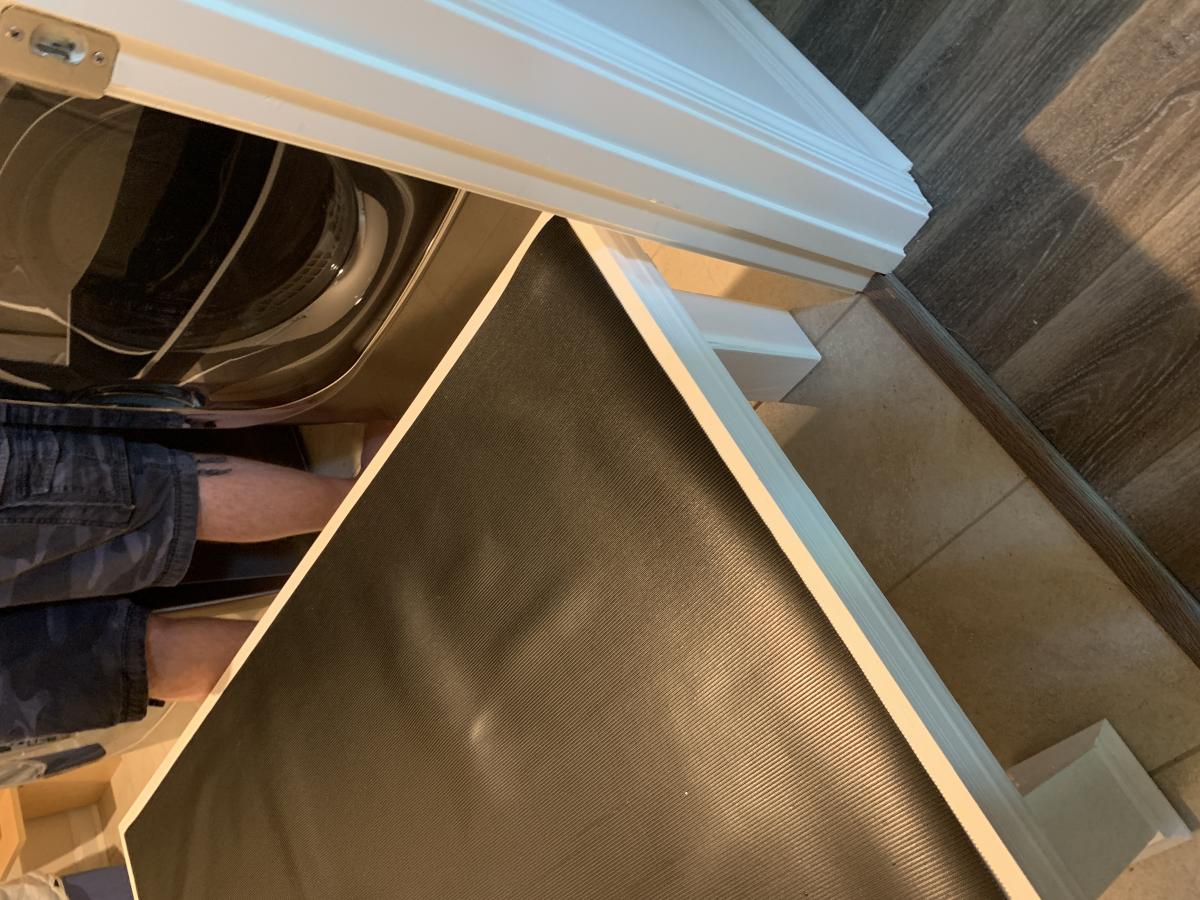
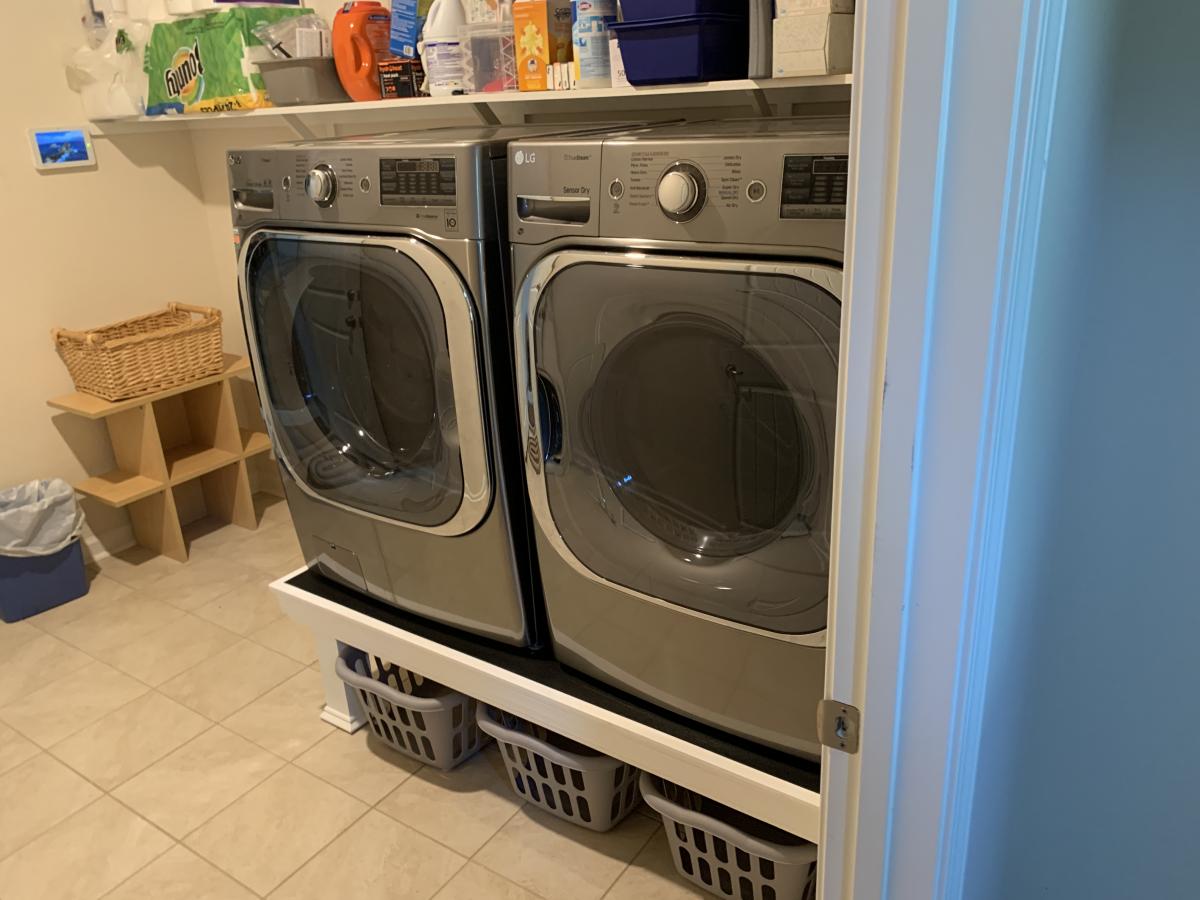
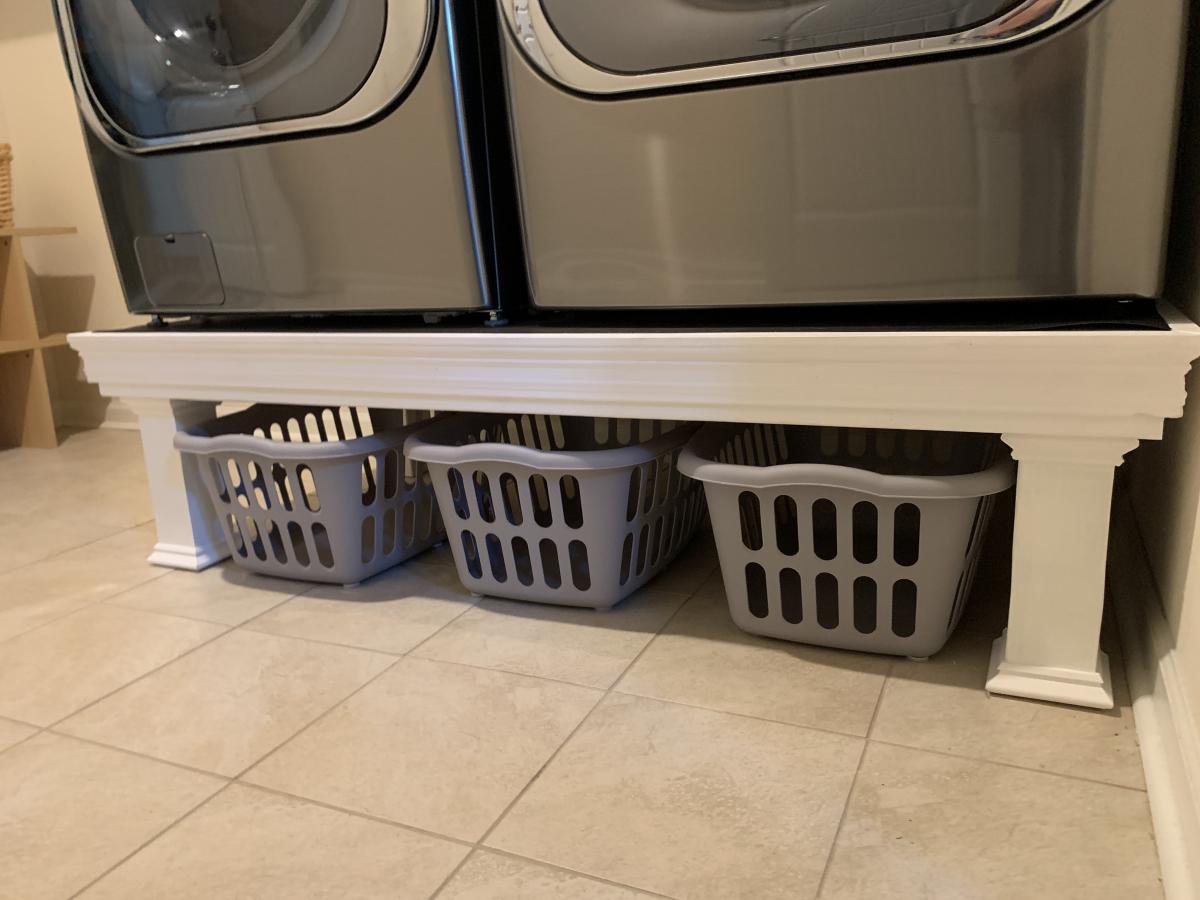
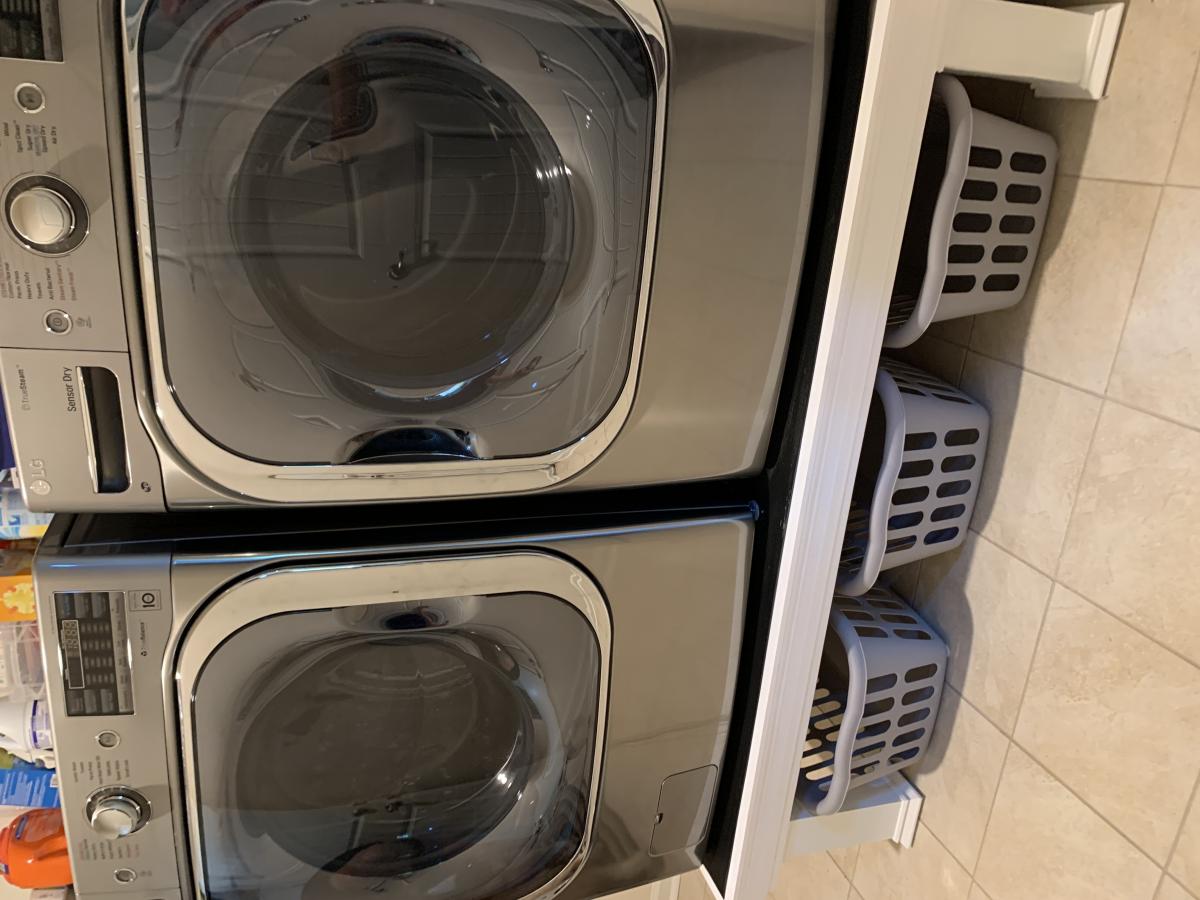
This was quick build. First time for us using trim, so we wasted a few feet getting the angles right. We attached the legs directly to the frame, and did not use the metal brackets. We also did not build the floor frame. We measured how high/wide the laundry baskets ($3/piece at Target!) were, and made it to fit them. We added a piece of rubber mat to the top (bought at Lowe's). A few weeks later we helped our daughter and son in law build one for their new house!

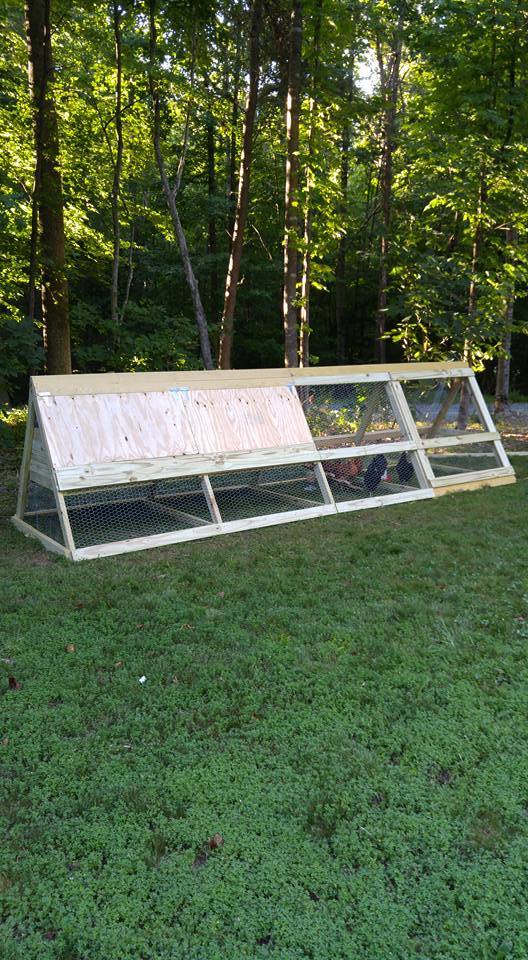
We wanted our chickens to have plenty of room for when we ere not home and could not let them free range in the yard. One of the six was a rooster-- and long story-- but we don't have him any more-- so 5 chickens now enjoy this coop/run. It cost about $300 in supplies. It is 16 feet long.
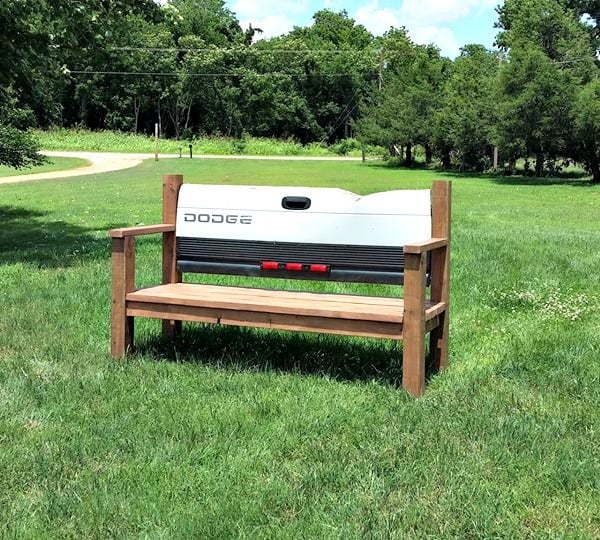
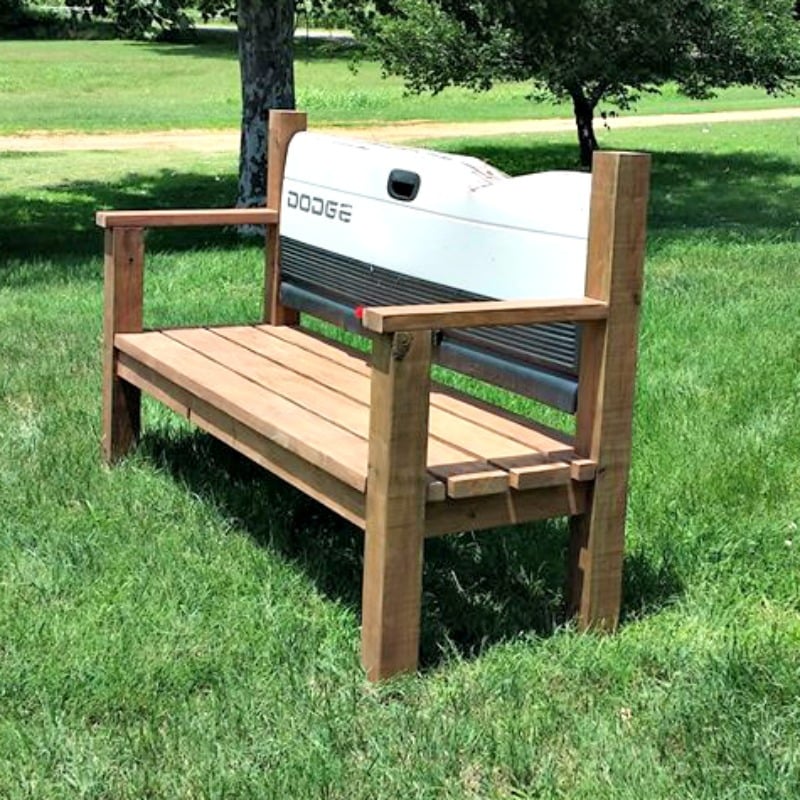
I want to give a big THANK YOU!! to Ana. I found your website a few years ago when I wanted to move my toddler to a big girl bed. Since then I have built several things but this is the first that I have shared on the site. Long story short this is a bench that I made for my father in law for Father's Day. It was a pretty simple build that I believe came together pretty well. Next, a tailgate bench for my own dad for Father's Day. Luckily he doesn't mind that it will be late.
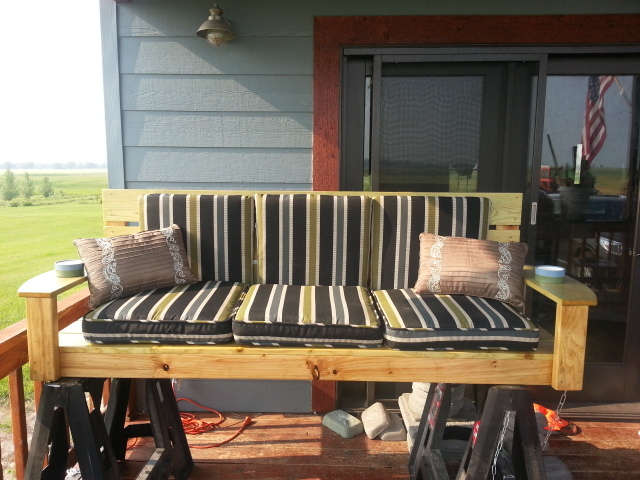
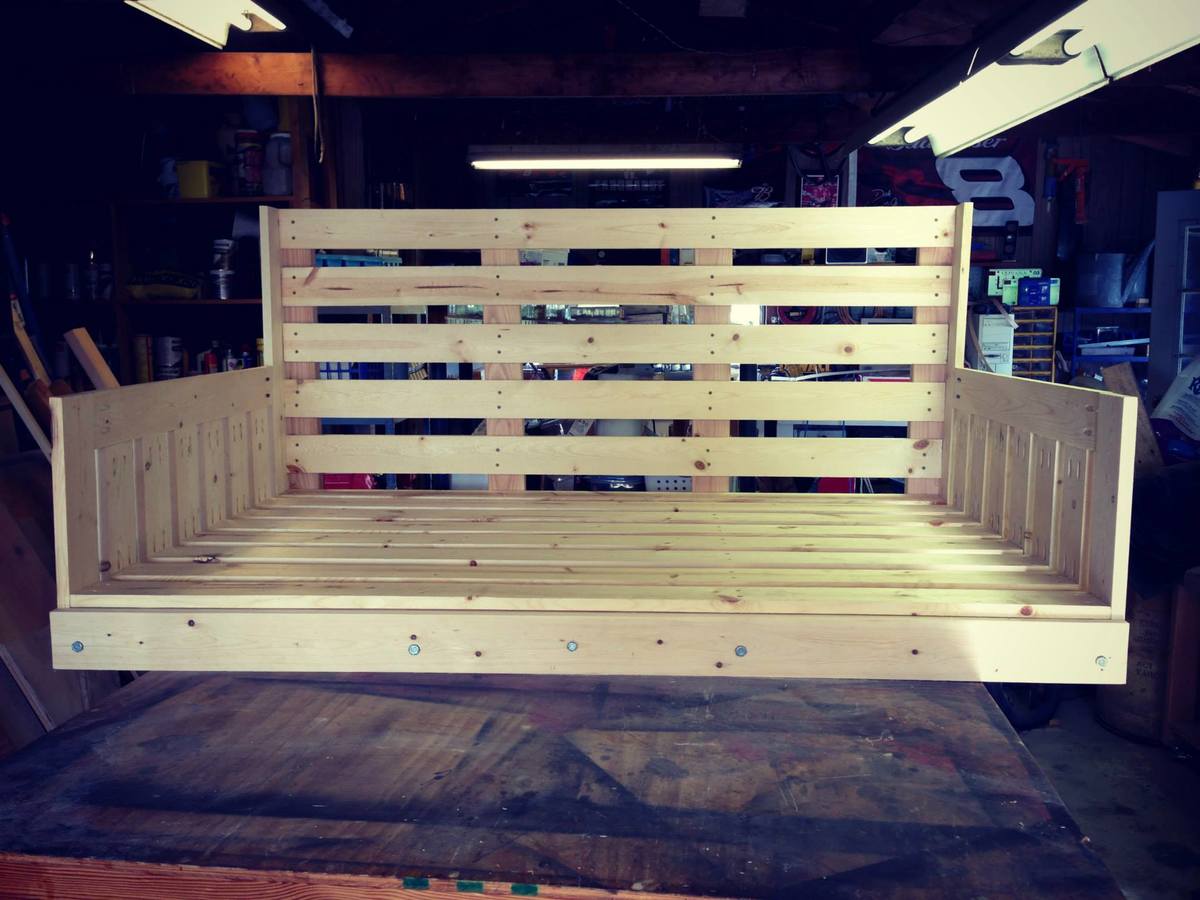
This is the second project I attempted and it was a huge undertaking for me, but it was fun and went well! I had planned to sew a cushion for it, but by the time I completed the project, I was DONE! So I bought some for now.
The only modifications I made were larger arm rests so I could put cup holders in them. The cup holders I made out of PVC 3" Male end and a 3" drain, which I glued together. I then scuffed the entire thing and painted them with acrylic paint (trying to get them to match the blue and green in the cushions) before spraying them with gloss sealant.
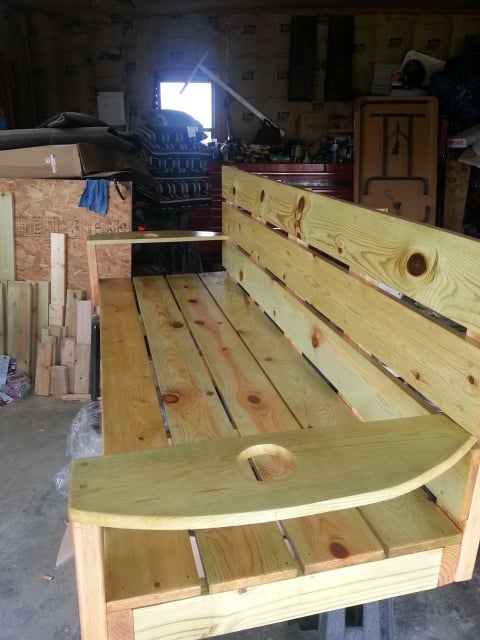
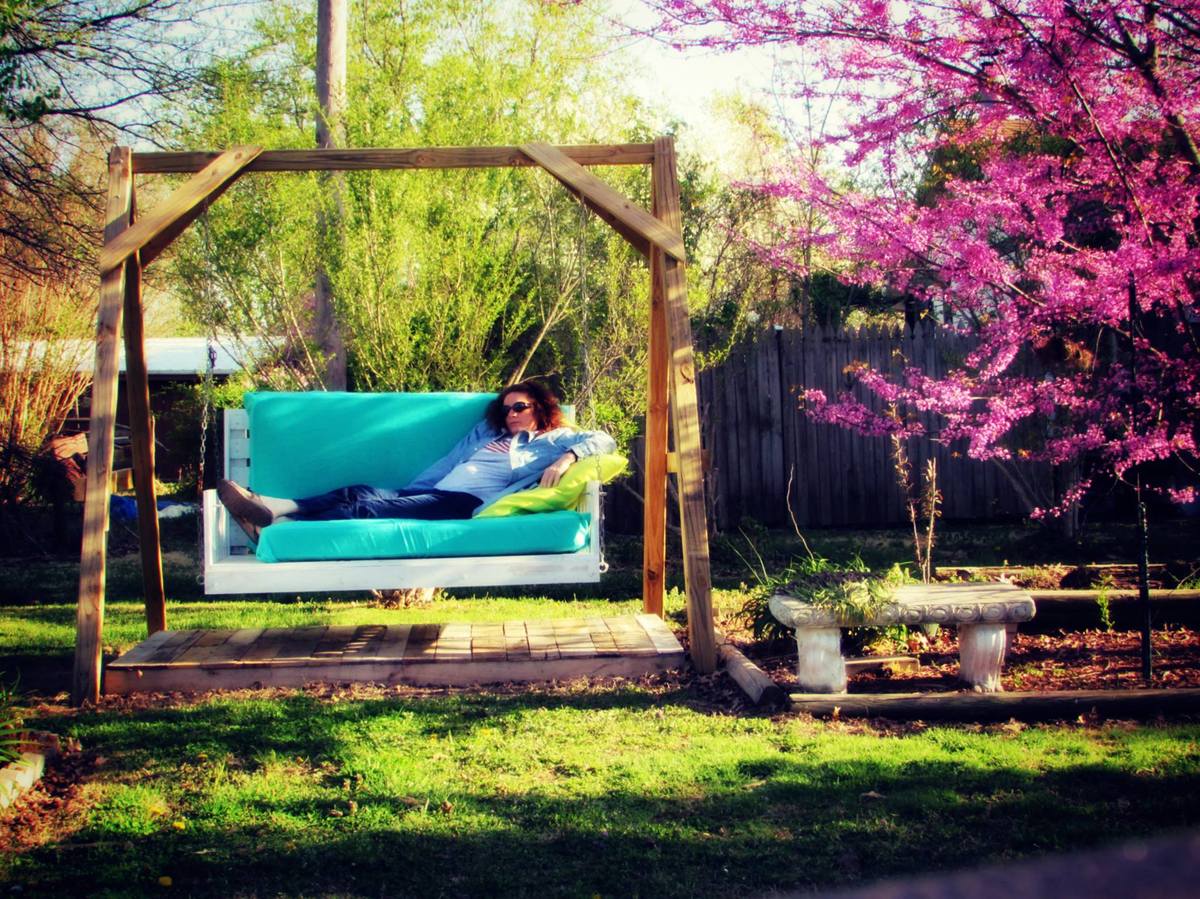
My family LOVES the new "swing bed". It weighs ALOT so I had to make sure to get proper hanging gear. It's obviously not hung yet when I took the pics tho.
Thank you for another beautiful project!


Well, I started with one chair and finished with a full set. Not bad for a first timer. Definitely room to improve. Little tip if you're going to make this amazing set... raise the backs as they are too low with thicker cushions. I built a casing to go on top after the fact. Pretty happy with how it all turned out. Thanks Ana for the plans... now onto the next project!


Fri, 04/28/2023 - 08:41
Very nice workmanship. I'm curious as to how comfortable they are with the straight 90* backs? Let me know please at [email protected]. Again nice workmanship.
Fri, 04/28/2023 - 08:41
Very nice workmanship. I'm curious as to how comfortable they are with the straight 90* backs? Let me know please at [email protected]. Again nice workmanship.
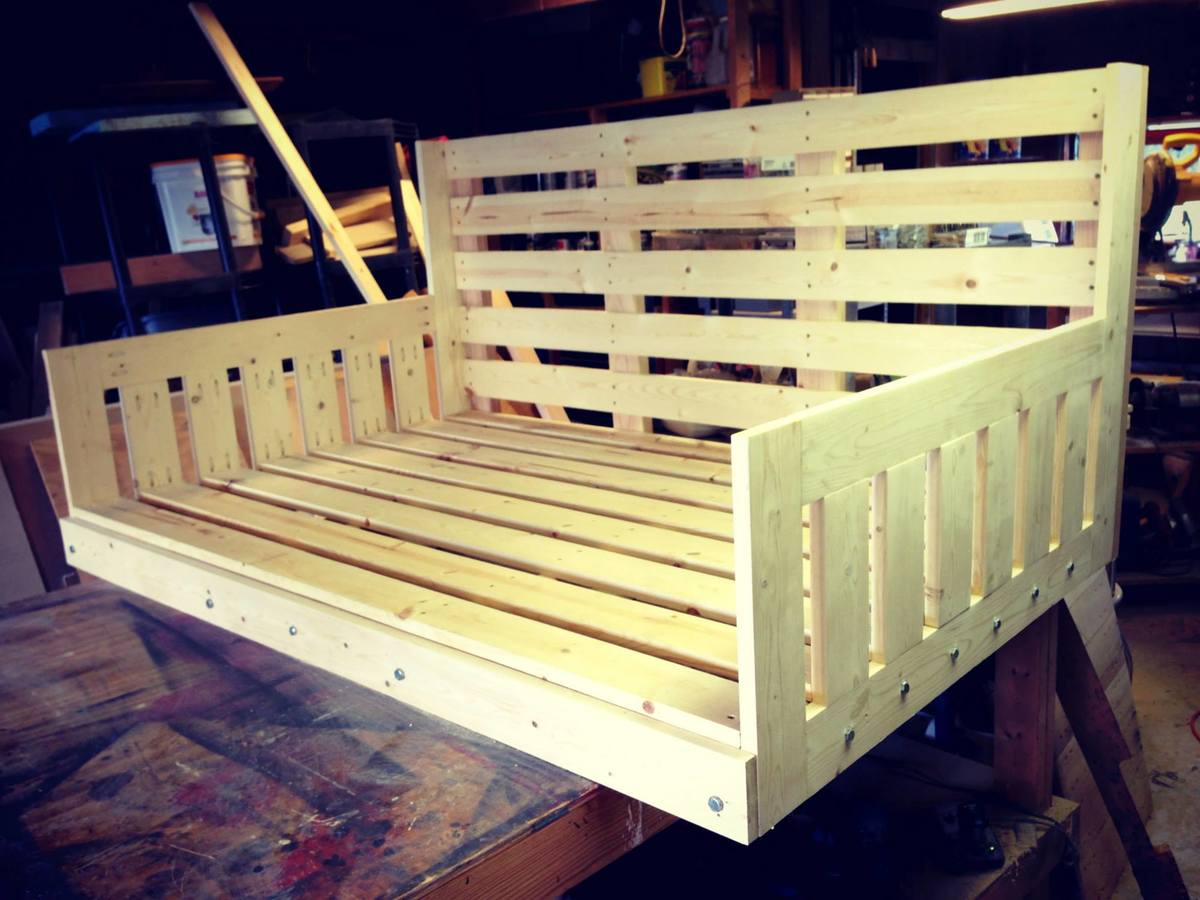
Don't get in this bed swing unless you have time for a nap. This is a modified version of the "large modern porch swing". Very comfortable to lie down and swing. The mattresses are 2 baby crib mattresses that I found really cheap at a yard sale and on Craig's list. I probably should have shortened it several inches to fit the crib mattresses, had I known in the beginning that was what I was going to use. I made the swing myself, but had help with the A-frame. My friends are envious.
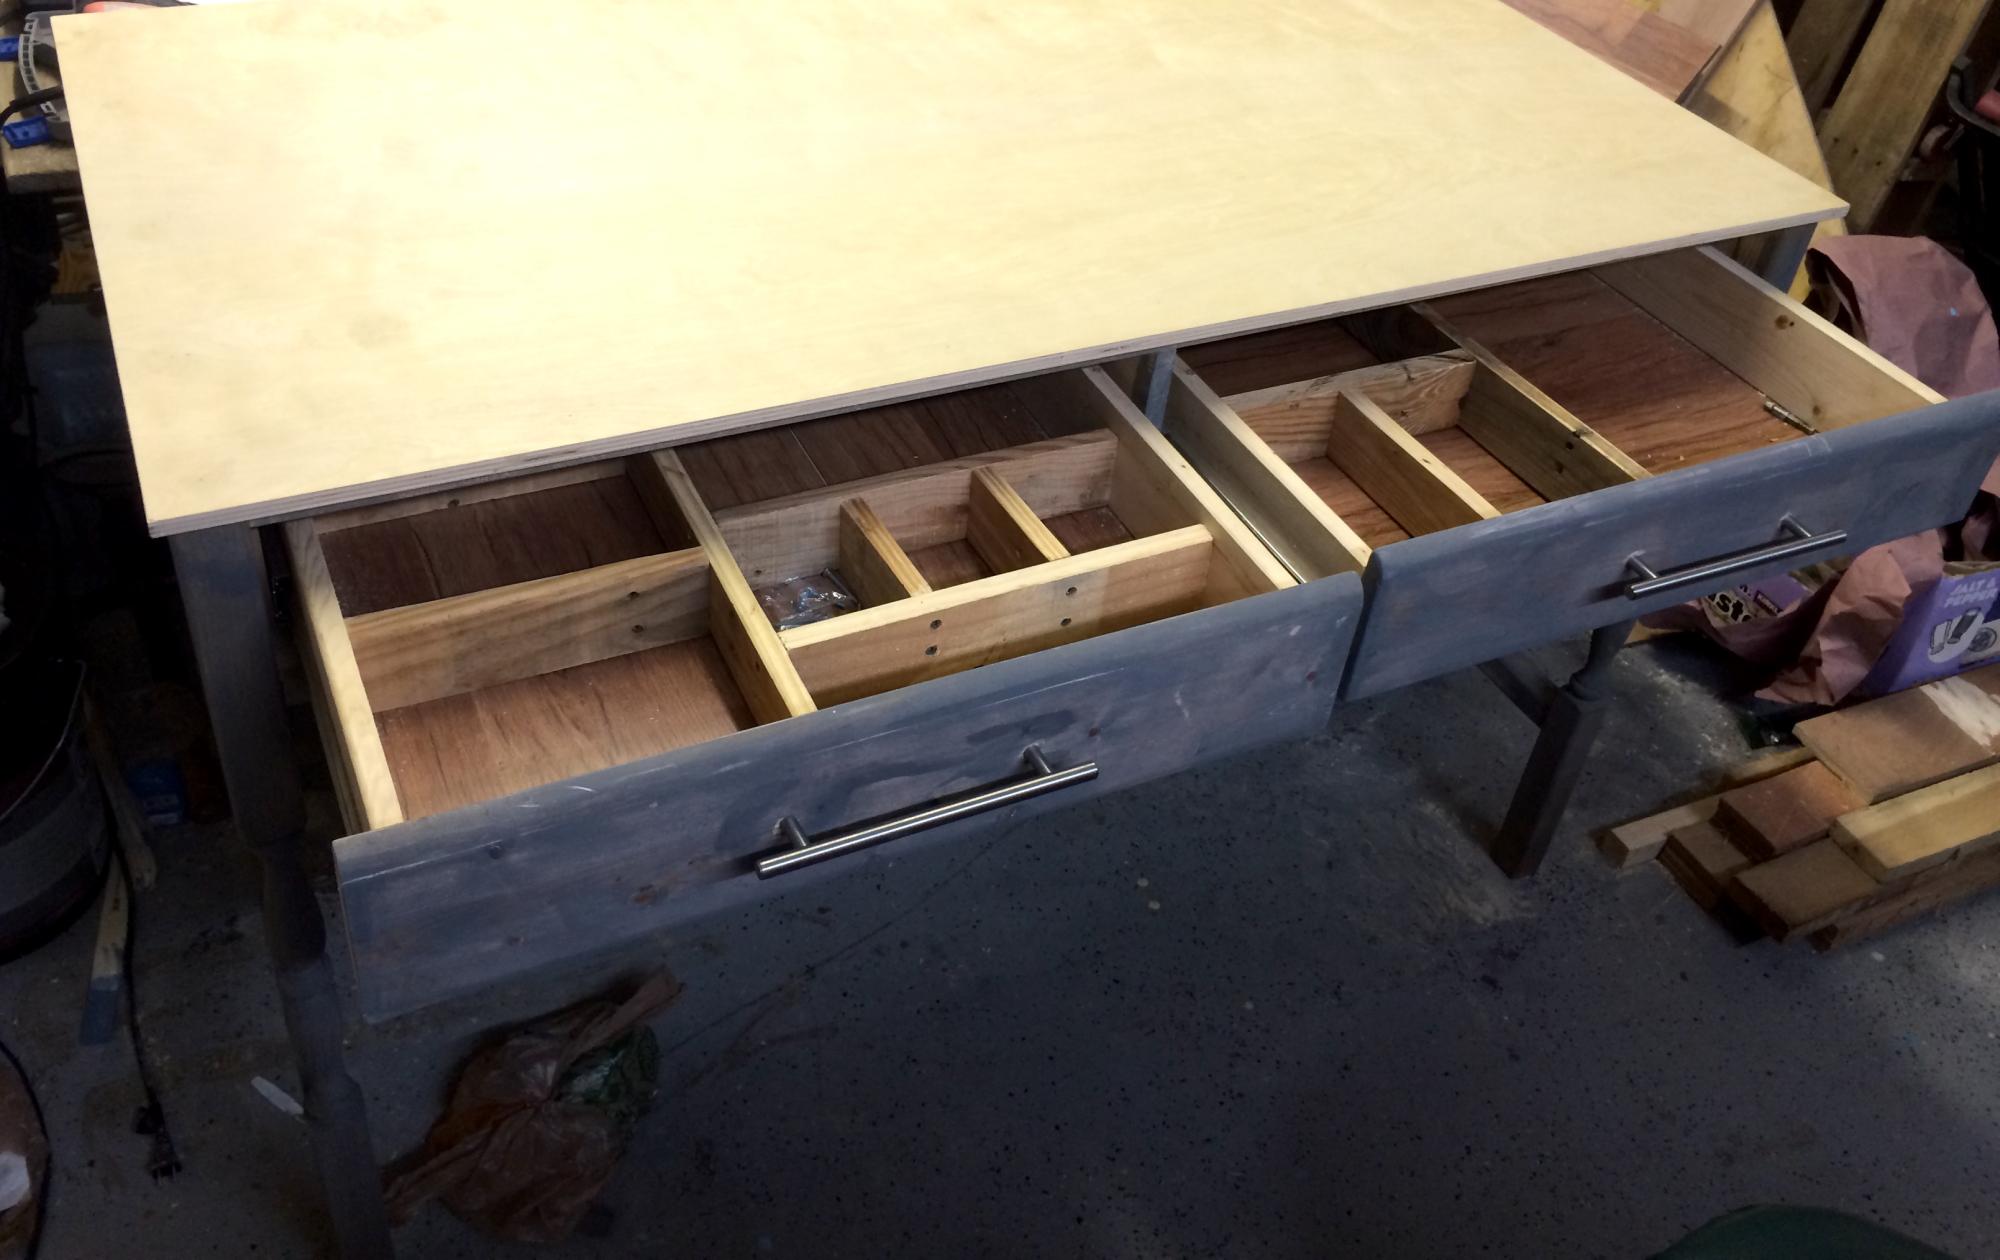
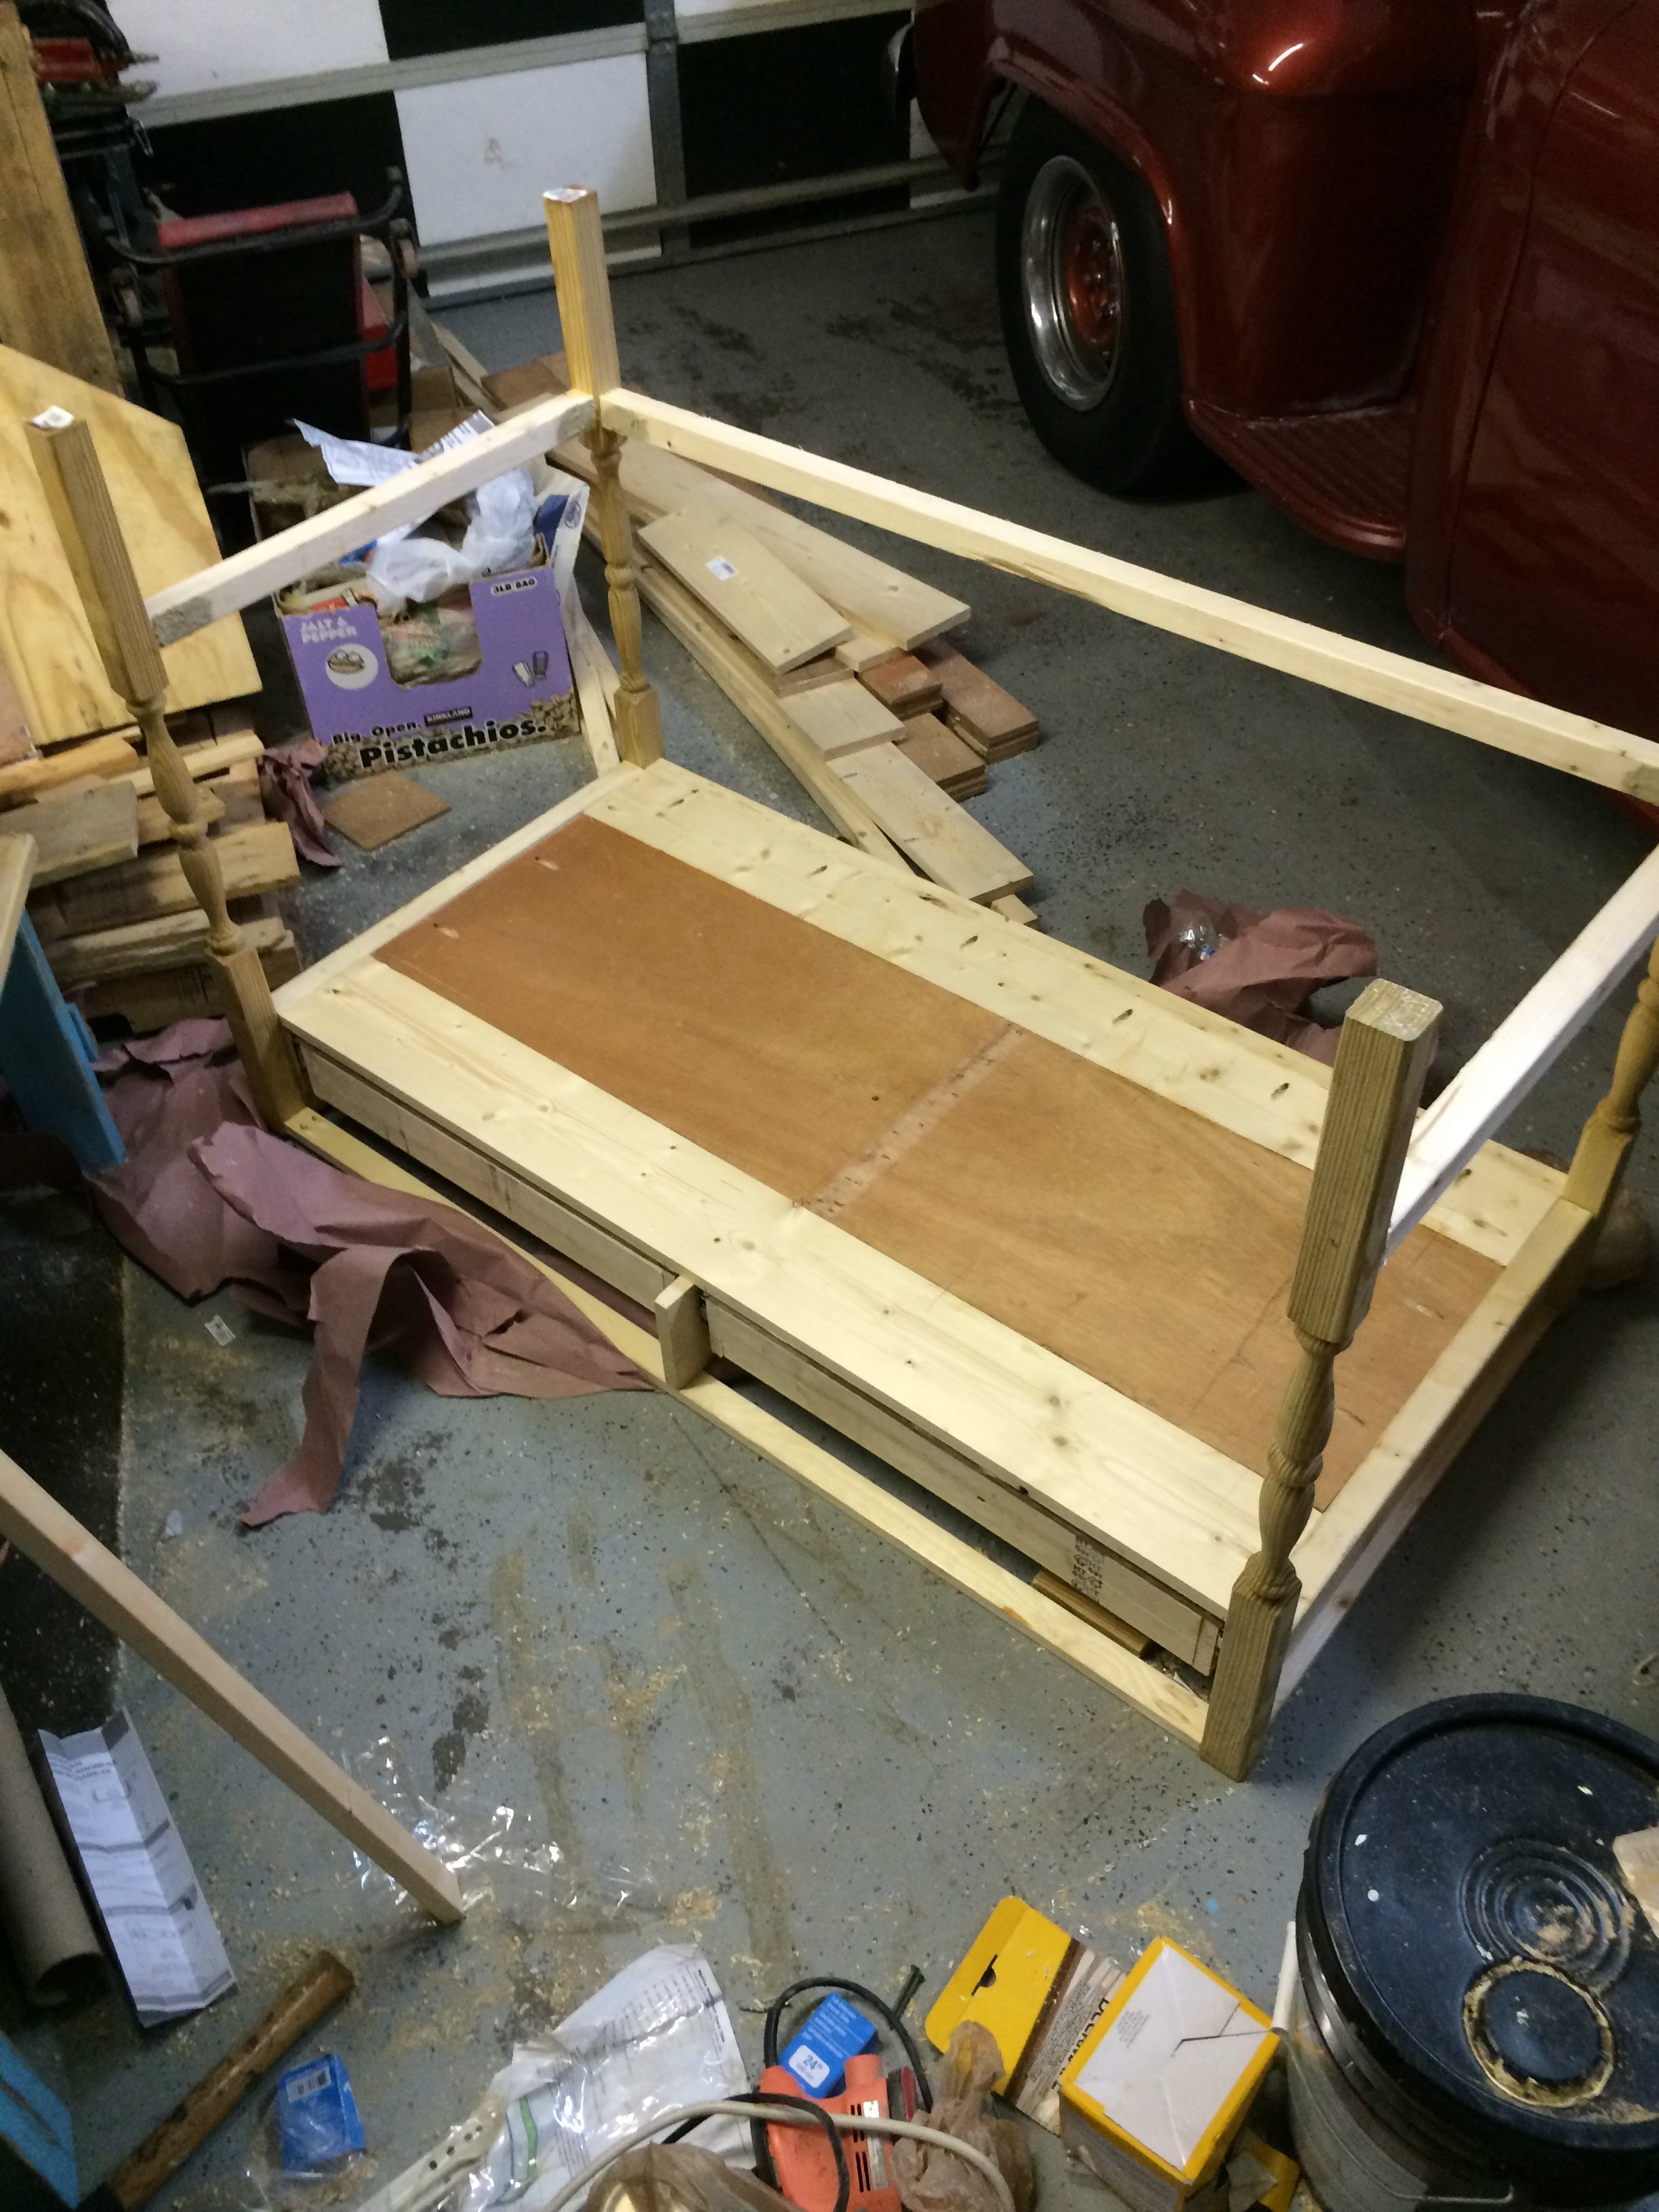
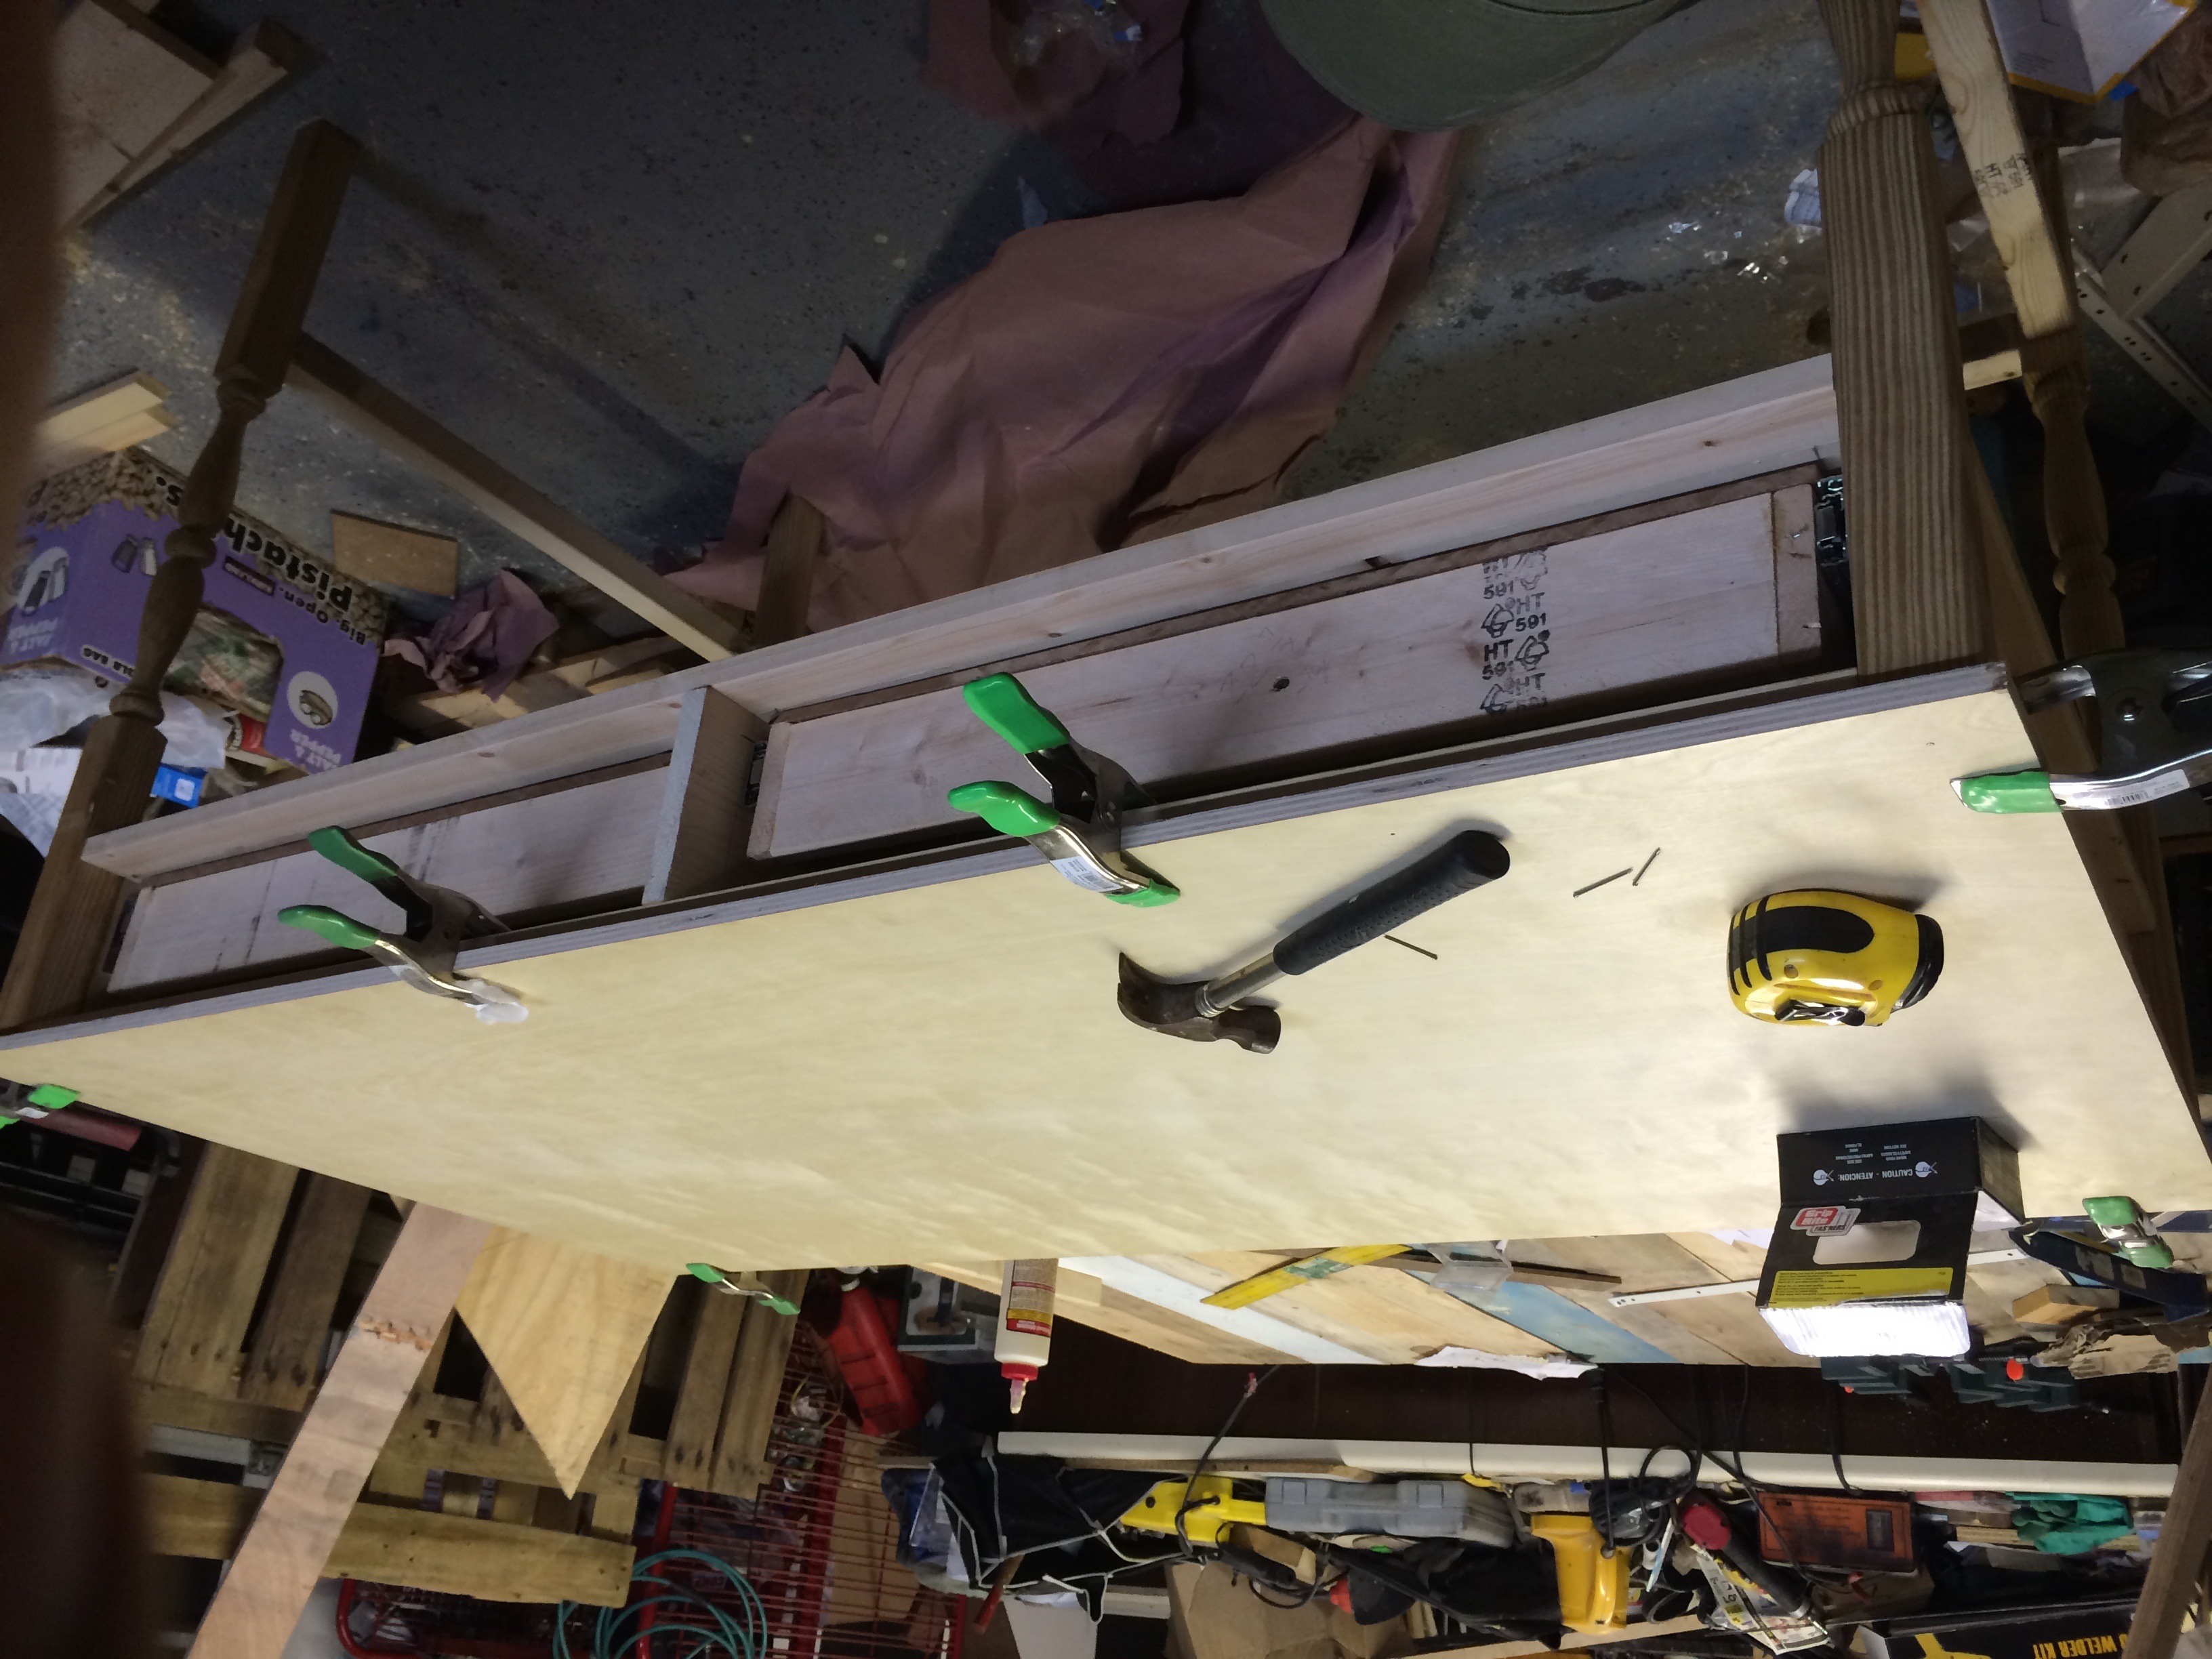
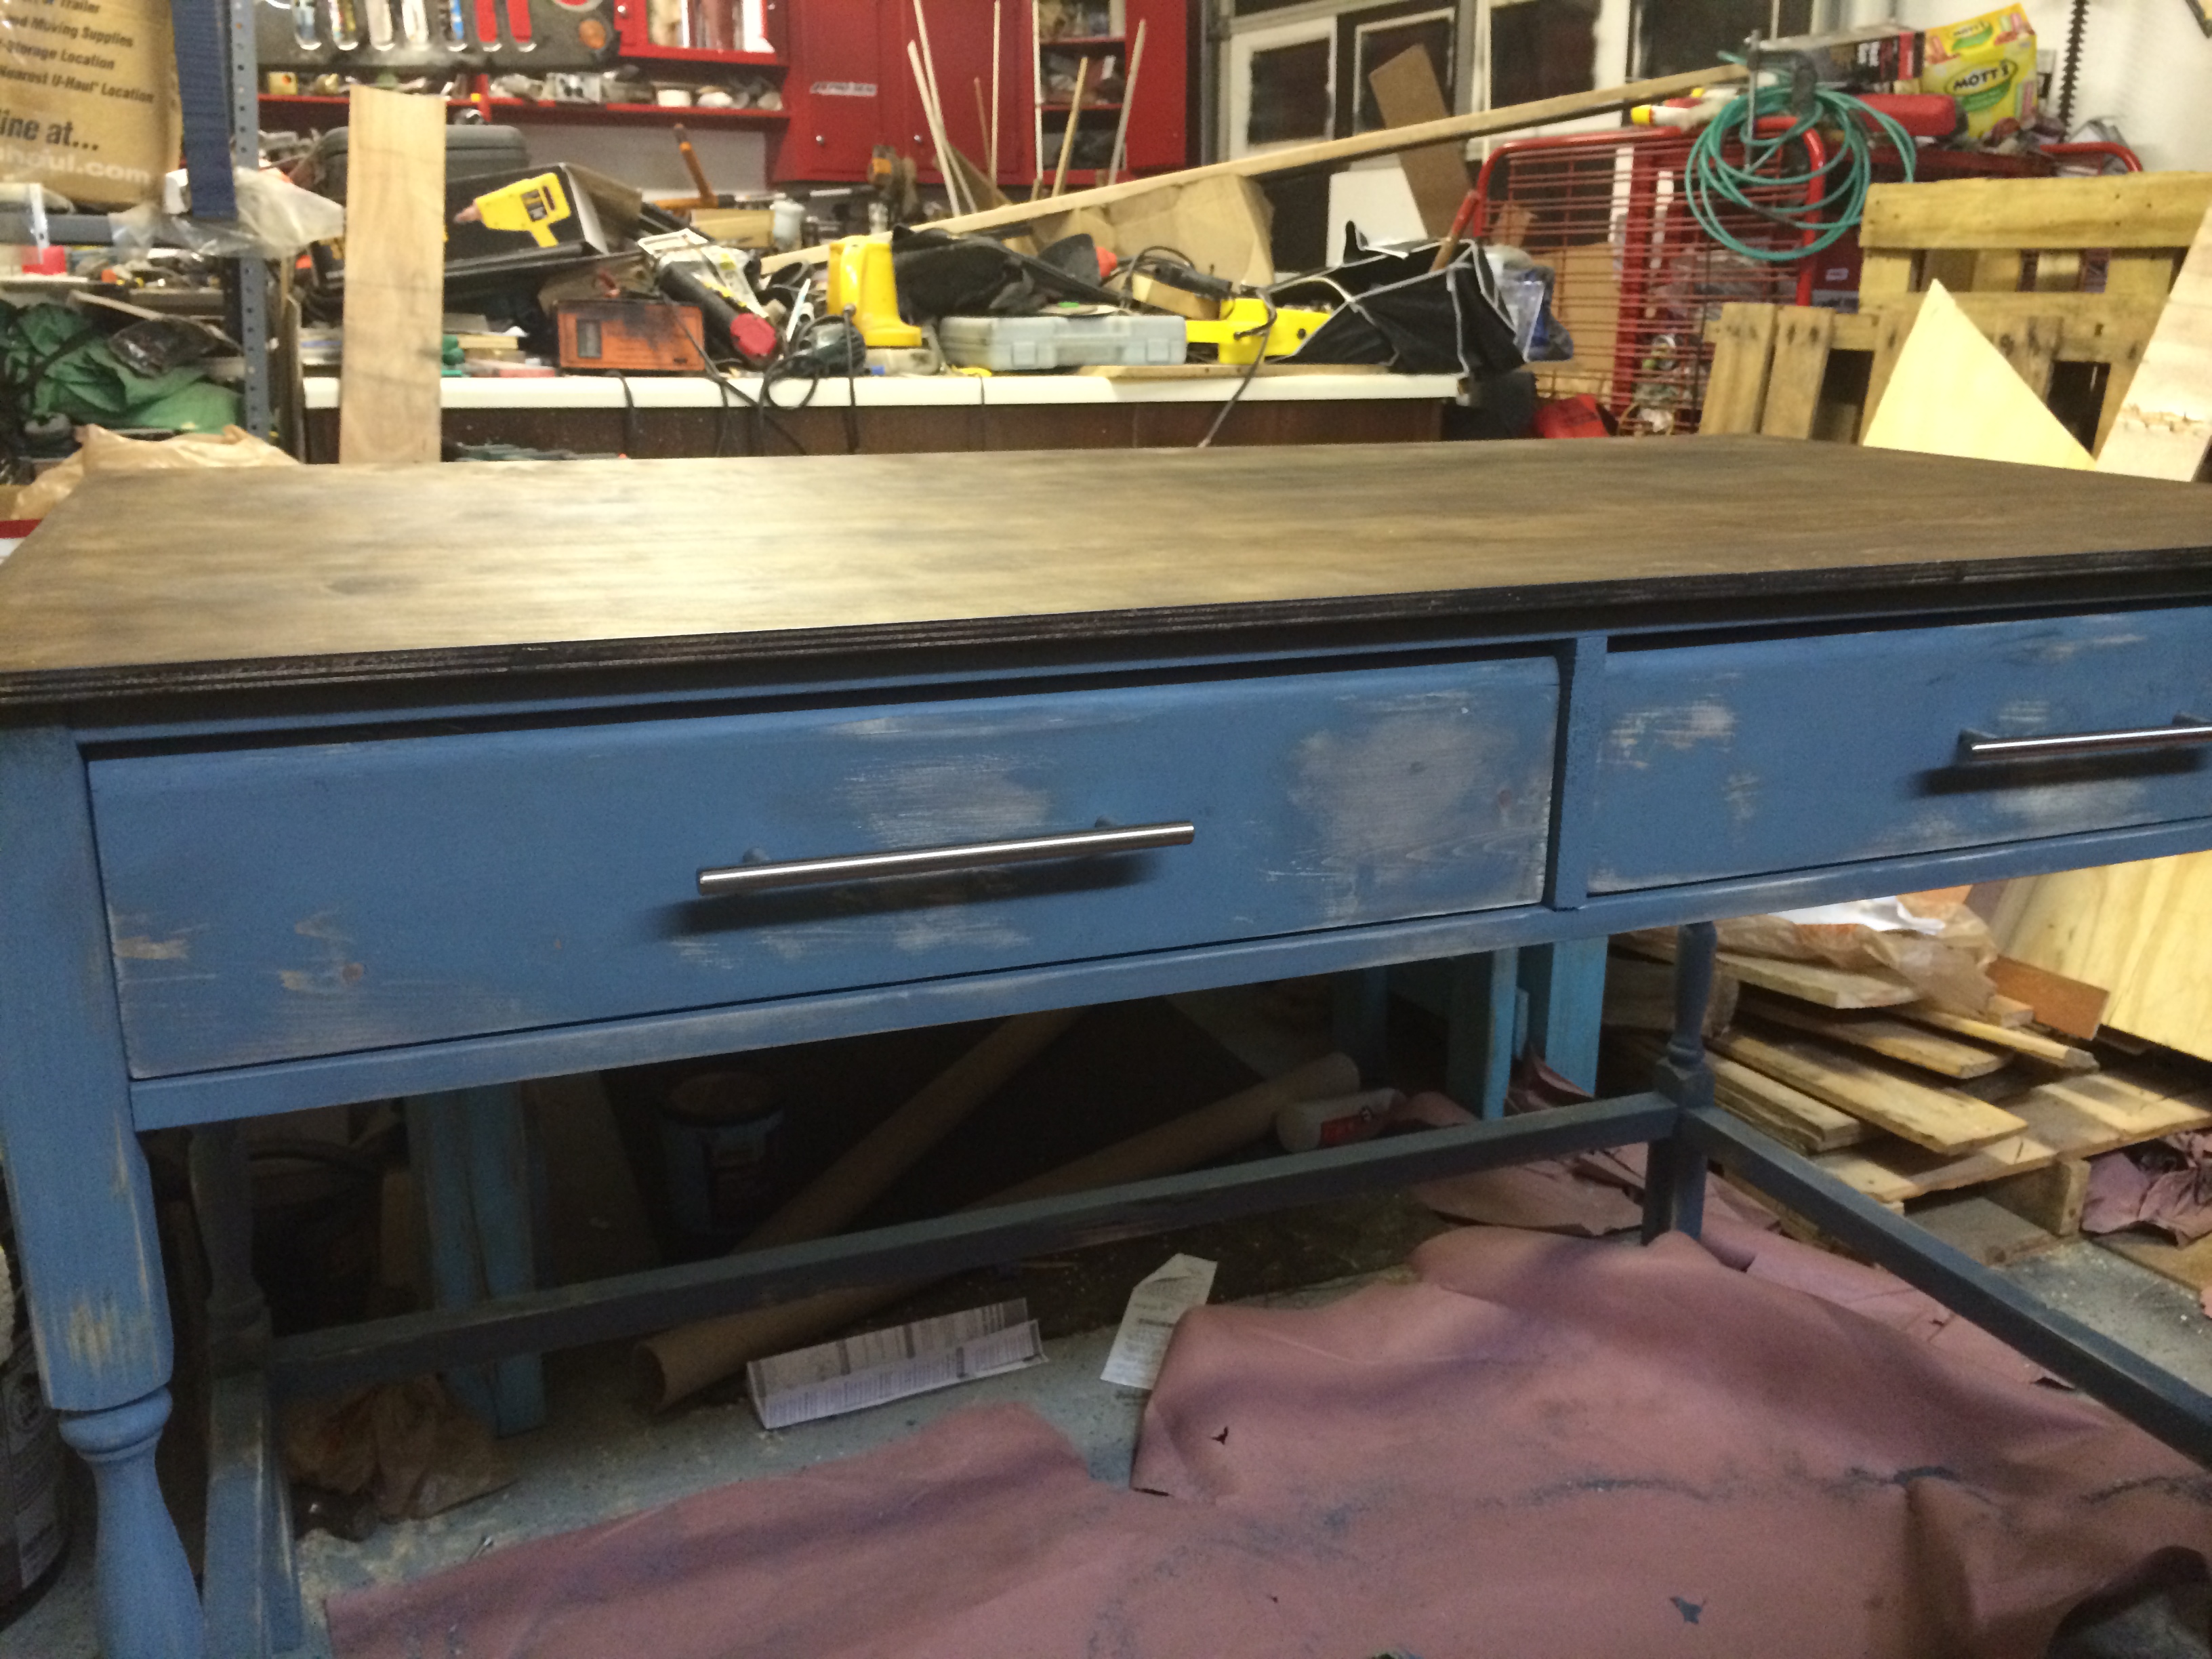
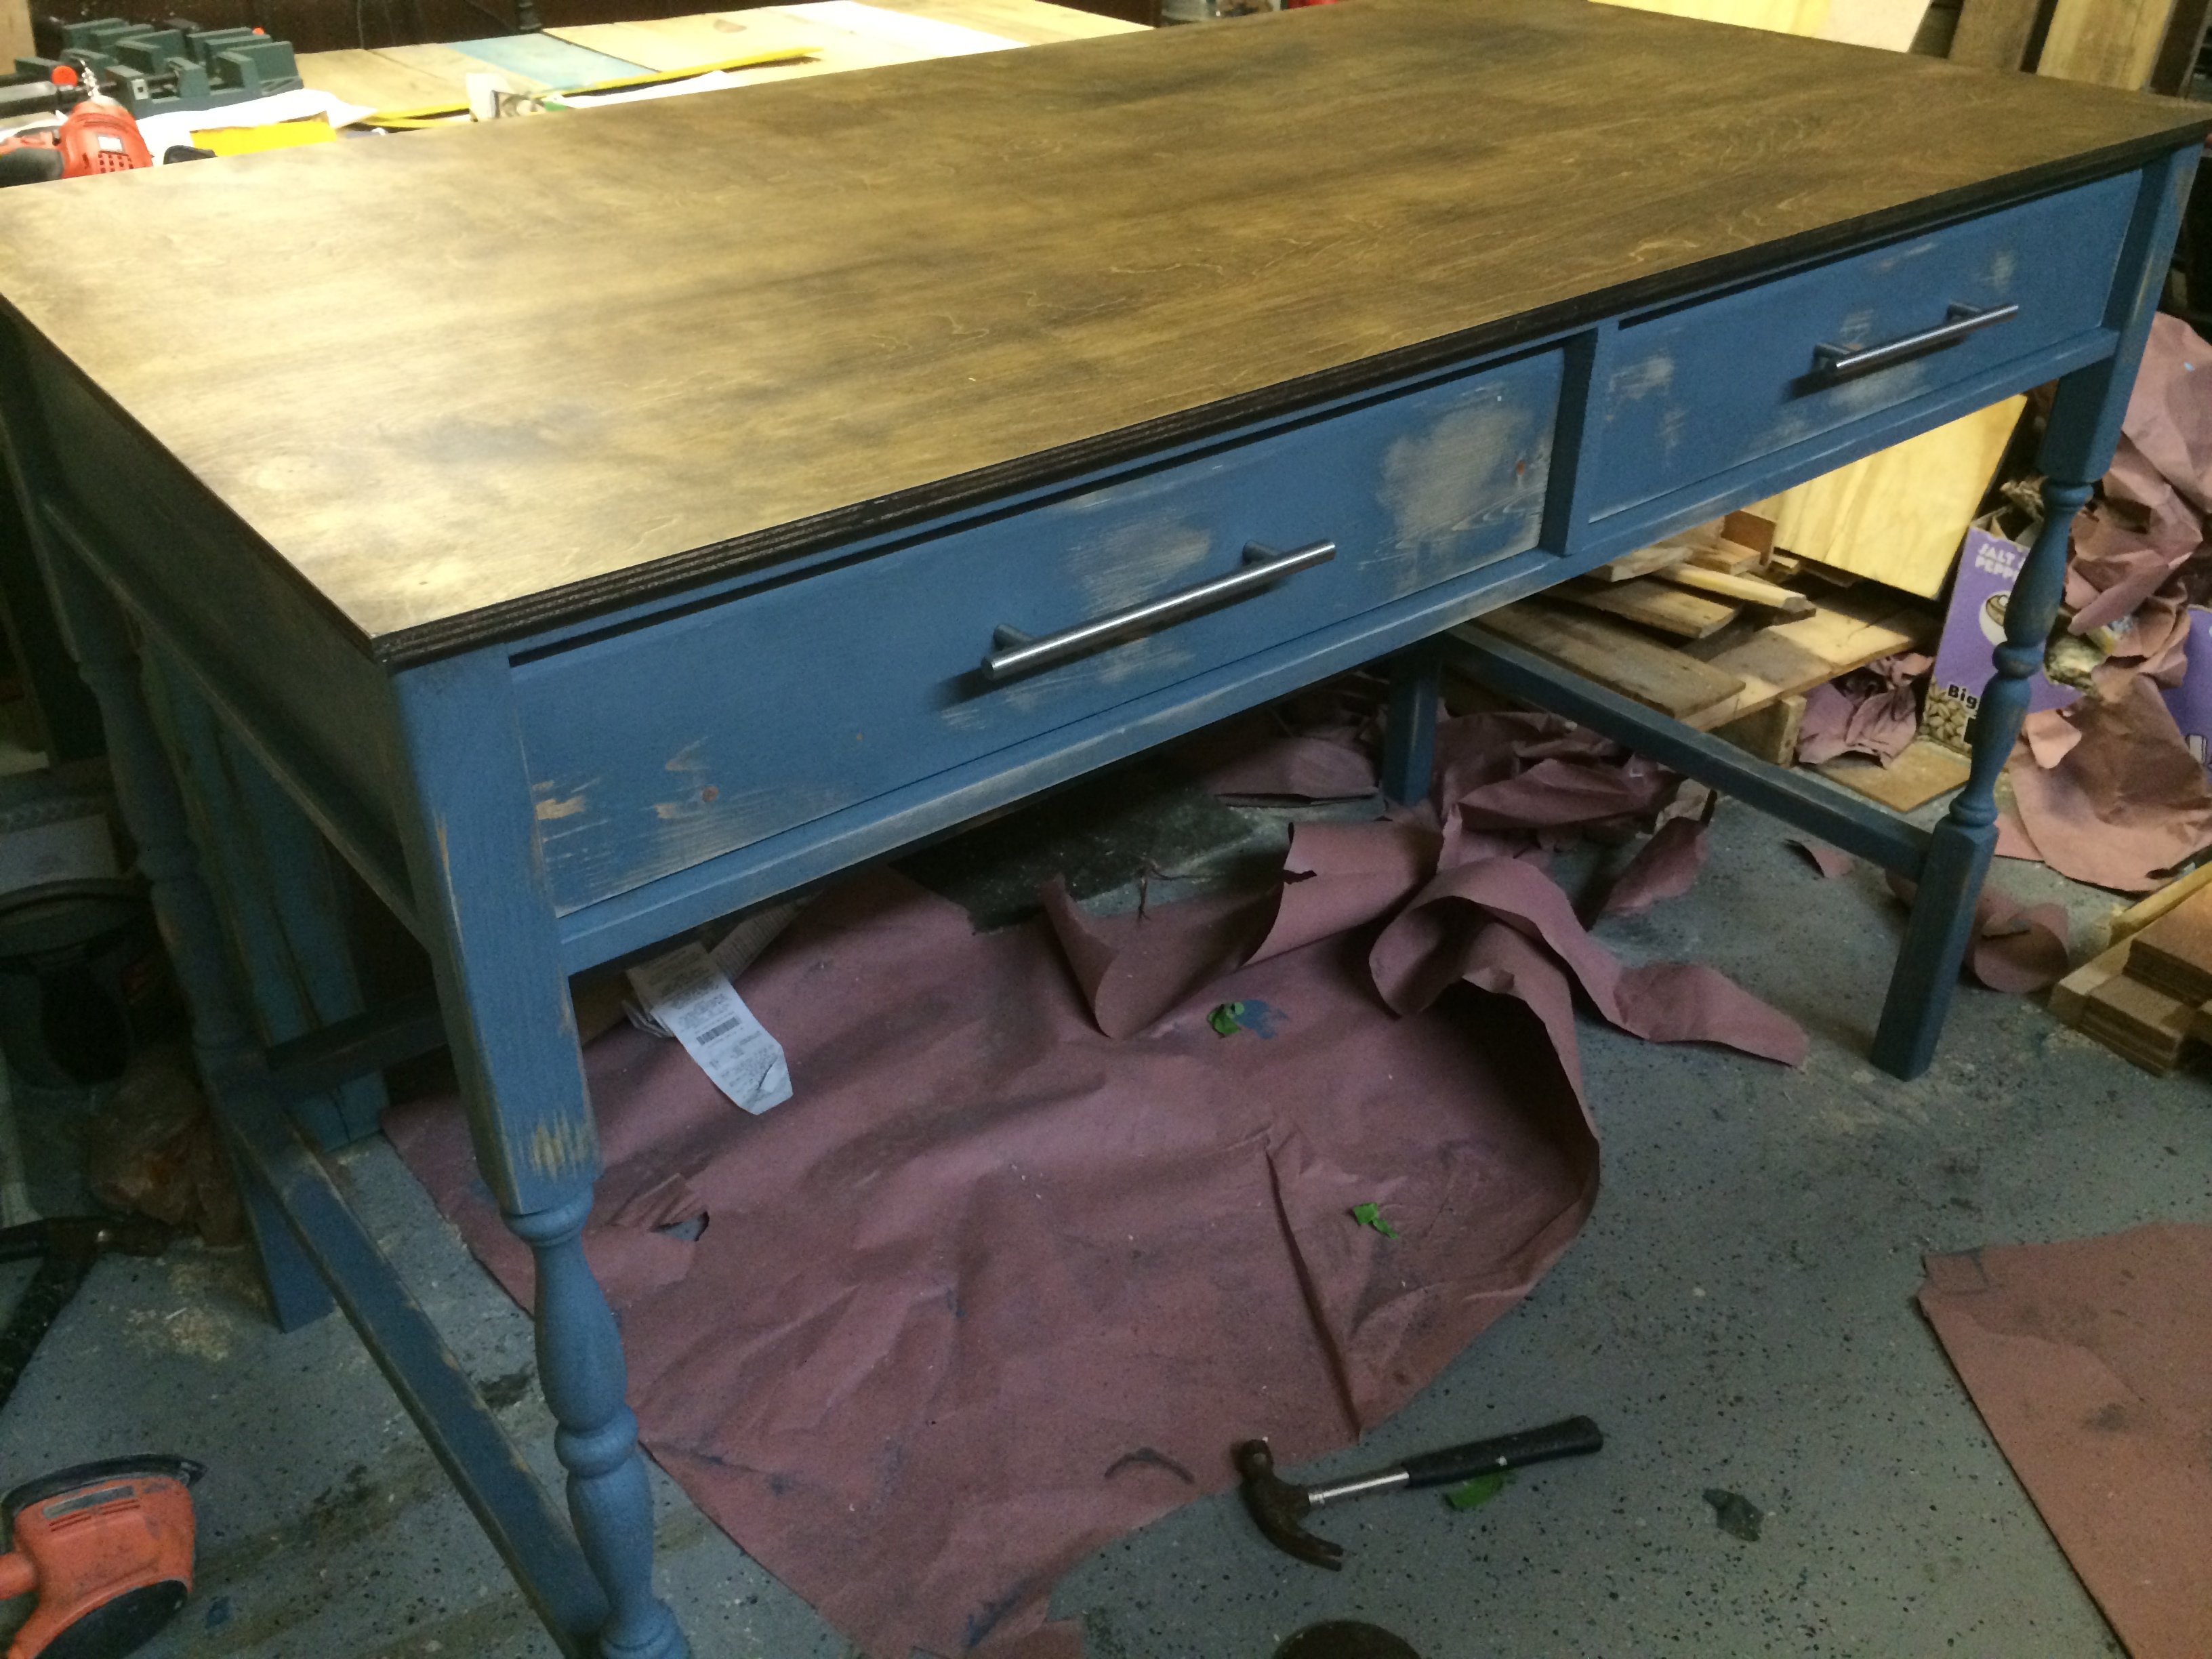
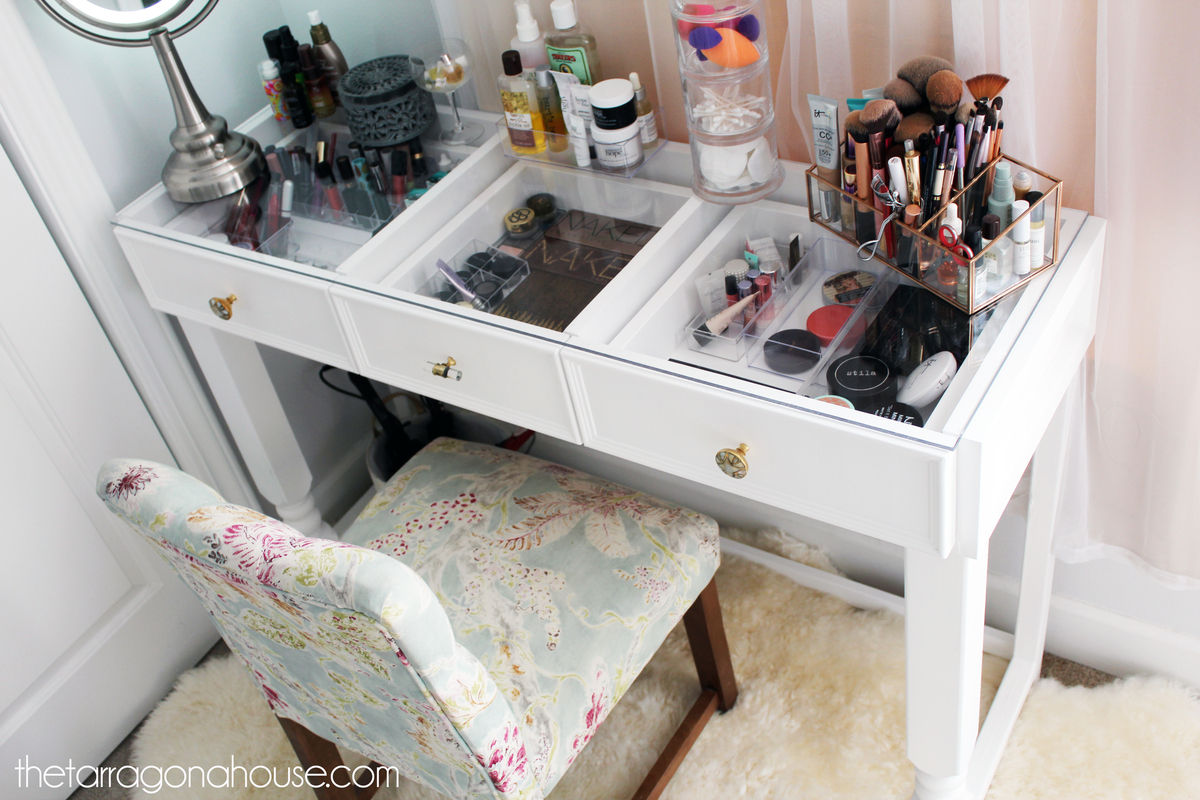
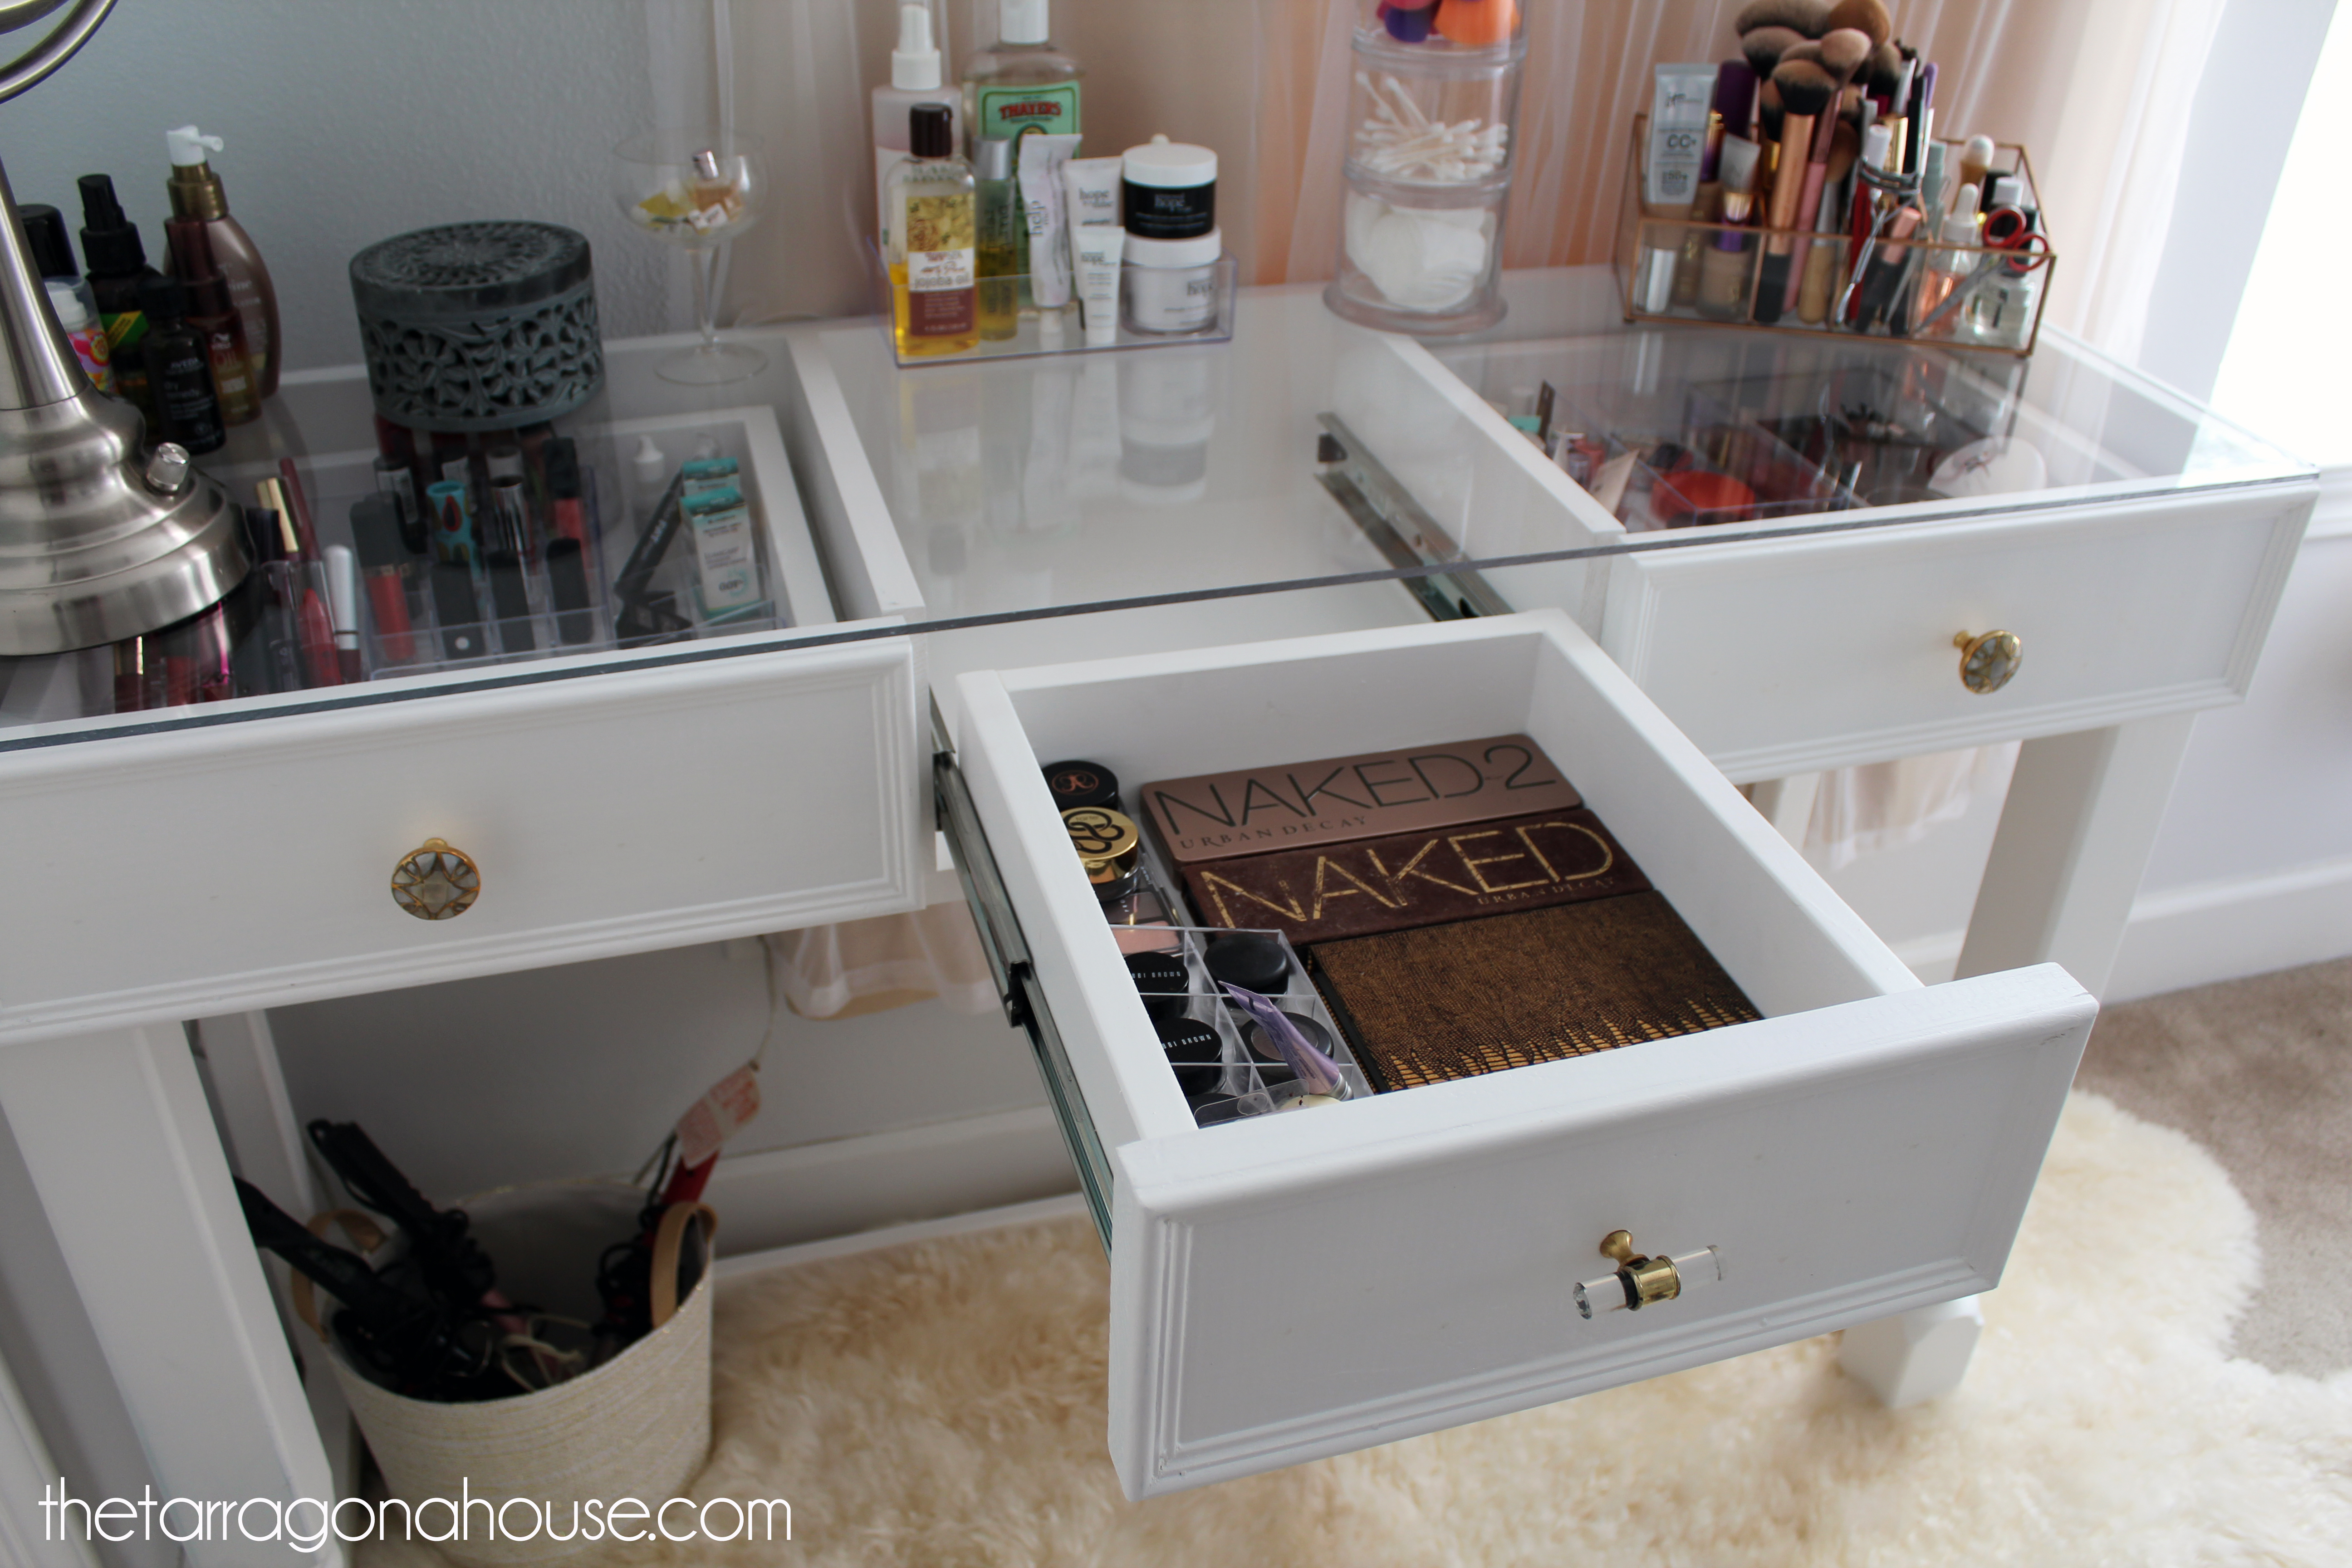
I just started wood-working and found this to be a really nice build. I did, however, adjust the height of the desk legs from 31 inches to 36 inches, because I am 6'6" and felt I needed the leg room. I used 4 Severe Weather 2 1/4in x 2 1/4in x 36in Colonial Treated Deck Spindles from Lowes at $2.88 each for the legs. I also, added the drawer dividers to help organize the storage space. Otherwise, I stuck to the plans.
Severe Weather 2-1/4-in x 2-1/4-in x 36-in Colonial Treated Deck Spindle http://www.lowes.com/pd_7954-432S2236T15N_4294610196__productId=3185415&Ns=p_product_qty_sales_dollar|1&pl=1¤tURL=%3FNs%3Dp_product_qty_sales_dollar%7C1&facetInfo=
Stainless Steel Drawer Pulls http://www.homedepot.com/p/Liberty-8-5-6-in-Steel-Bar-Cabinet-Hardware-Appliance-Pull-117060-0/202023671?MERCH=REC-_-NavPLPHorizontal1-4-_-NA-_-202023671-_-N
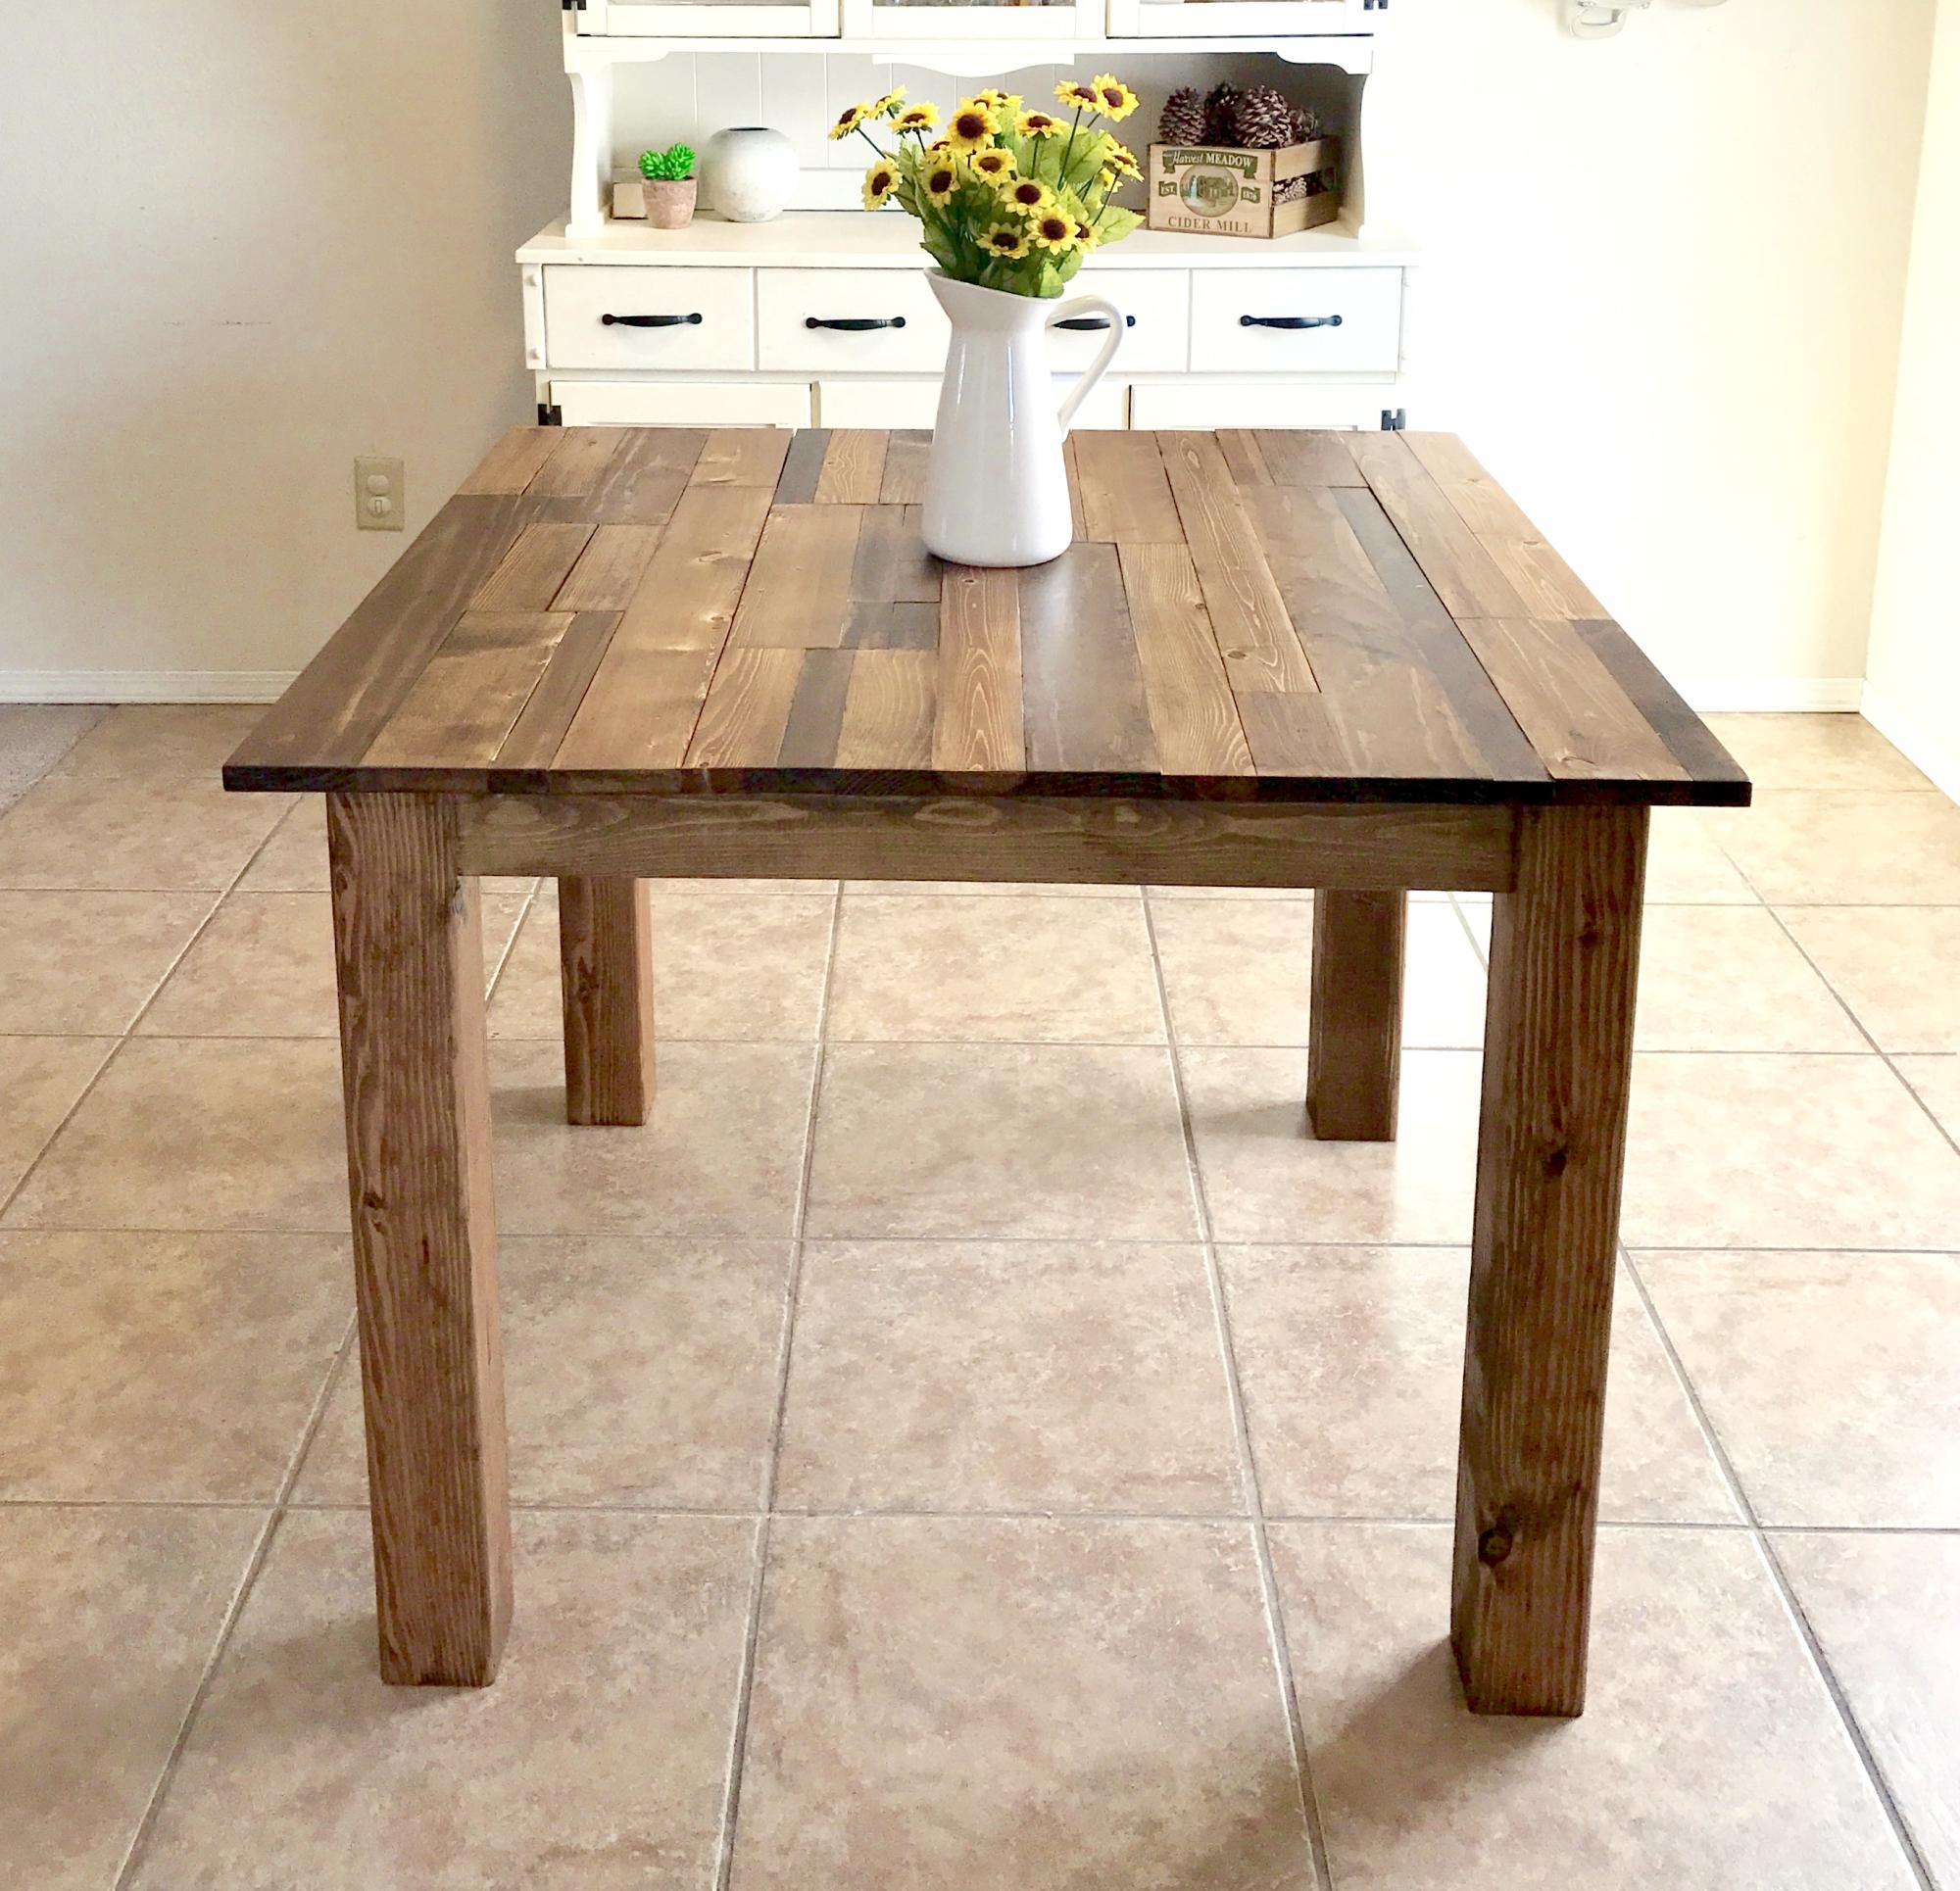
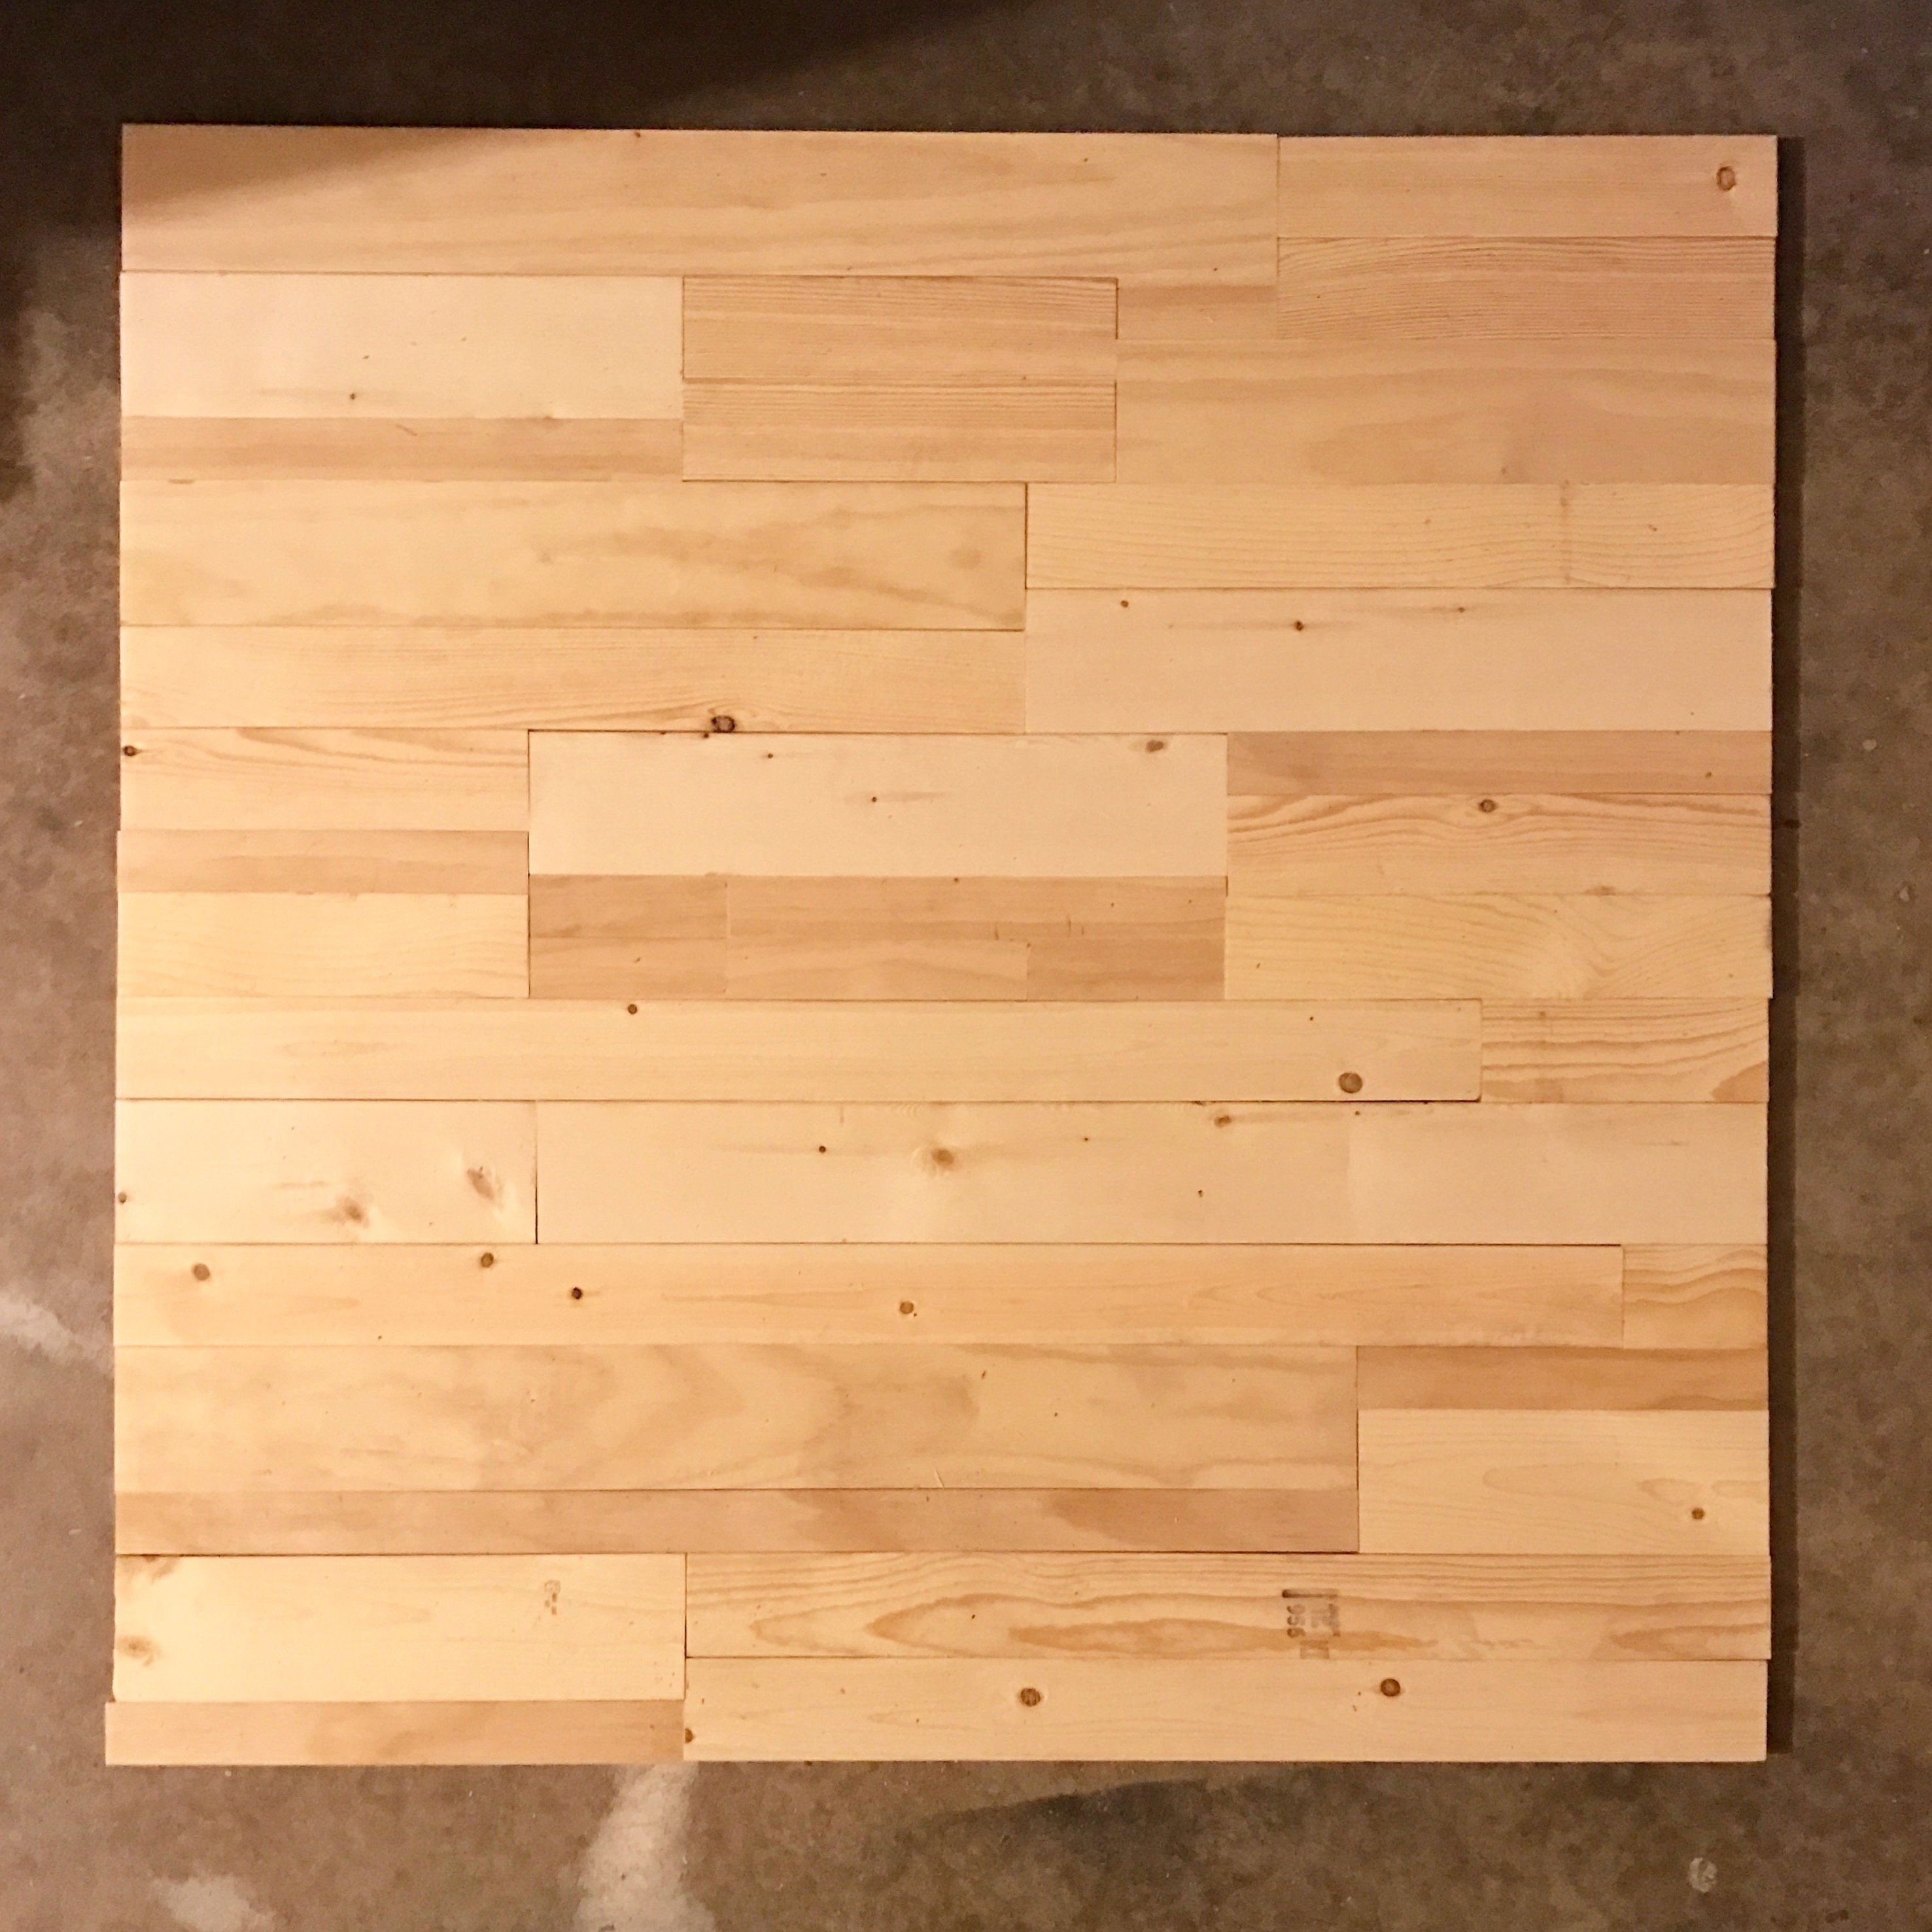
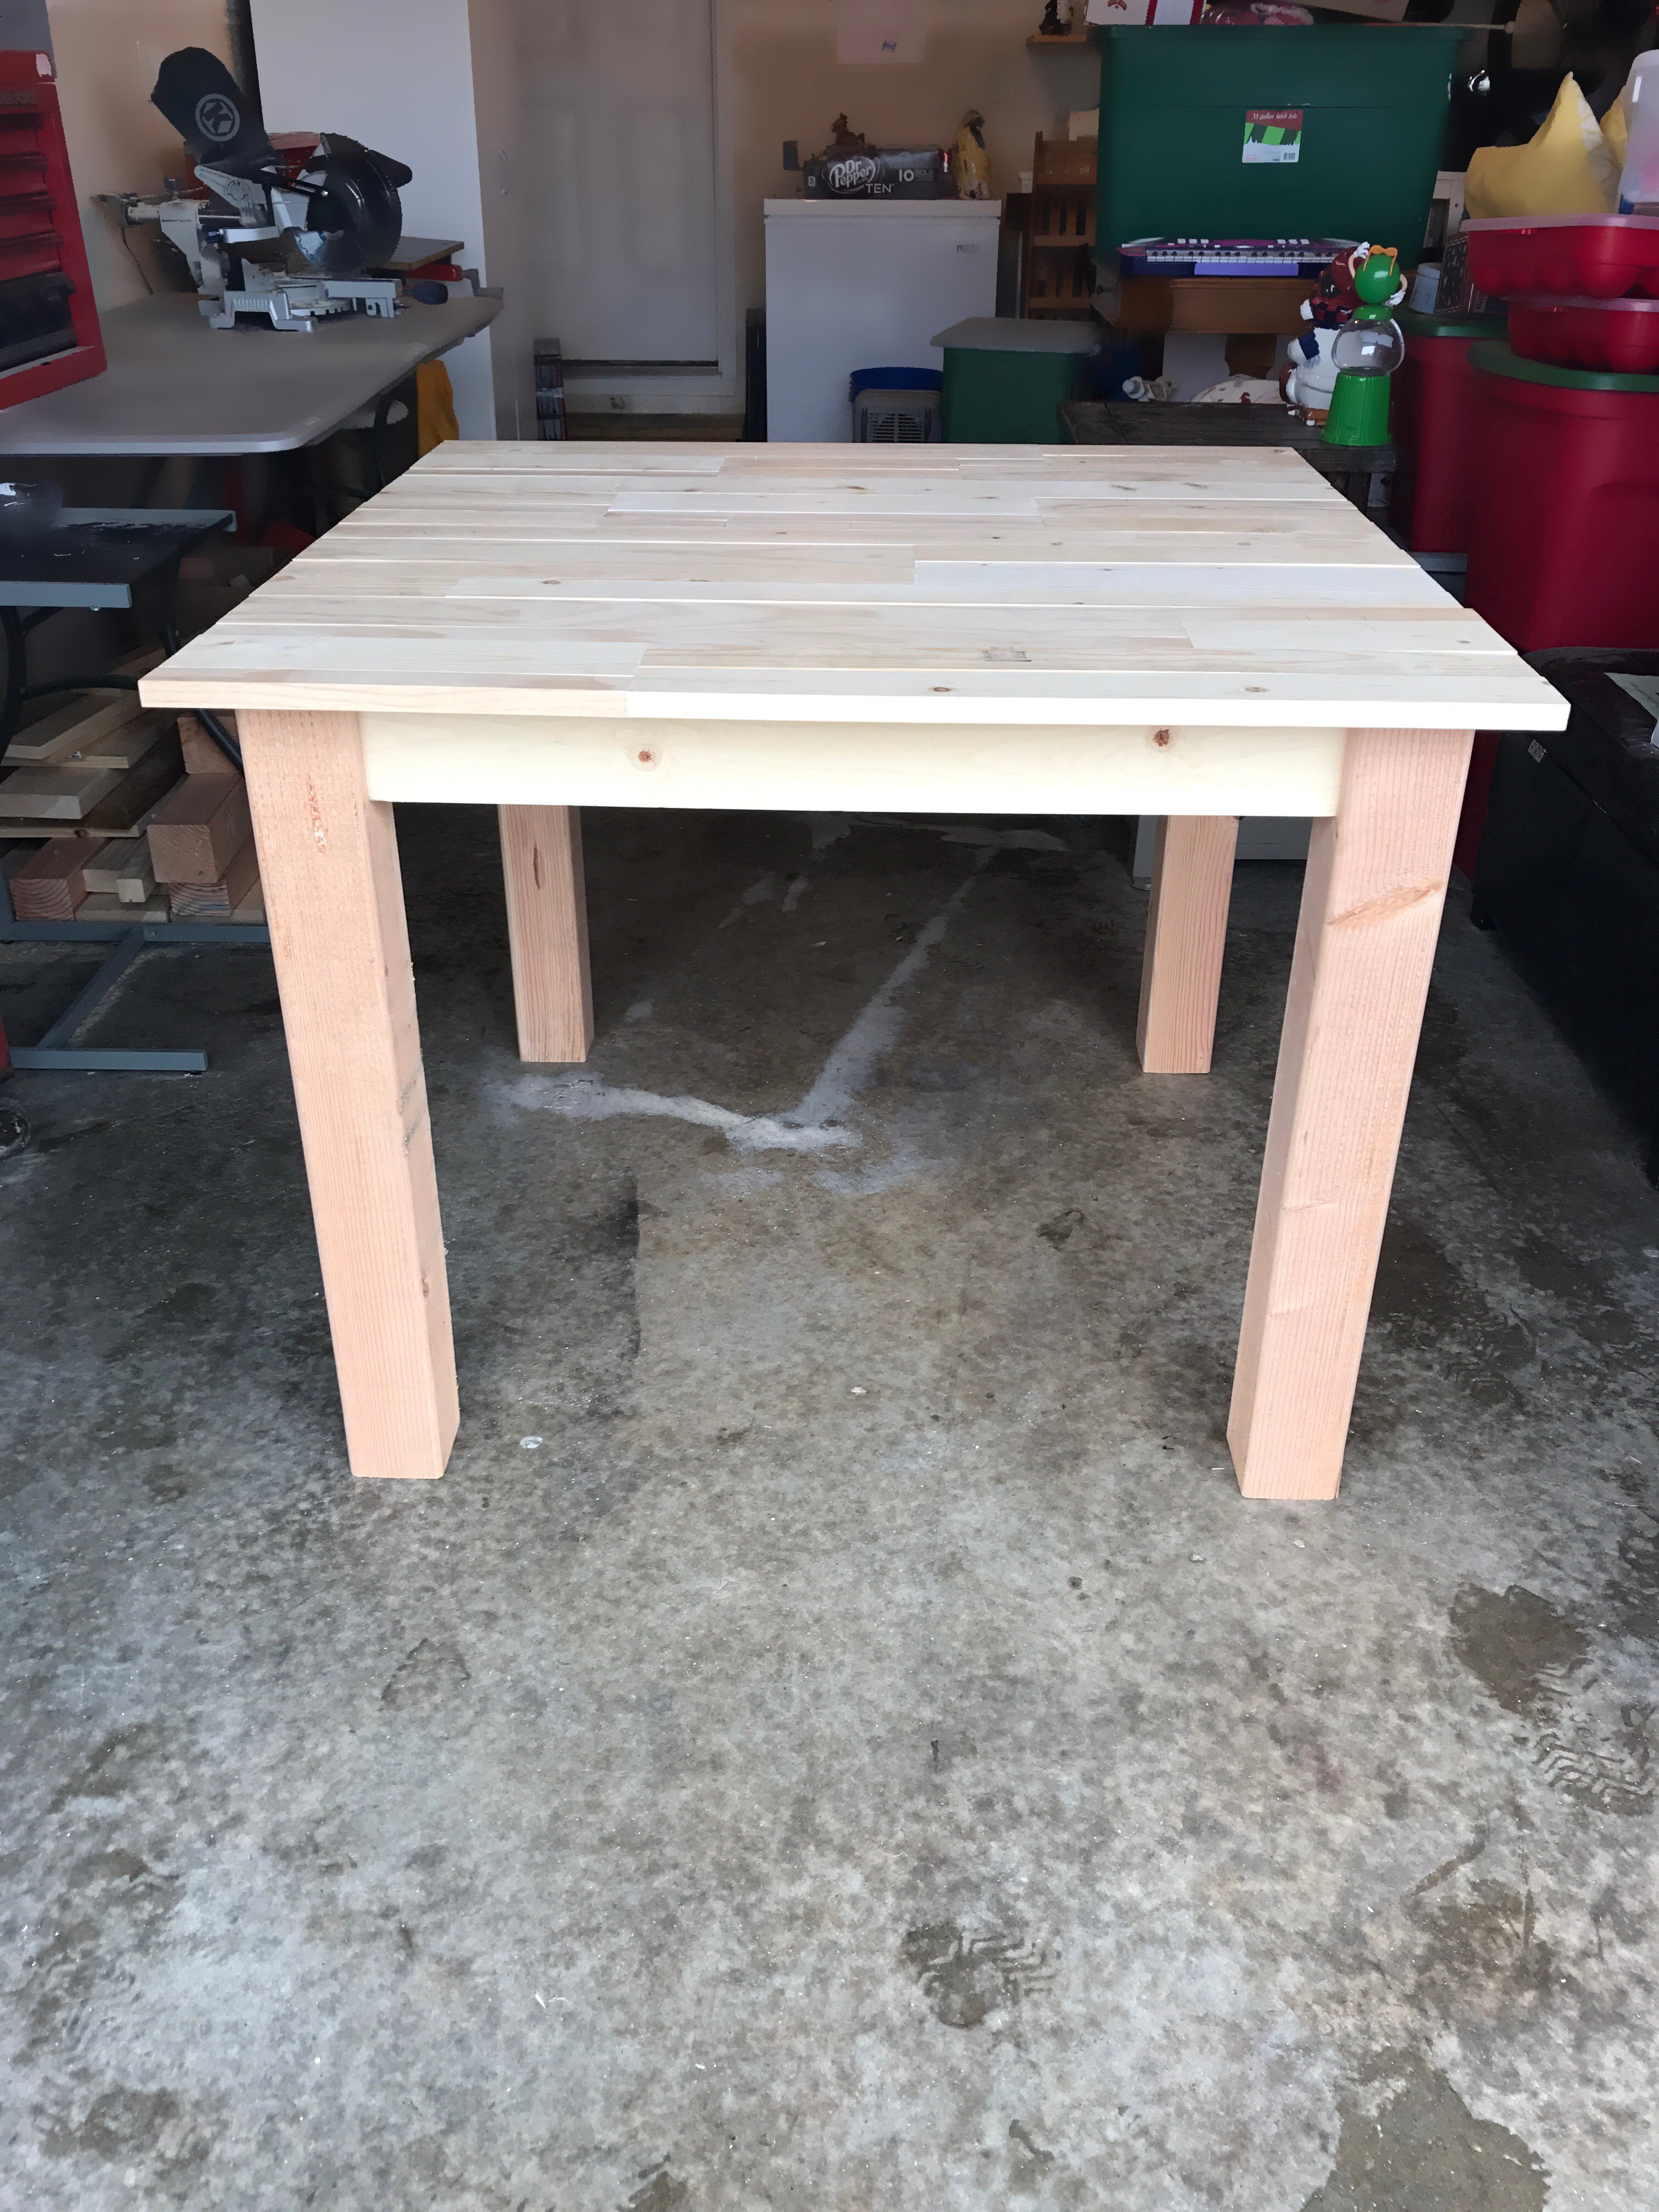
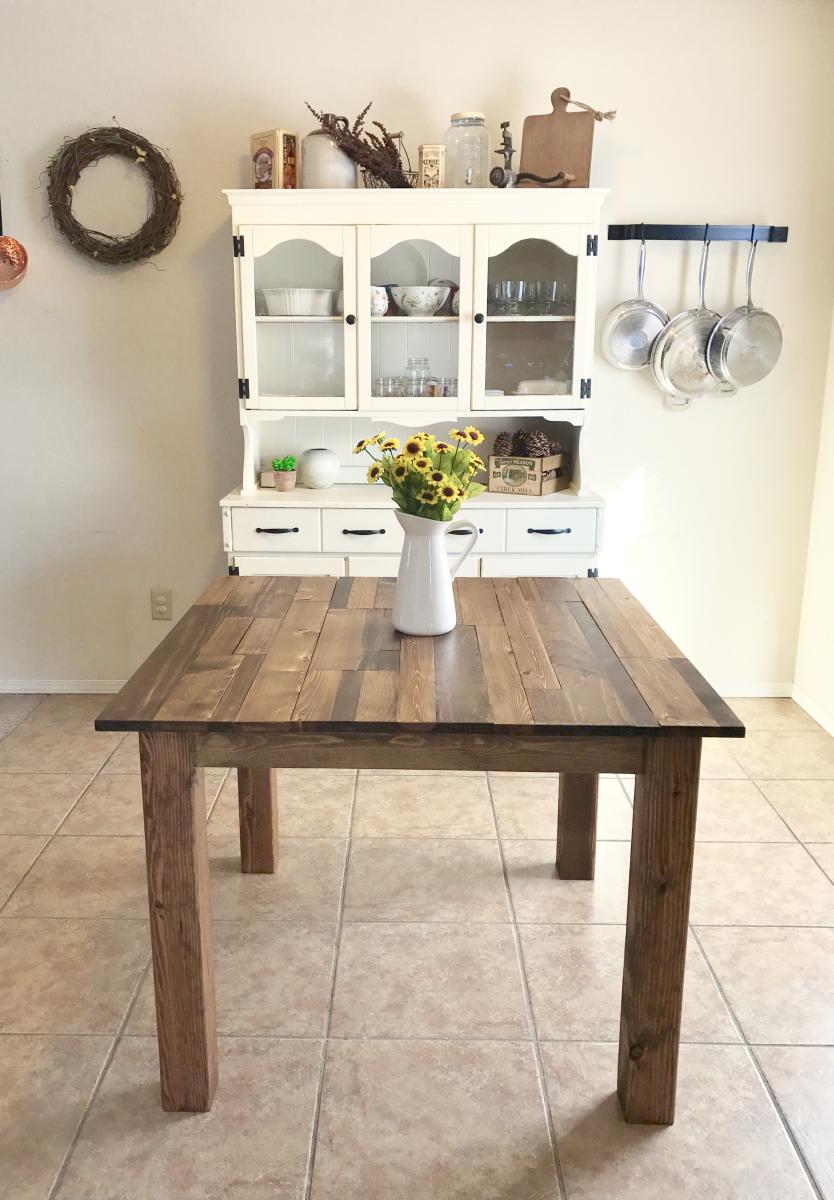
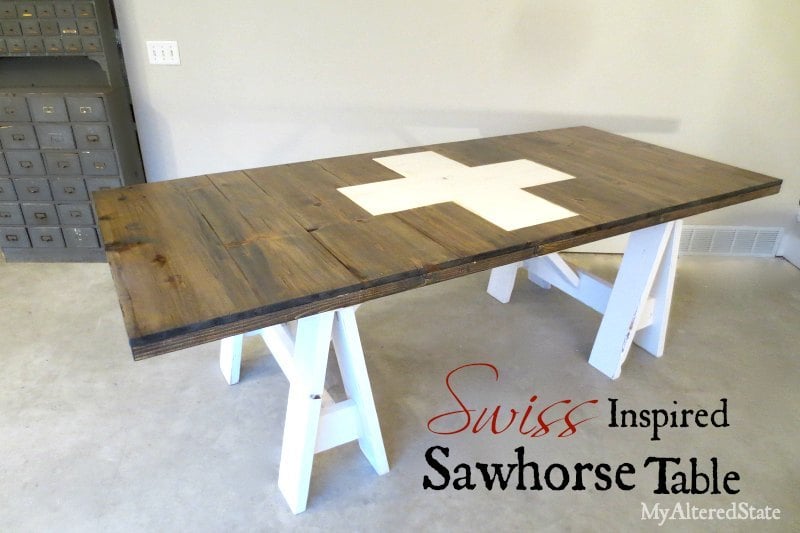
I built this table for a friend who wanted a rustic, plank-top kitchen table. She wanted a square table with 4x4 legs. Since I don't have clamps, I used pocket holes and wood glue for the table top. Also, I only have a 7&1/4" miter saw, which means the 4x4s were too thick to cut. So I made one cut in the legs, then flipped them and made another. It worked! :) I sanded down the sides of the table top with 80 grit. They needed to be evened up since some of the planks were a little longer than others. I back braced underneathe the top with (3) 1x3s. Then, I sanded all over with 120, vacuumed, then wiped it down with a damp towel. Fun build!!
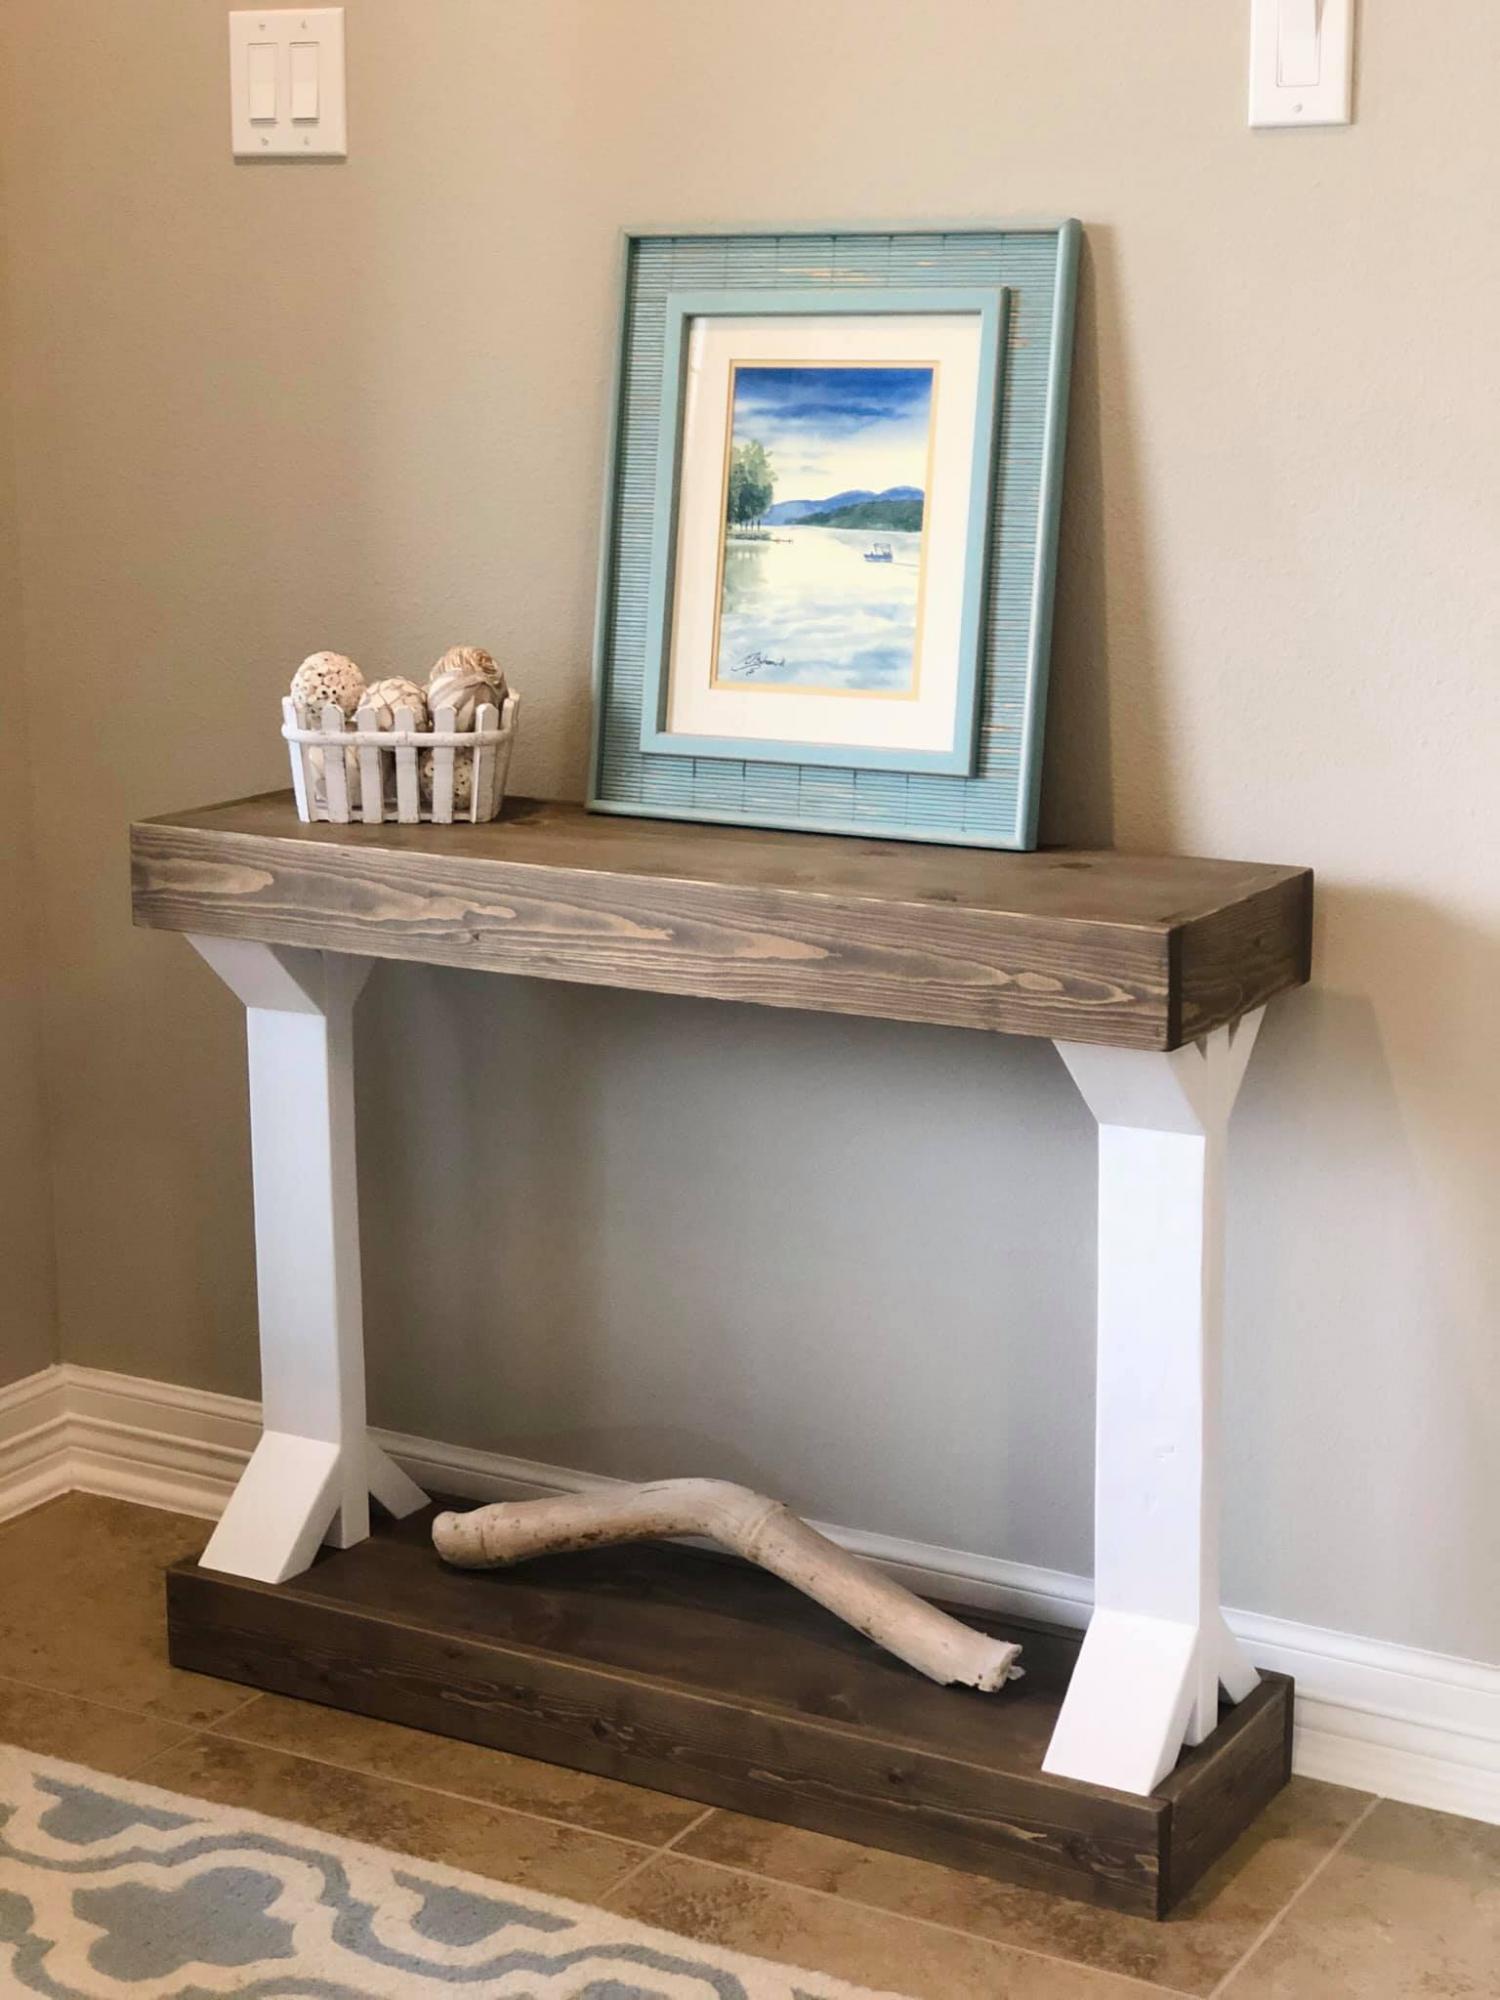
New table for my entryway!

For anyone who is interested in building their own glass-top vanity with pull-out drawers :)
Sun, 11/29/2020 - 01:27
Hi Ana, where can I find the instructions for this project?
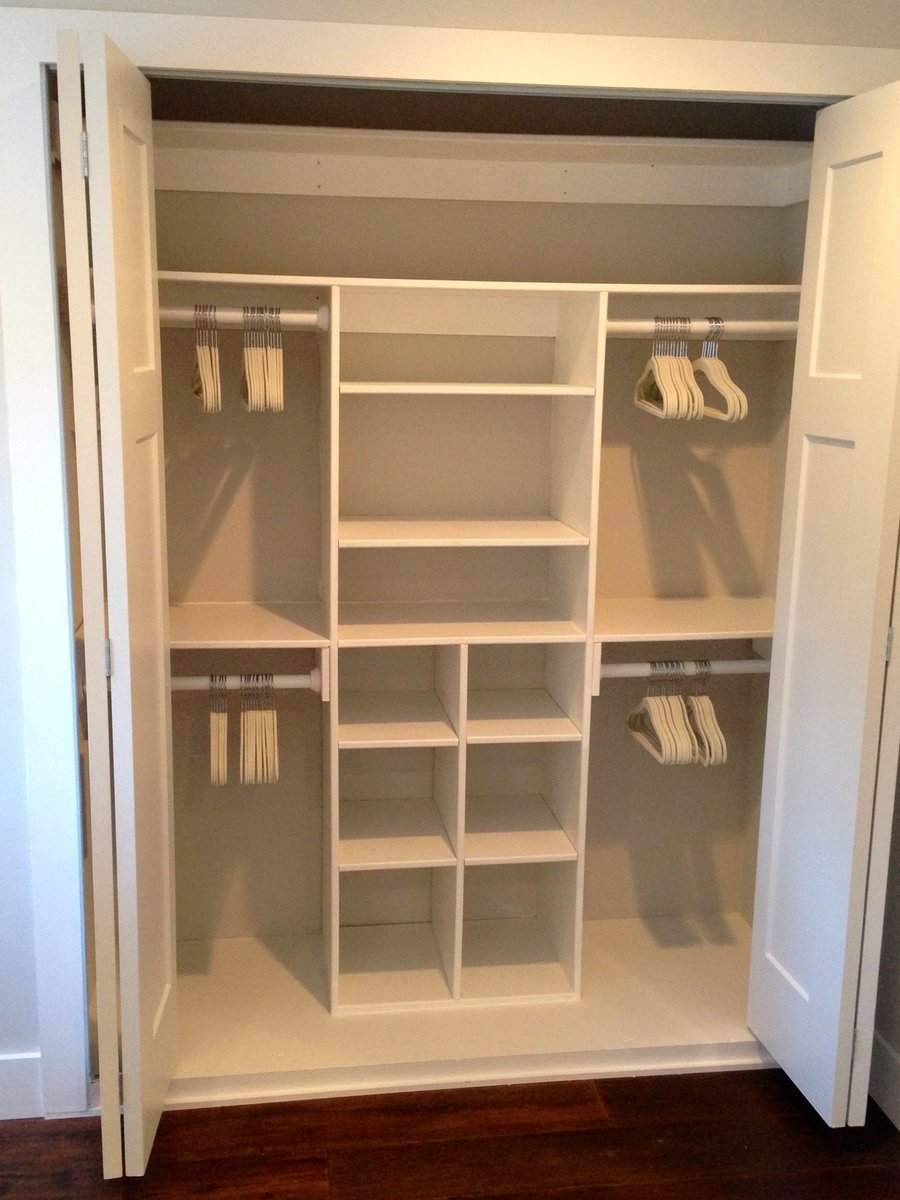
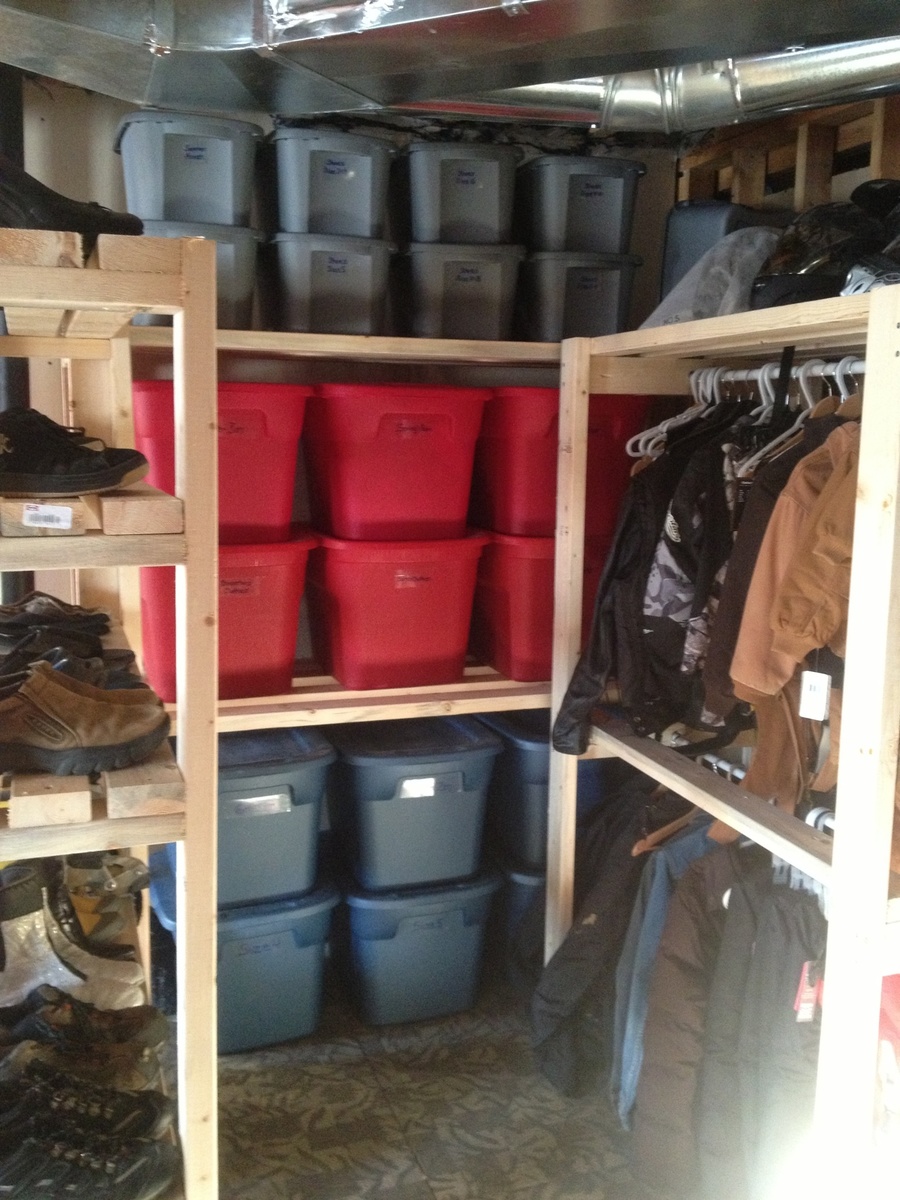
Just My Size Closet!
Built this from Ana's plans with a few modifications.
Started with a big empty box after ripping the old stuff out and finished with this look.
Adjustable shelves and all !

This was an easy project to complete in an afternoon that does not require any advance woodworking skills


Wed, 11/26/2014 - 12:19
This project looks even better than mine! I love look with paint! Well done!
Wed, 12/10/2014 - 09:41
This is my second completed project with plans and ideas from your website. Thanks for your good work!
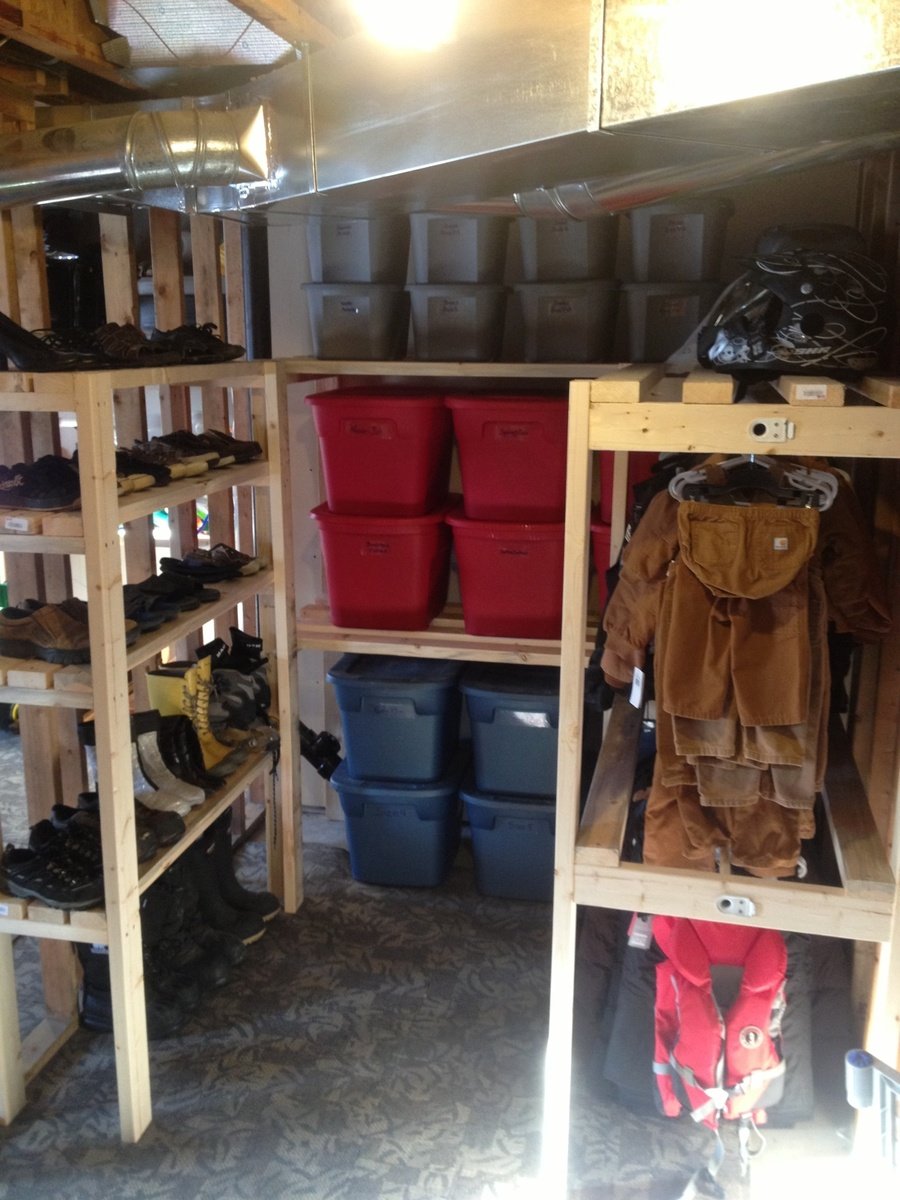
I've been organizing our unfinished basement so that my boys have more space to run and ride their bikes over the winter. I needed something to organize our off season clothes and bins of clothes that my boys are growing in/out of. This plan was perfect. It's not my prettiest build but it's soooo functional!
I saw an outdoor Pottery Barn Table that Shanty 2 Chic did, and used the same plans they collaborated with Ana White on.
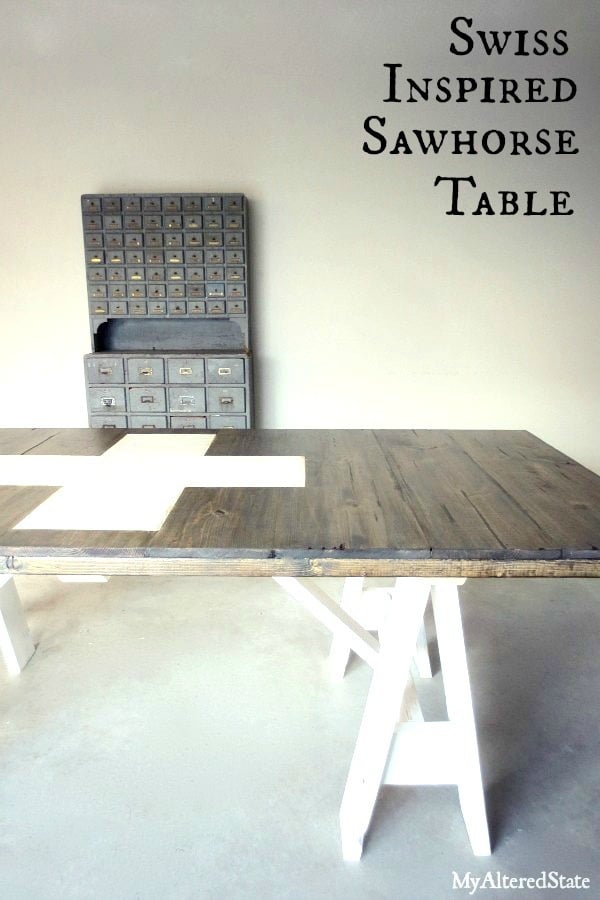
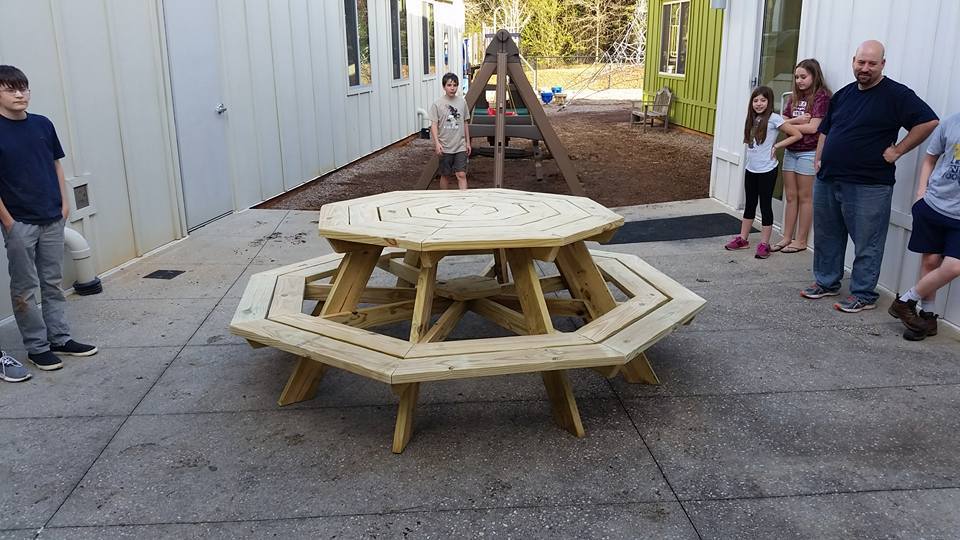
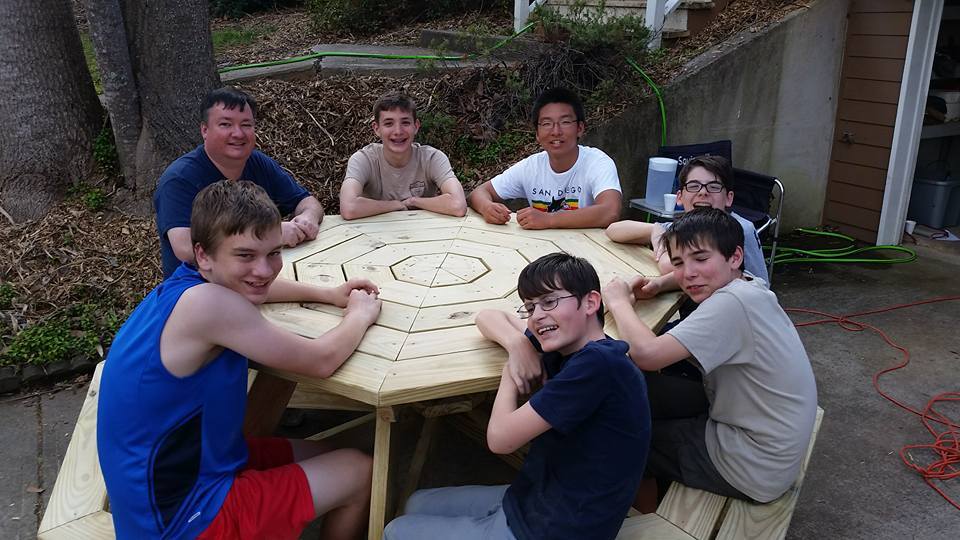
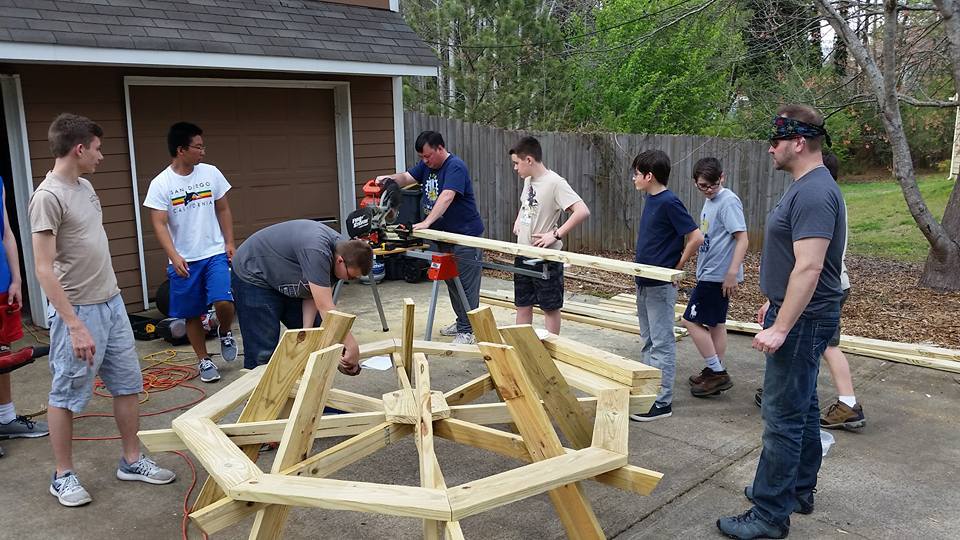
Table created for the chartering organization for Troop 4900 in Woodstock, GA (Woodstock Community Church).
Some deviations from the plans...we notched two of the cross member that support the seats and glued/screwed them together for greater strength in the center. That left 4 supports to be installed with pocket screws (weak). We added two small 2x6 supports where all these members join in the center and screwed the supports to the cross members, reinforcing the center and taking load off the pocket screws (see photo). Also, as you can see, we built the framing for the seats and table top, then added legs and placed the table top last to assure a level table top.
Finally, a recommendation - use 1x6 boards for the table top and seating areas for a lighter and more manageable table.
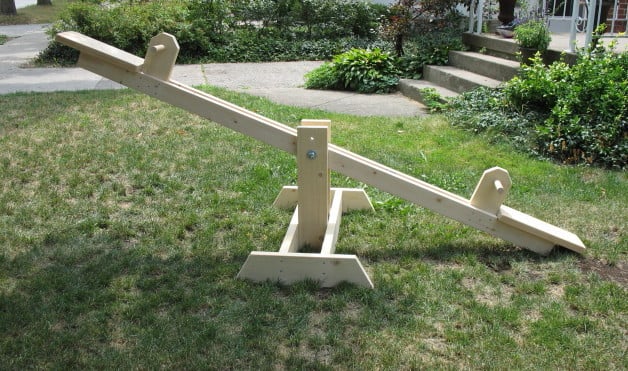
This was a very quick project. Only took 5.5 hours from start to finish, including dragging out and putting all the tools away afterwards!
I left the teeter-totter unfinished, not sure how it will make it through the winter. I may decide to paint it this summer.
I used a length of copper pipe for the bolt to ride through, along with some washers between all the pivot points. This should help keep the boards from wearing away over time.
This has been the BEST outdoor toy around! It gets used EVERY day in the nice weather.
Thanks Ana for the great plans!

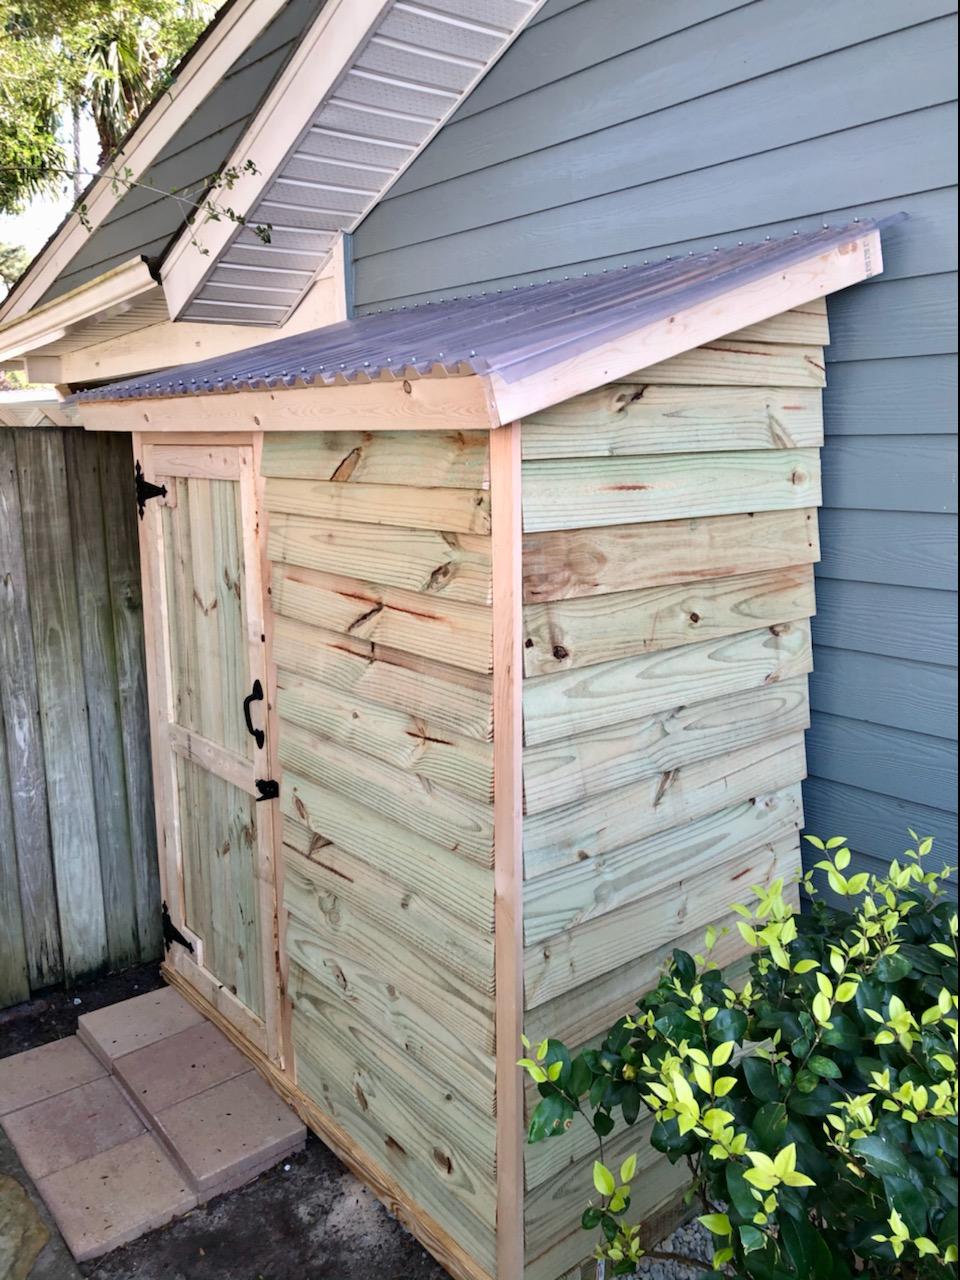
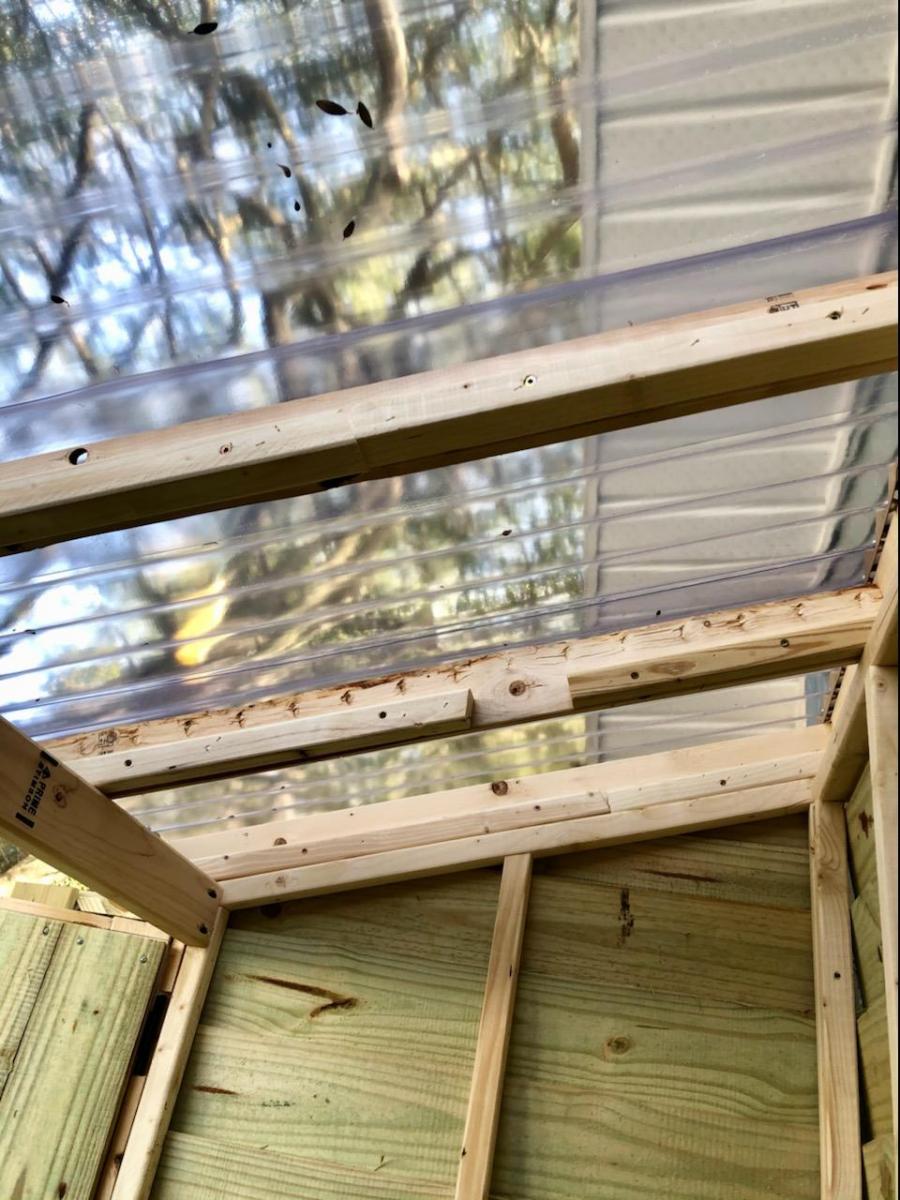
I absolutely loved these plans for this shed. I'm new to the site but I've been using your plans for things here at home... love it. I went with just one door to give me more places for shelves and I also went with a clear corrugated roof since it's shaded on that side of our house.
Mon, 03/15/2021 - 11:47
It's always nice to have additional storage options, thanks for sharing!

This is a wishing well I made for my sister for her wedding. It will be used during the wedding for people to drop "wish you well" cards into and afterward she can use it as a planter in her yard.
I followed ideas from multiple plans here on Ana-White.com, but I didn't follow any specific plan. Mostly I followed tips and instructions for cutting angles, drilling pocket holes and some finishing tips. This is the first "big" project I've done and I"m quite proud of it.
With everything, it measures 44.5 inches high. The well measures 21 inches across and 15 inches high. The roof measures 22.75 inches by 23.75 inches.
I hope y'all like it. I worked hard on this! :)
Thank you, Ana and everyone who contributes to this site. It's been so much fun and I've got lots of ideas for more stuff. If I was any good at all at Google Sketchup I'd put up the plans but I'm not. If anyone could help me with that, that would great. :)
Have a great day!


Mon, 07/21/2014 - 20:04
Anyway you can please tell me the angle for the boards ont the walls. I reallly like your well, and would like to build this for my wife but im not sure on what angles to use thank you

In reply to wishing well by bellows86
Sun, 07/10/2016 - 17:10
The 8 sided wishing well is going to be 22.5 degrees all the way around. hopes this helps