Patio Furniture in Progress
I built six armless and two corner sections of the outdoor sectional but now I need to paint it and make cushions. For more details: http://www.homeandawaywithlisa.com/blog/2012/1/5/patio-furniture-in-pro…
After a whole year I finally made a second chair! The first one was made a year ago and now my wife can sit outside with me too 😊. Next for the couch!
For our first Easter, my wife wanted to bring both our families together to celebrate in our new home. I've never done any woodworking before but the plans from Ana and Shanty2Chic allowed me to stretch my creativity. I got some awesome power tools from my father and started cutting away. 2 weeks later we were eating, drinking, and laughing over a 106" farmhouse style dining table. The materials were from the local home store and it was untreated lumber. Because of my inexperience I bought Prime Douglas Fir. The table took 4 of us to move from the detached garage to the living room. Who knew that wood was so heavy!!! Thanks to Ana and the girls at Shanty2Chic for some great tips. I relied on the pocket holes to attach the top boards but added a 4x4 in the middle for a feature piece to the table. The table top support beams are through tenon and mortise (I researched this on YouTube) but shimmed a bit since I didn't make them 100% perfect. The bottom 4x4 support is laid into the 4x4 on the leg support. Such fun, and am definitely looking to start more (perhaps with a lighter wood) projects soon. I'll continue to post any/all future projects.
Sat, 04/02/2016 - 16:18
...because these "first build" posts are amazing!! Great job!! Goes beautifully with your gorgeous home!
House Beds are a huge trend right now. I saw my first house bed over a year ago and I fell in love and I swore that as soon as we built our daughter a toddler bed someday, I would make a super cute pink house bed, decorated in cute pom pom buntings and it would be perfect. Well, fast forward a year, and she’s only 16 months, still a ways away from being in a toddler bed. Then I had a idea! We are in the process of decorating our boys bedroom. and we needed to build them a new bunk bed set as their old set was massive and took up half their room. Click link below to view the full tutorial!
We had this unused lower deck and this bar height table was the perfect addition. We have place now to hang when too hot or it’s raining. My husband and I built it in one weekend and your plans where great.
Julie Moran
Sun, 08/27/2023 - 12:48
Love this view and what a gorgeous table to go with it! Thanks for sharing.
I used the Murphy Bed Plan that Ana had on her website. I modified it so that it would look more like a dresser and would fit into the space that I have. It is perfect and I have used it myself just to see if it was comfy. It was!!! :)
This project took me longer to do as I had a creativity issue that you can read about here .. http://joy2journey.blogspot.com/2012/04/m-is-for-murphy-bed-its-finishe…
Sun, 04/15/2012 - 11:37
What an amazing job! Really looks just like a dresser. The lock closure is a great idea for keeping it securely closed. Beautiful finish, and the fabric and stencils are so creative!
In reply to Amazing job! by JoanneS
Sun, 04/15/2012 - 11:54
I was afraid little hands would pull it open ... hence the idea of a lock. Now I just have to spray paint it to have it blend in :)
bj
Fri, 12/14/2012 - 03:36
Things derived in this material will surely have some impact on the process of making of a classical overview. You should bookmark this page and http://allfreepapers.blogspot.com for the future. The question about it is a very important for the contemporary society. They have become proclaimed national standards recently.
Wed, 02/13/2013 - 11:42
Just curious did you buy the jig called for? If not what did you use instead? Camille
Wed, 01/08/2014 - 12:28
You did a fabulous job on your murphy bed. Good to know it can be made horizontally too. Thanks for the inspiration! =]
-made with pine.
- paint was matched at Sherwin Williams to other furniture.
Instead of a wood top I used 2x 3/4" sheets of plywood plus 1/2" backer board to create a thicker top and used Ardex feather finish cement in 4 coats sanded and finished with Mexeseal sealant, recommended 4 coats of semi-gloss plus 2 coats of satin to get a matte finish (recommended by manufacturer) I followed the concrete countertop blog from "Young House Love" but used a different sealant when I contacted the safe coat manufacturer and they recommended their Mexeseal product.
I followed Ana’s Modern Chaise build. The number of 2x4’s specified in the instructions is incorrect. You need 3 not 2. Other than that, a great plan.
Using Ana's 10 dollar raised garden planter box idea, I made my own using the cedar fence boards and then used 2 x 3 x 8 studs for the L corner supports and mid center support along with top rail. This photo is the first 3, I will have a total of 6 boxes. Will post more as I progress.
This is the first wood working project that I did, all by myself, Thank you so much Ana for sharing your plans. Sense then I have built another one but used a 2x8 for the seats instead of the 2x4's to make one solid seat and used decking boards for the top instead of the 2x4's. I have added the 2nd table to show what it looks like. Thank you so much Ana for sharing your plans. I have enjoyed it so much and i'm getting more confident building other things.
I used the Modern Outdoor Chair from 2x4s and 2x6s plans and slightly modified then to make a 3 seater couch. My cushions(most expensive part) were 24 in x 24 in and purchased from Lowes for $40 per seat. The couch is 79 inches in total length. I also dropped the seat down to the lower level to allow more room for my cushion backs to sit further down into the seat.
I downloaded th minimalist modern nightstand plans nearly a year ago and just got around to building them last week. Actually I modified them quite a bit because I had a small space to work with and because I wanted them to follow the design theme of some of the other furnishings and features I had made for my basement renovation. In particular I changed the top and made it out of oak stair treads. I also added pop-up electrical/USB sockets as well. I really appreciate the sequencing in the plans. Though I made some dimensional and design plans, I followed the sequencing steps. It made the project much easier to complete-particularly the drawer construction and fitting. If I had done it on my own, I would probably have permanently installed the middle shelf before fitting the drawer which would have made fitting the drawer and drawer front much harder. Thanks for teaching me that.
Craig Holstedt
Tue, 01/09/2024 - 08:31
Thanks for sharing, love your finish choice and the pop up outlets are a great addition!
Great and easy build from Ana. I made it to replace a vanity made of fake wood that falls apart when it senses water. No changes to the design. I used the "European" hinges and all I can say is that they are great but it is learning experience getting them to work properly. Thank goodness for the adjustments the hinge allow.
Wed, 10/24/2012 - 16:33
Wow, this looks great! And for $35, that can't be beat. I may need to build some of these for my bathroom too
I used the main plan for ideas, but opted to use 3.5 inch pickets instead, which allowed for a smaller planter that wasn't as big. Also chose to miter 1x3s for the top which I think really finishes it off. Sanded everything with a belt sander to 220 grit. Used min wax golden pecan plus three coats of poly inside and out. Finished size was about 17x17. Tile spacers work great to keep the gaps even!
After searching the town high and low for a 10" high wooden stool, I decided to make one. Ana had the perfect stool pattern to modify for our needs - A little shorter, a little wider.....et Voila!
It's the perfect height for little ones to reach the taps in the bathroom, as well as helping out in the kitchen from time to time. And, the cedar smells wonderful.
Finished height: 10"
Top measures: 11.25" x 16.5" (2 boards, cut 16.5" long + a space in the middle)
Footprint: 12.375" x 17.375"
I also lined up the rails (instead of staggering them), similar to the Harriet Higher Chair plans. The joint will be weaker, but I prefer the cleaner lines on such a short step stool.
Thanks Ana for the great plans!
Ana Whites site is always my first stop for inspiration, she always has good designs and diagrams. I usually use her plans as a rough guide, and then tweak them as needed.
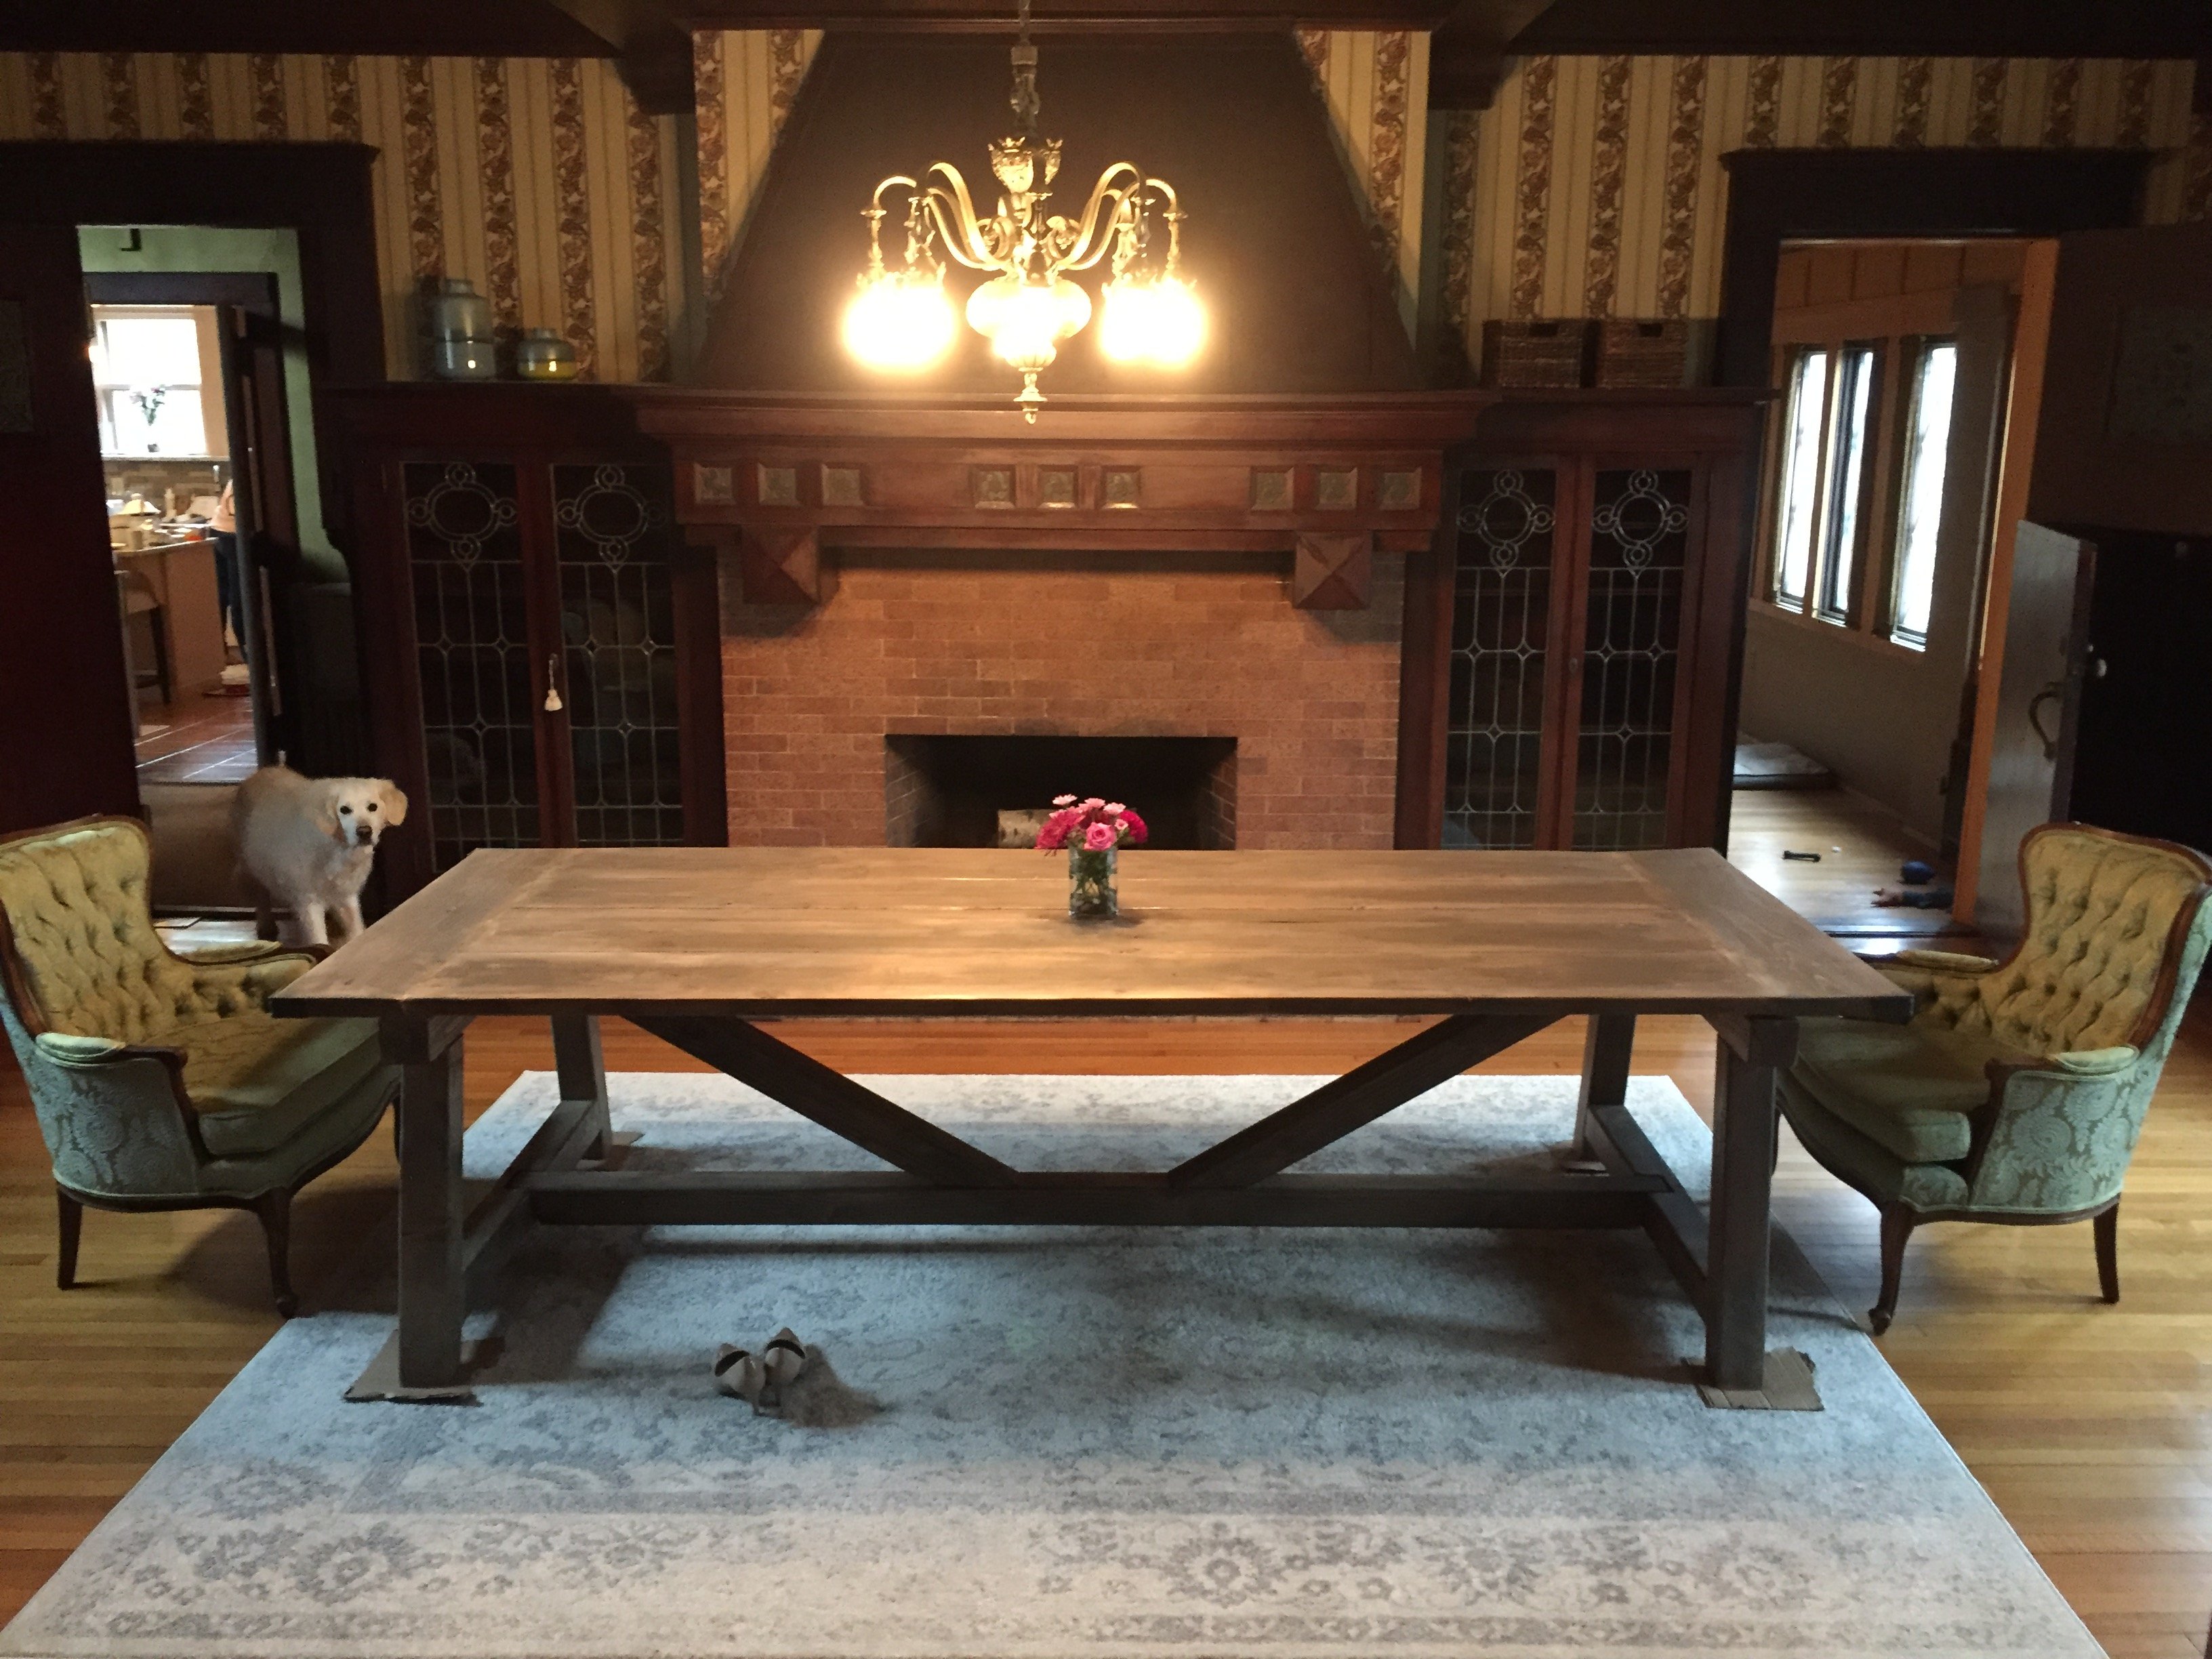
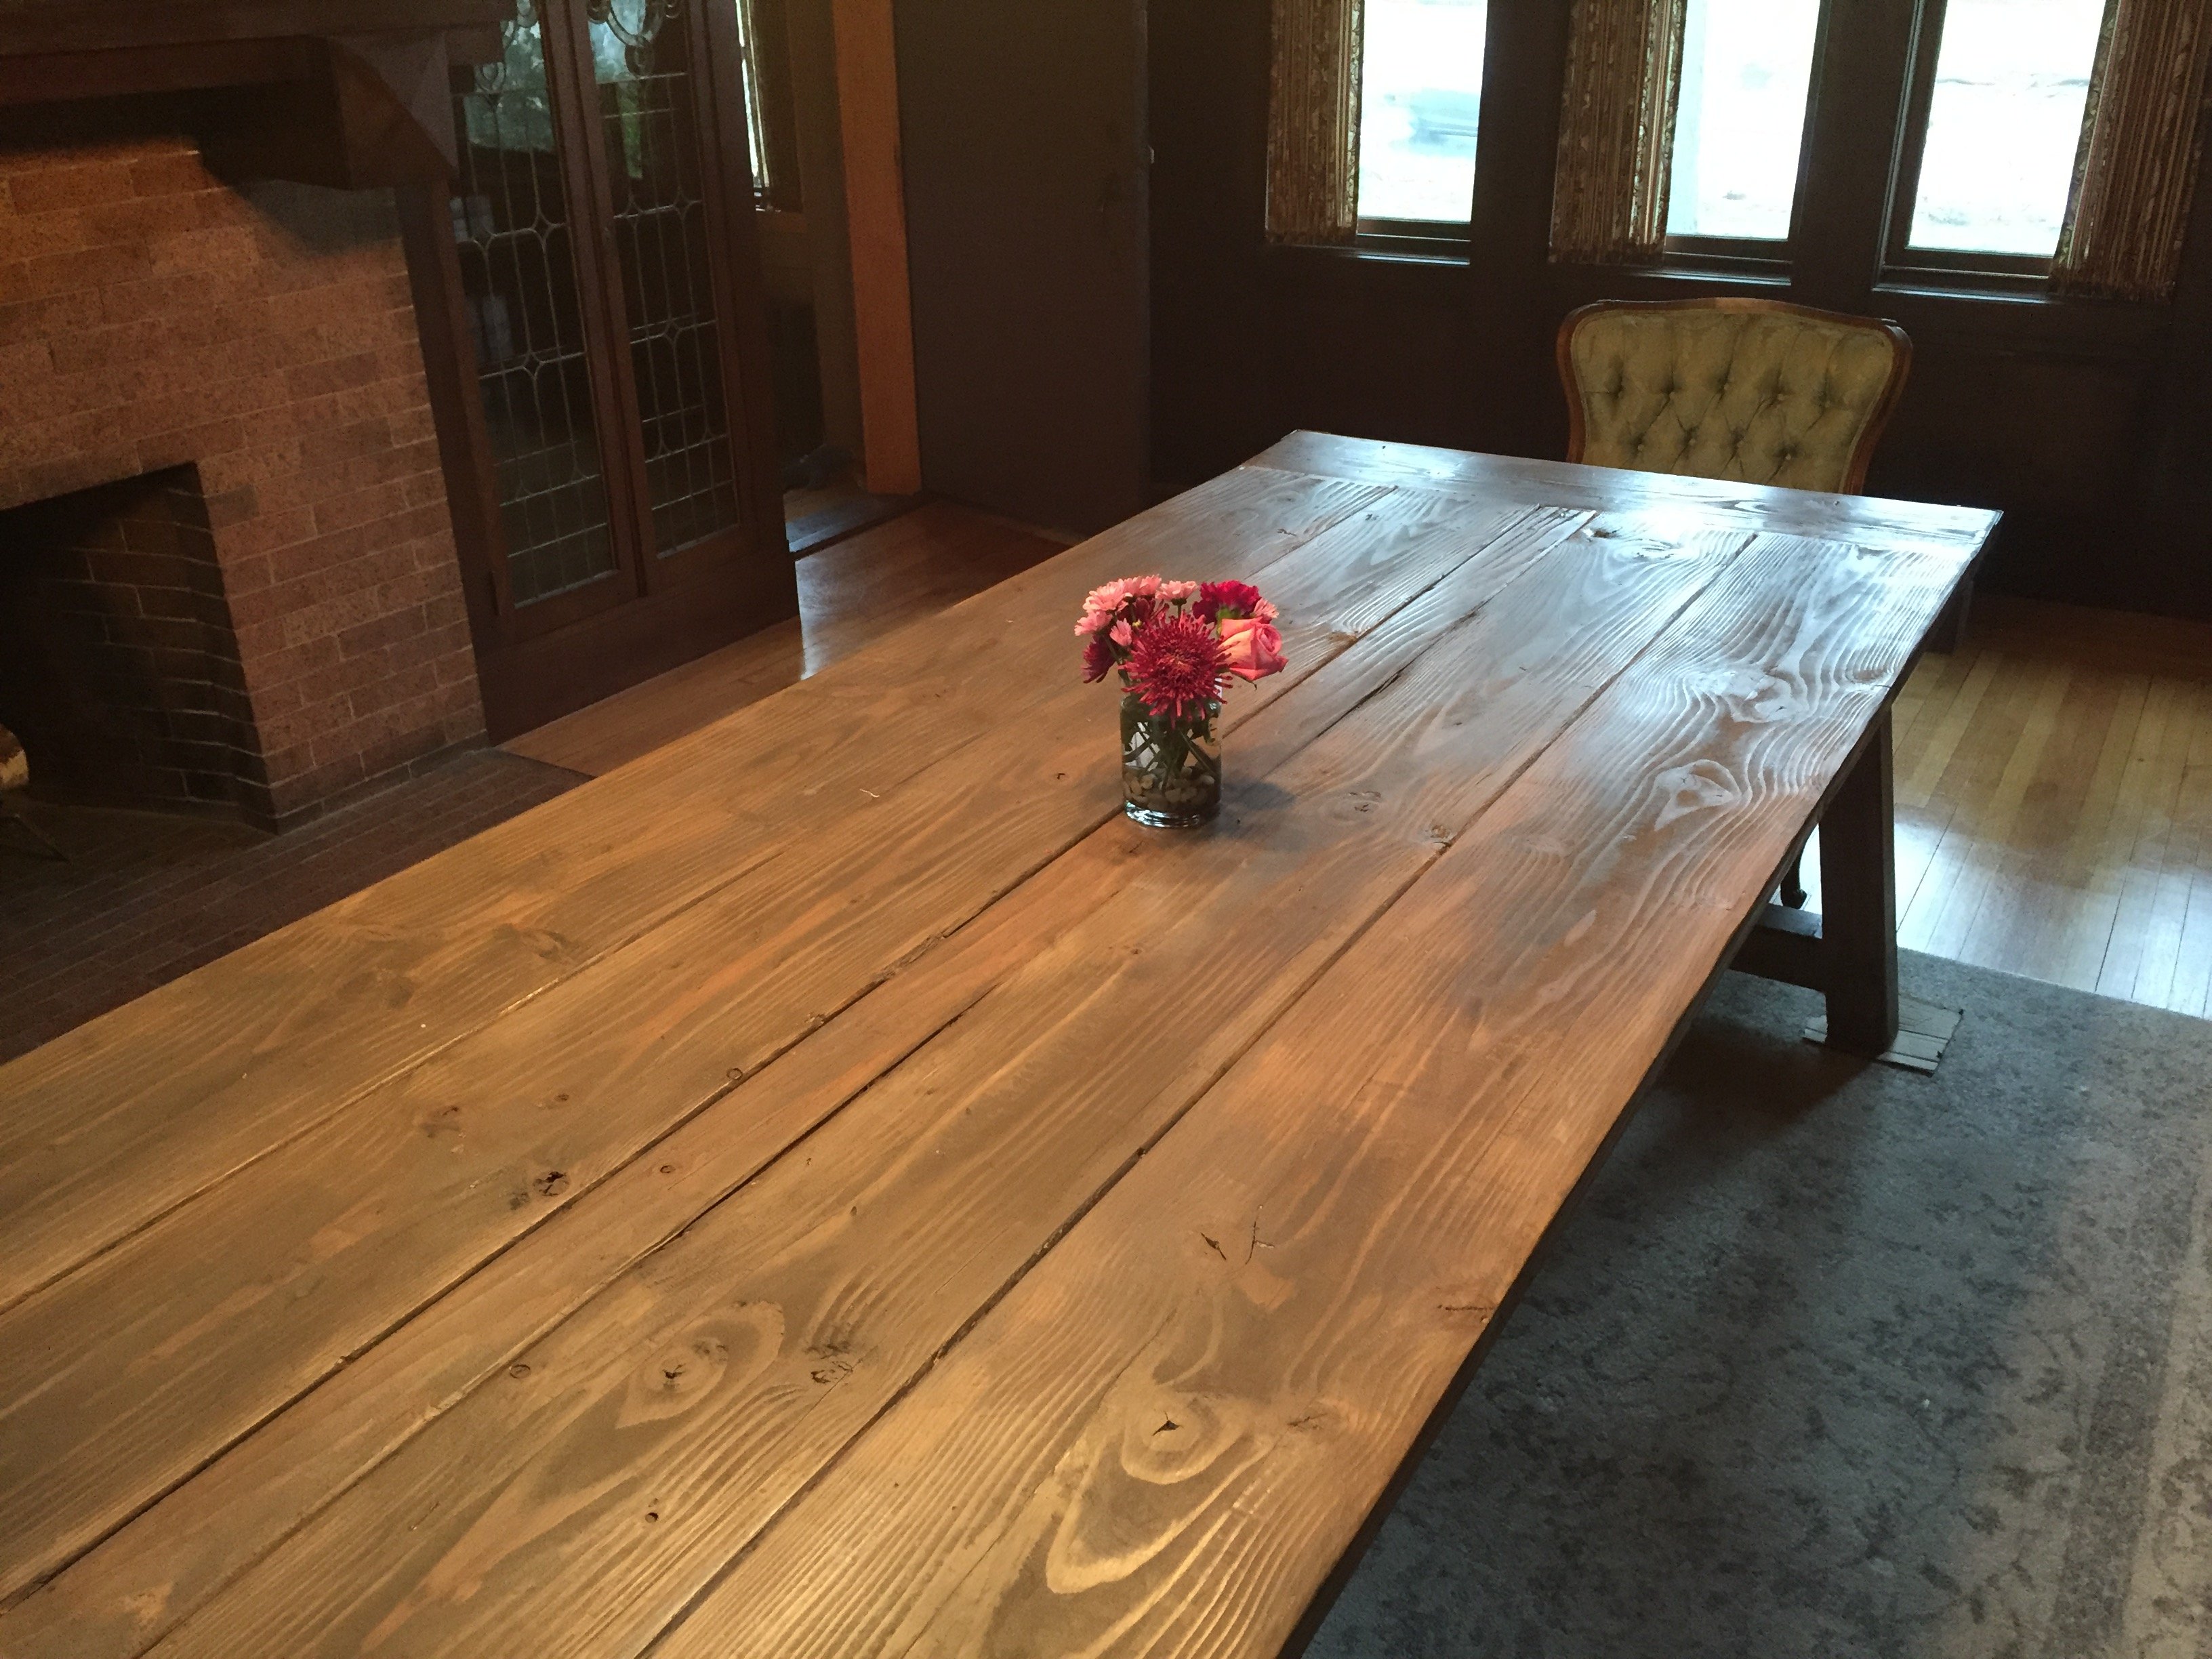
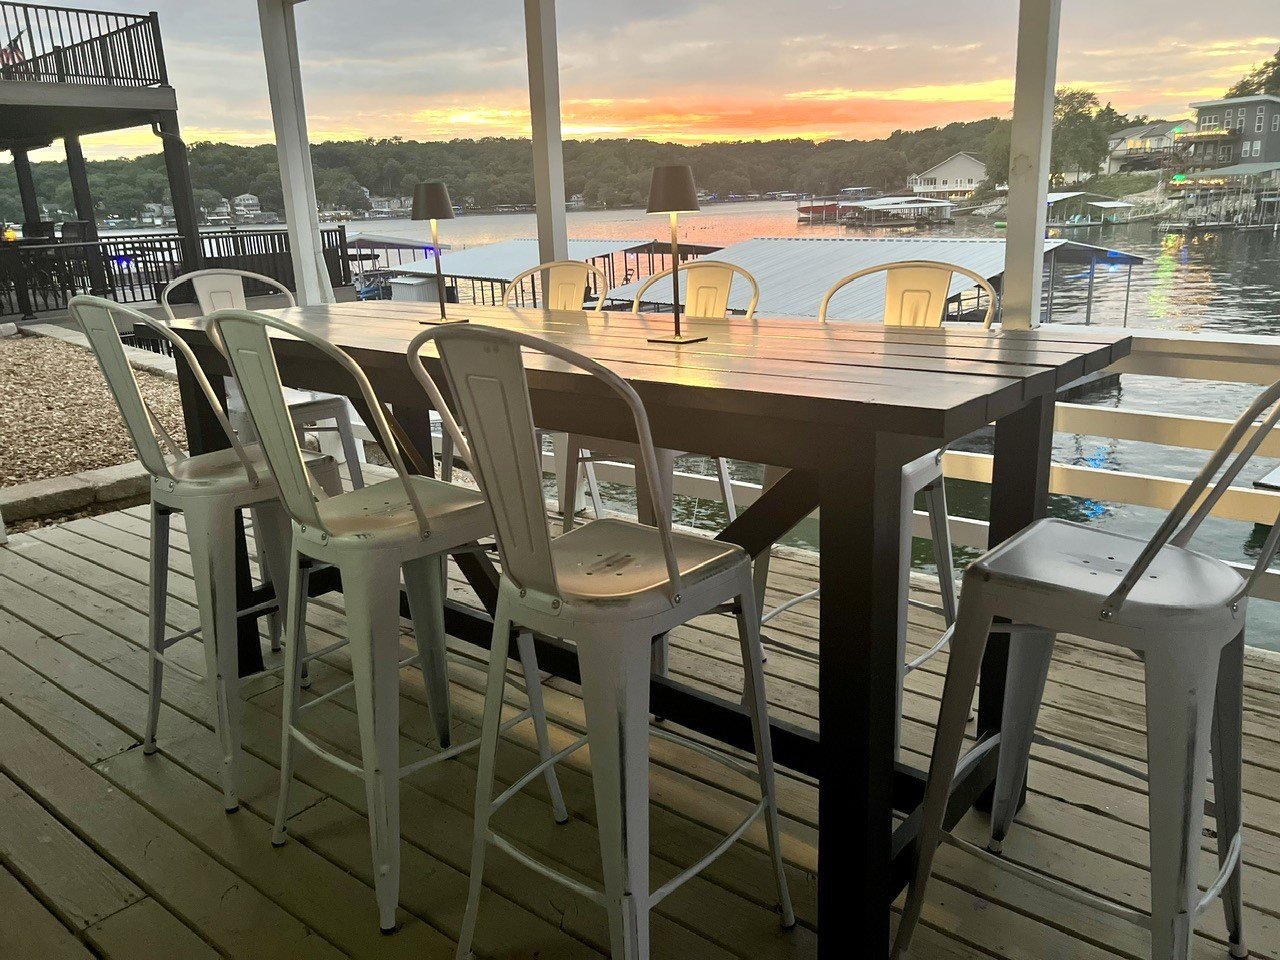
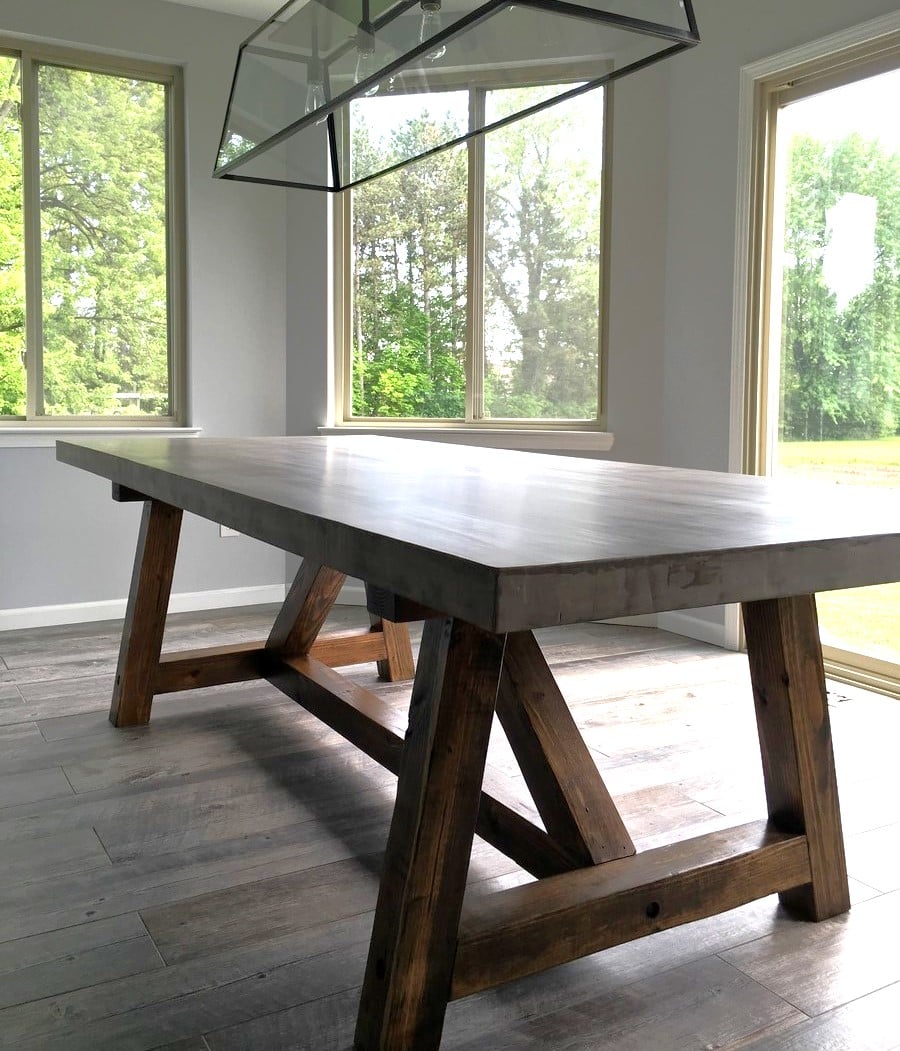
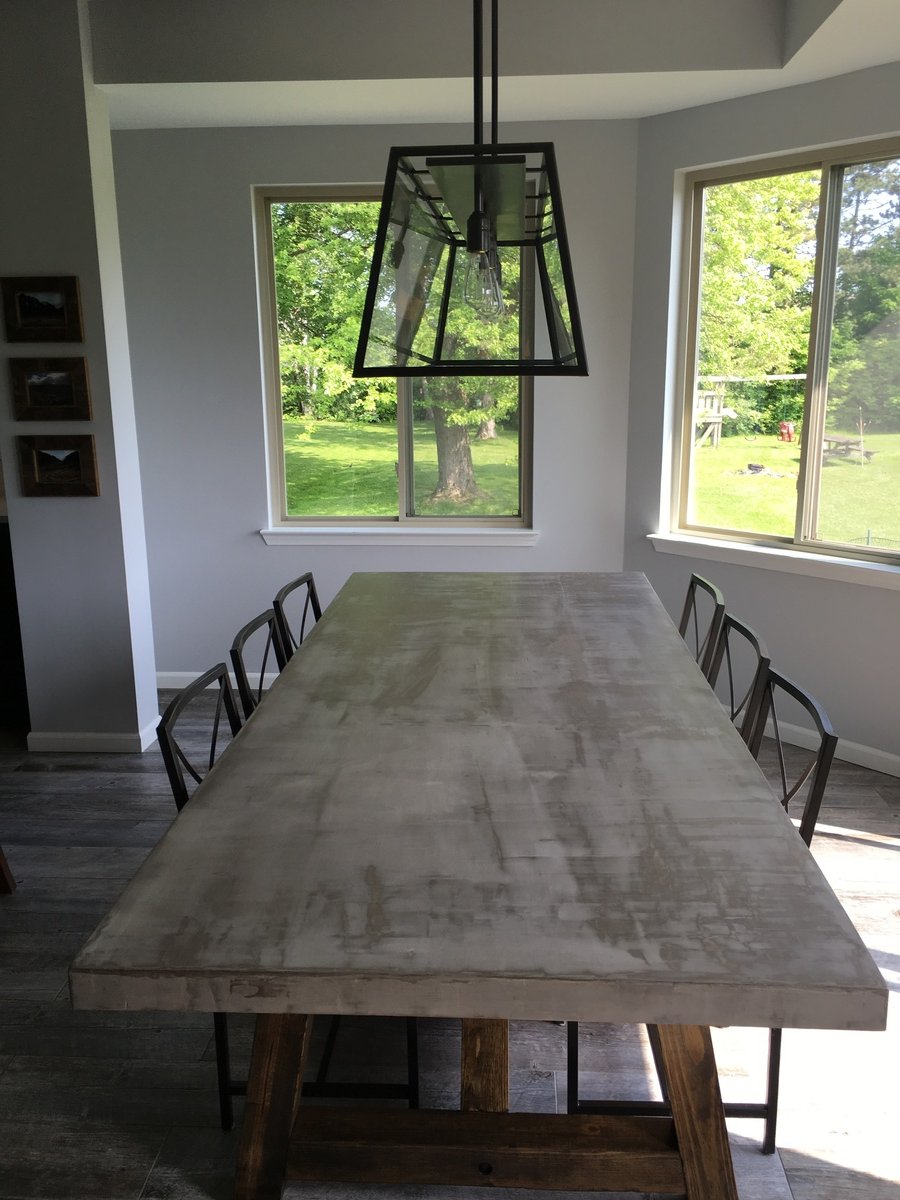
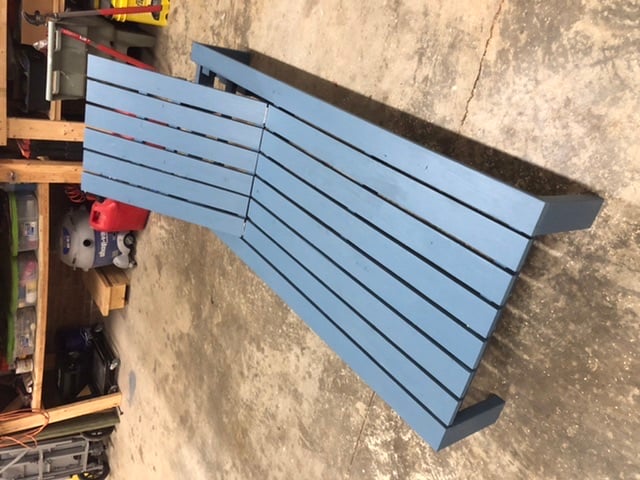
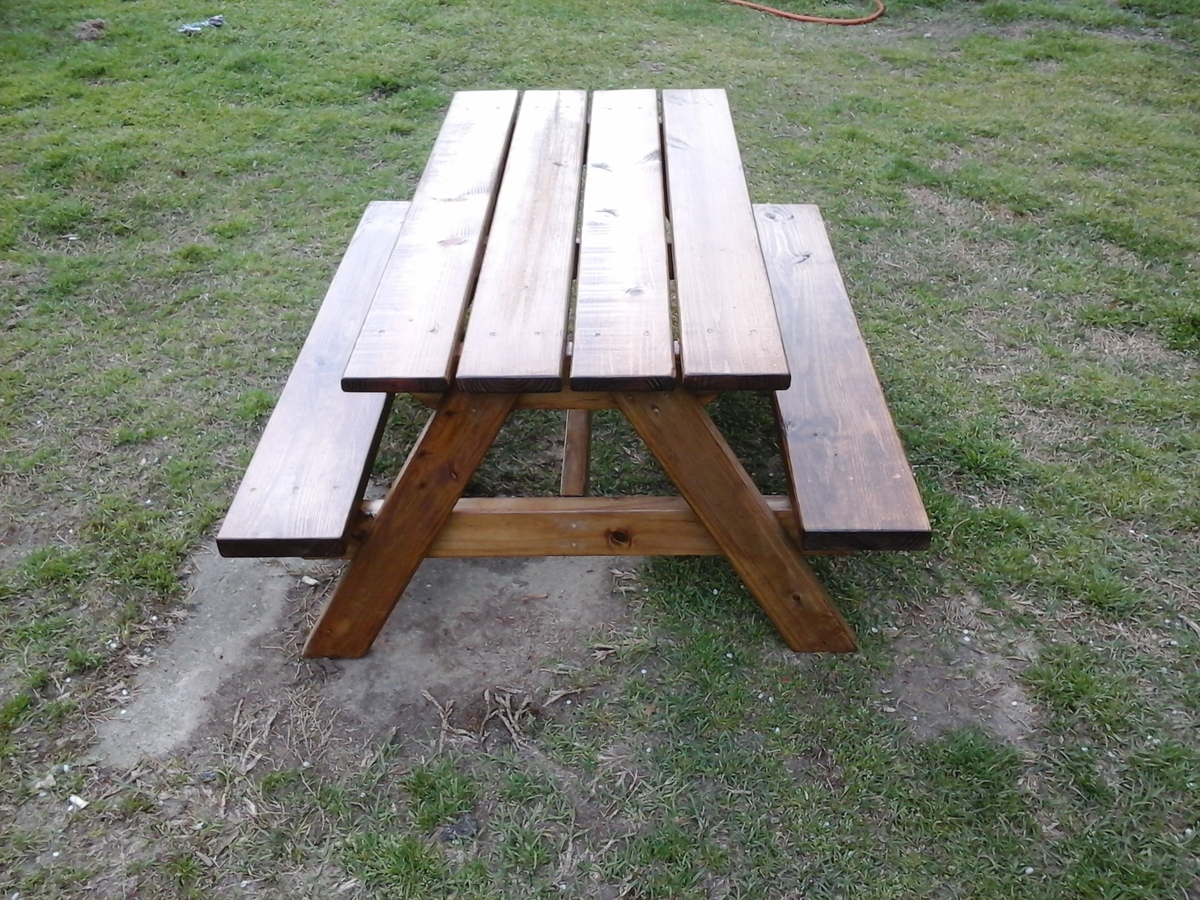
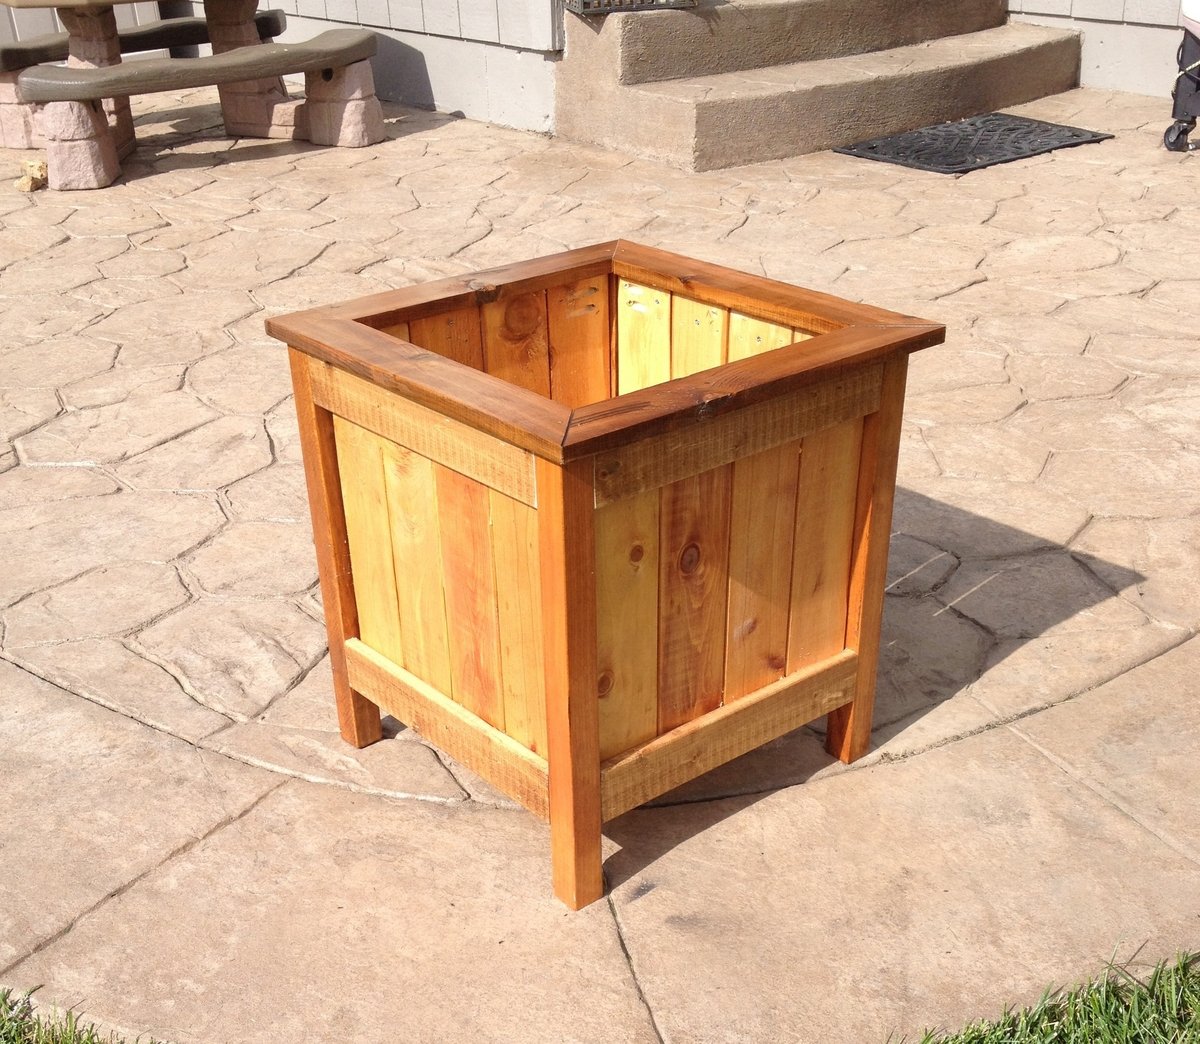
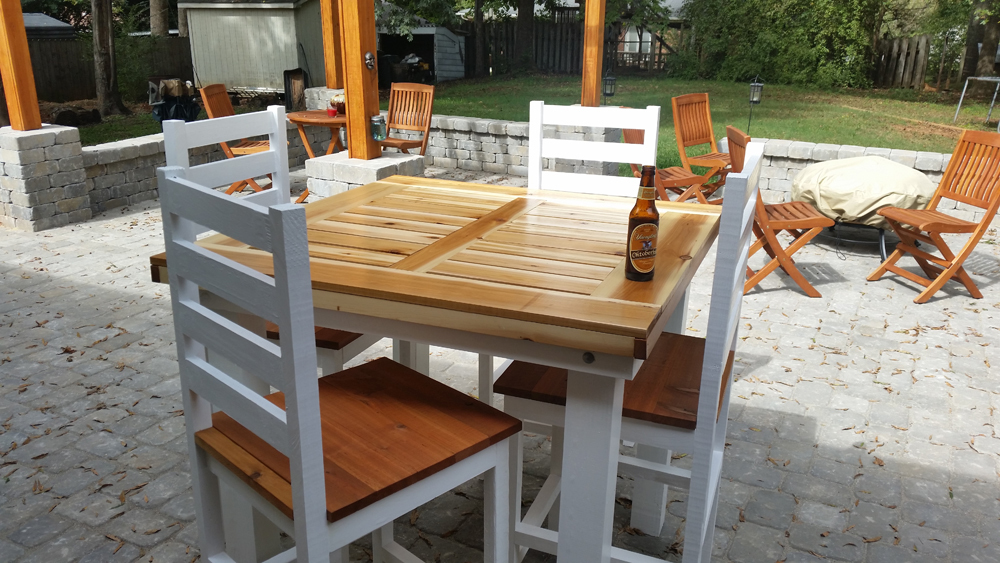
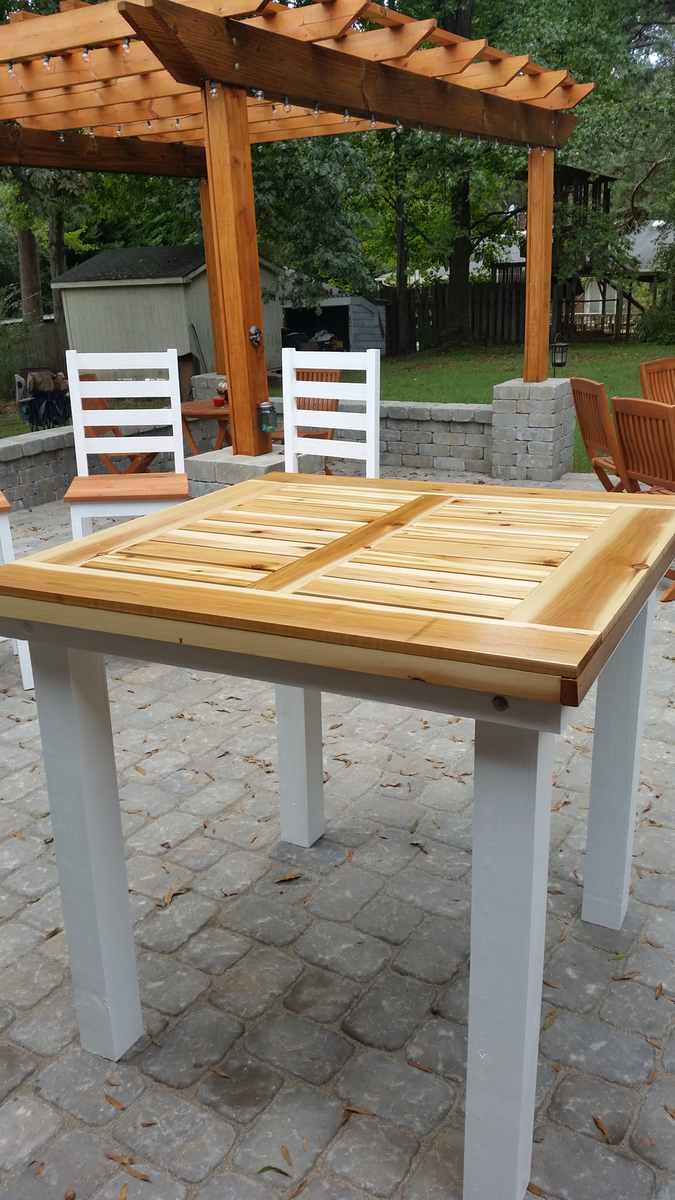
For this table, I made it 42" square, and adjusted the height.
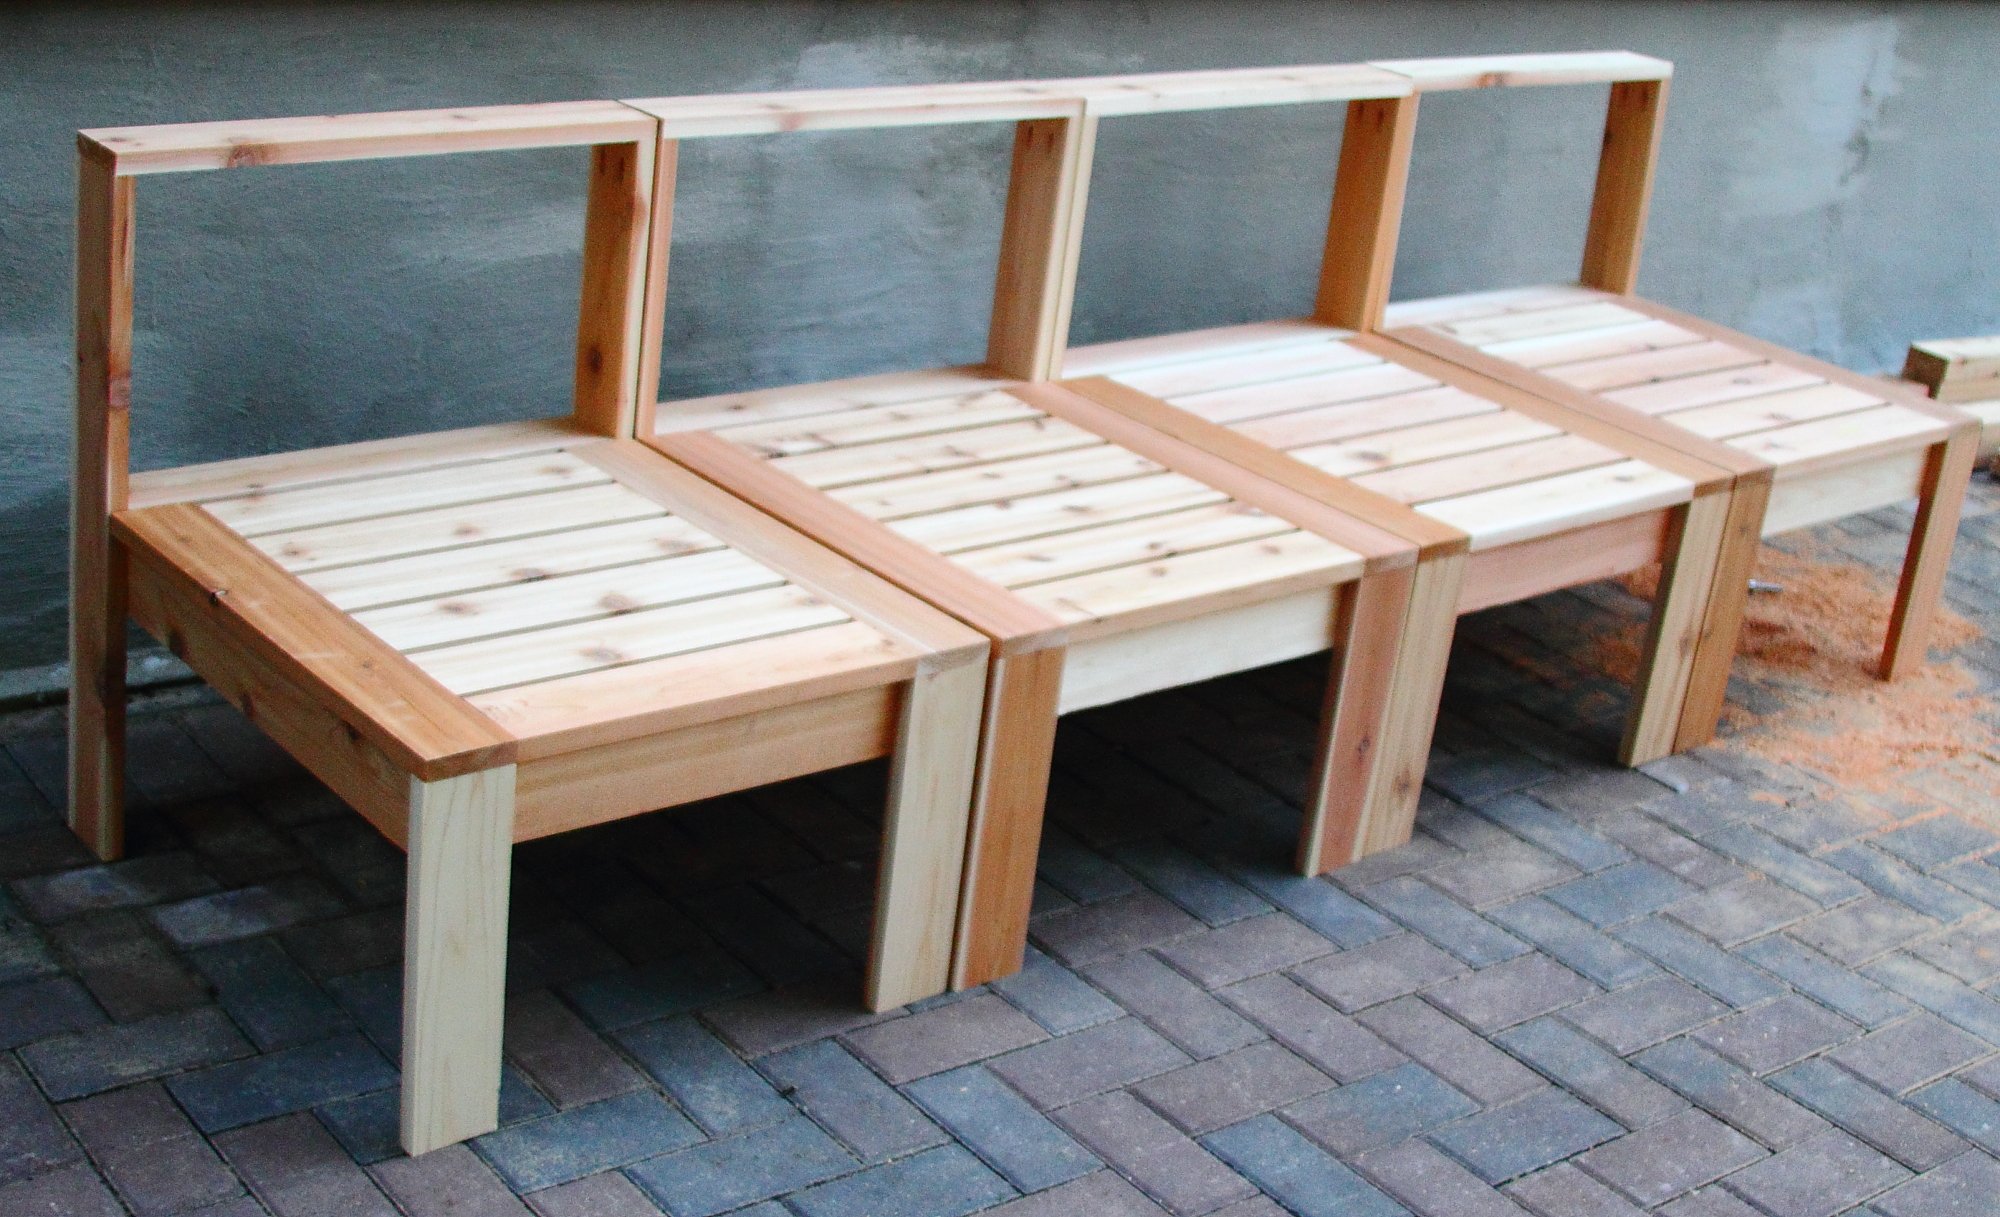
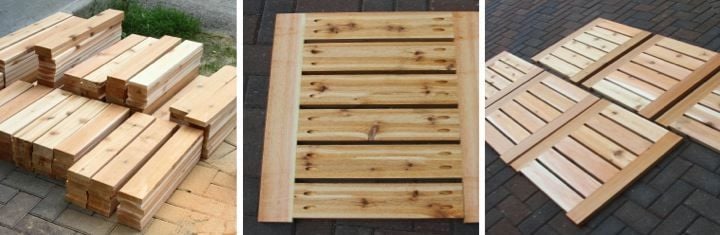
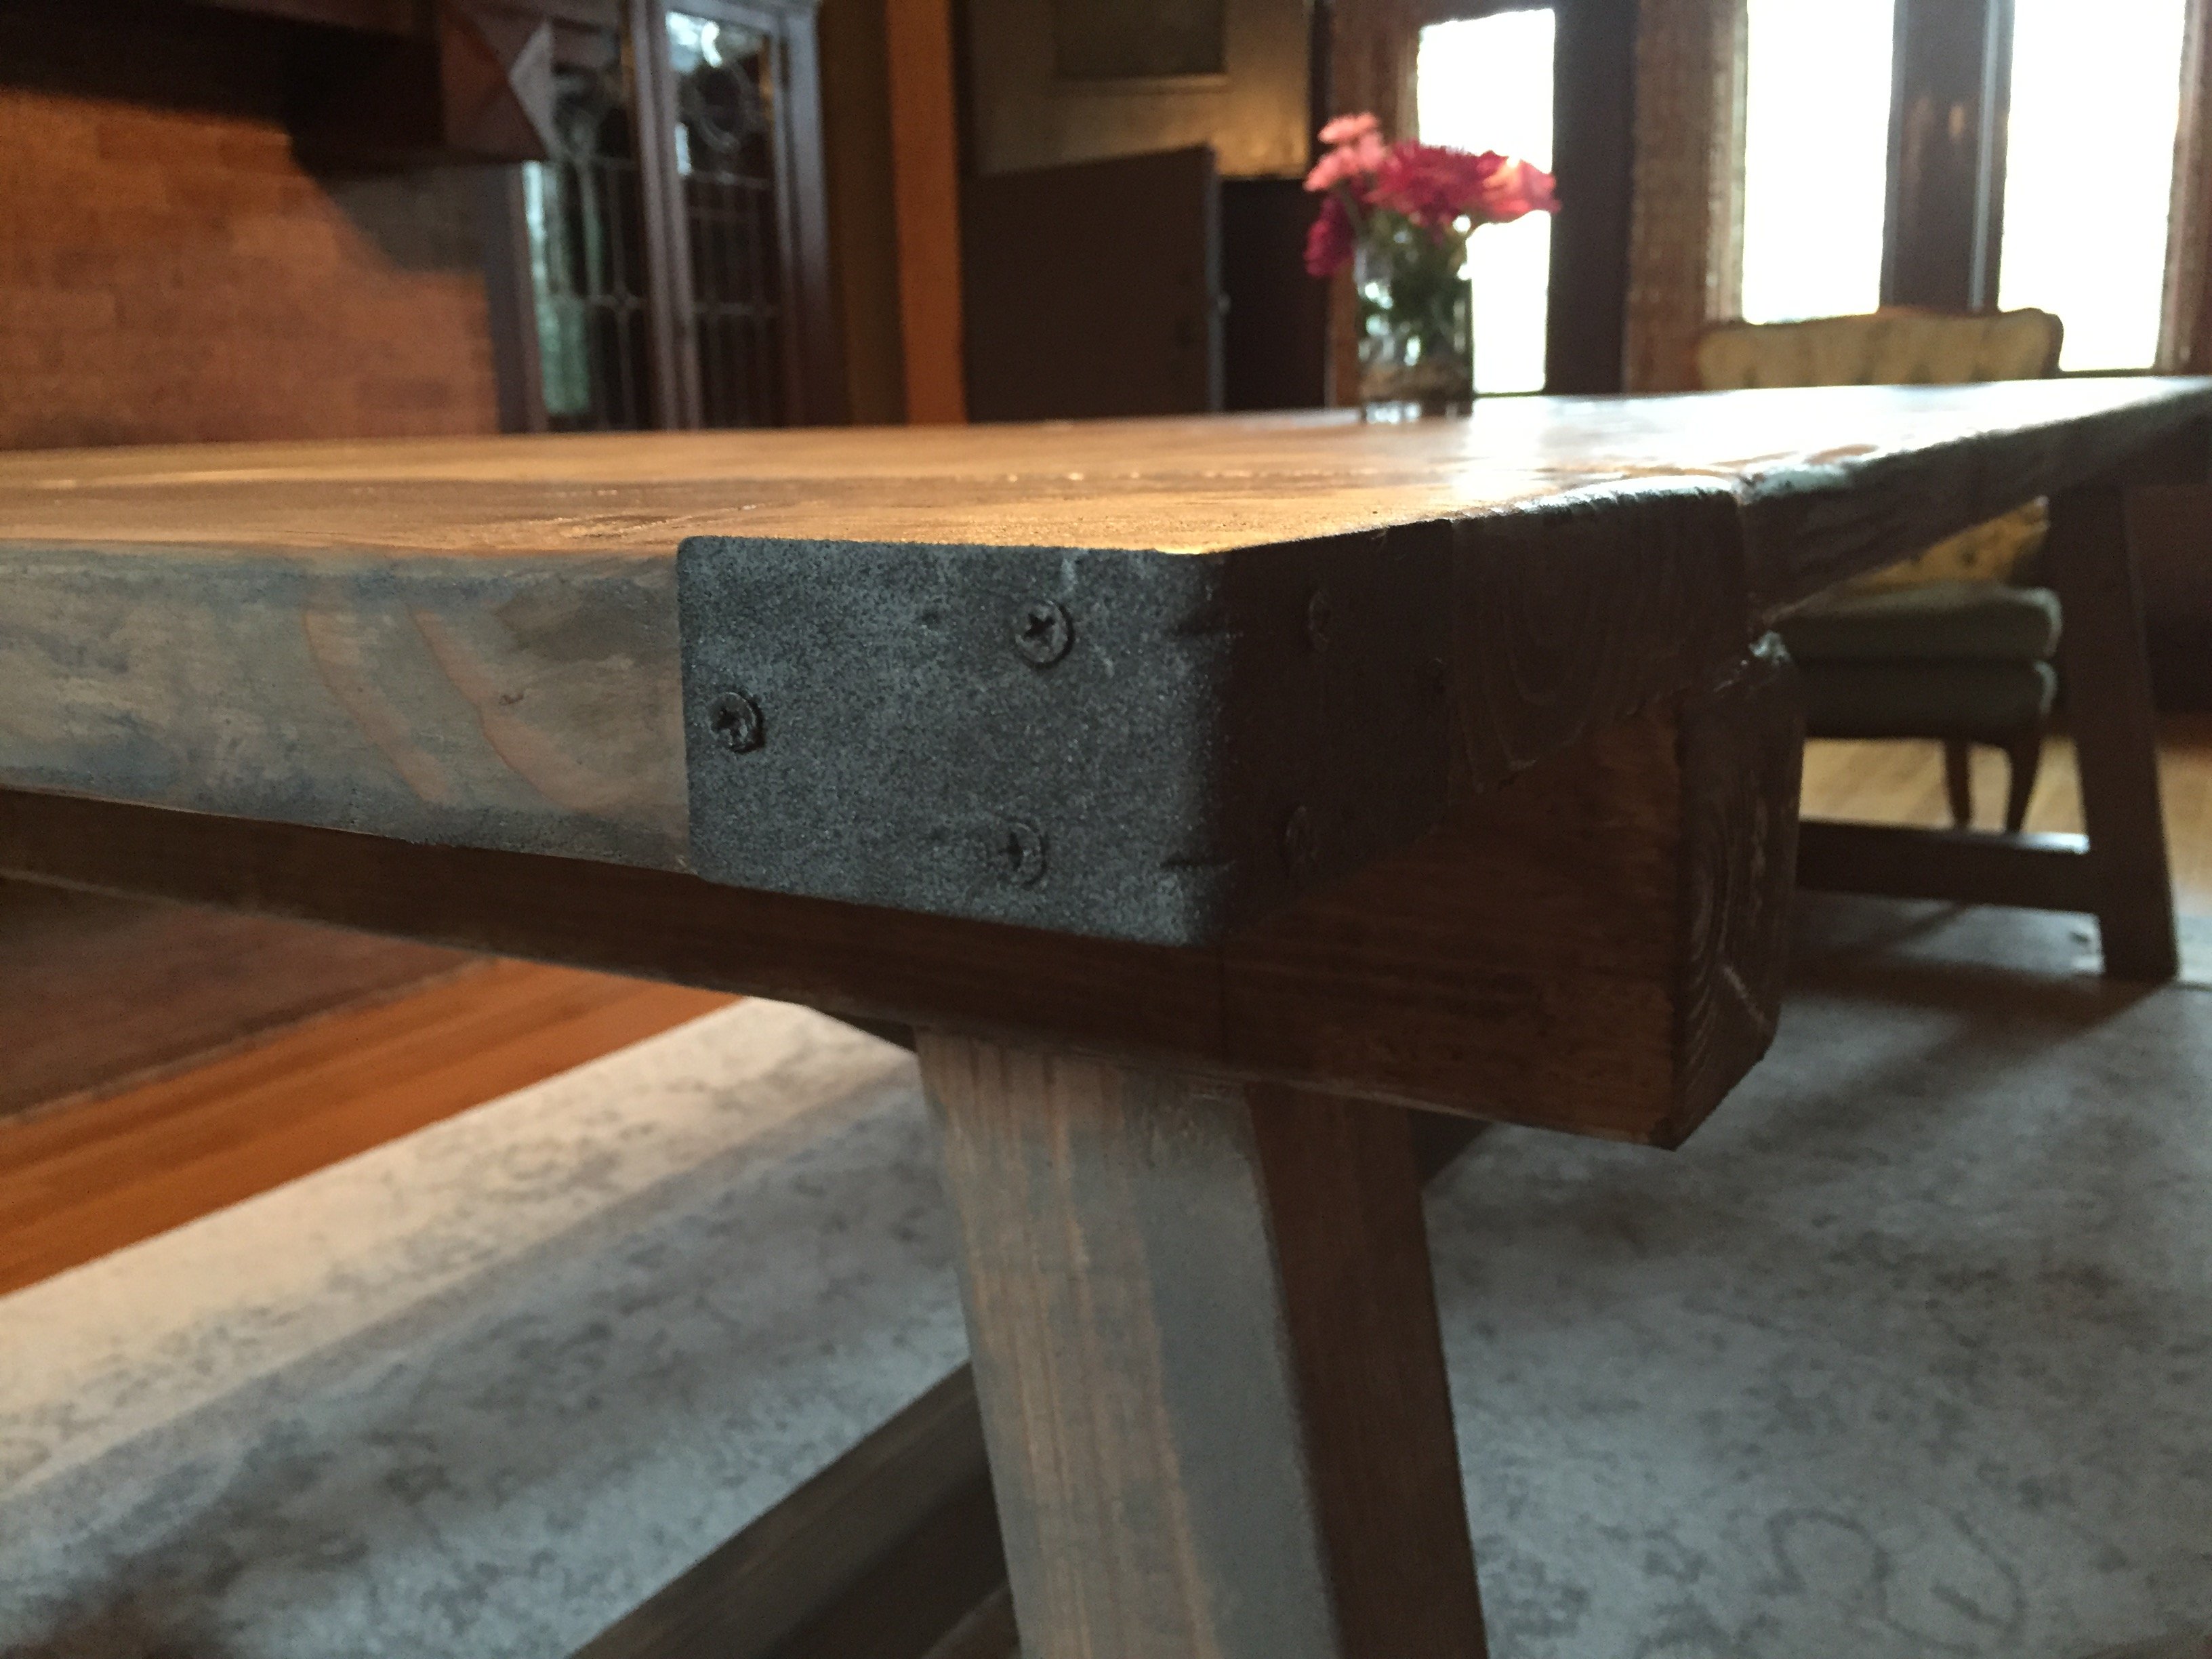
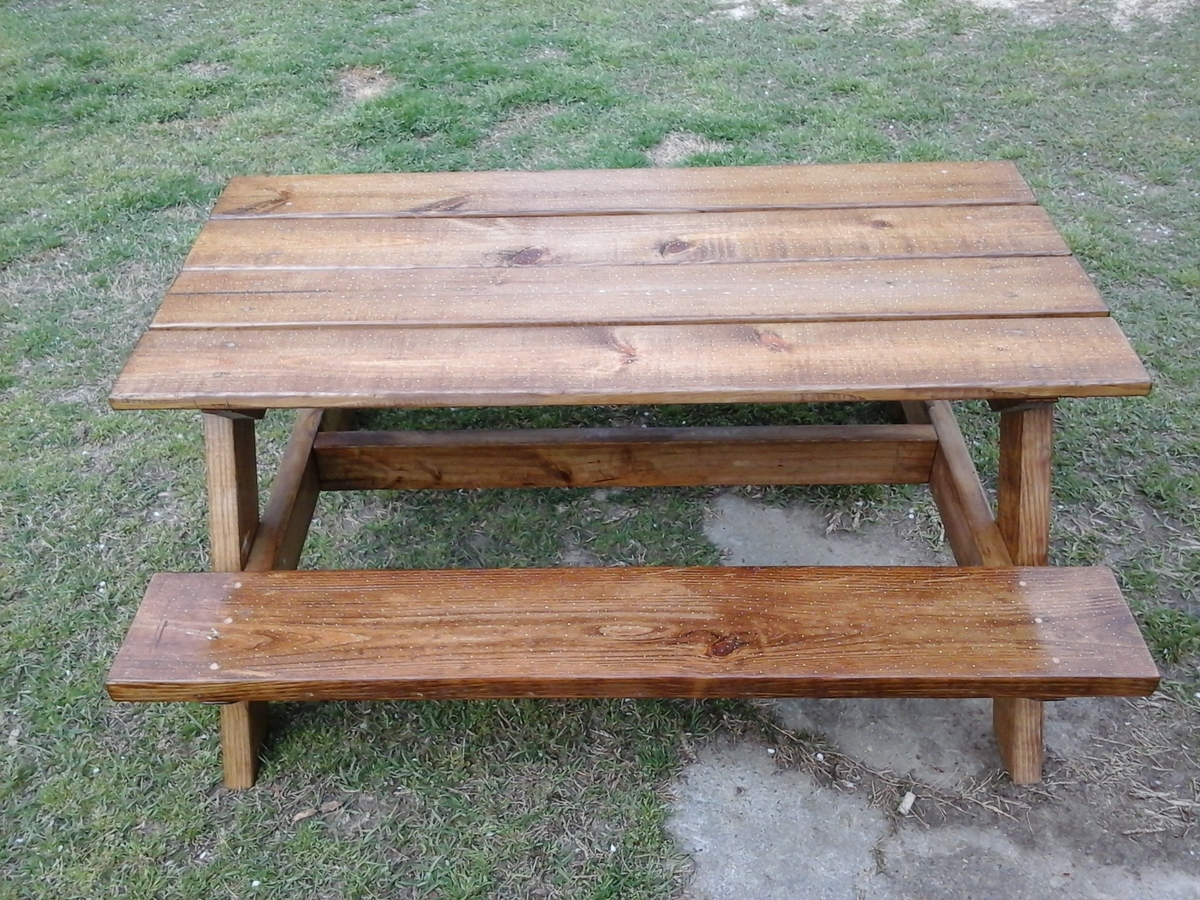
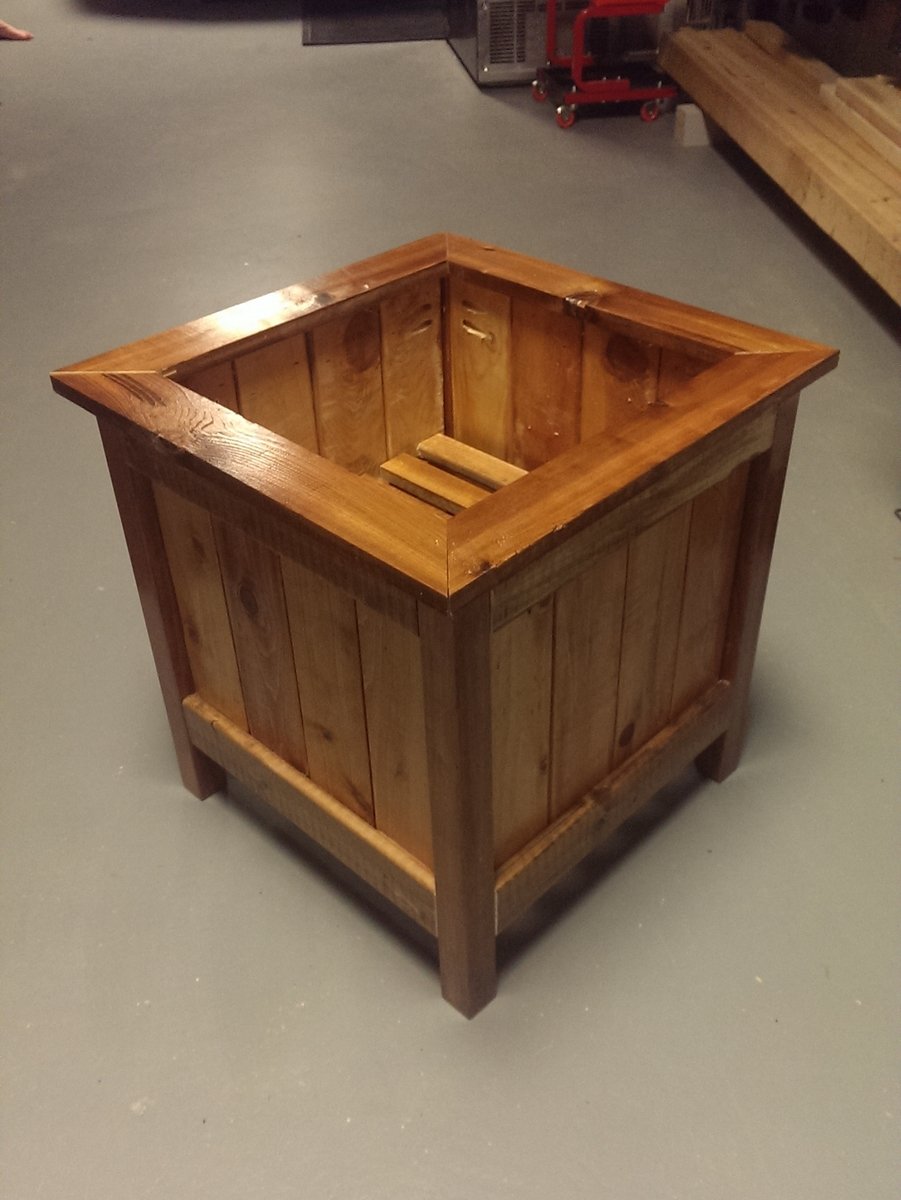
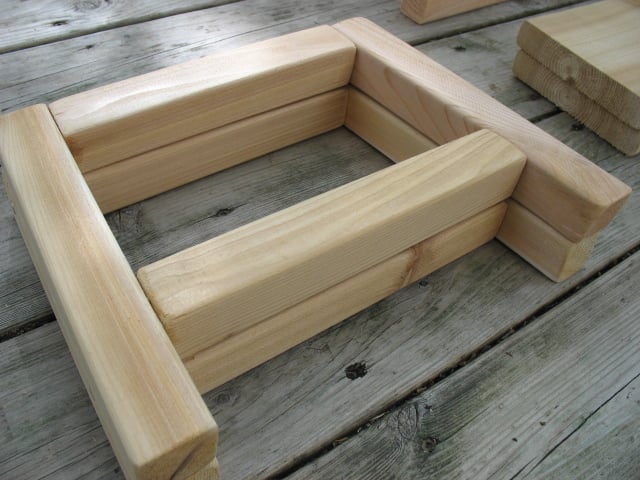
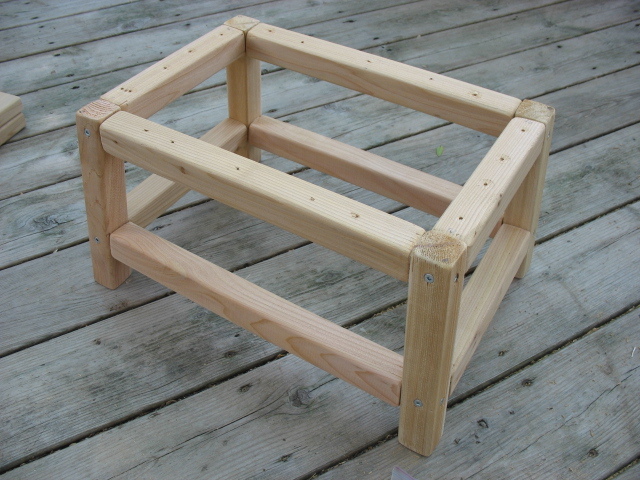
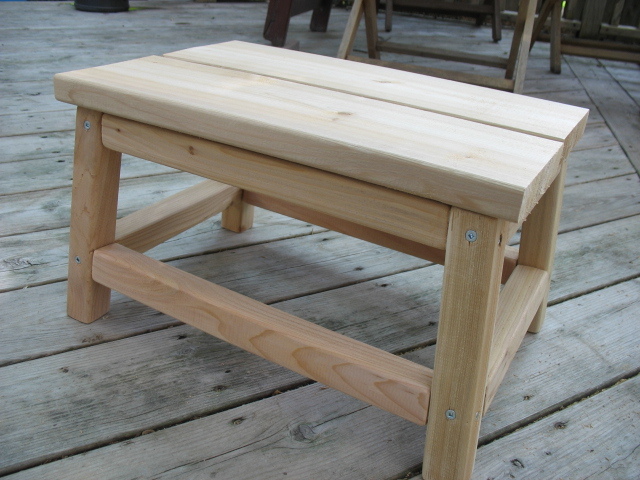
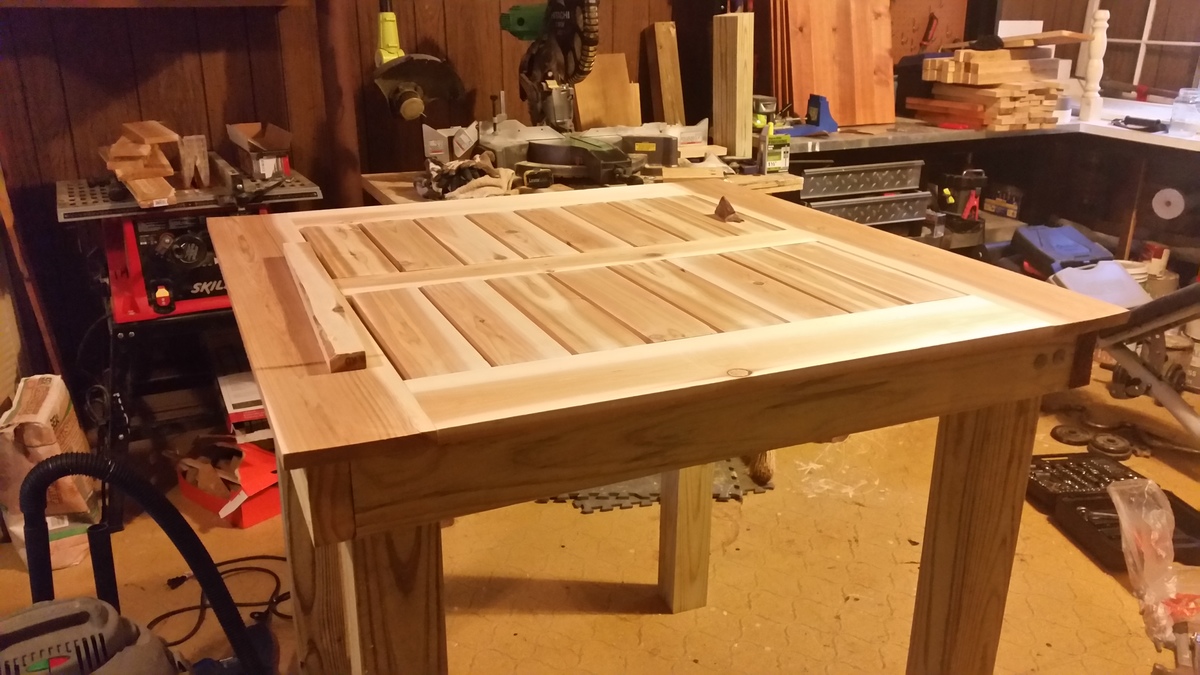
The main difference is I built this from PT pine, and cedar as this is going to be an outdoor table, and I would like it to last. I painted the frame with 3 coats of exterior semi gloss paint, and used Helmsman spar urethane for the top. I did not stain the wood, as I love the color variations of natural cedar.
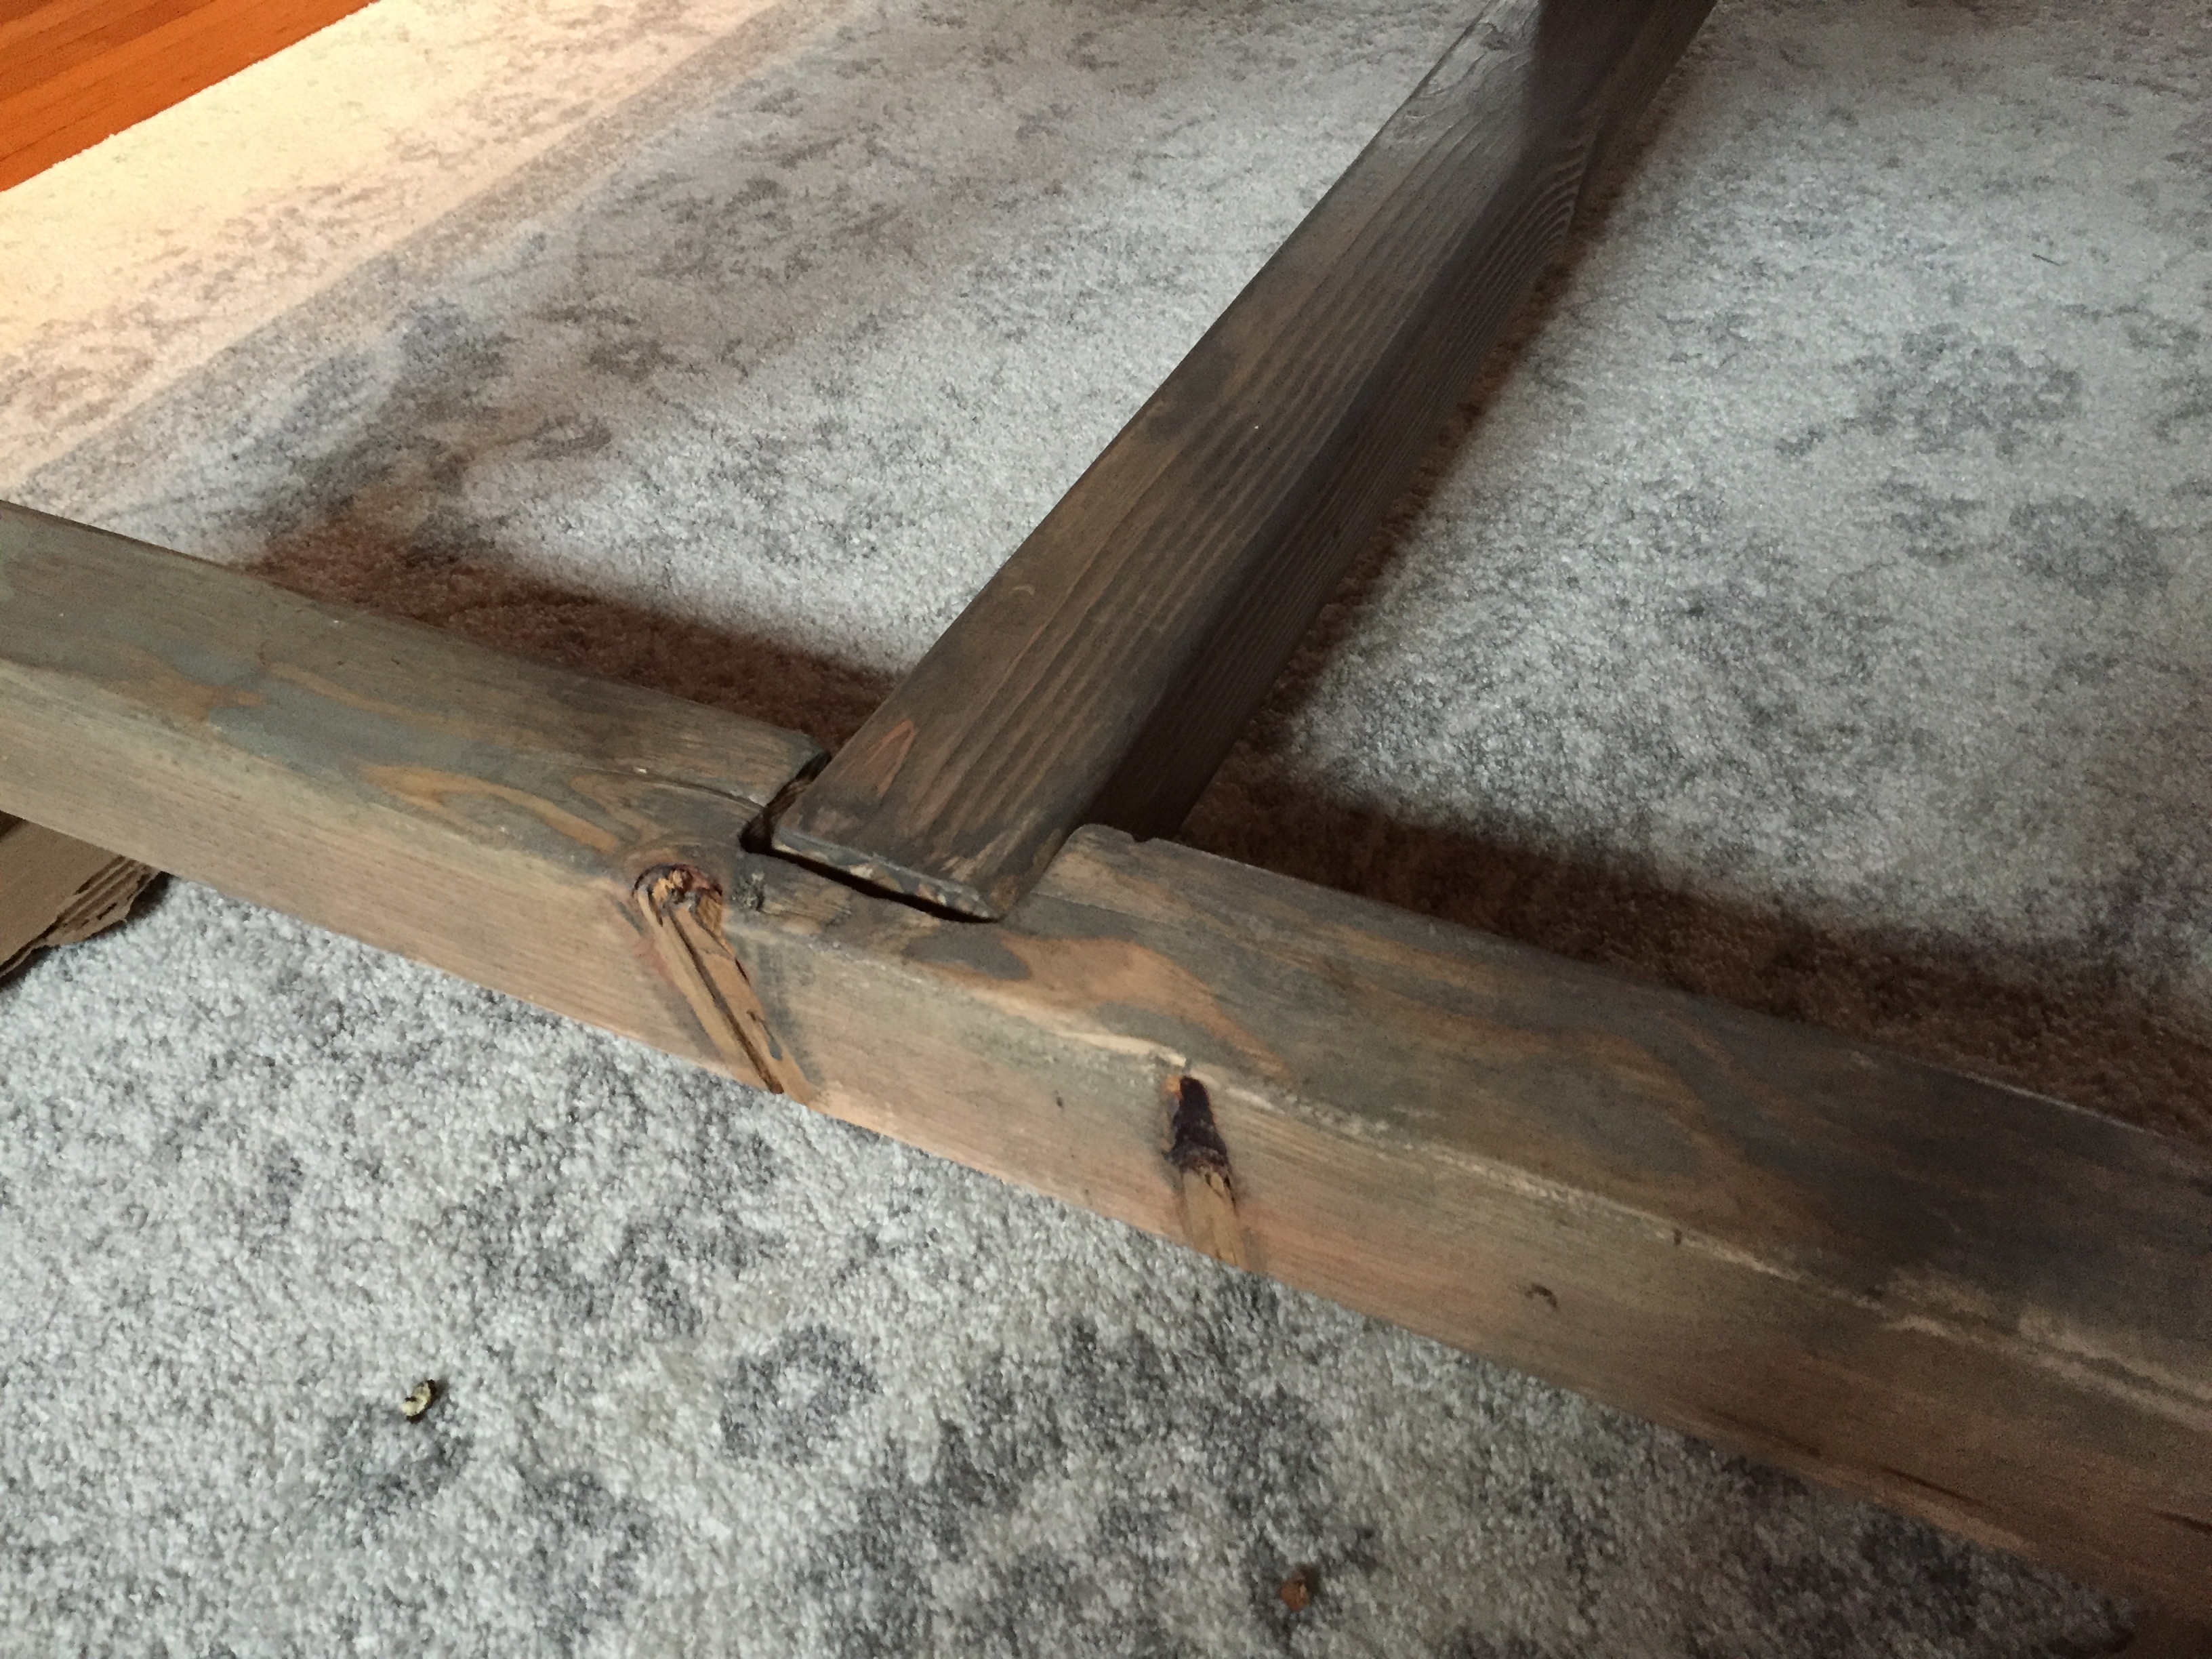
I also used galvanized carriage bolts to connect the legs. This increased the costt, but I wanted to be able to remove the legs. For more in depth connection details see my blog.
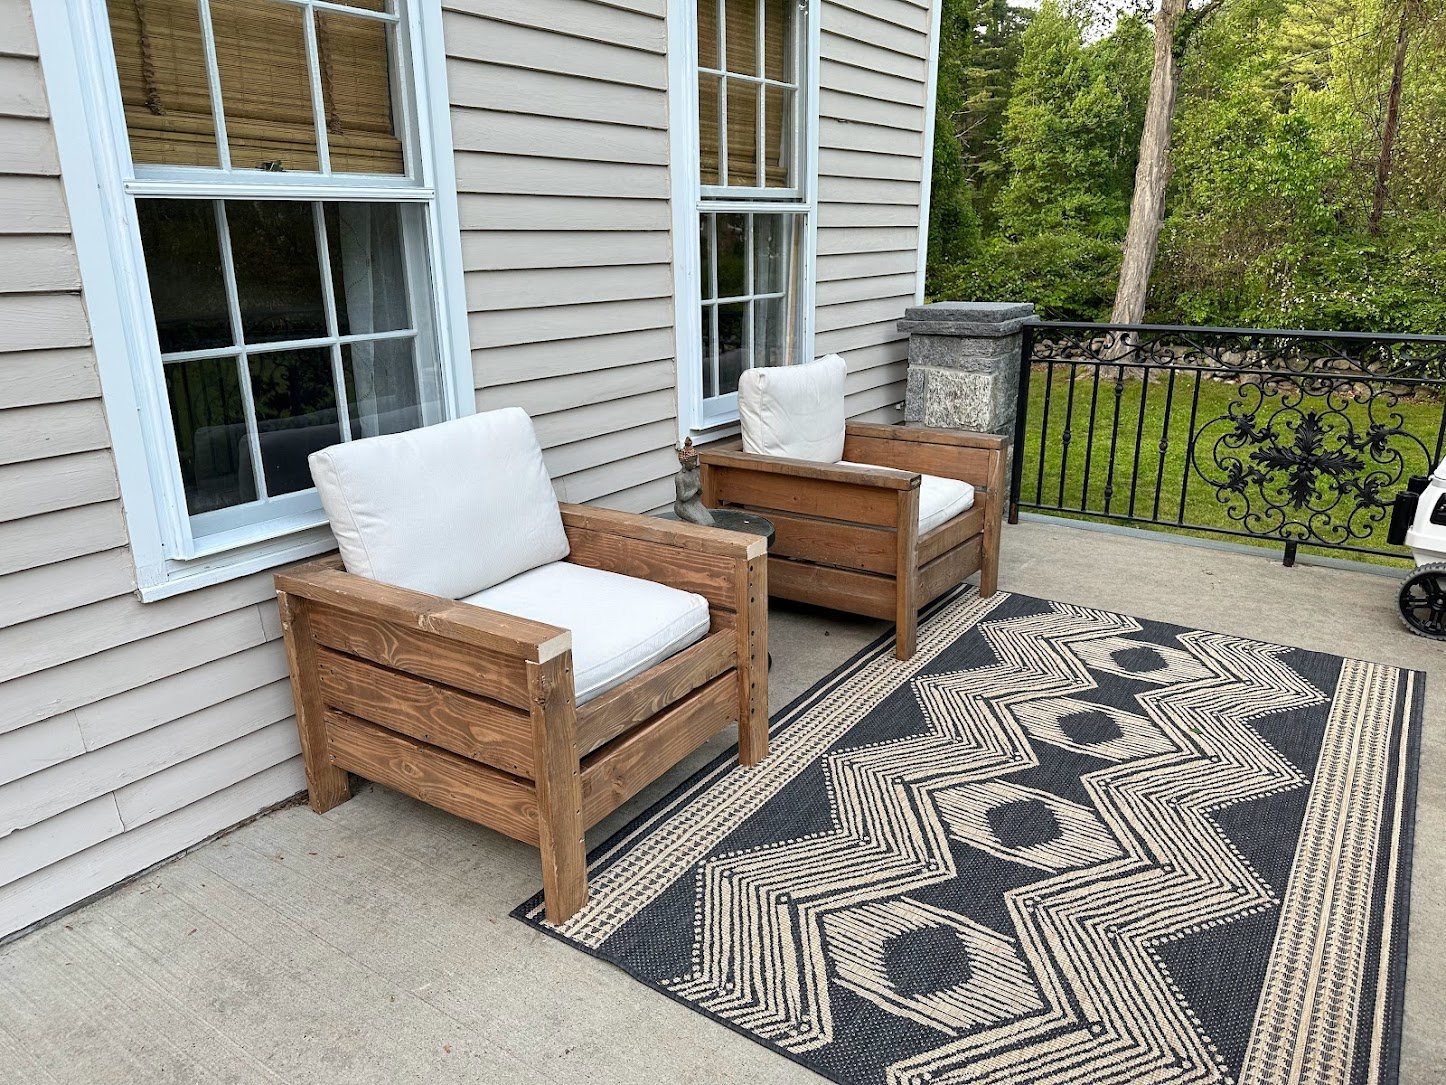
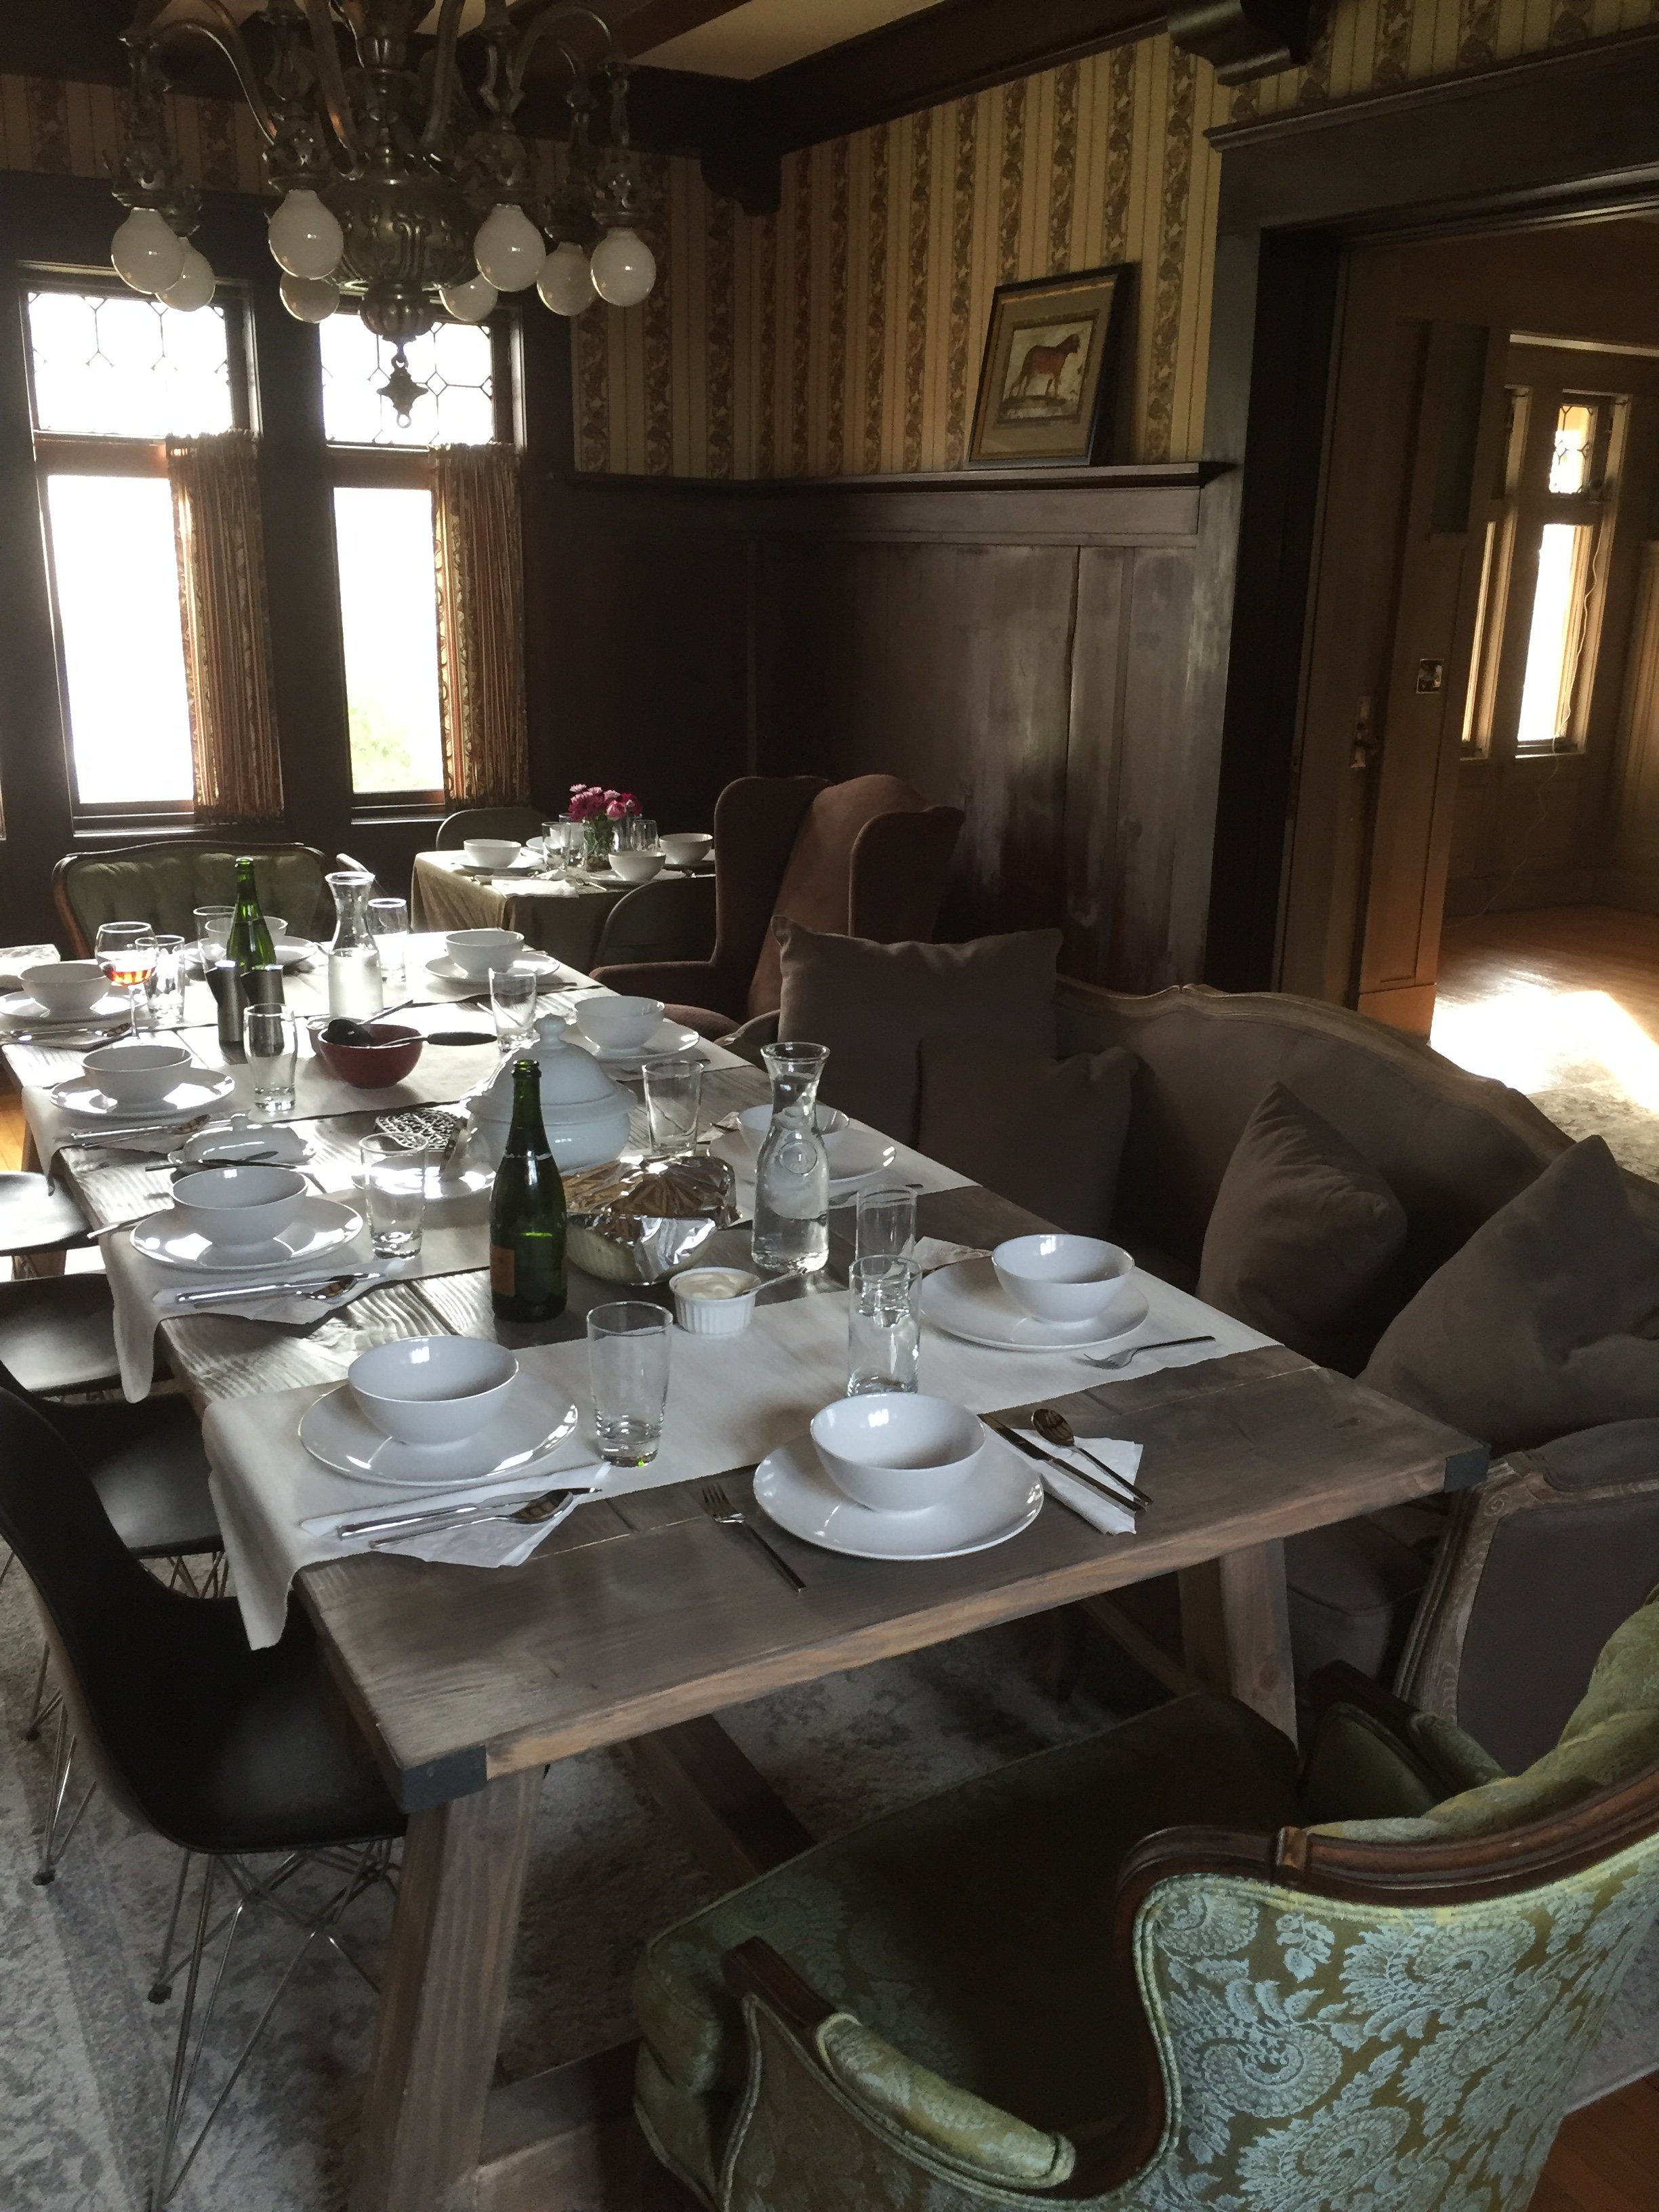
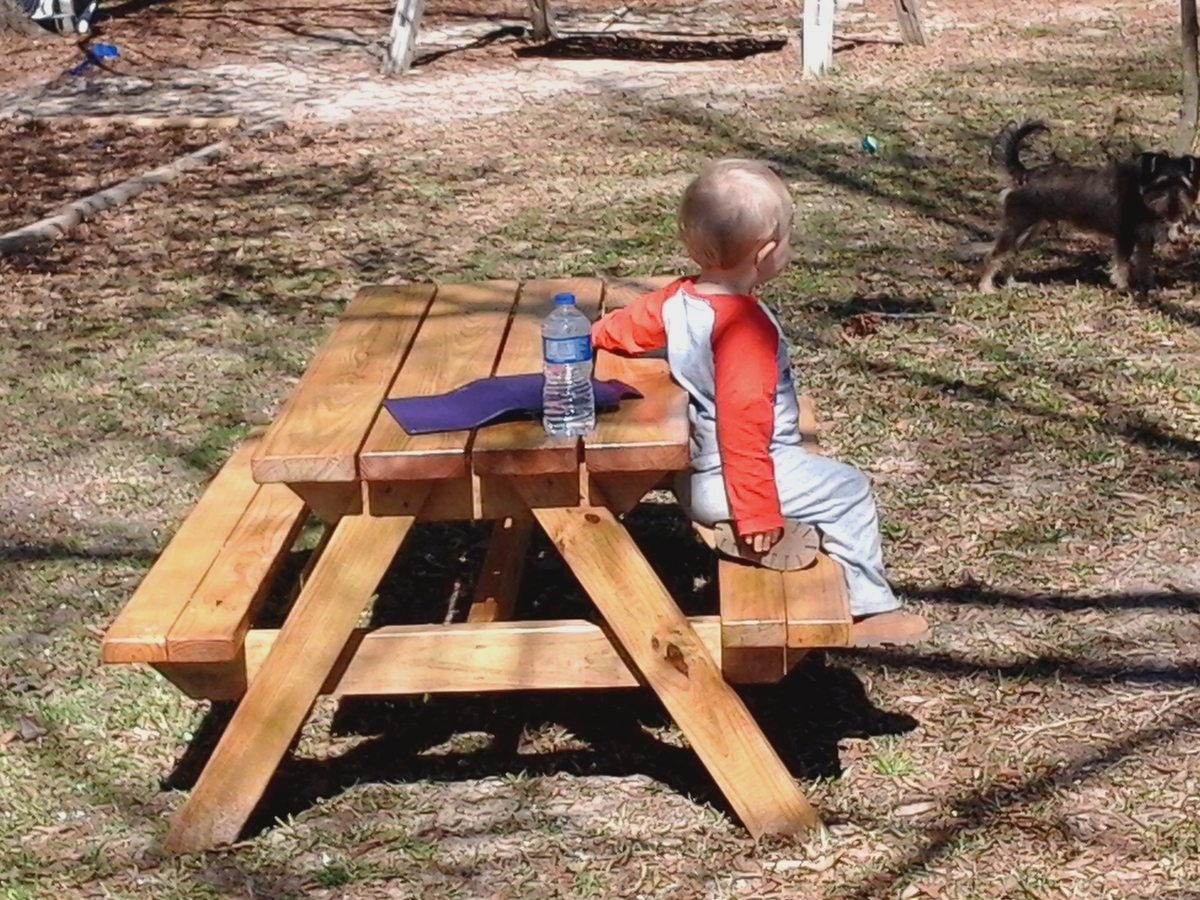
The table turned out quite well, is very sturdy and has gotten quite a few compliments, thanks Ana for the inspiration to build cool stuf! I love building STUFF!
We took Ana's original coop plans and diva'd it up a bit to suit our needs and our climate. We added a pop door and decided to split the roof panels into four, three of which open up. We put the hinges on the top of the roof panels so we could easily prop them open. We also added a brace across the bottom of our ladder for support. Since we added a door I believe our ladder is a bit more steep than in the original plans.
Because we put our hinges on top we added lattice strips inside on the top of the door panels that go just under the 2x4 of the roof peak to keep the rain out. We also used a roof cap for the same reason. We went back and added silicone to the strategic places to prevent water leaking into the nesting box while also being careful not to affect the necessary ventilation.
We used OSB for our roof panels instead of T111 because it's what we had on hand and also because we were going to be painting it.
Finally I added handles to each of the hinged panels to make opening easy. And cute!
Wed, 02/27/2013 - 11:11
Love your coop! It's so cute! I need to find a weather vane. We ended up adding a roof cap of sorts - just aluminum flashing really. It does still leak in the nest box, though, which just encourages me to change out the bedding for fresh straw, which is a good thing I guess!
In reply to Love your coop! It's so cute! by anniejw17
Wed, 02/27/2013 - 13:24
Yes mine leaked, too. We added the roof cap and some silicone but that still didn't stop it. So I finally went in and added some screen molding behind the panels in the nesting box. It still isn't quite "leak proof" but it is better. I will share if I figure out how to make it leak proof! Thank You!
Mon, 01/13/2014 - 09:45
These were great plans, thanks for sharing!
I'm new to having chickens so since it's cold now is Massachusetts I'm holding off on getting a couple of hens. The 2 main questions I have are where did you end up mounting the roost? And where did you end up putting the nesting box? I only put a floor on half so was thinking the roost board could be suspended above the ground on the open side. That leaves the 1/2 floor to hold the nest box?? Please any comments on the roost, nest box, watering and feeding systems are welcome.
thx..Bill
In reply to A-Frame Chicken coop Questions by billd333
Mon, 01/13/2014 - 10:03
Hi Bill,
I am actually in the process of writing another blog post about this coop. I have gotten so many questions about the modifications we did and have lived with it long enough to know what I would have done differently. You doing the 1/2 is great and is one of the things I would do differently if we had it to do over again.
I will post an update here as soon as that post is live. In the meantime, feel free to contact me directly at Jamie @ Southern Revivals.com
Thanks!
Jamie
Followed instructions from child's step stool. Did a few modifications.
I used the Extra Wide Console Bookcase plans as inspiration for my built in bookcase. I made the top width 75" with the base width at 72" to fit snuggly in the little nook in my foyer. I didn't put a back on it since I attached it to the wall. I did anchor it with several screws to both columns. Also, instead of using the small additional piece on the top, I used an 1x8 and a 1x6 to make the top. I used my Kreg jig to attach the two board together along with some wood glue.
Very tickled with the results. Once the paint is good and dry, my photos, key bowl, and coin jar along with lots of books will be put on it.