Community Brag Posts

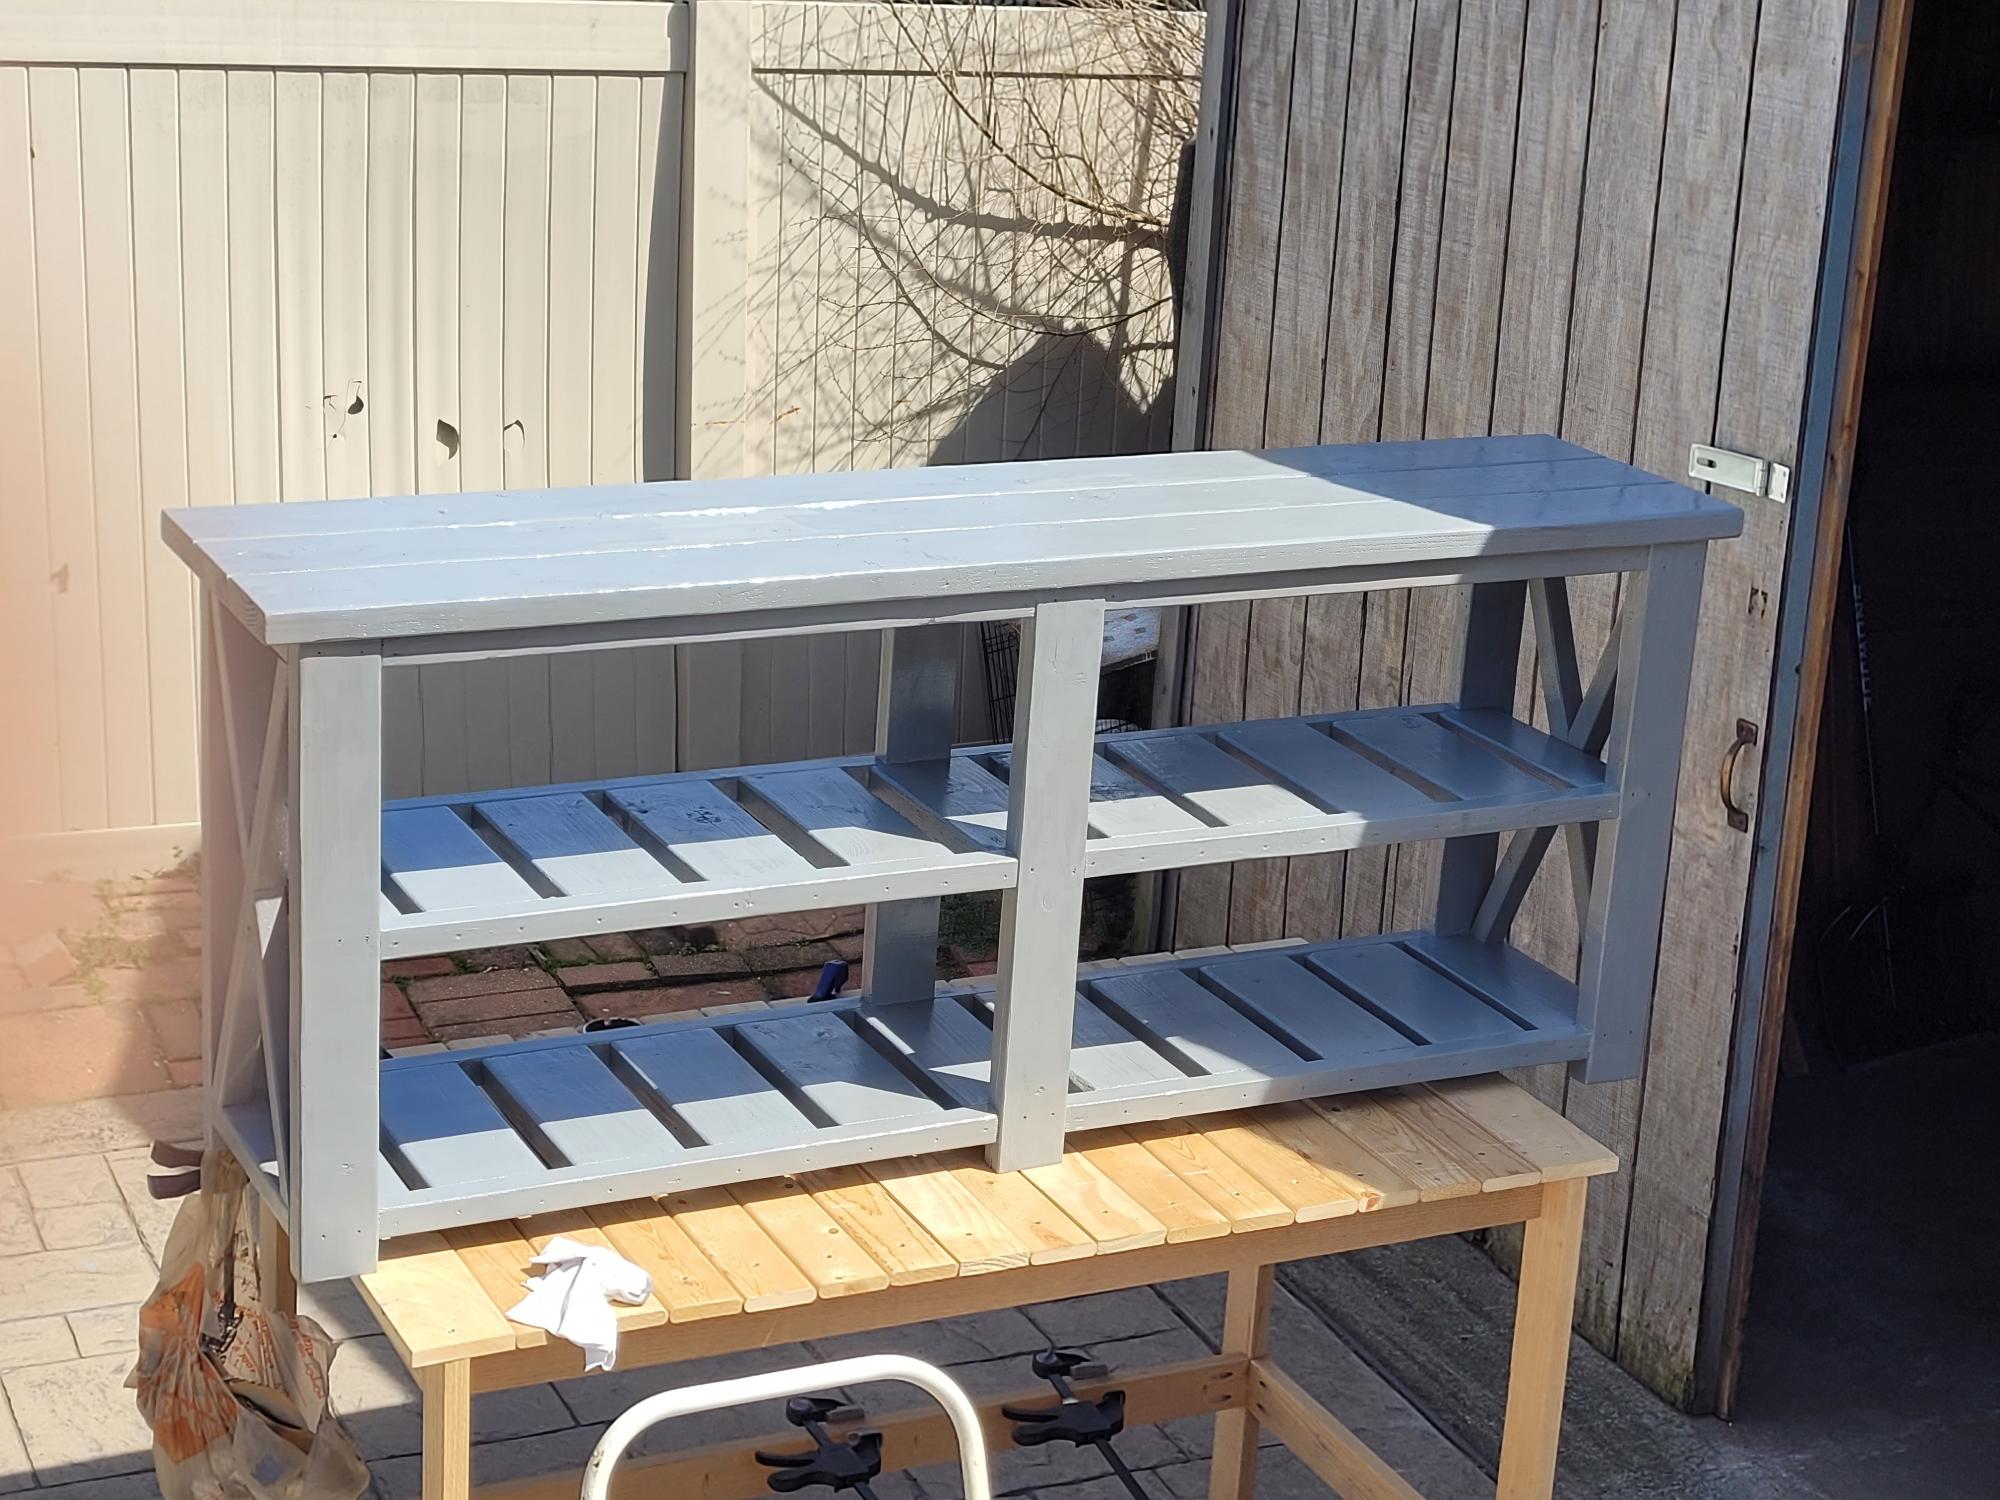
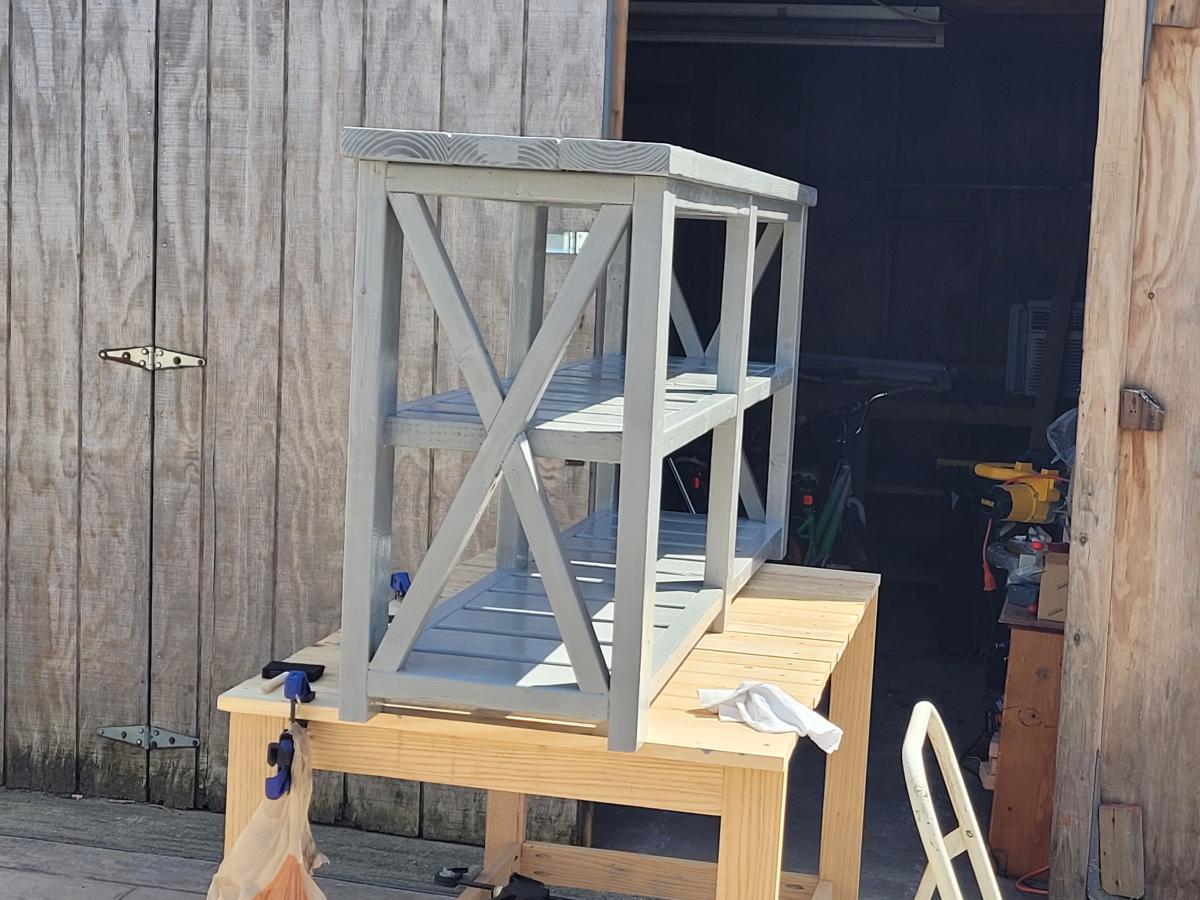
American Flag Themed Adirondack Side Table

Submitted by kieseroll on Fri, 08/08/2014 - 05:09

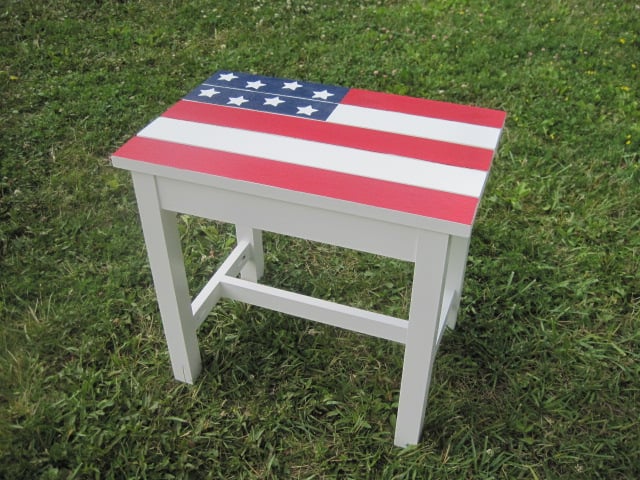
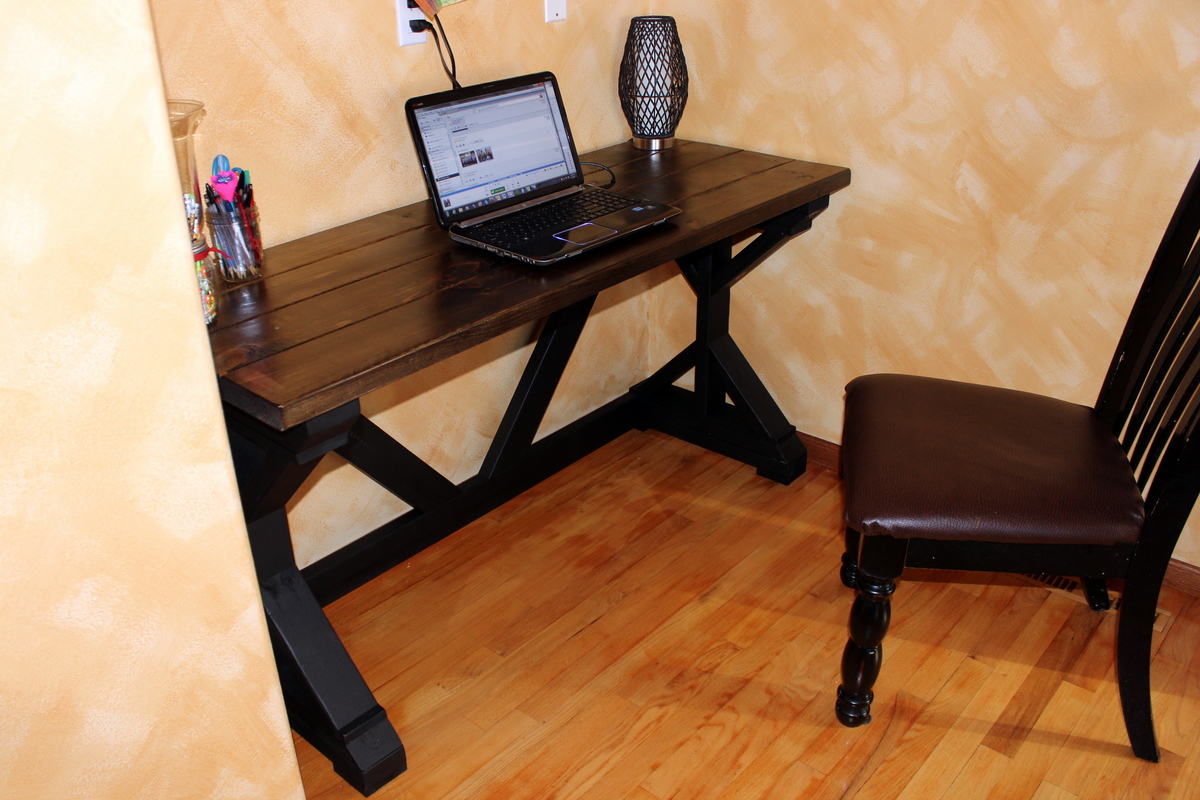
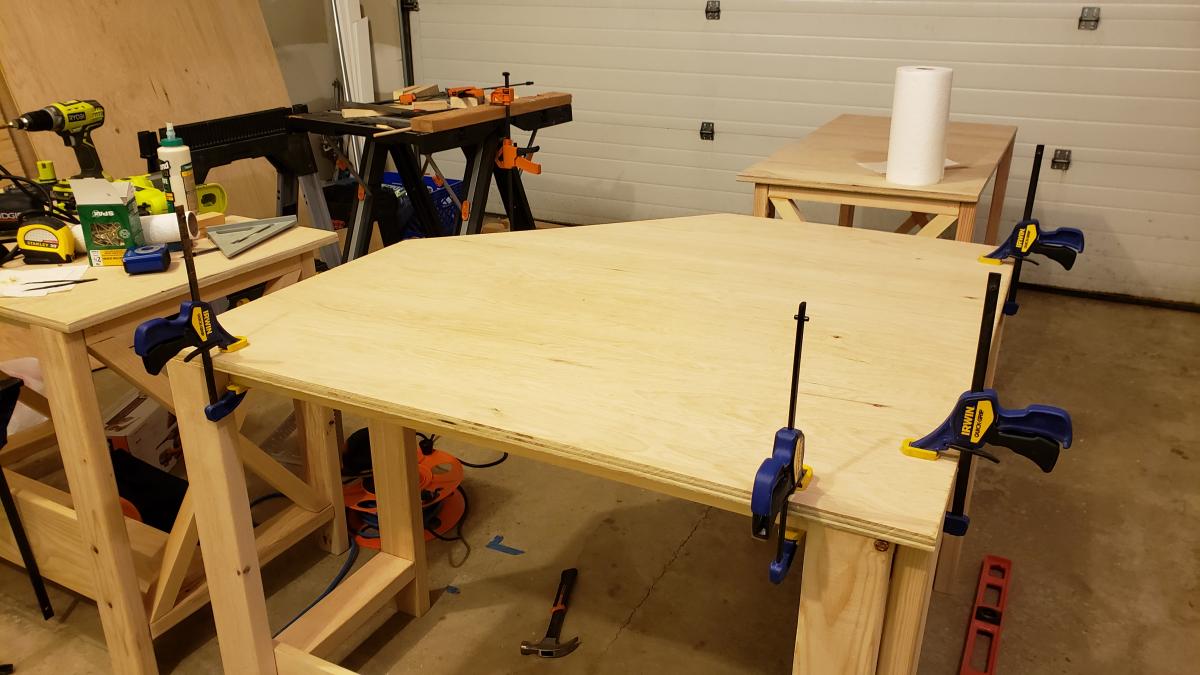
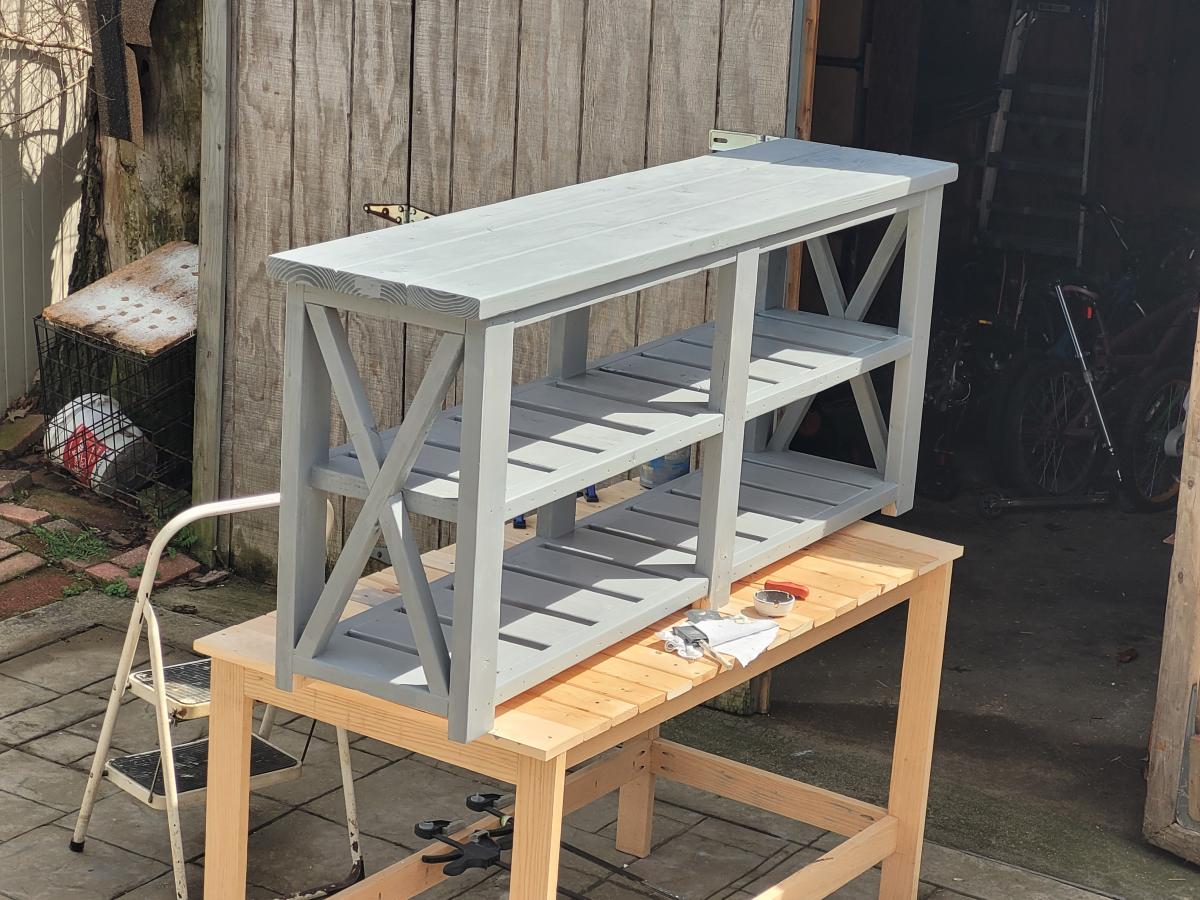
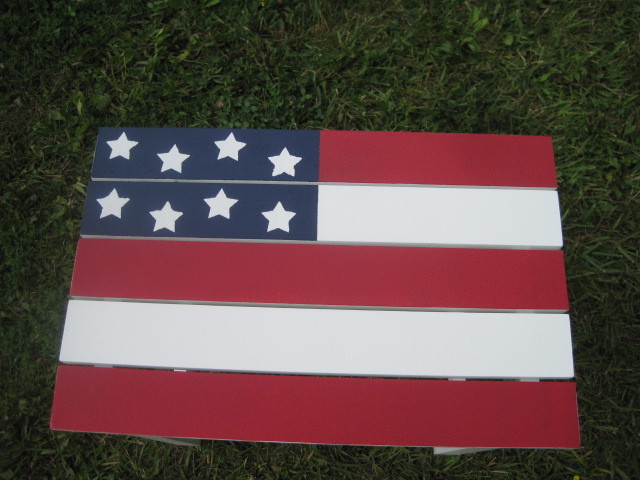
I built this in small spurts over a week. The most time consuming part was waiting for paint to dry. I painted all of my wood before I assembled since it would be too hard to get in the crevices after putting together. I painted the table top at the very end after it was assembled. I used painters tape to make sure I didn't goof and the stars are stenciled on. I extended the table to 20 inches wide so it would look more like a flag and just adjusted my other cuts to make it work. I built one for my Step-Mom and had to build another for my Mom after she saw how cute it was.

Built from Plan(s)
Estimated Cost
$25-$30
Estimated Time Investment
Day Project (6-9 Hours)
Finish Used
Outdoor/Exterior paint + primer in red, white, and blue. I don't have the names in front of me right now to get the exact paint color name.
Recommended Skill Level
Starter Project

Pantry

Built this out of old Barnwood Pine !

Recommended Skill Level
Intermediate

Comments

kmschwer

Sun, 11/02/2014 - 18:27

This is beautiful and I just purchased my first home with my fiance and we have an old farm house. This would be amazing in our kitchen as our pantry. I must attempt to make it! Please help me :)

Swinging Bench

Submitted by marchand on Sat, 09/13/2014 - 09:16

This bench is great! I was surprised how nicely it swings. I used rope with overhand loop knots to secure onto quick link hooks. Made it for my husband for his birthday but my whole family enjoys it daily!

This is my third project from Ana's website. I absolutely love to build and can't wait to do more! 


Estimated Cost
$100.00
Estimated Time Investment
Weekend Project (10-20 Hours)
Finish Used
Exterior semi-gloss white paint.
Recommended Skill Level
Beginner

Playhouse Loft Bed

Bed built off of plans. For one person this was a big job to finish in 3 days, but I was able to get it done before Christmas.

Estimated Cost
$400.00
Estimated Time Investment
Weekend Project (10-20 Hours)
Finish Used
Paint
Recommended Skill Level
Intermediate

Comments

Stephanie Blake (not verified)

Sat, 12/29/2012 - 08:19

My 6 yr old recieved this bed for Christmas as well and we decided to let her choose the paint colors. This looks great with the purple and white! I love it! I showed her this picture and she likes it too. :)

Kitchen Island

Submitted by TX_Richie on Sun, 10/18/2020 - 02:32

I’m very excited for my first project. Not to be boastful, but I am very proud of myself. So my wife decided she wanted a kitchen island. I began from the top of the plans and about halfway through I realized I have a small kitchen. The wife came in and said “that’s way to big). So I had to make a lot of adjustments. For instance, the 4x4 legs became 2x2. I was afraid it would not be sturdy enough, but it turned out nice. I left out the portion of the plans for the range and just made a bigger shelf to accommodate my wife’s mixers and other large kitchen items. Instead of a second shelf I made a slide out trash can (single instead of double). It fits the kitchen well and more importantly the wife loves it. Now to build stools. Thanks to your site Ana, I was able to make a place for my family to have dinner together. My daughter helped me with this project and has been asking when we will start our next project.

Estimated Cost
$100
Estimated Time Investment
Weekend Project (10-20 Hours)
Finish Used
I did the top in Jacobean (Minwax). It only needed one coat. Then used clear (water based) polyurethane.
Recommended Skill Level
Intermediate

Comments

Wood Pumpkin Treat Holder

Submitted by Anonymous (not verified) on Wed, 10/21/2020 - 09:29

This was my first woodworking project and it was fun and easy. A few words of advice though...painting the wood first is a good idea. I did not so it took a bit more time. Using glue instead of staples would make the finish much nicer as you can see my staples, but it is rustic so that's okay. Thank you Ana!

Built from Plan(s)
Estimated Cost
$0. I had the materials on hand from scraps of previous fencing projects
Estimated Time Investment
An Hour or Two (0-2 Hours)
Finish Used
Water-based craft paint I had on hand. I added water to thin it so that the wood grain would show through.
Recommended Skill Level
Starter Project

Comments

Seasonal And Holiday

4-Foot Mantel Wall Shelf

The decorative 4-Foot Mantel Wall Shelf Plans resembles a fire place mantel and makes a beautiful place to display photos and other decorations. The project can be built with a miter saw and table saw in 2-3 hours. A keyhole router bit can be used in lieu of mounting hardware. I also suggest a pneumatic air compressor and 18 and 16 gauge nail guns. The overall project dimensions are 48 inches long by 8 inches tall. It looks beautiful with a glaze or distressed finish. The detailed plans can be found on my woodworking blog at: http://www.jrlwoodworking.com/

Estimated Cost
$35
Estimated Time Investment
Afternoon Project (3-6 Hours)
Finish Used
We painted two coats with a high-quality semi-gloss white paint and then used a chocolate glaze and rubbed it on with a wet rag and then wiped it off with a dry rag until the desired amount of glaze remained.
Recommended Skill Level
Intermediate

Comments

kristenlotz

Fri, 01/04/2013 - 12:33

We actually built this one to give to my mom for Christmas last year. It looks great in her living room and we put family pictures on it. It's one of my favorite shelves because it looks so classy.

Nathan1342

Mon, 01/07/2013 - 13:36

What type of brown glaze did you use and where did you get it? Looks really nice!

In reply to by Nathan1342

kristenlotz

Mon, 01/07/2013 - 13:51

I bought a clear glaze at my local hardware store. I had them tint it to a really dark chocolate brown color. It turned out perfect, just what I had imagined!

Farmhouse console table - Shortened

My wife wanted a console table for our dining room but the original plans were too big for the spot next to the grandfather clock, so I shortened them a bit and this is the result.

Built from Plan(s)
Estimated Time Investment
Day Project (6-9 Hours)
Recommended Skill Level
Beginner

Comments

My First Build -- the $55 Fancy X Desk

This was my first build EVER. I had never even used a saw before, so if I can do this, so can YOU!

The original plans call for this desk to be 72" in length, but my space only allowed for a 60" desk, so I cut the 3 braces that go along the back down by 12", as well as the 2x6s that make the desktop. The cross-braces in the back were also cut down, but I did that by measuring for fit (as demonstrated by Ana in one of her videos where she made the x-bench).

I described this as a weekend project ONLY because of the time I had to allow between coats of paint, etc. I built it easily in one day (with kids at home!).

This was a GREAT experience and I am HOOKED! Thanks to Ana and Shanty-2-Chic for designing this!

Built from Plan(s)
Estimated Cost
$35
Estimated Time Investment
Weekend Project (10-20 Hours)
Finish Used
I painted the base with flat black paint, and the top of the desk with Minwax Jacobean stain (primed with the Wood Conditioner first, and finished with the Polcyrilic Spray that Ana recommends).
Recommended Skill Level
Intermediate

Comments

Lianna (not verified)

Tue, 01/08/2013 - 08:27

I hope to build this desk this week! Your post timing is great! AND your end result is gorgeous!!!

berryrach89

Thu, 01/10/2013 - 19:31

I absolutely love this. I've been searching for a new desk and I think I want to copy yours. Love it.

Jodye (not verified)

Fri, 01/11/2013 - 00:35

Well done...I too have been contemplating giving this ago. Our out door glass table exploded due to the heat here in Australia on monday...never going glass again...did I mention the nightmare clean up job :-((
Im building the big version....Im excited..you did it so I can too!

Writing Desk and Bookcase

Inspired by Ballard  Designs Turin Bookcase http://www.ballarddesigns.com/turin-bookcase/237257

and the Marche writing desk http://www.ballarddesigns.com/marche-writing-desk/278164

with some tweaks to my liking :0)

Built from Plan(s)
Estimated Cost
$700
Estimated Time Investment
Week Long Project (20 Hours or More)
Finish Used
Tidewater by Sherman williams
Recommended Skill Level
Intermediate

Modern Farmhouse Queen Bed Project in Texas. First time Making a bed

Submitted by Anonymous (not verified) on Mon, 12/28/2020 - 05:55

This was a lot of fun to build and not very difficult with the right tools.
The only thing I changed was adding a 2x6 to the top cap instead of the 2x4. I like the look.

Honestly, the thing that took me the longest was picking out the straightest lumber off the shelf. lol

The painting was a different subject lol. I painted a dark gray and after not liking it I decided to give it a light gray wash for the weathered look I was going for. I love it! Thanks, Ana for the inspiration!

I would say anyone with a passion for making things, how to read a tape measure and attention to detail can make this bed fairly easily.

AJ in Texas

Built from Plan(s)
Estimated Cost
$175
Estimated Time Investment
Day Project (6-9 Hours)
Recommended Skill Level
Intermediate

Comments

Corner Desk - from Farmhouse Desk plans

Submitted by james_e on Wed, 01/13/2021 - 14:15

My wrist has not taken well to the work at home requirement of the pandemic. So, I decided to replace my desk with a similar one that I have at work. Only, this one is much prettier.

Essentially, I built two desks using the farmhouse desk plans. One of them I made less wide than the plans by simply making the horizontal pieces 36" instead of the plan's 47 1/2".

For the middle portion of the corner desk , I based it off of the Office Corner Desktop plans. I made just the middle portion for those plans, but made the edges 46" instead of 38" for a deeper desk as well as to allow more room for my legs not to hit the uprights of the farmhouse desks. I made the corner desktop detachable, so it was easier to fit down the stairs to the office, using some small ~2" cubes placed on the bottom. They just serve to keep the desktop from moving around on the frame. The base of the middle portion I made up using the same ideas used to create the farmhouse desk frames.

I made plenty of mistakes along the way as I'm a software engineer, not a carpenter. I think next time I'll buy a miter saw, most of these cuts were by hand and aren't as straight as I'd like them to be. But, I like to work with my hands and this has made my day job less painful while I'm working from home.

Estimated Cost
$200
Estimated Time Investment
Week Long Project (20 Hours or More)
Finish Used
Minwax oil based Ebony 2718, then satin poly
Recommended Skill Level
Beginner

Farm Table

This table is a dream come true. I have always wanted one of these but could never find one I absolutely loved. I have now.

Built from Plan(s)
Estimated Cost
450.00 dollars plus time
Estimated Time Investment
Weekend Project (10-20 Hours)
Recommended Skill Level
Intermediate

Comments

Shelbynolte

Tue, 12/23/2014 - 15:32

My husband painted the top with white paint, let it dry and then randomly sanded it all over and then put a coat of walnut stain on and rubbed it off and then put three coats of minwax polyurethane.

Kitchen Island with pallet wood

Submitted by Anonymous (not verified) on Sat, 01/23/2021 - 19:35

After following Ana Whit and other bloggers for a long time i figured my skills were at a level to try an advanced build like the Kitchen Island.. But i also wanted to challenge myself even more and was determined to make it from as much reclaimed wood as i could, mainly pallet wood.
With a lot of modifications to make it work i think I got a good result from these plans.

While i used as much reclaimed wood as i could, i still needed some clean 2x4's , 2x2's

Built from Plan(s)
Estimated Cost
$50
Estimated Time Investment
Week Long Project (20 Hours or More)
Finish Used
I burned the top and used a cup wire brush on an angle grinder to get the effect of barn wood. then a couple coats of lacquer on the top. And a spray finish of polyacrylic for everything else.
chalk pain ( linin) to do the White wash
Recommended Skill Level
Advanced

Brook Laundry Basket Dresser

Submitted by krochelle on Thu, 01/01/2015 - 15:42

Used square laundry baskets instead of regular rectangular baskets. The square ones aren't as deep but are a bit taller so I had to modify the plans. I added a backsplash and some wooden tags to the baskets to designate them for certain colors. I also added some decorative trim and finished the bottom in a gray stain and used white chalk paint for the top.

Estimated Cost
$70
Estimated Time Investment
Day Project (6-9 Hours)
Finish Used
Weathered gray stain
White chalk paint
Recommended Skill Level
Beginner

Floor to Ceiling Laundry Room Shelving

Submitted by Anonymous (not verified) on Wed, 04/05/2017 - 11:06

After watching Ana White's video on easy garage shelving on FB, I knew right away it was the perfect technique for adding shelves to my laundry room.  The project was easy and turned out great!  I did the majority of the work by myself, although my Hubby did help me with some heavy lifting at the end (we had to add the shelving before the front frame due to the walls on either side). The shelving unit itself took only a few hours to build.  I painted it the following day making it a weekend project. We have considered adding trim to the front to give it a more finished look, but right now, it is serving its purpose. I will definitely use Ana's technique again.  It was simple and straightforward!  I loved it. 

Estimated Cost
$85-90
Estimated Time Investment
Afternoon Project (3-6 Hours)
Finish Used
Valspar's Linen
Recommended Skill Level
Beginner

Newbie

My first build in my new house I didn't think it would come out so well. Thanks for the plans. I love working with my hands

Built from Plan(s)

Comments

Strawberry planters

Submitted by DevonWood on Thu, 04/08/2021 - 00:17

Using plans from this website here are pictures of two, five tier strawberry planters.
Each tier is wide enough for 4 plants in one litre pots.

Estimated Time Investment
Afternoon Project (3-6 Hours)
Recommended Skill Level
Intermediate

Comments

Farmhouse Style Rustic X Coffee Table

Submitted by petesveen on Fri, 03/22/2013 - 07:43

Ana's design caught my eye and I had to build one that was similar. I decided to modify the top because I really like the look of breadboard style tops. So the main difference is that I cut the top boards 41" long and added two 2x6 pieces for breadboards (about 27-27.5" long). So the total width still comes to 52". Turned out pretty cool!

Built from Plan(s)
Estimated Cost
$45 for wood - Stain/poly extra
Estimated Time Investment
Weekend Project (10-20 Hours)
Finish Used
I distressed it with nails, a hammer, some scratch marks, and a saw blade. I then used a vinegar/steel wool mixture to bring out the distressed areas a bit more. Then followed with 1 coat of dark walnut stain (applied with towel) and 3 coats of semi-gloss poly. I applied the first two coats with a brush and then lightly sanded between the second and last coat. The final coat was applied very thin using a towel.
Recommended Skill Level
Beginner

Comments

Courtlh

Sat, 03/30/2013 - 23:10

I have been looking through the brags to find one that had a color to go with our new couch...turns out you have the exact same couch as me!! It looks awesome! Now I have an awesome example to follow :)