Community Brag Posts

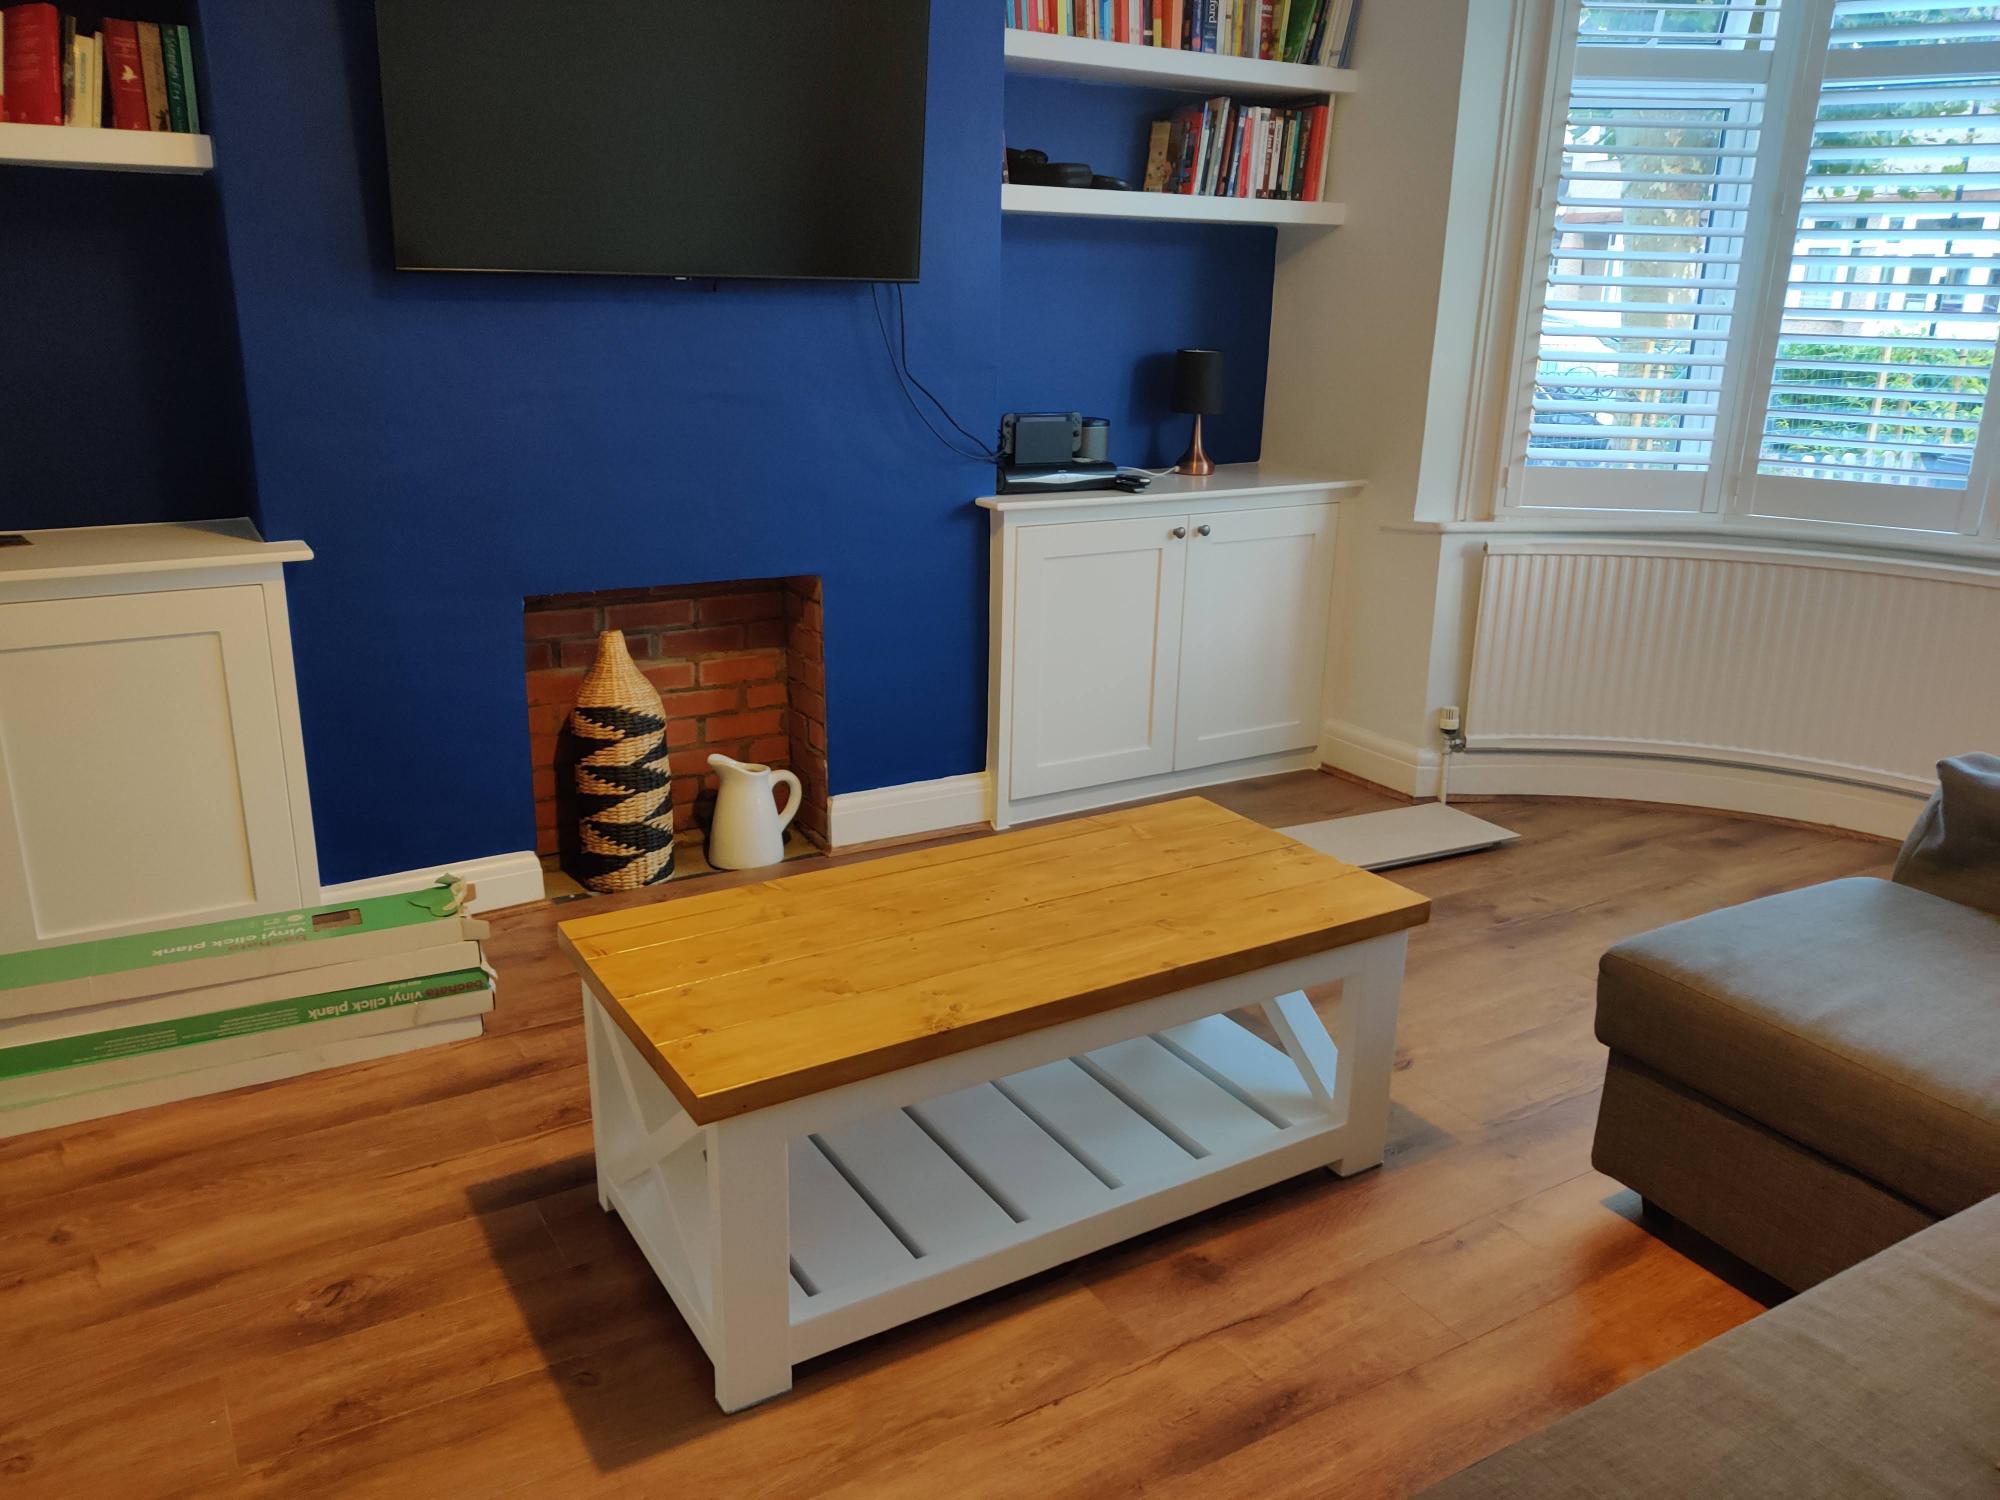
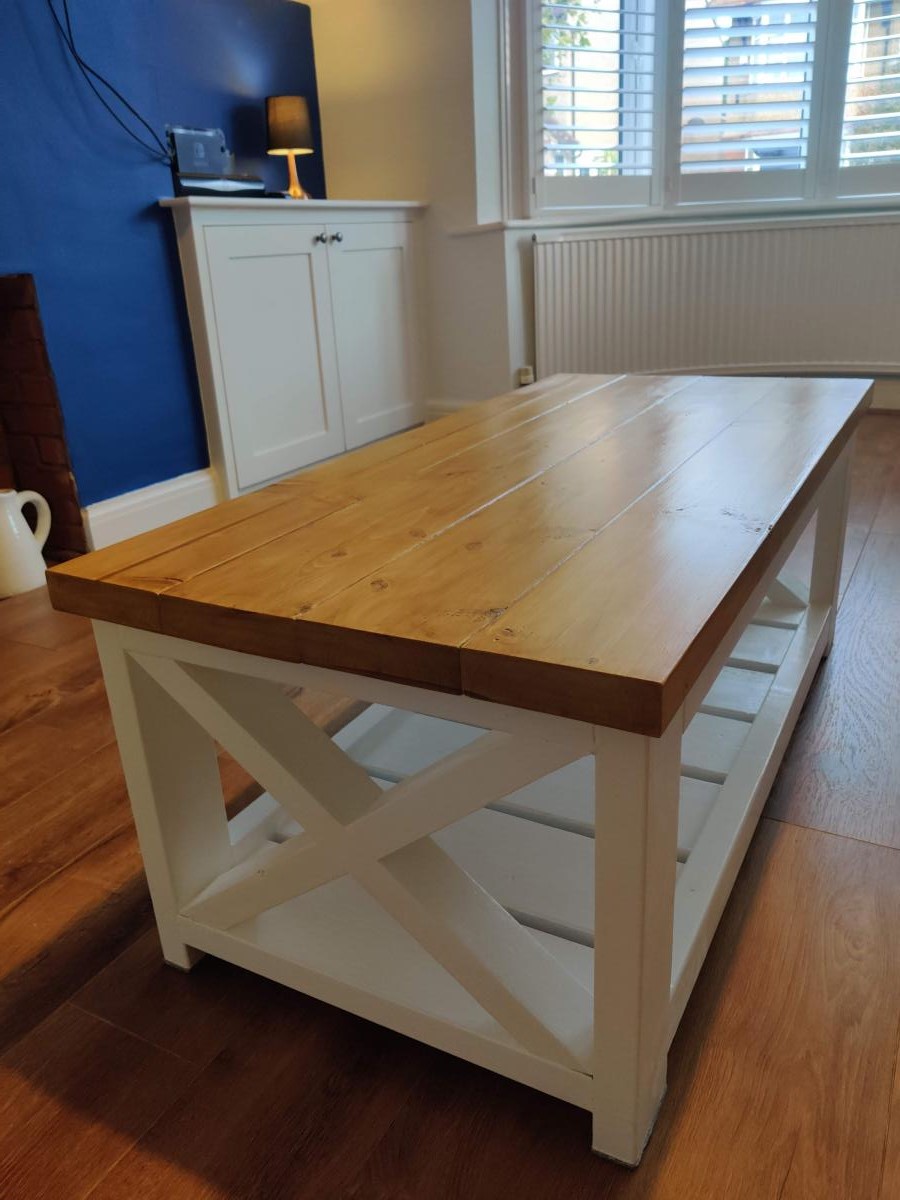
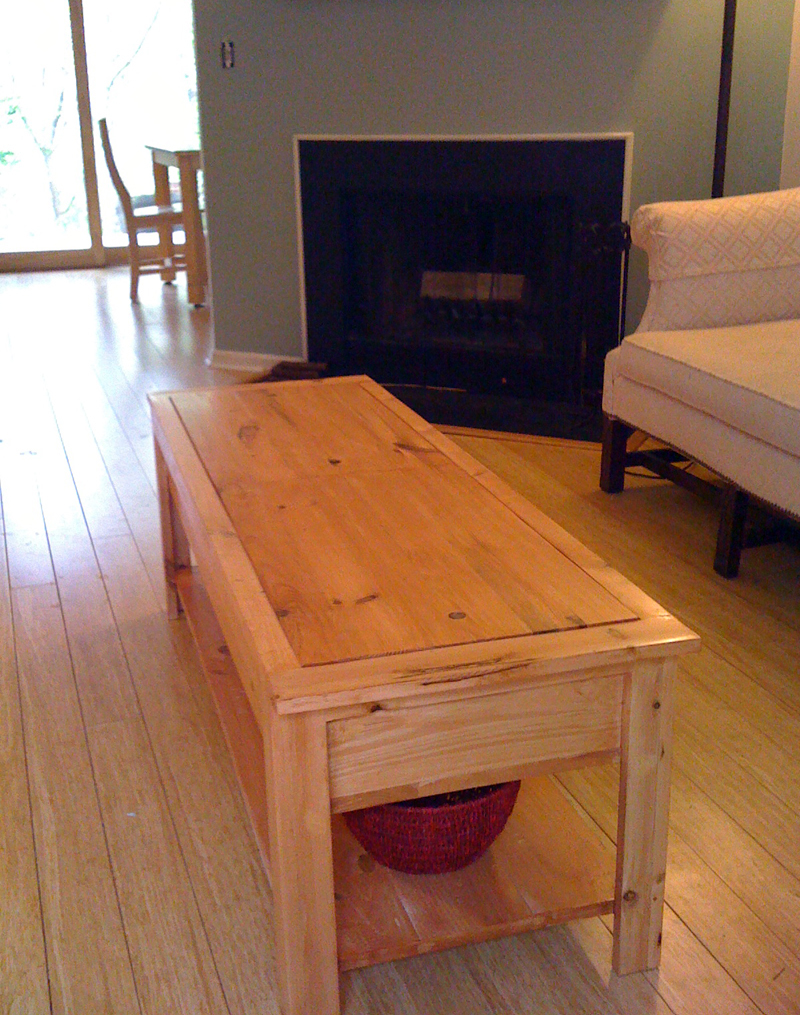
coffee table

Submitted by alice on Wed, 03/10/2021 - 03:31

This is my first ever woodworking project and I'm really pleased with how it looks! Thank you for the plans, they were really clear and the video was the perfect guide for someone like me who had never done this before. Assembly took a couple of weekends I think. I had to predrill holes and I found the cuts for the x a bit difficult to do so had to try a couple of times. But definitely doable and very satisfying to have built something!

Little Big-Girl Farmhouse Bed

Submitted by Tea Granny on Tue, 03/12/2013 - 11:49

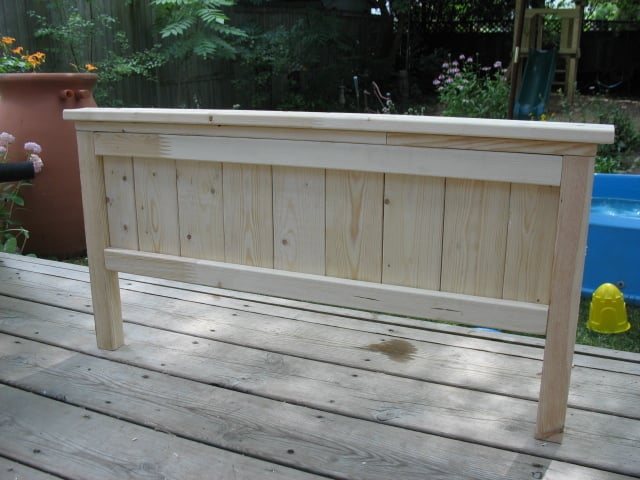
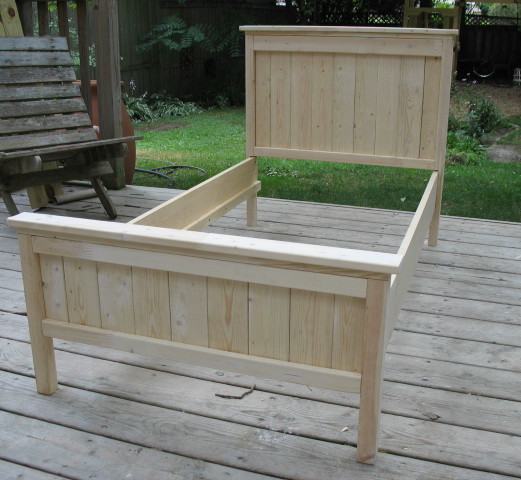
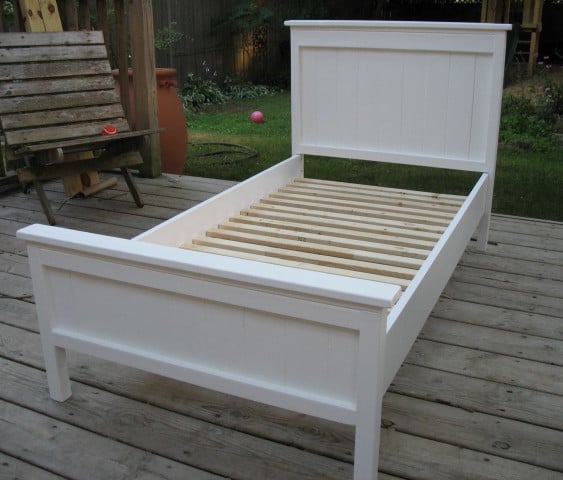
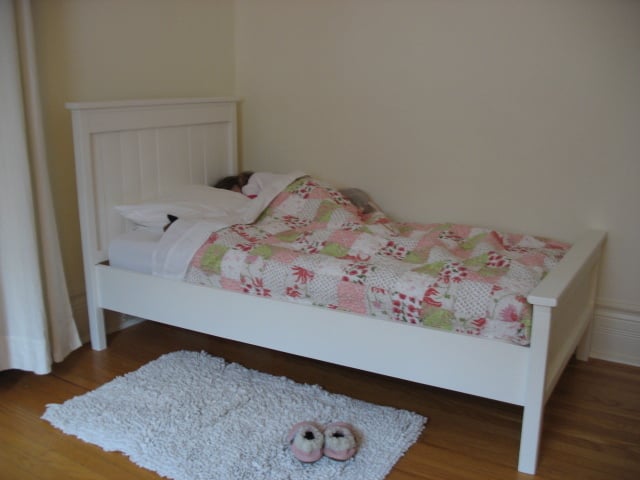
This bed was my 3rd project from Ana white. I'm just getting around to posting it now....

The headboard and footboard were made 2 inches wider than the original plans to account for my wider crib mattress. For my mattress width (28"), I required an extra 1x4 for the headboard and footboard center panels (7 instead of 6), along with 2 1x3s. This meant that I needed to add one extra 1x4 to my shopping list. I only required one 1x6, at a 10 foot length (since I didn't make the arch on the headboard).

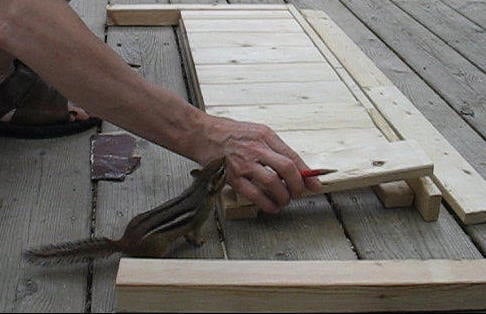
Most of the work was done on our backyard deck, my outdoor workshop. I usually enjoyed the company of a little chipmunk as my "helper". He became very tame over the summer, allowing me to pick him up and pet him. At times, he would sit on my lap or ontop of my shoulder while I was working on a project. He was always with me, just hangin' out. I'm not really sure how long this project took, as I was usually distracted by his company!

I really enjoyed making this project! Our daughter was SO excited to sleep in her new big-girl bed!

Thanks Ana for the great plans!

Built from Plan(s)
Estimated Cost
Wood, $28.45. Paint, $36.97 per gallon (I already had the paint from another project)
Estimated Time Investment
Weekend Project (10-20 Hours)
Finish Used
Behr Premium Plus Self Priming Paint - I had 2 separate gallons of this in different colours and finishes. One was semi-gloss white (I found this to be too shiny, and the shade too cool). The other gallon was a flat finish, in a Farrow and Ball colour "Pointing".
Since the walls of the room are already in the "Pointing" colour, I wanted to keep the bed whiter than the walls, just slightly off white. I ended up mixing some of both gallons together. The result? - a lovely eggshell finish in a warm white colour. Perfect.
Recommended Skill Level
Beginner

Comments

dmcarwin

Wed, 03/13/2013 - 08:01

You did a great job! I love you "little helper" in the first picture!

In reply to by dmcarwin

Tea Granny

Wed, 03/13/2013 - 13:40

Hi dmcarwin - Thanks so much for your comment!

I love my little helper as well. You, however, must be a VERY busy lady! With 6 little helpers??? How do you ever find the time for all your fabulous projects? You truly amaze me!

In reply to by Tea Granny

dmcarwin

Wed, 03/13/2013 - 15:35

You are so sweet, I don't do projects in a normal time frame, they are more like, cut the wood one day, sand the next, build another, etc....It is rare I do a build all at once, for obvious reasons! But I truly love it and so I make the time for it when I can! I just checked out the rest of your projects they are fabulous!

Tea Granny

Wed, 03/13/2013 - 18:07

Oh, yes. I certainly know about the non-normal time frames. My projects are done during nap-time or in the middle of the night. I finished a play kitchen at 4am on Christmas Day! Cutting it close - after numerous 4am nights, a couple all-nighters ...and about 40 hours later. I definitely was an elf in the workshop.

The play kitchen is pictured in the background of my second photo for my Toddler Chalkboard project. I used Ana's plans and another plan as my inspiration, heavily modified the measurements. I have not had time to post it yet, but soon....

Okay, so I've just checked out your blog! Wonderful.

LindseyMagno

Sun, 08/09/2015 - 06:51

This is gorgeous!!!!! My daughter will be two in two weeks, and while I'm not quite ready for a big girl bed, and we don't need her crib for another baby yet, I'm so excited to finally find the perfect plans when I am ready. You did a GREAT job, it's just beautiful. When I compare this to the $400 plus beds in stores I just shake my head and say THANK YOU ANA for giving us great alternative options. Thank you for the inspiration!!

Our Daughter's Playhouse

Submitted by jhedlund on Fri, 03/22/2013 - 06:17

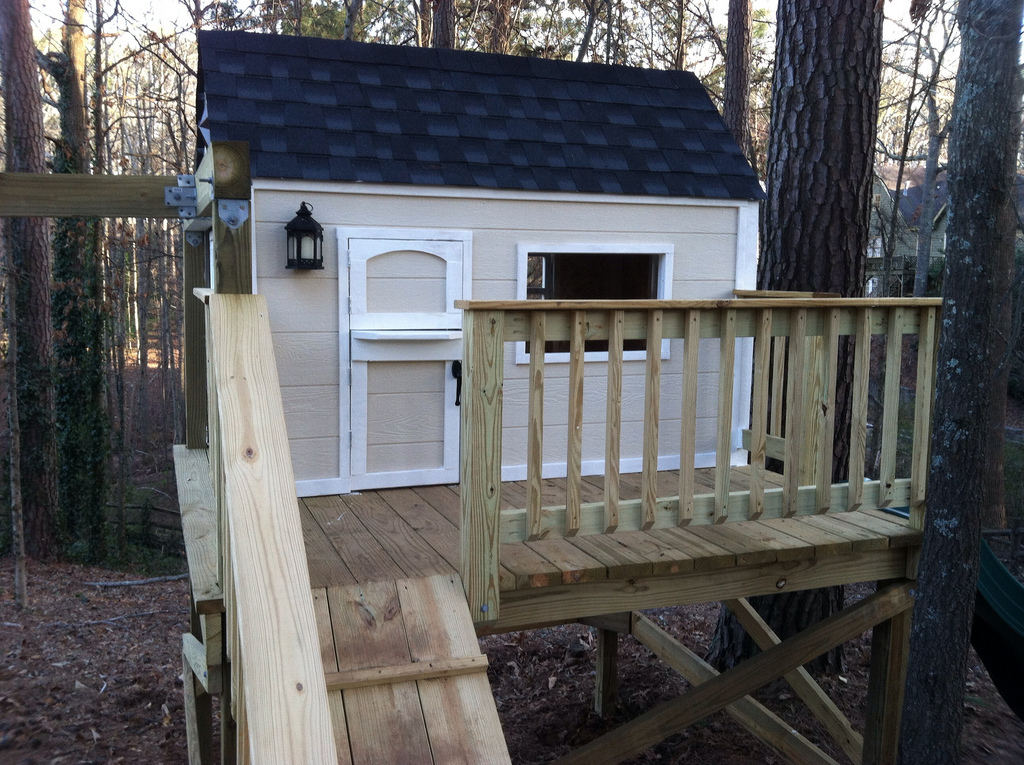
We built this in early 2013. We ended up turning the house 90 degrees on the deck, because the slide worked best off the backside of the deck due to the various heights around the deck. The sloped back yard caused some challenges, but in the end it's a very sturdy deck with the cross beams attached. Thanks for posting these plans online for us, our 3 daughters are loving the playhouse and swingset! Here are some more pics of the project: http://www.flickr.com/photos/11031534@N00/sets/72157633009259873/

Estimated Time Investment
Week Long Project (20 Hours or More)
Recommended Skill Level
Intermediate

Comments

sgilly

Fri, 03/22/2013 - 15:07

Of course your girls love it - it's fantastic! Great job.

Robinwood

Fri, 03/22/2013 - 16:39

Love this - my grandson's back yard is too small to build something like this; which is why we had to settle for his loft bed airport/clubhouse.

slug

Thu, 06/27/2013 - 05:24

I'm planning on building two A-Frames and no playhouse, so my questions are focused there.

Did you do any modifications to swing portion of the plans?
Is it sturdy enough for an adult to swing on as well?
It looks like you put the posts in the ground, did you cement them in too?
How high off the ground is the bottom of the support beam for the swing?
Is there any issue side-to-side swaying?

Seasonal And Holiday

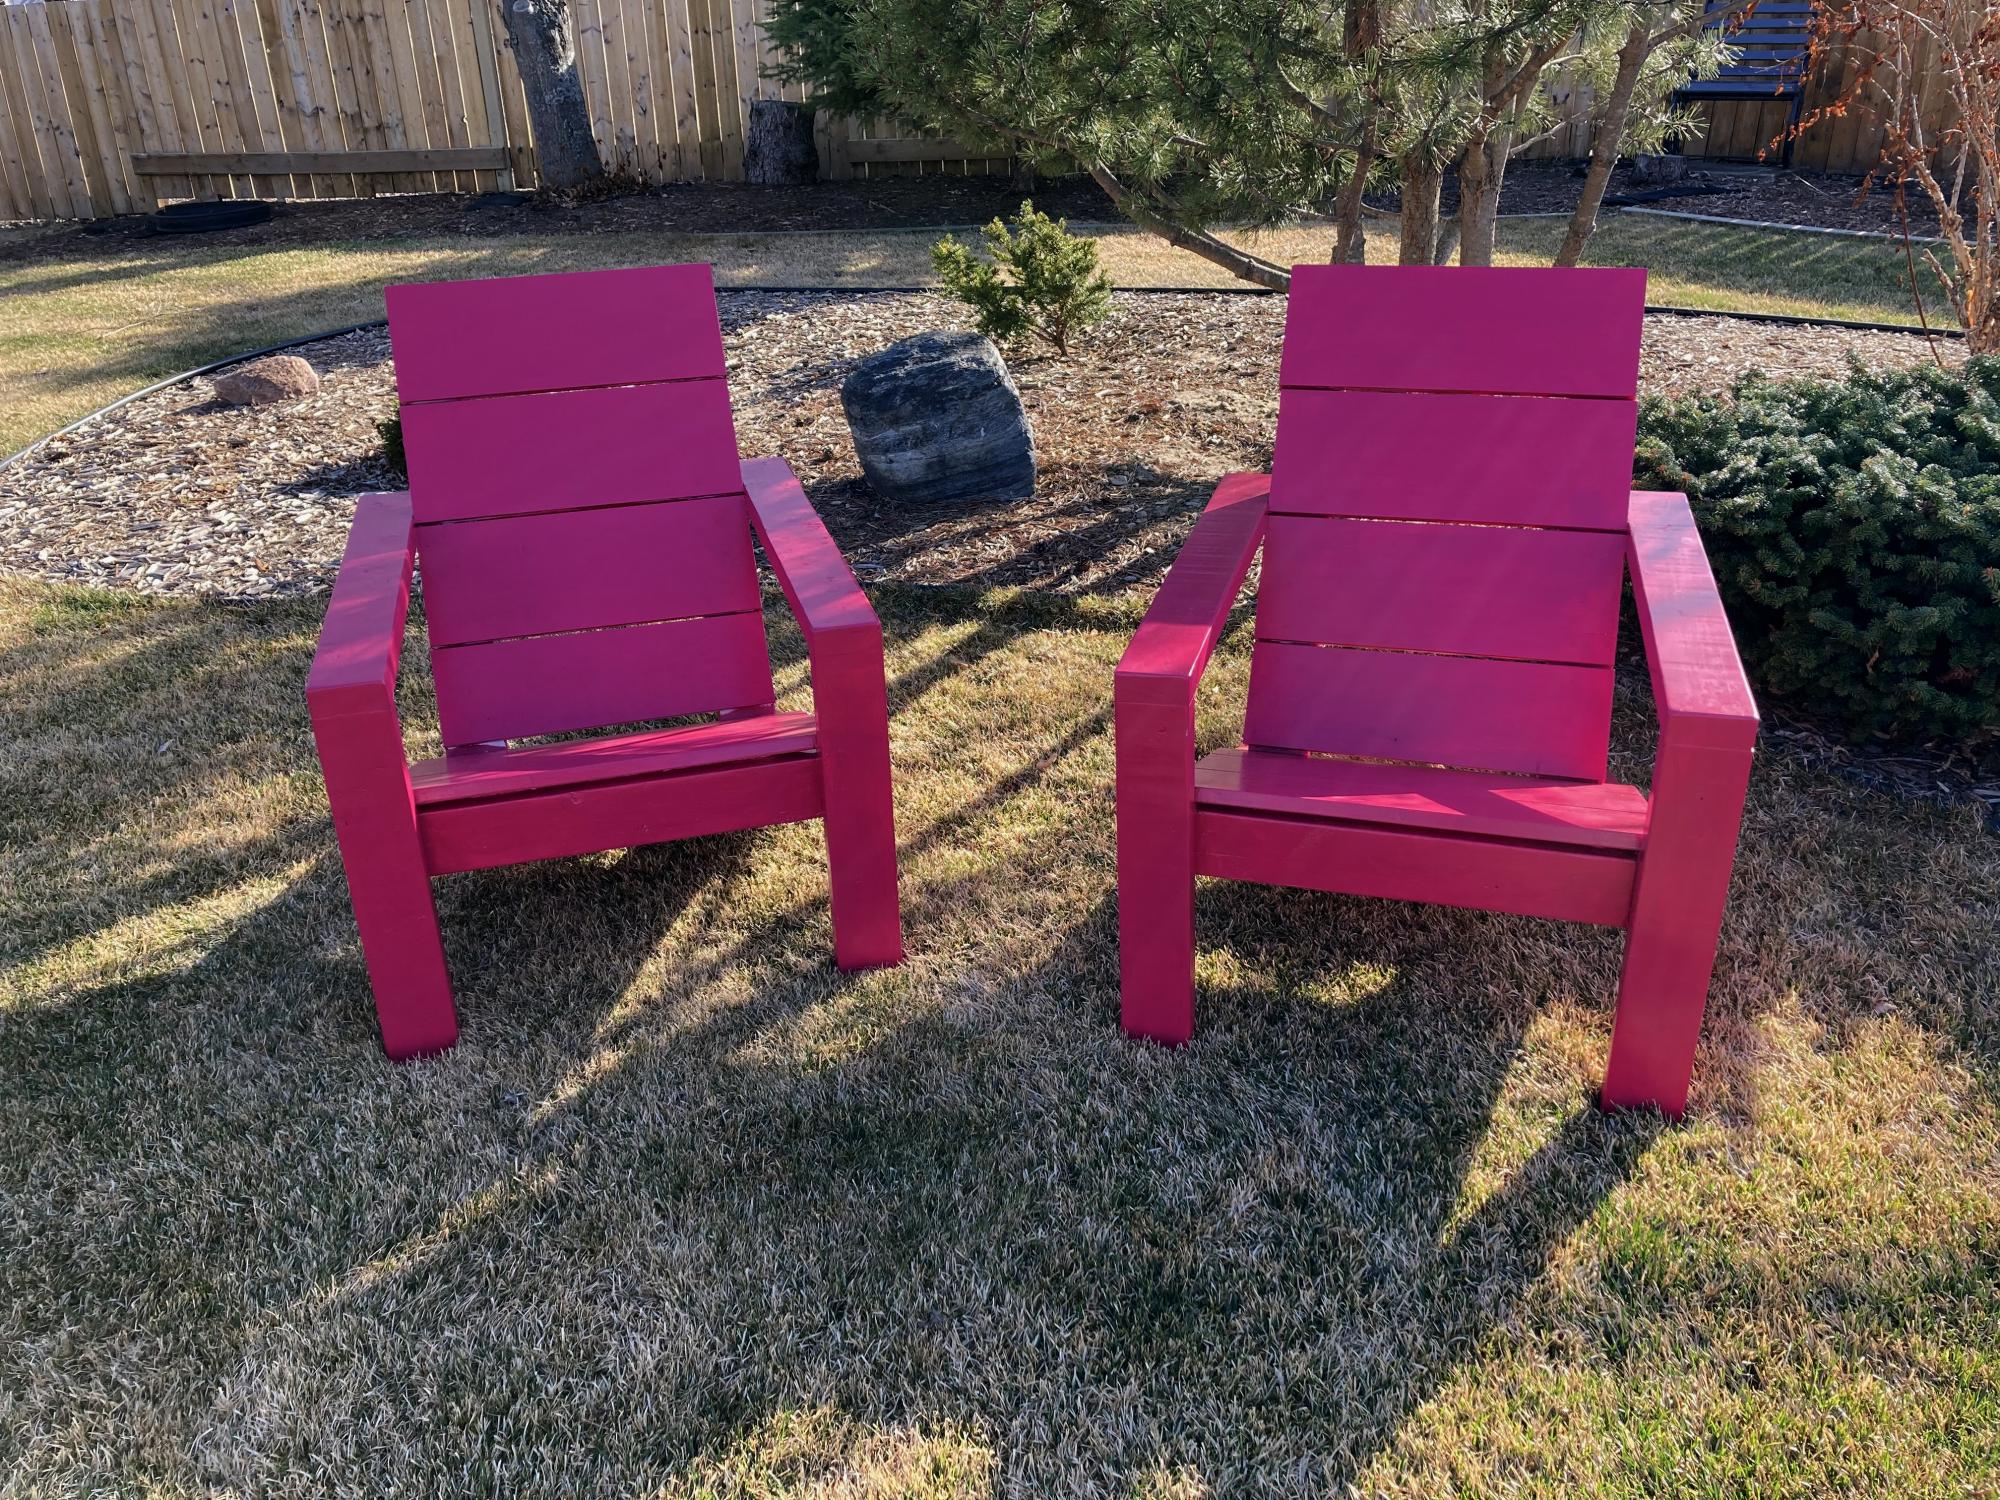
Modern Adirondack Chairs

Submitted by frmoody on Mon, 05/03/2021 - 17:35

This was a nice simple build. The only problem where I live (near Edmonton, Alberta) is that the price of lumber has gone crazy. I think it is the same everywhere. 2 x 4's are running about $8.50 (CAD) each. I can see myself building a few more of these as the neighbours like them. Chose to go with a funky magenta colour to add some colour to the backyard. Very comfortable to sit in but I think I will add some cushions. I should have taken Ana's advice and painted the boards (especially back and seat) first. Once assembled I had to go in with a small brush to get the sides.

Estimated Cost
$40 each
Estimated Time Investment
Day Project (6-9 Hours)
Finish Used
Exterior semi gloss paint.
Recommended Skill Level
Beginner

Comments

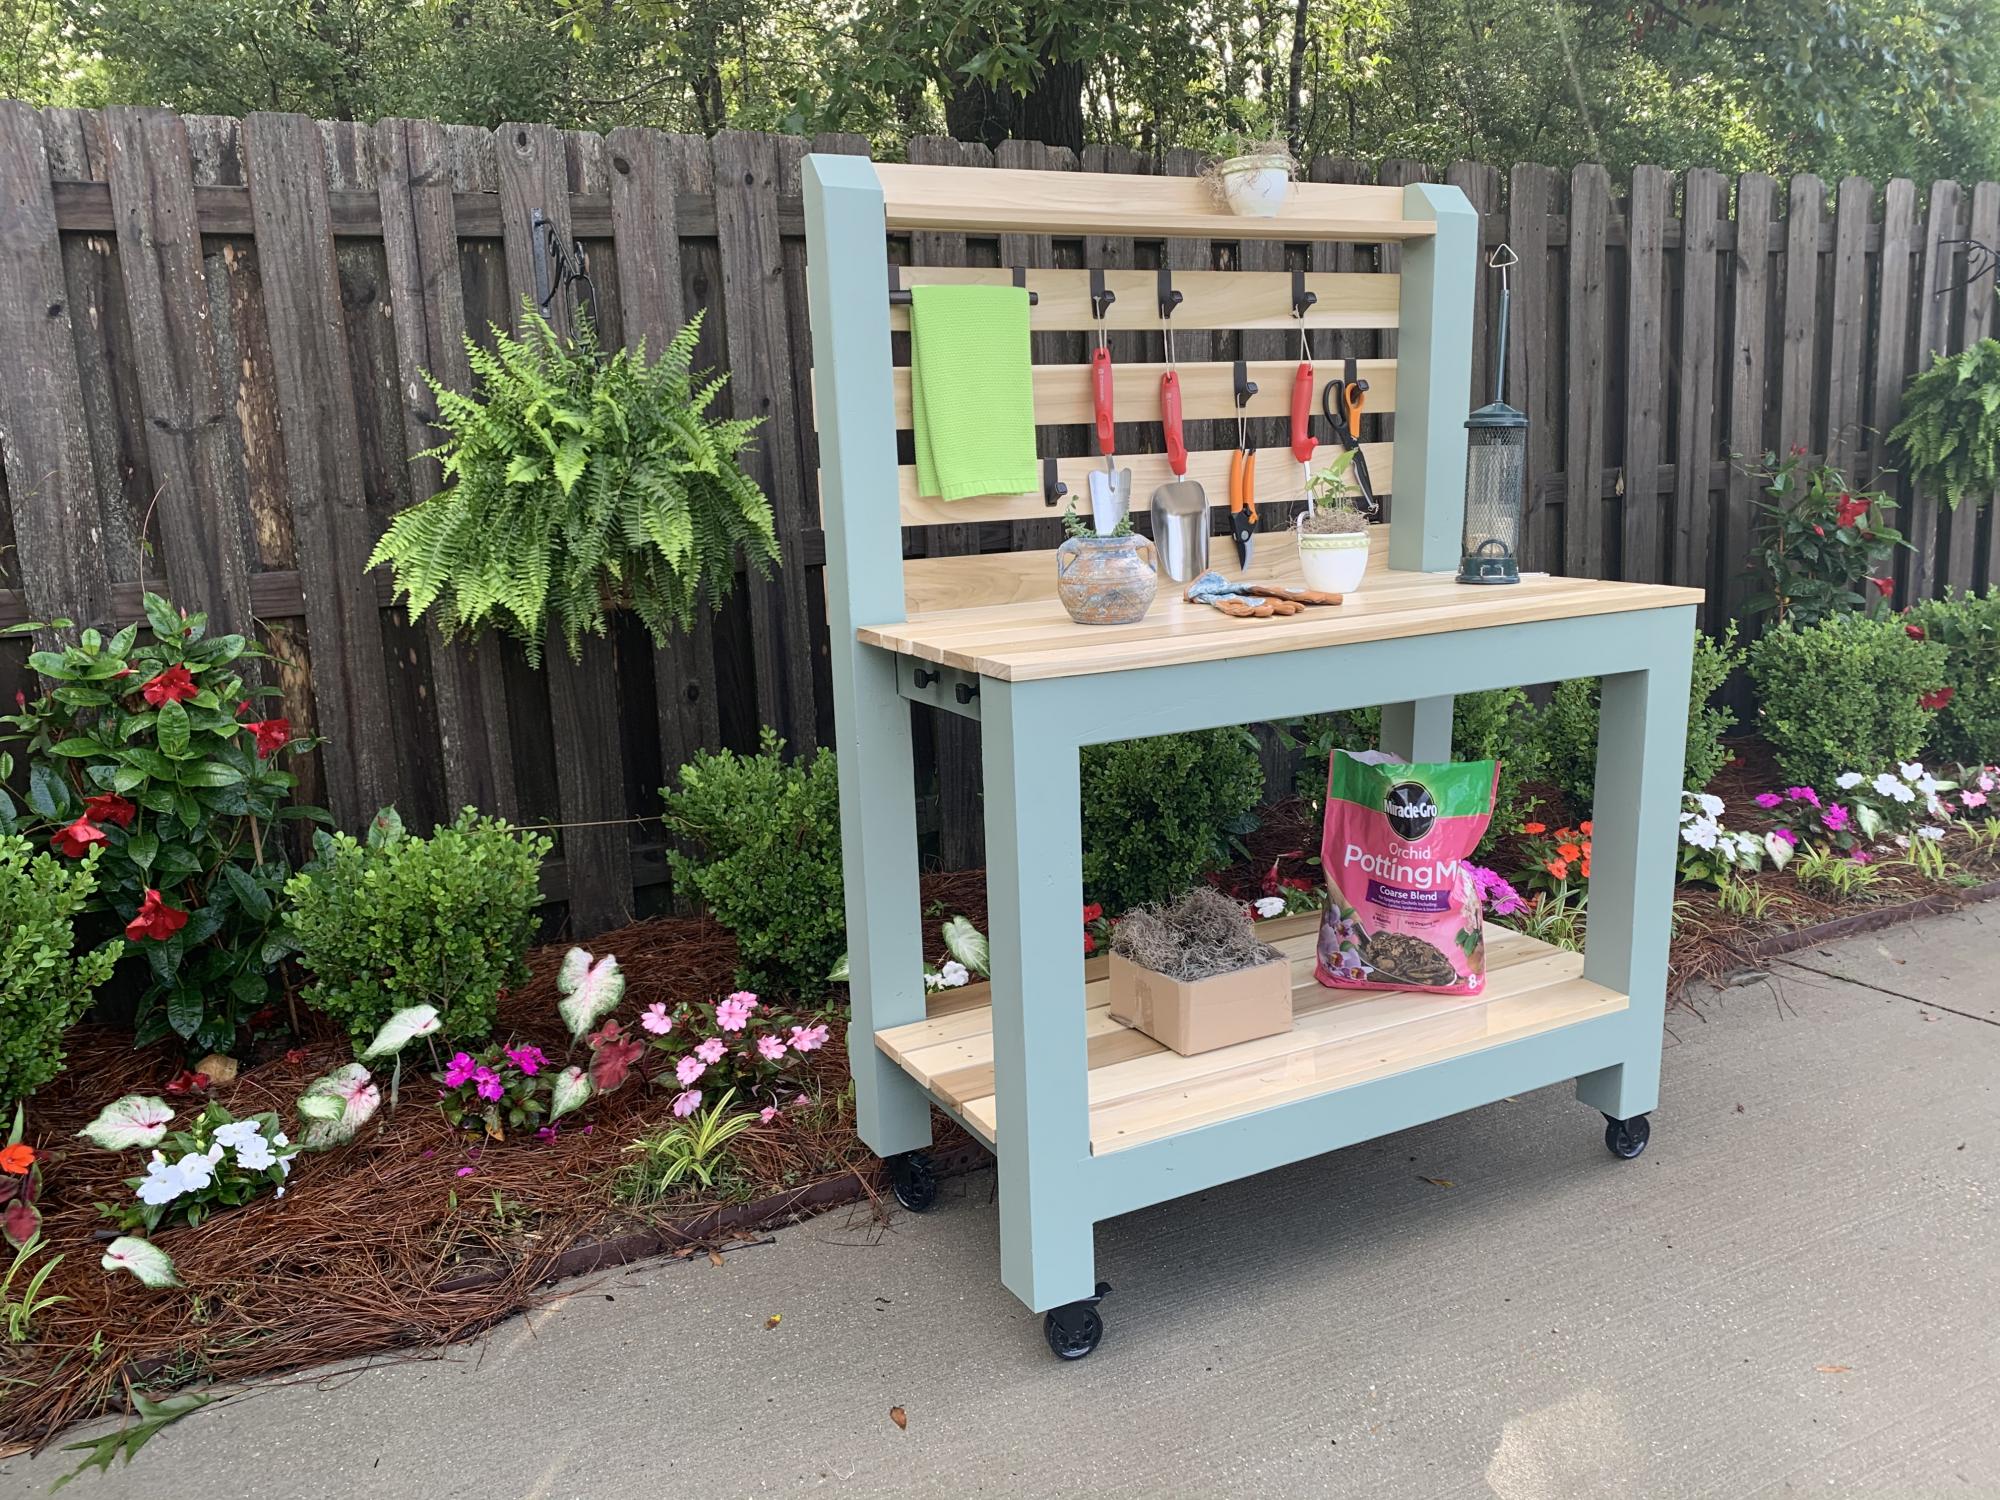
Simple 2x4 Potting Bench - Modified

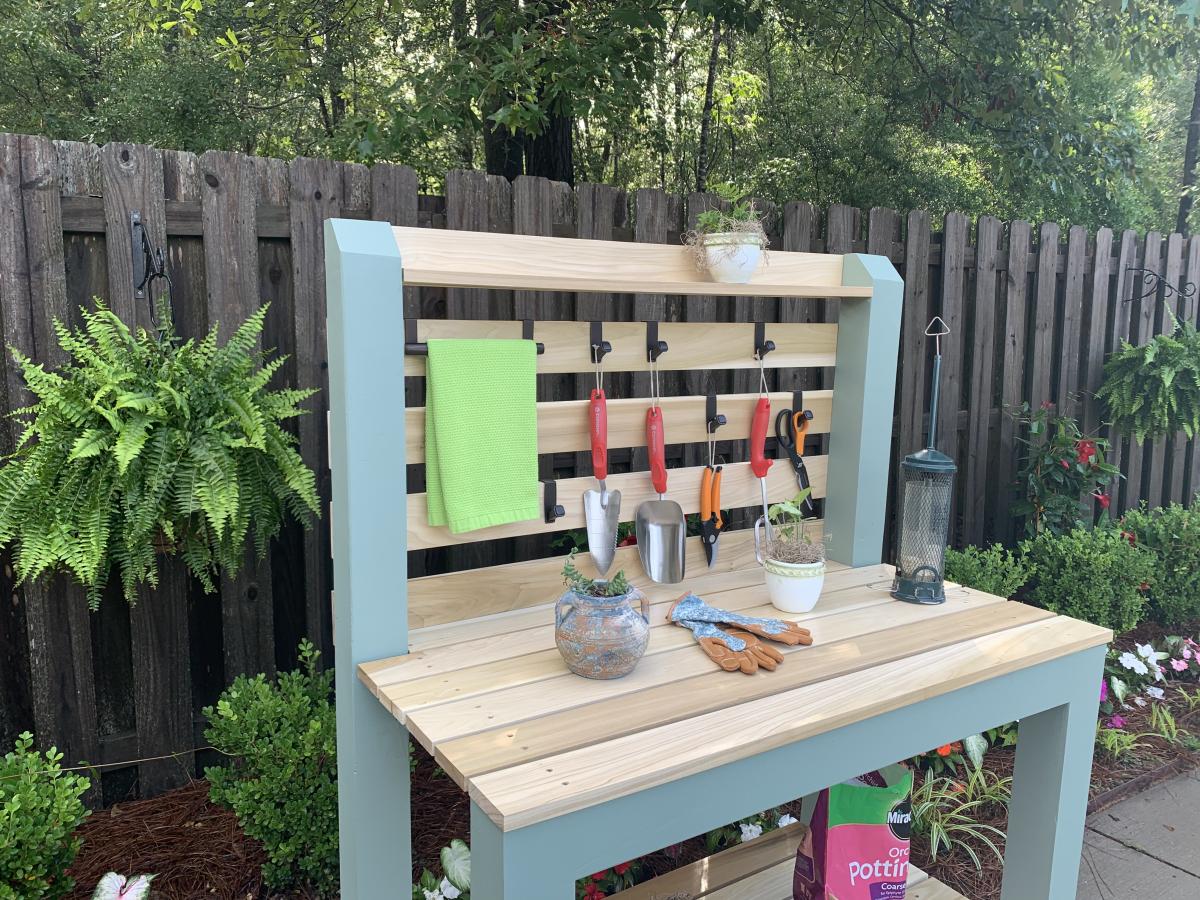
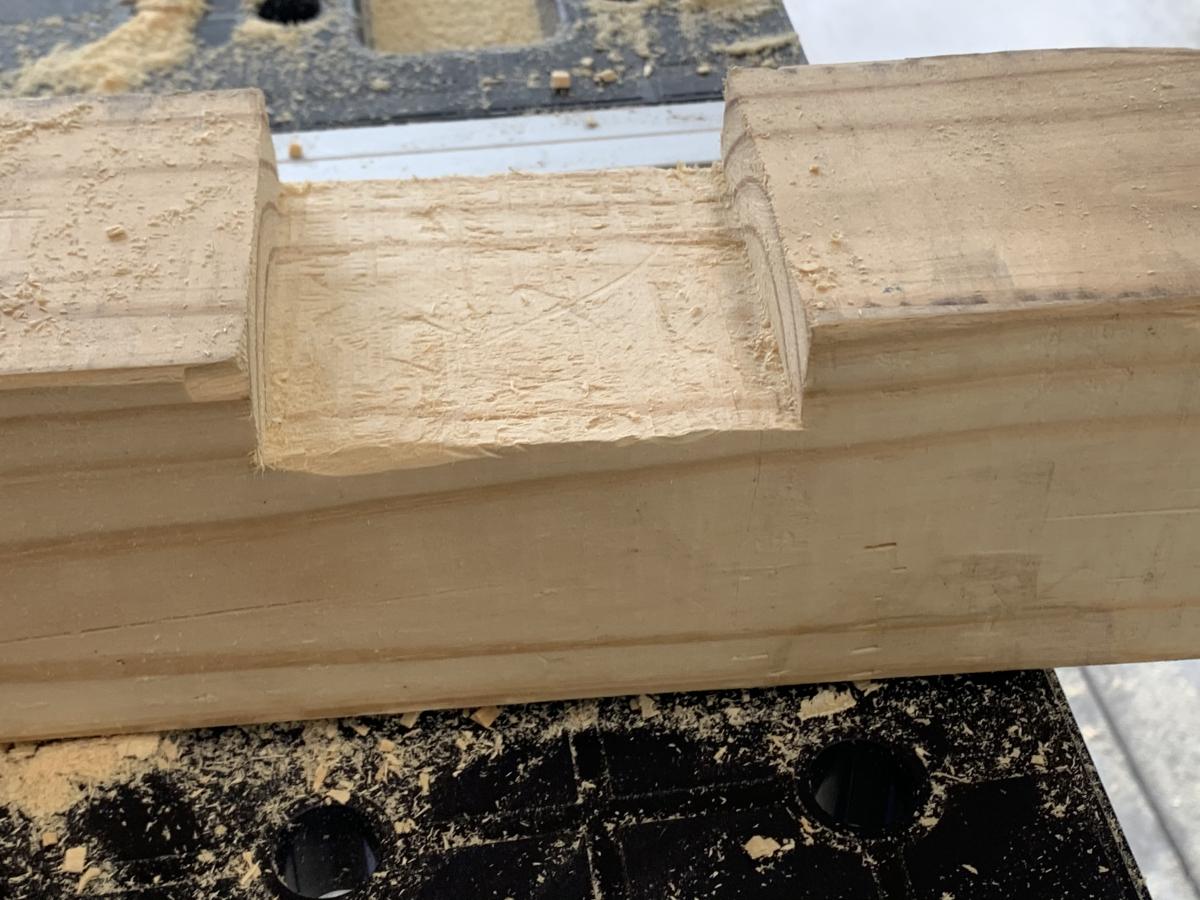
I was intrigued by Ana’s Simple 2x4 Potting Bench. The project seemed simple enough and it would be used as a means to clean up clutter in the garage. My main focus was to make it semi-portable and weather resistant. Instead of using 2x4’s for the corner posts, I used 4x4’s to accommodate casters. I also shorted the length of the posts by 4 inches to compensate for the height of the casters. To provide extra rigidity I did a dado for the 2x4’s that connect the front and rear legs. In retrospect, I wish that I did not dado the legs because it made it more difficult to attach some of the shelf planks. I painted the frame green and left the shelves and backboards clear for beautiful contrast. My wife is ecstatic with the result.

Estimated Time Investment
Weekend Project (10-20 Hours)
Finish Used
Benjamin Moore Environ Green paint for the frame and Minwax Polycrylic for the poplar shelves and backboards.
Recommended Skill Level
Intermediate

Comments

Seasonal And Holiday

Entertainment Center for 60" Flat Screen LED TV

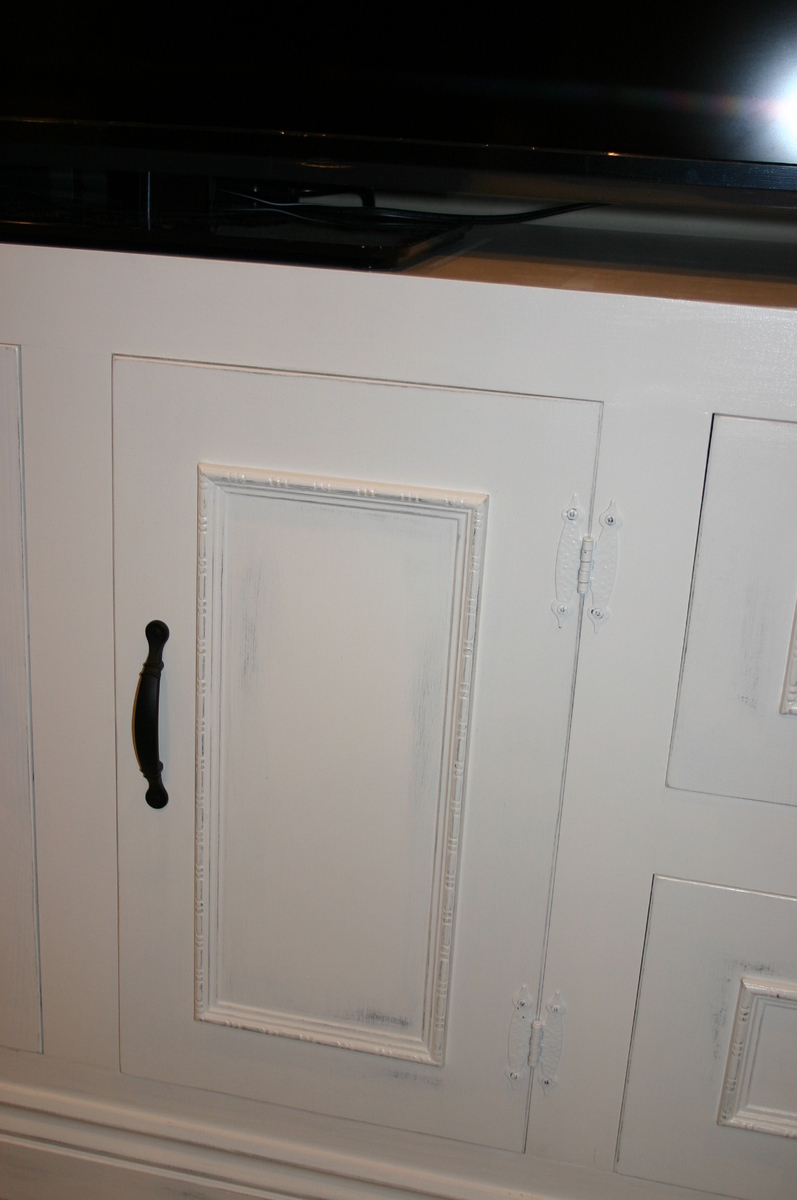
I used the plans from JRLwoodworking and the pictures from AZCA33 and combined them to create an entertainment center to hold my new 60" flat screen tv. I priced new entertainment centers at furniture stores for a nice entertainment center to hold a large tv and the price was around $2000. I looked around online and found a couple of websites of handmade entertainment centers and decided to give it a try. I had never made anything remotely his large or detailed, but with the plans and some patience, I was able to bring this thing to life. I couldn't have done it without the help of this website or jrlwoodworking. I am very proud of this piece of furniture and plan to cherish it for a long time....

Estimated Time Investment
Week Long Project (20 Hours or More)
Finish Used
Black latex paint (satin), white latex paint (satin), and Polyacrylic (satin)

We painted the bare wood with the white latex paint first. After a couple of coats, my wife used the black paint on the areas that she planned to look distressed. We painted over the black with the white until fully covered. She sanded the white until the black came through like she wanted and then we coated the entire thing with a polyacrylic coat.
Recommended Skill Level
Intermediate

Comments

NimbleShopper

Mon, 04/22/2013 - 13:51

Wait a moment, that is a super WOW!

Really nice work. The piece is worthy of a magazine cover. Very well done.

kristenlotz

Sat, 06/01/2013 - 19:21

Hi RAZORBACKFAN, I am so excited to see this build from our plans at jrlwoodworking.com! This is absolutely beautiful. It looks like a very difficult project, but with the step by step instructions and going through it a few times, it really can be done by a handy do-it-yourselfer. I hope you enjoy yours as much as we enjoy ours. The best part of it is telling everyone you built it. Nobody would believe it unless we had the pictures to prove it.

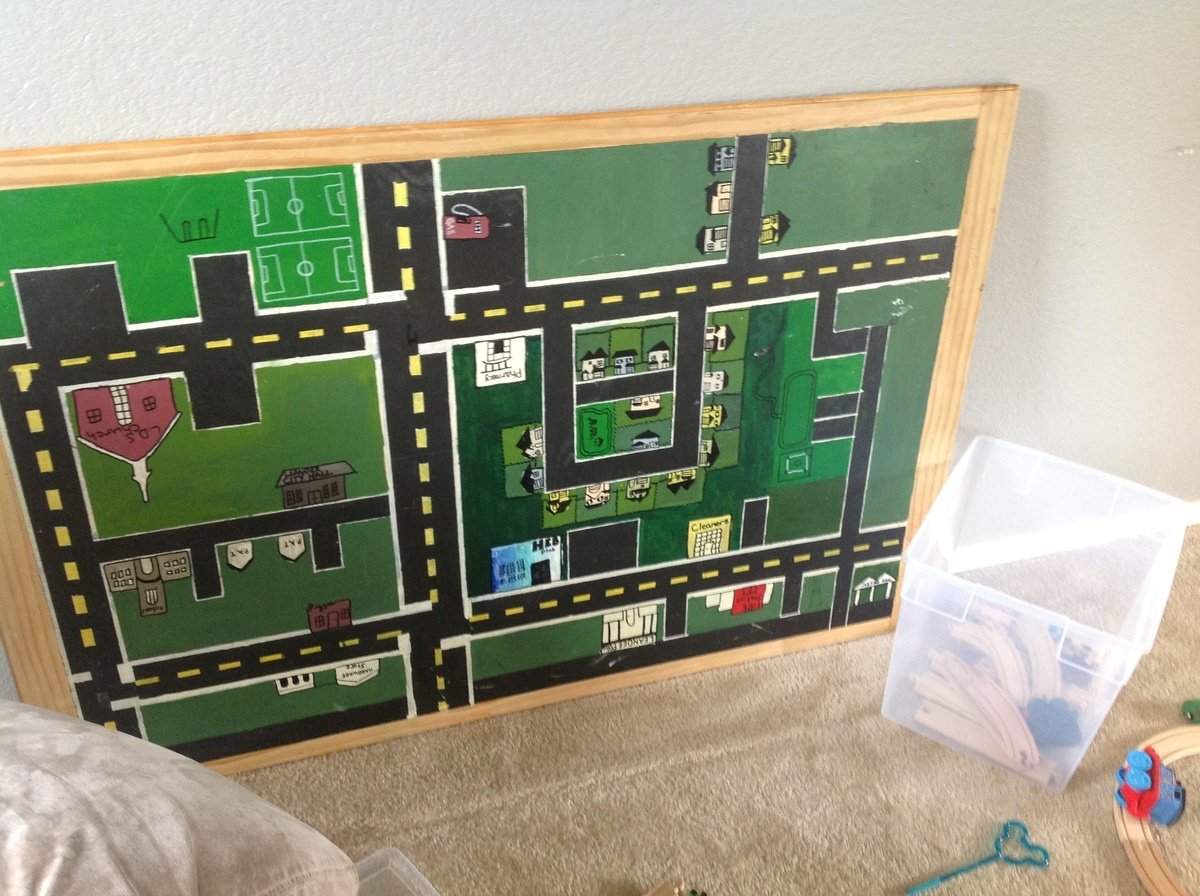
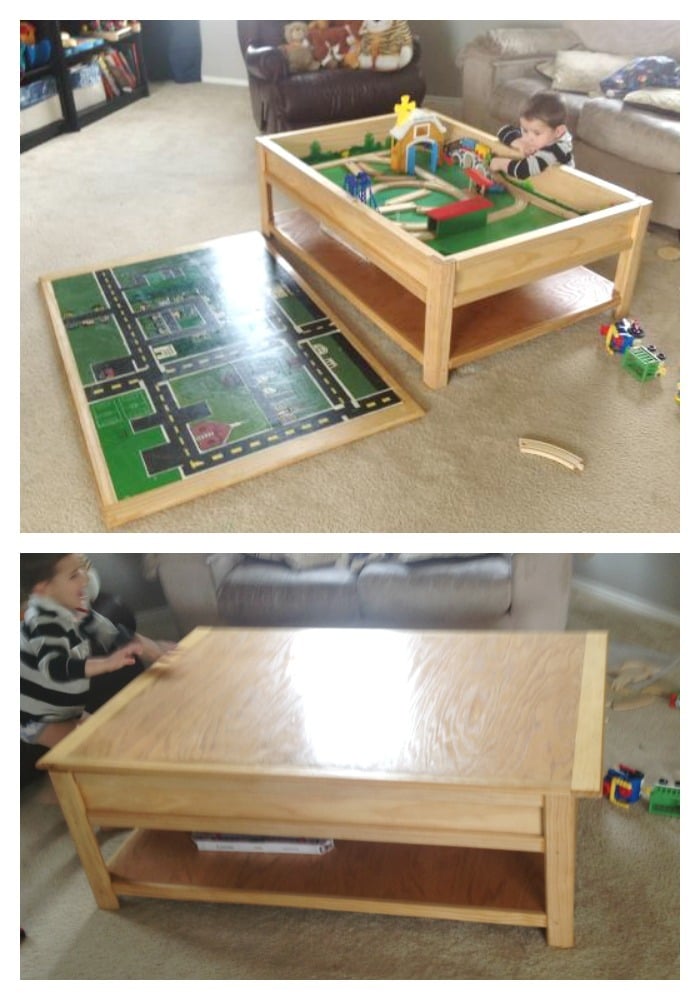
Train & car table

Submitted by Jrich on Thu, 04/25/2013 - 12:58

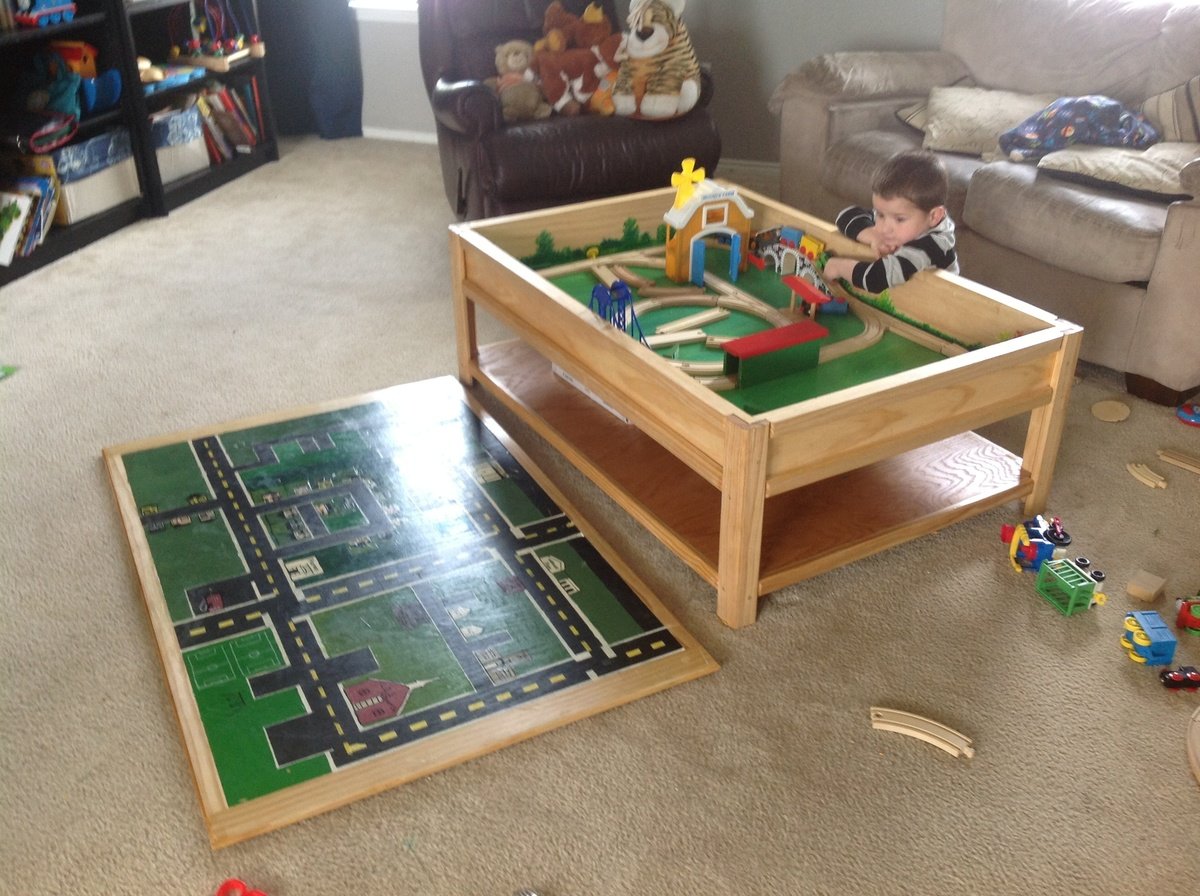
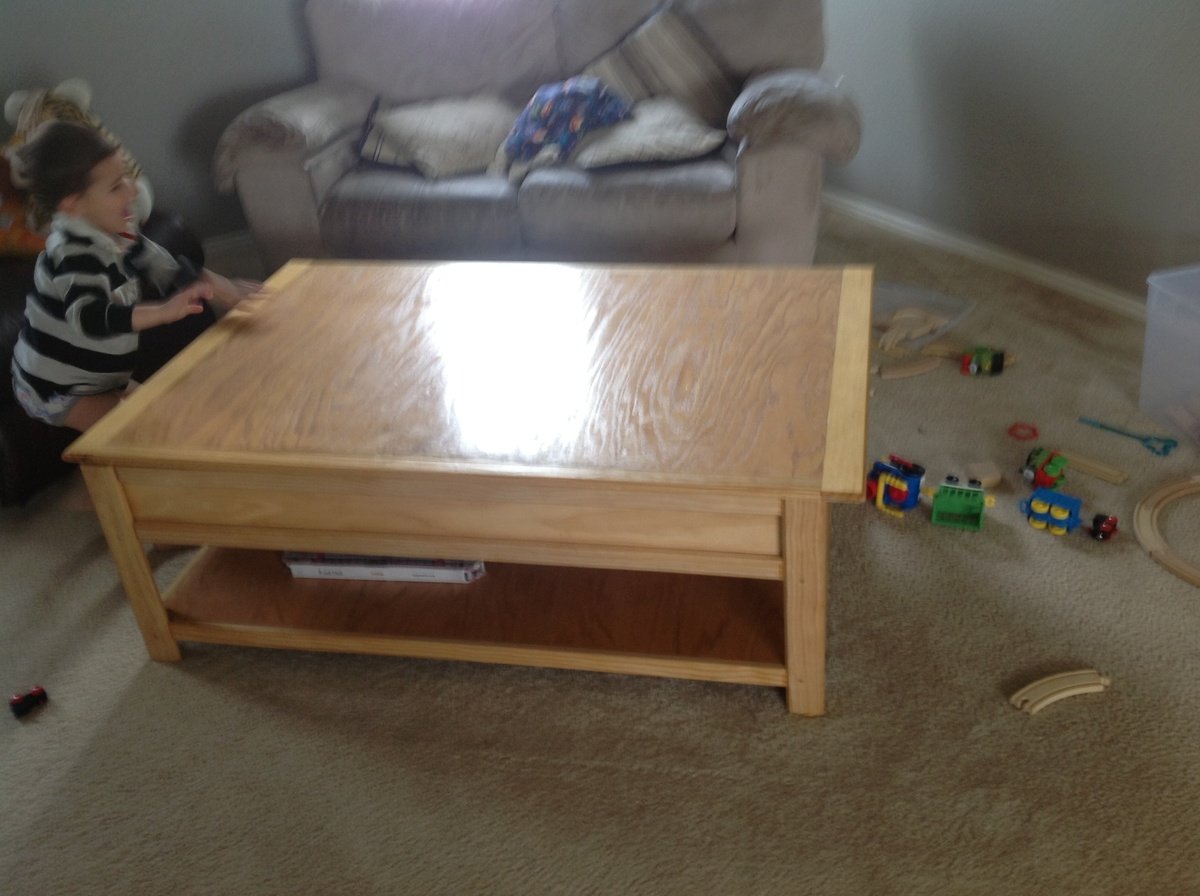
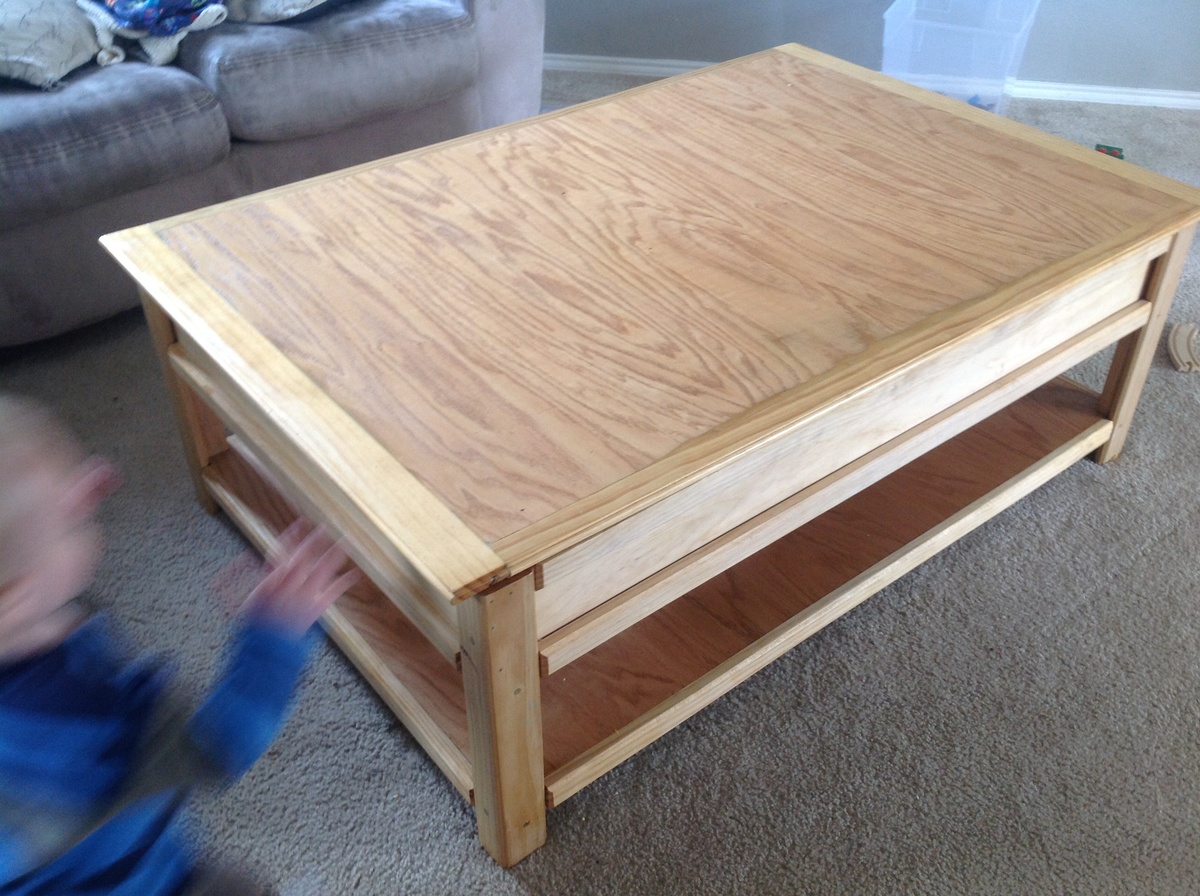
We customized the train table a bit and laminated the top into one solid piece so that we could paint a car map of our neighborhood on the underside. It's heavy! But with two boys in the house it's never really on anyways! :)

Built from Plan(s)
Estimated Time Investment
Week Long Project (20 Hours or More)
Finish Used
Tung oil
Recommended Skill Level
Beginner

Comments

mswendsen

Thu, 03/06/2014 - 22:26

I was wondering how you made it possible to lift and what the process was to do the map? I am wanting to do something like this for hot wheels for our friends son so he has something to play with when they come over.
Thank you

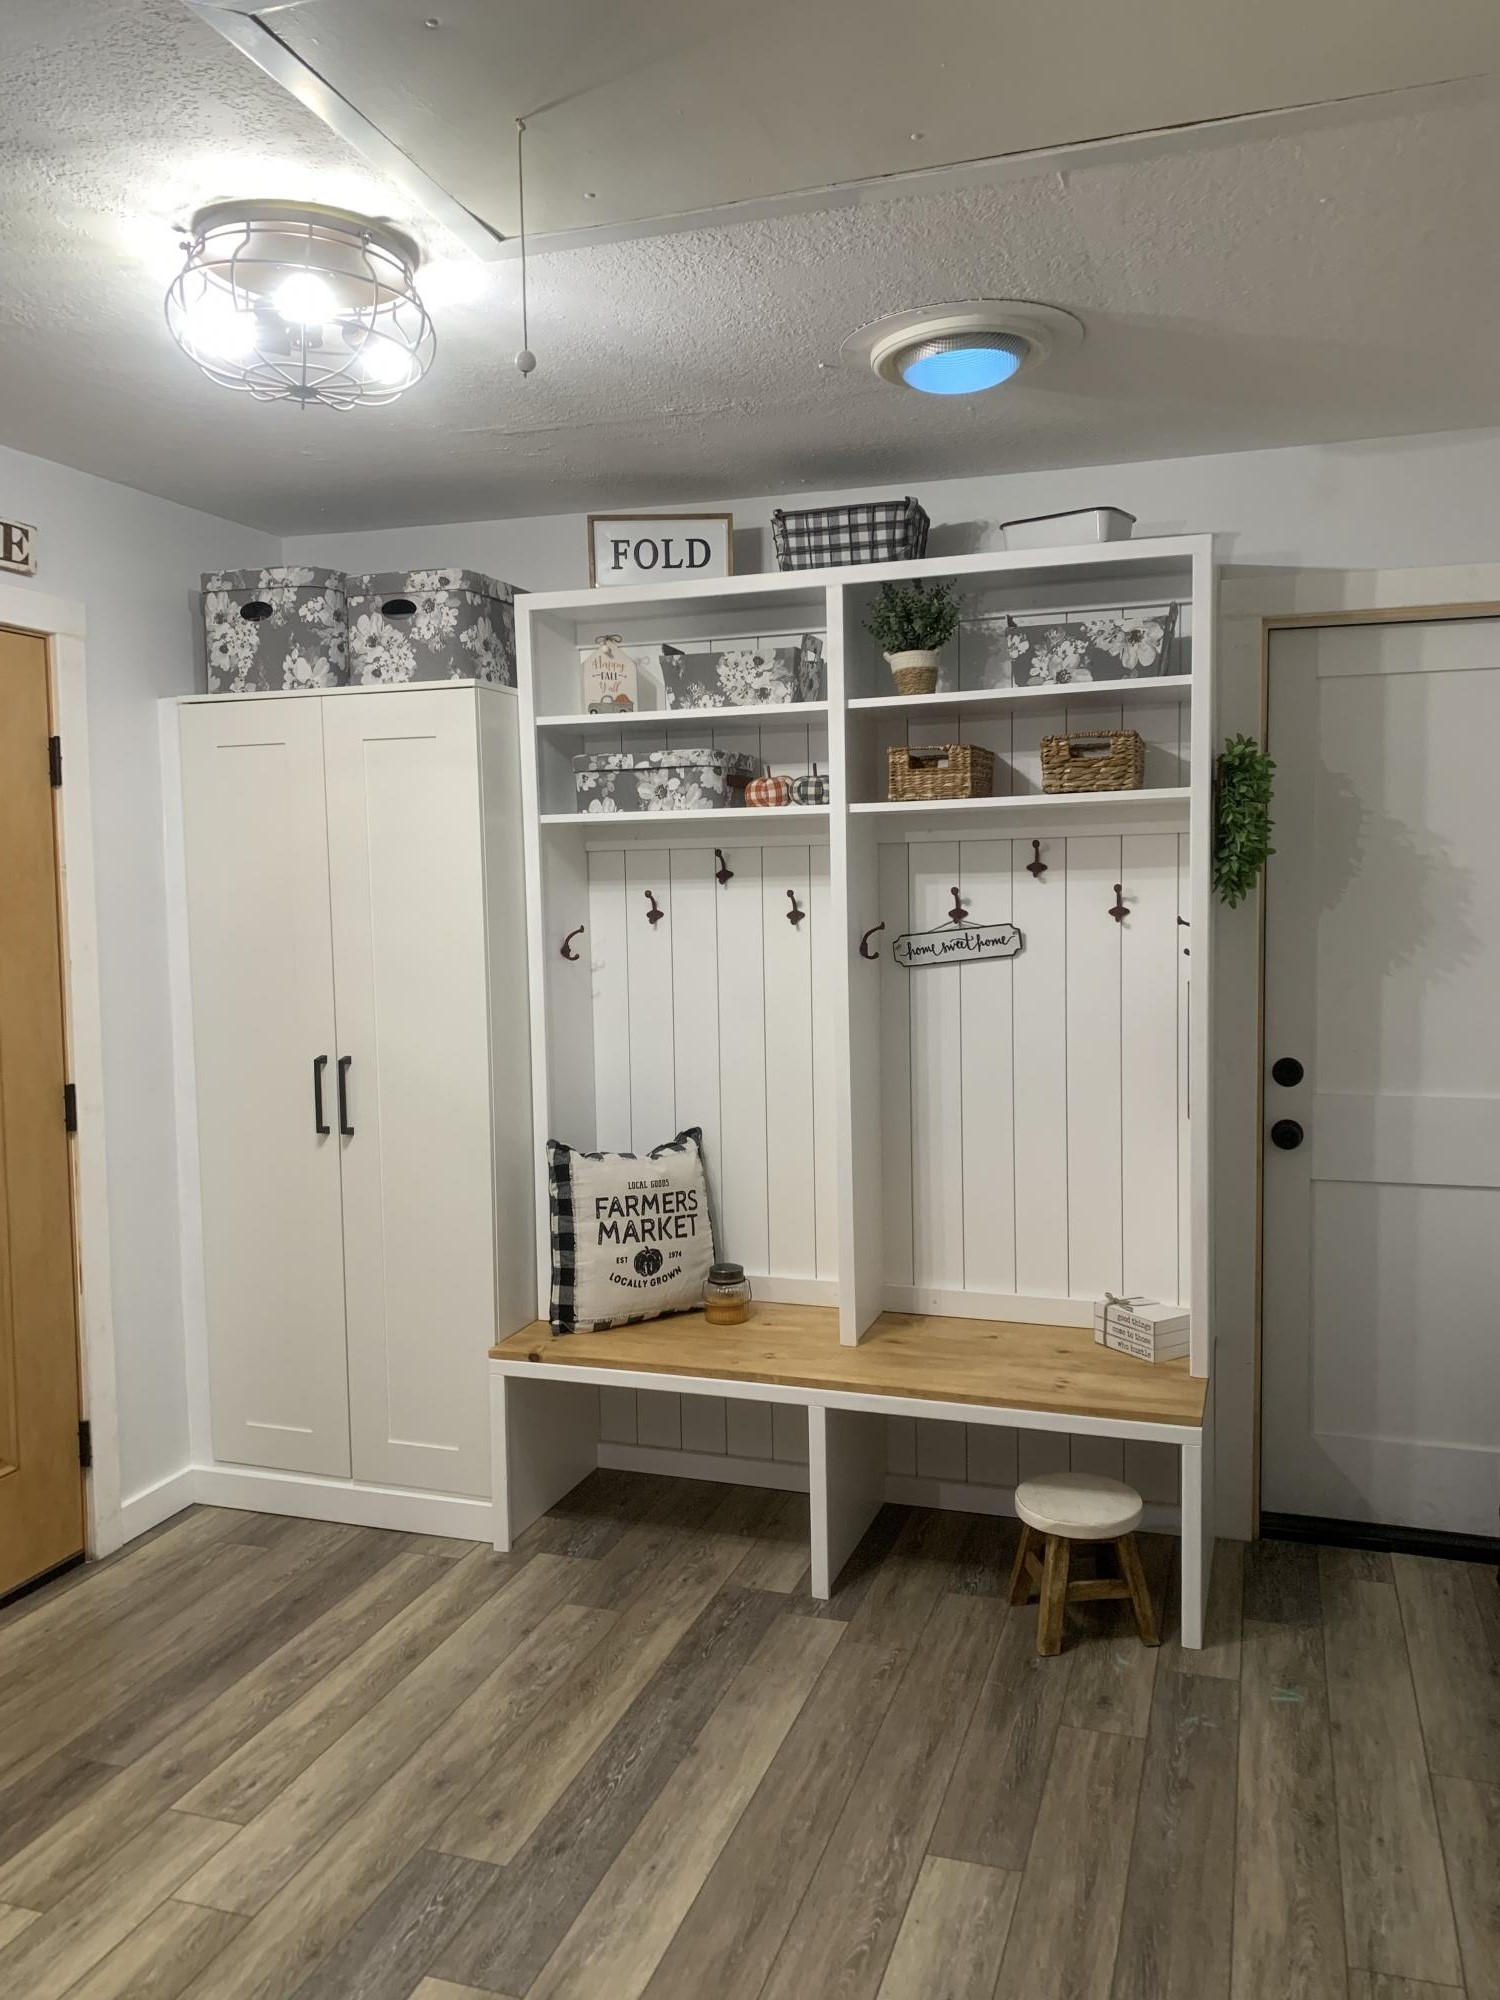
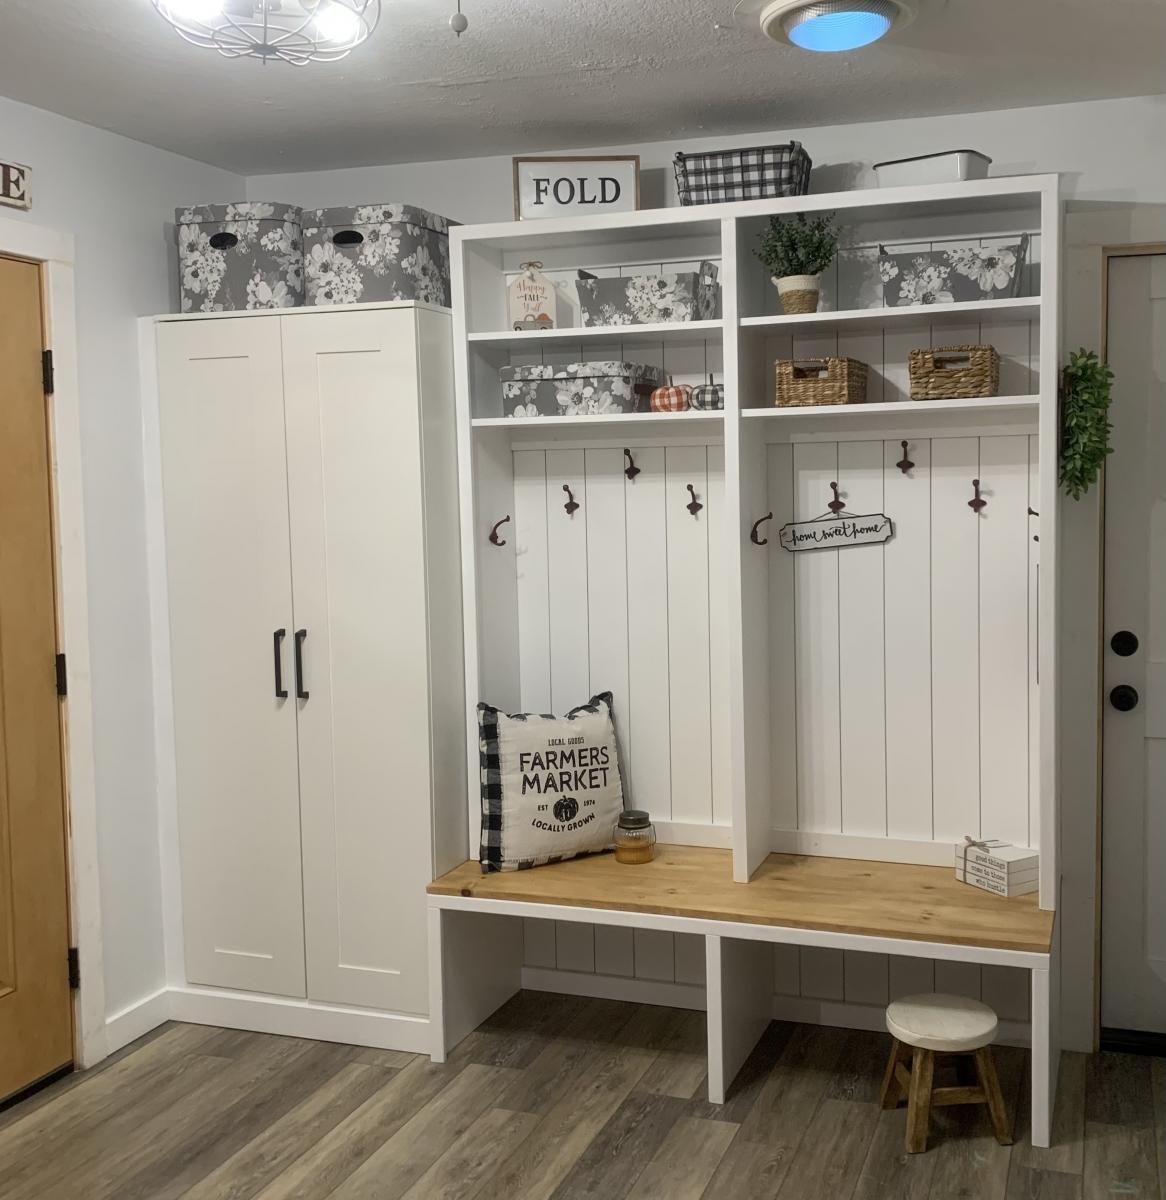
Mudroom Bench with Hutch

Submitted by calliher on Sun, 09/12/2021 - 18:45

This is my laundry room and it is about 12x10. It looked so bare with only the washer and dryer. So I thought making this a mudroom also. I live in the mountains and have snow 3 to 4 months a year. This will be perfect. I purchased an IKEA cabinet built it in and added the Ana White plans with two bays.

Comments

My take on the Becca Truck

Submitted by jeverett1 on Sat, 05/11/2013 - 10:33

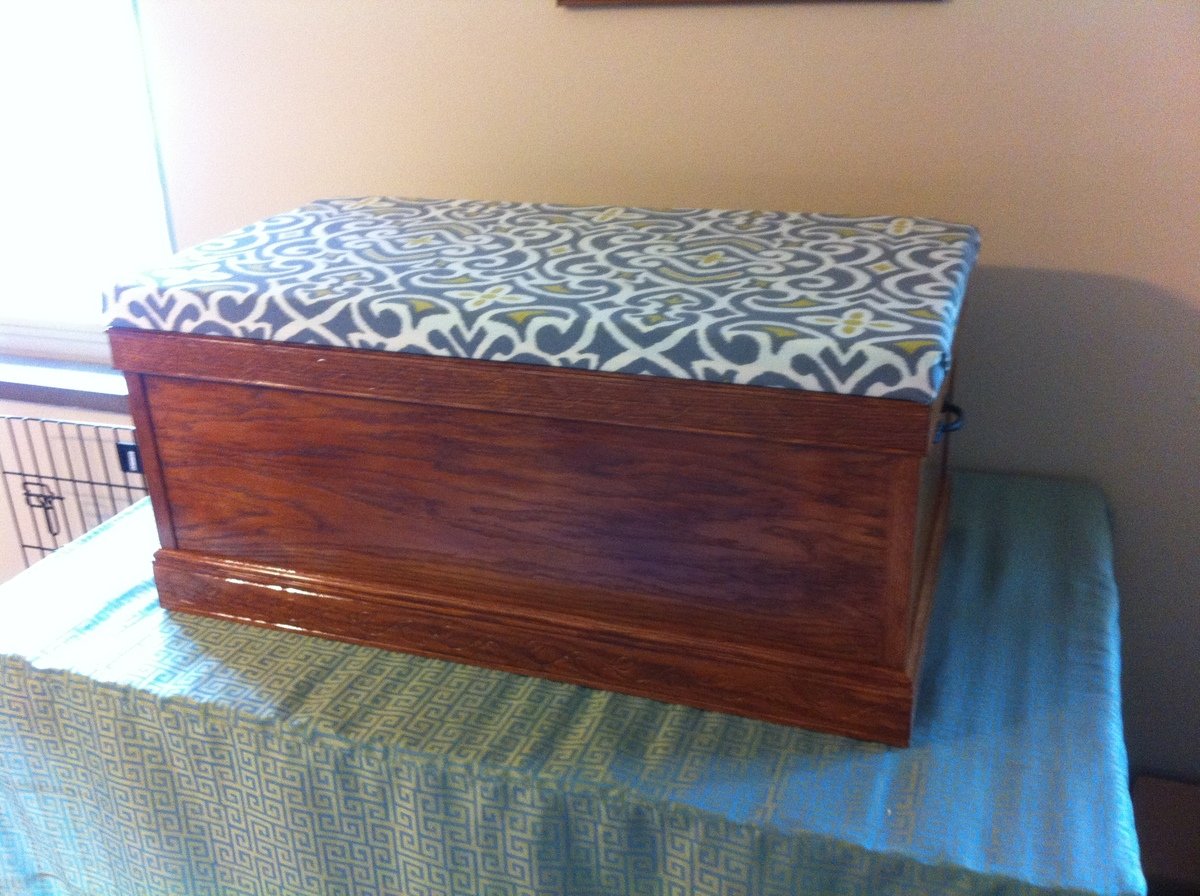
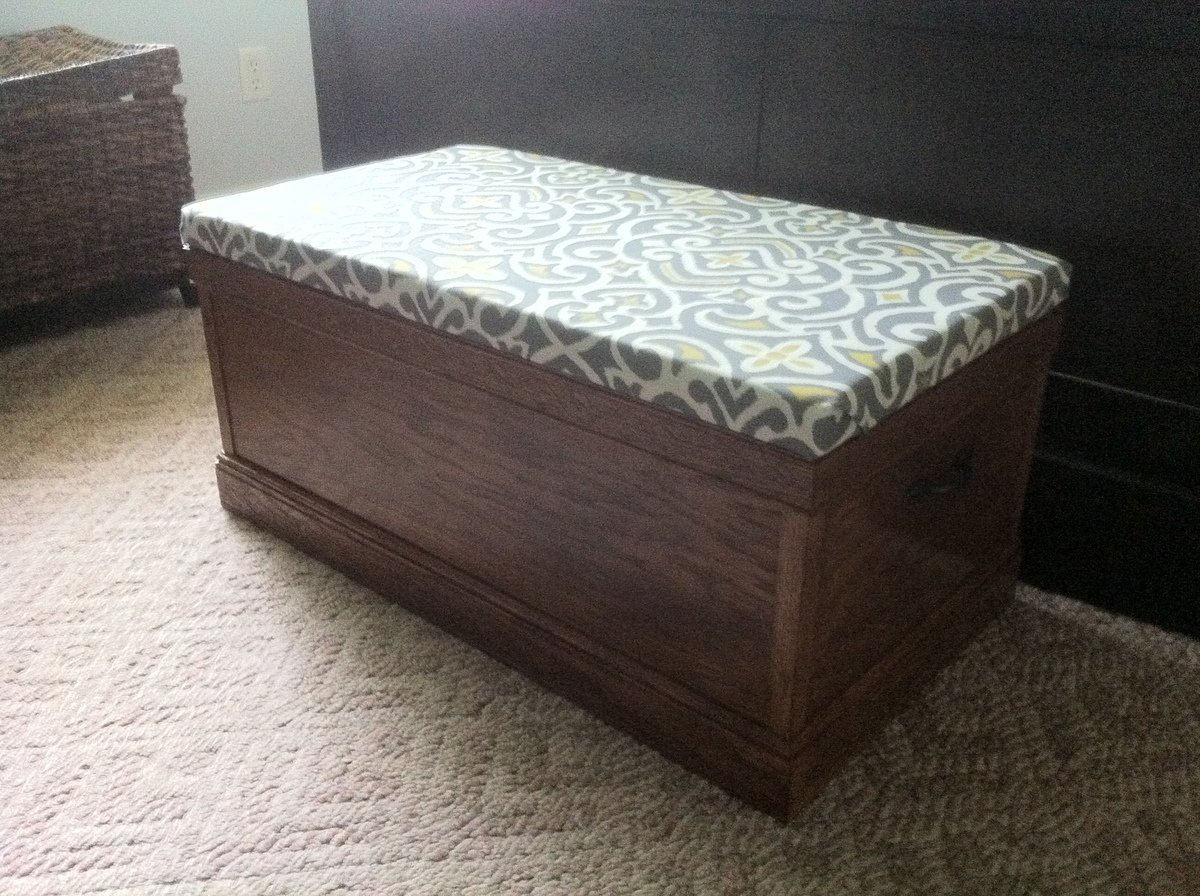
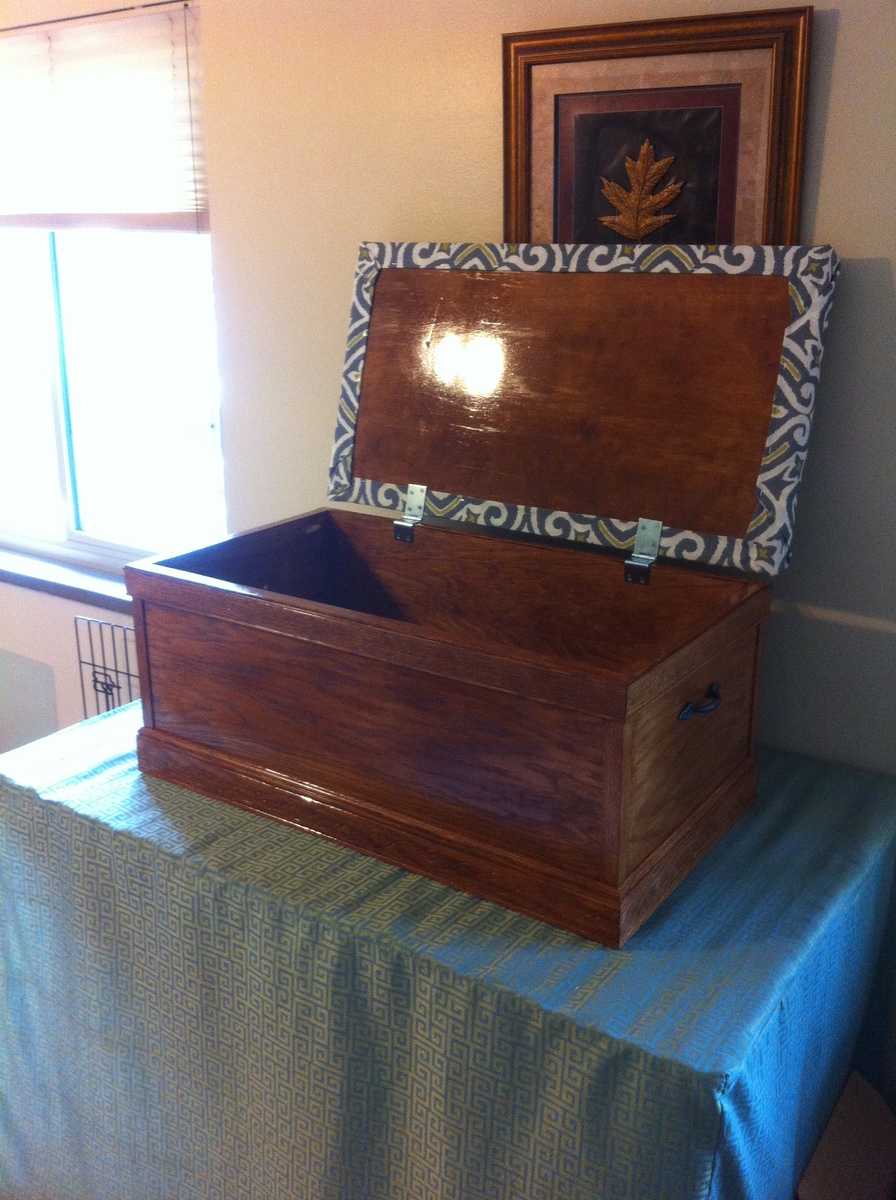
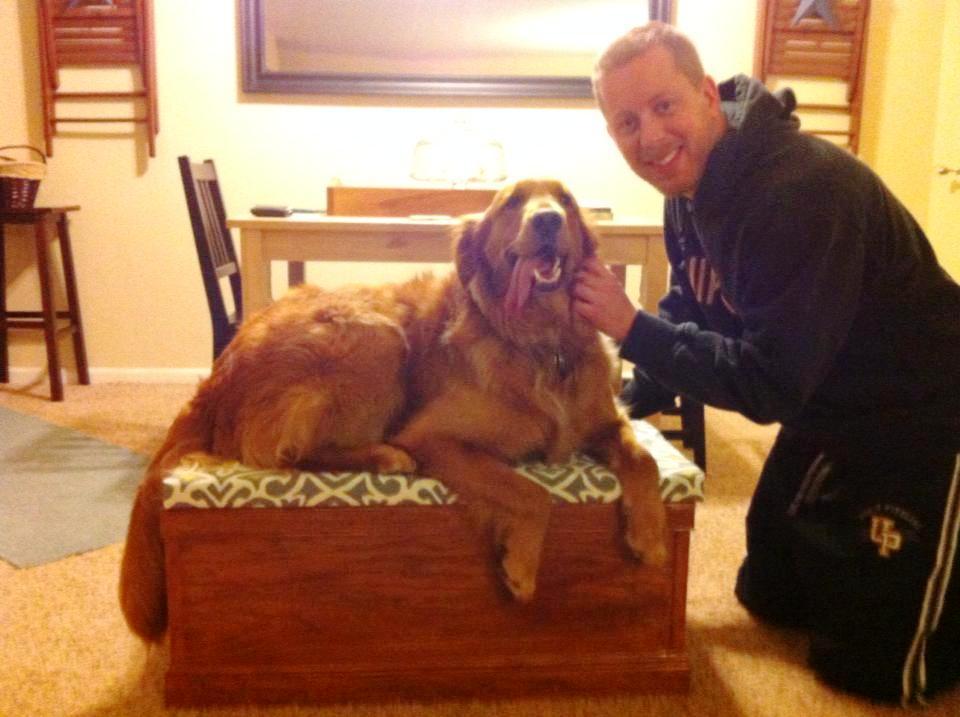
My wife and I have a 2 year old, 85lb, golden retriever named Lily. She has a tough time jumping up on our bed and has hurt herself on a few occasions. I was inspired to build her a step, but also wanted some storage. When I saw the Becca Trunk I knew I had to build it!

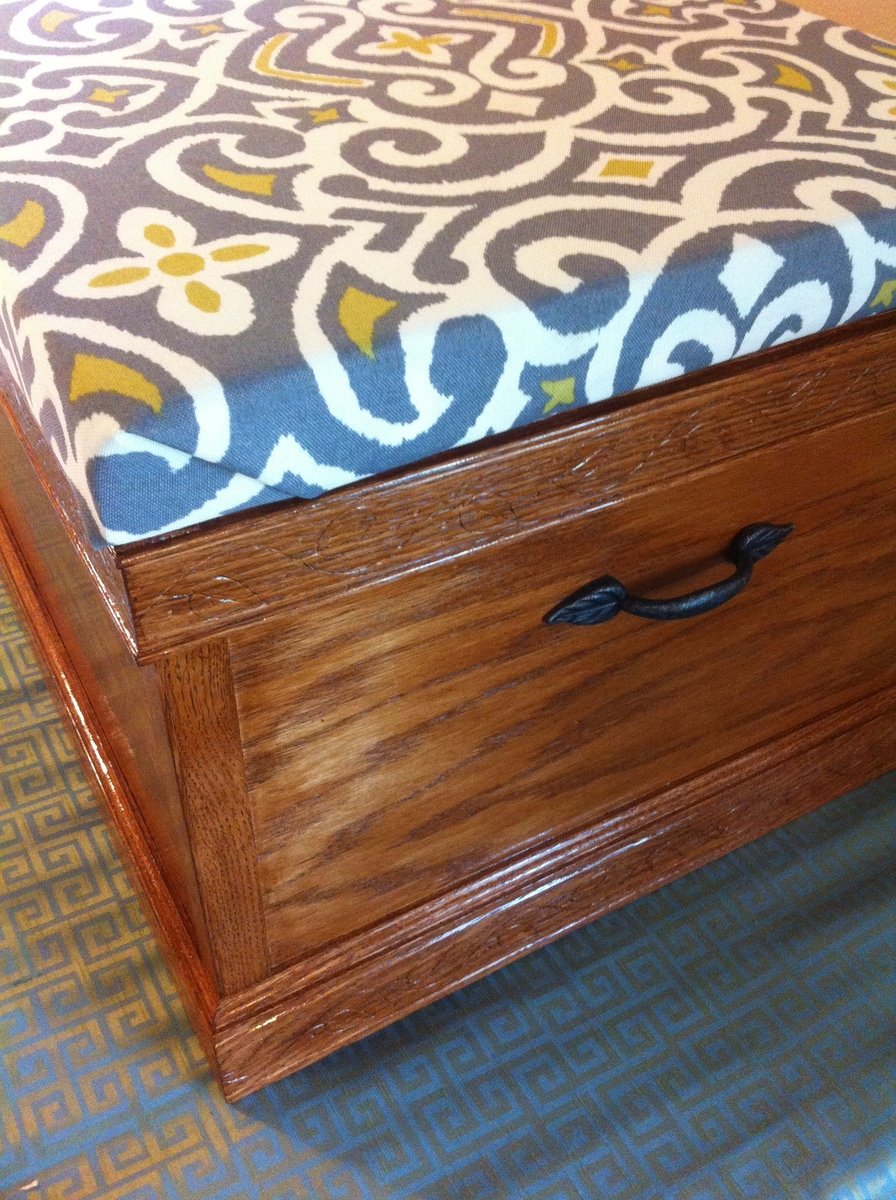
I used oak ply and solid oak for the trim, including some decorative leaf inscribed trim for the top and bottom. My wife and I picked out some outdoor furniture fabric that was stylish and would hold up to a big dog jumping on it. She used some firm padding and staple gunned the fabric to create a really neat and clean look (I am lost when it comes to that stuff, but she is a genius with scissors).

Built from Plan(s)
Estimated Time Investment
Week Long Project (20 Hours or More)
Finish Used
Minwax Polyshades Antique Walnut Gloss
Recommended Skill Level
Beginner

Comments

Martha Jones DW

Sun, 06/16/2013 - 18:43

As soon as I saw Lily, I just knew you built it for her. Love that you added a a cushion top on the trunk. It's amazing how we take care of our fur Babies.

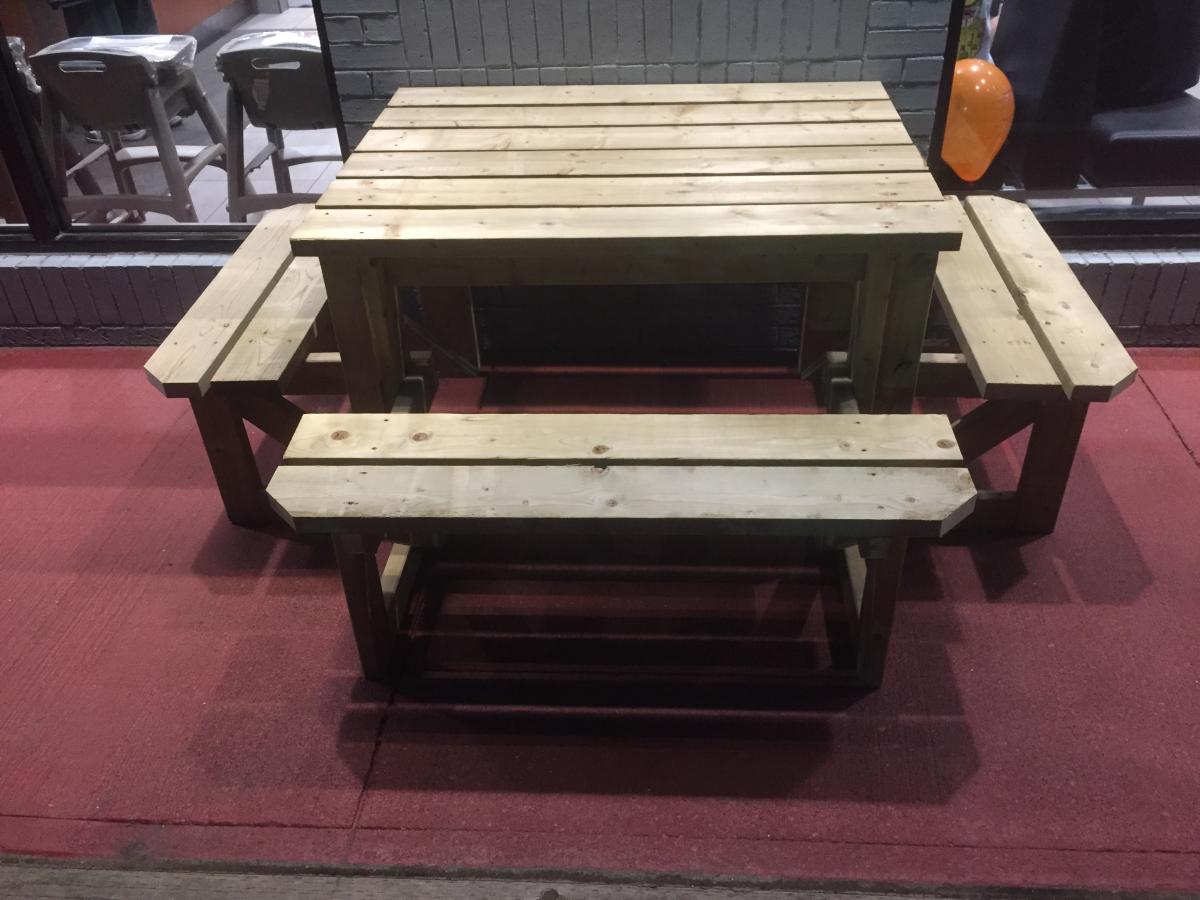
3 sided square picnic table

Submitted by Anonymous (not verified) on Mon, 10/04/2021 - 13:08

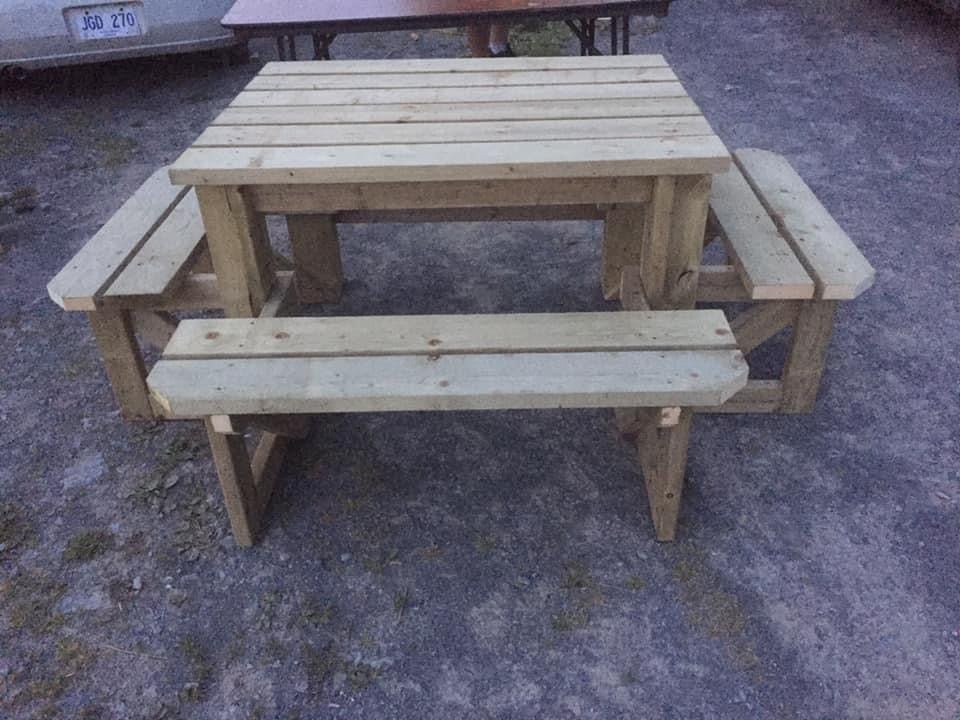
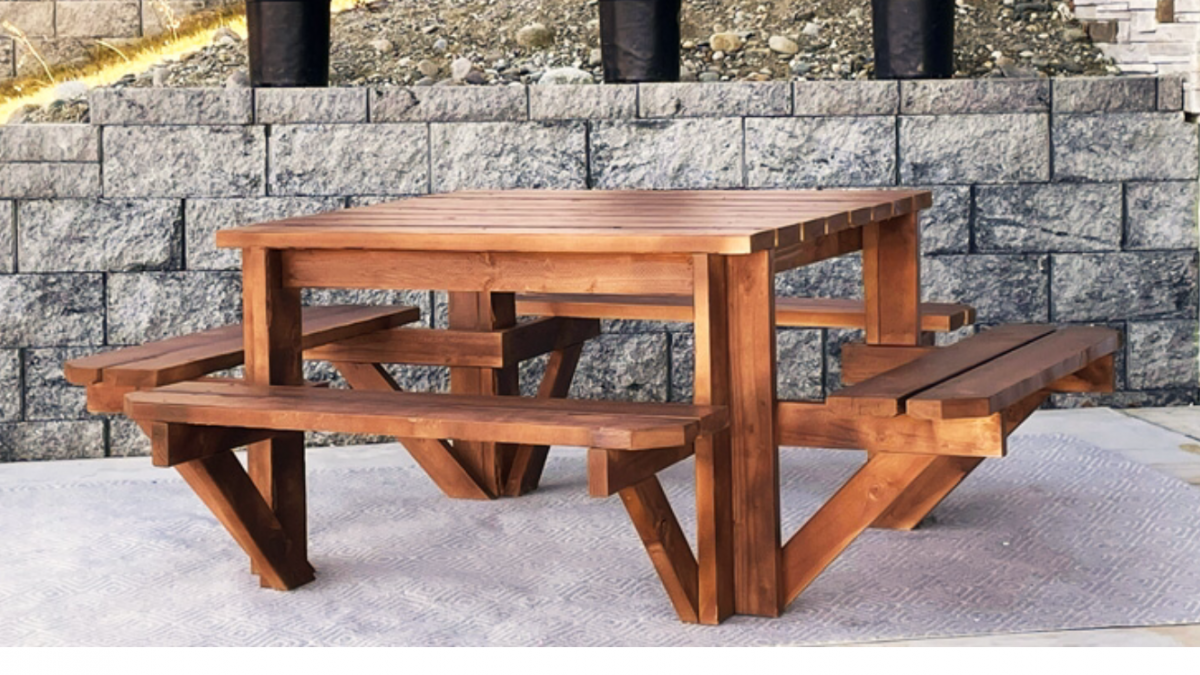
We built 2 of these tables for the McDonald’s in our area for the front of their building. With a few modifications to fit the space. We made the top of the table a foot smaller so it’s 3 x 4 feet. We also put extra bracing on the legs so the table would not tip over if one person was to sit on it. I love this table and will be making one for myself

Built from Plan(s)

Comments

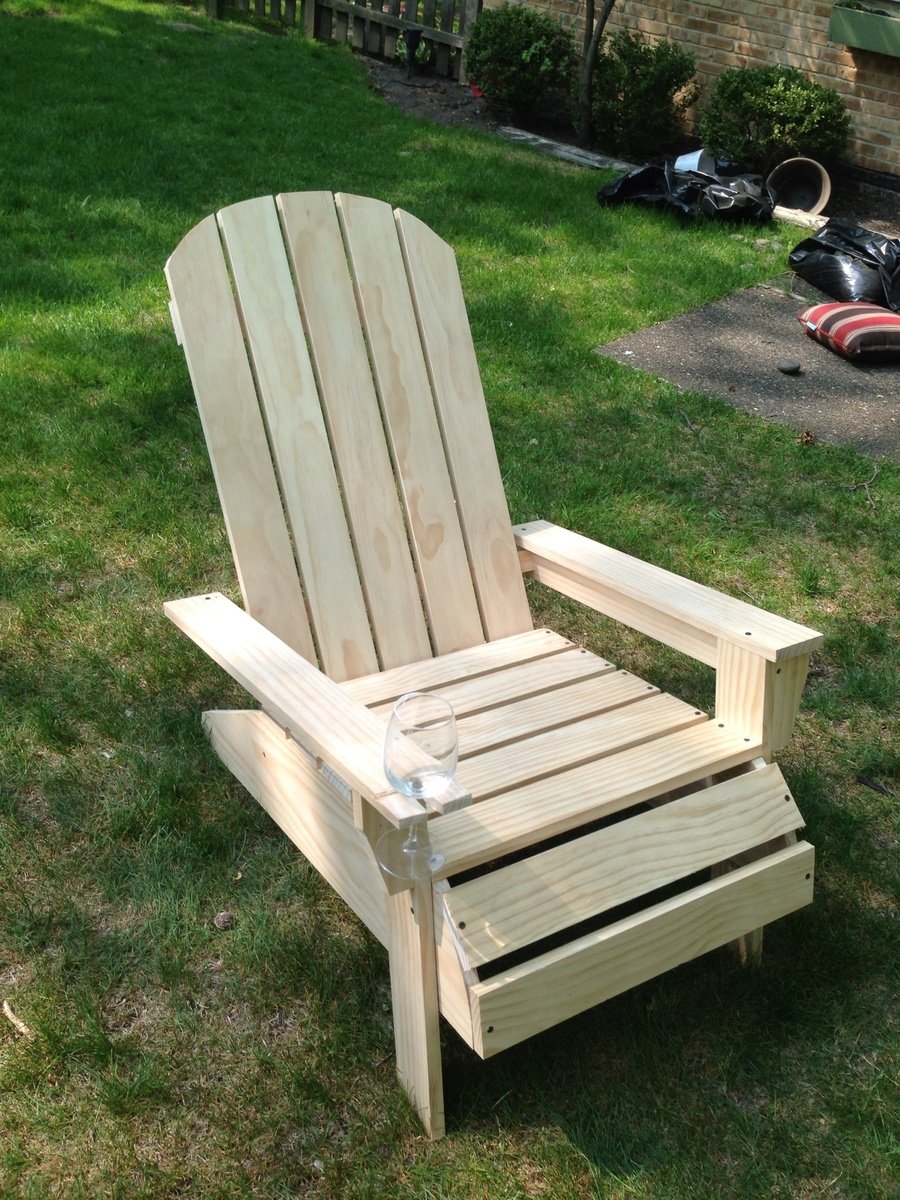
Adirondack chair

Submitted by Gsmit96 on Sun, 05/19/2013 - 18:38

The only thing I did different to the plan was add 4.5 inches to the back slats so I could round the edges and 3 inches to the right arm rest so I could cut out a track to rest a wine glass. One thing I highly recommend is to create a stencil of the stringer. I did and now I have it for the next one so the next chair will be consistent. Thanks Ana white, this site is very therapeutic for me. Already built 3 projects in the last month.

Estimated Time Investment
Afternoon Project (3-6 Hours)
Finish Used
Haven't painted yet, will paint white soon
Recommended Skill Level
Beginner

Comments

sorese

Thu, 06/06/2013 - 06:38

The mods on this make me now want to build a set of these, the wine glass holder is genius! love the rounded front and back, so much better than original plans, thanks for inspiration!

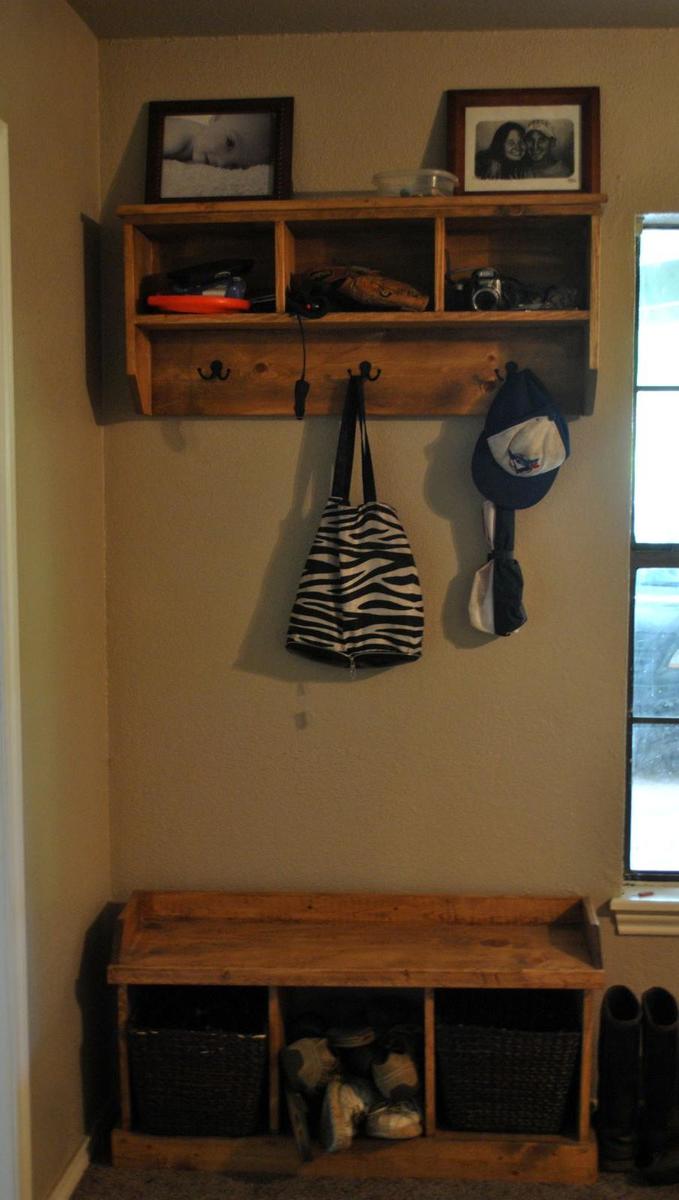
Entry way bench and storage

Submitted by seesaw on Sat, 03/12/2011 - 11:19

This is perfect for our front room- (most) shoes fit in the storage baskets, and the hooks are perfect for scarves and coats in the winter, towels and life jackets in the summer. The top cubbies hold gloves and hats, as well as sunglasses, umbrellas and sun screen.

Estimated Cost
$30
Estimated Time Investment
Afternoon Project (3-6 Hours)
Finish Used
Early American
Recommended Skill Level
Beginner

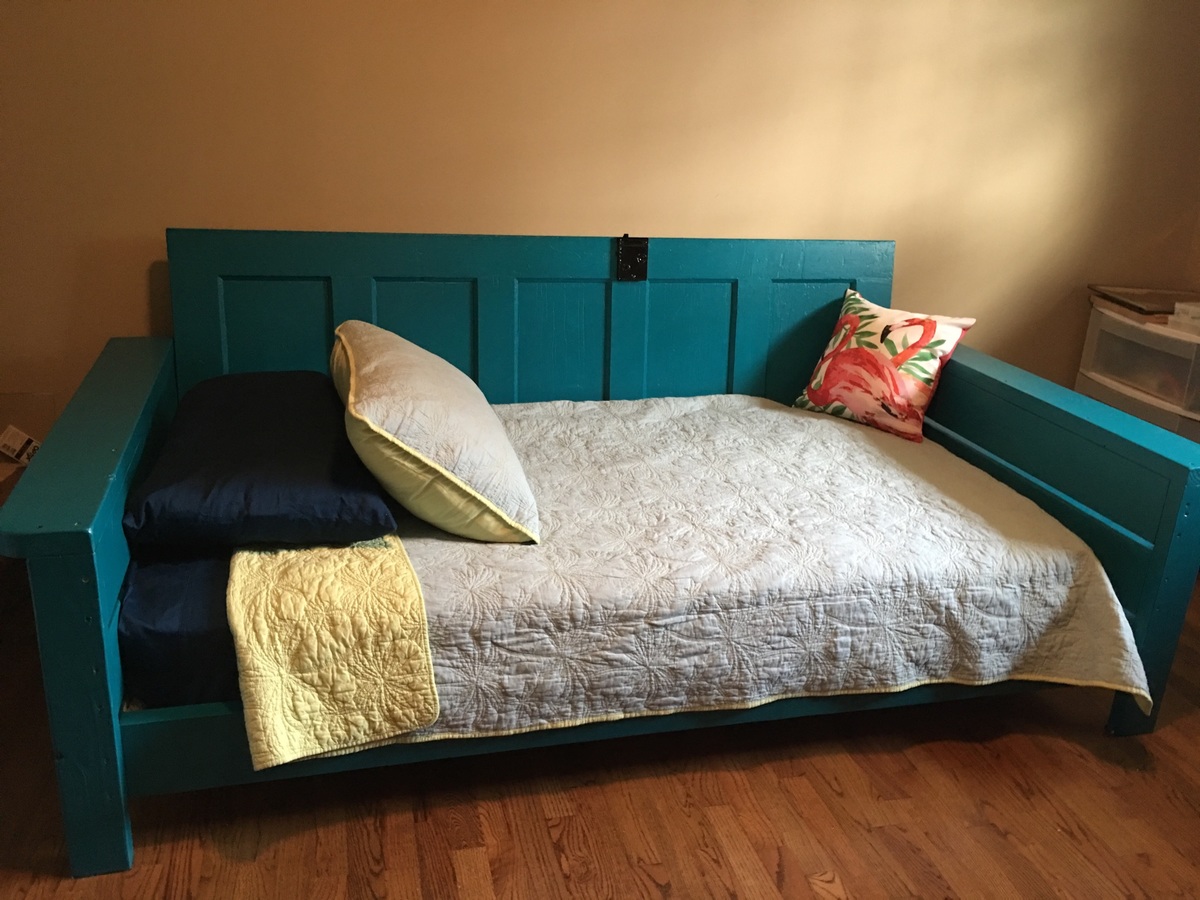
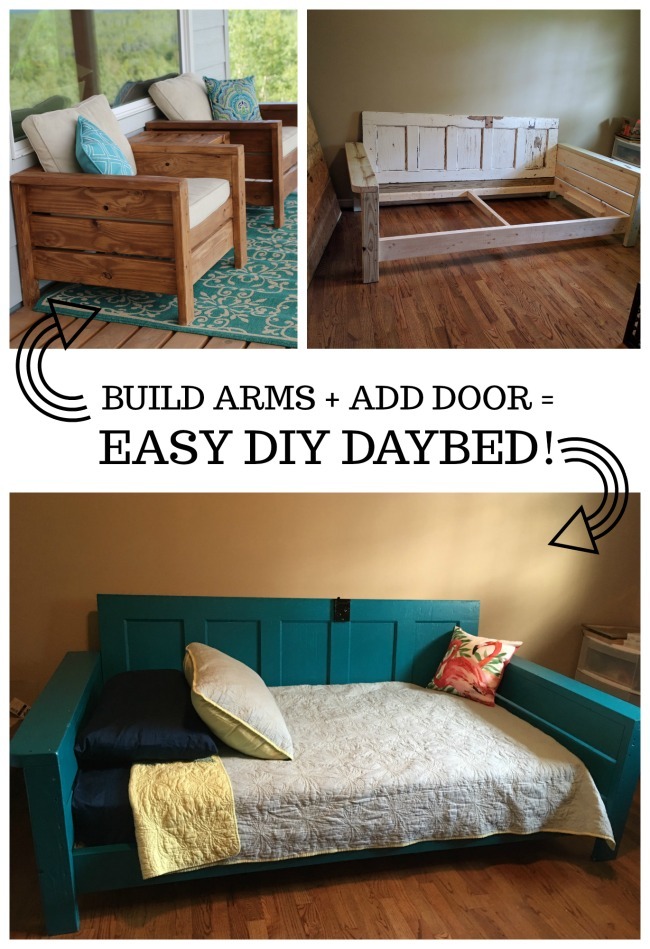
Day bed

Submitted by Christinna on Thu, 09/07/2017 - 17:05

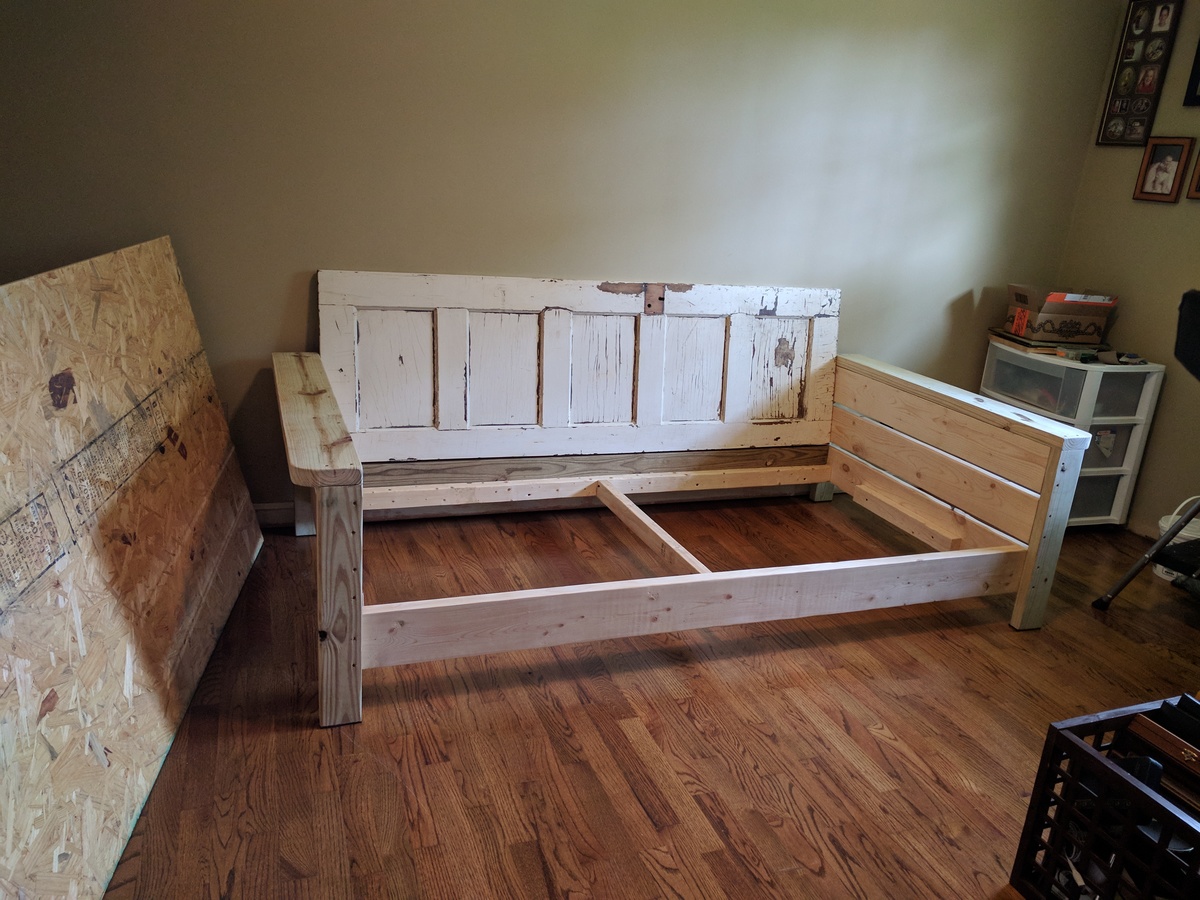
My sister needed a day bed for her guest room.  I modified the Modern Outdoor Chair plans to fit her needs.  We used an old door she found, even using the hinges as a means to attach the door to the bed frame.  This was my first real project.


Estimated Time Investment
Weekend Project (10-20 Hours)
Finish Used
Paint
Recommended Skill Level
Beginner

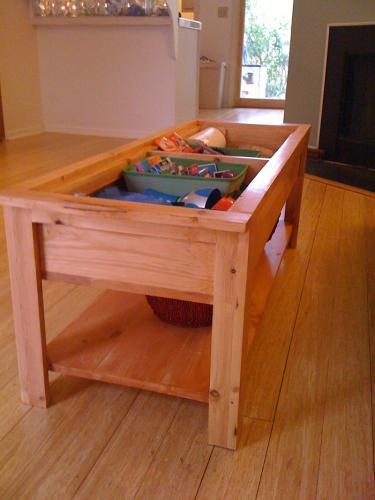
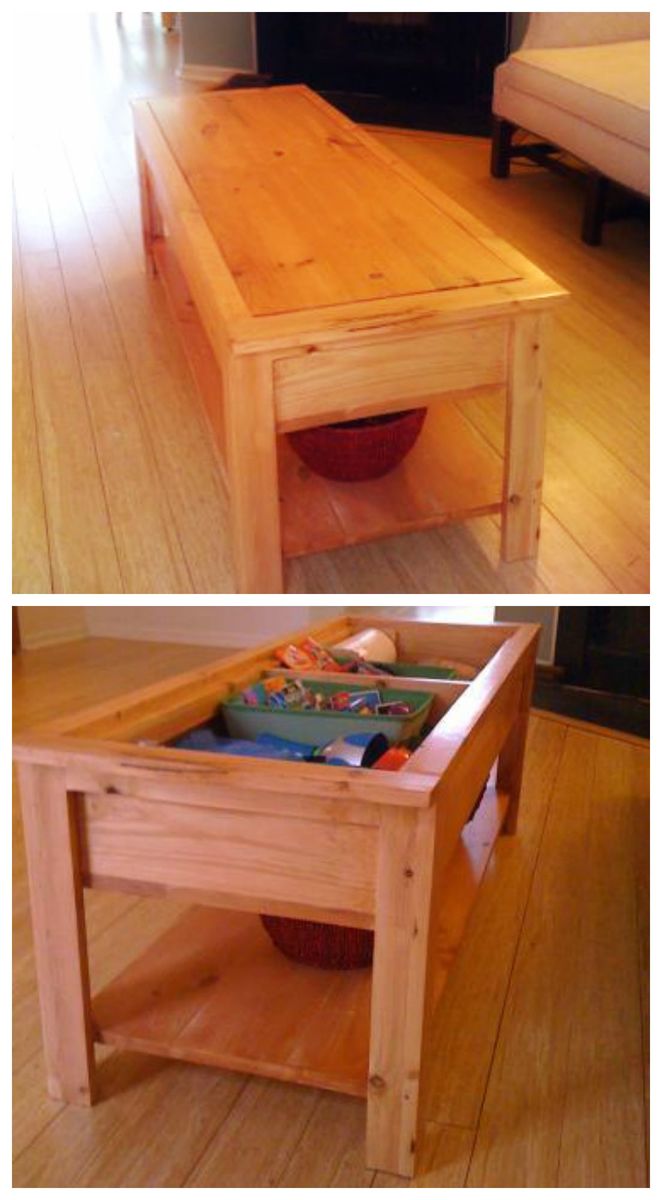
The Coffee Table of Fun

Submitted by QueenMahin on Mon, 03/21/2011 - 03:59

Hello Fellow Ana White Fans!

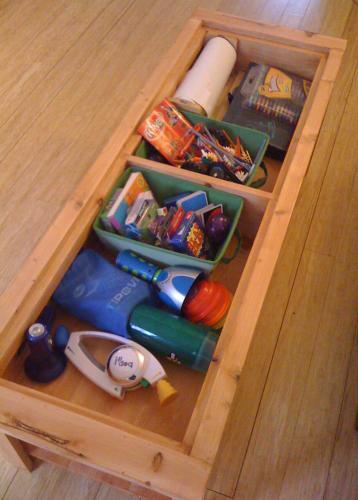
This is from Ana White's lego coffee table plan, but my daughter is not a huge fan of legos, so we’re just calling this project the Coffee Table of Fun!  Indeed it was a fun build.  This project gave me the excuse I was looking for to buy a kreg jig.  Certainly a kreg jig was not required, as the plan calls for a plywood top and bottom, but Ana revealed in the comments that she made her table by planking 1x6 boards with the kreg jig.  I was nervous at first with the kreg jig (it comes with a whopping big bit), but now I see a world of new possibilities in building with this awesome tool.

This table came together very quickly.  In fact, perhaps it was too quick, because I made a substantial mistake during the build.  In step 8 of the plan, adding the top sides, I missed the fact that the top side was supposed to be flush with the top support, not with the box itself, so that there would be a ledge for the top to rest on.  I didn’t realize my mistake until I added the top ends (correctly), and then measured for the top piece.  Then I scratched my head after realizing that the 3 planked 1x6 boards were not going to fit at all.  Oops!

I was disheartened at first, because I didn’t know what to do.  By the way, Ana has included a “How-To’s” section on this new site for fellow builders to submit tips.  I’d love it if someone could give some pointers about fixing mistakes.  Is there any recourse once a board is glued and screwed?  Anyway, I took some quiet time to think about the project and had an “Aha!” moment.  I ended up attaching 1x2 pieces around the inner edges of the two compartments to create the ledge for the top to rest on.  Then, instead of the three planked 1x6 boards that I’d planned on, I used 6 1x3’s planked together to make the top.  Yes, there was an unexpected detour from the plan, but it all worked out just fine.   I’d rather not make mistakes, but at my current level of experience, I think that mistakes are inevitable, and the mistakes actually give the piece a story and a little extra personality.

Looking forward to the next project!

Cheers!
Estimated Cost
$50
Estimated Time Investment
Weekend Project (10-20 Hours)
Finish Used
Stain with Minwax poly shades - pecan satin
Recommended Skill Level
Beginner

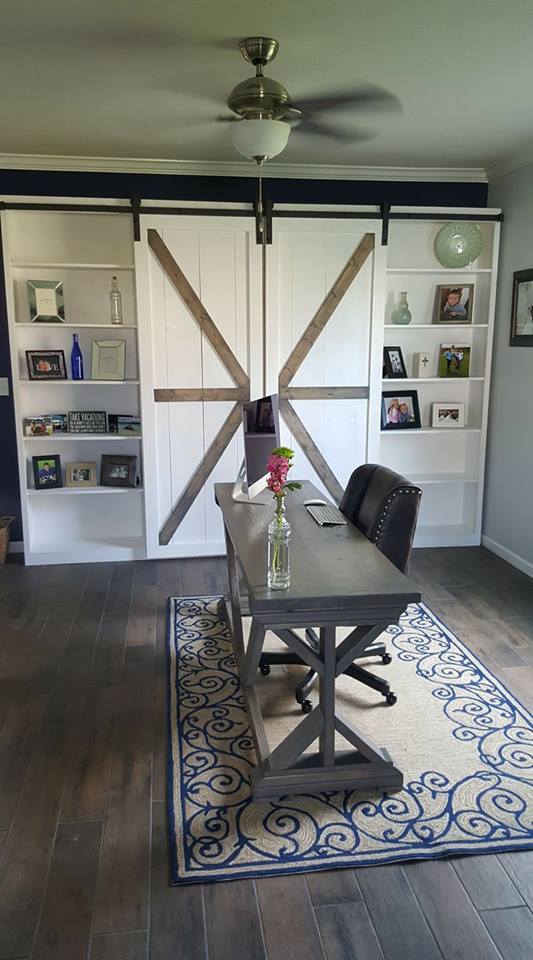
Barn Door Storage Wall and Trestle Desk

Submitted by Anonymous (not verified) on Mon, 10/23/2017 - 10:14


Some of my first builds... I built this wall unit with sliding barn doors and the desk in front of it.

By Kraig Faulkner

Recommended Skill Level
Intermediate

Comments

Look What I Made!

This was my first project to build although I cut wood for another project a year ago. The plans were simple and easy to follow. Now I want to build more! Thank you Ana!

Built from Plan(s)
Estimated Time Investment
Day Project (6-9 Hours)
Finish Used
Red Mahogany Minwax stain for the base cabinets,
Black satin latex paint for desktop, Polyurethane. I didn't want a uniform color on the entire desk so I stained the cabinets with my favorite stain color and painted the desk top black.
Recommended Skill Level
Beginner

Comments

Laundry Basket Rack

This was a great last minute Christmas gift. Took me a little over two hours. Made completely out if pallet wood.

Comments

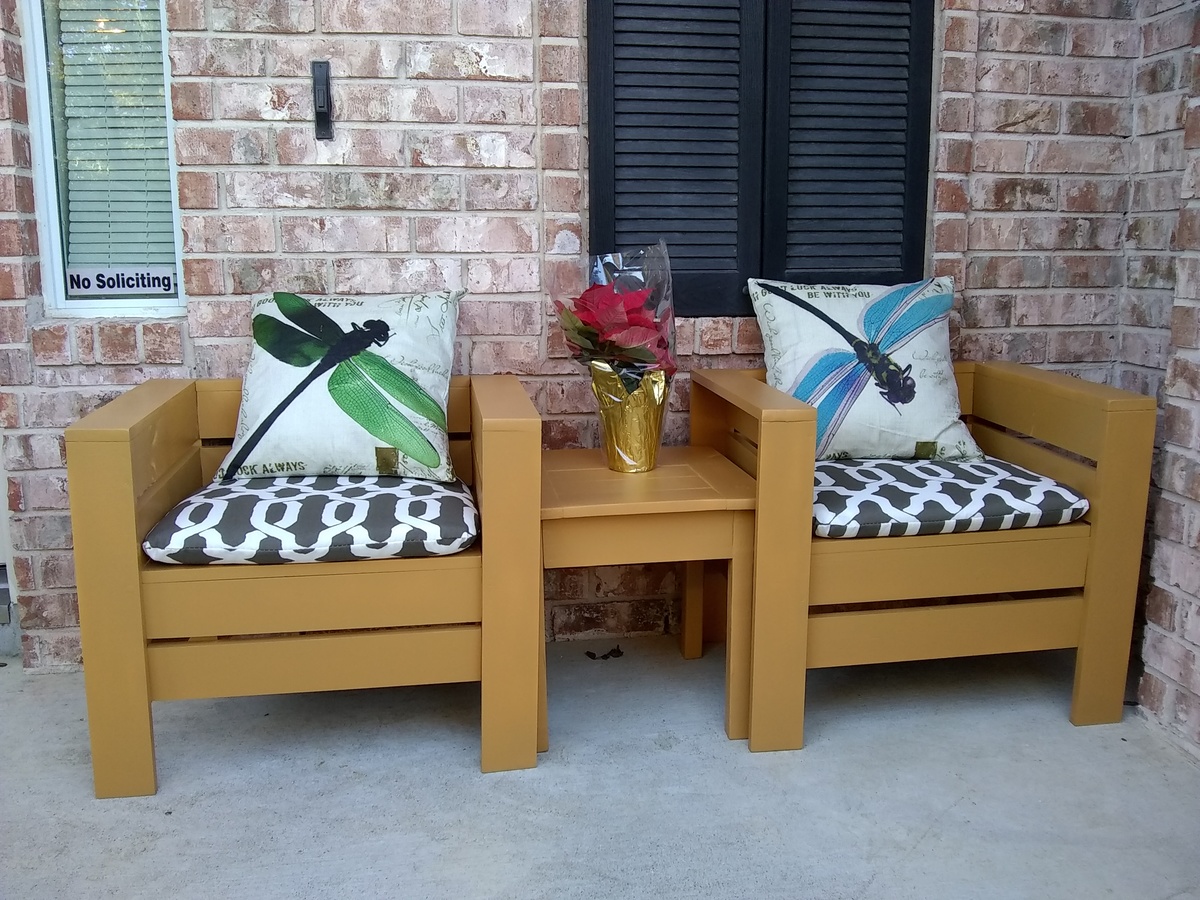
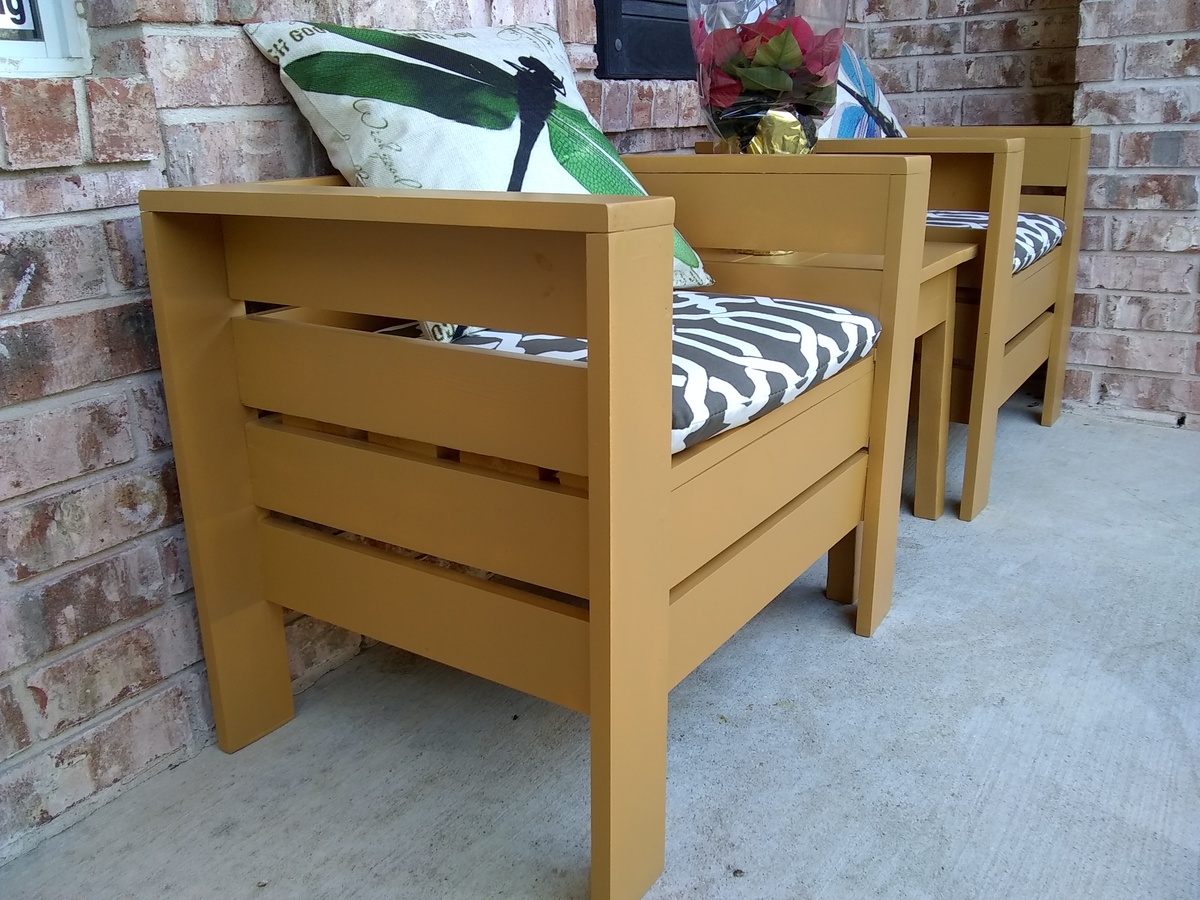
Resized modern chairs with table

Submitted by CarolinaL on Thu, 12/28/2017 - 16:27

I needed chairs that would fit on my narrow front porch. This plan was great because I was able to resize it to 20x20. I used 1x4s that I already had and some wood glue. They turned out solid. I made the tryde table with left over wood. That one is 17.5x17.5. Super happy with the results. We are doing the garage shelves right now. I have a list of other things I want to make thanks to Ana's wonderful website. 

Estimated Time Investment
Week Long Project (20 Hours or More)
Finish Used
Exterior Valspar with a paint sprayer
Recommended Skill Level
Beginner

Work Bench

I'm new at this so I started with the work bench. SUPER easy. I built it by myself. Bought the wood around 8 AM and was DONE by 11. Thanks Ana!

Built from Plan(s)
Estimated Cost
not sure... a few 2x4's
Estimated Time Investment
An Hour or Two (0-2 Hours)
Finish Used
none
Recommended Skill Level
Starter Project

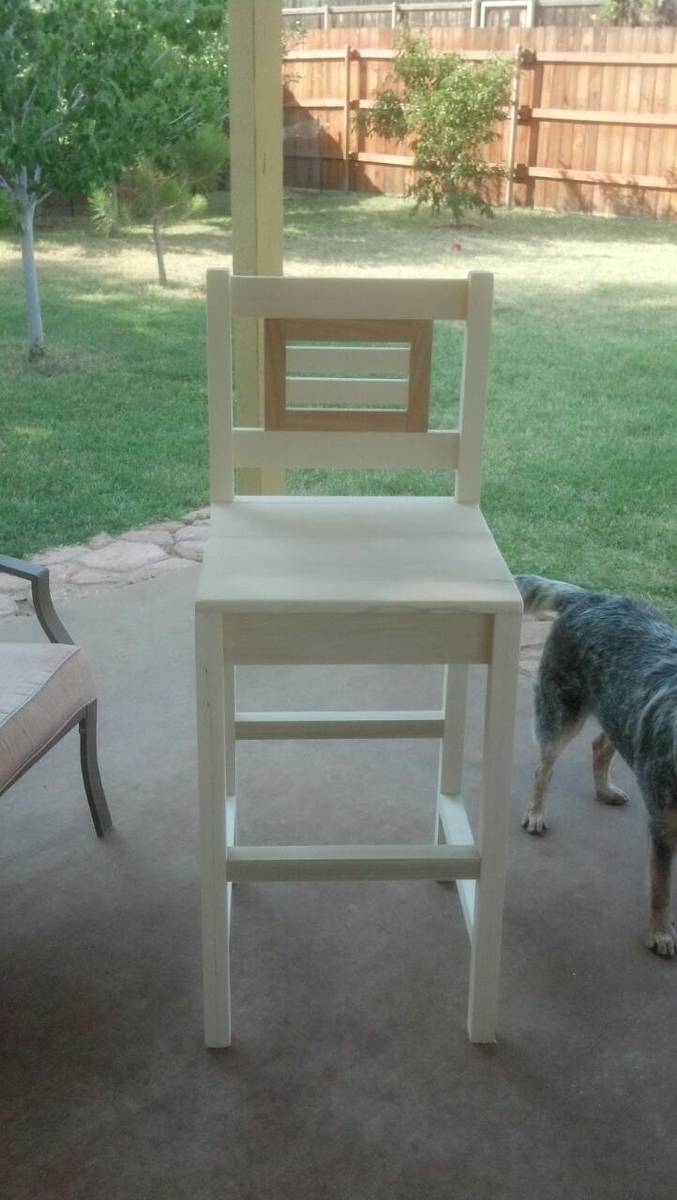
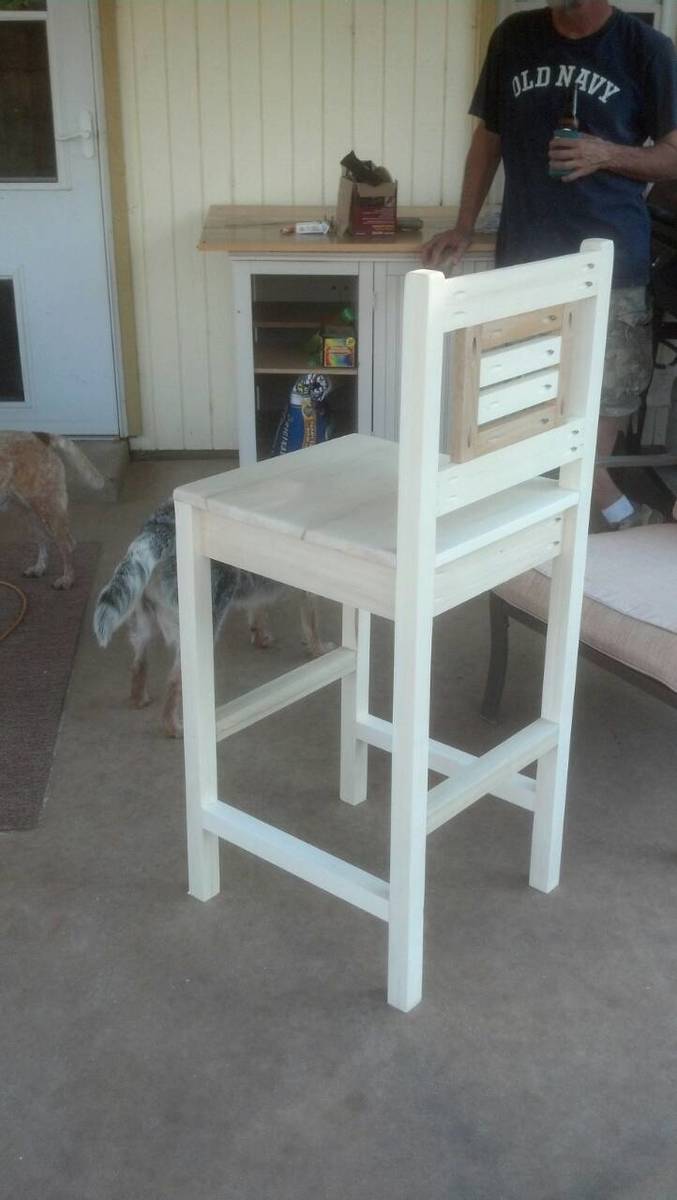
bar stool

Submitted by Kris60 on Fri, 07/05/2013 - 18:12

Our Vintage bar stools that are not complete yet.

Estimated Time Investment
Afternoon Project (3-6 Hours)
Finish Used
n/a
Recommended Skill Level
Beginner

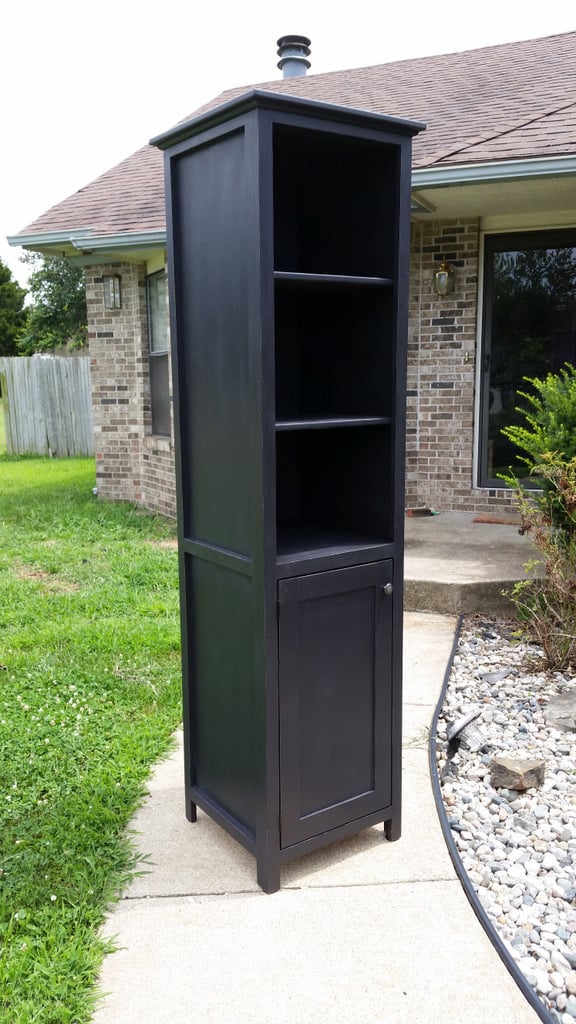
Kitchen Tower Cabinet

This is our first Ana White project and we're pretty happy with the results. We modified the plans a bit to use 1/4" plywood for the sides instead of the heavy 3/4" ply. Specifically built for our kitchen since we couldn't find one that we really liked or could afford. Pottery Barn seriously sells this for $1200?!?! Score!

Estimated Cost
$70 + finishing
Estimated Time Investment
Weekend Project (10-20 Hours)
Finish Used
DIY chalk paint and wax - distressed.
Recommended Skill Level
Intermediate