Community Brag Posts

Kid's Country Bench

Submitted by Jennifer G on Sat, 02/23/2013 - 11:23

I built this Kid's Country Bench for my son's play corner in my living room. It was so easy! The hardest part about it was waiting for the finish to dry lol. My 3 year old was able to help with a few things and he absolutely loves it! Thank you so much Ana!

Estimated Time Investment
Afternoon Project (3-6 Hours)
Finish Used
I used Minwax Early American Stain and Minwax Satin Spray Poly for the finish
Recommended Skill Level
Starter Project

Industrial Bookshelf

Submitted by Anonymous (not verified) on Wed, 03/29/2017 - 16:20

I took down a gate for my parents that had been up for over 20 years. I couldn't bear to get rid of the wood. I found these plans http://www.myrepurposedlife.com/rustic-industrial-narrow-bookshelf/, and modified them. I wanted wider shelves with more space in between shelves, and I wanted a steel bar in the back. It took a lot of planing and sanding to get the wood ready and there are challenges to working with wood that has been outside for over 20 years, but nothing beats the look of truly vintage wood. I love the color variations caused by weathering and the rusted screw holes throughout the wood. I got steel bars at home depot, sprayed painted them with rustoleum bronze spray paint, and drilled holes in them with a cobalt drill bit. I used steel wool dissolved in vinegar for the stain and finished off with three coats of polyurethane.

Estimated Cost
$25
Estimated Time Investment
Week Long Project (20 Hours or More)
Finish Used
Steel wool dissolved in vinegar and three coats of polyurethane
Recommended Skill Level
Intermediate

Farmhouse toy box

Submitted by Jayna on Fri, 02/12/2021 - 13:34

Made a few adjustments to the farmhouse toy box. Made it a little bigger and added Xs out of 1x2s around it to give it a little extra something! I'm using it as a storage coffee table and I couldn't be happier with it! So in love!

Built from Plan(s)
Estimated Time Investment
Day Project (6-9 Hours)
Finish Used
Minwax dark walnut stain, three coats of Varathane clear gloss polyurethane, and painted with Valspar white paint.
Recommended Skill Level
Beginner

My First Build

Submitted by jcdixon910 on Mon, 02/25/2013 - 09:22

This was my first real build. I used the Kreg pocket hole system and it worked great! With Ana's instructions and the Kreg Jig it went together in a couple of hours! Thanks, Ana for your great site and plans!

Estimated Time Investment
An Hour or Two (0-2 Hours)
Recommended Skill Level
Beginner

Kids Seesaw

Submitted by Anonymous (not verified) on Sun, 04/02/2017 - 07:15

Hi I made this seesaw for my great nephew's 2nd birthday off plans on your website. I painted mine and covered seats with yellow vinyl. I found the plan really simple to use and not an expensive project. I delivered it to the party at the farm and it was an instant hit. Linda Byron (great aunty), Port Elizabeth, South Africa.

Built from Plan(s)
Estimated Cost
R200
Estimated Time Investment
Weekend Project (10-20 Hours)
Finish Used
Painted red, blue & green with yellow vinyl on the seat.
Recommended Skill Level
Beginner

Kendra Toybin with Shelves

Decided a week ago that our son's playroom was way too busy and he needed a toybox. I started working on this and halfway through showed my wife how big it would be. She suggested I modify the plans to make it wider, and I'm glad I did!

Built from Plan(s)
Estimated Time Investment
Afternoon Project (3-6 Hours)
Recommended Skill Level
Intermediate

Comments

Our first picnic table

We built our first DIY project together using the plans for the simple outdoor dining table. It was so much fun we are on to more projects.

Built from Plan(s)
Estimated Cost
$175
Estimated Time Investment
Weekend Project (10-20 Hours)
Finish Used
Olympic colored stain and sealer in Wedgewood
Recommended Skill Level
Beginner

4x4 Truss Beam Table

Submitted by kmlimoges on Mon, 01/05/2015 - 06:39

First DIY. Took roughly 17 hours completed over 3 days. Used untreated pine from Home depot for top and untreated cedar (the only 4x4's available) for legs.

Total cost $270

Top stain: weathered oak (2 coats)

Top finish: Rustoleom polyeurothane clear satin

Legs: undercoat of Behr's Nautical blue and two thin coats of a white paint we had on hand. Then we distressed with an orbial sander and a 220 grit paper.

Built from Plan(s)
Estimated Time Investment
Weekend Project (10-20 Hours)
Recommended Skill Level
Intermediate

Loft Bed with Desk & Bookcase

Submitted by Anonymous (not verified) on Tue, 04/04/2017 - 12:47

Created but Modified from the plans found on here, my daughter has a great new bed. This bed saved a ton of space in her very small room. PLUS it allowed her to have an area to do her homework and all the art projects she does! Very easy build. Took a day to build and another to paint. 

Estimated Cost
$250.00 CDN
Estimated Time Investment
Weekend Project (10-20 Hours)
Finish Used
Behr Marquee Paint
Recommended Skill Level
Beginner

King Modern Farmhouse Bed

Made this bed from Ana's plans. Modified it with rail so I can add my box spring. Cost was approximately $160 for lumber, screws and stain. Absolutely loved the plans and easy to follow or modify if needed.

Built from Plan(s)
Estimated Cost
160.00
Estimated Time Investment
Afternoon Project (3-6 Hours)
Finish Used
Minwax wood conditioner, Minwax Special Walnut Stain
Recommended Skill Level
Intermediate

Comments

Rustic X Console

Submitted by Dee015 on Fri, 03/01/2013 - 17:56

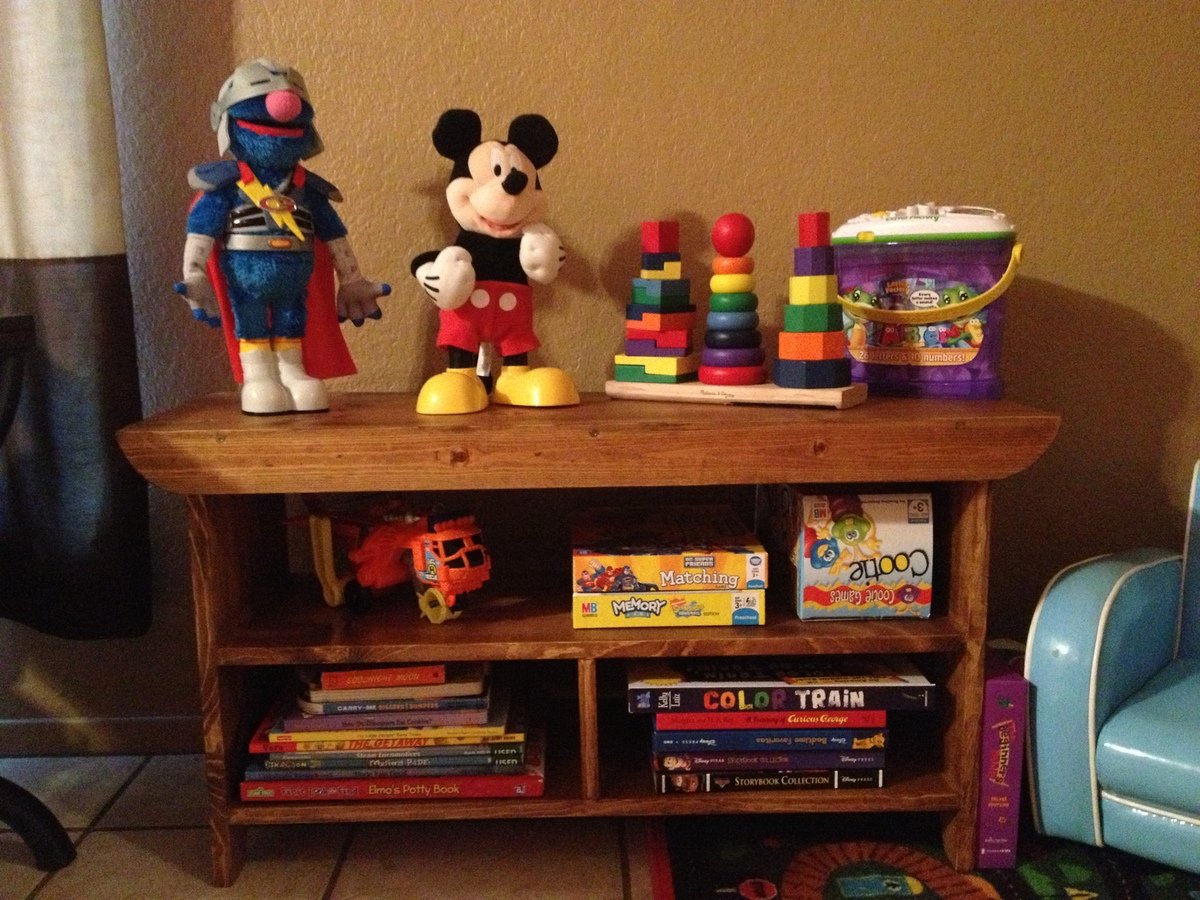
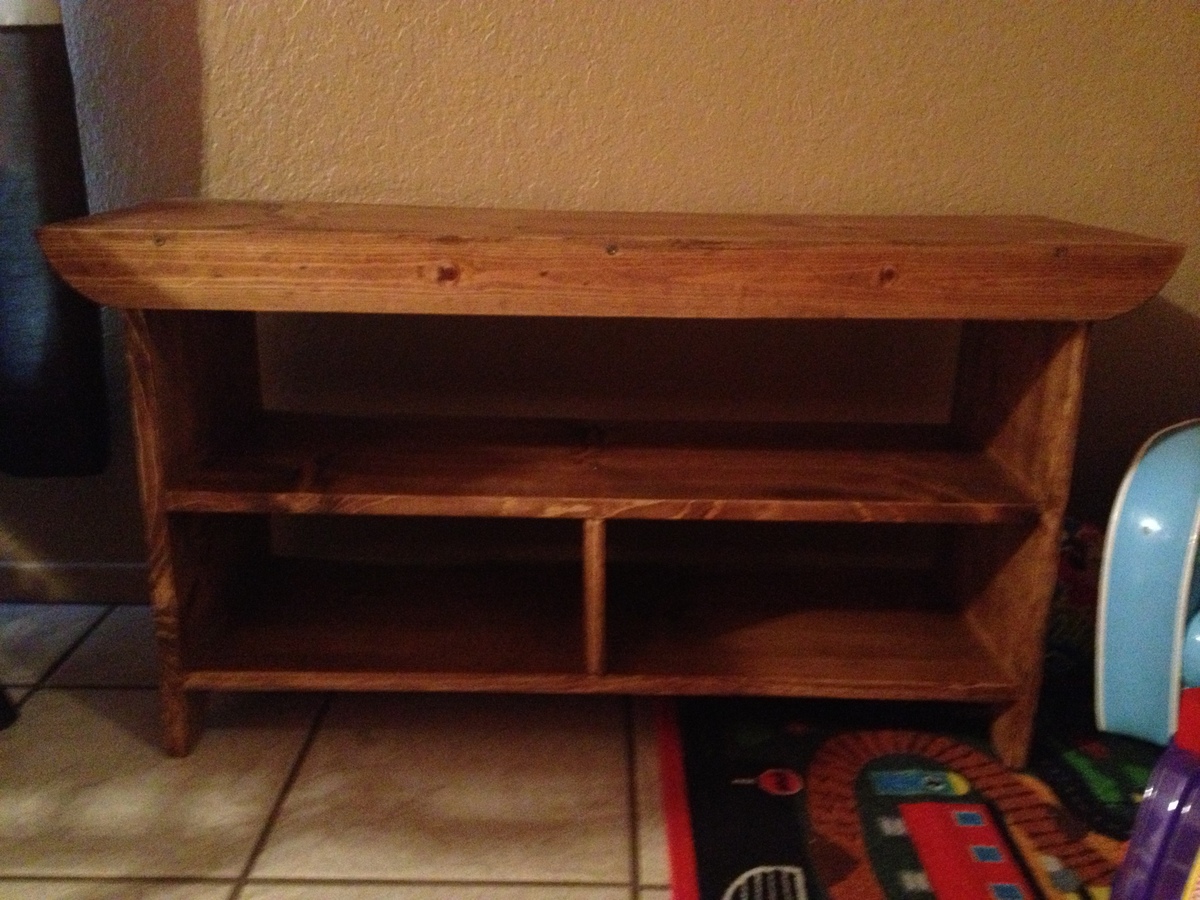
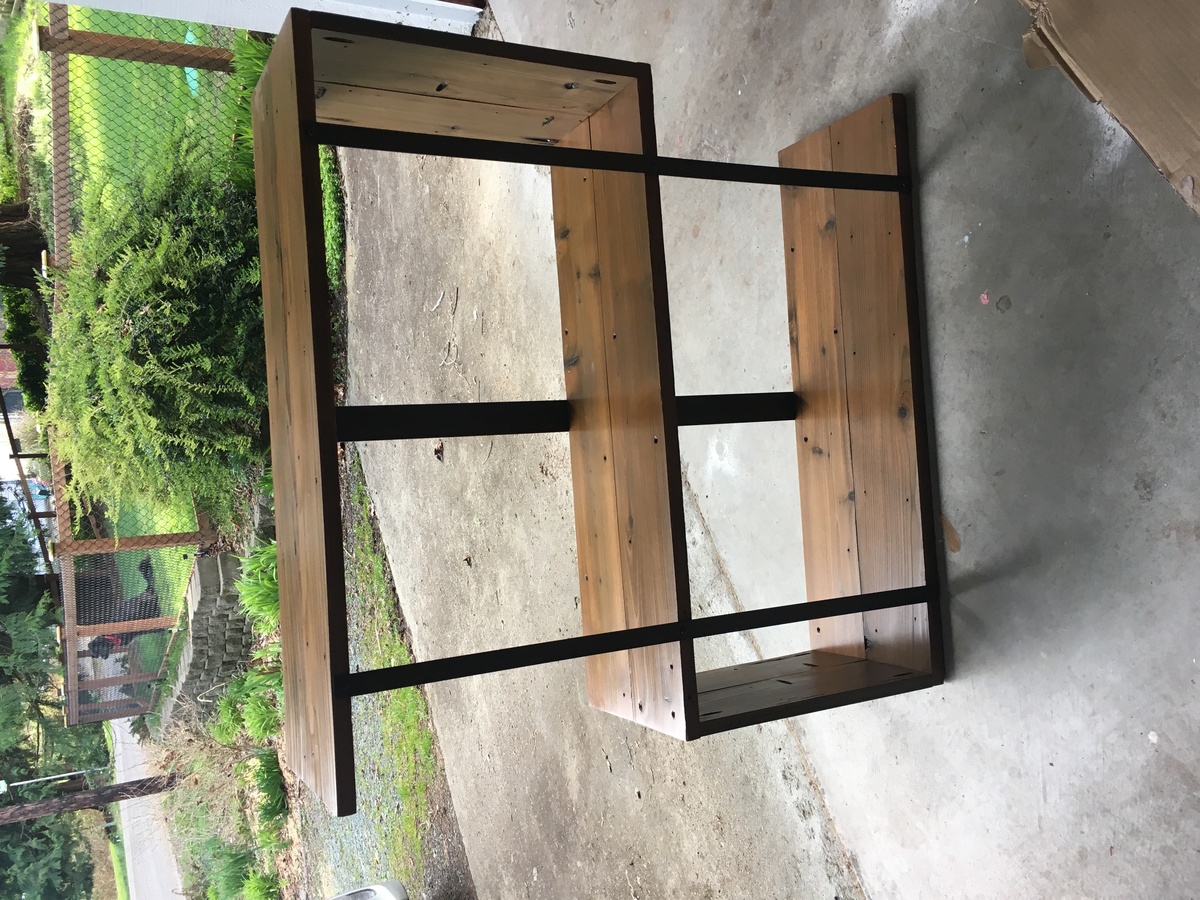
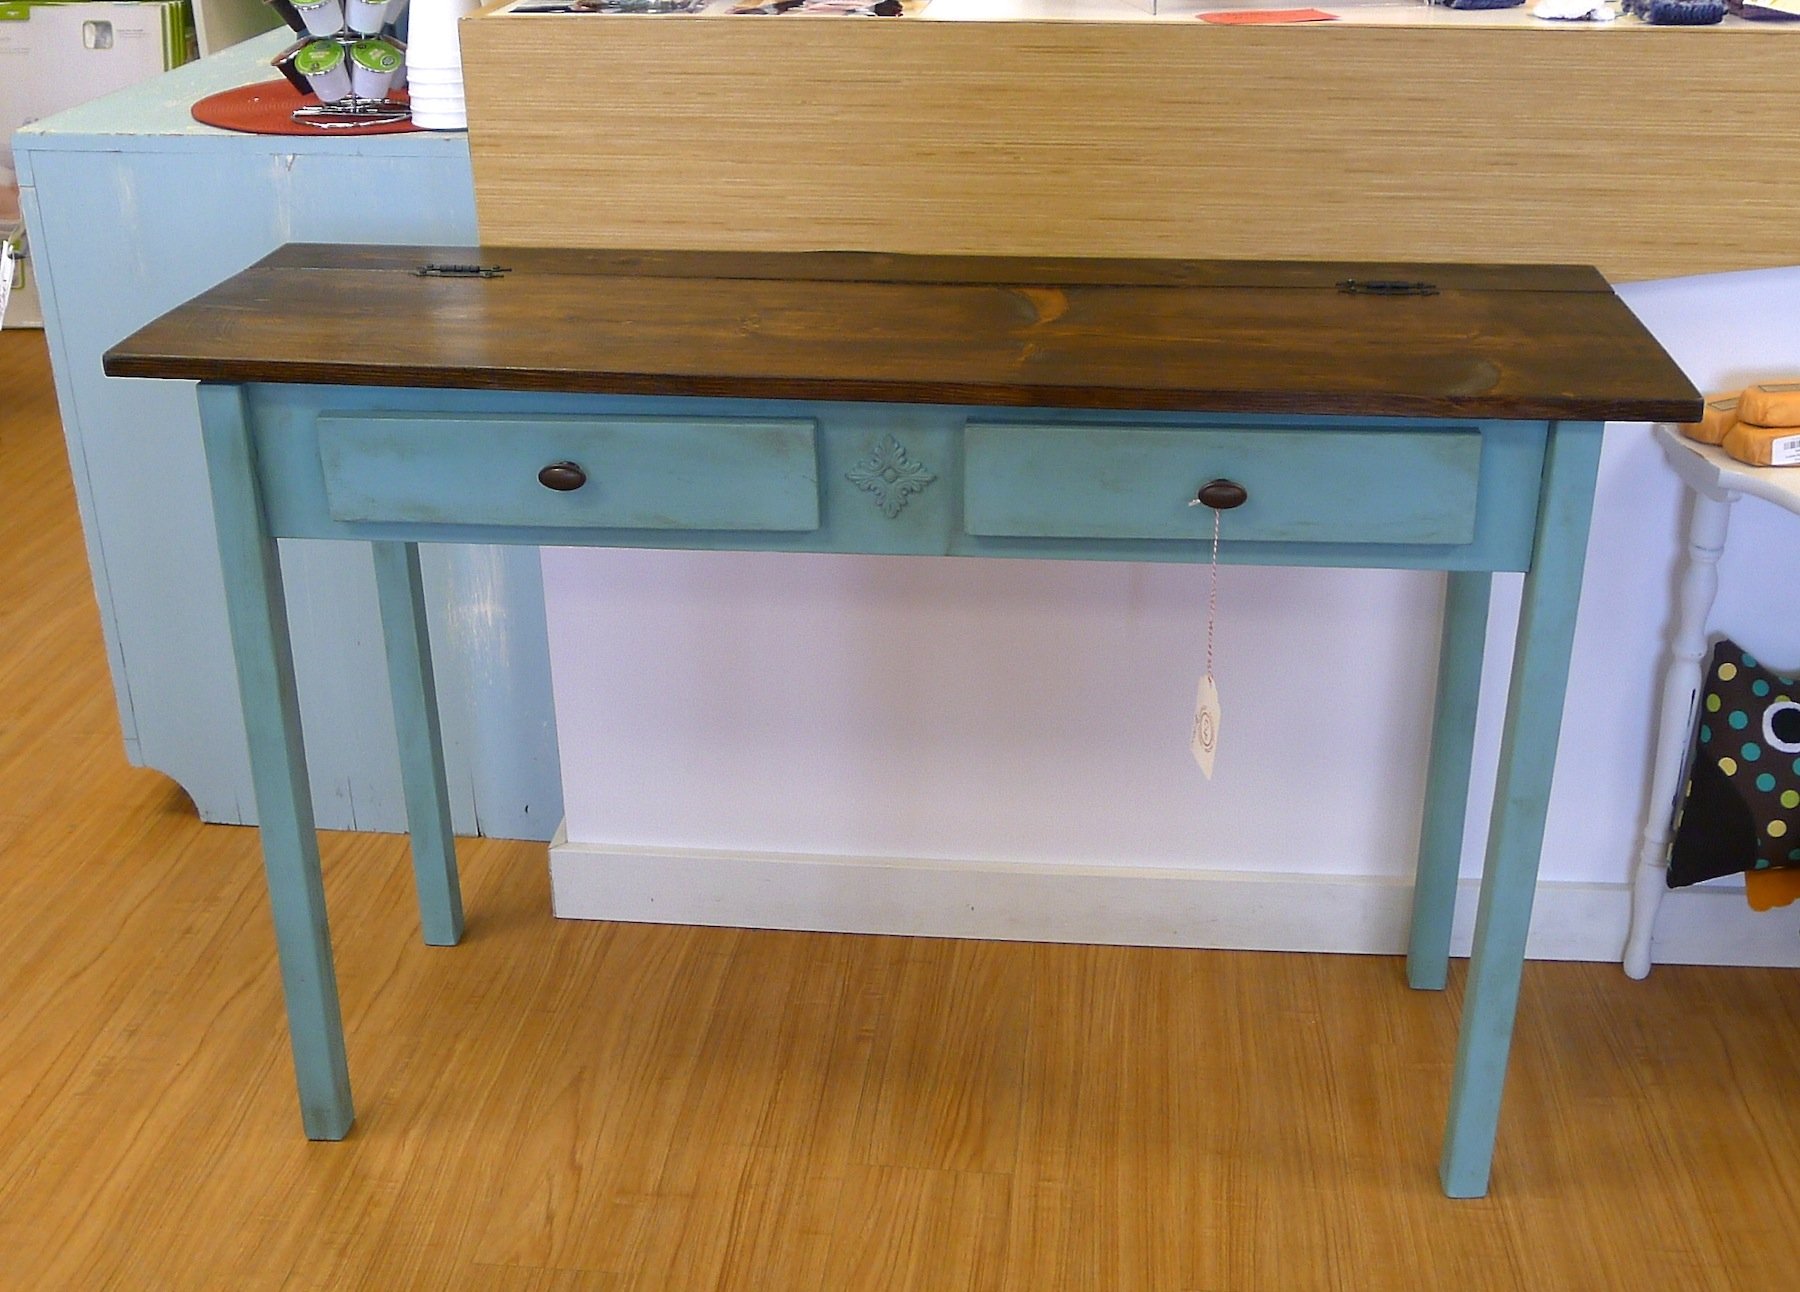
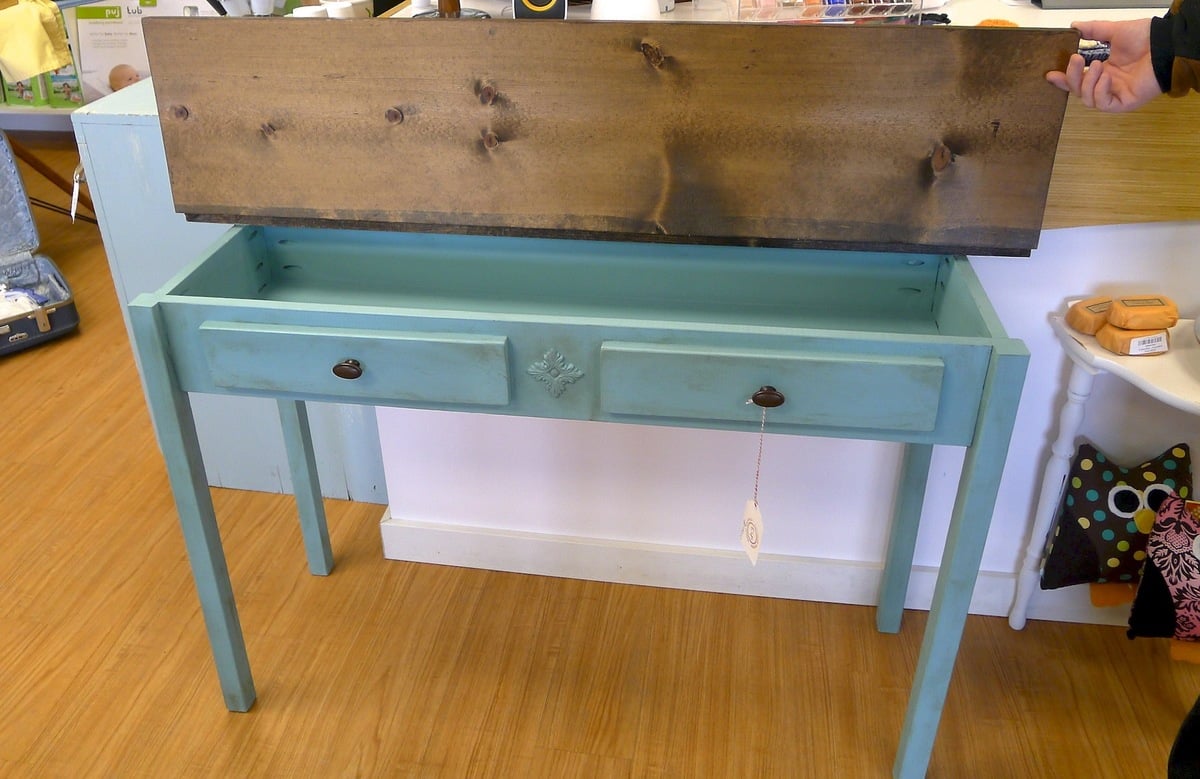
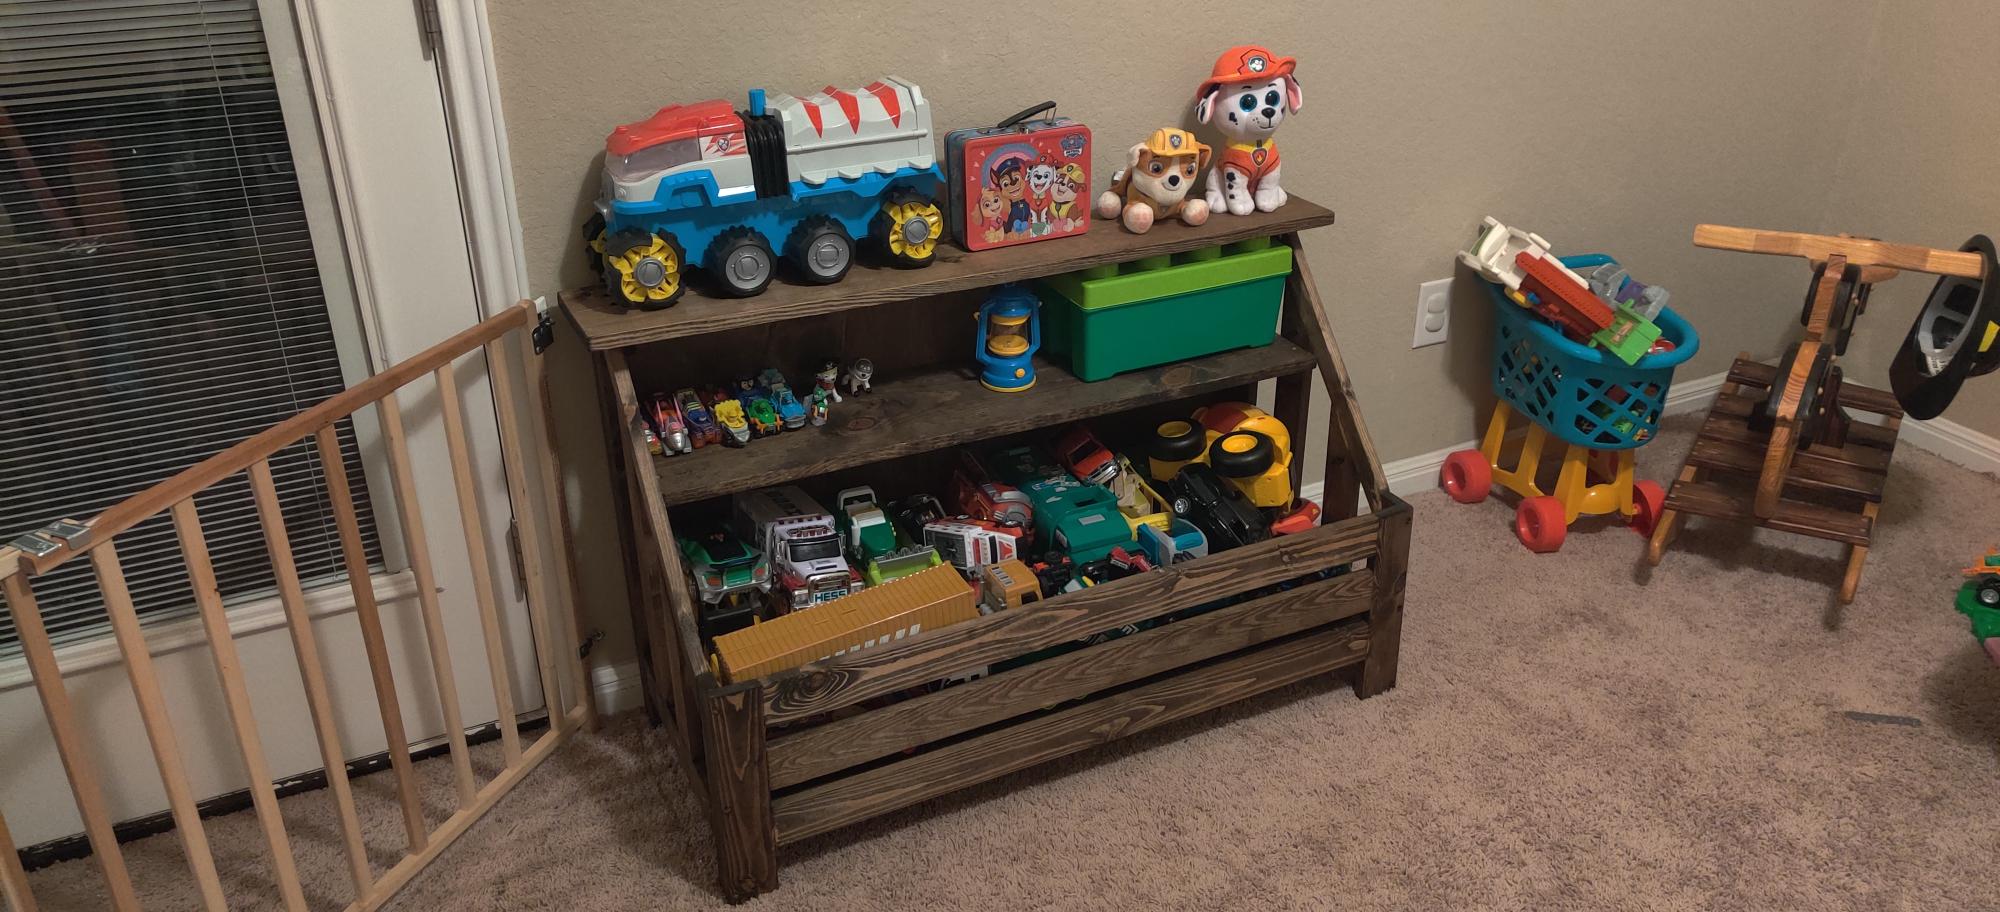
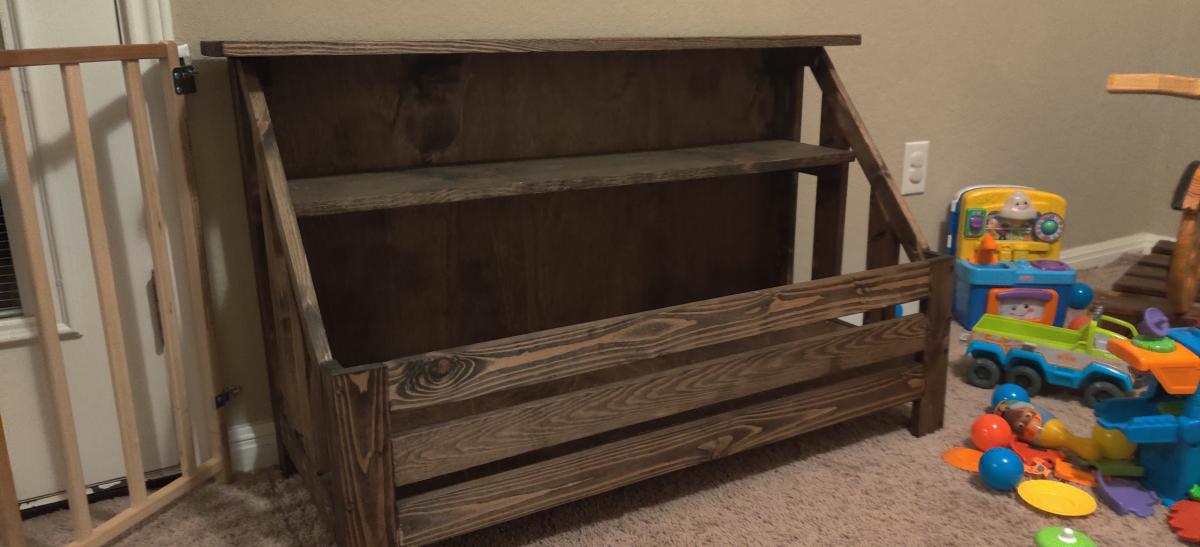
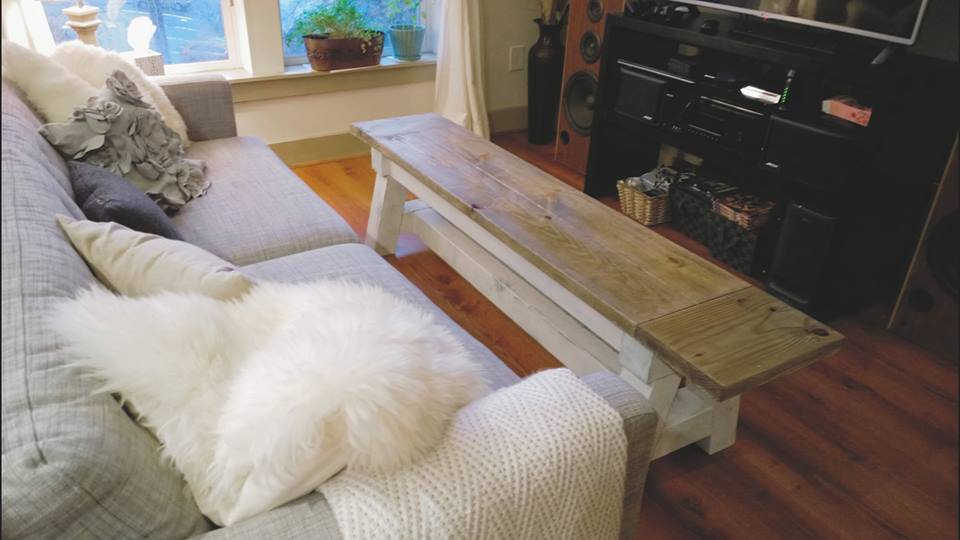
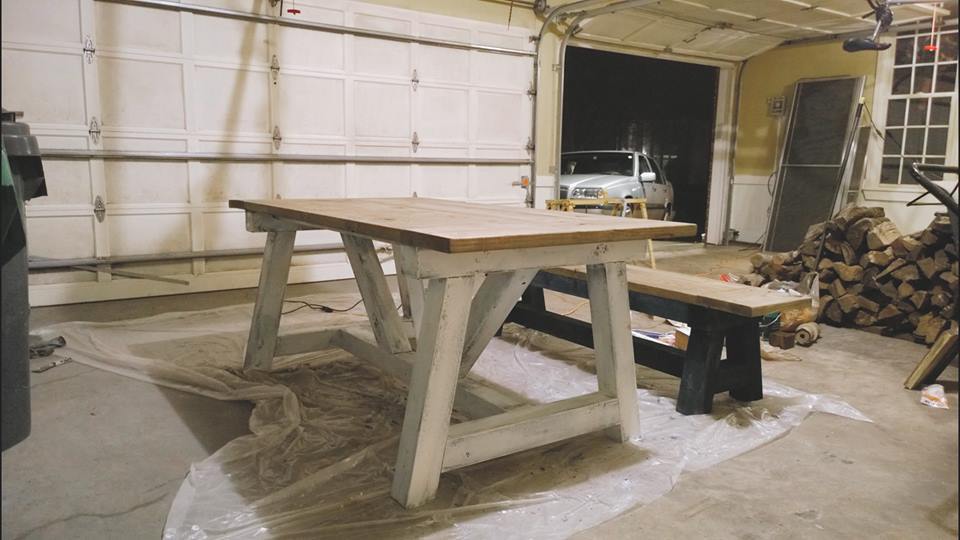
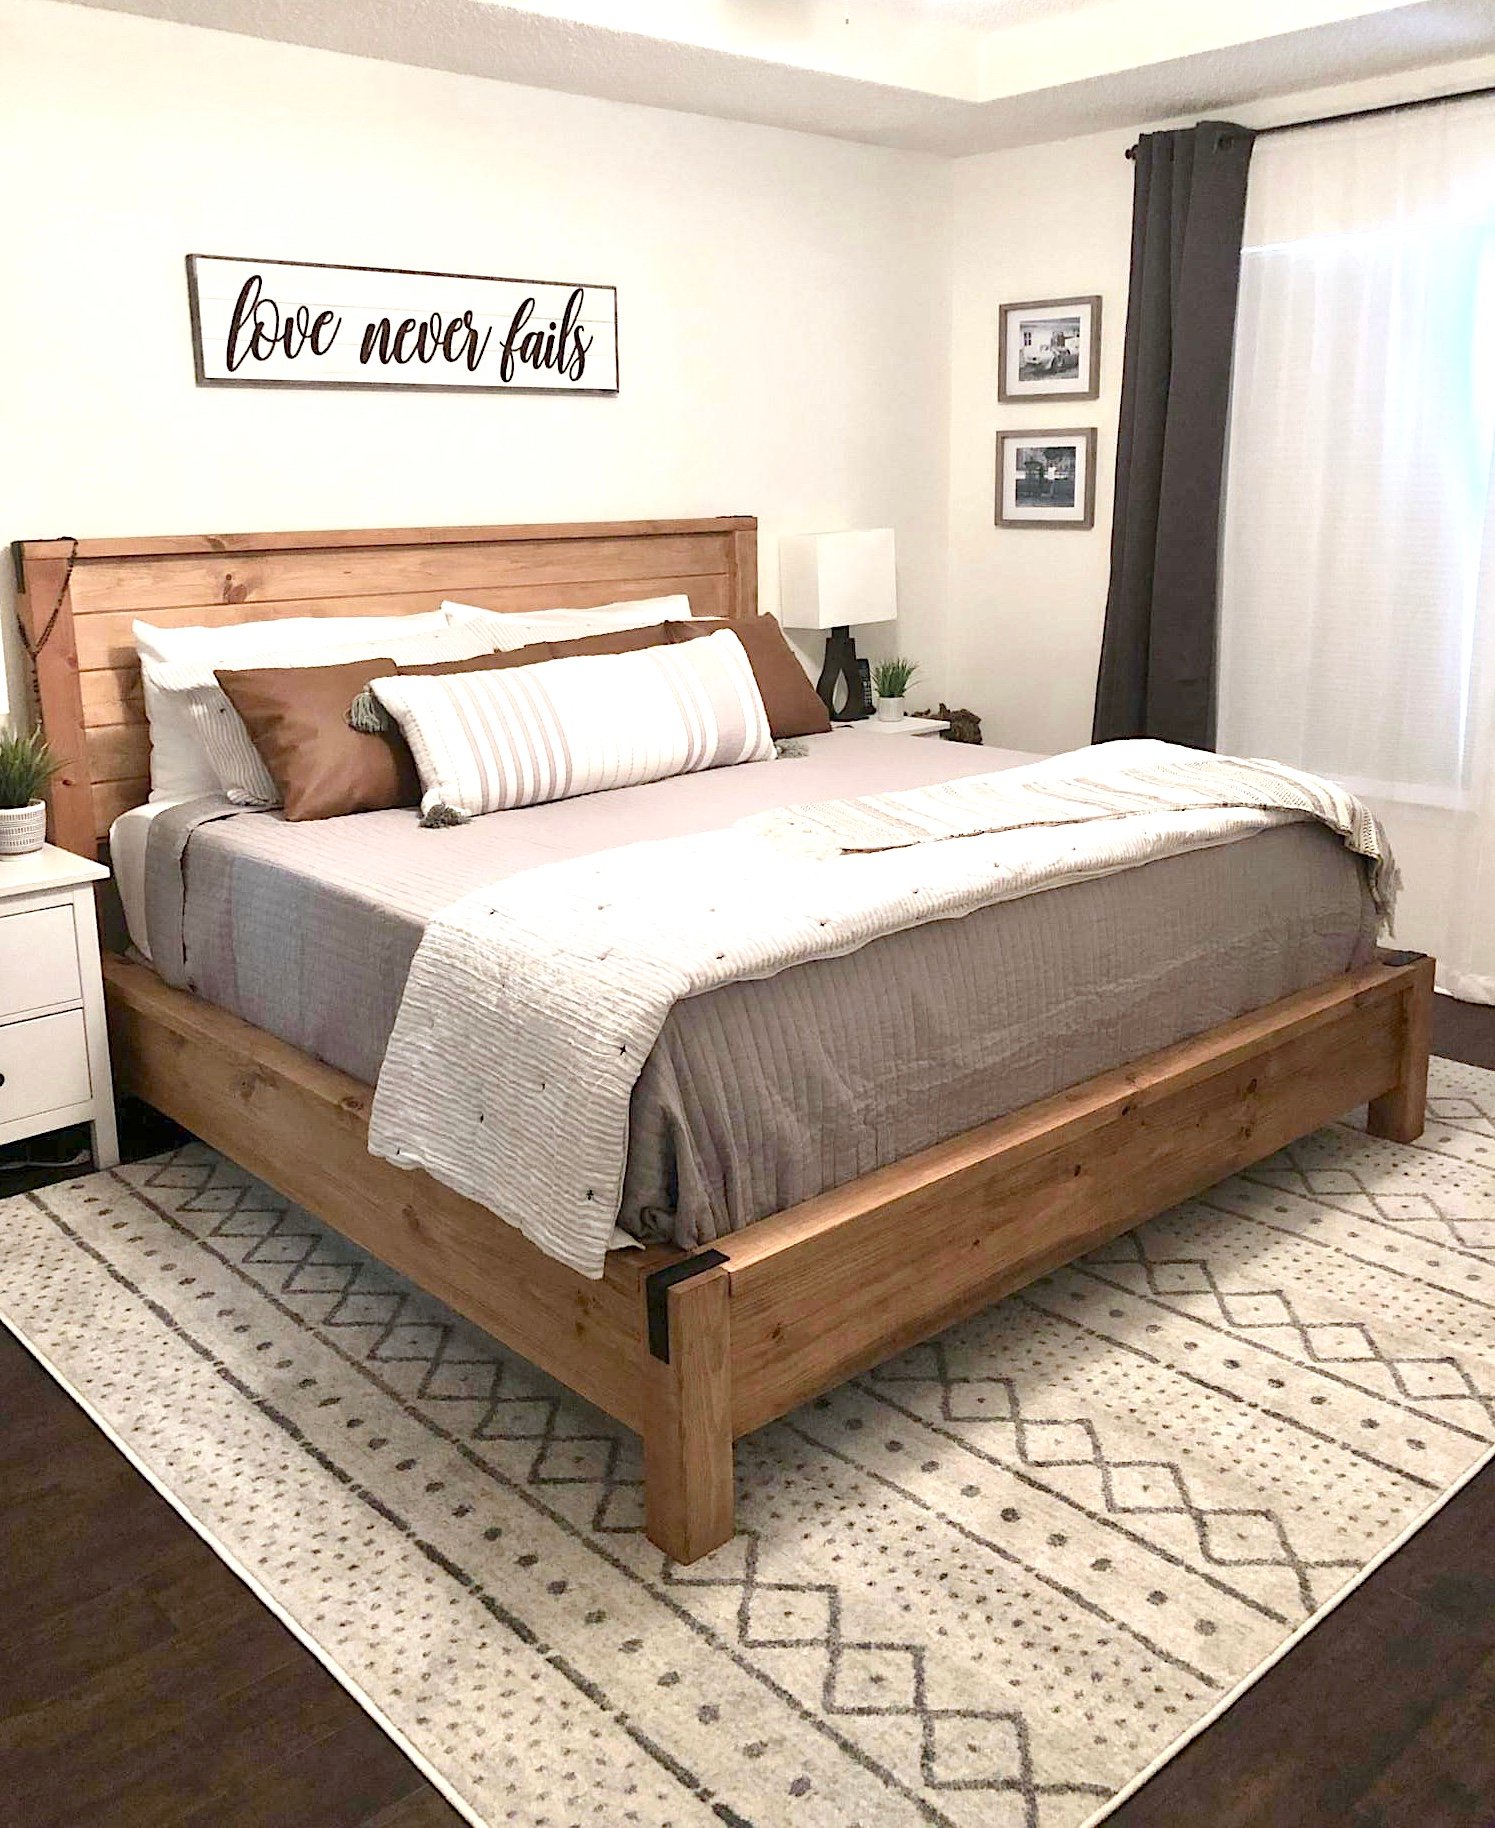
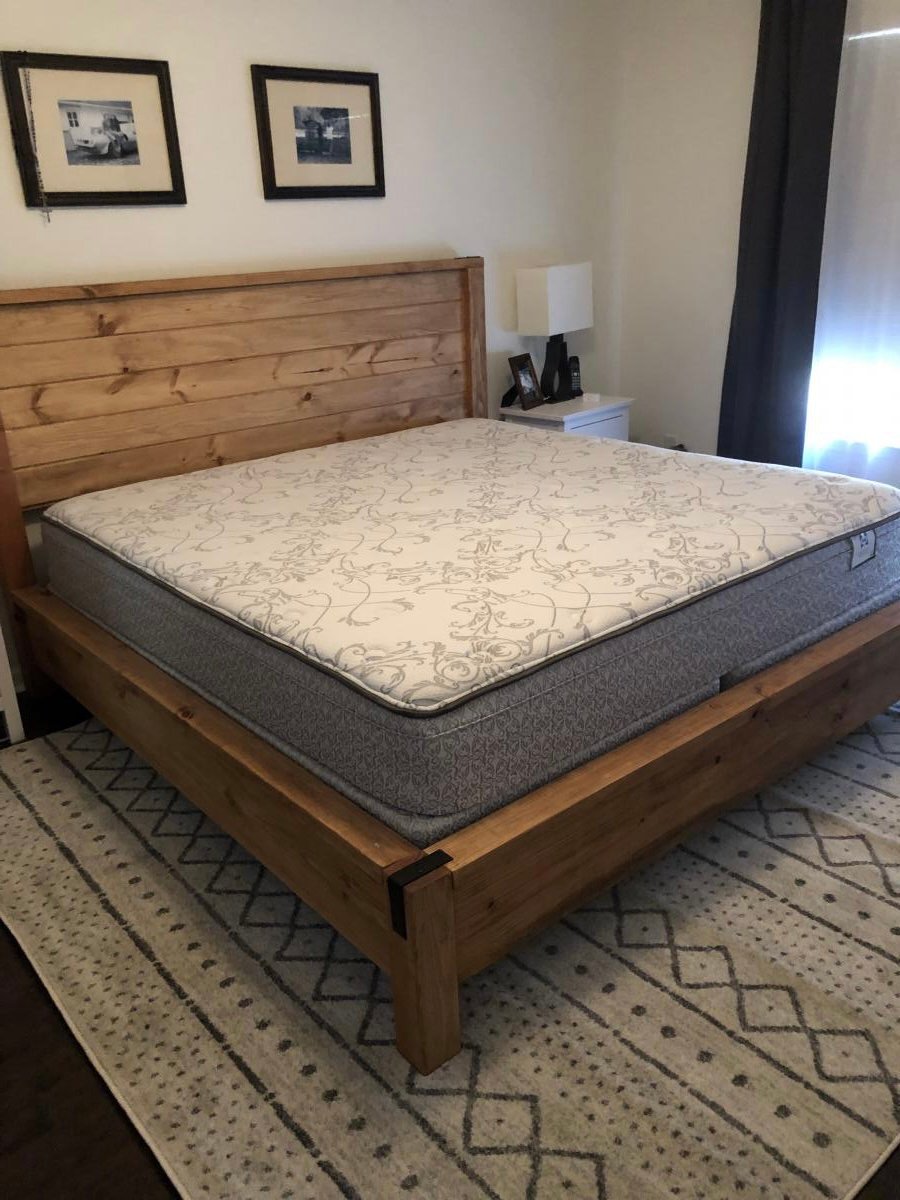
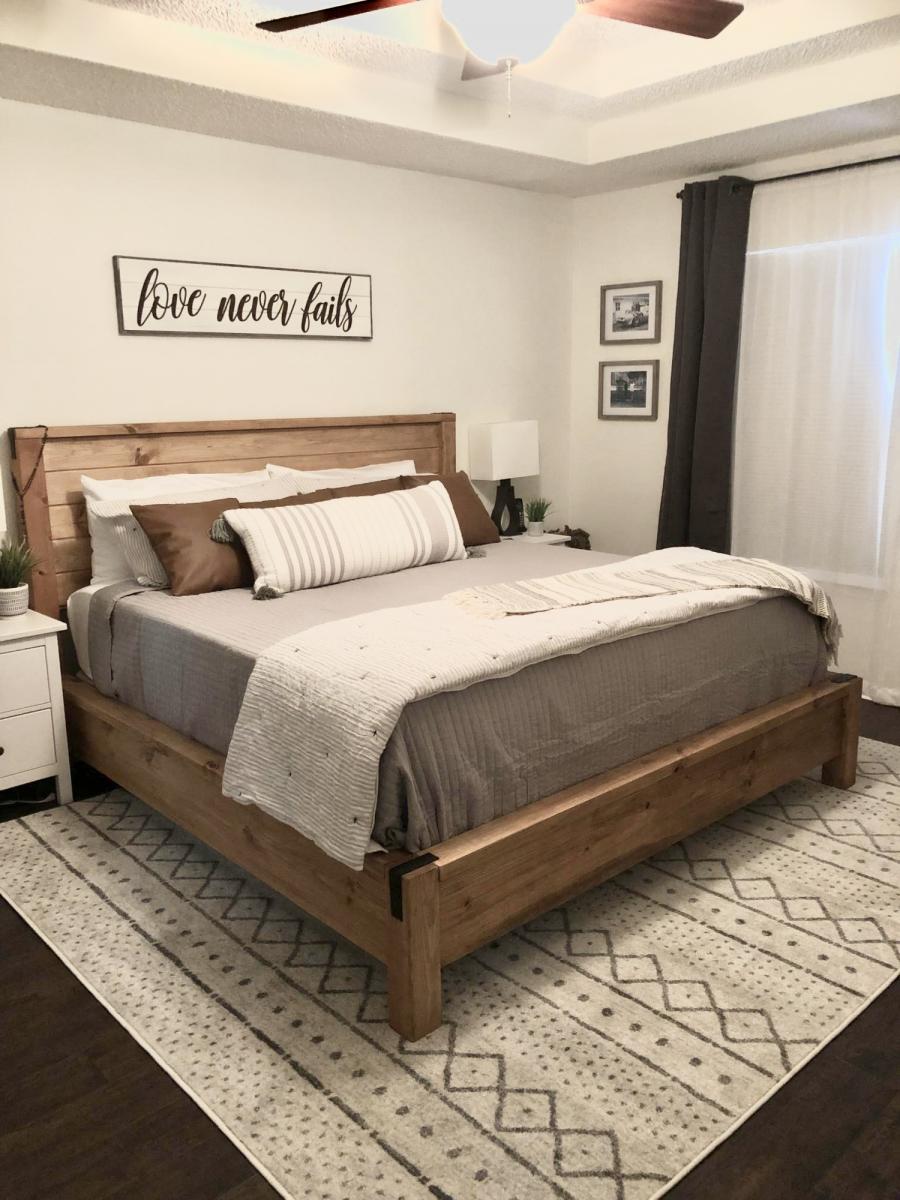
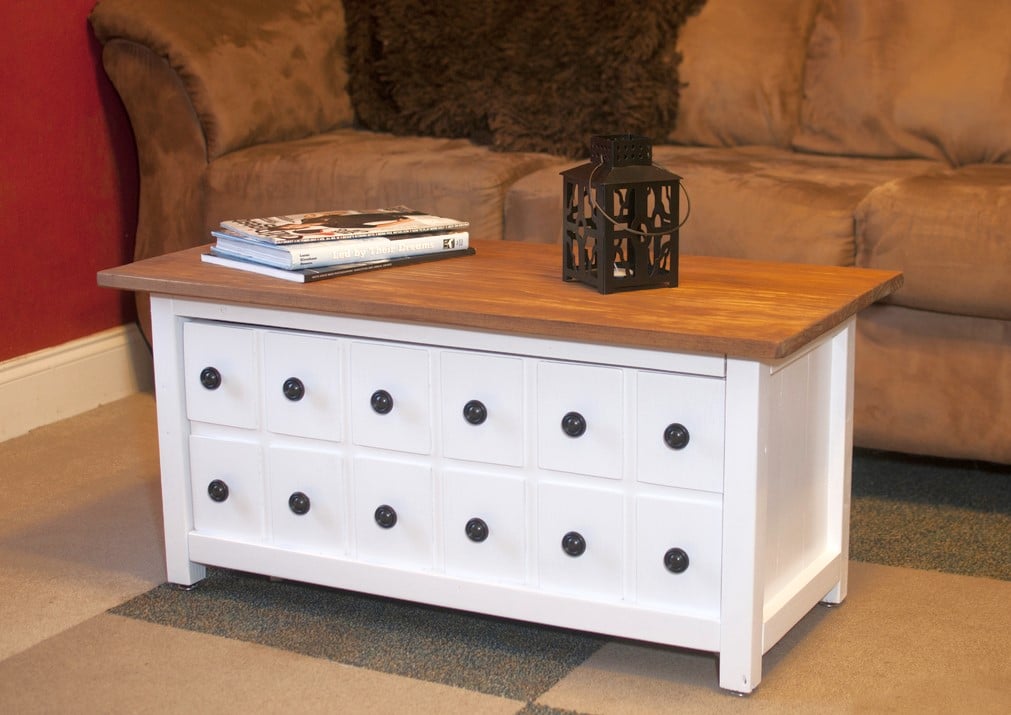
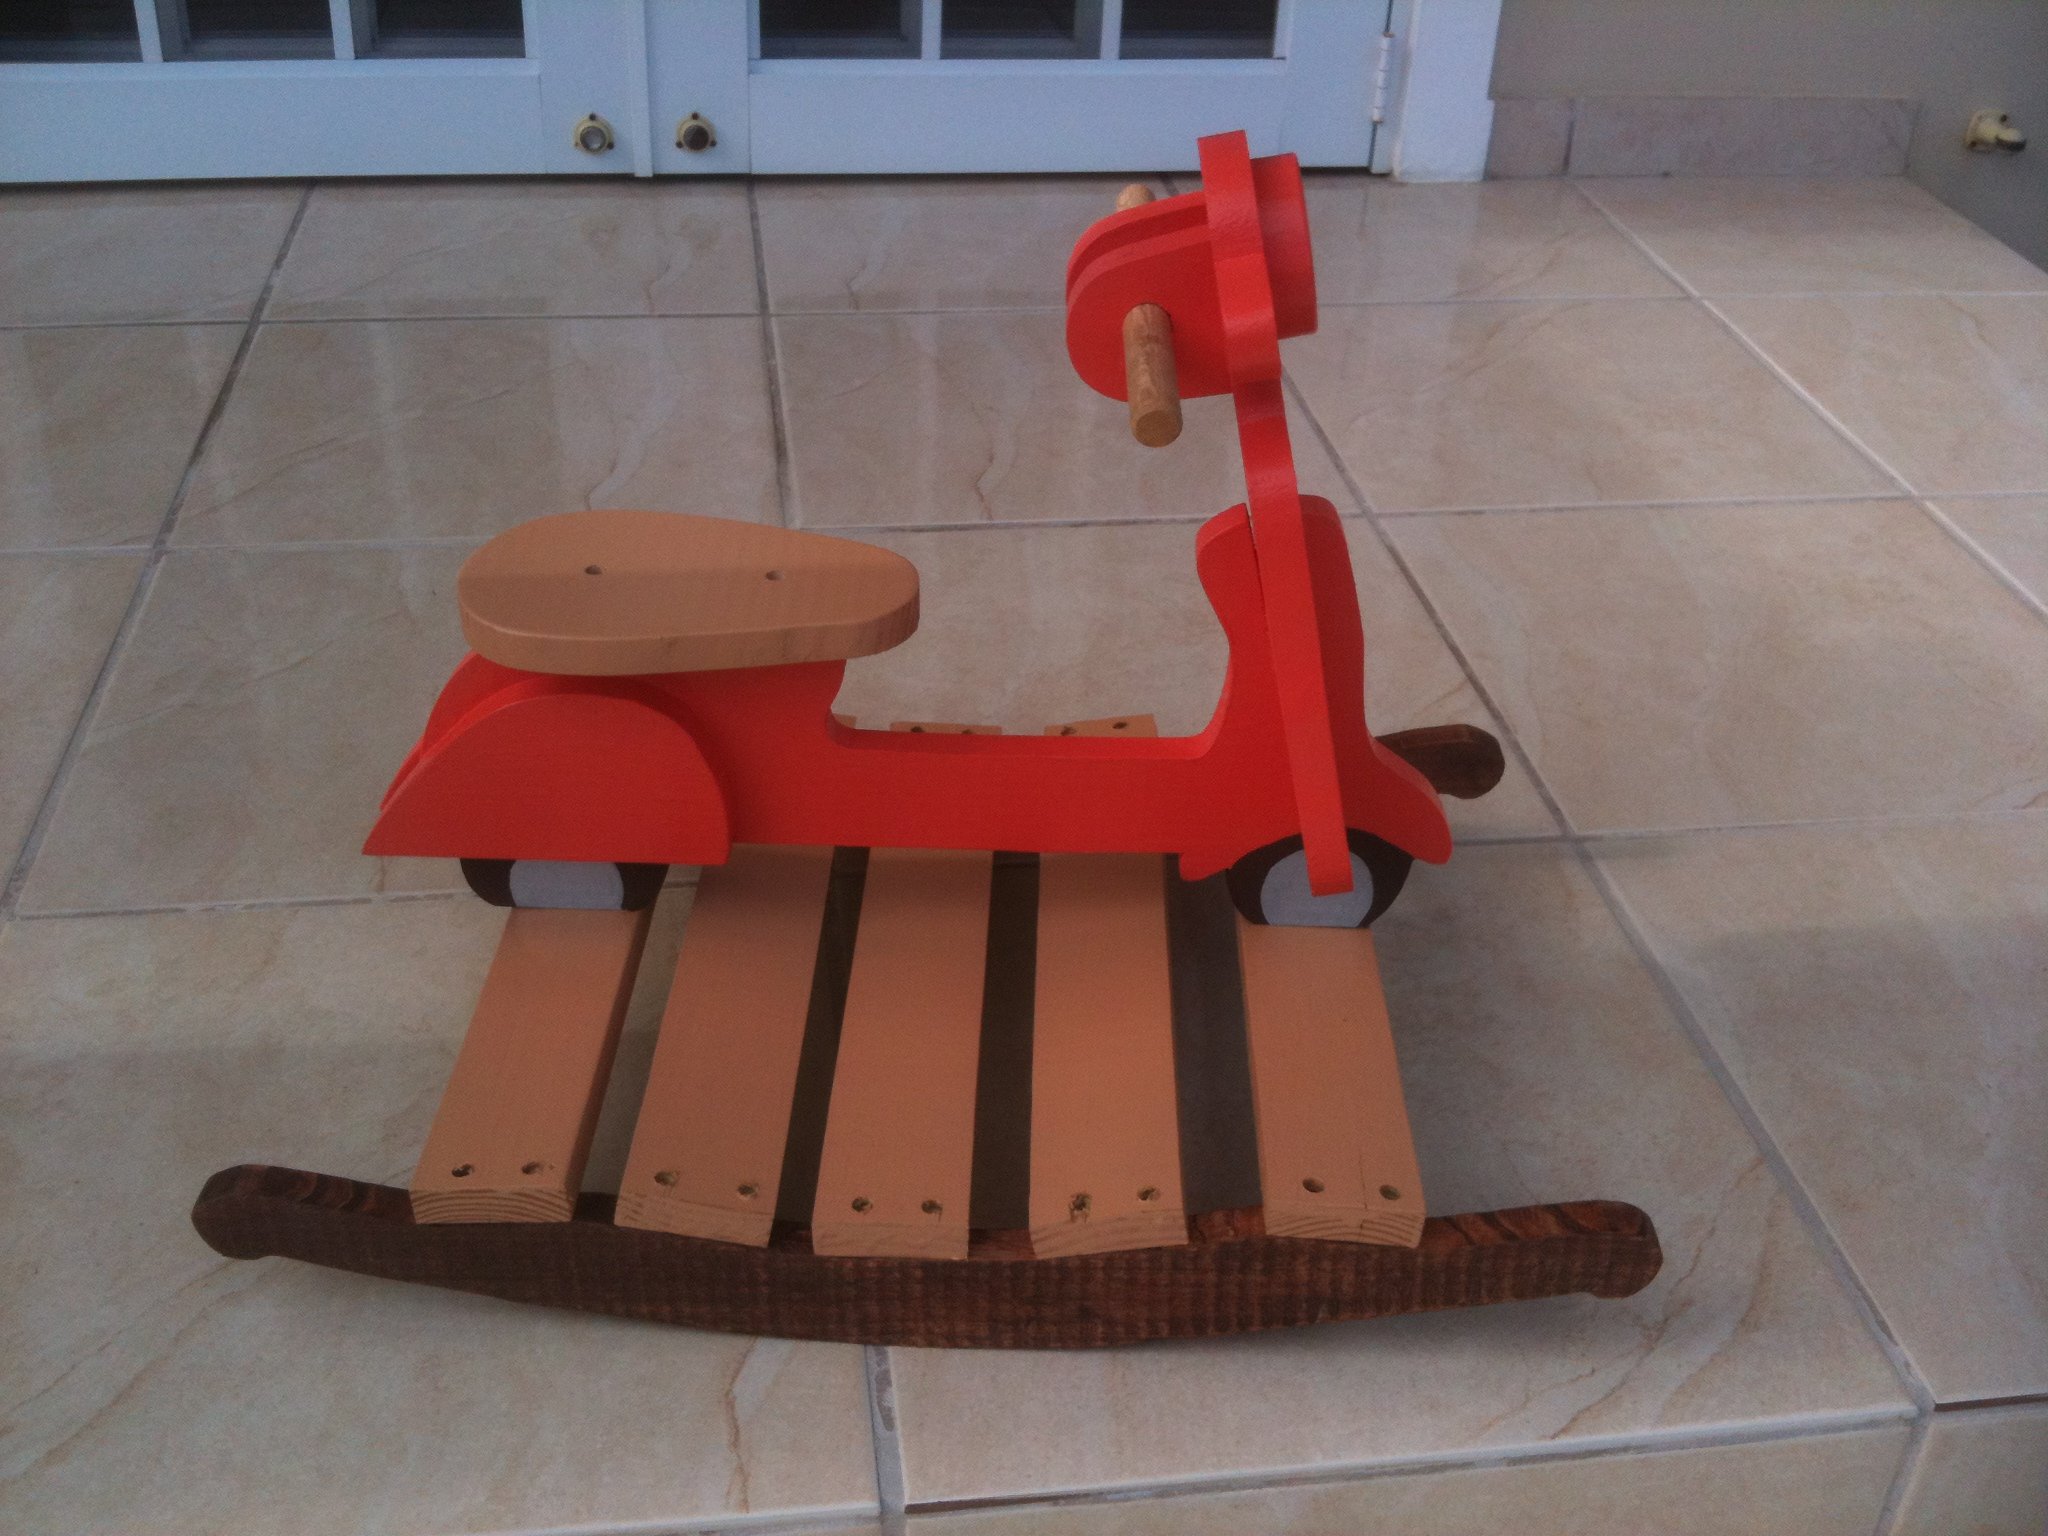
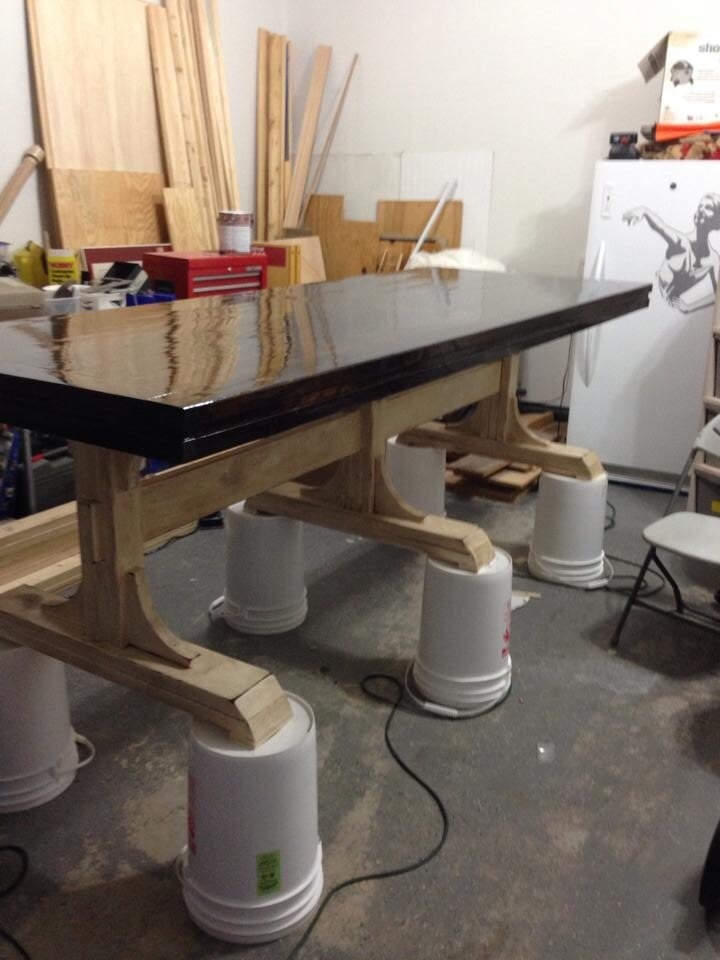
Always been interested in wood working and found this site that is incredibly easy to follow with awesome plans - Thanks Ana.

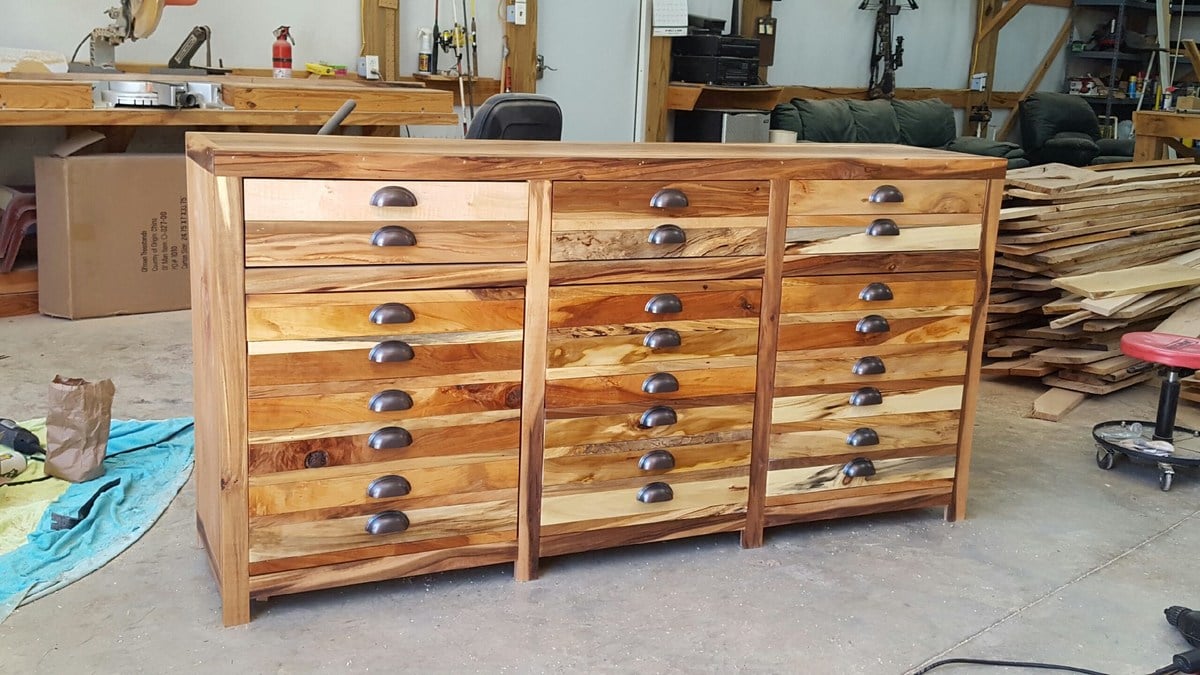
This was my first project and overall the wood cost about $50 with left overs. I used framing wood SPF and the friendly workers at Home Depot explained all about wood and finding wood that isn't shaped at odd angles or bent.

I bought a Mitre saw 10 inch blade for $99.

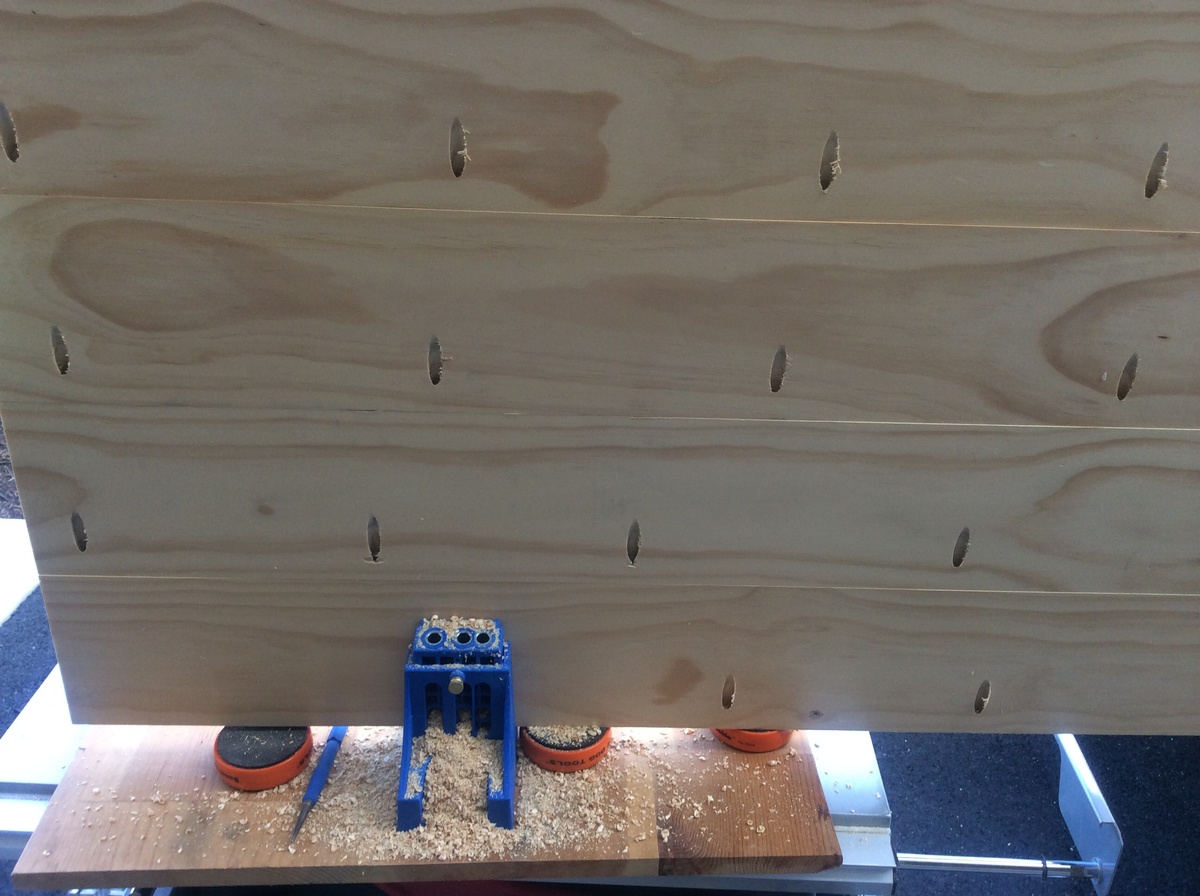
I bought the Kreg Jig for $99.

Gel Stain costs $25 for a large can (I used on another project).

To my amazement a box of screws costs $30 but you get a few hundred.

So some of the the things to watch for - for any newbies like me out there:

If you buy a very powerful drill careful not to push really hard or you find your screw goes through 2 inches of solid wood and you are left with a gaping hole.... resulting in you starting over again...

If you don't set your kreg jig to clamp down on your wood, with the wood being level at the base of the kreg jig, the wood raises slightly. This results in your drilled hole to go deeper and screws to pop out the face of your project... nice surprises when you are sanding.

Estimated Cost
First project - summary.
Estimated Time Investment
Weekend Project (10-20 Hours)
Finish Used
Varathane Gel stain

Varathane finish
Recommended Skill Level
Starter Project

Comments

Jamaunzie

Sat, 03/02/2013 - 14:38

Your work looks great as I was reading about your adventure I couldn’t help but chuckle and node my head yep.
Welcome to the wonderful world of woodworking land of the bold, adventurous, self confident, and satisfied people

Apothecary coffee table with toy trundle

I found the original plans and LOVED them, but my house is tiny, so I was forced to re-work the plans to fit my space! This is a good bit smaller, but every bit as awesome! ;) I decided not to distress it, but I may down the road if it starts to scuff up! ;) Project took about a week long including finishing time. Actual build time was 9-10 hours over two days.

Estimated Cost
Total cost was $60-75
Estimated Time Investment
Week Long Project (20 Hours or More)
Finish Used
Finished the top and inside of the box with Minwax stain and the outside with Kilz primer and latex paint.
Recommended Skill Level
Beginner

Printers table

Submitted by Anonymous (not verified) on Fri, 04/07/2017 - 12:26

I used your printer cabinet plans however altered them  a bit.  Wood is various  including gum, cherry,pine, etc.  Enjoy and thanks

Built from Plan(s)
Estimated Cost
$74
Estimated Time Investment
Week Long Project (20 Hours or More)
Finish Used
Danish oil
Recommended Skill Level
Intermediate

Comments

Wood Towel Holder Ring with a Shelf

Submitted by thediyplan on Thu, 03/04/2021 - 16:12

Finding a good location to hang your towels in the bathroom could be a challenge, especially if you’re limited on wall space. But it makes it even more challenging if you have kids. If the towel bar is attached to drywall, eventually the bar might be ripped off the wall and you’ll end up with a big hole. Having this issue I decided to make my own DIY Wood Towel Holder Ring with a Shelf. This towel holder attaches directly to the stud and will take some effort to be ripped off and doesn’t take much wall space.

I made this project using scrap pieces that I had laying around in my scrap pile. If you have some scrap wood and interested in building something out of wood, this could be a great project to try. I created a step-by-step plan with 3D illustrations.

See my website for additional pictures and how I've built it,TheDIYPlan.com

Estimated Cost
$10
Estimated Time Investment
Afternoon Project (3-6 Hours)
Recommended Skill Level
Intermediate

Comments

charlie's scooter

Submitted by aplexis on Mon, 03/04/2013 - 16:13

fun project for begginers, I made this one for my grandauther she's just a year and a half old and she loves it. This was a good chritsmas gift...

Estimated Cost
$20.00
Estimated Time Investment
Afternoon Project (3-6 Hours)
Finish Used
paint
Recommended Skill Level
Beginner

Shiny AND antique

First project built using plans from Ana White.  Loved completing it.  Take the time to sand and prep for finish.  Makes it sooo much better.

My glossy finish adds a lot of luster to the project.  I trimmed the inside edges of the 2x4 peices on the outside trim to make a smooth surface.  


Built from Plan(s)
Estimated Cost
$200
Estimated Time Investment
Week Long Project (20 Hours or More)
Finish Used
Minwax dark walnut. Spar poly. Offwhite semigloss, sanded and antiqued with stain.
Recommended Skill Level
Beginner

Too cute not to have one for the 18" dolls! Hubby tweaked the plan, I "had fun playing!"

Submitted by Anonymous (not verified) on Mon, 04/10/2017 - 15:09

I fell in love with your stand, and showed it to my husband (who is not a carpenter, but holds his own with making doll furniture).  I forgot to mention to him it was for real girls, but he figured it out quicky when he saw the size of wood pieces, hah!  So I begged him to use the basic idea, and so he tweaked a plan and this is what he came up with.  The signs are laminated, and 8 signs fit into the slot he made on top.  We have  a lemonade stand, a market, a theatre, a boutique, a candy shop, a bakery  and a frozen treat shop.  Our granddaughter is beyond delighted!  We don't have a blog. We craft and sell 18" doll items and have Facebook page.

Finish Used
Just sanded, primed and painted white.
Recommended Skill Level
Beginner

Keepsake Box

This is a treasure chest type keepsake box for a boardgame and its expansions.

Estimated Cost
$80
Estimated Time Investment
Weekend Project (10-20 Hours)
Finish Used
Medium torch with satin spray poly.
Recommended Skill Level
Intermediate

Big ur farm table

I love the table thanks using a miter saw made it quick and easy took me about 4 hours to build. Thanks

Estimated Time Investment
Afternoon Project (3-6 Hours)
Finish Used
Red oak and walnut
Recommended Skill Level
Beginner