Community Brag Posts

Dress-Up Storage

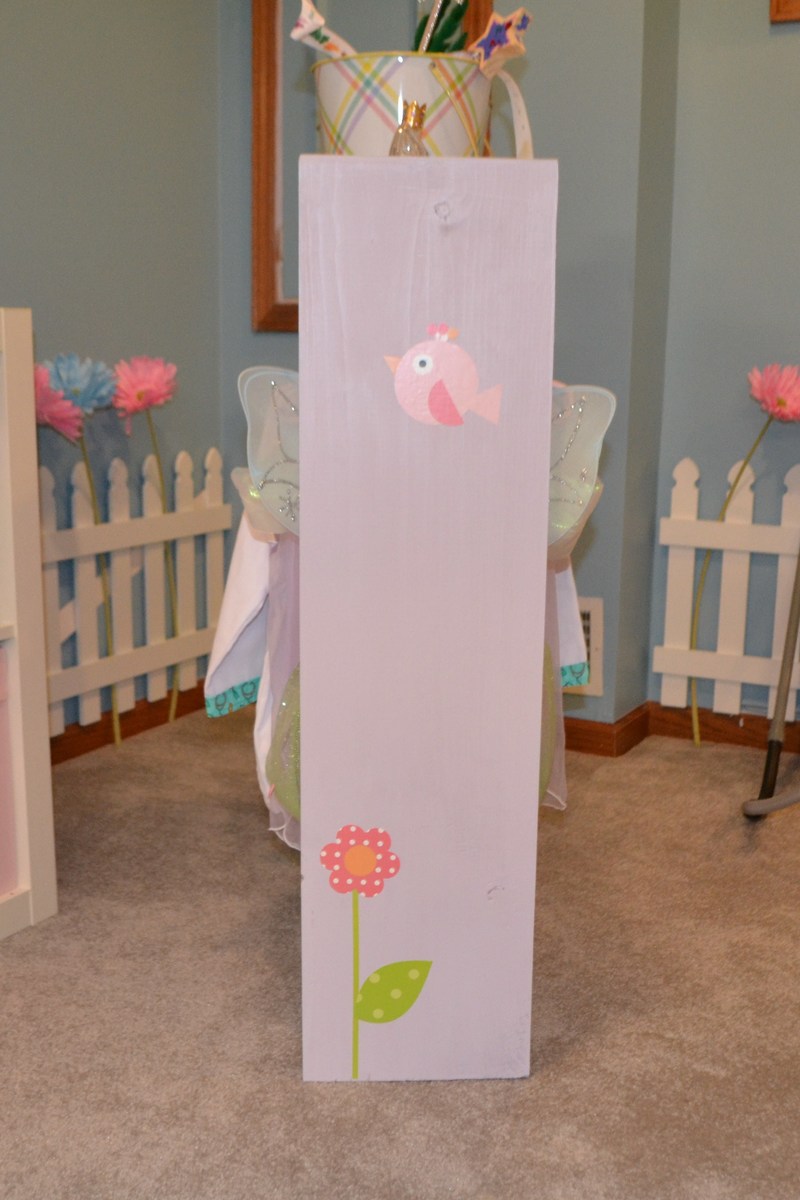
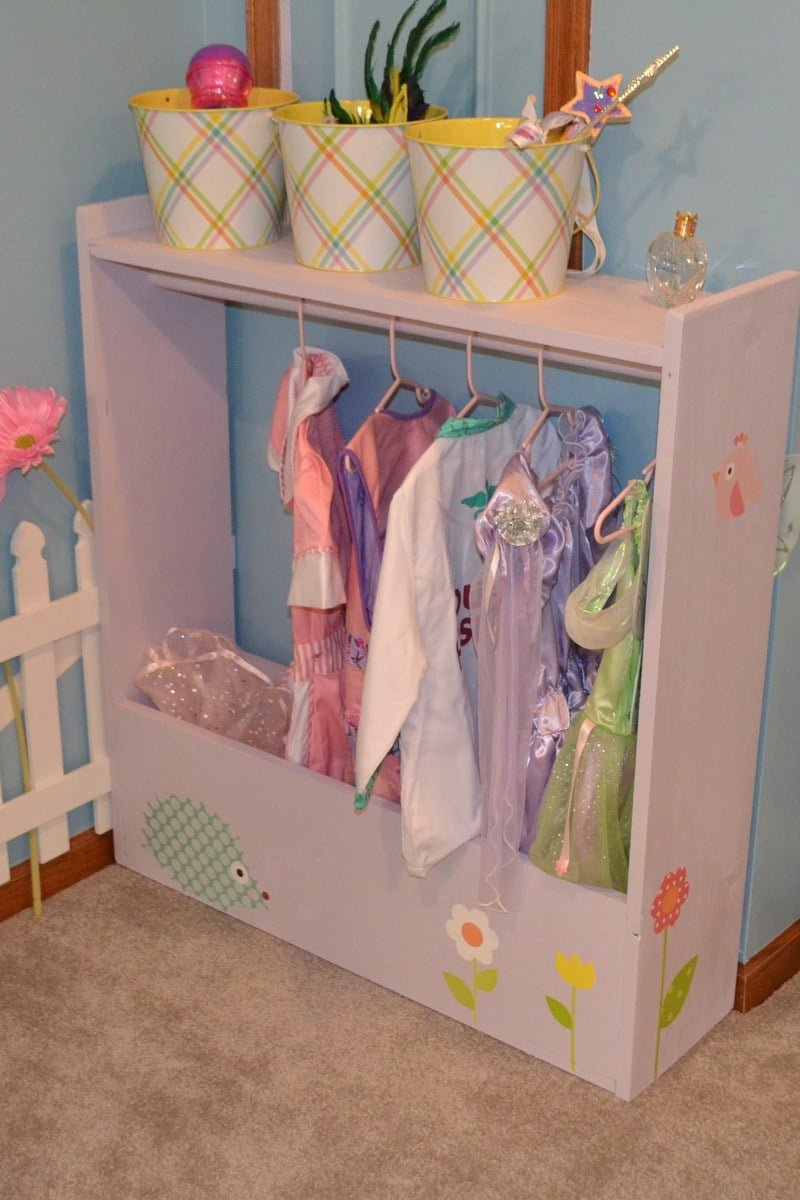
This was my first woodworking project, so I kept it simple. The one modification I made was to square the edges at the top, rather than rounding them out, as I just prefer clean lines. I used some leftover paint (Behr Foxgloves) and added a few vinyl wall decals that match the decal on the main wall of the play area. A few buckets on top store her jewelry and accessories.

I didn't add casters because we have rather thick carpet in the basement, but won't rule it out for the future.

Estimated Cost
$30
Estimated Time Investment
An Hour or Two (0-2 Hours)
Finish Used
Paint (Behr Foxgloves)
Recommended Skill Level
Beginner

Restoration Hardware Inspired Media Console

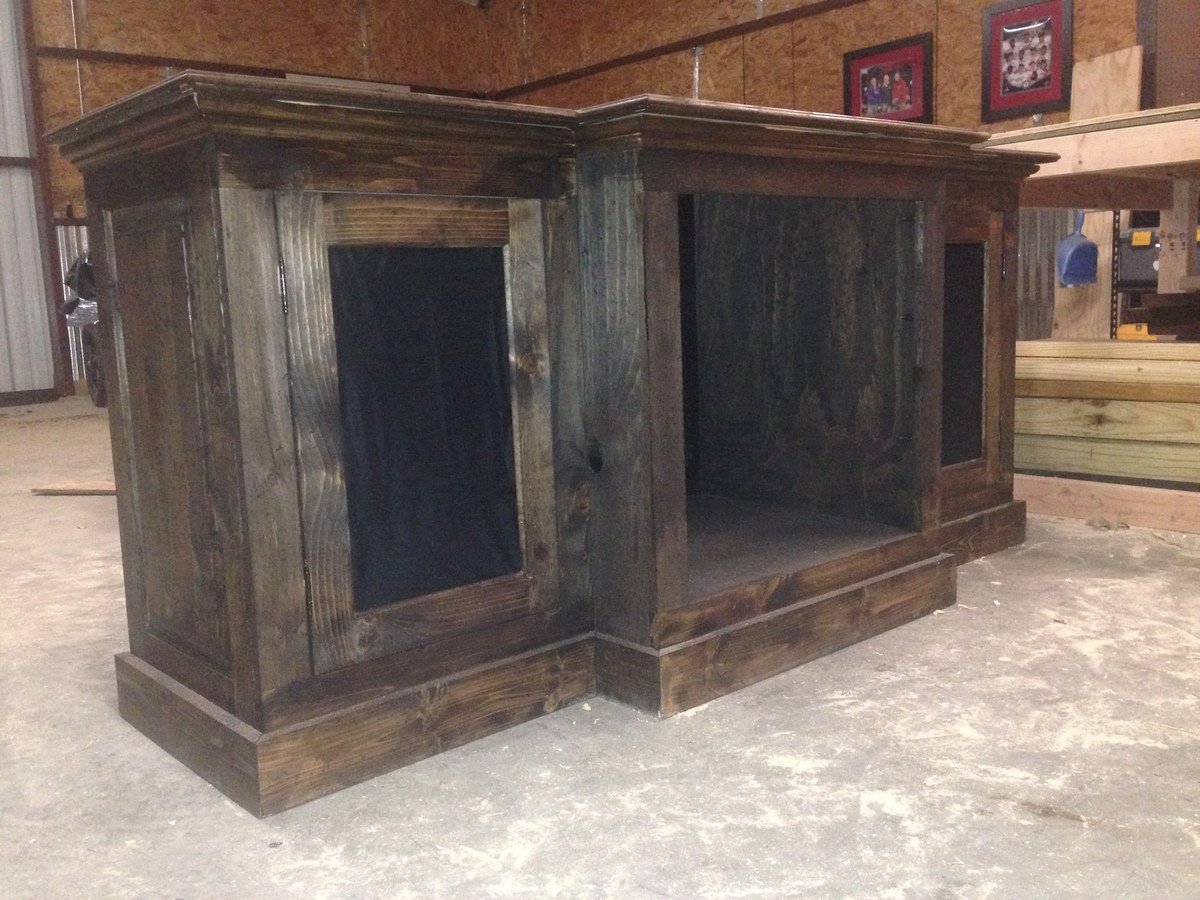
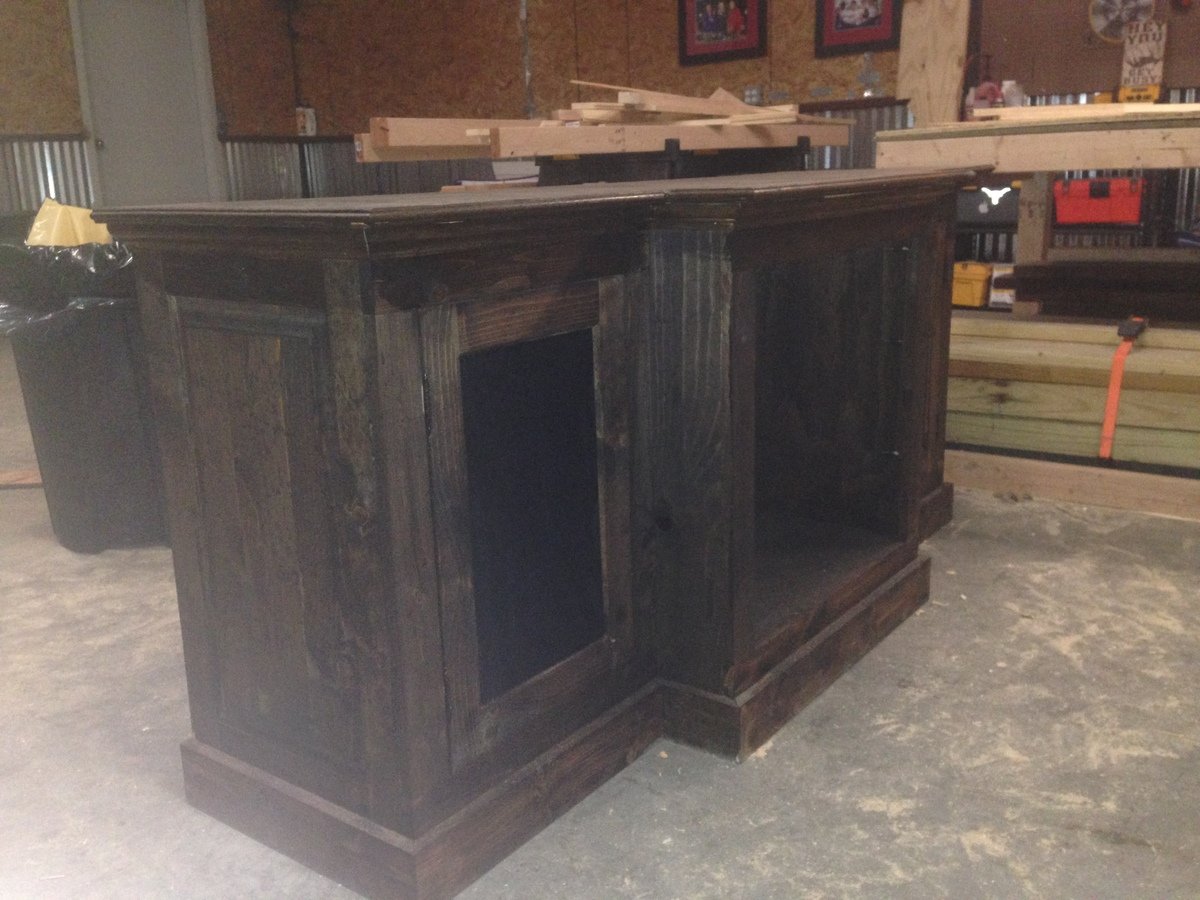
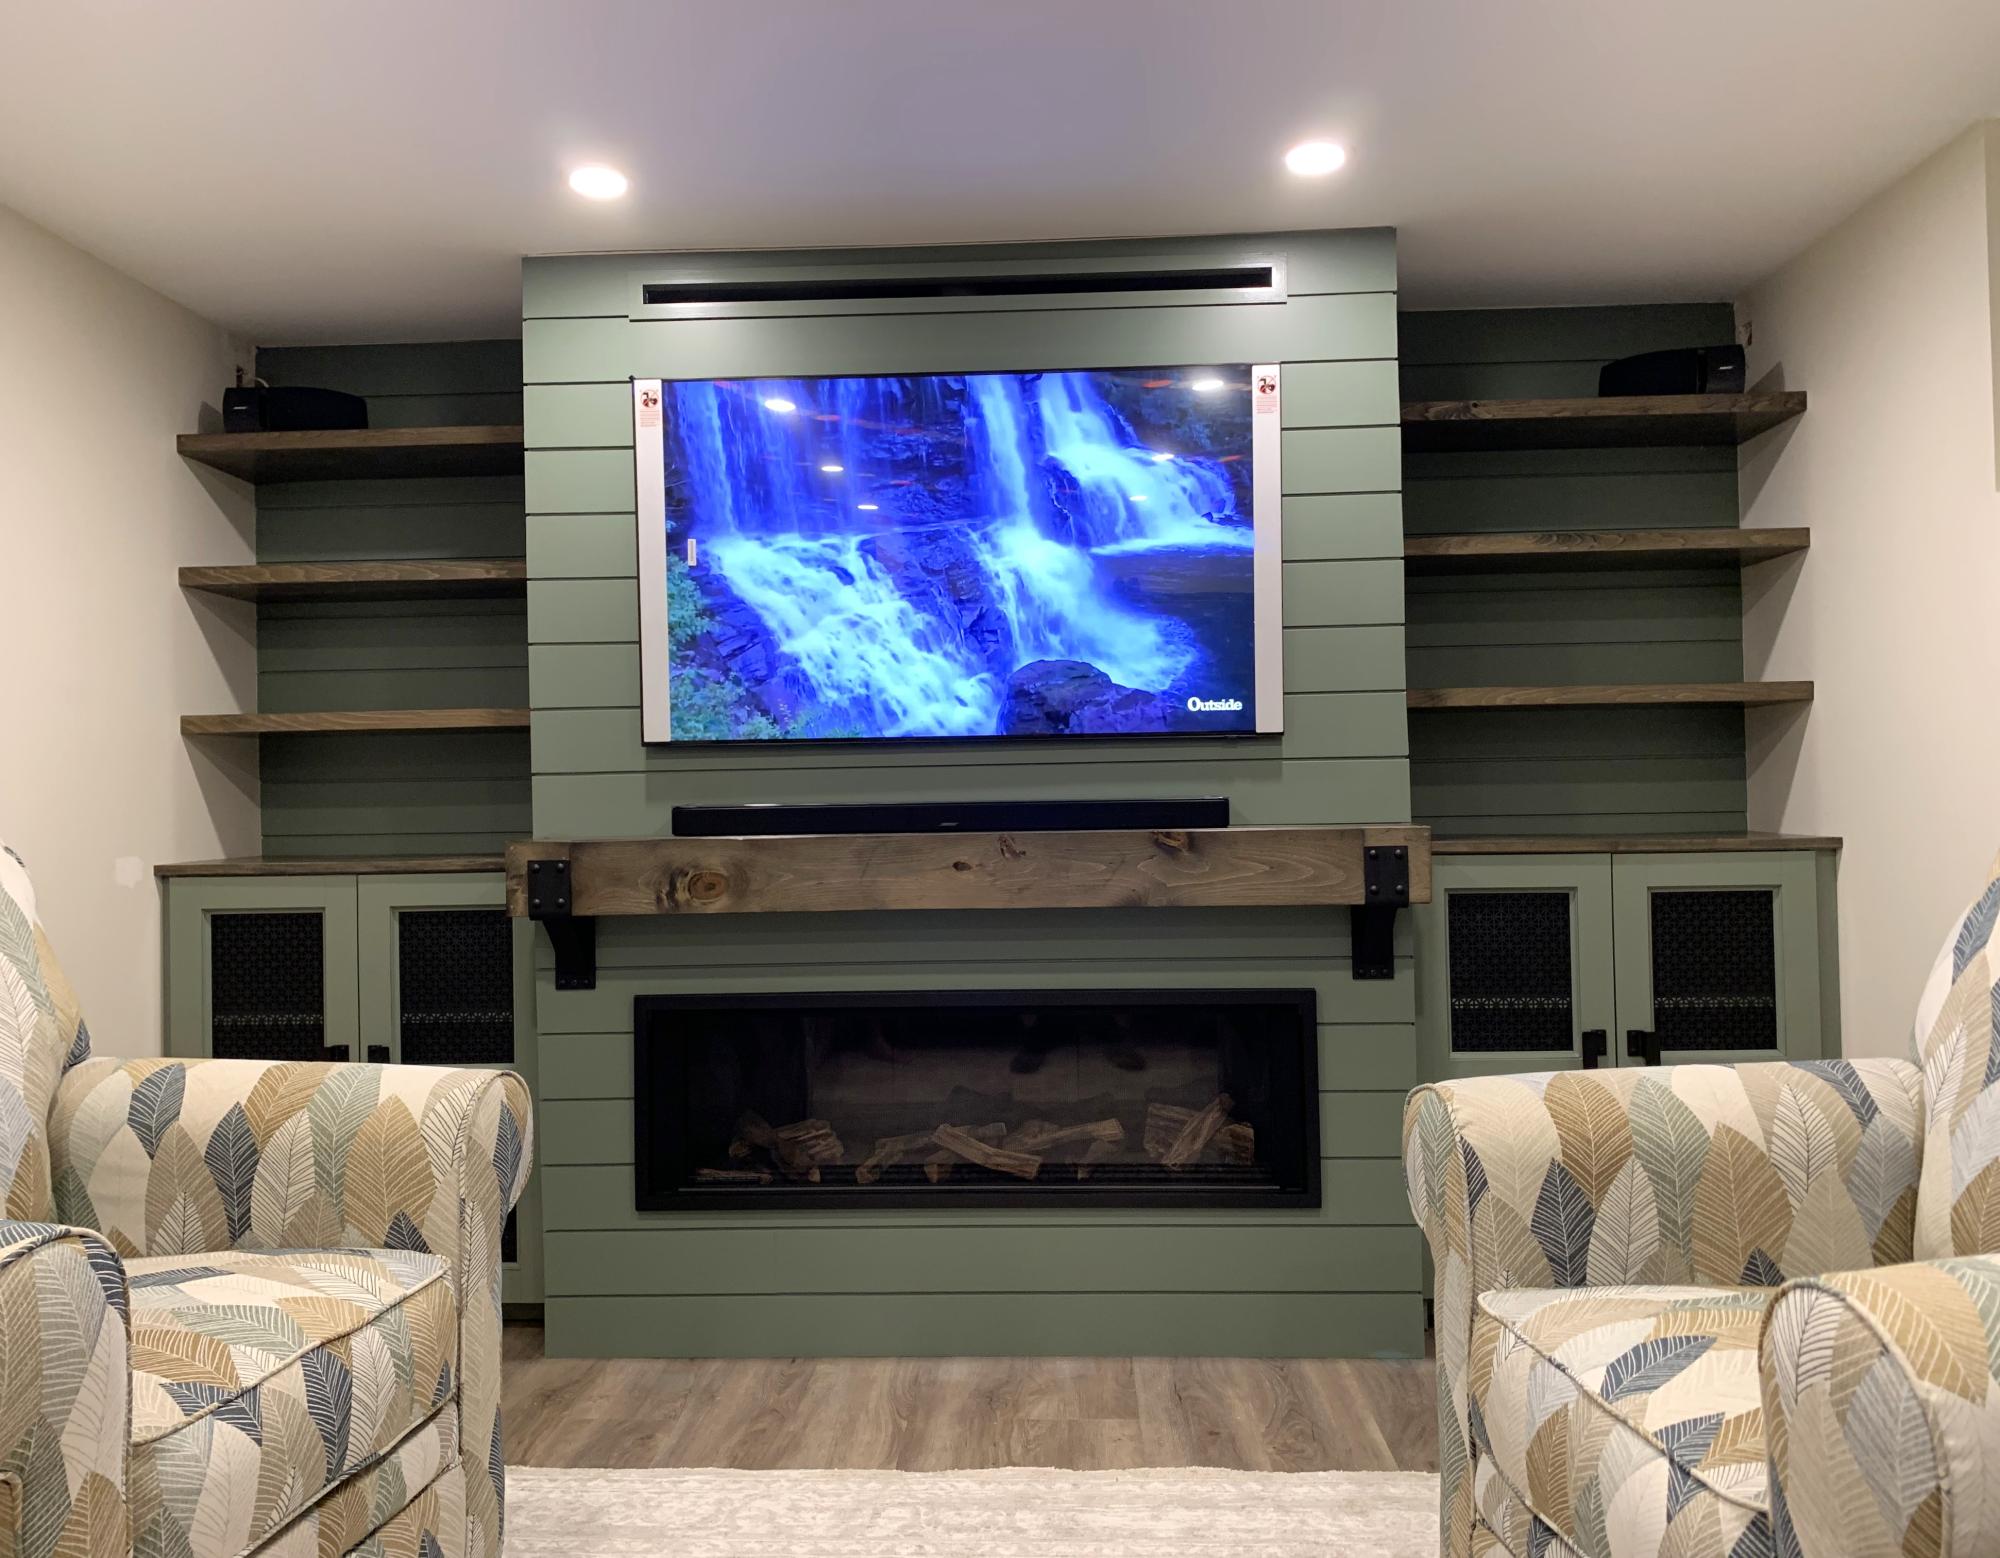
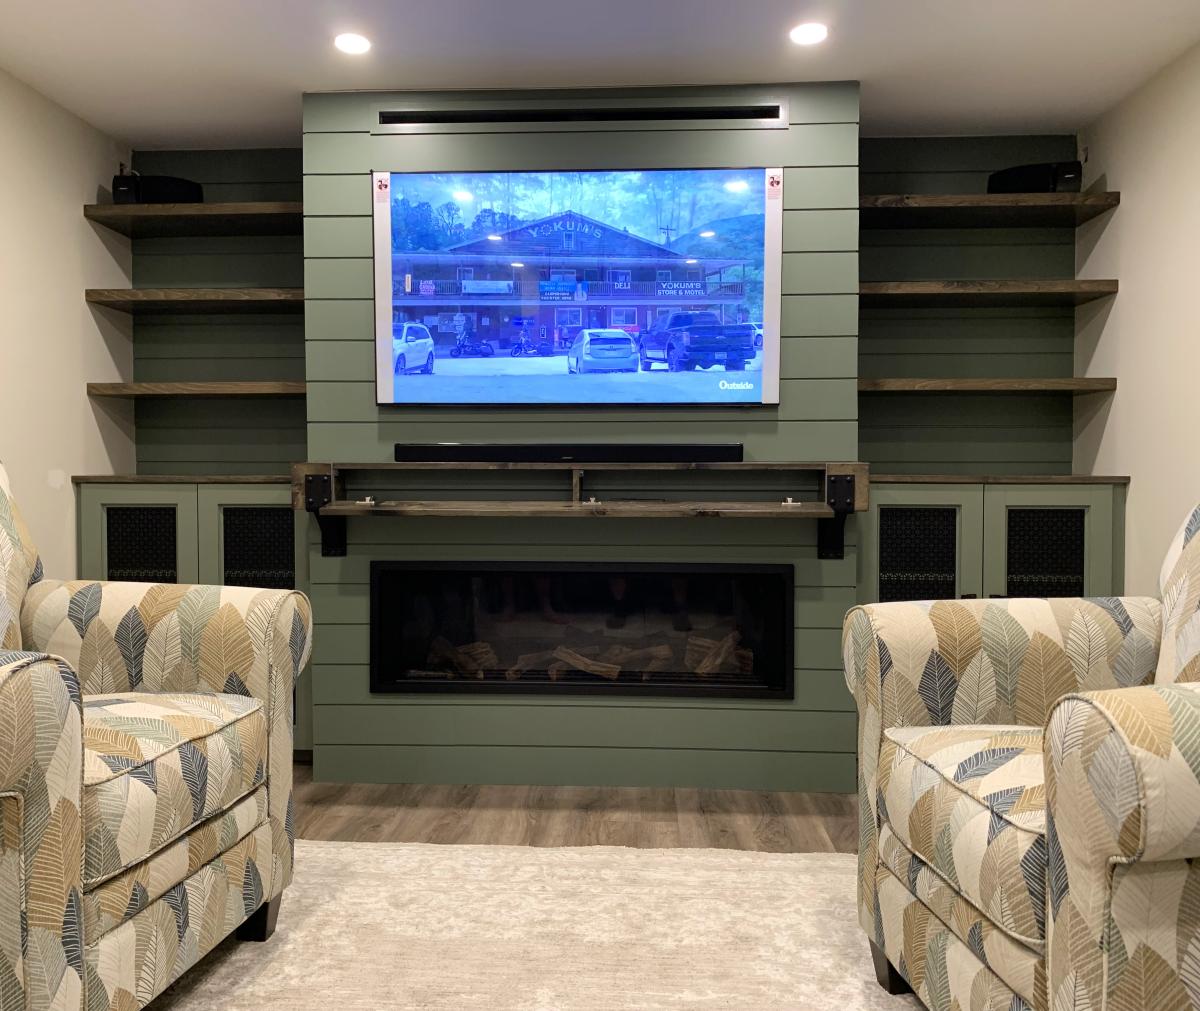
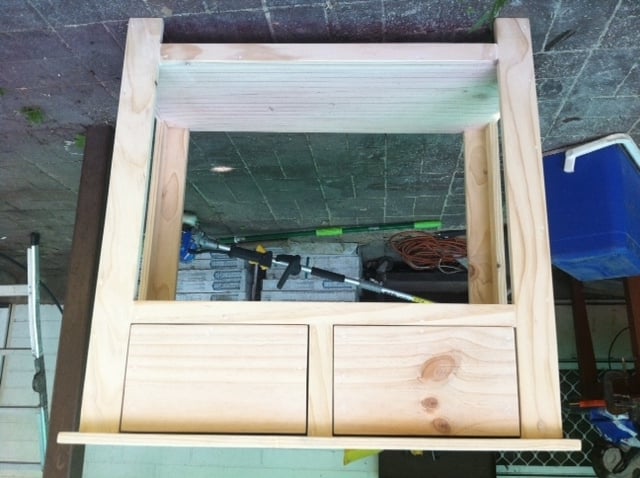
We got some new furniture and realized that the TV stand we currently have just wasn't going to work. We found a media console at Restoration Hardware that we really liked (http://www.restorationhardware.com/catalog/product/product.jsp?productI…). Well, we liked everything but the $1,300 price tag. With a couple sheets of 3/4 plywood, some 1x3's, 1x4's and 1x6's we built this for a fraction of the price. We even modified it so the two side doors have speaker mesh instead of solid panels so we can enjoy the sound without the eyesore of the speakers.

The stain is still drying so I don't have a final installed photo.

Estimated Time Investment
Weekend Project (10-20 Hours)
Finish Used
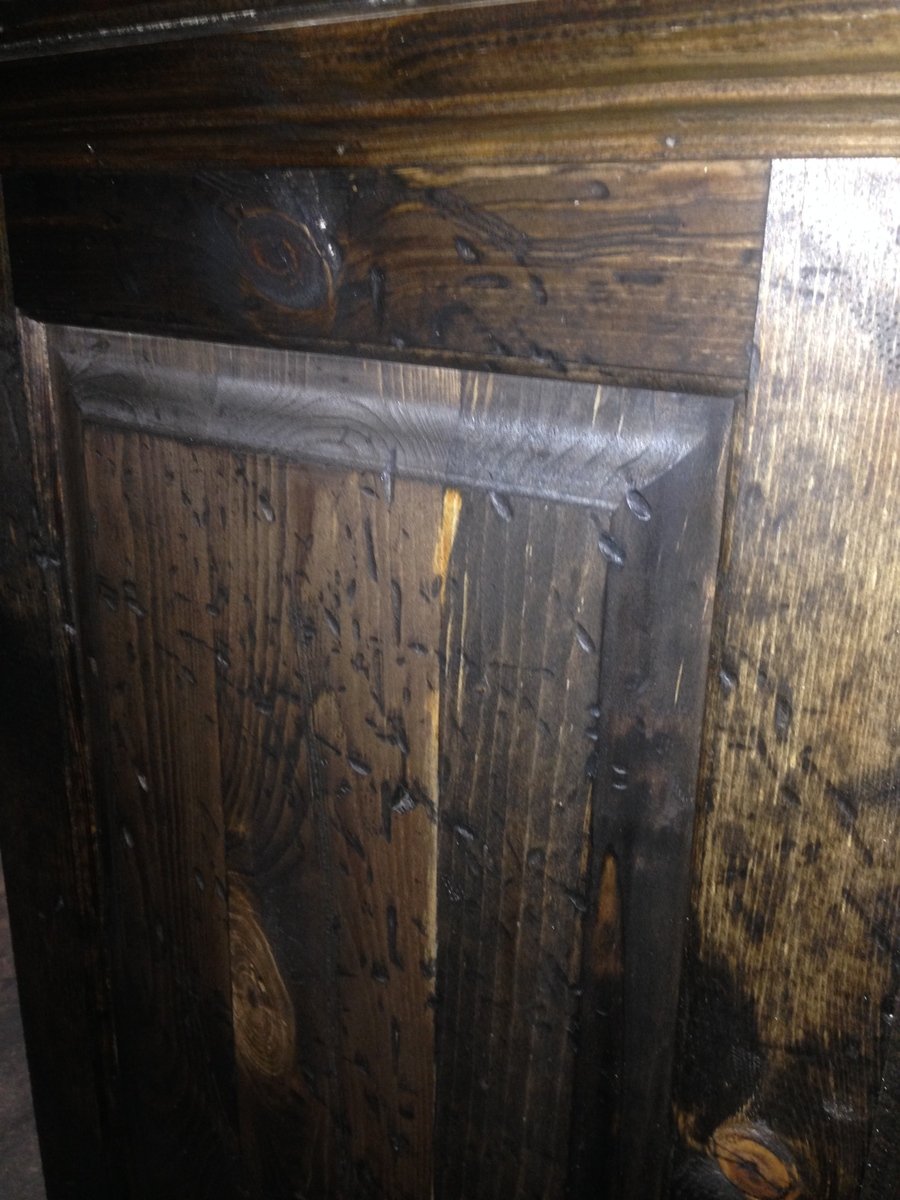
Once built, I beat it with chains, burned it with a torch and put one coat of MinWax Dark Walnut.
Recommended Skill Level
Intermediate

Comments

meggiefrue

Fri, 09/05/2014 - 11:23

I was curious if you had any kind of plans for this peice or if you could at least tell me what sizes of wood you used. I am very interested in building this!


Thnak you,


Meghan

szilvaierika

Sat, 03/14/2015 - 08:18

I am trying to build a similar style cabinet with the middle part coming out. Could you please let me know, since the middle section of the cabinet comes out, is the bottom and top cut out of one piece of wood? You can email me at [email protected]. Any help would be greatly appreciated. Thanks so much! Erika

shawnubis

Mon, 01/25/2016 - 08:33

I see several people have commented and asked for plans, but no one has responded :(
 

Jlplant

Sun, 10/16/2016 - 20:00

 Hello! This is a beautiful piece. Would love to see the plans, if they are available. Please let me know! Thank you! 

Kids Twin Bed

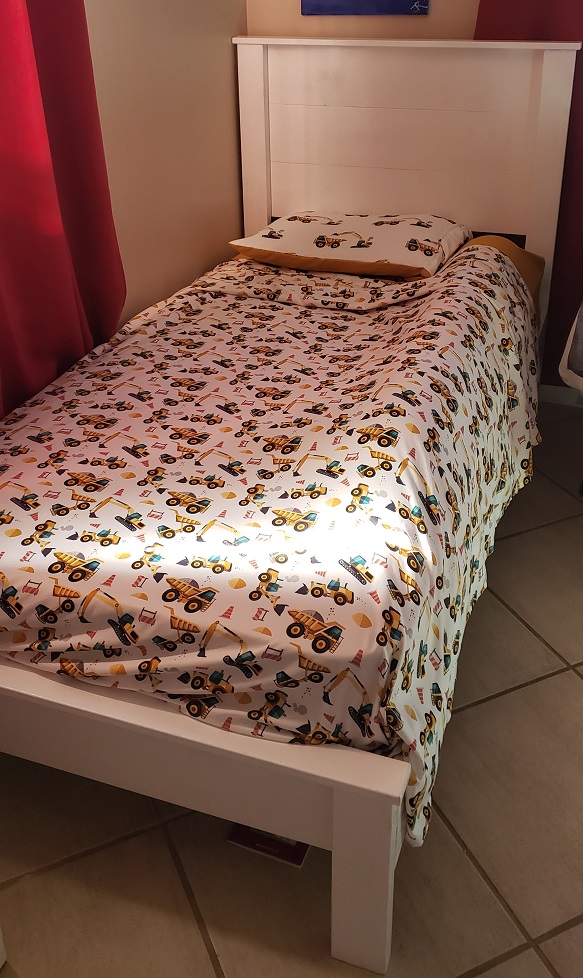
I built this for my second son who was tired of "being in jail", he's almost 3.  His older brother is now jealous!

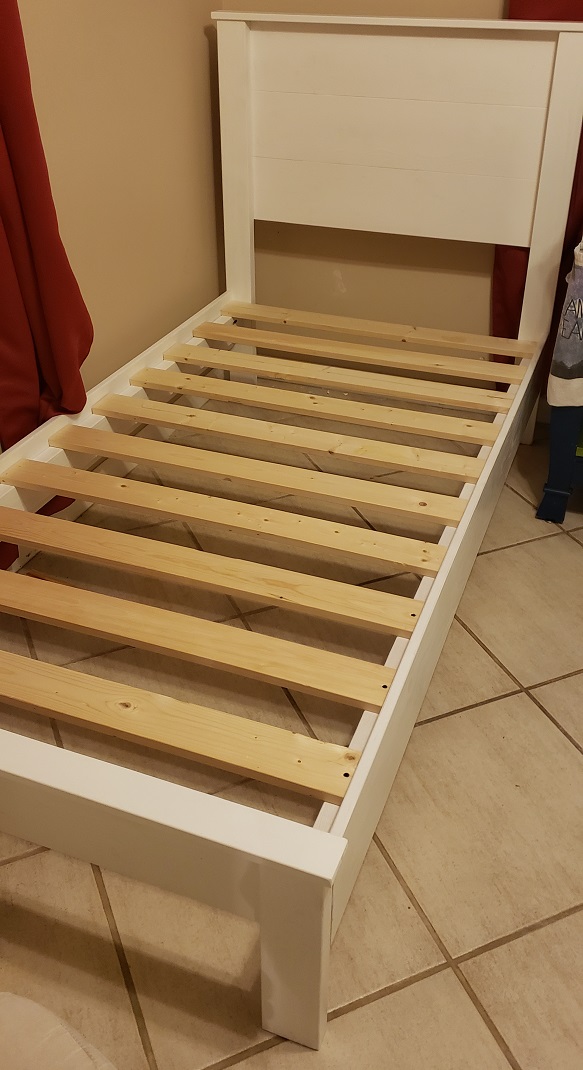
Was a nice easy build - the hardest part was paint spraying for the first time!  I would cut the slats pieces about 1/4" smaller to give a bit more wiggle room when lining up the pieces, and make sure to keep the headboard and footboard square when lining up.

The cost was higher for me being in the Bahamas. I used fir for the frame and spruce for the planks, why, I thought it would save some money but didn't really.

I used pocket holes to attach the bed rails to the headboard and footboard.

Estimated Cost
$250
Estimated Time Investment
Day Project (6-9 Hours)
Finish Used
Wonder-Tones interior primer/paint
Recommended Skill Level
Beginner

Under Cabinet Spice Rack

Submitted by Anonymous (not verified) on Mon, 09/11/2023 - 13:06

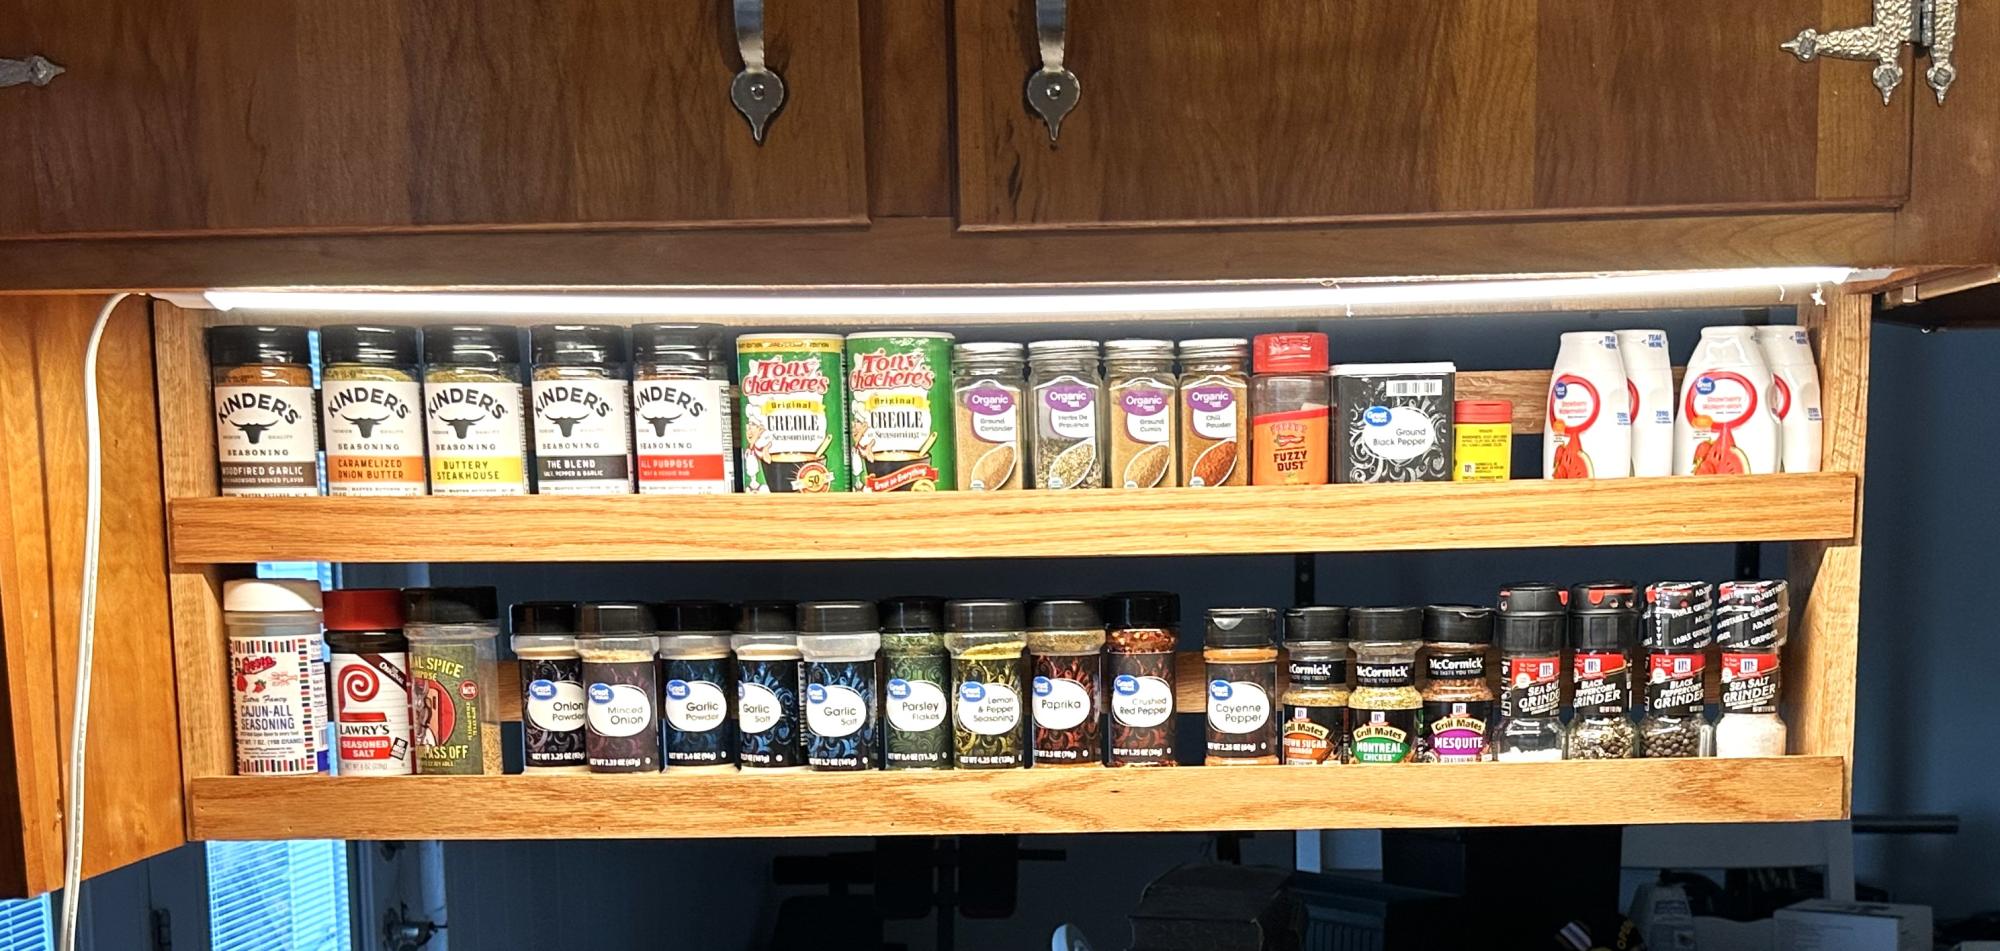
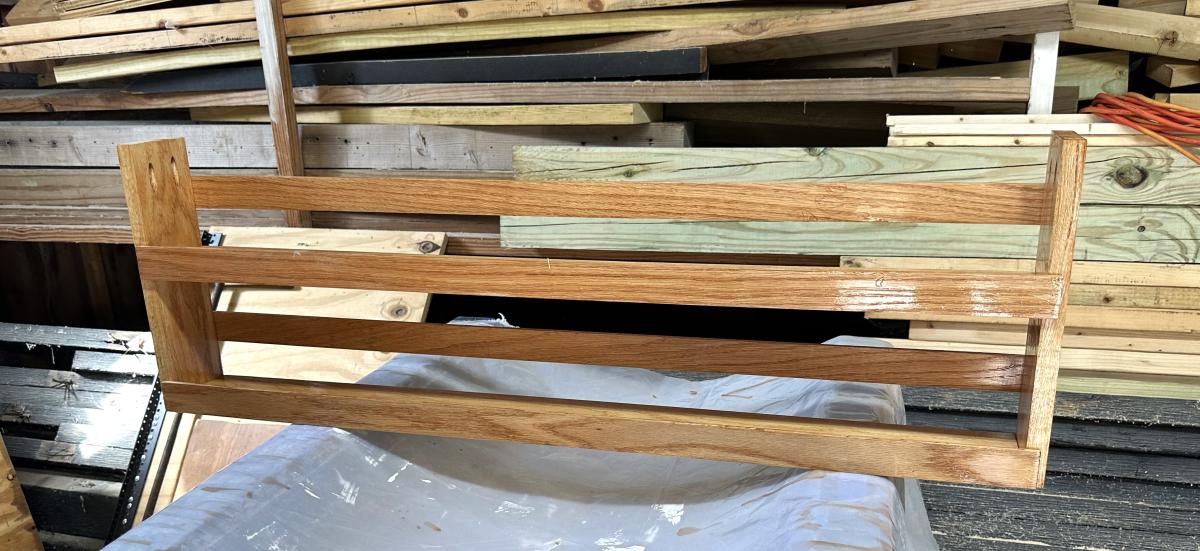
I needed to clear out a shelf in my cabinet and add a spice rack so I could actually see everything. This came out perfect! Made of Oak and stained with classic oak. Very simple to build and hung with pocket screws

James Breadbox

Built from Plan(s)

Playhouse

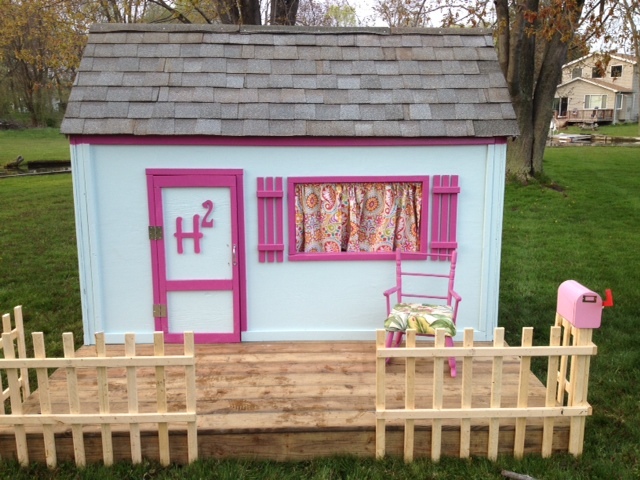
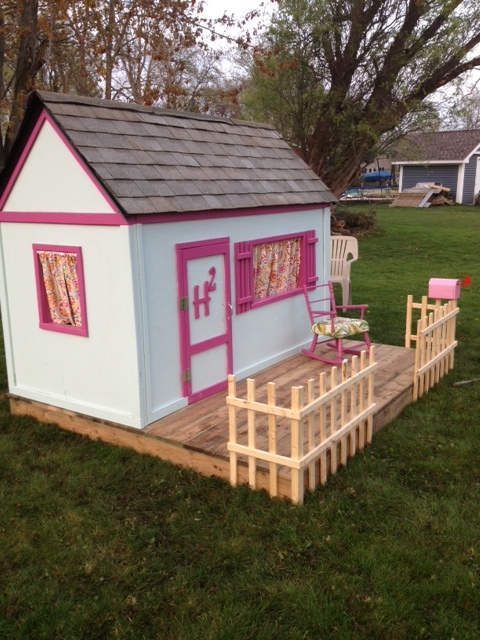
This was our first project and it was pretty simple! We are really happy with the results. We went a little further and lined the inside ceiling and used outdoor carpet inside as well. We saved money by using reminant wood for the deck and some old shingles that had been lying around. It was our first time roofing so it is far from perfect but it should stay dry. Overall our two little girls LOVE it.

Estimated Cost
$400-$500
Estimated Time Investment
Week Long Project (20 Hours or More)
Finish Used
Exterior Paint
Recommended Skill Level
Beginner

Comments

nikjwil

Sat, 07/07/2012 - 21:06

We just finished this project. I love the shutters, mailbox and curtains! What cute touches!

Wine rack

Wine rack made from discarded pallet, with slots to hang glasses

Estimated Cost
Free!
Estimated Time Investment
An Hour or Two (0-2 Hours)
Recommended Skill Level
Beginner

Comments

Sandbox with built in seats/lid

6'x6' with 12'' Treated Sides, 1x4 and 1x6 SPF tops/seats and 2x4 Brace under Seats to accommodate the 6 foot span. Sanded and Painted.

Completed in 2 days, couple hours each day, sanded/painted all boards before assembly.

Built from Plan(s)
Estimated Time Investment
Day Project (6-9 Hours)
Finish Used
Exterior Grade Paint.
Recommended Skill Level
Beginner

Modern Farmhouse

Submitted by Anonymous (not verified) on Sun, 01/19/2020 - 07:50

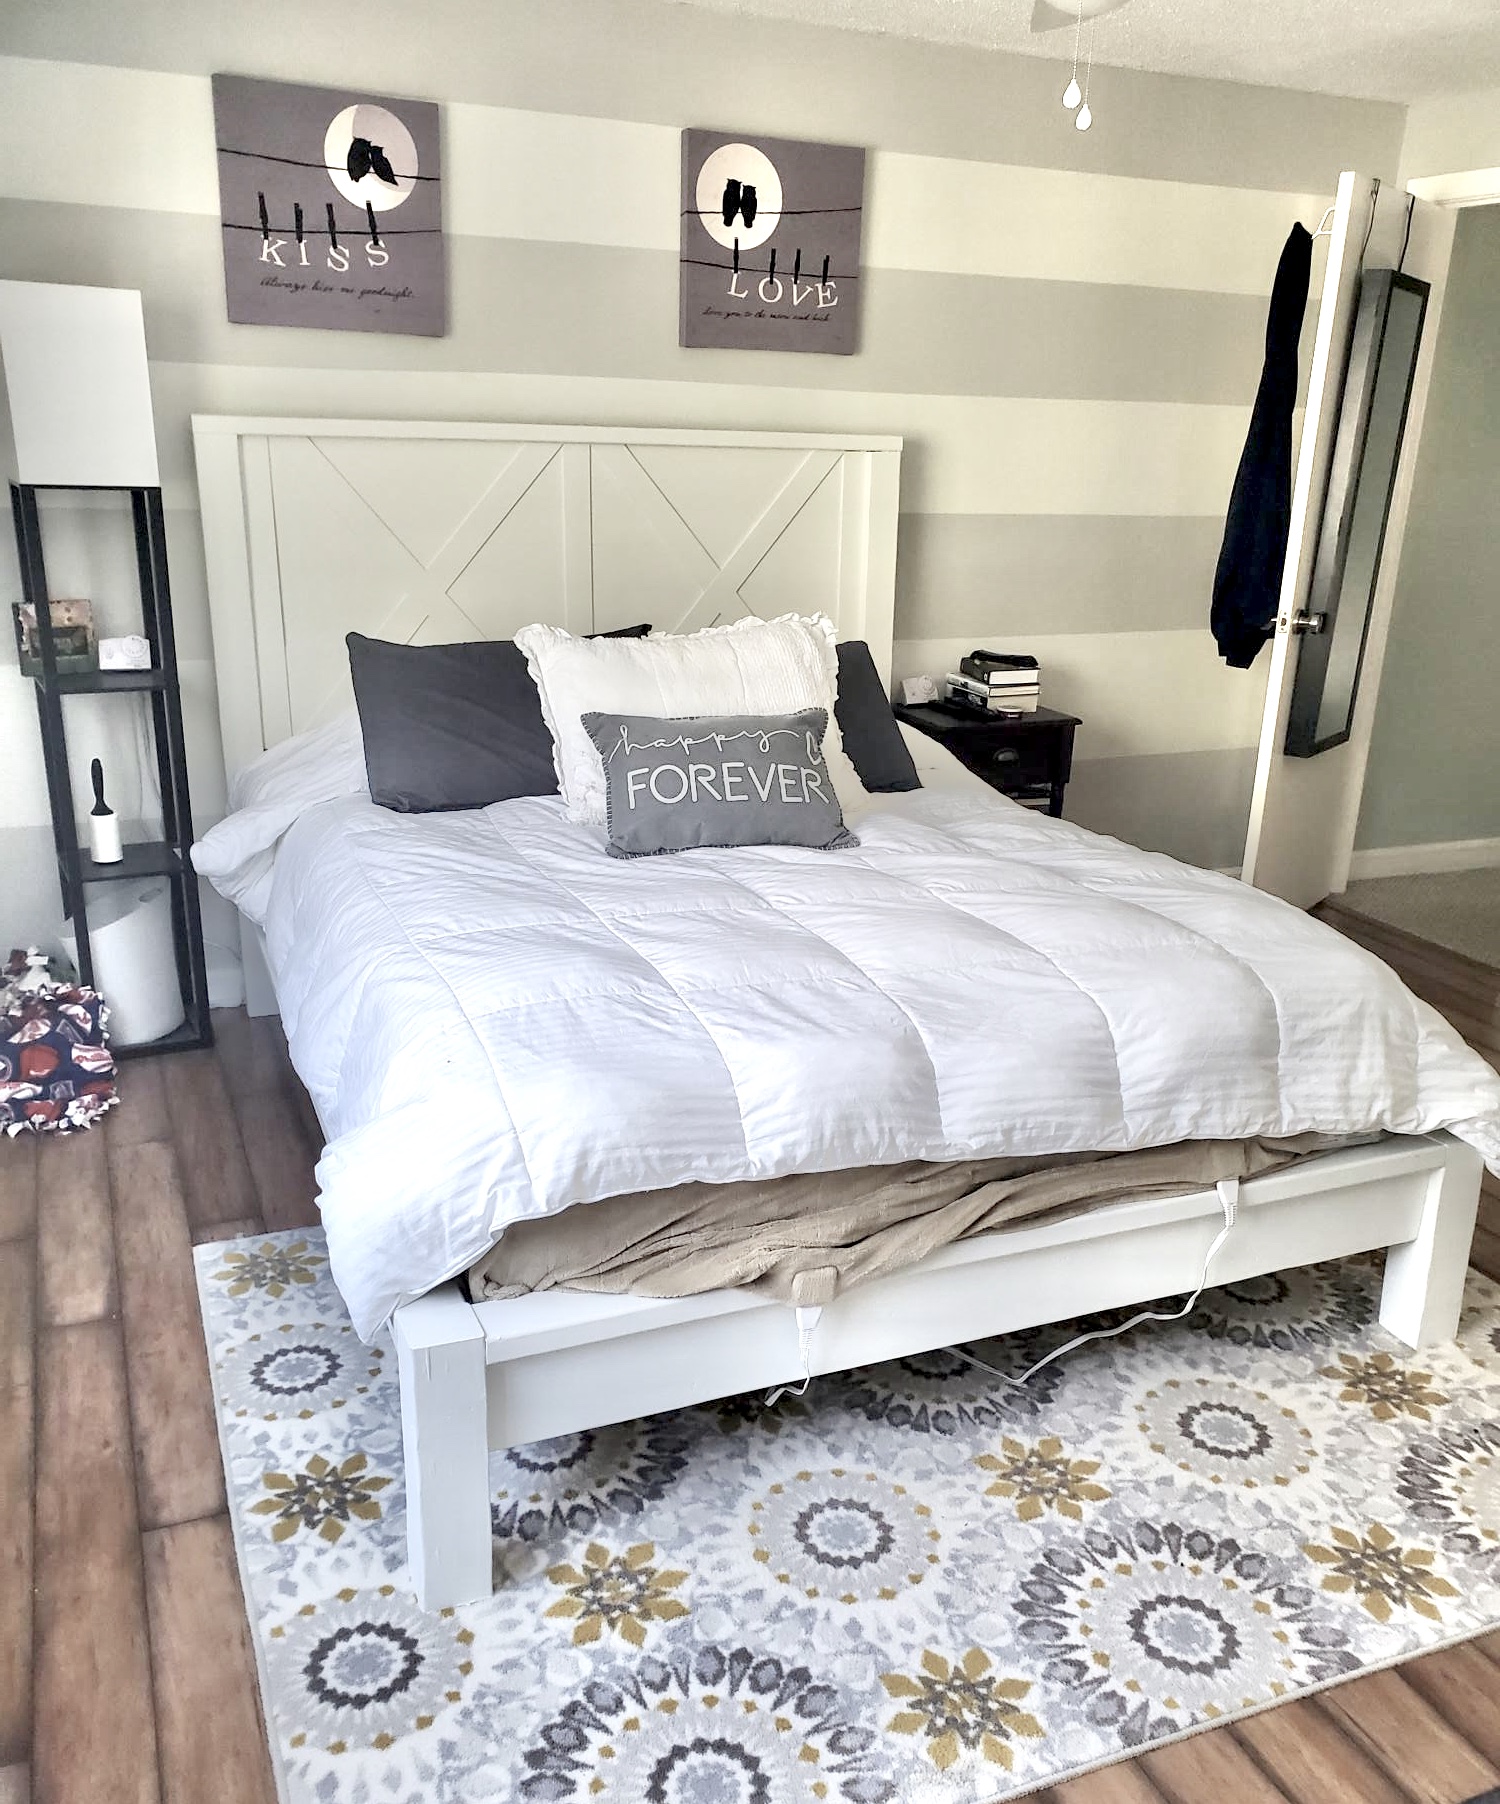
Modern Farmhouse Bed Frame - with some added accents to match some other elements in the house - plan was so easy to follow and came together so well!! Thank you so much!!!!!

Built from Plan(s)
Estimated Cost
180
Estimated Time Investment
Weekend Project (10-20 Hours)
Finish Used
paint
Recommended Skill Level
Intermediate

Entry table using Cottage Media Table plans

Submitted by KelleighW on Wed, 04/18/2012 - 15:17

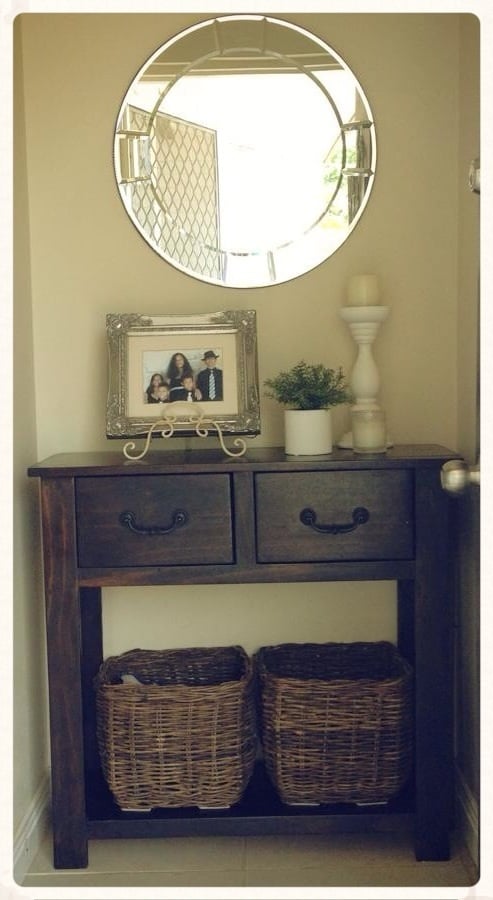
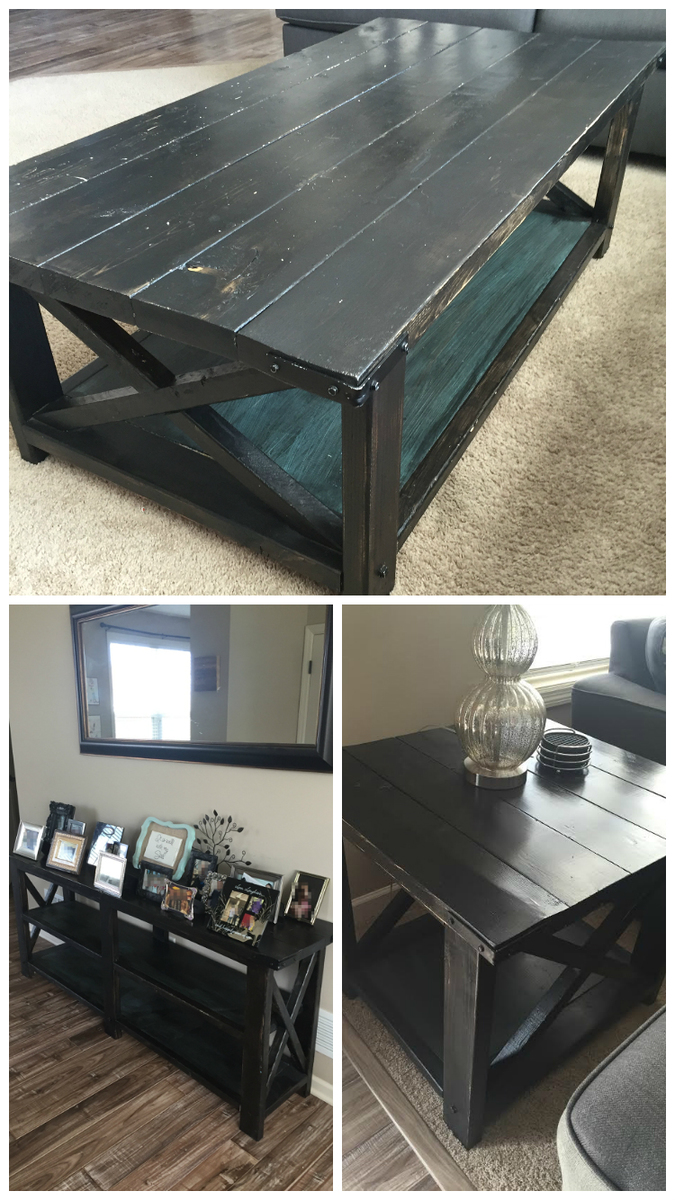
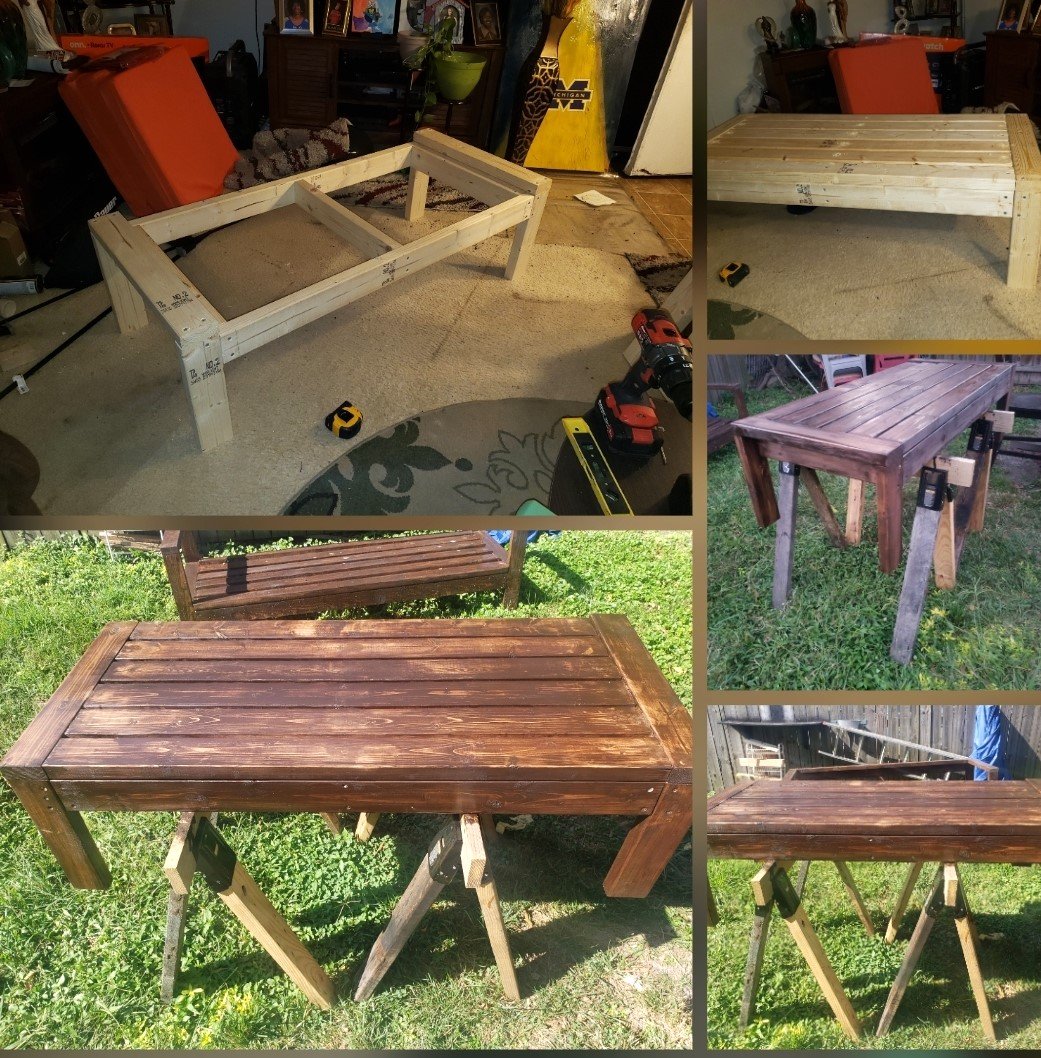
I used the Cottage Media coffee table plans and modified the length and height to suit for the space I needed. Ana's plans were super easy to follow and am pleased with the end result.

Estimated Cost
$100
Estimated Time Investment
Weekend Project (10-20 Hours)
Finish Used
Chocolate Walnut
Recommended Skill Level
Beginner

King Farmhouse Bed

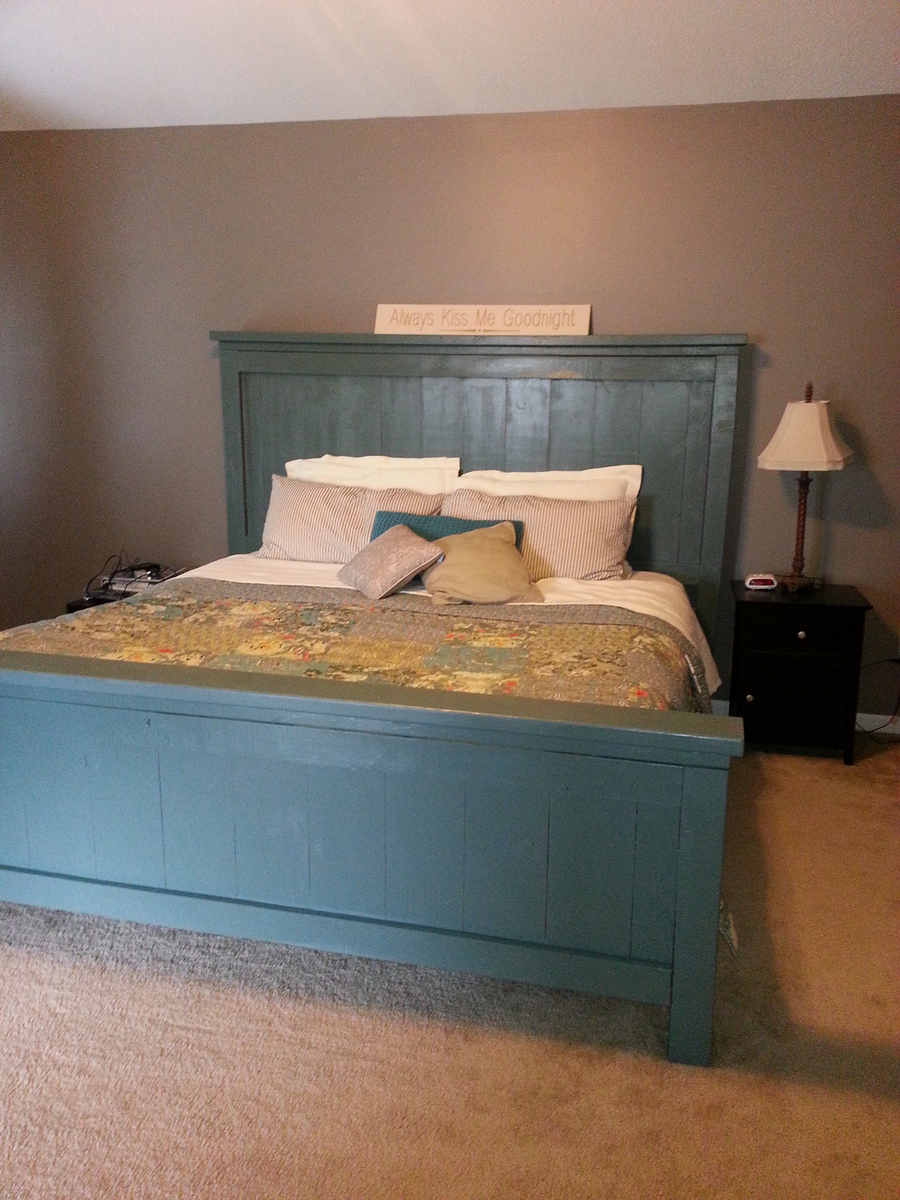
My husband and I built this bed as our first ever project. It was so easy. It took about 8 hours plus painting time. I modified the original King plans by raising both the headboard and foo board 6 inches. This meant every vertical measurement was changed by 6 inches. I am also using a metal bed frame with box spring. We are next going to make the matching nightstands! Super excited to continue building my own furniture!

Estimated Cost
$150
Estimated Time Investment
Day Project (6-9 Hours)
Finish Used
Olde Century Paint:
Recommended Skill Level
Starter Project

Modified: Becca Trunk

Submitted by fallingday on Fri, 01/24/2020 - 15:45

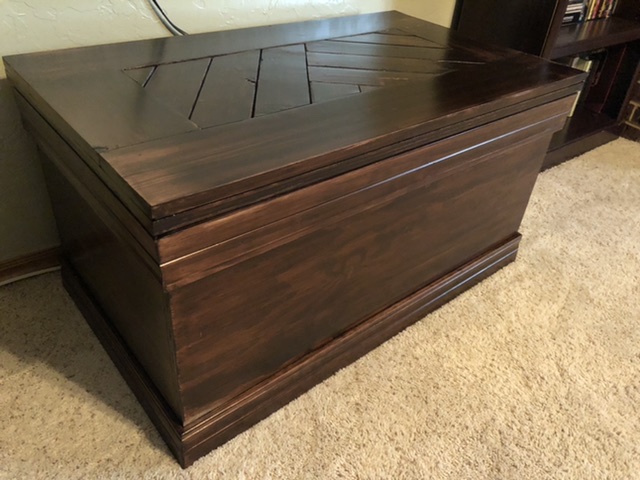
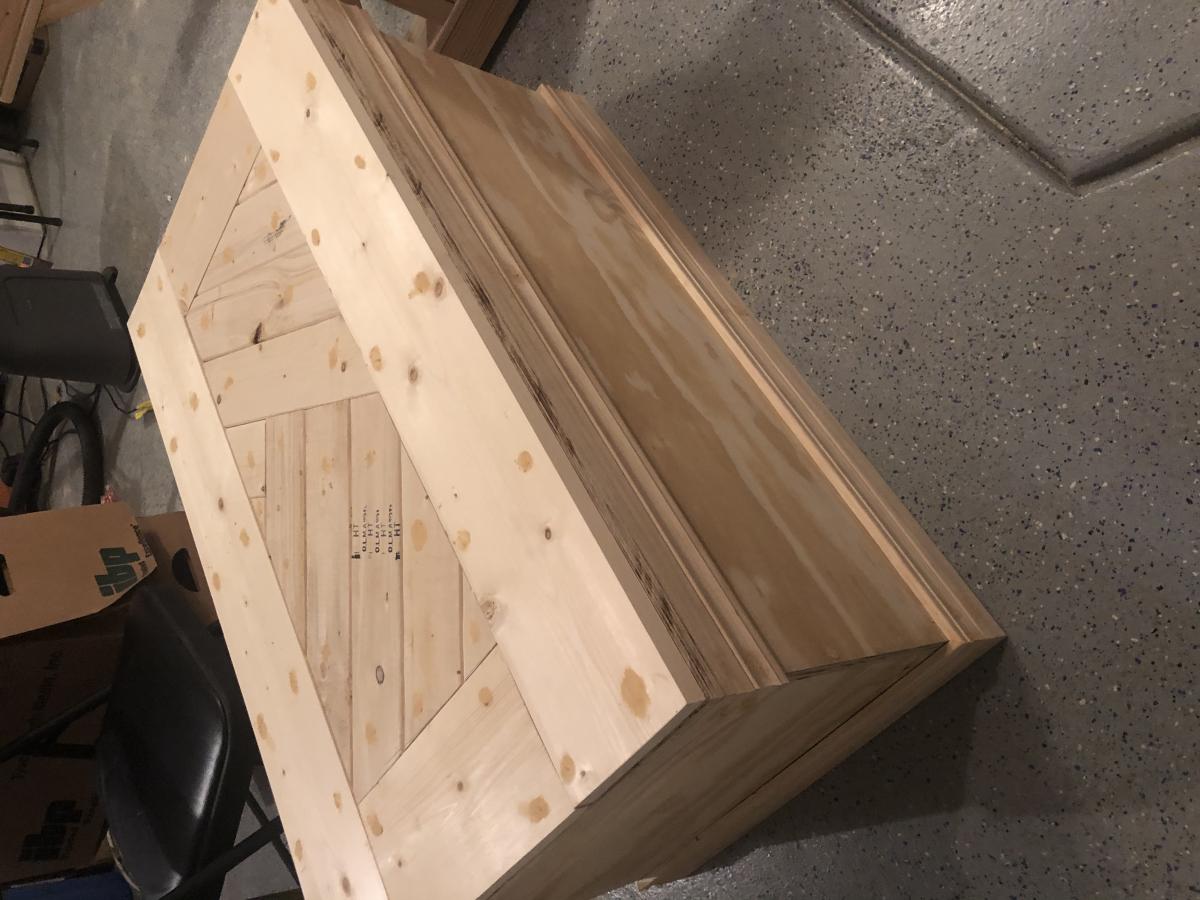
A huge thank you for these amazing plans. I absolutely love this site! I had so much fun making this chest. Overall a very simple build. I struggled with the finish but eventually got it how I wanted it. I also ran into a snag while building the lid. I ran out of 1x6’s which resulted in the unique top you see in the picture made from scrap 1x4’s from other projects. On to the next project.

Estimated Cost
About $65
Estimated Time Investment
Day Project (6-9 Hours)
Finish Used
Minwax Dark Walnut
Recommended Skill Level
Intermediate

10 dollar ledge

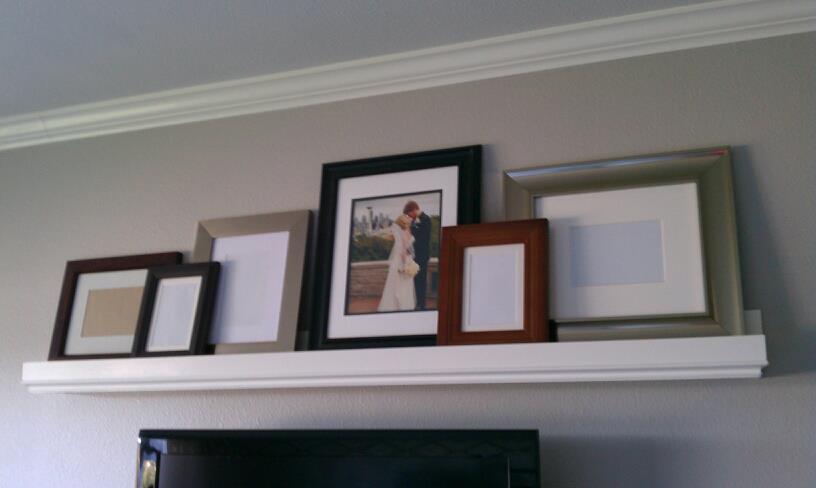
10 dollar ledge with small trim on the bottom (now cost 20 dollars total)

Built from Plan(s)
Estimated Time Investment
Afternoon Project (3-6 Hours)
Finish Used
Primer and two coats of white paint (with floetrol) applied with paint brush
Recommended Skill Level
Beginner

Updated Tryde Coffee Table

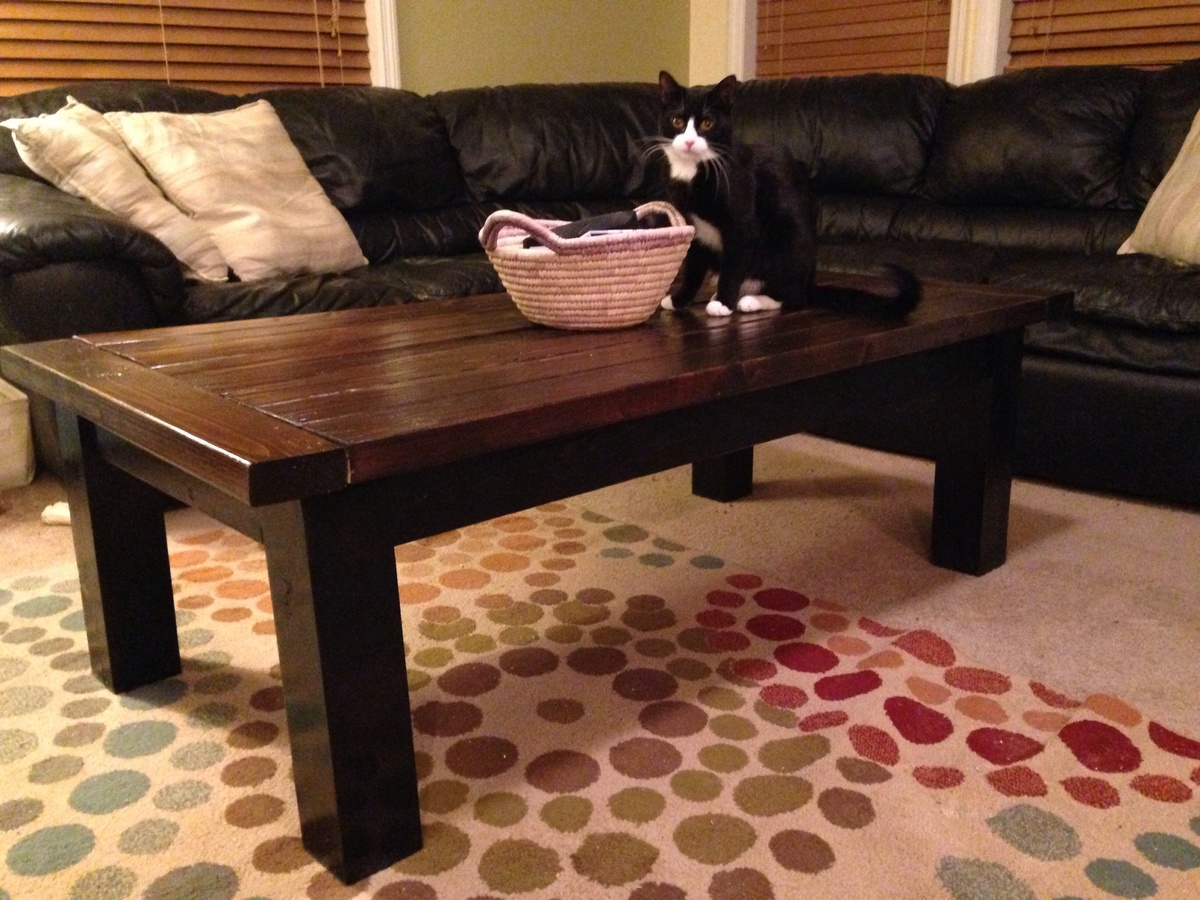
This was my first building project, and I'm very happy with the results. It was a cinch to put together, too. My husband helped me cut the pieces after work one night and then I put it together that Saturday. I decided to do a two tone finish with the legs and apron painted because our local Lowes didn't have 2x4s and 4x4s in the same type of wood, so I was afraid there would be too big a difference in the way they take stain.

Built from Plan(s)
Estimated Cost
$60 including lumber, screws, paint and stain
Estimated Time Investment
Day Project (6-9 Hours)
Finish Used
The legs and apron are spray painted with black Valspar gloss paint, and the top was stained with Minwax Kona stain. I did the painting and staining prior to attaching the top to the bottom and then gave it three coats of poly to help with durability.
Recommended Skill Level
Starter Project

4x4 Truss Table

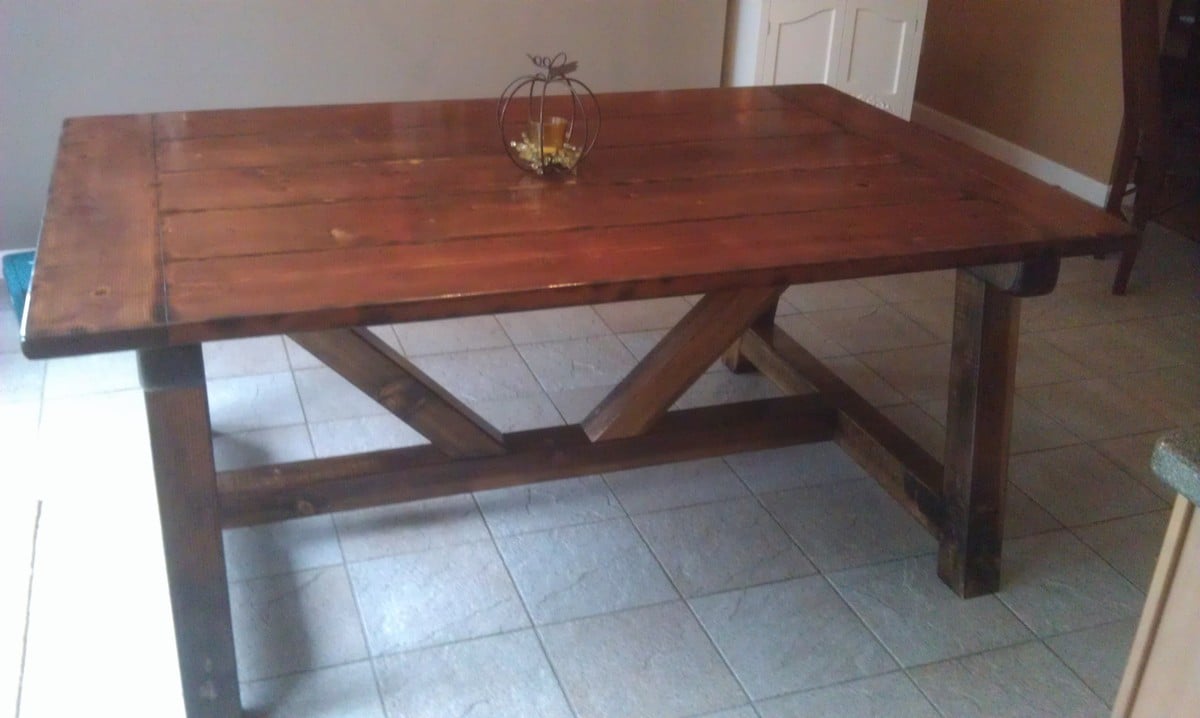
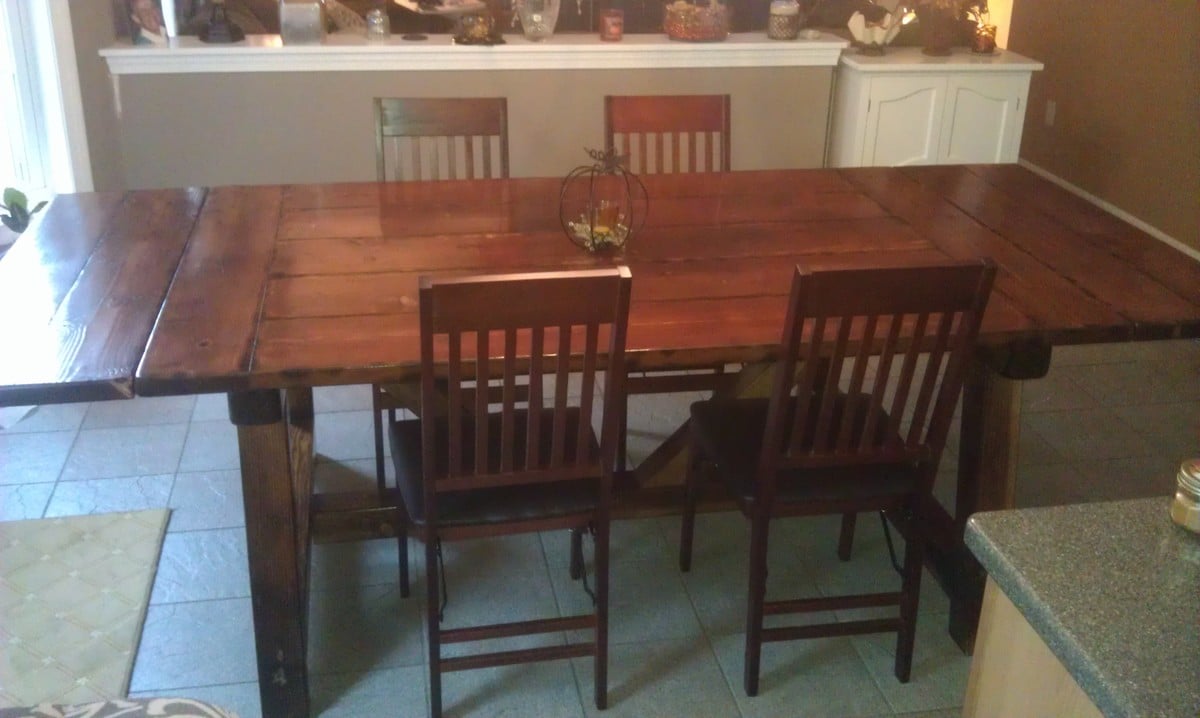
Submitted by BojackH on Mon, 05/02/2016 - 20:08

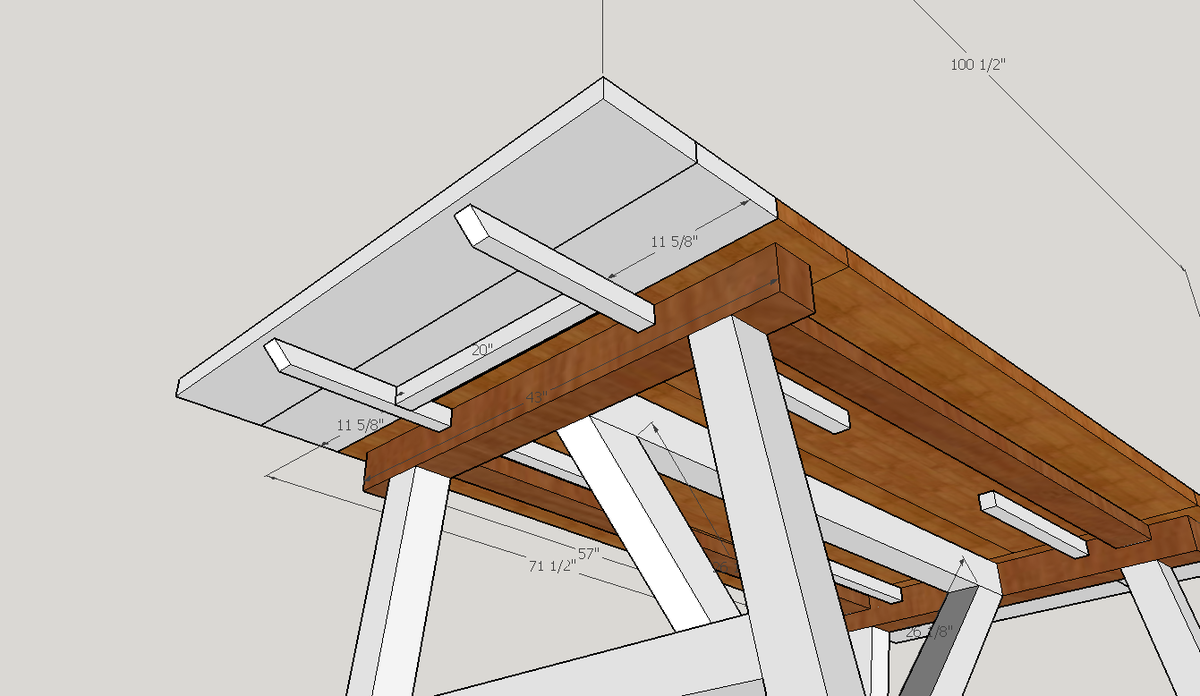
We needed a sturdy table but didn't want to spend a fortune buying one so decided to take a stab at building one.  Our space isn't too large but also wanted the ability to expand the table with leaves if we have a large crowd.  I built leaves by cutting notches in the horizontal leg 4x4 and then sliding in/out with 2x2's attached (see pic).

I will say it makes life a whole lot easier learning how to use Sketchup or some other design software.  That way you can visualize what it will look like, cuts you need to make especially if you will be deviating from the original post design and don't want to do math in your head (like me).


Built from Plan(s)
Estimated Cost
~$200 for wood
Estimated Time Investment
Week Long Project (20 Hours or More)
Finish Used
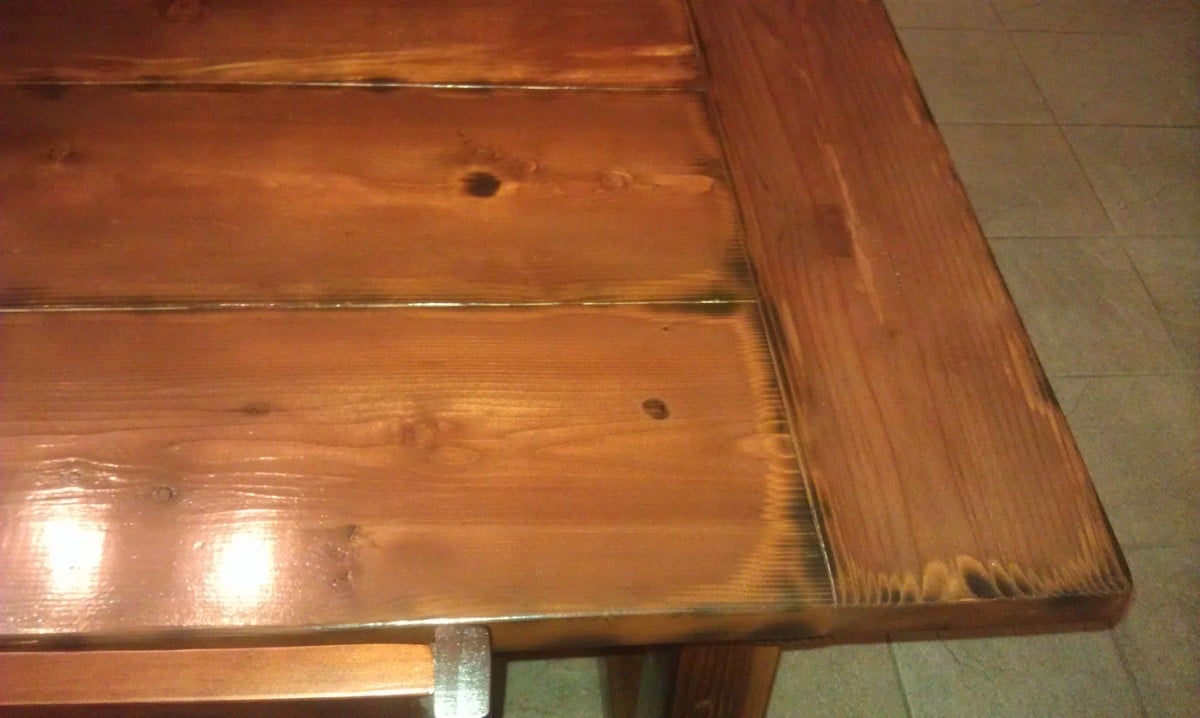
I used the vinegar/ steel wool solution and then 6 coats of Minewax semi gloss polyurethene. Before applying polyurethene, I used a blow torch on the corners to make some neat burn marks.
Recommended Skill Level
Intermediate

Farmhouse Queen Bed

Submitted by cabinK on Wed, 01/29/2020 - 23:32

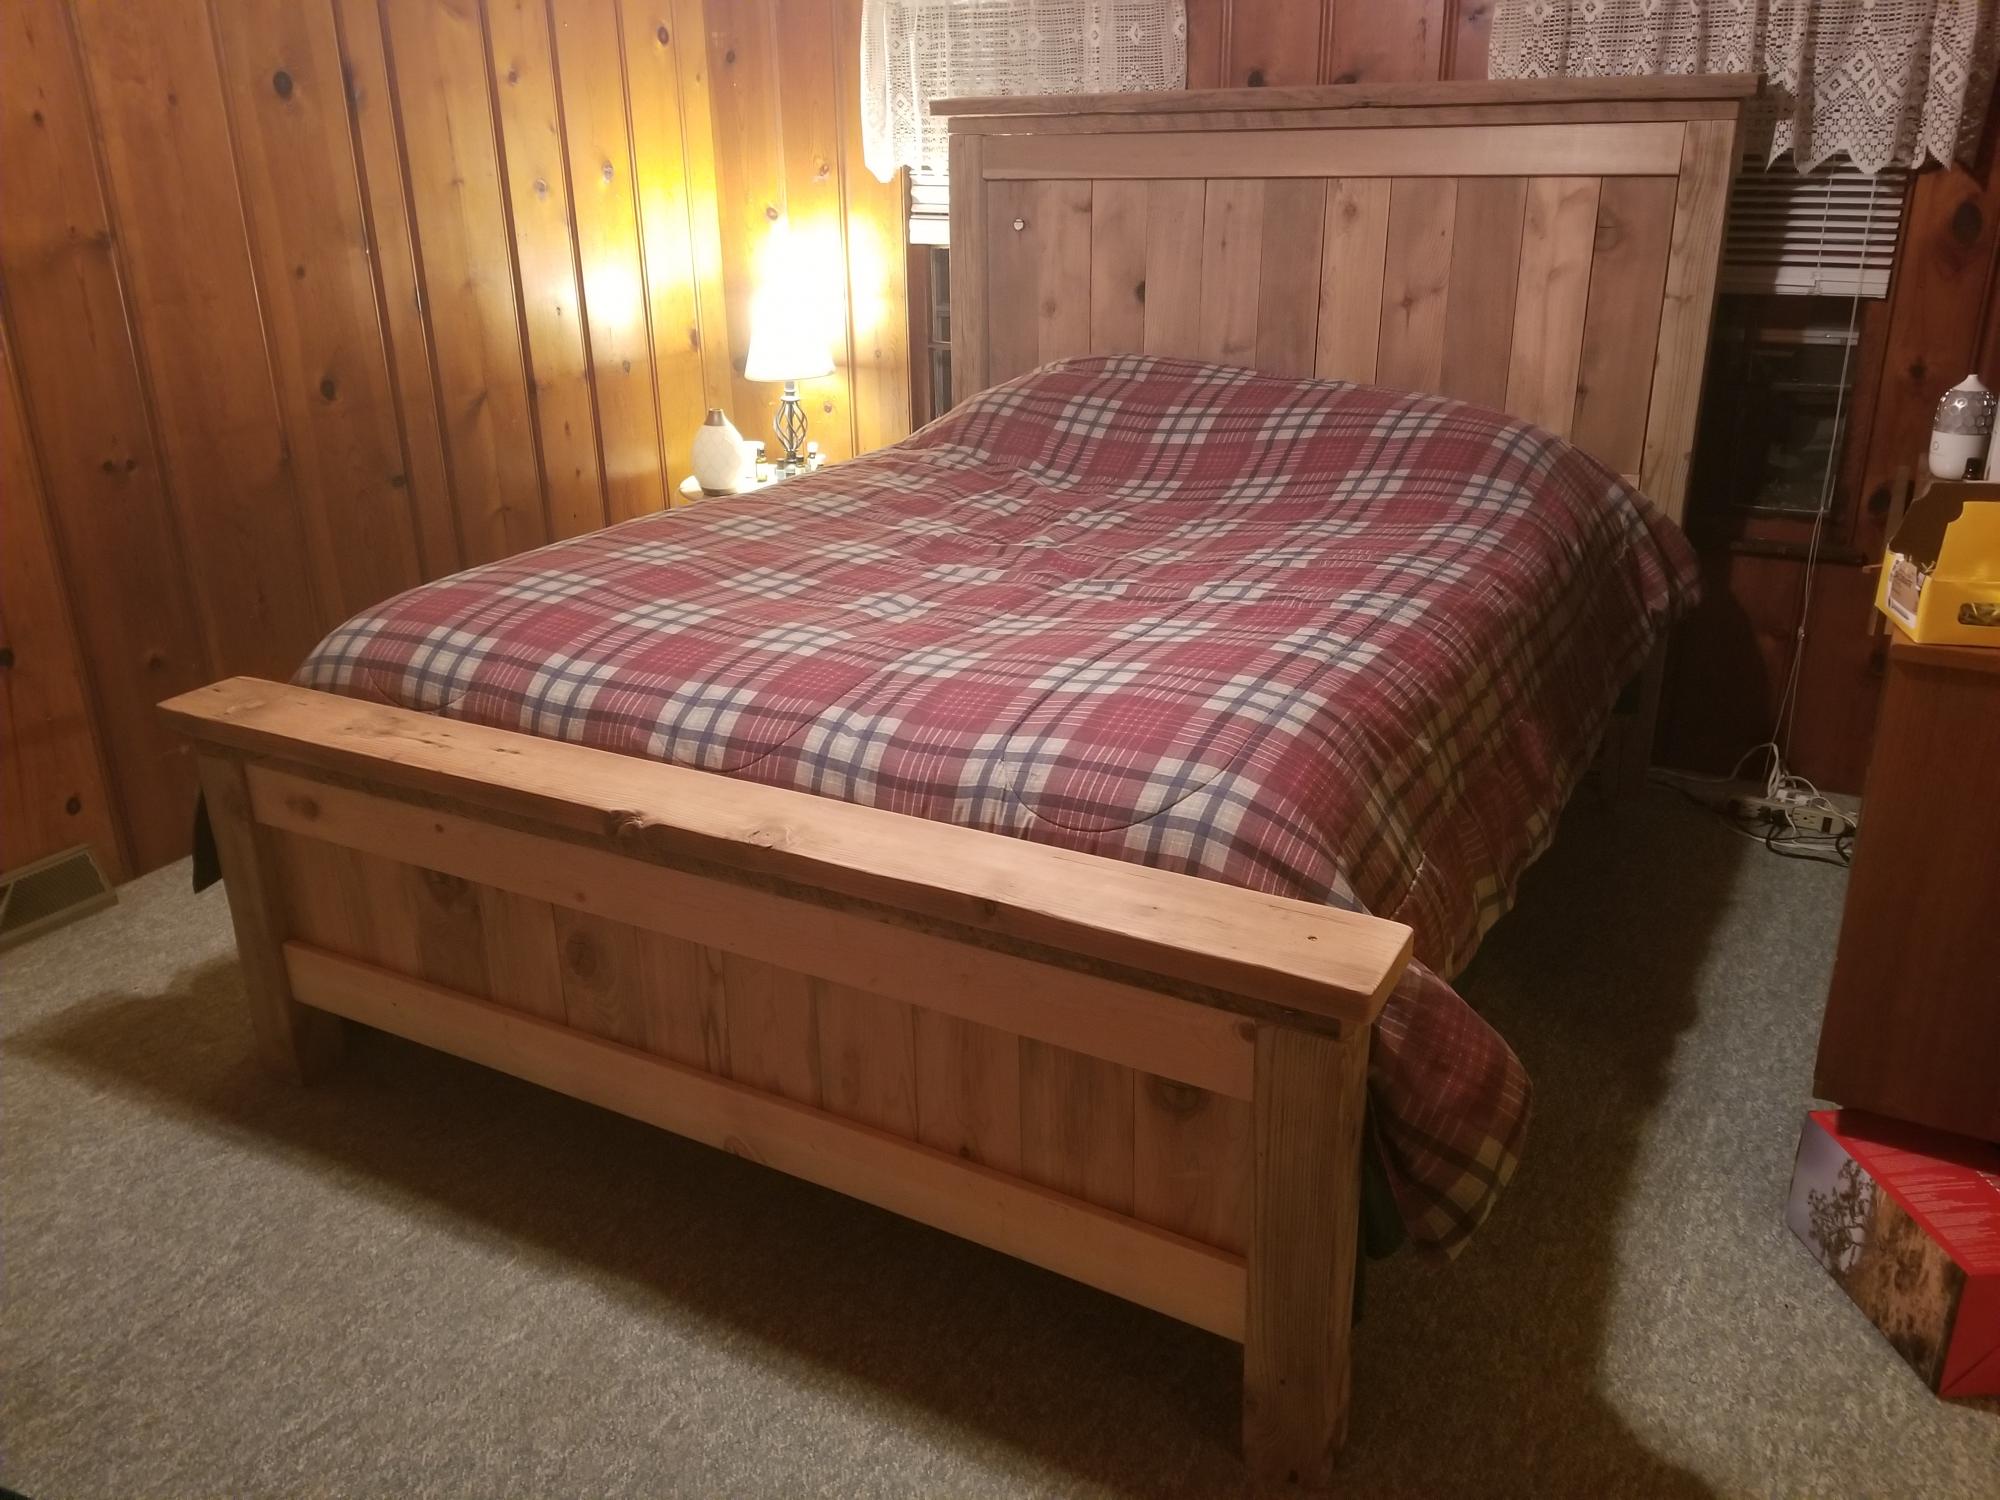
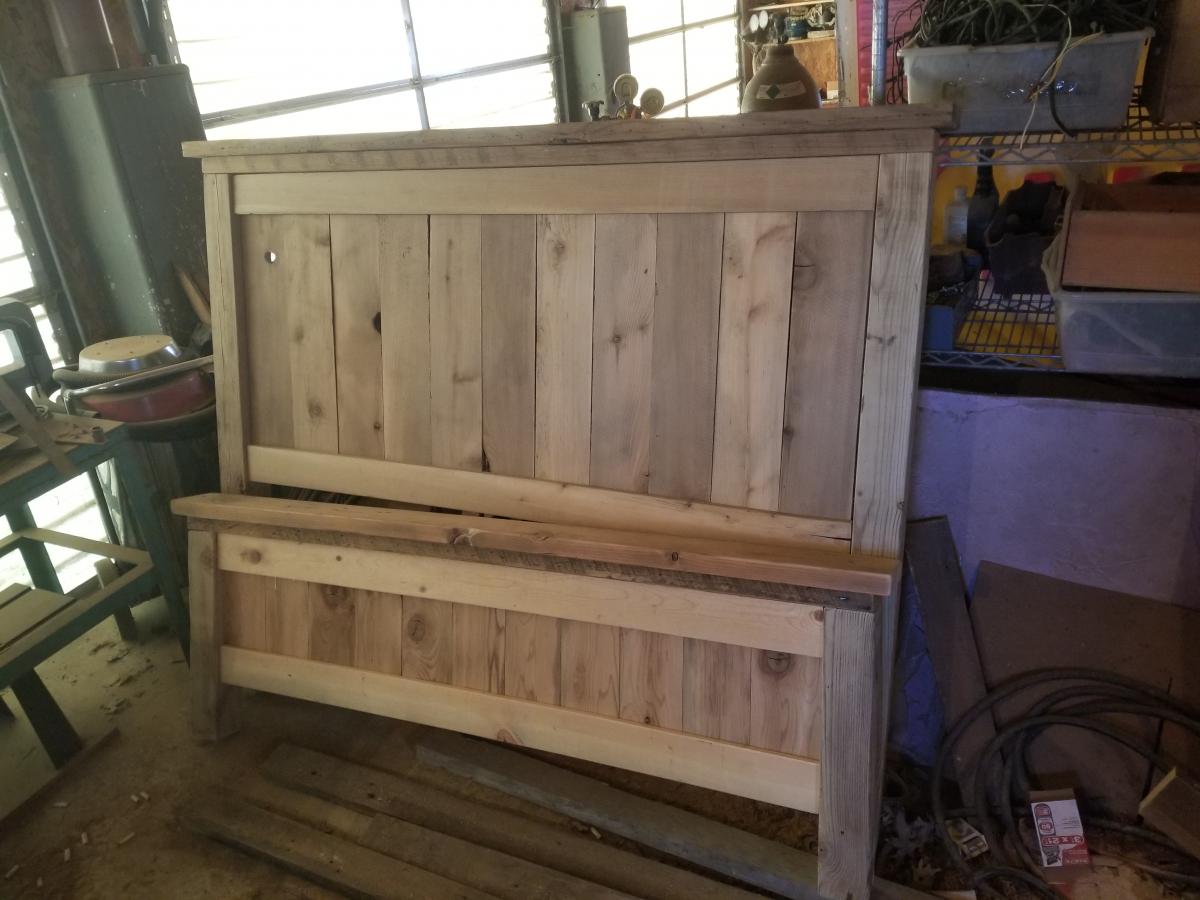
Made this awesome project from Ana's plans. The best part is it came from old barn wood that has been stored for decades. Had to plane most of it to get it closer to dimensional size to work with the plans. I have had a lot of advice and recommendations from friends and family on how to finish it, but I like it perfectly natural with nothing added. The finished picture appears that it has a finish on it but it was just the difference in lighting. 

Built from Plan(s)
Estimated Cost
Only paid for screws and sandpaper
Estimated Time Investment
Weekend Project (10-20 Hours)
Finish Used
None
Recommended Skill Level
Intermediate

Scrap Wood Barn

Submitted by Anonymous (not verified) on Fri, 09/22/2023 - 08:11

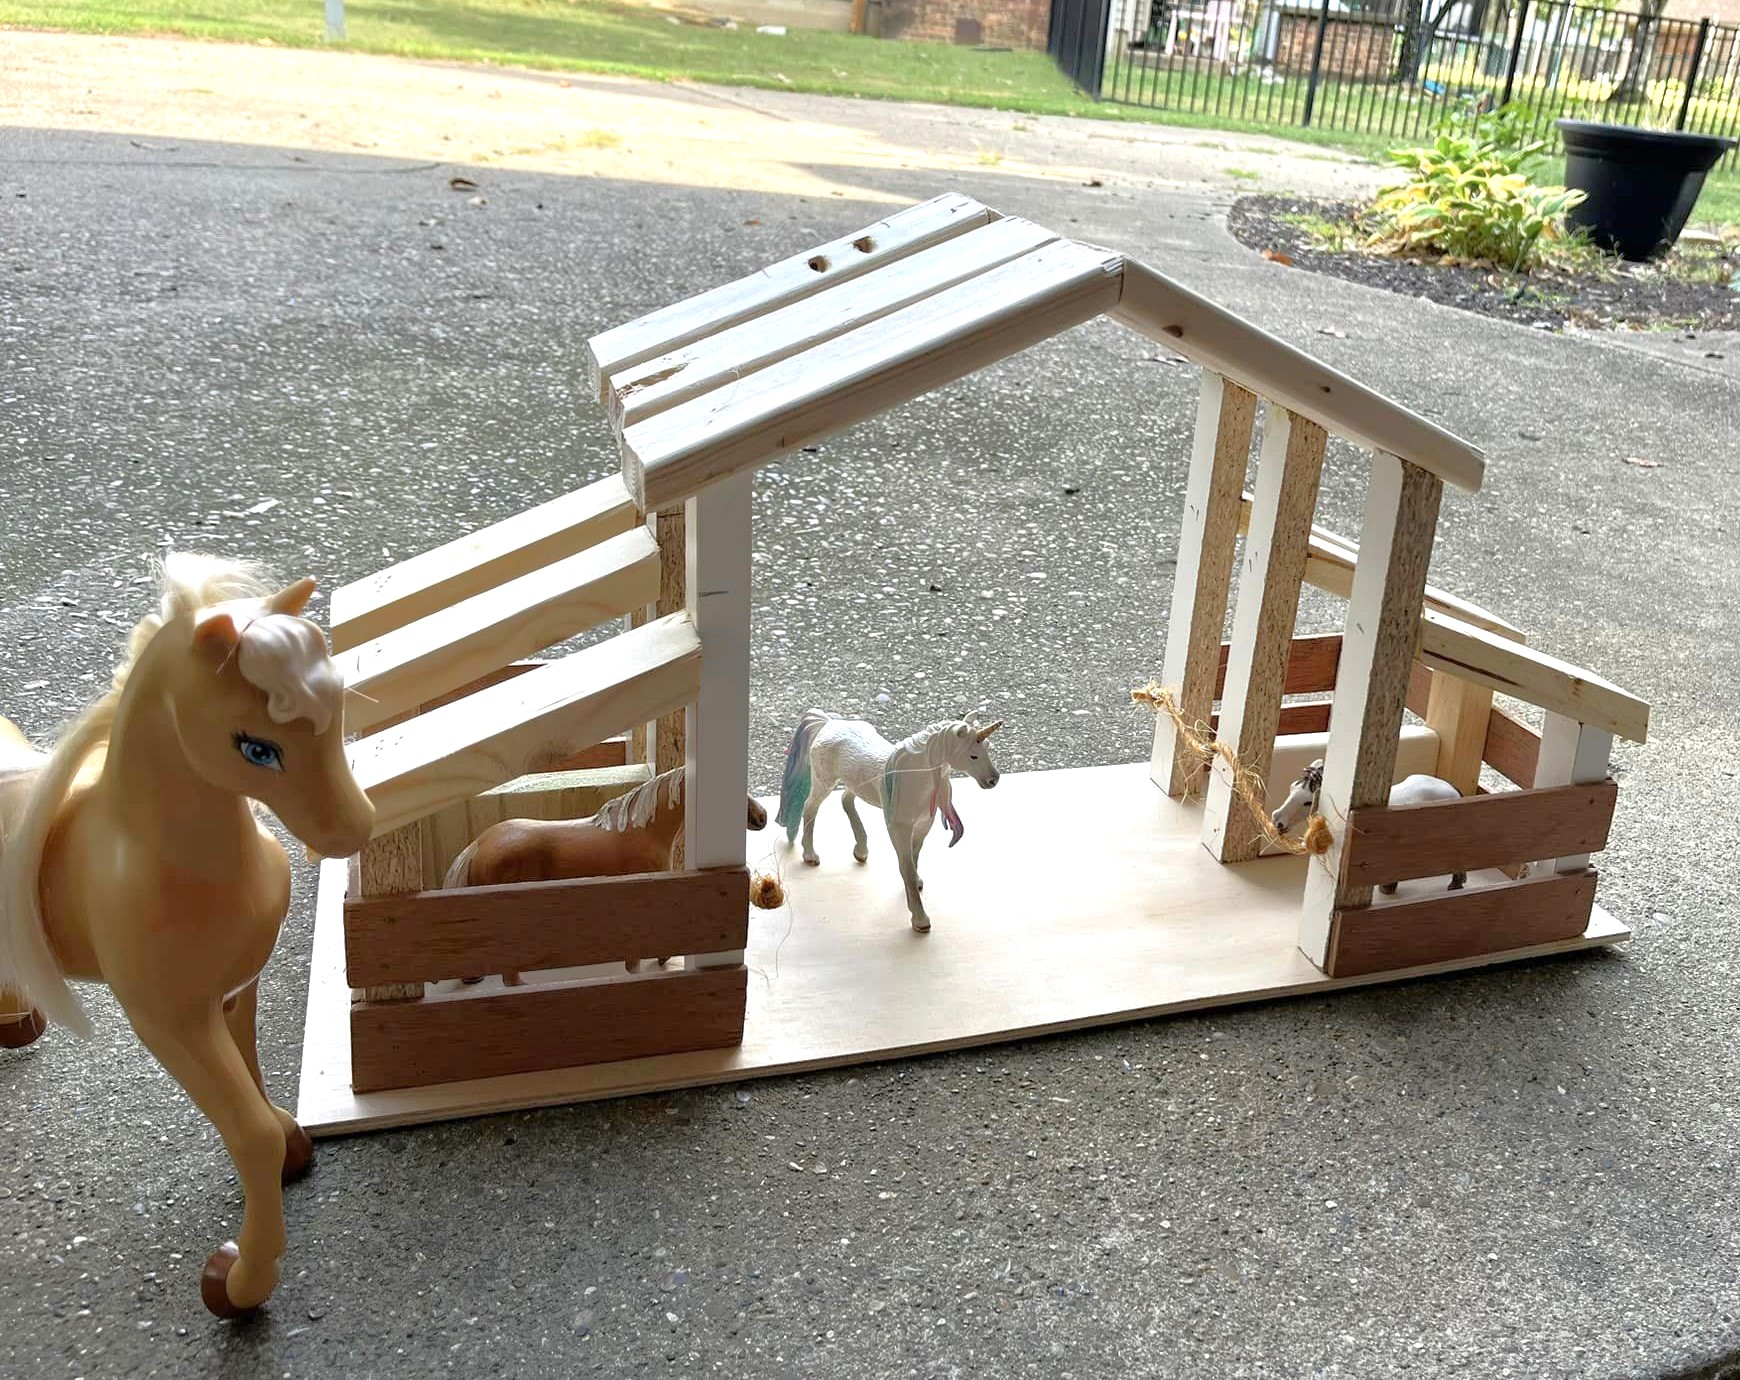
My daughter watched me do another build project and wanted something for herself. We built the Toy Barn from Ana White's plans using only scraps around the garage!

Laura Thompson

Built from Plan(s)

Comments

Pioneer Twin Bed

Submitted by timh on Sat, 02/08/2014 - 15:48

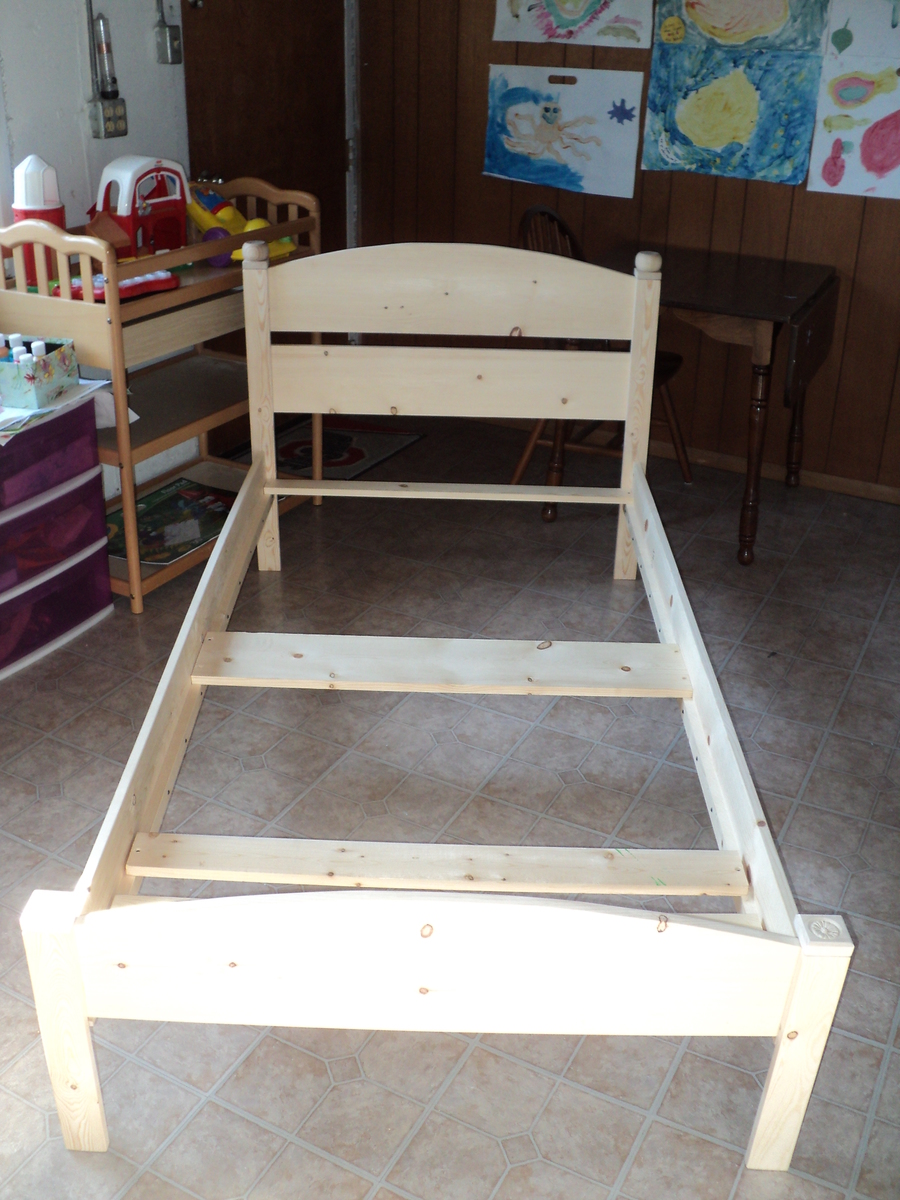
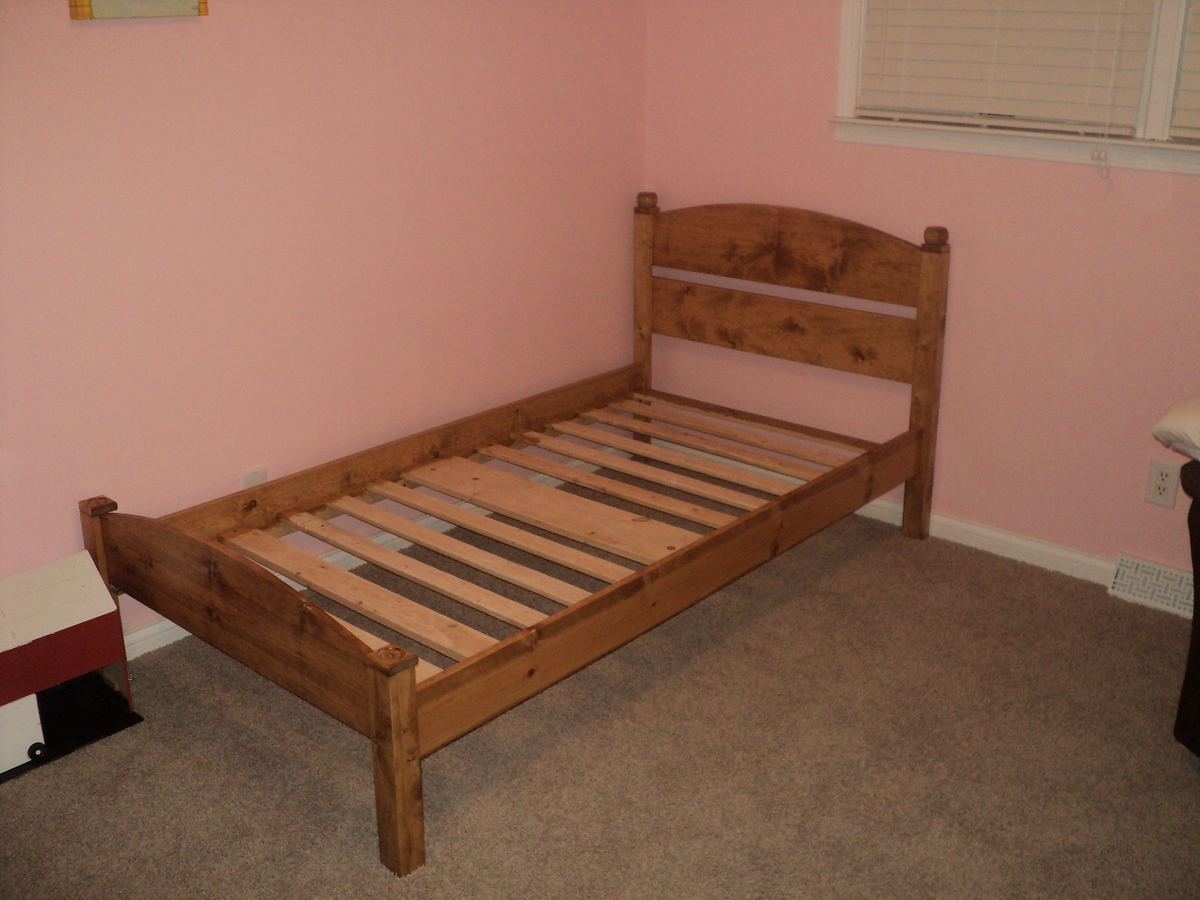
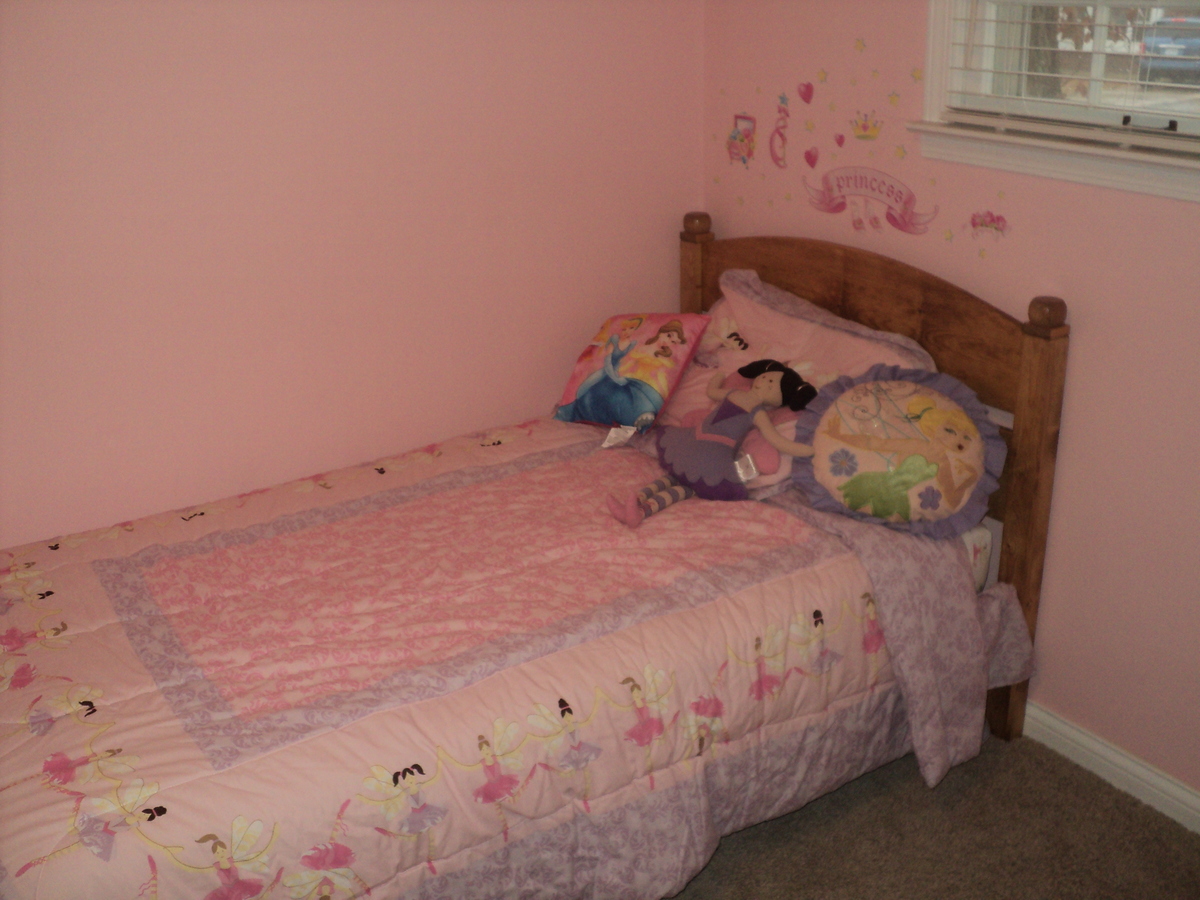
This Pioneer bed took me several weekends this winter, doing a little at a time. It was a challenge for sure because there were a few errors in the plans, but with some improvisation it was easily avoided. This bed is very simplistic but the design allows for some personal flare and variation to be added. Be sure to make precise cuts! Be sure to pick out straight boards!

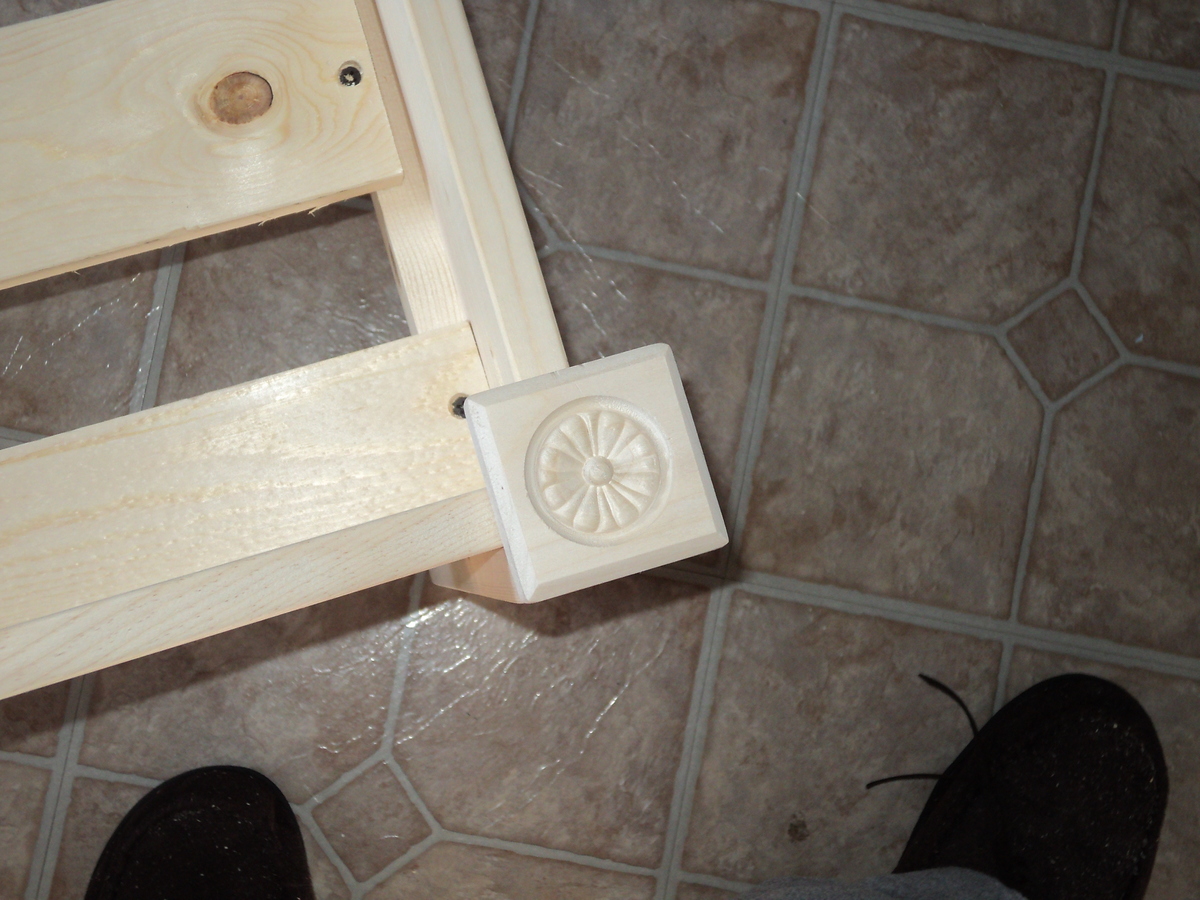
I used specialized software to make the head and foot curves and printed them on paper, then transferred them to the wood. I did not put the two blocks on the headboard posts...because to me it just looked plain silly! I added two bun feet to make it look like genuine bed knobs and they look excellent. Also for the foot board posts I used specialized square pieces of wood found in the hardware store that have a nice design in them doe a decorative look. they indent far enough towards the bed that they actually hold the sheets in place!

I did not paint it. Instead I used a golden oak stain, one coat. Then put two coats of high gloss on it. This also strengthened the soft white pine I used to build it.

I did not follow the part about the slat placement nor where the bed rails should be mounted, as this will vary depending on the thickness of the mattress you get, or if it has a box spring.

I used bolts to hold the bed rails in as well, along with nails and screws.

Sandpaper! Use it a lot!

$65 to build, although I already had nails, glue, sandpaper, stain, and varnish.

My daughter just loves it and I know it will be around for years to come!!! Everyone in my family loves it too. I highly suggest anyone who is looking for a simplistic looking twin bed, and who knows how to take their time and follow directions, to make this bed. Feel free to write me if you need help. [email protected]
Estimated Cost
$65
Estimated Time Investment
Week Long Project (20 Hours or More)
Finish Used
Golden Oak Stain, high gloss varnish
Recommended Skill Level
Beginner

Comments

timh

Sat, 02/08/2014 - 15:51

Thank you Ana White for such a nice website with great resources for all of us who like to build things ourselves and save a buck or two!

Purple chicken ark w/ retractable wheels

Submitted by Anonymous (not verified) on Sat, 05/07/2016 - 16:59

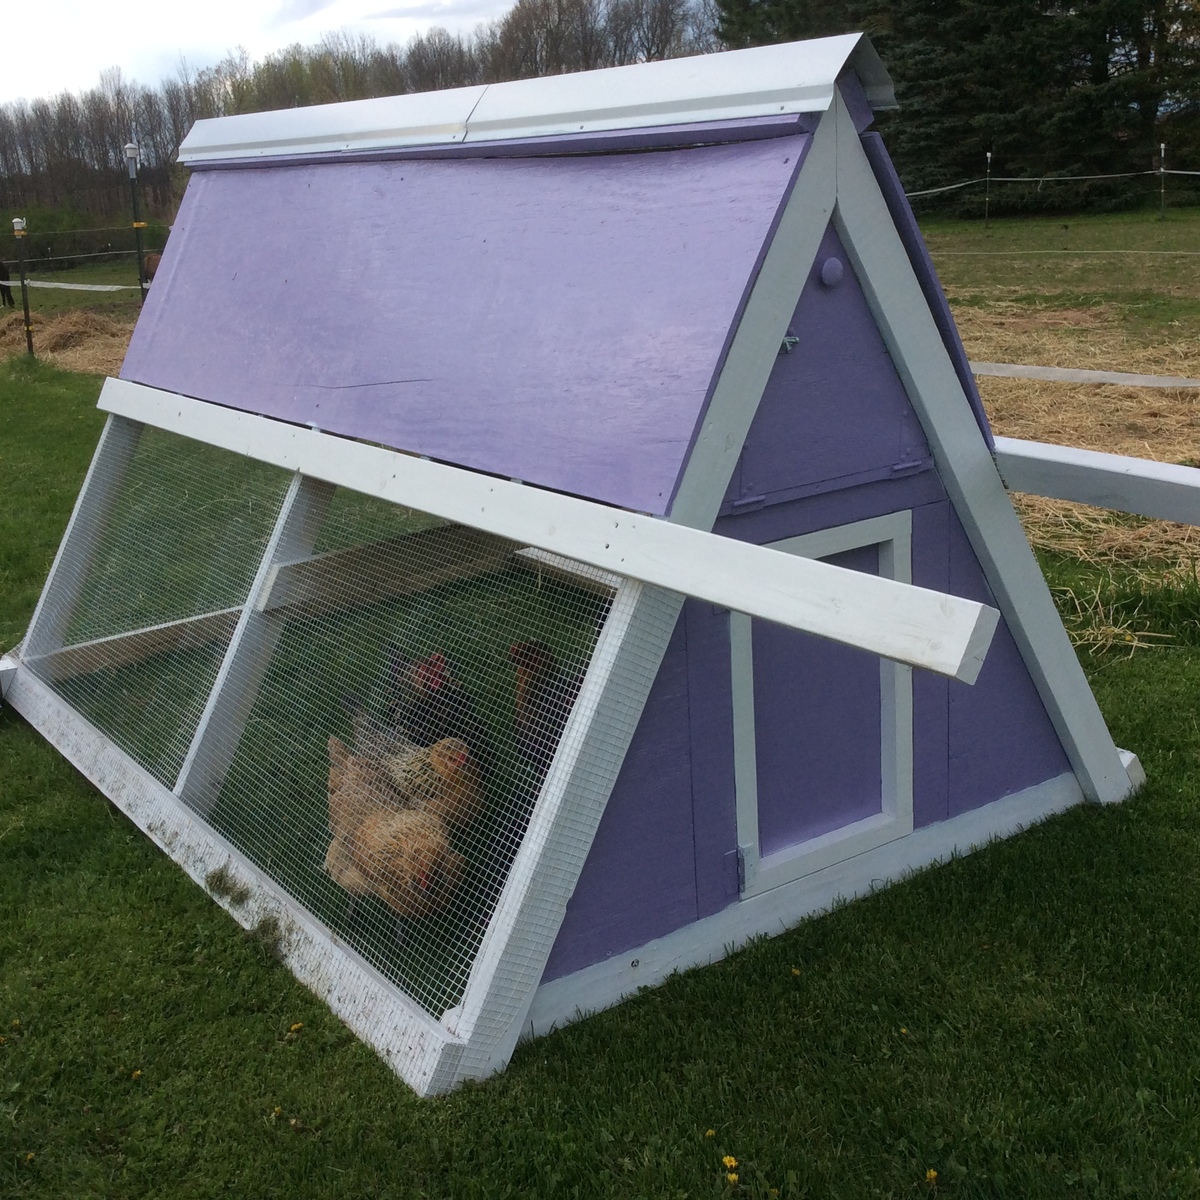
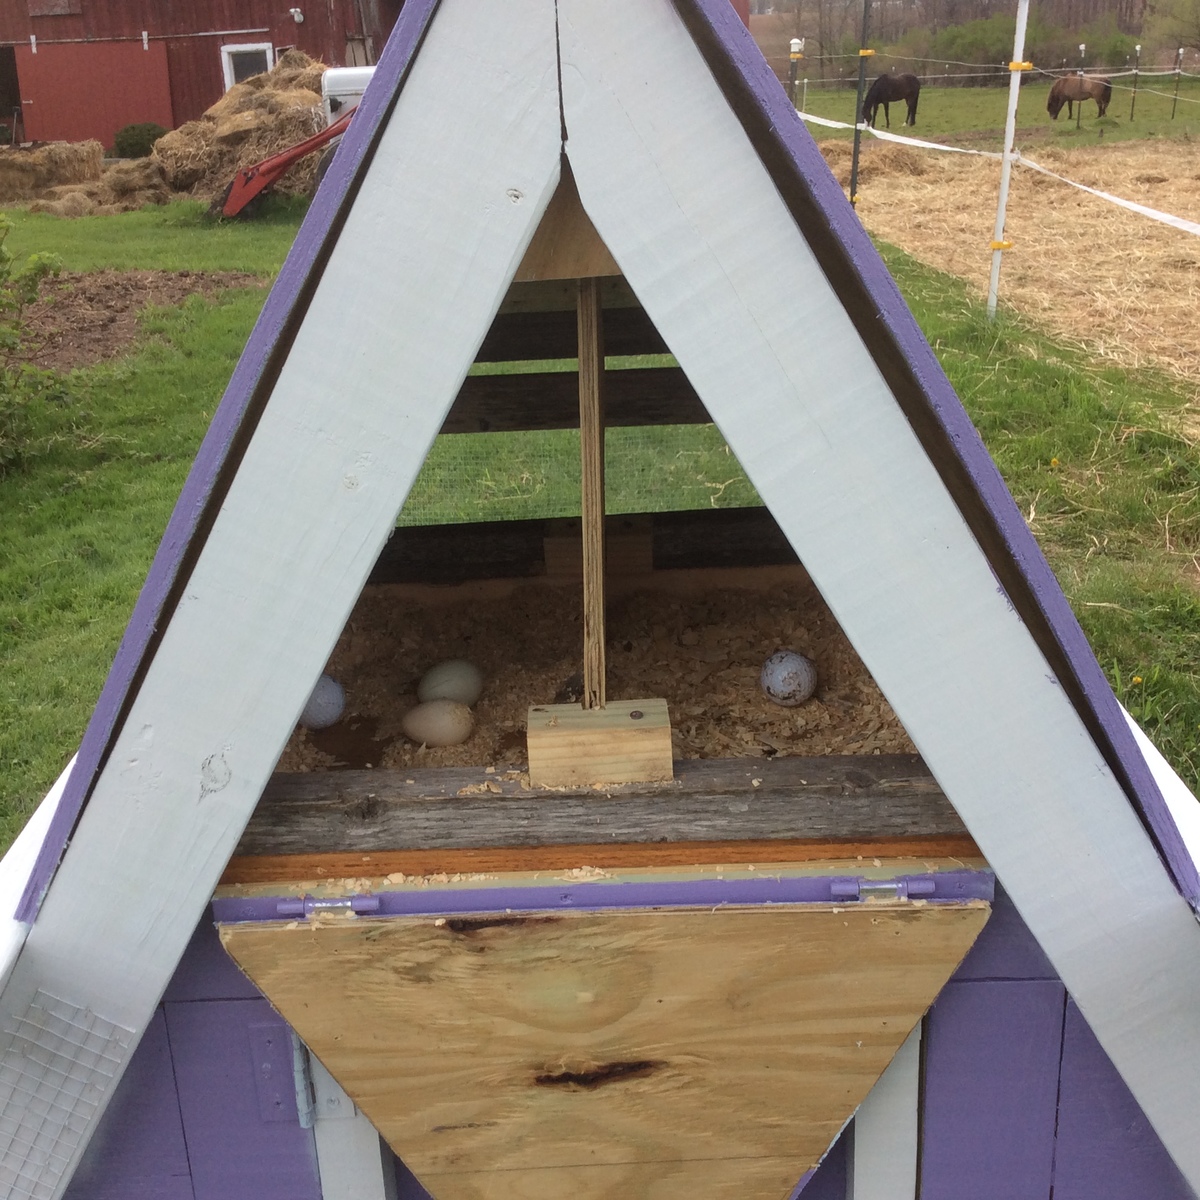
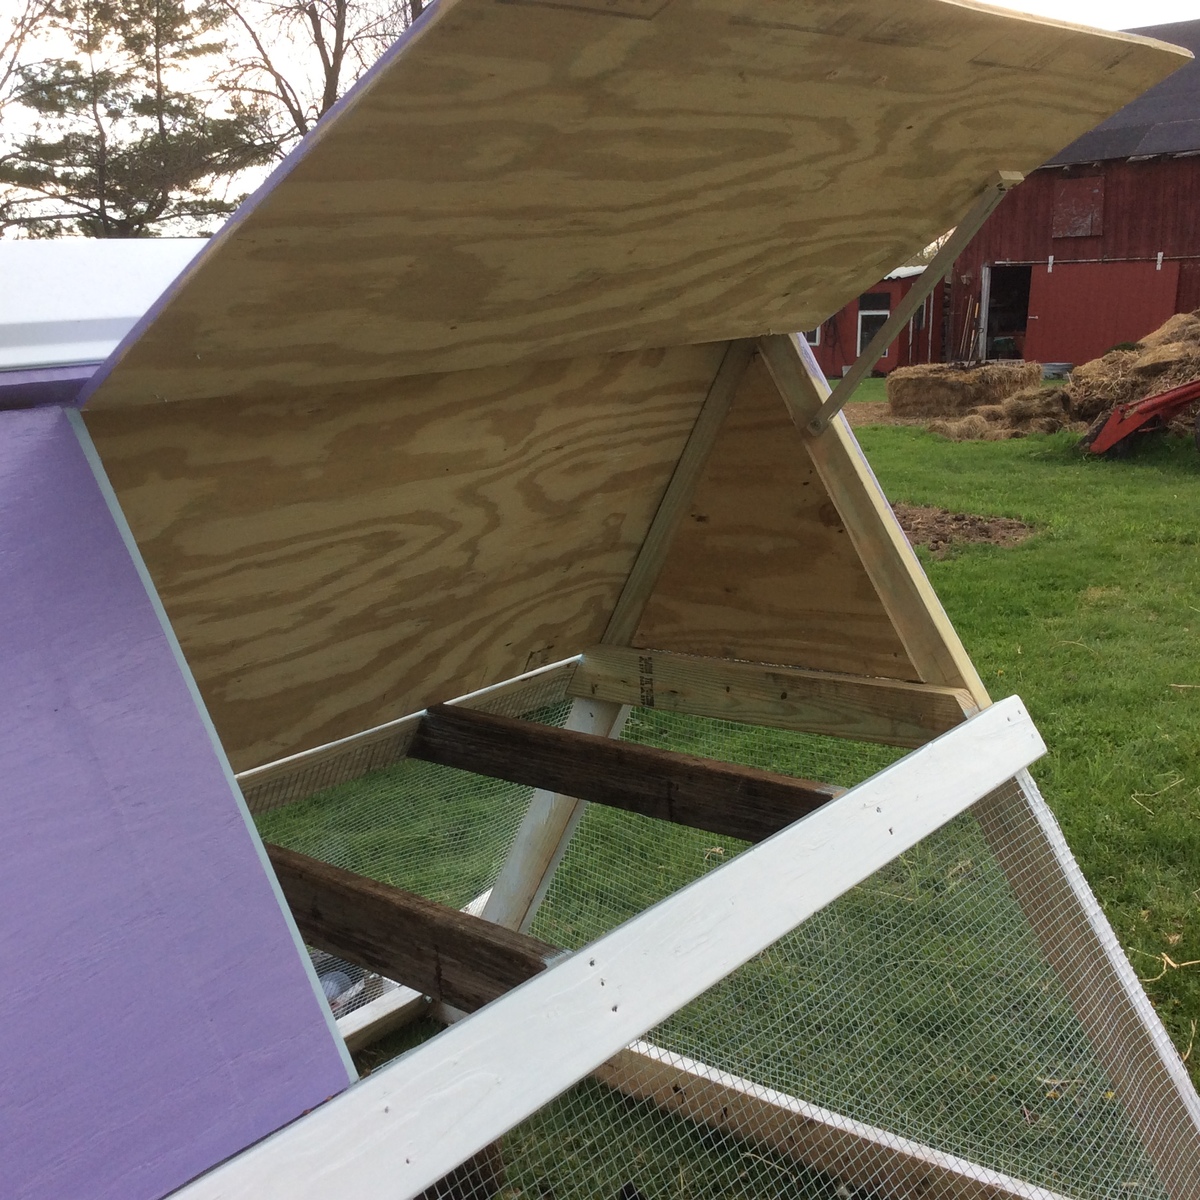
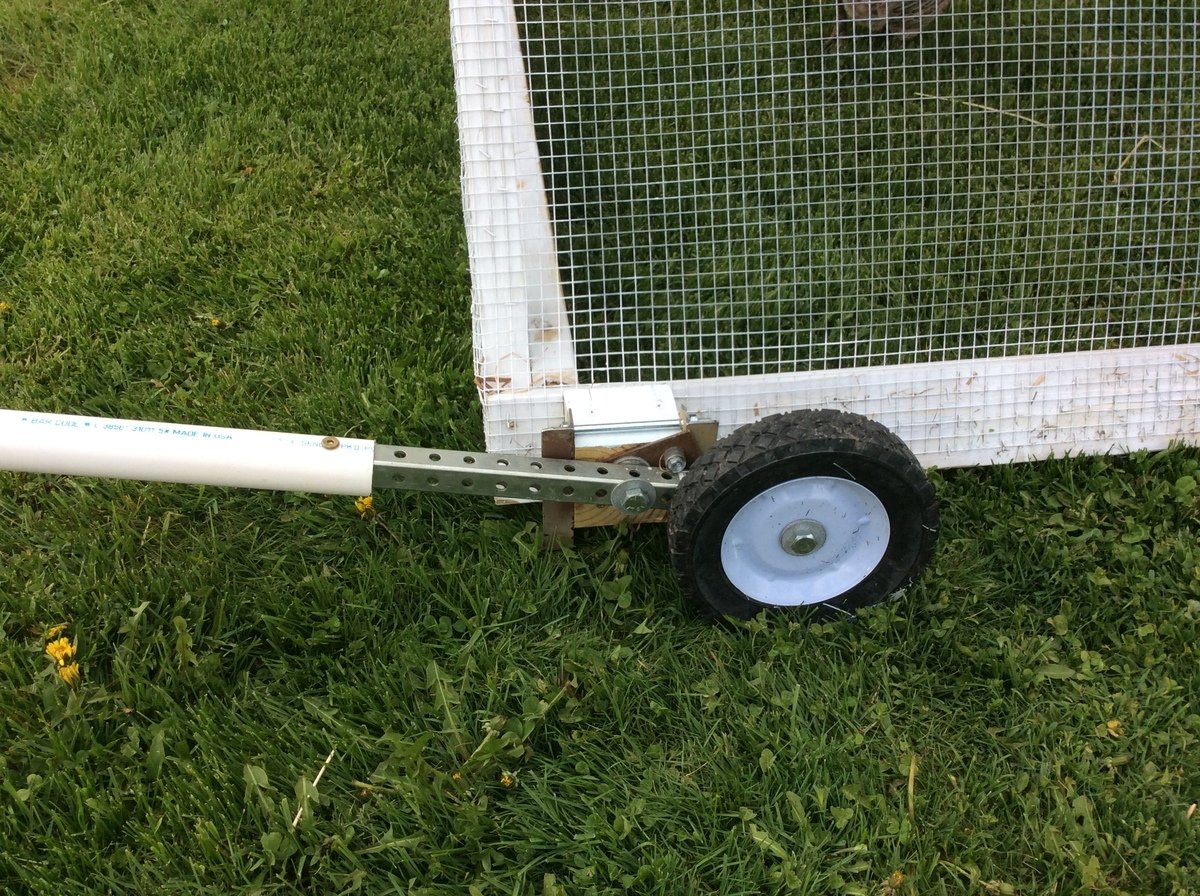
We worked on this project on and off for a couple weeks.  60 degree angles were the hardest part.  Decided against adding upper coop floor to minimize cleaning.  Coop will only be used seasonally.  End coop is very heavy, so wheels were a must.  Scoured internet and found simple retractable lever design with bolts to adjust wheel height.  Very happy with project, thank you Ana!

Estimated Time Investment
Weekend Project (10-20 Hours)
Recommended Skill Level
Intermediate
Back