Simple Outdoor Lounge Chair and Ottoman
We wanted outdoor furniture but did not want to pay over $500. Very sturdy and will last forever!
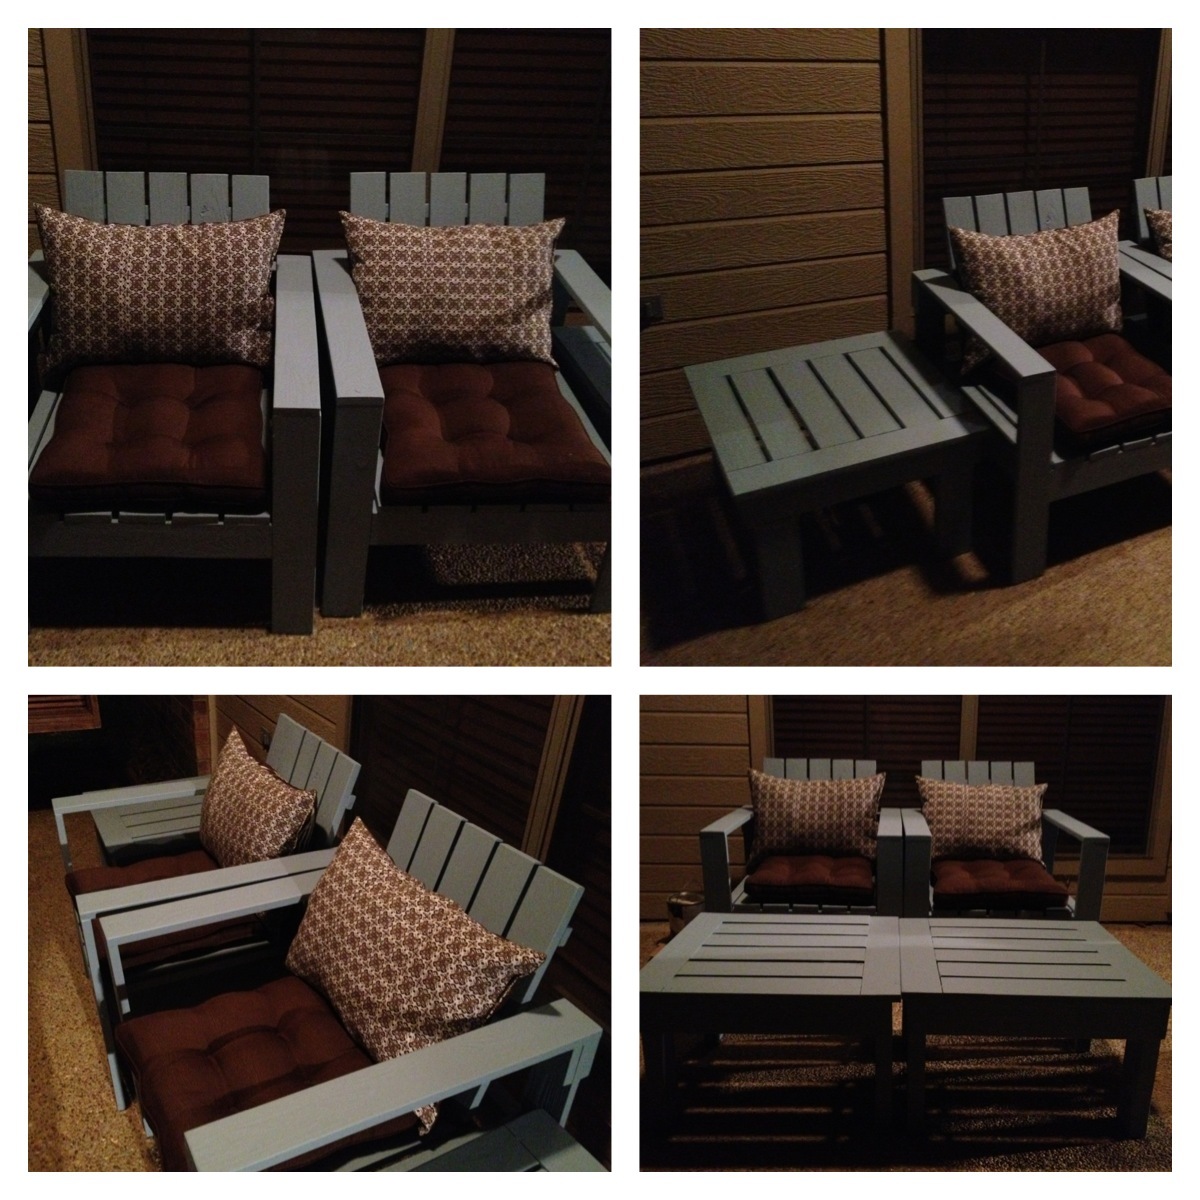
We wanted outdoor furniture but did not want to pay over $500. Very sturdy and will last forever!

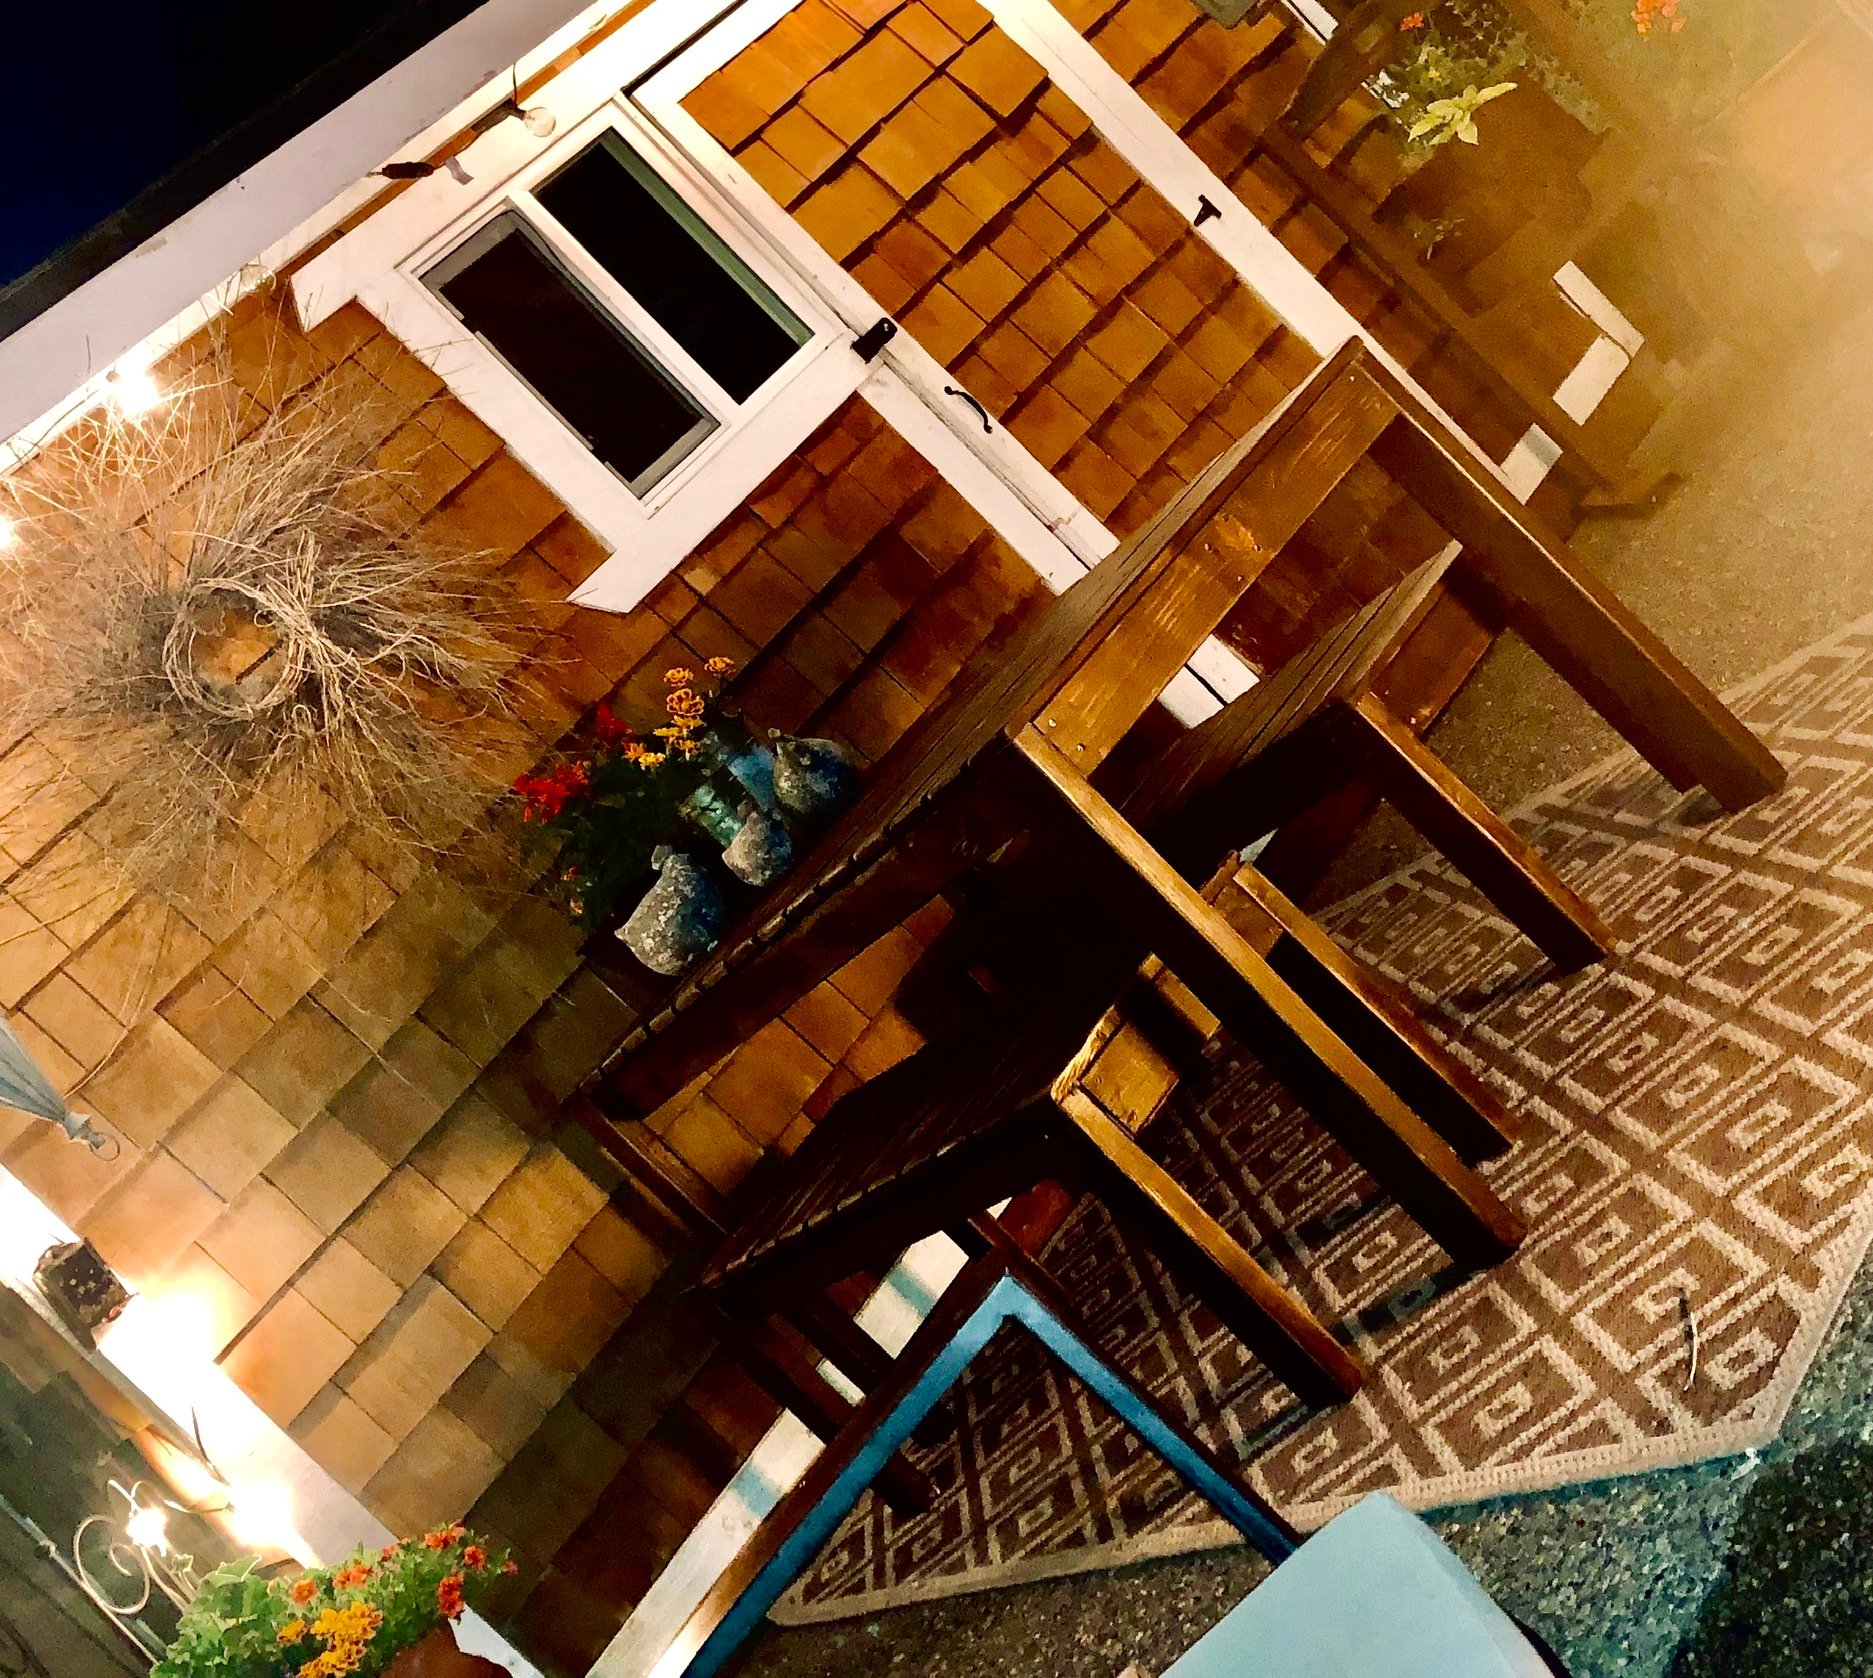
Another amazing Ana White design! This was a hit with family and friends!
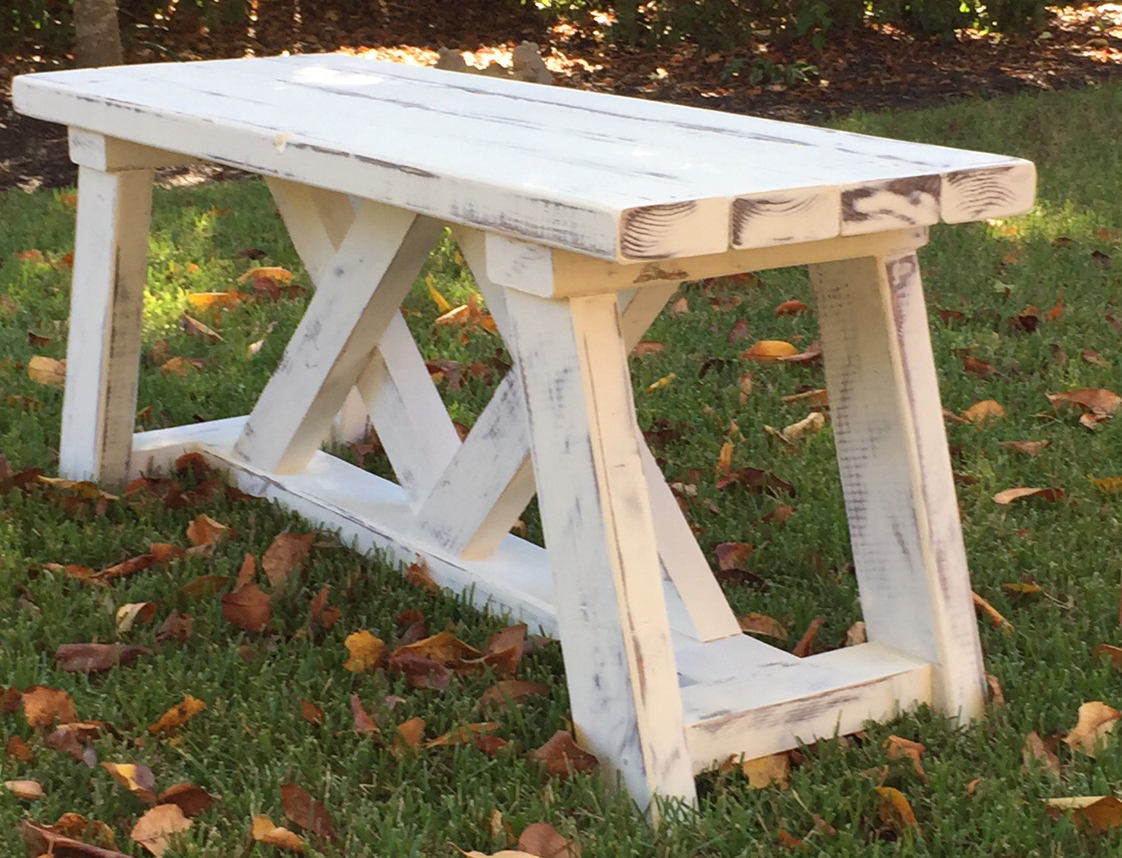
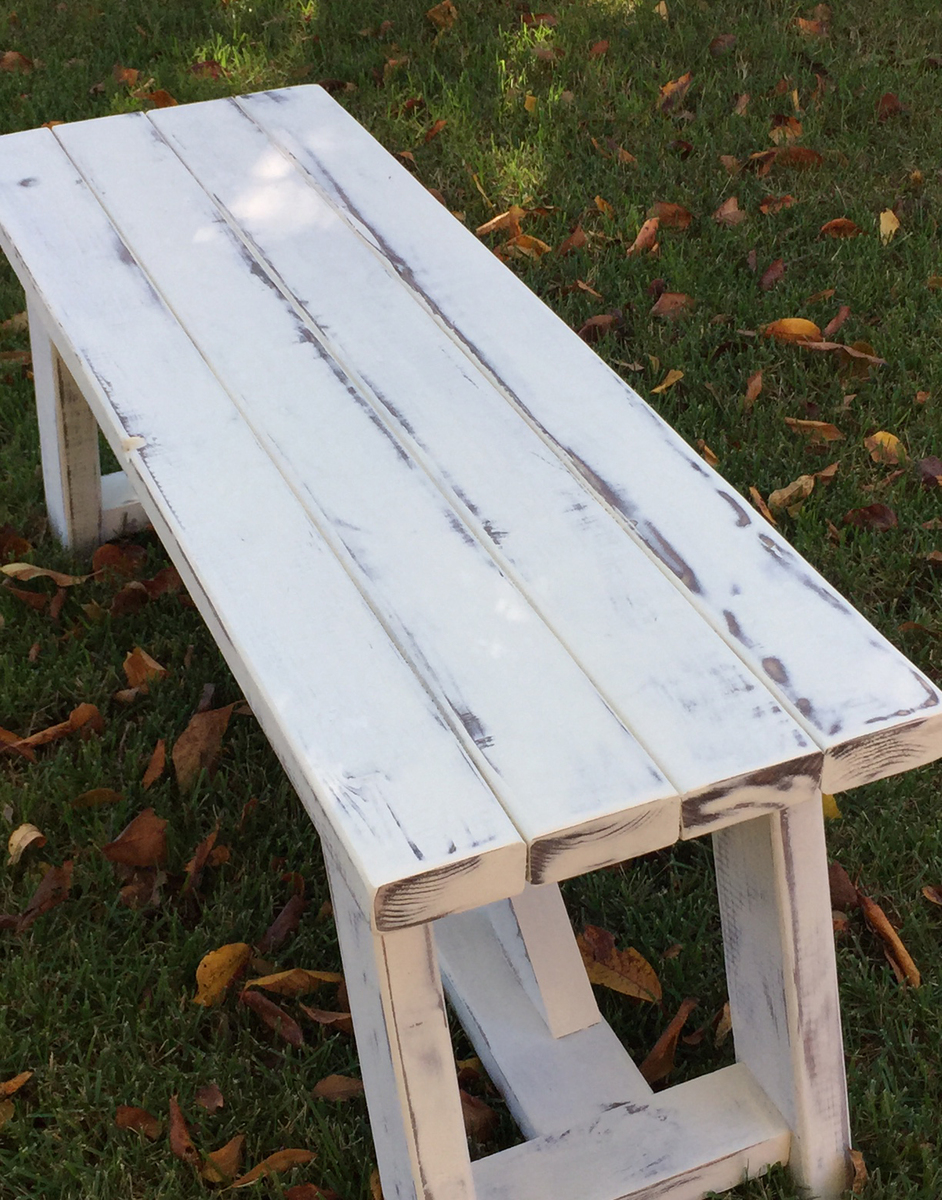
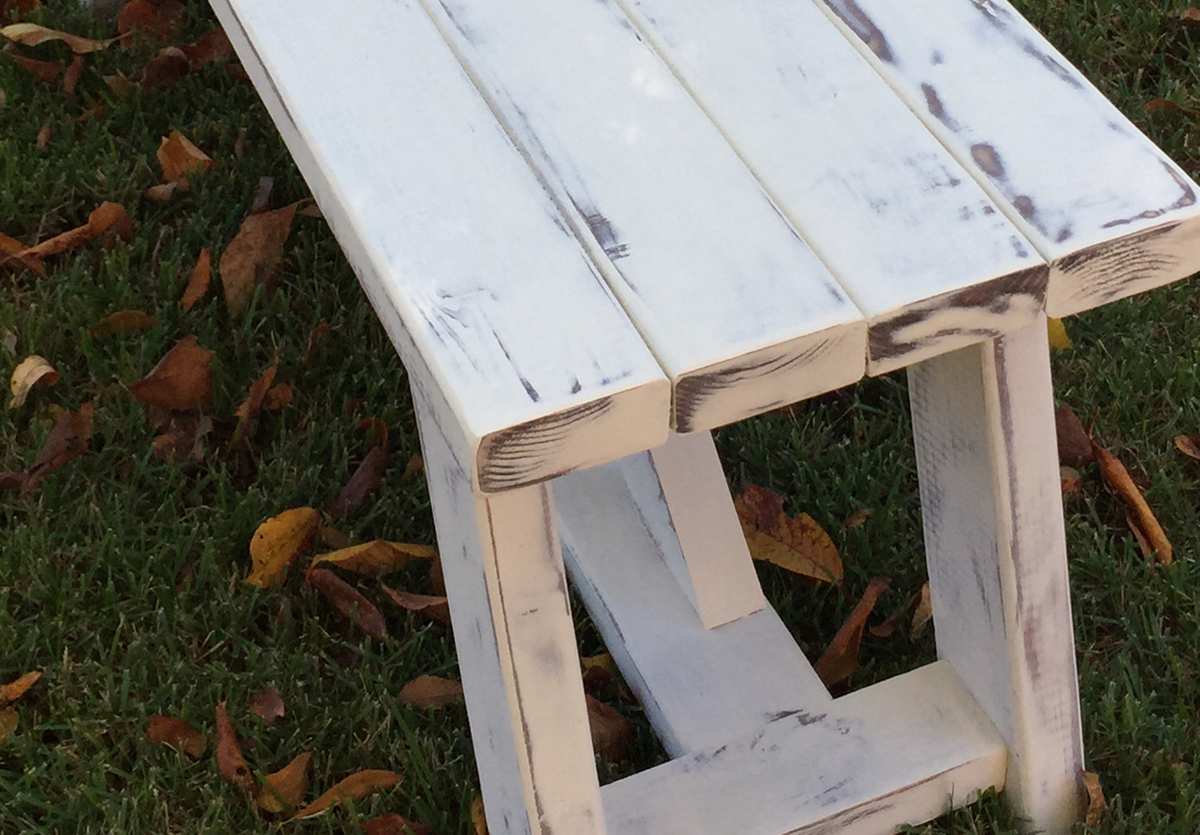
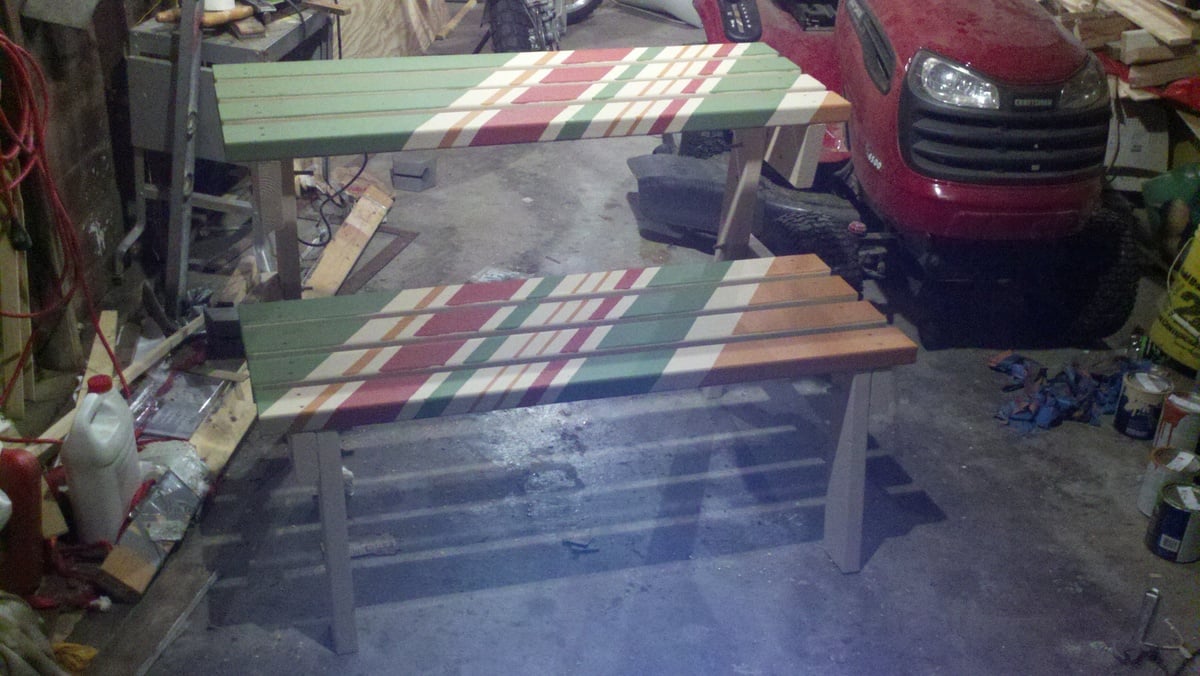
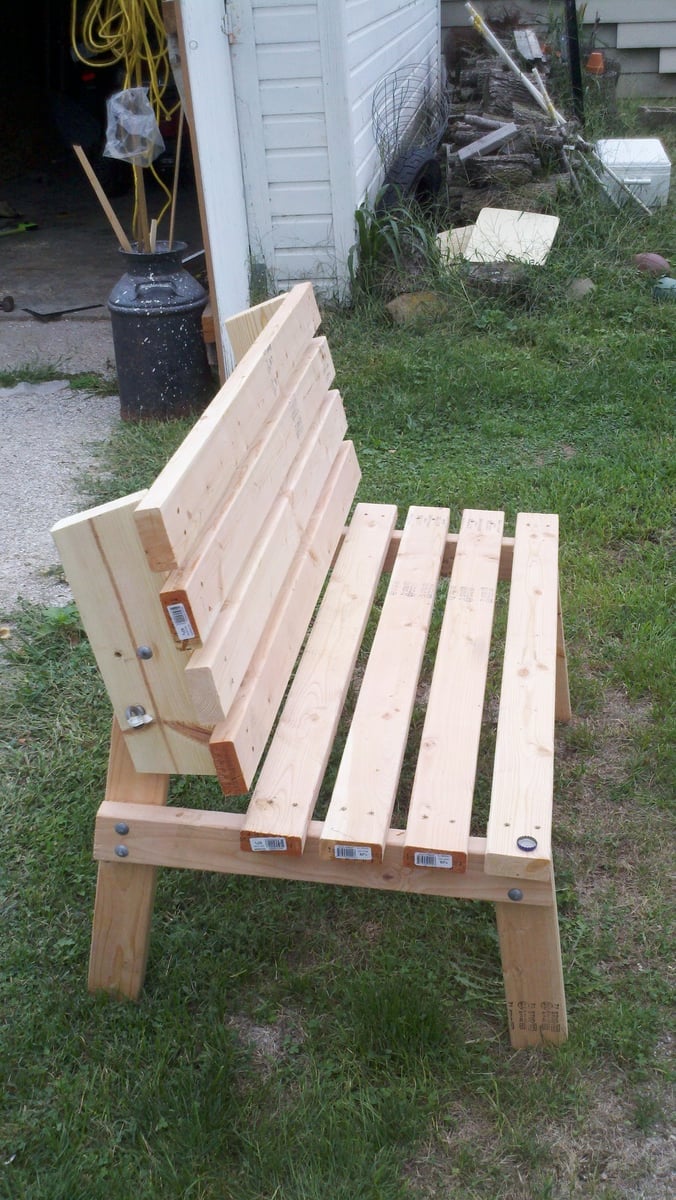
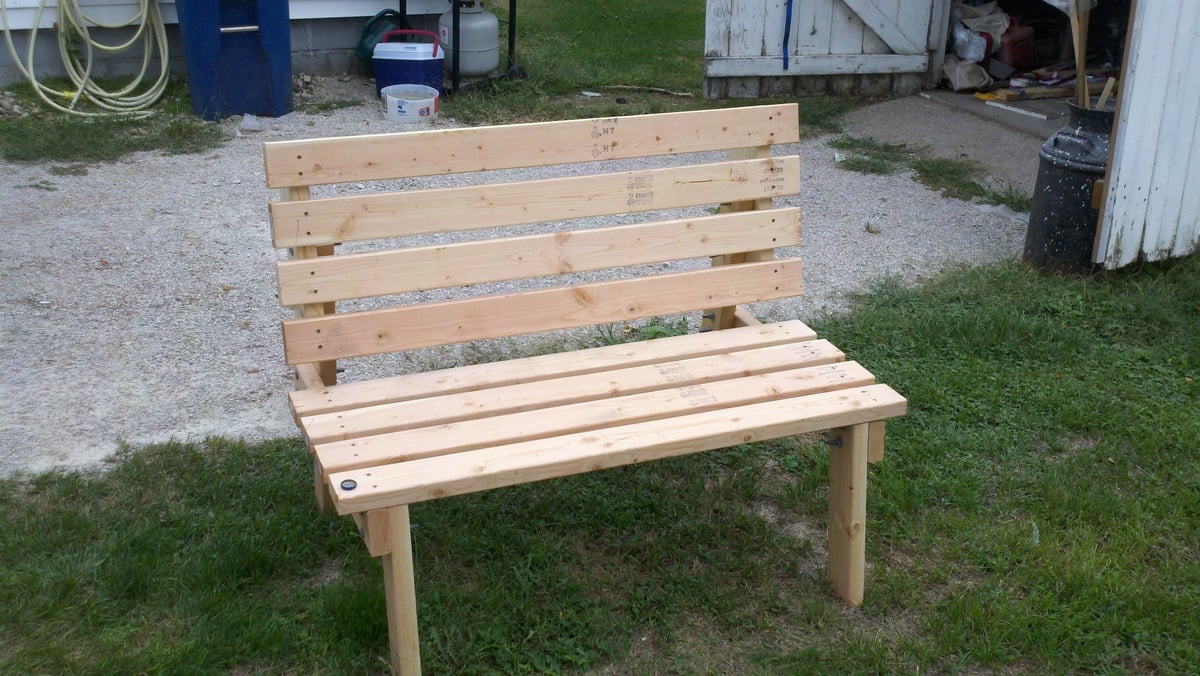
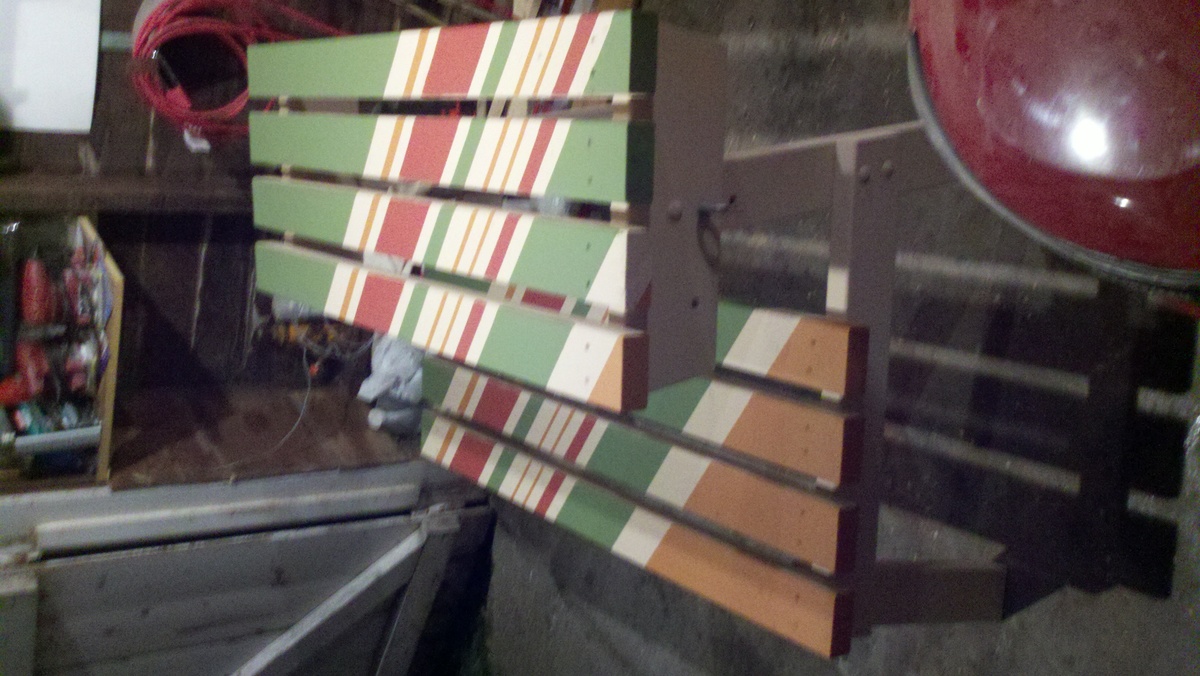
This was the second double x bench that I made. It was very simple to make. It took me around 3 hours to build it and another 2 hours to sand, stain and paint it (this does not include the 1 hour between coats that I allowed them to dry). I used Annie Sloan Old White Chalk Paint and General Finishes Java Gel stain. Annie Sloan Chalk paint does NOT need a topcoat if it is being used outside.
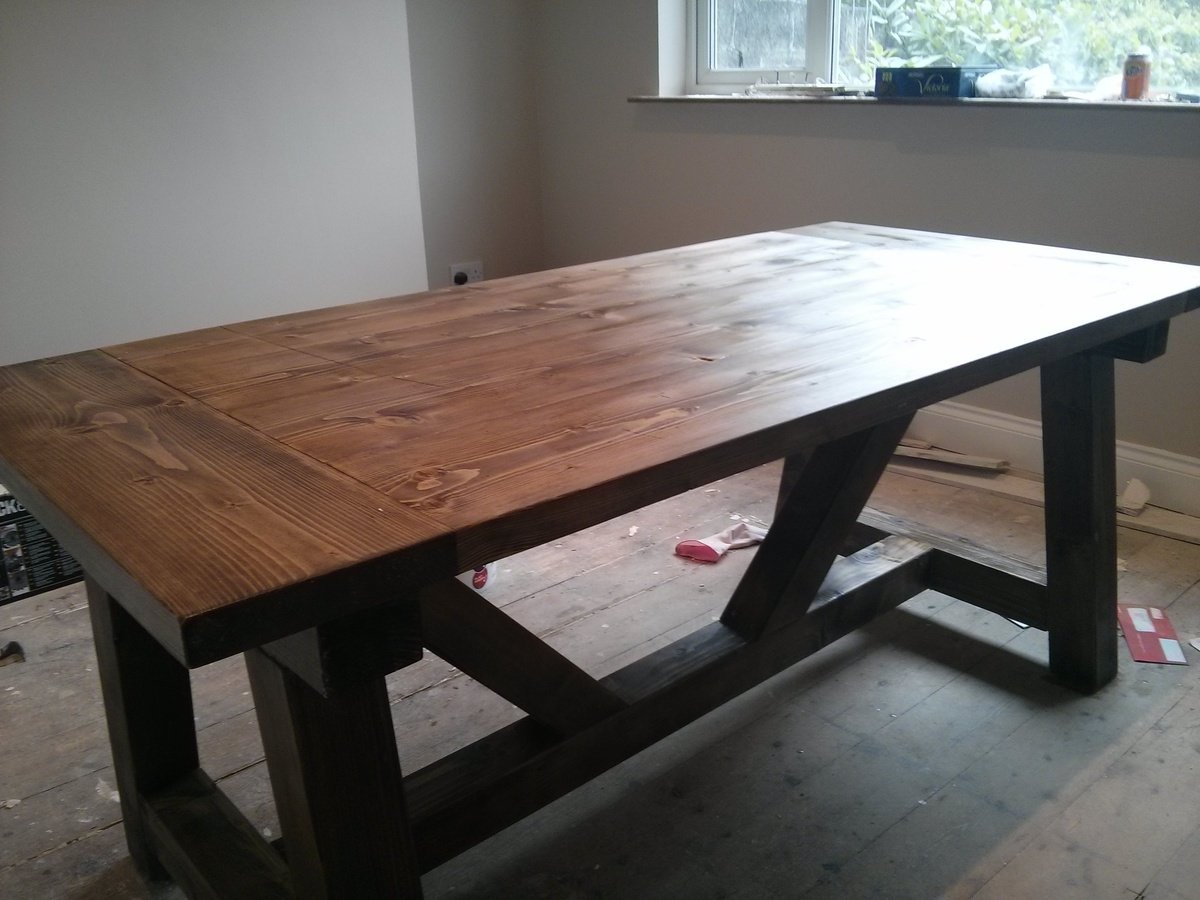
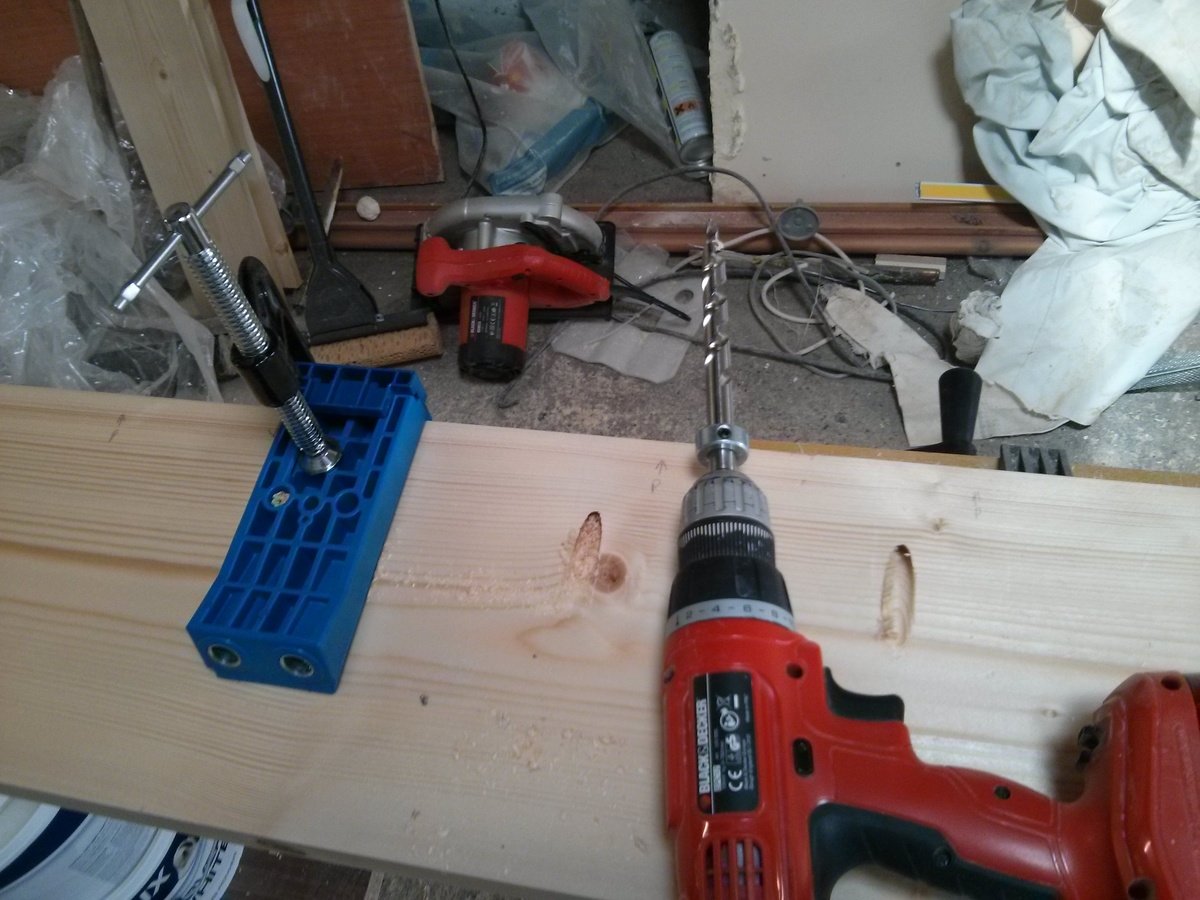
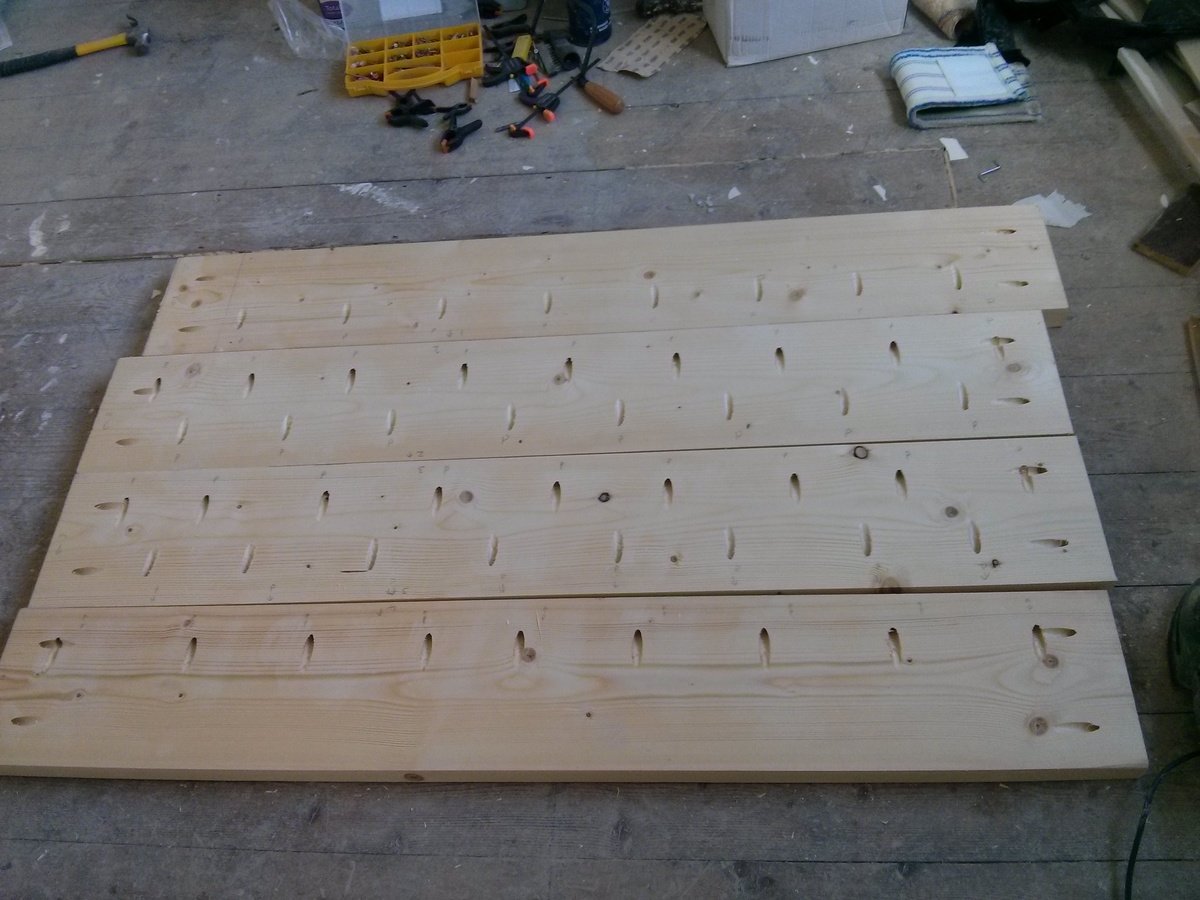
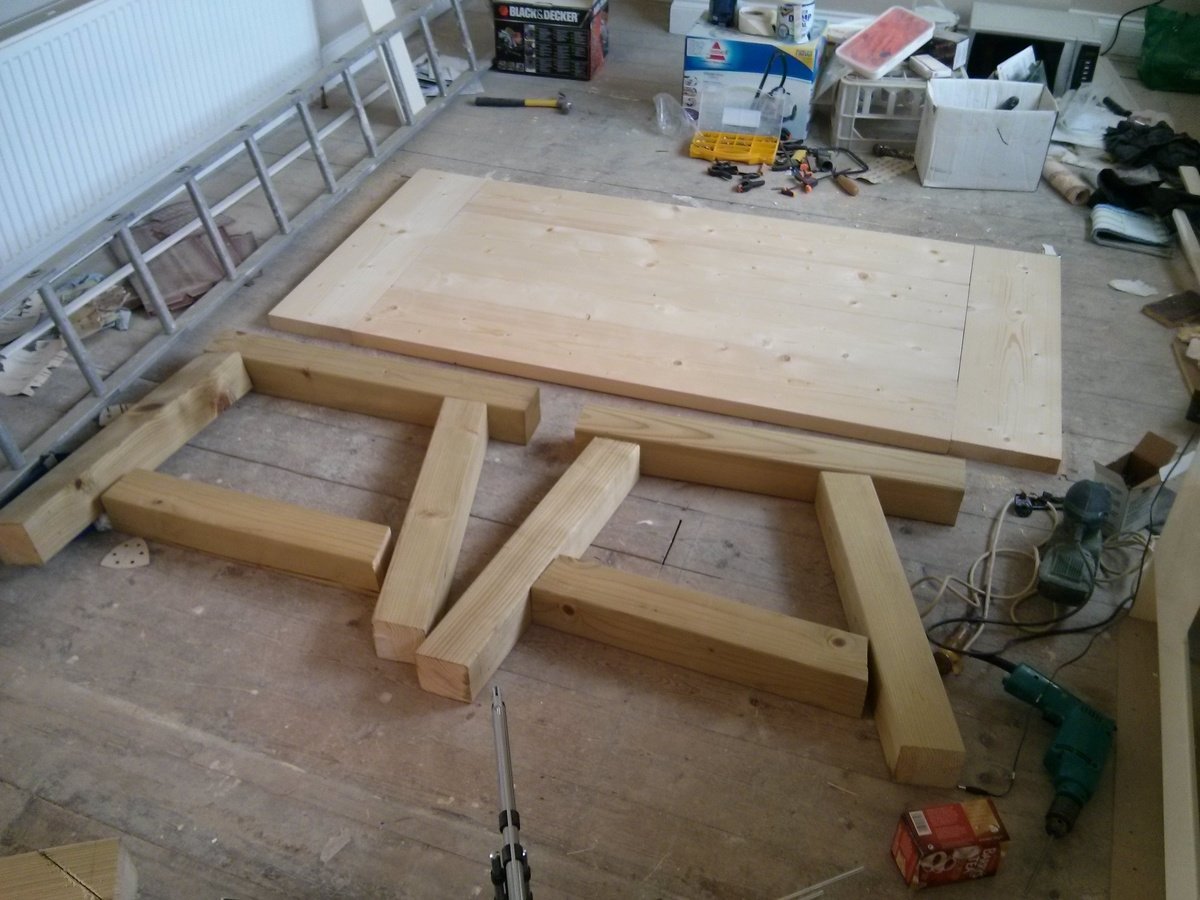
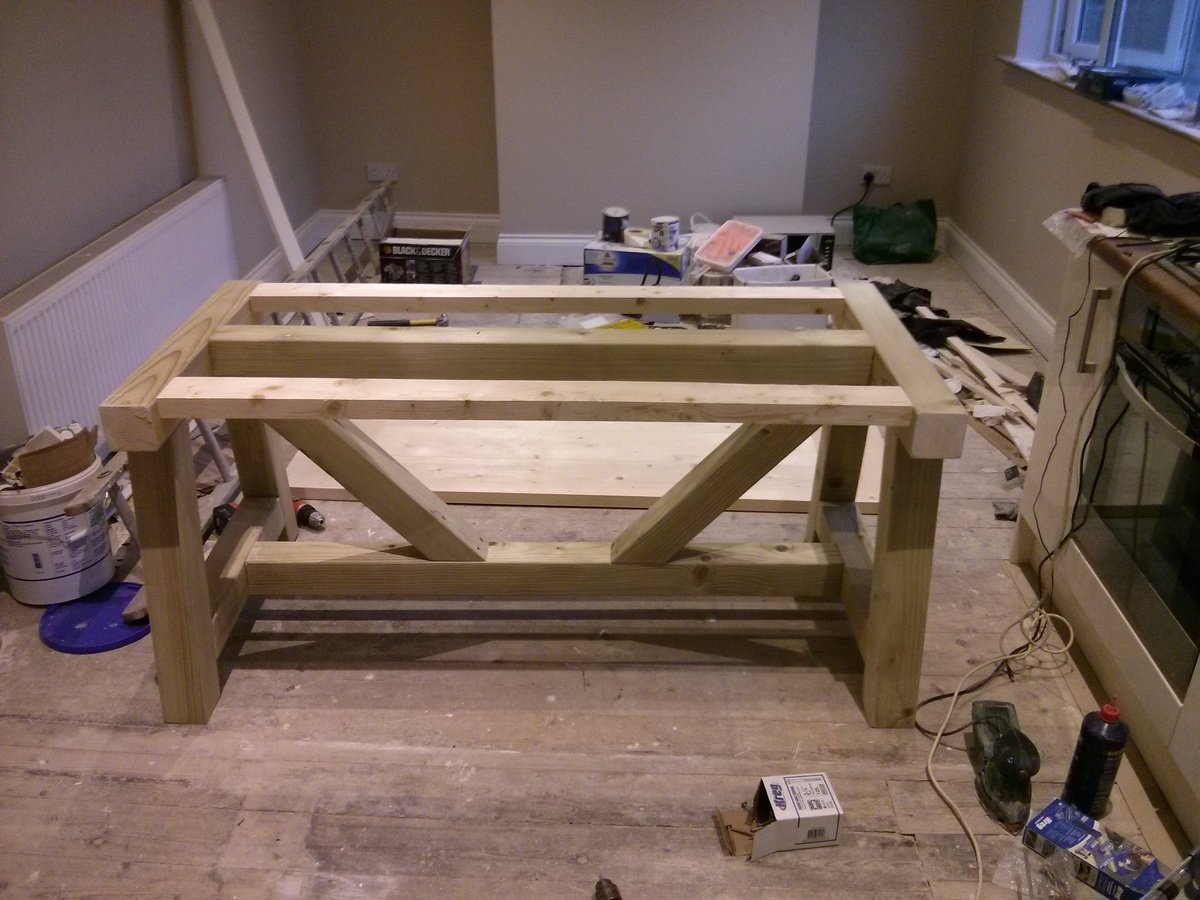
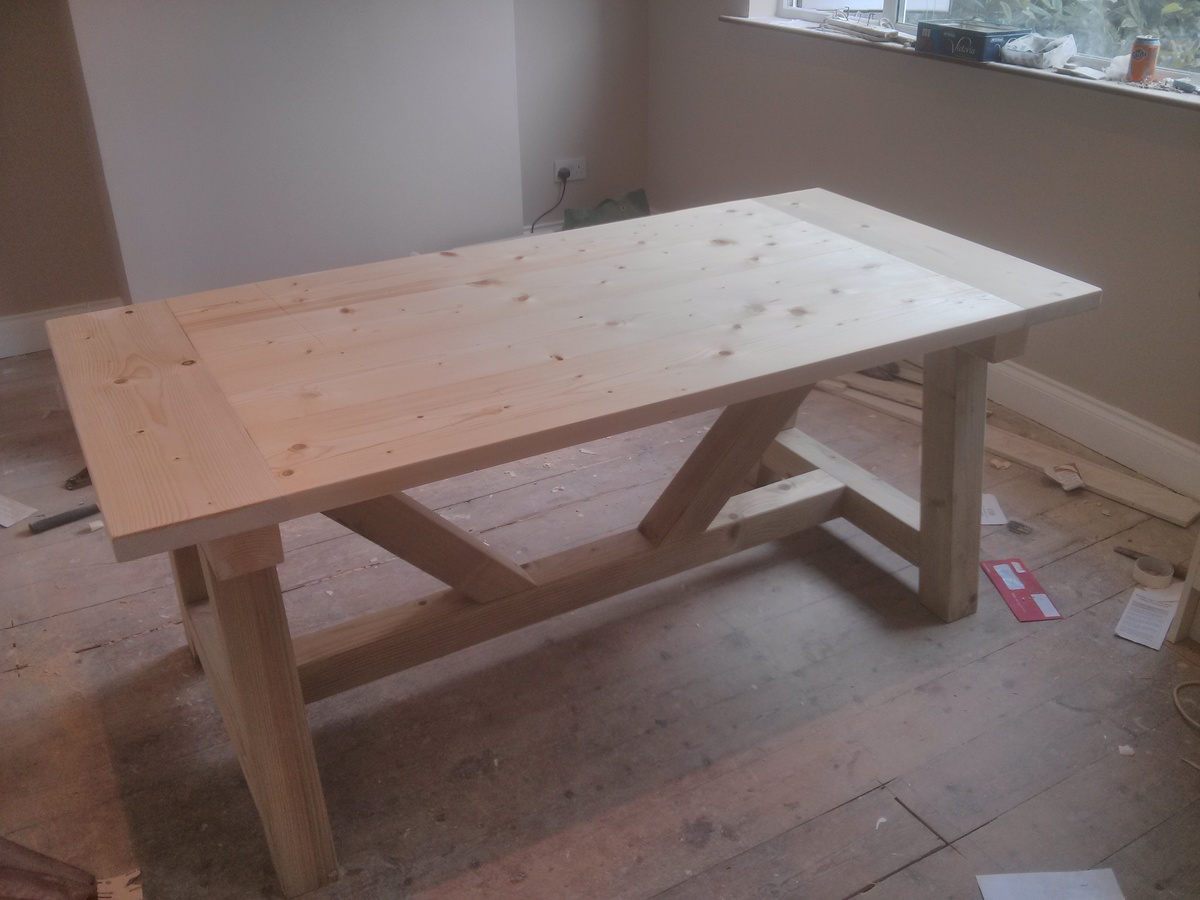
This is my first attempt to build anything since the age of 17 (school!). I have recently bought a house and tried my arm at installing skirting (base boards in the US I think?) and it piqued my interest. The family needed a table, so I built one..
Its not perfect, but I'm looking forward to many family meals with our young family :)
Mon, 07/28/2014 - 19:48
Great job! ... it looks great. I know you are not in US, but did you just use the cheap pine? I made a farmhouse bed with it this past fall and I have had problems with it shrinking on me. I want to do this table, and I know that the kreg will keep it tight ... I just need to buy one. Good work!
In reply to Great job! ... it looks by bclute
Fri, 08/01/2014 - 08:32
Hi bclute... thanks for the comment and the compliment. As for your question about the type of pine, I’m so new at this I’m not sure really. I understand there are grades of timber, but I went to my local timber yard and got what they had. Construction grade I believe. The bed is my next project so it's interesting to hear about your project. I suppose letting the wood dry fully is an option, but that takes a lot of time. I used the Kreg HD, it was great and easy to use, although clamping it each time makes for a slower job than the standard jig. Thanks again A
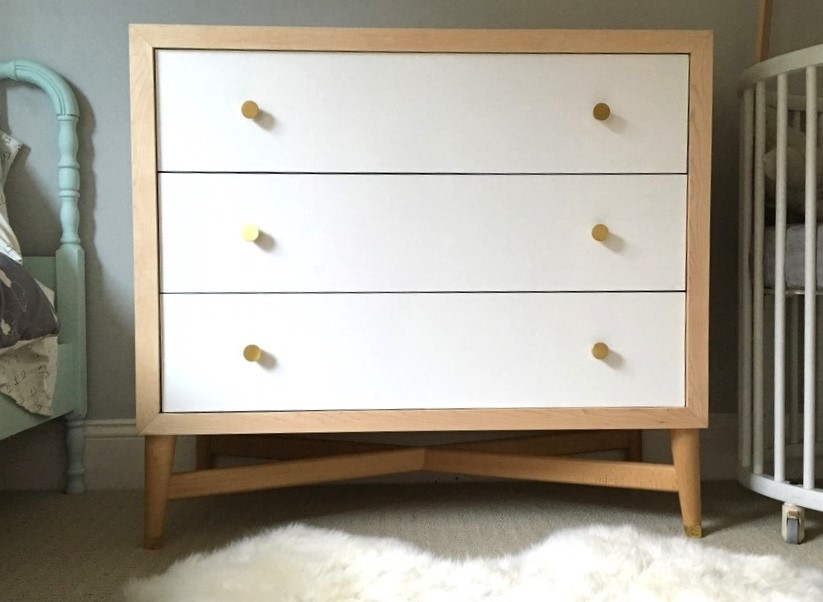
Purchased a dwell studio mid century dresser, and only the legs arrived. The company let me keep the legs since the dresser was out of stock, but I had it in my head that I wanted that dresser so decided to replicate it! These were my first drawers ever and getting the inset spacing perfect was challenging but fun!
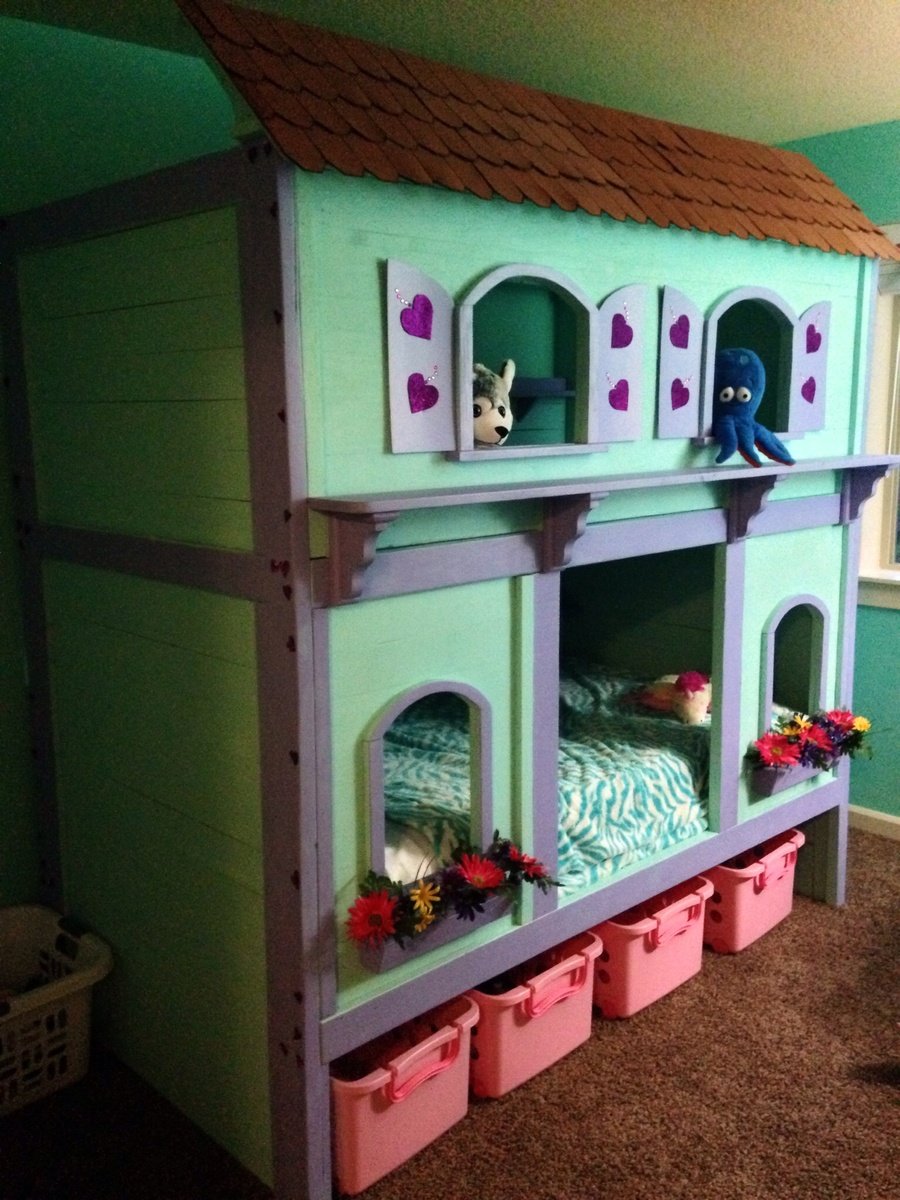
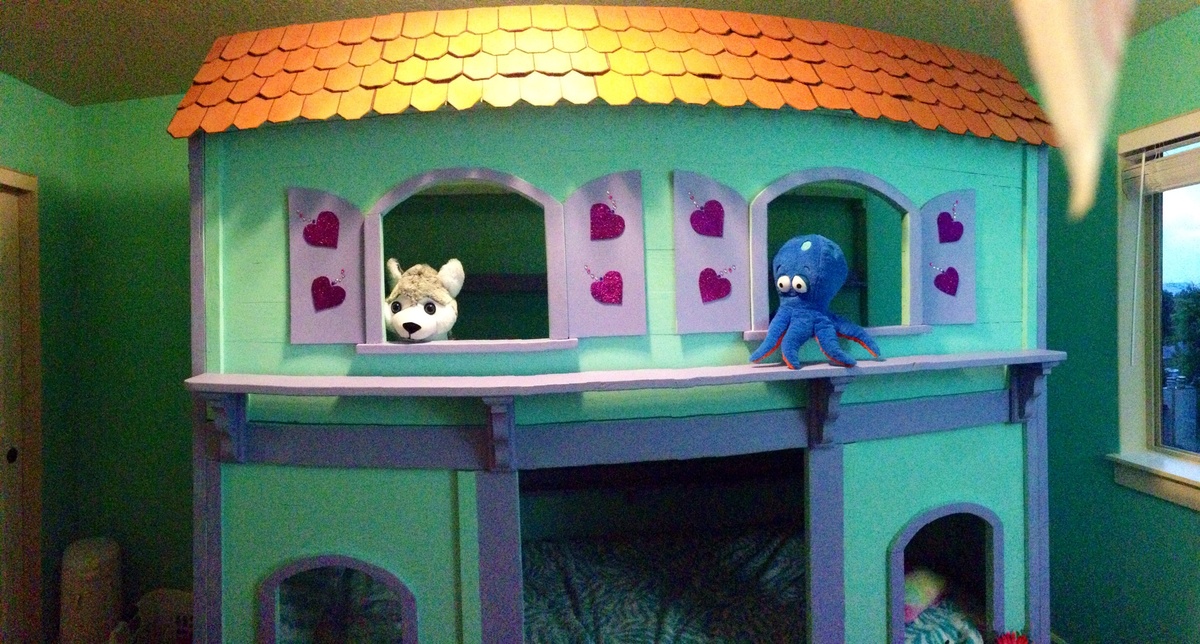
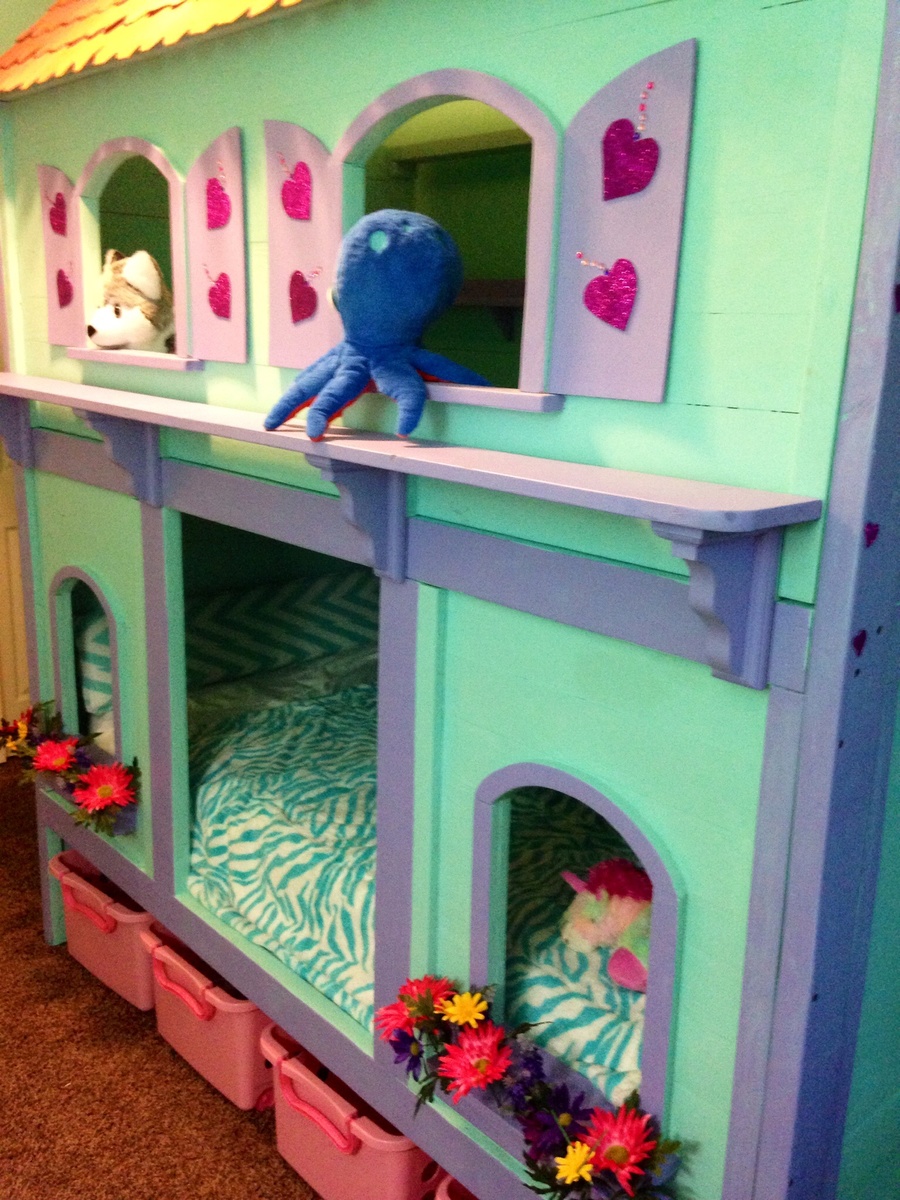
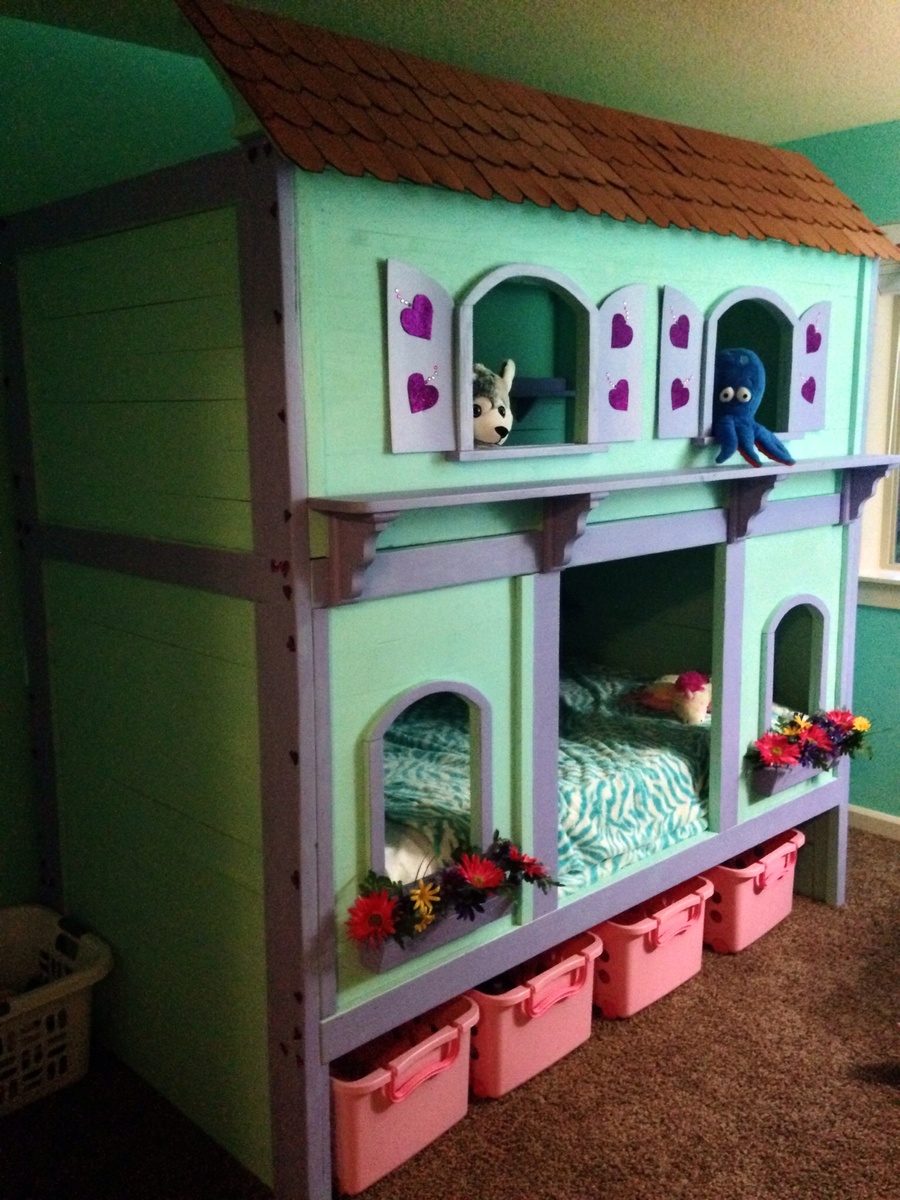
My husband and his father-in-law made this bed together for our daughter. It took about 3 months working every other weekend. My father-in-law is an engineer and he modified the bed so we could more easily assemble and disassemble it to get it up the stairs and into her room. My mother in law painted it, added the flowers and made the roof shingles out of craft foam sheets.
Wed, 08/13/2014 - 11:55
What a lucky daughter you have! How old is she? I'm 28, and I'd LOVE to have this bed! ;) You can tell a lot of work went into this and the details. Great job.
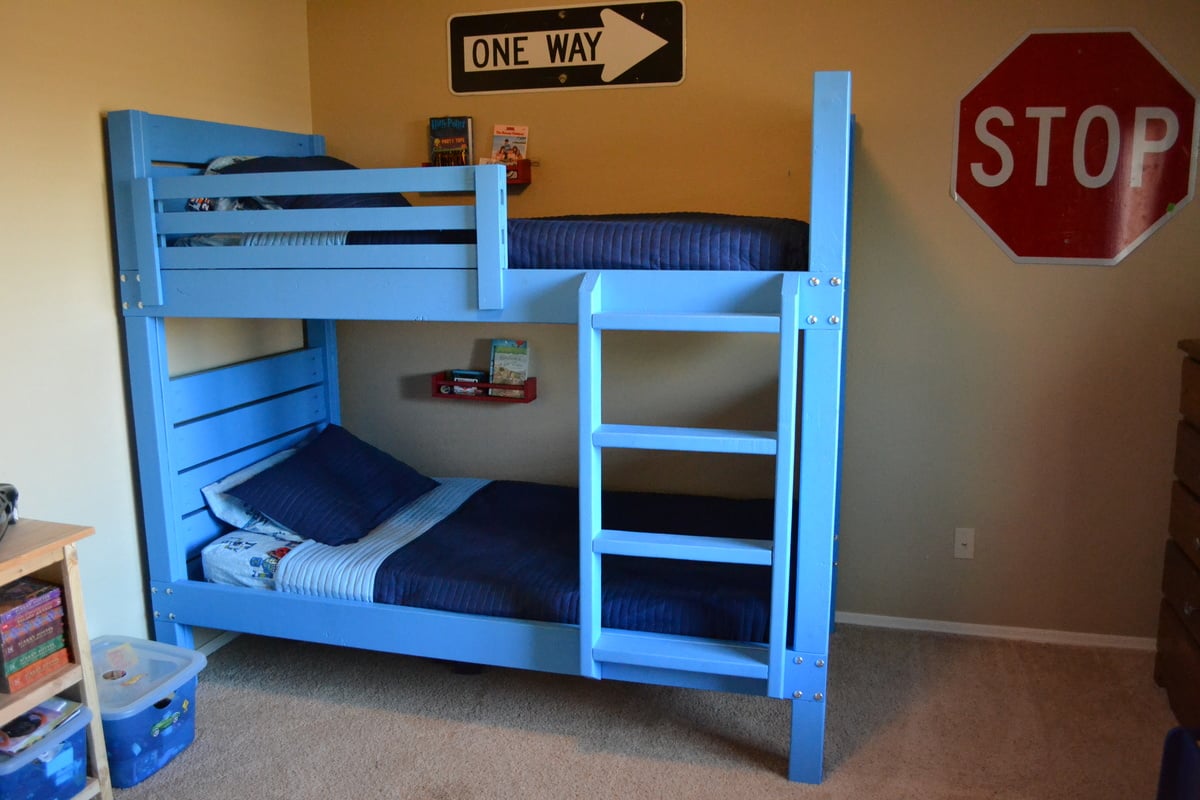
After building the playhouse loft bed, I found this project to be very easy. I built the bunk beds at 37/38 weeks pregnant, so that should tell you how simple it is to construct. The total cost came in under $300 and I was able to use some of the scrap wood I already had in my garage.
I did run into some trouble with the slanted ladder. Even though the pieces were cut to the exact measurements in the plan, the sides of the ladder were too short for the bed. Being very pregnant and impatient, I just modified the ladder so I wouldn't have to waste the pieces I'd already cut.
You may also notice that I didn't fill and sand my pocket holes on the end pieces yet. That was also me being very pregnant and impatient. I'll go back and do that later when I have more time. Despite the little bit of finishing work remaining, this was pretty much a 2-day project. Cutting and construction was fast (one day) and finishing took another full day.
I used Valspar "Blue Burst" paint from Lowe's to finish the bed. I used bolts to attach the side rails because we move frequently so I wanted the bed to be easy to disassemble. Overall, this was a very easy and fun project!
Sun, 11/11/2012 - 21:37
Love how you whipped this together! I stumbled upon your post as I started working on these bunk bed plans today (I can't read the dimensions on the diagrams from a printout, so i open up the plans on the iPad). I had to finish up the ladder and side rail today. I was stumped yesterday evening with the same ladder issue. Why was it coming up short? It was really annoying considering it took me a while to figure out a 60 degree angle on my miter. I decided to try changing my ladder angles to 22.5 and 67.5, as I still wanted a leaning ladder, but I thought a reduced angle would work better. Didn't have to scrap my boards either, whew. Love how quickly you put this together! Coincidentally, I'm 33 weeks pregnant, but moving terribly slow compared to you.
Mon, 11/19/2012 - 07:25
I'm glad I'm not the only one with the ladder issue! I couldn't figure out what went wrong. I also tried to adjust the angle but my boards were just a tiny bit too short and I was not wanting to run to the store to get more. I do like the leaning ladder better though. Can I just say that I love that you're building this bed while pregnant too? That's awesome! :)
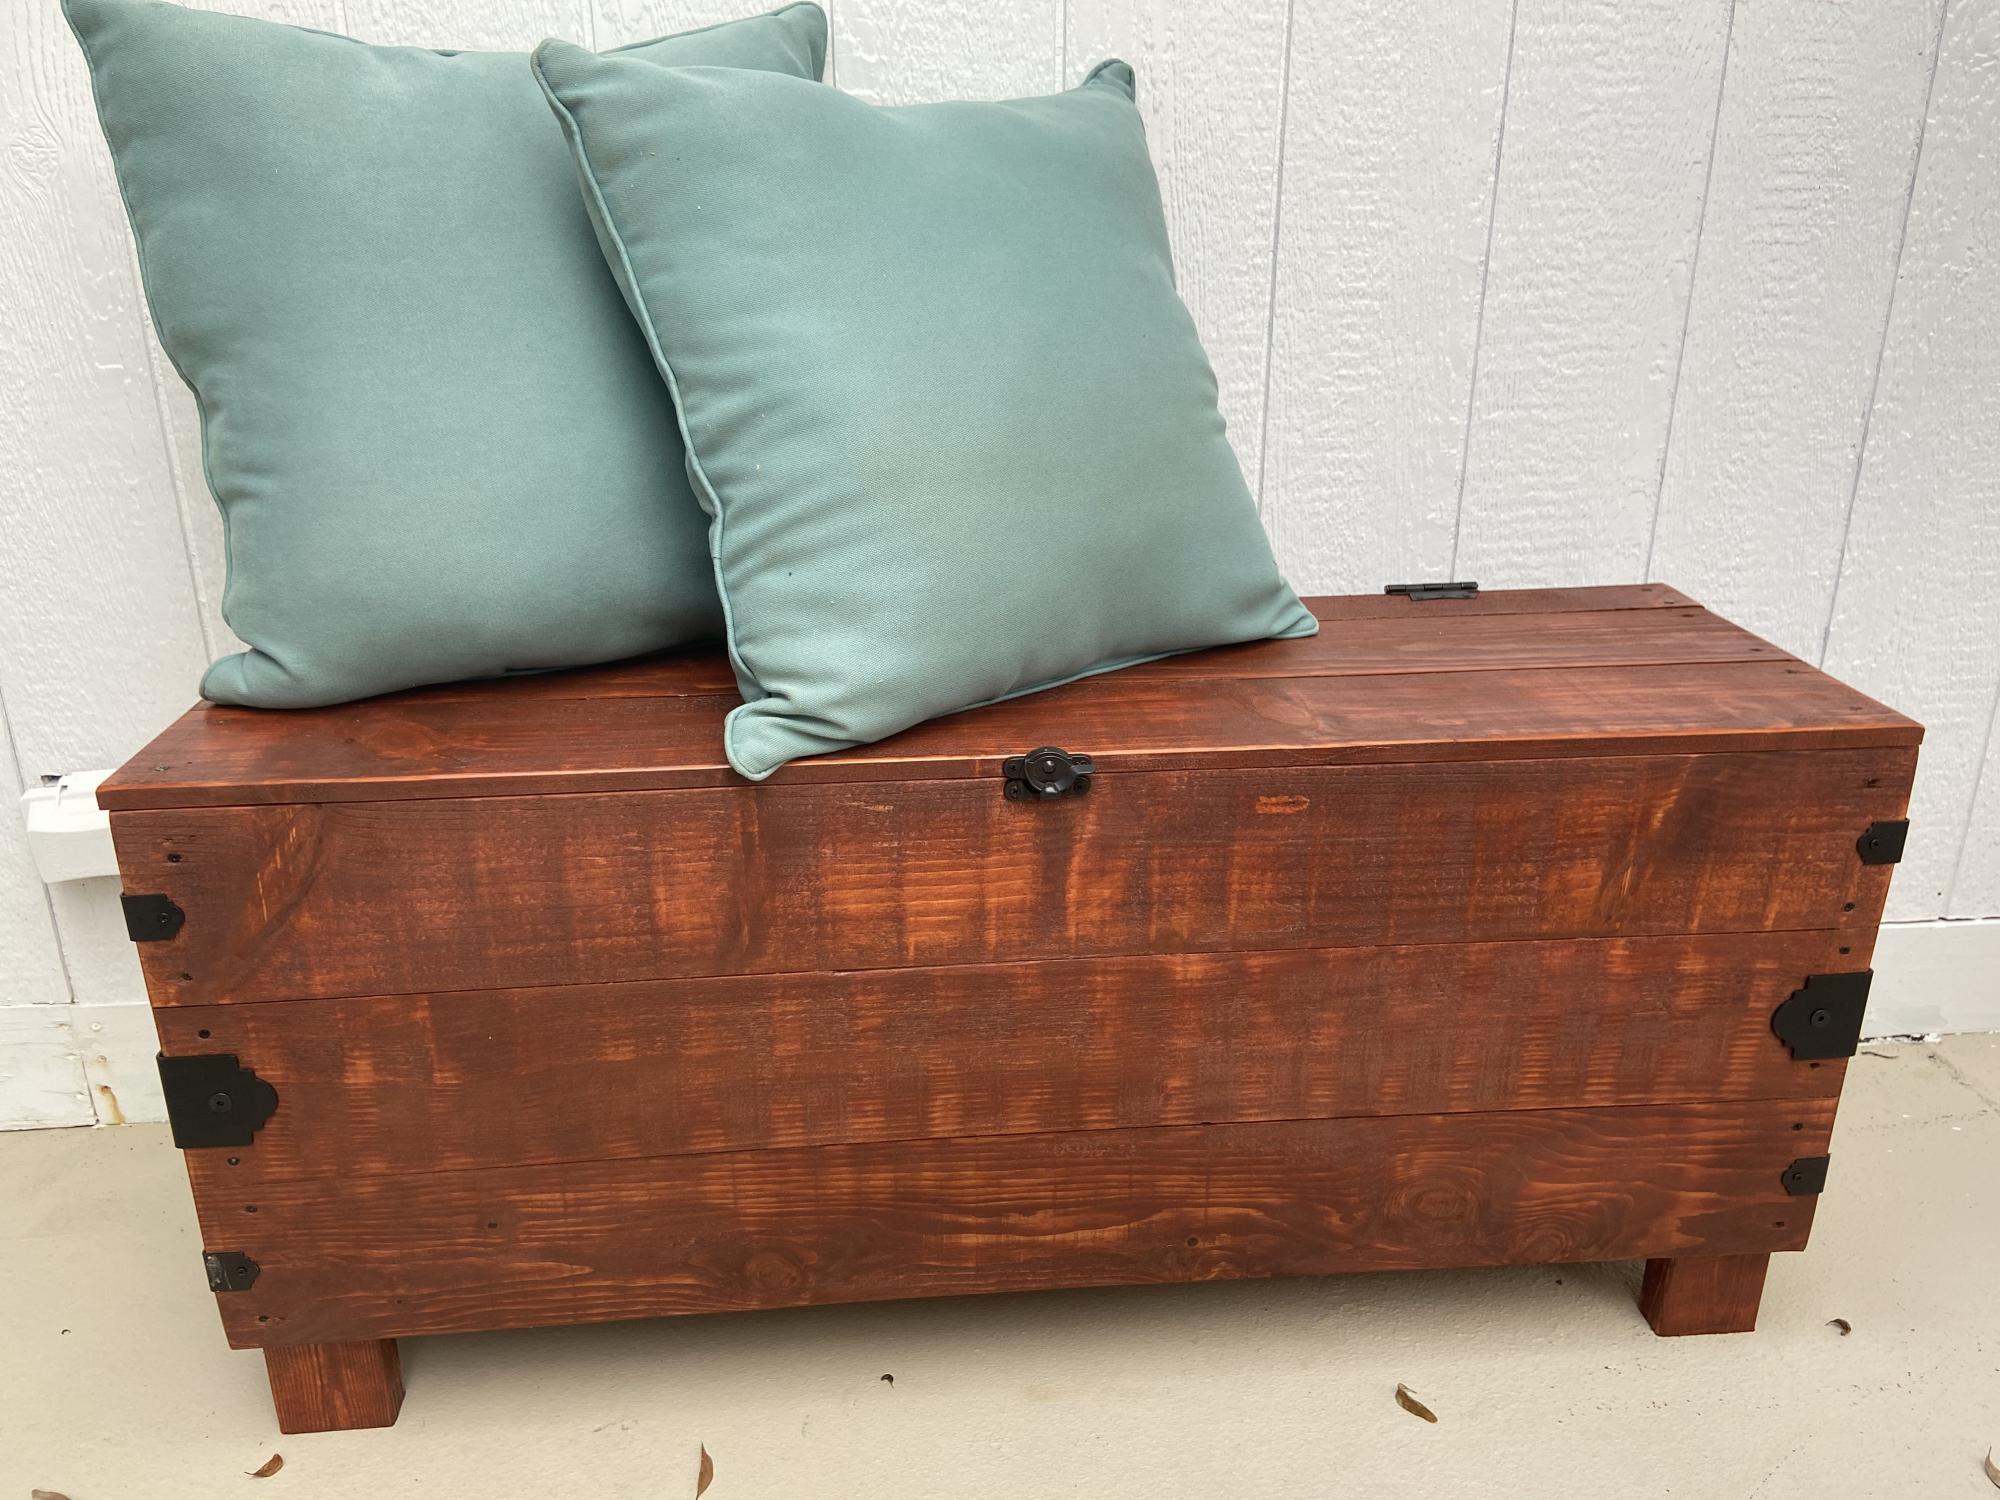
I used Ana Whites plan and modified to fit my our space and outdoor pillows.
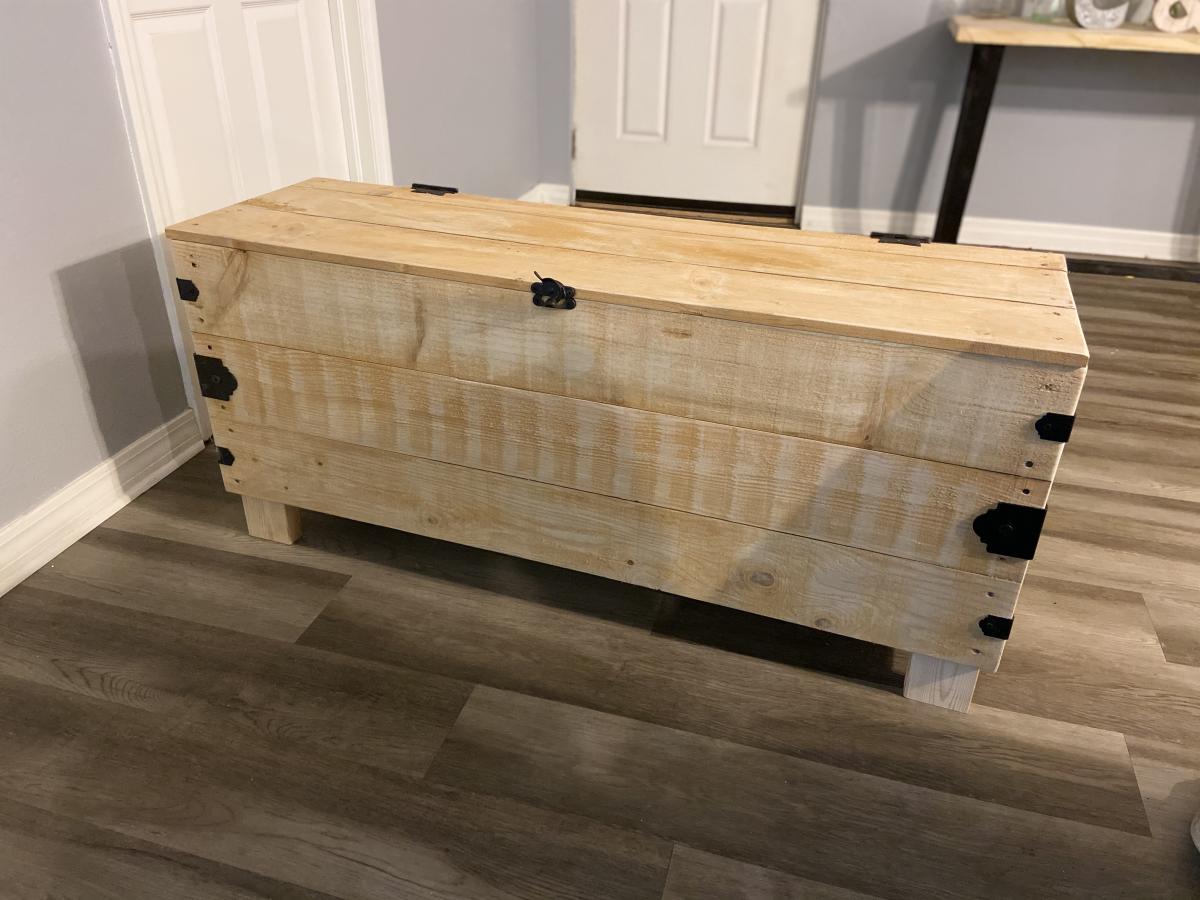
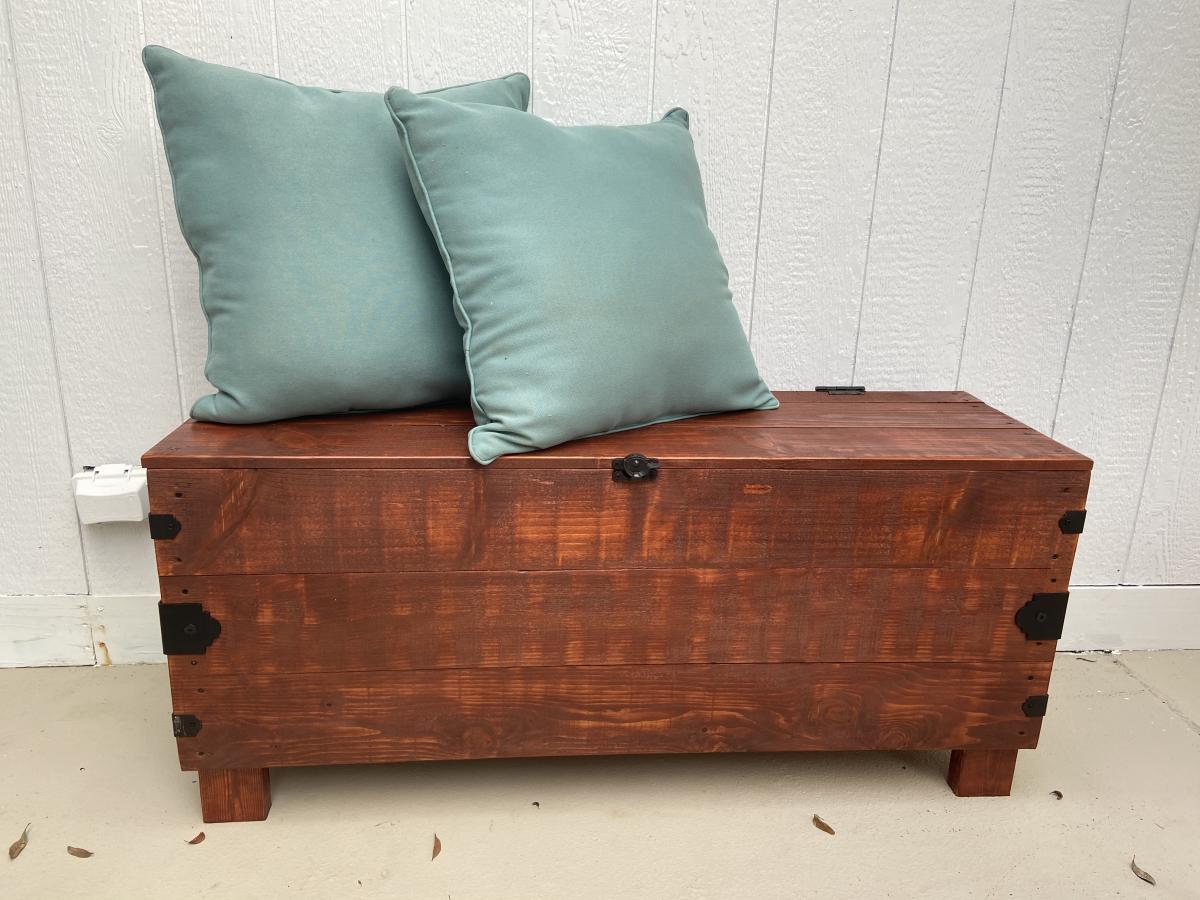
Our first project!
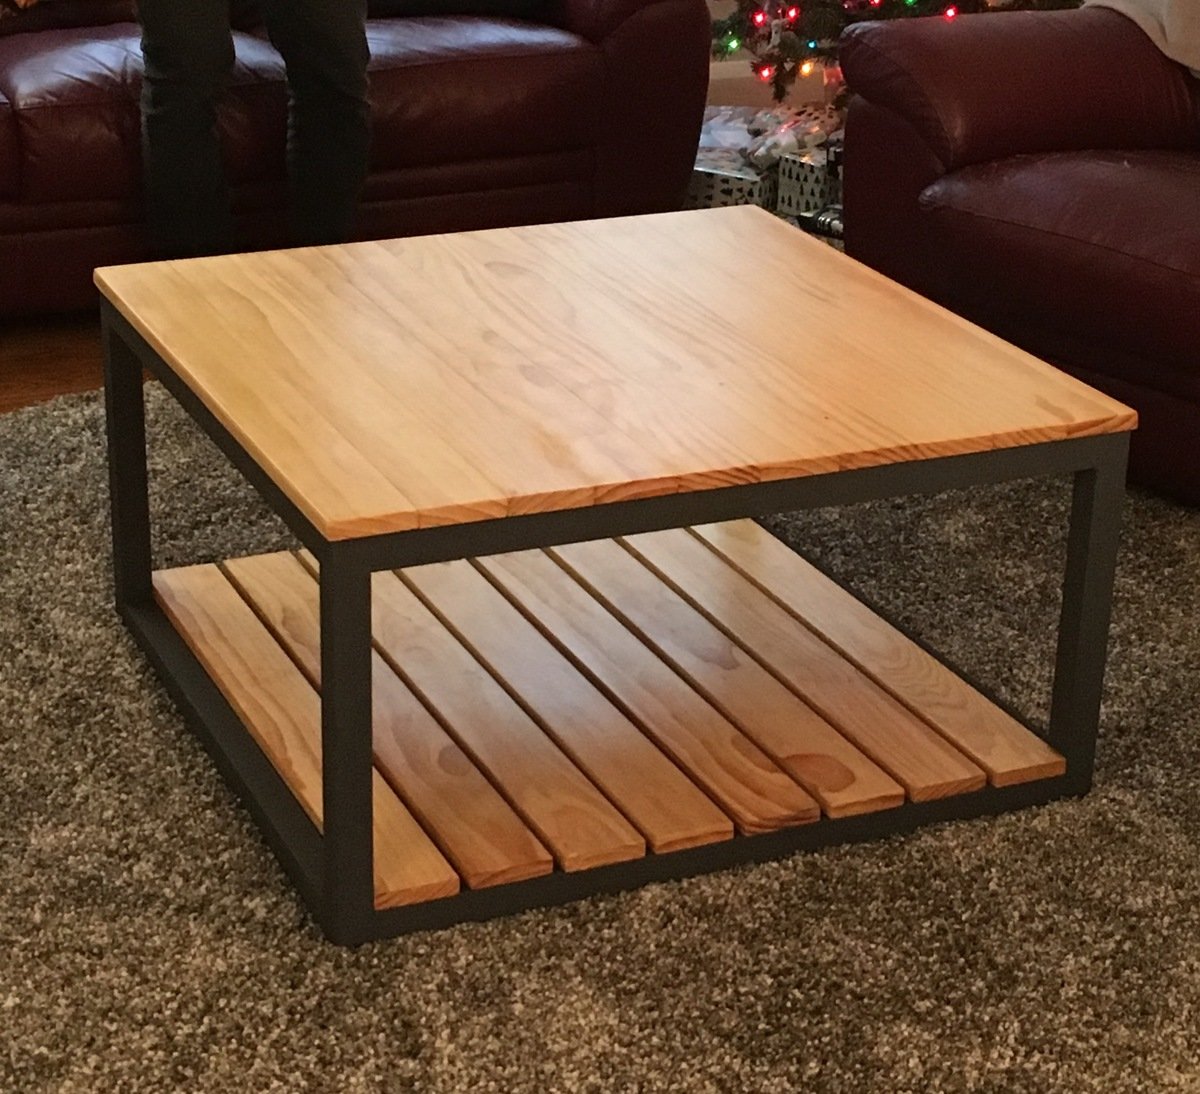
We used the "Industrial Style Coffee Table as seen on DIY Network" plans and simply added a bottom shelf. This required an extra 2x2 bracer (same cut as top bracer) and 8 more 1x4s, cut slightly smaller than the top 1x4s in order to have them sit flush with the bottom 2x2s. The table is all pine.
We spaced the bottom shelf boards roughly a half inch apart (give or take - it's "rustic"!) and screwed in from the bottom just like the top boards.
On the top shelf, we used 3 coats of Minwax Natural stain, and followed up with 3 coats of Minwax Satin Poly. We sanded these after attaching to the frame in order to achieve a level surface. We started with 80 grit, then 120, then 150. We then used 220 in between coats of poly. The result is a smooth, but not store-bought smooth surface, which we think works well.
We didn't spend as much time on the bottom shelf since they'll be mostly storing items, giving them just a quick 150 sand prior to 2 coats of stain and 2 coats of poly. Finally, we nailed in some plastic feet to keep it about a half inch off the floor.
All in all, being our first project, and going beyond what the original plans called for, it took us a few weeks to complete, working on it mostly on weekends and here and there in the evenings after work. We love the finished project and it works really well in our living room!
-Dan and Beth
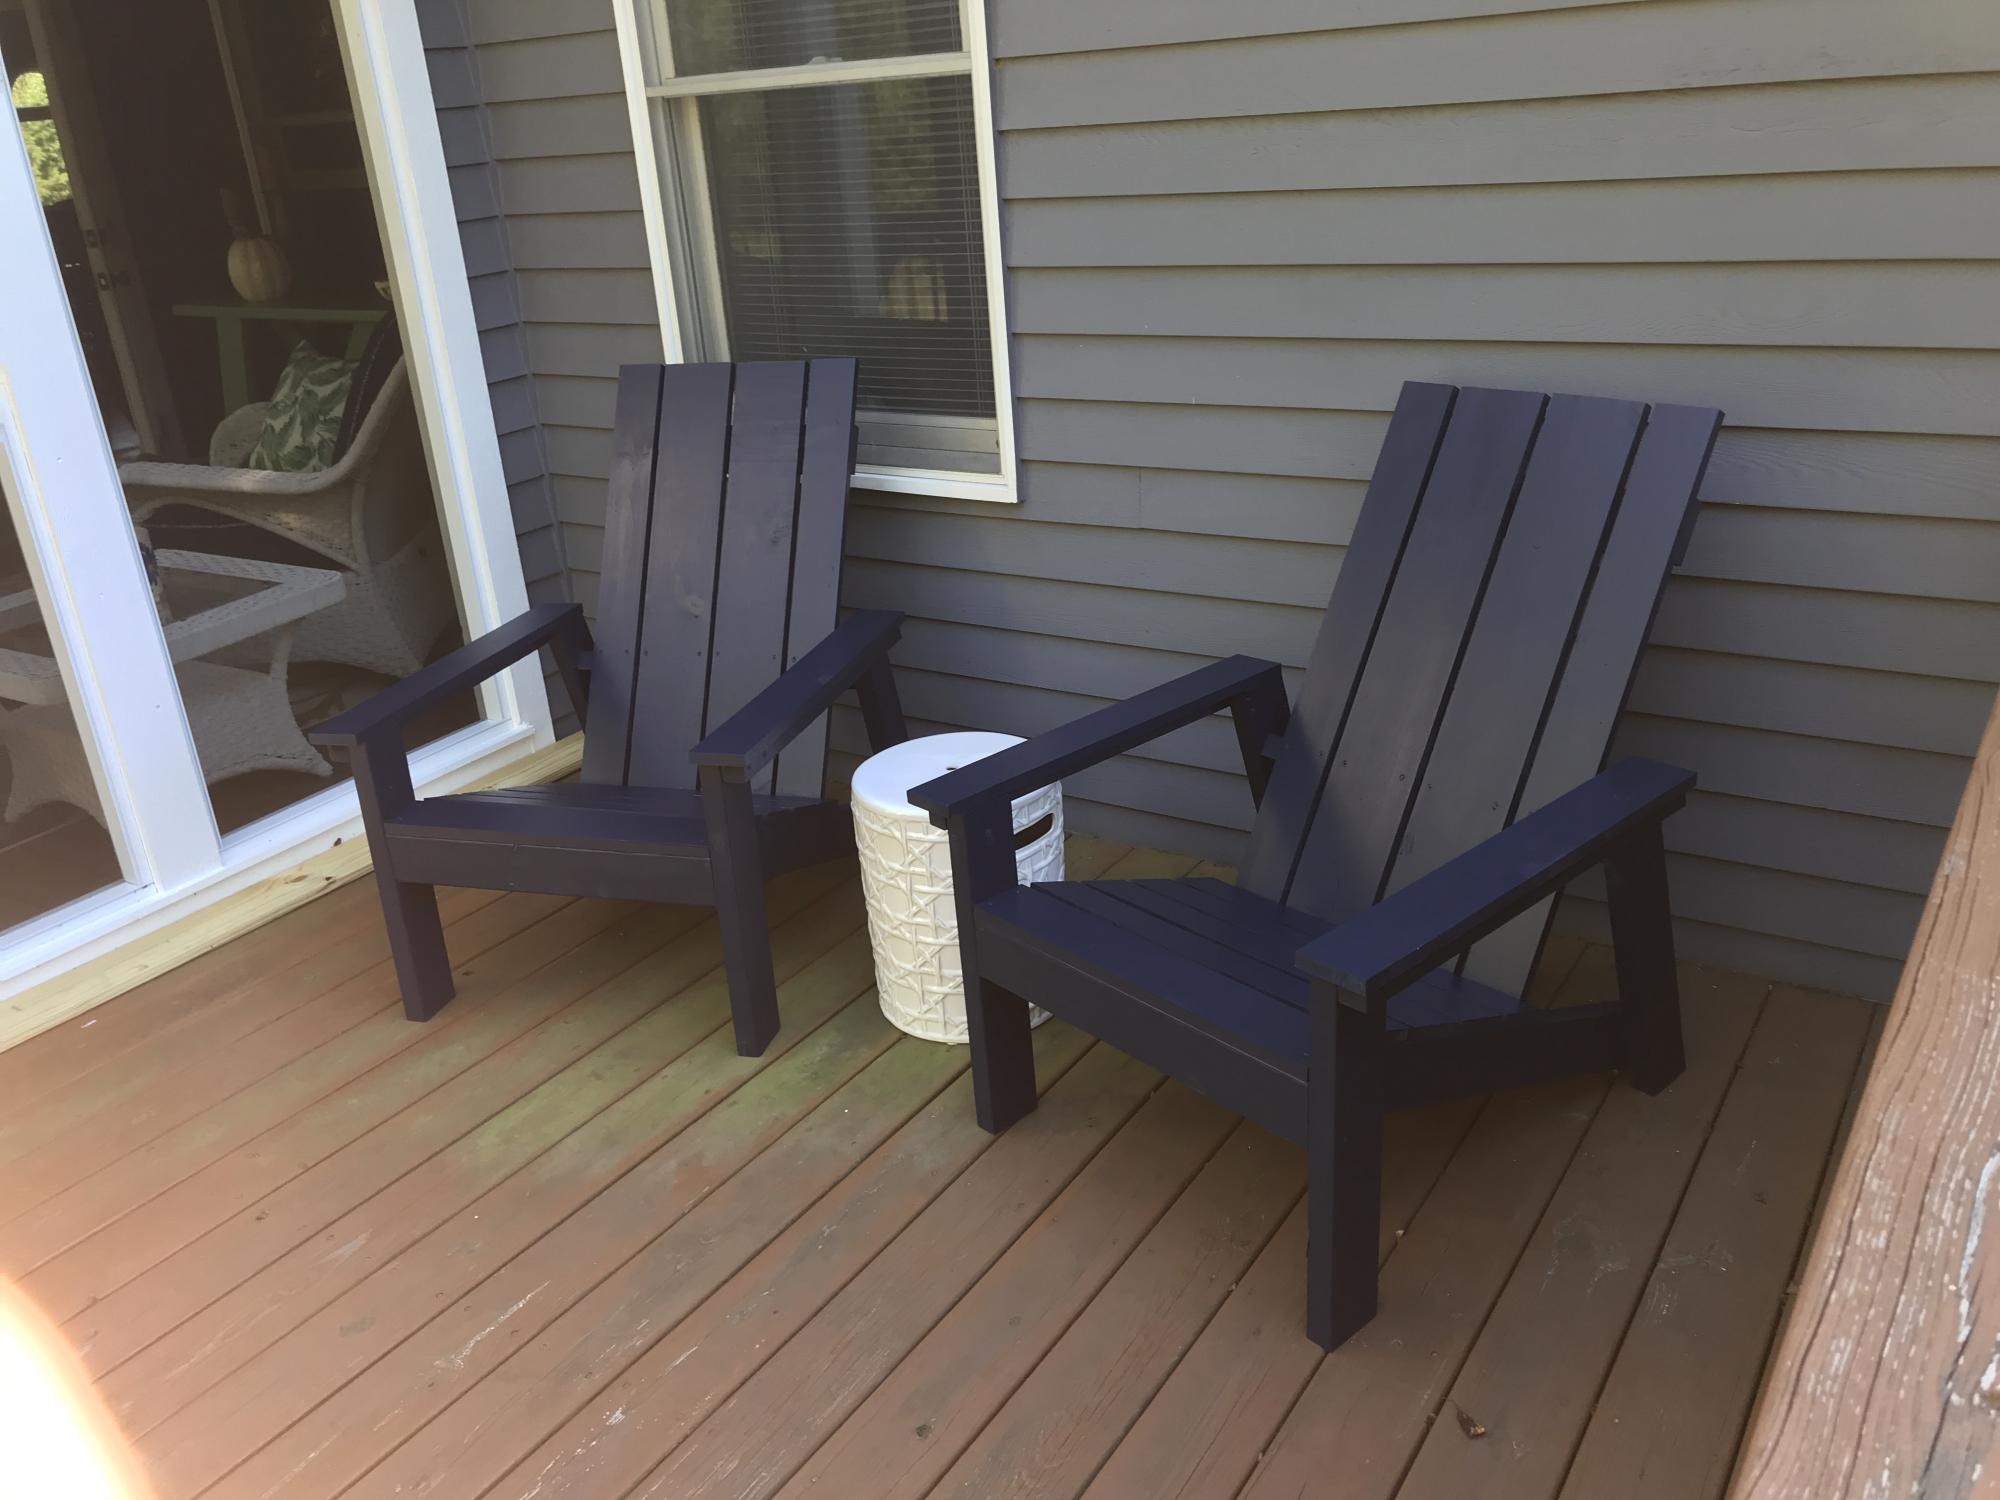
I changed the back of this chair to use some lumber I already had. These are very comfortable. I see more in my future.
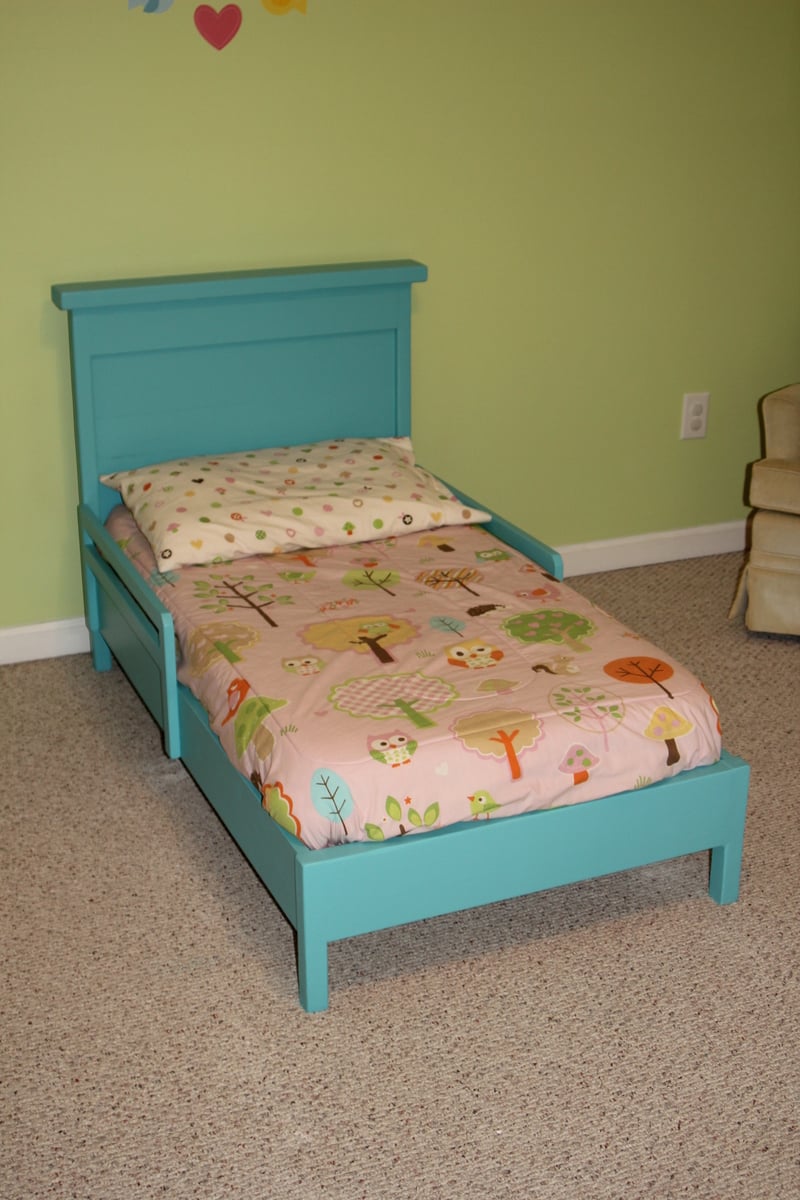
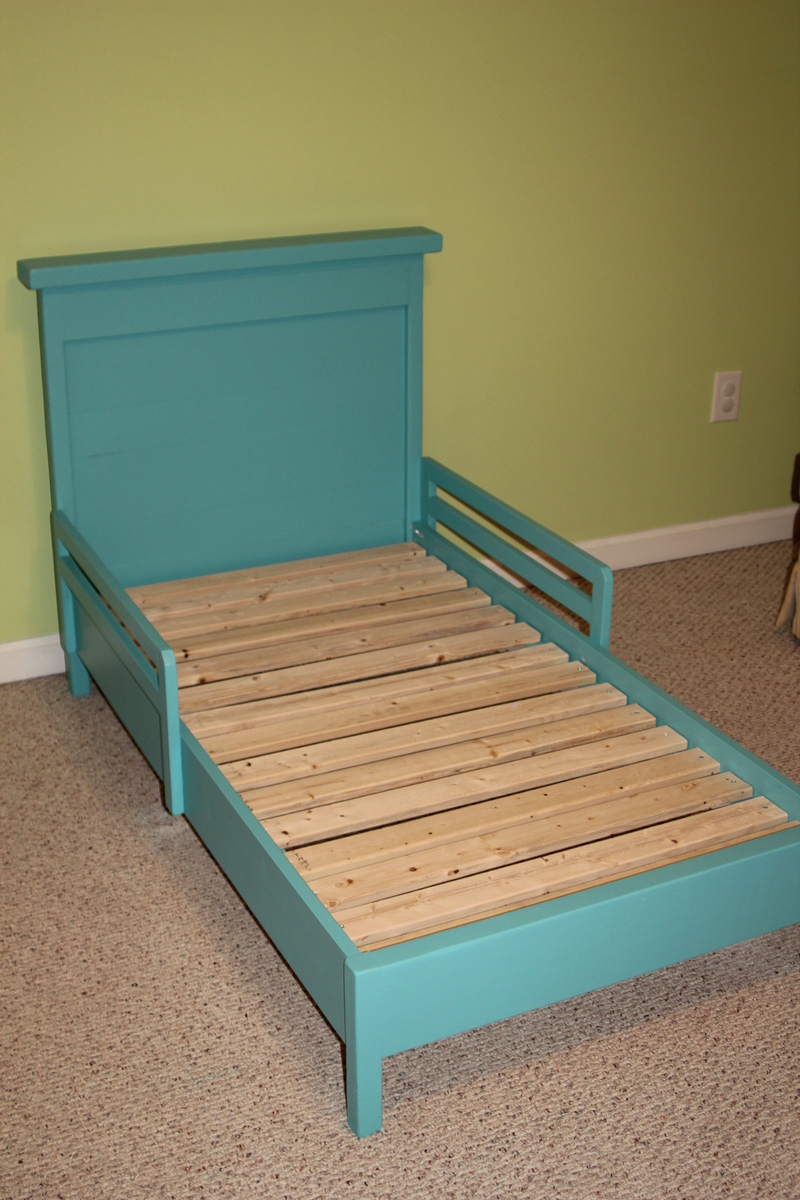
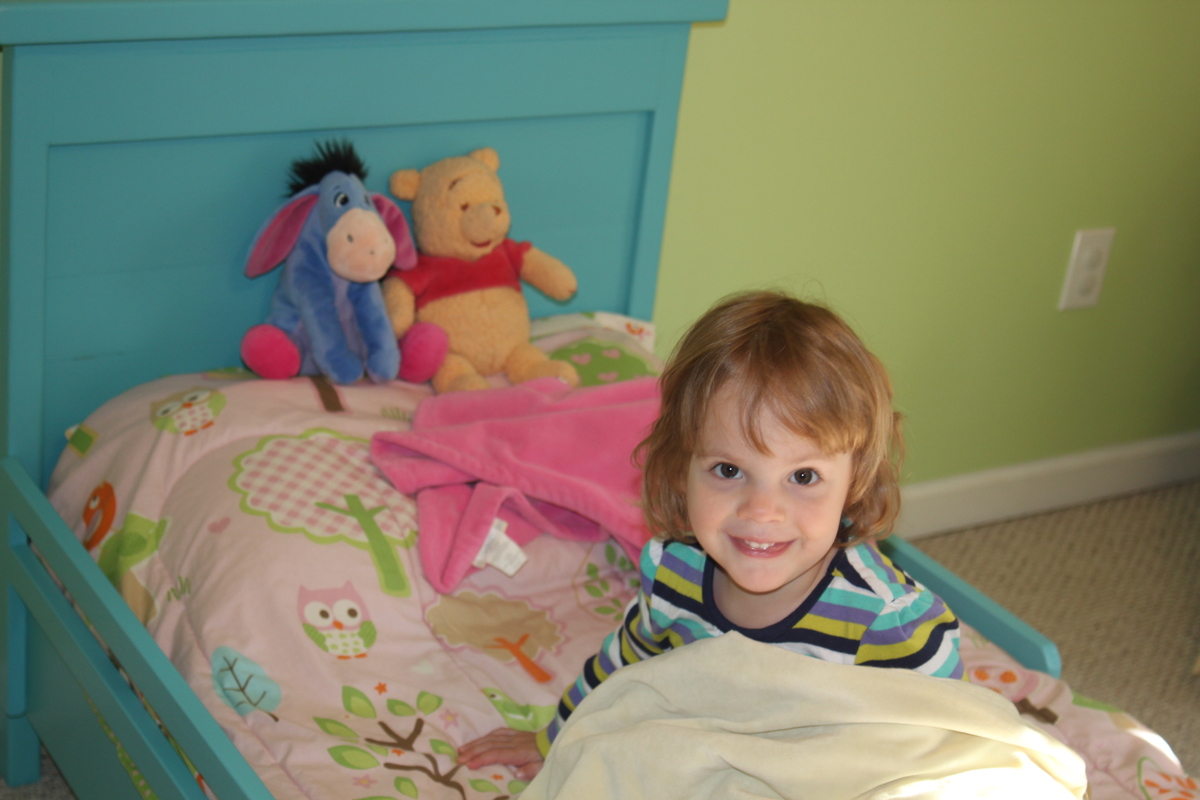
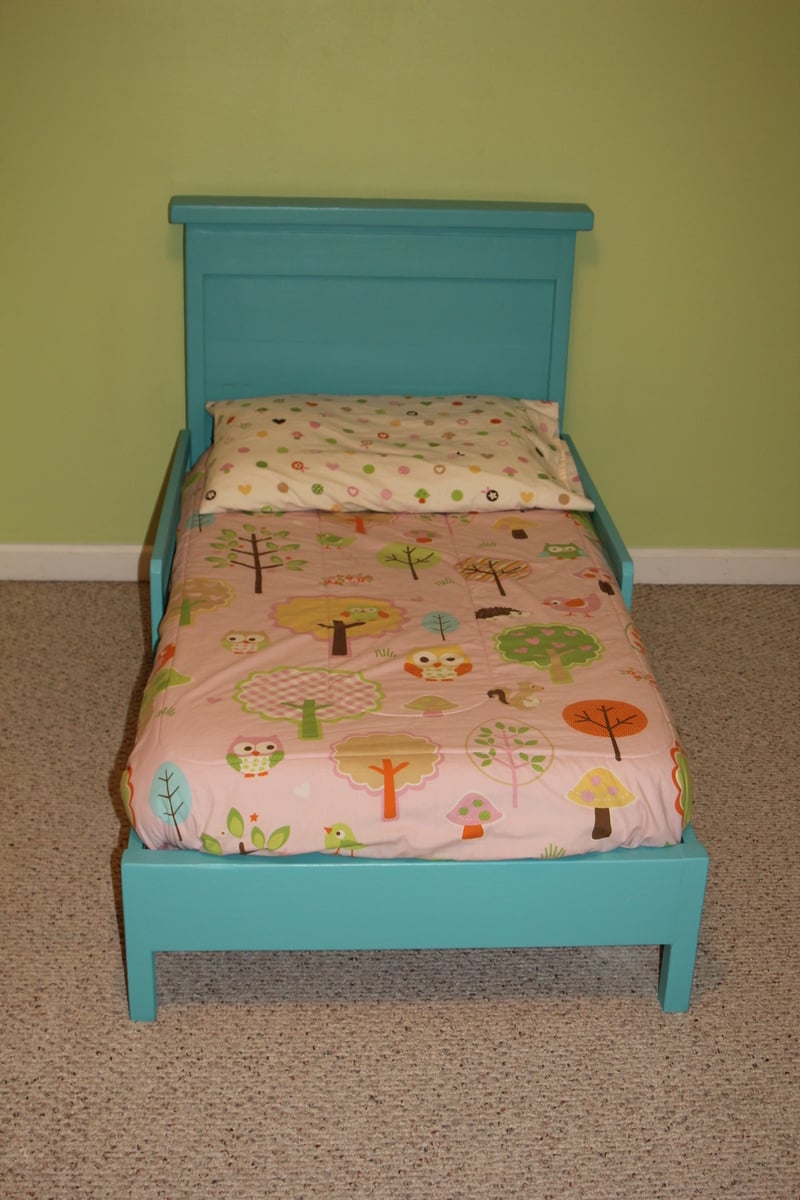
After my daughter started escaping from her crib I knew it was time to build her a new bed. I didn't think she was quite ready for a full size yet so I thought a toddler size would work for at least the next year.
I started with the Traditional Toddler Bed plans and scaled down the size of the Rustic Headboard and incorporated that. The biggest thing I learned in the process was to measure your mattress first! I don't think I realized the size variation in crib mattresses and ended up having to recut my slats and rails to accommodate my larger mattress. Also, our mattress is 5 inches deep, which means that the safety rails only extend about an inch over the top of the bed. This seems to be fine for my daughter and she hasn't fallen out - yet - but I think if you have a very restless sleeper or just want to play it safe, you might want to add an extra inch or two to the height of the guardrails.
I also used a 2 x 6 for the foot rail as this allowed the legs to be inset further and gave it a more solid look on the bottom.
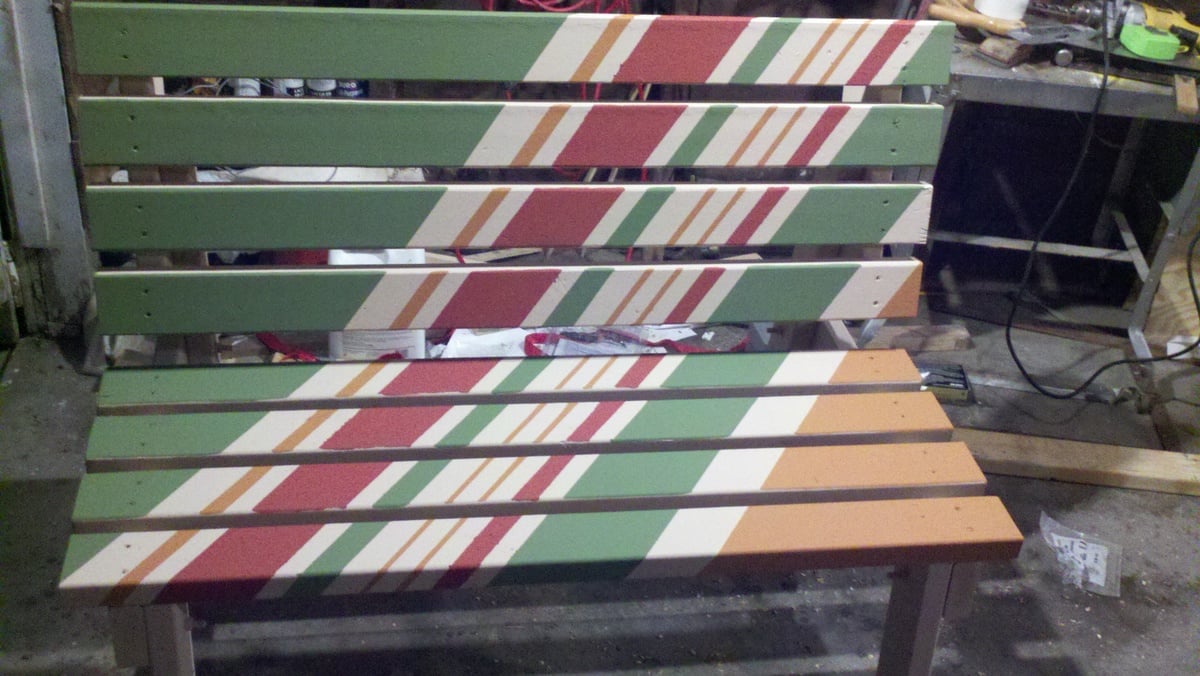
A nice summer project that is good for relaxing and eating outside.
Built with
7 - 2x4x72"
1 - 2x6x8
galvanized hardware
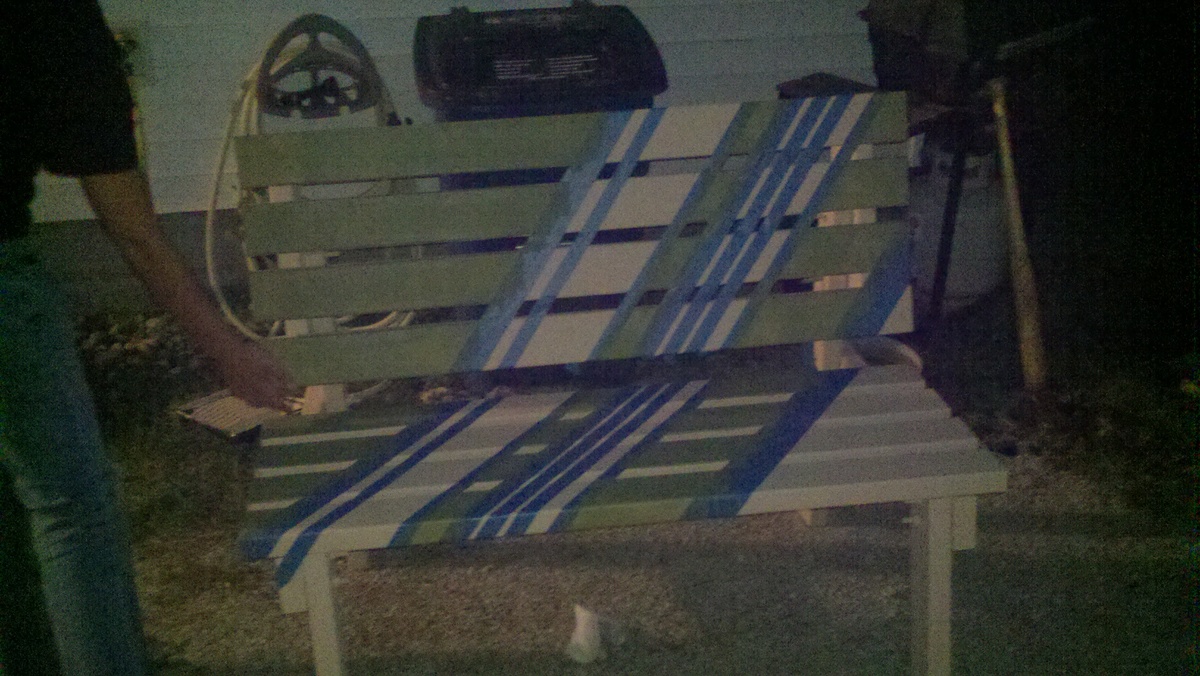
Started with a light base paint and taped off diagonal sections.
Next time we would lessen the gap inbetween 2x4's.
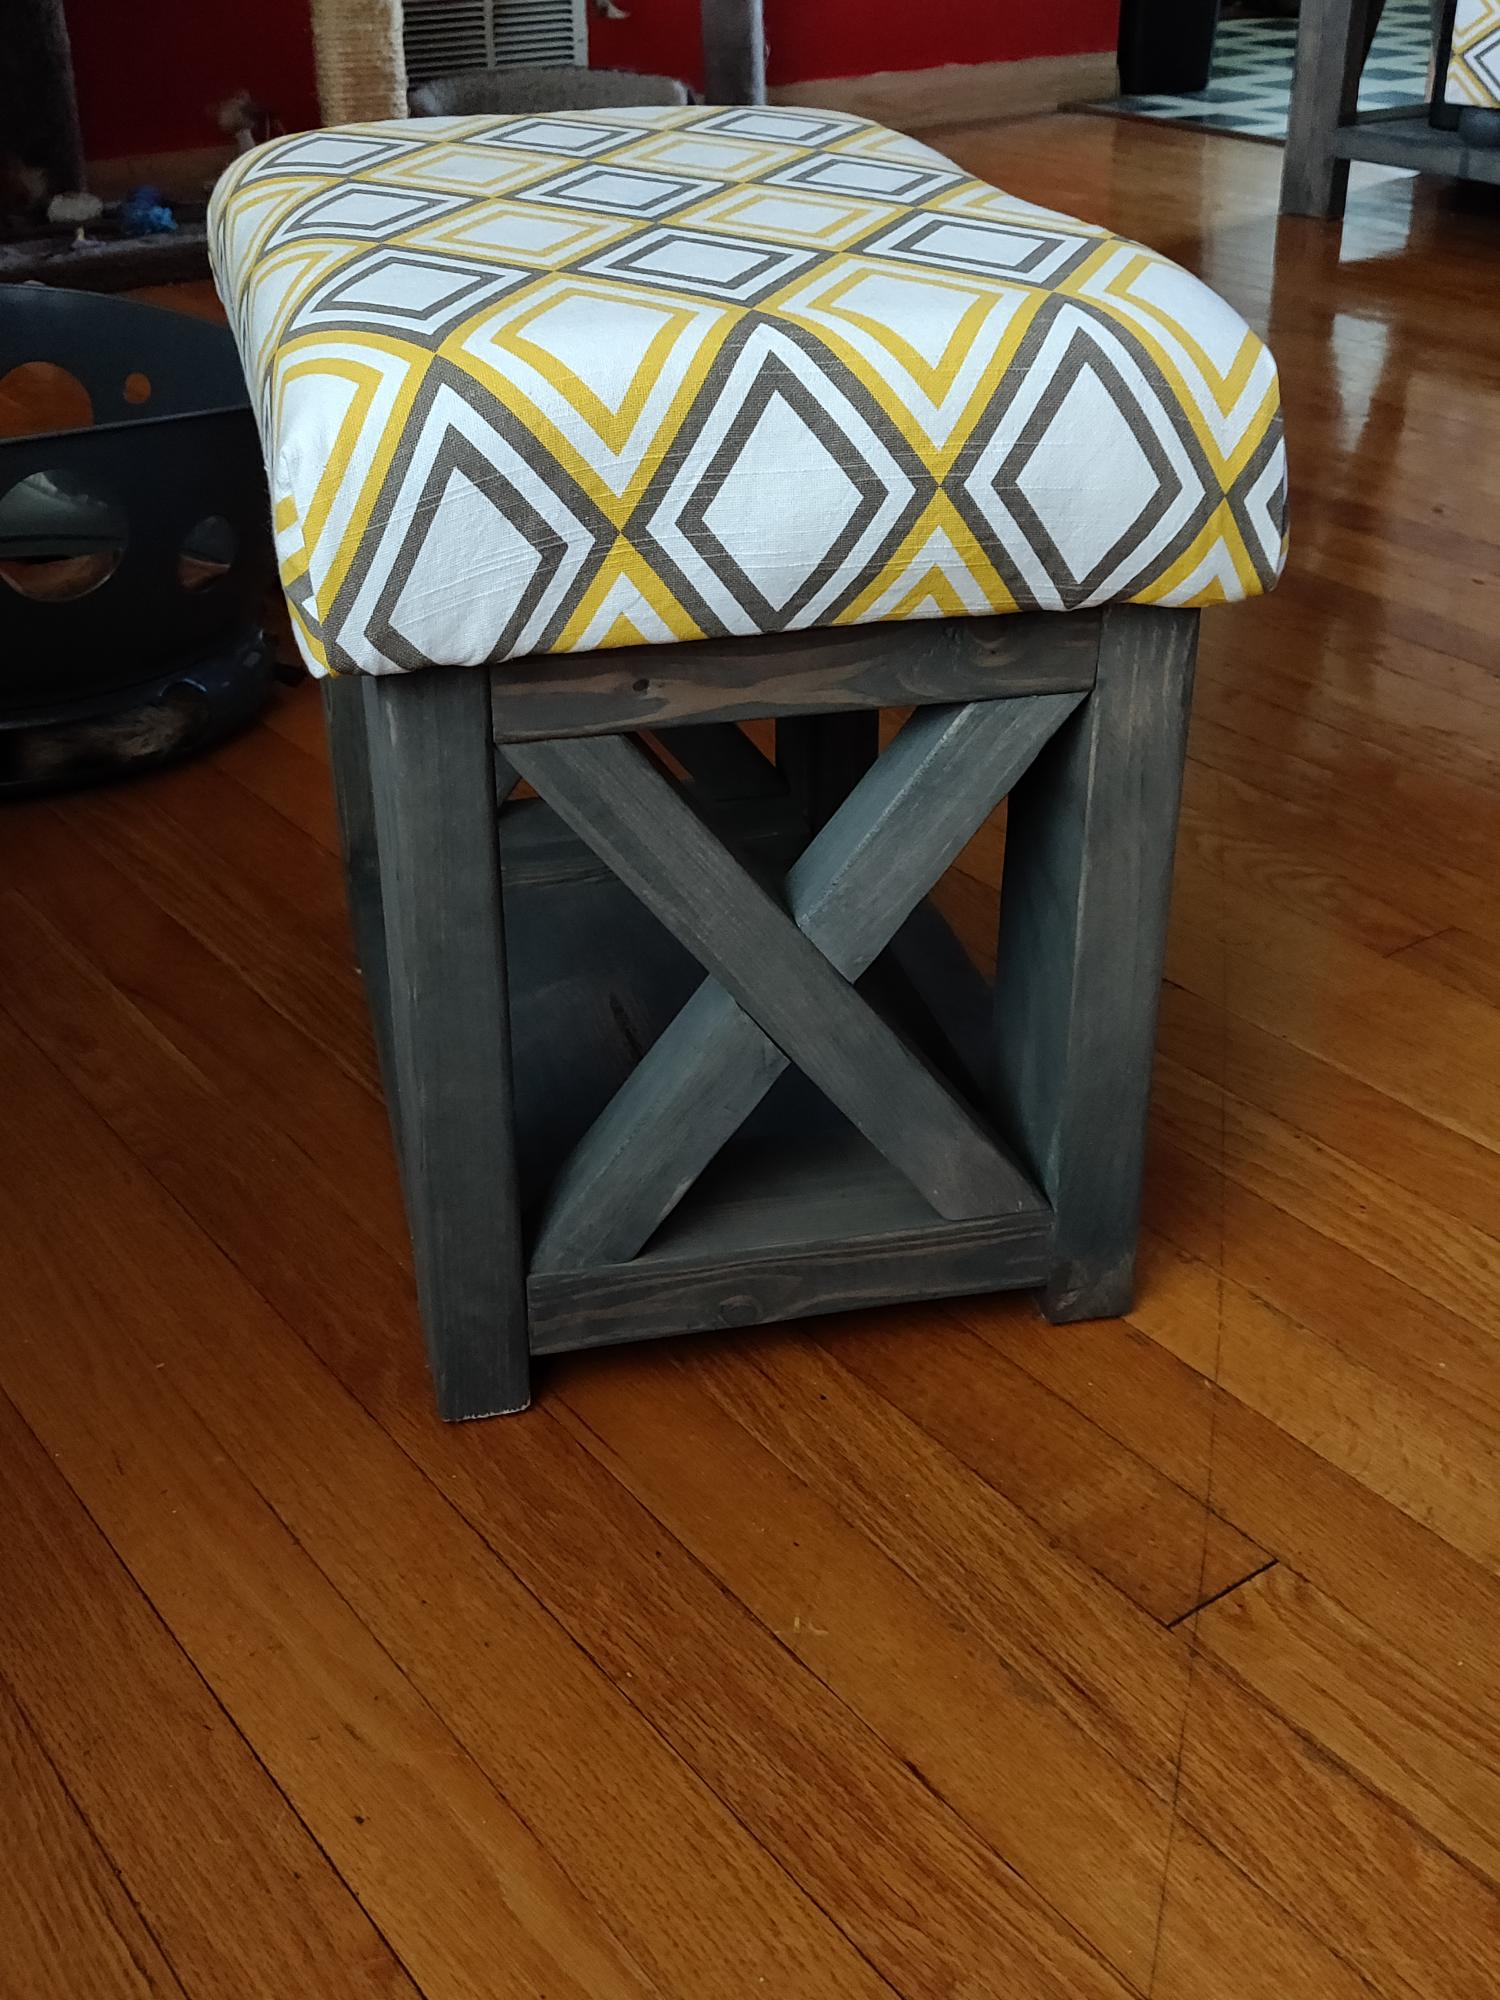
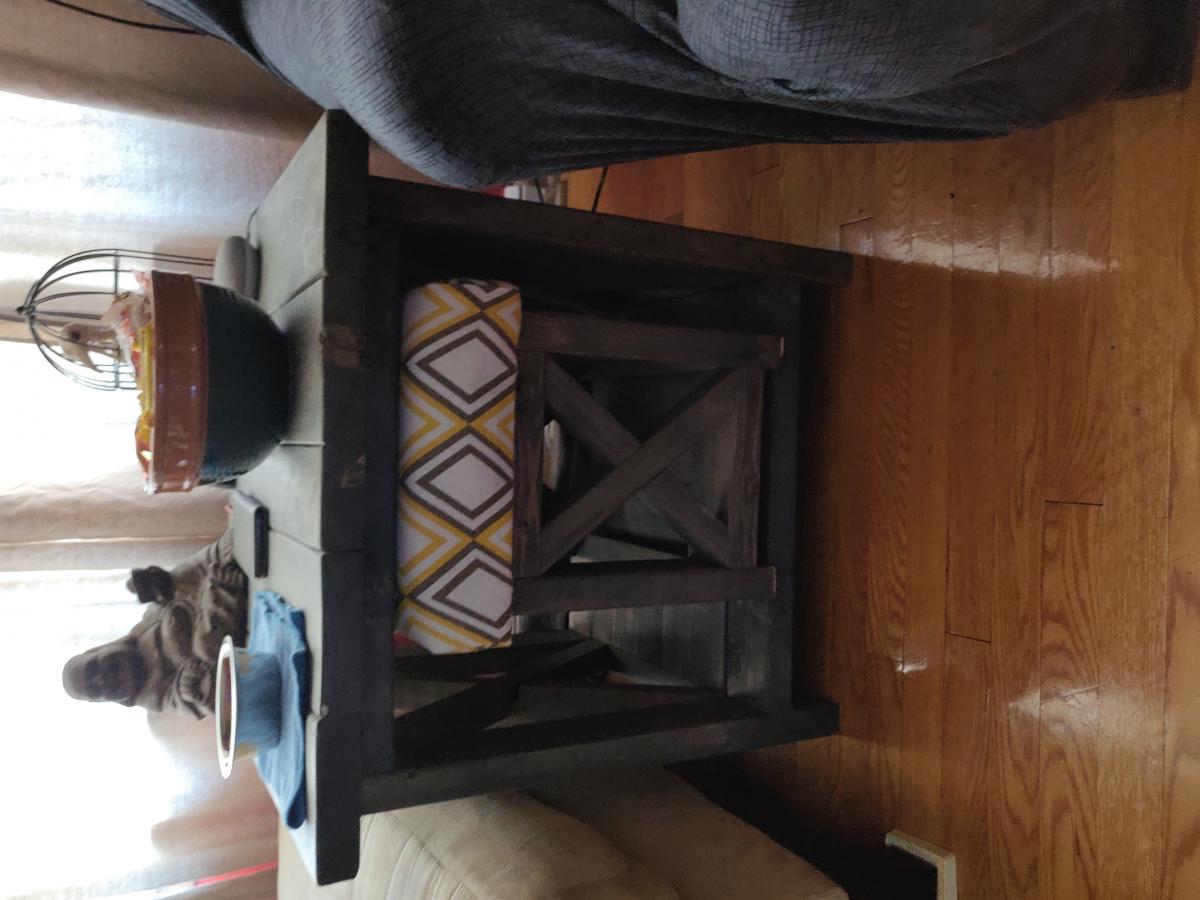
Made a footstool by modifying the rustic X end table plans. I used all scrap wood, foam, and fabric from my various stashes so this was free for me to make. Also, on all of my x tables, I use a dado blade so the exes are intact and not cut and screwed.
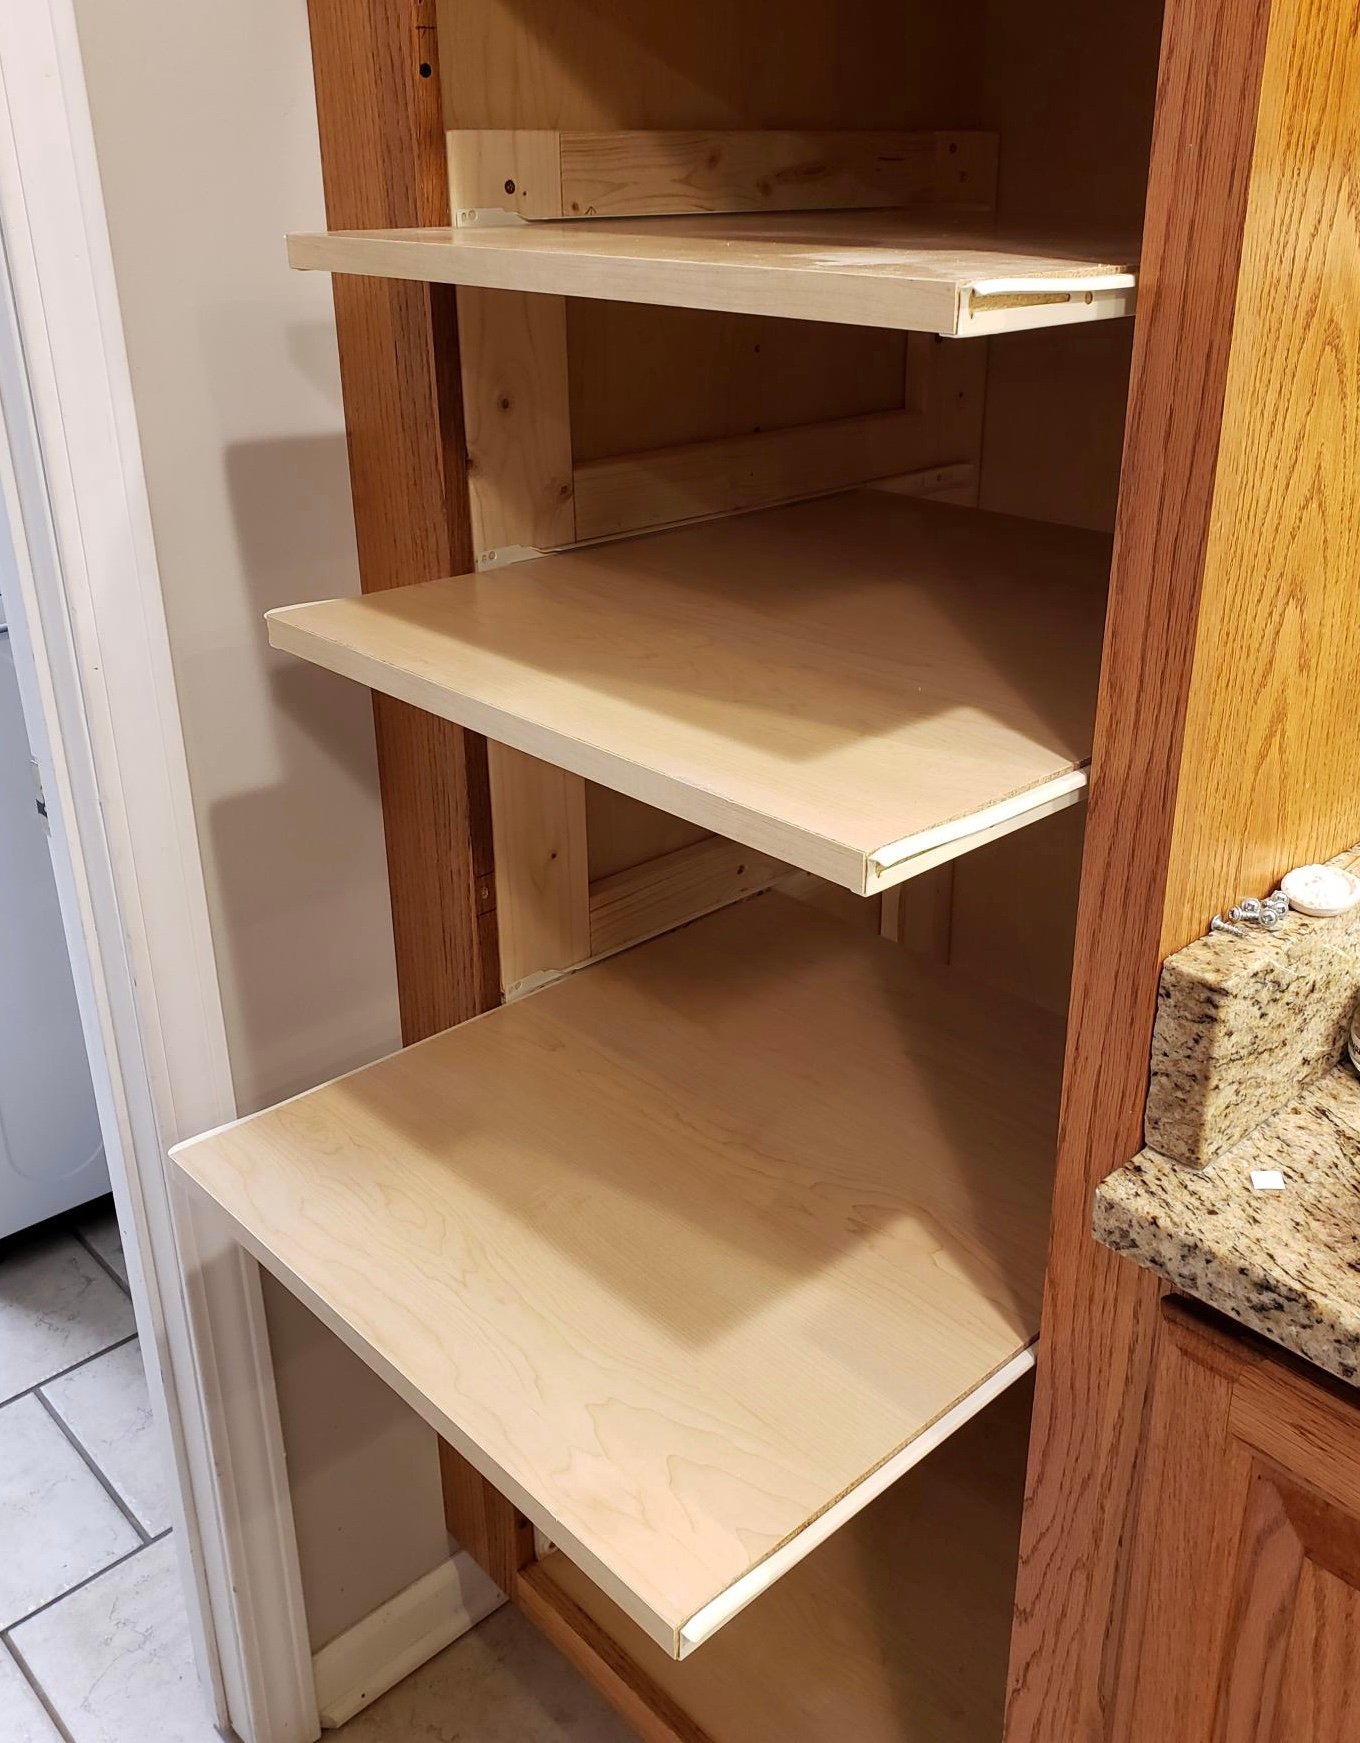
Stationary shelves are such a hassle, especially in a deep pantry cabinet! Now I can actually SEE the contents of my pantry cabinet. Thanks for the inspiration and tutorial to get it done!
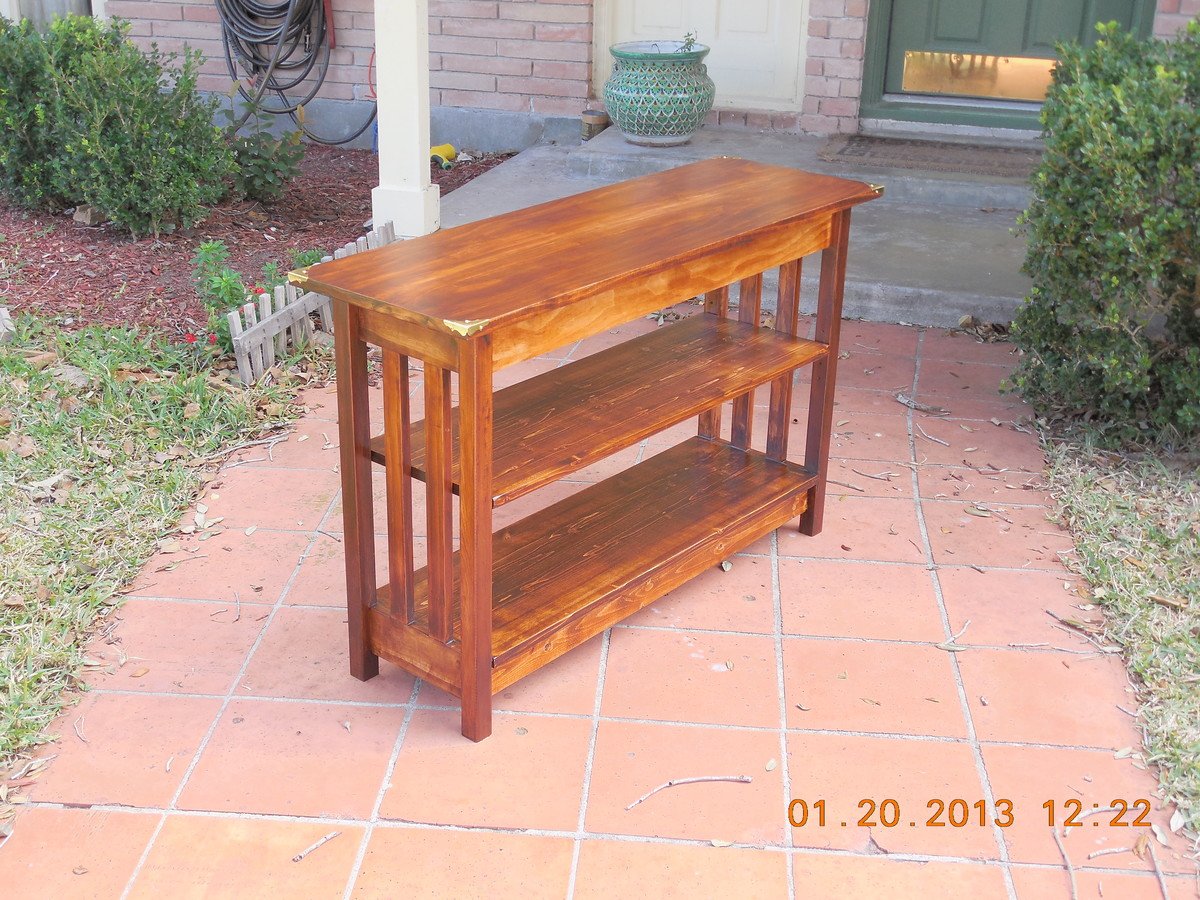
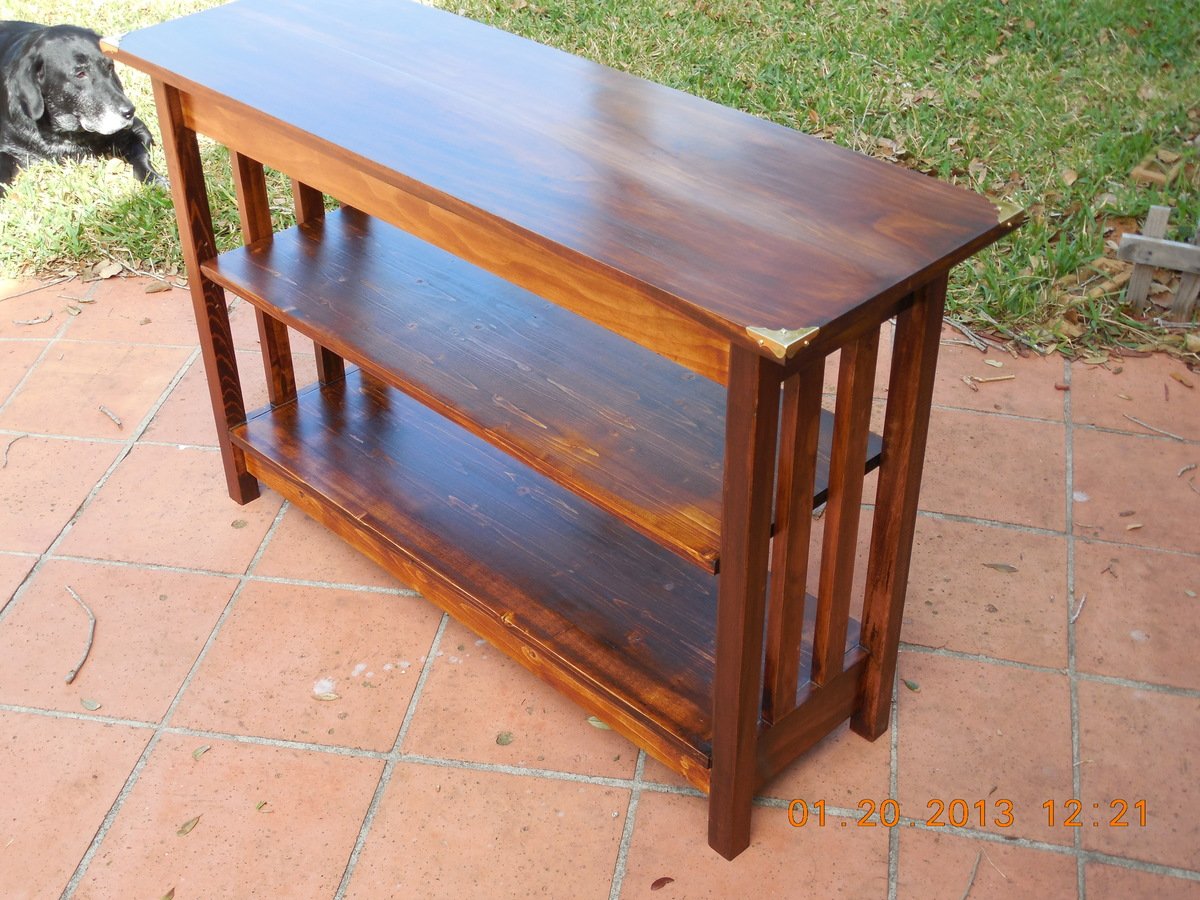
A good friend of mine came to me a week ago and said she needed a console table to fit under her apartment window. She then whipped out the LL Bean catalog and on page 34 was the Mission style Underwindow Bookshelf and that is what she wanted. I told her I would give it a try and a few days later you see the final result in the photos.
It came out larger than the LL Bean catalog version as mine is 44" long, 28" high and 14" wide. You can see the catalog offer at this link: http://www.llbean.com/llb/shop/13930?feat=504183-GN3&page=mission-under…
The center shelf is adjustable up and down about 4" and I added brass corner protectors.
I think it came out looking pretty good. Especially when you consider it cost at least $100 less than the catalog and it is not a kit.
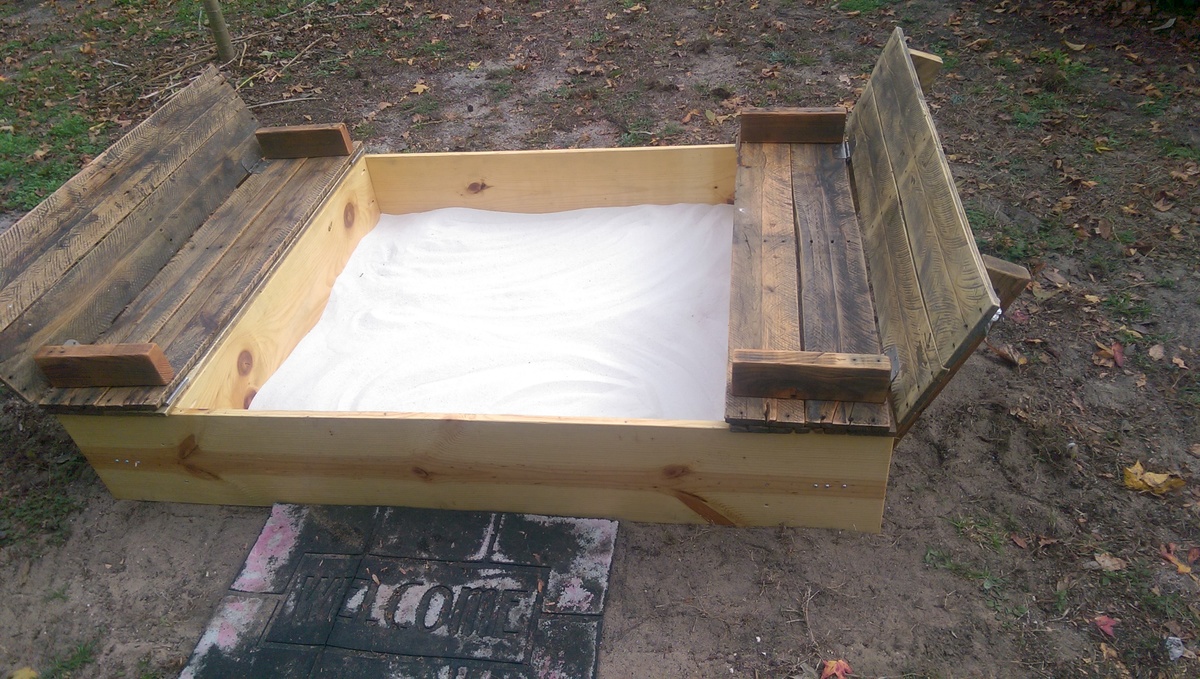
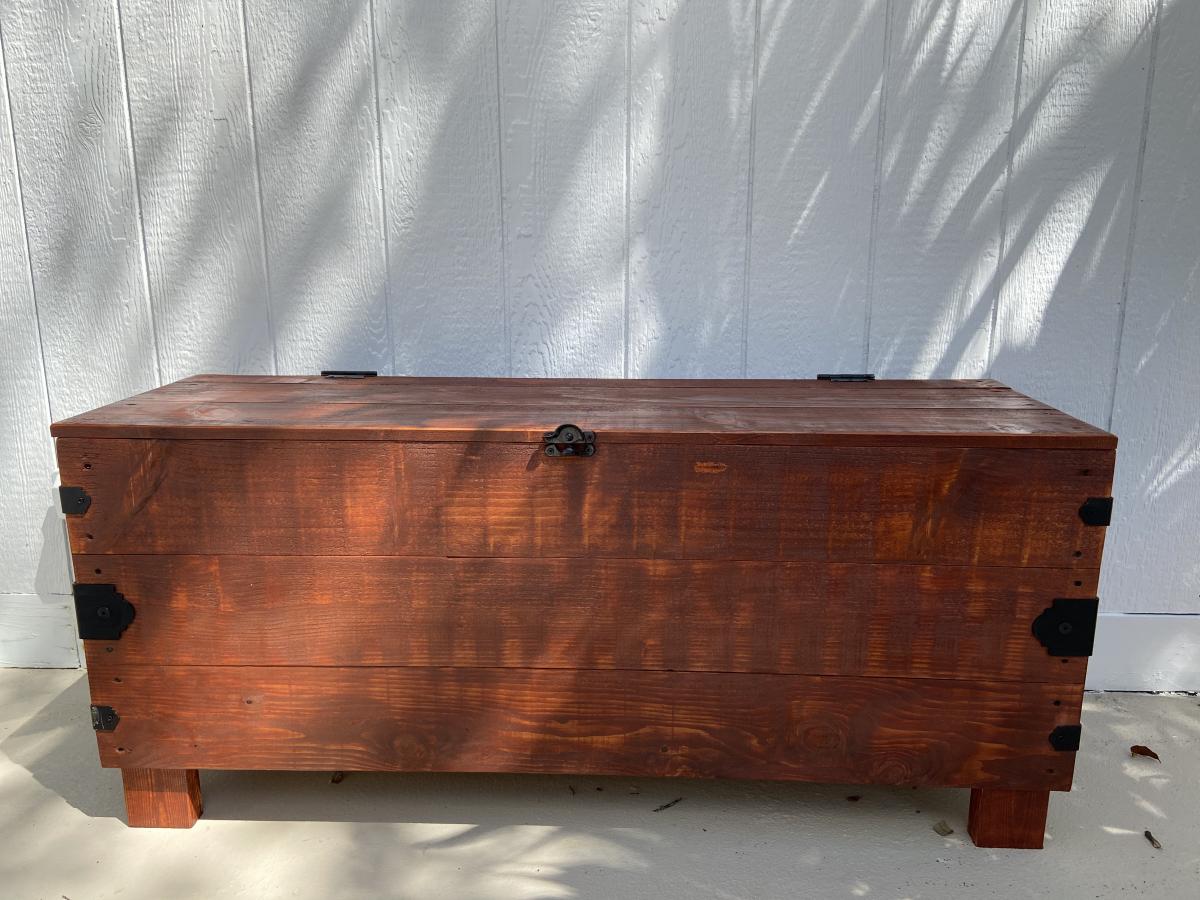
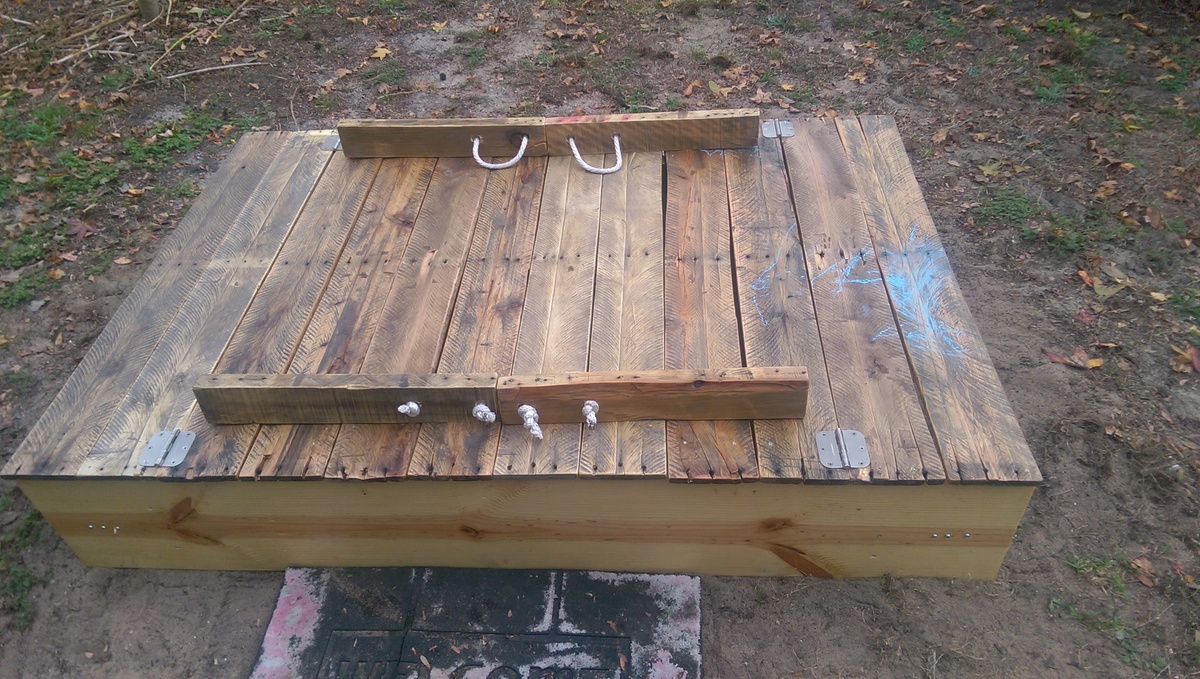
I used the same plans as posted but I tweaked them to work for the pallet wood that I ripped and sanded and stained with outdoor polyurethane. I also moved the short boards in so the box is smaller and added beams to support the bench separate. Because of Florida bugs and ants I also screwed a painting tarp to the bottom and punctured it several times for drainage to try and prevent bugs and weeds. The plans were so simple and I had so much fun making this.
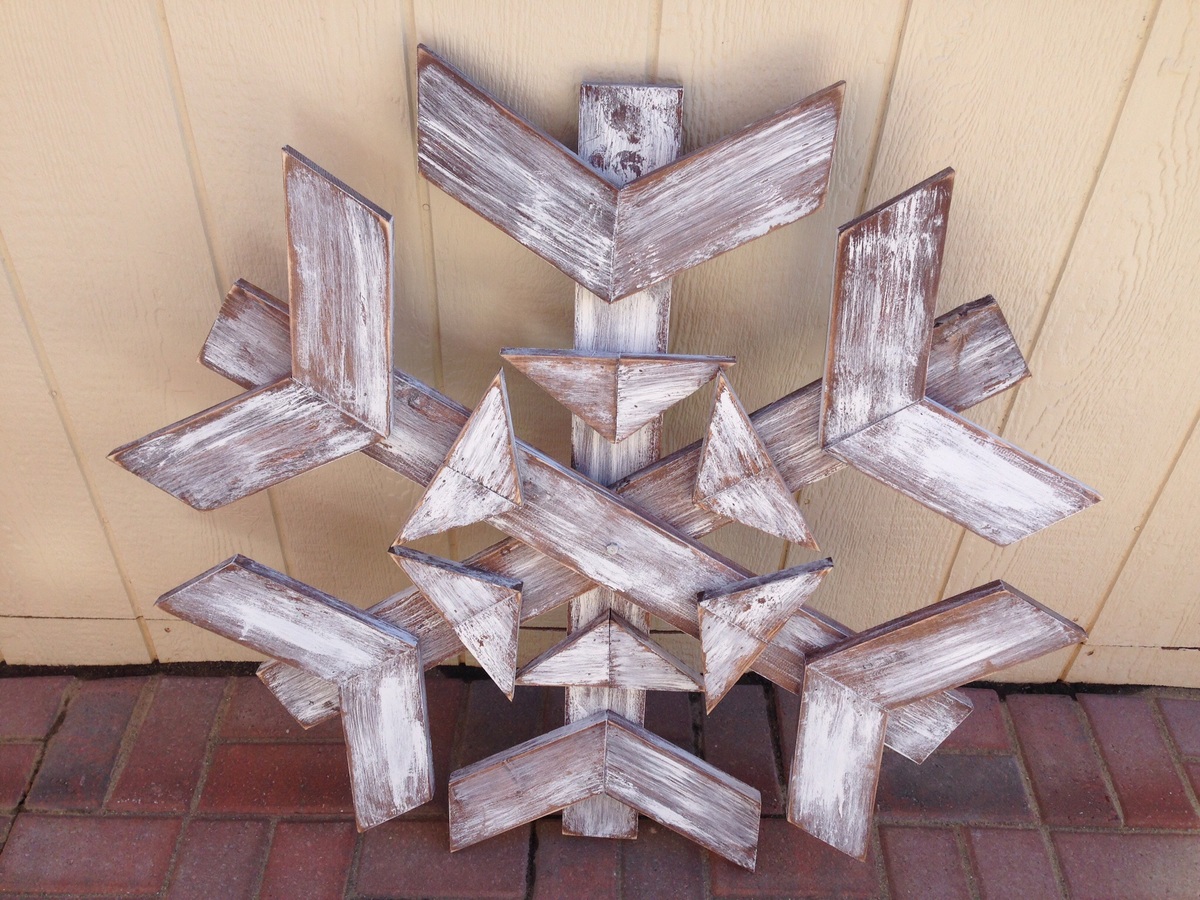
Made this snowflake for my front porch for the holidays. Easy build and inexpensive.
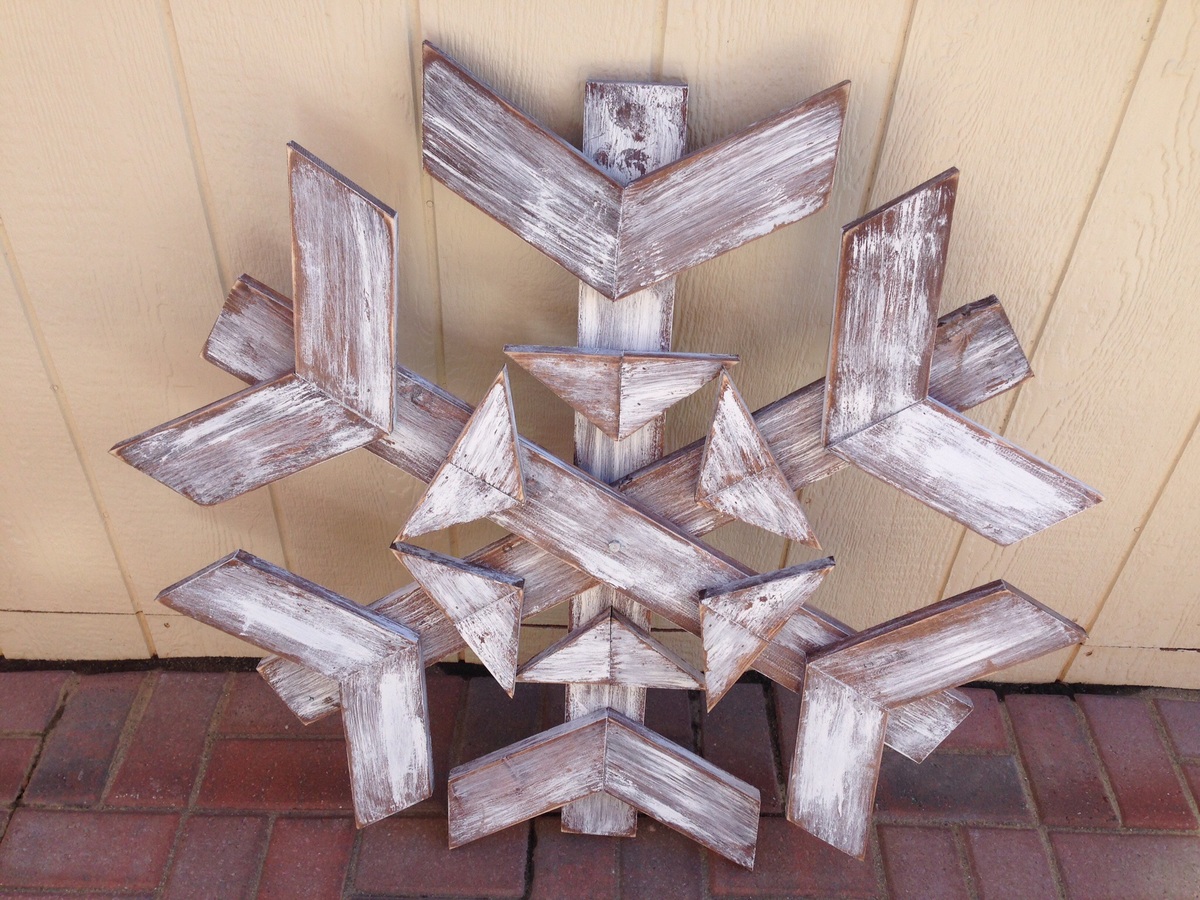
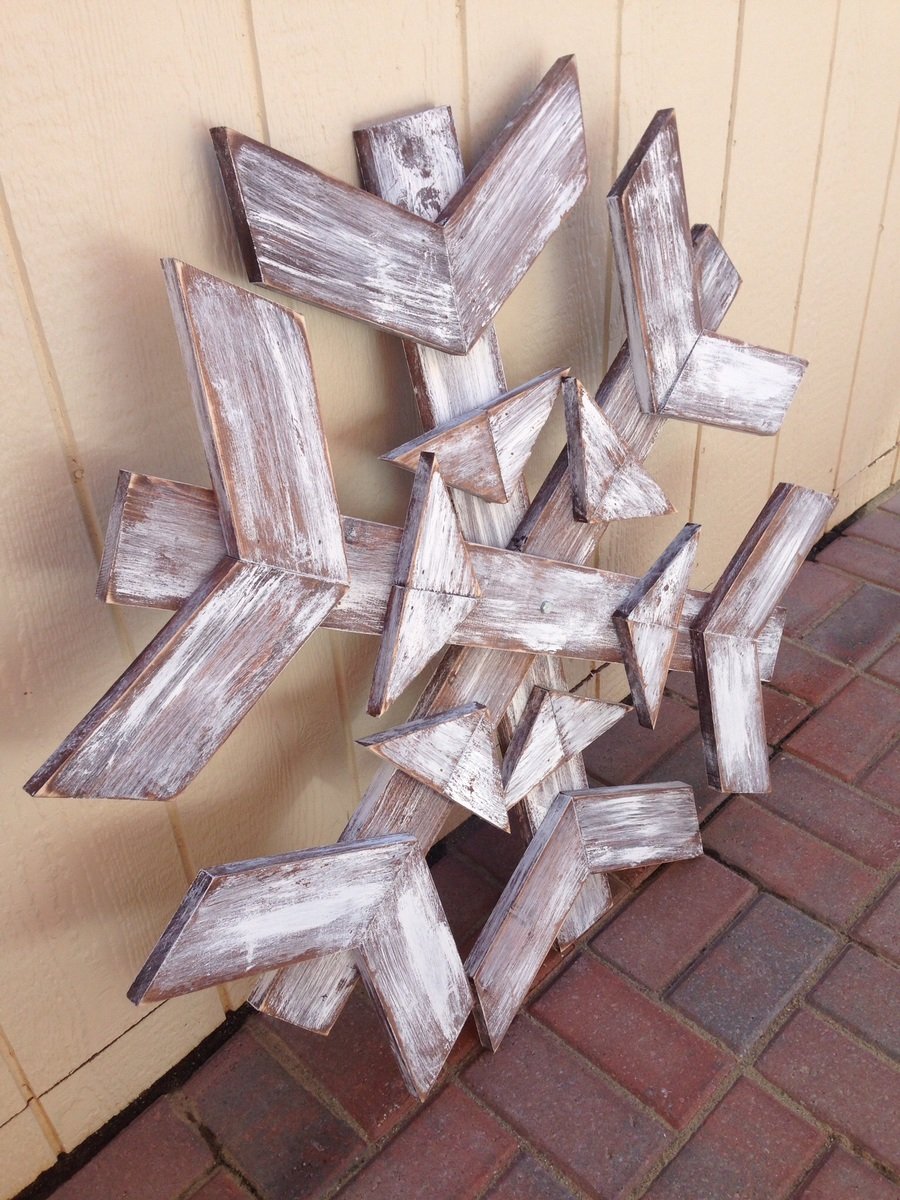
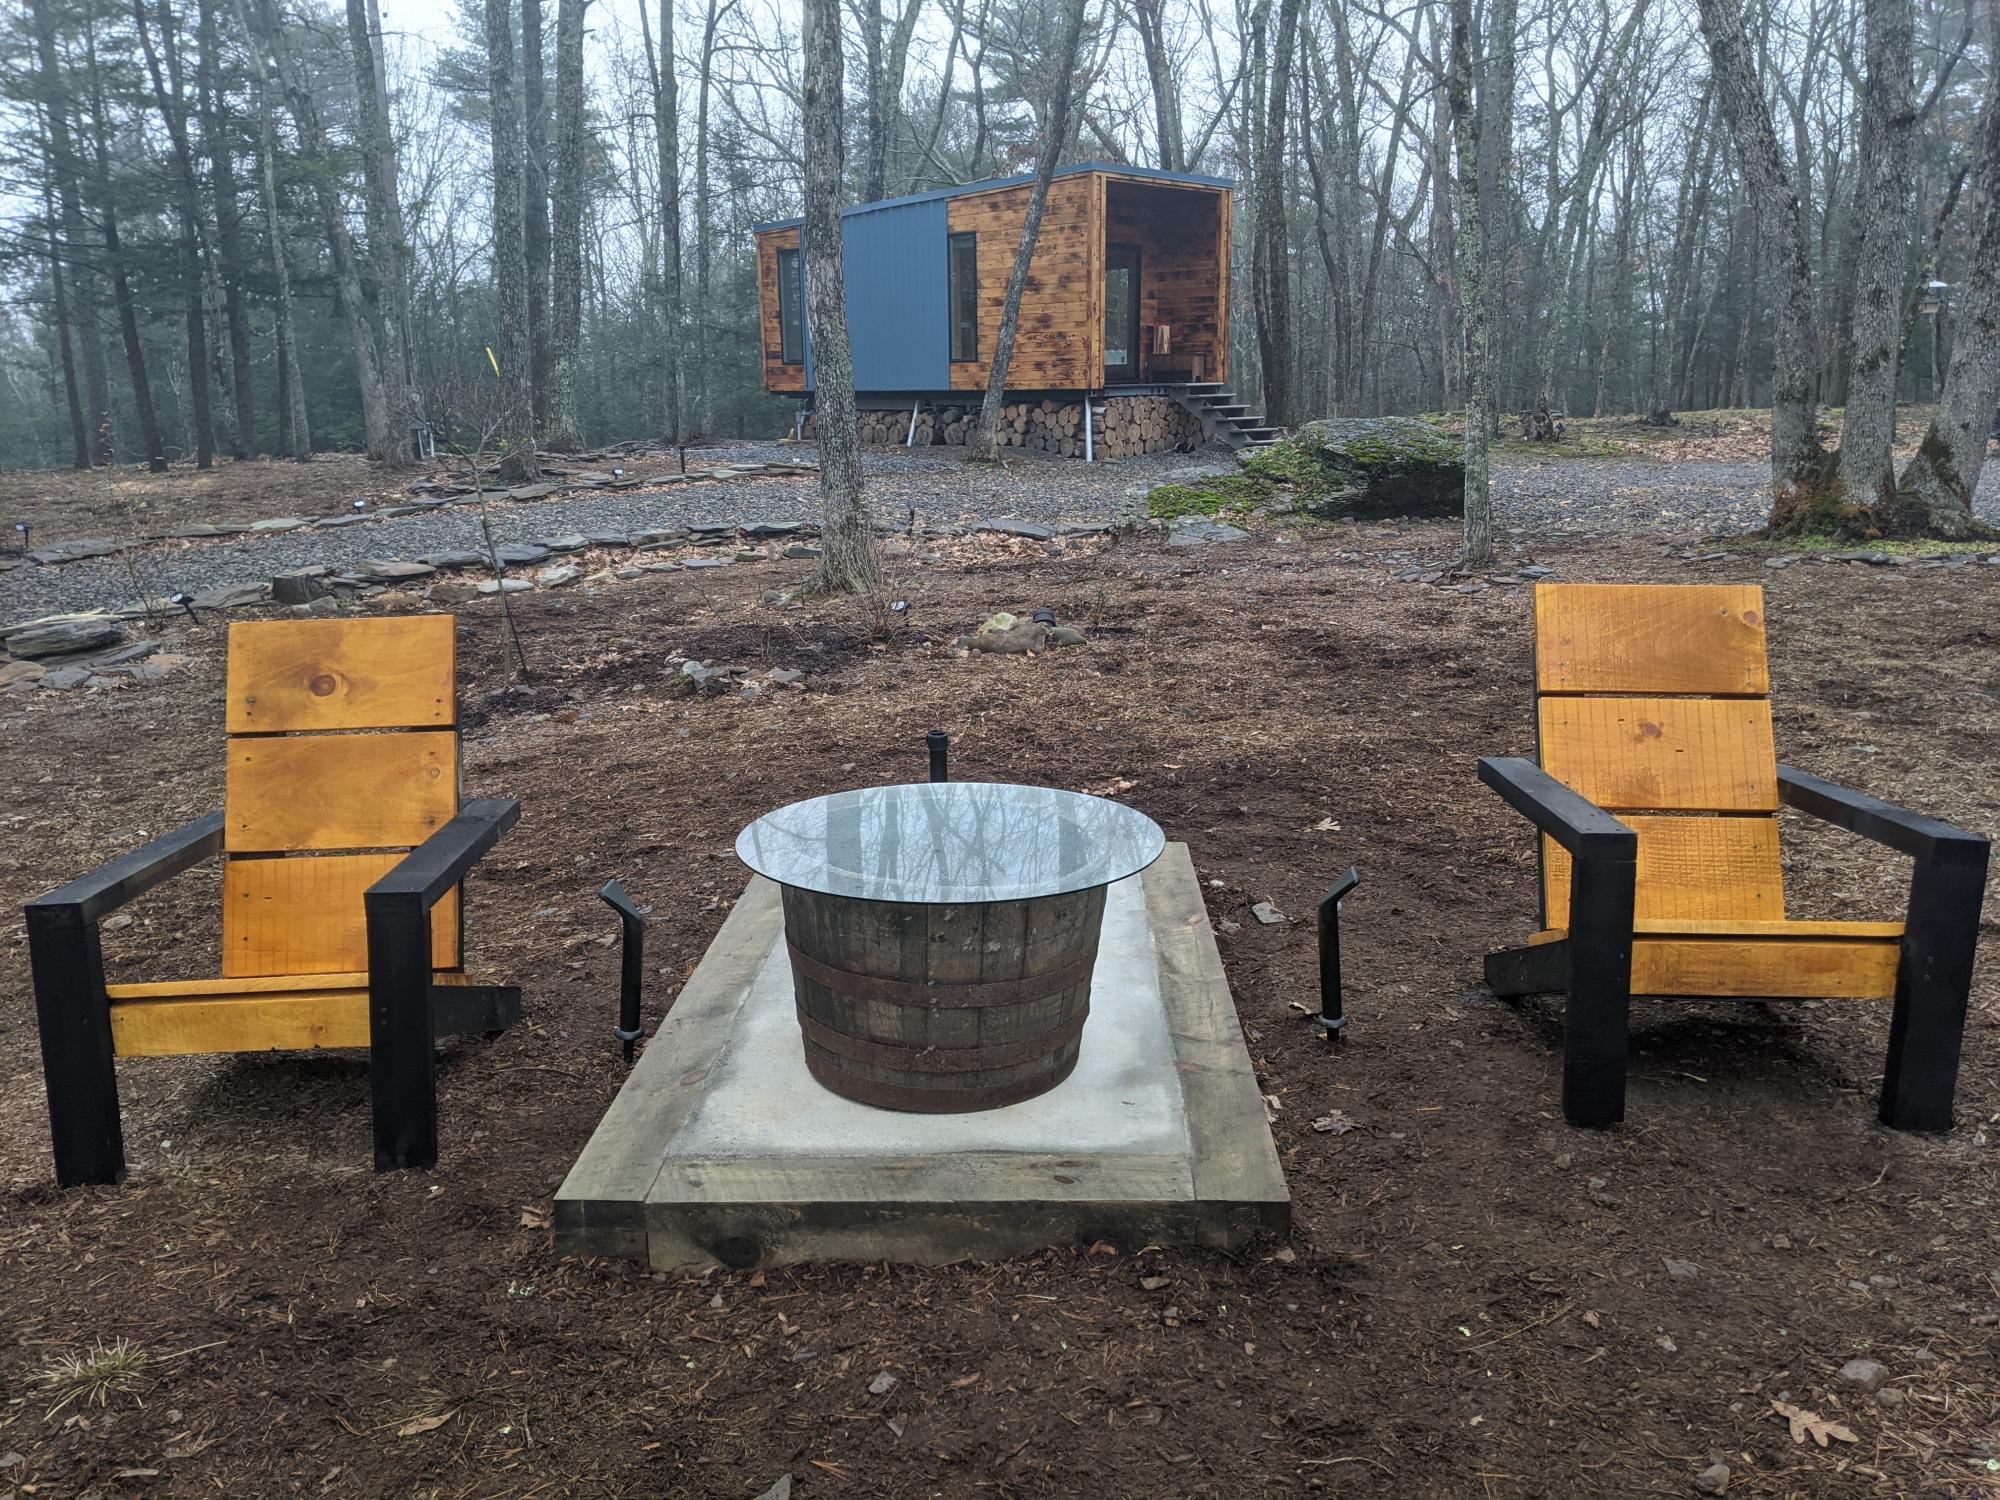
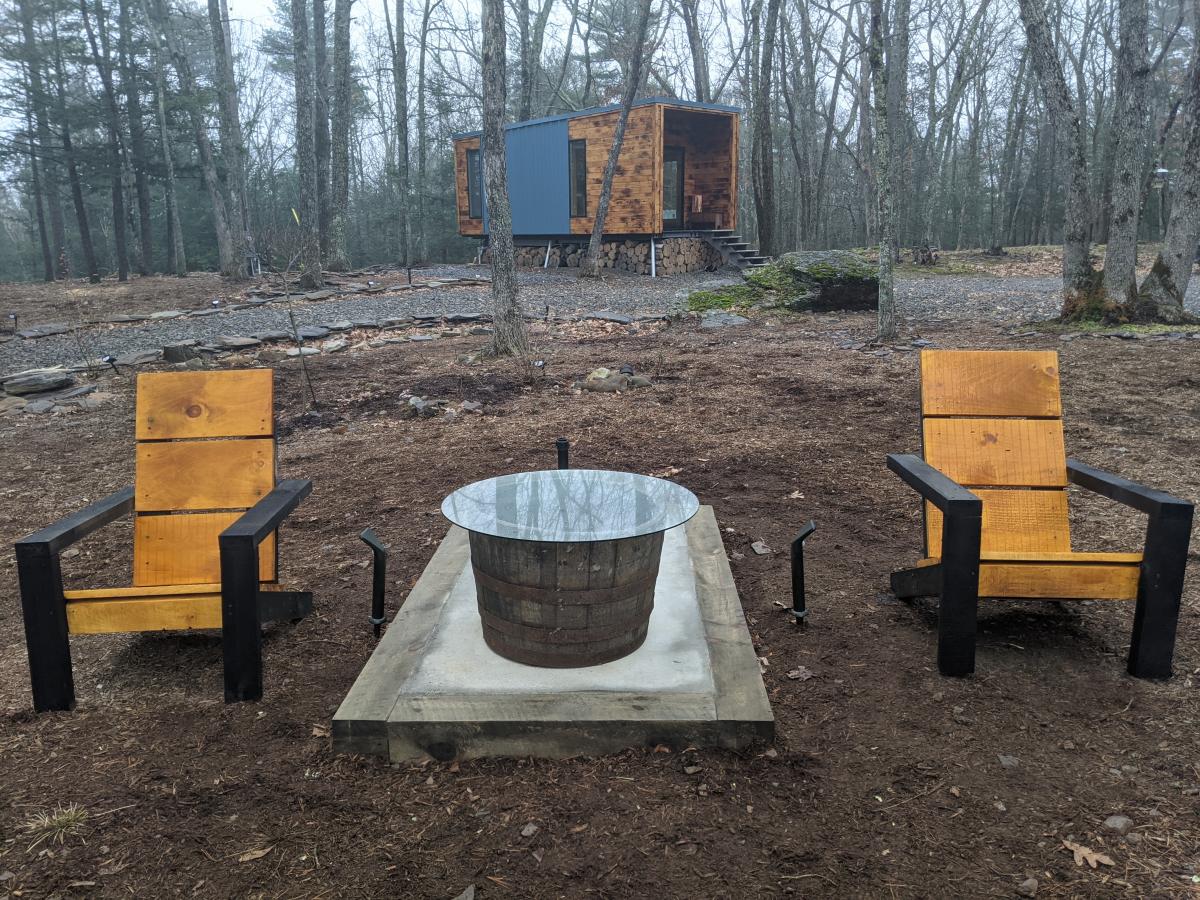
This is the first project I have ever built. It was super satisfying to make.
Mon, 12/14/2020 - 09:53
Awesome space, thank you for sharing your first project, love the finish!