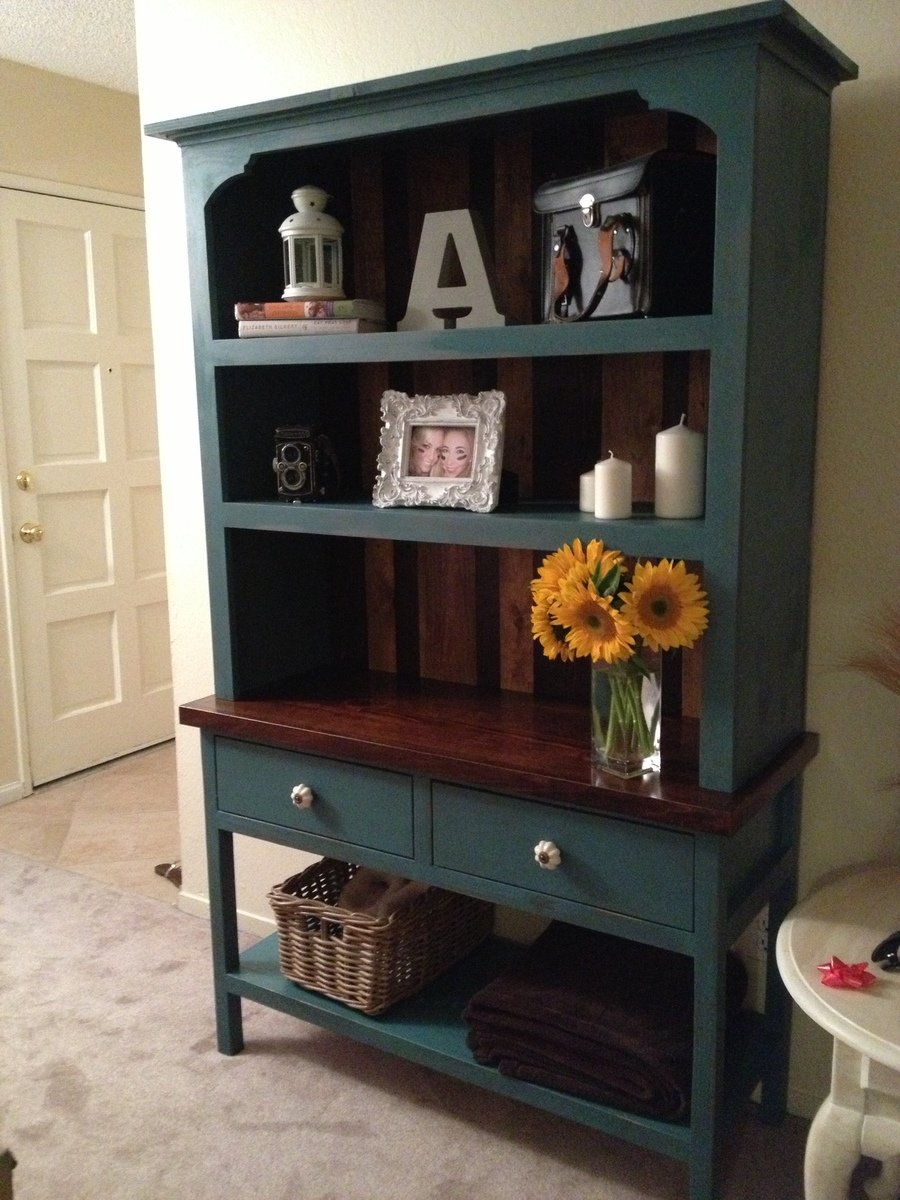
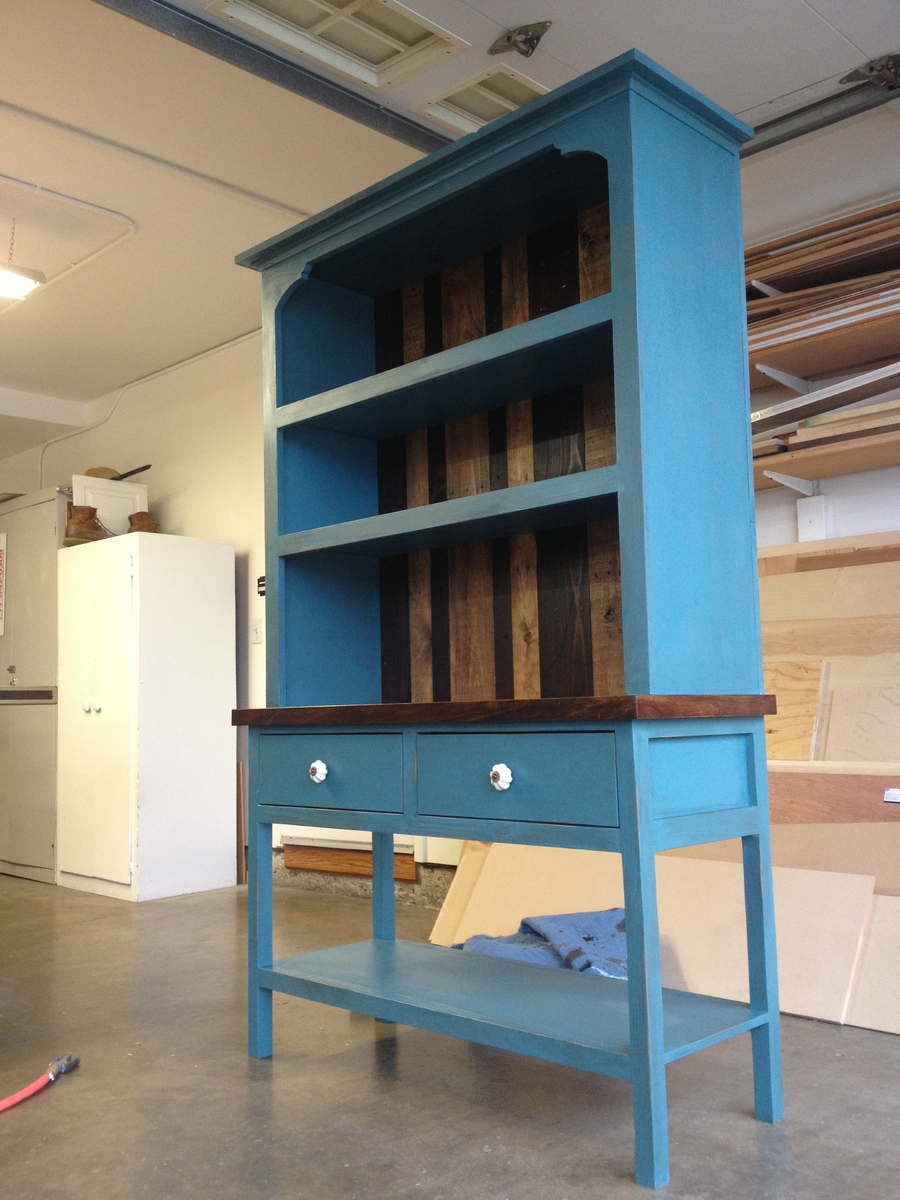
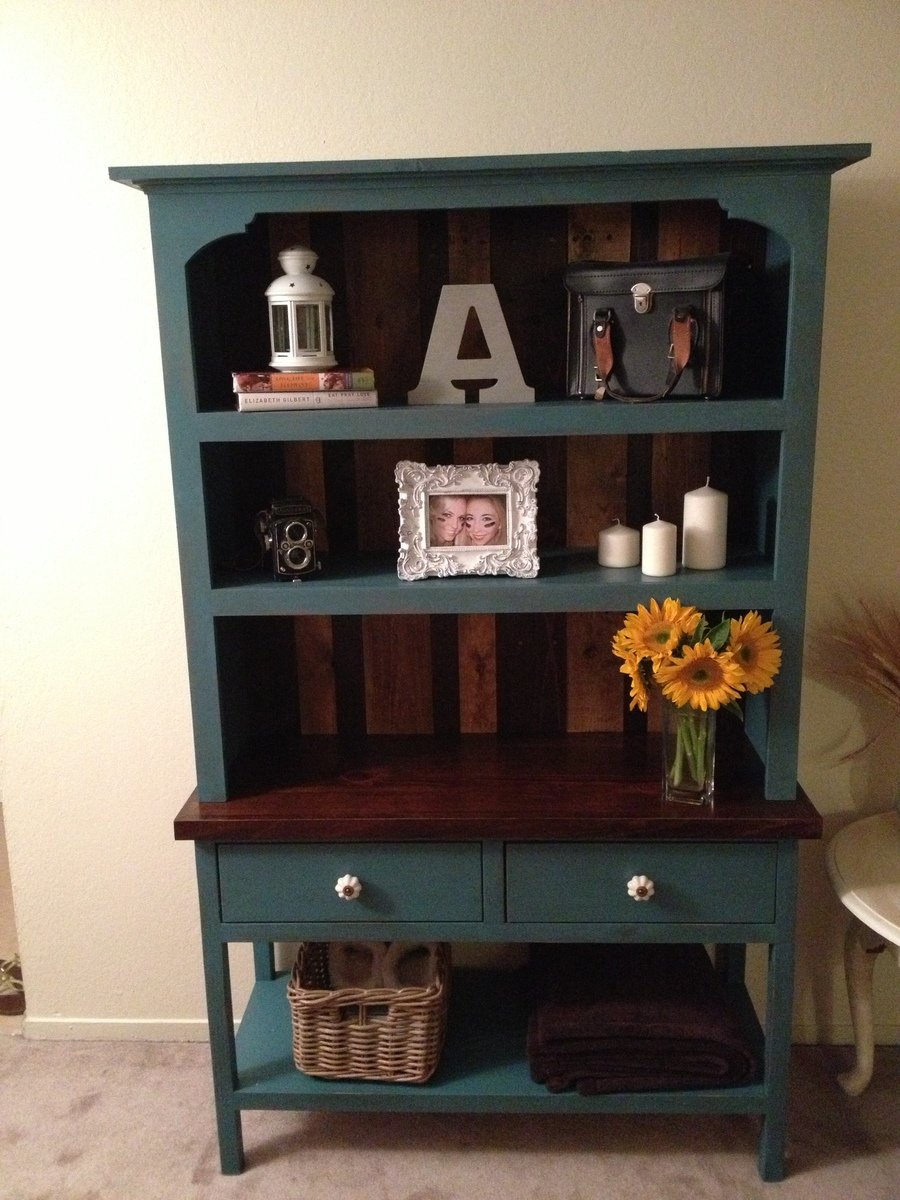
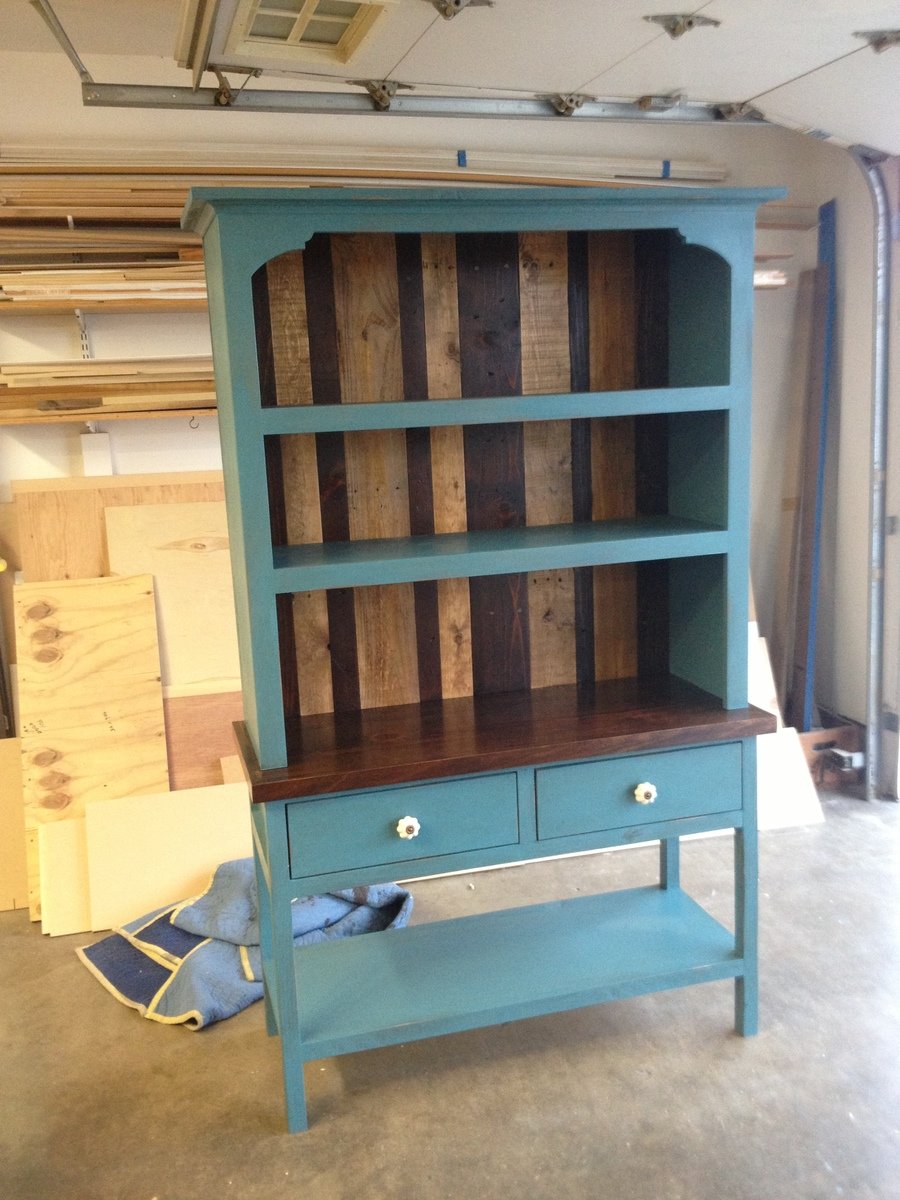
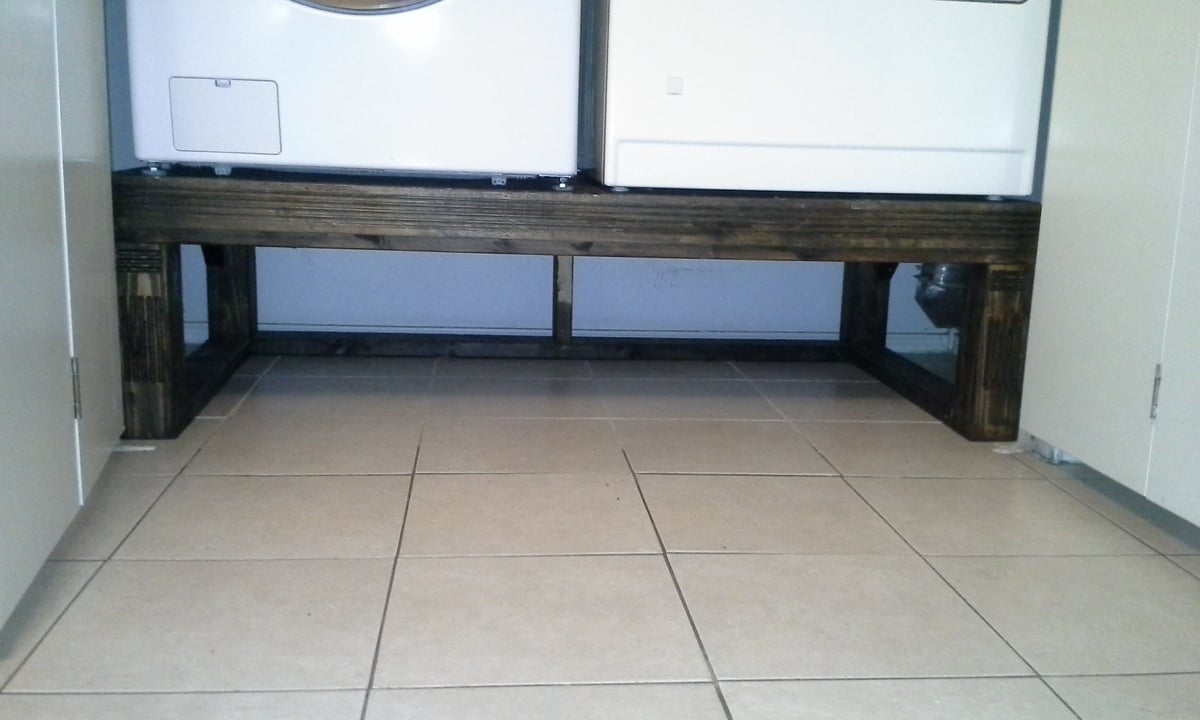
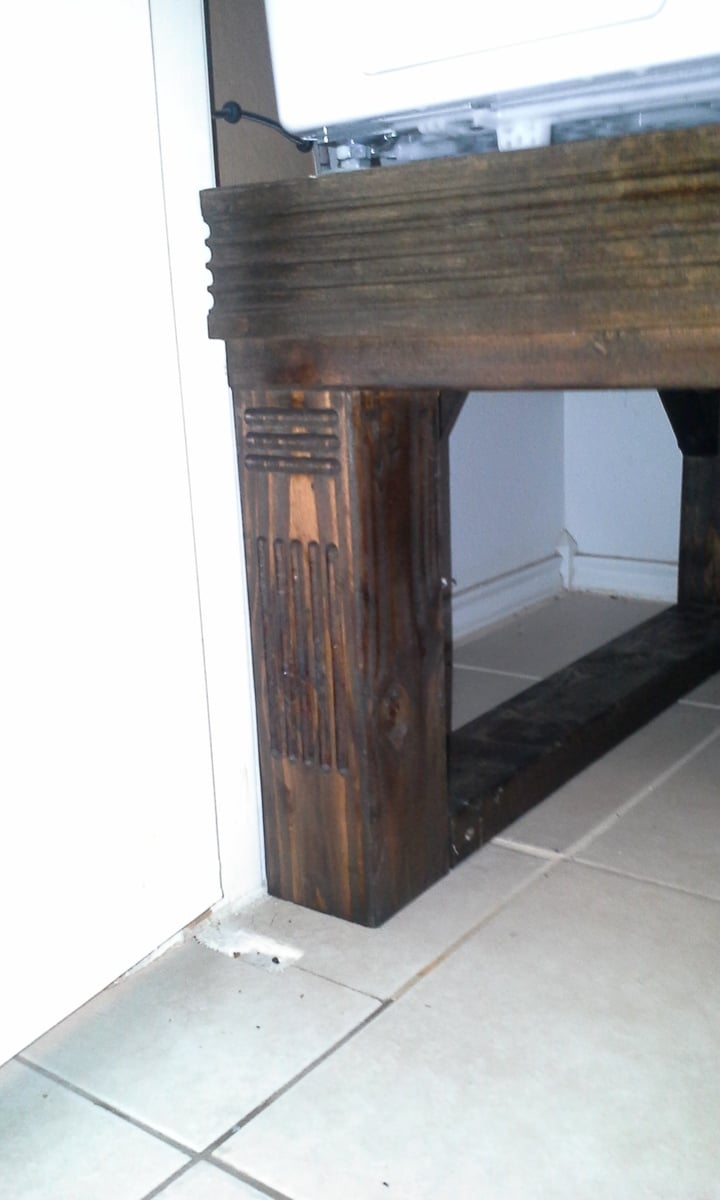
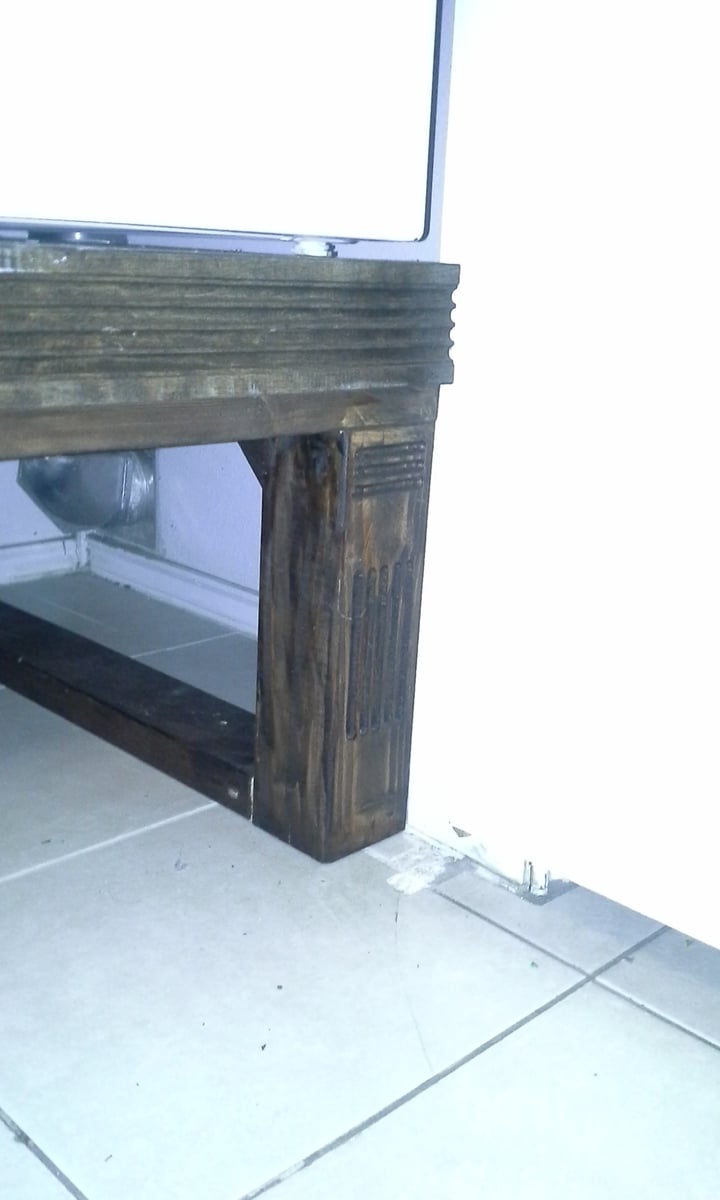
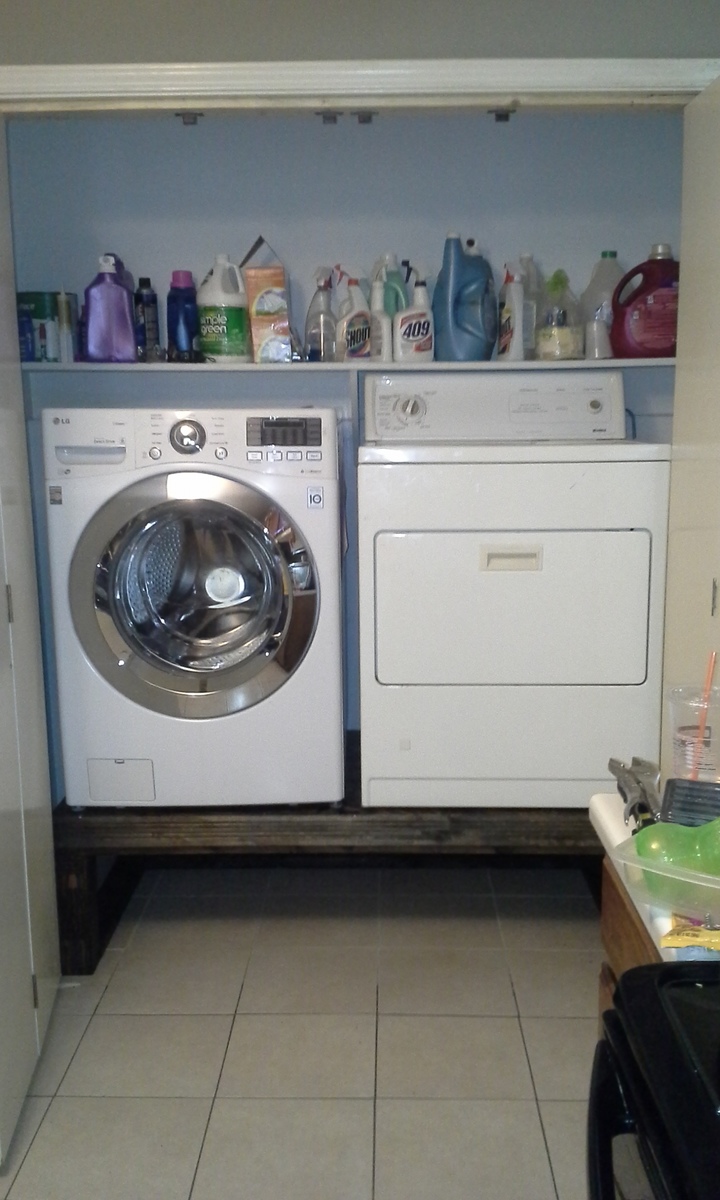
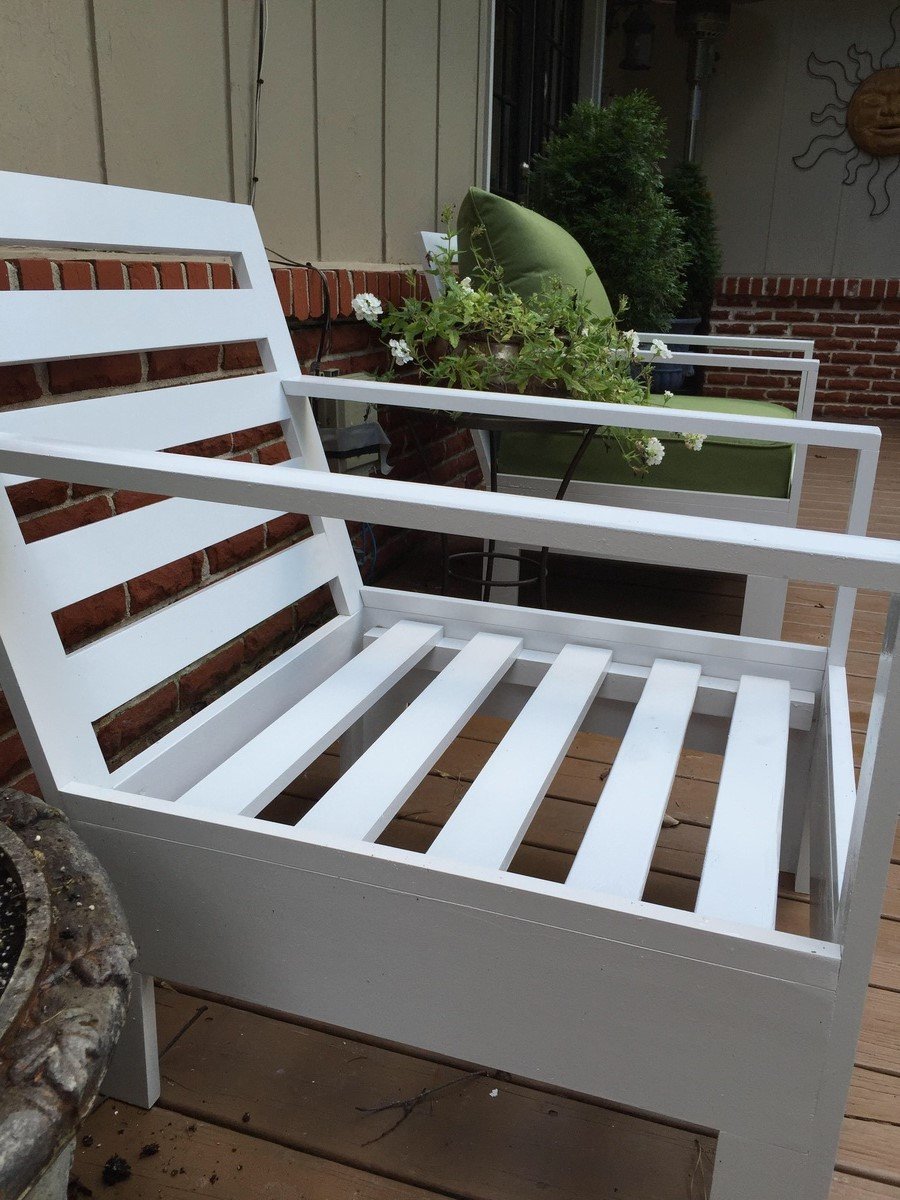
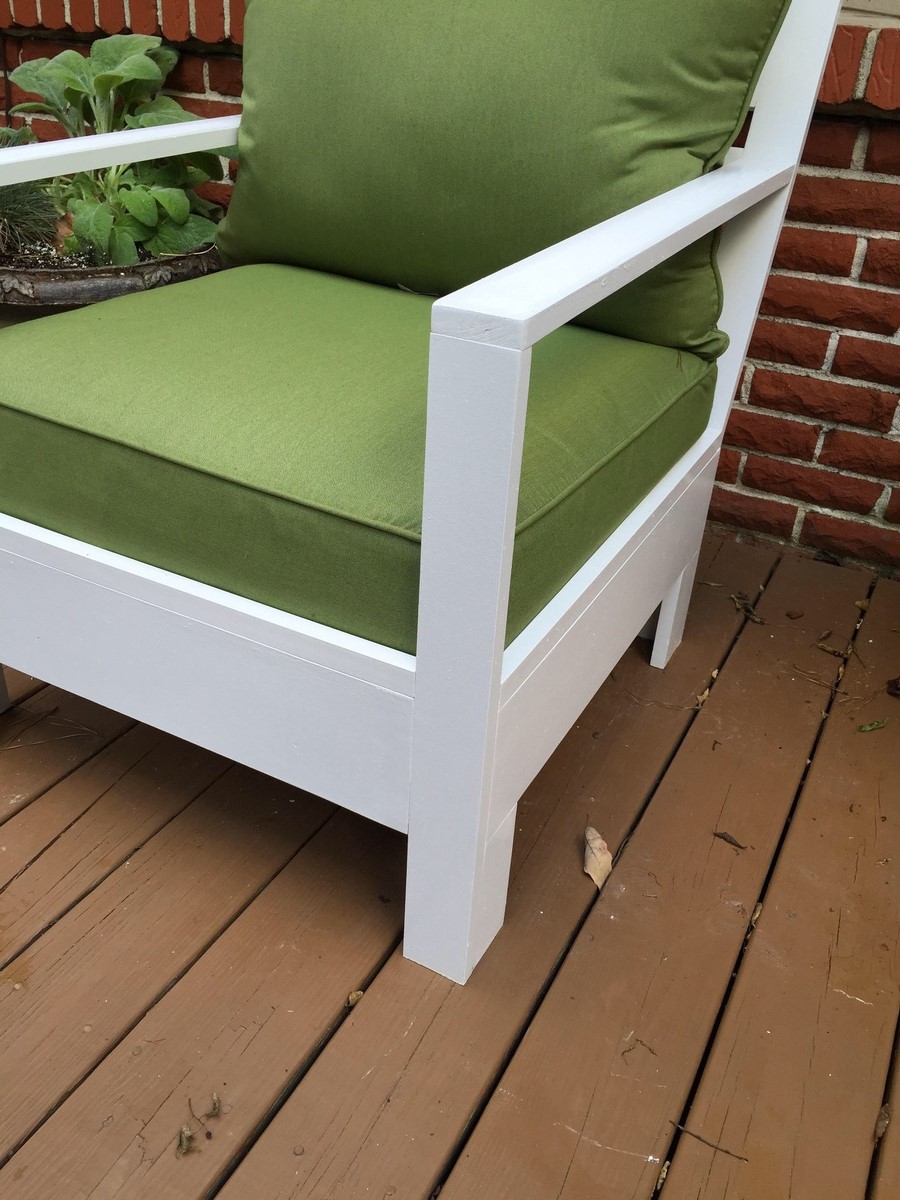
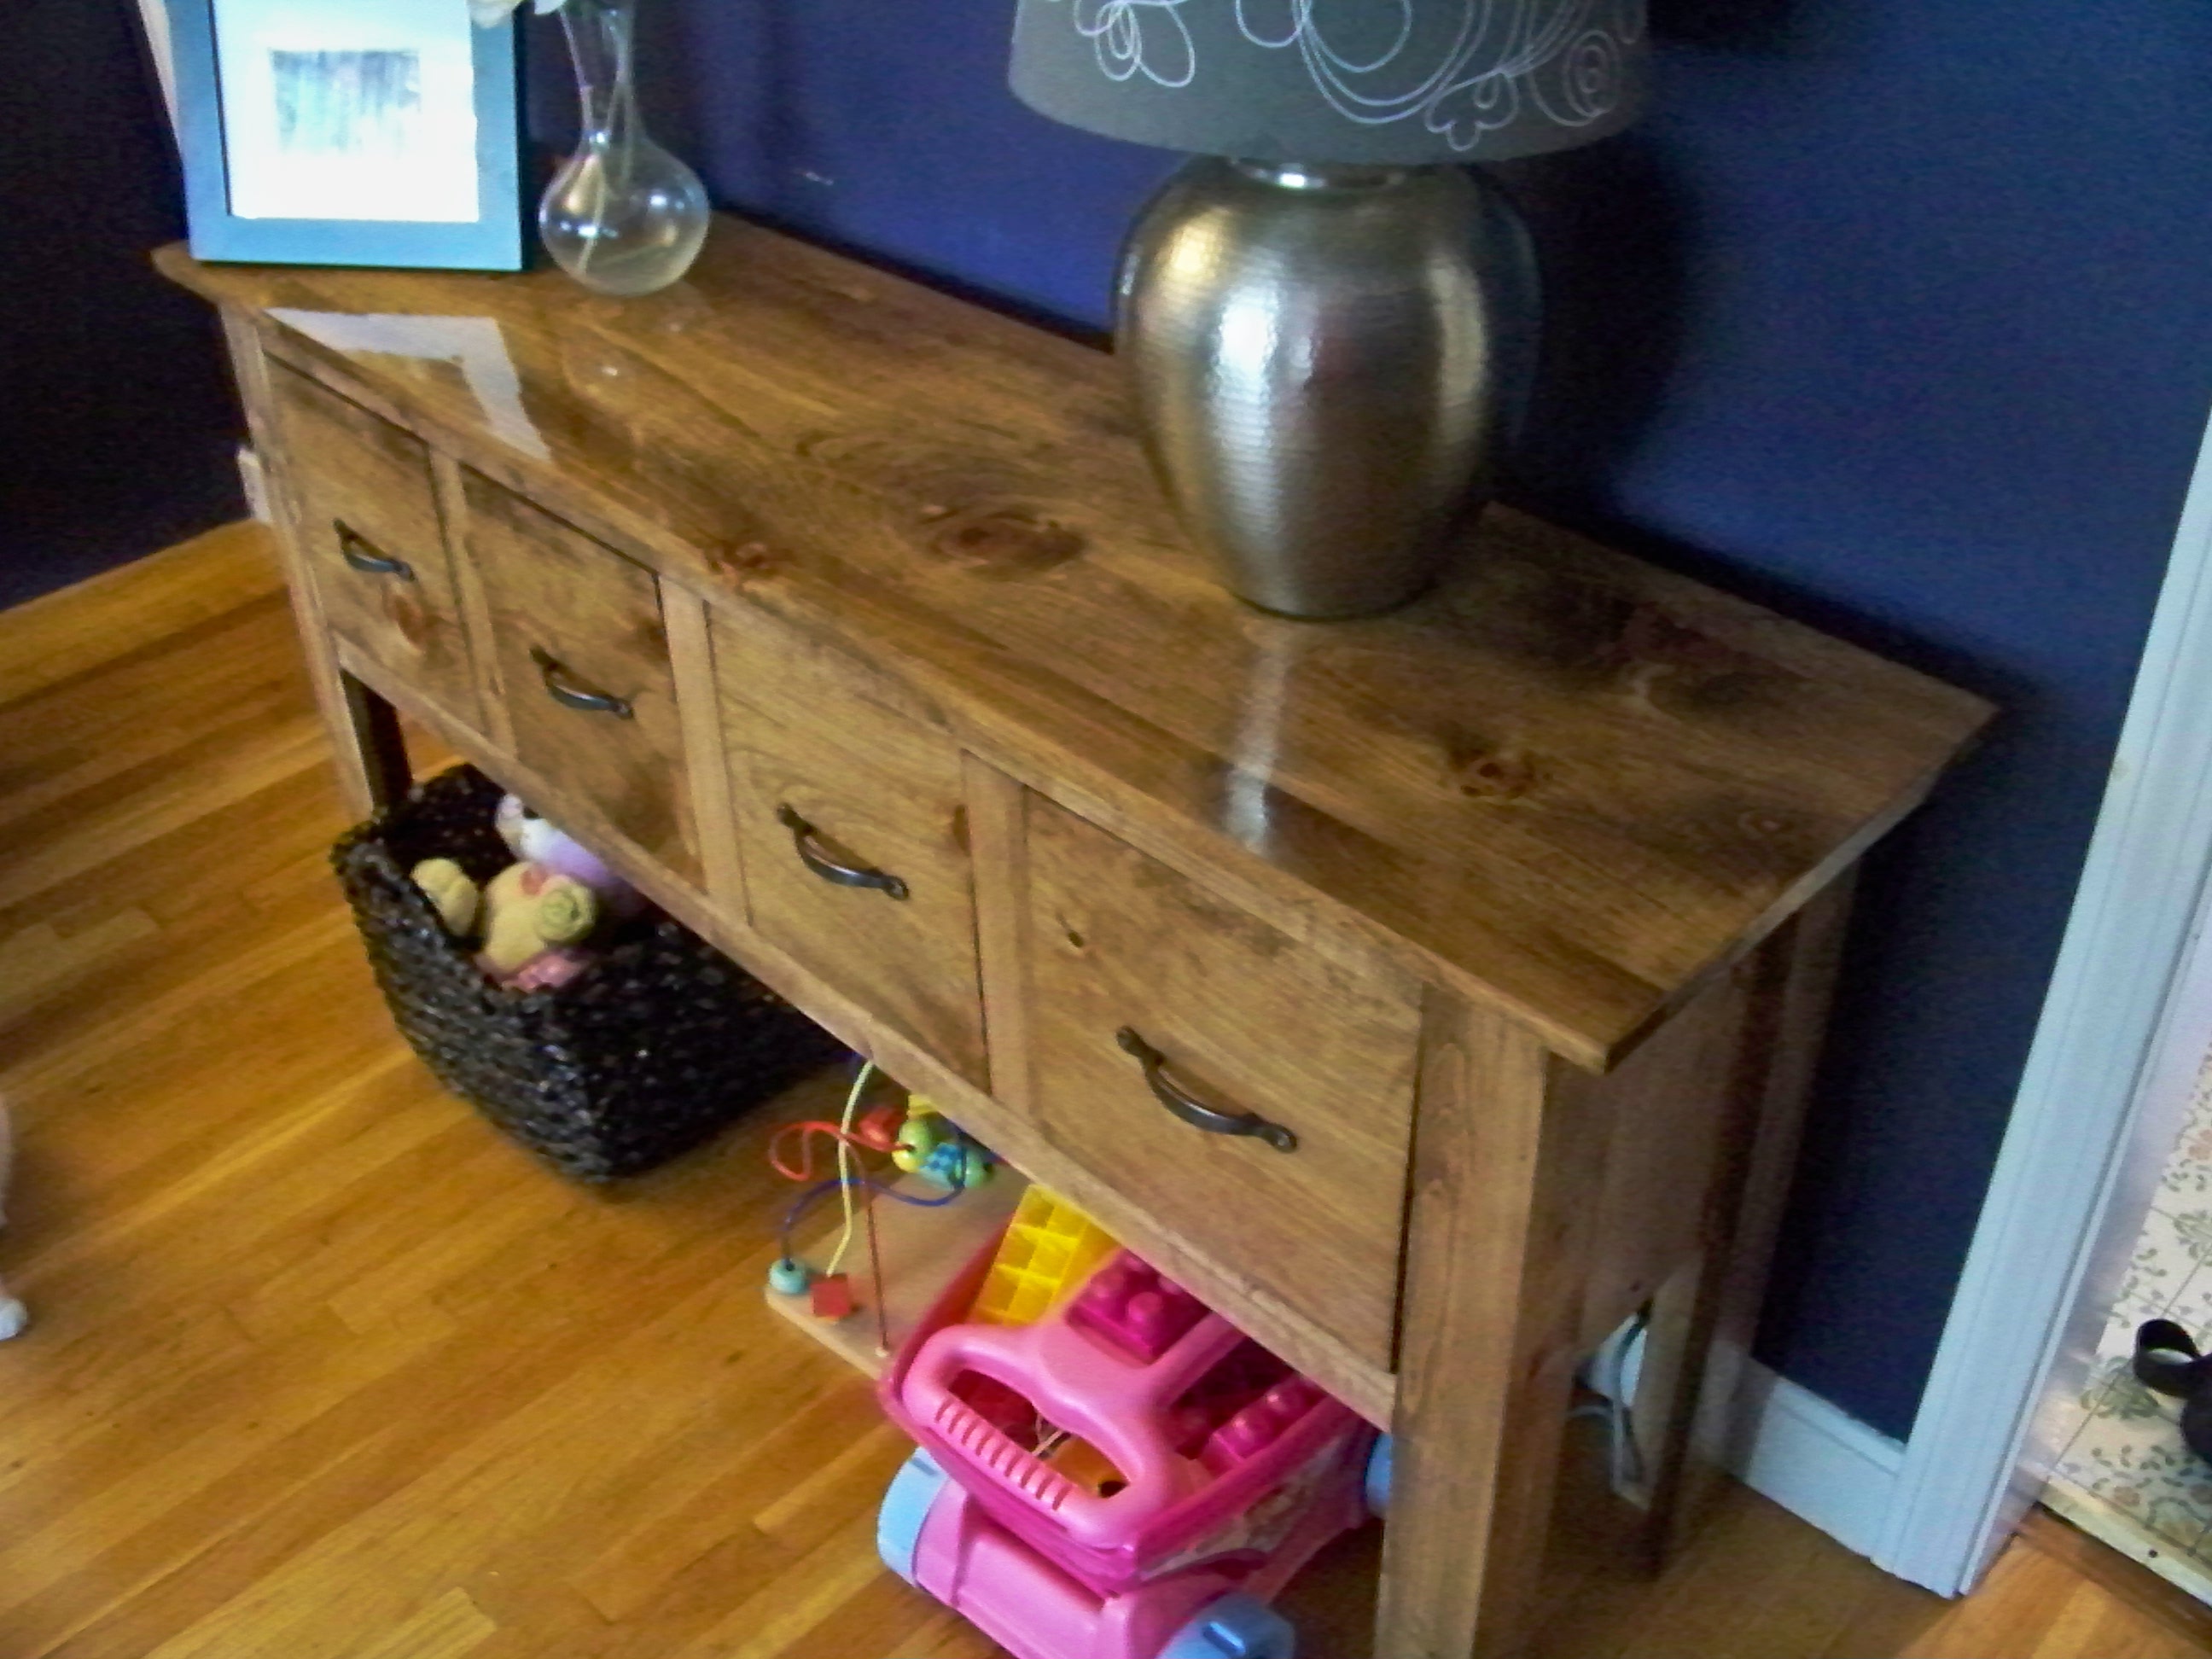
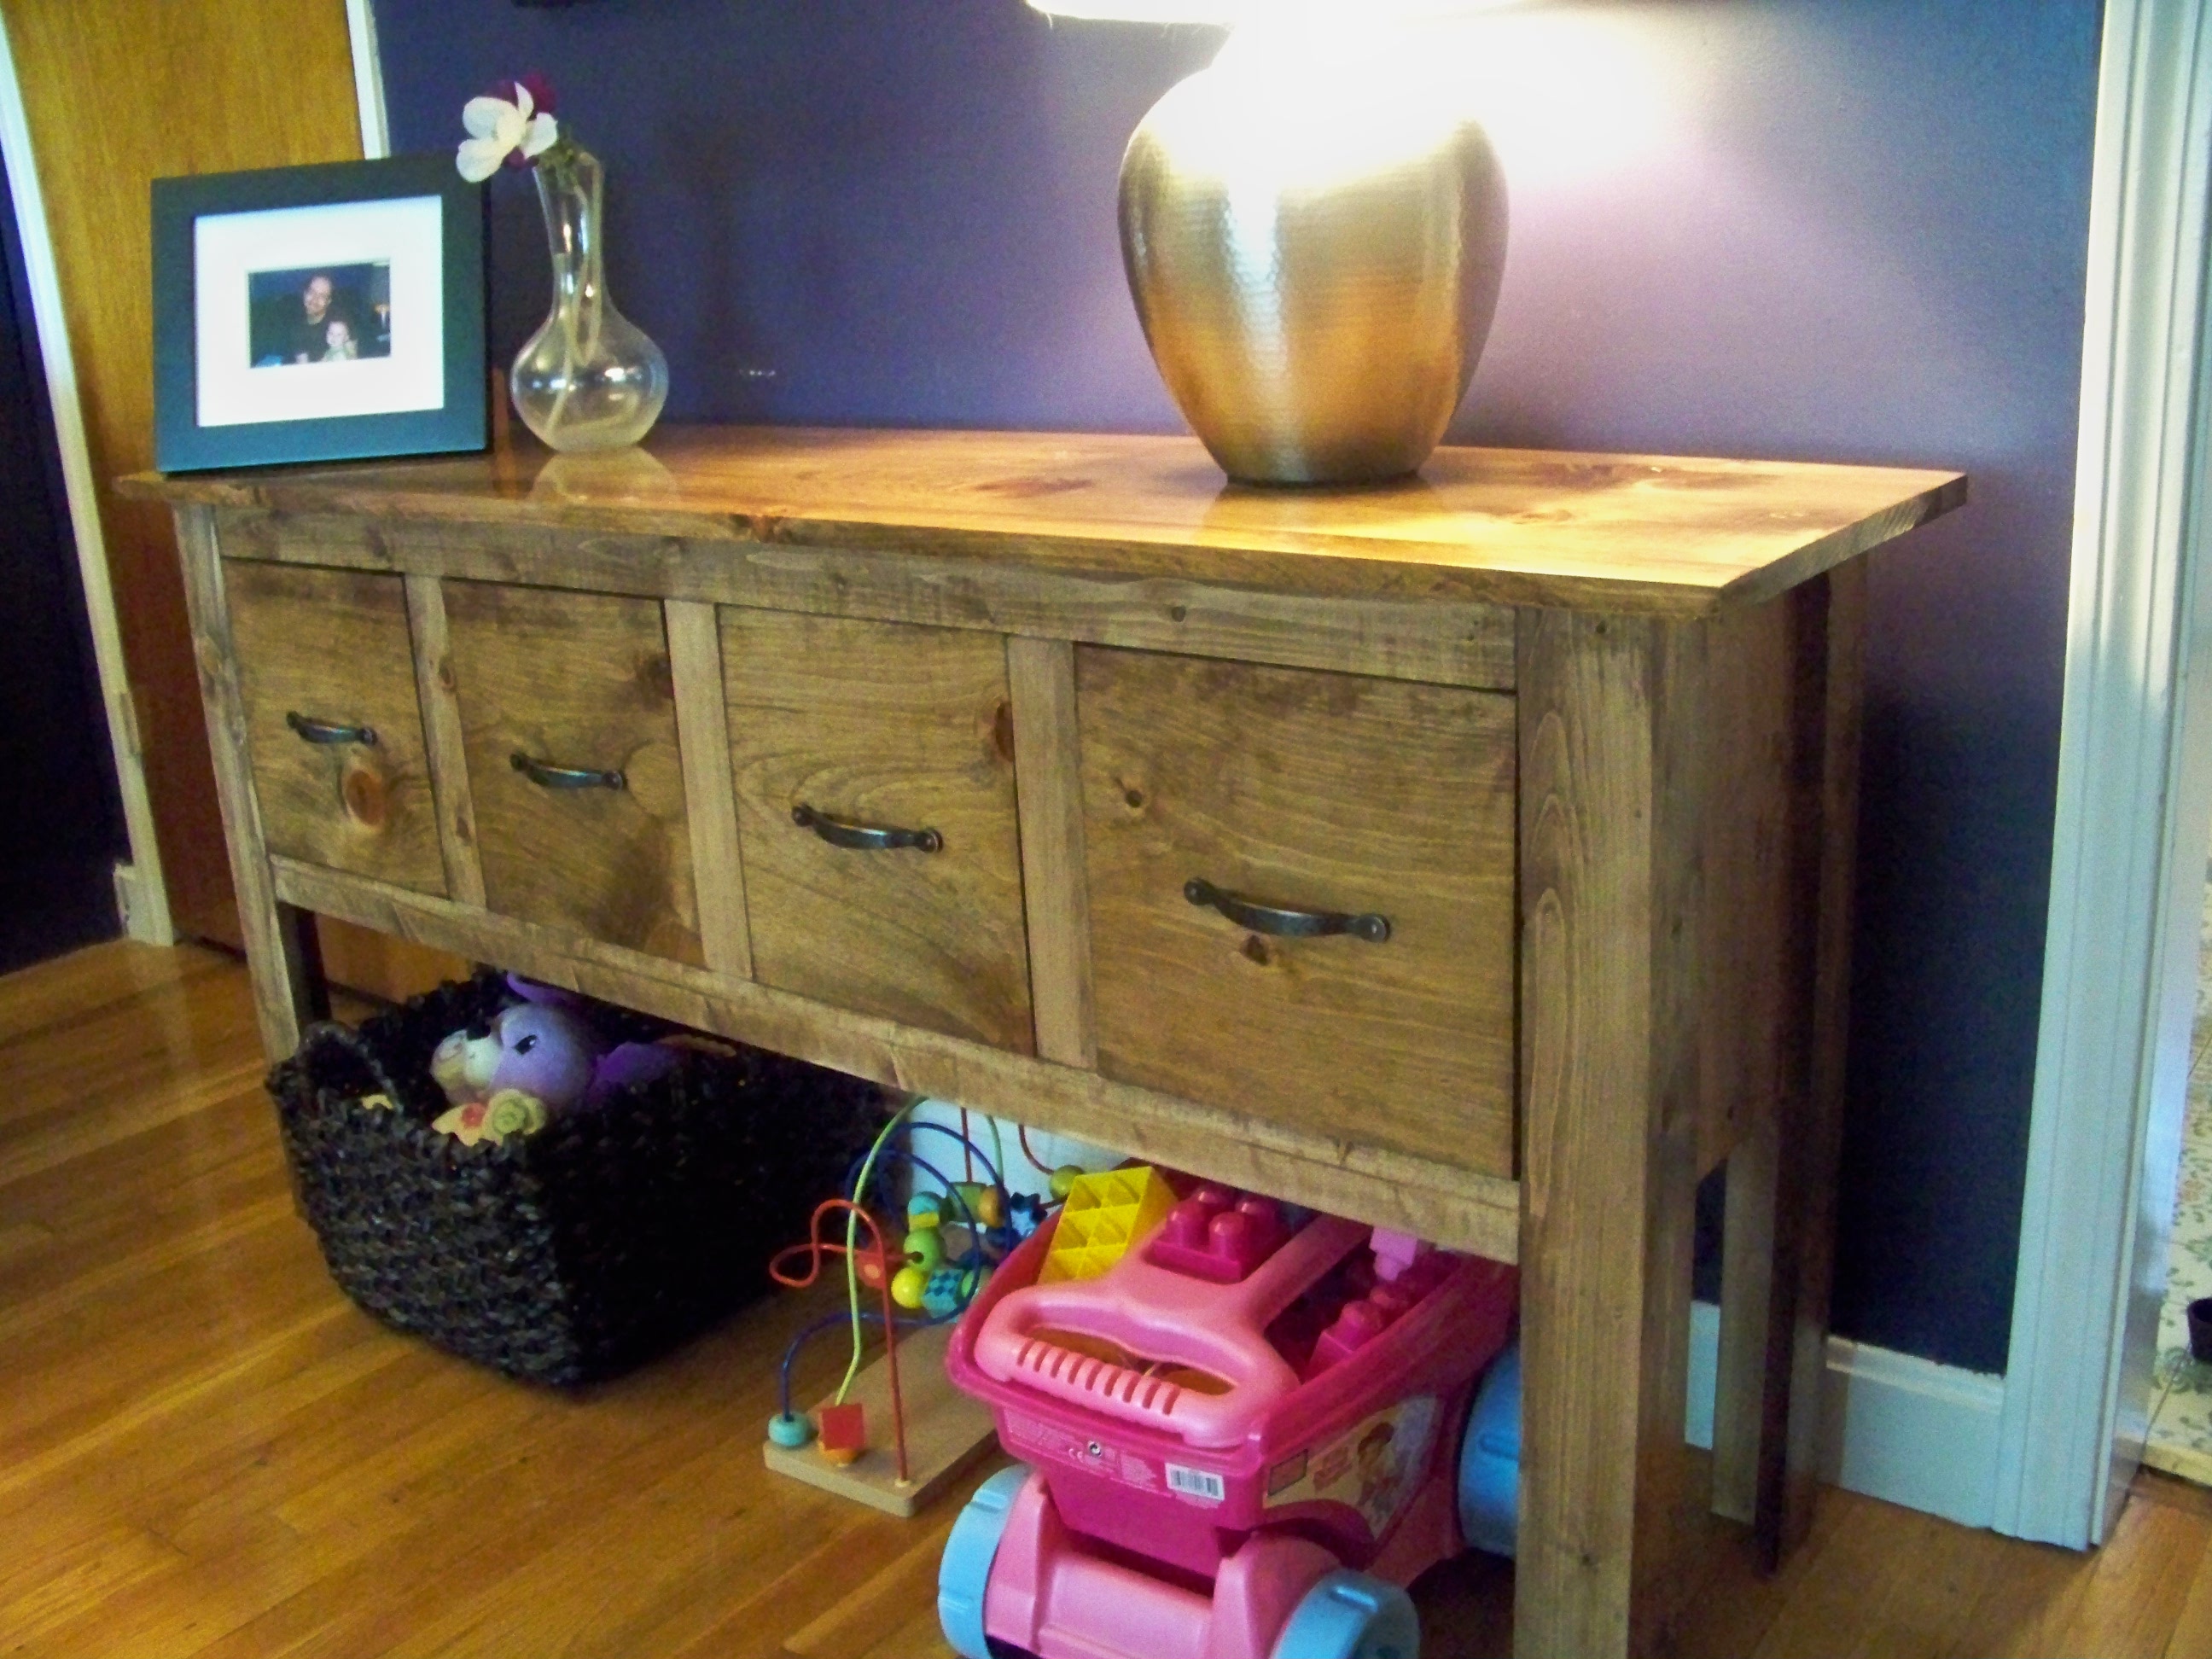
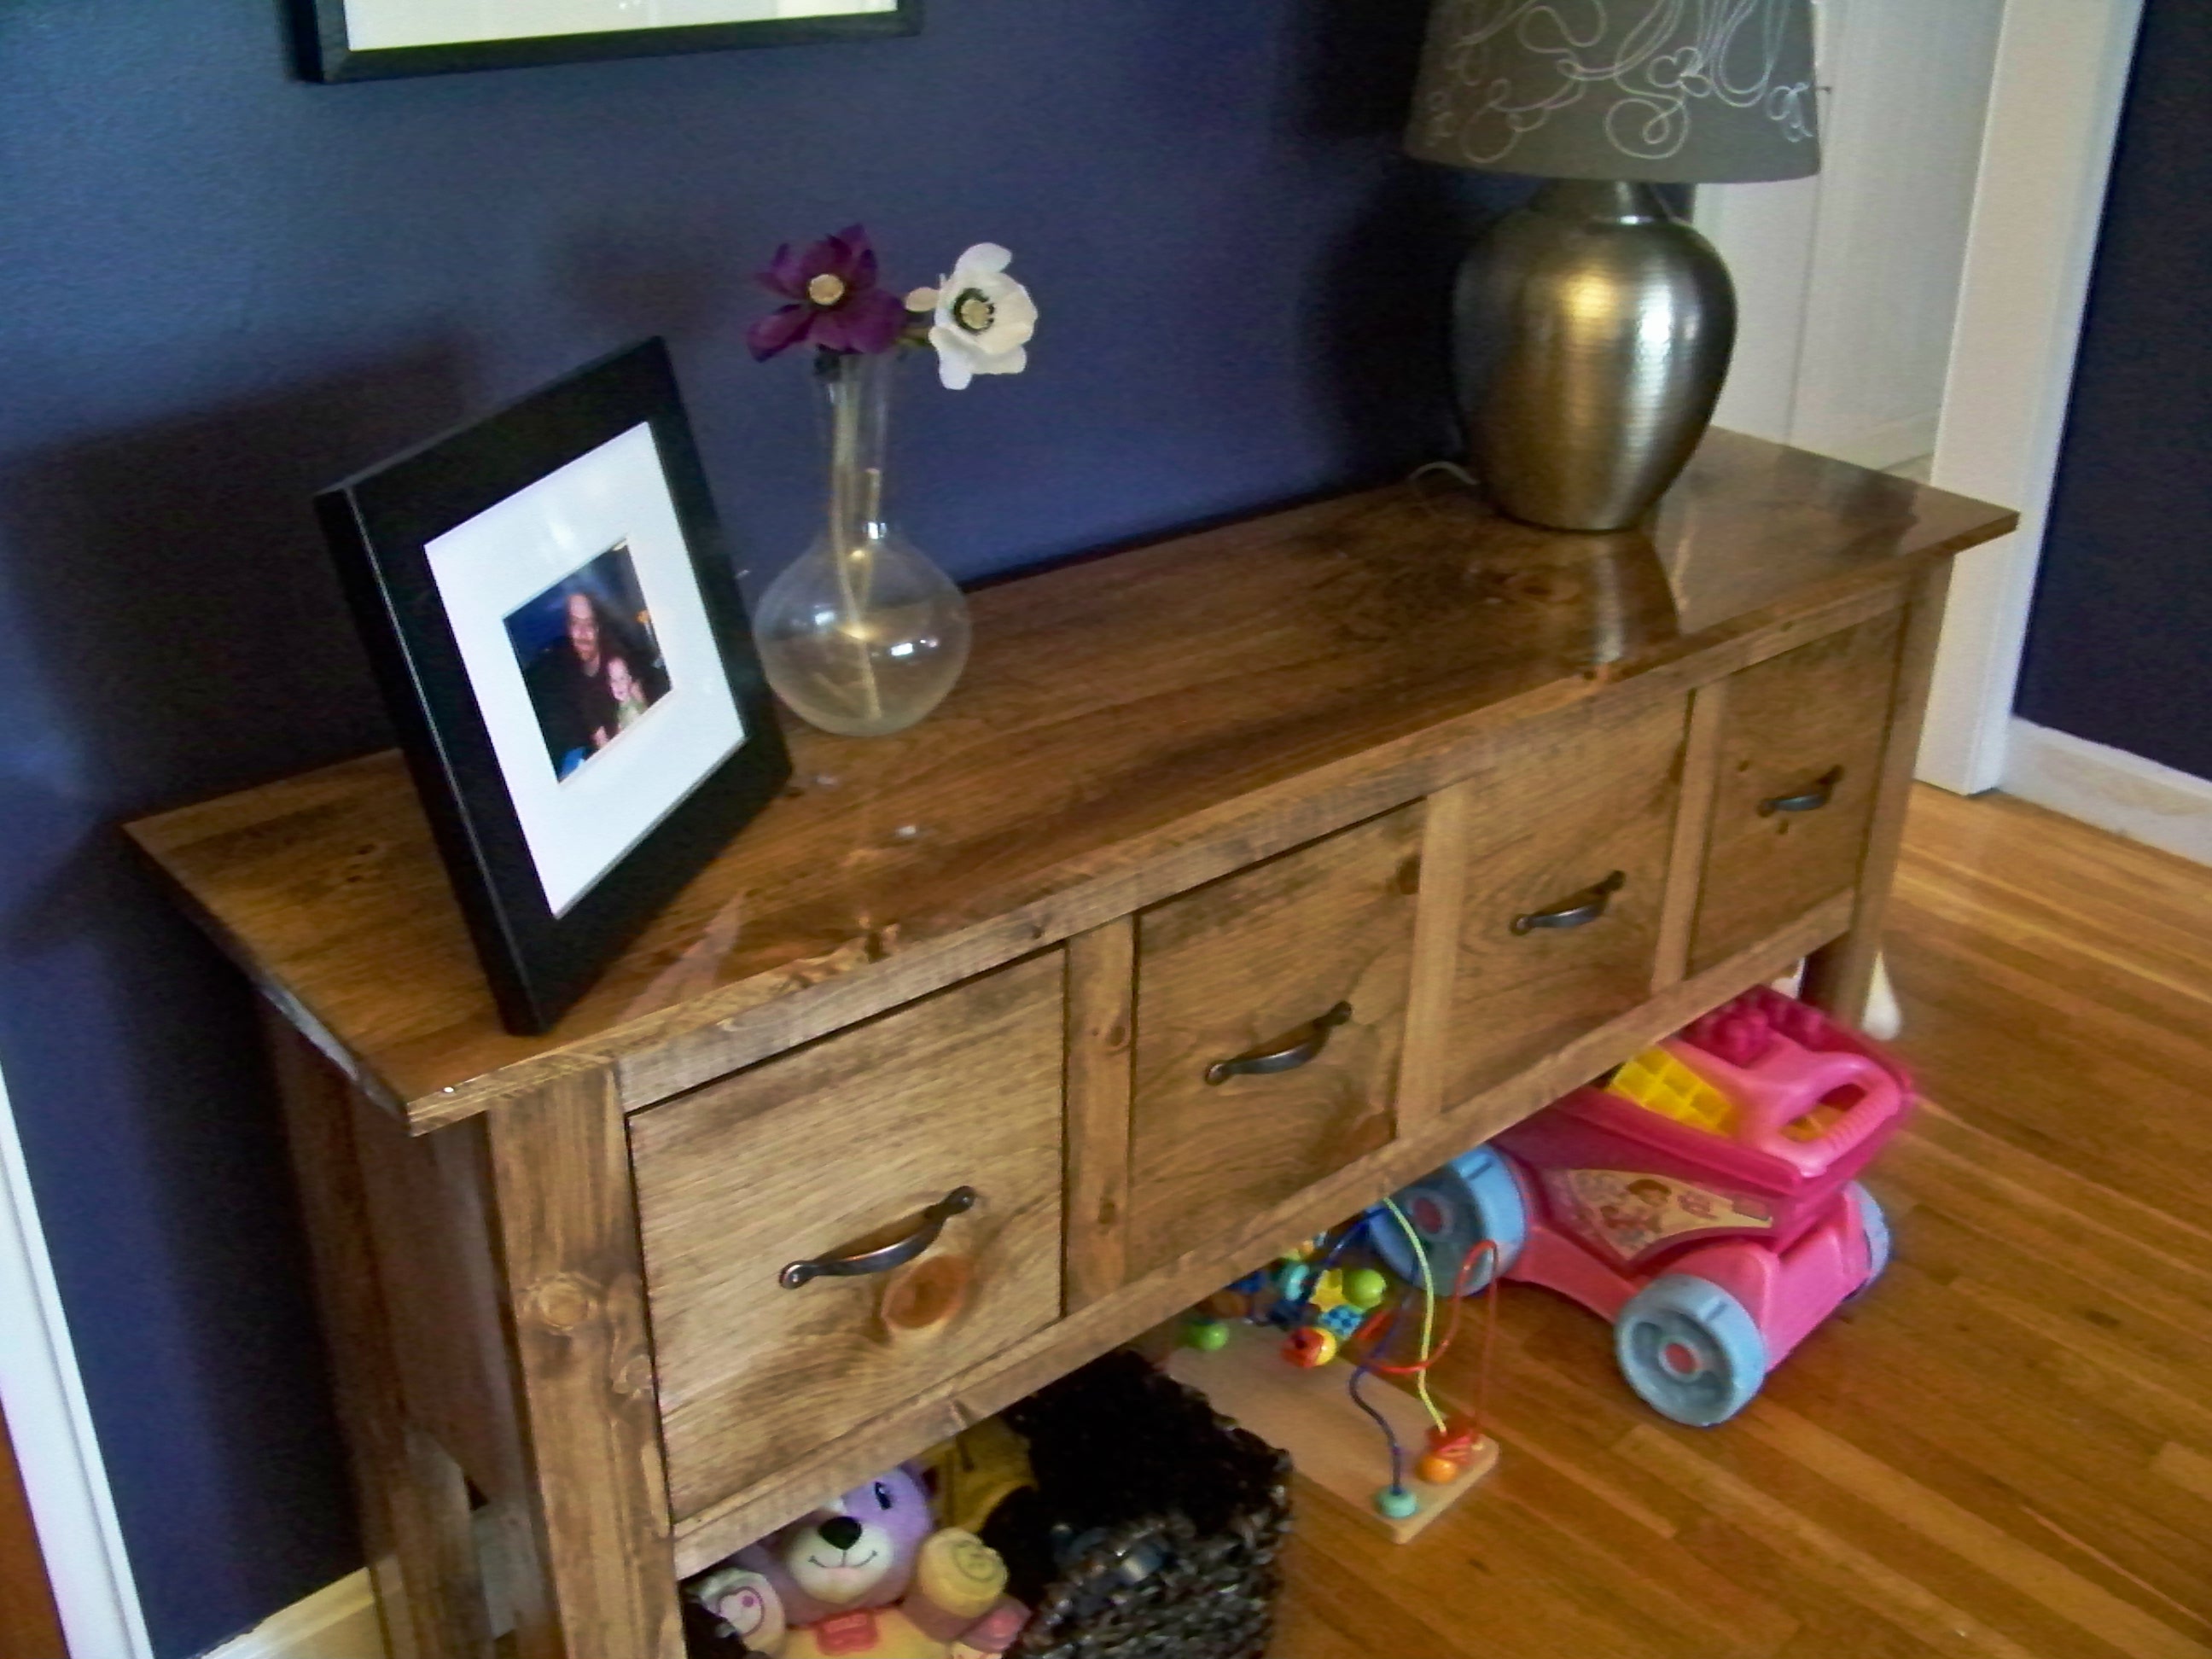
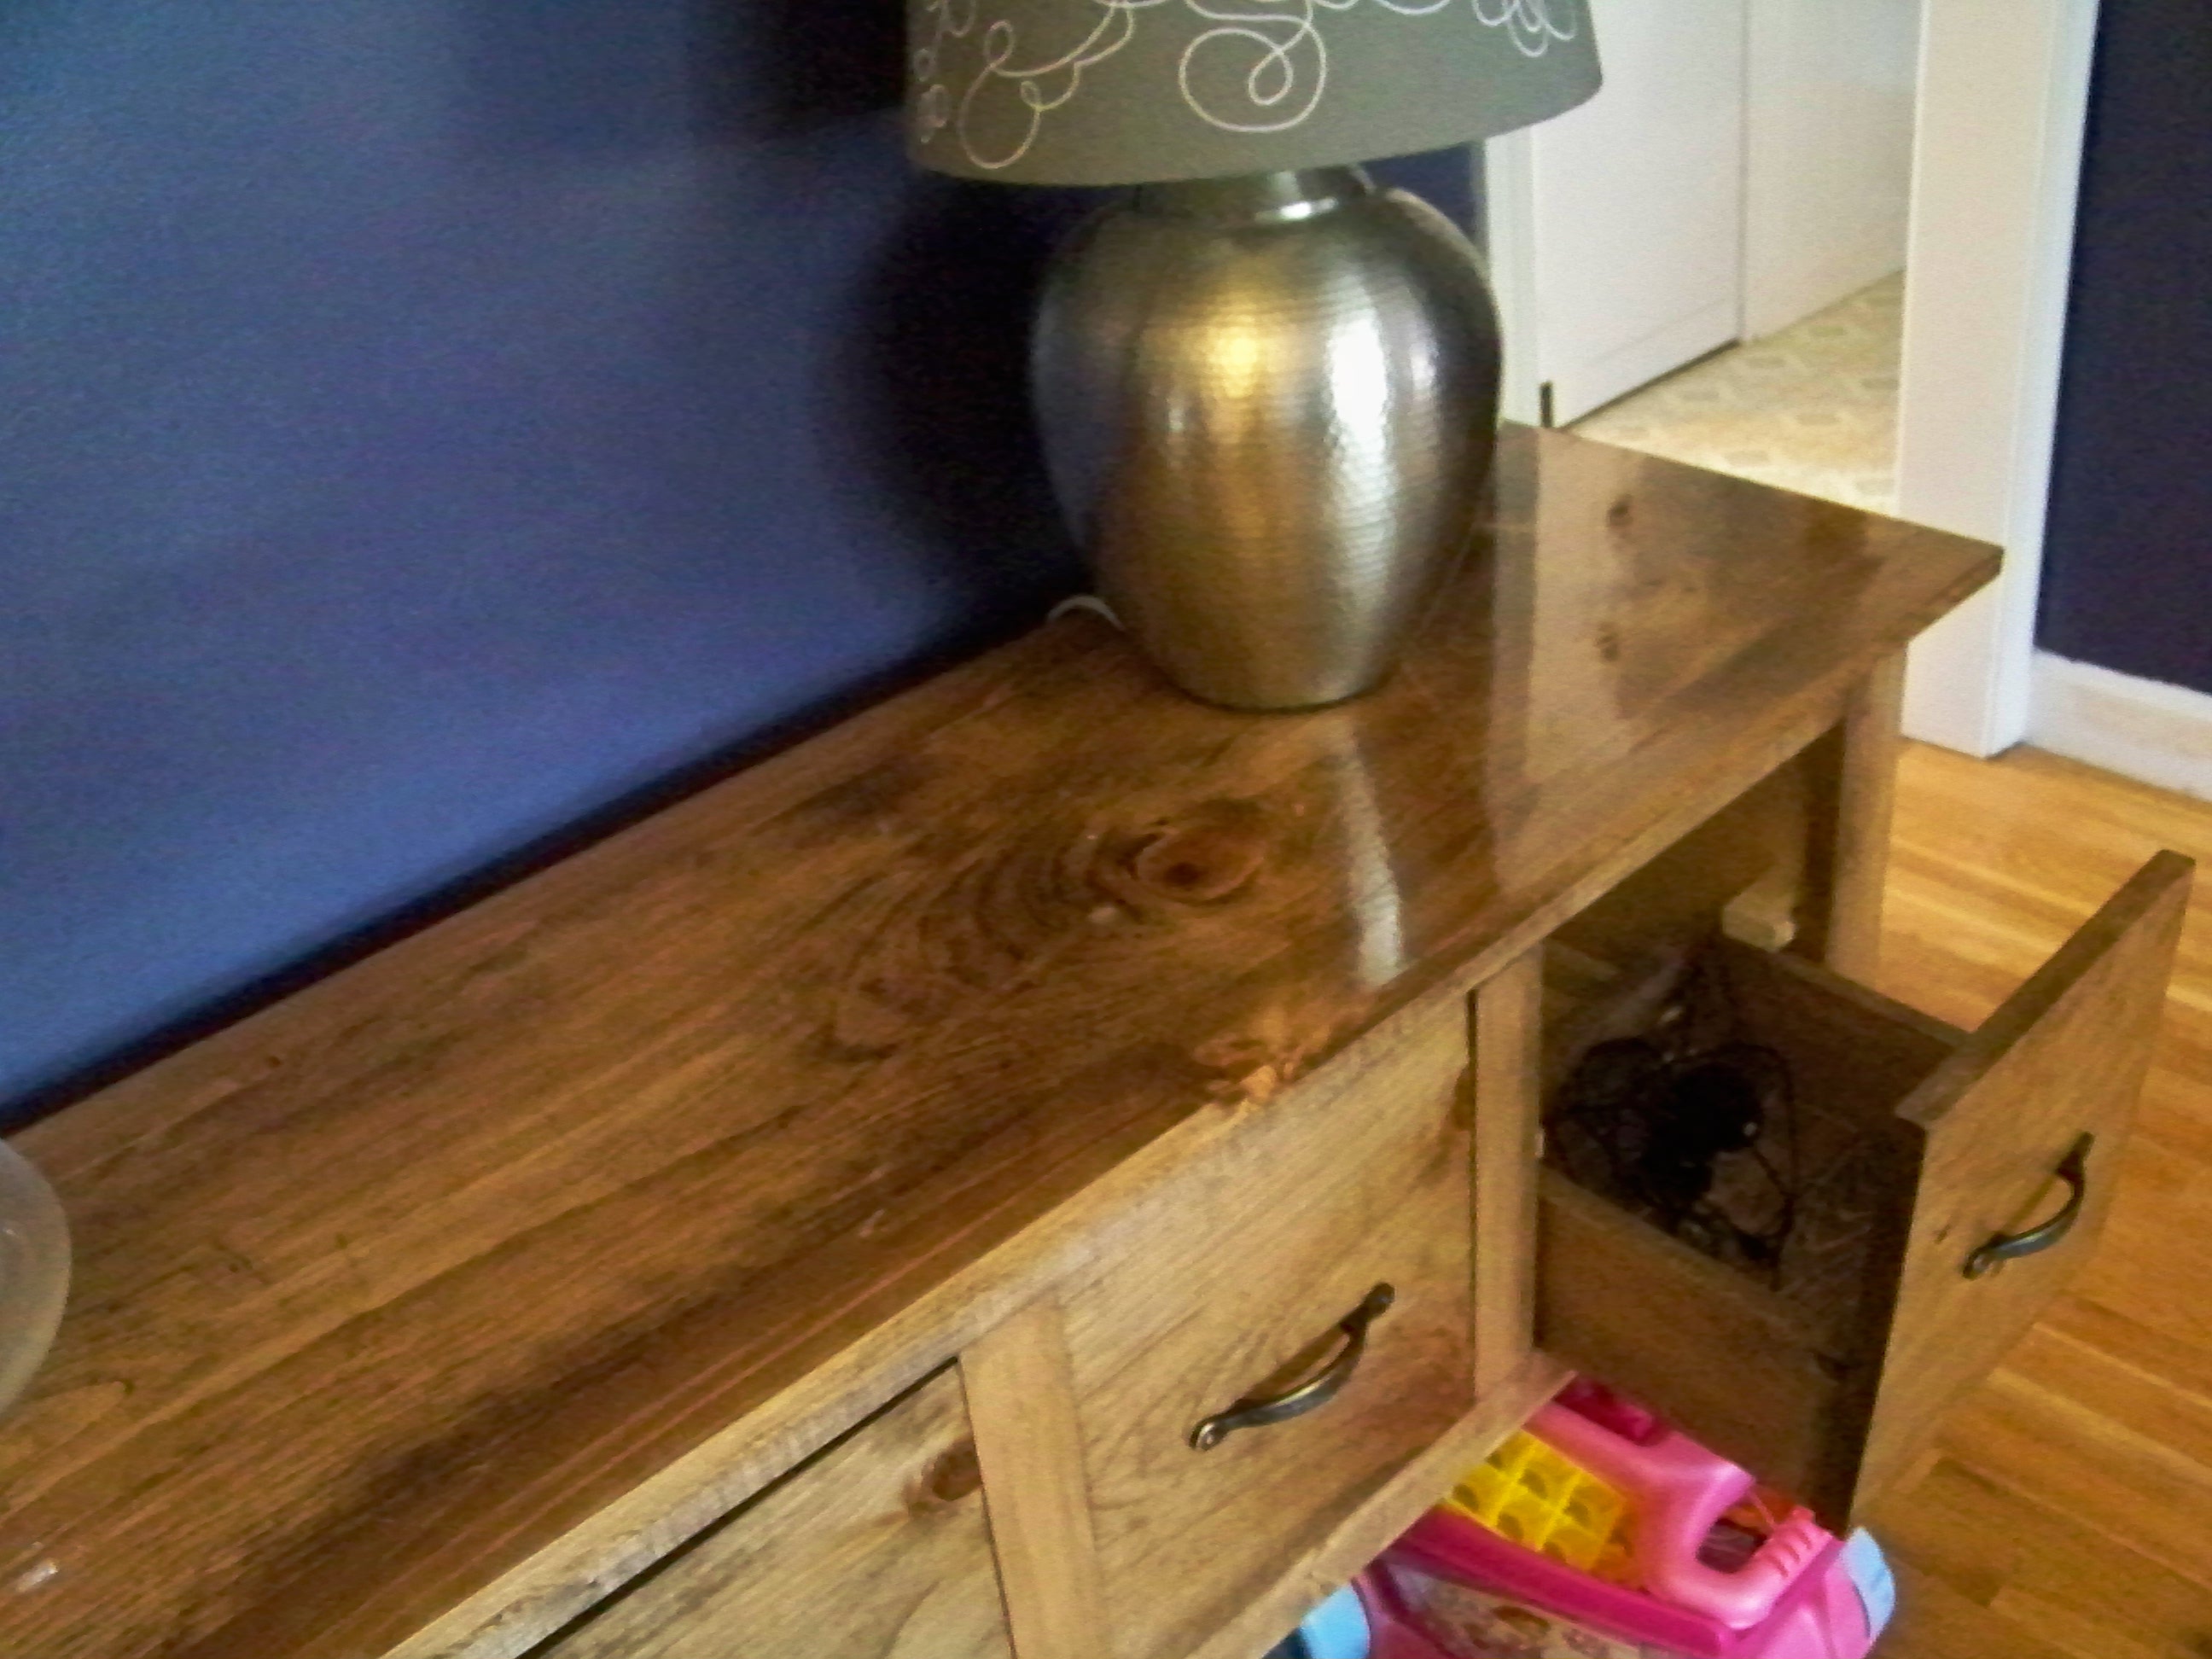
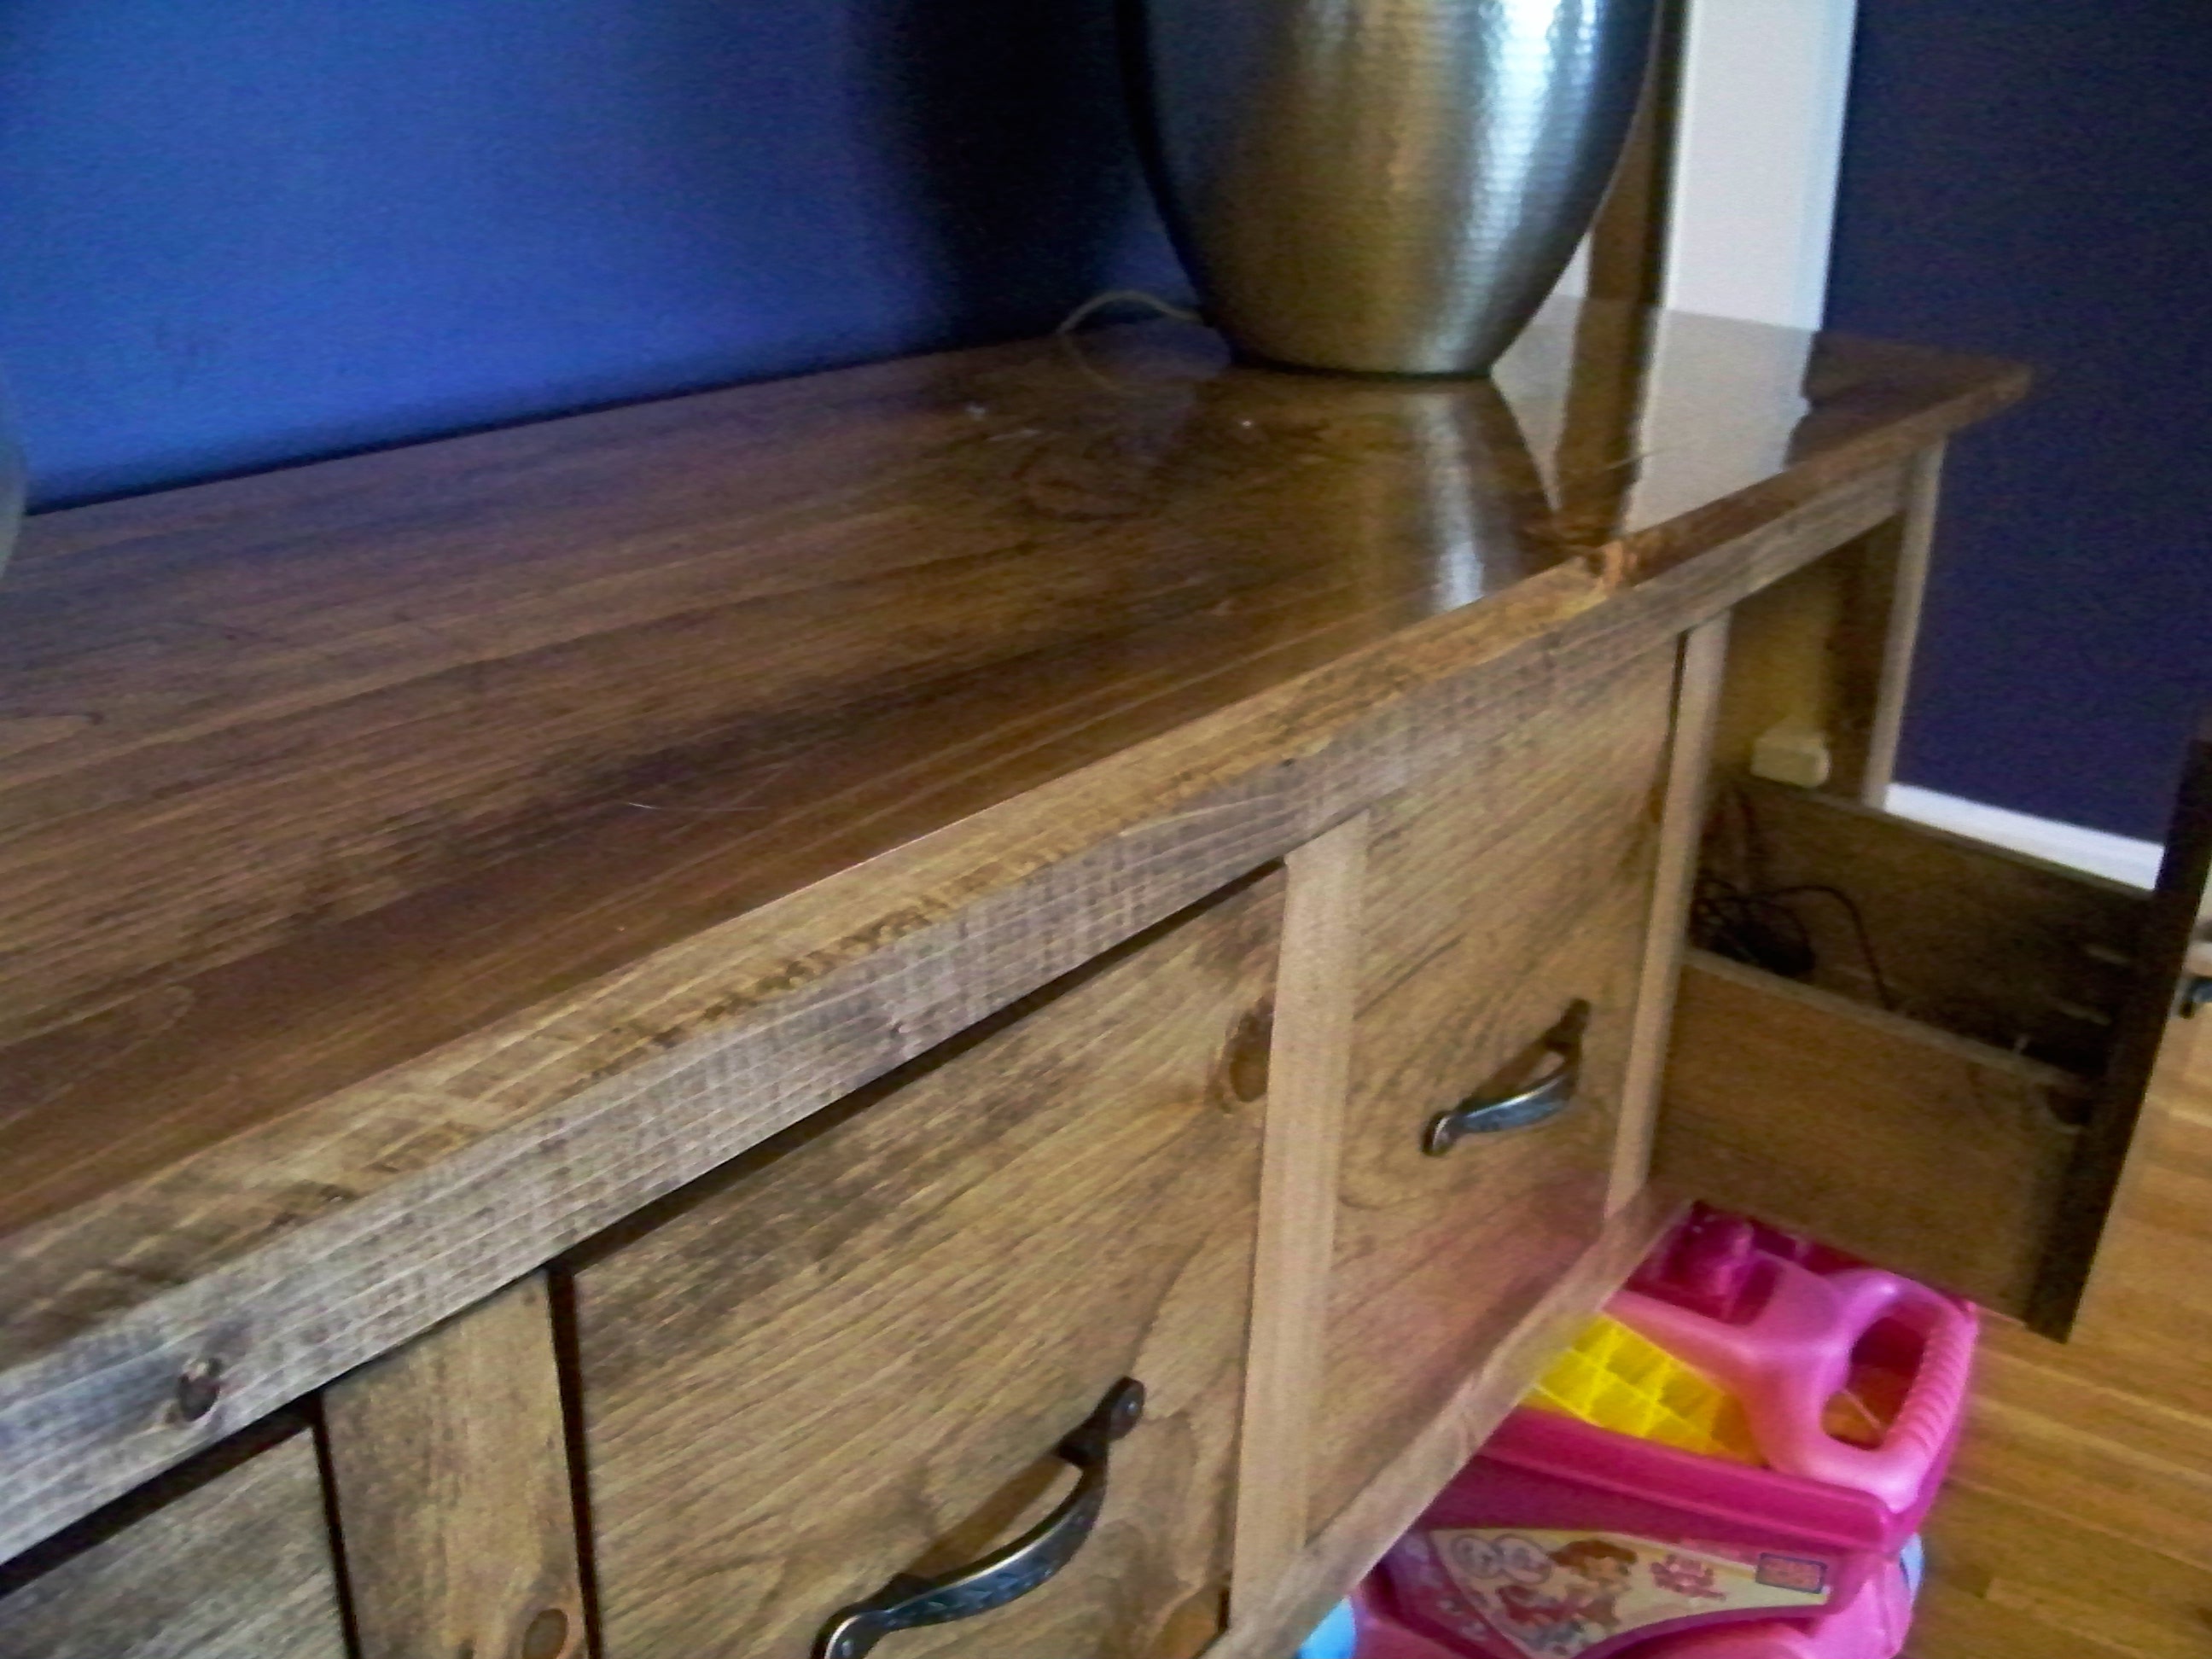
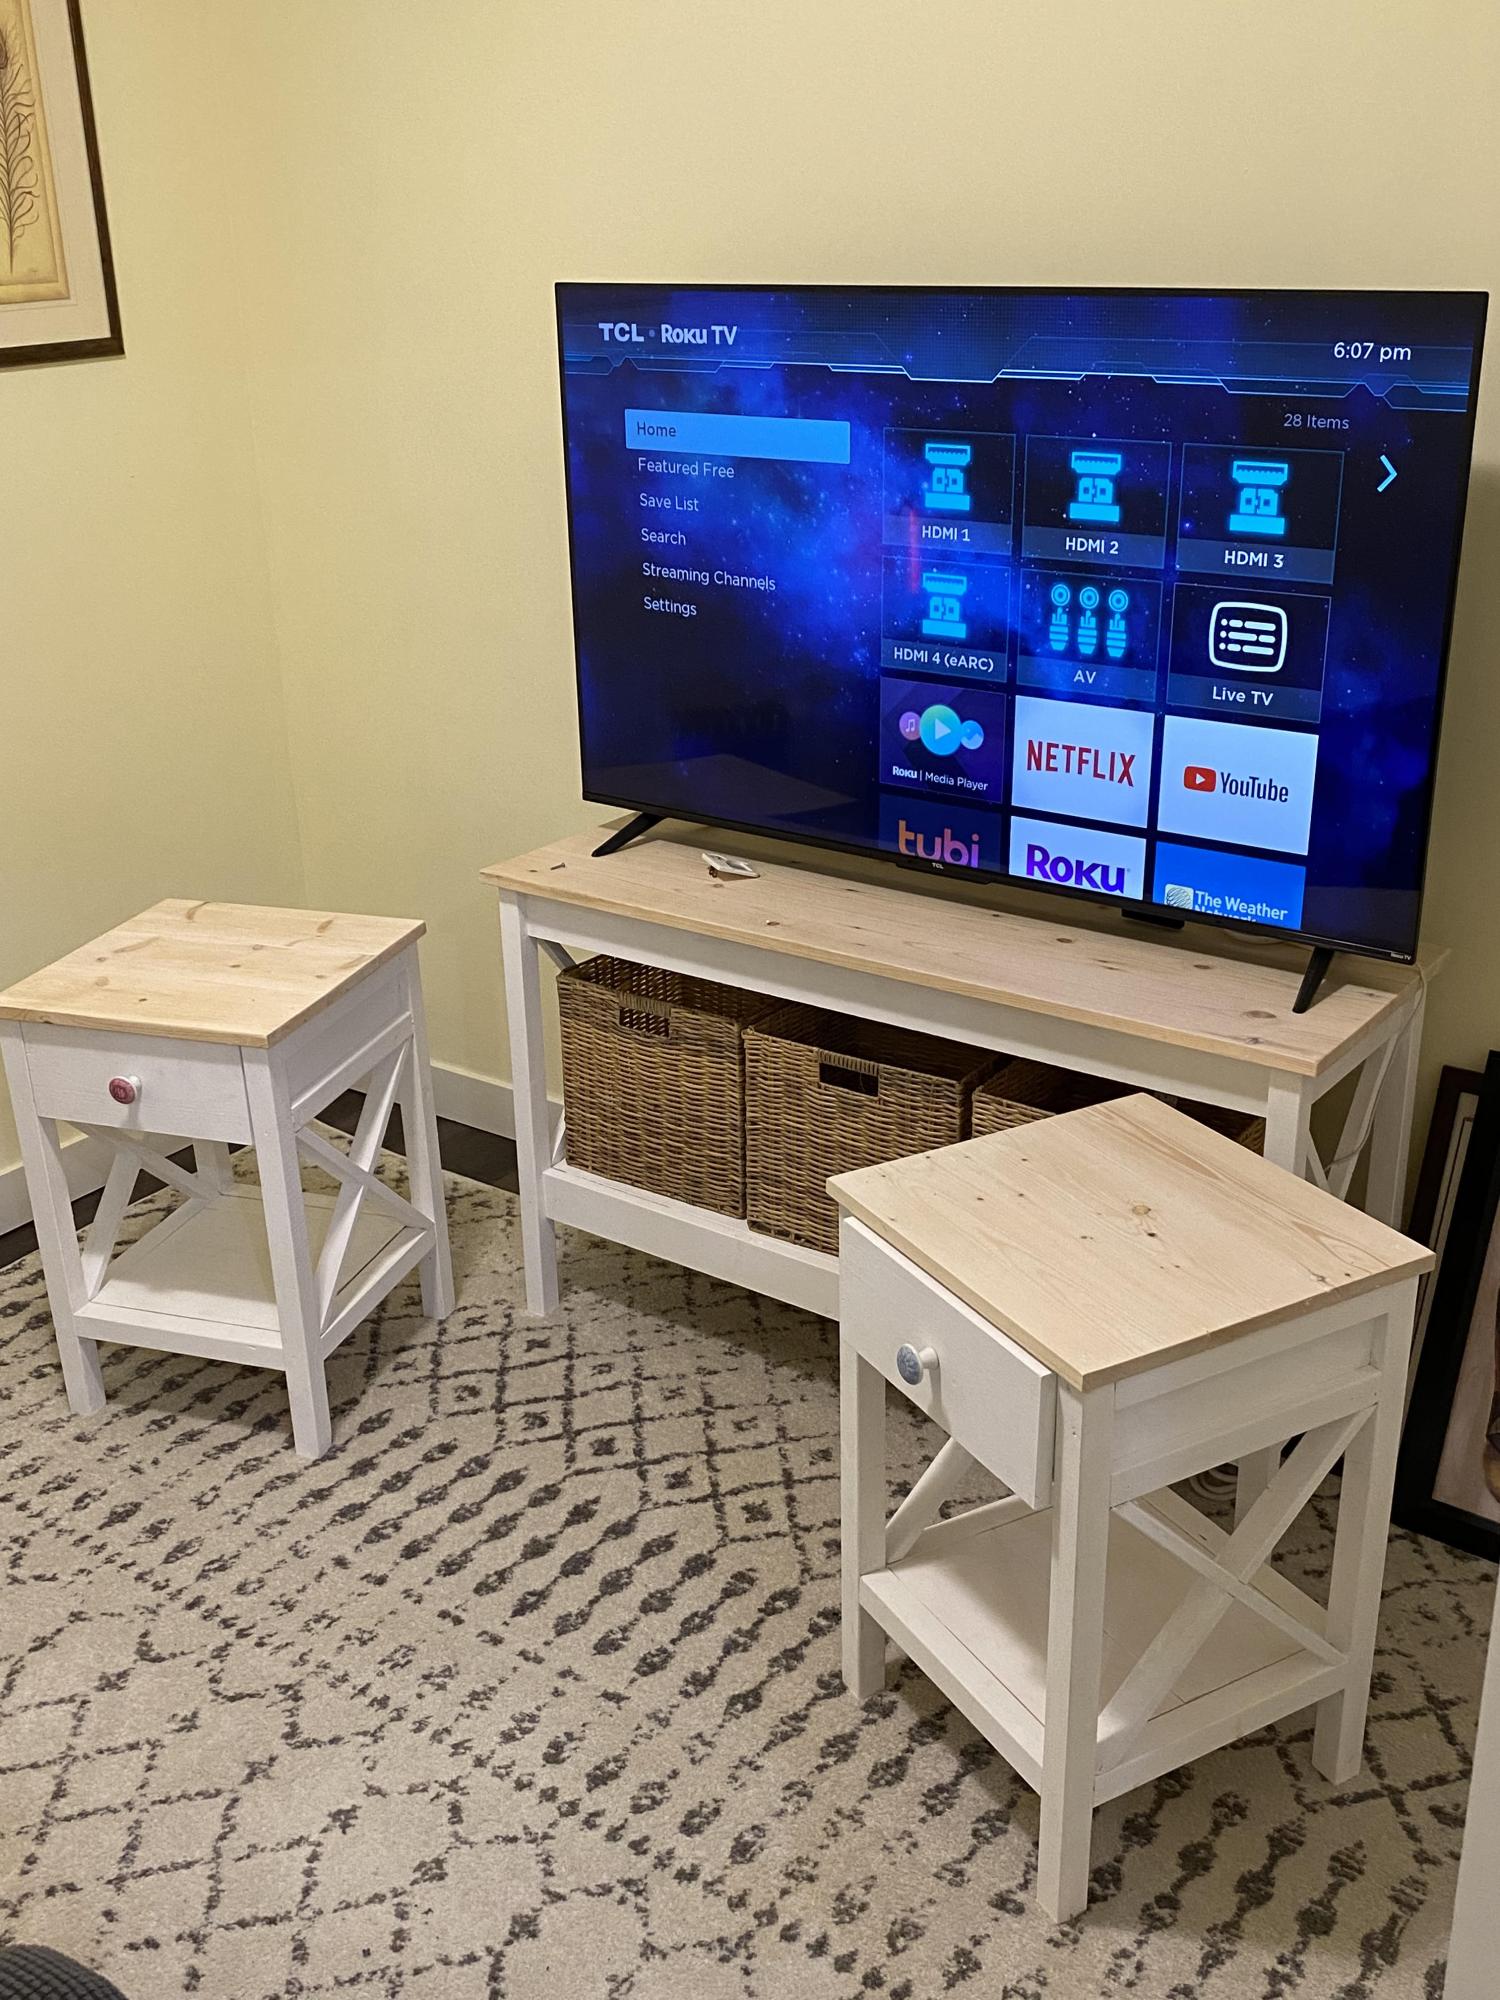
Community Brag Posts

Hutch

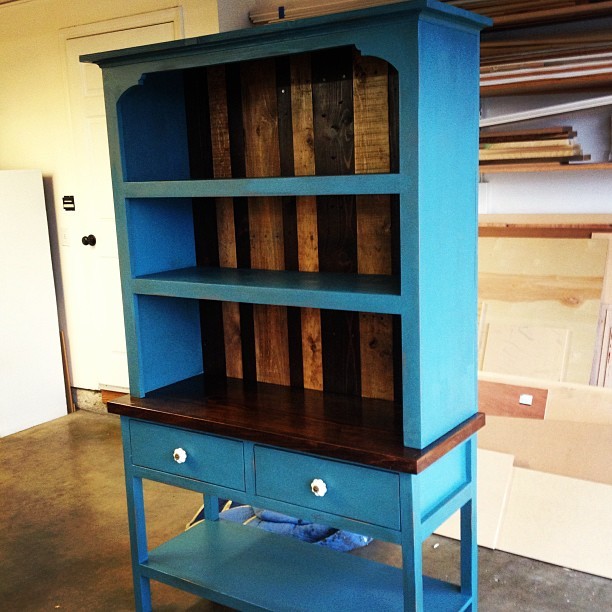
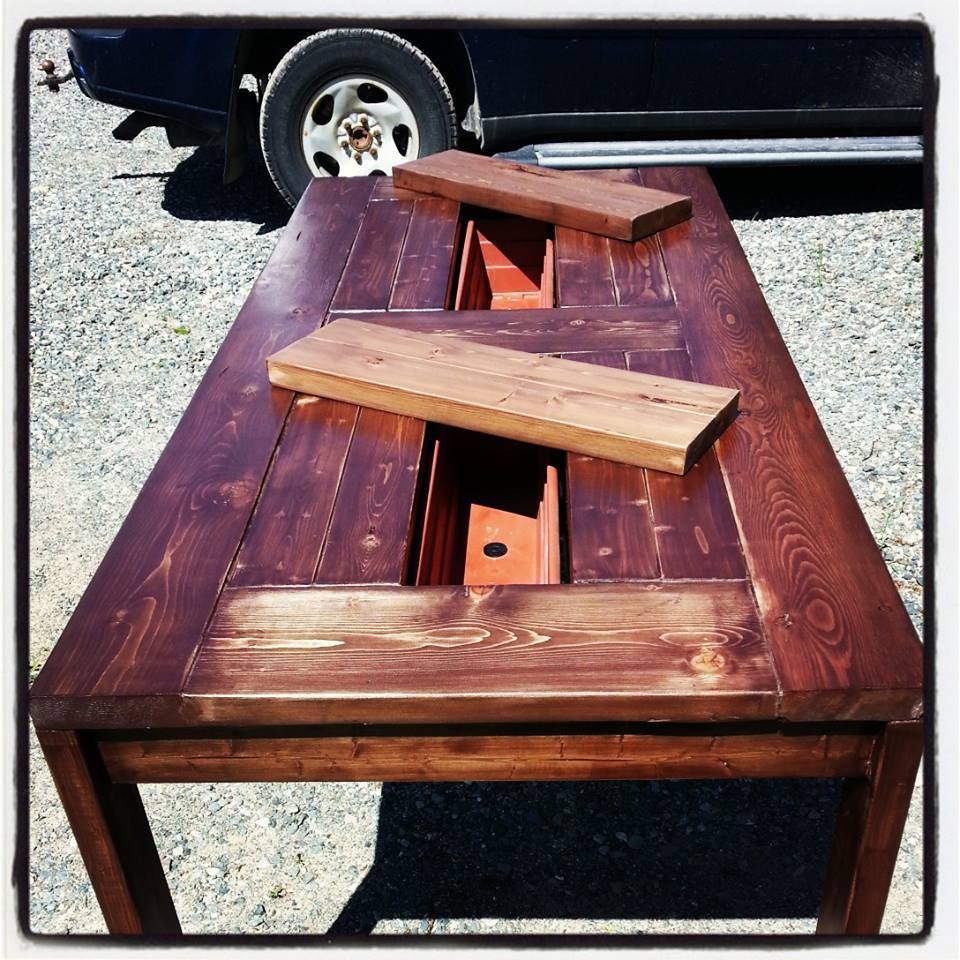
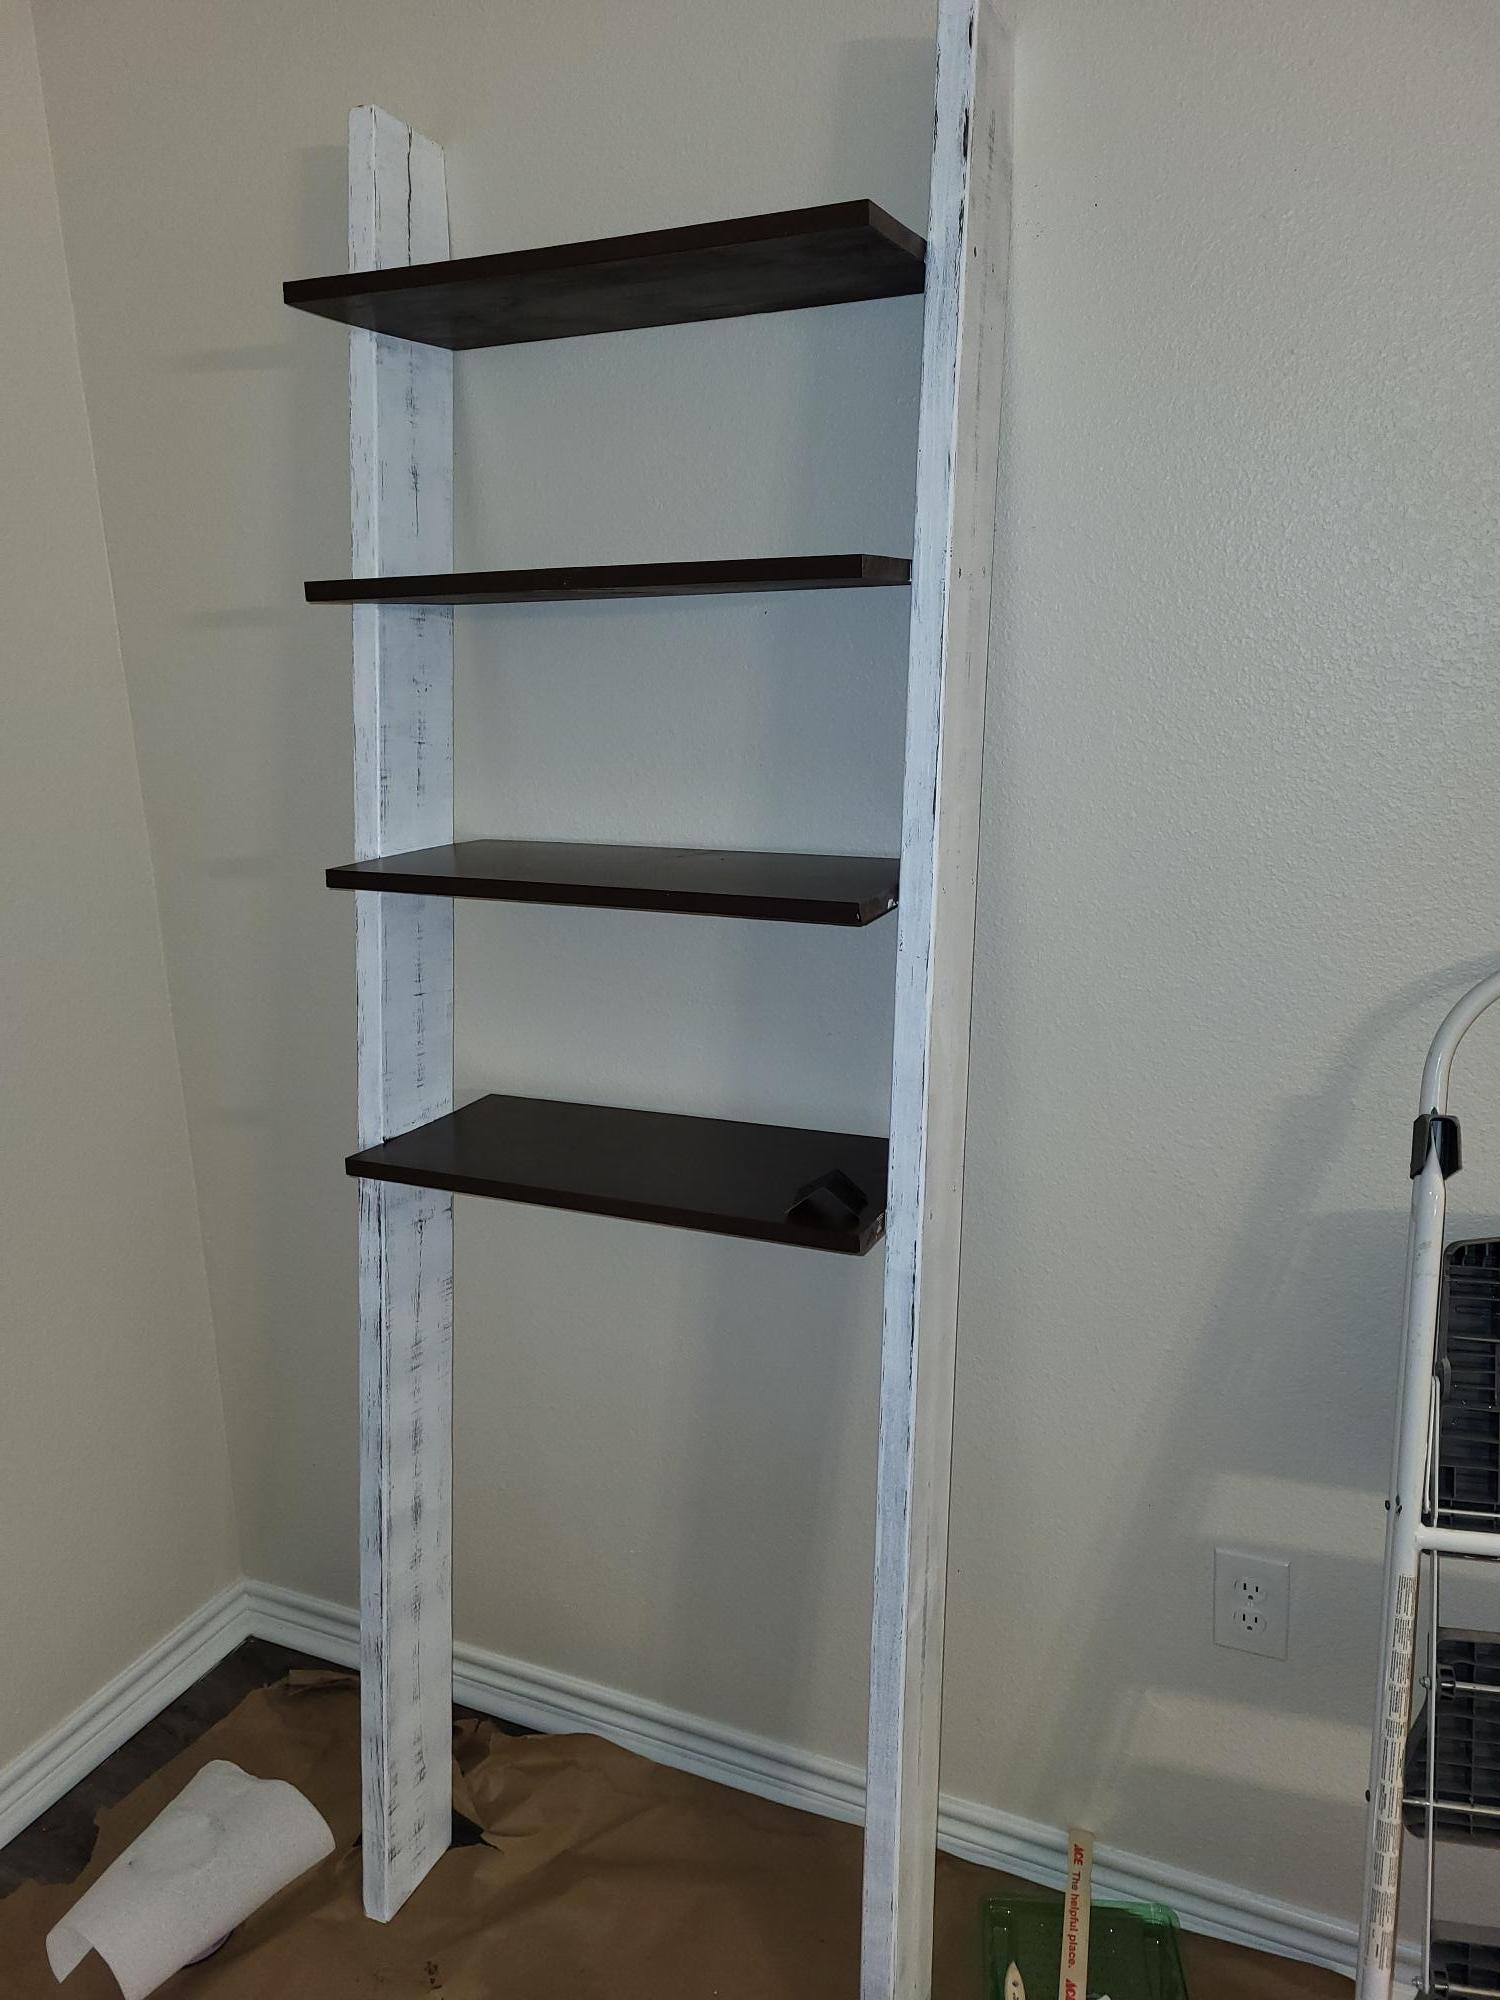
I built this hutch from Ana's book. I made a few modifications to the plans. The stained top and stained back planks are from reclaimed wood. If you build this hutch be sure to choose white knobs. I my opinion, its what makes those hutch pop. If anyone has any questions I would be happy to answer them. - Brad

Estimated Time Investment
Week Long Project (20 Hours or More)
Recommended Skill Level
Intermediate

Comments

mrsjones23

Tue, 10/28/2014 - 07:25

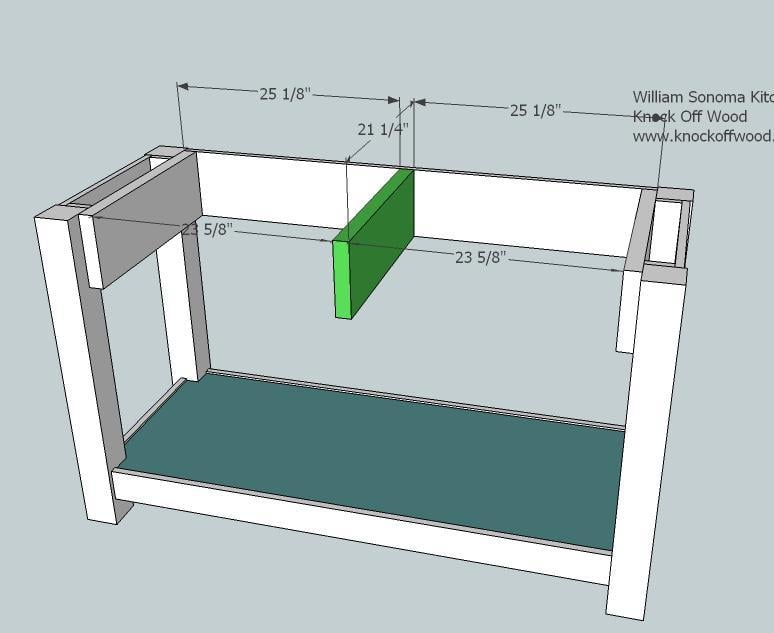
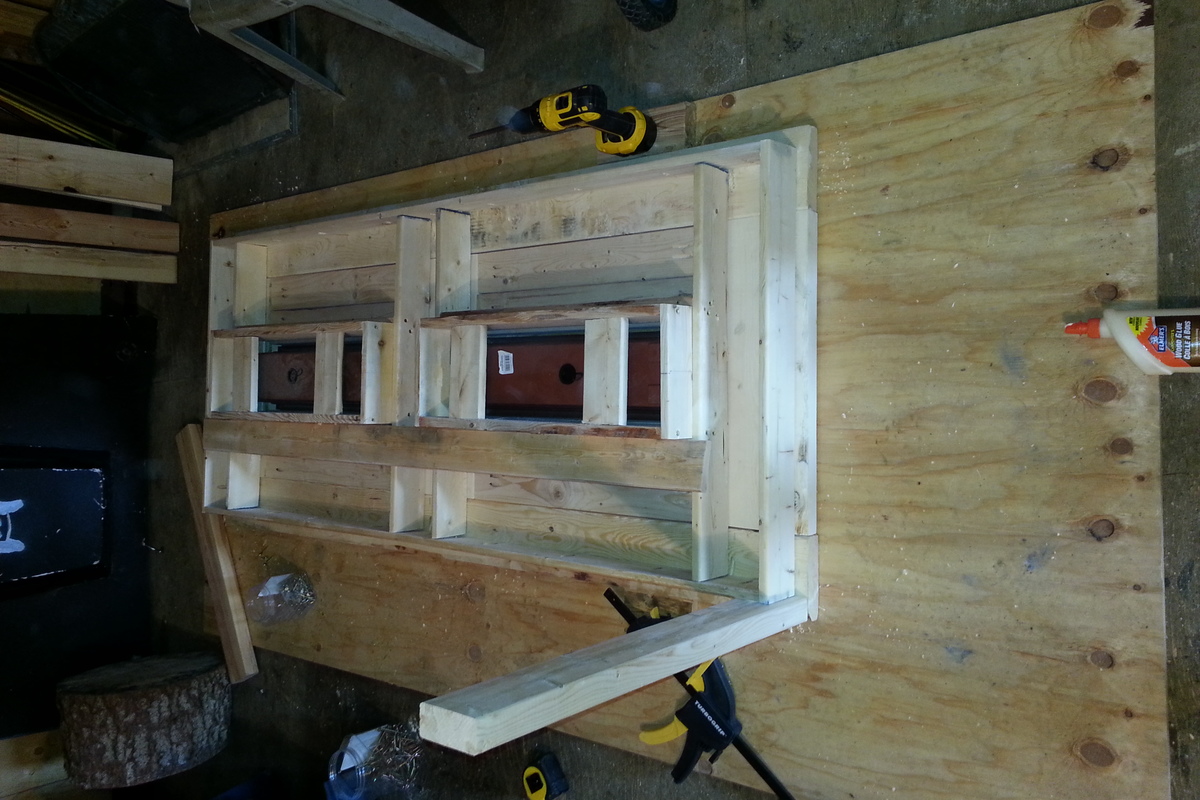
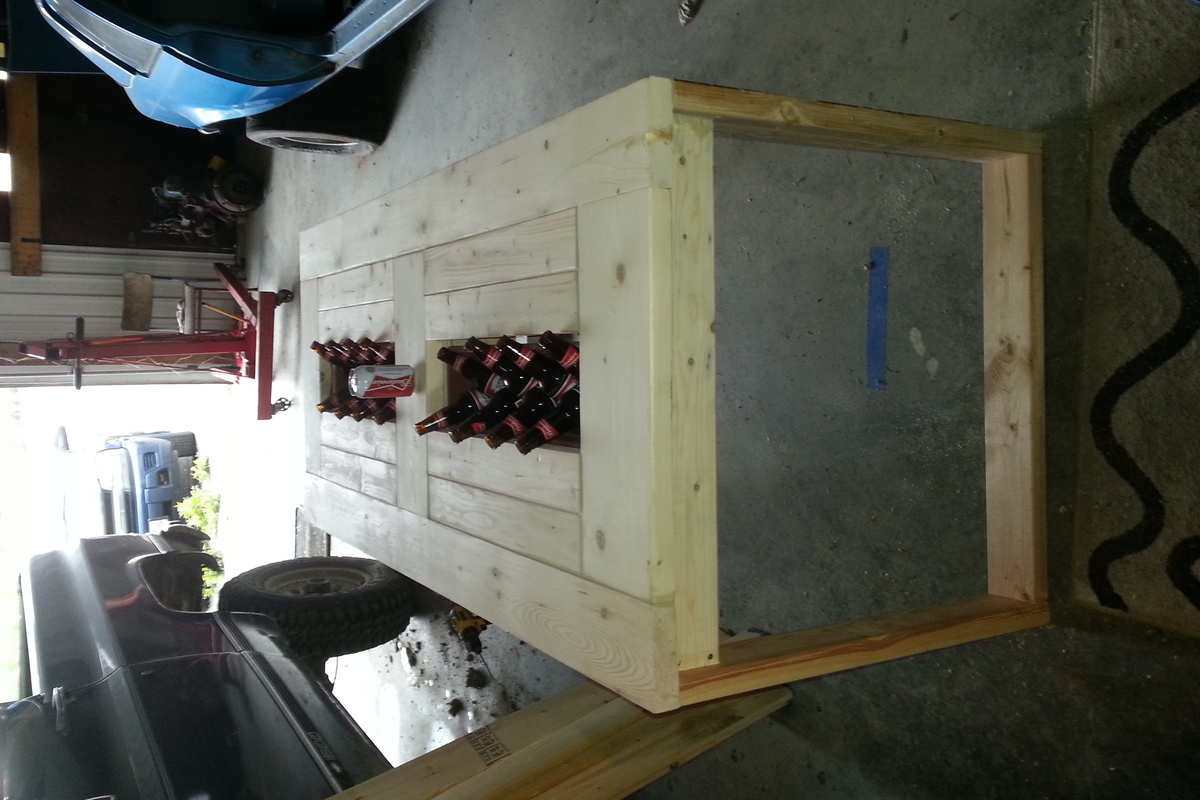
Hello! I am currently building this console table and hutch. At the moment, I am stuck on attaching the console legs to the side aprons. The legs are not sitting flush with the side aprons. Did you have this issue with your 2x2's when attaching them to the side aprons? If so, how did you fix this issue? The directions say to attach flush to the aprons but mine won't be flush on both sides, only one.

jwoelk

Sat, 07/25/2015 - 07:59

Where are the plans for this hutch? My wife wants this exact hutch for her birthday.

Convertible picnic table

Submitted by ClemTanya on Tue, 06/18/2013 - 19:43

I built this table with the dimensions described in the original plans, but made a slight modification by using my Kreg Jig to add pocket holes for attaching the tabletop and seat boards from below rather than drilling down through the top. I'm never really happy with the way a finish comes out after using wood filler, plus not having to fill holes saves a step in the finishing process (which is the really arduous part of the job for me). I also like the sturdiness of the Kreg joints.
This was my first project using the Kreg Jig in an application that didn't have the location for the pocket holes specified, so for the first bench I followed right along with the plans and just detached the drill guide and clamped it to my project to drill the pocket holes as I went along. For the second bench I was familiar with where all the holes should be drilled, so I was able to quickly mark off the location and pre-drill all the pieces assembly line fashion. The second one practically flew together.
If you want to use this method, you will be drilling your pocket holes in the boards labeled "seat support" and "tabletop support" (there are 2 of each of these pieces for each bench/half table). You can mark the position of the tabletop boards on the tabletop supports and drill your pair of pocket holes to correspond roughly to the center of where each board will be (so 6 holes in each of the 2 pieces labeled tabletop support for each bench). Nearly the same process for the seat supports, but remember that the holes to attach the outermost seat board won't be centered because of the location of the front leg. I chose to add a couple of pocket holes through the front leg board as well for extra sturdiness in case it gets picked up by that outermost seat board when the bench/table is getting moved. I have included a picture of the pre-drilled pocket holes to help clarify the above directions.
The build itself can definitely be classified as a beginner project and easily manageable by one lady (although it would be really nice to have a buddy to help move the finished bench...I had to take the tabletop back off mine to move it from my "workshop" (carport) around to my patio). In terms of time, the build for both benches could easily be completed in an afternoon; I ranked it as a weekend project because of the finish. The tabletop and seat boards each have 4 coats of an exterior semigloss paint and I custom blended the colors so that each board gets progressively darker as you go down the bench. I was inspired by the ocean, with the water getting darker as you go deeper and deeper. As you can see from my photos, I rushed headlong into the first bench and put it together unfinished (I was more concerned about figuring out the placement of the pocket holes than the finish.) For the second one I pre-drilled my pocket holes, then put on 2 coats of base coat and 1 coat of color (on seat and tabletop boards) before assembly, saving only the finish coat on the colored boards and touchups on the white boards for after assembly. I definitely recommend the second method.
I worked on the project over a couple of weekends and evenings because of weather and time constraints, but under the right conditions it could be completed in a weekend or even maybe a long day (especially with a second painter and in good paint drying weather). I'm really happy with the final product and I've already been enjoying the comfy bench seat for reading.

Estimated Cost
$100 (including finish)
Estimated Time Investment
Weekend Project (10-20 Hours)
Finish Used
Exterior semigloss paint: 2 coats of self priming base coat (Valspar Duramax) and an additional 2 coats of color that I custom mixed into 6 shades on the bench seats and tabletops. The darkest shade on the outermost seat board is called Monterrey Bay Teal from Valspar. I mixed the five additional colors with white in 15% by volume increments. (If you want to get really, really specific, I started with a quart of the teal and made 100 grams of each of the 5 blended colors and this was almost the perfect amount to put 2 thick coats of color on all sides of each of the seat/tabletop boards.)
Recommended Skill Level
Beginner

Comments

1st Porch Bench I made

Submitted by Anonymous (not verified) on Sun, 12/26/2021 - 16:49

This is the first bench I have ever made.

Comments

Playhouse in-progress

Submitted by DoctorEw on Mon, 05/02/2011 - 06:49

Due to rain (and horrible ability) this project has been taking a LONG time it seems. =) We had one of those "cheap" playsets from one of the warehouse clubs that would scare me to death anytime my girls got to swinging on it. So... we knocked it down and I took some liberty with the details from Ana's playset plans.

Estimated Cost
~$600 so far (concrete, wood, fasteners, shingles, etc..)
Finish Used
Will paint
Recommended Skill Level
Intermediate

Simple outdoor sofa and chairs

Submitted by Bamafan50 on Sun, 08/02/2015 - 17:50

The sofa was my first large DIY project that required a fair amount of construction. It took me about a week working a few hours a day. I followed the plans as they were listed but made a few adjustments to accommodate for the size of the cushions. I used regular pine and then cheap lumber for the slats, lesson learned. Way too much sanding and it still didn't have the finish I was hoping for.  

For the chairs: I used a mix of plans from the Bristol outdoor lounge chair (Ana's) and the simple outdoor sofa. I chose to use all sect pine for the chairs, after the hard time I had with the cheaper wood I chose to use on the sofa.  I was much happier with the end result.  I used 1x3's mostly and then added 1x1 composite molding as an accent around the base.

I looked long and hard for cushions before I started the project based on the recommendations from others. I took me a while but I finally found Somewhat affordable outdoor sunbrella cushions at Lowes. These are the Allen + Roth deep seating sunbrella cushions, which I highly recommend. They are very comfortable and dry quickly after it rains.

Estimated Cost
The cost for both the sofa and chairs was close to $800 dollars. However, the majority of the money was spent on the cushions. At about $98 dollars a set, the sunbrella cushions cost me about $530
Estimated Time Investment
Week Long Project (20 Hours or More)
Finish Used
Rustoliium oil based glossy white with two heavy coats. If I had it to do over again, it would be latex followed by poly
Recommended Skill Level
Beginner

Balin Consle Table Extraordinaire

My wife and I picked this out as our first somewhat complex piece from Ana's site to make. Most of the table is made from left over 1x4s I had from a fence we made. I only needed 2 1x12s as we didn't make the drawers as deep.

Because I cut down the 1x4s for the legs (and didn't examine the plans in detail first) I made them 3 inches wide when the ones in the plan are only 2.5 inches wide. This made for a few adjustments, such as the middle two drawers being a bit narrower.

The fronts of the drawers are normal height, but the boxes are only 4 inches high inside (so they don't fill up with as much junk, lol).

The 1x12s were only 11 inches wide, so I laminated some 1x2s on the sides to make it wide enough.

I think it really turned out well and we're already planning some complimentary pieces for our living room.

Counting the left over wood from the fence it probably cost around $50 including the stain and polyurethane.

Built from Plan(s)
Estimated Time Investment
Weekend Project (10-20 Hours)
Finish Used
We stained the table with minwax walnut stain, sanding lightly after 2nd and 3rd application. After that we put on 3 coats of semi-gloss polyurethane sanding between each. Lastly, on the top we put on 3 coats of clear gloss.
Recommended Skill Level
Beginner

Ribbon Holder

Submitted by lizseburn on Thu, 08/11/2011 - 21:19

My husband wasn't home this week, so I had to create something.. He's just lucky that I didn't give the kitchen a makeover! ;]

I modified and improvised with what I had lying around... I used a 1x4 for the bottom because I didn't have enough 1x2 scraps left, but then I decided to put the lettering on it because I thought it looked too plain. I like how it turned out!! :]

Built from Plan(s)
Estimated Cost
$2!! - I just had to buy the dowel. I had everything else lying around. :]
Estimated Time Investment
An Hour or Two (0-2 Hours)
Recommended Skill Level
Starter Project

Comments

spiceylg

Fri, 08/12/2011 - 08:01

That came out really nice and I love the lettering! How did you do the lettering if I may ask?

Farmhouse Toy Box

Submitted by jerryh729 on Tue, 12/13/2022 - 09:18

First of two toy boxes for my grandsons

Built from Plan(s)

Comments

my beer cooler table

Submitted by sajmc on Tue, 10/08/2013 - 08:02

loved the challenge first project ever, my suggestion to anyone buy the kreg jig best thing since sliced bread

Estimated Cost
beer table
Estimated Time Investment
Week Long Project (20 Hours or More)
Recommended Skill Level
Beginner

Comments

ladder shelf build

Submitted by Anonymous (not verified) on Thu, 02/16/2023 - 09:02

Thanks for the plans had to go with something like this to avoid putting cabinets in and risk hitting a water line in the wall.

Comments

Outdoor Sectional

Submitted by KristenP on Thu, 06/06/2019 - 18:00

We built Ana’s outdoor sectional in a few hours and it’s made a huge impact on our deck! It saved us so much money but looks like a high end piece! Thank you for the simple and structured plans!

Estimated Cost
$200
Estimated Time Investment
Afternoon Project (3-6 Hours)
Finish Used
Cedar Stain
Recommended Skill Level
Beginner

Comments

Outdoor Loveseat

Still need to stain but this was my very first project and it turned out well!  The directions are very easy to follow and I am very happy with it!

Estimated Cost
$25
Estimated Time Investment
Afternoon Project (3-6 Hours)
Finish Used
Will be using Minwax oil-based stain over a wood conitioner, and a clear flat oil-based top-coat.
Recommended Skill Level
Beginner

tv stand and side tables (night tables)

Submitted by Anonymous (not verified) on Sun, 04/30/2023 - 12:45

I needed some furniture for a summer tv room ( cooler downstairs) I was making. These sidetables and tv stand are loosely based off Ana's work.

Comments

King Modern Bed

Submitted by Anonymous (not verified) on Fri, 05/05/2023 - 05:52

Made this with pallet 4x6 and 4x4 posts, and construction lumber.

Built from Plan(s)

Comments

Nathan's Montreal Canadians bed

Submitted by Corinne67 on Fri, 01/06/2012 - 16:04

Our nephew Nathan really wanted a captain's bed like his friend. We built him one even better for Christmas this year. I couldn't find one plan with everything we wanted to I used the plans for the Storage Daybed for the base, and used the plans for the Cozy Corner twin bed collection wide bookcase unit. We combined both the headboard and sideboard into one unit (by extending the top to the short end) giving him an L shaped headboard for all his hockey stuff :) The only thing we messed up on was the height of the bookcase. He wanted it higher so it's on blocks for now to raise it. My sister did all the final painting to match his room and it looks AWESOME!!!

Steve had everything cut at work and we put it together in one 12 hour day! Nathan LOVES his new bed. Thank you Ana!

Estimated Cost
about $125
Estimated Time Investment
Weekend Project (10-20 Hours)
Finish Used
Nathan is a HUGE Montreal Canadian's fan. He applied 2 coats of wood primer, then his mom, my sister did the finishing paint with the official Montreal Canadians colours to match his room. A couple of little touch ups to be done but it looks great.
Recommended Skill Level
Beginner

Comments

Lou-Anne (not verified)

Fri, 01/06/2012 - 21:24

The colors are the official Montreal Canadiens hockey team's colors, My son is a HUGE fan! Nathan LOVES his bed. and it is very solid.

Guest (not verified)

Fri, 01/06/2012 - 20:29

Ummm... The bookcases were too short because you didn't take the mattress height into account. Looks really good though.

My First Project

Submitted by Anonymous (not verified) on Wed, 05/24/2023 - 05:04

My very first woodworking project and could not have done it without you!!

Mistakes were made and lots was learned but pretty happy with how it turned out in the end.

Built from Plan(s)

Comments

I Built an Outdoor Sofa Set!

I have been wanting outdoor seating by my pool forever but couldn't afford anything I liked. When I came across Ana White's plans for the outdoor sectional I knew I had to build two. They are just what I was wanting and cost under $200. It took my brother & I one afternoon to buy the supplies and put it all together. Since this furniture is outdoors 24/7, I had to caulk the seams & paint the whole thing. That process took two days. The biggest expense was of course the cushions from Home Depot that Ana White recommends for this sectional. I have to admit, they are well worth every penny. They look amazing! Can't wait to spruce them up with some throw pillows.

Built from Plan(s)

6 x 6 Sandbox

Submitted by Anonymous (not verified) on Wed, 03/23/2016 - 20:54

This was our first attempt at making a woodworking project but knew it had to be done to save our plants from our son digging in them. It took us all weekend (mostly because of the staining) but we completed the project in 2 days. We went a little bigger (made a 6 x 6 box) to give our son some room and allow for friends. I loved putting the project together and look forward to many years of use from this box. Thank you for such simple plans!

Built from Plan(s)
Estimated Time Investment
Weekend Project (10-20 Hours)
Recommended Skill Level
Beginner
Back