My First Project
My very first woodworking project and could not have done it without you!!
Mistakes were made and lots was learned but pretty happy with how it turned out in the end.
Built from Plan(s)
My very first woodworking project and could not have done it without you!!
Mistakes were made and lots was learned but pretty happy with how it turned out in the end.
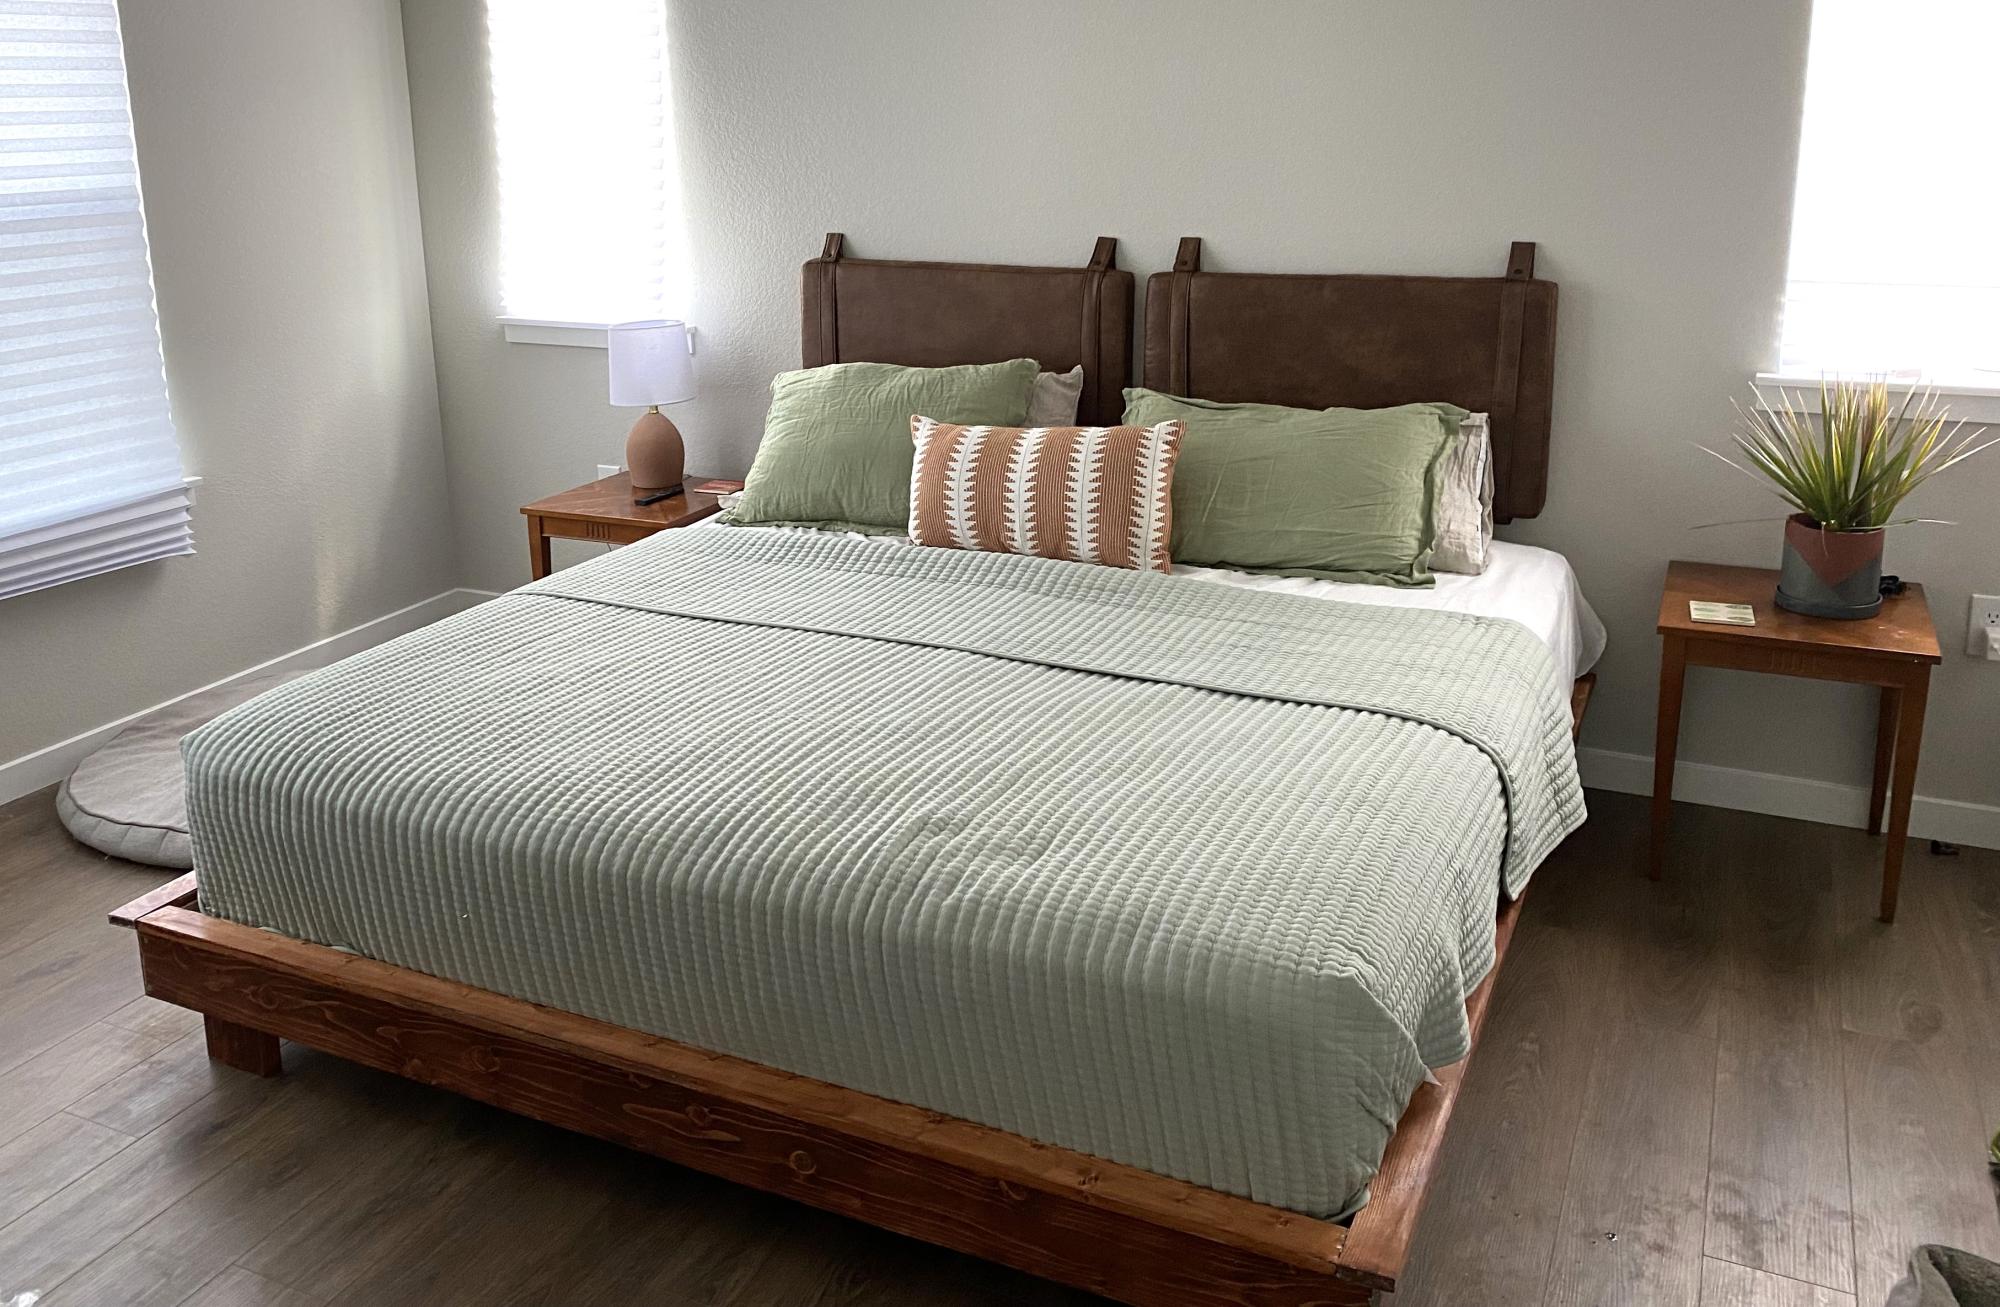
We paired this bed frame with Nathan James upholstered headboard to replicate our favorite Airbnb we stayed at in Telluride. That bed was a $1300 from West Elm. Minus the tools, this bed came in around $500 for everything (including bedding).
Wood: Douglas Fir
Stain: American Walnut
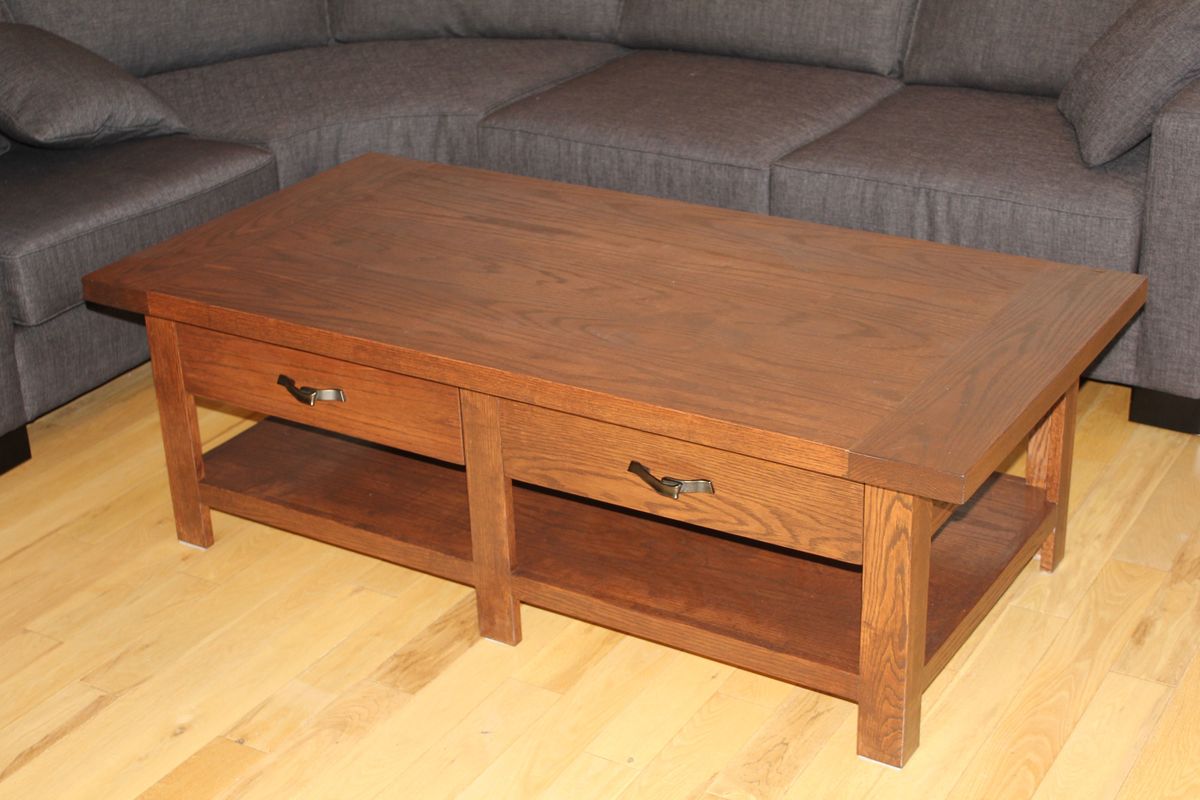
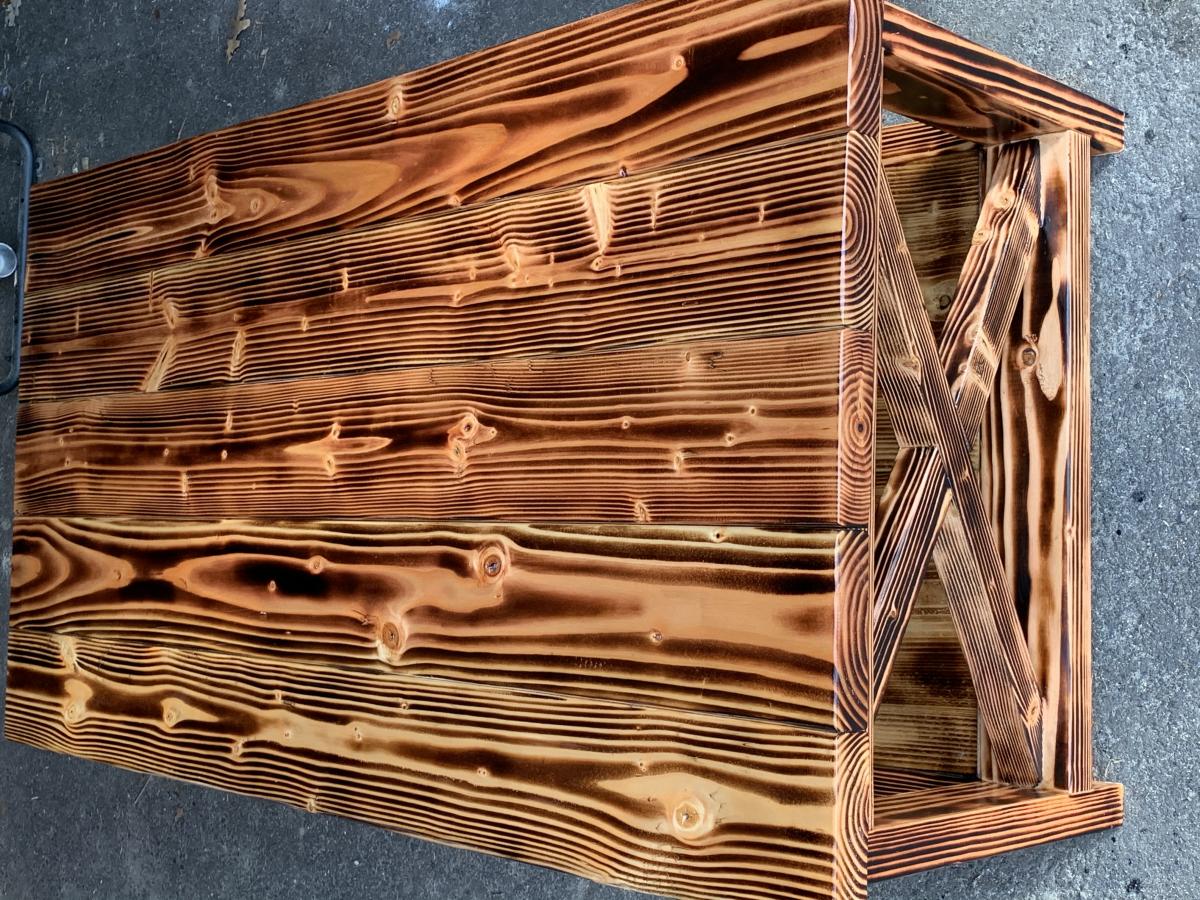
After searching for months for a coffee table I found one and put my DH to work. This is his first time making any type of furniture and I think he did an awesome job. We used Red Oak for the table and it weighs a ton :)
Sun, 03/11/2012 - 17:03
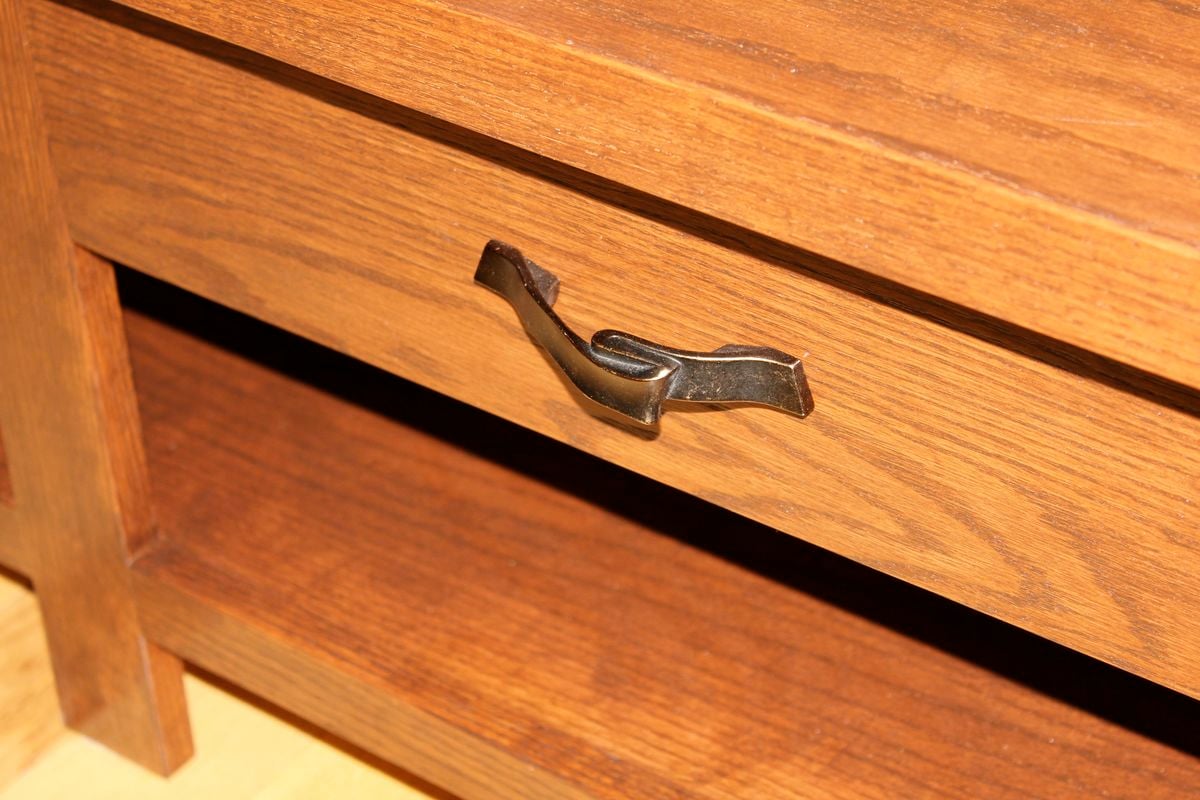
We found the handles at Lee Valley 'Diva Suite'
http://www.leevalley.com/en/hardware/page.aspx?p=52433&cat=3,49938&ap=11

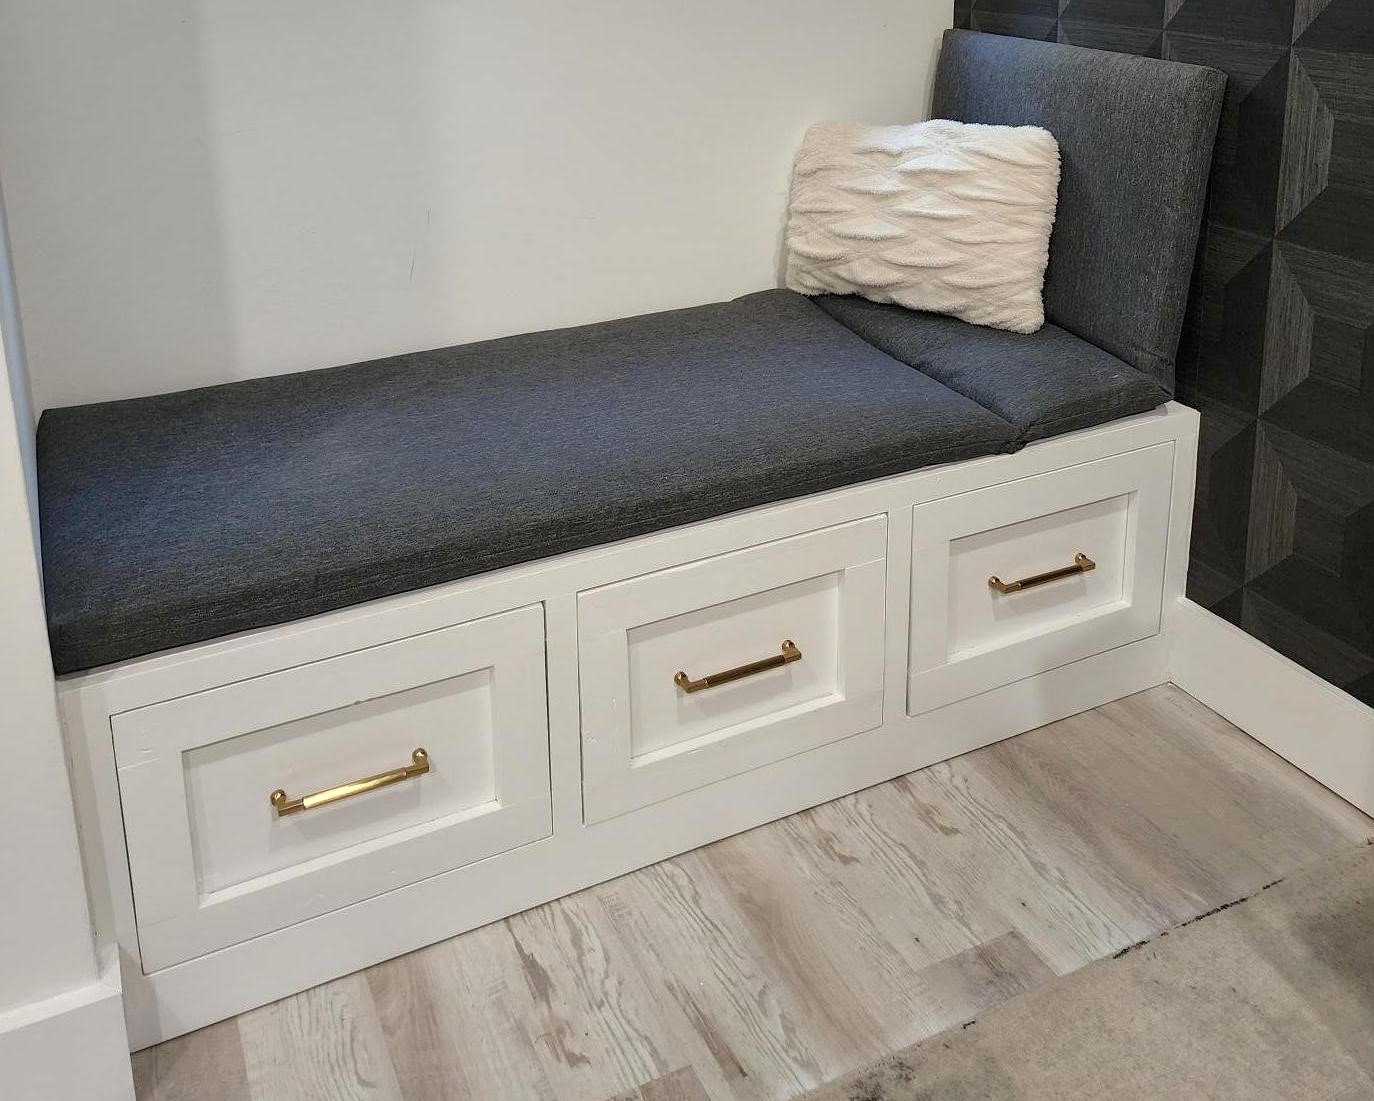
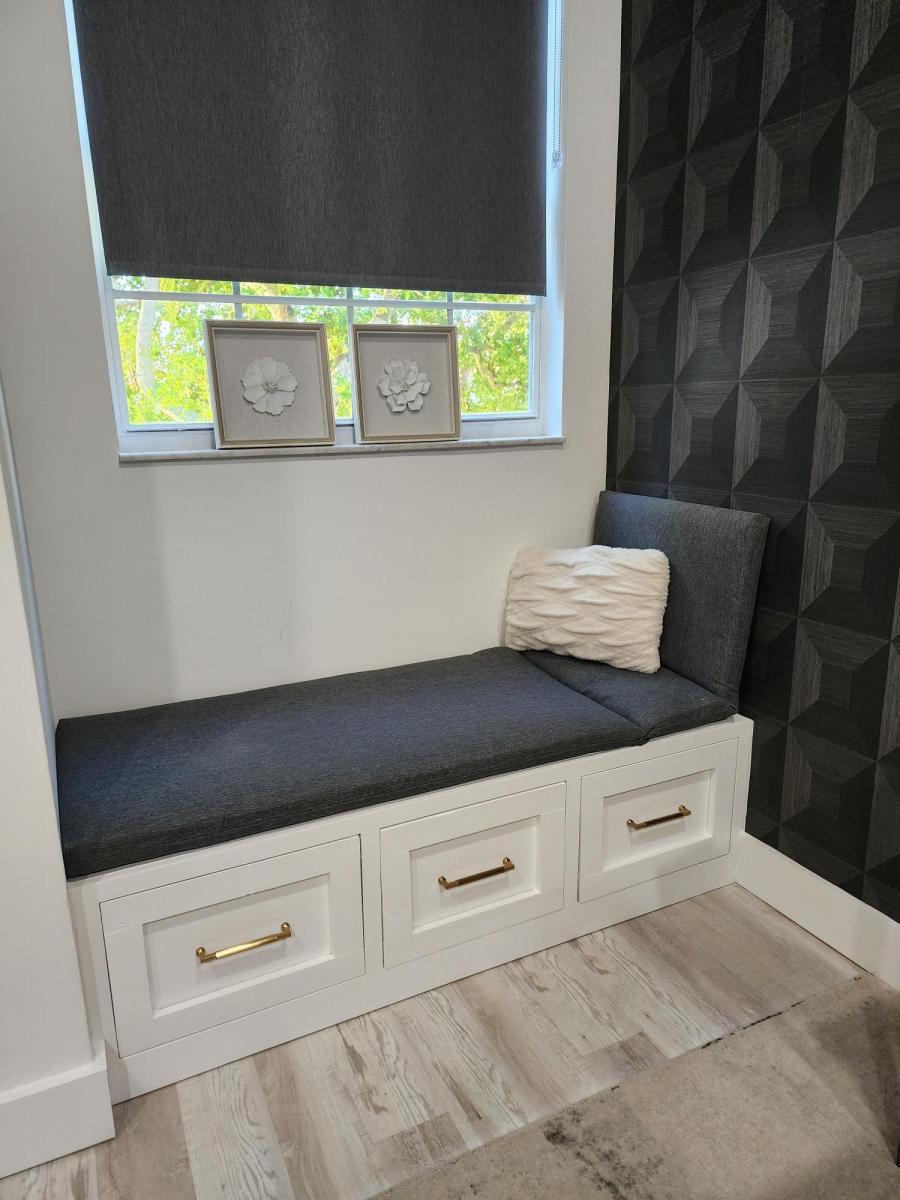
The Custom Built-ins started out with lots of research, and like many DIY project we looked to Pinterest and Houzz for inspiration. A lot of love and time went into this project. I can't stress enough how important research is. This process is often over looked because DIYers just want to get to the building process as quickly as possible, but trust me when I say doing solid research will save you a lot of stress and time when it comes to building.
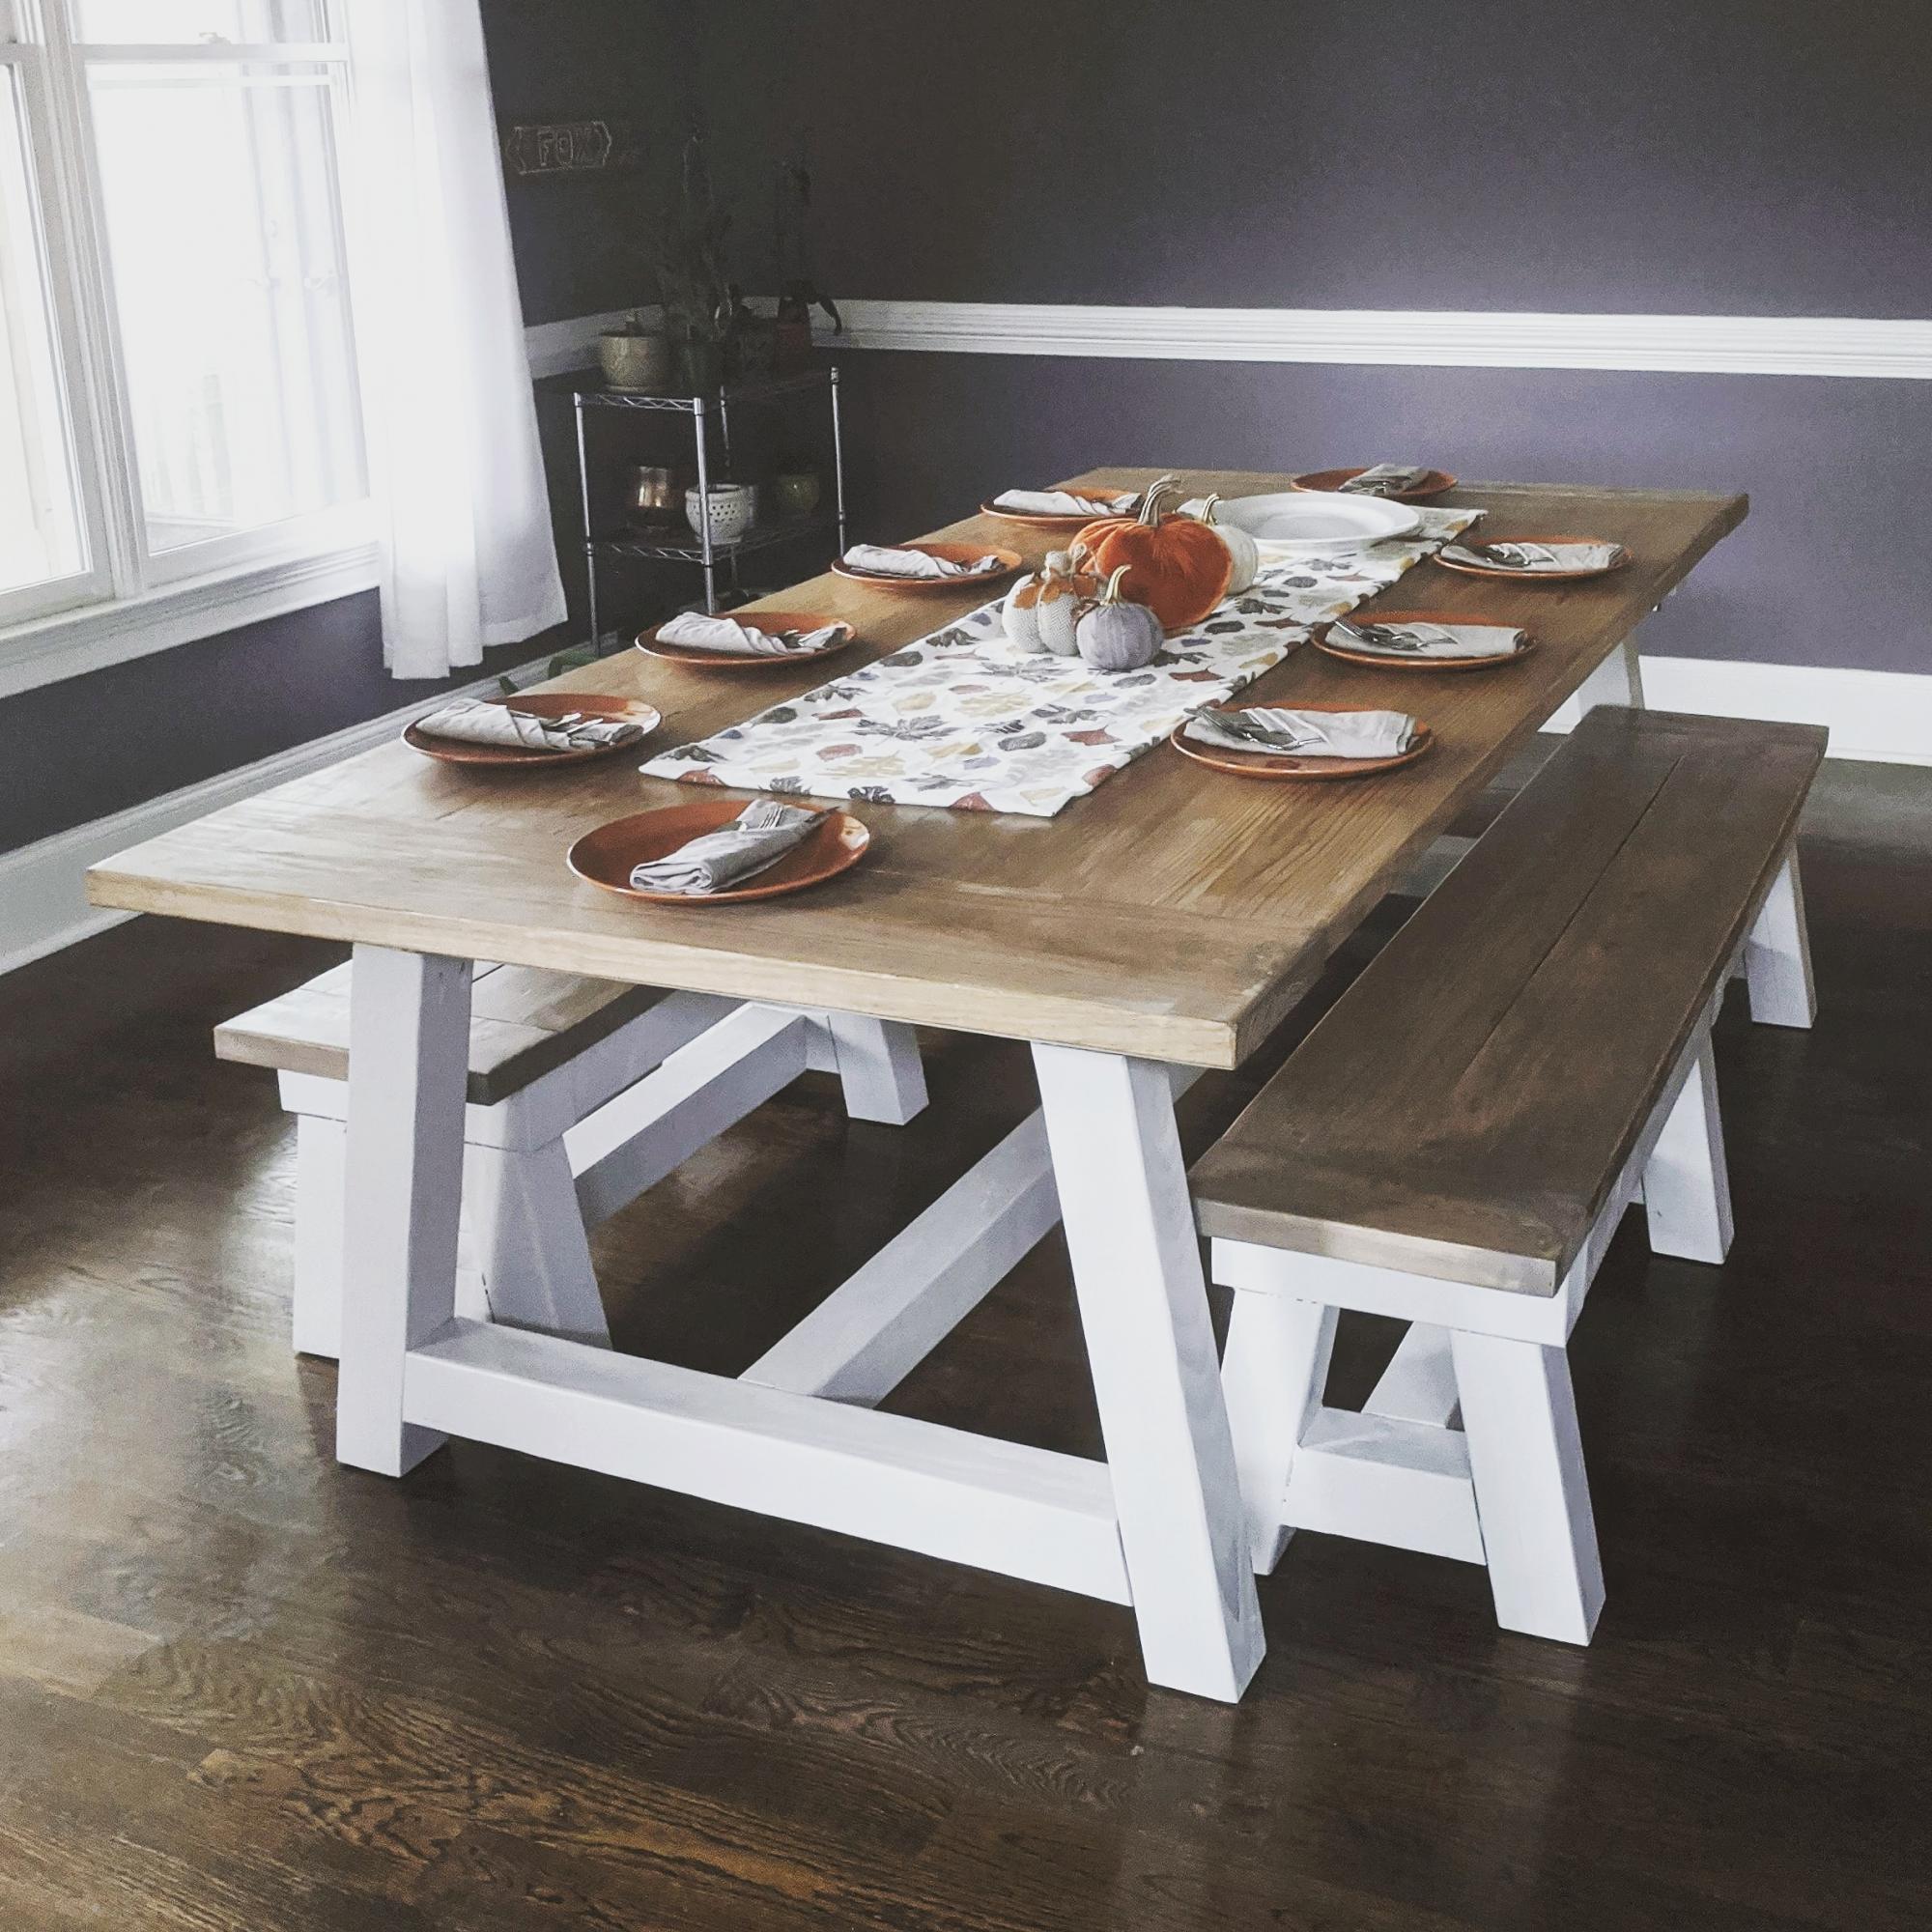
Modified so that it could fit 12 people comfortably.
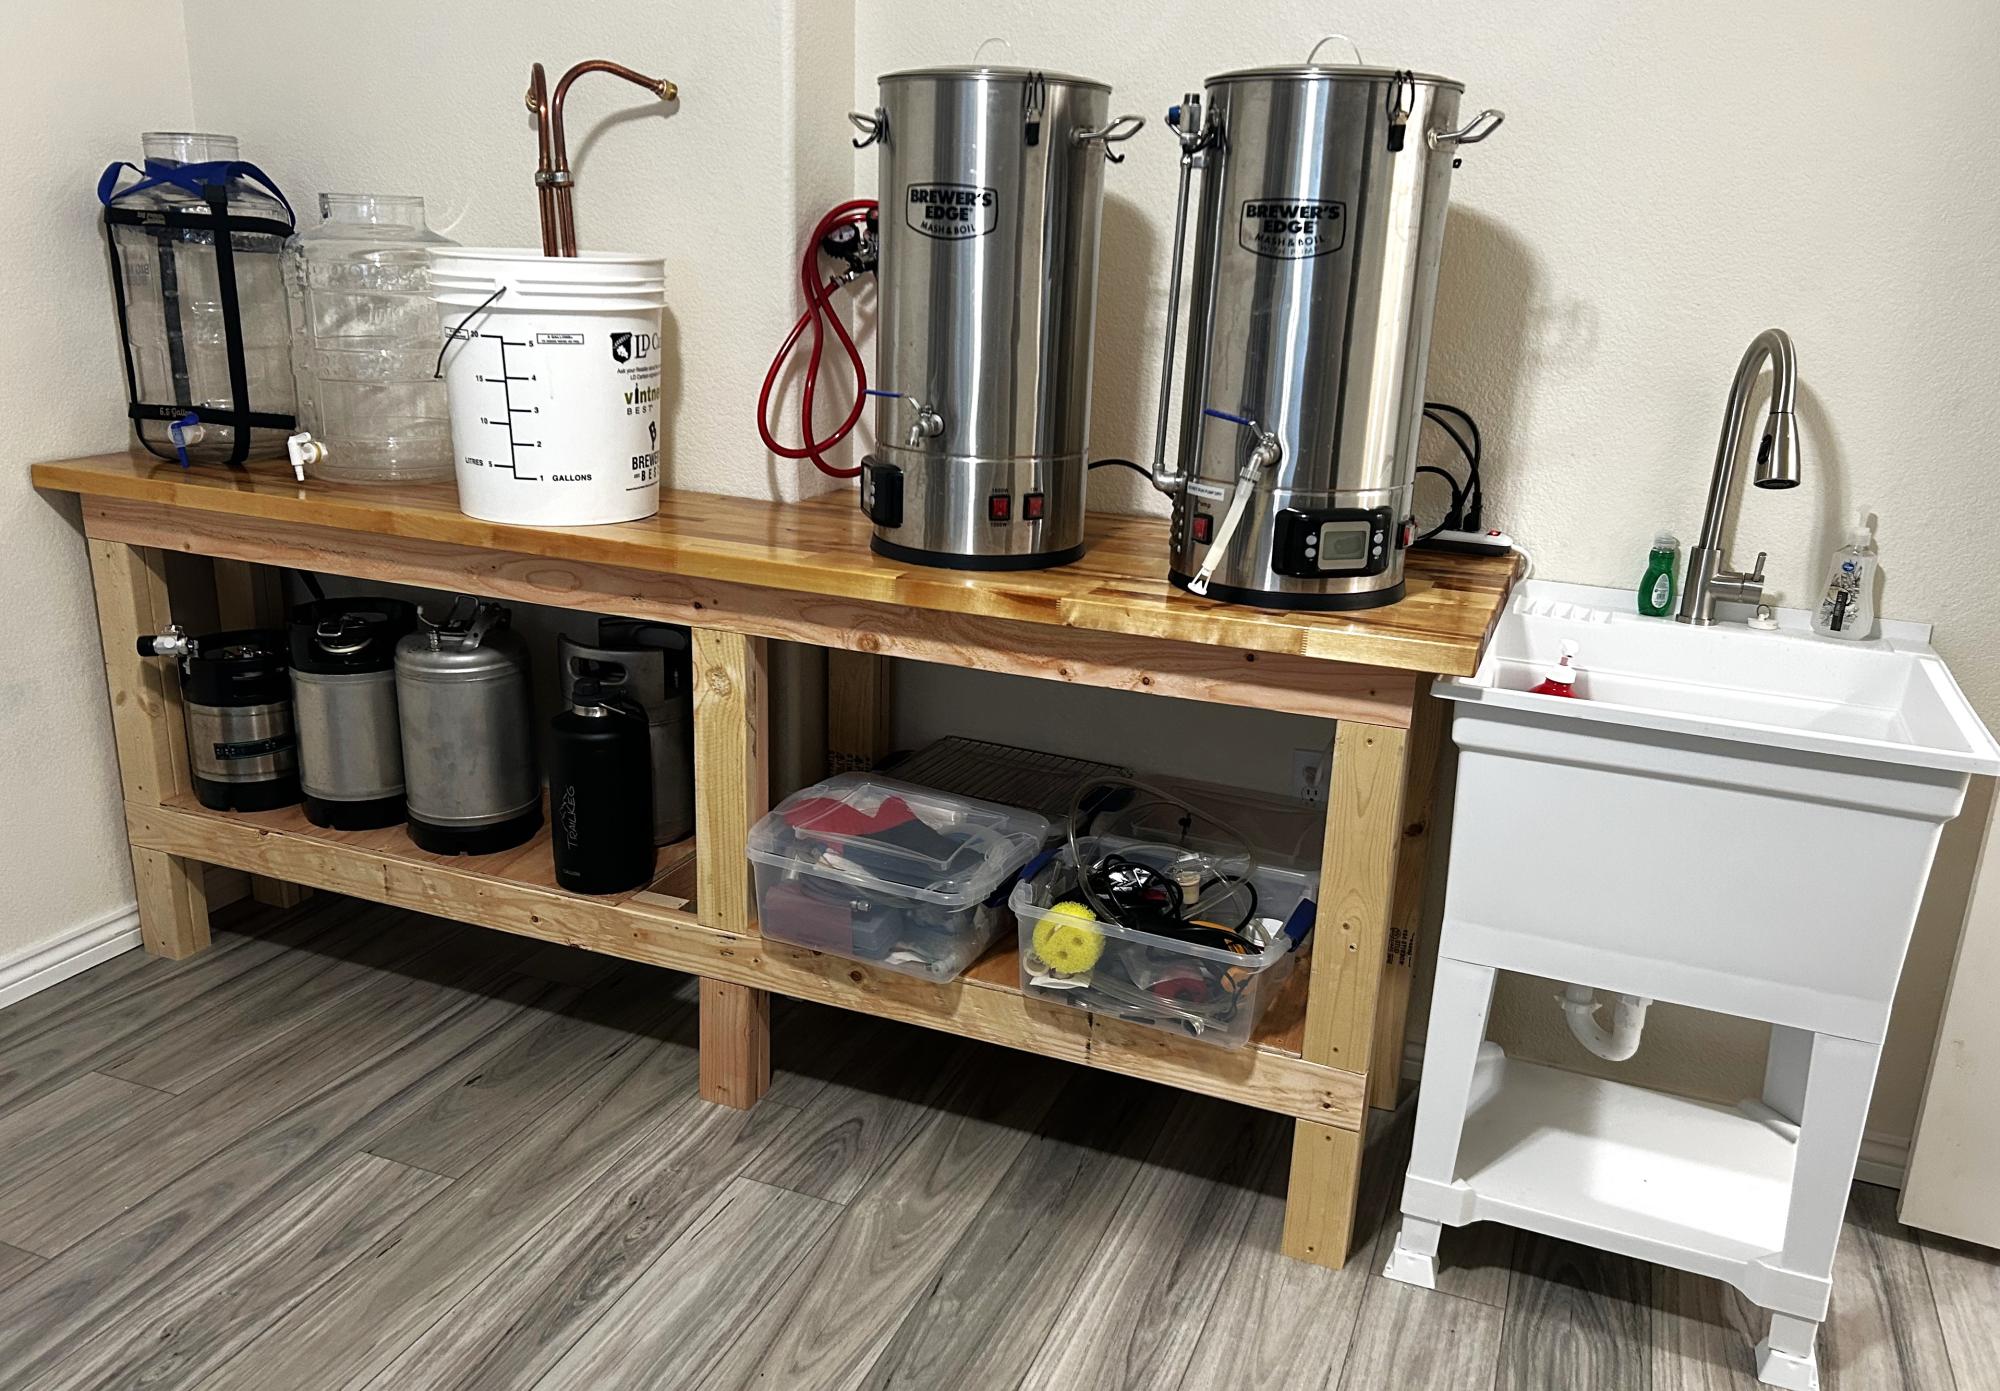
I used your workbench plan to build my Brew Bench. I changed the measurements to fit my space and used a butcher block for the countertop. Very sturdy and pretty easy project. Took one day to build.
Scott R
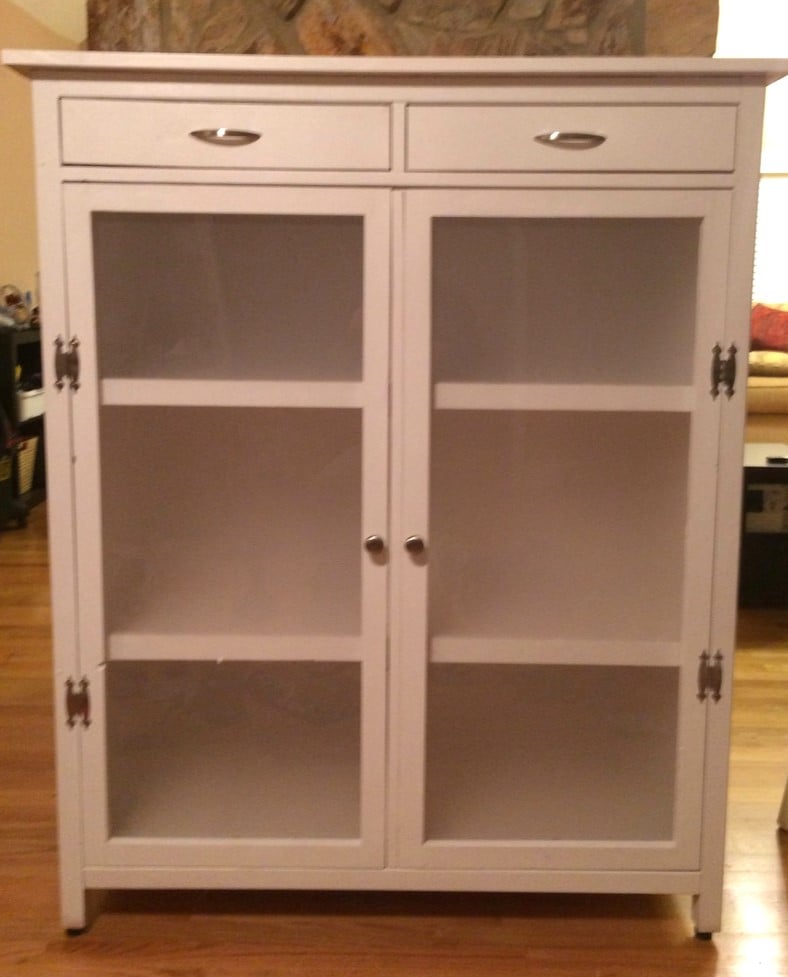
This was my first build for Katy and she loves it! We used acrylic glass and used the frosted spray pains from krylon.
Thu, 01/09/2014 - 16:32
Sorry guys and gals I couldn't figure out oh to rotate it on my phone! But you get the picture
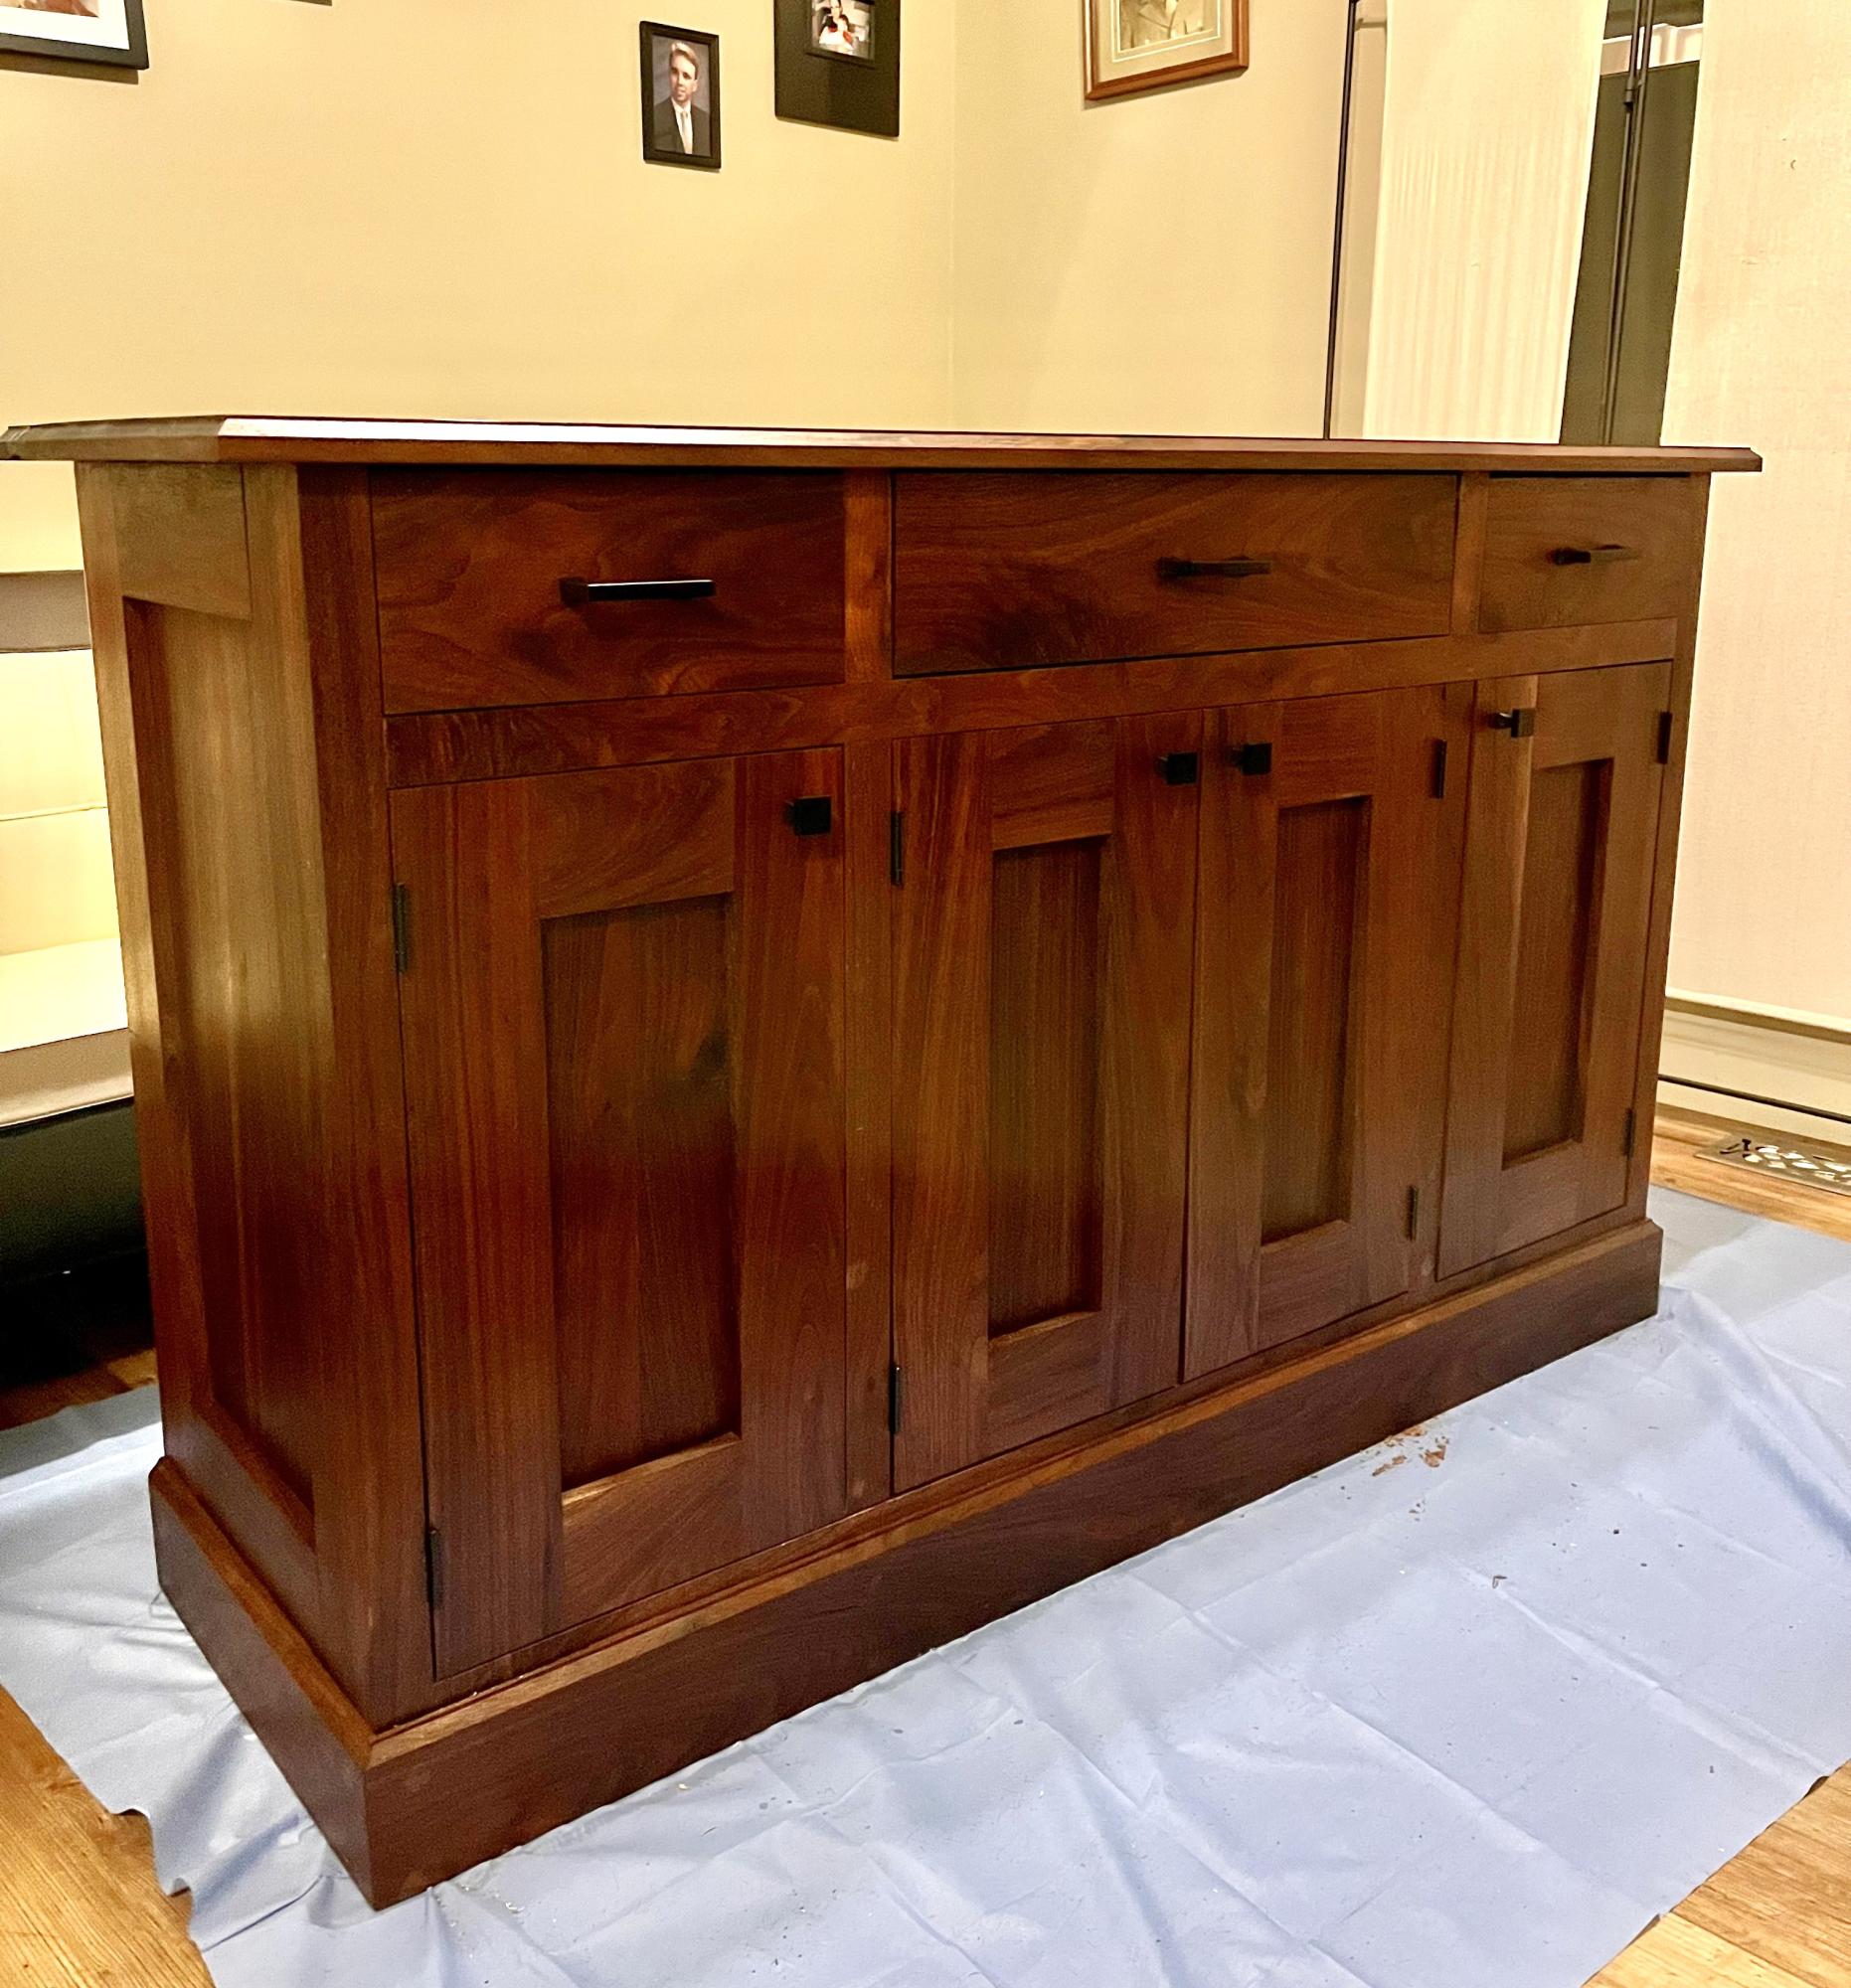
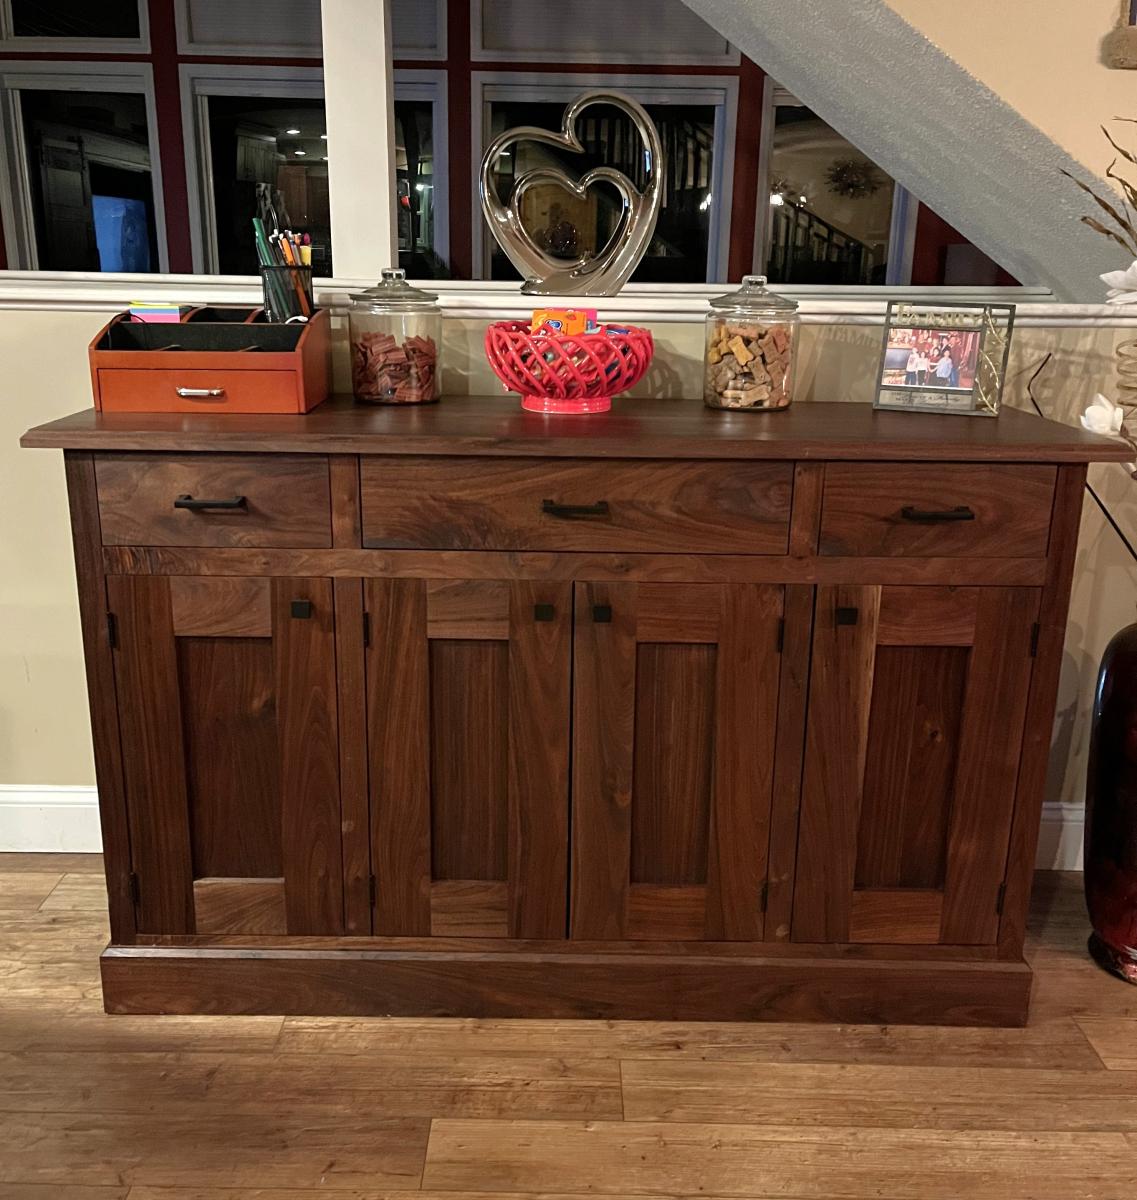
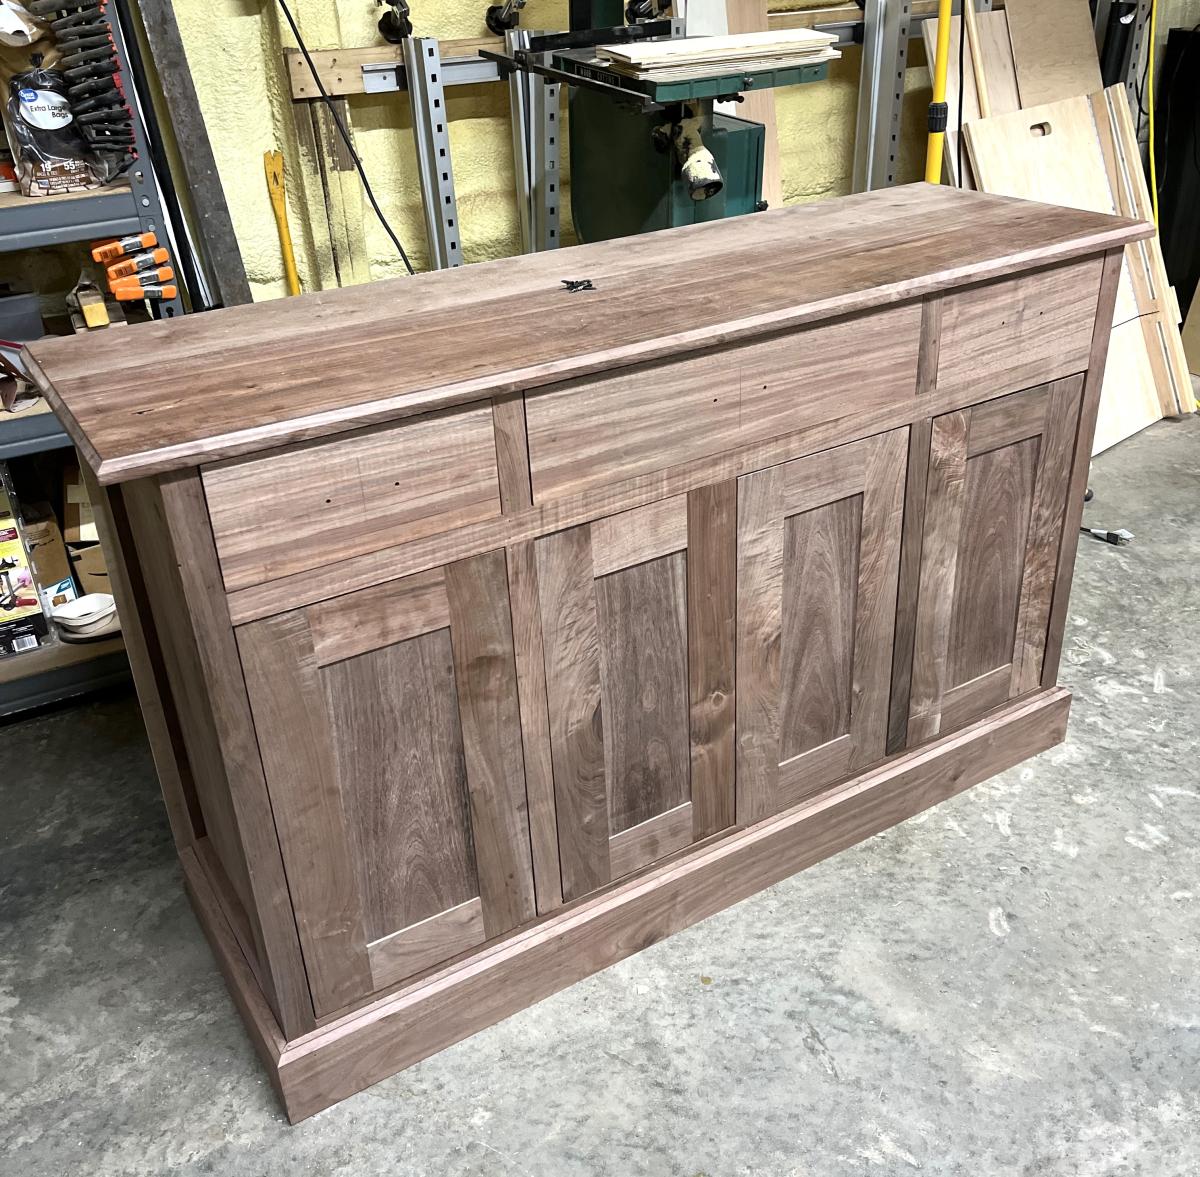
I used a modified version of the Planked Wood Sideboard to fit the space I had. With the exception of the frame, it’s made of walnut. I love the way it turned out. Thanks Ana!!
Adam Benns
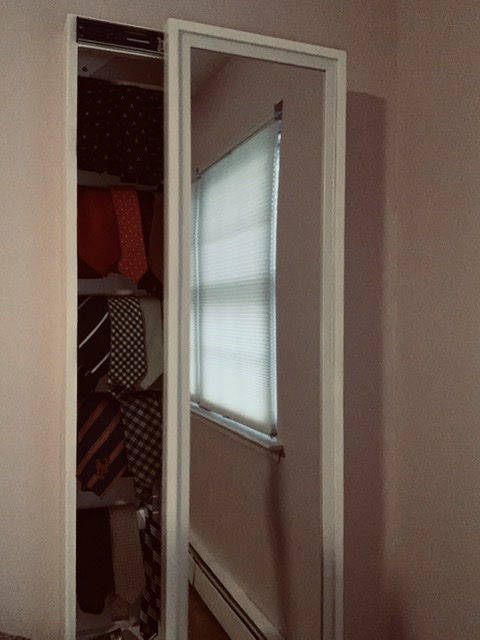
Adjusted the plans to have the sliding mirror be a hidden Tie rack. Love the adjustment and being able to hide ties in the room.
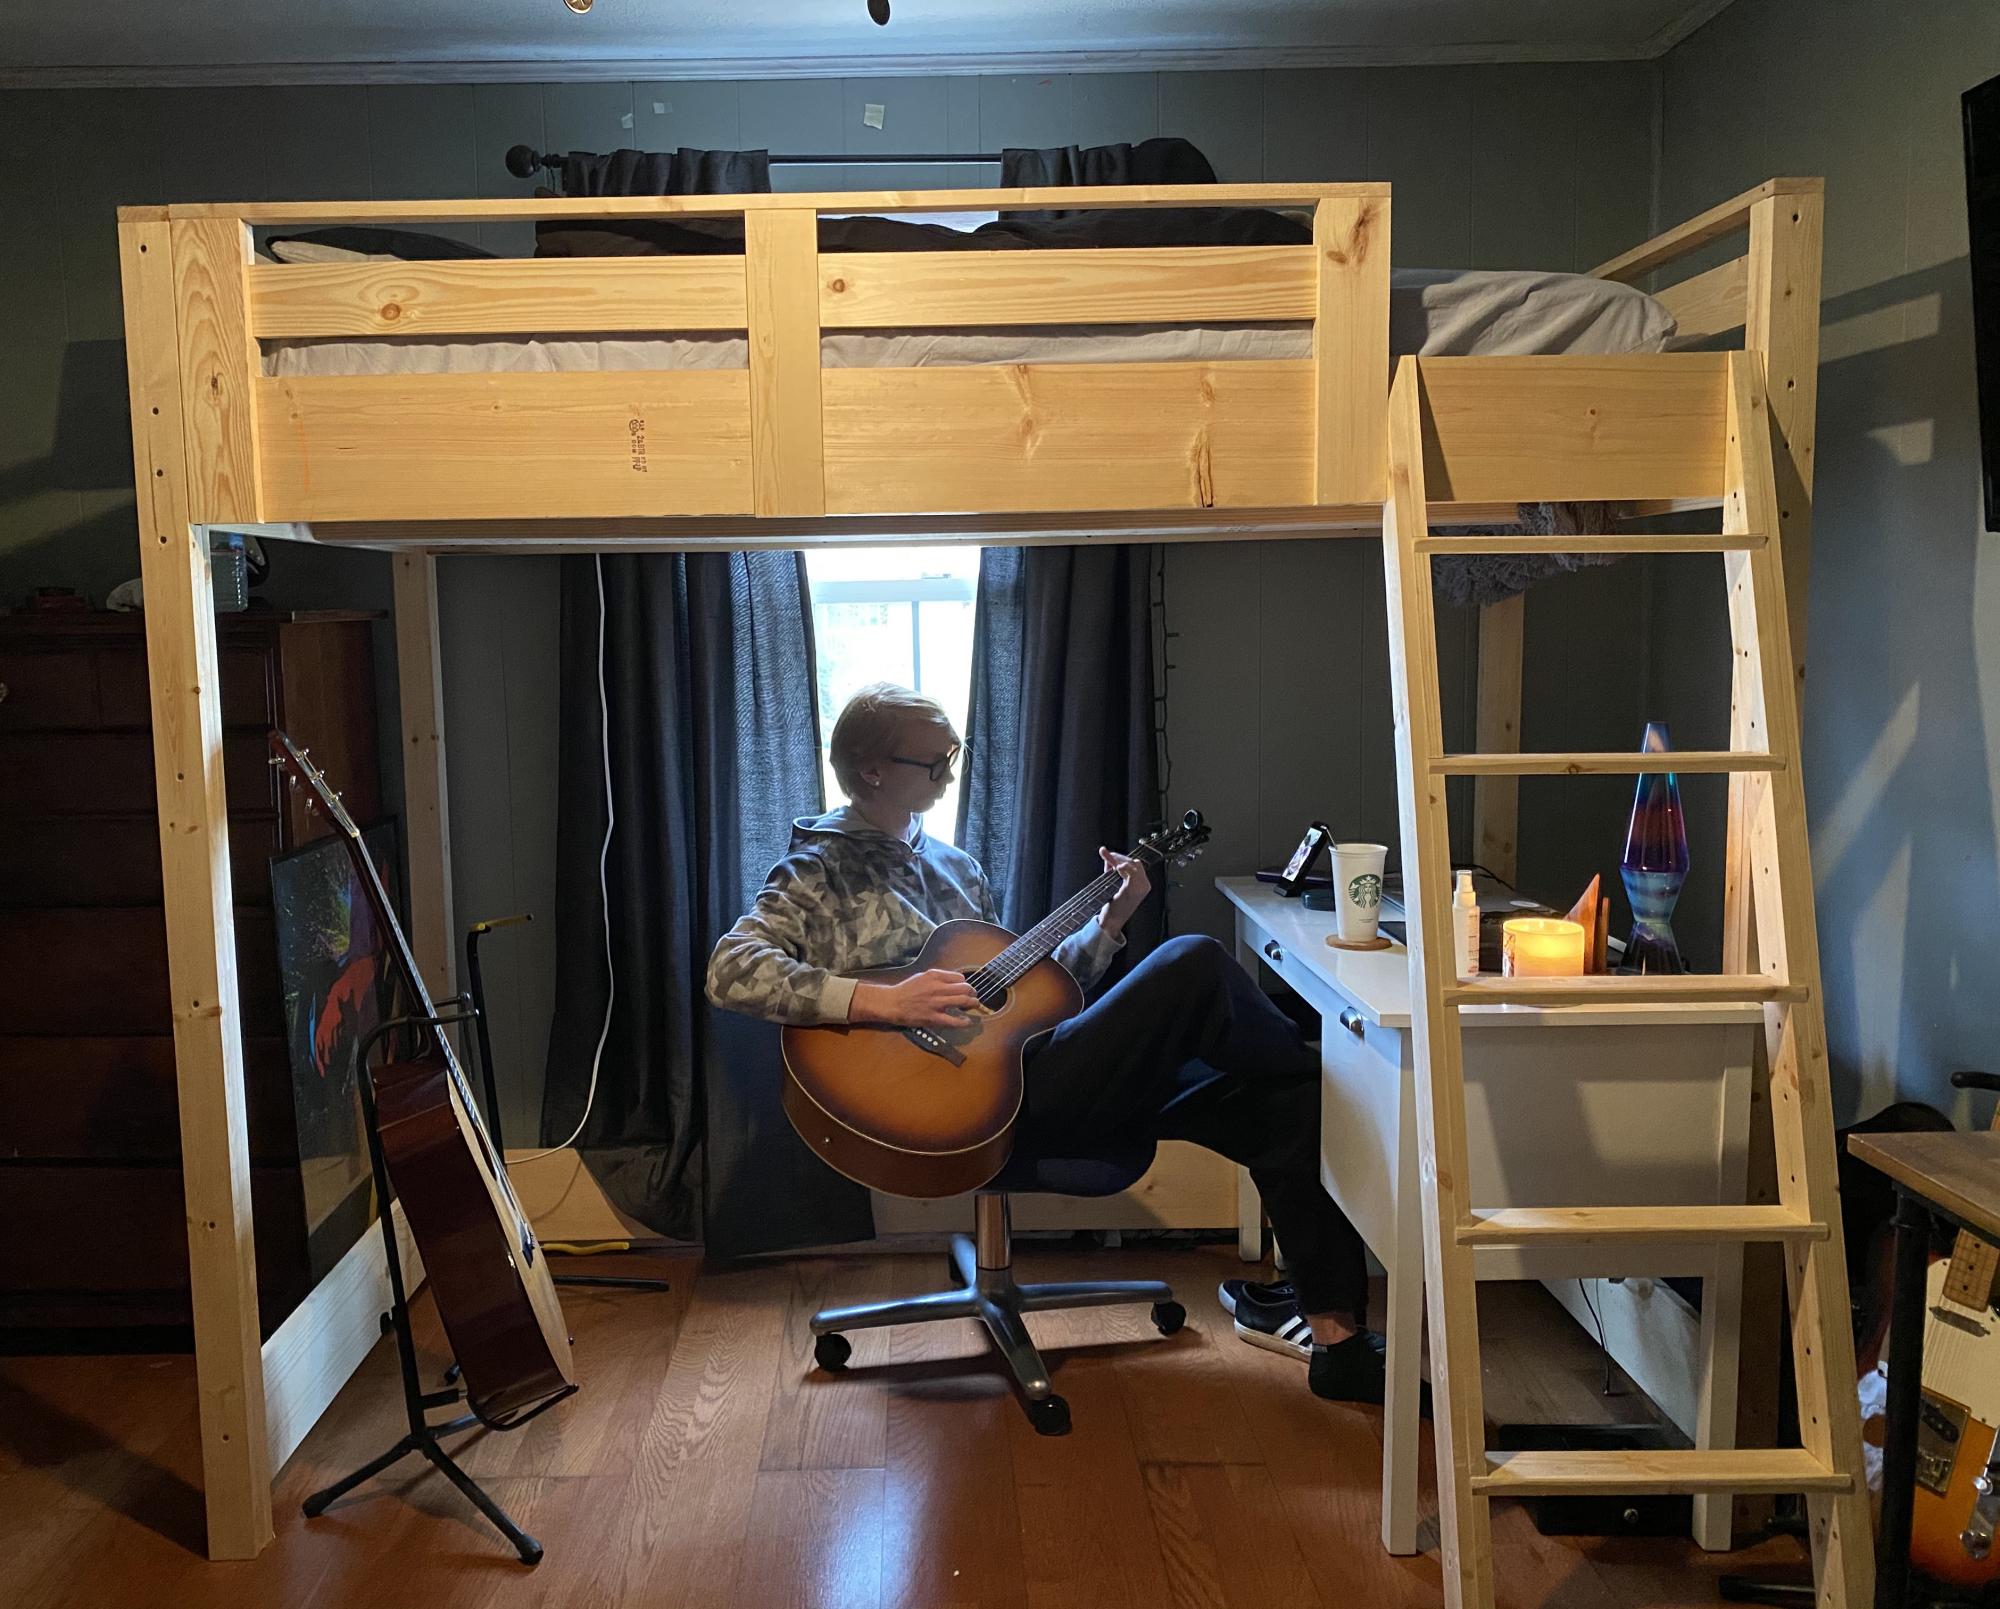
Modified to a twin xl from the loft bed plan. Wood has not been finished.
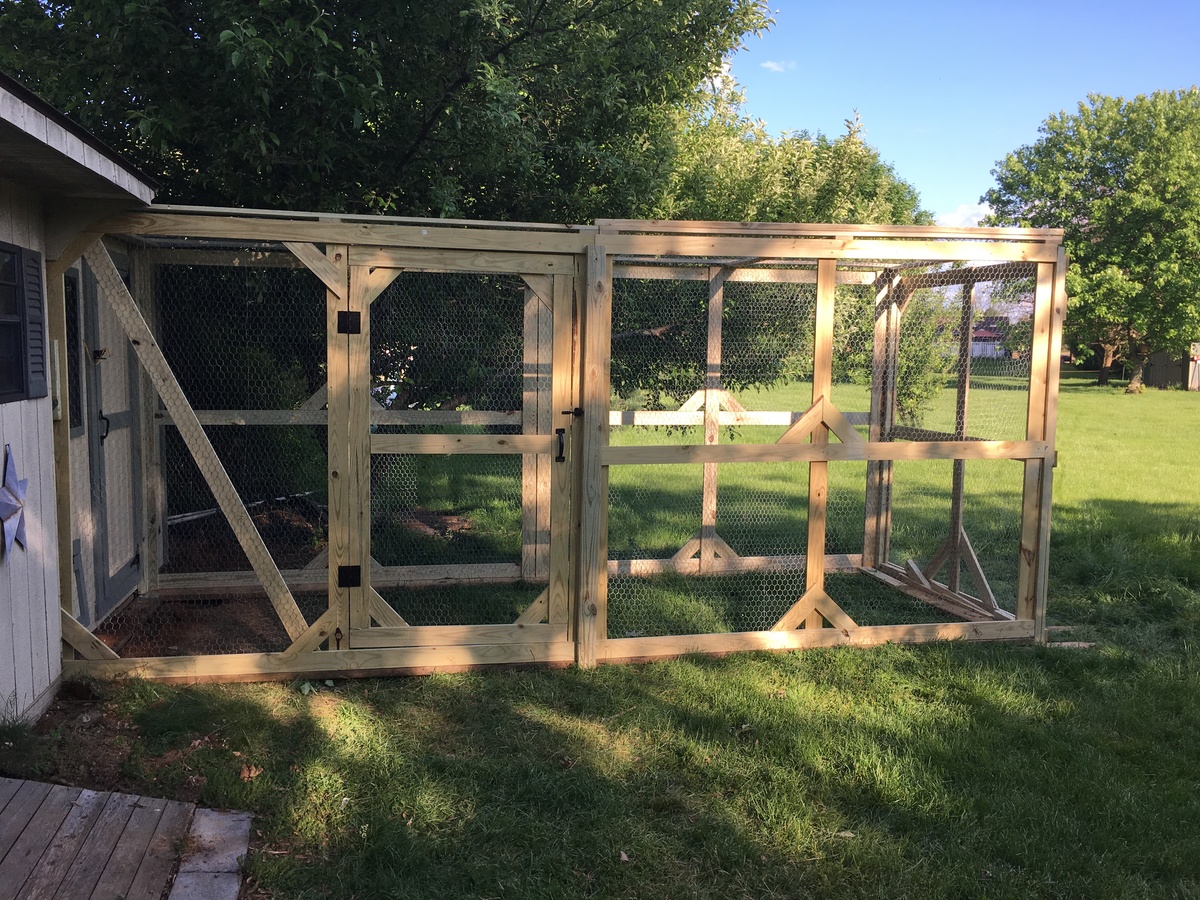
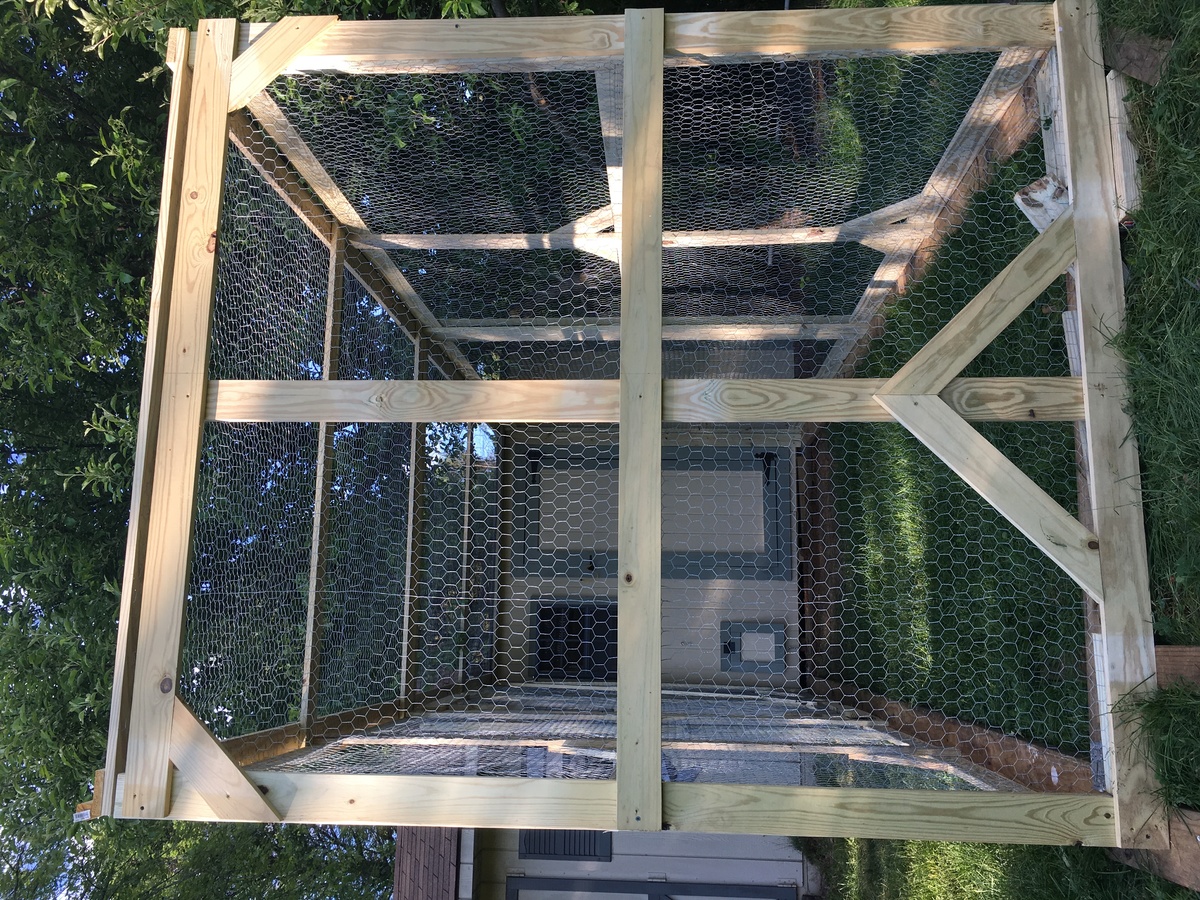
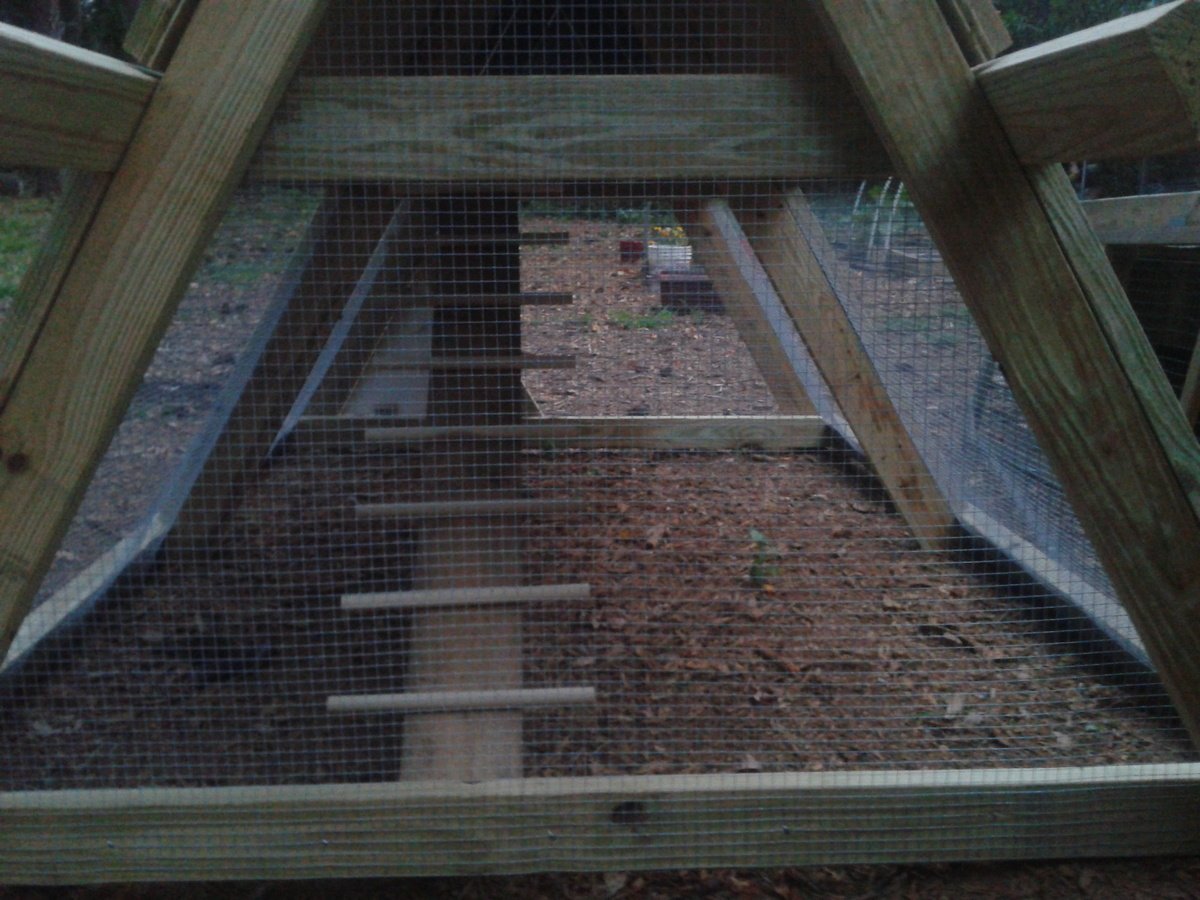
Or use the same plans with the exception of I extended the height so I could actually walk into the run fairly simple to assemble I would strongly recommend an air compressor staple gun or you'll end up with four arms like Popeye
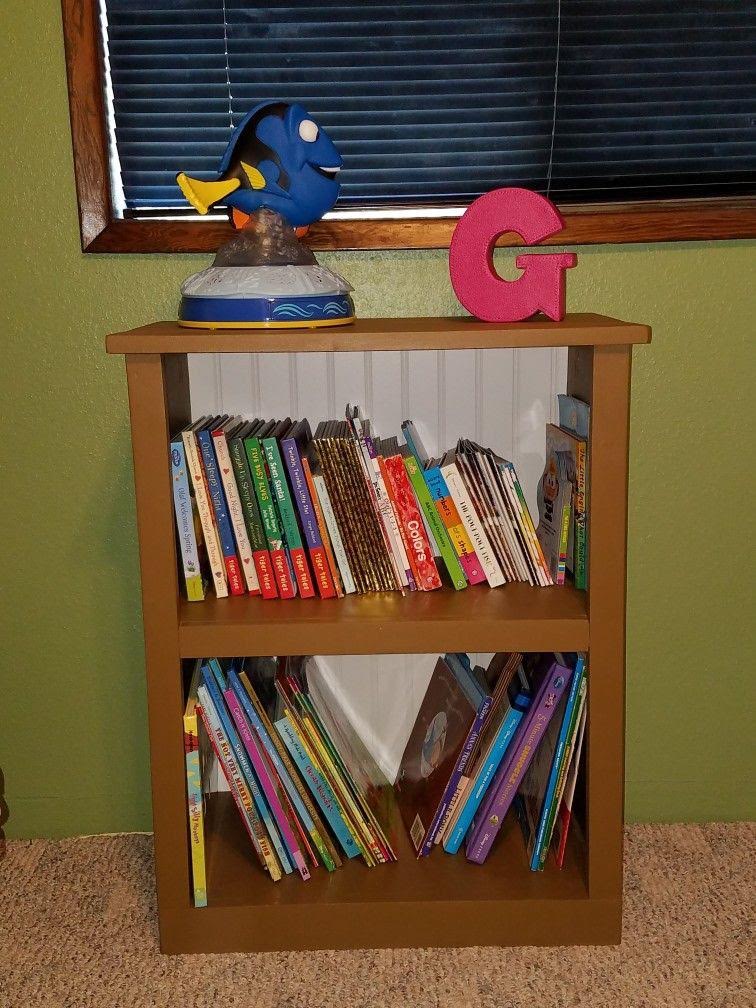
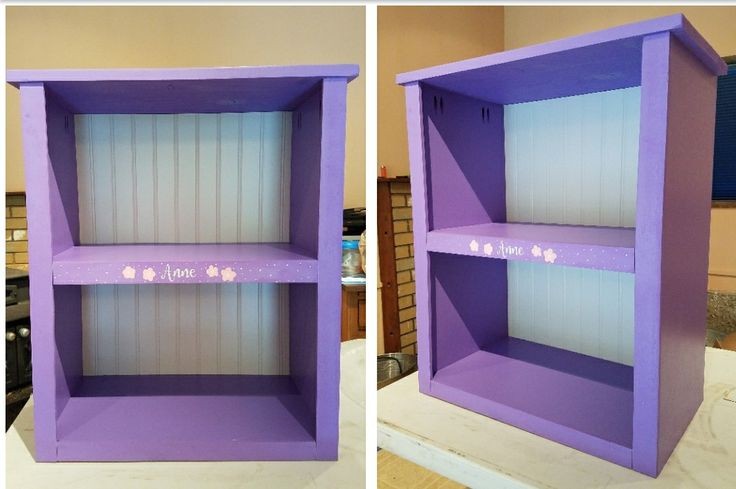
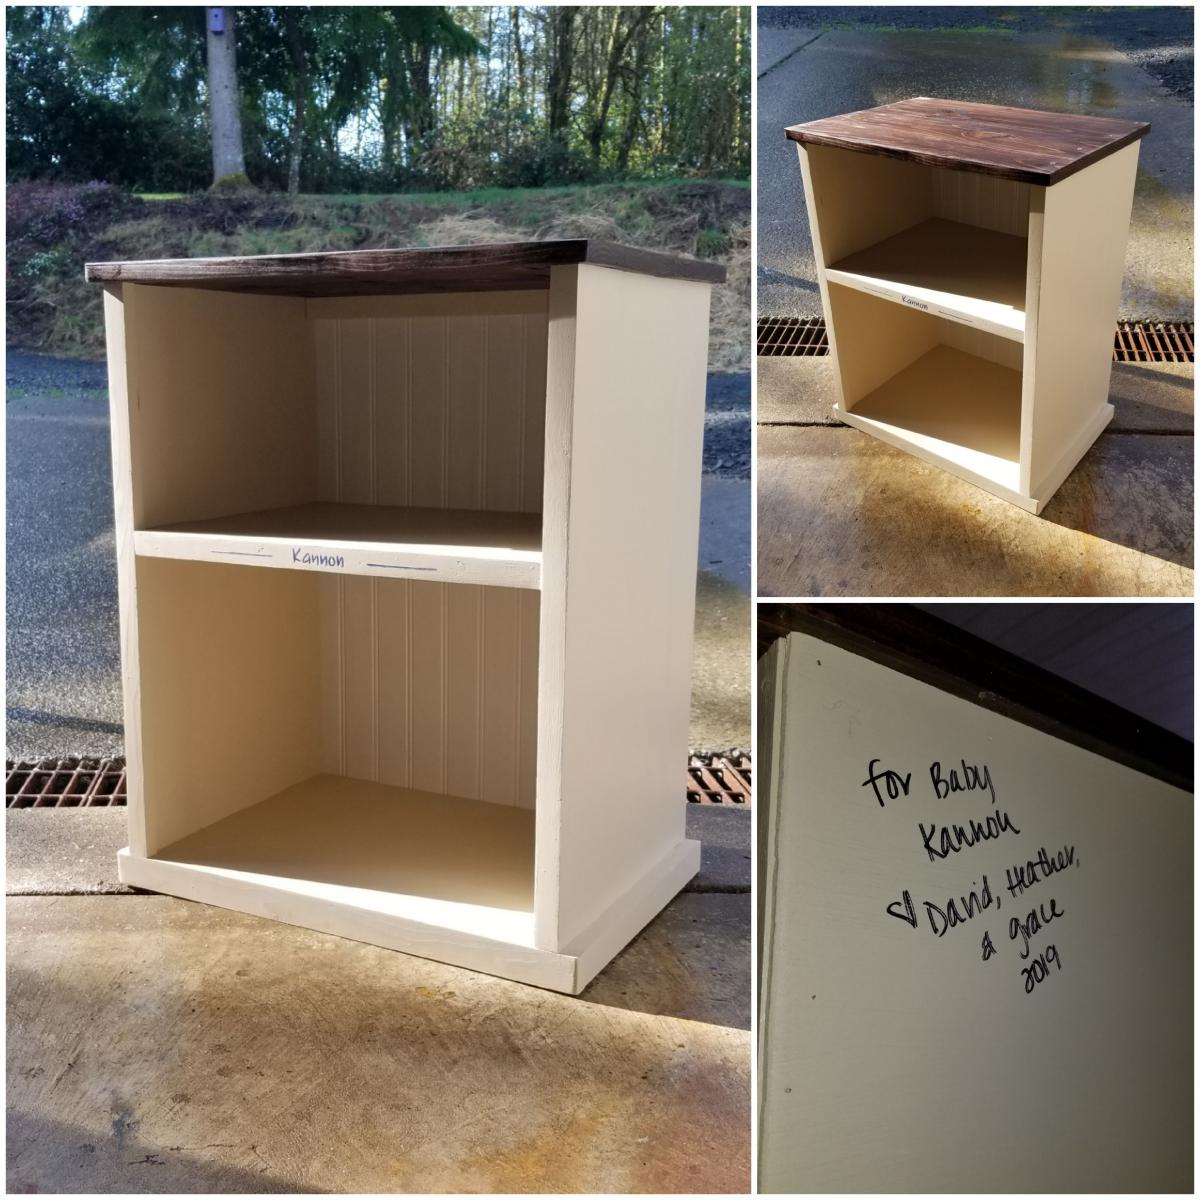
I have built three of these so far: one for my daughter, one for her best friend, and one for my cousin's son for their baby shower (books instead of cards). I've modified it and tweaked it a little each time but the overall finished product is basically the same. It's about 36" tall but the same width and depth as the Kentwood plan. I put the one shelf tall enough so that the biggest books can live on the bottom. I used beadboard for the backing but I think the next time I'll use either 1/4" plywood or common boards and Kreg them together. This takes less than a day to build and less than $40 in lumber. Easy to make, easy to assemble, and endless possibilities to finish.
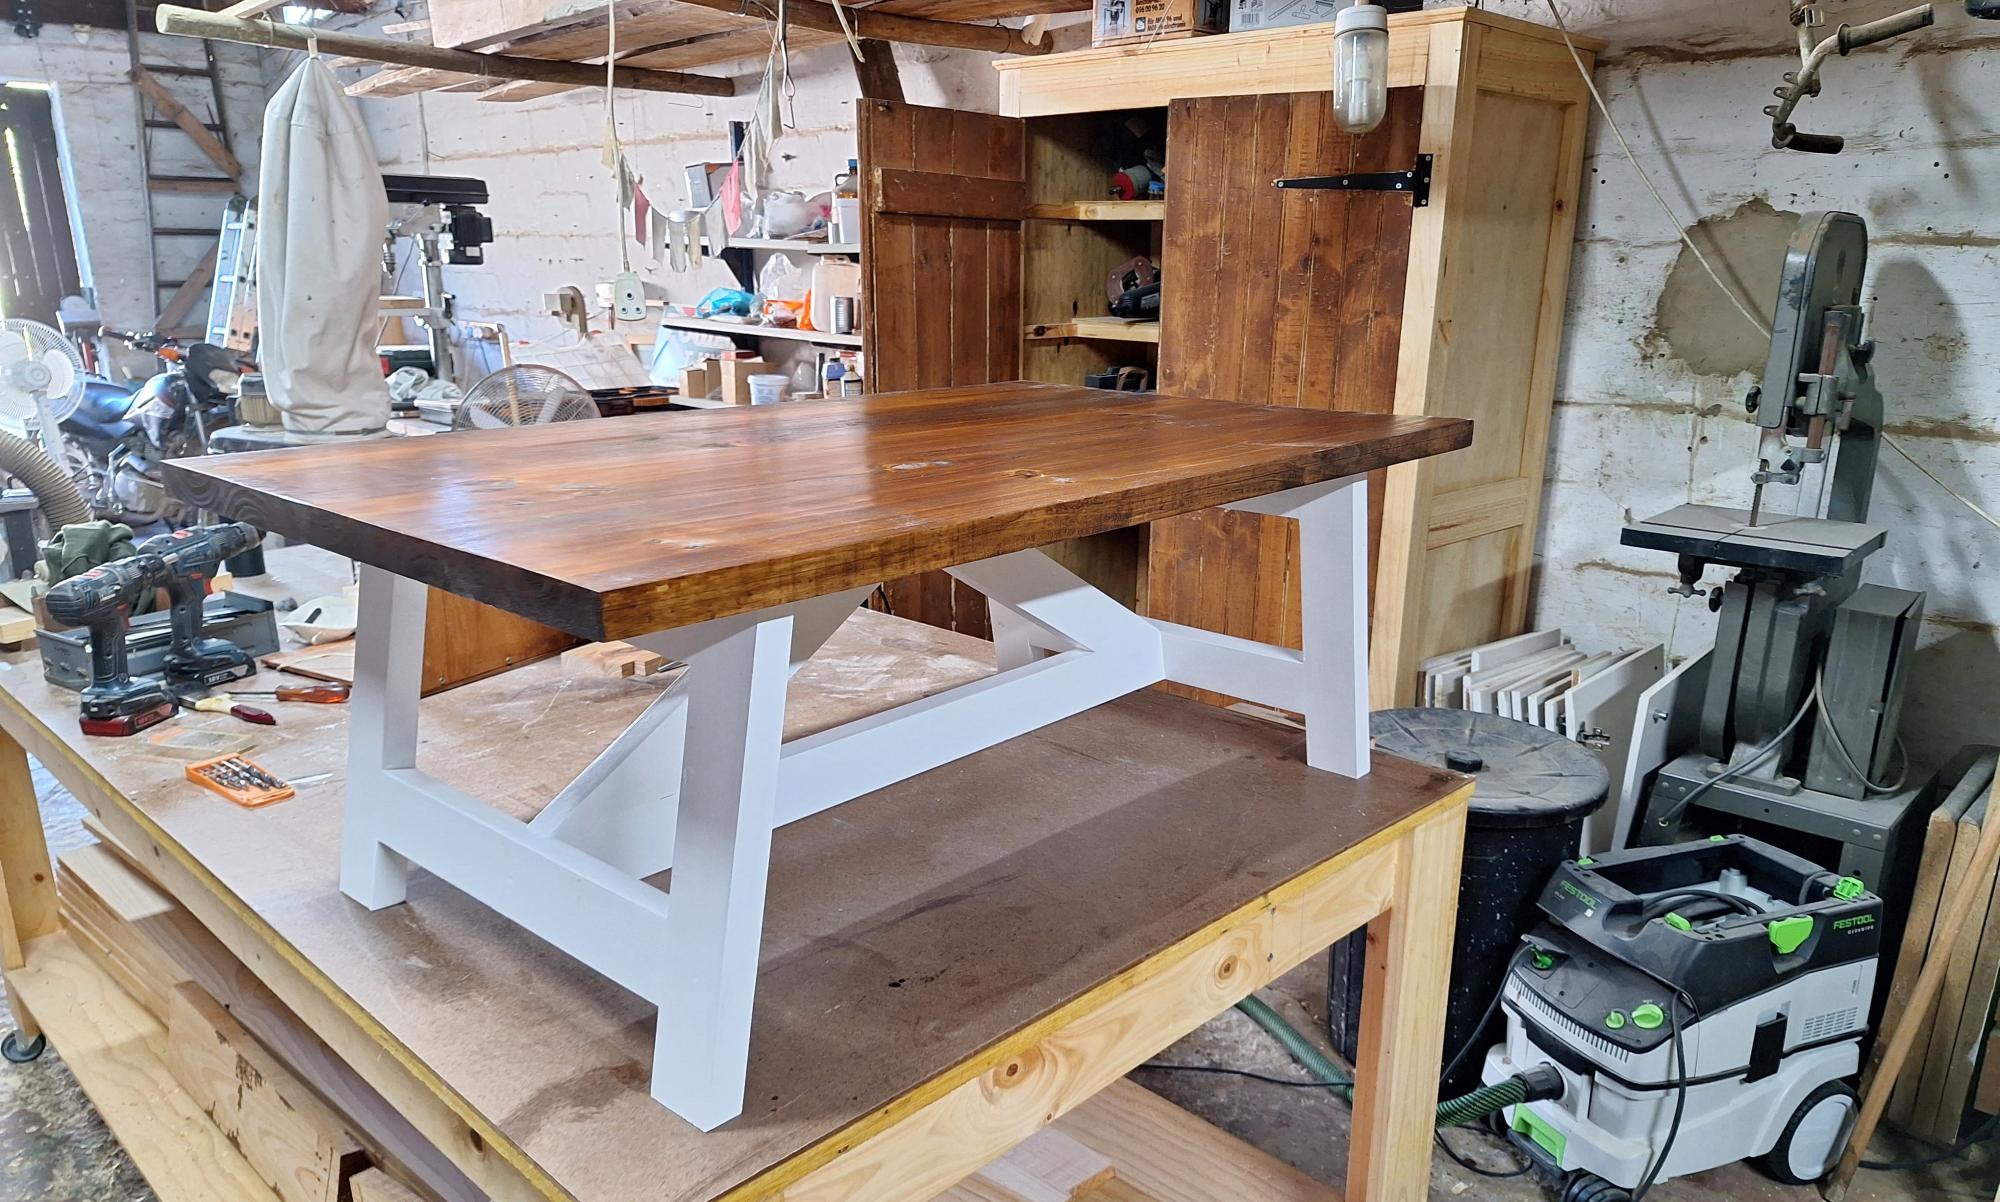
I chose not to use pocket holes, but rather my new Domino joiner. Very happy with the results. My daughter is already trying to claim it.
Gordon Smith
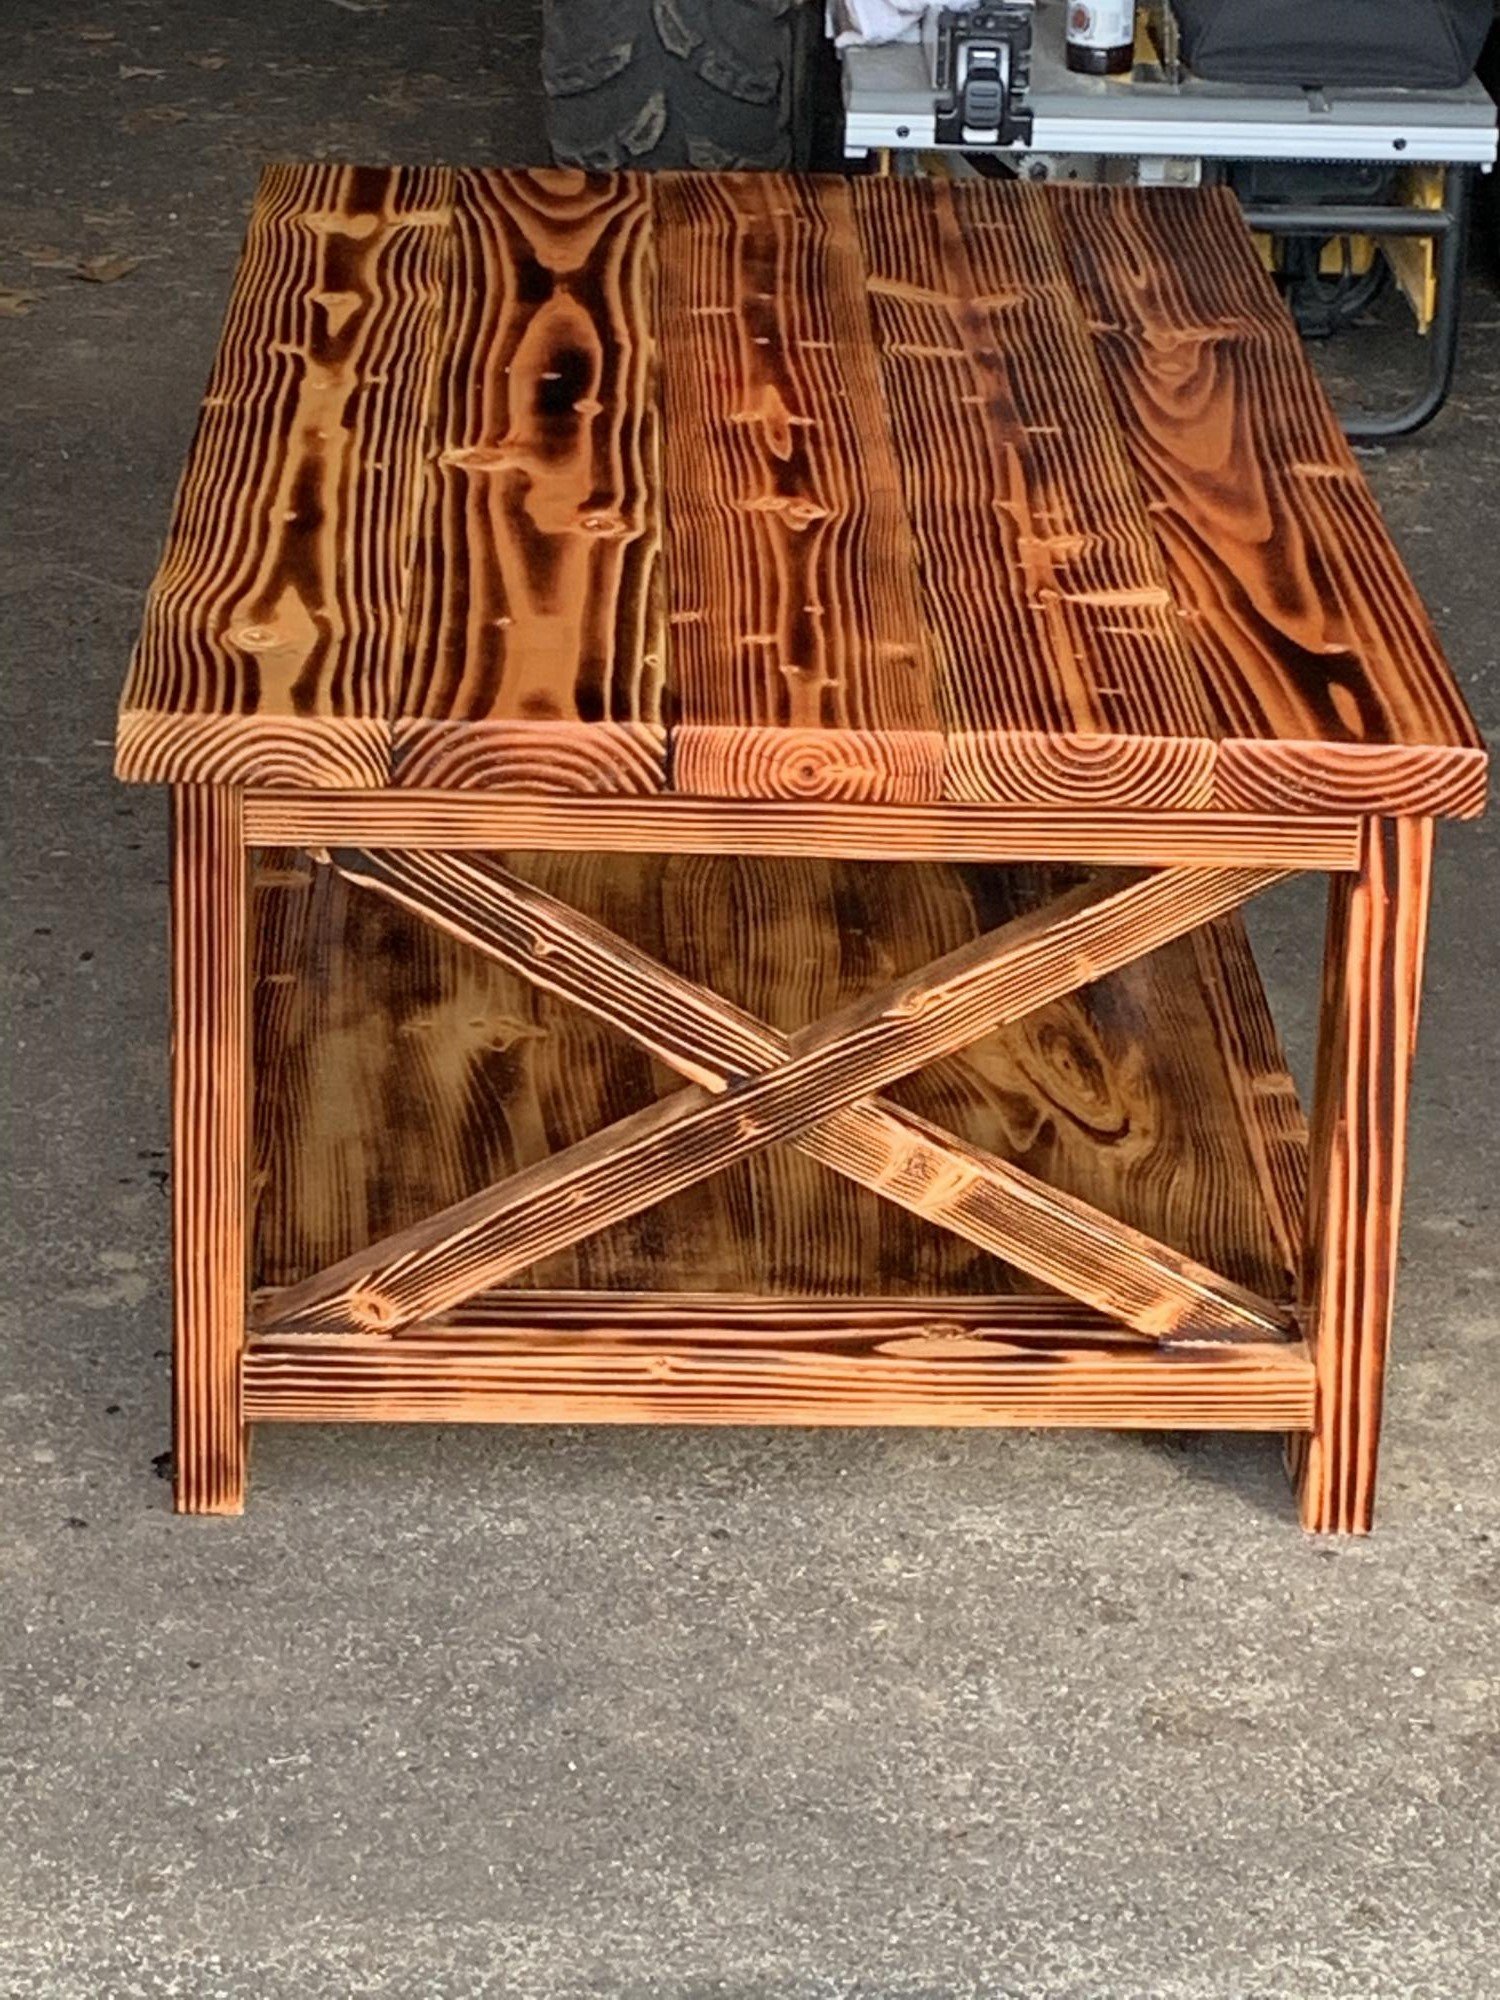
I love it. Originally wanted to build the lift top coffee table but by the time it was ready to do it we realized the sides weren’t wide enough to for a hideaway storage. Wish it was a little bit smaller but for the first project of many it was great

A 30" tall bar stools inspired by the plan simplest stool.
Fri, 07/20/2012 - 05:32
I like your design. Finally made an account and will be making matching ones. Thanks for the inspiration. If the better half doesn't like the first one I will have a new stool for my workbench
Tue, 09/04/2012 - 15:20
by adjusting circular saw depth and using chisel and hammer and lots of sanding :)
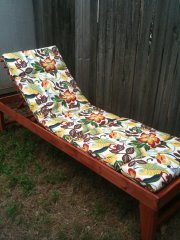
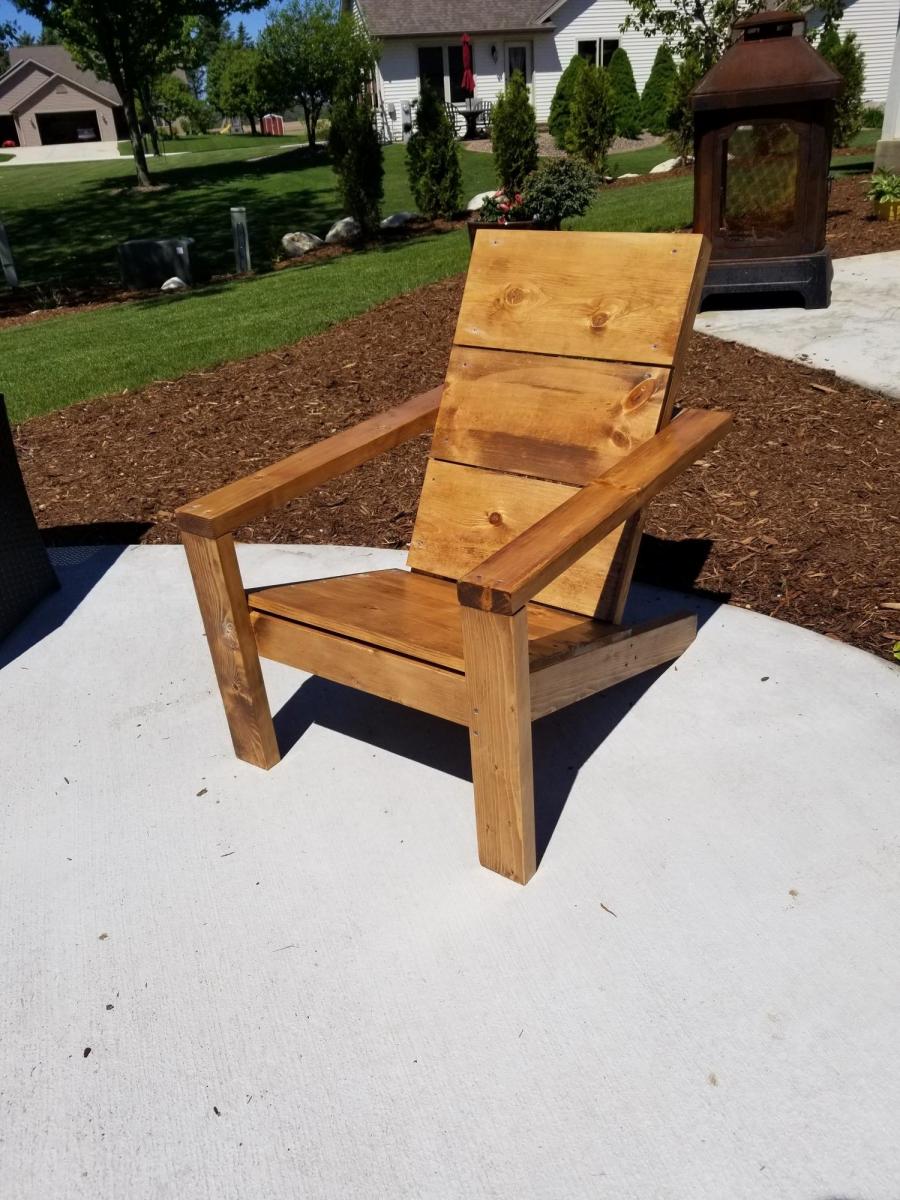
We decided to put my husband to work during a hot Oklahoma summer! After about a month's worth of procrastination, he finally built the chair! It was very detailed but easy to follow. I was the one who stained it (in the dark - so don't judge) and got the cushion from Garden Ridge.
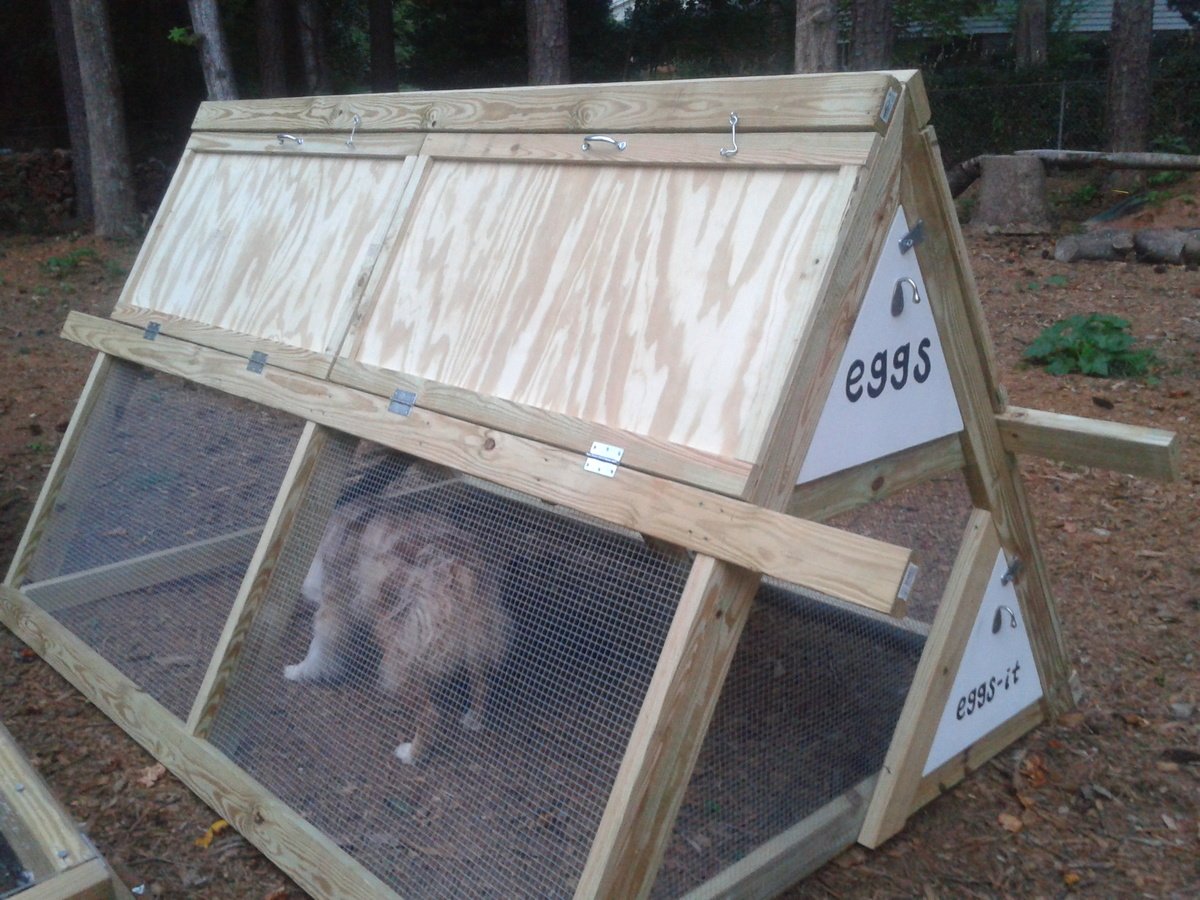
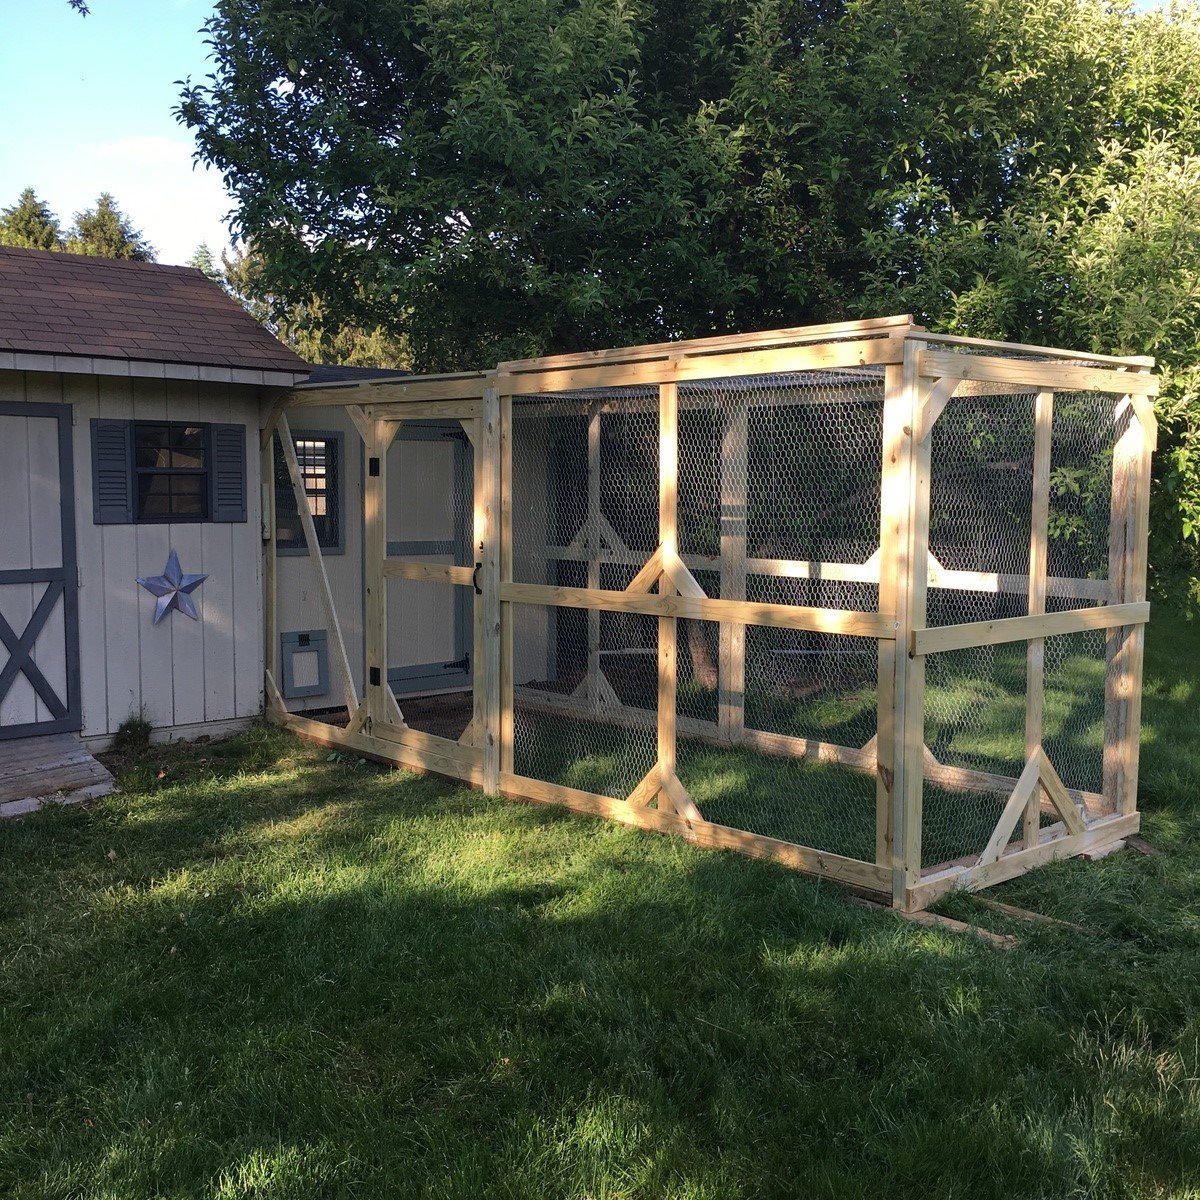
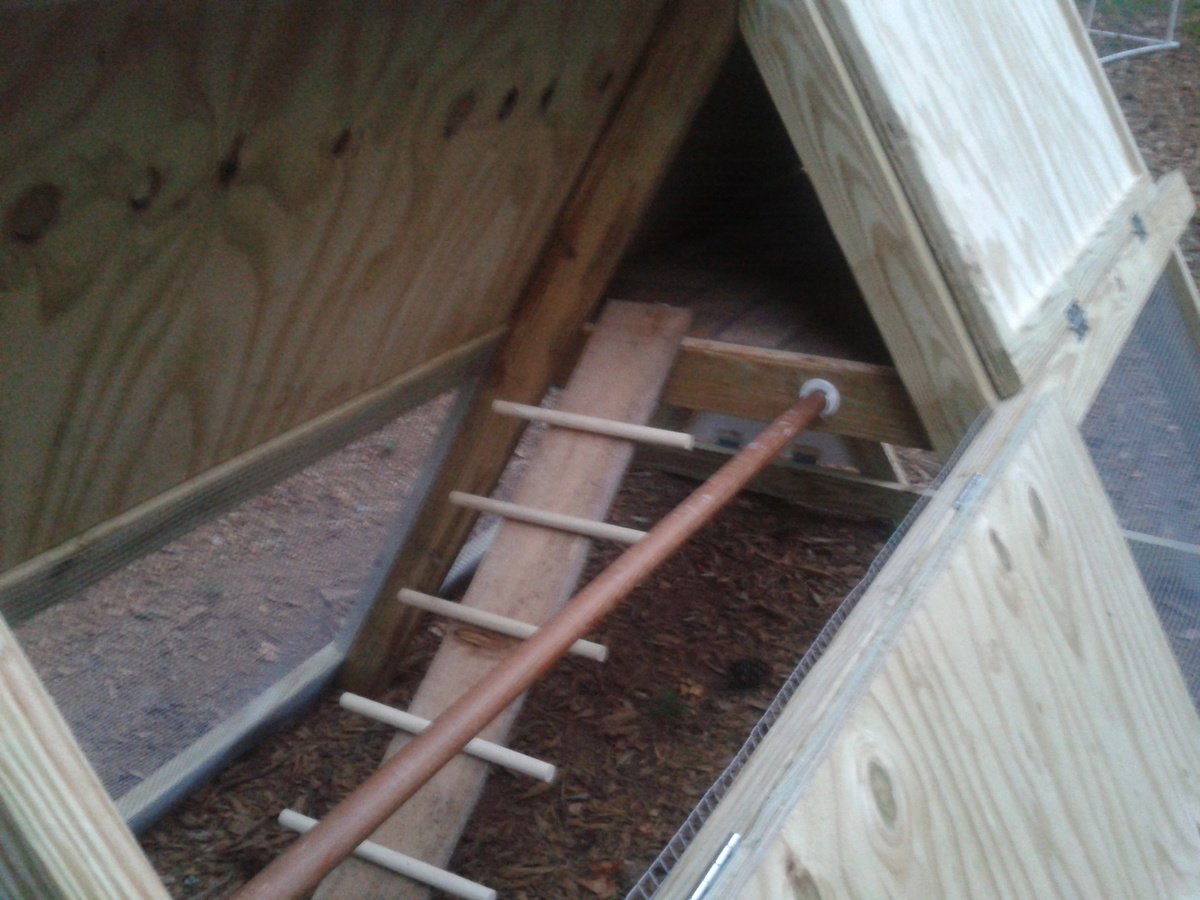
We followed the plans for the A-frame chicken coop very closely, and then modified it a bit at the end.
1. Trim was added to two doors on each side, as suggested. They are secured with latches at the top, more to keep them from falling open than to keep critters from getting in. We used 2x4x10's instead of 2x4x8's on the middle horizontal rail, giving us foot-long handles on each side. My husband and I are able to move the coop about 15 feet at a time, which is pretty good considering it is STURDY!
2. We used 1/2" galvanized hardware cloth instead of chicken wire, as suggested by one commenter (and lots of others in blogland).
3. I cut 1/4" plywood to fit the loft space and coated it with vinyl stick-on tile. This should make it easier to clean. We didn't screw down the plywood, so if we have to, we can remove it to hose it off/scrub it.
4. I cut a triangle of plywood to make an egg door at the end of the roost. It hinges at the bottom (with a 2x4 ripped into a 1x4 to cover the hardware cloth and provide a mounting spot for hinges) and latches at the top. I plan to use cotter pins or something to secure the latch. There is also a piece of untreated 1x4 held in place with tabs at the egg door to prevent bedding from falling out once it's converted to the nesting box (I'm planning to get pullets, not ready to lay yet, so they won't even have a tempting nest box)
5. There was no bottom door in the plans (to allow free-ranging), so I cut a piece of 2x4 to make a triangle against the bottom (same size as the egg door). It folds out (just like the egg door) and will allow the chickens easy access to the yard. We do have hawks in our neighborhood so free time will always be supervised. We also have a dog (who I coaxed into the coop for the main picture, haha!) who will need supervising. She's been around chickens before but you never know what will make her turn on them!
6. There was also no roost in the plans (although if you look at Ana's coop, there is a 2x4 across the middle of the side walls). I had a leftover closet rod, so I mounted that in the covered section parallel to the ladder. The ladder was shifted to the side. For the ladder, I just used a piece of cedar fencing and cut 2 48" dowels into 4 pieces each, and secured those with screws from the underside. I hope my chickens will be able to get up the ladder!
7. I also made a tube feeder from PVC and a dog bowl, and am working on a nipple waterer. Will update post when those are finished!
Now I just have to get some hens! I've been searching craigslist and can't wait!
Thu, 09/20/2012 - 19:31
I really like the addition of the roosting bar and how you made the ladder. Your little chickens will be so happy! Good luck!
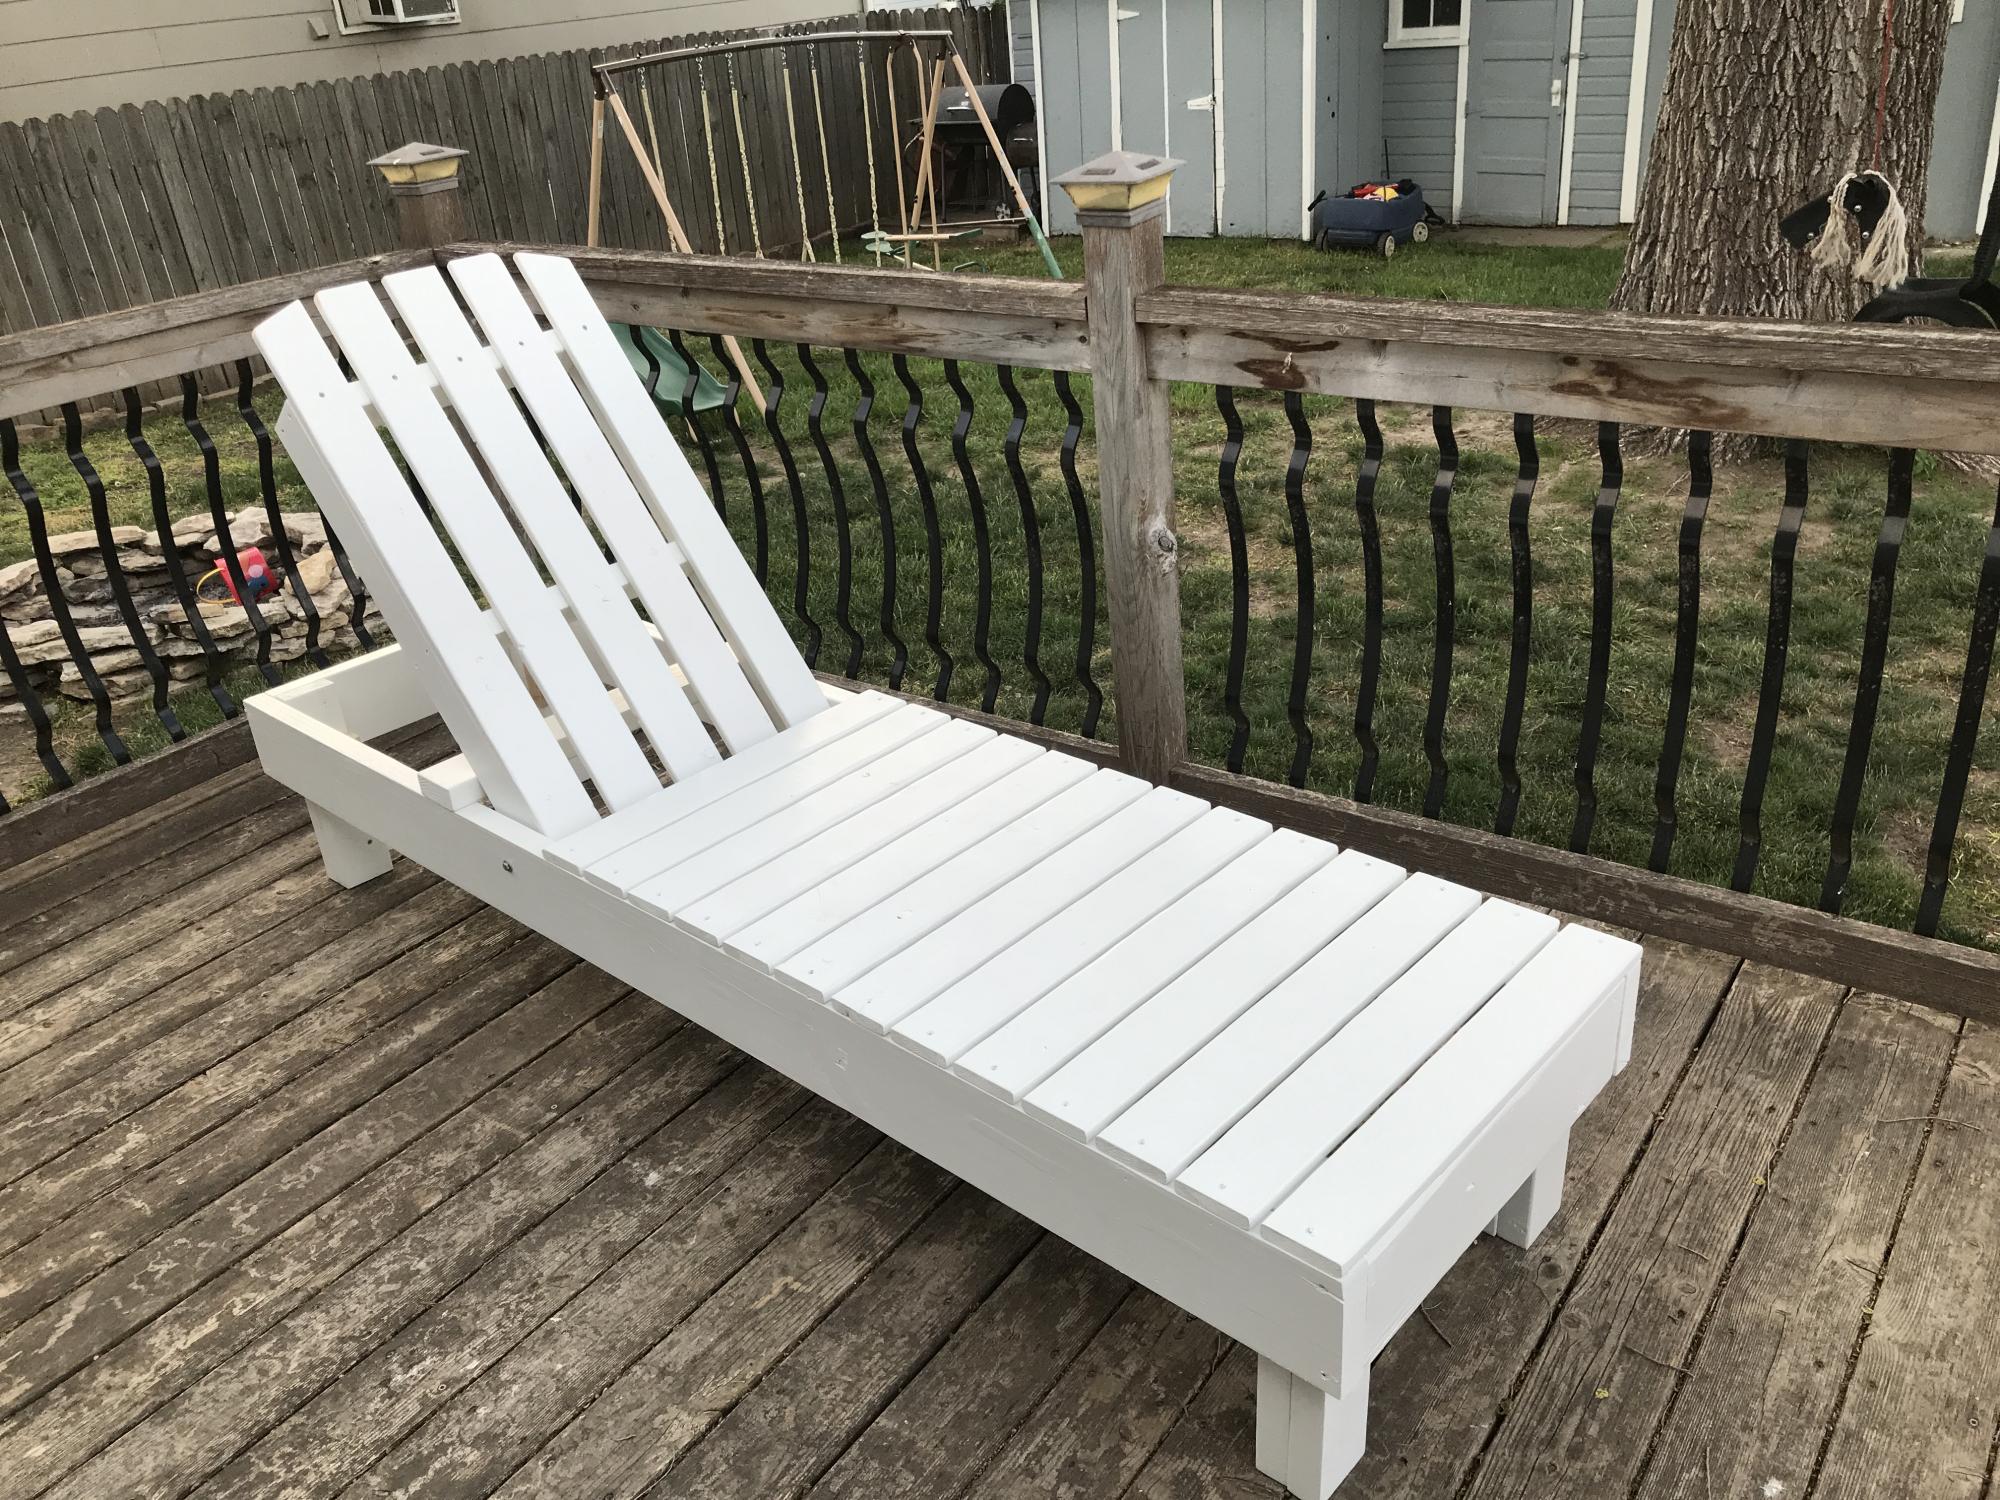
This took way longer than anticipated. I didn’t account for how much time would go into sanding, priming and painting the wood. Also, the plans were changed to use 2x6’s but didn’t take that into account for the stop block. Still trying to figure that part out when fully reclined. Other than that, it turned out really good.

Built this for my daughter. Plans were excellent and I needed them because I am not an advanced woodworker. Going to try for a matching end table. If you have plans that would be greatly appreciated.
Jim Carr
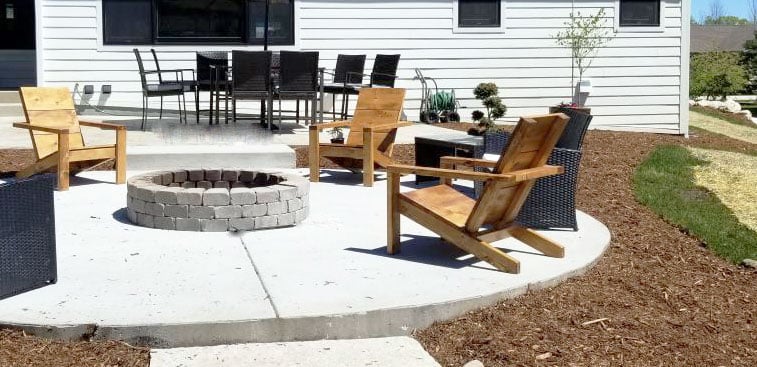
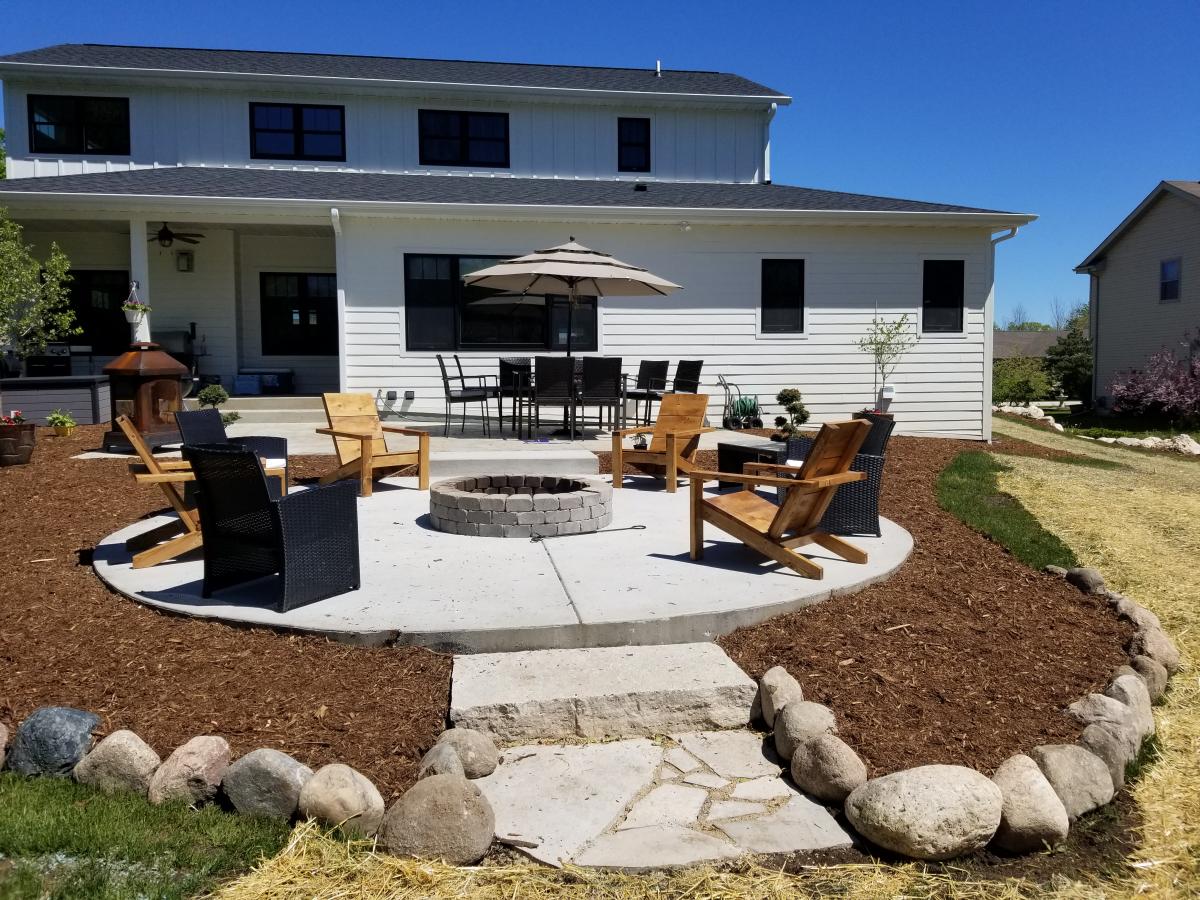
I made 4 of these chairs for around our fire pit. I chose to sand stain and poly before assembling and plan to add another coat of poly now that they are assembled. Sanding was the longest part of the process for me, but if you aren't as particular as I was about the finished project the time investment would be substantially reduced. I also of course had drying time for the stand and poly. Assembly itself was simple and the finished chairs are comfortable and sturdy without being overly heavy and bulky.


Comments
Ana White Admin
Wed, 05/24/2023 - 19:54
Fabulous First!
Absolutely beautiful, can't wait to see what you build next!