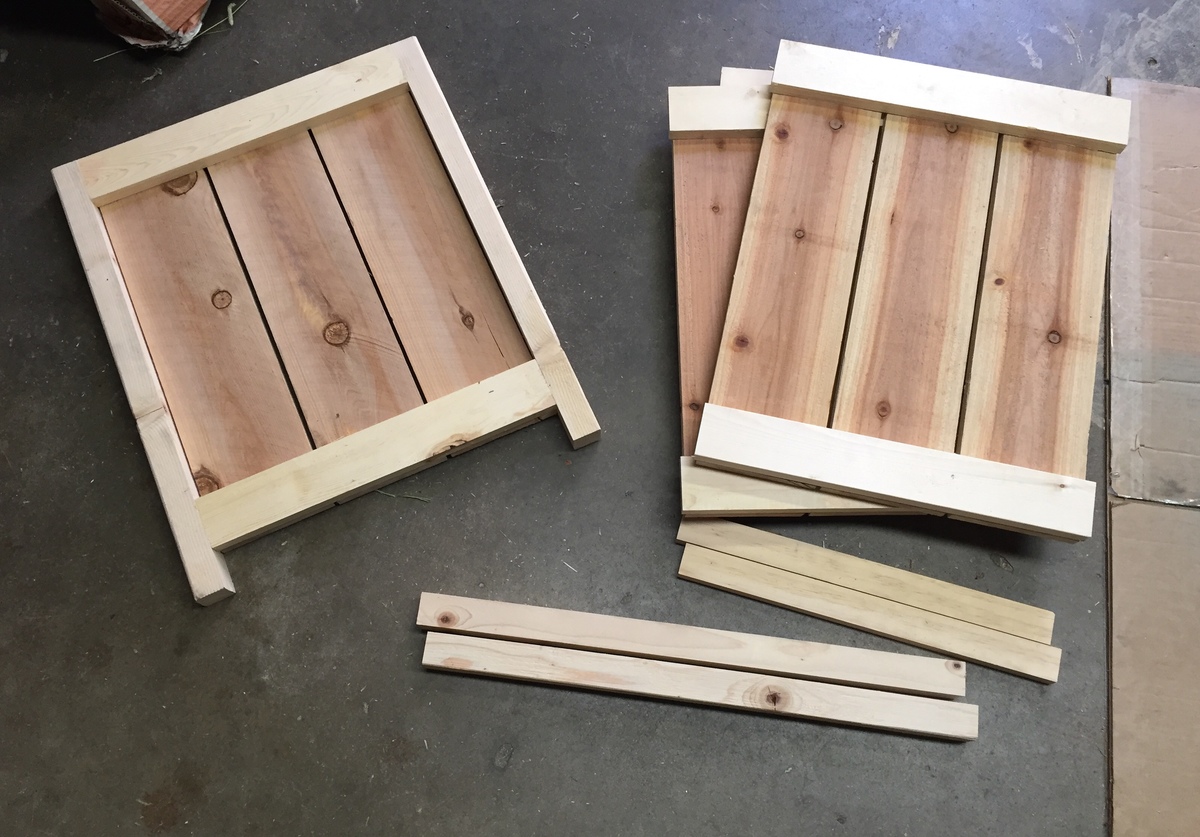
Farm House Table
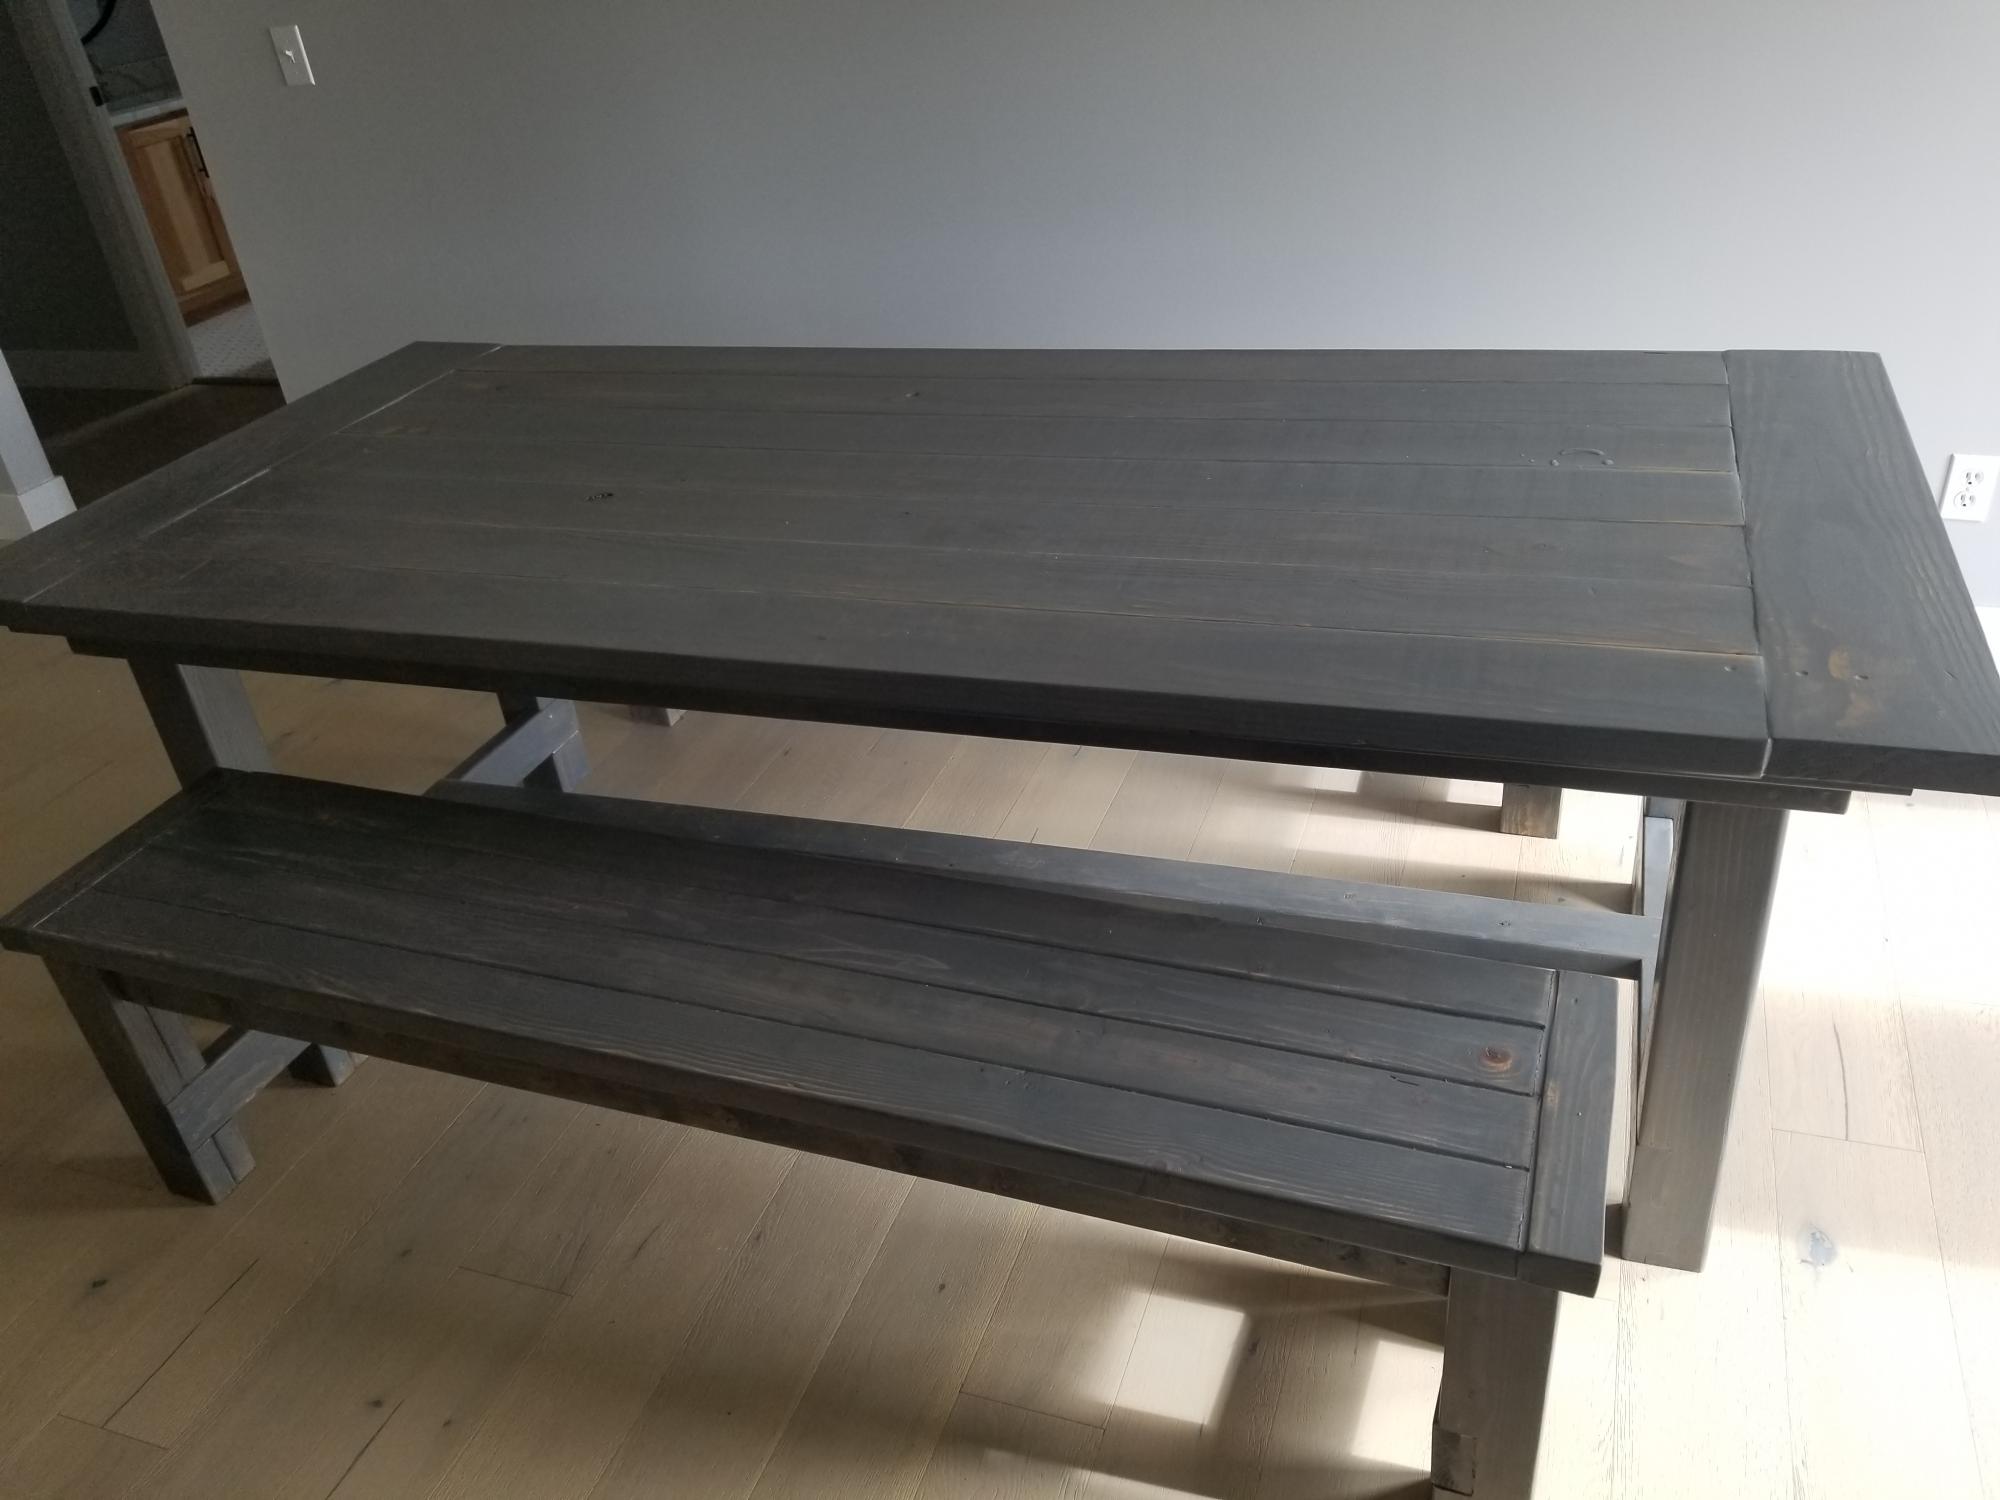
My daughter found this plan on the Ana White website and now, we have made 3 tables total. Pictured is the 2nd one we built together and is currently in her house now.
Built from Plan(s)
My daughter found this plan on the Ana White website and now, we have made 3 tables total. Pictured is the 2nd one we built together and is currently in her house now.
THE MOTIVATION
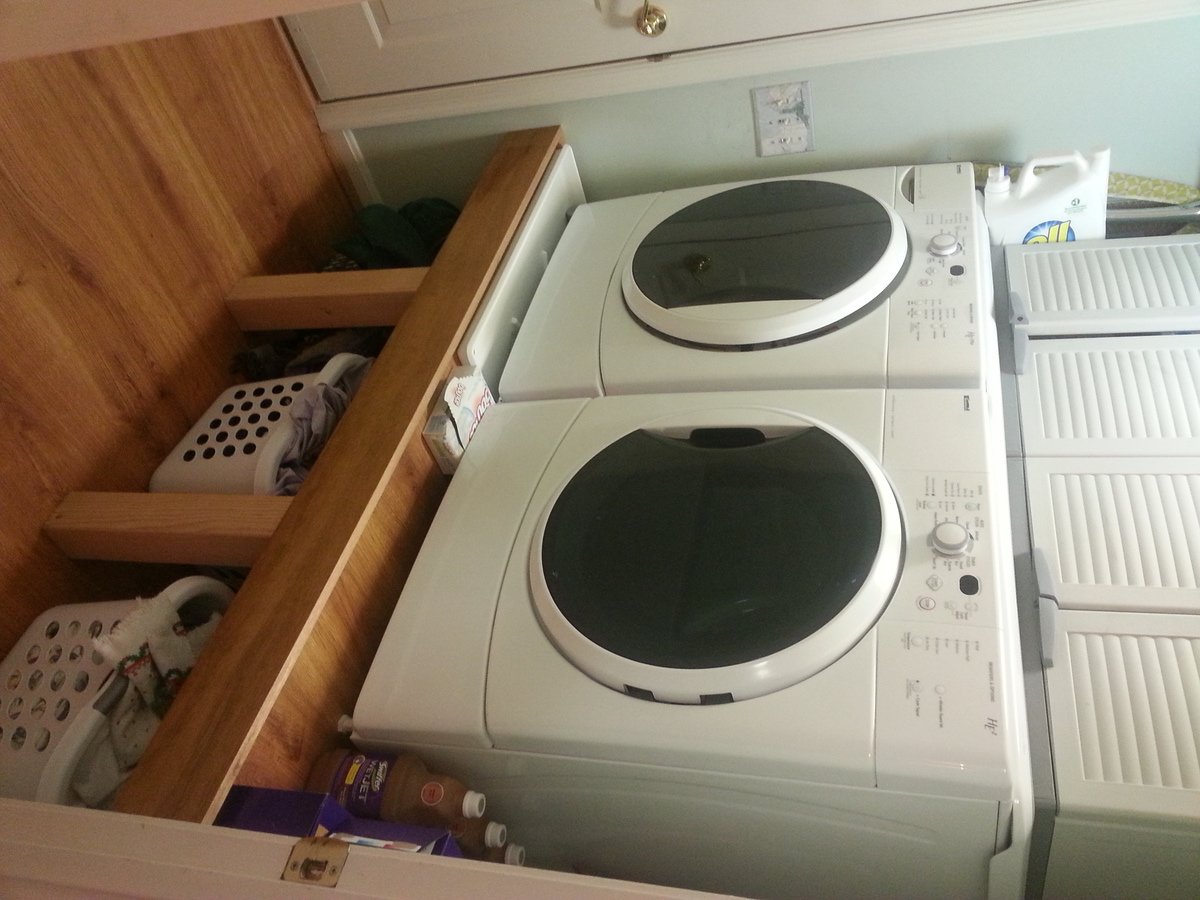
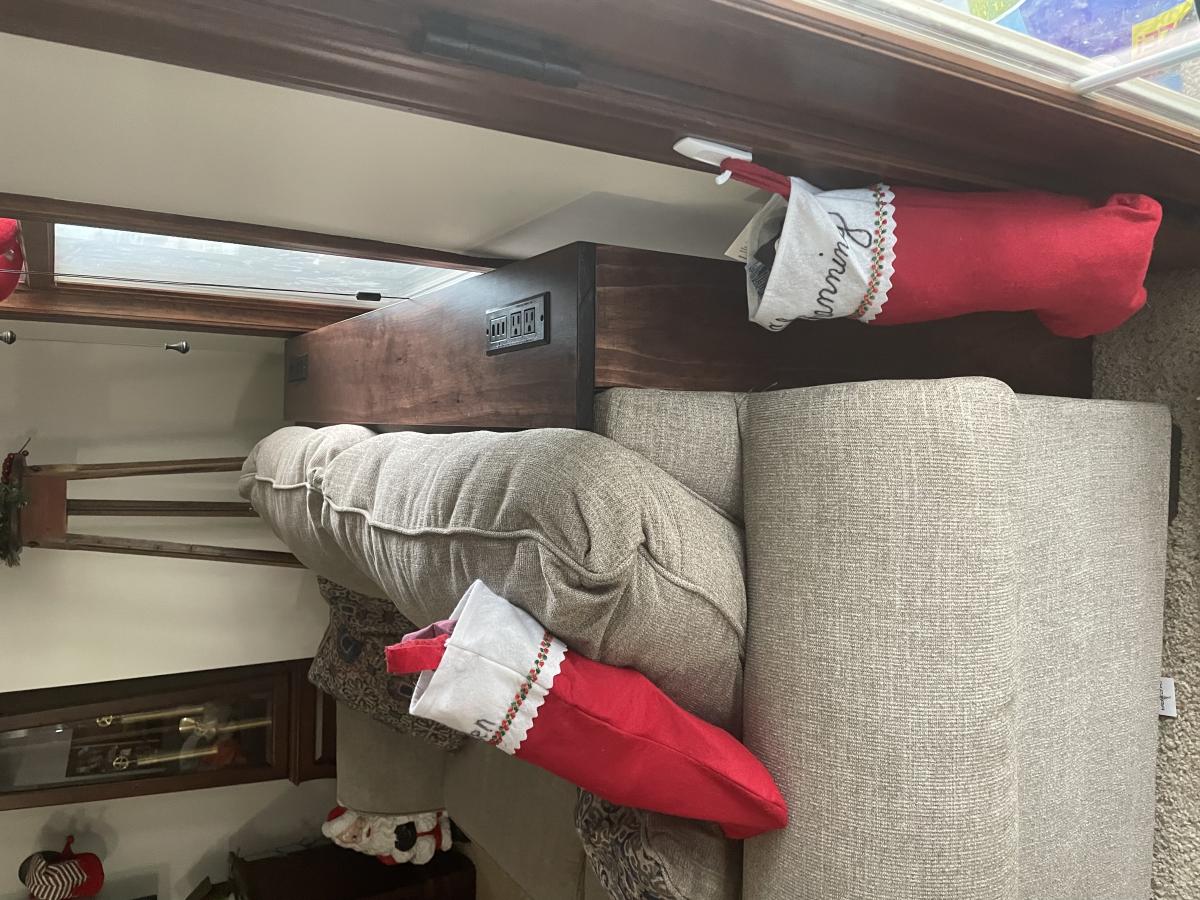
After a recent washer outage (that I was ultimately able to repair myself), my wife and I talked about eventually replacing our front-loading washer/dryer set. One of the bullets I hate biting is paying the exhorbitant prices for the matching pedestals for new washer/dryer sets.
Having just bought a good set of cordless powertools, and having watched my father when I was a kid build countless household fixtures, window dressings, furniture pieces, etc., I decided to try my hand and construct a permanent platform for our current washer/dryer set, thereby eliminating the need to ever buy manufacturer pedestals again.
The existing pedestals were a standard 15" high, with a storage drawer, which we felt was still not high enough for comfort. And, the washer pedestal drawer was entirely inaccessibl due to the 2" walls on the washer drain pan, so its drawer was totally useless, wasted space.
And, lastly, we really wanted more space for clothes baskets full of laundry, which we generally stacked (full and haphazardly) on top of the machines.
THE CHALLENGES
The largest challenges were mainly logistics, and gravity. The washer/dryer would have to be unavailable for at least 2-3 days while they sat disconnected in the next room waiting for their new home. So I coordinated with the family so they'd know when they needed to have their laundry done, or tough it out until I was done.
There was no way to know for sure what the drain connection for the washer pan looked like until I got the washer out. So it was a small gamble that I'd be able to get the parts needed to extend the drain pipe up to the new platform right when I was ready for them. Fortunately, this was no issue at all.
The biggest challenge turned out to be toward the end when it came time to lift our 230-lb. washer onto the new platform. I seriously considered disassembling the washer to the point that I could remove its molded concrete counter-weights, but instead (and arguably stupidly) elected to use a large hydraulic car jack to raise the washer. This ultimately worked, but I have to STRONGLY ADVISE AGAINST trying this.
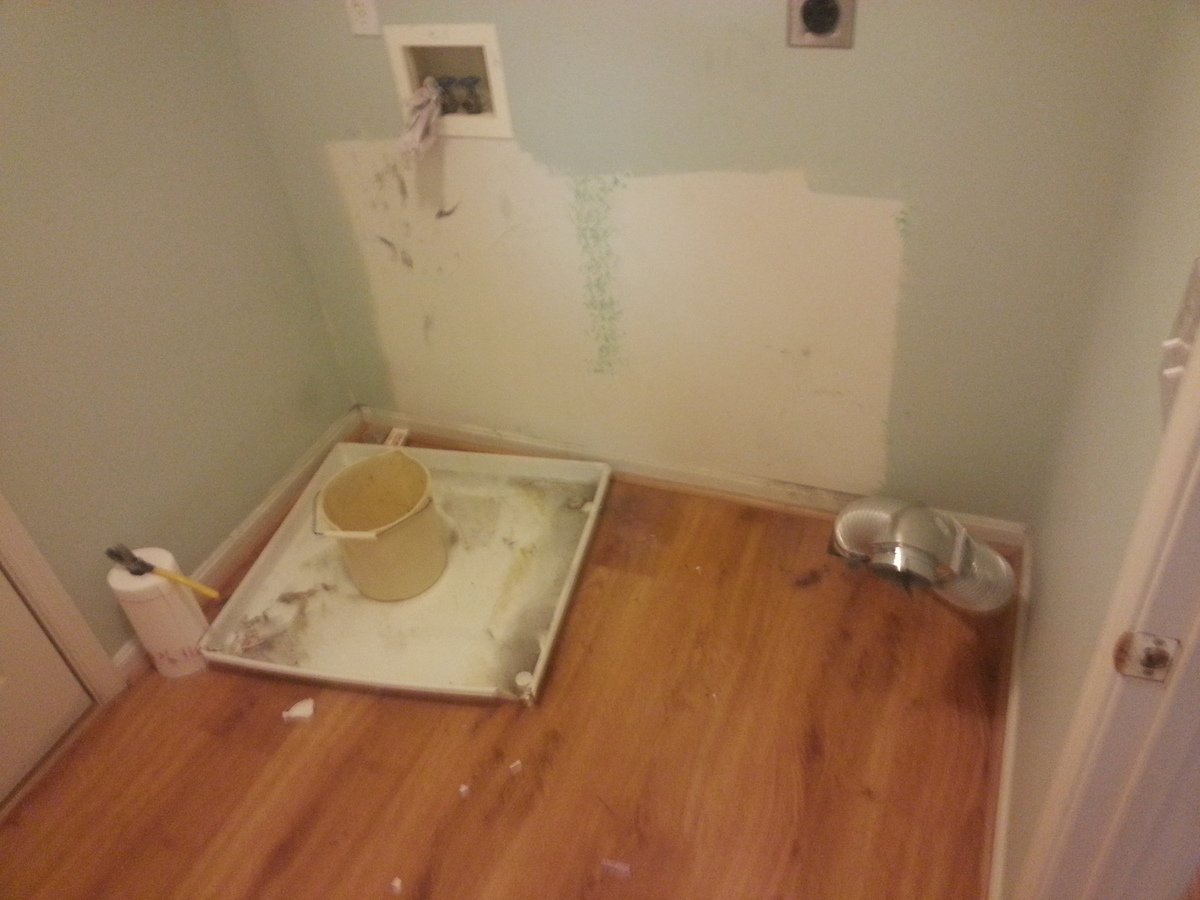
THE SPACE
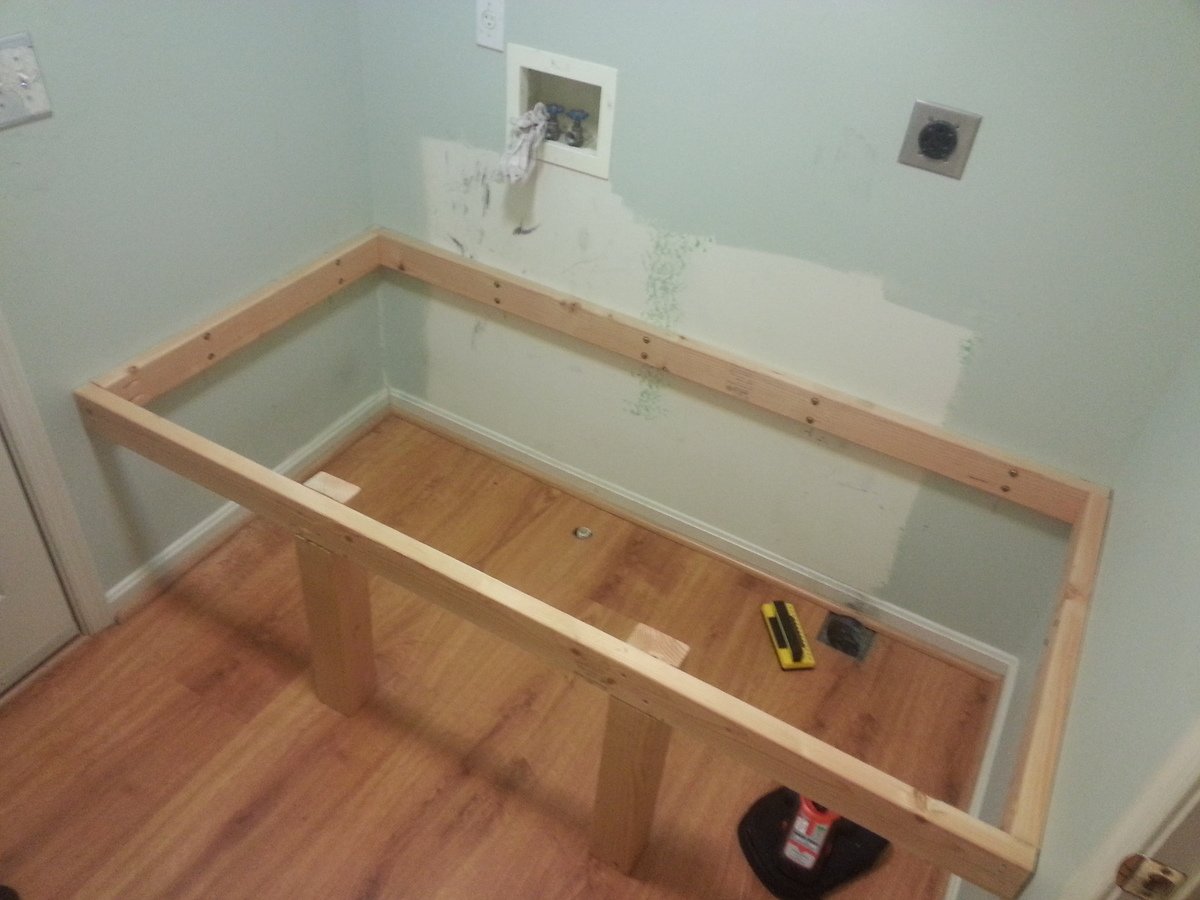
Our laundry room is also the "mud room" between our kitchen and the garage. It is only large enough for the two machines, and the walk way between the two doors--in total, about 70.5" square. Building the platform from wall-to-wall made the most sense, and minimized framing by fastening edge framing directly to the wall studs.
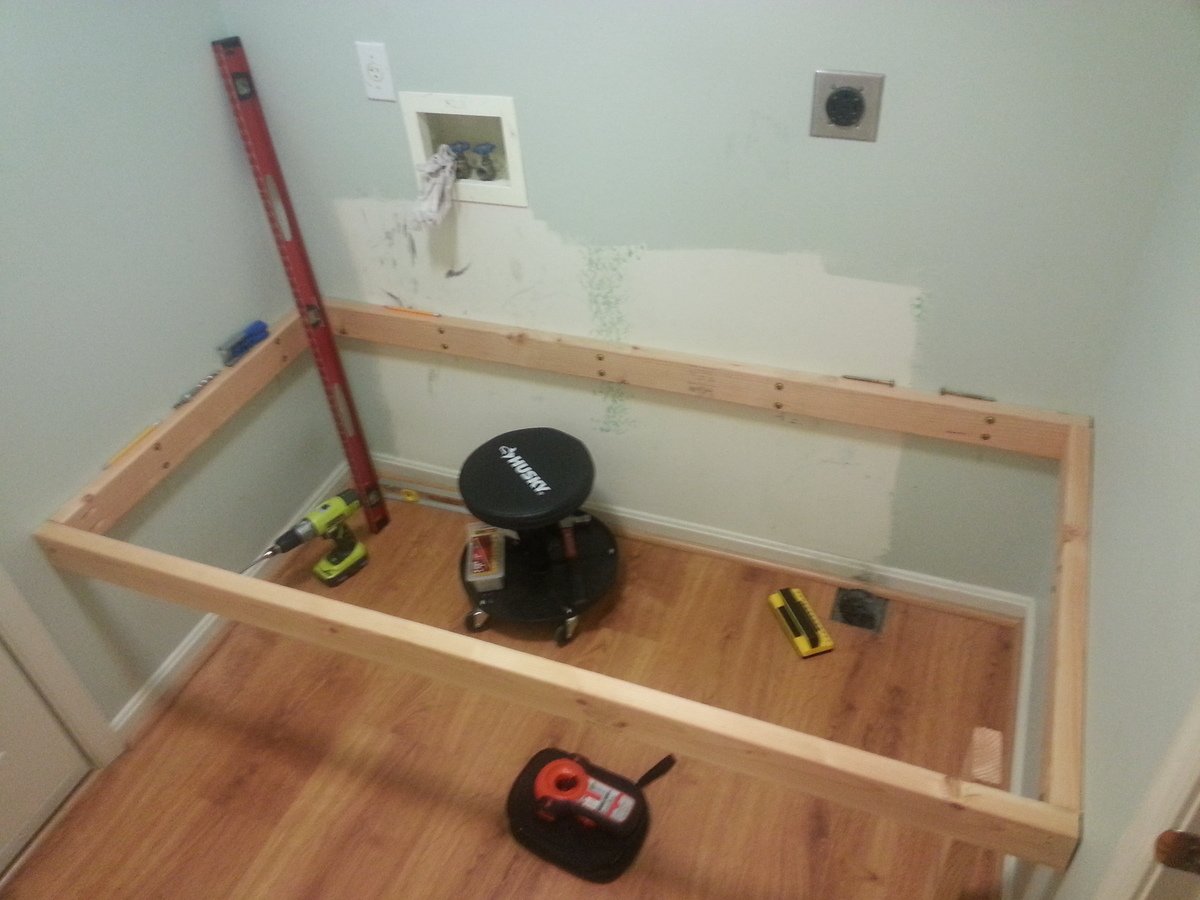
THE PLAN
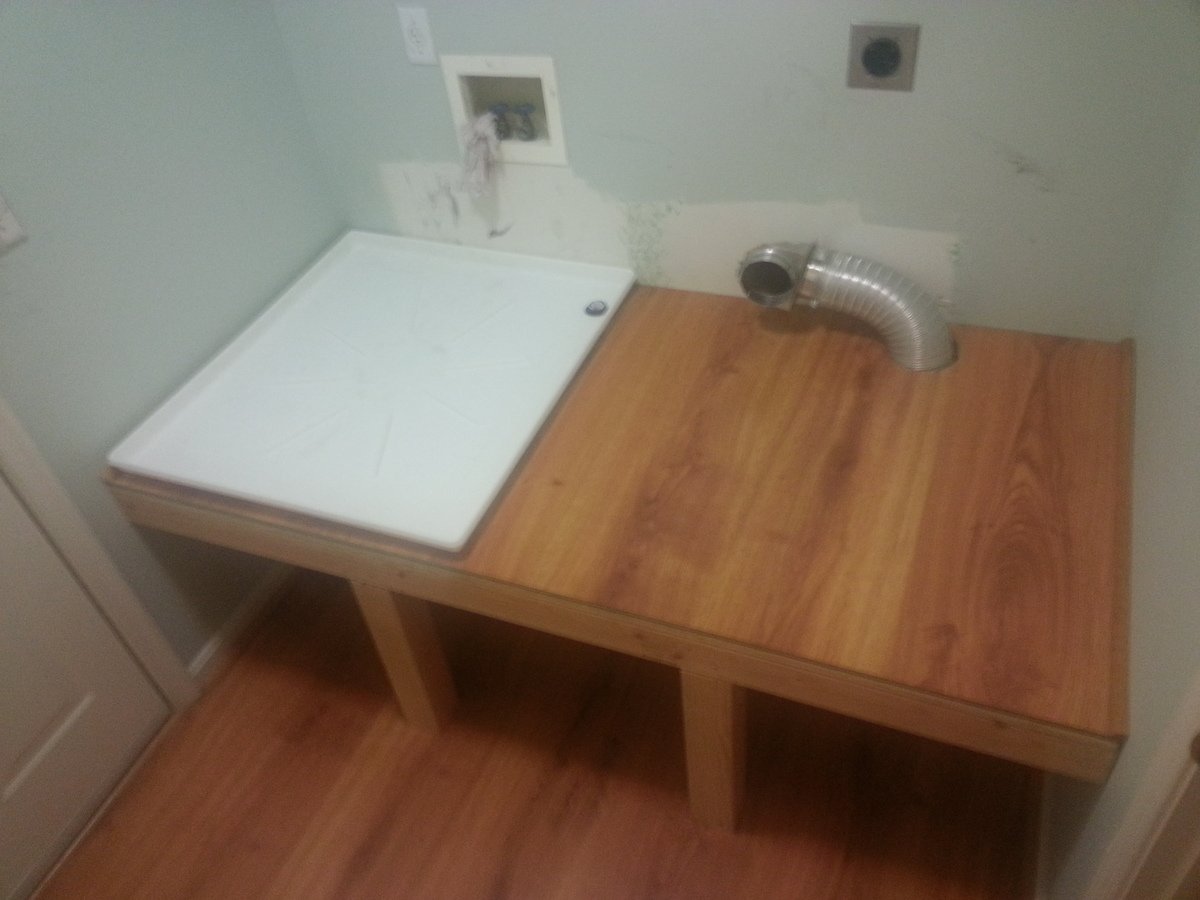
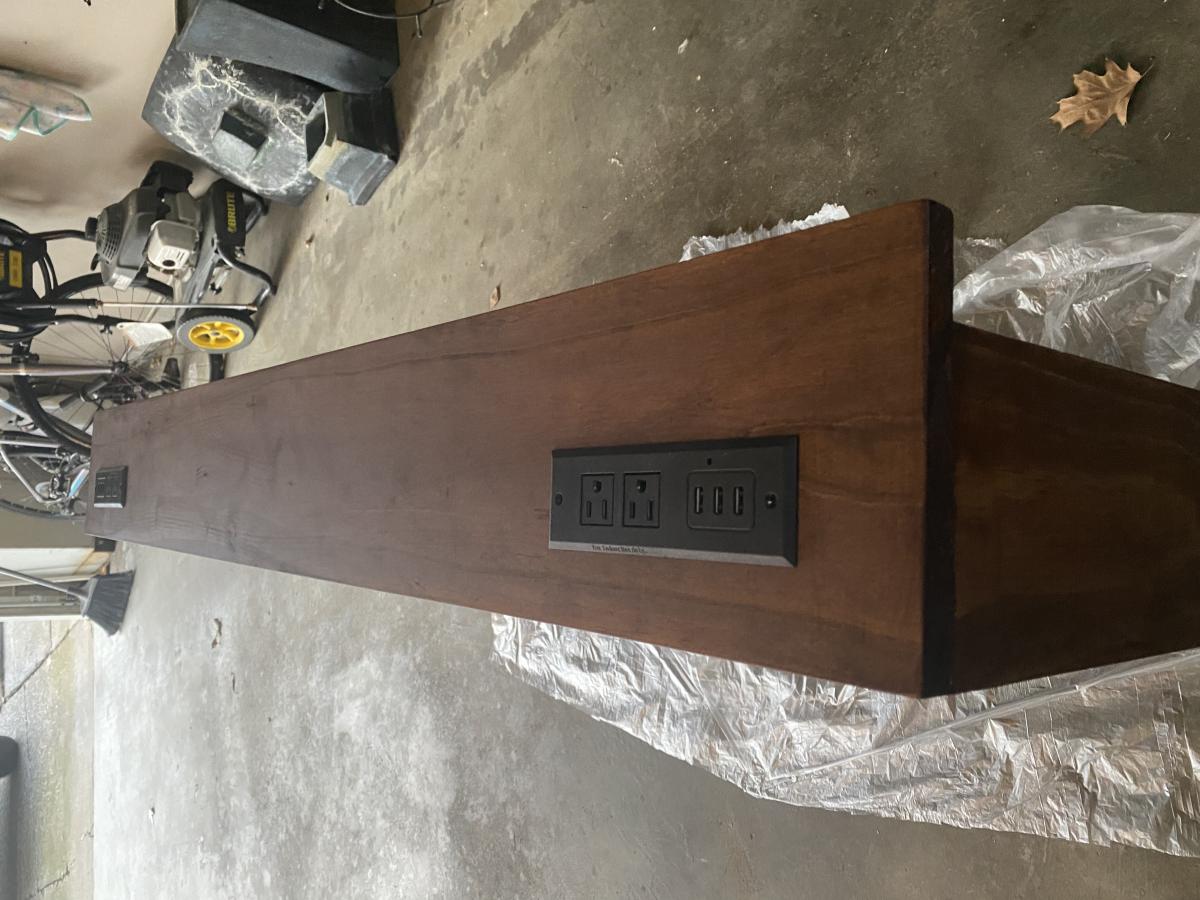
Pretty basic: 2x4's all around for the edge framing--back and sides fastened directly to the wall studs, and front 2x4 supported by two, notched 4x4 legs. 3/4" plywood for the subsurface, and 1/4" laminate faux-wood flooring on top (left over from reflooring, so it matches the floor below). Bore holes for the washer pan drain and the dryer vent. 1" quarter-round molding on the sides, and 5.5" face piece flush with the top of the molding across the front (spare lauan I had looks perfect). I also made a point of putting the machines on the platform before the face piece since it might have been in the way or damaged.
Anyone will tell you that it's best to at least sketch out what you want to do so you can minimize surprises, forgotten parts, etc. I, of course, did virtually none of that, and made several course changes and corrections along the way. For this project, I was lucky that I didn't need to backtrack at any point, and probably won't learn this lesson any time soon anyway. However, you SHOULD.
TAKE-AWAYS
The main mistake I made was while gathering the platform dimensions for cutting the plywood. It was only blind luck that kept me from having to do it more than once (and having to buy more than one 4x8 sheet). I know that it's actually very unlikely that two adjacent walls are perfectly square, so I made a point to measure the width between the walls at the back and at the front--and, sure enough, found a 1/8" difference--wider at the front. But when I measured and marked the plywood for cutting, I measured both distances from the precut edge, and then cut. By doing this, I inadvertently assumed that one of the back corners was perfectly square.
What I should have done was used a carpenter's square in each back corner to extend a square line from the back edge to the front, and then measured from the square lines to their respective side wall. This would have accounted for neither back corner being square.
Fortunately, my mistake wasn't big enough to keep the plywood from fitting, but it was very, VERY close.
GIDDY
I honestly couldn't be happier with the finished project (or more smug). We've raised the washer/dryer 9" higher than they were (24" off the floor), and we now have basket storage underneath all the way across. I placed two 24" plastic cabinets on top, which still leaves room for the detergent right over the soap inlet on the washer.
And, most importantly, I got to use every powertool I own. Kinda beats "the quick brown fox jumped over the lazy dog" thing, huh?

Fri, 04/17/2015 - 19:54
Thanks for sharing the ins and outs of your project! Looks great!
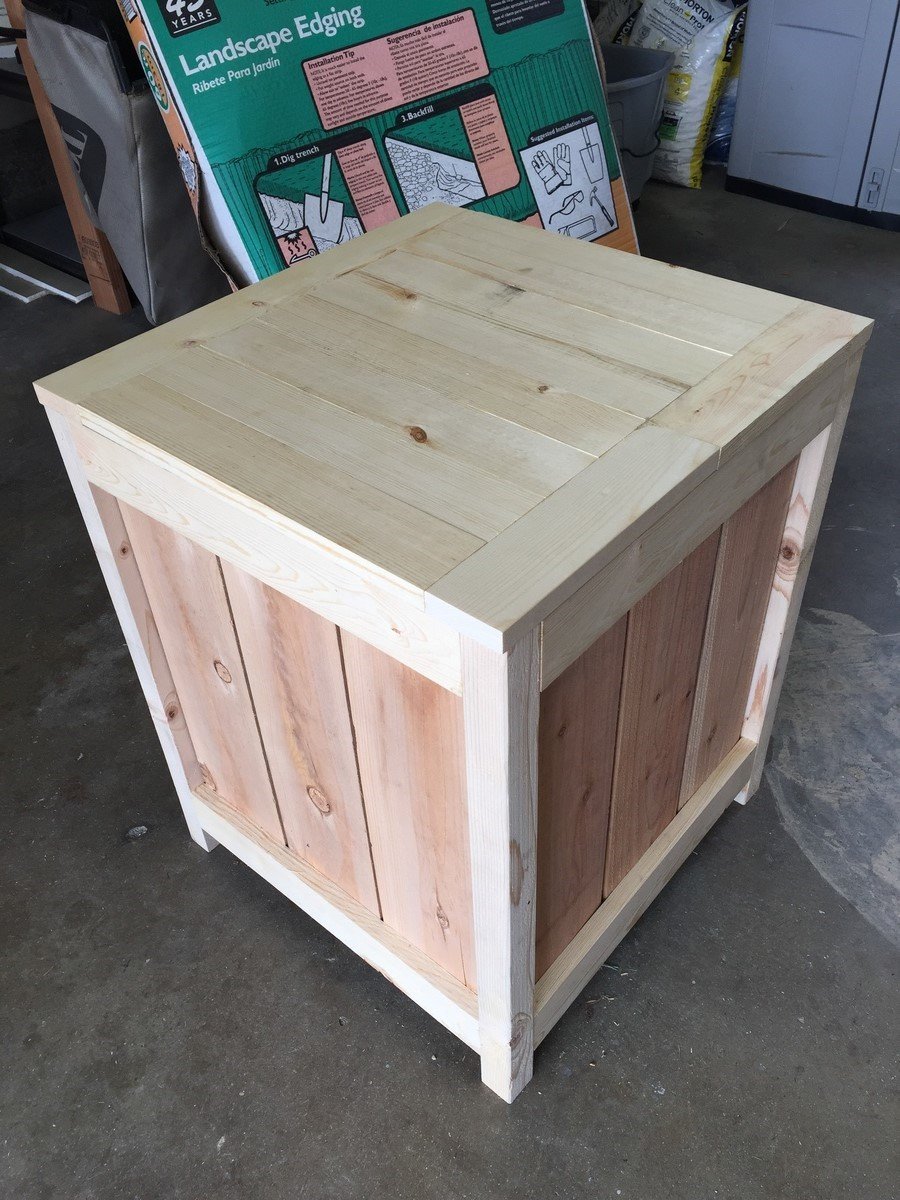
I modified the plans slightly to go taller so it could fit a standard propane tank. I also added a hinged lid based on an image I found on Pinterest that did something very similar. I still need to sand and stain it next weekend.
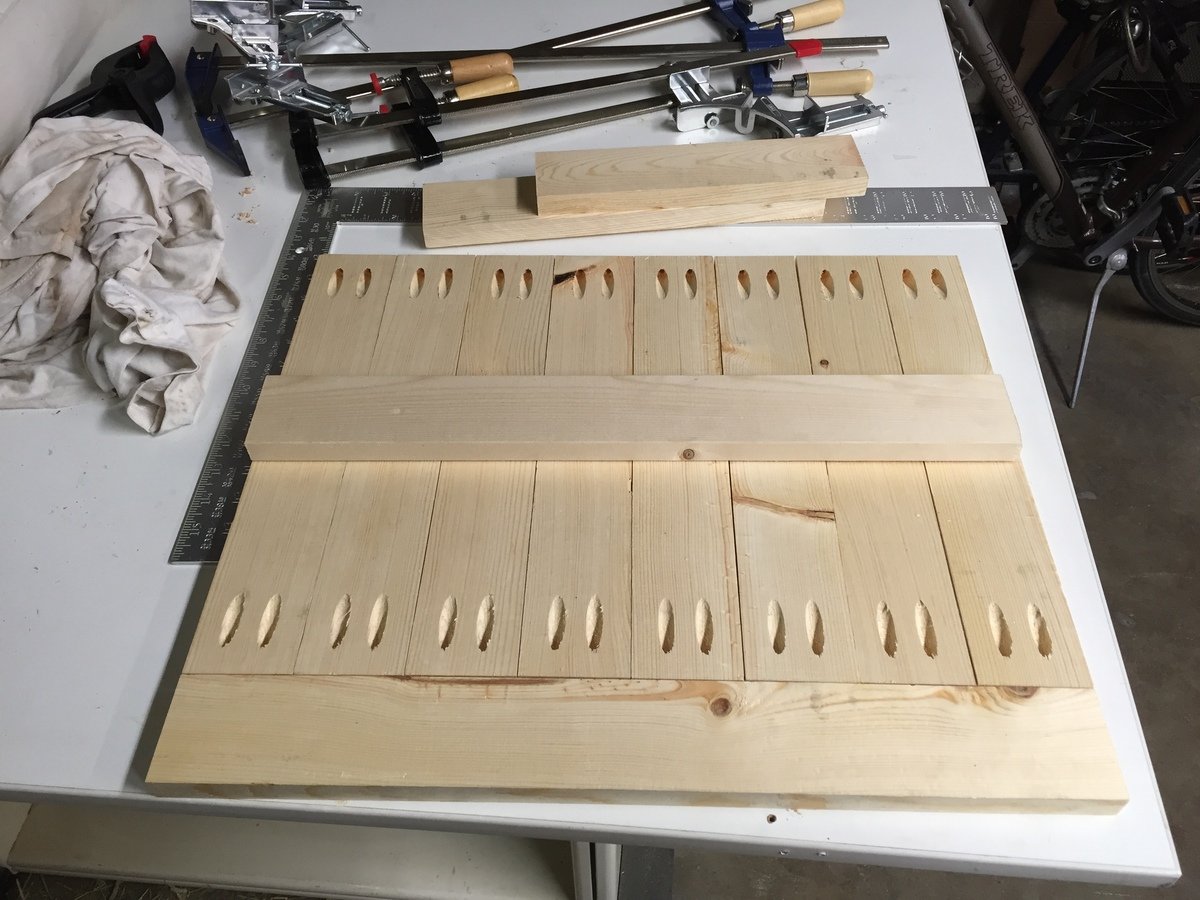
Like others, I had a little trouble keeping the fence planks from splitting when screwing them to the 2x2 legs, since there was about an 1/8” gap between. I tried to find some scrap to fill in the gap and didn’t overtighten the screws. The lid was made entirely of 1x3”.

I used Ana's plan as a base.
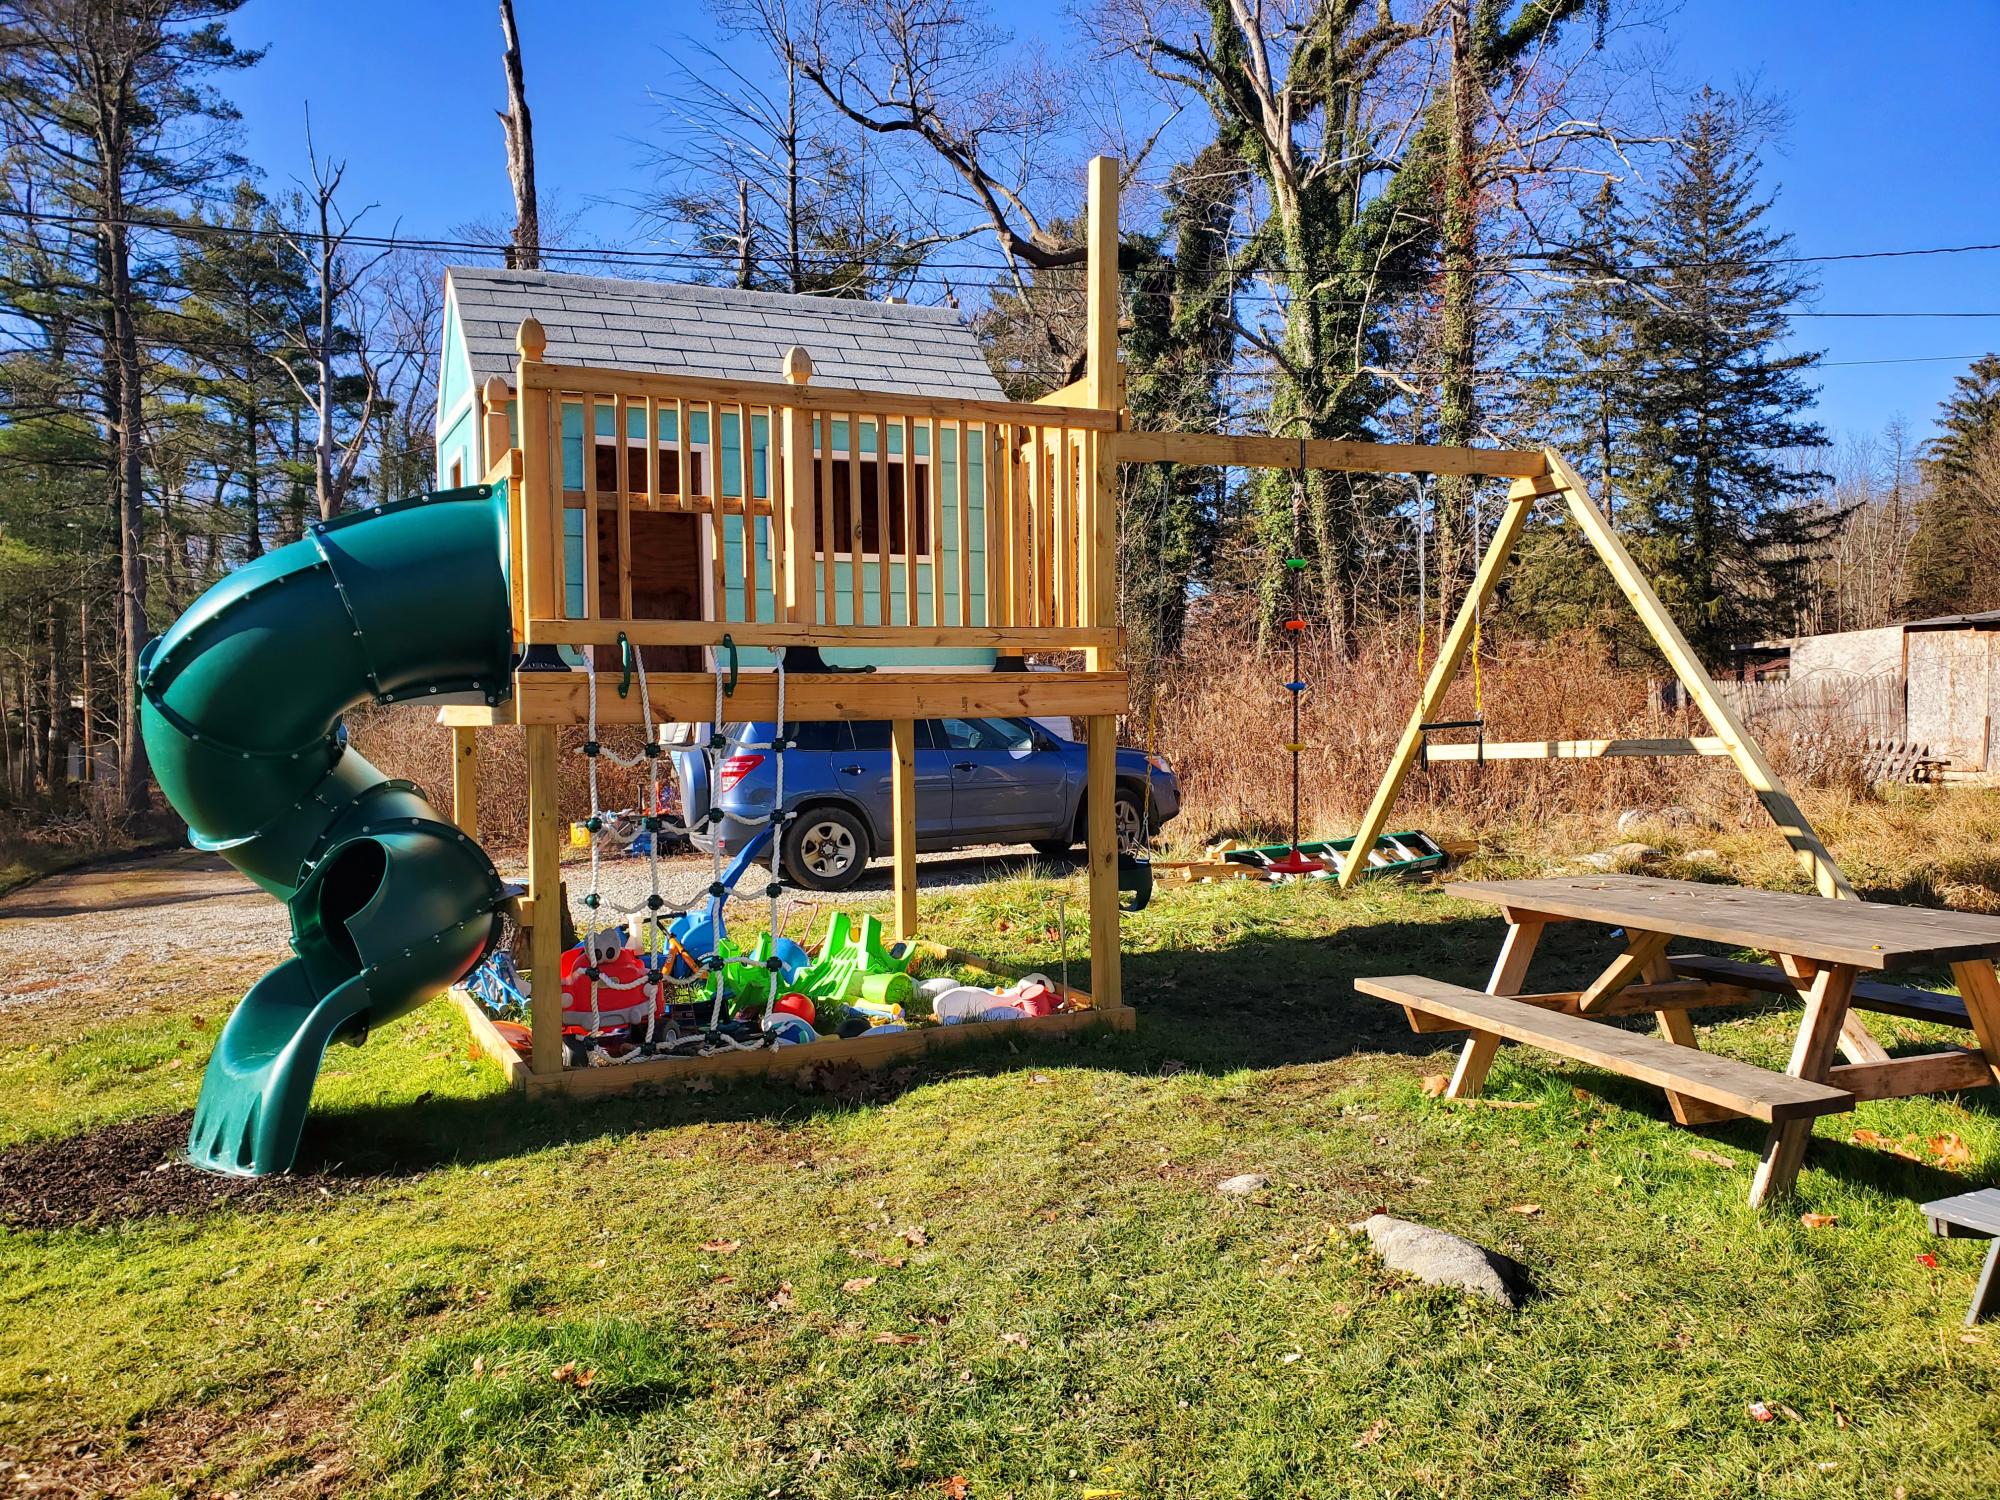
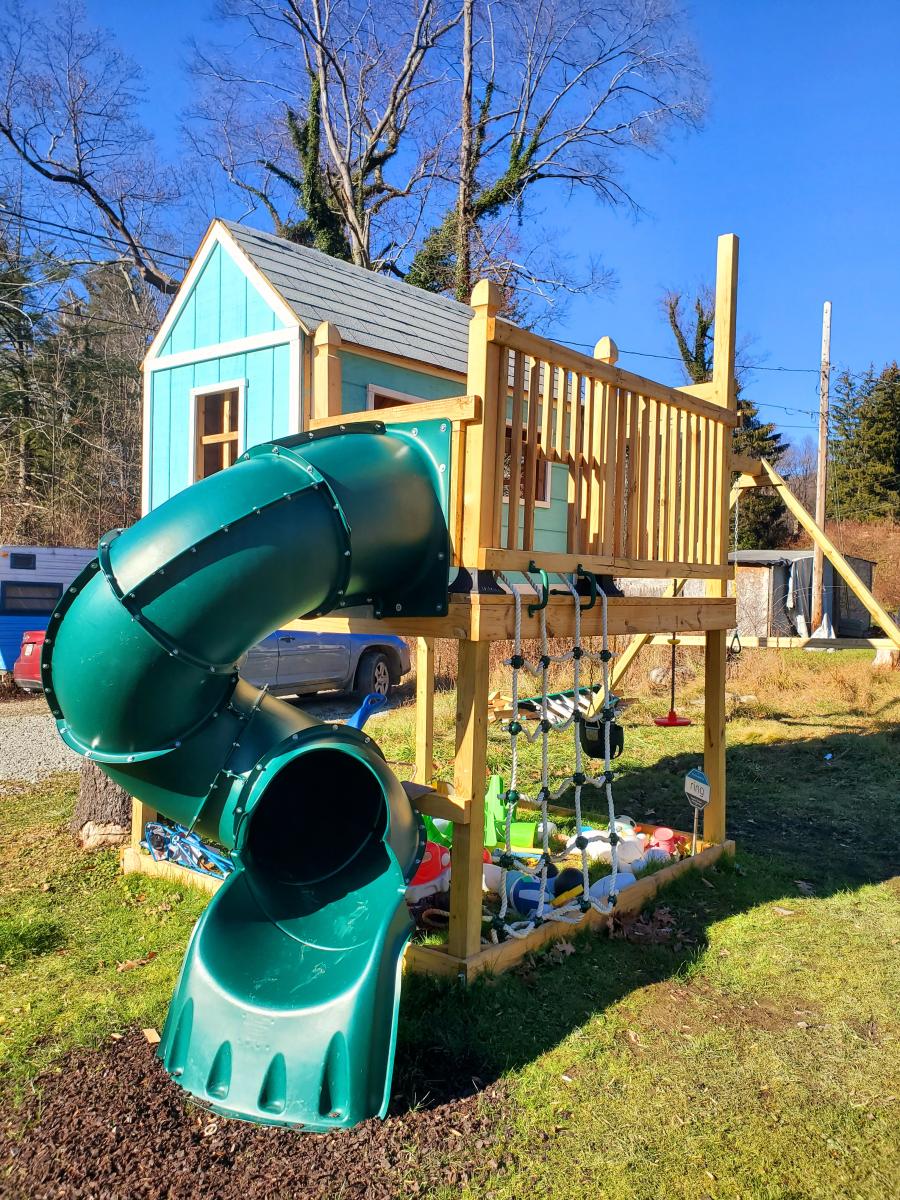
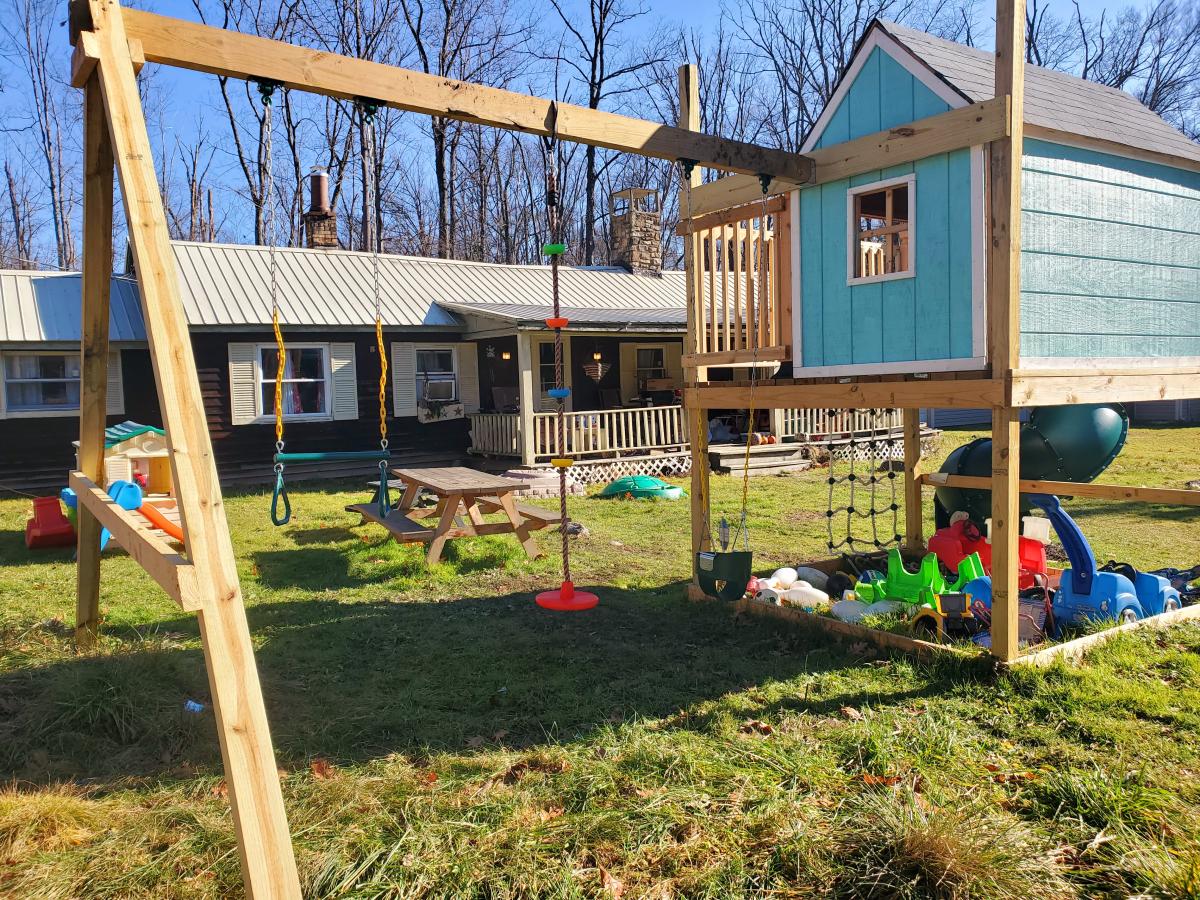
I changed it from 8x8 to 8x12, made the 4x4x8's to 4x4x10' for a higher main platform and swing platform, and added a 12' long monkey bar set to the other side. Also, an 8' climbing wall and a plank walkway to accompany the two slides.
For the clubhouse, I used Hardiplank 4x8 sheets for the siding and an EZ-Framer kit for the structure itself.
The slides I purchased from Lowes, monkey bars from Amazon, and the swing frame braces from Amazon as well. The swing kits I got from ebay.


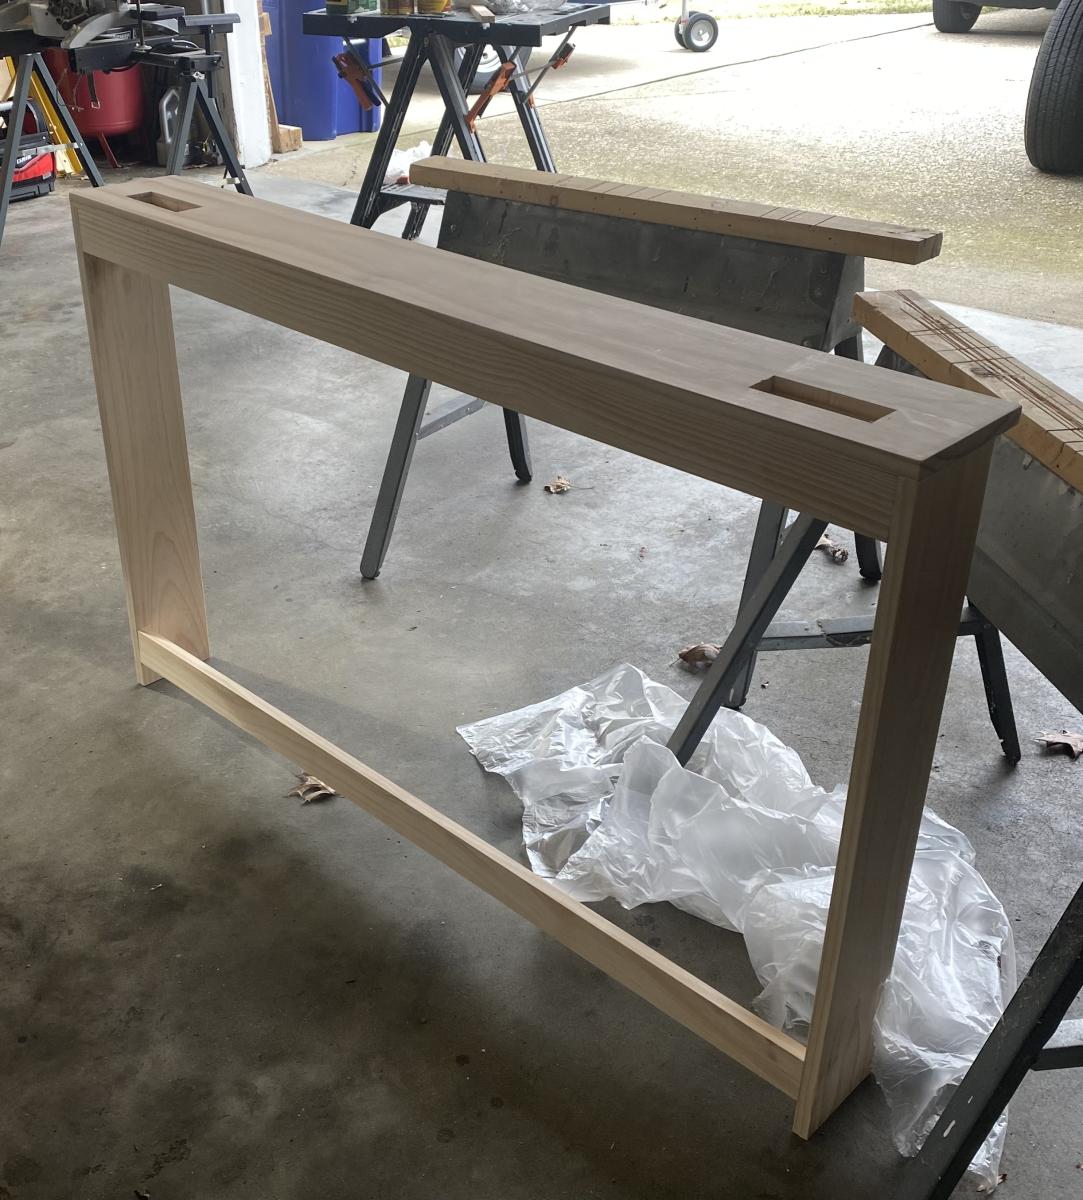
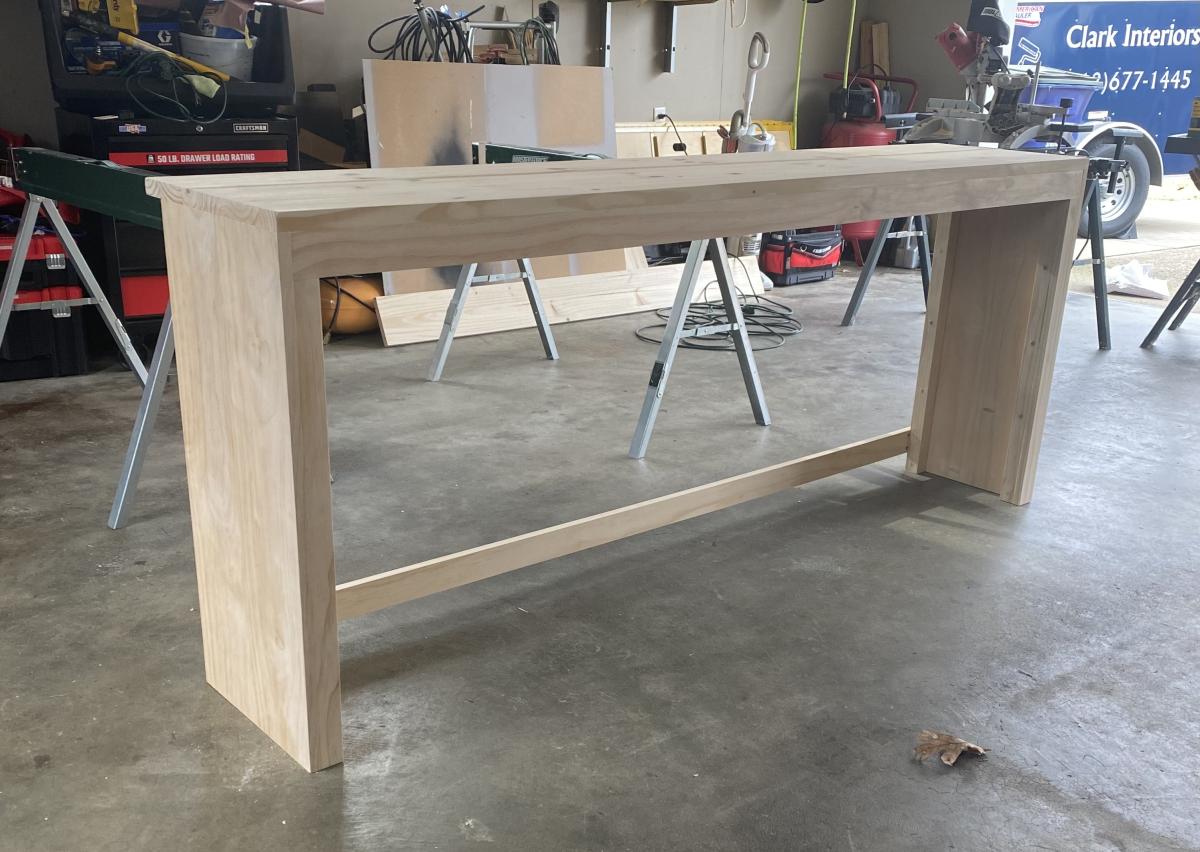
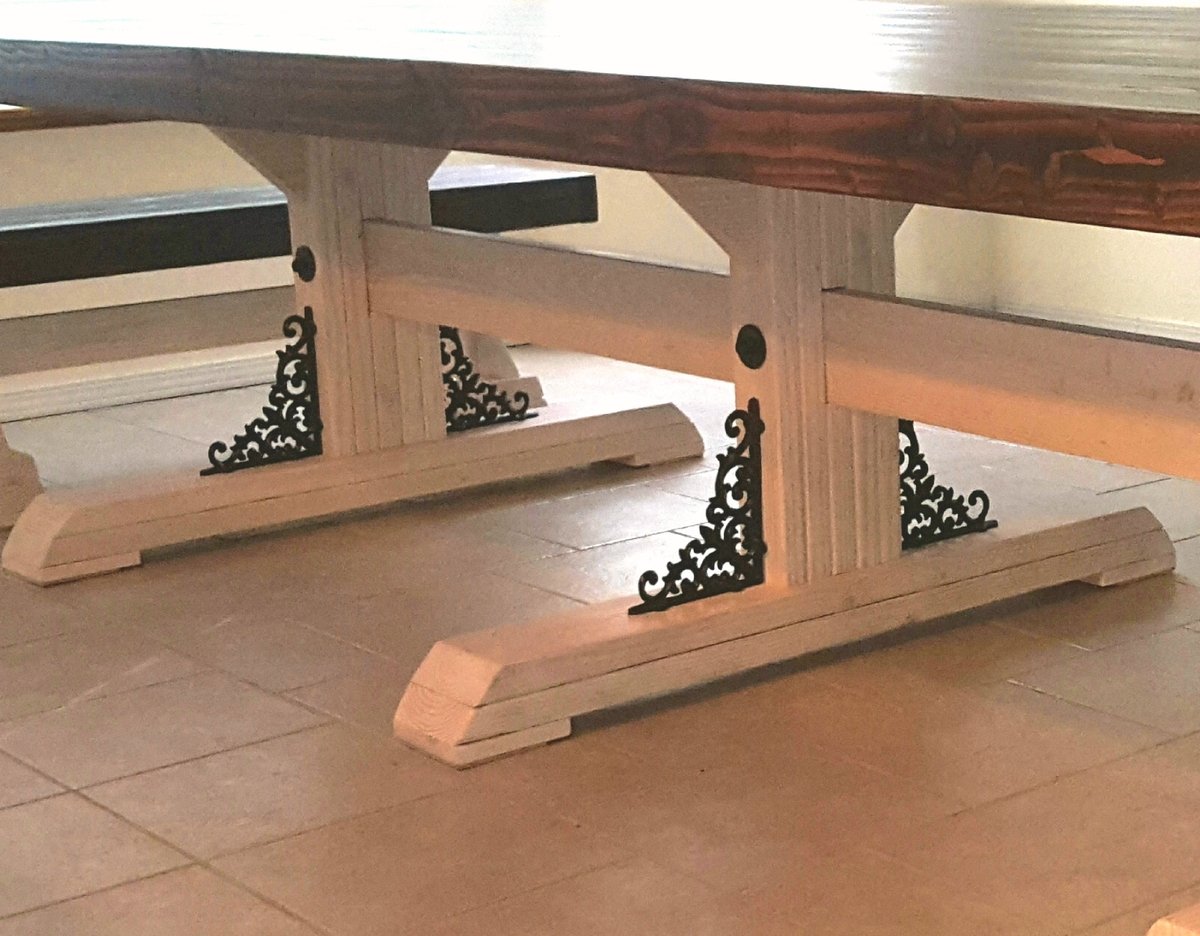
I built these sofa tables for my wife’s client. She has a interior paint business. Her client was talking about wanting she sofa tables, so she volunteered me to build the tables. I didn’t have a design for the tables, so I looked at several different designs and talked to the client on what she was looking for. So I just did some rough sketches and got some ideas from my wife. I used mostly 1 bys for the build, just depends on the size on what width and length of board you are going to need. The top of the large table is a 5/4 preglued board that Menards has in store, again depending on width and length on the size of board you use. I used the 5/4 board for better stability and strength. I used a red oak stain then applied several coats of poly to finish. On the top I used a 200 sandpaper after a couple of coats of poly to get the top smoother for more coats of poly. Over all the build was pretty easy if you have good woodworking knowledge. Used pocket holes (Kreg) to attach sides and frame to top. On the large top side I used two 1x8’s to get the width i needed. Joined them with pocket holes (Kreg). If you can dream it, you can build it.

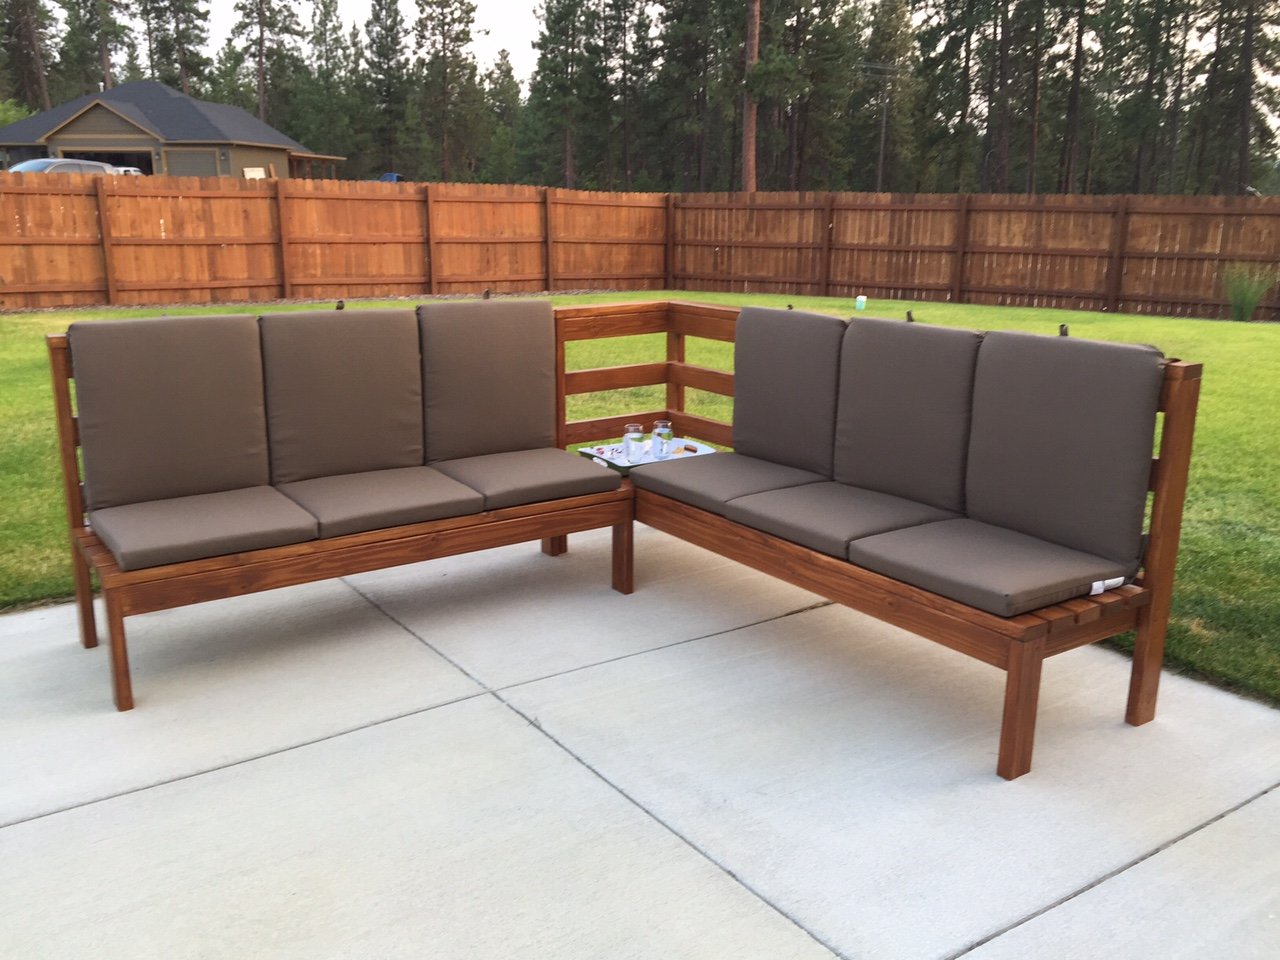
Here is my patio sectional made of 2x4s. Used my Kreg Jig for the first time to complete this project. I used pocket holes in as many places as possible, then finished it with two coats of leftover fence stain and two coats of semi-gloss outdoor Varathane spar urethane for a nice sheen. I modified the dimensions to fit the cushions that my wife purchased before I began the project. I made the back substantially taller to support the cushions and left the arms off of both ends of the sectional so people could sit facing sideways too. I left the corner of the sectional without a cushion so people would have a place to set drinks.
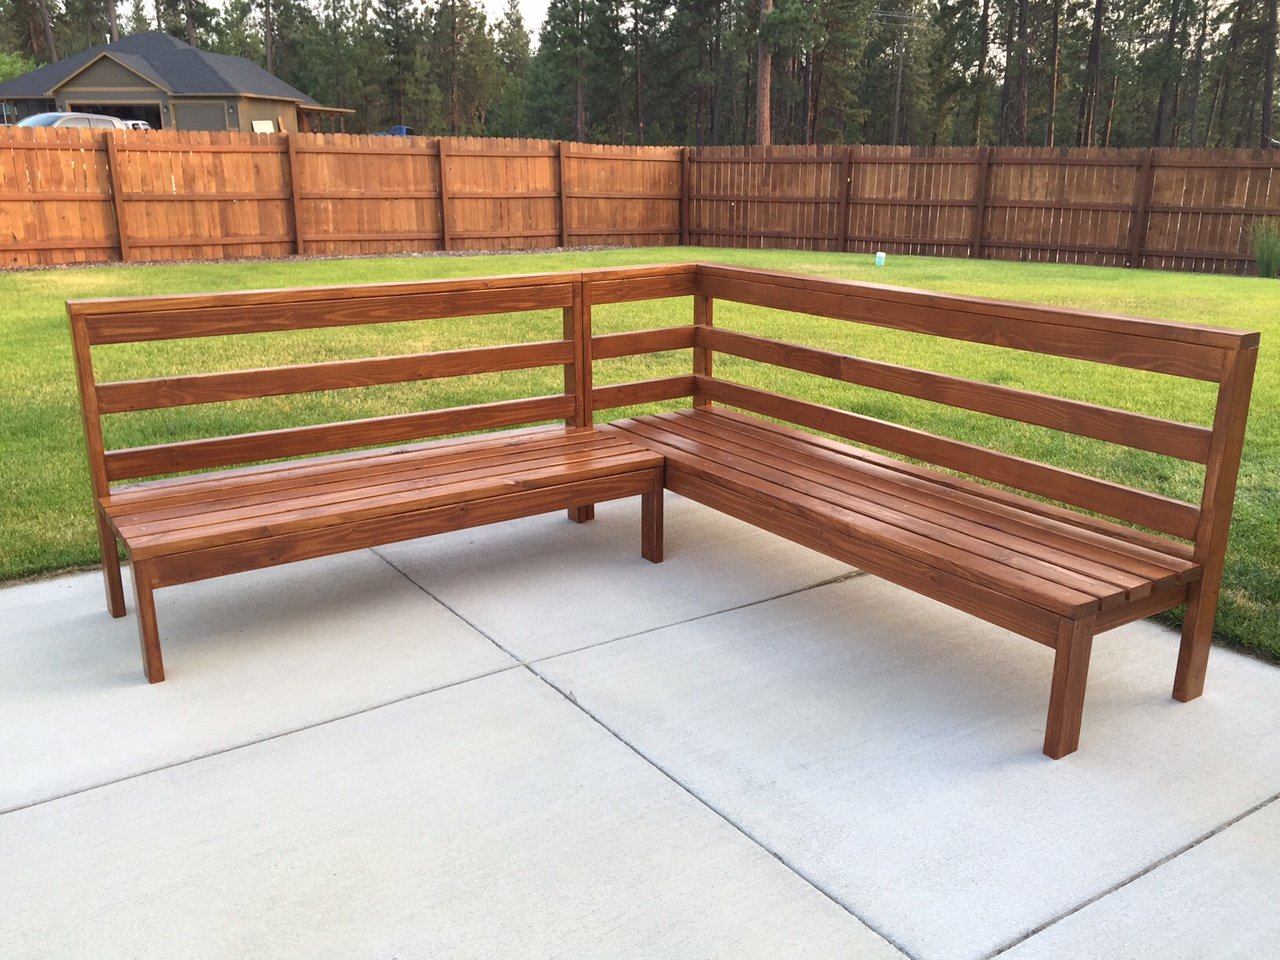
We made a few changes to fit our needs but love the design. Way better than any kit you can buy!
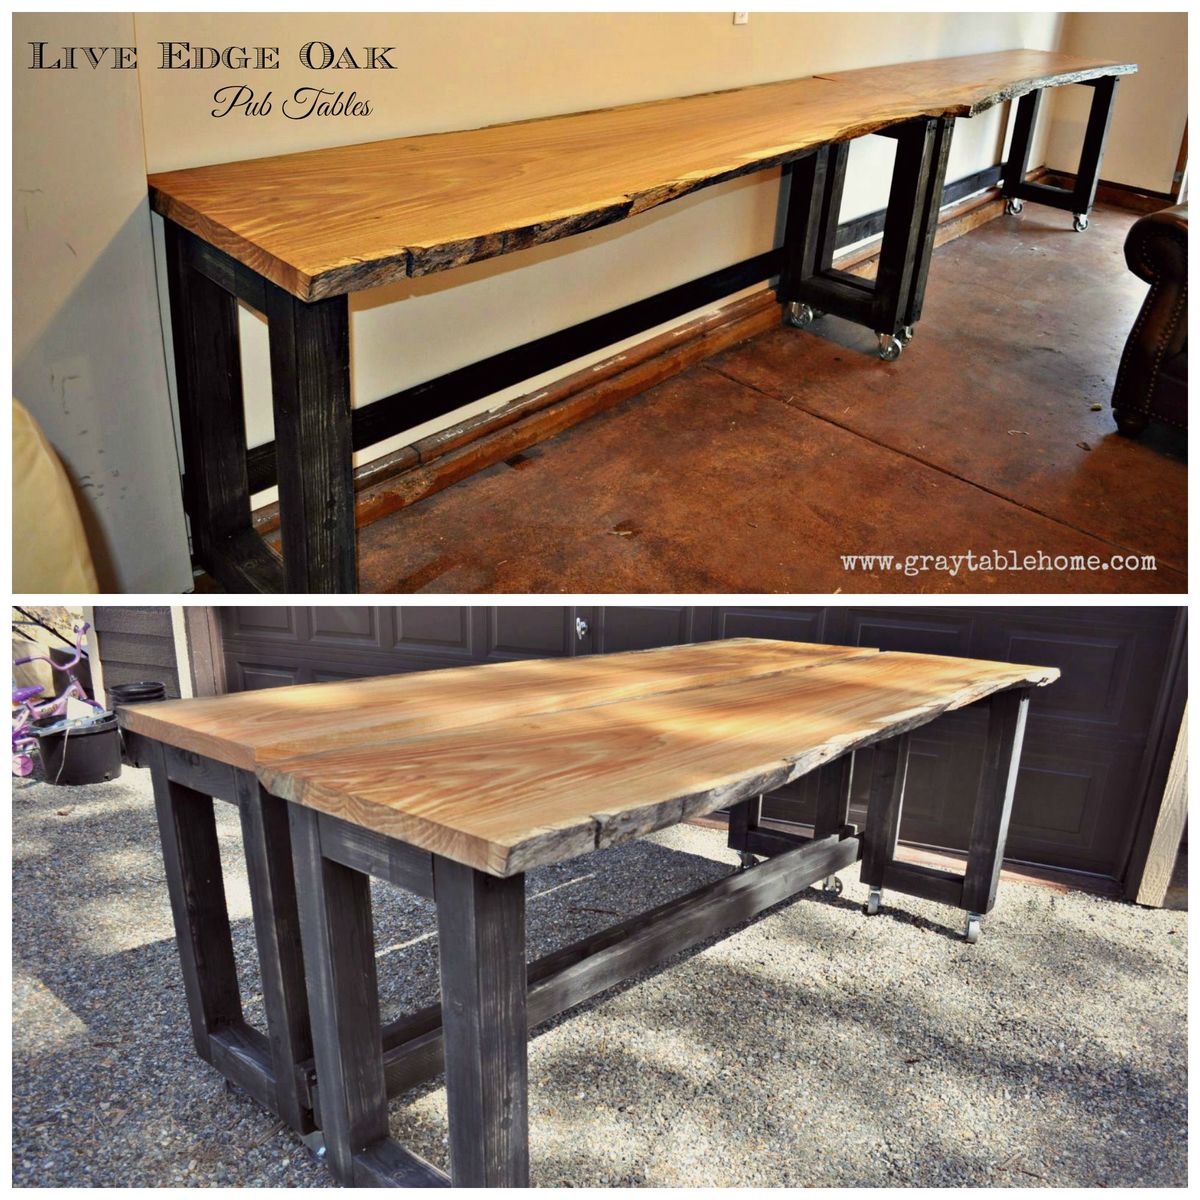
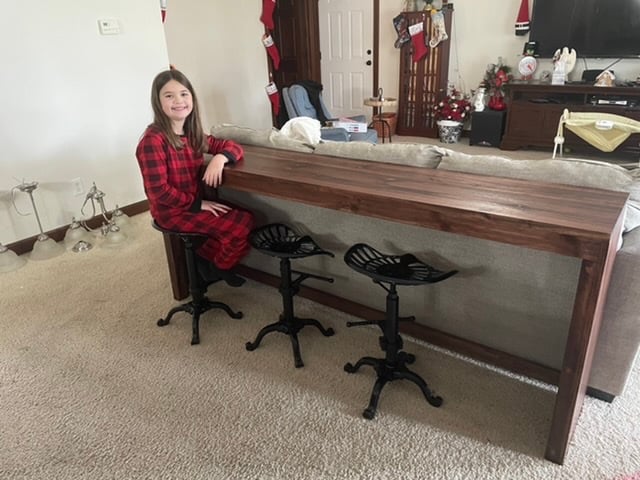
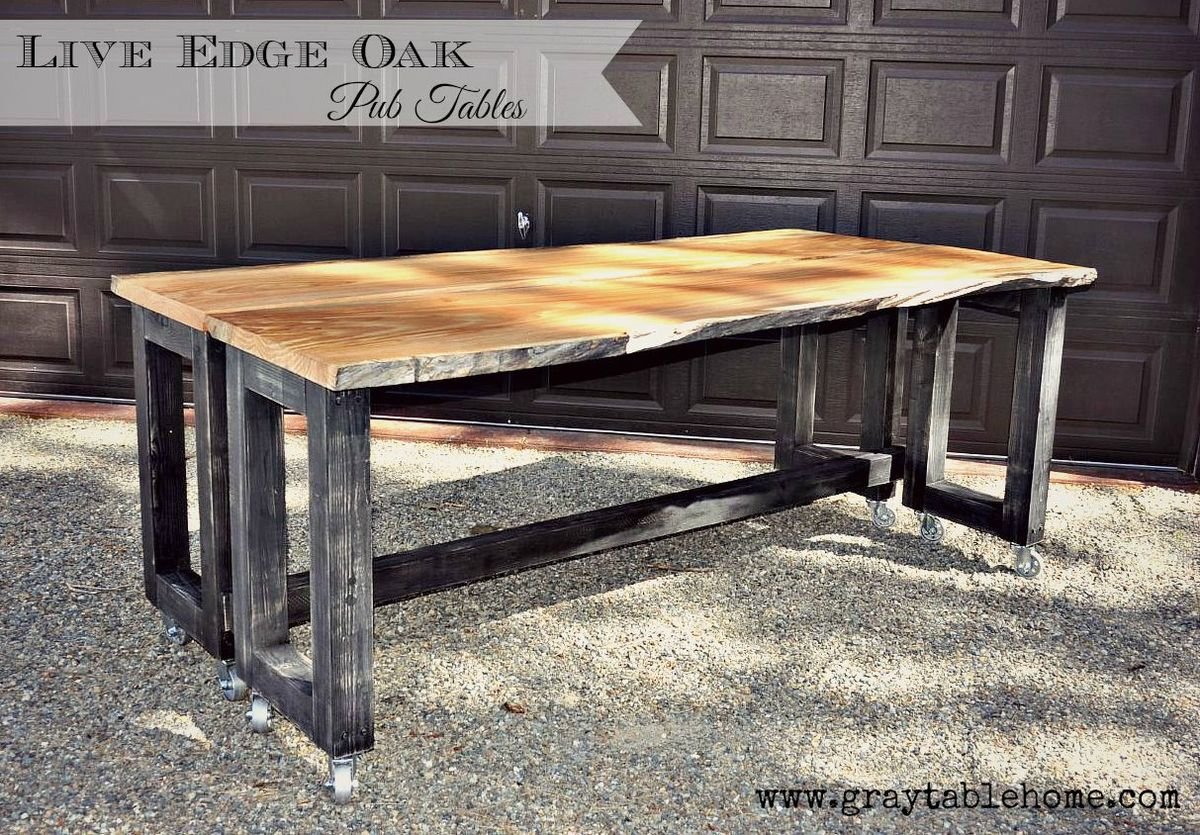
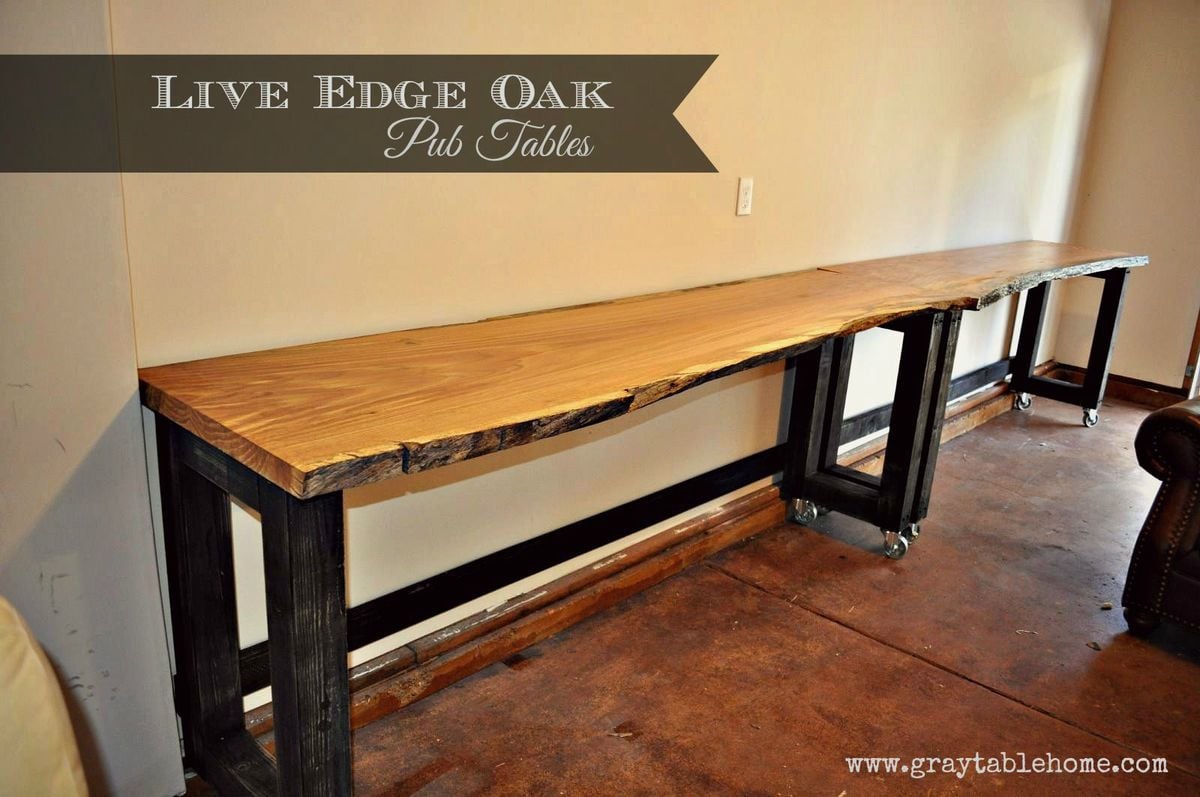
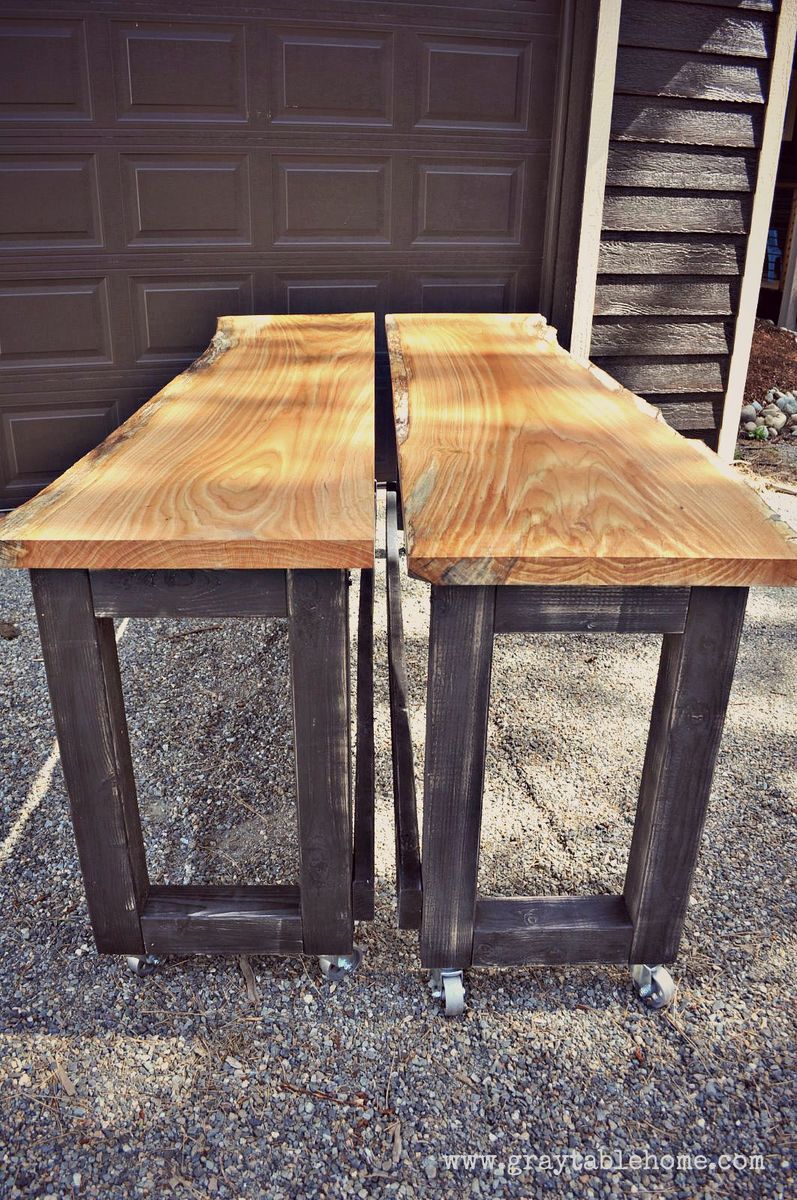
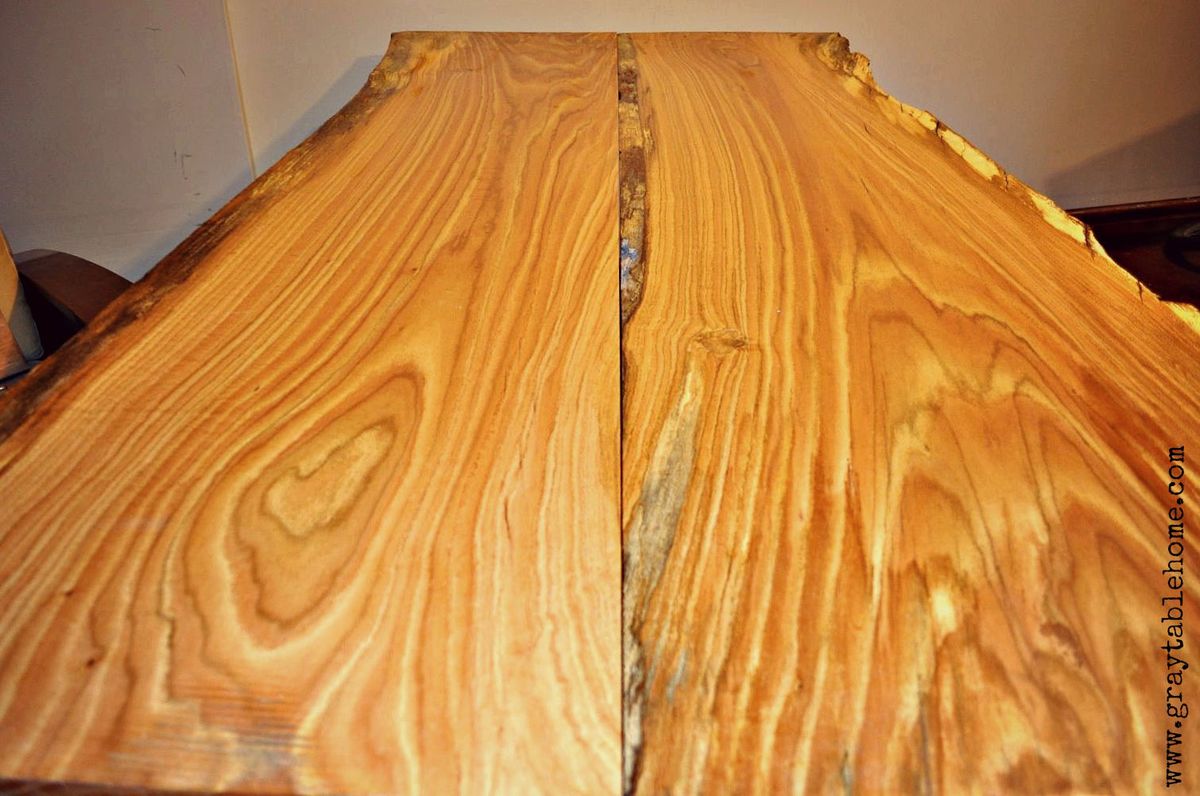
This rustic modern version of a pub table has multiple uses - it can rest along a wall to make a 16 foot long bar, or rolled together to form an 8 foot long pub table. It is standard counter height 36" and will accomodate seating for 8-10 counter stools. If you don't have live edge wood slabs, you can also use construction lumber (2x8s or 2x12s) to achieve similar dimensions and versatile use in a more cost effective way.
Fri, 07/31/2015 - 04:10
Awesome idea! I think I will have to try for a dining table version of this table. Do you happen to have a way to lock the 2 pieces together?
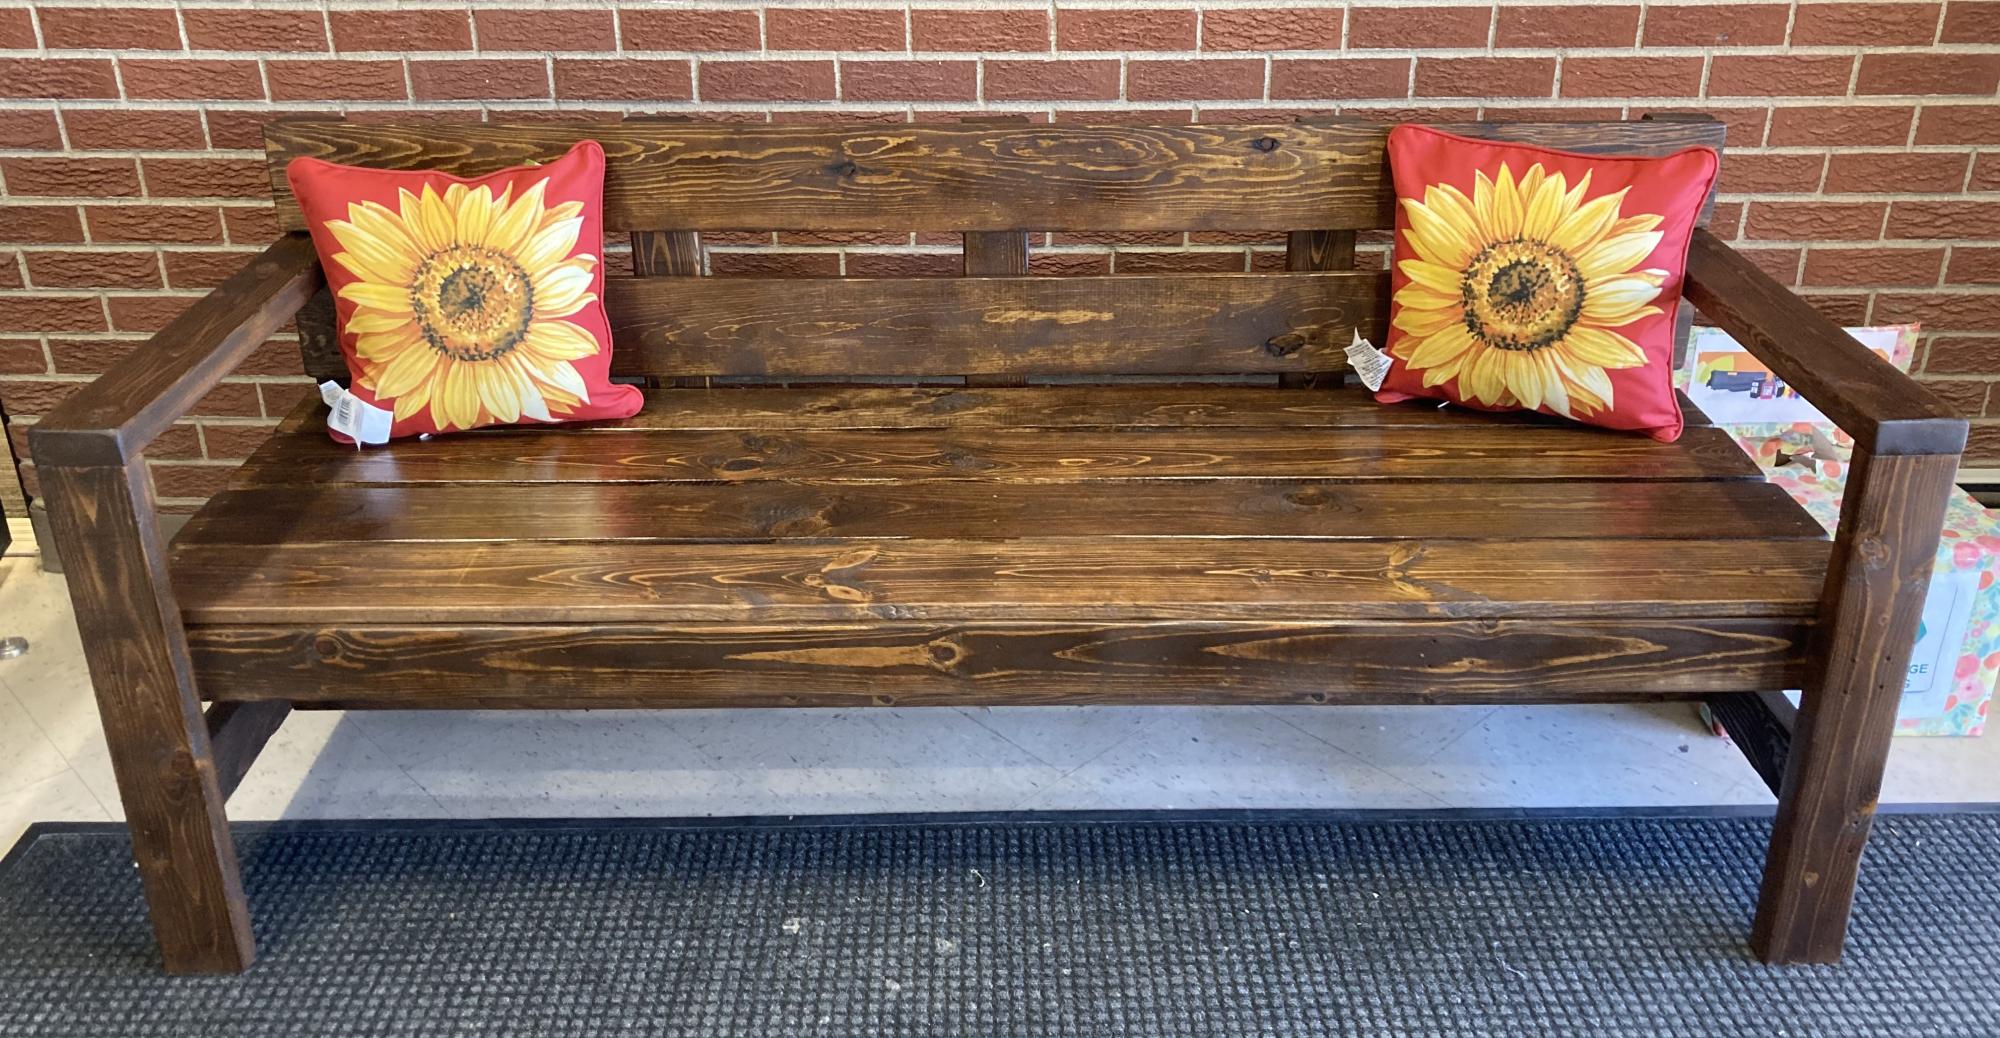
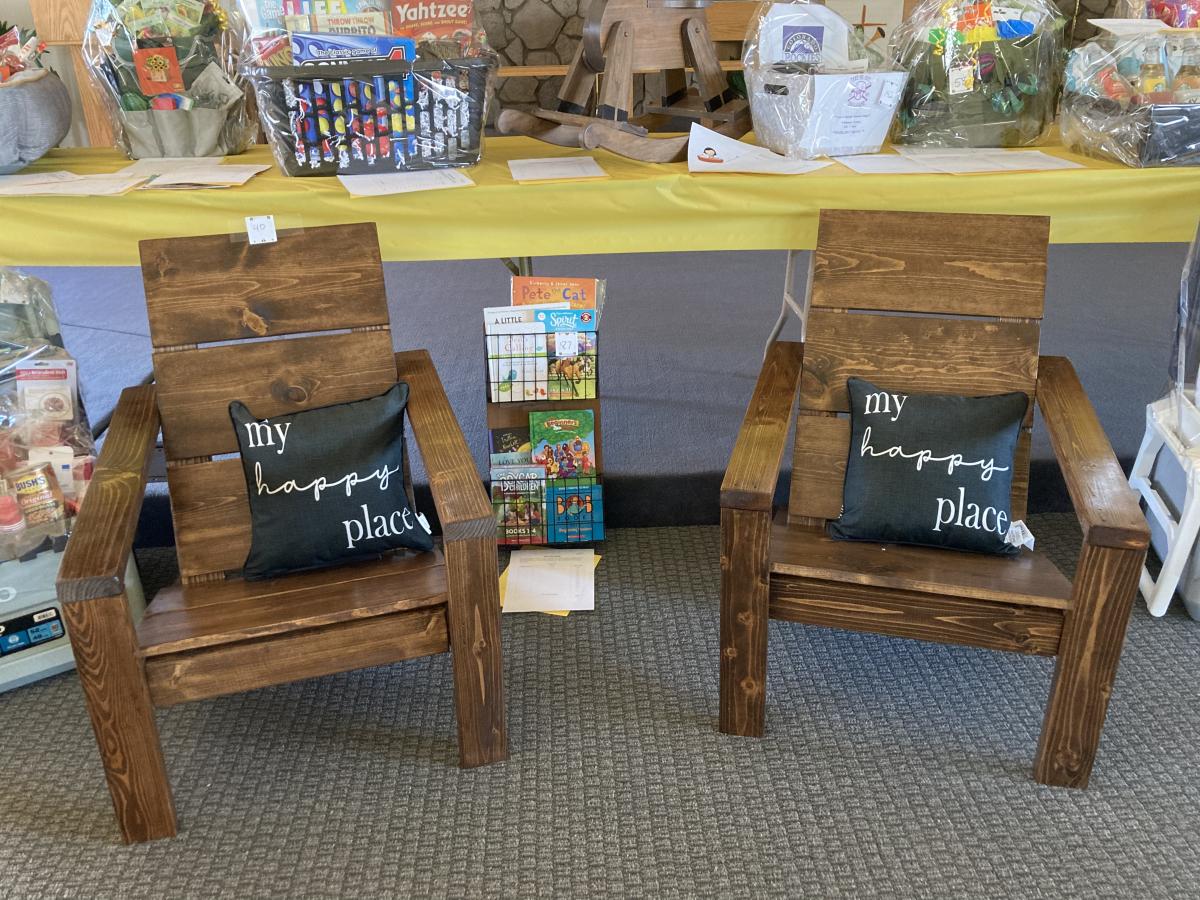
This year my 2nd-3rd class built the Modern Park bench for the school auction. They sanded, stained, and set the screw for the seat and back.
I also made two Adirondack chairs with matching stain.
Both projects had two coats of poly and really shined. They were a hit at the auction and the kids and families really appreciated the experience and final products.
Thank you Ana for making plans simple to follow and new skills learned each time.
Blessings,
Jennifer
Wed, 05/04/2022 - 07:50
This is amazing, I am sure their furniture pieces were a hit! Thank you for sharing:)
Mon, 05/16/2022 - 18:33
My students really enjoyed it and many picked up a tool for the first time. I like planting seeds in their heart and mind for the future!! Blessings, Jennifer
Mon, 05/16/2022 - 18:33
My students really enjoyed it and many picked up a tool for the first time. I like planting seeds in their heart and mind for the future!! Blessings, Jennifer

Sun, 03/31/2024 - 14:30
I've been helping with our class auction project, and it's been a fun experience. But balancing schoolwork and project deadlines can be tough. That's why I found this article finance.yahoo.com/news/pay-essay-top-5-safe-105019899.html on safe essay services helpful. It saved me time and stress, allowing me to focus on both my studies and the auction project.
Sun, 03/31/2024 - 14:31
I've been helping with our class auction project, and it's been a fun experience. But balancing schoolwork and project deadlines can be tough. That's why I found this article https://consent.yahoo.com/v2/collectConsent?sessionId=4_cc-session_0f89… on safe essay services helpful. It saved me time and stress, allowing me to focus on both my studies and the auction project.

Wed, 05/01/2024 - 12:07
I've been helping with our class auction project, and it's been a fun experience. But balancing schoolwork and project deadlines can be tough. That's why I found this article https://consent.yahoo.com/v2/collectConsent?sessionId=1_cc-session_e9dd… on safe essay services helpful. It saved me time and stress, allowing me to focus on both my studies and the auction project.
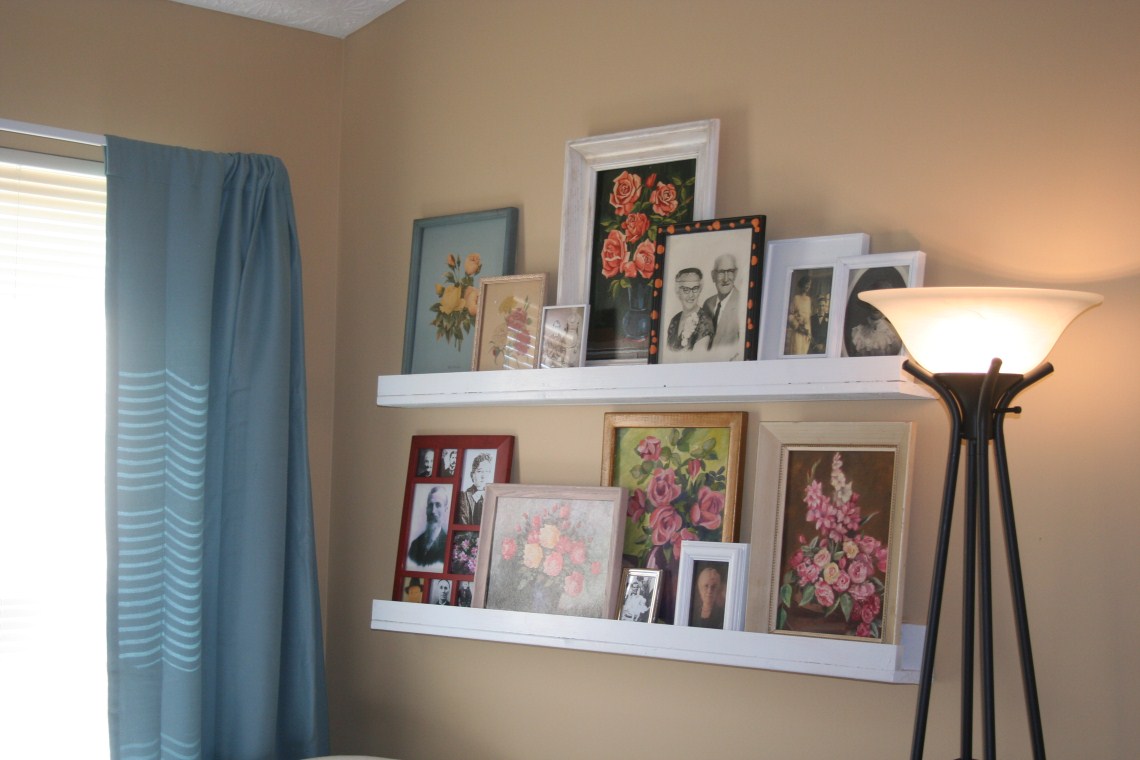
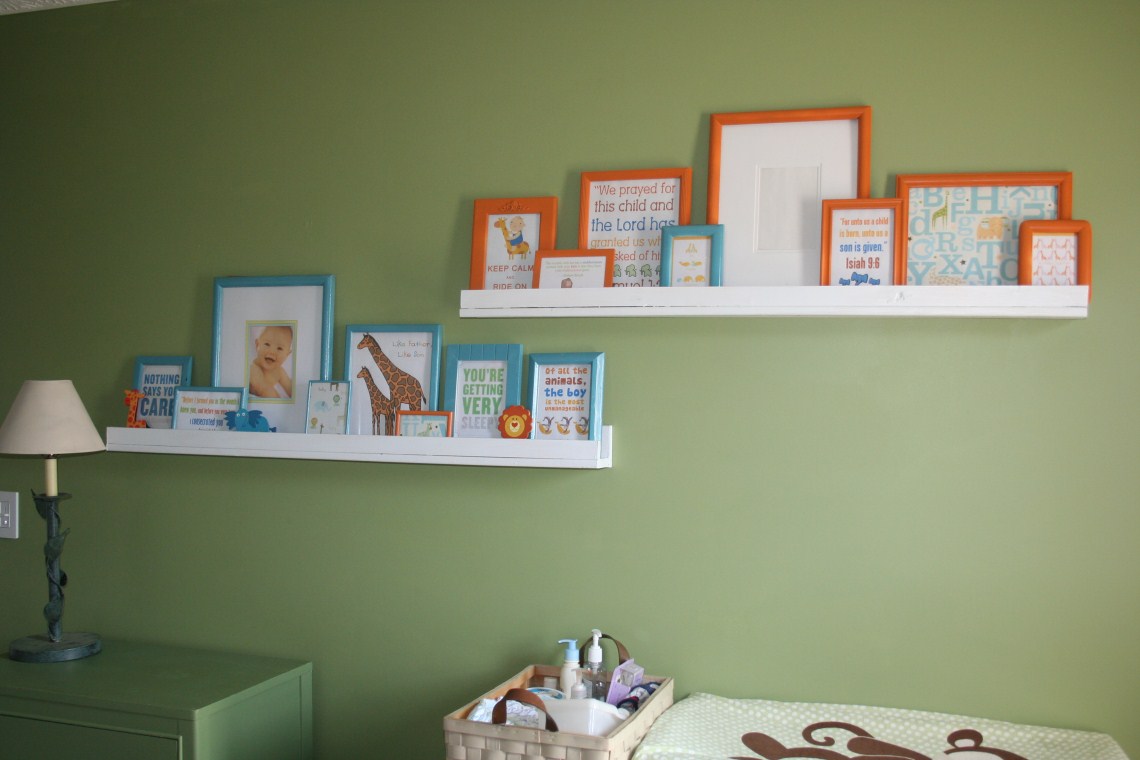
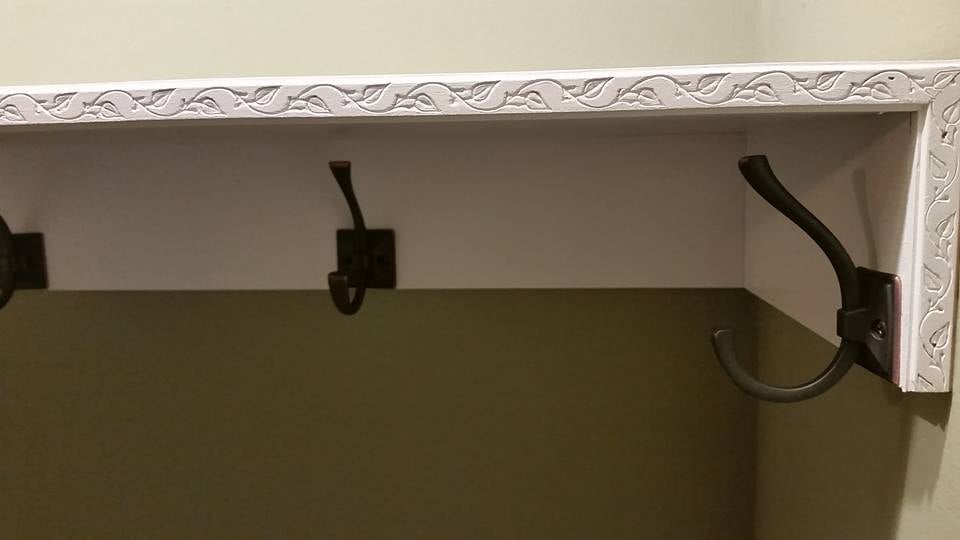
We made six 4-foot photo ledges for about $20 in wood and $2 in screws. We put two in the master bedroom, two in the nursery, and two in the family room! That's alot of decorating for $22 (plus the cost of frames... which were all either thrifted or we already had)


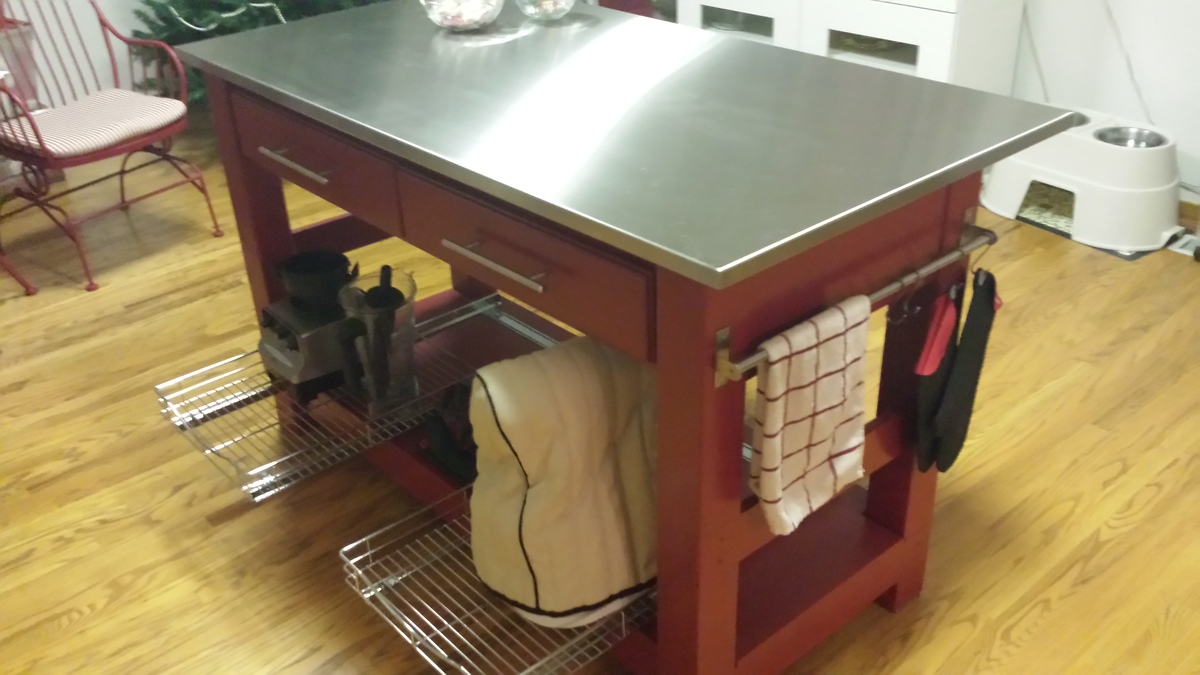
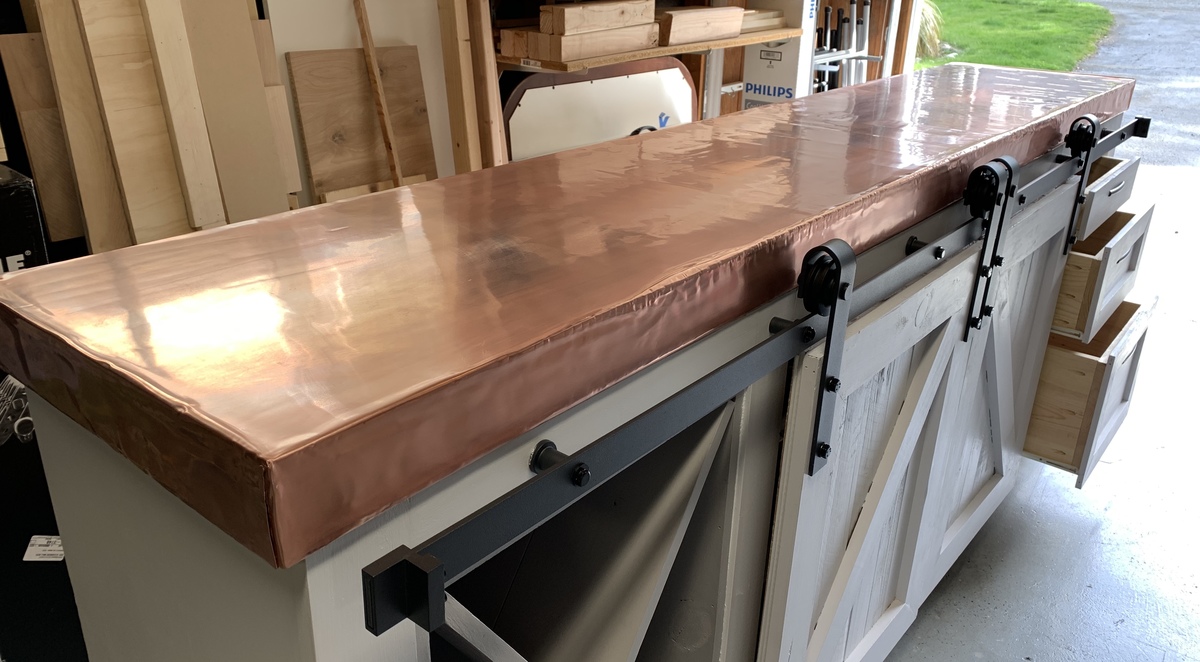
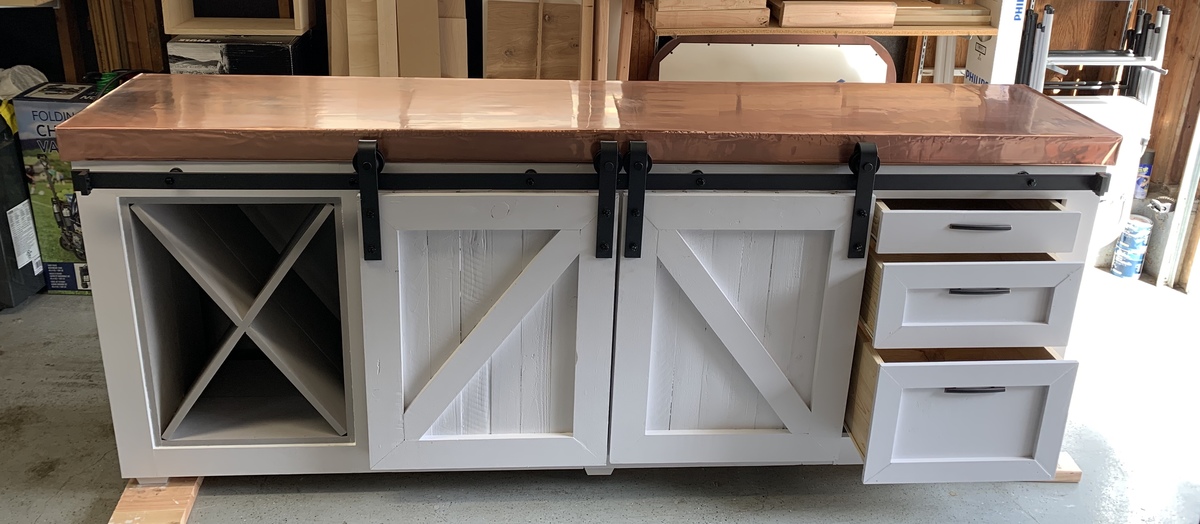
I really do enjoy my island. It has great storage and the added prep space has been wonderful. With the added counter space It has aloud me to make breads and pizzas and with the stainless steel top it is a breeze to clean. I really have enjoyed Ana's website with all the great plans and tips.
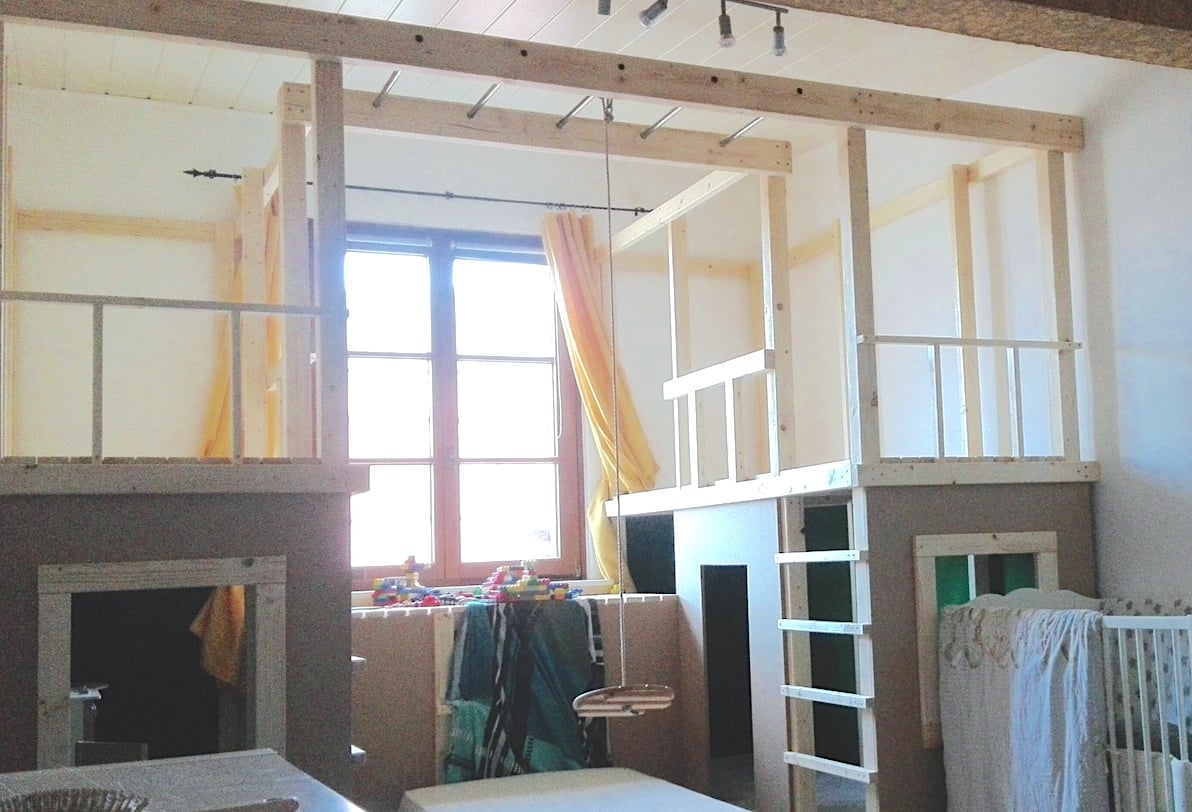
Thanks for the Plans Ana. Though we had to convert every number the plans helped us a lot. Our playhouse turned out really big: 8x8 foot. We had to include our heater under the window, so our tunnel is much bigger. It took us (three people) a half day shopping and two days and one night building and cost 600-700€. The kids where amazed when they opened the door a few days after Christmas. We still think about adding some features like a slight or a bed...

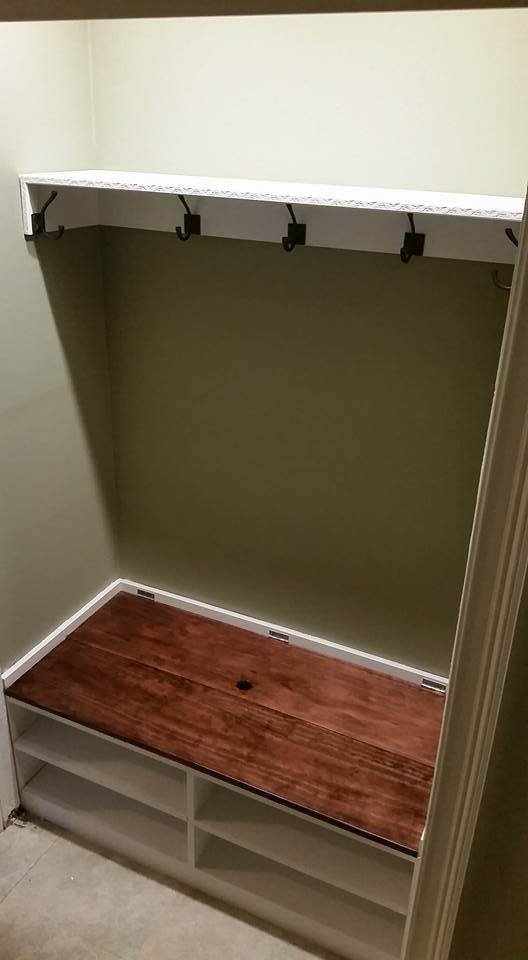
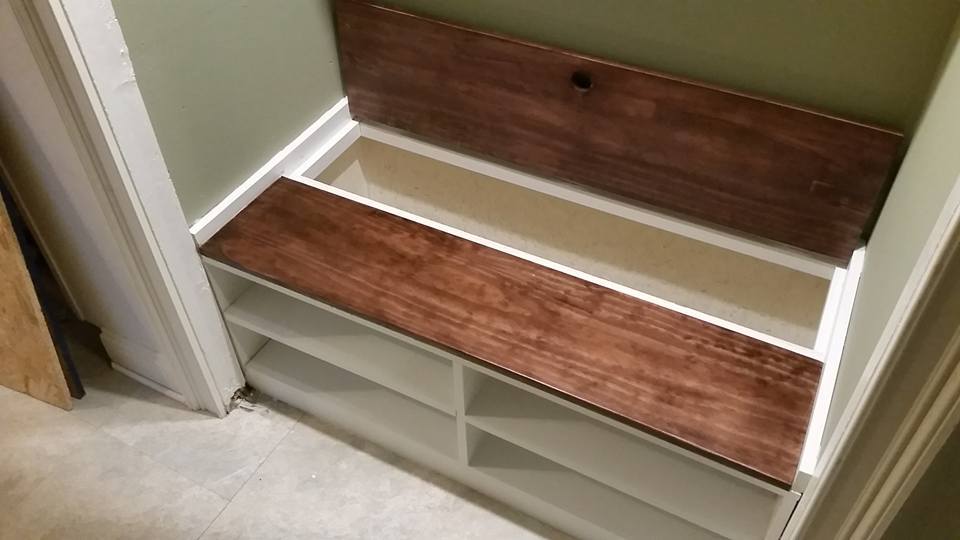
Easy build
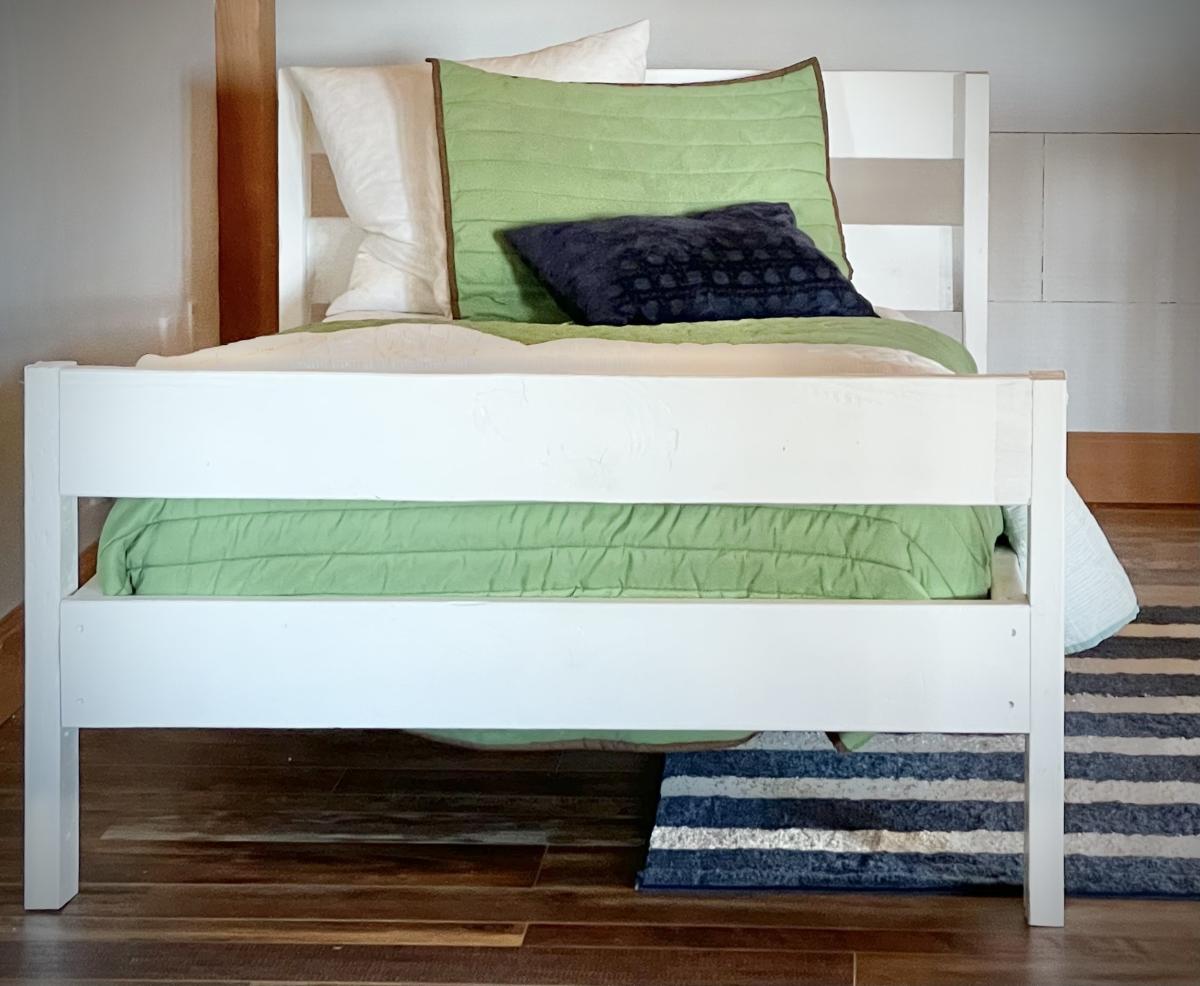
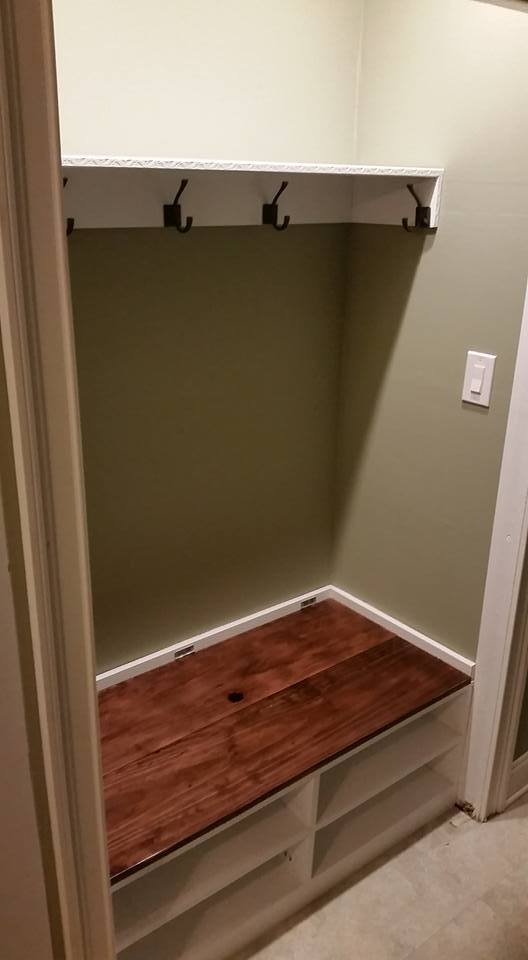
In our new home there was a 46" wide coat closet at the entrance. My wife wanted a place to sit down, take off shoes and put our coats and backpacks when we were home. I found Ana White's plans for this shoe bench and modified it to fit our space. The project took 3 days to complete due to the painting, staining and polyurethane, construction of the bench itself was quick. Previously I added a light switch and two 3" LED recessed lights in the ceiling. The project came out wonderful and I am very pleased. Thank you for the inspiration!
-Mike
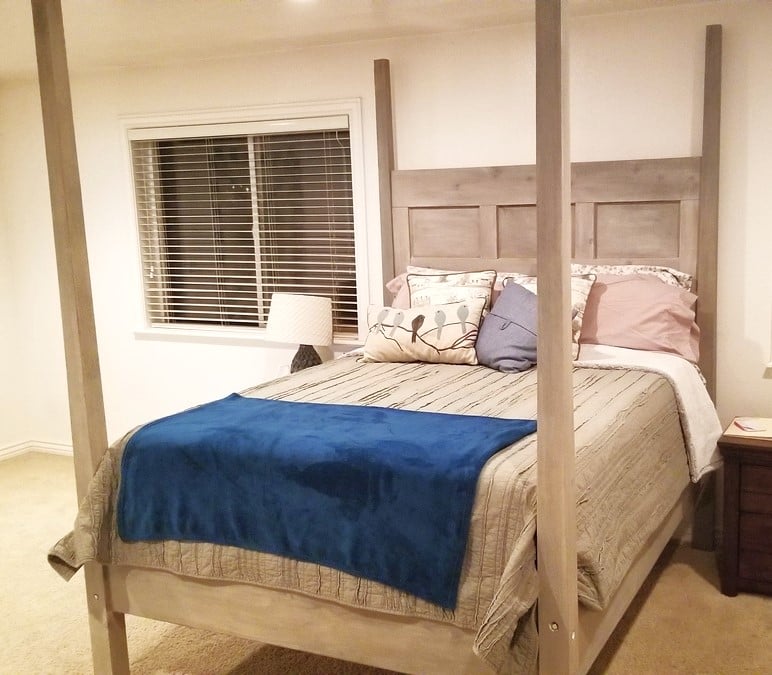
A little taller, and a different finish, but built from scratch inspired by your design. Thanks so much.
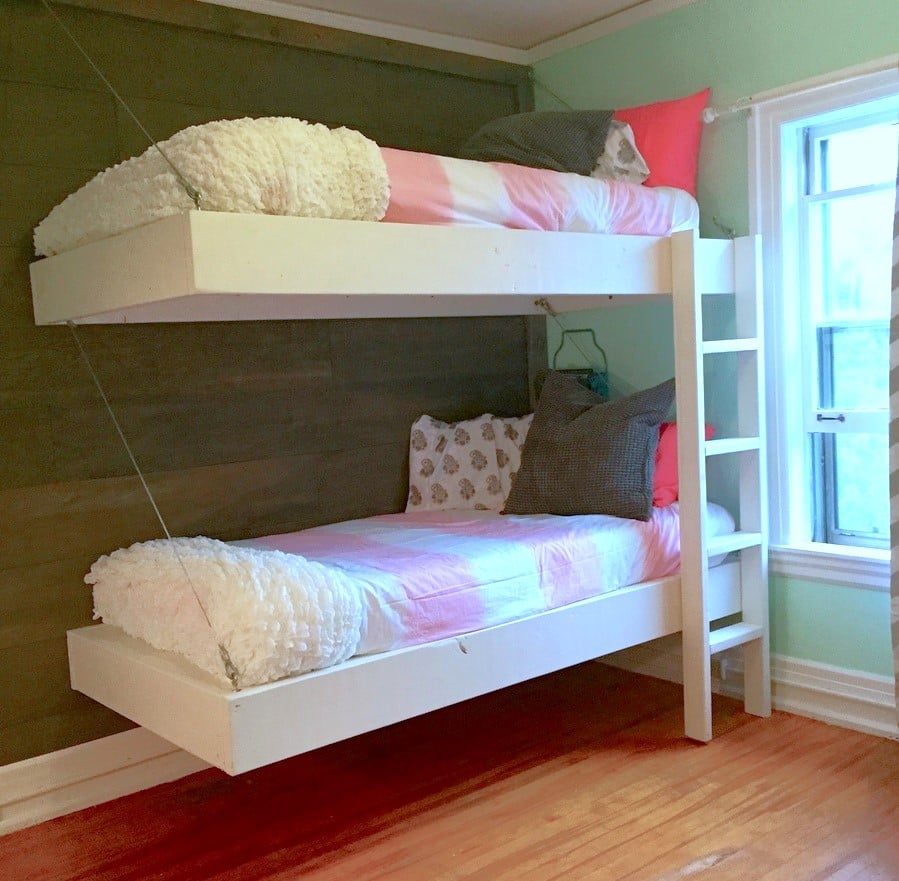
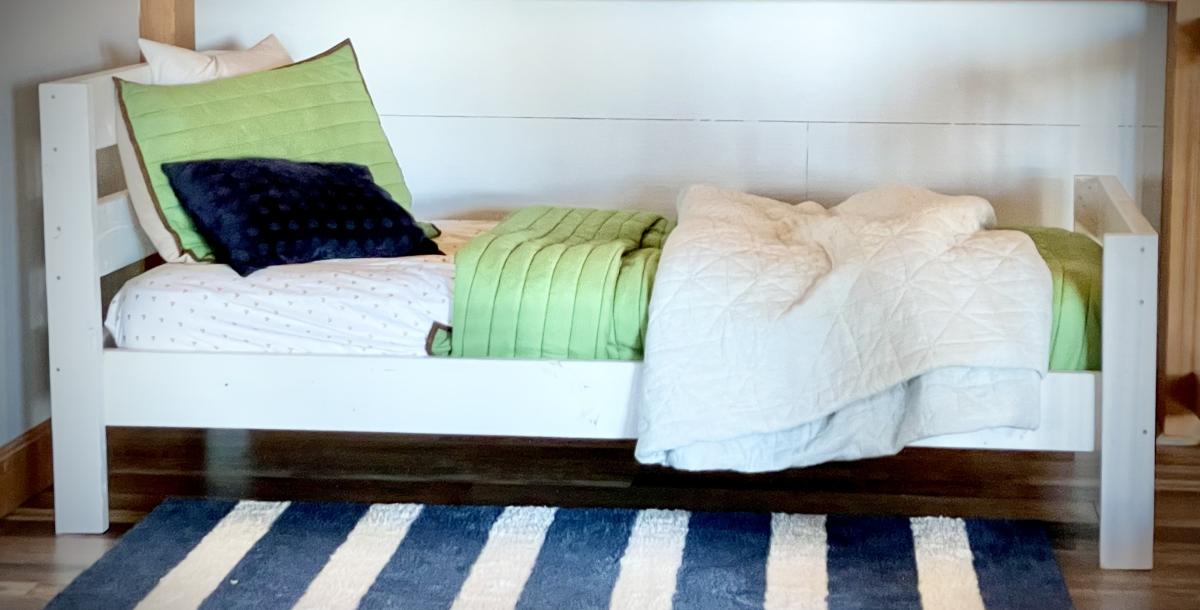
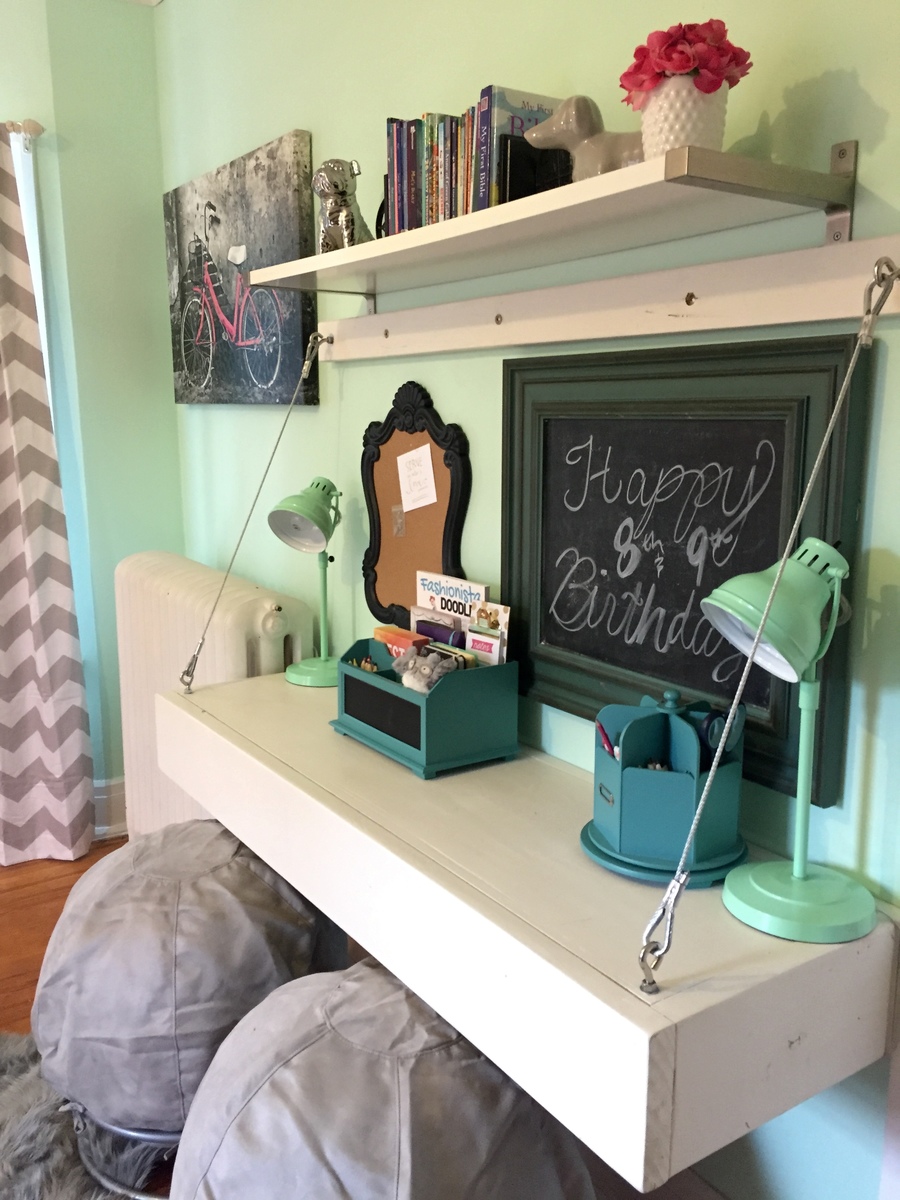
This little girls room needed a little happy birthday! I planked the wall with birch veneer, made simple box frames for the beds and desk, and attached them to walls with heavy duty cable. Then my friend added her designer touch, and made it cozy and girl CHIC!

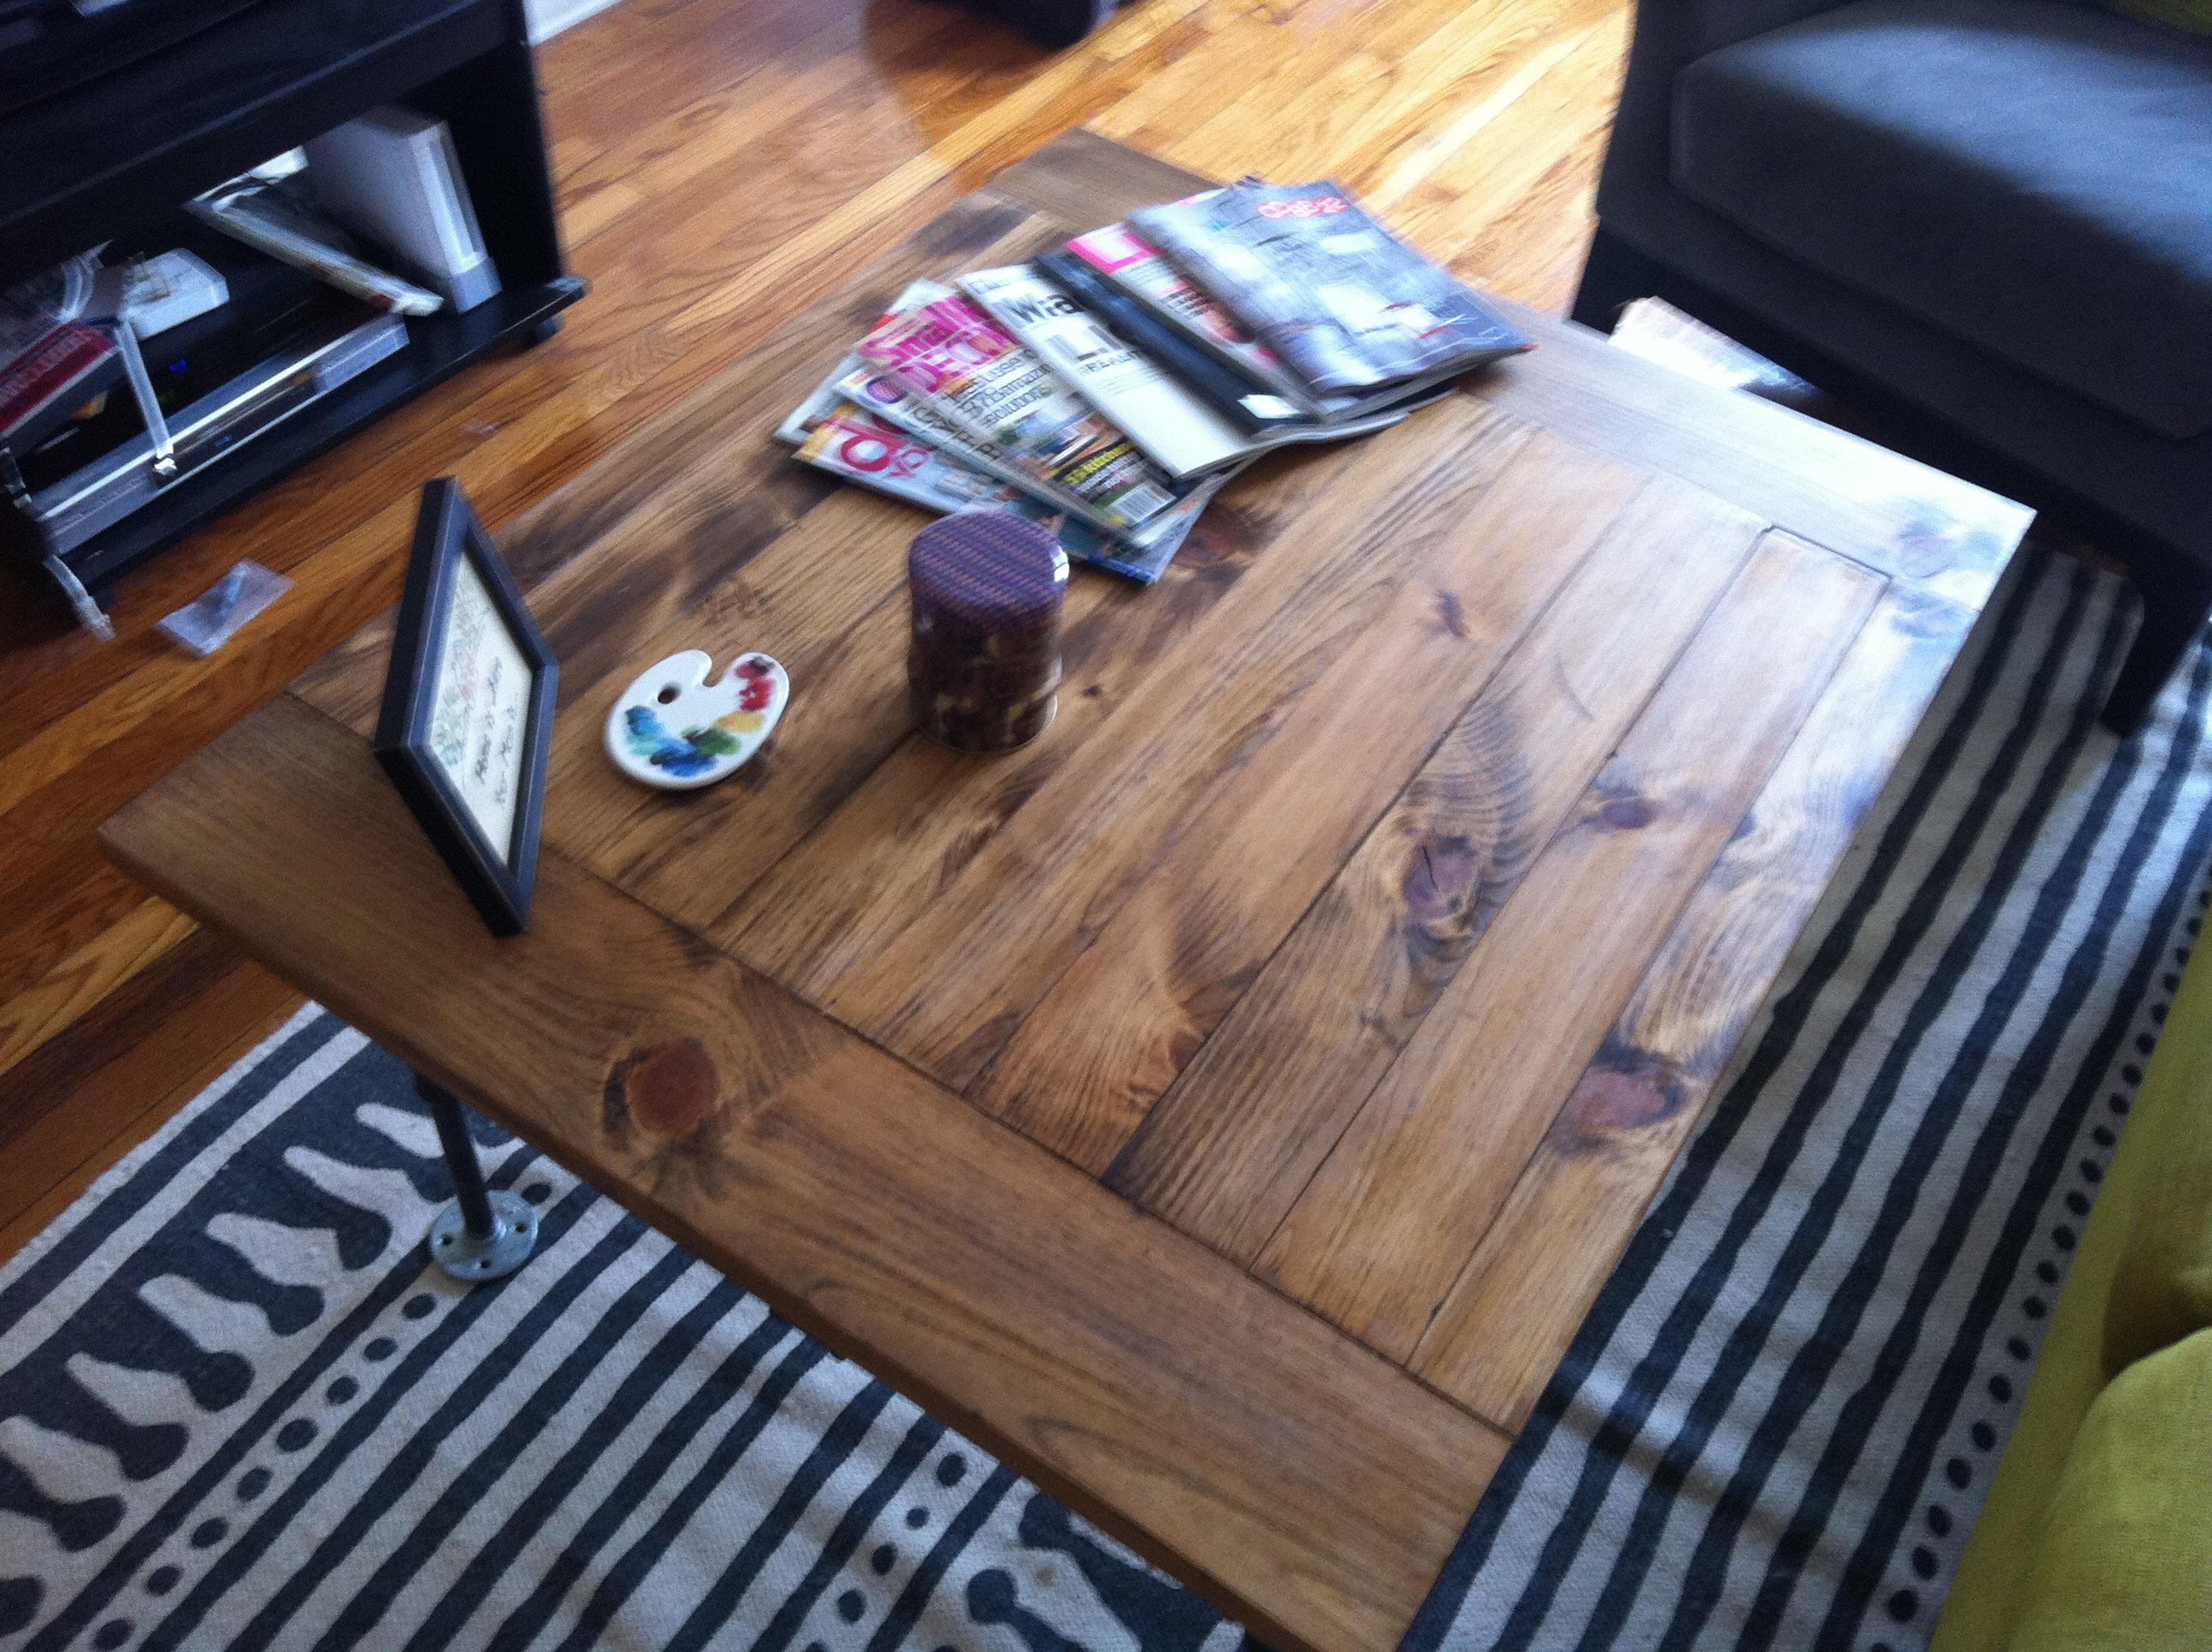
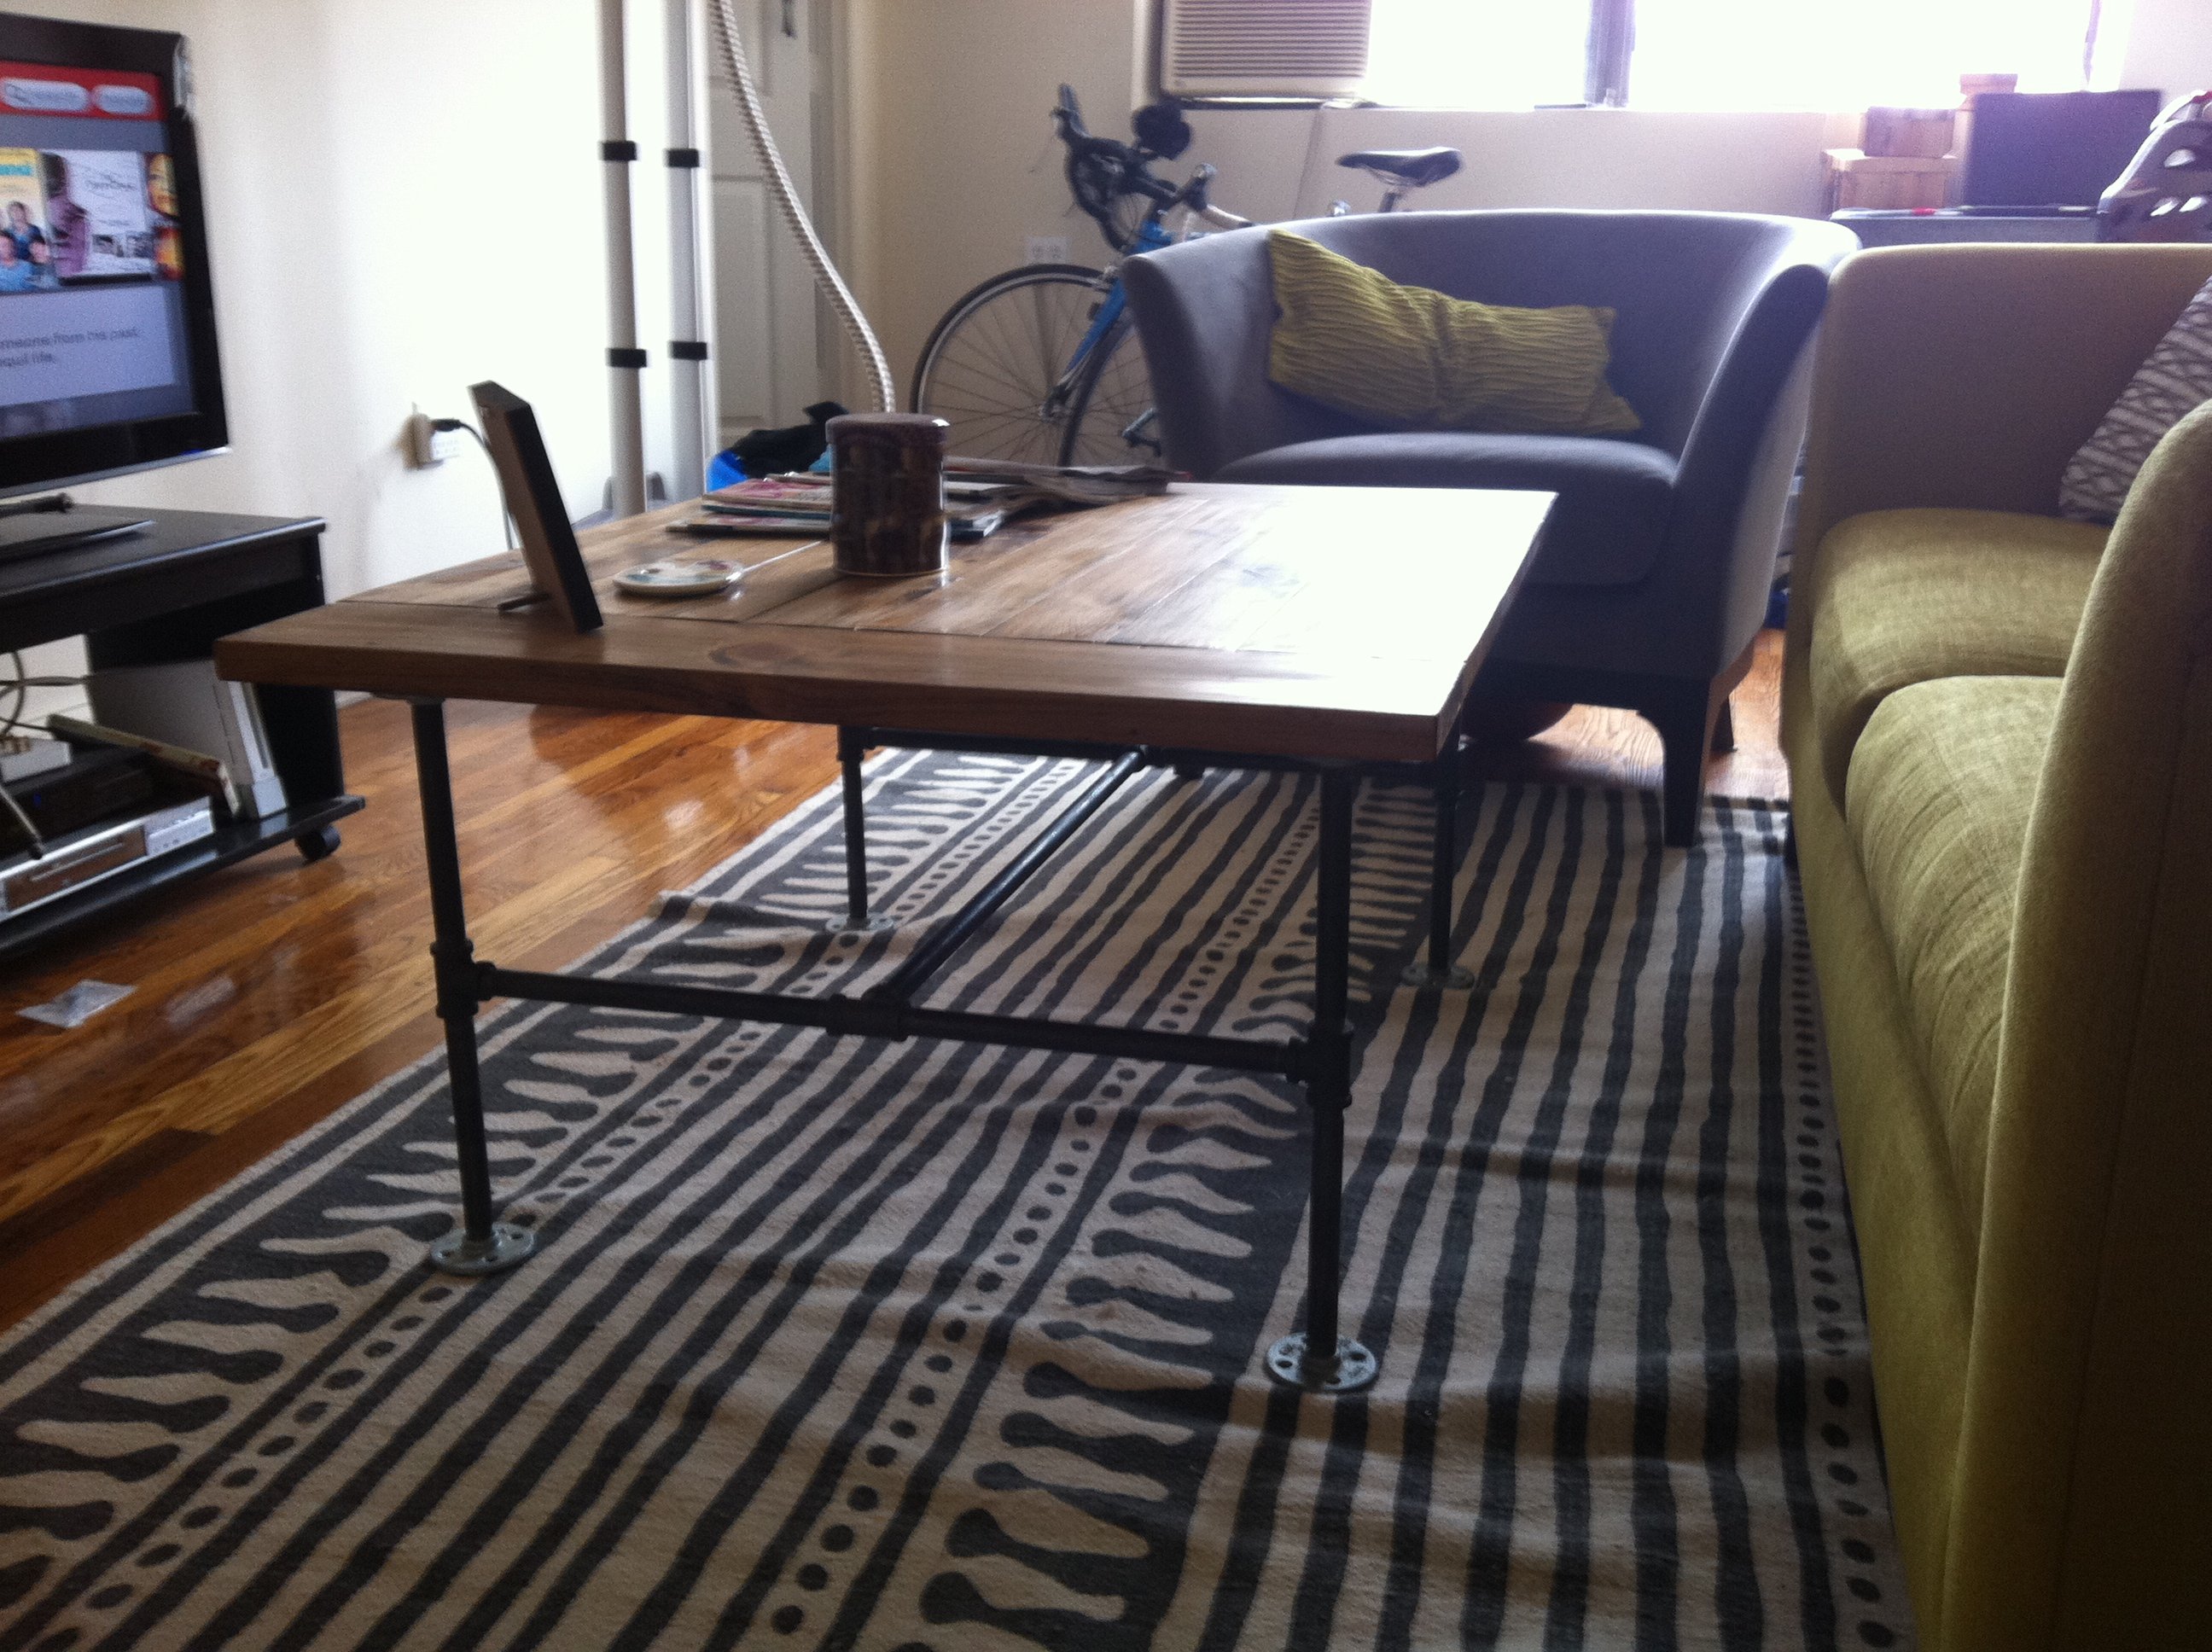
We loved the Tryde coffee table, but thought a more industrial look would fit better in our apartment. We saw some black iron pipes at Home Depot and decided to use these for the legs. It turned out great and looks really good with the rest of the furniture! Thanks for the plan!

Thu, 09/29/2011 - 09:54
That turned out so cool! LOVE, LOVE, LOVE the black pipe legs!
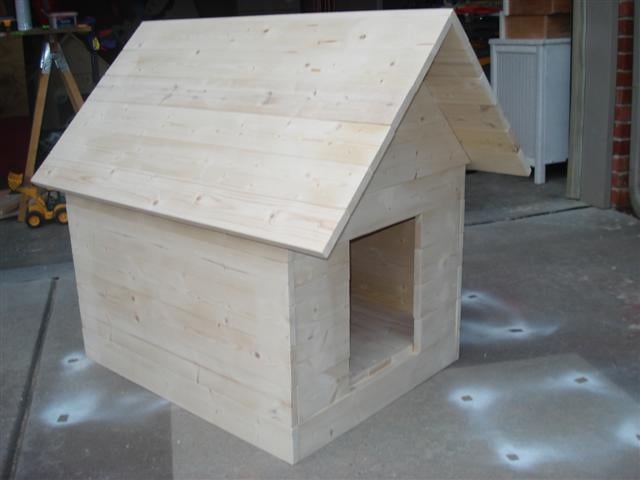
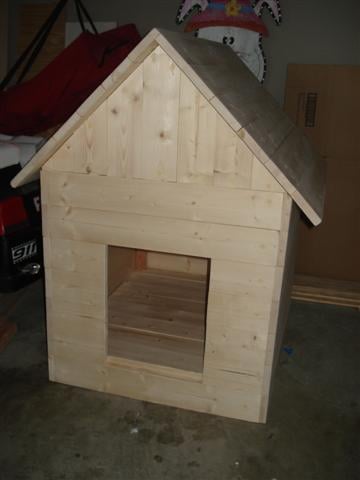
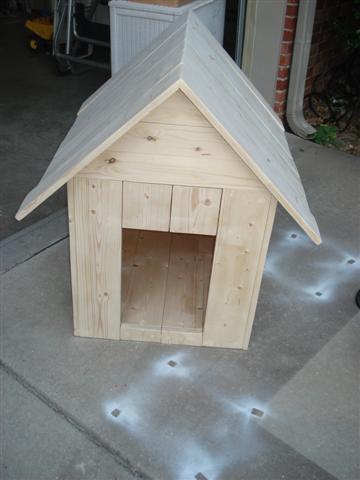
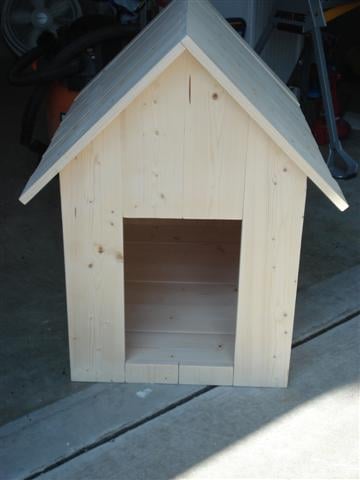
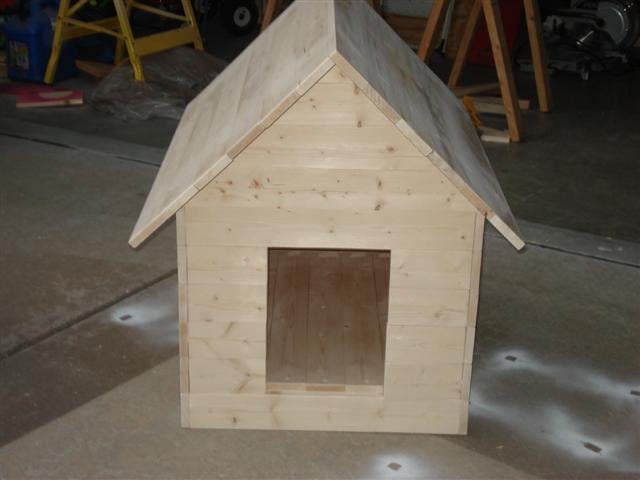
Our local Habitat for Humanity puts on an annual event where they get folks to restore discarded or worn down furniture and sell them at auction. My wife and I participated last year and this year I was asked to build 4 dog houses and then they were going to let local designers/decorators finish them out.
I figured it would be easy to find a good dog house plan, but I was wrong so I had to come up with my own designs. I did not want to use plywood becauase I wanted them to look good. So I used 1x4's and 1x6's. I built them all just a little bit different, but the same basic design on all 3. Since I am not very good with circular cuts, did not do any fancy 1/2 circle doorways!
There are "after" pictures on the Blog. Thanks for looking!
Had to change it up a little..

Modified the plan to create an 96”L x 18”D x 36”H buffet with:

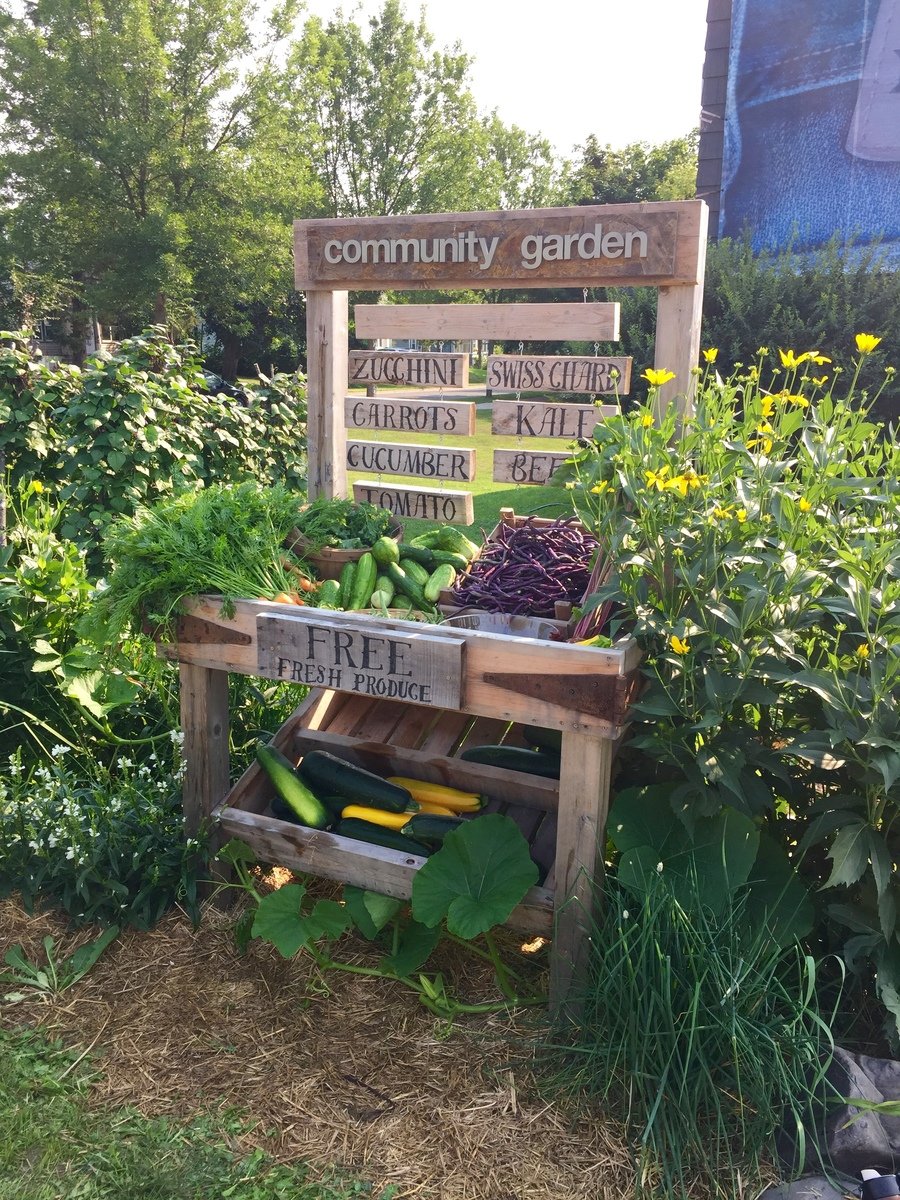
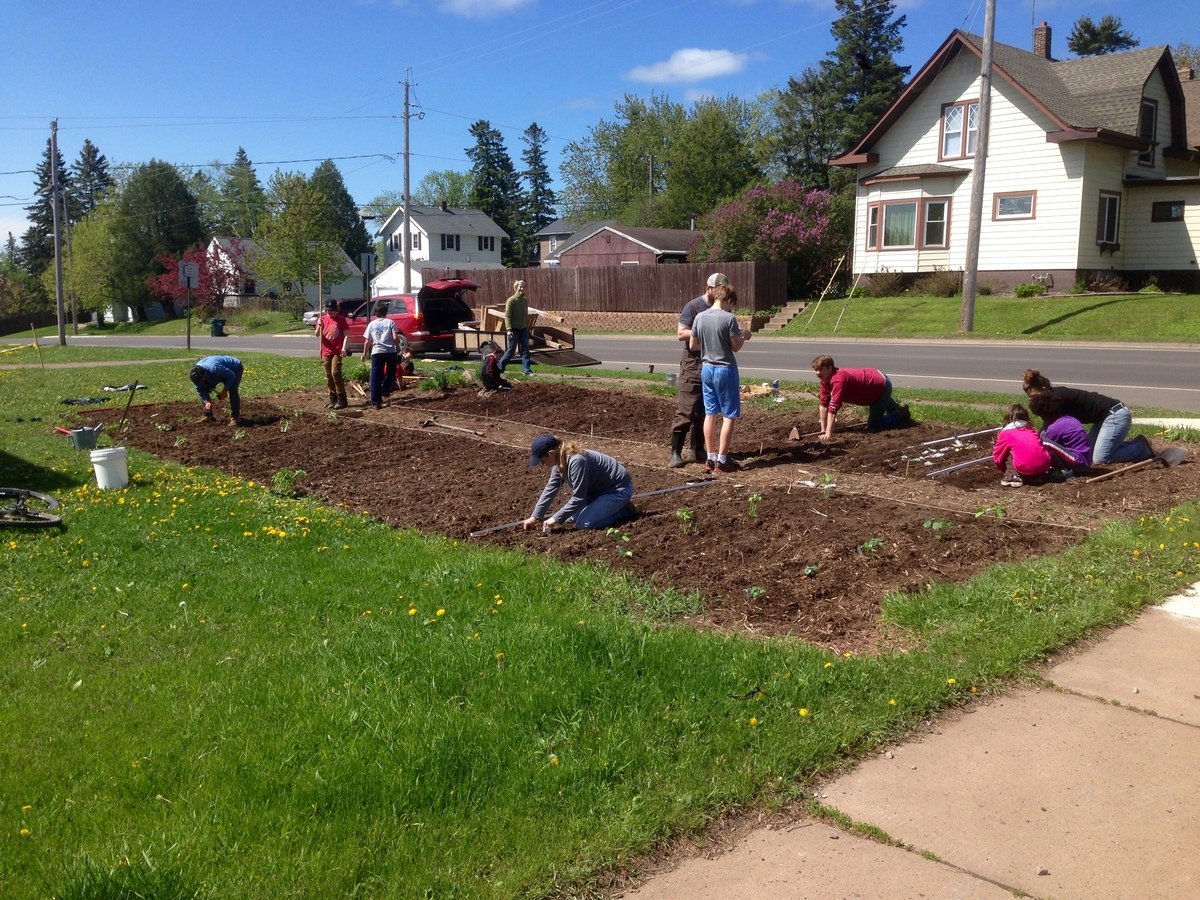
This spring, my neighborhood started a community garden. Five families came together to break ground, sow, tend, and give away our produce. The local church close by allowed us to use their front lawn for the "Lakeside Community Garden," located in Duluth, MN. Every Saturday during harvest season, we gave away our produce to the community. I took on the project of building a farm stand. One of our neighborhood families donated re-claimed lumber to the cause, and I started building. I had research many farm stands on-line, and knew I needed two large boxes to hold the veggies, as well as a sign to indicate what produce we were giving away.


Comments
Ana White Admin
Tue, 10/05/2021 - 11:10
Awesome way to spend time together!
Thank you for sharing, just beautiful~
Ana White Admin
Tue, 10/05/2021 - 11:10
Awesome way to spend time together!
Thank you for sharing, just beautiful~