Community Brag Posts

Kids Outdoor Double Lounge Chair

Hi friends!
 

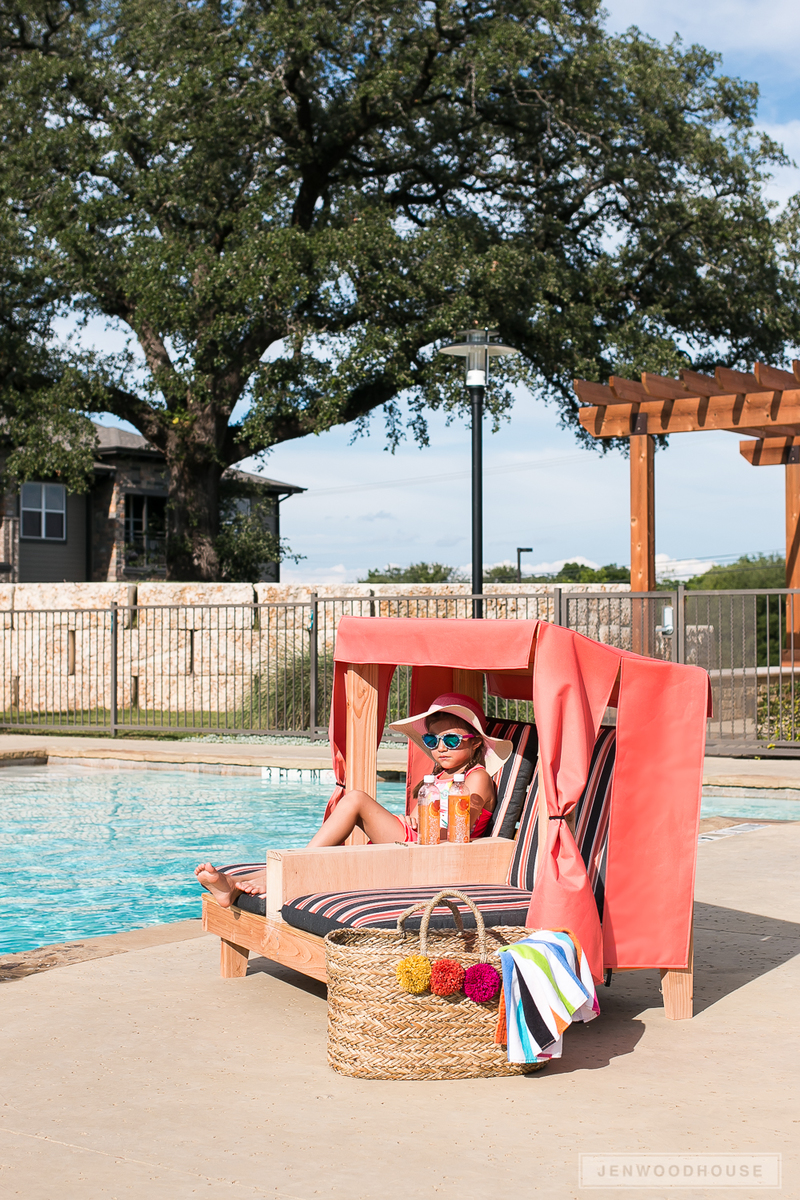
Jen Woodhouse here, sharing this adorable summer project with you! I'm in the mood for all things outdoor, so I thought I'd share this build I created last year. This Kids Outdoor Double Lounge Chair made my kiddos so happy. They spend a ton of time at the pool and this Lounge Chair offers them a little bit of shade, and cup holders too for their drinks! 


Be sure to tag me @jenwoodhouse if you share photos of your build on social media.

You can get all the details and the plans for this build on JenWoodhouse.com!


Estimated Cost
$155 including cushions and canopy.
Estimated Time Investment
Day Project (6-9 Hours)
Finish Used
Exterior-grade polyurethane
Recommended Skill Level
Beginner

Farmhouse Dog Bed

Submitted by StacieM on Mon, 08/15/2011 - 10:26

So I finally finished the dog bed I've been working on for over a month now (I've been trying to avoid the 100+ Texas heat but it just wouldn't go away!) It was based on dmanar33's farmhouse dog bed (linked below) and I just made it larger for our greyhound, Daisy. It's far from perfect but it's been another good learning project for me while practicing before I start our desperately needed King bed.

The bed was made using 2x8 for the internal structure (with one 2x4 center "slat"), 1x6 and 1x8 boards for the surround, with 1x2 as trim and 3/4" plywood for the cushion base. It is rather heavy but can easily be moved with two people. This was my first project using my finish nailer ($16 at Harbor Freight) and it was worth every penny! I can't believe I never picked one up before.

For the cushion I tried to find a cheap, thin 3" futon mattress on Craigslist to cut up (as I've done before), but after 2 days of looking online I ended up settling for a $12 full size foam mattress topper from wally world. I folded it in half and wrapped with some thick batting I had laying around so the cushion ended up ~2" thick. And for the cover I used Ana's doll mattress tutorial with some wally world Chino Cotton curtains for $16 as fabric (thick, durable, cotton and cheaper than anything I could find at the fabric store) and it worked out great! I left one end open to put a zipper into once I pick one up, so right now it is like a large pillow case, but it works just fine.

I'm very happy with the total project and I love that Daisy (~75lbs) won't be breaking it anytime soon. She has plenty of room to stretch out and it looks much nicer than the old lumpy "giant pillow" style dog bed on the floor we had before.
Estimated Cost
~$30 for the wood and ~$30 for the cushion
Estimated Time Investment
Day Project (6-9 Hours)
Finish Used
One coat Sherwin Williams bright white flat (leftover ceiling paint) and one coat Rustoleum gloss white spray paint.
Recommended Skill Level
Beginner

Comments

kelli224

Mon, 08/15/2011 - 10:47

This is so fantastic!! But what I love even more...is that sweet greyhound! We are a greyhound family as well and I think our Breezy girl needs one of these.

juliead18733

Sat, 11/12/2011 - 08:35

You did an amazing job on this and thanks so much for giving detailed info about what you used! I've been toying with the idea of making a bed like this for my Pit Bull but I've been hesitant without knowing what materials would make it structurally sound for a large dog to lay on. Thanks for showing me how to give my big dog some of the pampering that the little dogs get all the time!

tnlscott

Wed, 01/11/2012 - 07:55

I saw the original blog about this bed, but it was quite smaller. I have a great dane that I want to make this bed for, so it's good to see how it looks bigger! I have a baby mattress that I'm going to use, so it'll be pretty big!! Awesome job!!

DIY Bailey Dog Chair for Dogs with Megaesophagus

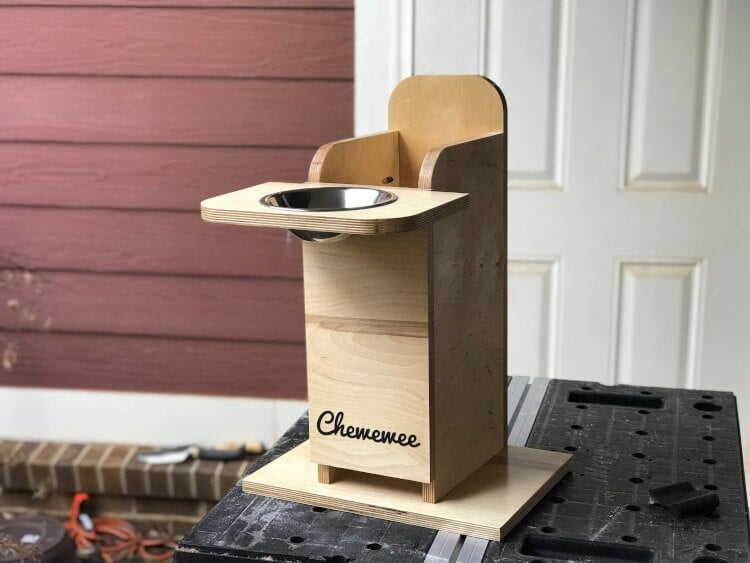
Hello everyone, today I’m sharing details on something I built recently: a Bailey Chair for dogs suffering from Megaesophagus.

Dogs with megaesophagus have an enlarged esophagus. This makes swallowing food difficult. Eating while in an upright position helps and the task of keeping the dog vertical is easier when the dog is sitting in a Bailey chair.

This blog post is less of a detailed how to and more of showing in progress photos. Adam, over at Lazy Guy DIY, has put together a great tutorial on how to build the Bailey Dog Chair. I followed his instructions with very few modifications.

CLICK HERE to read my build details and see more photos!

Estimated Time Investment
Afternoon Project (3-6 Hours)
Finish Used
clear spray
Recommended Skill Level
Beginner

Simple Outdoor Loveseat with Storage

Submitted by kareylynn on Wed, 10/19/2011 - 10:20

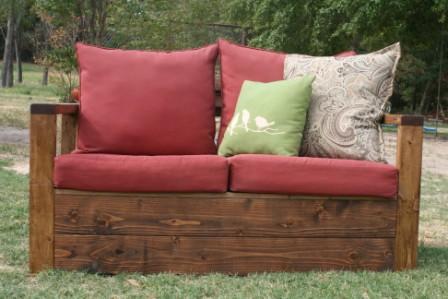
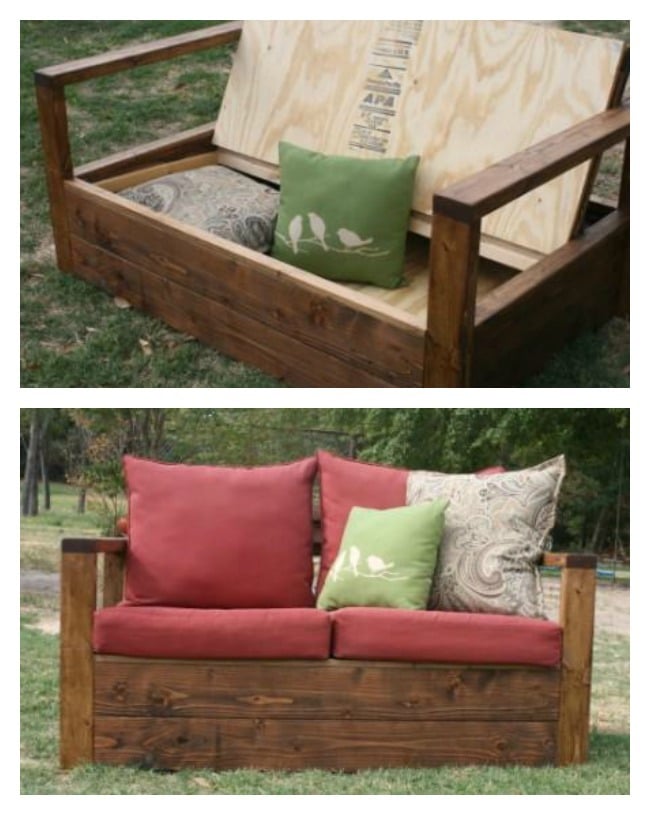
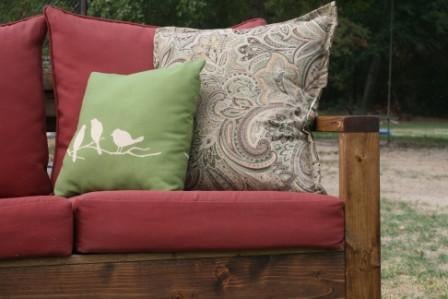
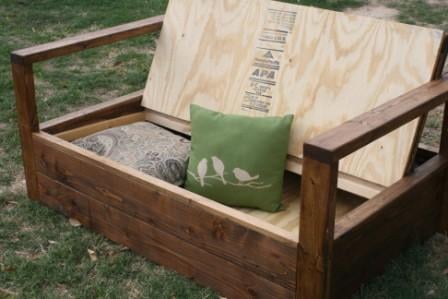
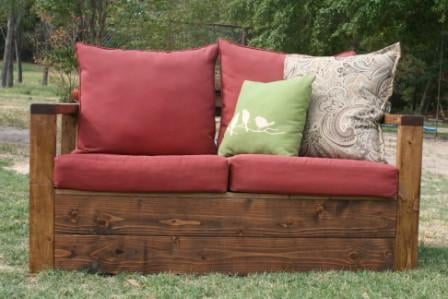
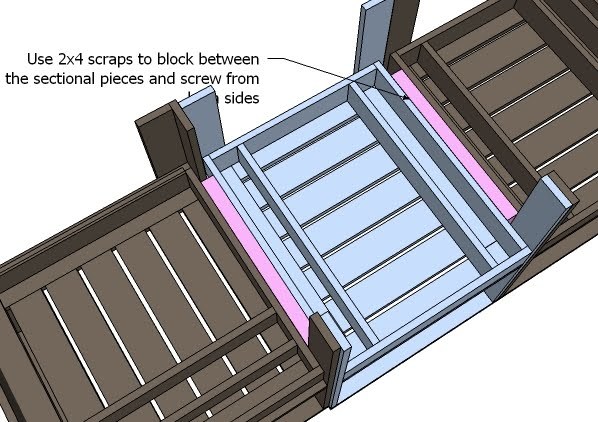
I added storage to the bottom of the simple outdoor loveseat by creating one big board from 2 2x6 boards for each of the front, back, and side aprons using my KregJig. Then I added cleats around the bottom for a sheet of plywood, extra cleats around the top edge for the seat, and put the hinge on the original seat support board.

Estimated Cost
$120 for the lumber and $300 for the cushions.
Estimated Time Investment
Week Long Project (20 Hours or More)
Finish Used
Provencial stain with two light coats of Poly.
Recommended Skill Level
Advanced

Comments

Seasonal And Holiday

Church Pew

Submitted by ndetermann on Fri, 10/18/2013 - 01:58

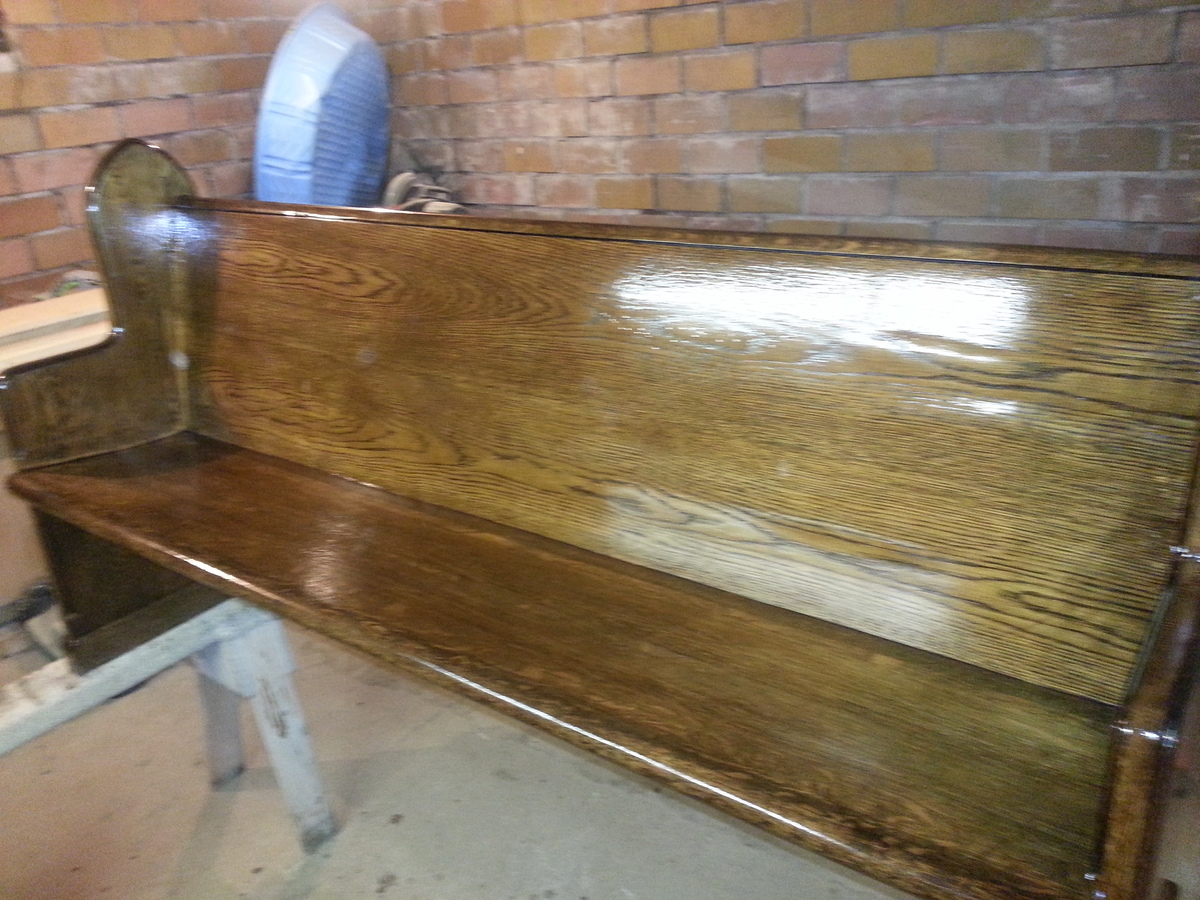
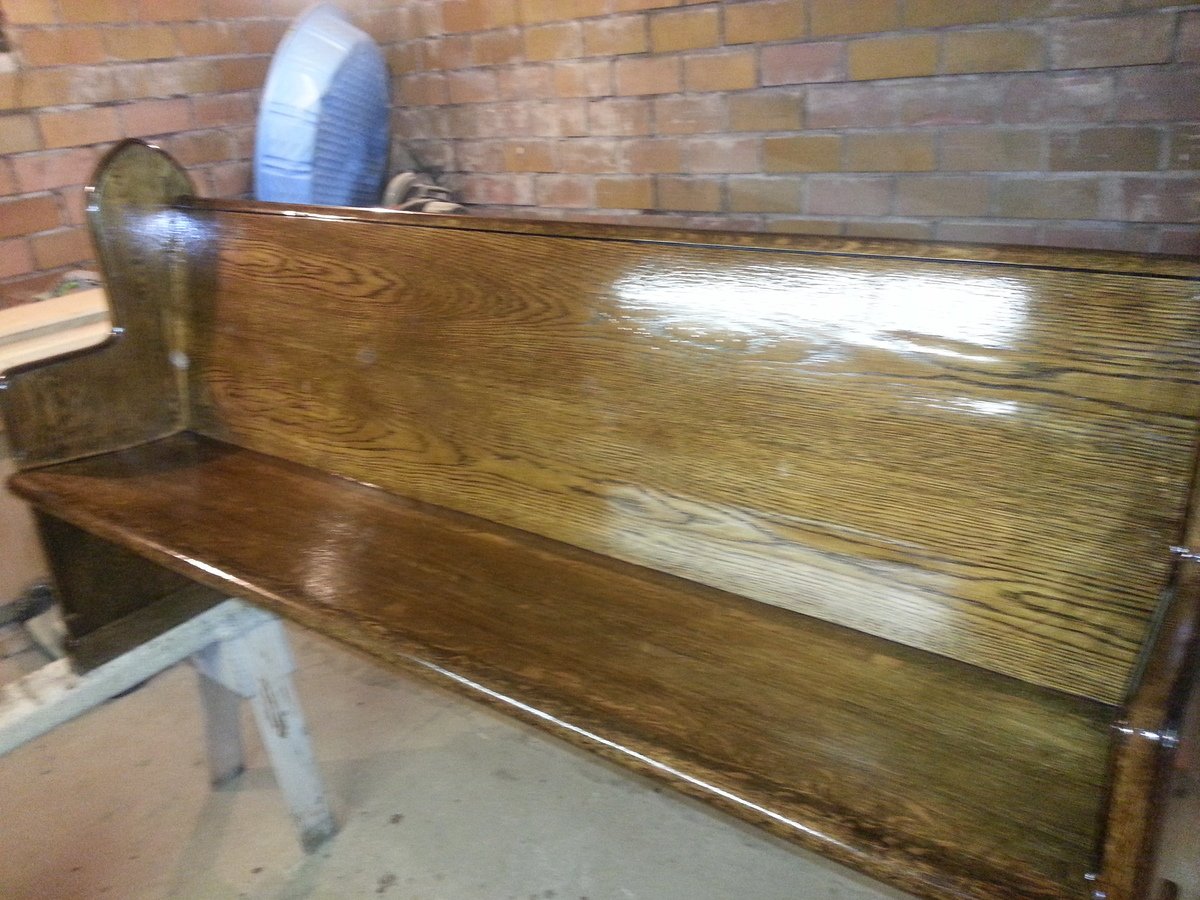
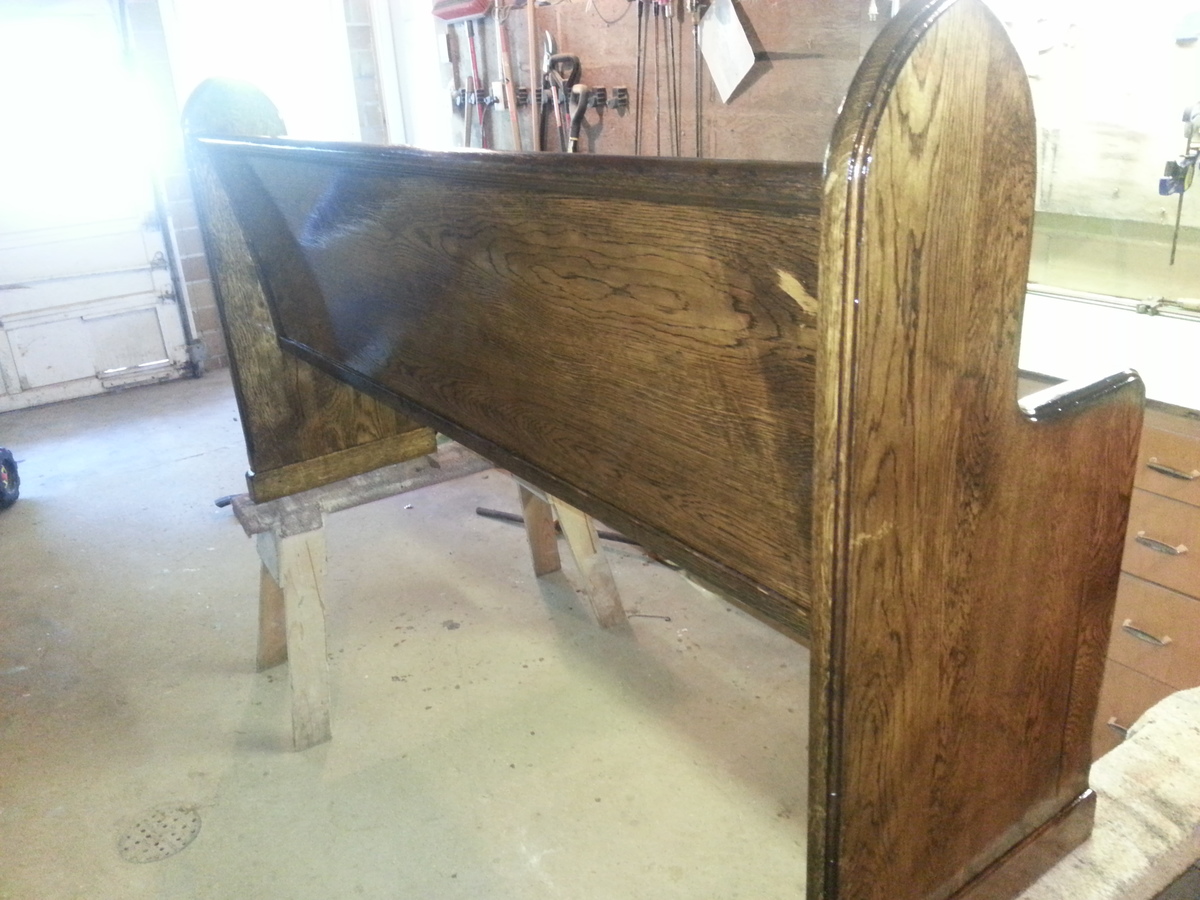
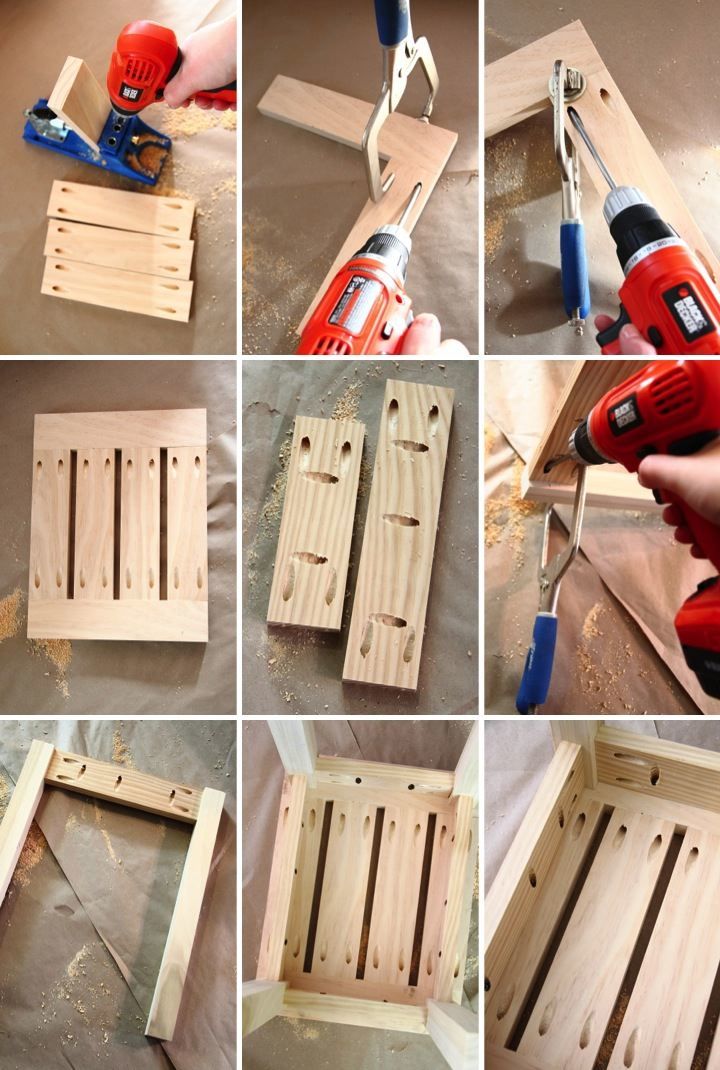
I redid a very old church pew fro one of my friends. It's origins is from one of the original churches in our home town. (There was SO much lacquer on it) This church pew was in bad shape, I had to take it totally apart and re-glue and pocket hole jig every wooden piece together because it was falling apart.

Estimated Time Investment
Day Project (6-9 Hours)
Recommended Skill Level
Beginner

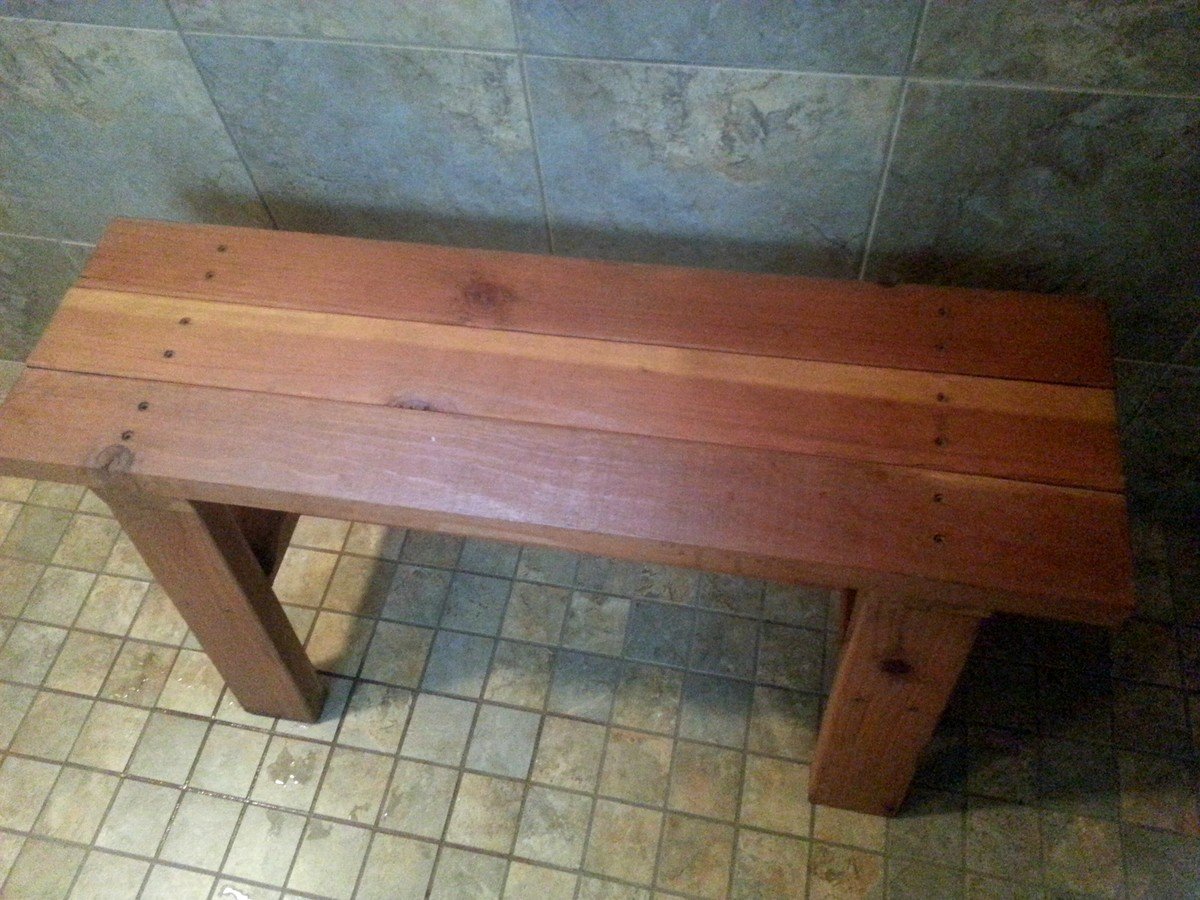
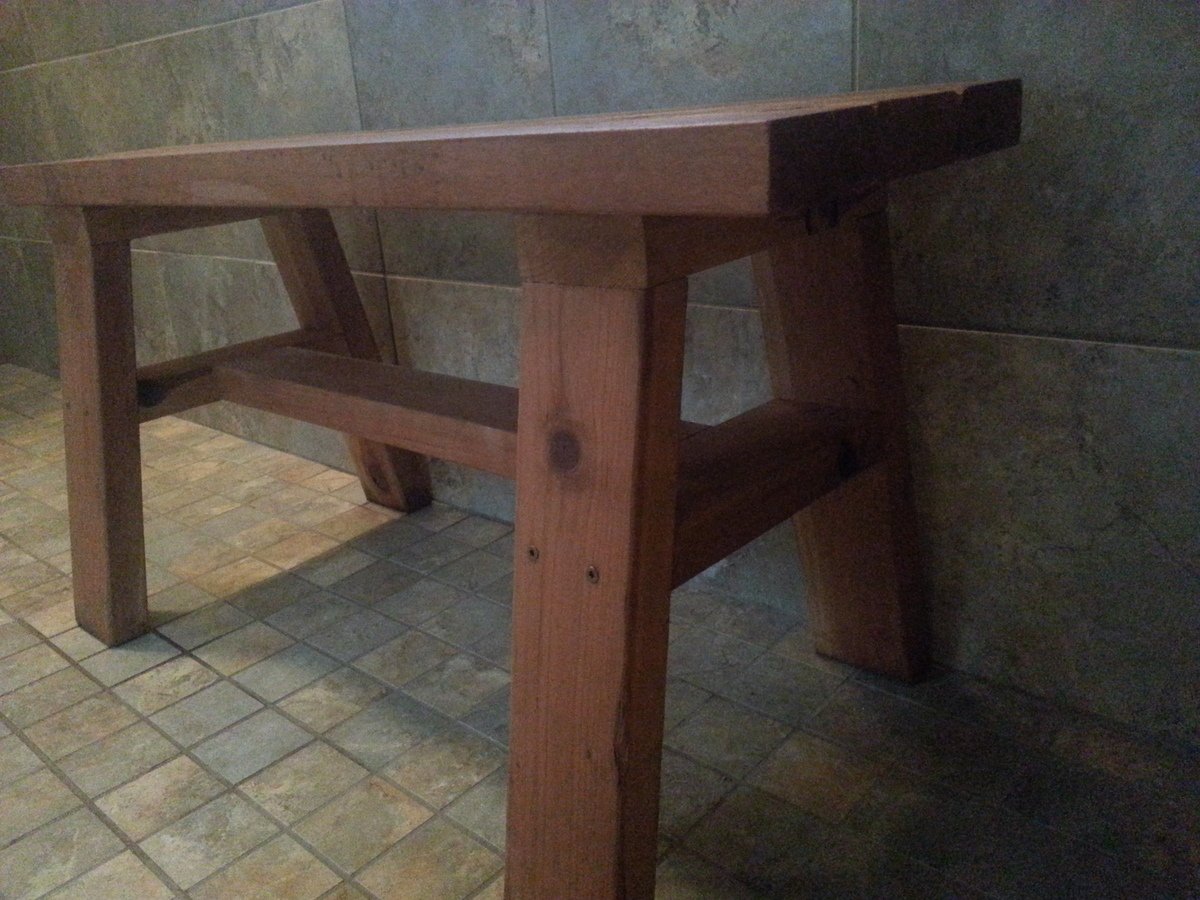
Redwood Shower Bench

Submitted by lwarteman on Sun, 10/20/2013 - 08:33

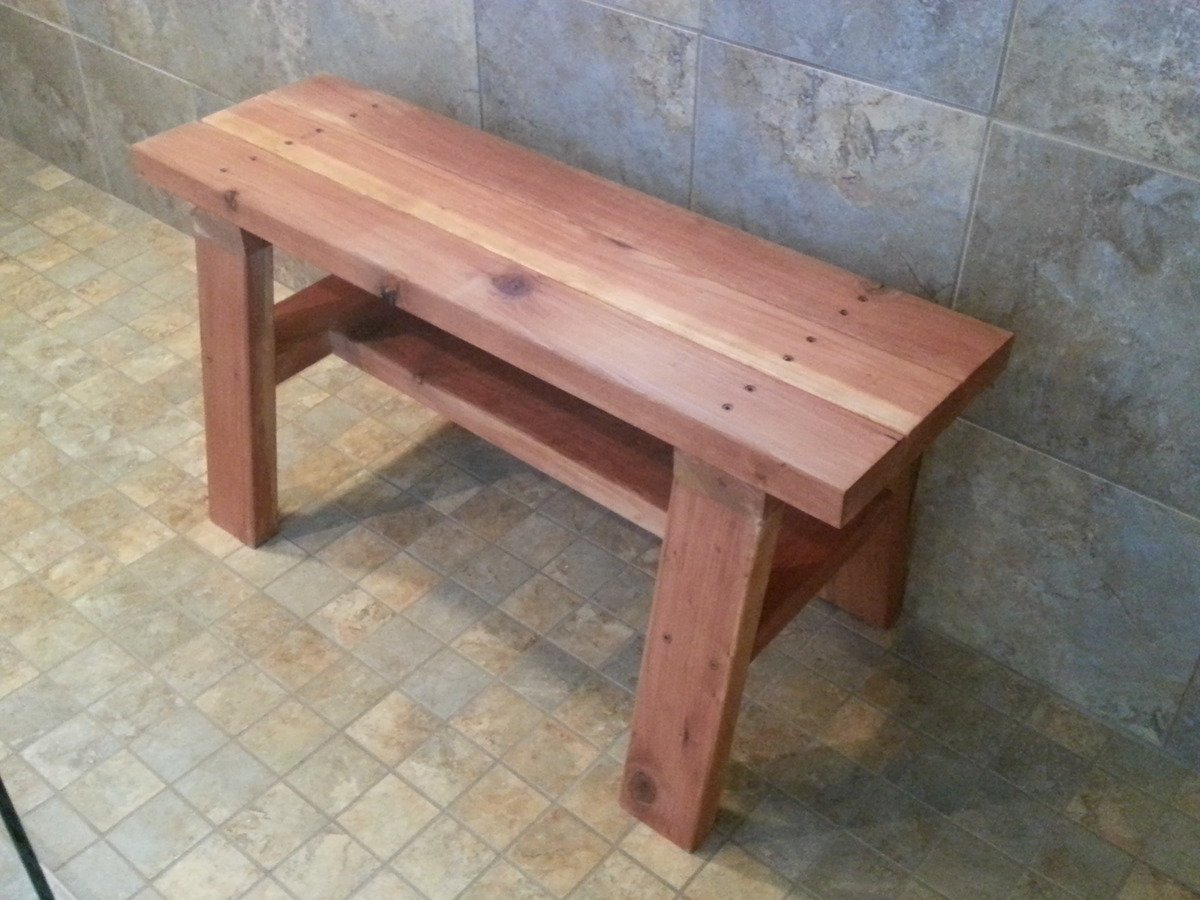
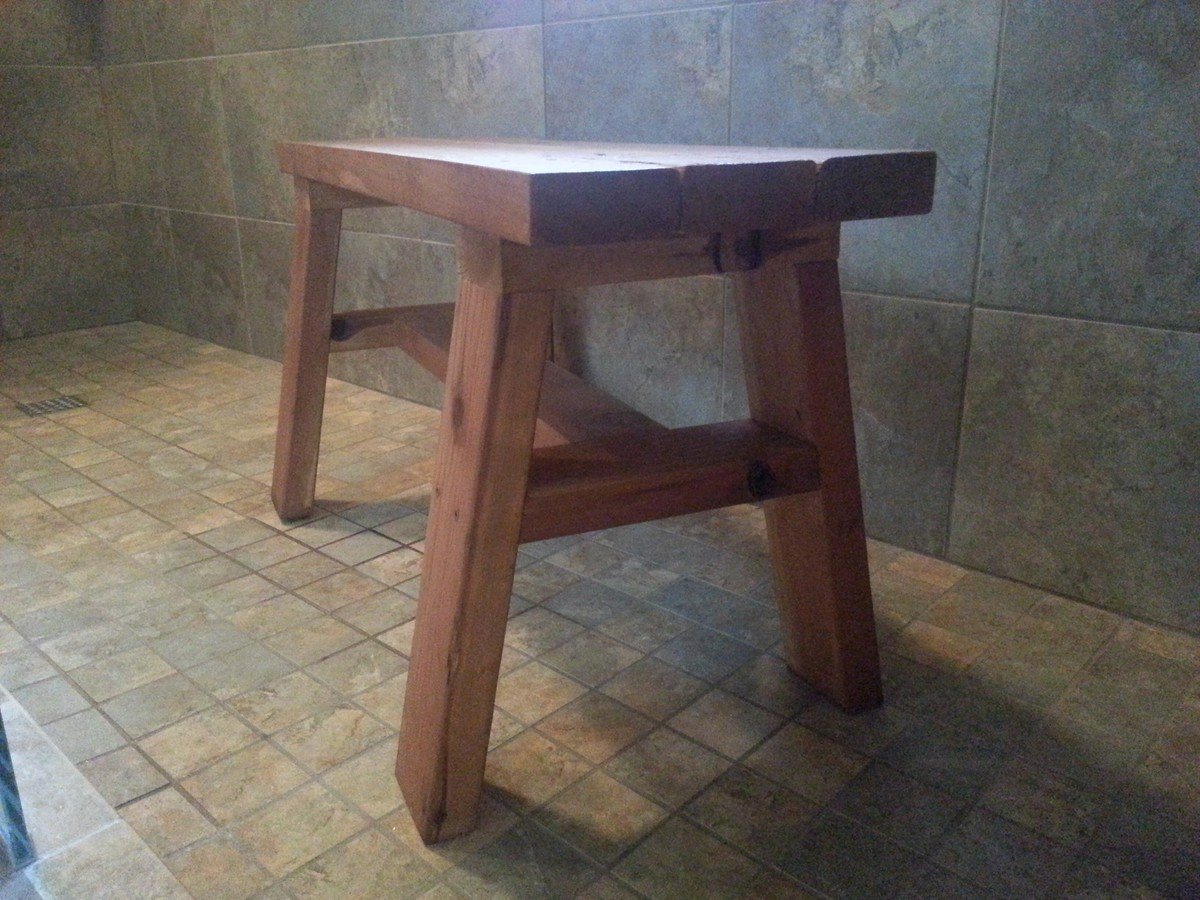
I wanted to build a small shower bench. I used the Providence Bench Plans and just made it a bit smaller with a few adjustments. This bench is 35" long and 18" tall. I did not use the cross supports on the bottom because it was so short. Also, you will see that I turned the bottom stretcher and side supports flat/horizontal. I put the screws for the seat boards through the top down just because this was the easiest way for me to do it. The plans did not show in detail how to attach the seat boards from the underside. It just said "finally, the seat boards." I guess they probably used a pocket jig. I bought a pocket jig and used it in the couple of places, but this was my first time using it. I used brown, coated decking screws in the places I did not use the pocket screws. This was my first attempt at building anything and my first time to use a pocket jig. I used a natural wood stain and Behr Weather-Proofing since it will be in a wet area.

Built from Plan(s)
Estimated Cost
$20
Estimated Time Investment
An Hour or Two (0-2 Hours)
Finish Used
Behr All-in-One Stain and Weatherproofing in Cedar Naturaltone (No. 5533). Because this is going to be in a wet area, I put 2 coats on and let each one dry 12-24 hours in between and before getting wet.
Recommended Skill Level
Beginner

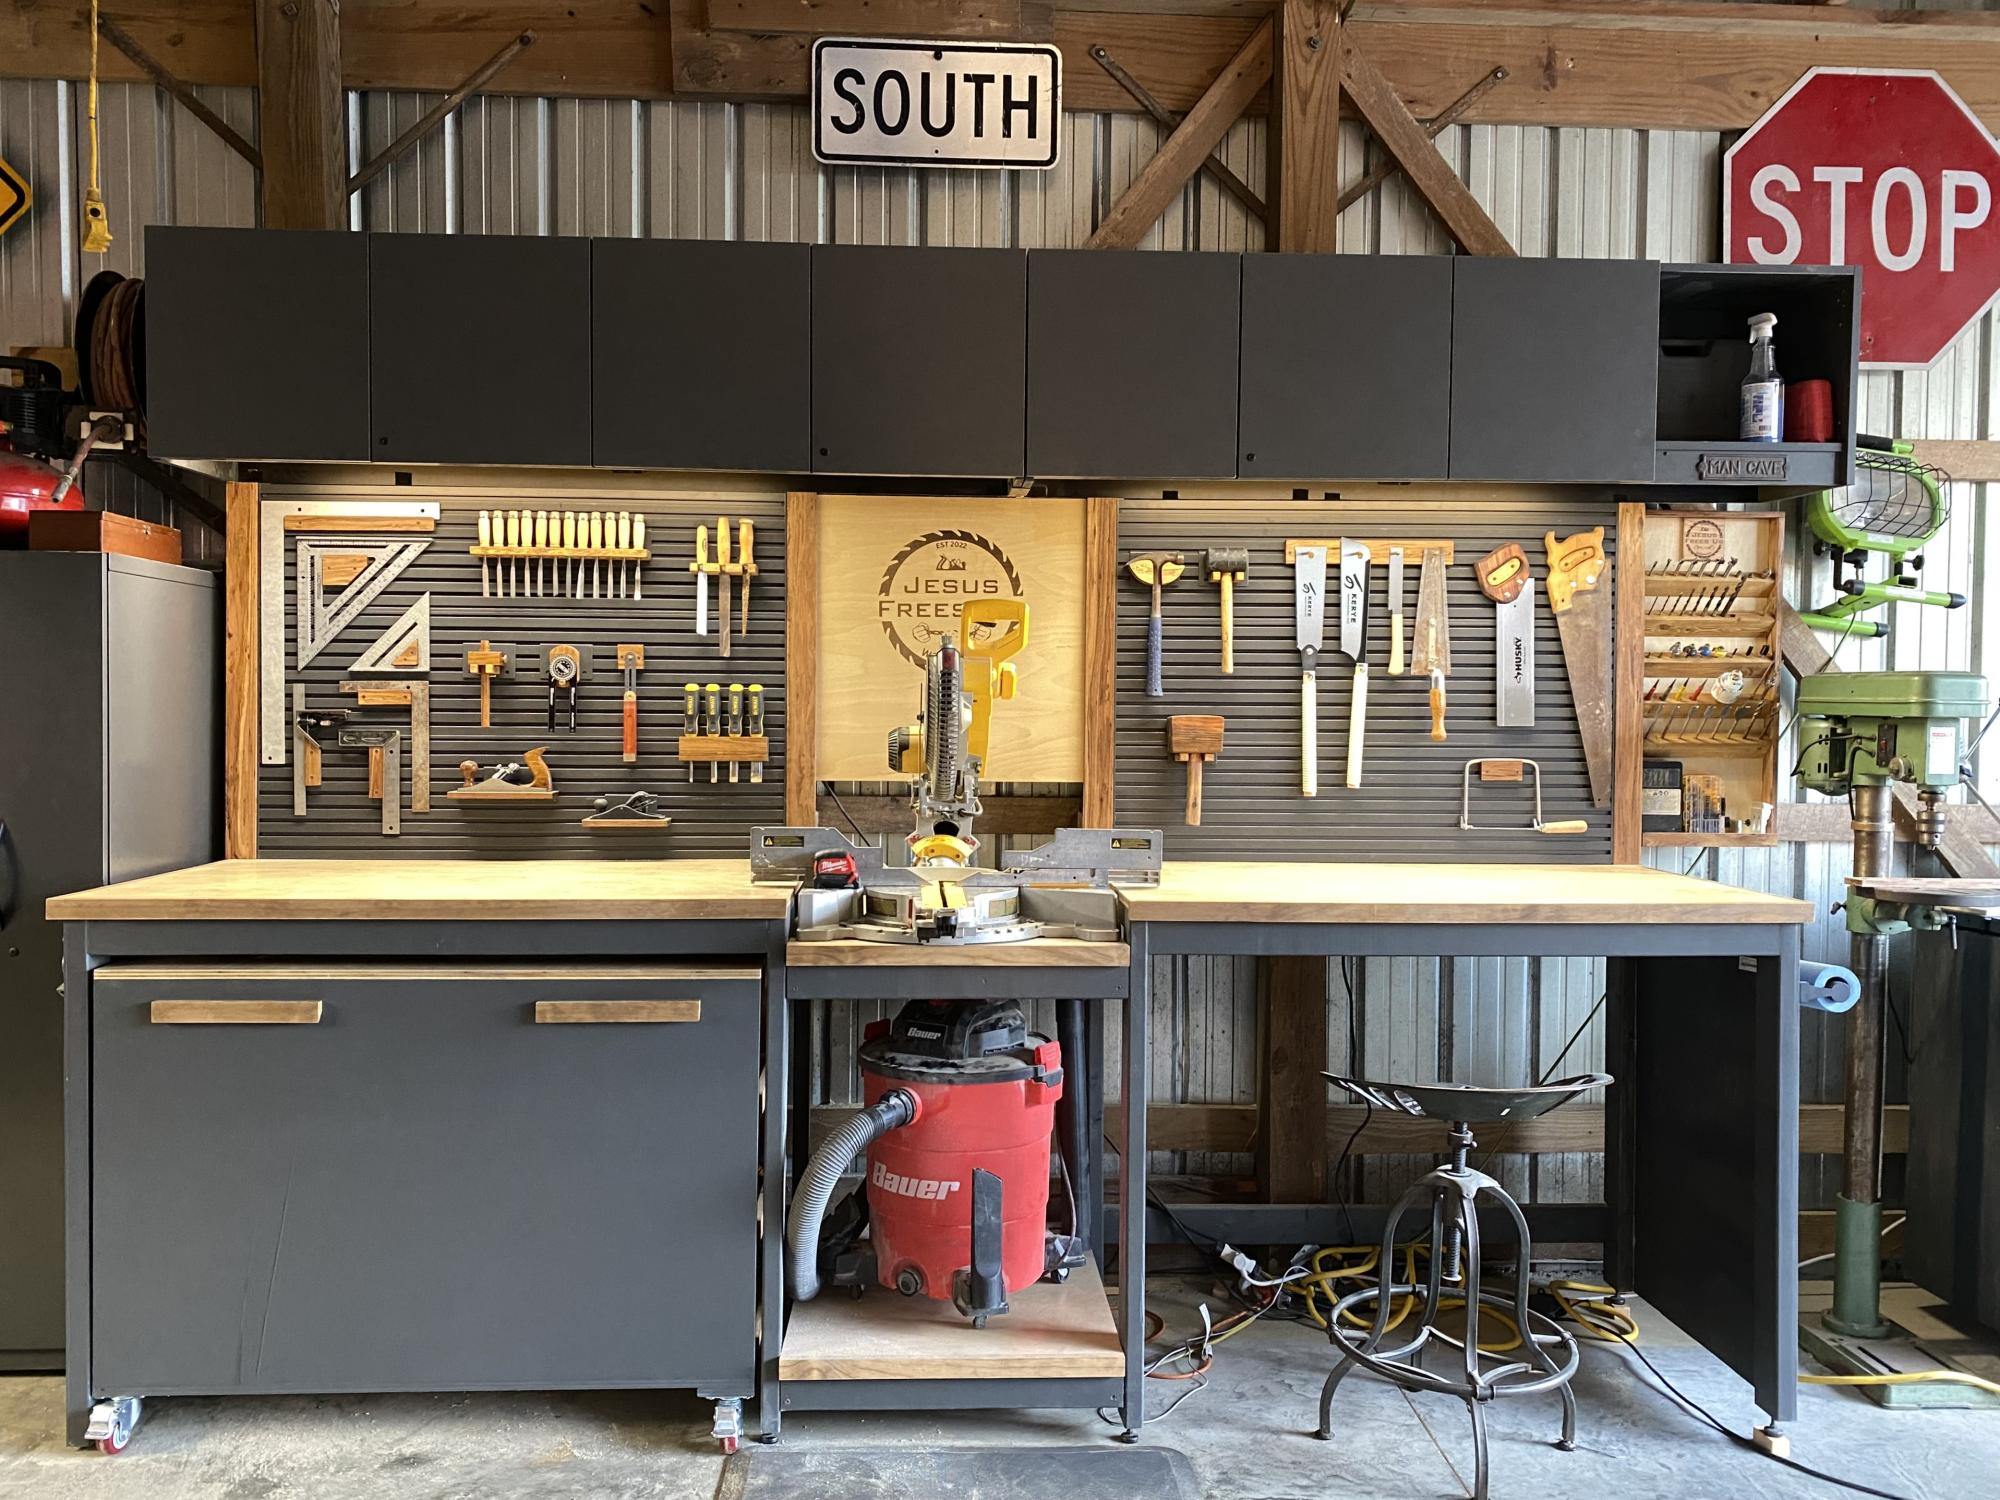
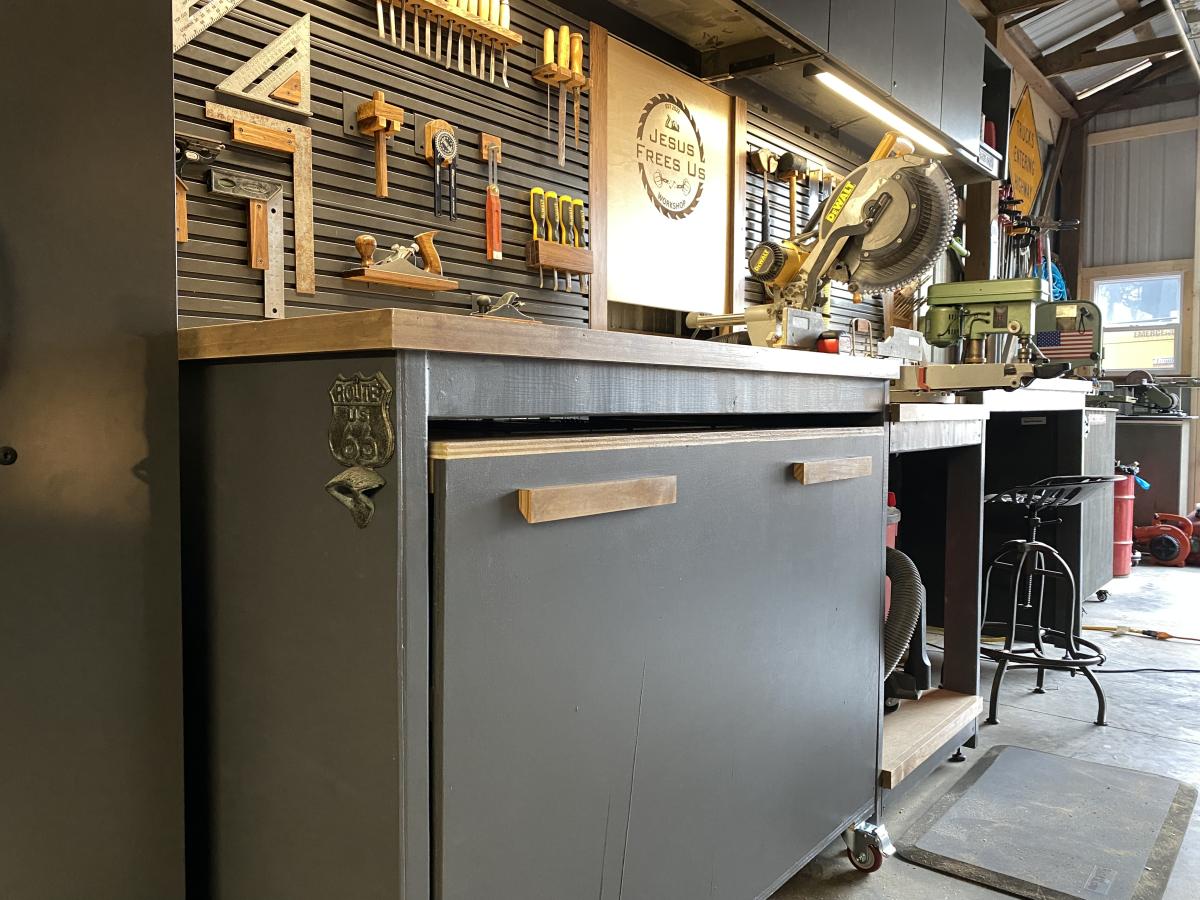
Ultimate Workbench/Miter Station

Submitted by Anonymous (not verified) on Mon, 03/06/2023 - 15:32

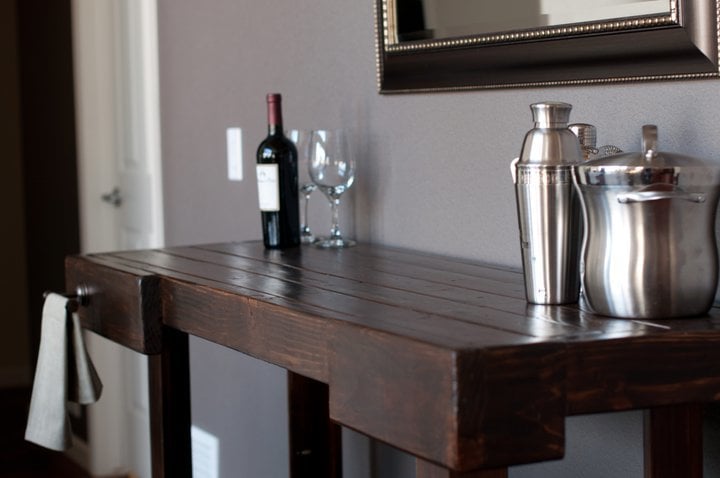
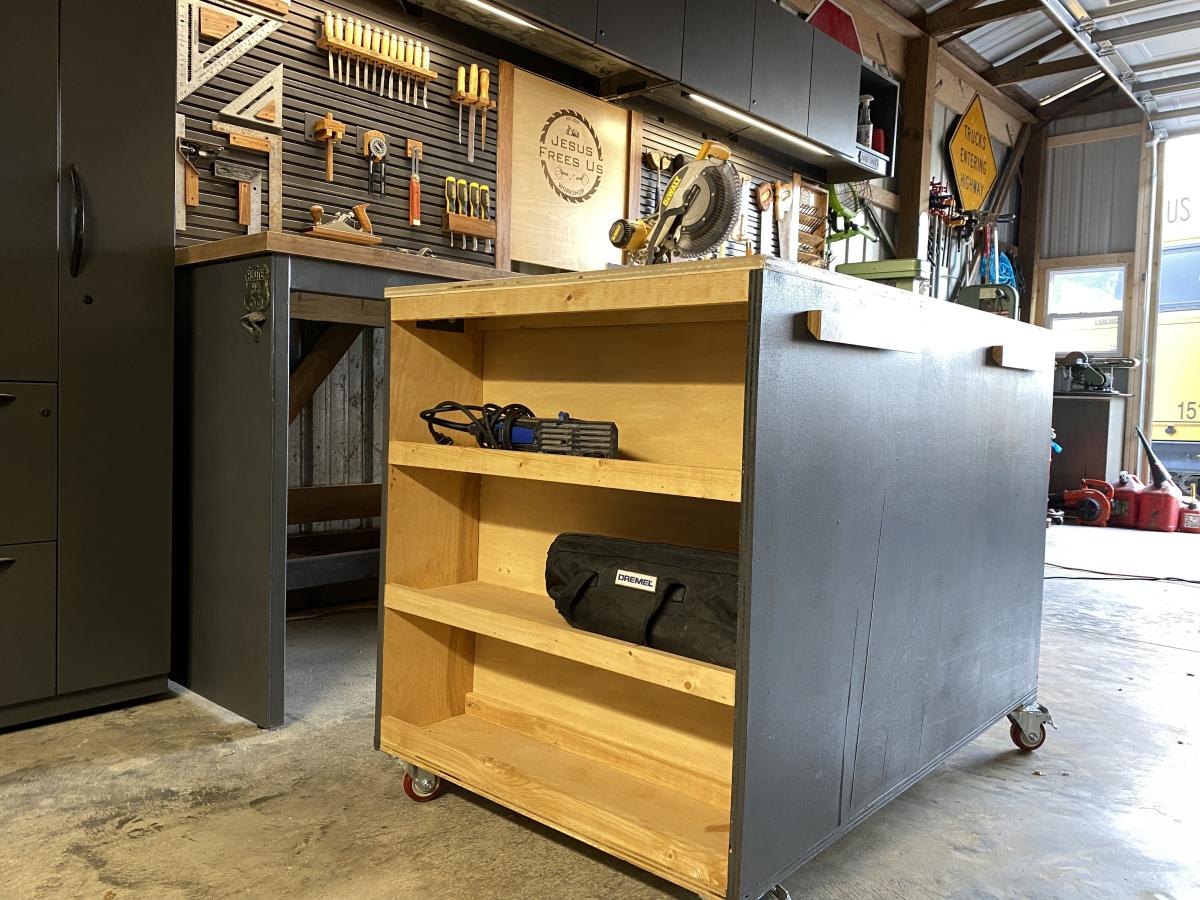
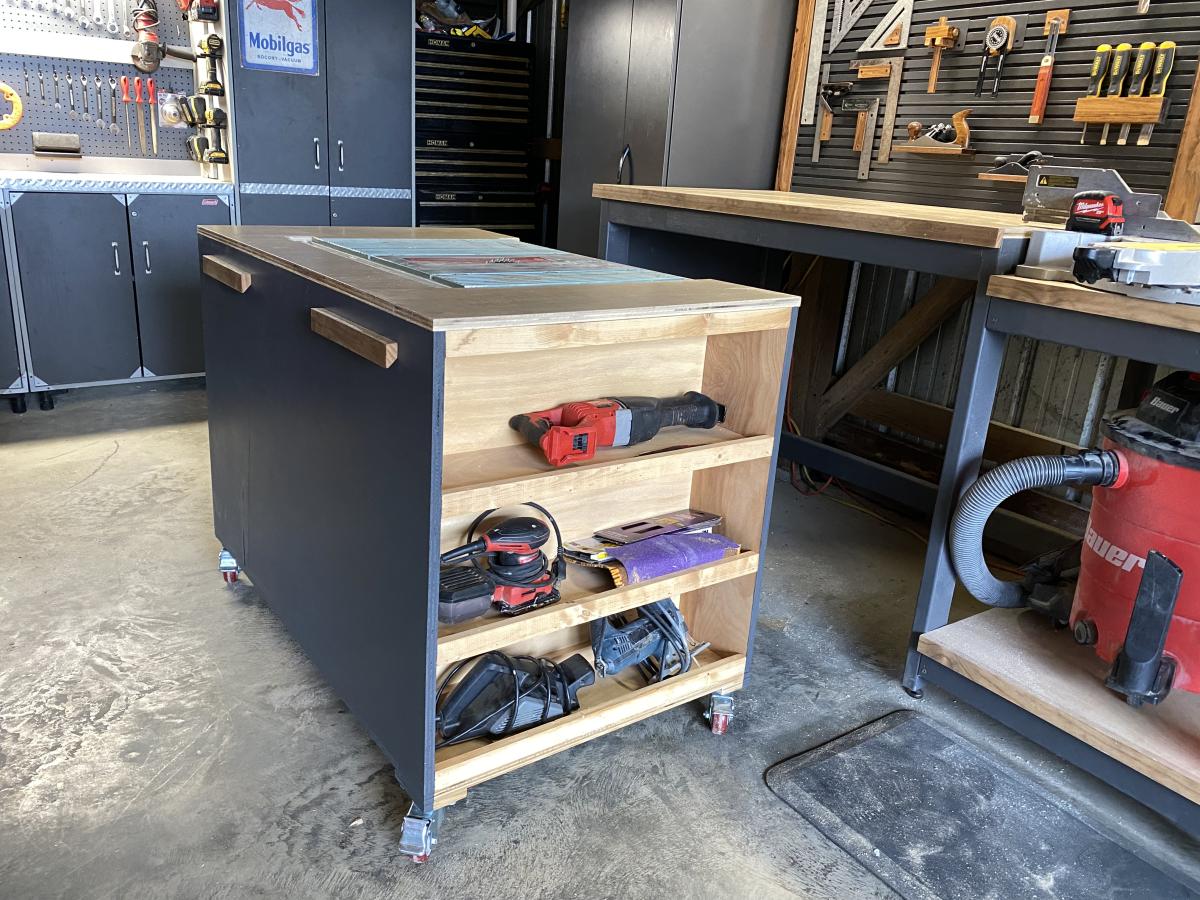
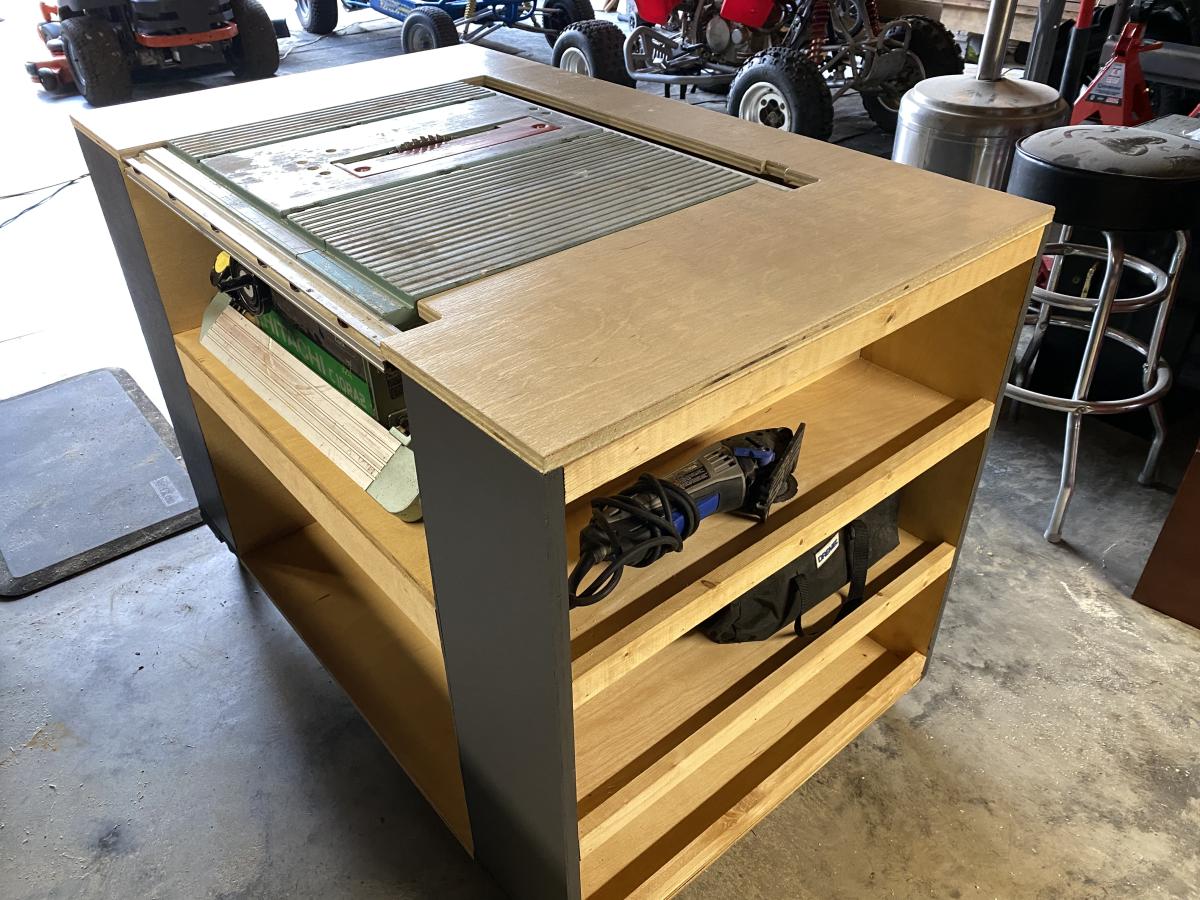
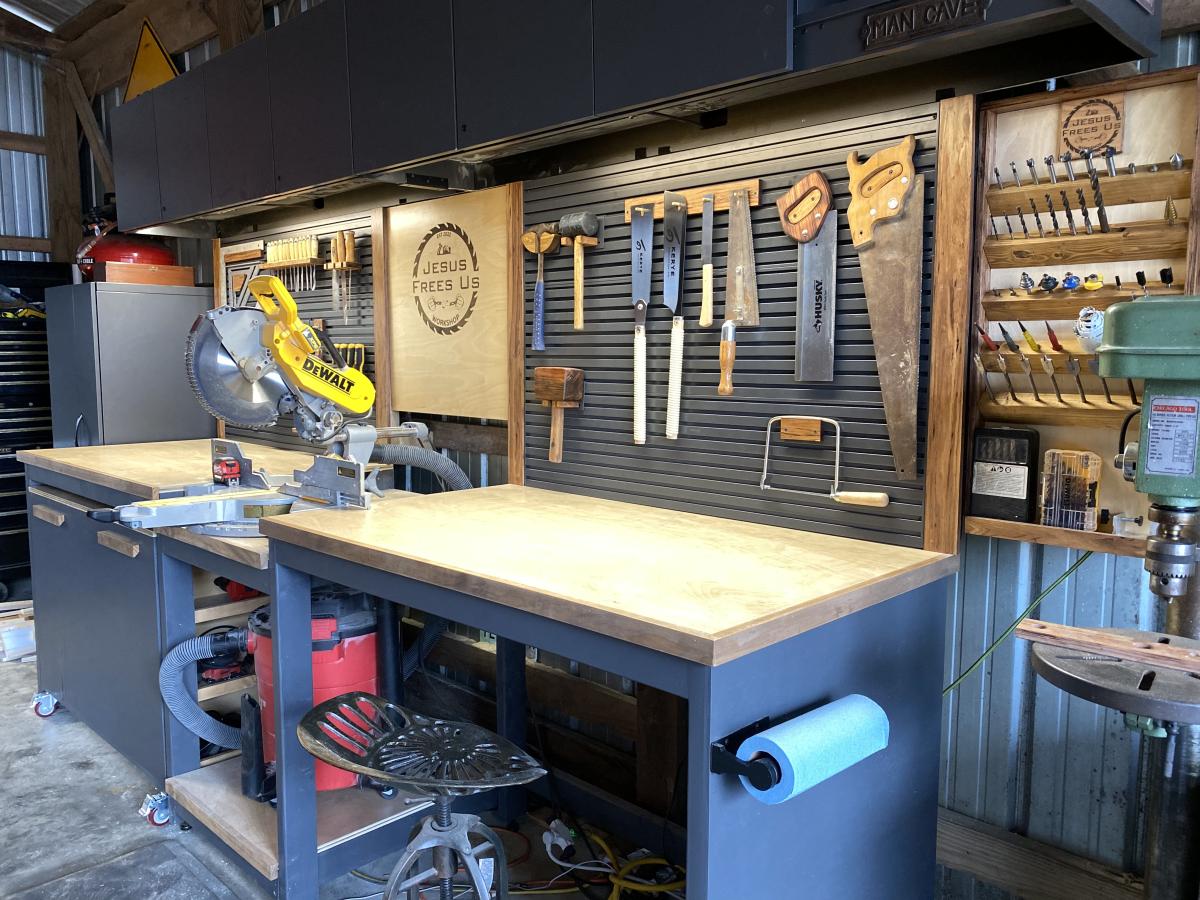
This plan is exactly what I needed for my workspace. I ended up adding some slat wall pieces and cabinets above from cubicles in an old office nearby that closed down for a tool wall and storage. I left the right opening empty due to how unlevel my floors are. I may close it in later with drawers or cabinets, but it will be my sitting workspace for now. I trimmed out the edge with 1x2s and painted and stained everything for aesthetics.

Comments

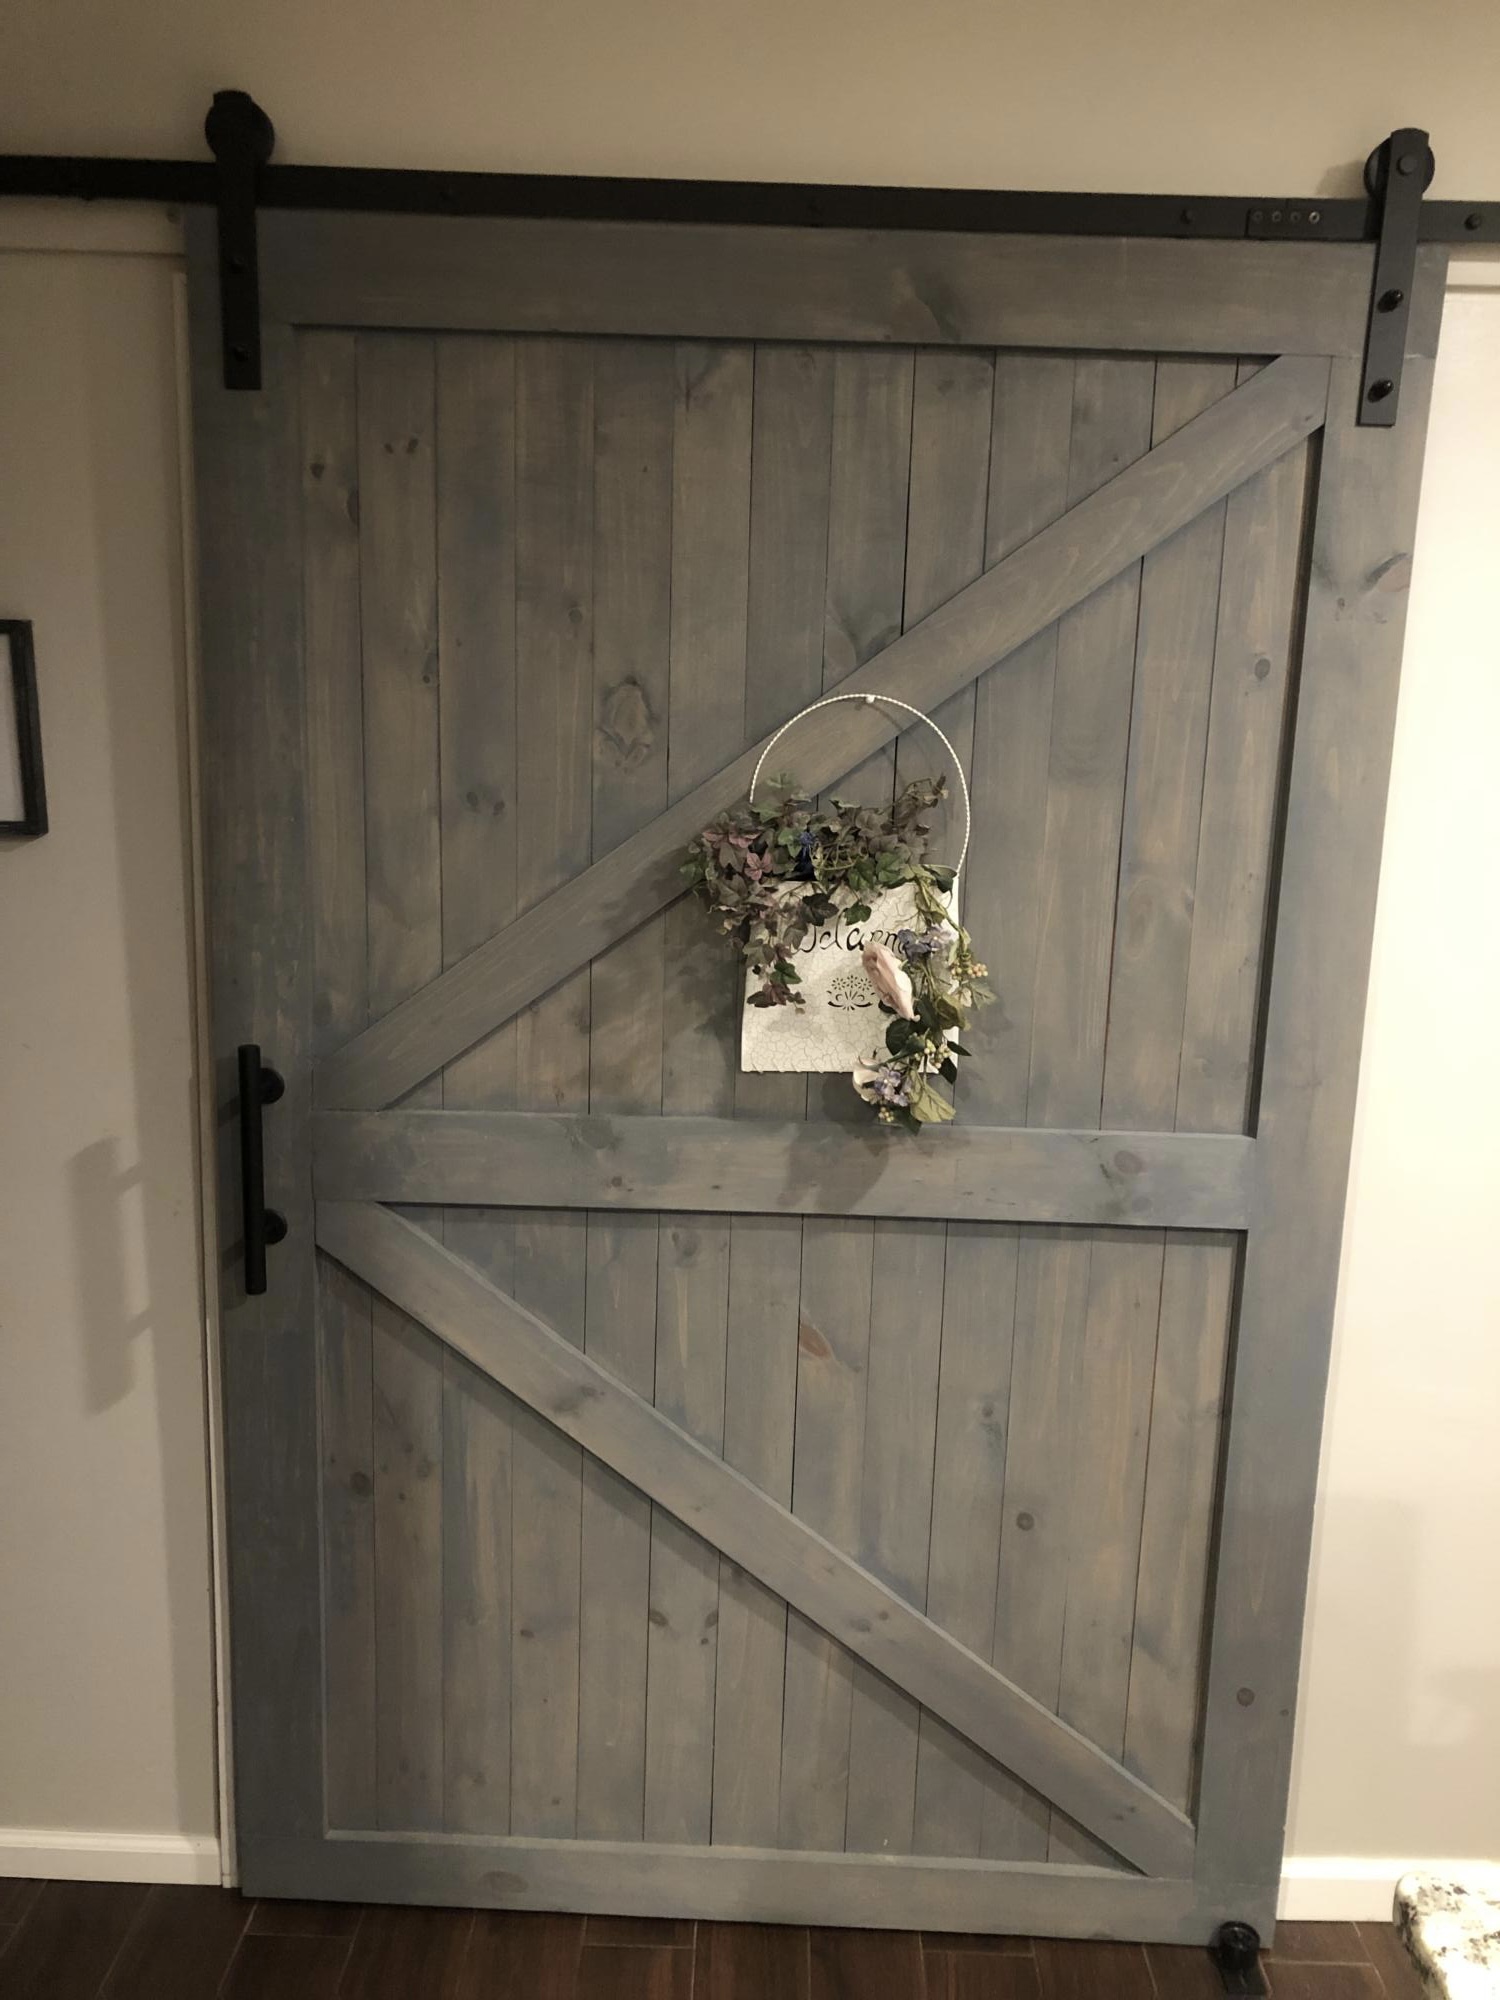
Our new barn door

Submitted by Anonymous (not verified) on Mon, 03/20/2023 - 07:49

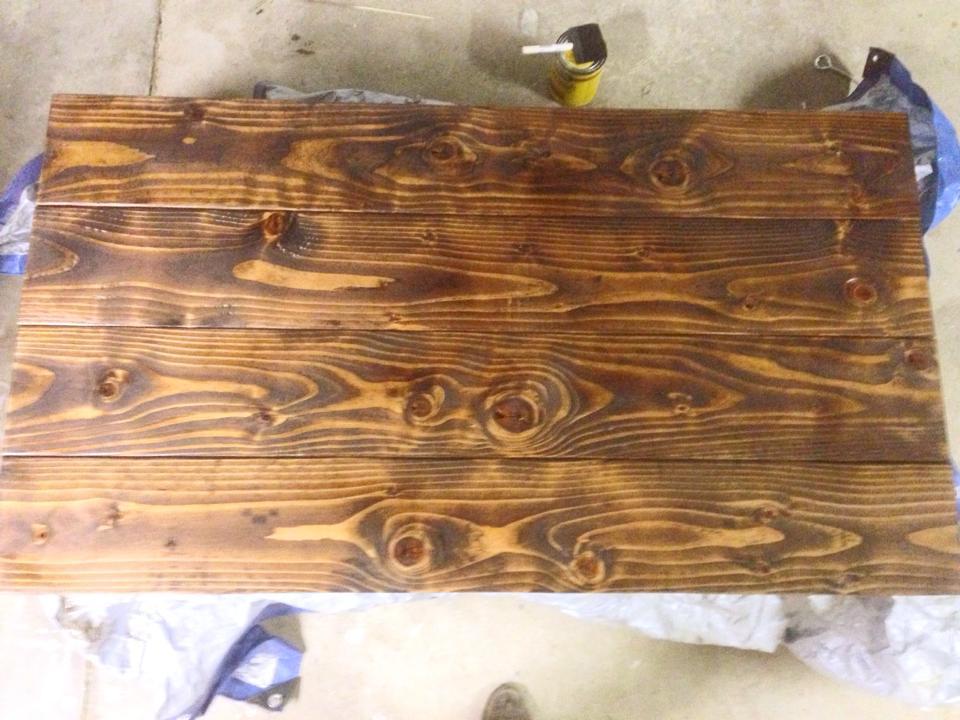
We had an open pantry that was an eye sore in our updated kitchen. Im 75 years old and I always liked to take on new projects so I thought about building a barn door from scratch. It was a bigger opening than one would think of as a pantry goes (at least I thought as much) . The opening measured 50 x 60 approximately so the door was made 56 x 65. Plenty of door to cover the eye sore. The door was built more or less on our garage floor and up on four saw horses! I had no idea if it was was going to be successful and the staining was yet to come (Gulp) As Ana said just do it. Well the build came out pretty good Squared and level. And I totally suprised myself staining the wood to the color we were looking for. Self help videos are very helpful so Id consider it before starting out. Everything was a process and I took my time. As with some things I have attempted in the past rushing sometimes ended with disastrous results. Oh boy, not to mention a waste of time, materials and money. What I hadnt bargined for with this project was the final weight to this barn door. IT WAS HEAVY. In any event I purchased the hardware for the railing and handles and pretty satisfied the way it came out. I had no plans to work from but settled on a build that I saw from several websites on barn doors.

Built from Plan(s)

Comments

Simple Shower Stool

Submitted by lbrown on Sat, 02/18/2012 - 11:43

I love my 3' x 5' shower and with all that space I thought that having a little spot to sit down would be really nice. After looking around online and at some stores I couldn't find anything that I liked that was also reasonably priced so in the end I decided to make my own.

For details about how I built it check out my blog: http://www.homeandawaywithlisa.com/blog/2012/2/18/simple-diy-shower-sto…

Estimated Cost
Under $20
Estimated Time Investment
An Hour or Two (0-2 Hours)
Finish Used
I used a dark grey spray paint primer on the stool first before applying two light coats of black spray paint.
Recommended Skill Level
Starter Project

Comments

lbrown

Wed, 02/22/2012 - 17:17

Cedar would definitely be a great option. For the finish I used Rustoleum outdoor spray paint which is supposed to stand up to the elements. I figured that would help it stand up to the water in the shower.

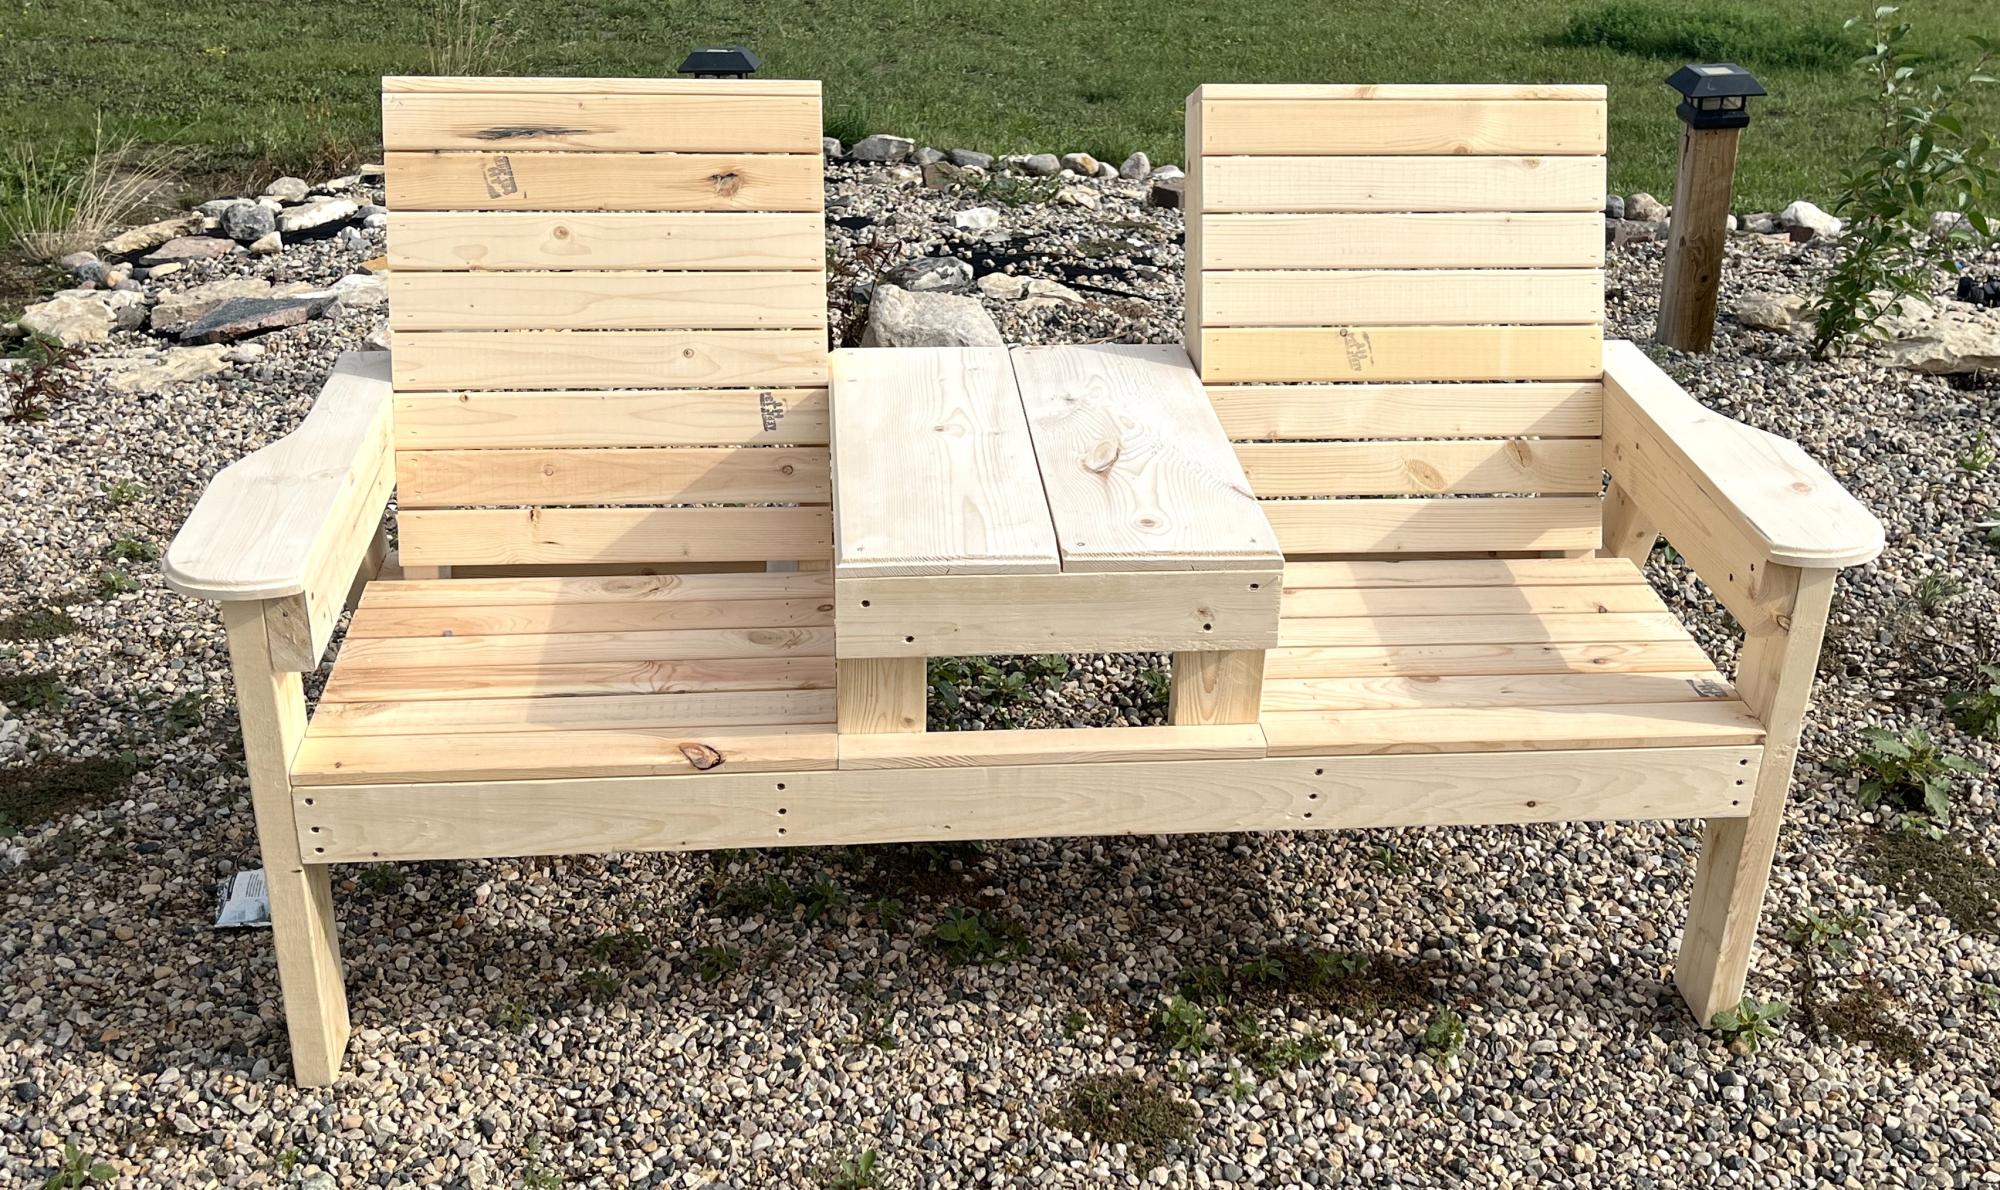
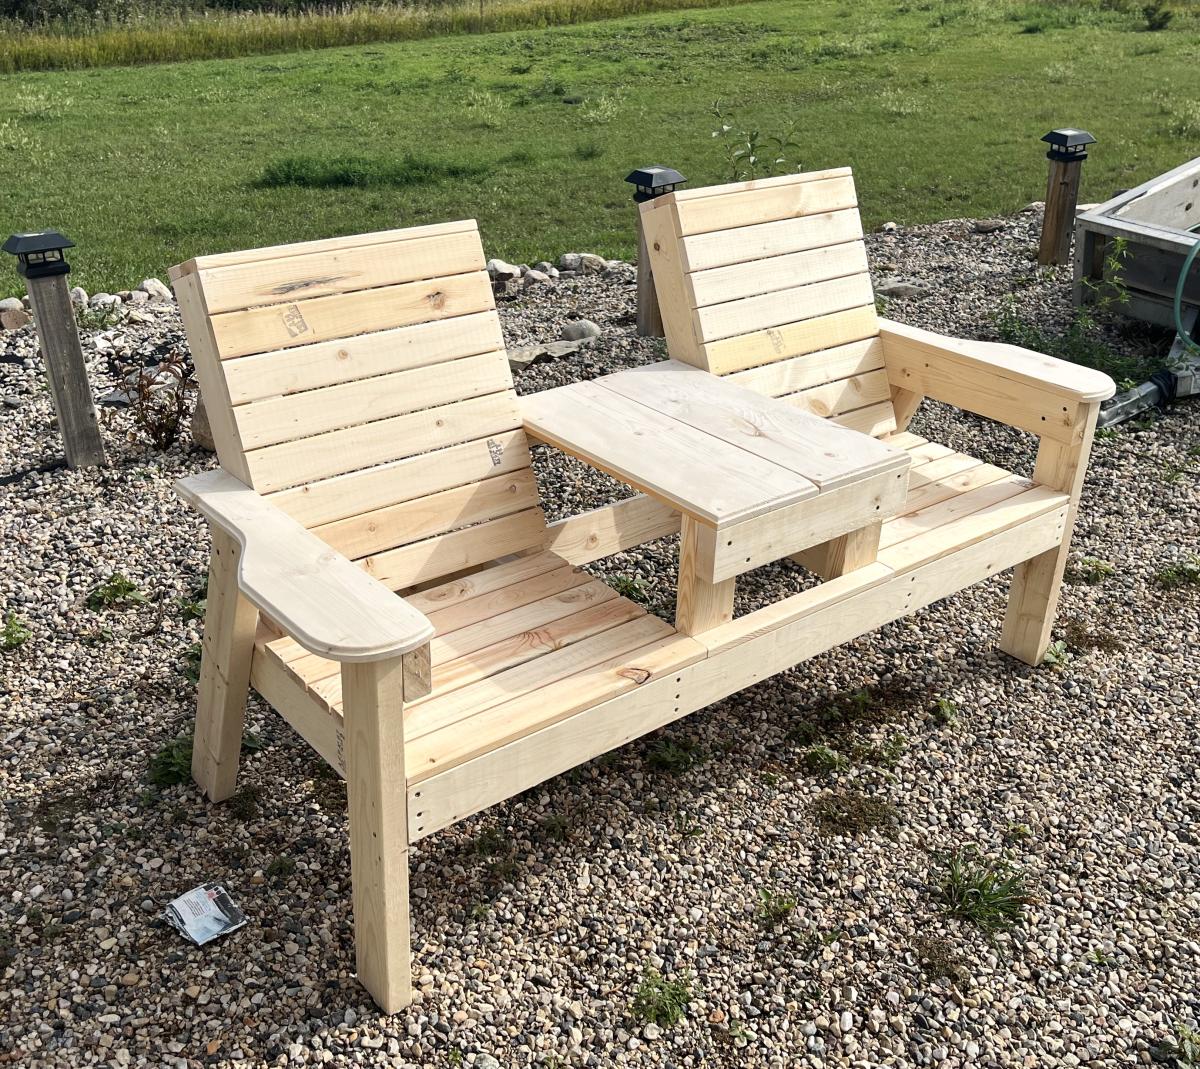
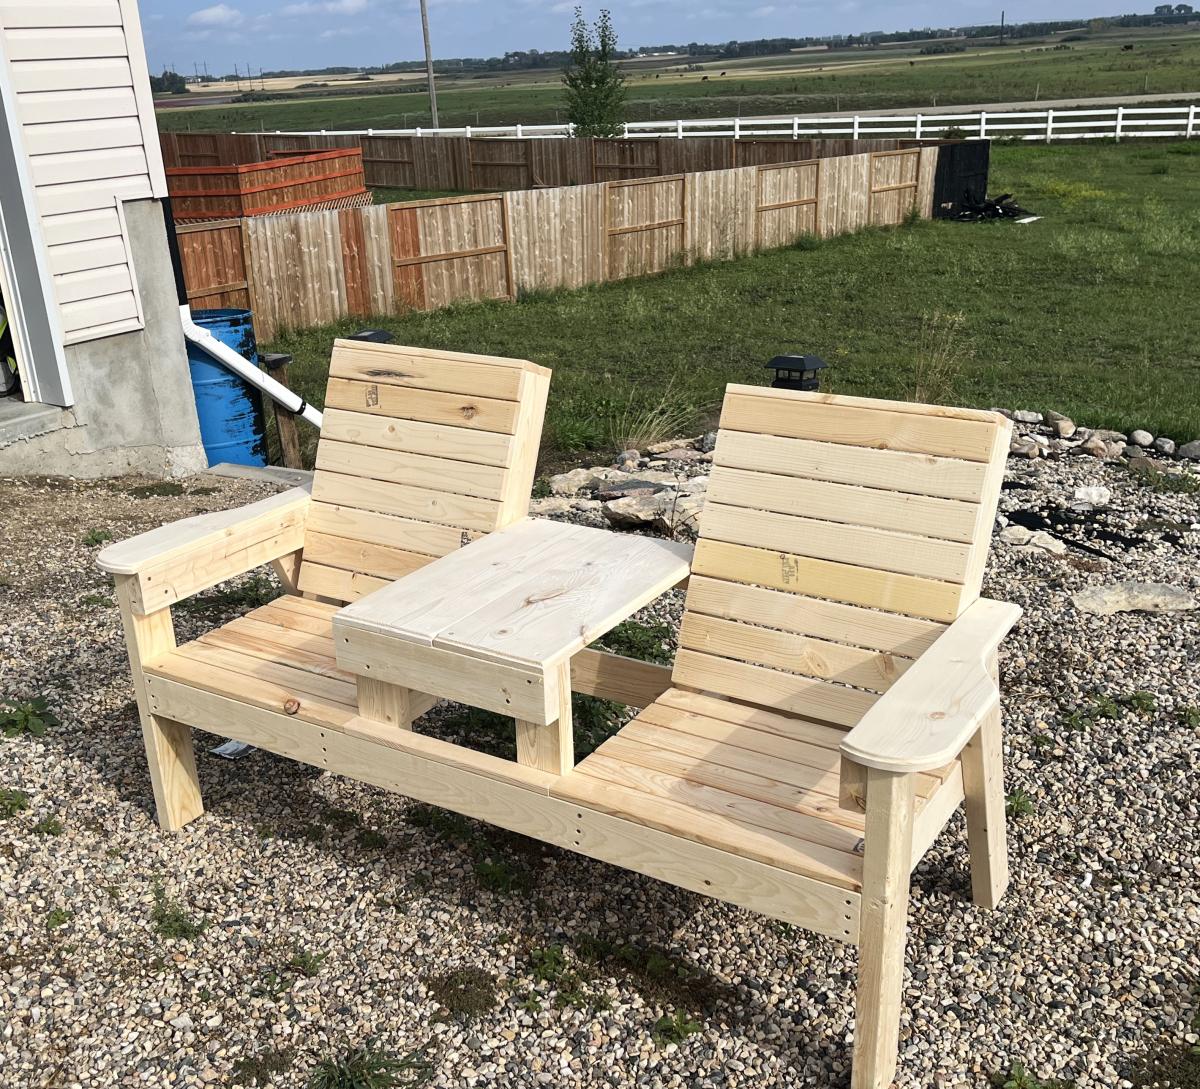
Double Outdoor Chair with Table

Submitted by Anonymous (not verified) on Fri, 09/01/2023 - 15:34

Good morning, I took this double chair with table and made it my own. Adding bigger arm rests and table top. This chair is so comfortable and sturdy. Totally love all your projects. Keep up the awesome work. Thanks agin

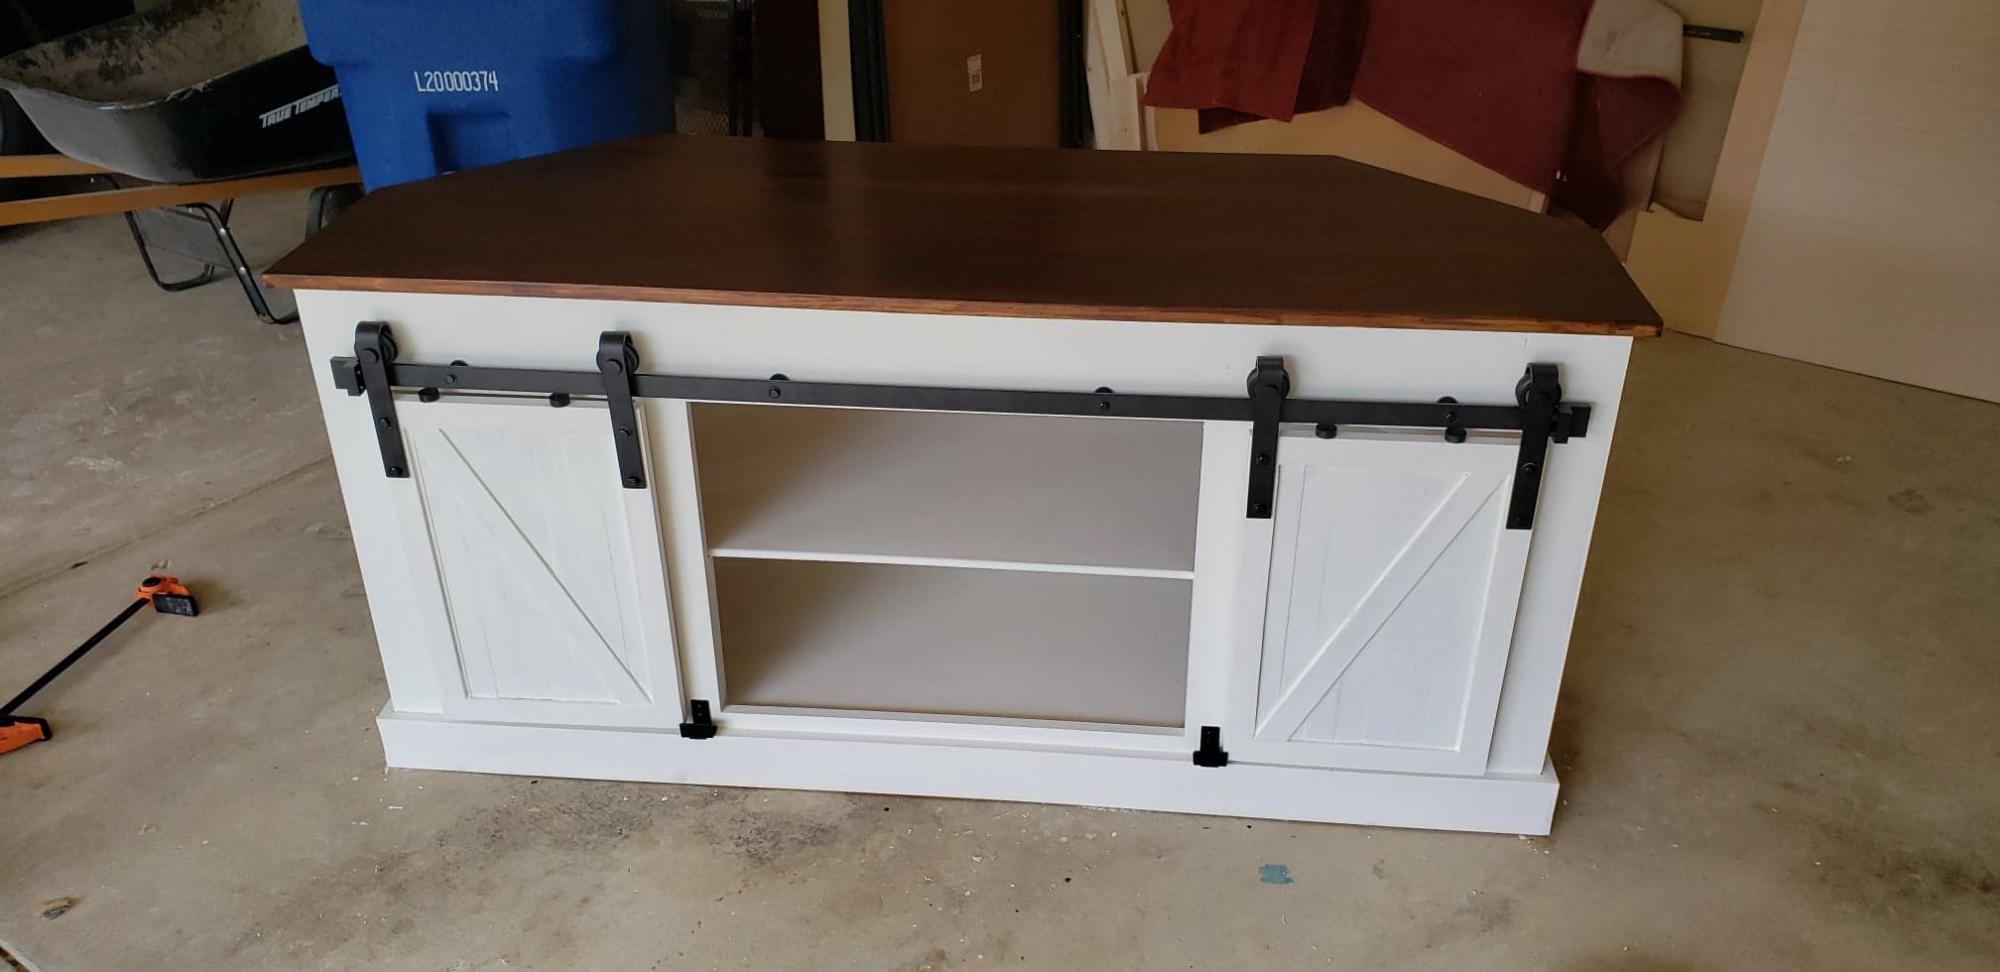
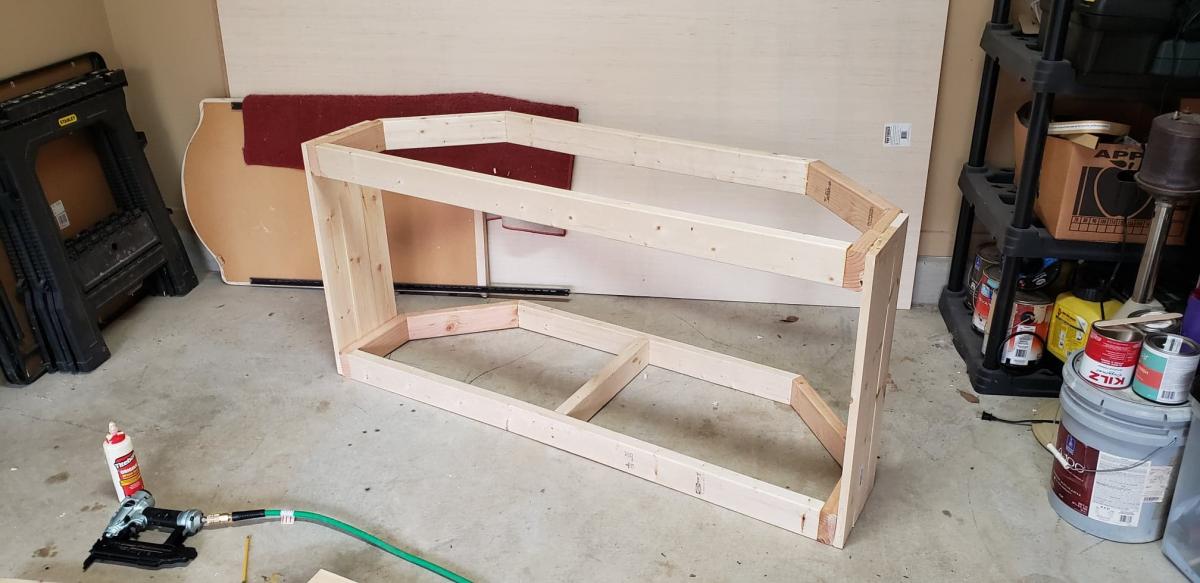
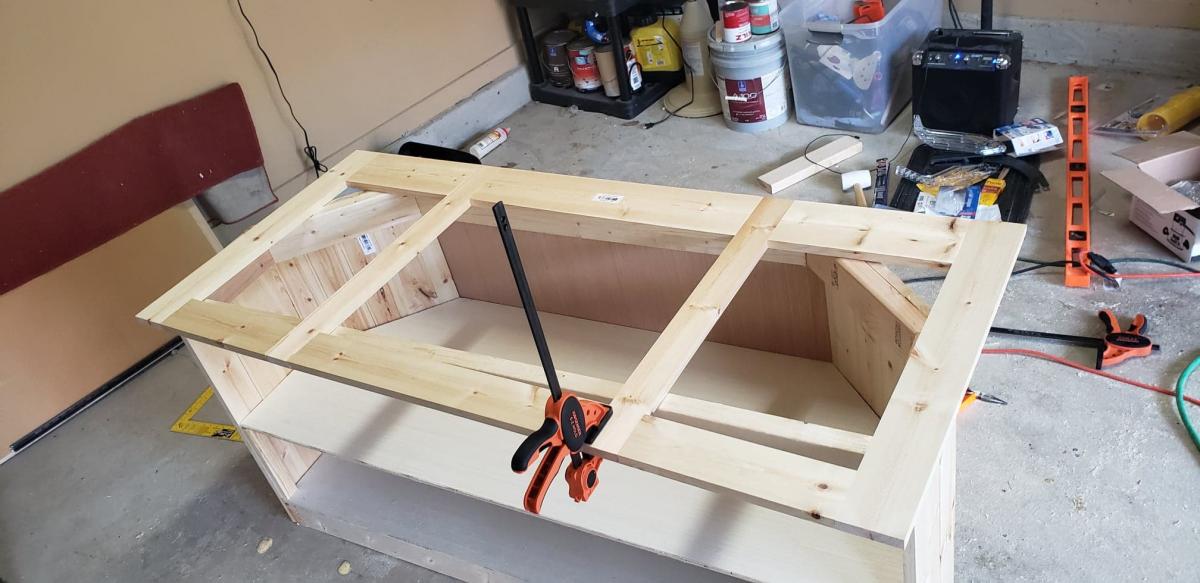
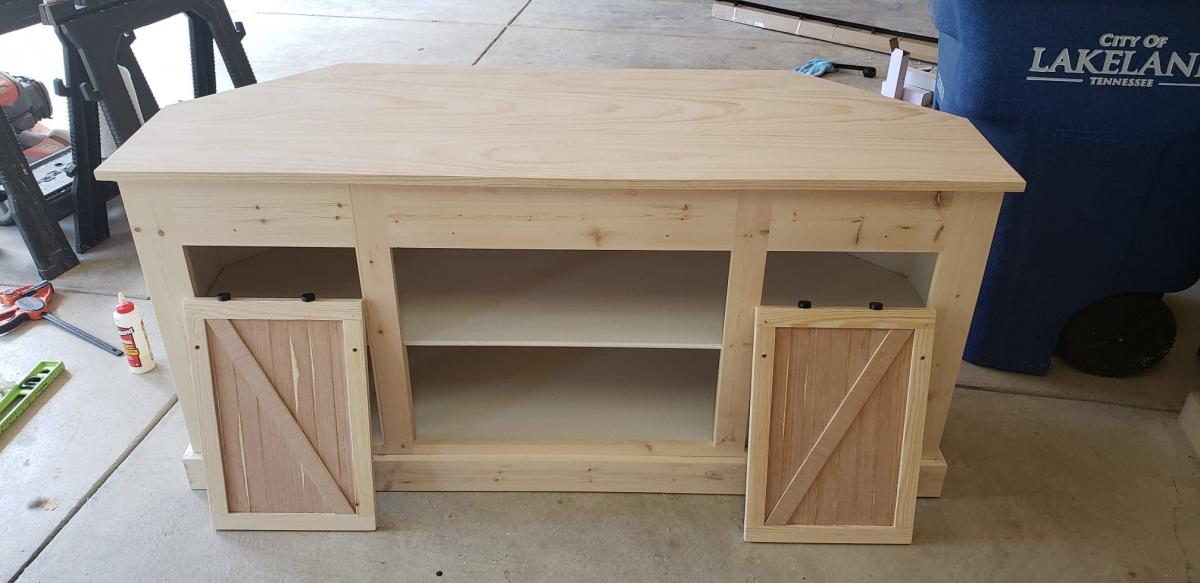
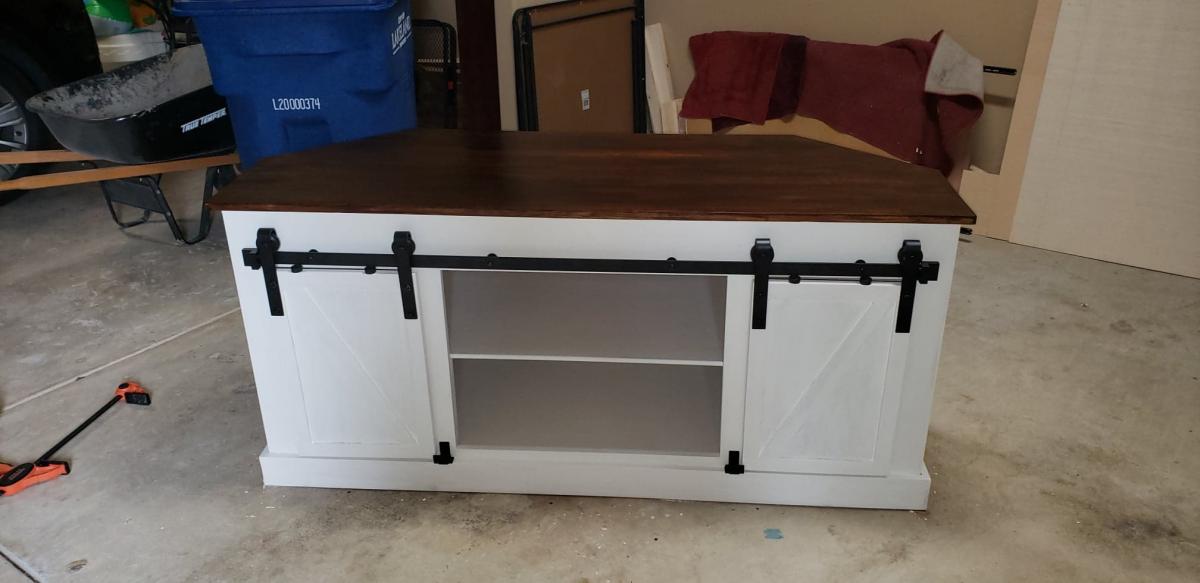
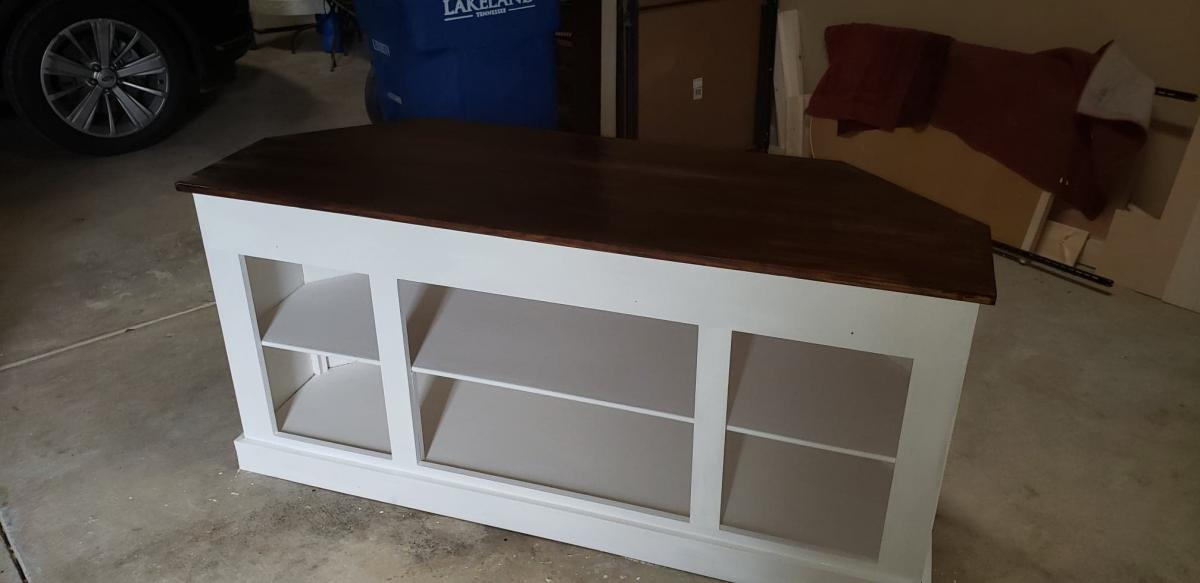
Grandy Barn Door Corner TV Stand

Submitted by Anonymous (not verified) on Wed, 01/08/2020 - 12:46

I couldn't find any corner TV stands with the barndoor style that were big enough, so I decided to design and make my own using the Grandy buffet design.

Built from Plan(s)
Estimated Cost
200-300
Estimated Time Investment
Week Long Project (20 Hours or More)
Finish Used
Minwax Polyshades Satin
Wax paint
Recommended Skill Level
Beginner

Comments

Porch swing bed

Submitted by Beaulook on Tue, 01/28/2014 - 16:29

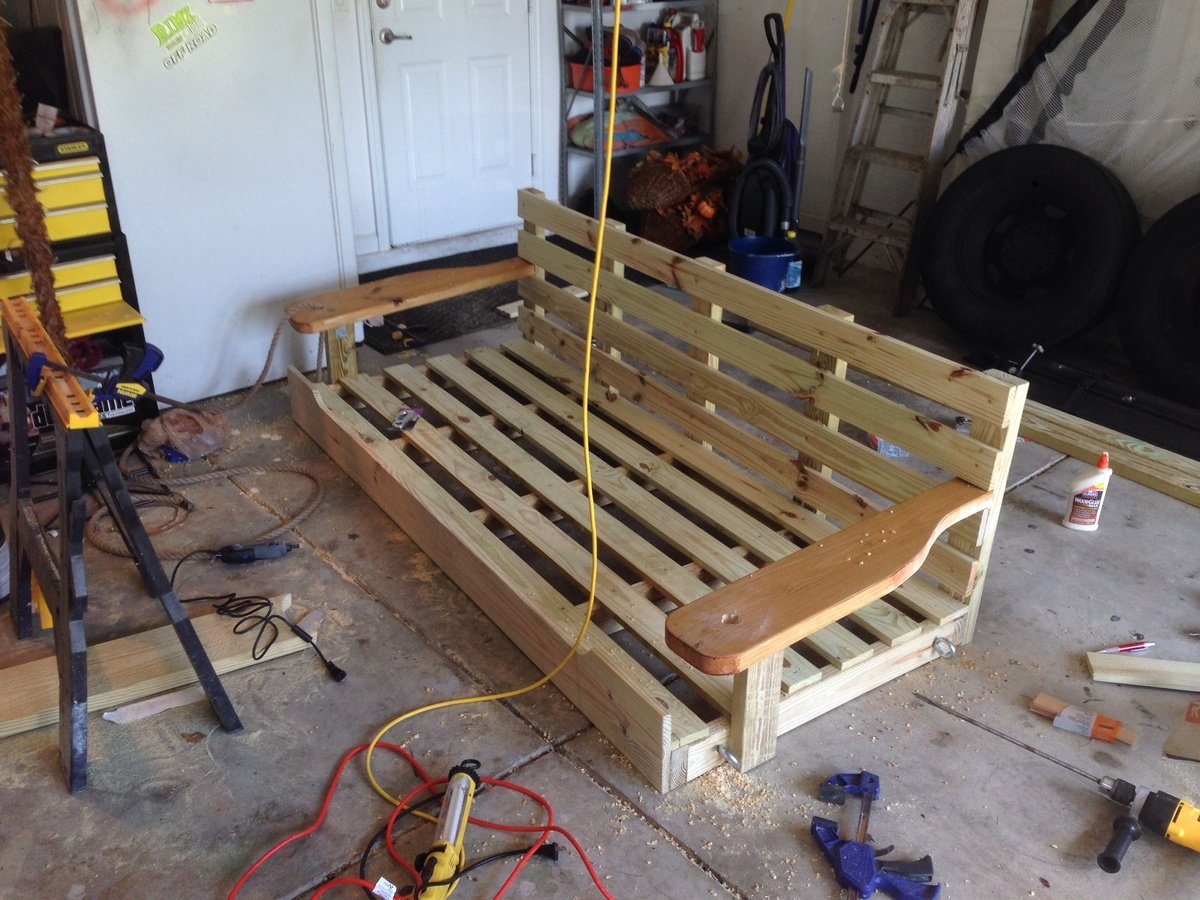
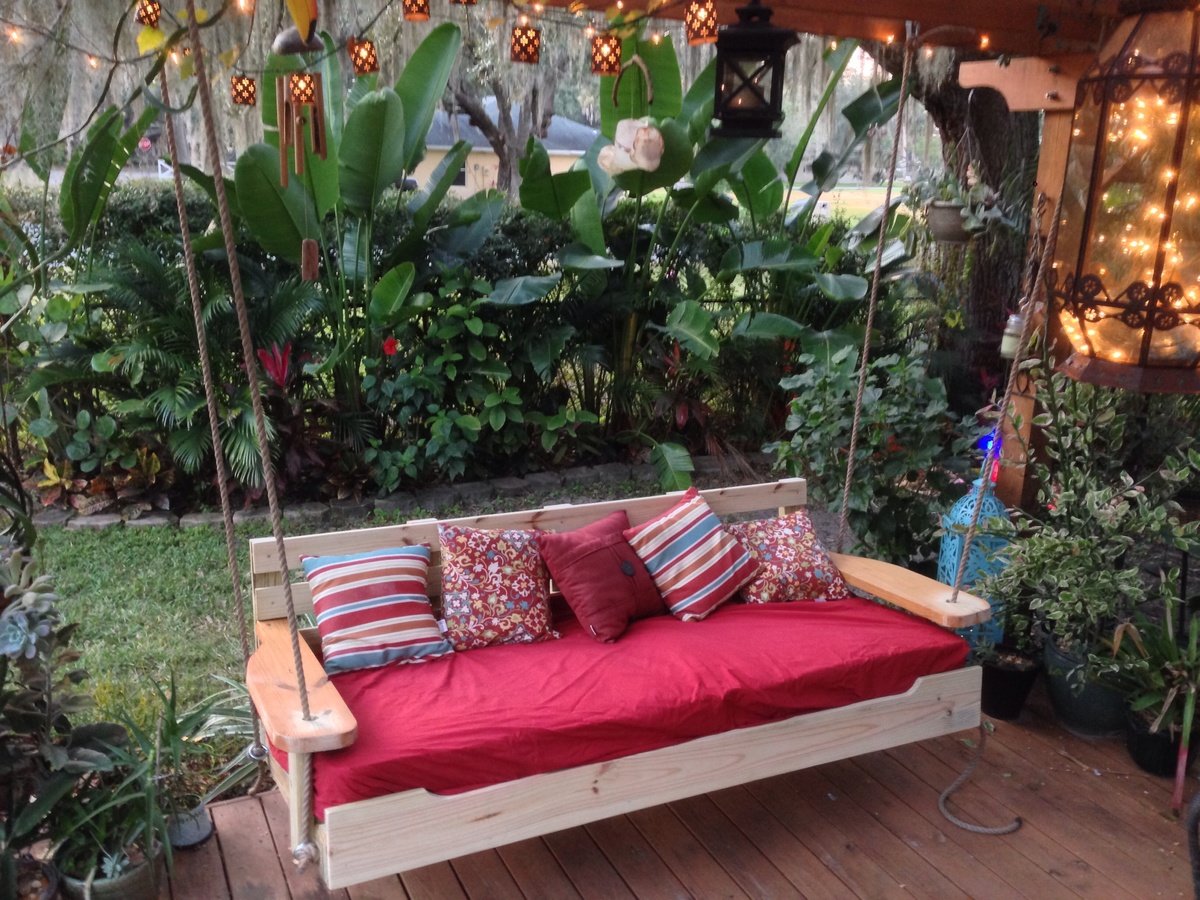
Started off with the original design but enlarged it to fit an oversize single mattress. The mattress cost me $35 from a local faith farm, while the materials came in around $200. I decided to hang under my backyard pergola. Fun and easy project.

Built from Plan(s)
Estimated Cost
$250
Estimated Time Investment
Day Project (6-9 Hours)
Finish Used
Cedar stain
Recommended Skill Level
Beginner

Comments

bhammond

Tue, 01/28/2014 - 21:10

Wow this looks so inviting I might just have to make one too! Nice work-- it looks great!

Shorty

Tue, 01/28/2014 - 21:26

Really great job on your porch swing bed AND an awesome looking patio/yard. Looks amazing all around!

Debbie Perkins

Mon, 07/27/2015 - 22:45

I want this!  I just made a couple of plant stands for my front porch.  My husband asked me what my next project was, why, a swing bed.  (This was only my second project!)  I want to put cup holders in those big ole arms!  We have a house at the beach in South Alabama, so, you gotta "hydrate."  This is an awesome swing.  I can't wait to do mine...pillows to rest on, one foot on the concrete pushing me in a slow swing. Cold beverage in my hand or in my cup holder. Yep, southern girl has a new project.  Love it!

Rustic Coffee Table Success!

Submitted by Esquared34 on Thu, 01/30/2014 - 19:57

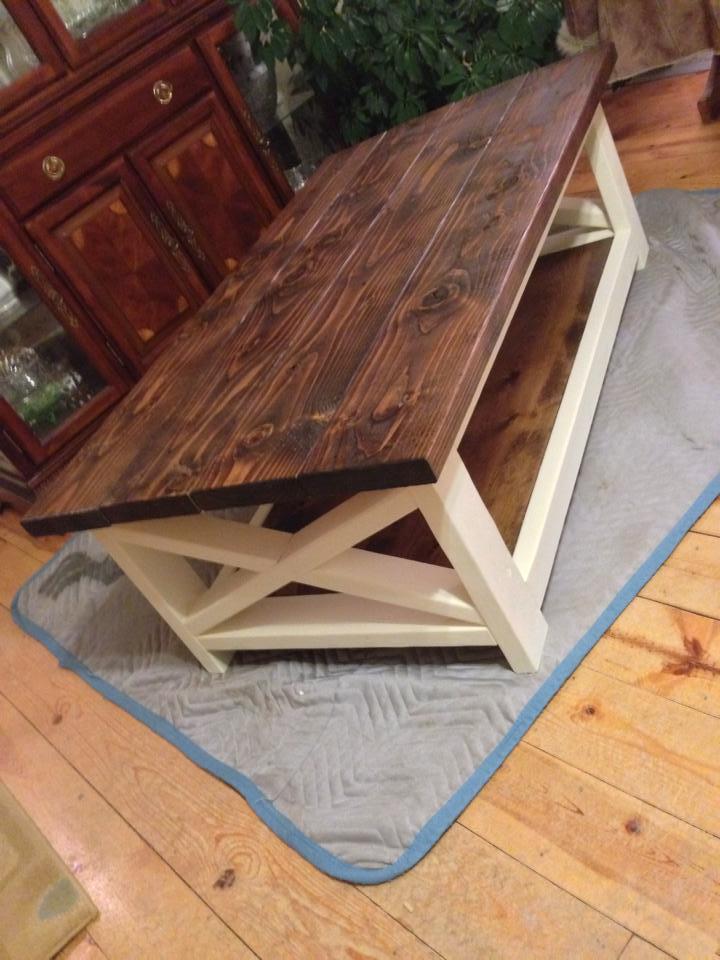
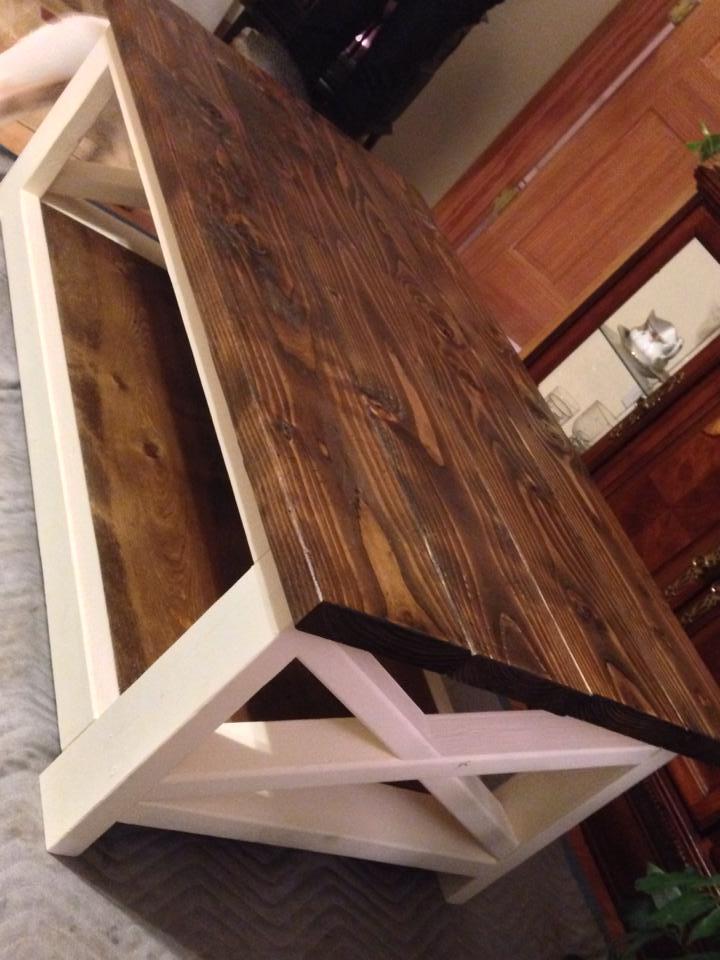
The plans were pretty simple to follow, I did change the way I set the bottom shelf in because it wasn't very stable and I was worried it would eventually dip in the middle. I screwed some pieces of scrap wood onto the back to hold it together better and then built a ledge for it to sit on around the bottom. After that I screwed it into the and BAM.. much more stable..

Estimated Cost
$85
Estimated Time Investment
Weekend Project (10-20 Hours)
Finish Used
Minwax Provincial for the top(two coats) and shelf with a semi gloss finish(3 coats). Glidden Buttermilk matte(3 coats) for the frame.
Recommended Skill Level
Beginner

Comments

bwardwell02

Sat, 09/06/2014 - 05:41

I would like to have the detailed plans for this too!! I have looked everywhere for the perfect coffee table for my screened in porch and here it is.... I'm so excited!!! 

Pottery Barn Inspired Chaise Lounger

Submitted by gtd869 on Wed, 04/15/2020 - 20:34

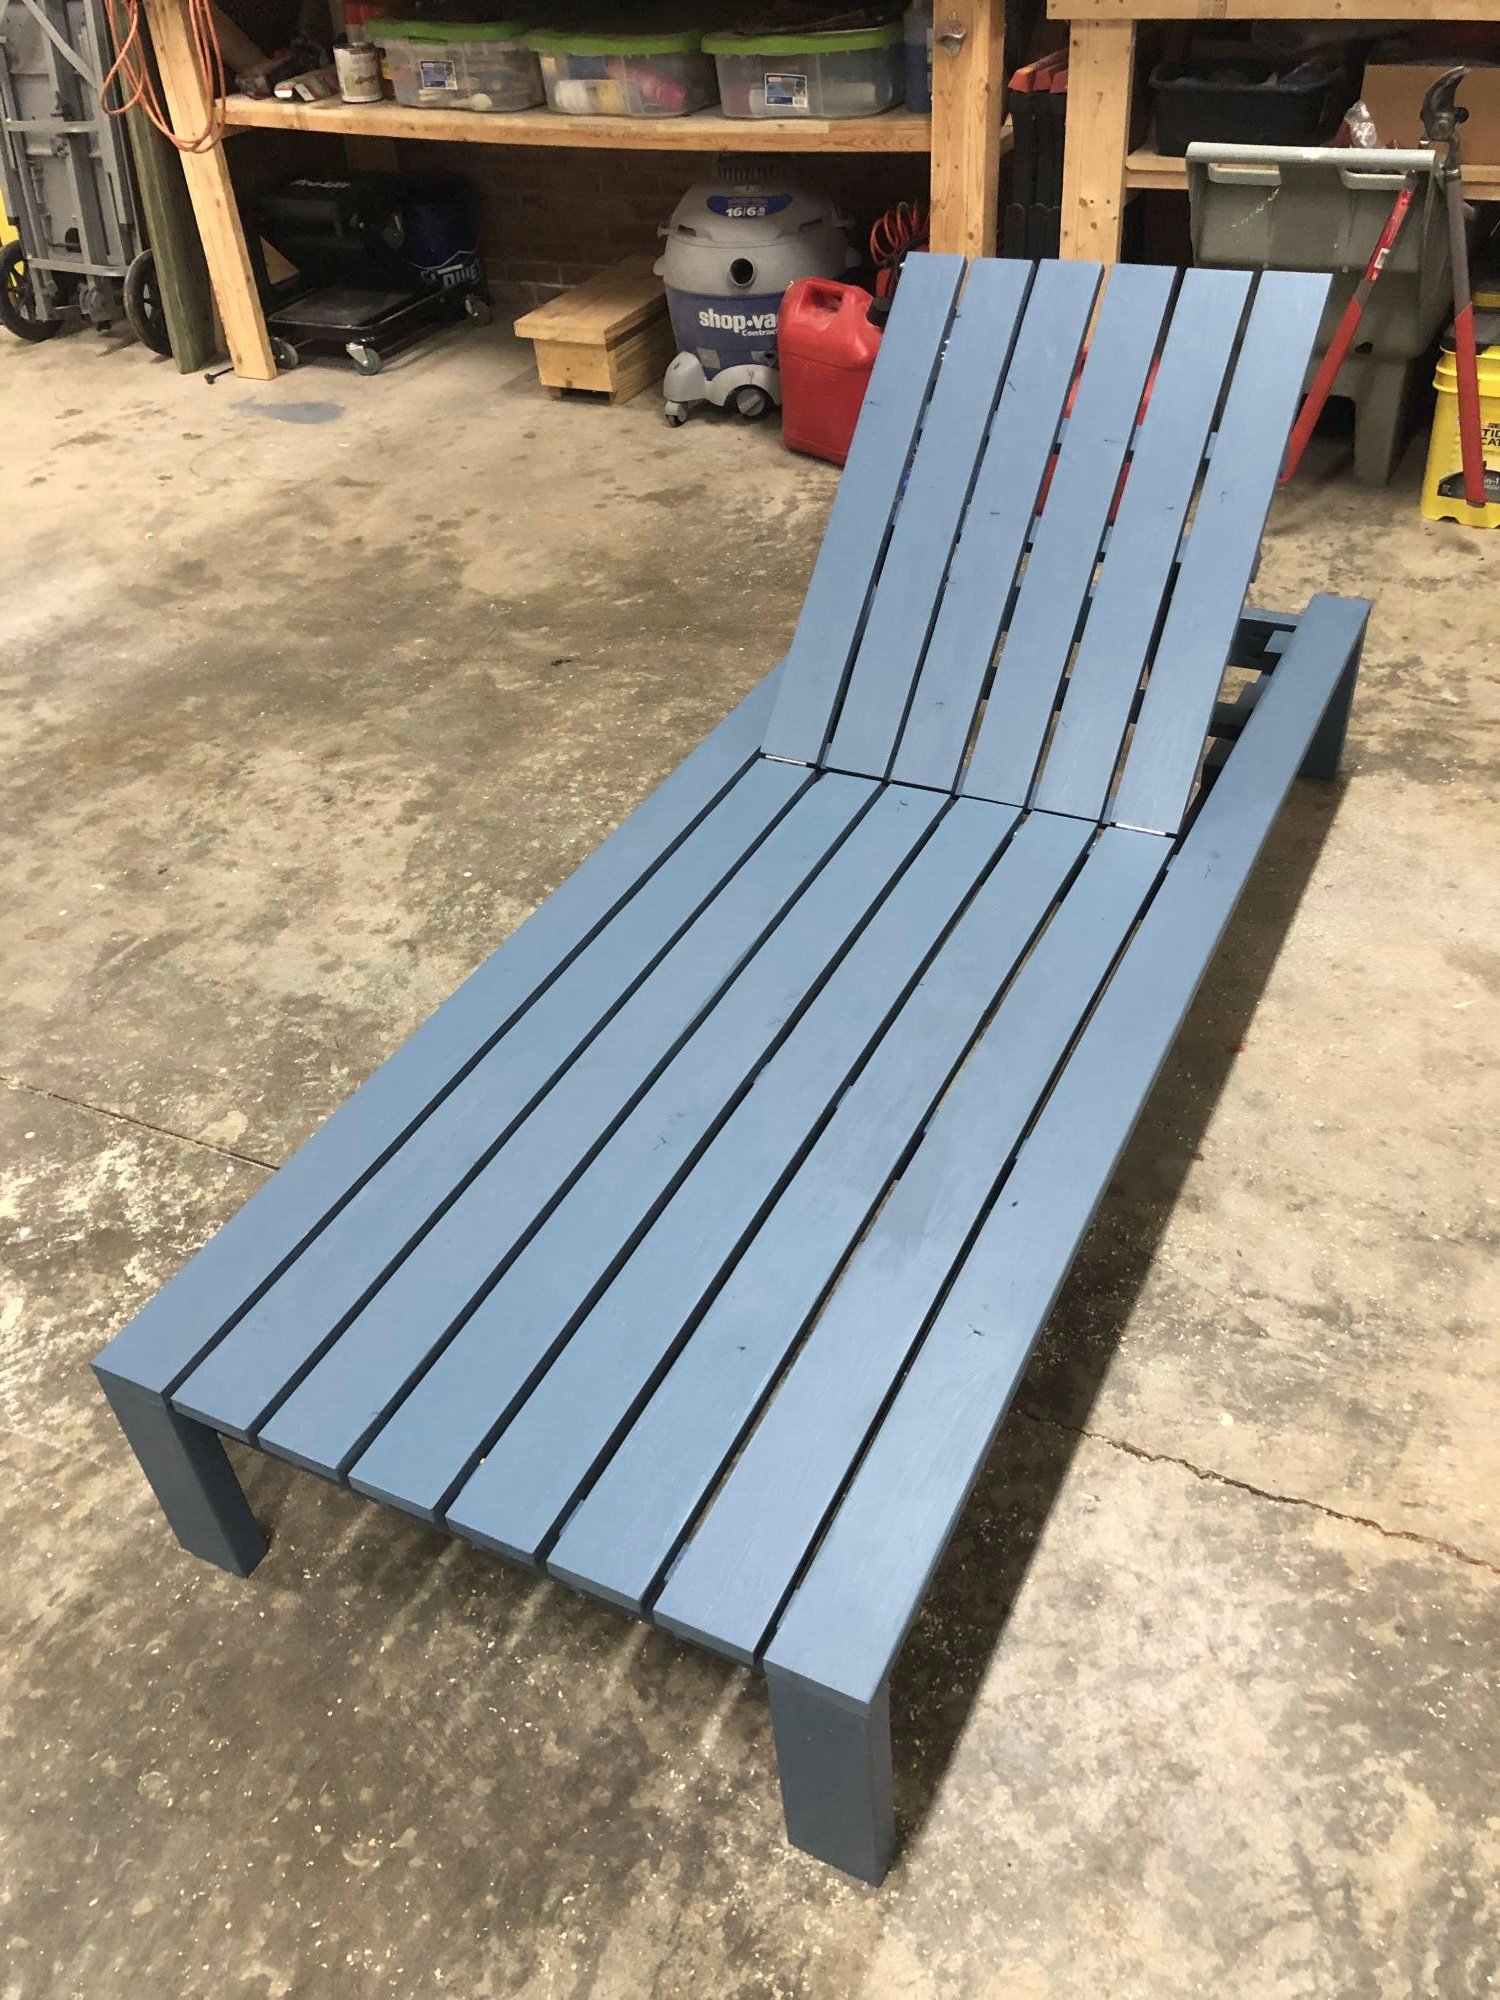
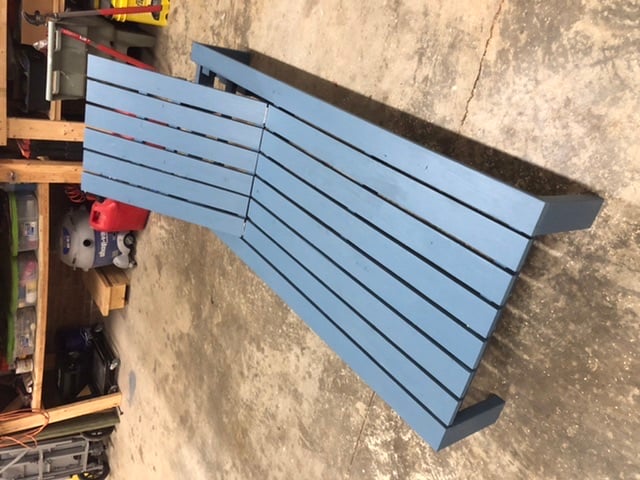
I followed Ana’s Modern Chaise build. The number of 2x4’s specified in the instructions is incorrect. You need 3 not 2. Other than that, a great plan.

Comments

Cedar Fence Board Planter Box

Submitted by iowachap on Sat, 03/15/2014 - 19:40

Using Ana's 10 dollar raised garden planter box idea, I made my own using the cedar fence boards and then used 2 x 3 x 8 studs for the L corner supports and mid center support along with top rail. This photo is the first 3, I will have a total of 6 boxes. Will post more as I progress.

Estimated Cost
20 to 25 dollars per box
Estimated Time Investment
Afternoon Project (3-6 Hours)
Finish Used
I used 6 fence boards, 2 for each side of the 6' long runs, and 1 for each short 3' section cut in half.

I got the 6' x 5 1/2 " x 5/8 " cedar fence boards at the orange box

I used 2 x 3 x 8 boards for the corners the middle support and the top rail. I got these at the blue box

I used 2 " and 2 1/2" exterior star bit screws.

NOTE: I pre drilled holes in the fence boards and screwed all the boards to the L corner sections from the inside out, so the screws are on the inside of the box, they did not poke through the 2 x 3 boards.

Instead of trying to measure how far off the side of the board I needed to go to match the vertical 2 x 3 boards, I just cut 10 11 inch long 2 x3 sections, and then used the 2 1/2" screws and made 4 L corner pieces the shorter side I screwed the short 3 foot length fence boards too, once I had both my short sections screwed to the L corner sections, I then stood one up and screwed 2 of the 6' length boards to the L corner section. Then the other side.

Once all 4 walls were done, I would then measure 3' in the middle of the 6' long side runs, and put in an additional 2 x 3 x 11" again screwed from the inside of the box out.

Now that all the 2 x 3 x 11" L corners and side support sections were connected to the fence boards I then cut 76 1/4" 2 x3 boards one for each length run, and then 2 26" 2 x 3 sections that were all cut on 45 degree angle to complete the top rail.
Recommended Skill Level
Starter Project

Rolling saw horses

Submitted by Craig P on Mon, 07/04/2016 - 07:26

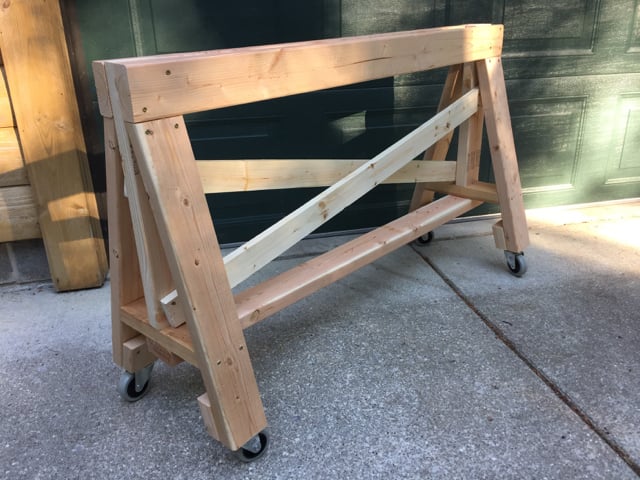
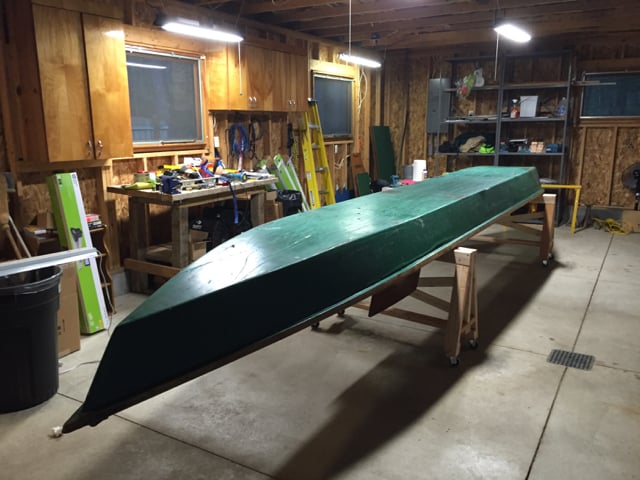
Your saw horse plan worked great for a wooden boat project I'm doing -- the 3" wheels (with one locking) enable me to move the boat around the workshop or even outdoors for heavy duty sanding. 

I added blocks of 2x4 to the legs for more surface for the wheels and I extended the cross pieces to 4-feet long as the old AuSable River (MI) guide boat is about 40" wide.

Built from Plan(s)
Estimated Cost
$60.00 (a lot of the cost is in the 3" wheels..)
Estimated Time Investment
Afternoon Project (3-6 Hours)
Finish Used
None, though thinking about putting some finish on them as they'll be getting wet when I wash down the boat...
Recommended Skill Level
Starter Project

Comments

Playhouse

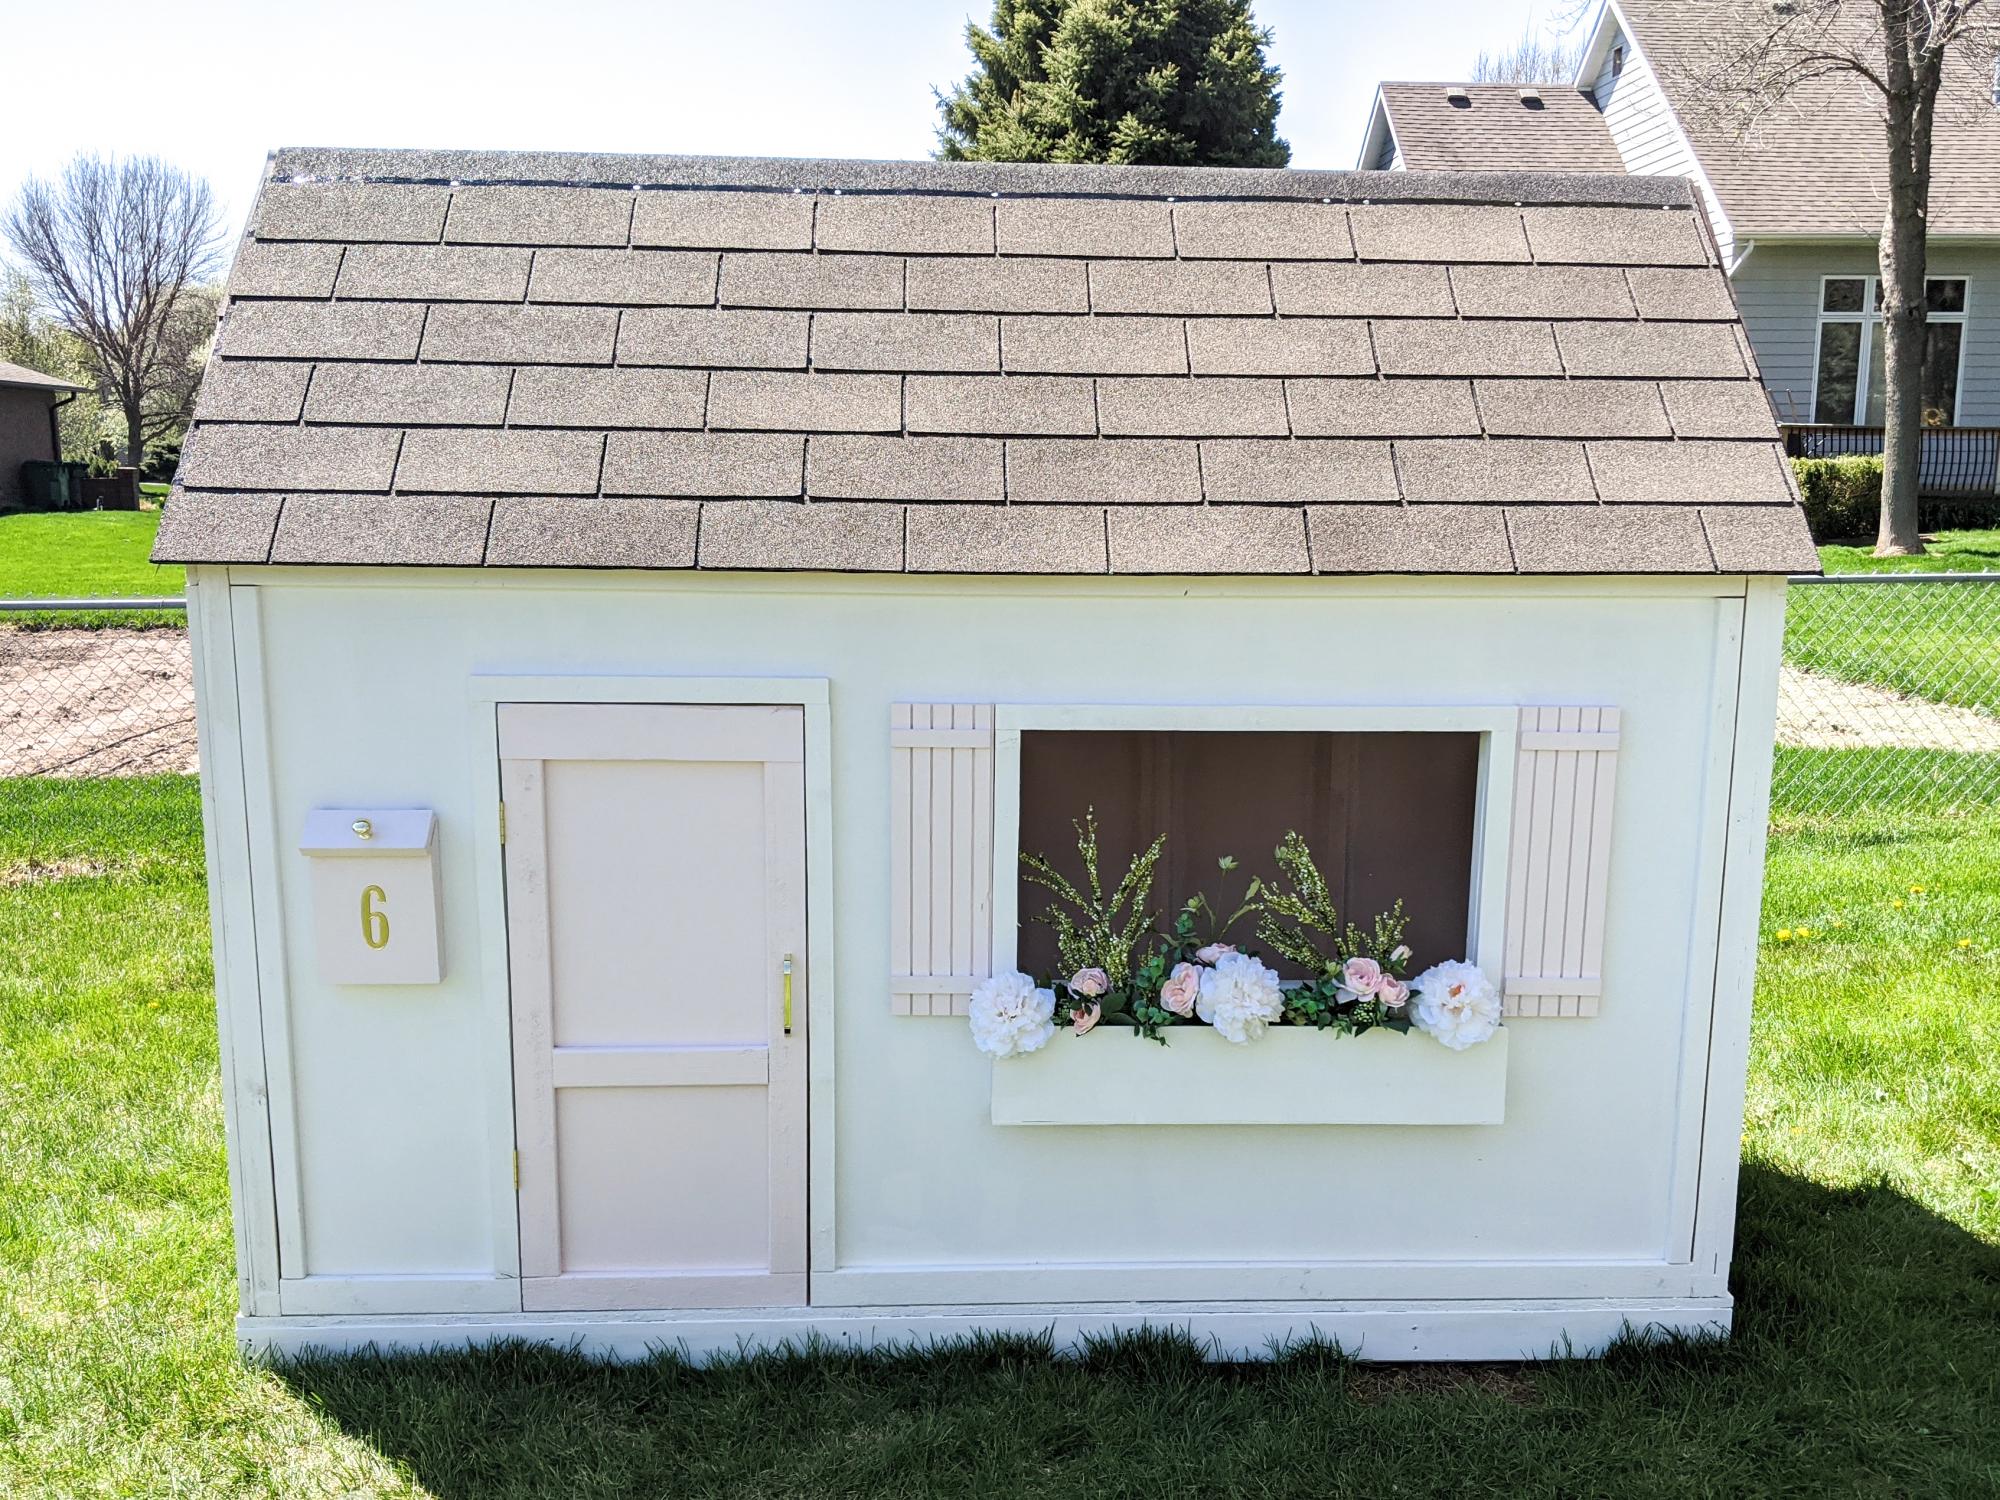
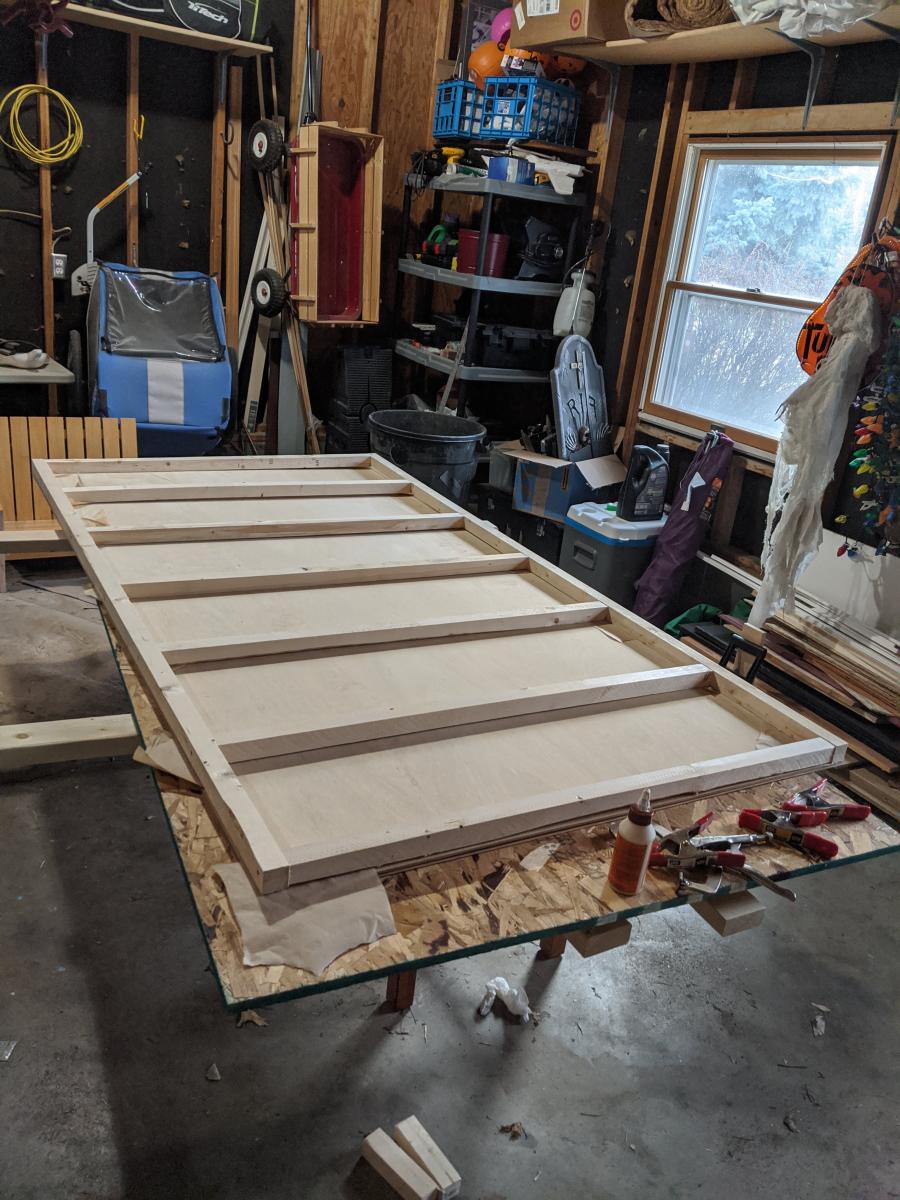
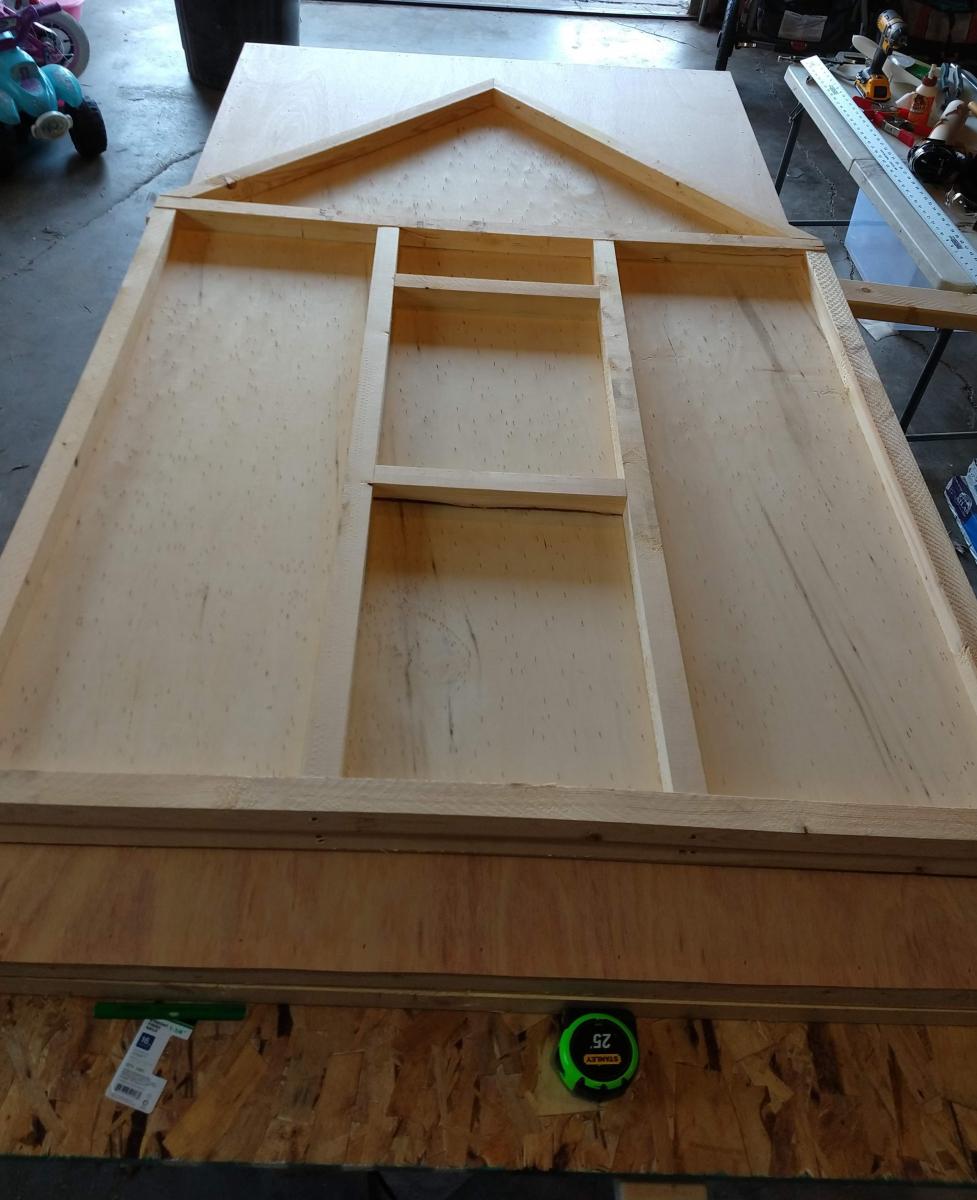
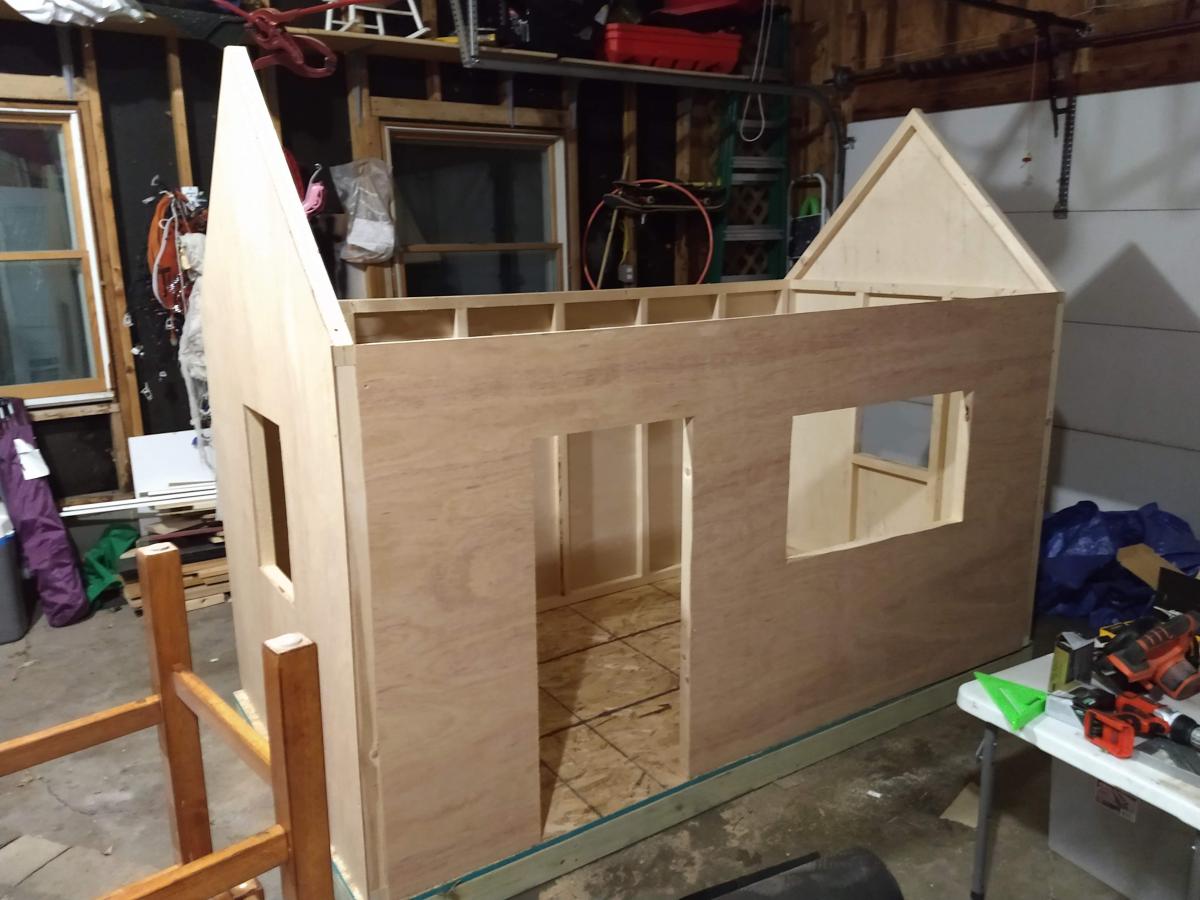
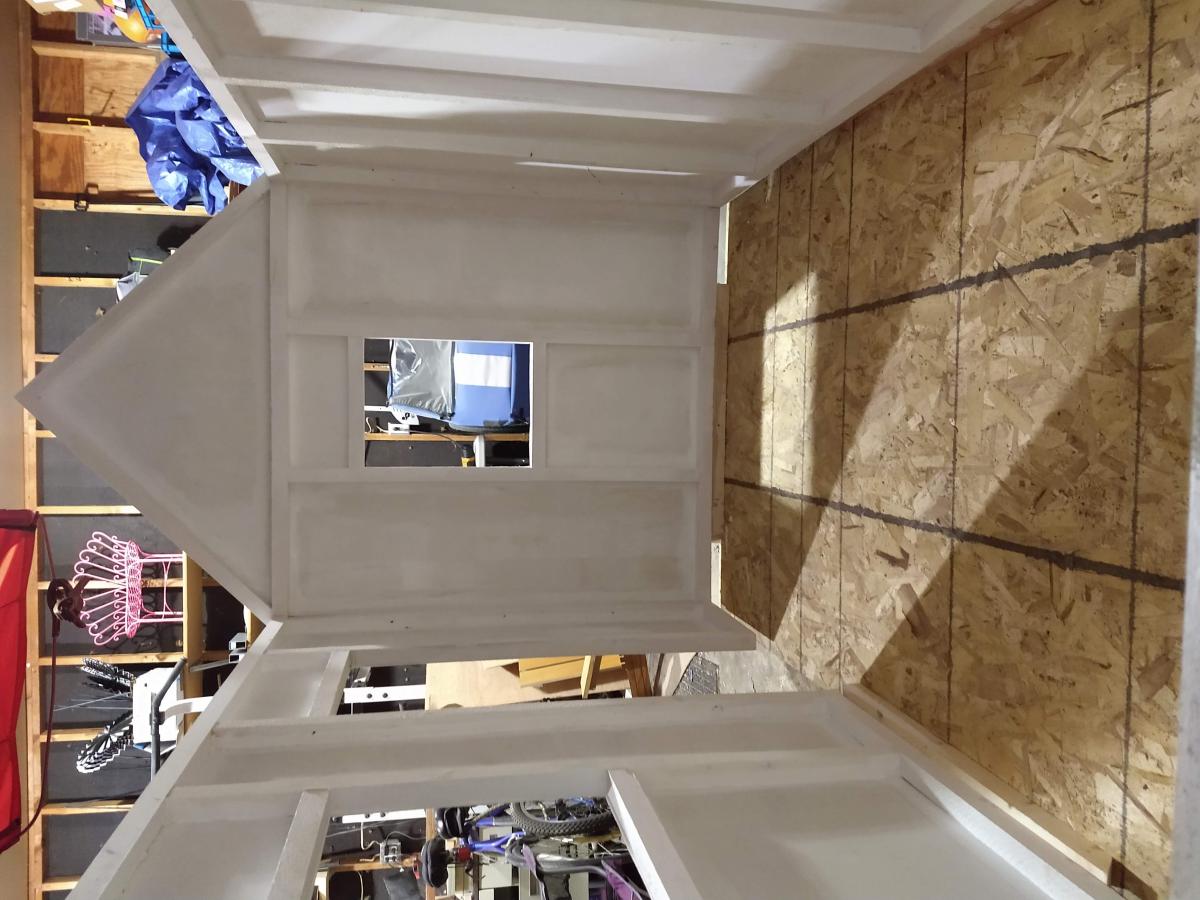
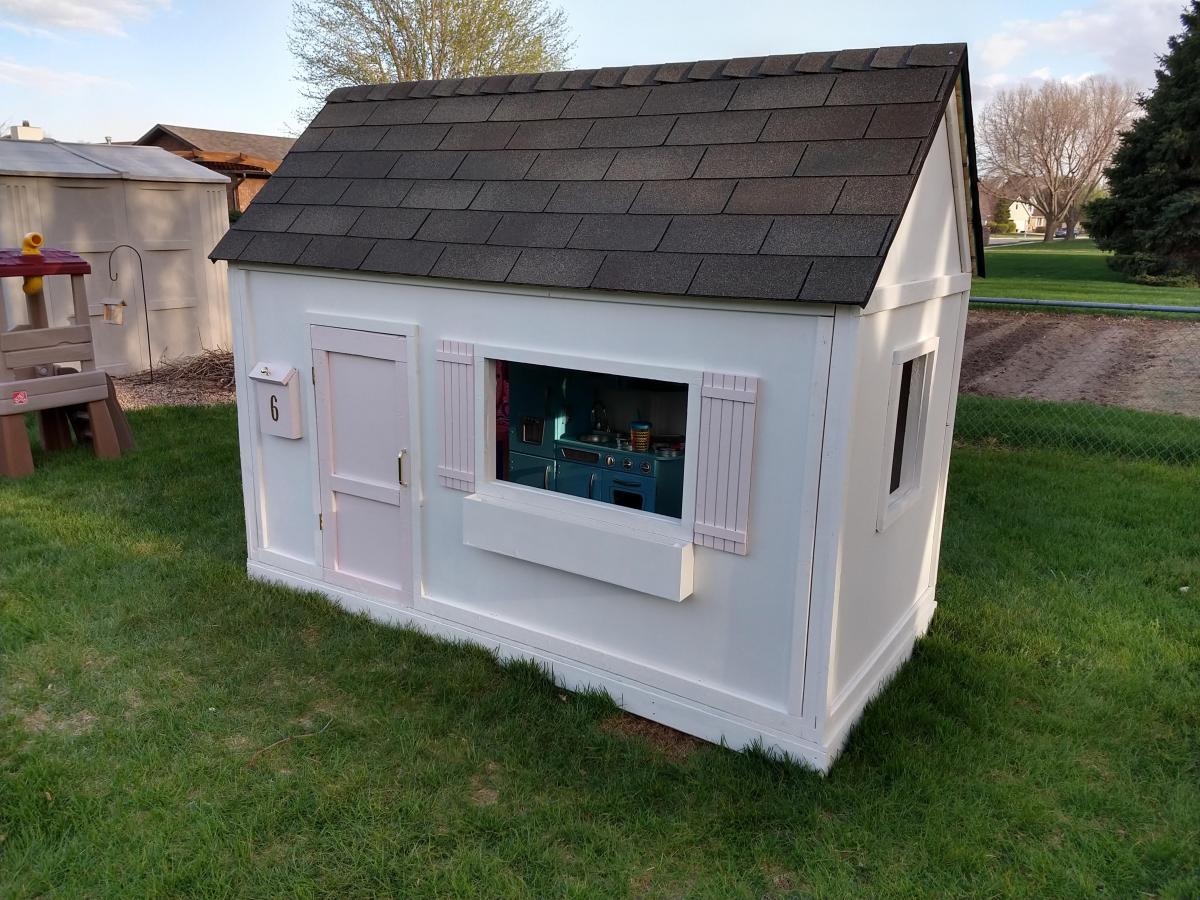
We built this playhouse for our daughter's 6th birthday. She absolutely loves it! We were looking at purchasing one, but they were way out of our budget. Ana saved the day with these plans :).

Estimated Cost
$320.00
Estimated Time Investment
Weekend Project (10-20 Hours)
Finish Used
We painted the house with white Pittsburg Ultra Exterior Latex paint. The mailbox, door and shutters were all painted with Pink Viburnum Sherwin Williams Satin Exterior paint.
Recommended Skill Level
Intermediate
Seasonal And Holiday

2x4 Adirondack Chairs (w/2x10s)

Submitted by dustblock on Sat, 05/02/2020 - 19:11

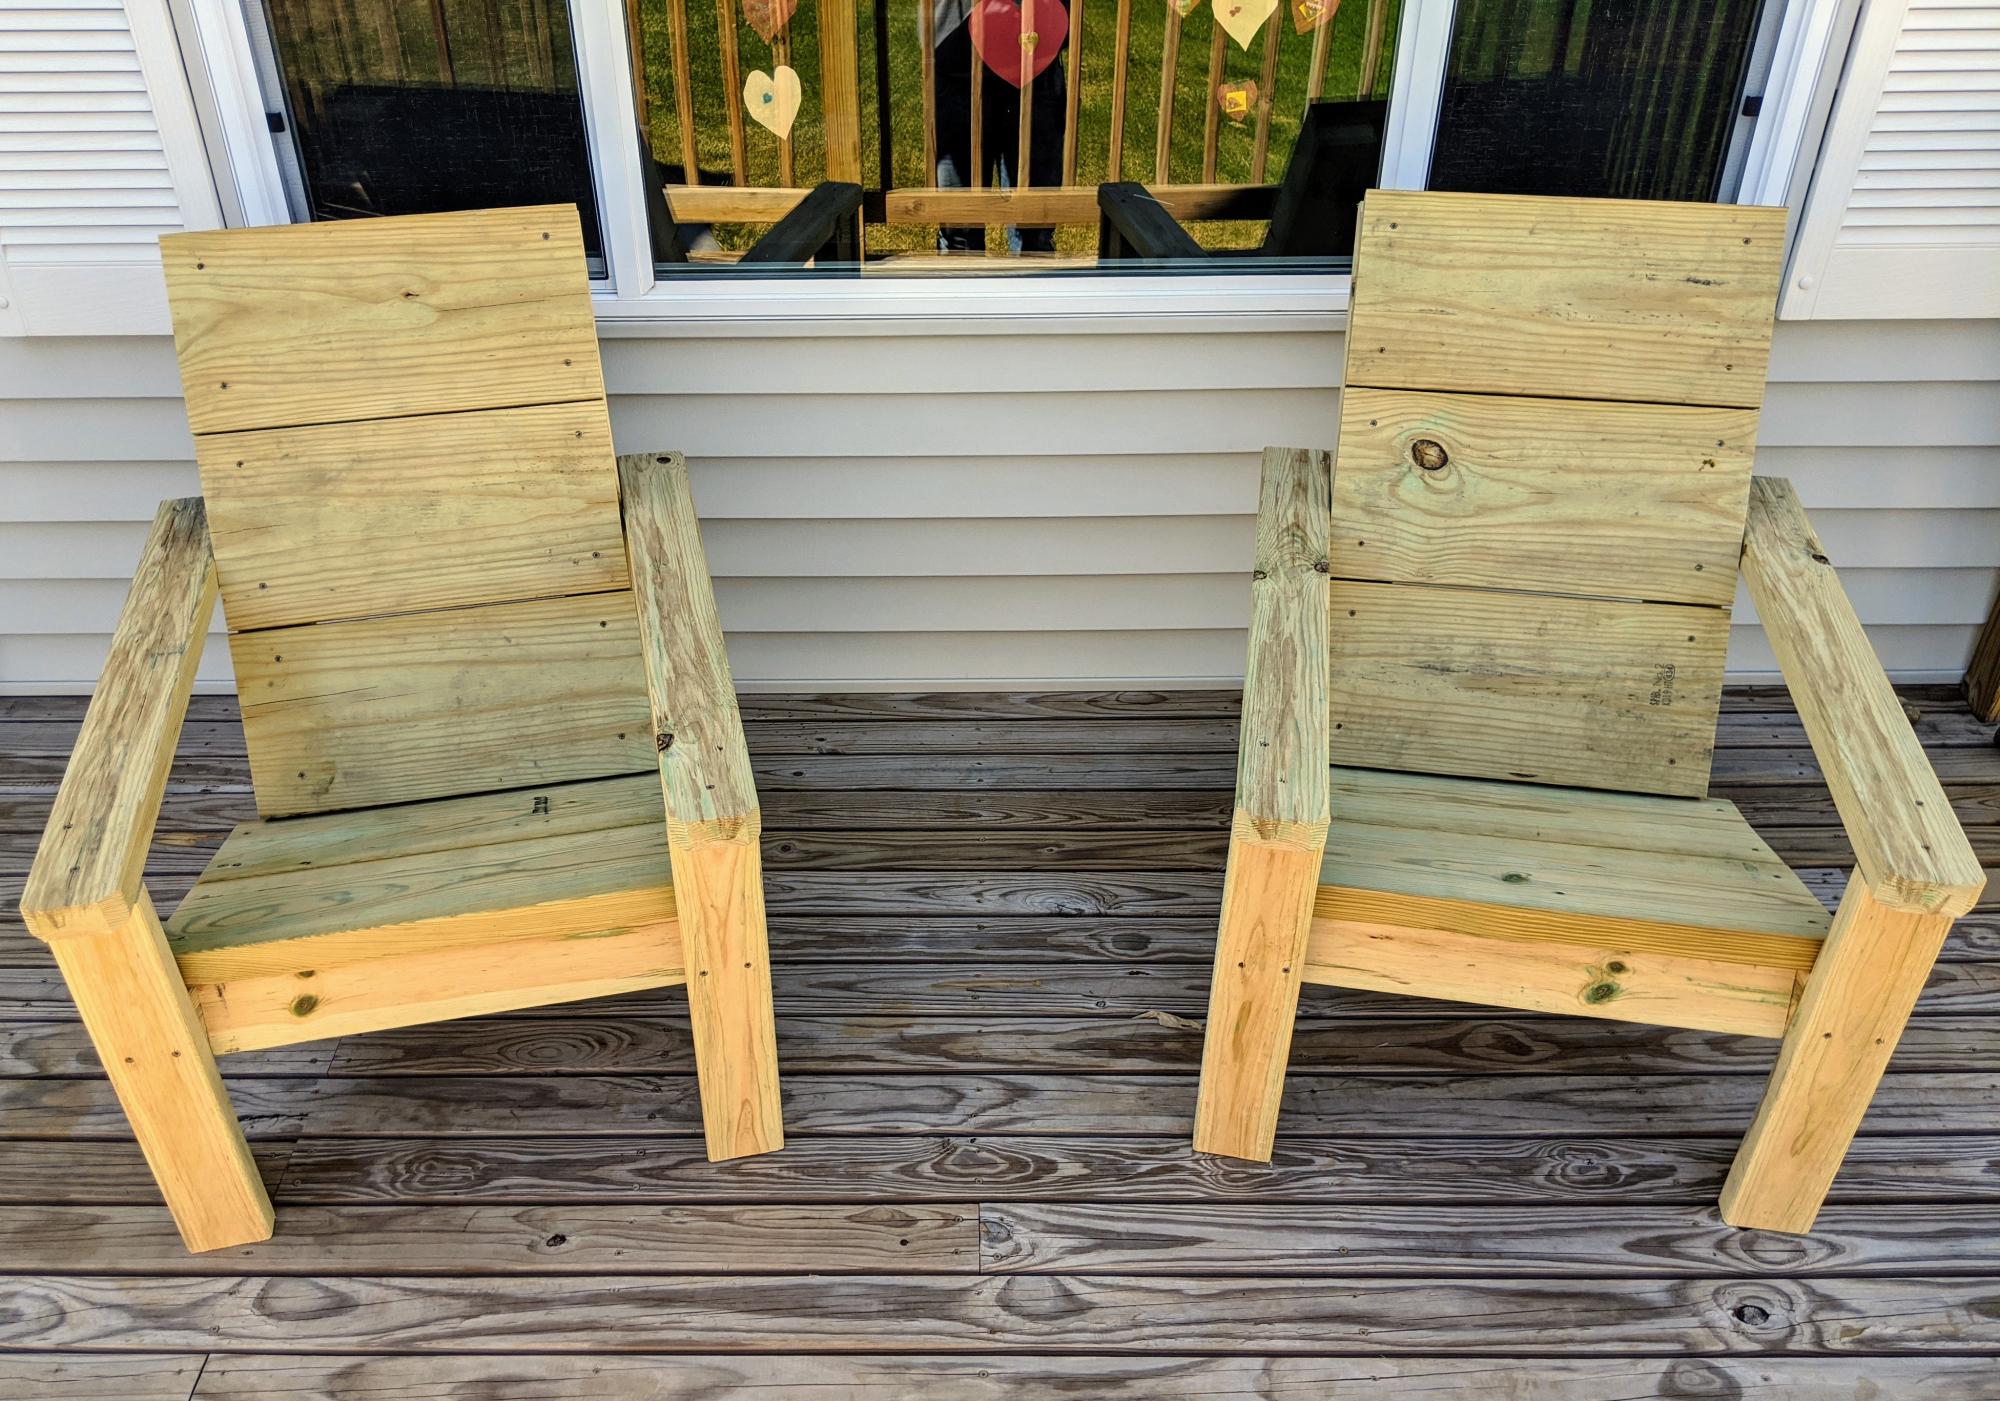
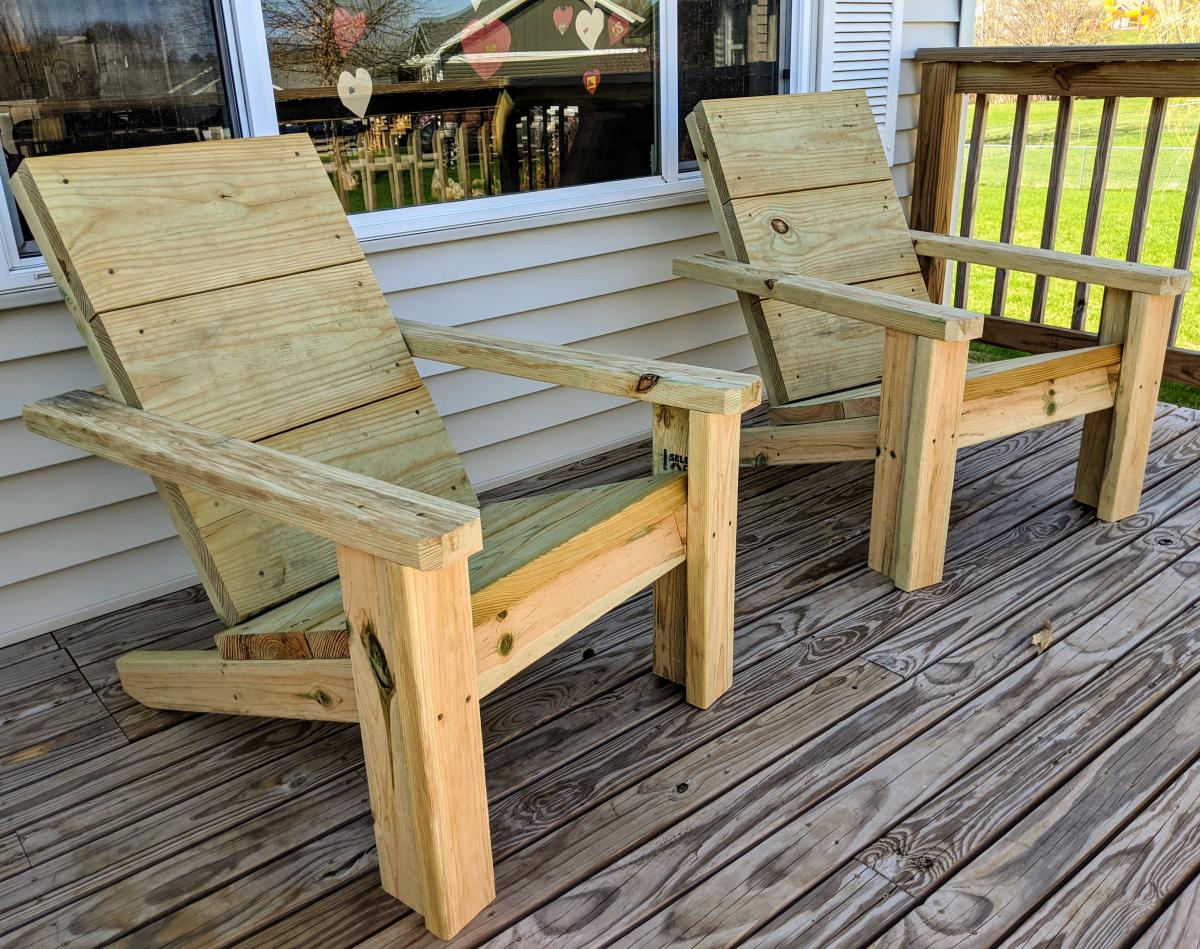
After seeing the post for these new plans, I knew it would be only a matter of days before I was building my own set. I've always wanted to do Adirondack Chairs but disliked the dated look and all the curved cuts of the typical styles. Great job Ana on such an amazing set of chair plans. One substitution I made, as I wanted to go treated but didn't have 1x10s locally, was to use 2x10s for the back and seat boards. I also lengthened the back supports 1/2" to accommodate for the thicker boards and extended the arm rests 1 1/2" so they went past the legs a bit. With those two changes, all of my long pieces use a 33 1/4" measurements for cuts. Will be making my second set as soon as I have time. These will be about 3 1/2" wider to give a bit more room to the chair. Another awesome plan from Ana White!

Estimated Cost
$60
Estimated Time Investment
Afternoon Project (3-6 Hours)
Recommended Skill Level
Beginner

Ana's Adirondack Chairs. My wife loves them

Submitted by Anonymous (not verified) on Tue, 05/05/2020 - 05:34

Just bought a compound miter saw and saw the plans for the Adirondacks Chairs on your channel. Showed them to my wife and she lived them and so became my first project with the new saw. I finished them with leftover deck stain (PPG Cedar 077). I'm sure they will be around for years to come.

Lounge Chair

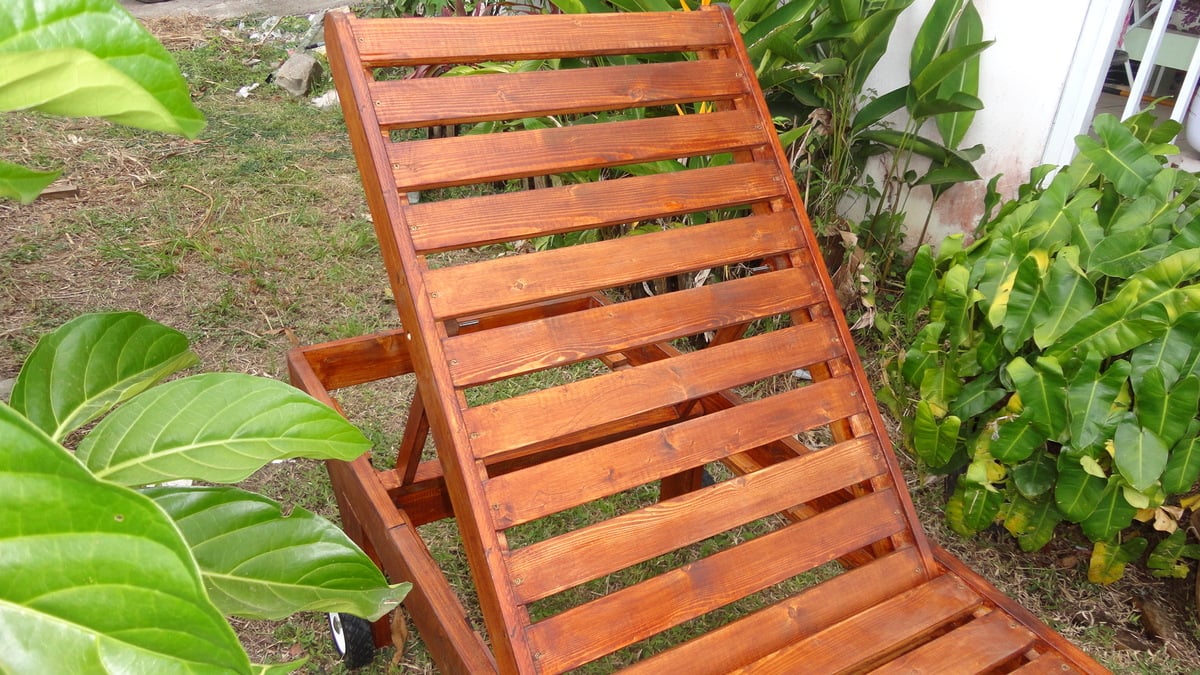
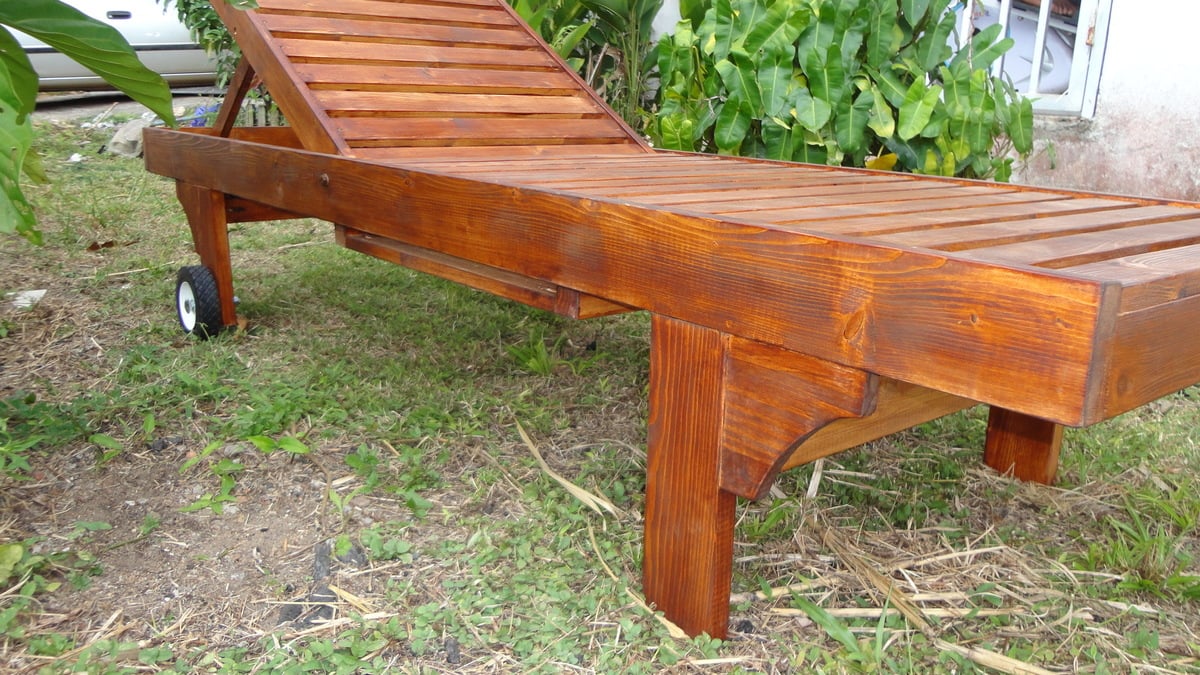
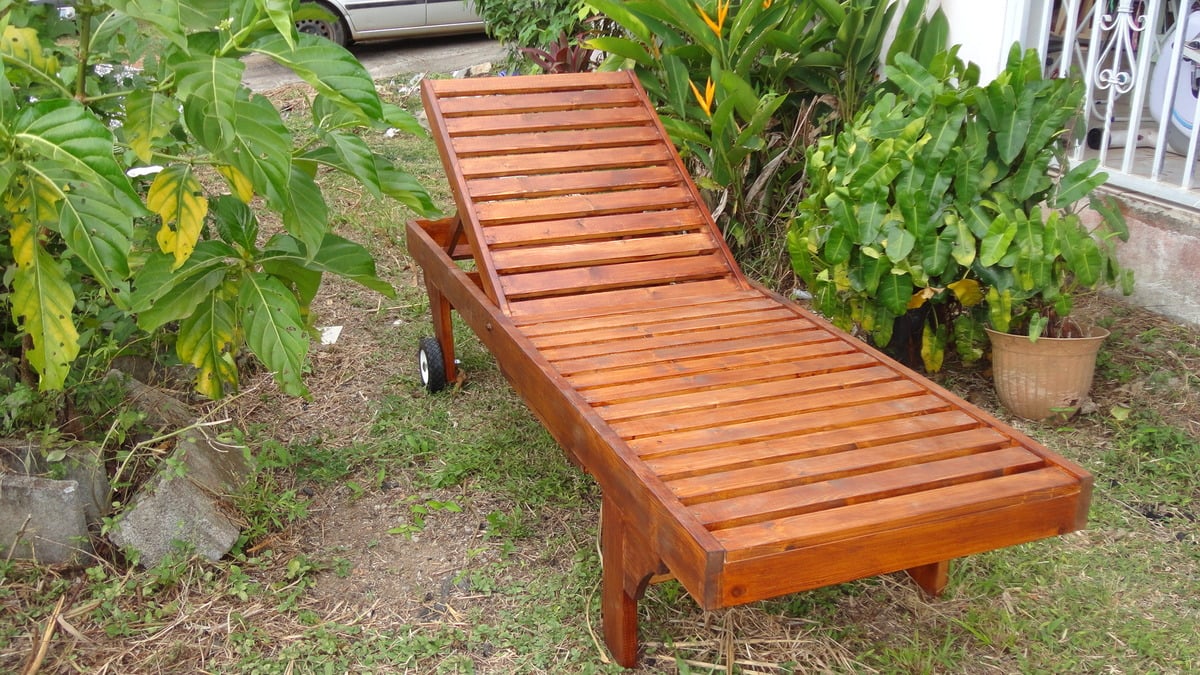
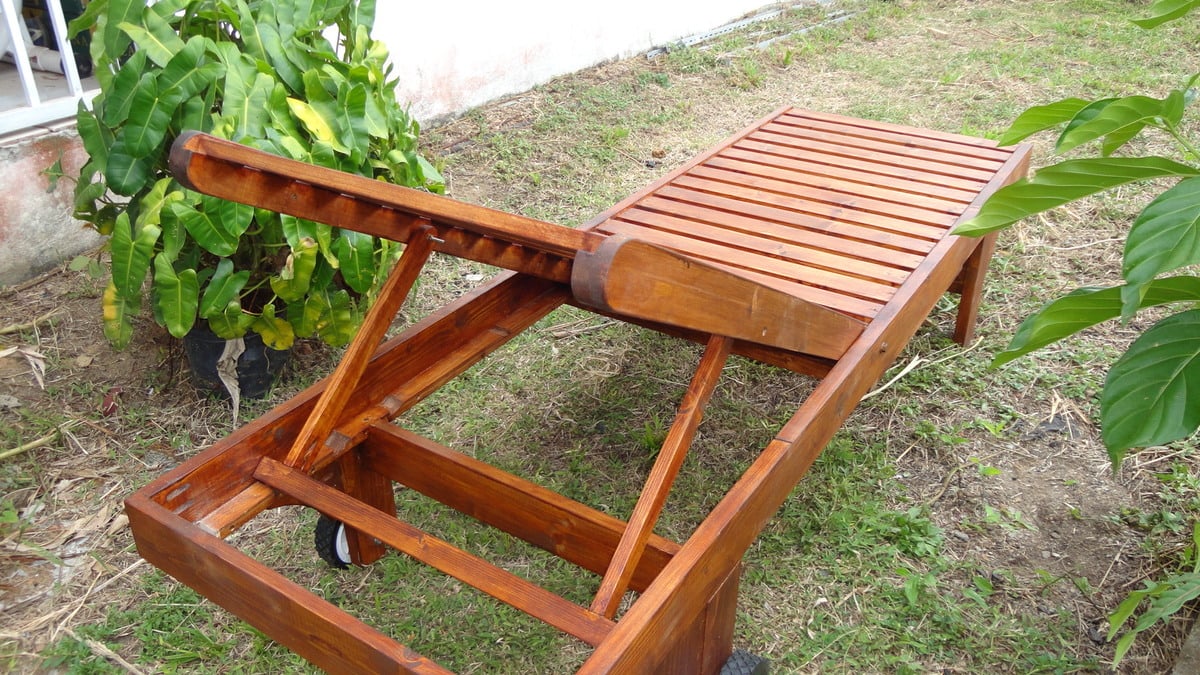
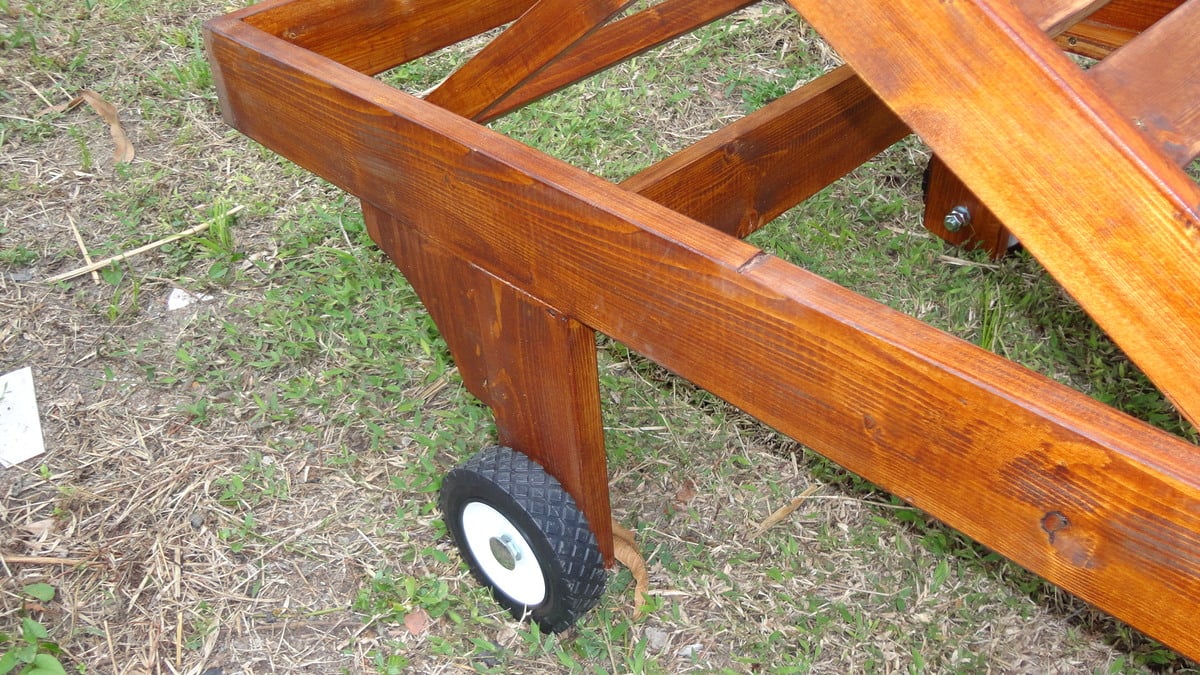
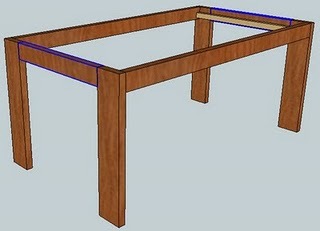
I made this lounge chair from a sketchup file which I found on the Internet; thanks to Ana White site, I discovered the Sketchup software and I learnt to use it. I measured all the elements and thanks to the plans of lounge chairs of the site, I was able to build that.I have to buy some plywood to make the tray and put it under the chair.
It is a present for my mother. I am very happy of the result.
.

Estimated Time Investment
Weekend Project (10-20 Hours)
Finish Used
Teck color lasure, 3 coats
Recommended Skill Level
Beginner

Comments