Community Brag Posts

Miter Stand and Rolling Storage Carts

Submitted by danicarby on Sat, 04/29/2017 - 11:21

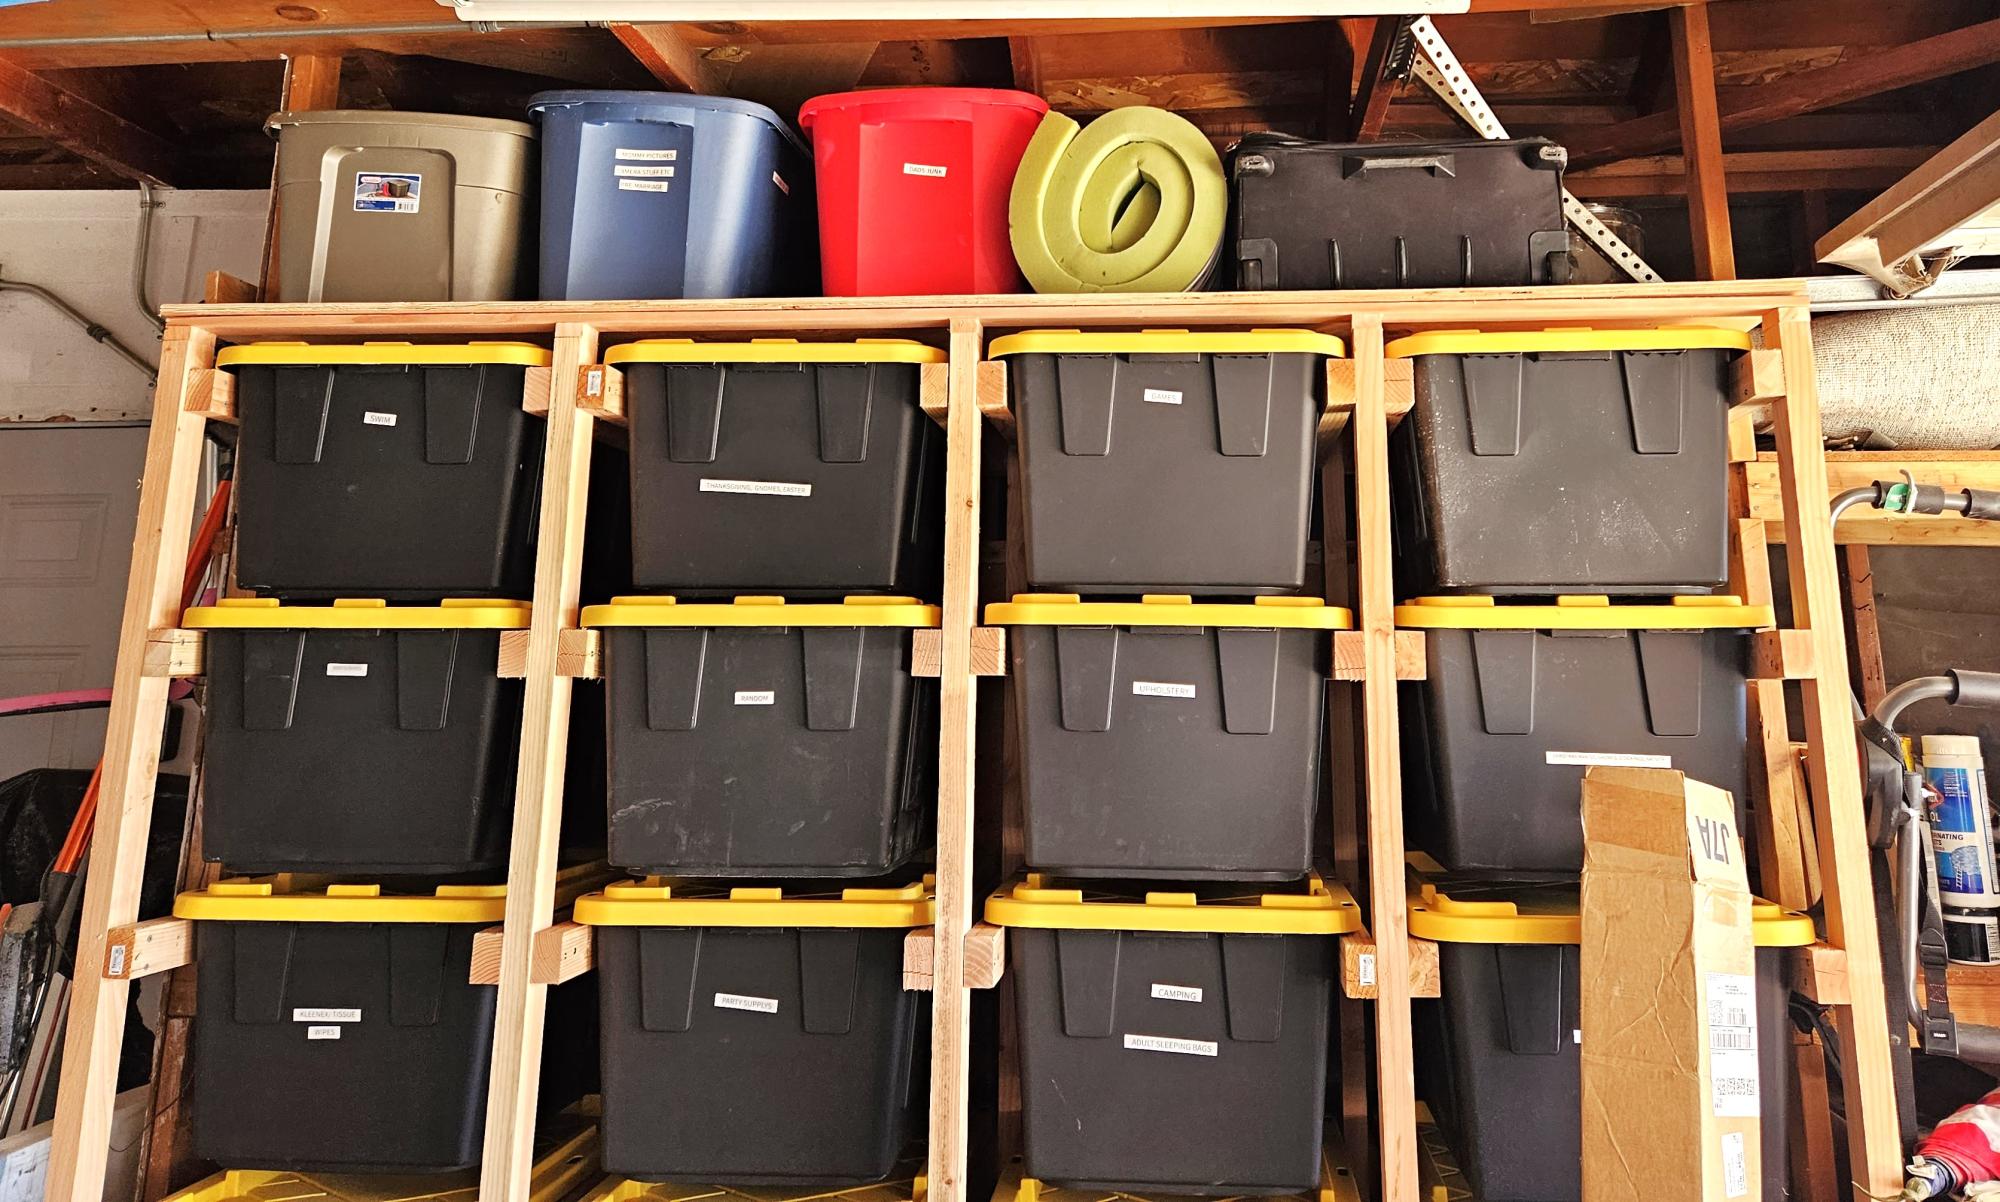
I'm so happy that I found the plans for Ana's miter stand and rolling carts!  It was just what I needed for my garage shop... so everything can be organized and stored compactly but things can pull open and expand when I have a project (which is all the time, actually).

The actual miter stand was super easy to build - the carts took a few days working non-stop (when the kids permitted).


I made a few obvious changes from the plans:

-made deeper shelves on one of the carts

-added drawers on one of the carts

-added ped board on the end caps of miter stand


Something I didn't consider before building this was the slope of our garage floor.  There's a 3" difference from one end of the legs to the other so I had to use riser blocks to get everything perfectly level.  Unfortunately there's no way to level the carts as they aren't stationary but they slide in/out just fine.


I'd recommend this build to everyone!  Check Home Depot clearance often for deals on plywood!

Estimated Cost
It's hard to say as I used wood I had on hand, tried to buy clearance, etc. I'm estimating $200.
Estimated Time Investment
Week Long Project (20 Hours or More)
Finish Used
None
Recommended Skill Level
Intermediate

Comments

Kitchen Lazy Susan

Submitted by bsbdays on Mon, 04/06/2015 - 06:29

This is a sample of what I have done using Ana's plans. Thanks Ana!!! I will be posting my entire kitchen Reno in the near future.

Estimated Cost
Cabinet was $98.00, Lazy Susan was $145.00
Estimated Time Investment
Afternoon Project (3-6 Hours)
Recommended Skill Level
Intermediate

Comments

Eagle Project Workbench - Ultimate Roll Away Workbench with Miter Saw Stand

Submitted by nelsoncc on Mon, 10/18/2021 - 11:32

My son chose to make a workbench for his high school theater for his Eagle Scout project, and selected the Ultimate Roll Away Workbench with Miter Saw Stand as the basis for the project. The theater teacher wanted pegboard for tool storage, so we extended the rear legs on each workbench and notched the top to allow them to pass through. We built two frames from 1x3s to fit inside the rear legs, then put a pegboard inside each one.

To secure the extended legs, we added a riser shelf from 1x8s. We put a storage station for drills at one end of the riser shelf.

We also made all the cart shelves adjustable and added an adjustable shelf under the miter saw, and added lighting and power strips.

We left out the panels at the end of the workbench to allow access to the shelves there without having to remove the carts. Once we had constructed it, we added a brace at each end of the workbench to better support the outside front legs.

This plan was the perfect one for the theater, giving a stable work area for the miter saw and allowing for tool and materials storage. The carts can be rolled around to where a work surface is needed. This will come in handy for years of set construction in the theater. So proud of my son and all the leadership and hard work he put into this project!

Comments

Kitchen Cupboard Pull Out Drawers

Submitted by AndyH on Mon, 05/25/2015 - 15:23

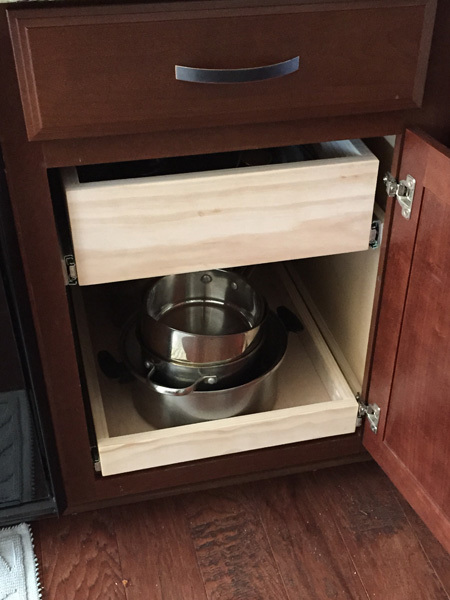
Made four pull out drawers with full extension soft close drawer slides.

Two shallow ones to store large items in and two deep ones to help hold pan lids and frying pans.

I used select pine for the sides and routed a slot for a 1/4 inch plywood base.

I put the pocket holes on the inside so less visible.

Estimated Cost
$30 to $40 per drawer (slides alone cost $19)
Estimated Time Investment
Weekend Project (10-20 Hours)
Finish Used
Matte poly
Recommended Skill Level
Beginner

Faux Fireplace with Hearth

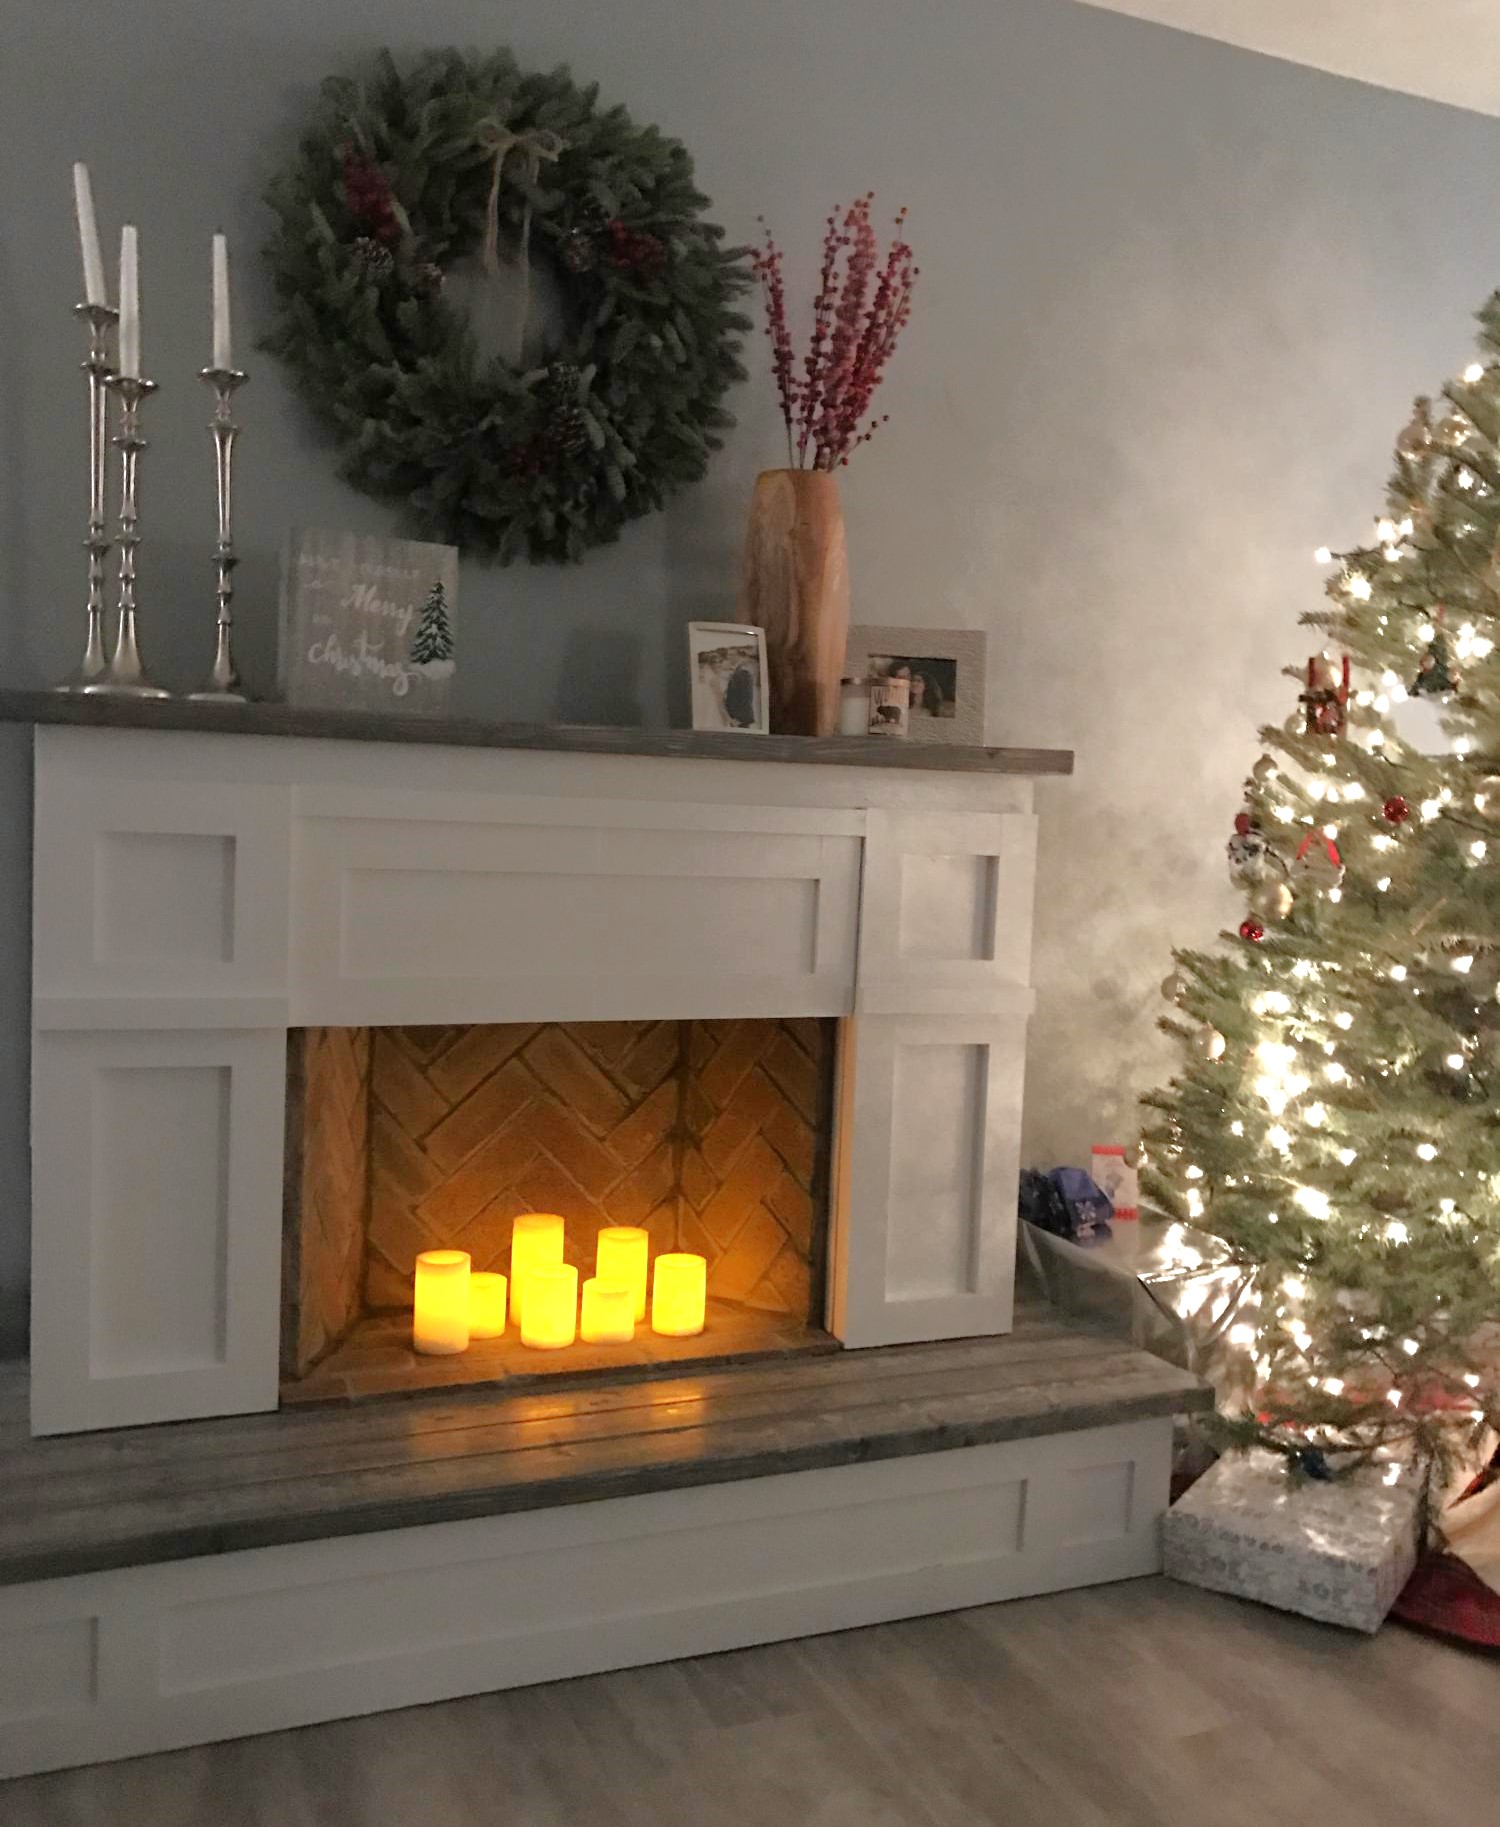
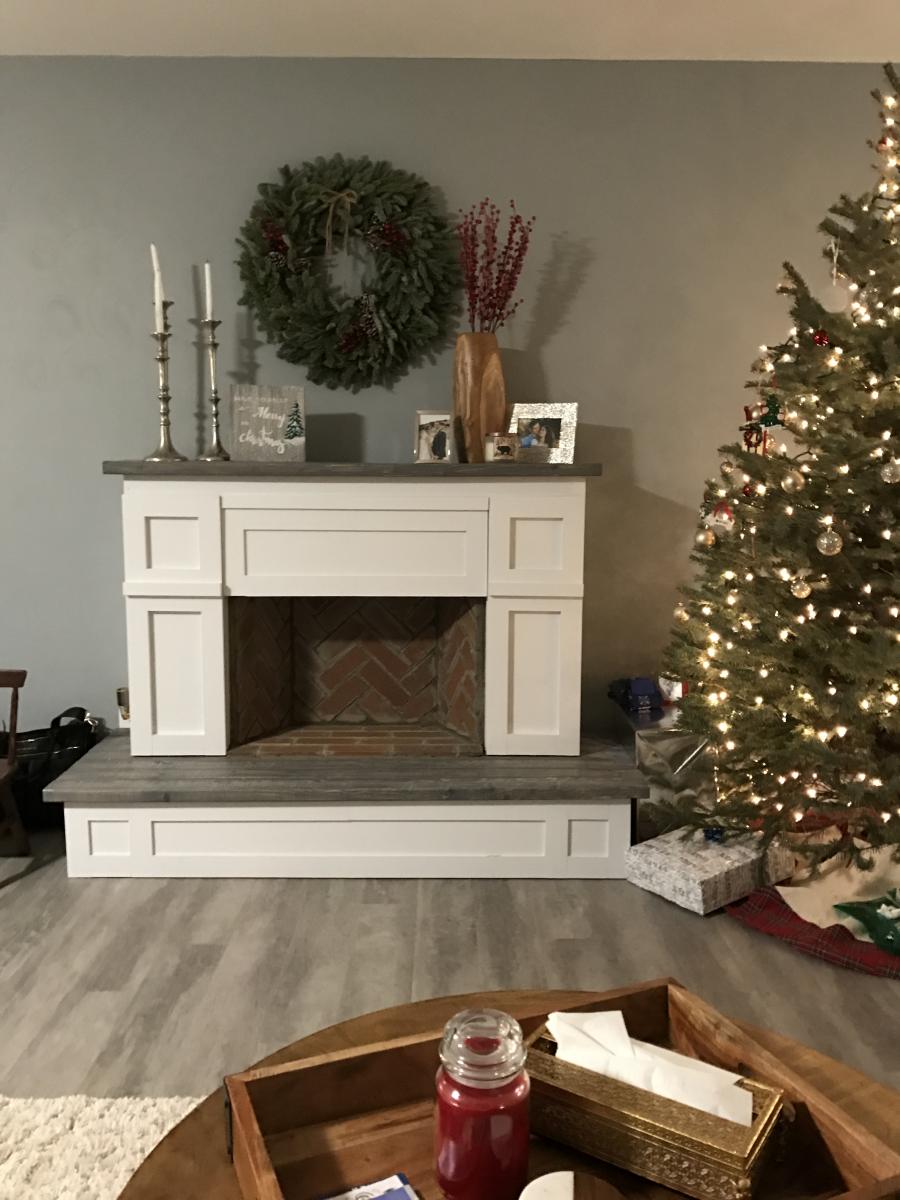
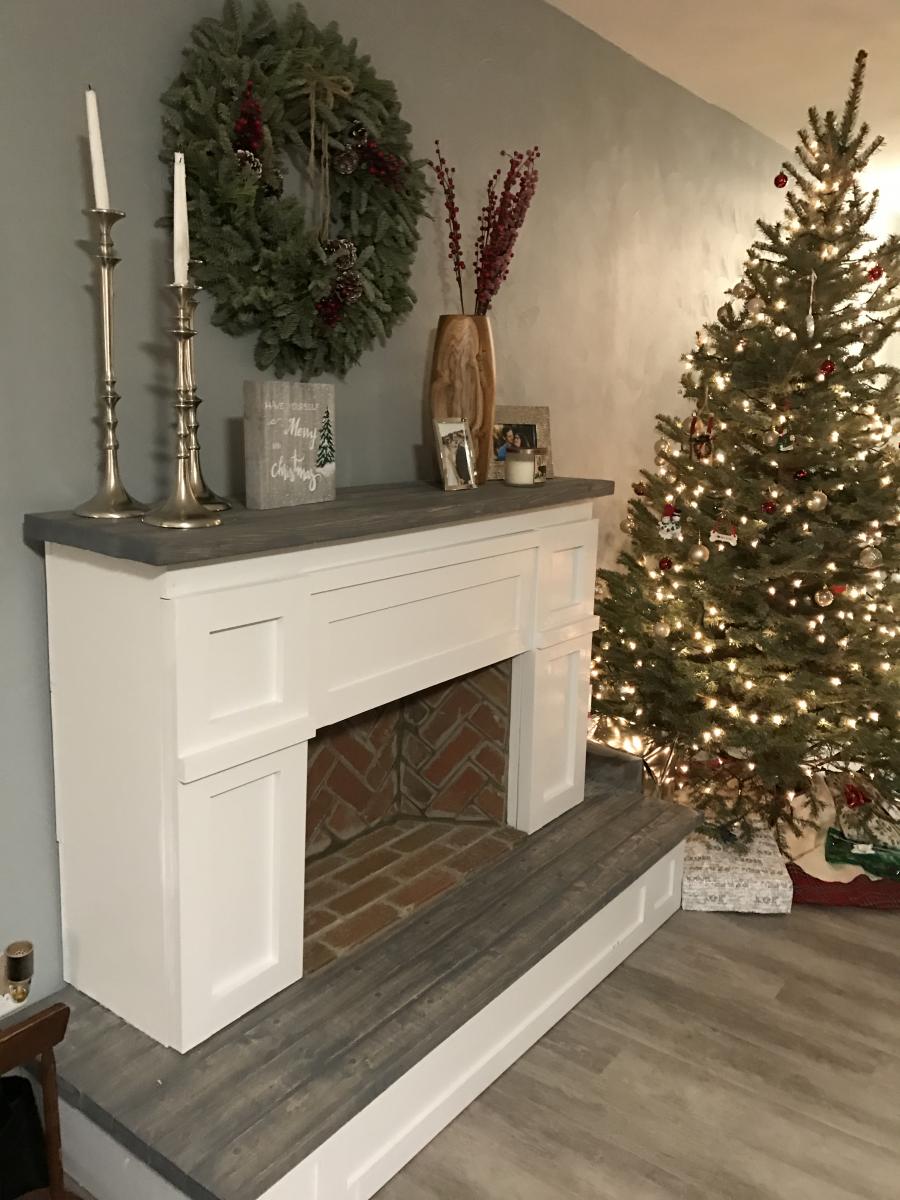
We made some modifications by adding a hearth for additional height (the room we have it in is very large and open) and joining 2x4s for the mantel and base which I stained grey for contrast. We decided to use thin brick for in the "firebox" to make it look more realistic. We also have a newborn and spent over two months putting it together a little at a time in our free moments so I'm not sure how long it would actually take to do at once, but cutting and putting up the brick was very time consuming. 

Estimated Cost
$250
Estimated Time Investment
Week Long Project (20 Hours or More)
Finish Used
White paint, Minwax "Classic Grey" stain
Recommended Skill Level
Beginner

Comments

westmoundstar

Thu, 08/27/2020 - 11:16

This looks great! I'm actually in the middle of this build with the hearth as well. Couple questions....
How did you connect the two pieces? Also, did you connect to the wall? I'm assuming you didn't leave the 5 1/2 inch gap on the bottom of the fireplace and connected direct to the hearth. Let me know, thanks!

Seasonal And Holiday

Cedar Boxes

Submitted by drowland on Sat, 07/09/2011 - 07:18

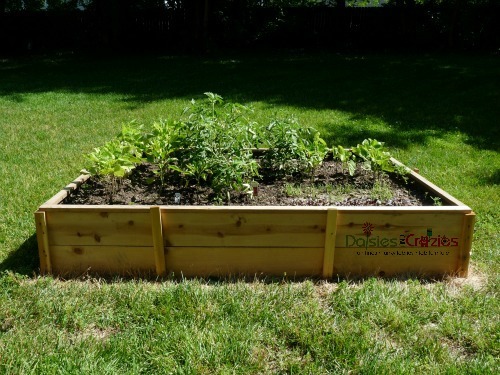
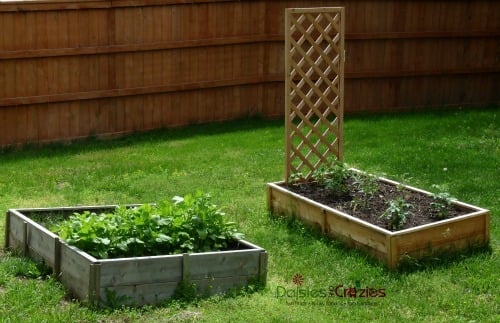
We built these before we saw these plans, but they are pretty much the same... We added the chicken wire to keep the rabbits (and our dog) out of the garden. We added the owl to keep the birds out. We've gotten a ton of tomatoes, onions, and bell peppers so far. Next year, we'll add a few more beds. We also added the verticle garden to take up less space, but its not deep enough. We'll make the next one deeper.

Estimated Cost
$30
Estimated Time Investment
An Hour or Two (0-2 Hours)
Finish Used
none
Recommended Skill Level
Starter Project

Comments

KatieO (not verified)

Sat, 07/09/2011 - 20:11

Wow! LOVE IT! I love the taller posts so you can incorporate the chicken wire! I SOOOO needed to do something like that this year. Also, the vertical garden boxes are BRILLIANT! LOVE IT!

drowland

Thu, 11/17/2011 - 07:59

We ended up getting a ton of tomoatoes and green peppers from the garden boxes. We've actually built a couple more. We'll probably double again before next spring. We're looking at adding more veggies.

We now have ton of stuff planted for the fall...

Guest (not verified)

Tue, 03/13/2012 - 10:46

How did you build the upright planter boxes? Do you mind explaining the building process/design? I really want to plant this in my yard!
colton's mom (not verified)

Tue, 04/03/2012 - 06:19

i love the vertical boxes. I am just trying my hand at the world with a green thumb and could use as much advice as possible about how to make as well as to line the boxes or not to line them. All advice appreciated!
berman (not verified)

Fri, 11/23/2012 - 21:53

Hi, my name is berman. I found you pin from my pinterest and your box garden is so great. I am a newbie in this field and so interested to build garden in my house. If i can ask you some question, could you please to answer that?

cheers,
berman

Seasonal And Holiday

Window seat built in

Submitted by daliae on Sat, 09/17/2011 - 20:19

I made this two years ago in my daughter's room, before I got to know Ana's site. This was my ever first carpentry project. It took me 4 whole days to finish. The whole wall is like a bay wall so I had to custom make the built in. Also – I did that when my husband was out of town so in order for me to be able to lift all the pieces from the basement to the second floor, I made it of 4 pieces. When my husband came back home he thought I paid someone to built it.

I made it out of 2x4’s and plywood. I trimmed the bottom with a trim.

One day I will add drawers and the cushions are in the making.

Estimated Cost
100 $
Estimated Time Investment
Week Long Project (20 Hours or More)
Finish Used
Primer and two coats of Valspar high gloos White Dove from Lowe's.
Recommended Skill Level
Beginner

Comments

nhoffer

Thu, 06/11/2015 - 20:20

Do you have more pics of the finished product...especially where it meets the angled wall? I don't have a table saw (yet) so I'm trying to figure out if I can handle this without one. :(

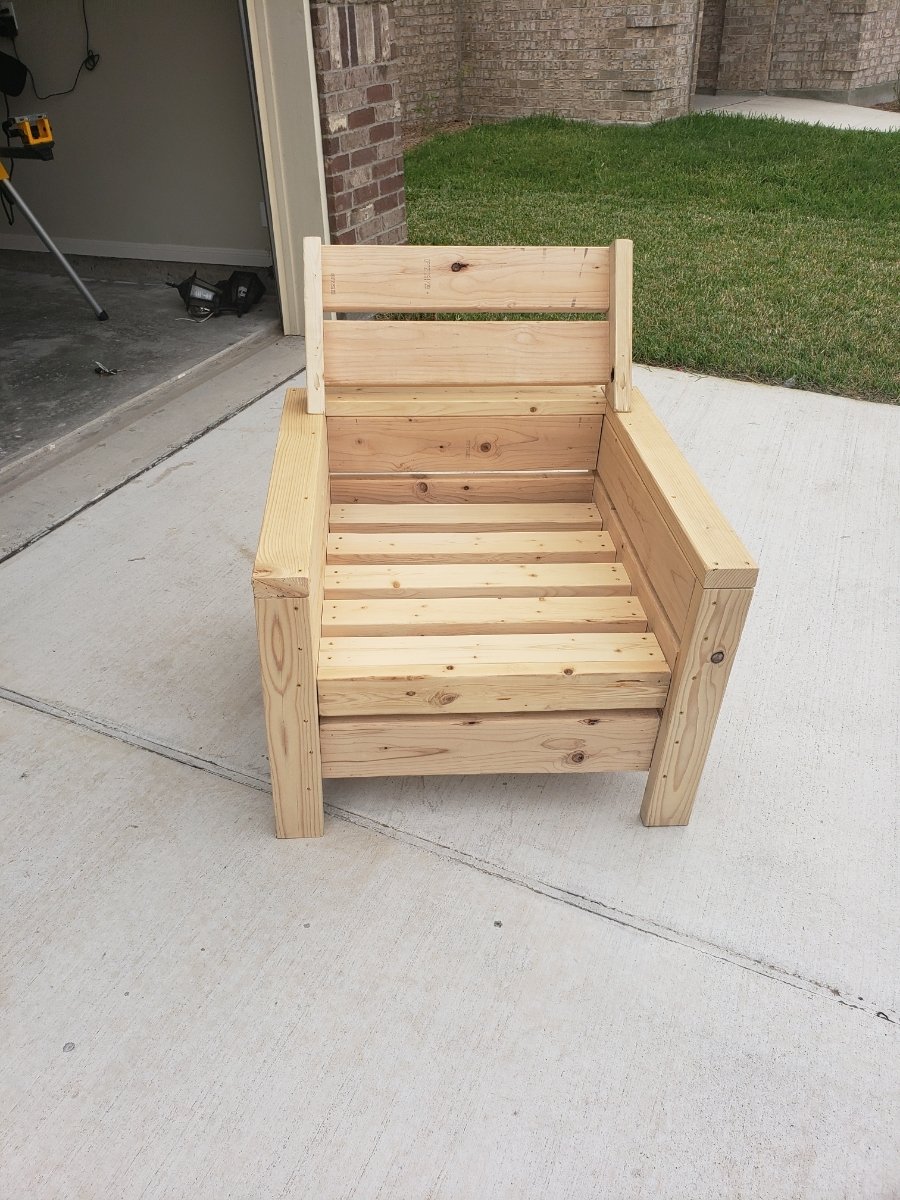
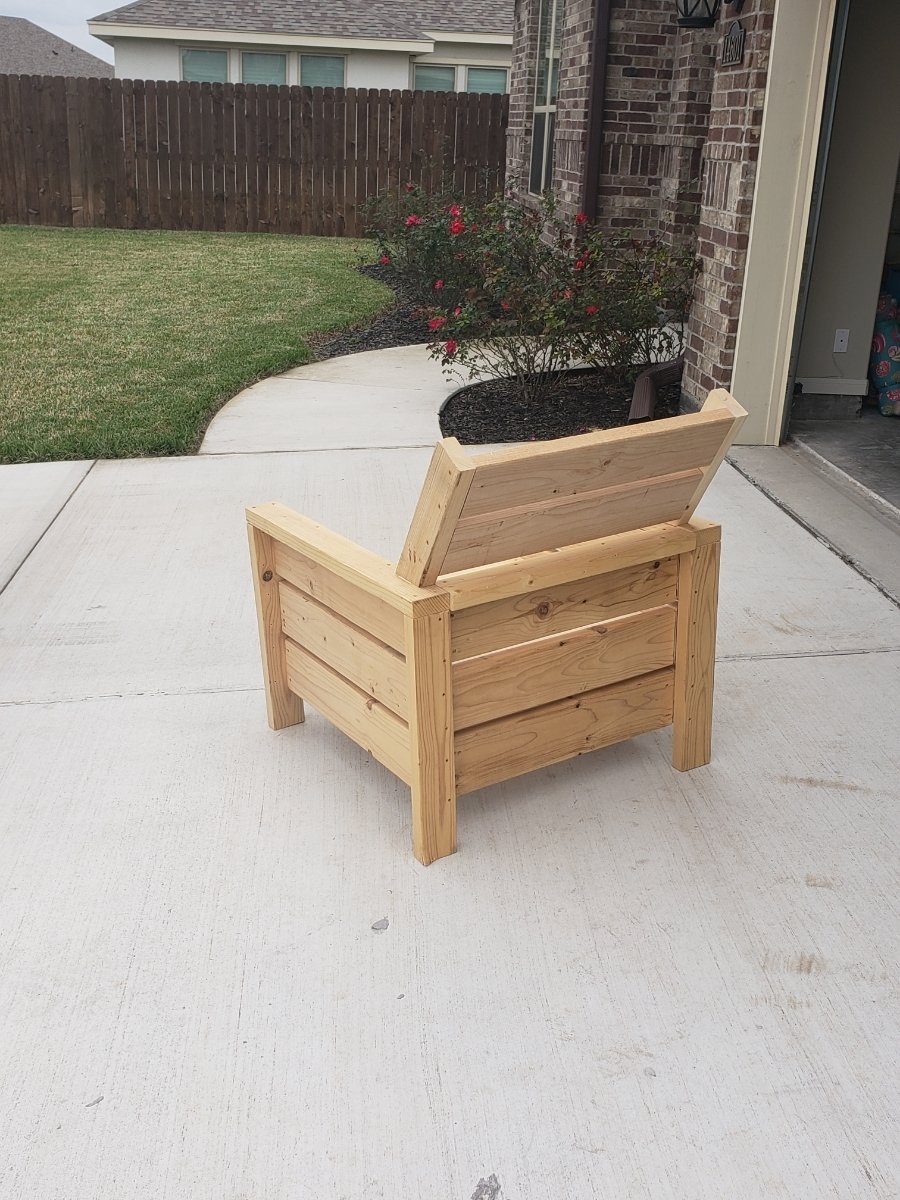
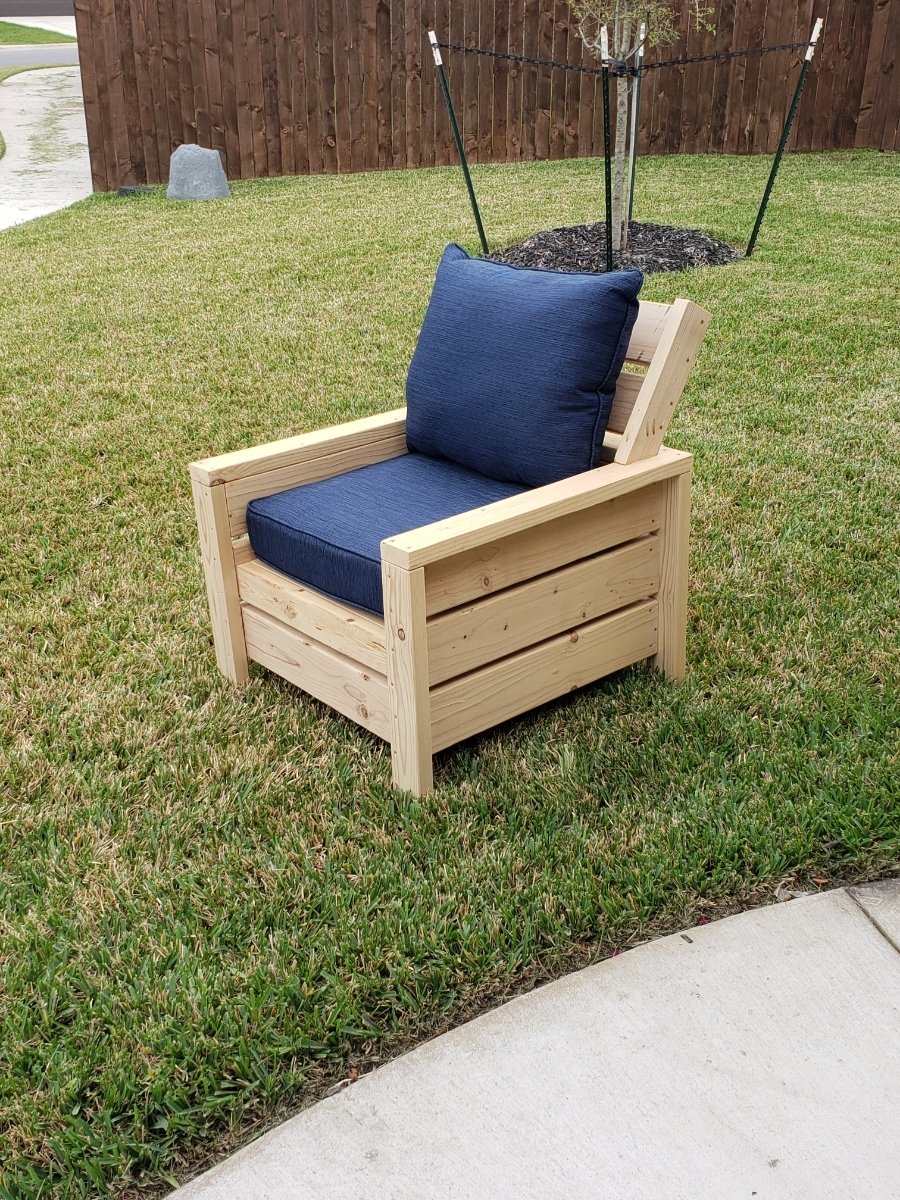
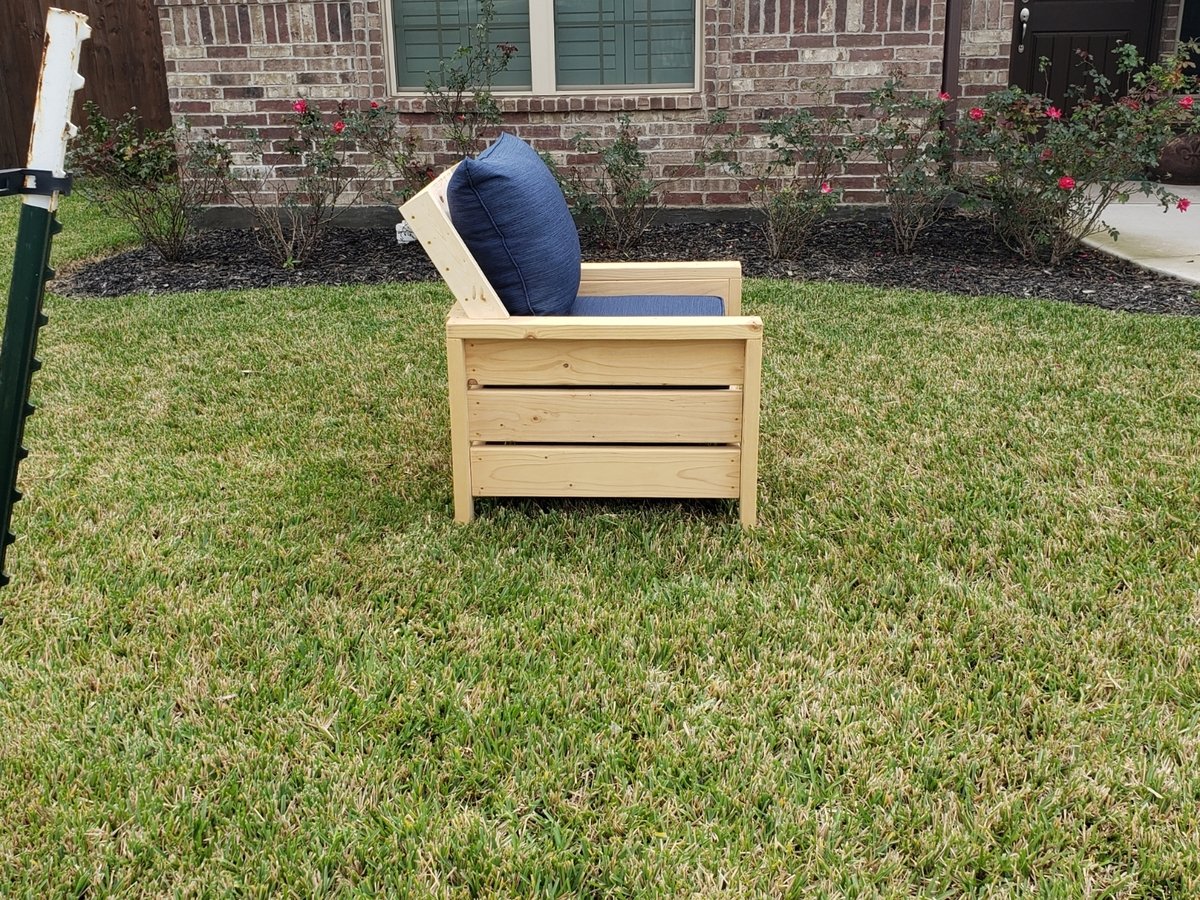
Modern outdoor 2x4 chair with modification

Submitted by Anonymous (not verified) on Fri, 03/08/2019 - 13:31

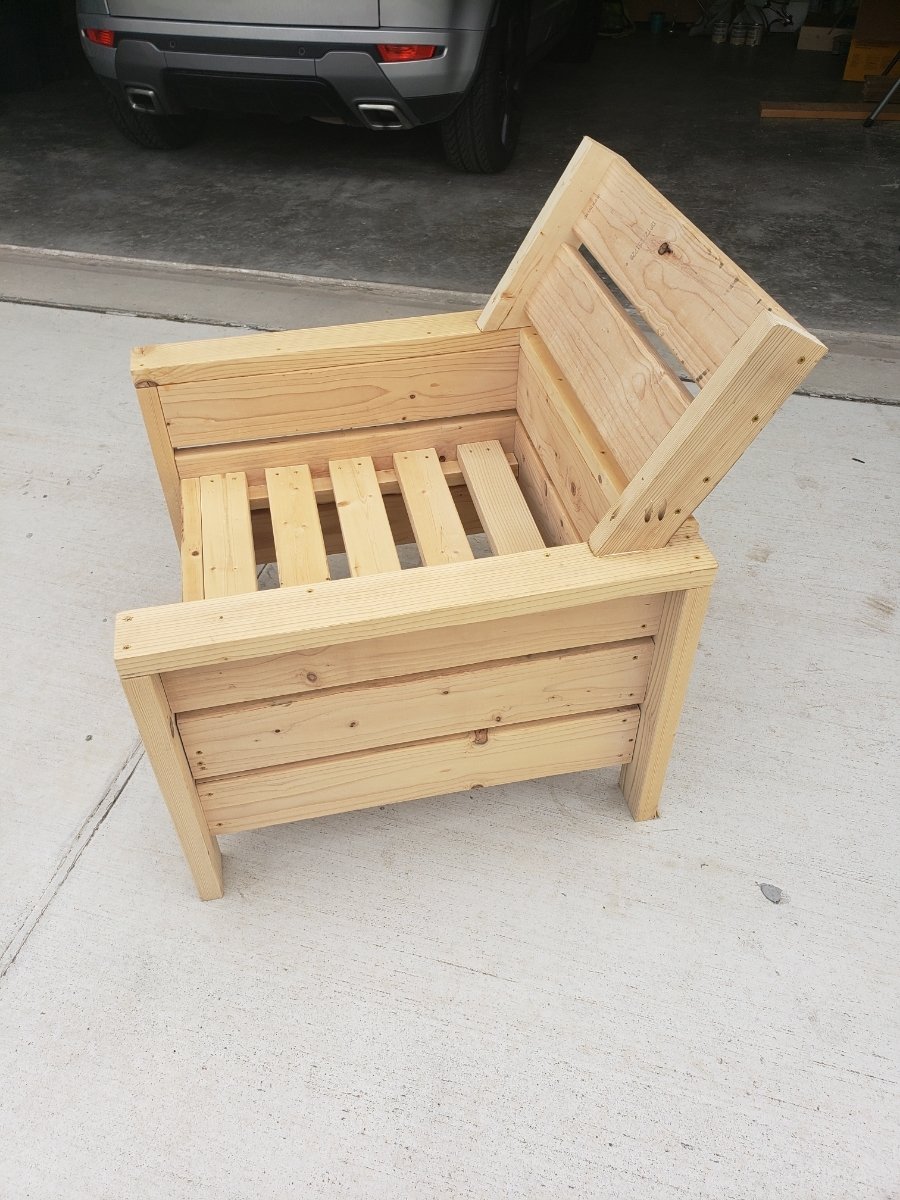
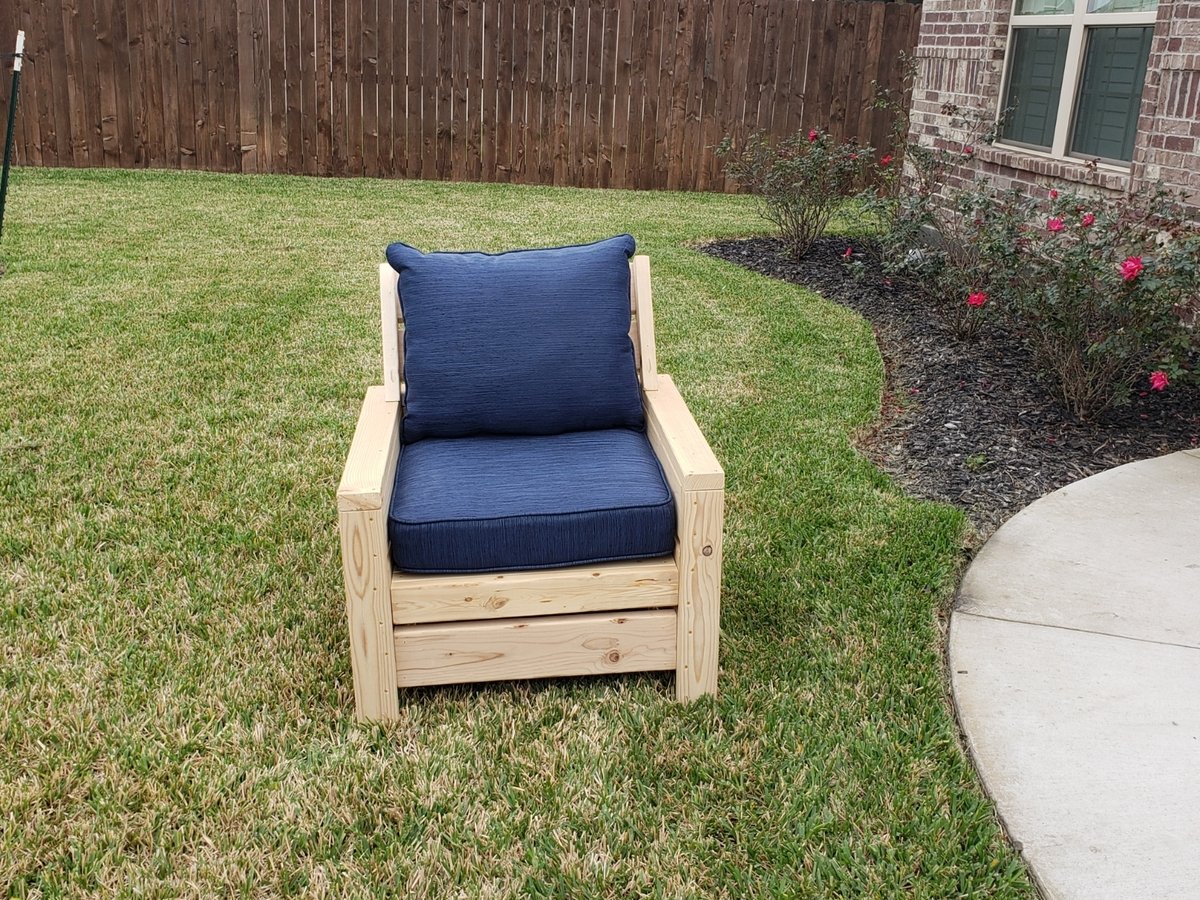
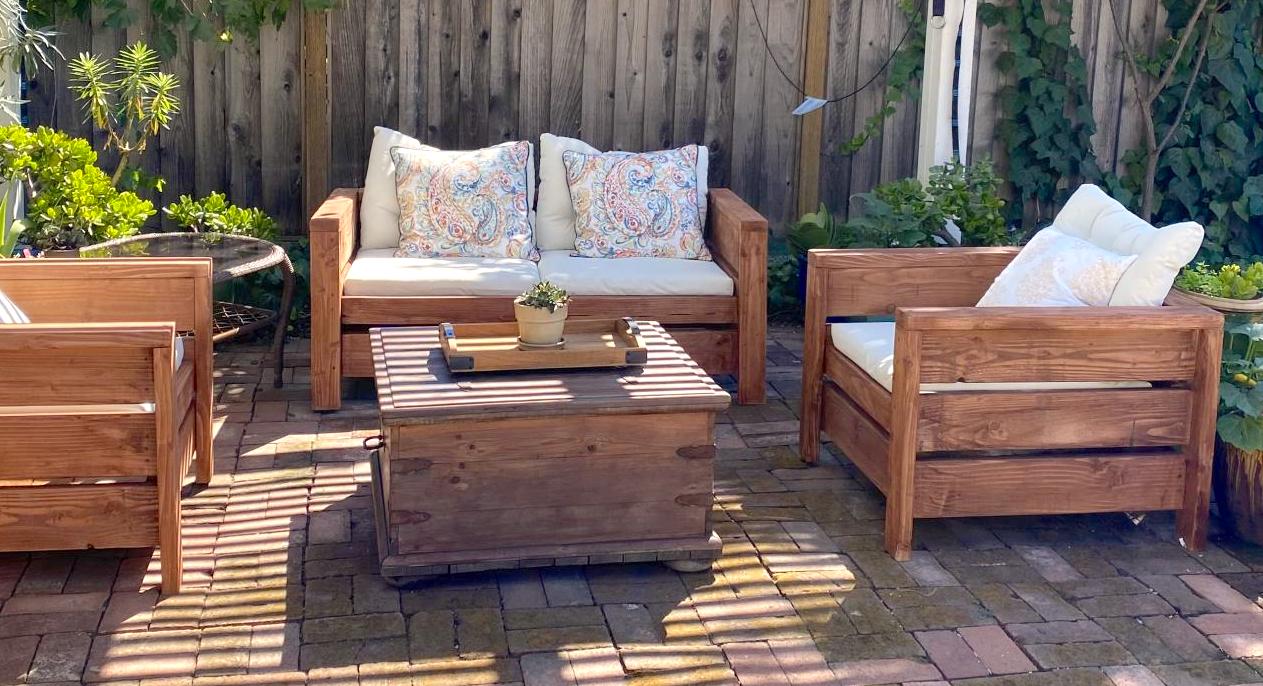
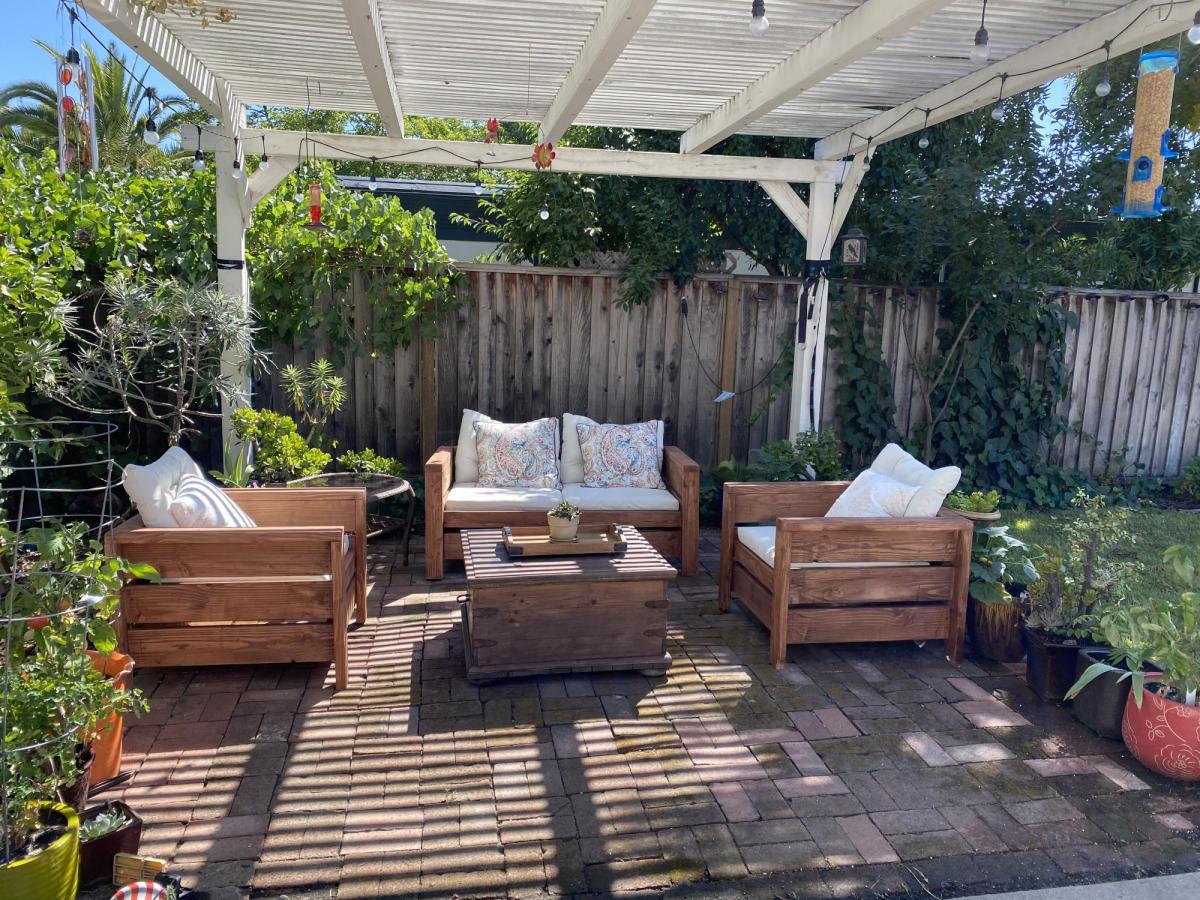
This chair was made off Ana white'smodern outdoor chair with modification to add back support. Without the back support the back pillow would keep falling off.  The cushion are 25x25 but very thick for comfort.

Estimated Time Investment
Afternoon Project (3-6 Hours)
Recommended Skill Level
Beginner

Comments

Brittsiana

Sun, 08/16/2020 - 10:03

Does anyone know what degree angle this is for the back support?
I would like to add it to my newly finished chairs I made over the weekend. The pillow keeps falling down.

Modern Adirondack Chairs

Submitted by 2RiversFP on Sat, 02/04/2023 - 18:35

I have wanted to make Adirondack chairs for some time and loved finding these plans. I use exclusively reclaimed or salvaged lumber for all my projects. The lumber for these came from a fire station being torn down to make way for a newer more modern one. These are now home on the patio of the new station. Love how you make plans that are easy to follow and headache free. Thank you!

Comments

Miter saw cart modified

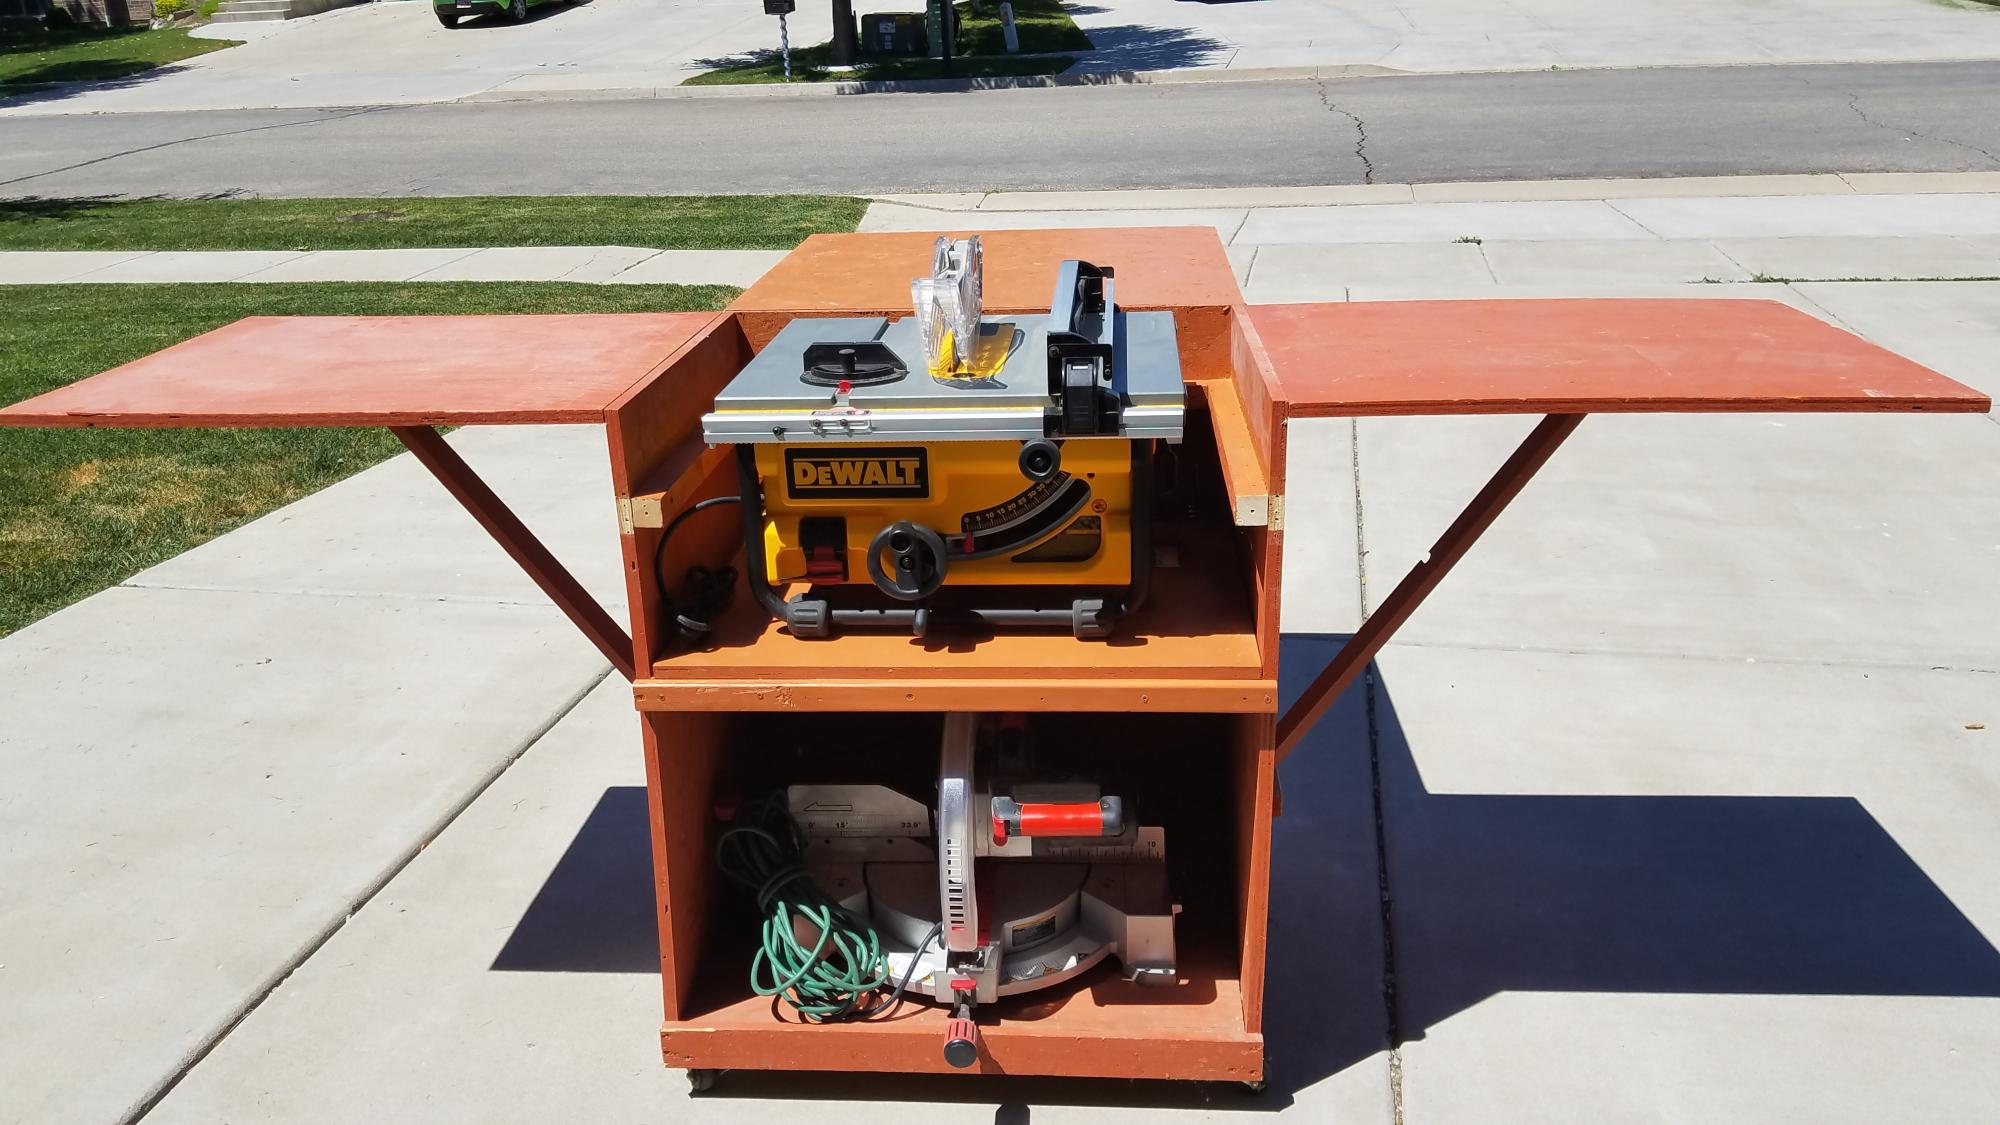
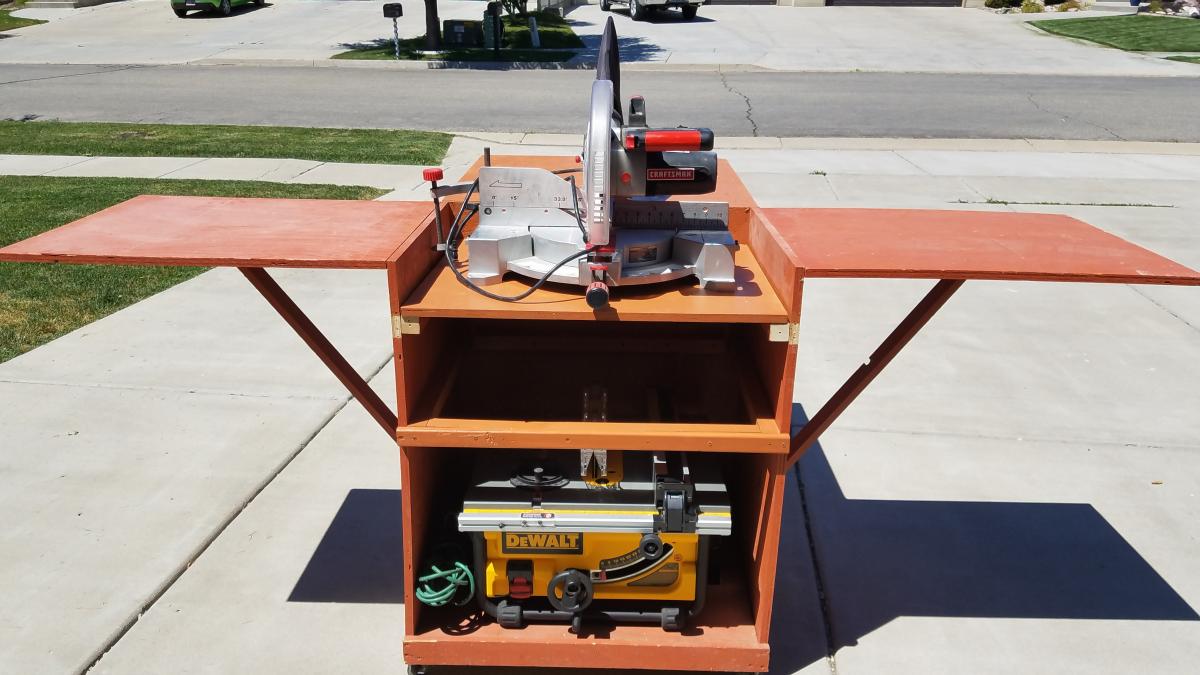
I have enjoyed my miter saw cart for years. My sweet hubby gifted me with a table saw but I was nervous to use it without support for large pieces of wood and needed better storage. So... I modified my cart by adding a back leaf and making the shelf adjustable with two sets of cleats for the height of both saws.

Built from Plan(s)
Estimated Time Investment
An Hour or Two (0-2 Hours)
Finish Used
Discounted paint from the oops cart at Home depot.
Recommended Skill Level
Beginner

Comments

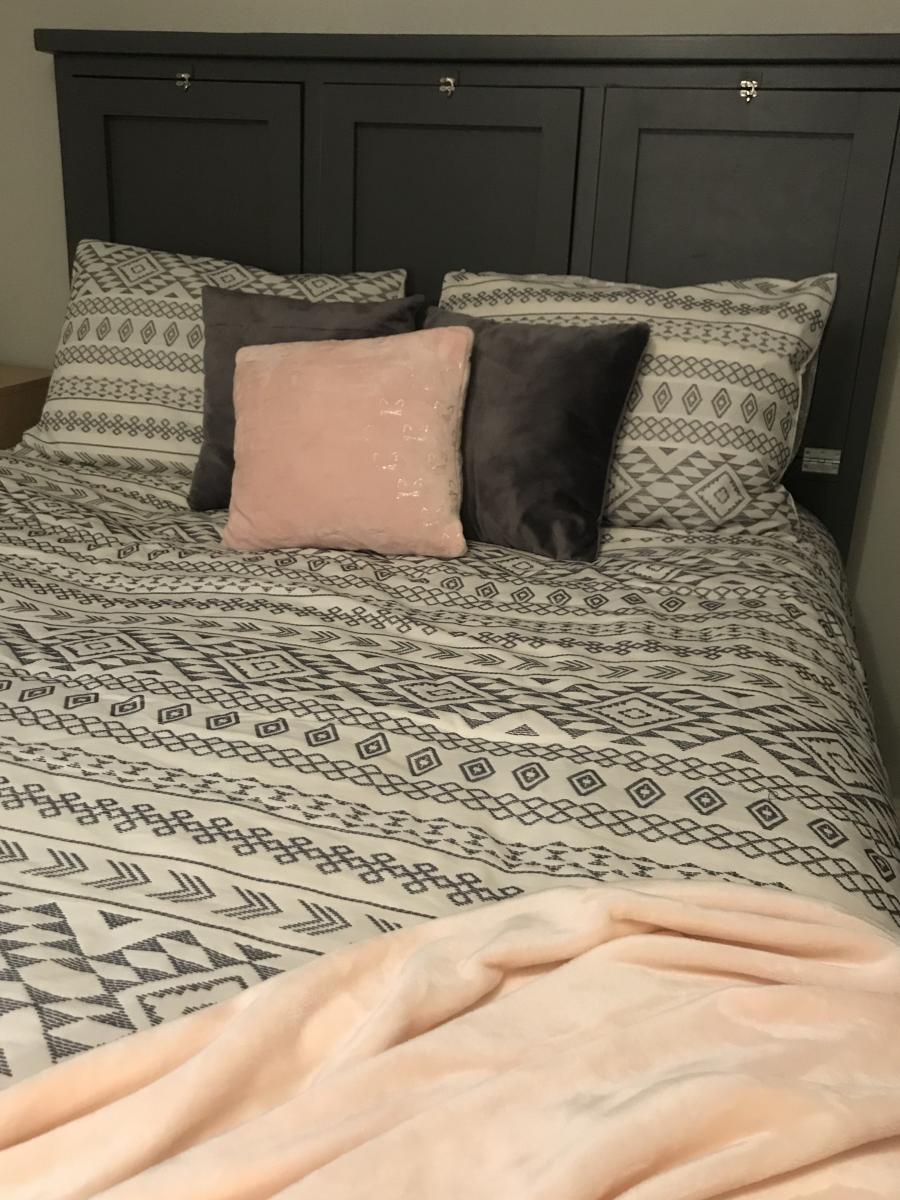
Headborad with Fold Down Tray Tables

Submitted by Anonymous (not verified) on Fri, 10/11/2019 - 11:09

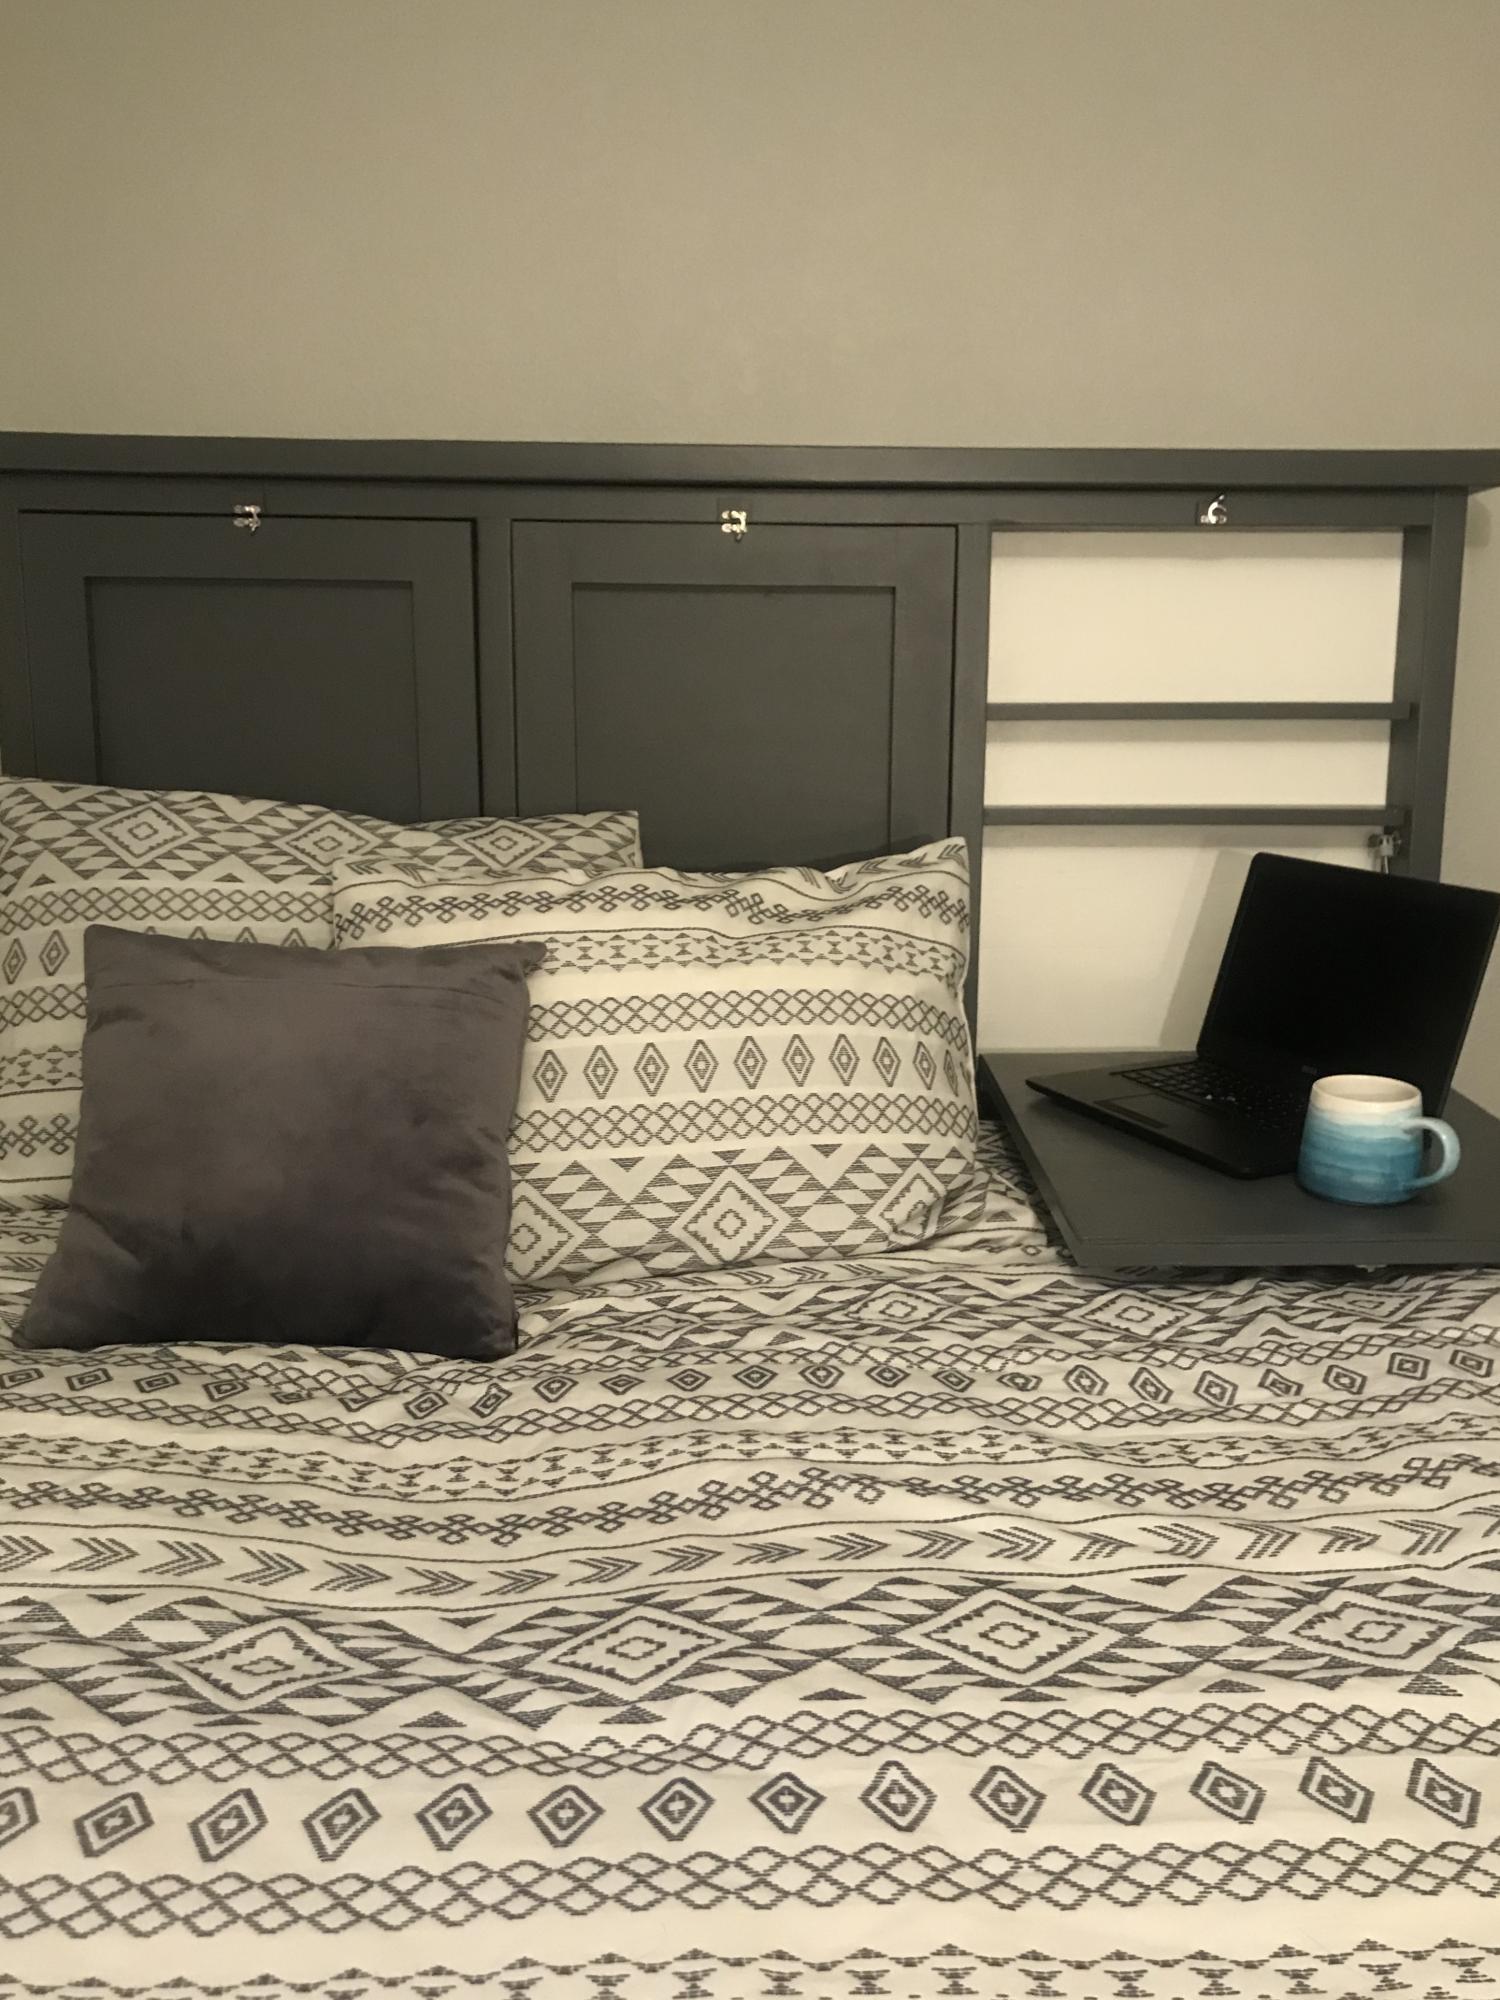
I first saw this headboard on Ana White's Instagram and loved the idea! I took a screen shot so I would remember it later. One day my daughter was flipping through the photos on my phone and saw this screen shot. We were about to move to a new house and she wanted me to make this headboard for her new room. She is 11 years old and loves to play games on her laptop with her friends so this was perfect for her. Within a month of moving into the new house I started to build this piece. It took me a couple weeks to finish since I have three kids and was also trying to unpack our entire house but I love the finished product! My daughter really loves it too!

Estimated Cost
$115
Estimated Time Investment
Weekend Project (10-20 Hours)
Finish Used
Painted with semi-gloss paint
Recommended Skill Level
Intermediate

Kentwood Bookshelf

Submitted by BeckySmith on Thu, 05/10/2012 - 05:11

This was one of my first bigger builds. I am so happy with the way it turned out!

Estimated Time Investment
Day Project (6-9 Hours)
Finish Used
Golden Oak. I applied the stain with a foam brush and wiped off excess after about five minutes.
Recommended Skill Level
Beginner

Comments

canadianlam

Thu, 05/19/2016 - 19:05

This bookcase wouldn't be out of place amongst the Pottery Barn's bookcases. In fact, it inspired me to go out this afternoon and buy some cedar boards so I can start building my own version first thing tomorrow. Thank you, Becky.

Rustic X Desk

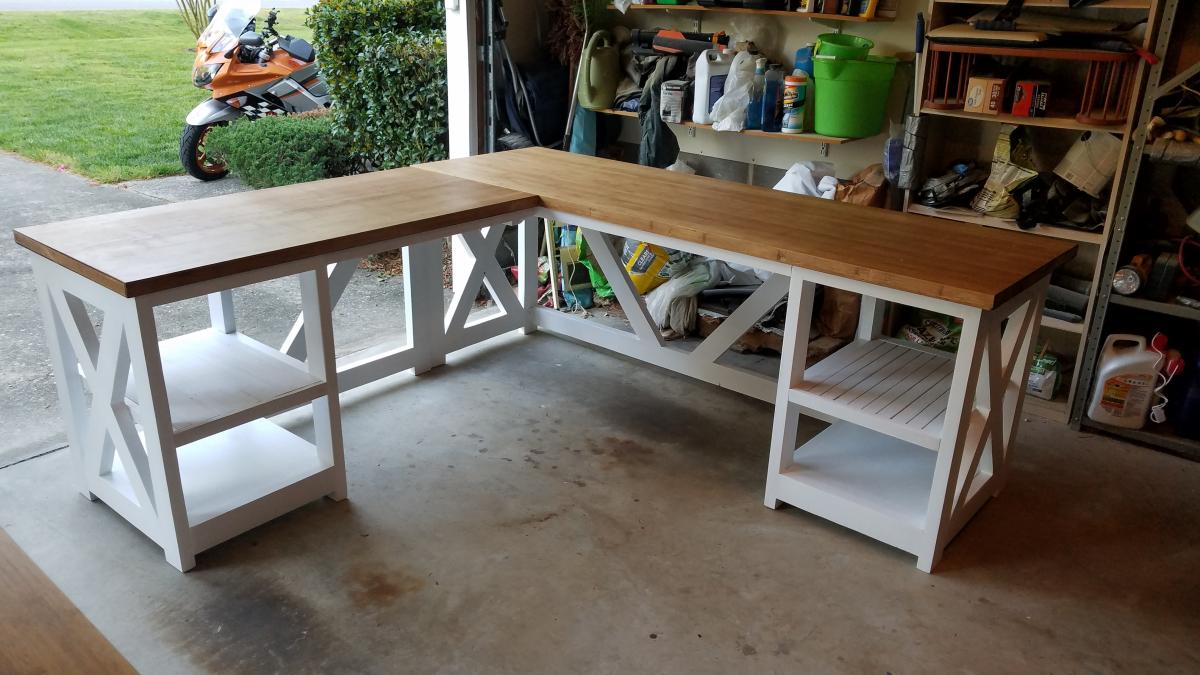
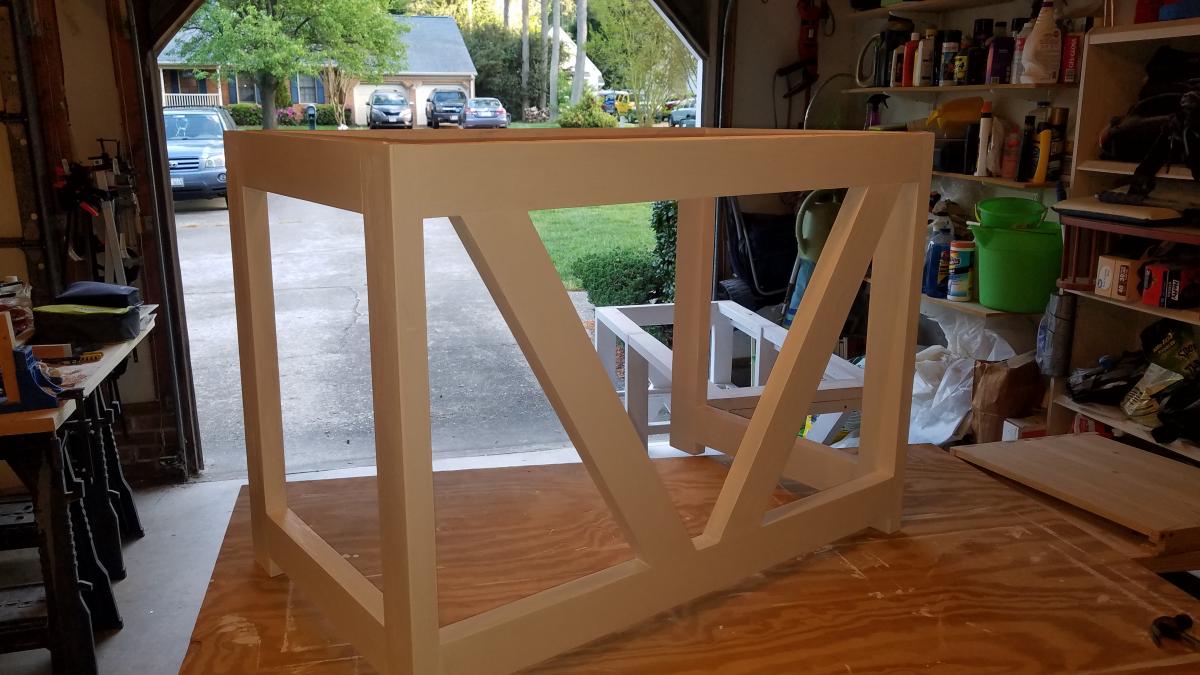
Submitted by bozarthm1 on Sun, 04/19/2020 - 07:57

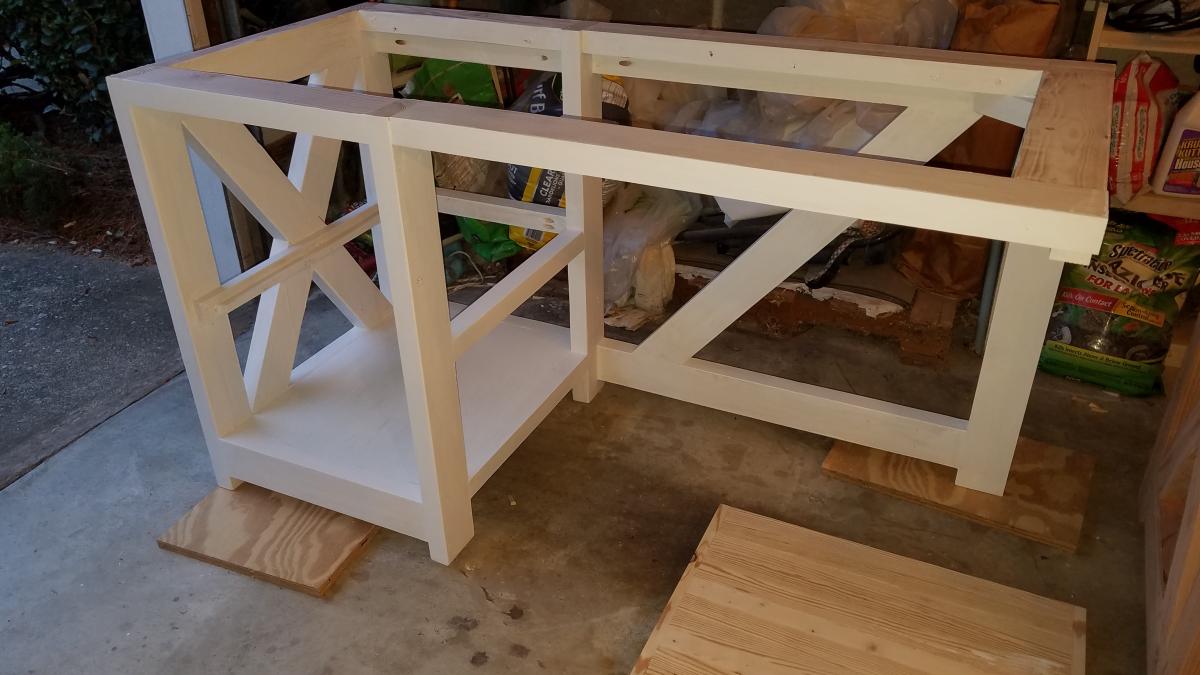
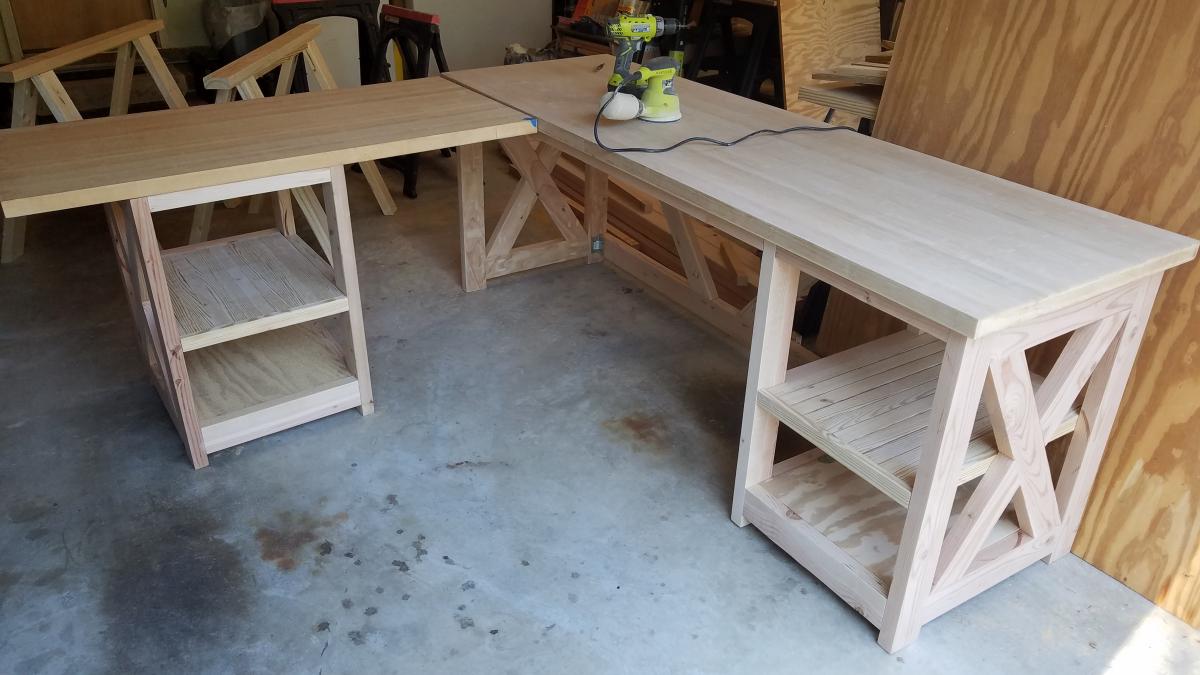
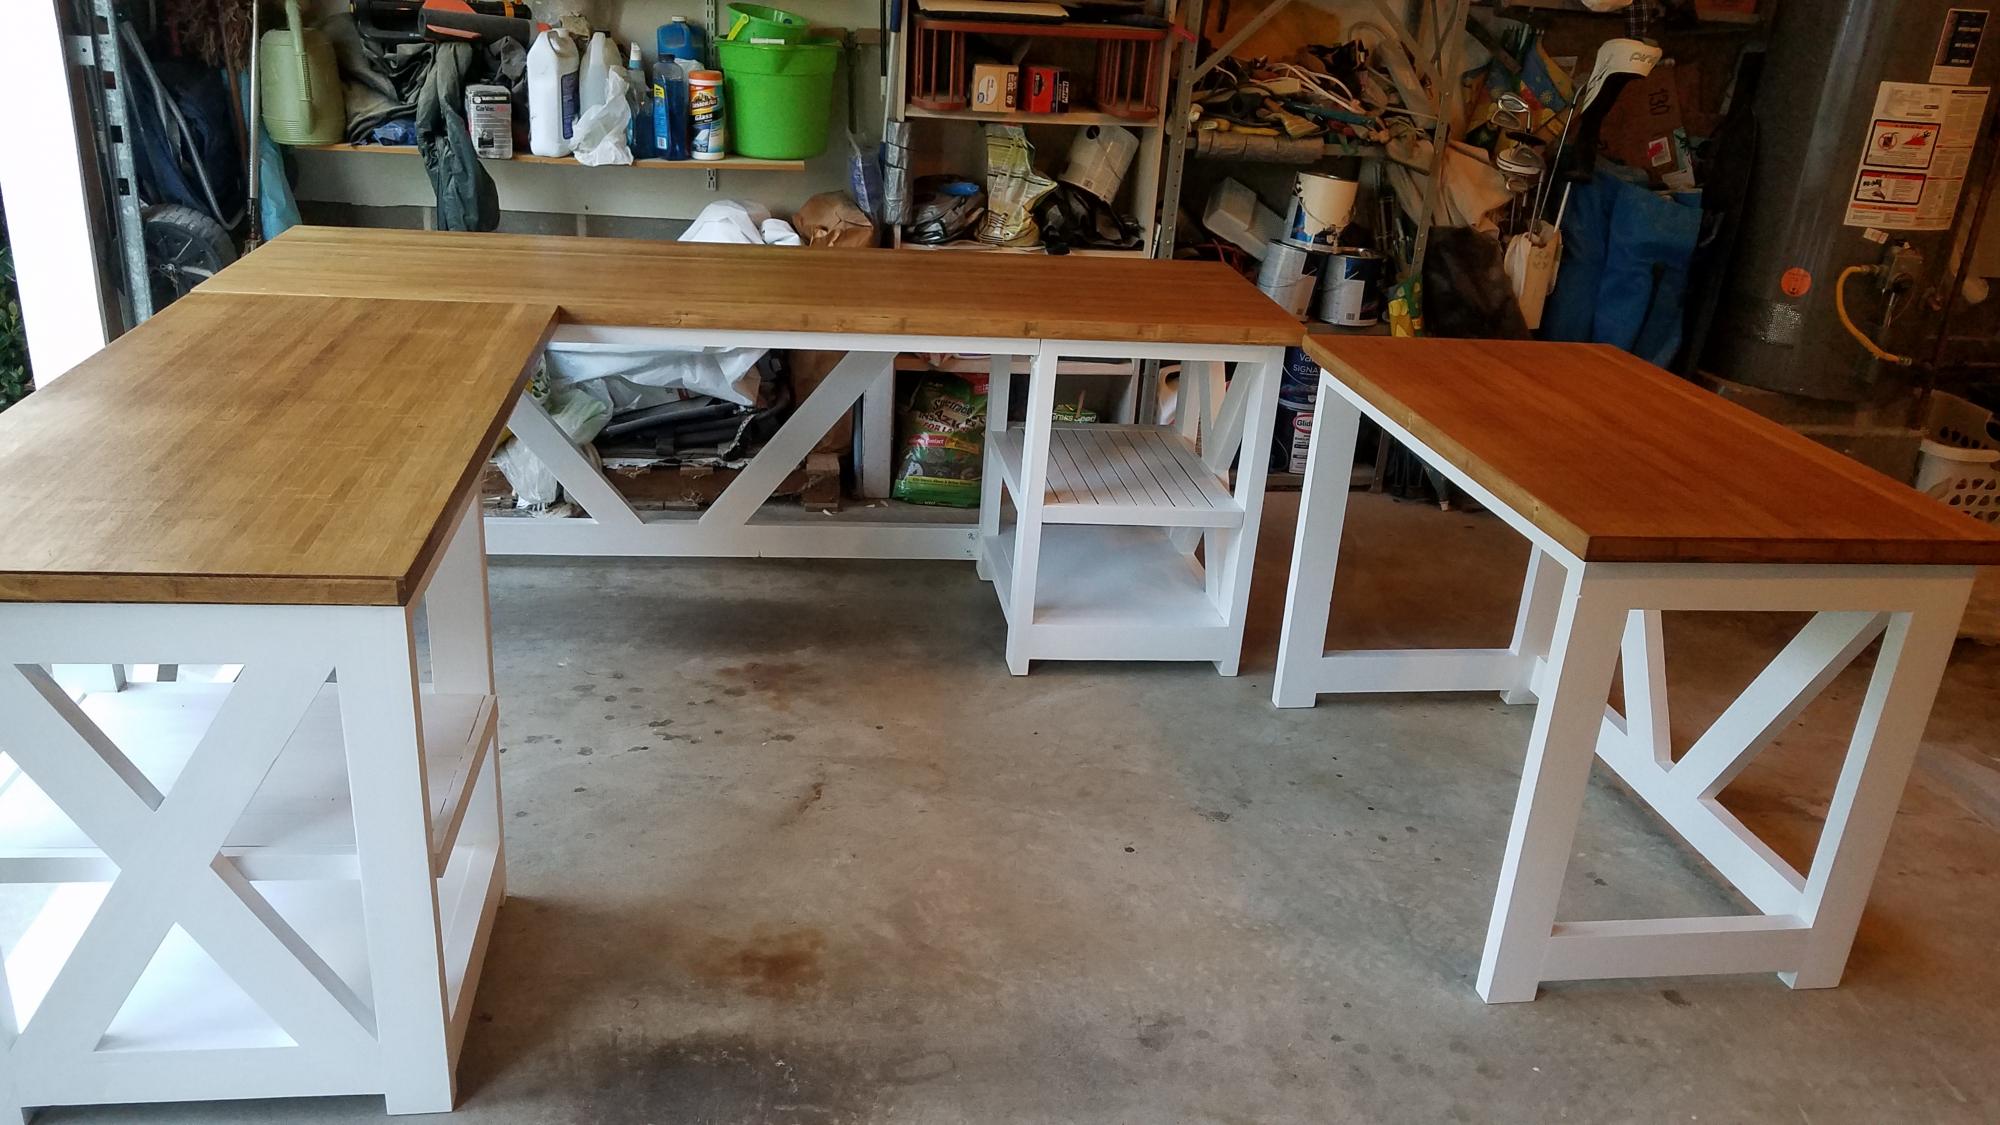
I built this L shape desk based on Ana White's rustic X desk plan. I would not have attempted this without her guidance. Love how this turned out, probably the nicest project I've ever done. Thanks Ana!

Built from Plan(s)
Estimated Time Investment
Week Long Project (20 Hours or More)
Finish Used
Tops are Watco Dark Walnut with wax finish, prime and paint the legs
Recommended Skill Level
Intermediate

Comments

mfromo

Tue, 05/26/2020 - 09:34

This is awesome! My son and I are looking to build an L shaped desk for him and this looks to be the one. Any thoughts on how I would mount a computer tray beneath? Think there is enough clearance below the 2x4 without hitting knees?
Thanks!

Little Kids picnic tables

Submitted by montero65 on Thu, 06/23/2016 - 09:42

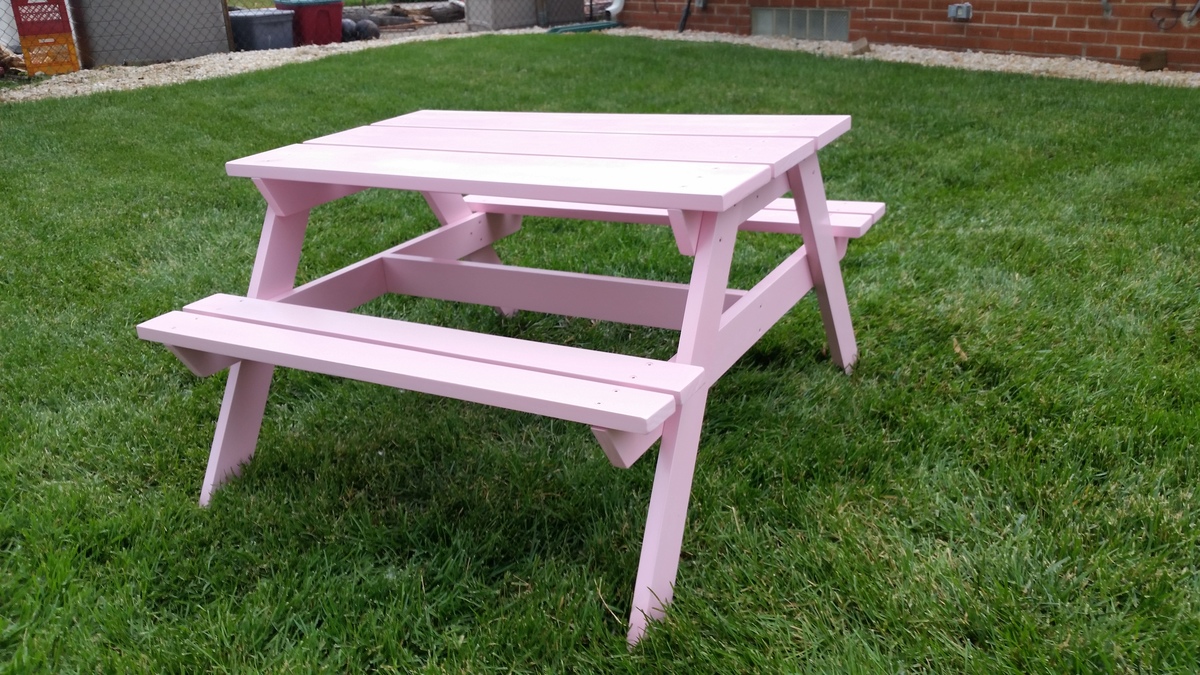
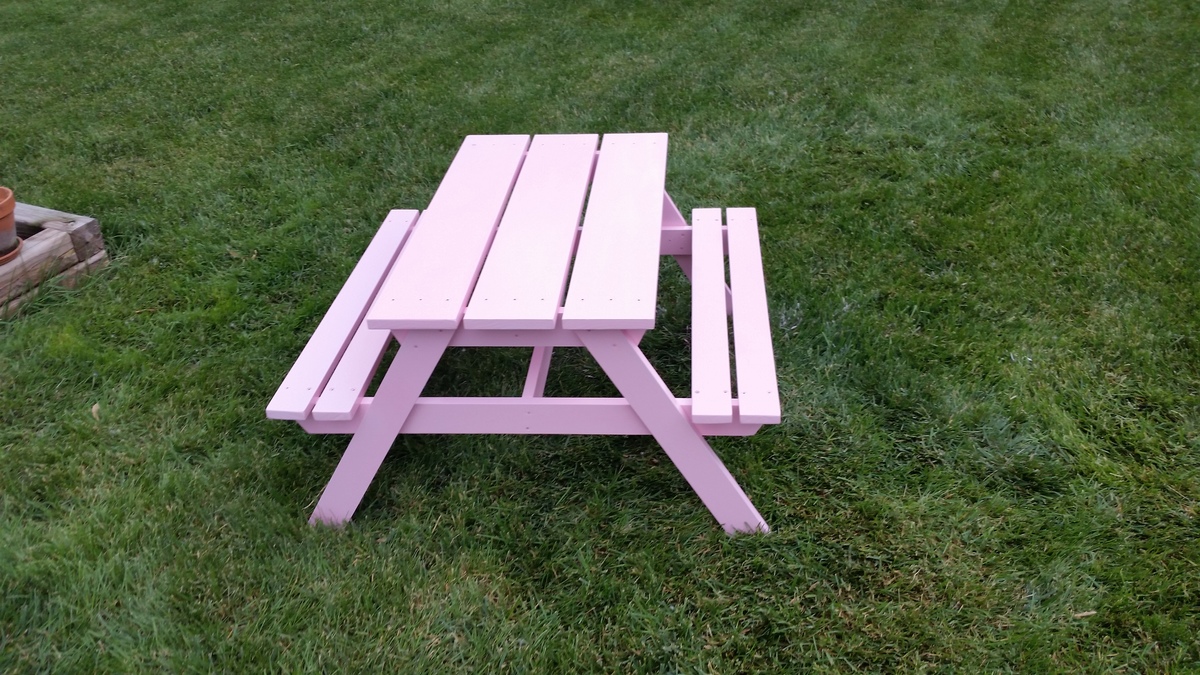
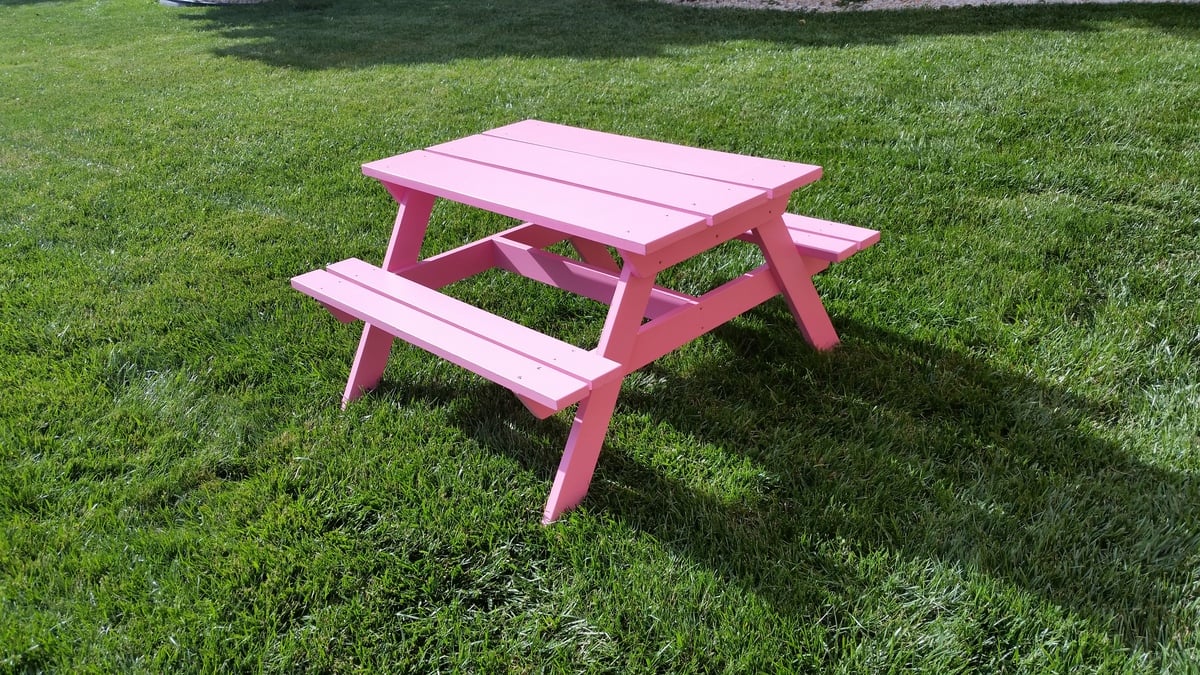
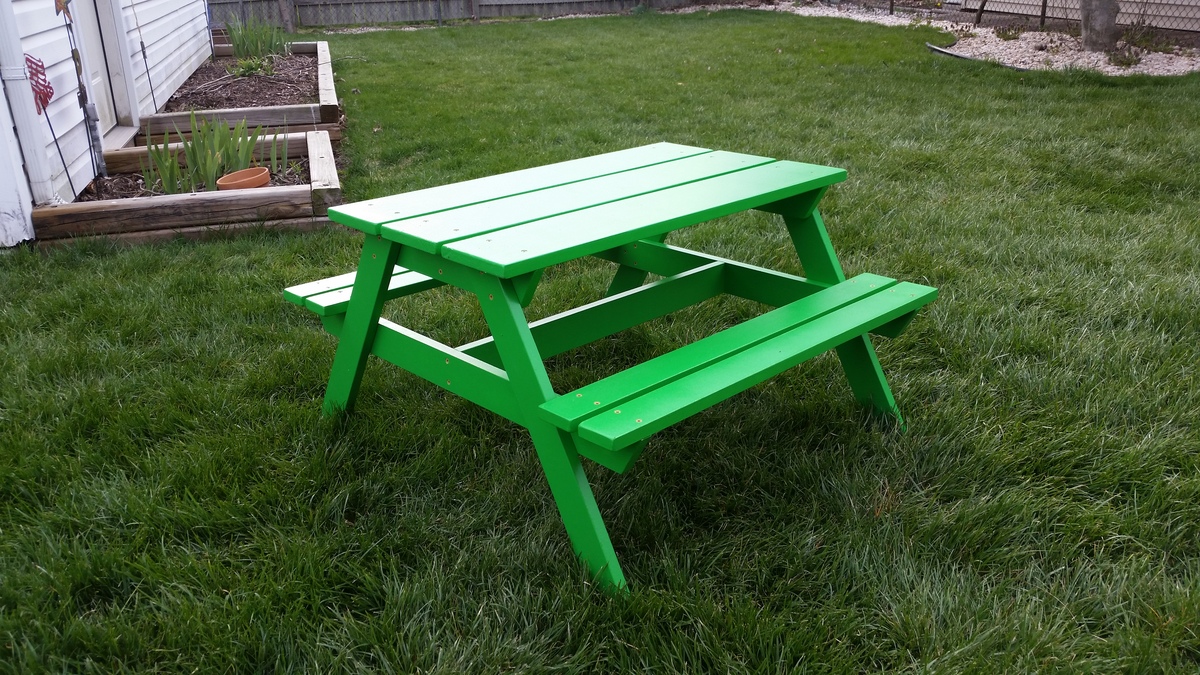
After discovering these plans, I was excited to build one of these tables.  But my little one was not big enough yet, so I've been building them for friends.  When their kids hit 2, I give them a table for their birthday.  All the kids (and parents) have loved them.  Photos showing tables #1, #2, and #4.  Built #5 and #6 this week.  If I can go back and add in a photo afterwards, I'll post table #6 in blue.  Next up, table #7 for my little one.  I might tweak it a little so I can add an umbrella, too.  Thanks for the great plans Ana!

Built from Plan(s)
Estimated Cost
About $40-50 in materials, as I'm using the "select" pine from the store. Their non-select stuff is usually kind of junk, but it means the tables come out nicer.
Estimated Time Investment
Day Project (6-9 Hours)
Finish Used
Break down the table, sand all the pieces, then prime with Kilz, and finish with exterior high-gloss paint
Recommended Skill Level
Beginner

Flower Planters

Submitted by mags247 on Sun, 06/10/2012 - 08:07

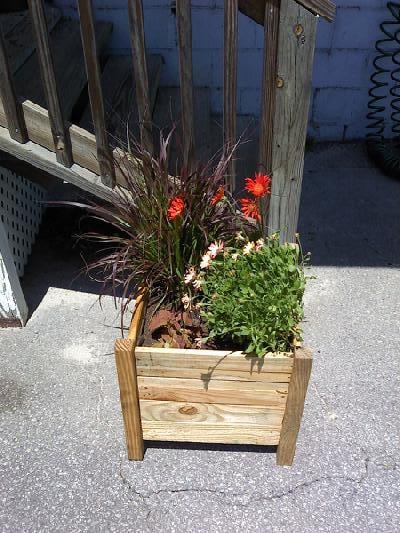
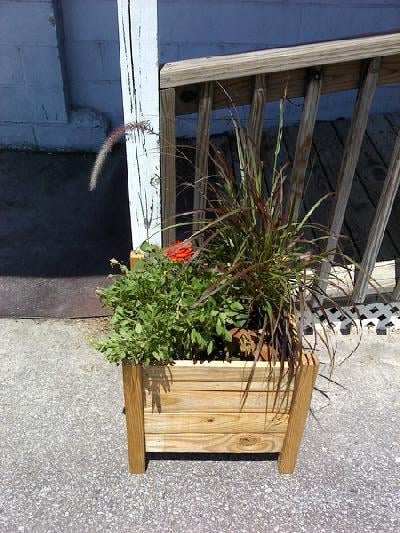
My co-worker and I built these planters from pallets that we had lying around at work. The only expense we had was the Kreg Jig I purchased (and love). It took us about 5 hours to put them together, including the time it took to cut the lumber to size. Then we used Thompson's water seal and stapled commercial grade landscaping cloth inside the planter. We made them for work and hope they will just naturally age. This was an easy project and we will definitely make more of these.

We had leftover screws, landscaping fabric and water seal from other projects.

Built from Plan(s)
Estimated Cost
$0
Estimated Time Investment
Afternoon Project (3-6 Hours)
Finish Used
We just used Thompson's water seal to let the wood age naturally.
Recommended Skill Level
Starter Project

Modern Sectional Sofa

Submitted by reinkense on Fri, 05/30/2014 - 17:22

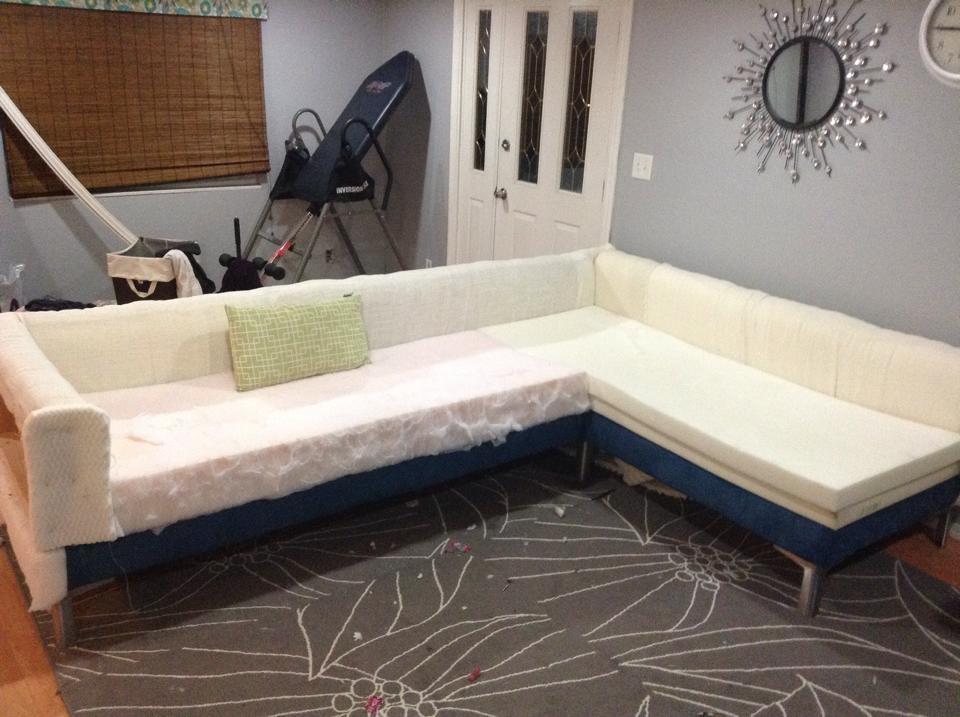
I looked all around my town for a sofa that meet my needs. I wanted something with tall legs, modern lines and fit my living room. I did not have $3,000 to buy one online so I said to myself why not???


Estimated Cost
$400
Estimated Time Investment
Week Long Project (20 Hours or More)
Recommended Skill Level
Intermediate

Comments

reinkense

Sat, 05/31/2014 - 15:58

Thank you! I am really proud of it. I was thinking of putting together some plans.

Samigdal

Fri, 12/25/2015 - 17:48

Are there step-by-step instructions for building this posted anywhere?

walthoca

Fri, 01/06/2017 - 11:06

I am so impressed. We recently spent a small fortune on a sectional, but yours looks equally beautiful. You are incredibly talented! 

Great plans!

Submitted by Anonymous (not verified) on Mon, 07/06/2020 - 07:34

These plans were great. Easy to put together and they look quite amazing. And they are solid! Bought cushions from IKEA and the wood from Home Depot. Stained and sealed.

Estimated Cost
250
Estimated Time Investment
Day Project (6-9 Hours)
Finish Used
Behr stain and seal
Recommended Skill Level
Beginner

Comments

Essential Laundry Room Organization

Submitted by Anonymous (not verified) on Fri, 05/17/2024 - 08:46

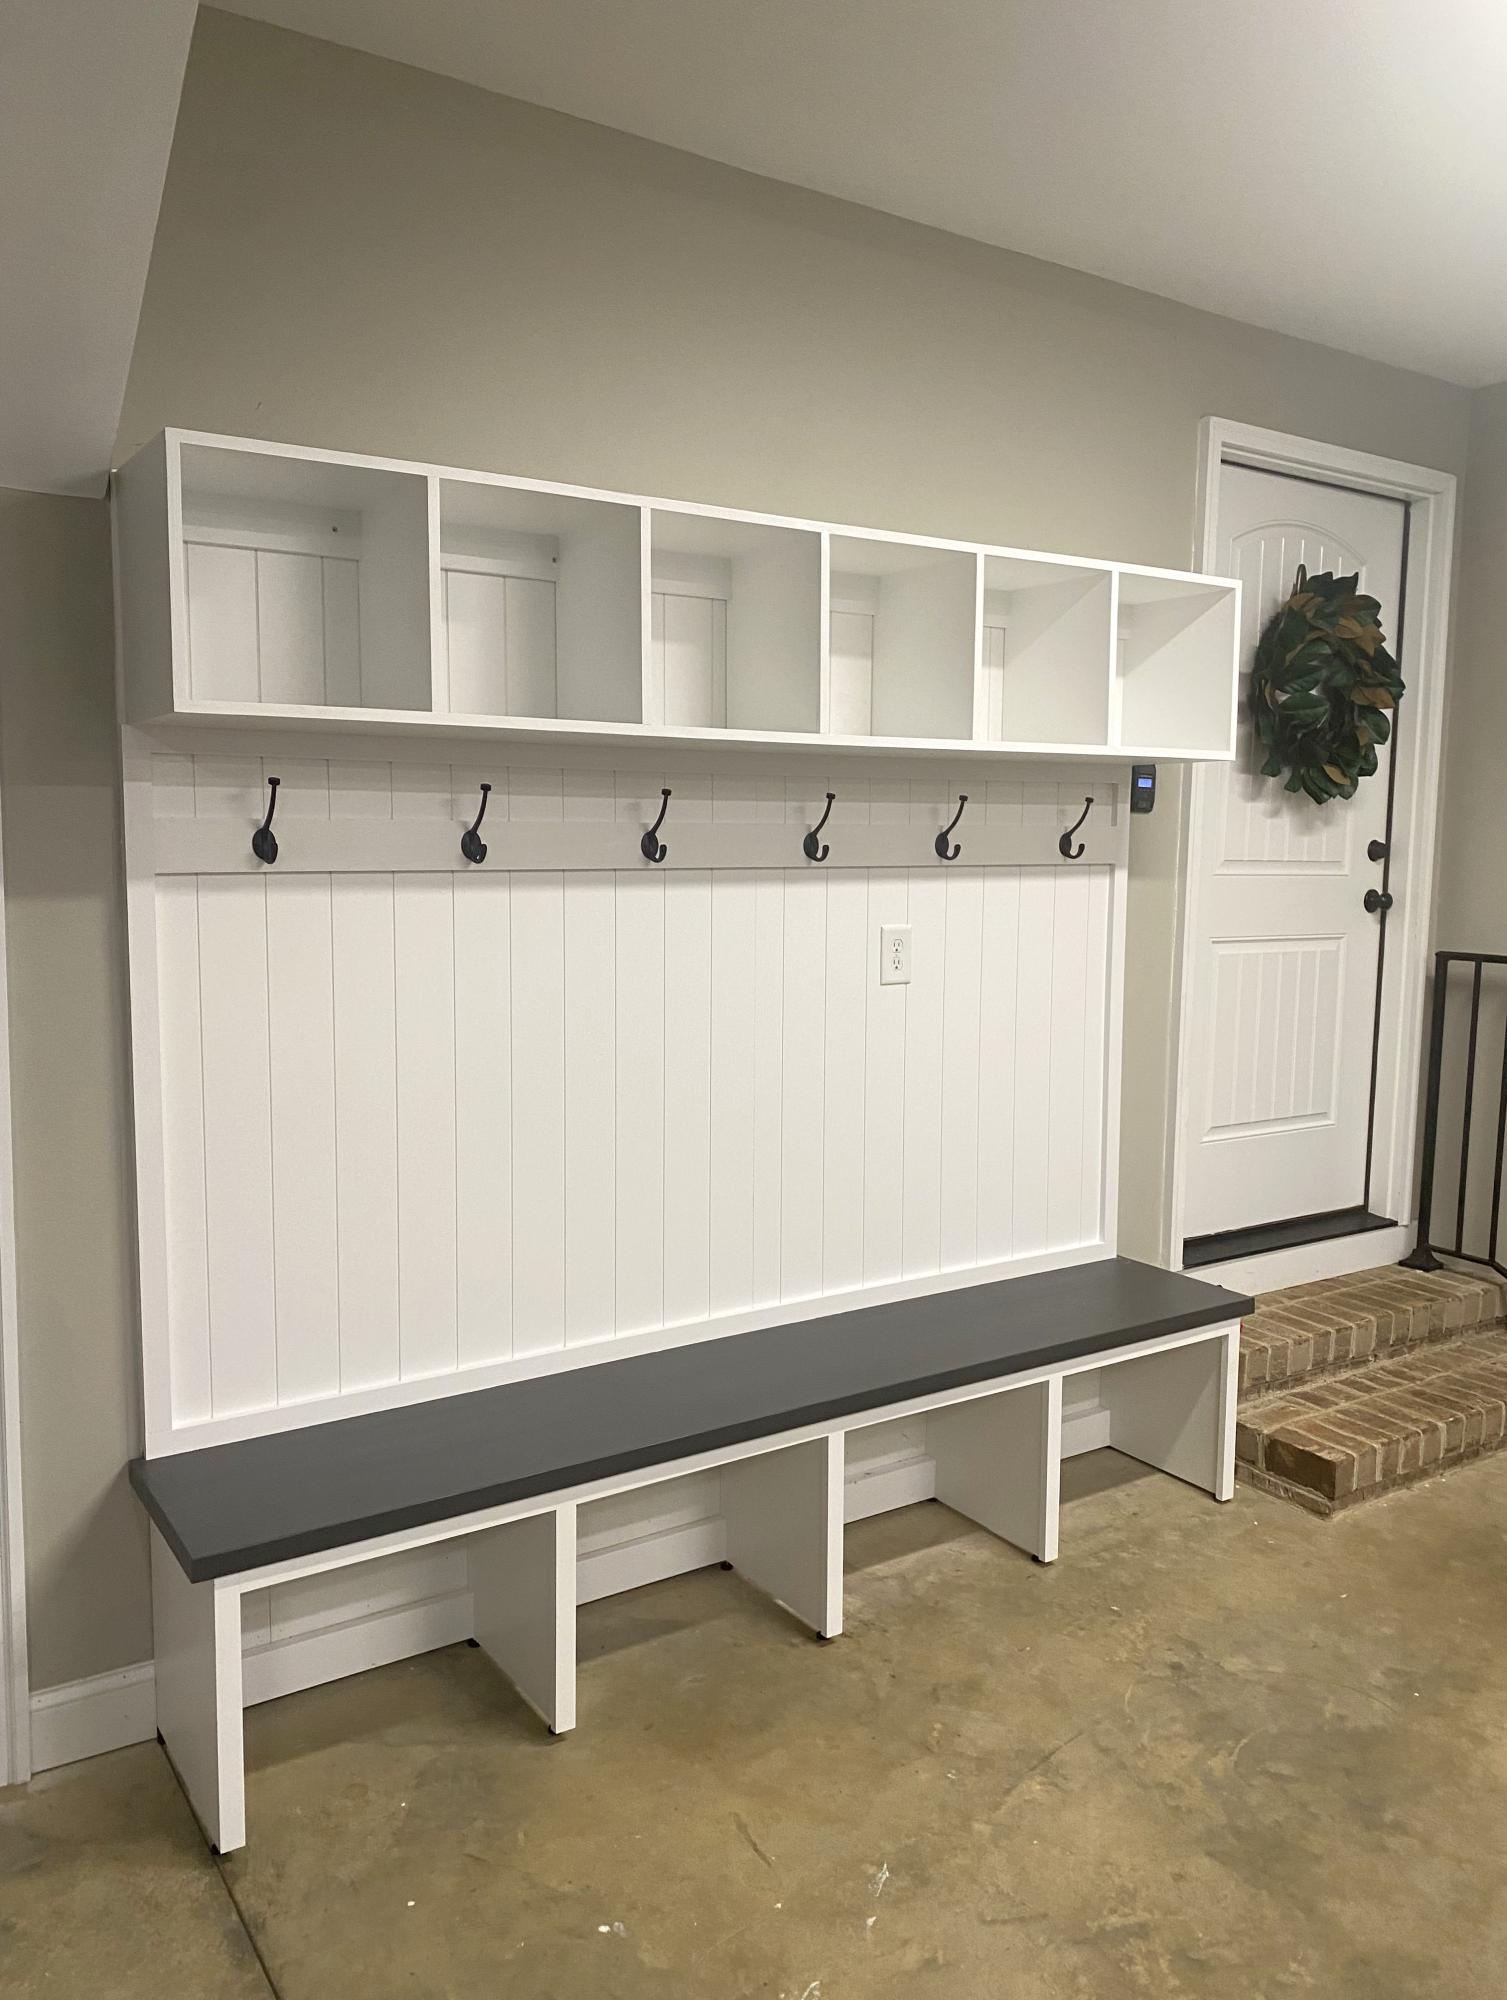
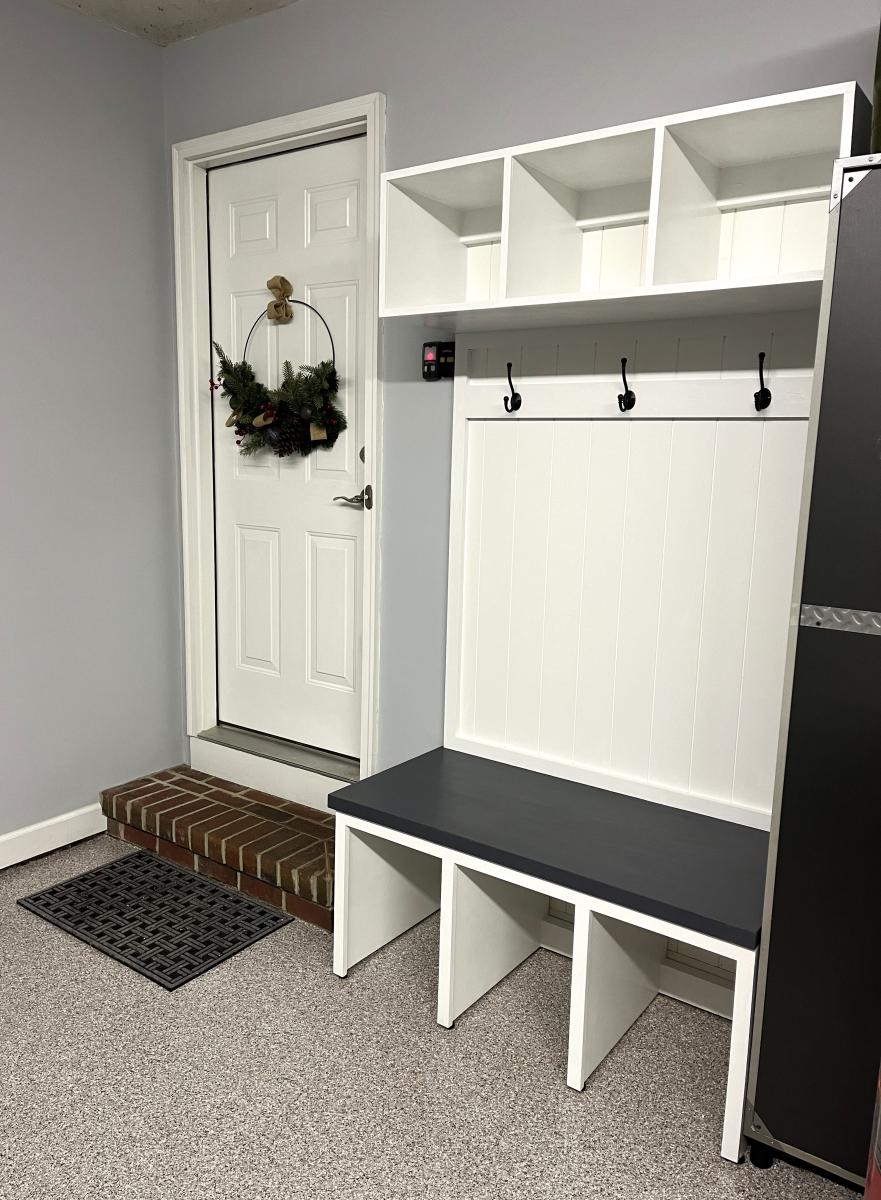
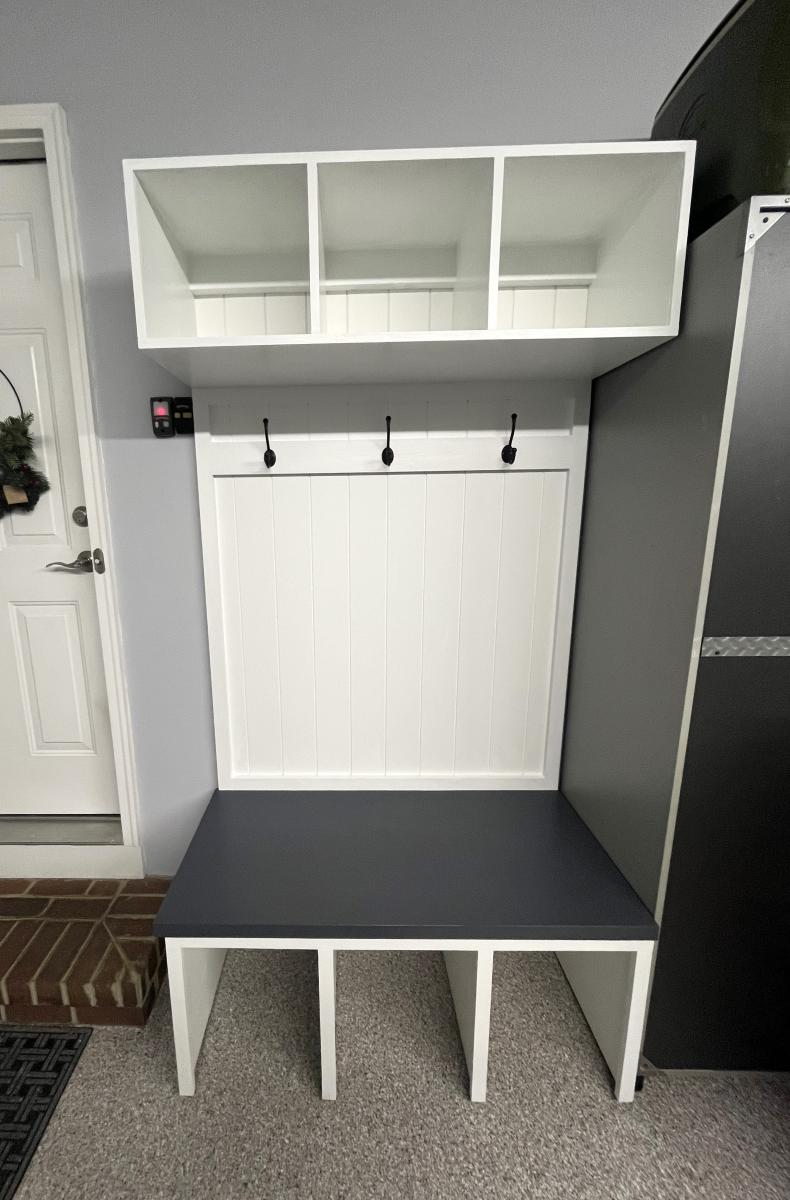
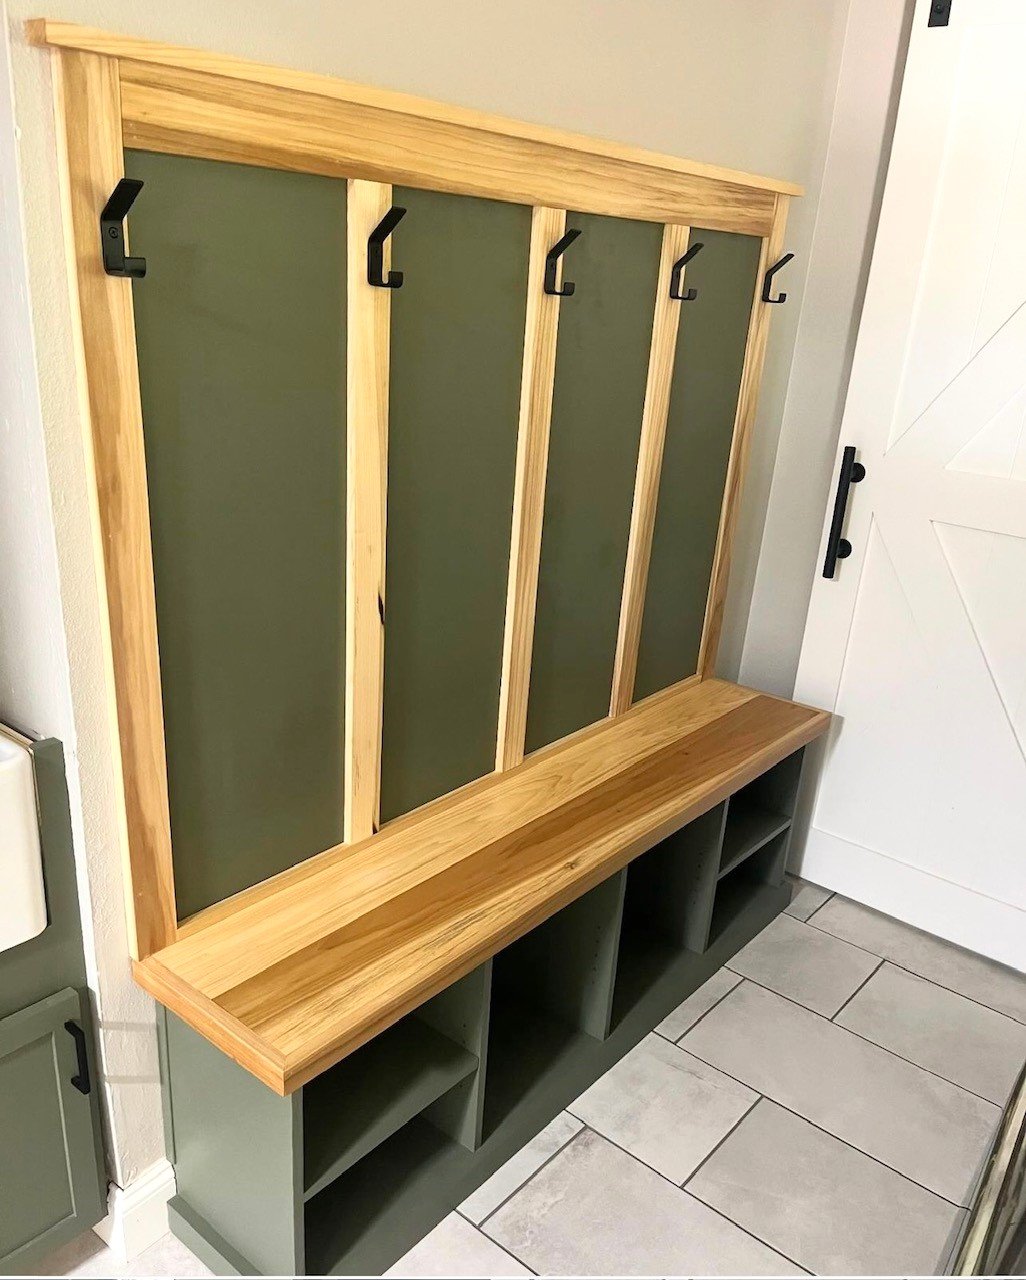
We built this bench using Ana's Entryway Bench Plans. We modified it by adding adjustable shelves for additional shoe storage. We added the back with hooks for coats and backpacks. We’ve made this small space feel so much bigger by adding storage and utilizing the space that is in the room. We can’t wait to finish this project.

Built from Plan(s)
Back