Community Brag Posts

Custom Dog Bath

Submitted by dananicb on Thu, 07/22/2021 - 07:21

Tego needed a raised dog bath. No, I needed a raised dog bath. Specifically, my knees needed a raised dog bath for Tego. So, after looking at Pinterest and Ana's plans, I decided what I really wanted to do was customize something to fit my needs (and knees) and build it myself. Overly ambitious for a first-time woodworking project, but hey, raise the bar.

I started by reading and rereading Ana's beginner's woodworking guide (very informative). I also learned so many other things along the way. There's a reason, besides looks, you need flat boards (they need to screw together tightly). Unfinished basement floors are so not level (especially near the walls). Screw lengths matter (need shorter ones for thinner boards). The big-box store doesn't make precise cuts (but they can make a lot). Planning for the finishes will save you time (know your basket sizes). Just to name a few.

It's going in an unfinished basement, so I wasn't going to tile and add glass doors. I wanted to keep it relatively simple, basic.

The stairs were the hardest to measure and build (math matters) - and I might re-do. I made the steps smaller, dog-sized, but she finds them awkward. I'd stick with typical riser heights, but it depends on the size of your dog.

Plumbing to link the tub drain to the utility sink drain was the most expensive. Probably I could have done it myself, but I decided not to learn both plumbing and woodworking for one project.

Overall, I'm pleased with the result - and Tego is learning to love it.
Estimated Cost
$250 in supplies (plus plumbing)
Estimated Time Investment
Week Long Project (20 Hours or More)
Finish Used
Exterior paint in semi gloss
Recommended Skill Level
Beginner

Comments

Fireman's Dog Bed

Submitted by FireWolf13 on Sat, 07/06/2013 - 12:06

I needed a heavy duty dog bed for my puppy after he destroyed two regular dog beds. I used 4x4s, 2x4s and fire hose. He has not been able to destroy this one and he loves it.

Recommended Skill Level
Beginner

Comments

SoCaliforniaMel

Mon, 07/08/2013 - 15:48

I have a pit bull. Shes the sweetest thing but loves to chew up her own beds. She wont chew the shihtzus bed or the cats beds just her own. I'd like to see her try this one out.
;) Now if I could figure out a way to get my dad to give up one of his fire hoses. hehe
Great job, great idea
~Melody

dr2112

Sun, 02/01/2015 - 10:41

How would I go about getting a copy of the plans for this?

Amazing 2x4 Outdoor Sofa

Submitted by Anonymous (not verified) on Fri, 12/31/2021 - 05:44

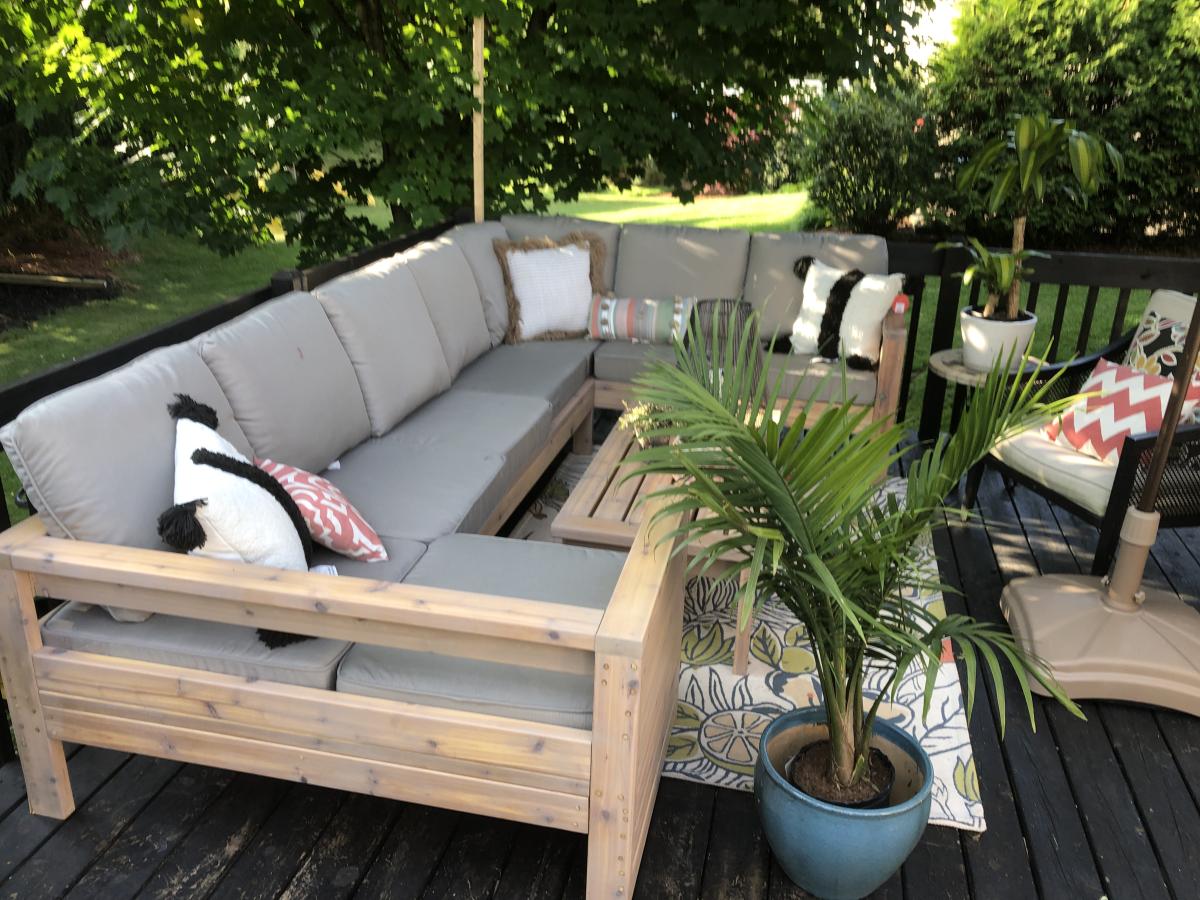
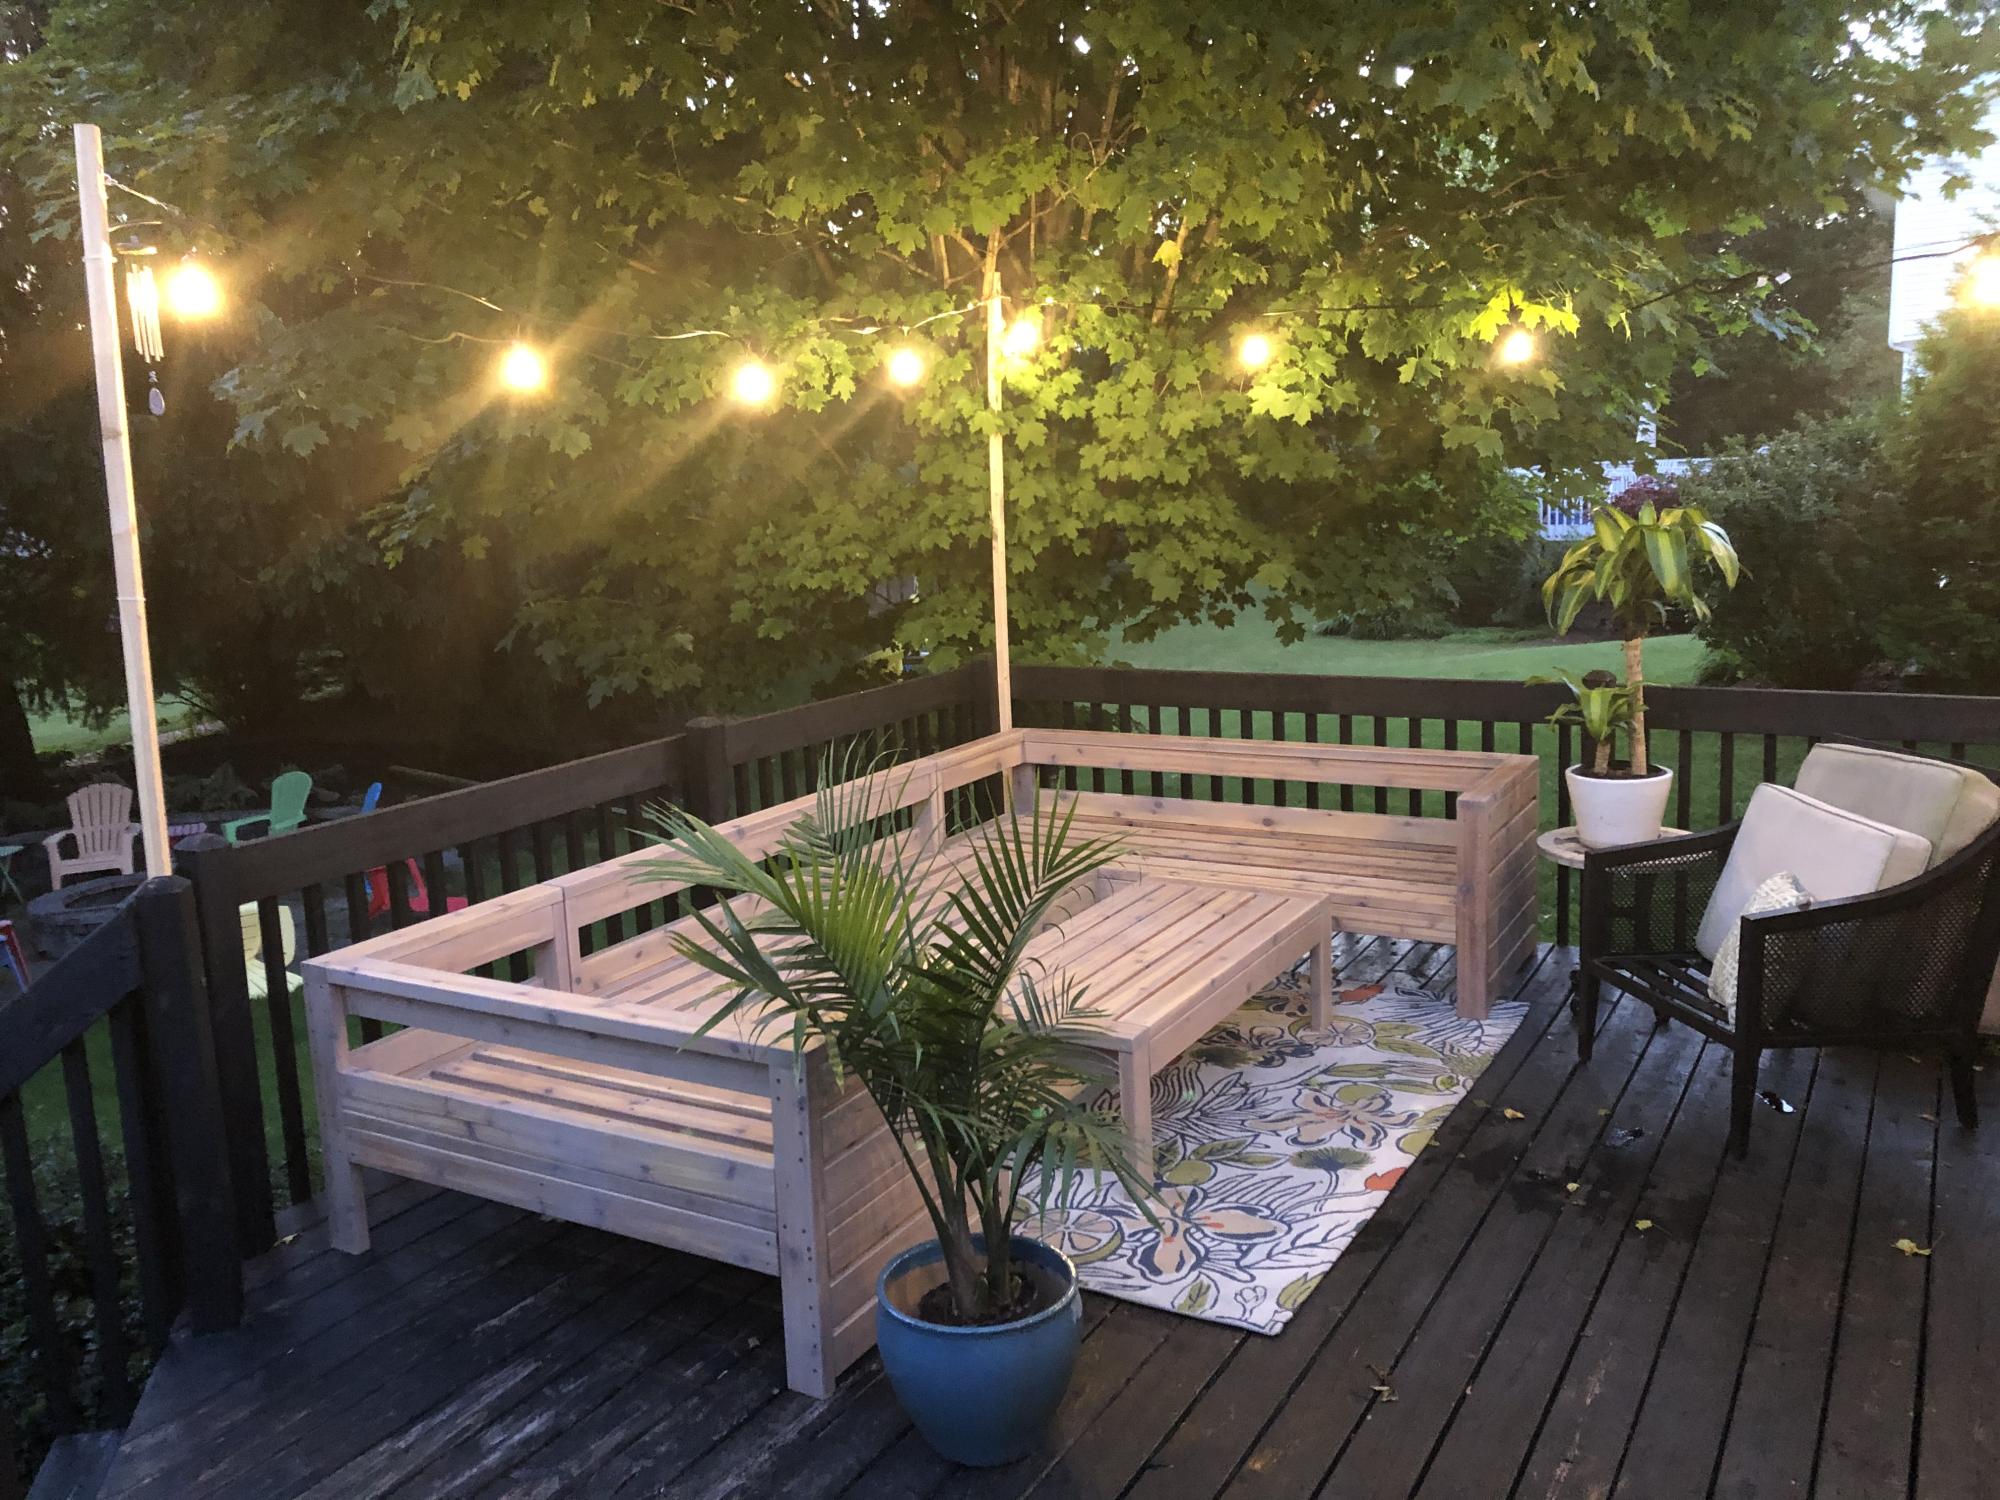
We have wanted nice deck furniture since we moved into our house 22 years ago but just couldn’t justify the cost. I have made several projects from Ana’s website and I love her easy to follow and FREE plans! But this project was my favorite as you can see by the pics. I used cedar and my wife finished the furniture with stain. Thanks to Ana for providing these plans and helping a DIYer to feel proud!

Built from Plan(s)

Comments

Seasonal And Holiday

First Build - Redwood Adirondack Chairs

Love the results of my first building project.....a pair of redwood adirondack chairs. Angled cuts were a great way for a beginner to learn to use the miter saw.

Estimated Cost
$75 for redwood per chair
Estimated Time Investment
Weekend Project (10-20 Hours)
Finish Used
Discovered a non-toxic, non-flammable, water-based, environmentally friendly product called Seal-Once. Quick and easy two coat application in natural clear to protect wood outdoors for up to 10 years. Soaked right into redwood without leaving a shiny finish or residue.
Recommended Skill Level
Beginner

Comments

JoanneS

Sat, 09/07/2013 - 19:59

Love these gorgeous redwood chairs! The color and grain on that wood is awesome, and the clear coat is perfect for it. You did a great job on this build! I popped over to your blog and I enjoyed your post on this build very much. Well done!

Seasonal And Holiday

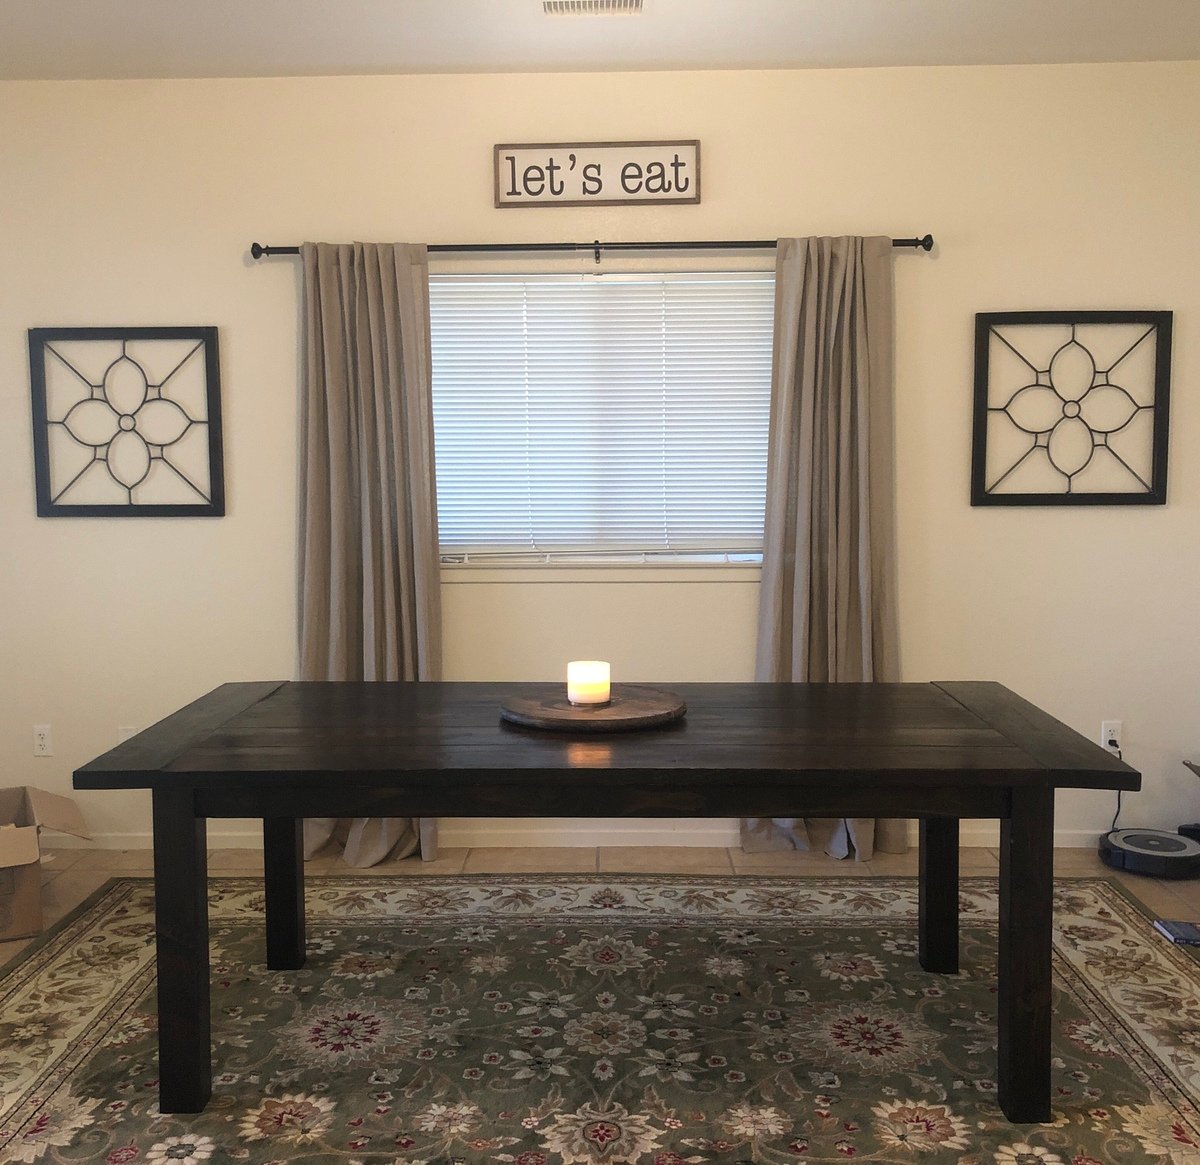
Farmhouse dining table

Submitted by Anonymous (not verified) on Wed, 04/24/2019 - 23:11

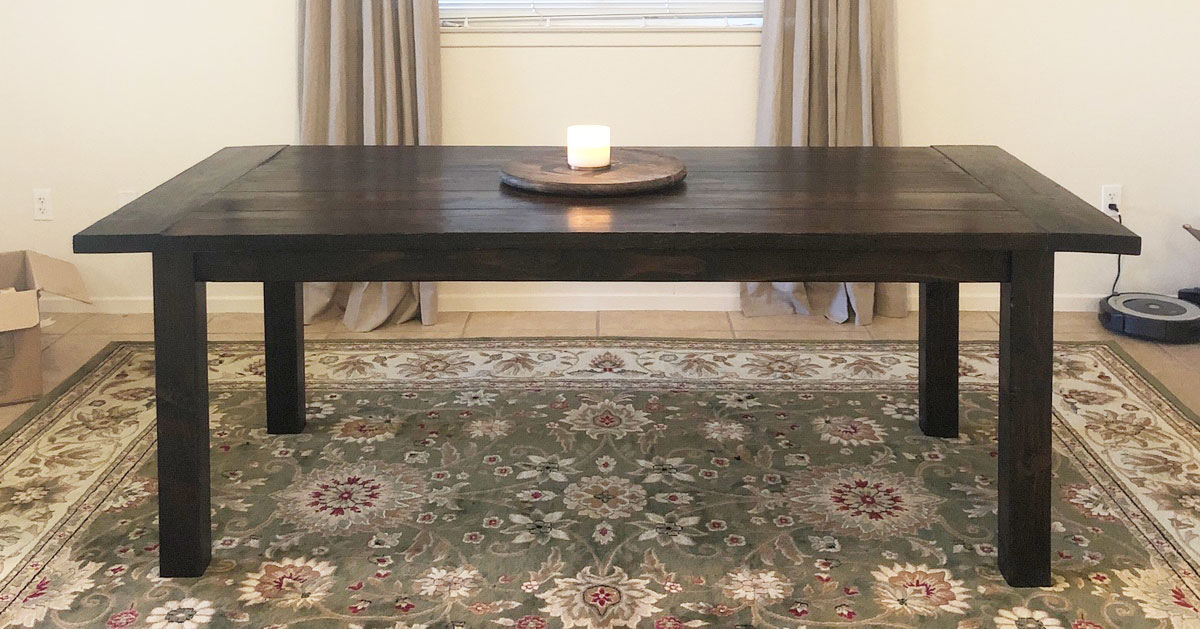
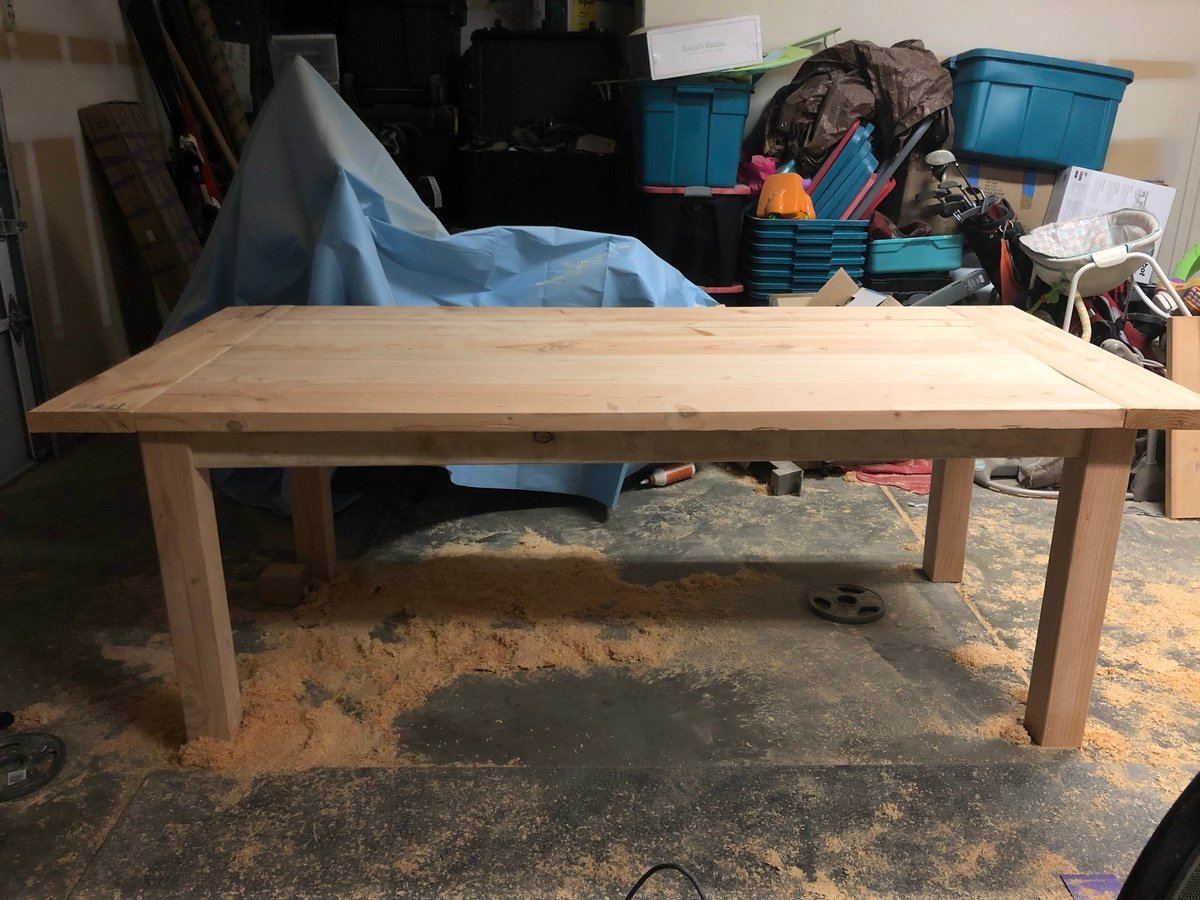
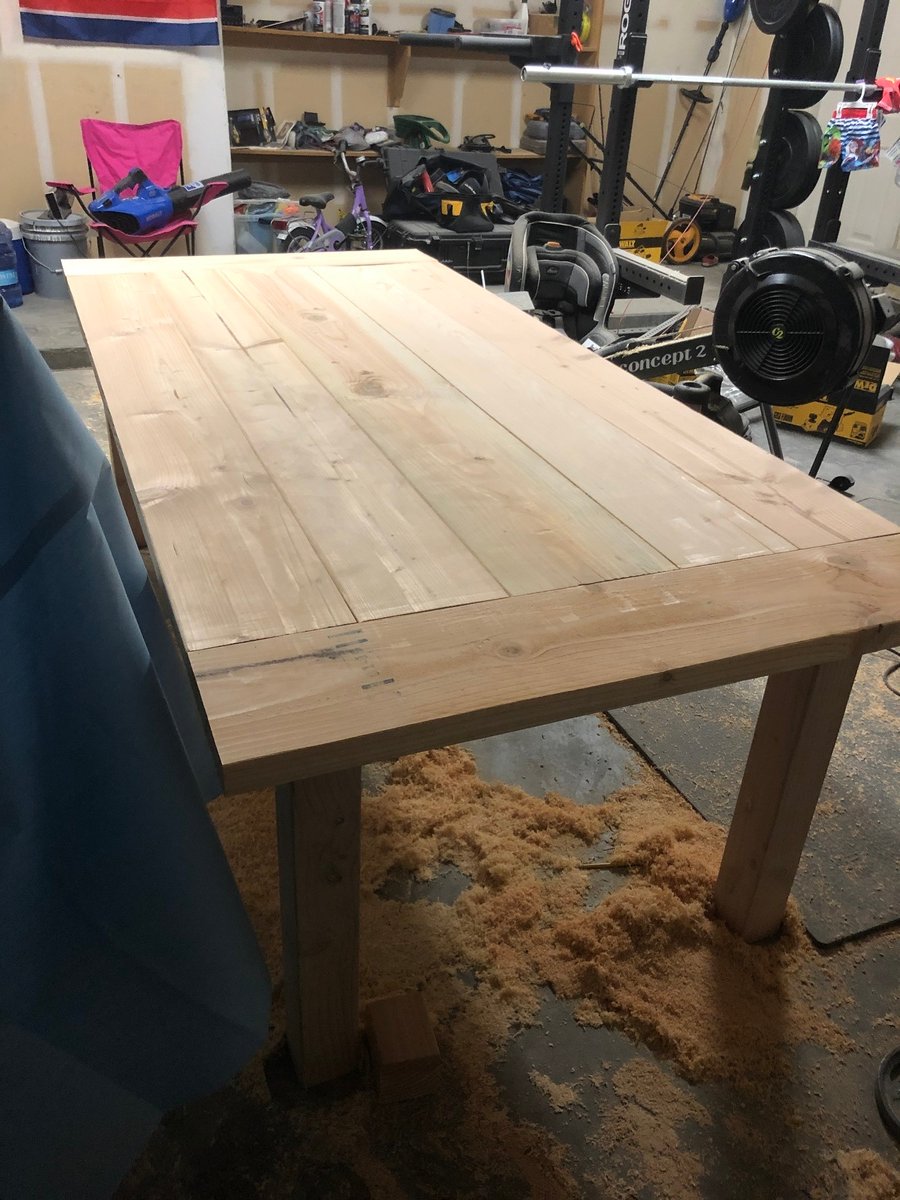
This was our first build together and first furniture piece from woodworking. The kreg jig really helped out and we didn’t have any major issues while building except for some board being warped but we fixed it with a planer.

Finished building the entire table in one day and staining and coats of poly took 2 extra days. It was a very easy build. When we move to a new area that has better access to lumber I’d like to remake this using oak/maple.

Estimated Cost
$125
Estimated Time Investment
Weekend Project (10-20 Hours)
Finish Used
Minwax Jacobean
Recommended Skill Level
Beginner

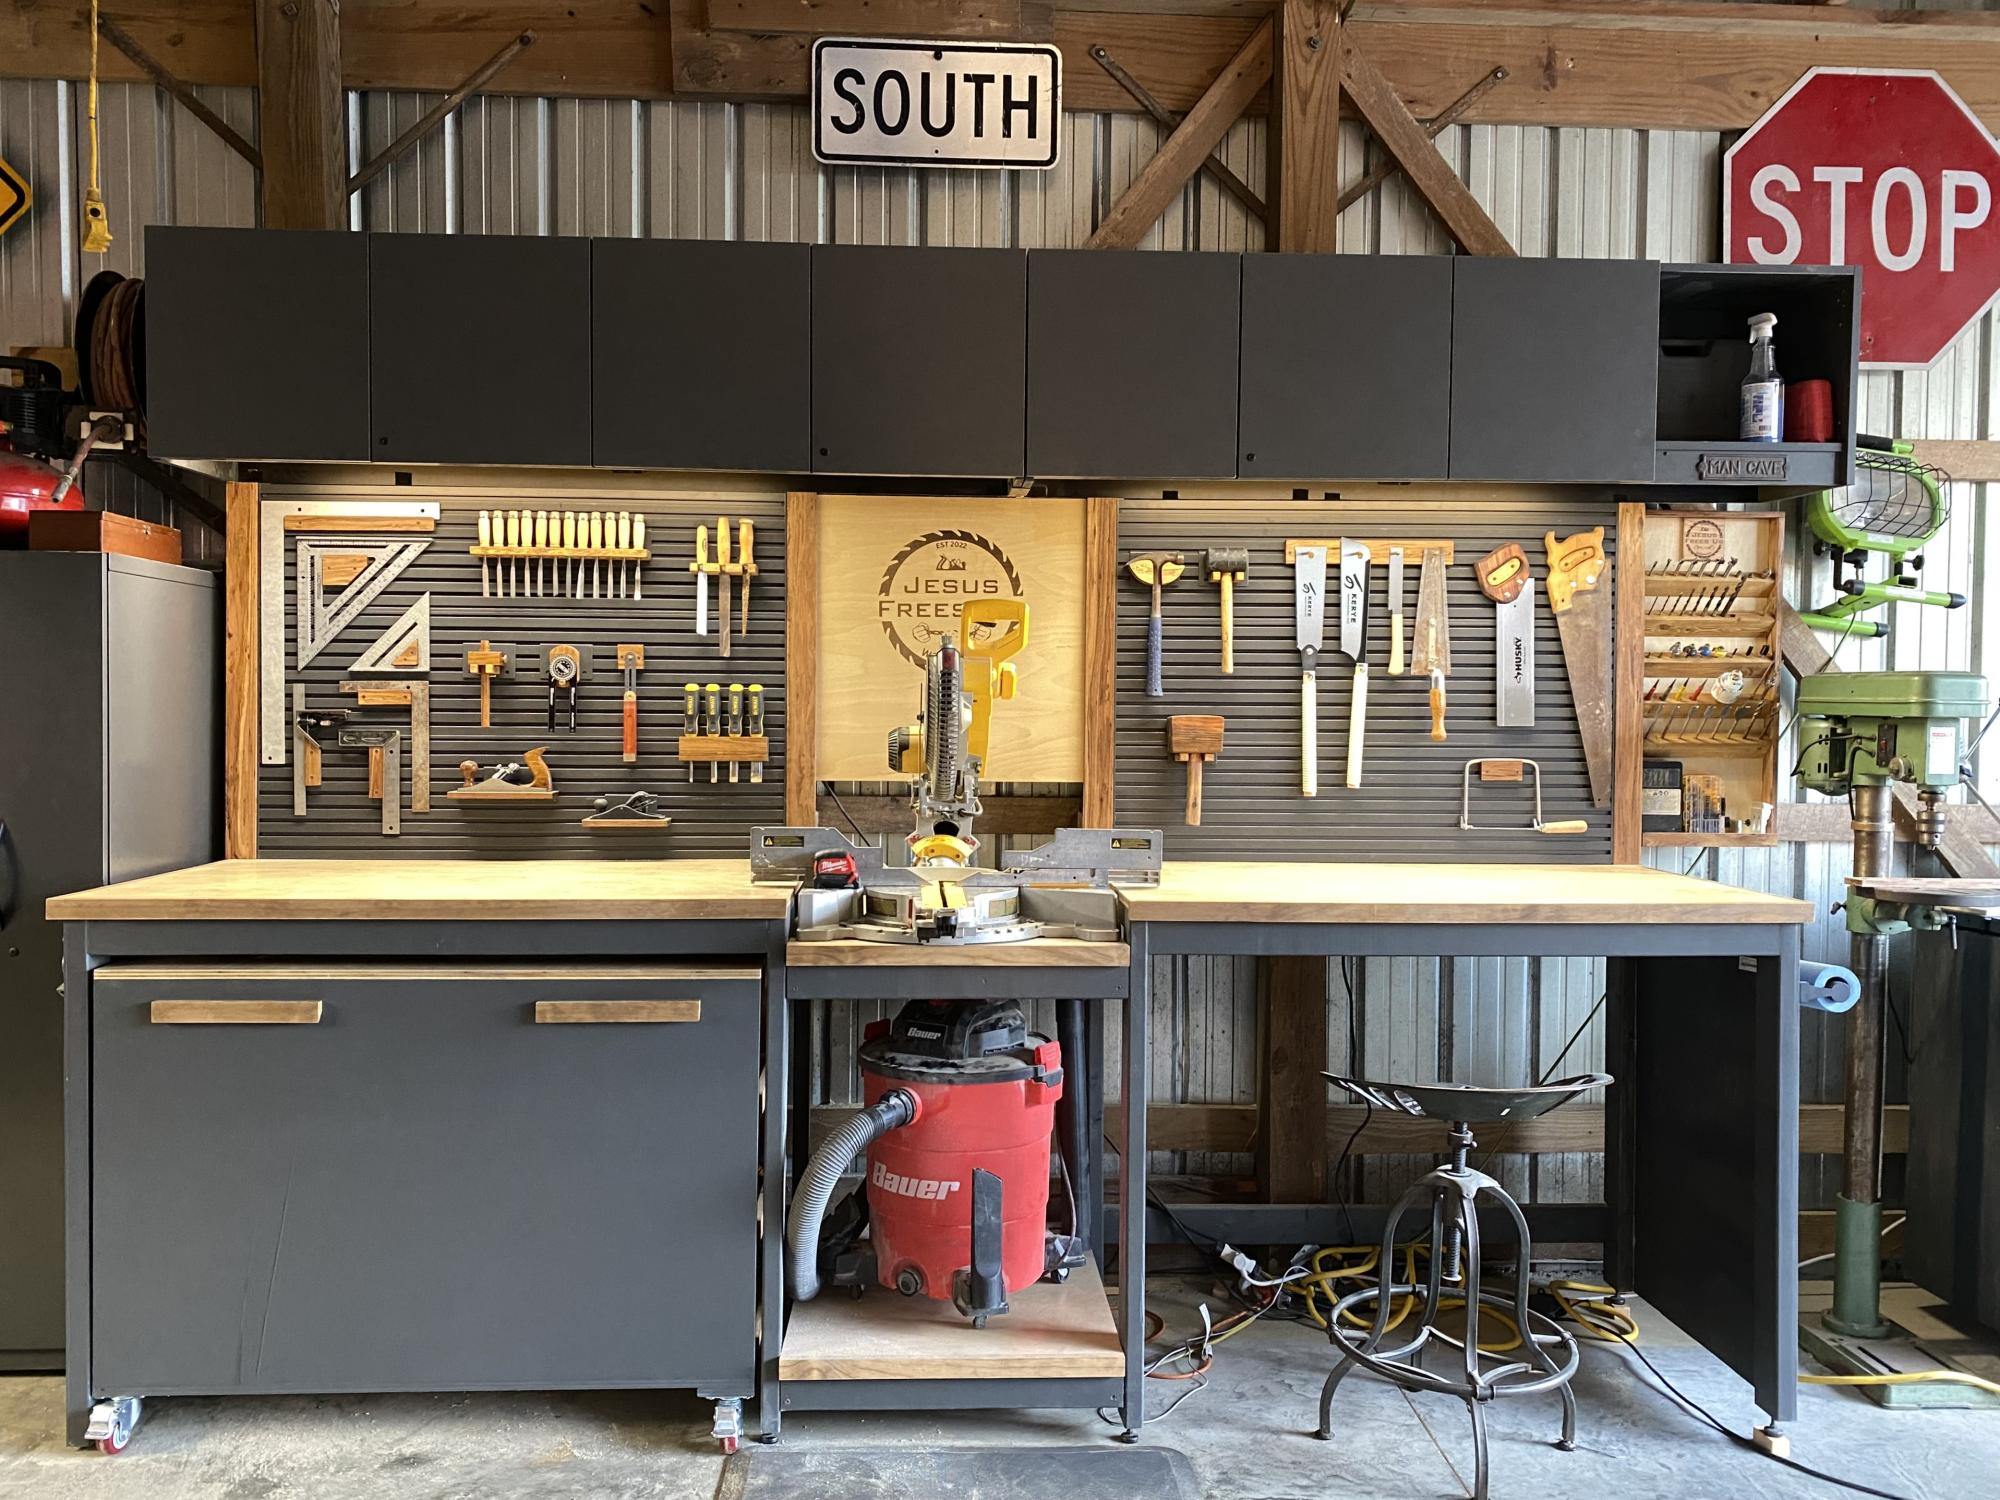
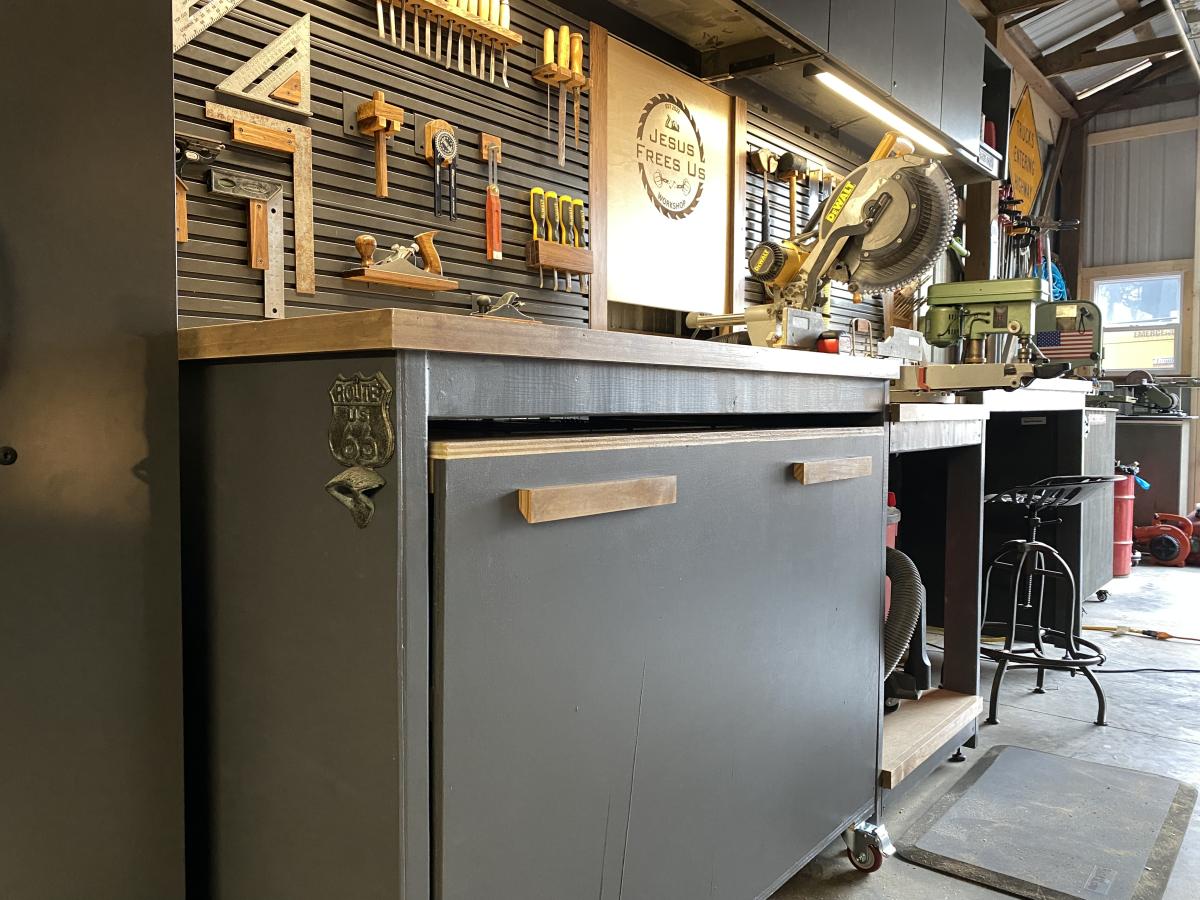
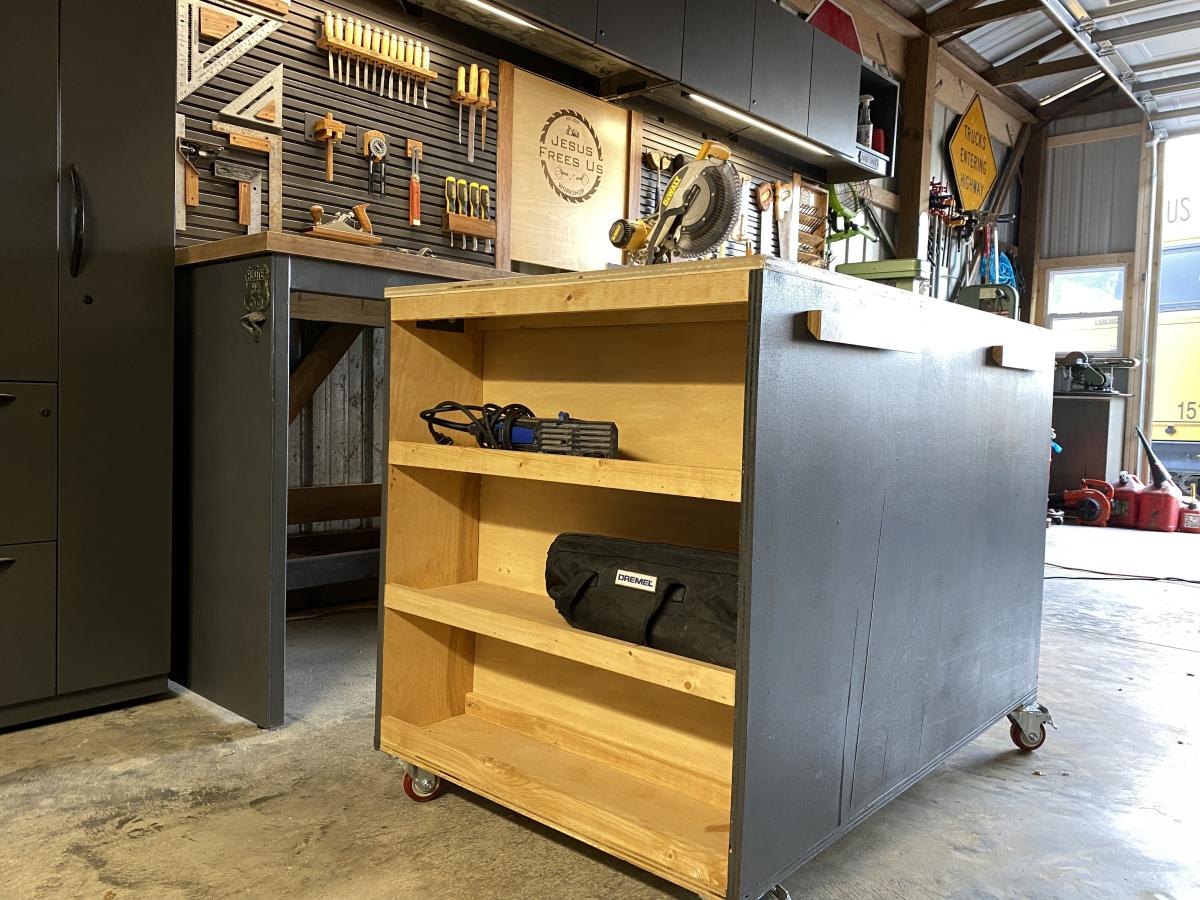
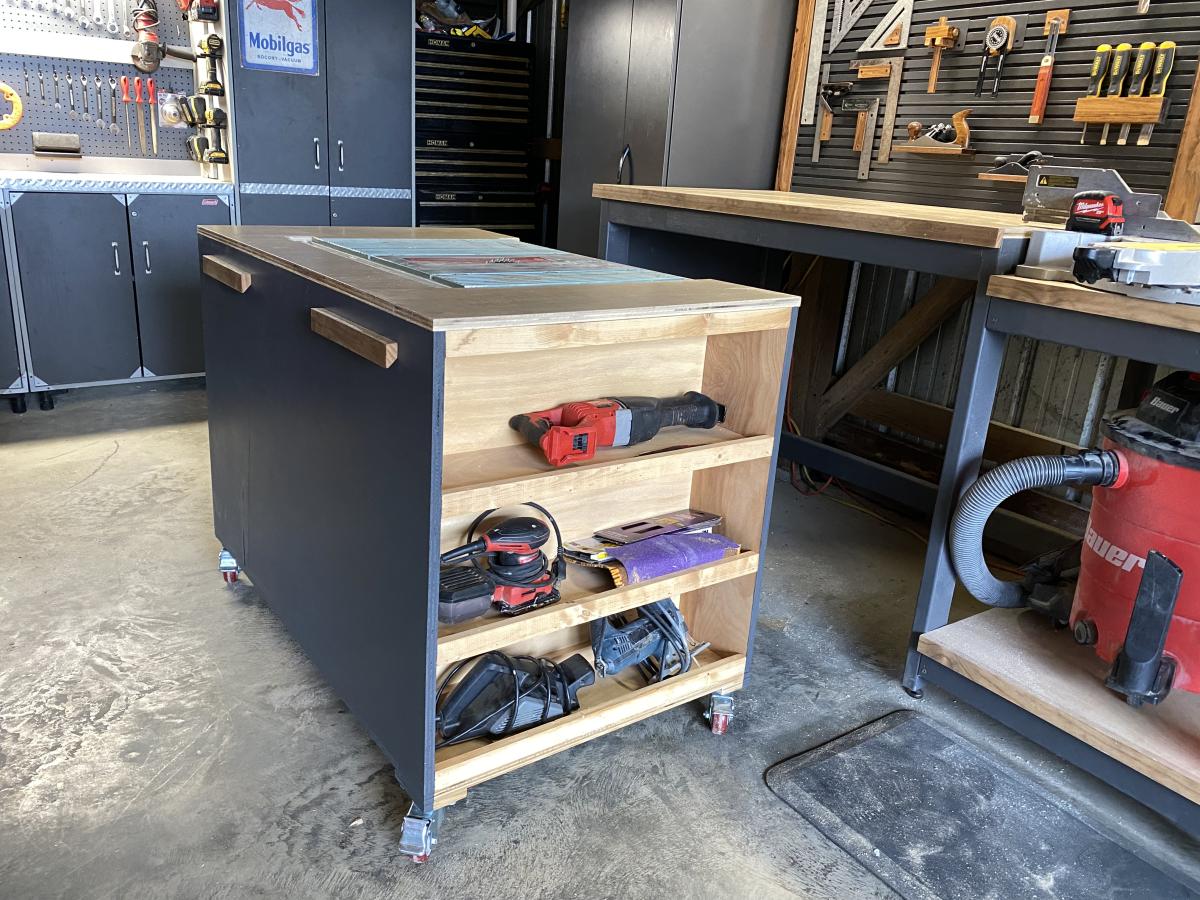
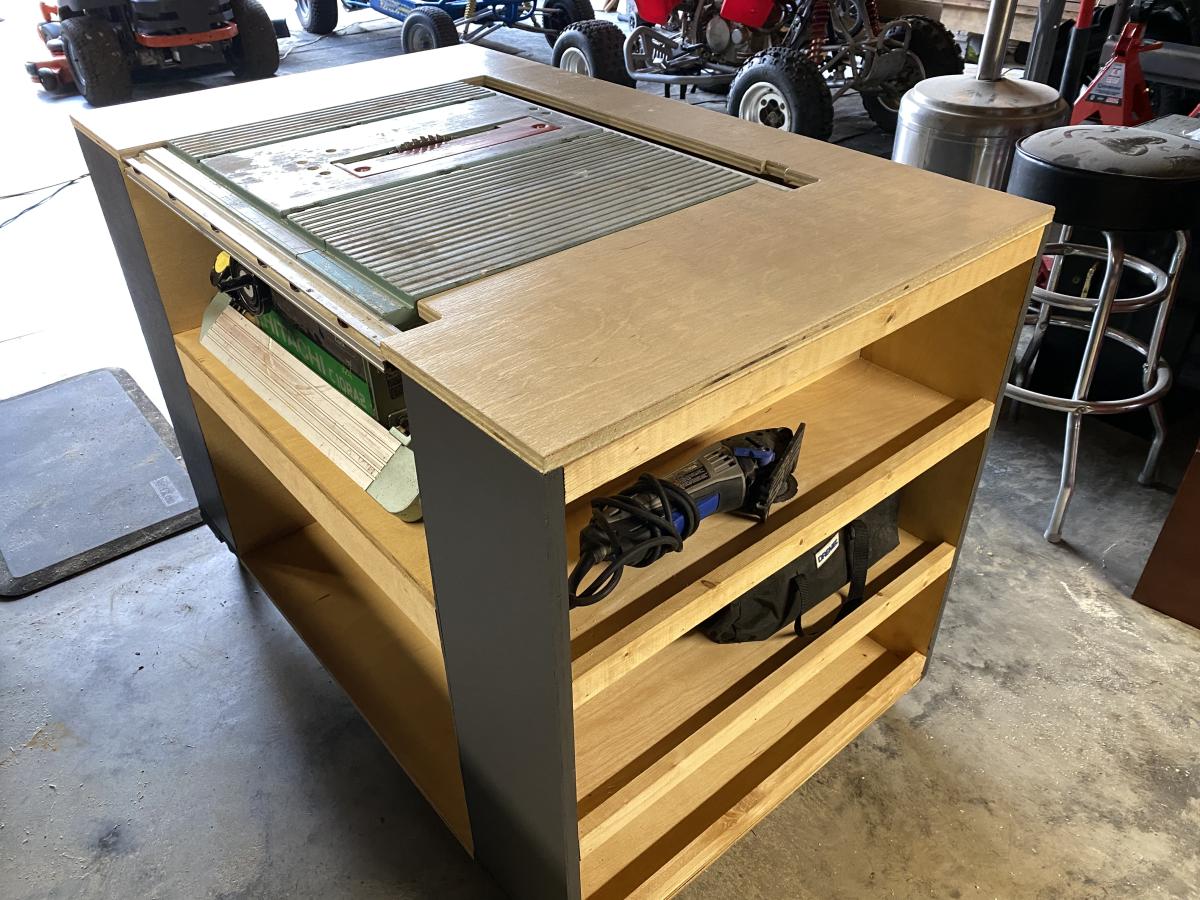
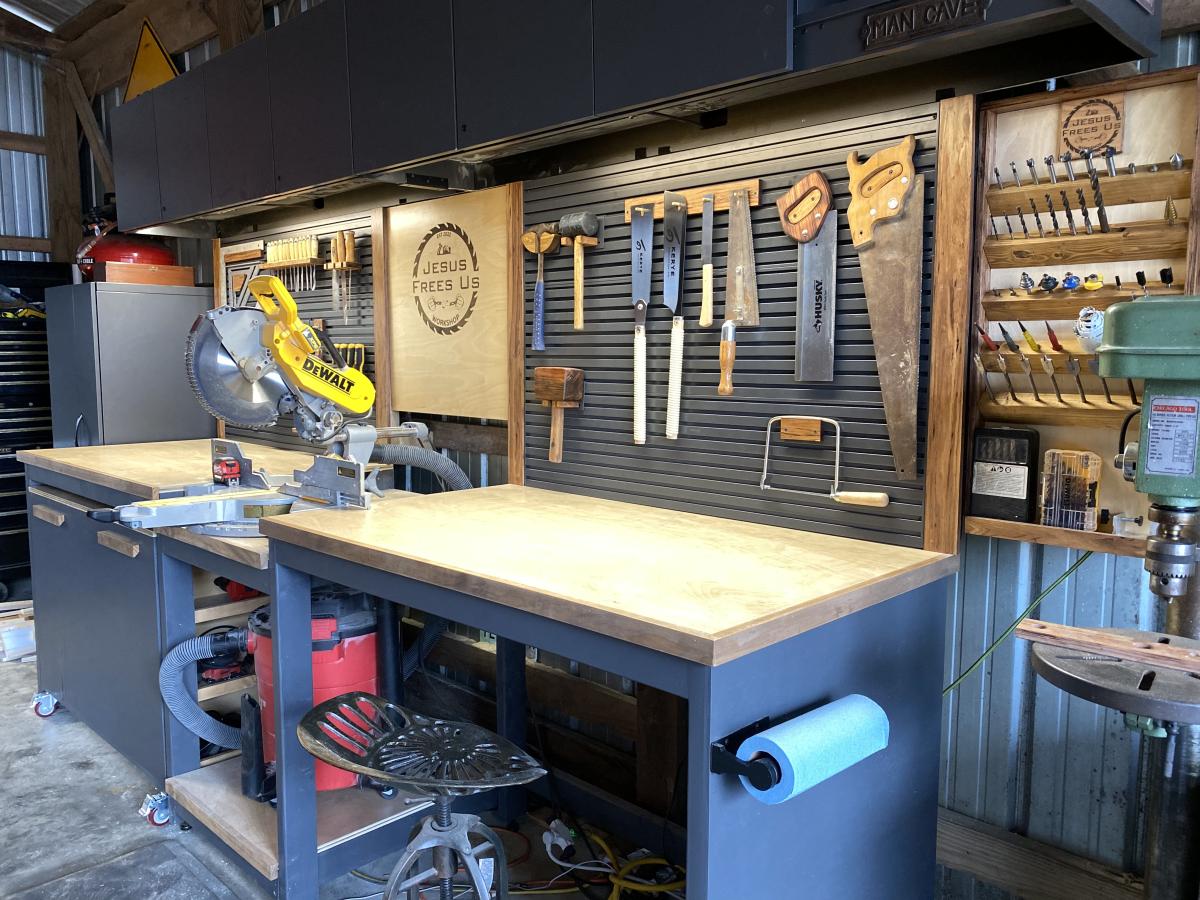
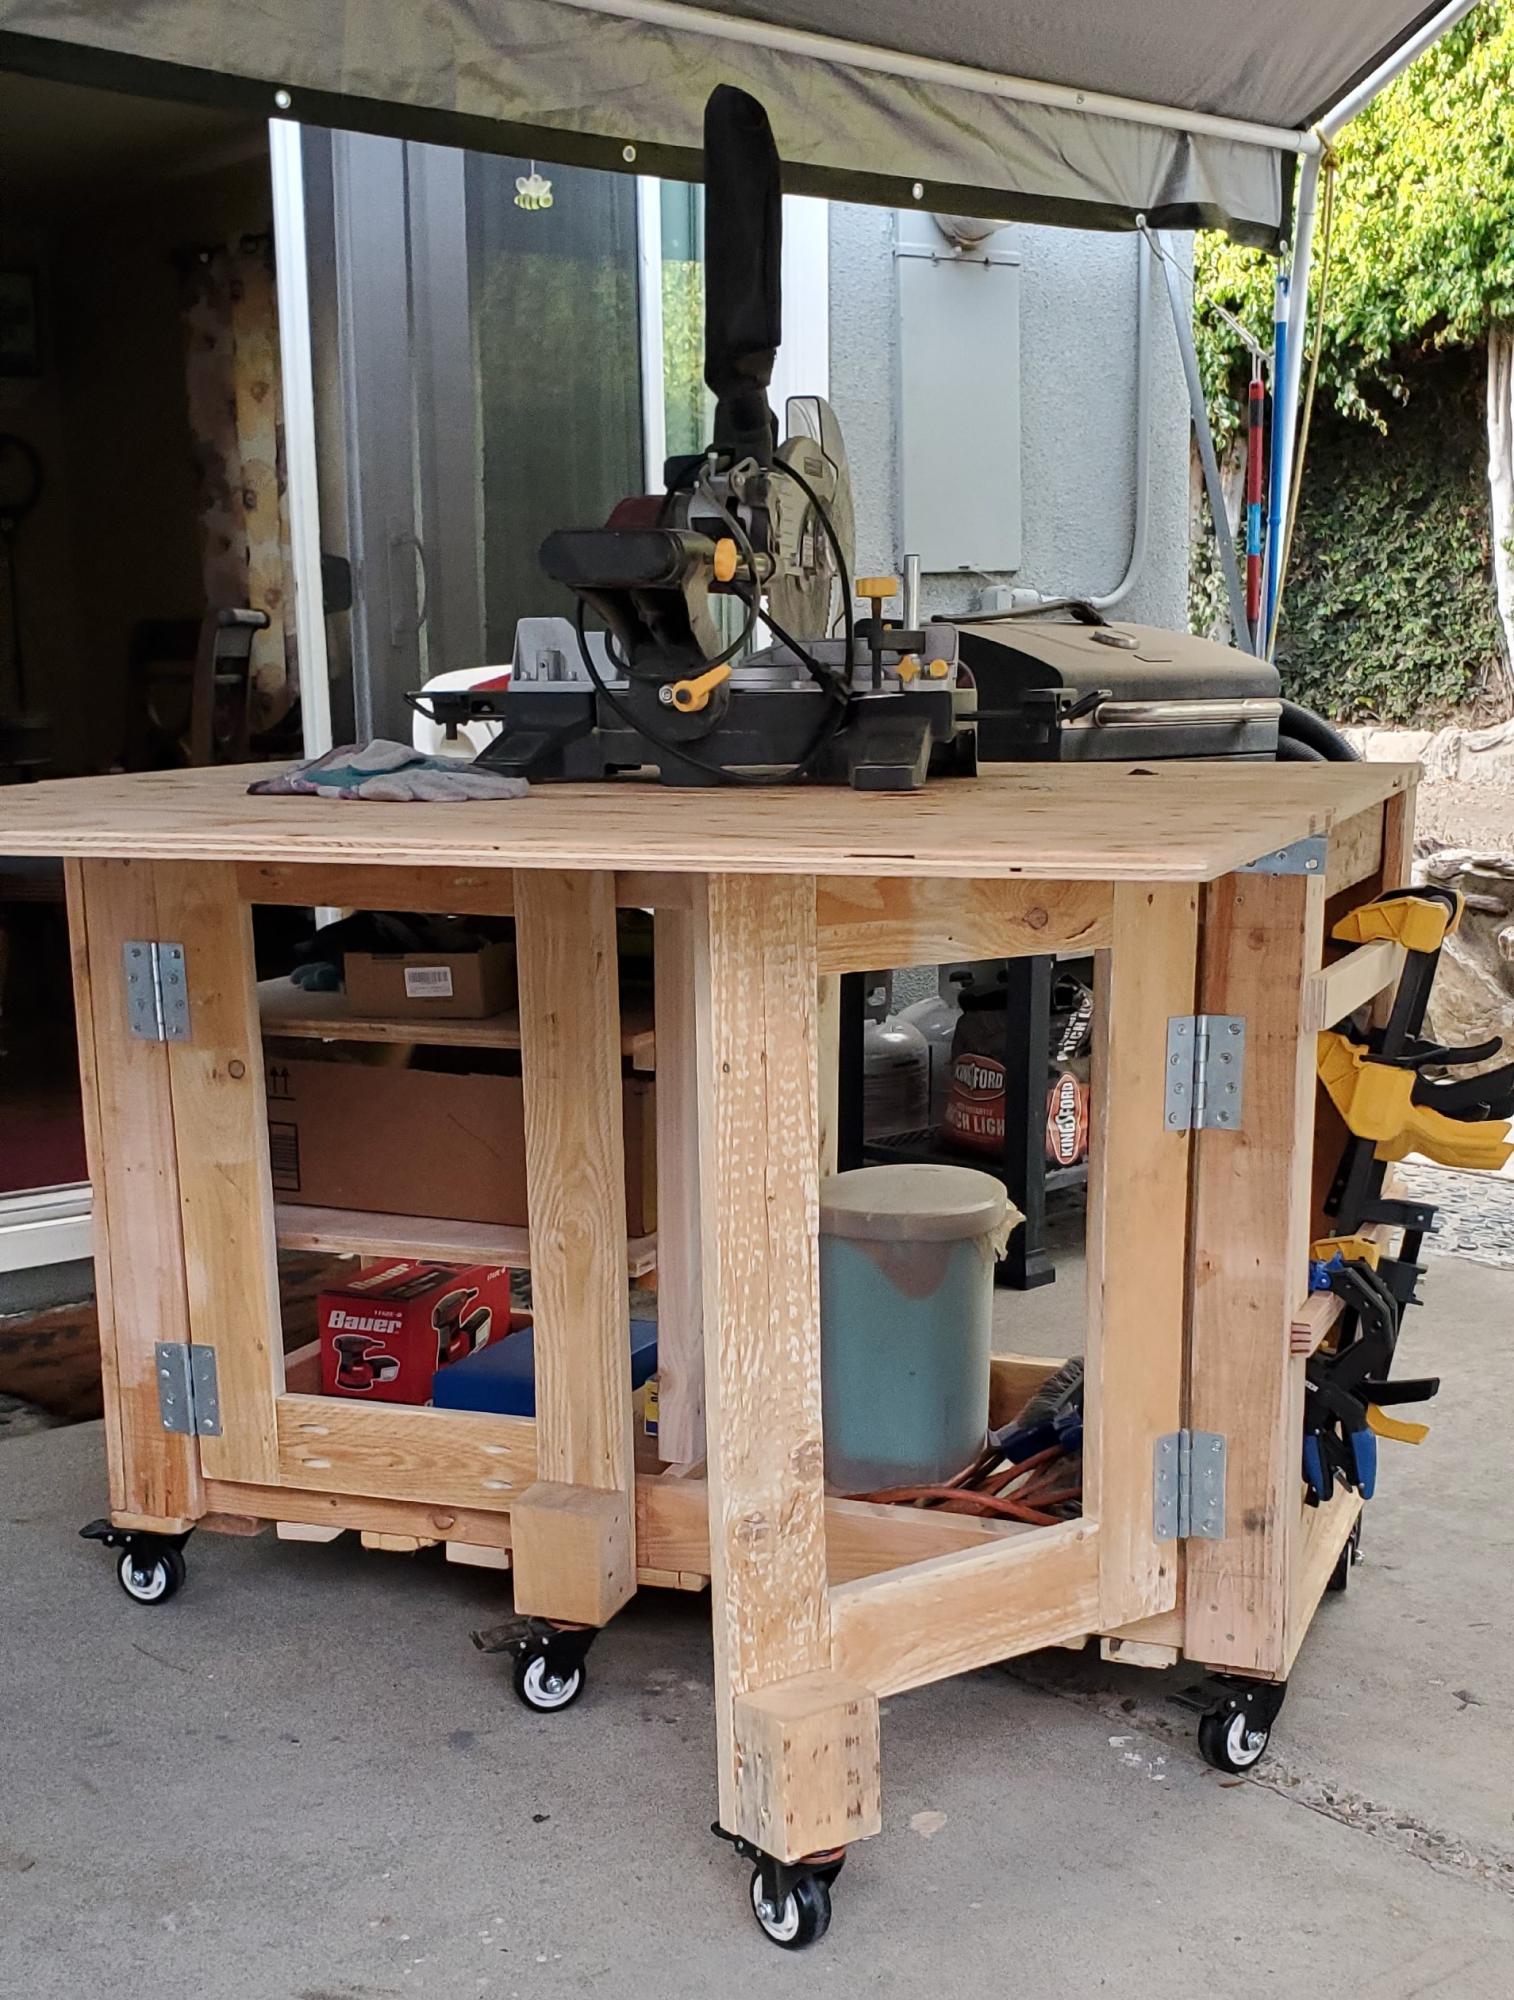
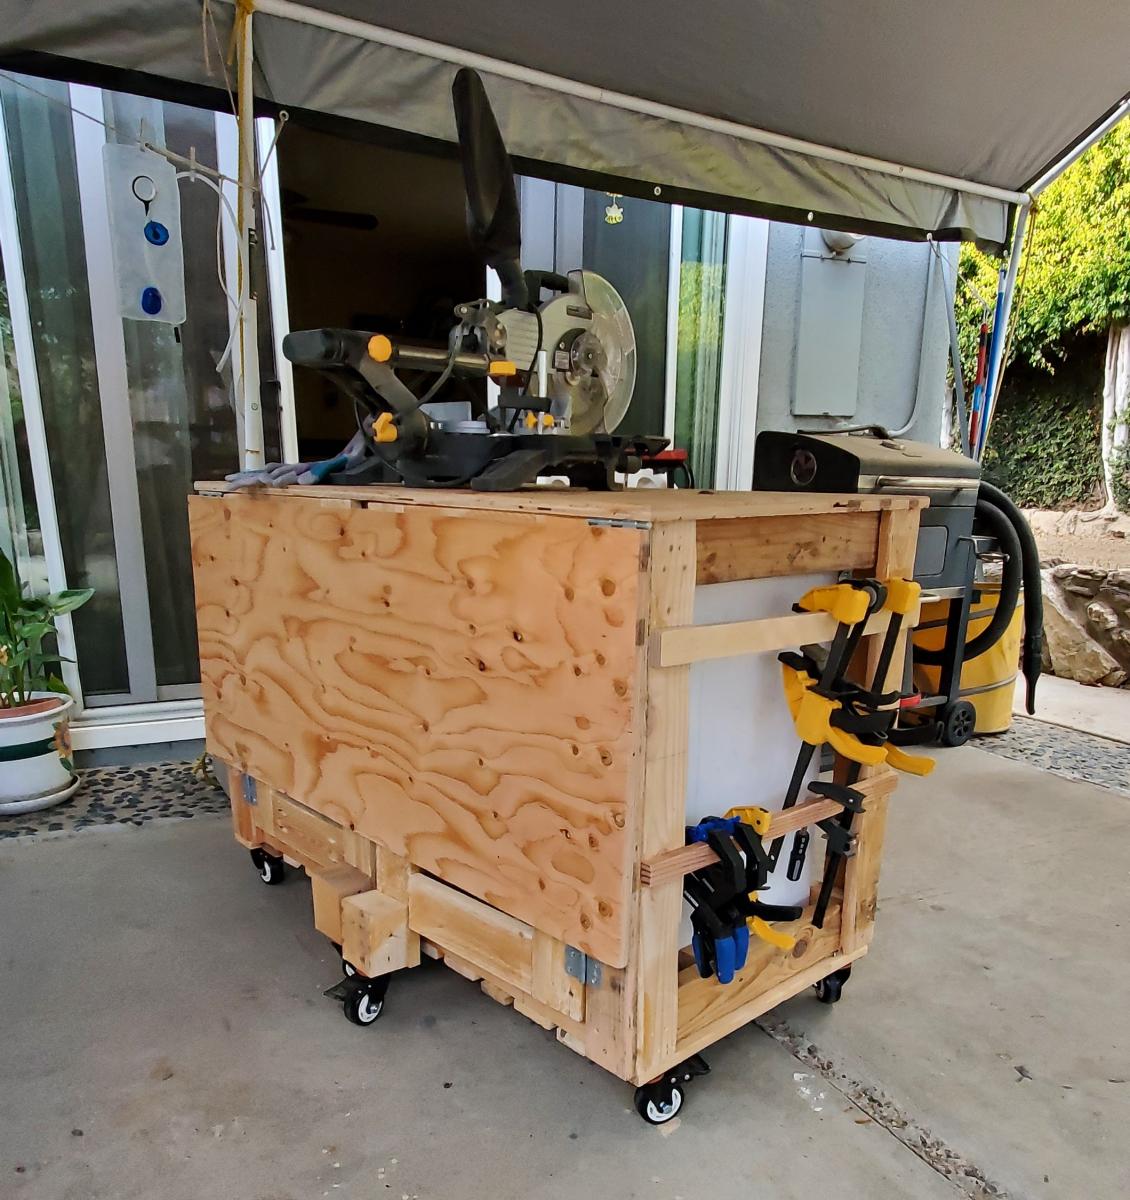
Ultimate Workbench/Miter Station

Submitted by Anonymous (not verified) on Mon, 03/06/2023 - 15:32

This plan is exactly what I needed for my workspace. I ended up adding some slat wall pieces and cabinets above from cubicles in an old office nearby that closed down for a tool wall and storage. I left the right opening empty due to how unlevel my floors are. I may close it in later with drawers or cabinets, but it will be my sitting workspace for now. I trimmed out the edge with 1x2s and painted and stained everything for aesthetics.

Comments

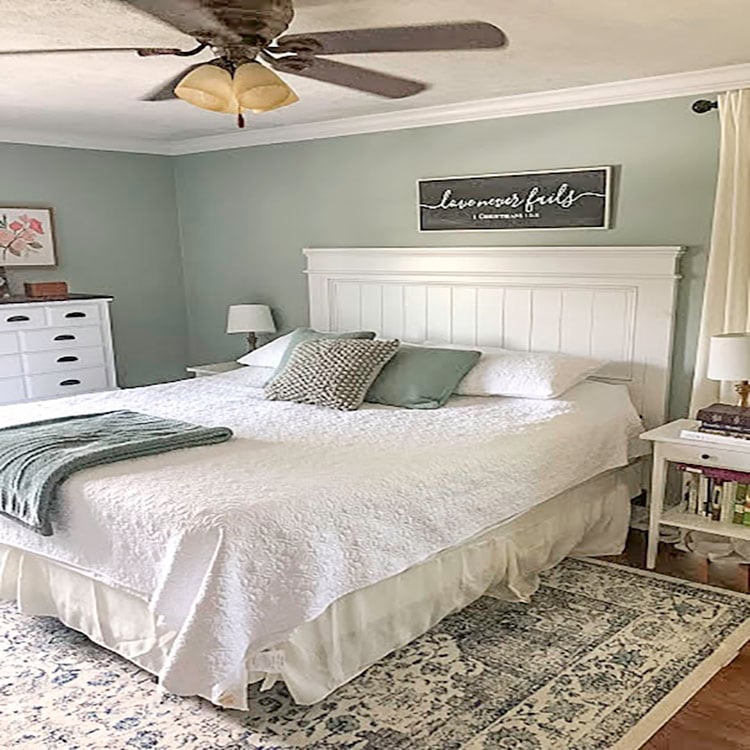
DIY Farmhouse King Size Bed

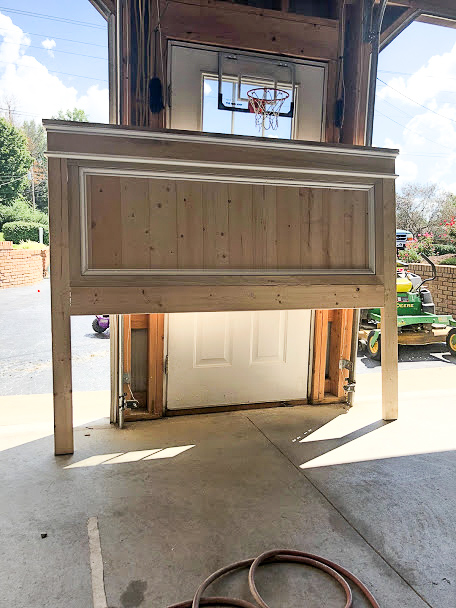
Ever since we moved into our current home, our master bedroom headboard has been at the top of our my project list. I knew I wanted a beautiful farmhouse style headboard. What I didn’t want was the heavy retail price tag. I searched high and low at places like Target, Wayfair, Amazon and even Walmart without finding an affordable option for us.

There is this perfect vantage point of our bedroom from the glider in my son’s room. I remember staring at that empty wall space above our bed for years, it felt like, while rocking our son to sleep. Just willing a headboard to appear. I wanted it so bad I could taste it. Something about looking at that same view, night after night, and waiting, waiting, waiting for it to happen just makes me appreciate it so much more now that it’s here, as so often happens in life.
This project inevitably got put on hold over the years after one thing or another got in the way. Either we didn’t have the time to devote to it, or we always had something else to put our money into. Untilllll I stumbled across Ana White’s Farmhouse Headboard Plans.

Built from Plan(s)
Estimated Cost
~ $200
Estimated Time Investment
Weekend Project (10-20 Hours)
Finish Used
Valspar off the shelf white in semi gloss applied with paint sprayer in several, thin coats with sanding in between.
Recommended Skill Level
Intermediate

Easy to Build DIY Lemonade Stand

Submitted by Anonymous (not verified) on Sun, 07/30/2023 - 14:54

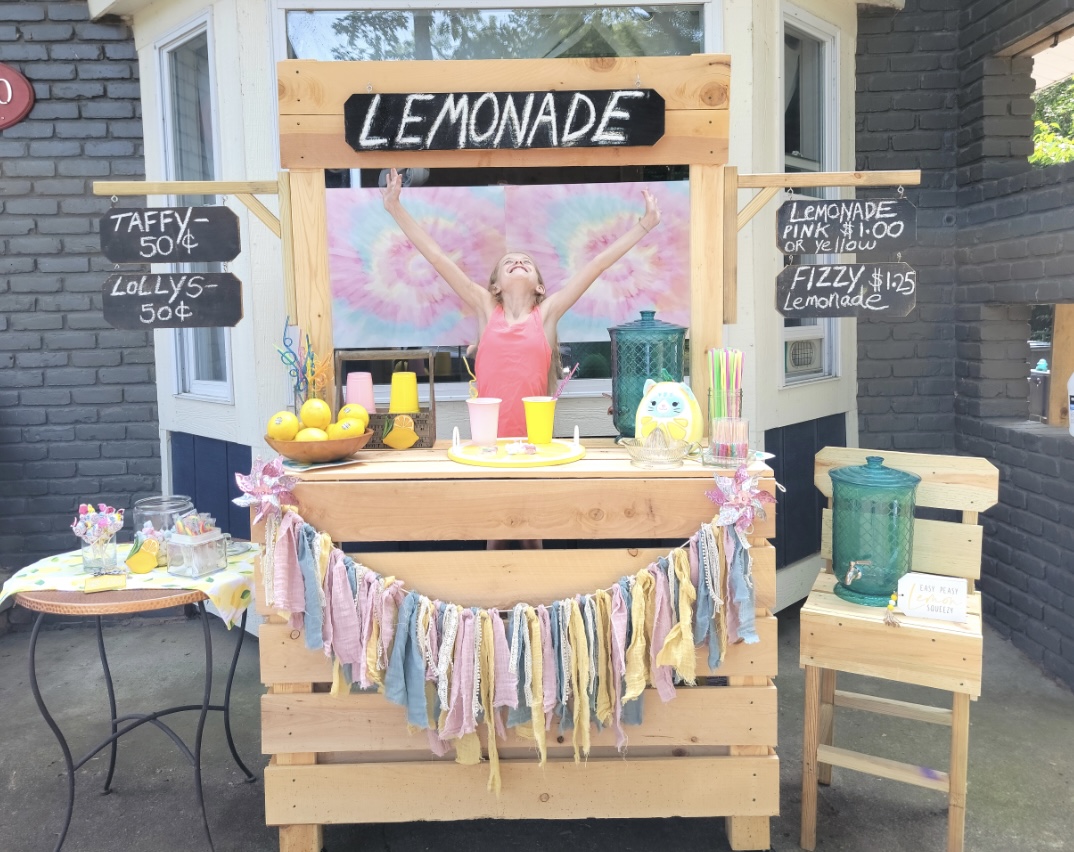
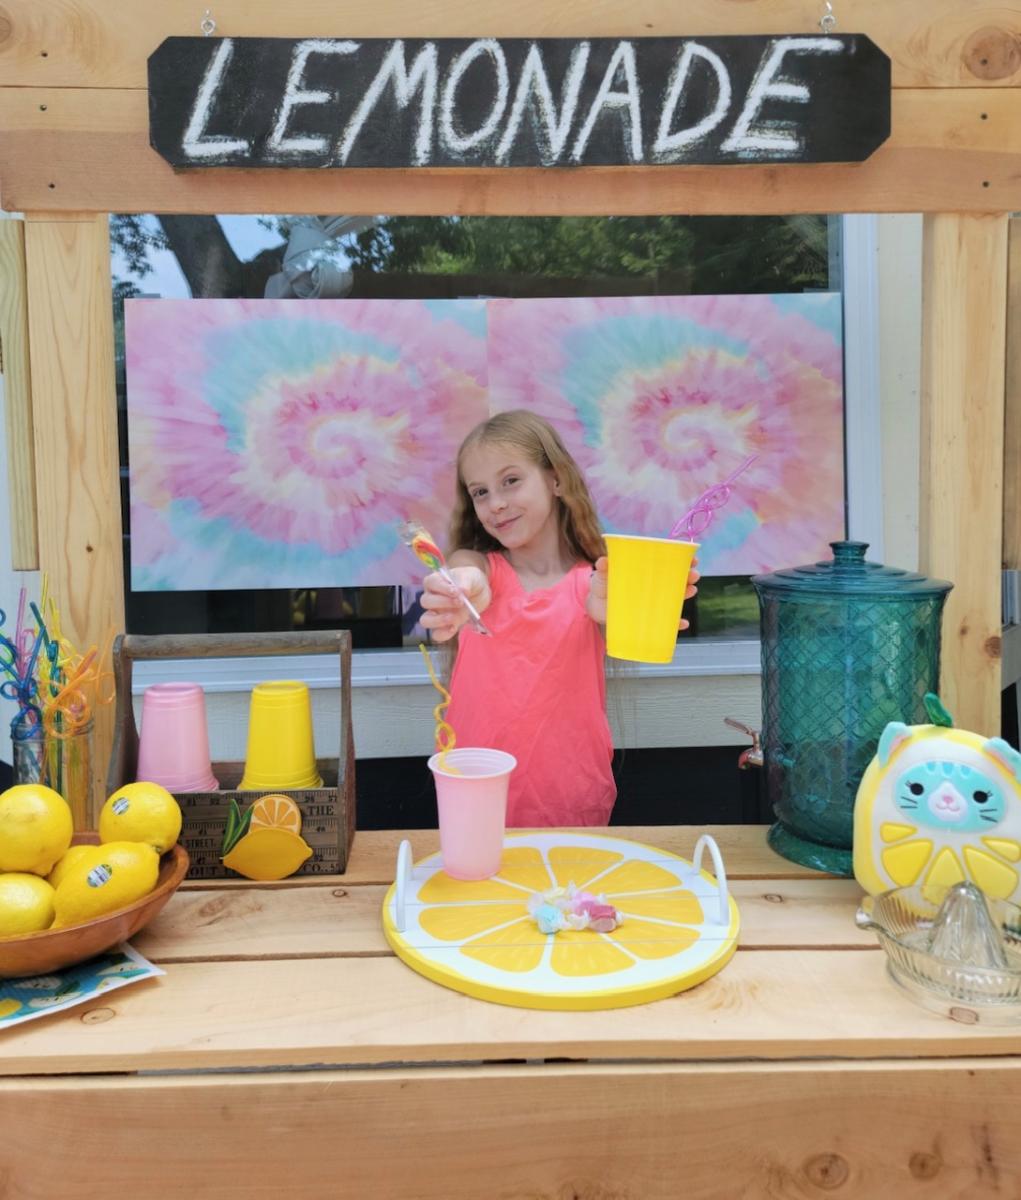
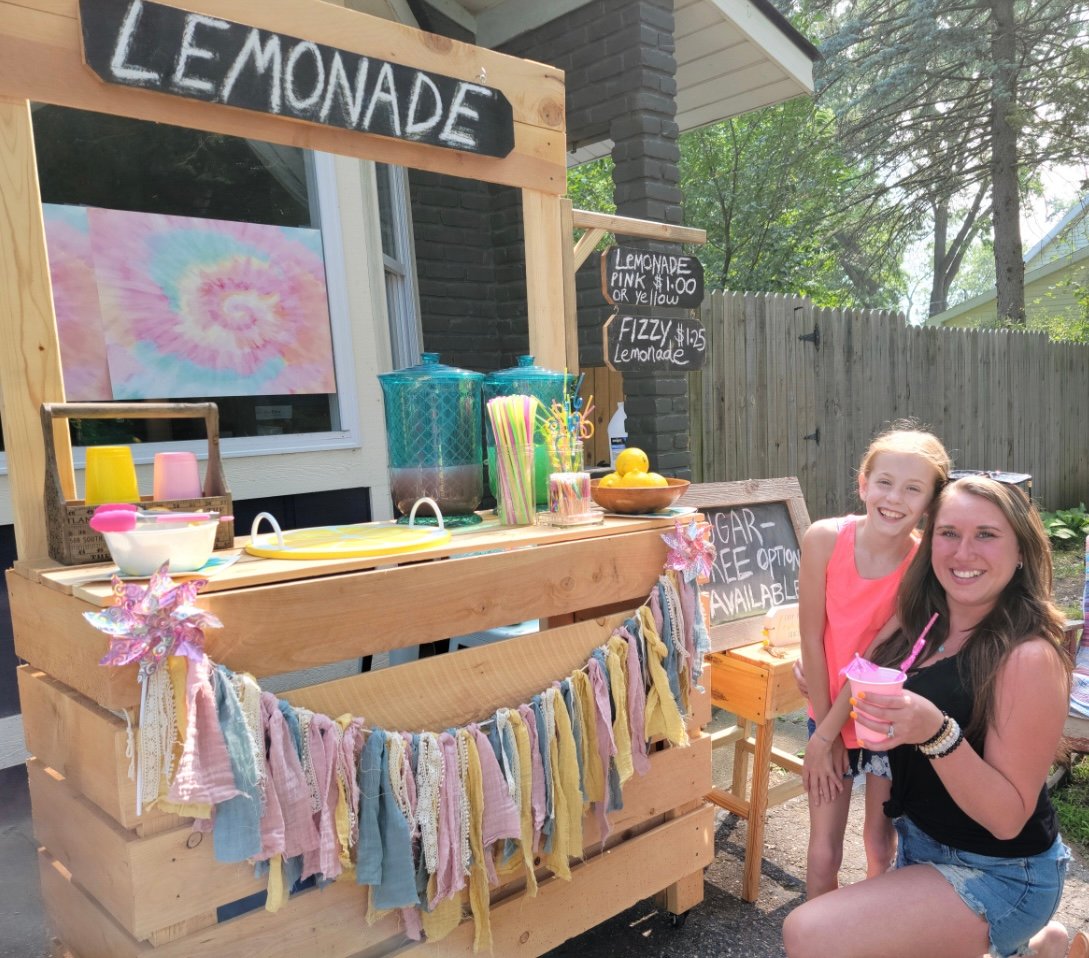
This is based on Ana's Lemonade Stand project- I made it taller and wider, added casters. It was a hit with the birthday girl and the customers!

Amy of The Navy House Goods Co. @thenavyhousegoodsco

Built from Plan(s)

Comments

Bar Height Outdoor Table

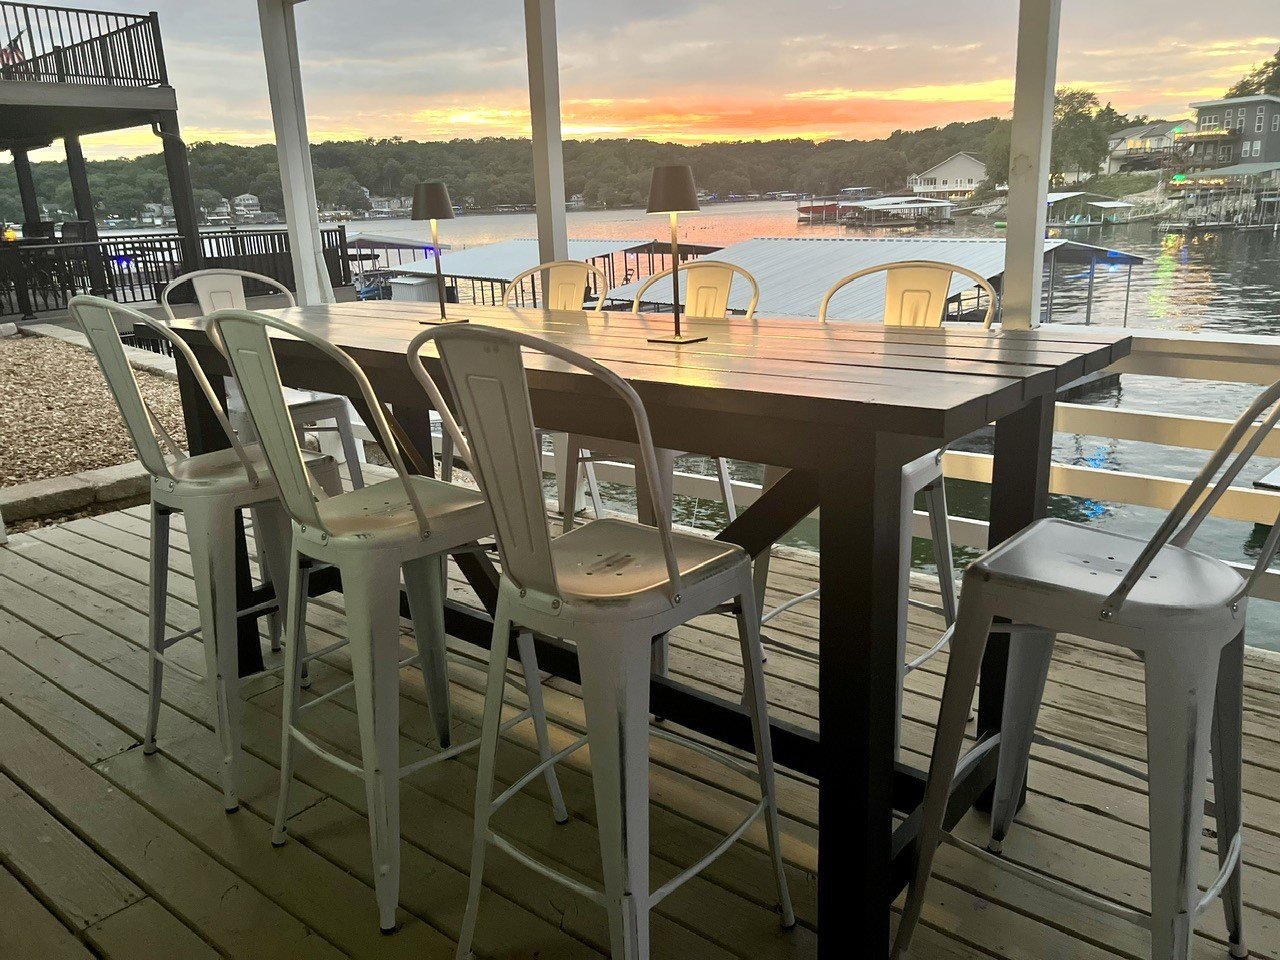
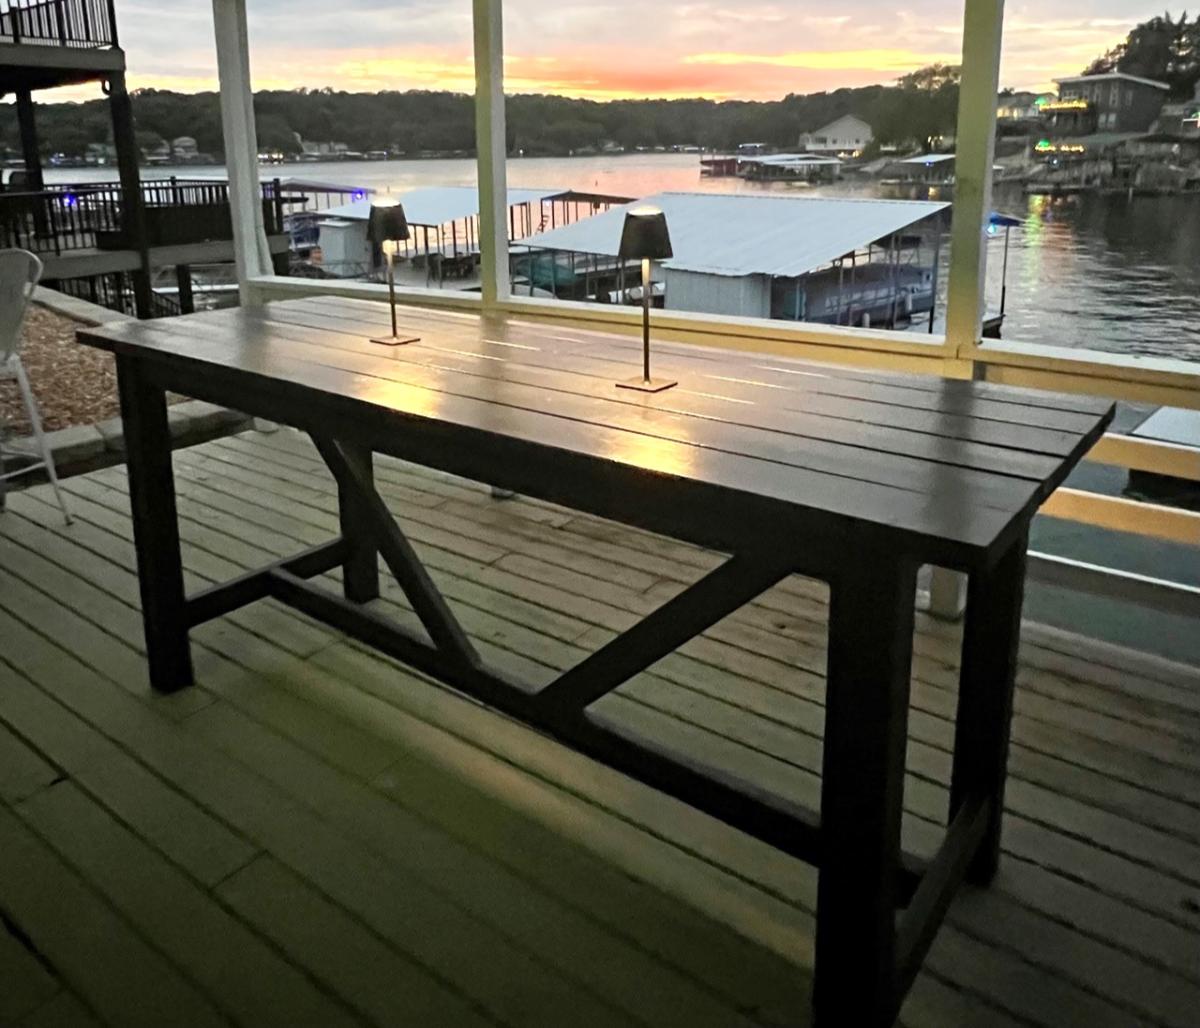
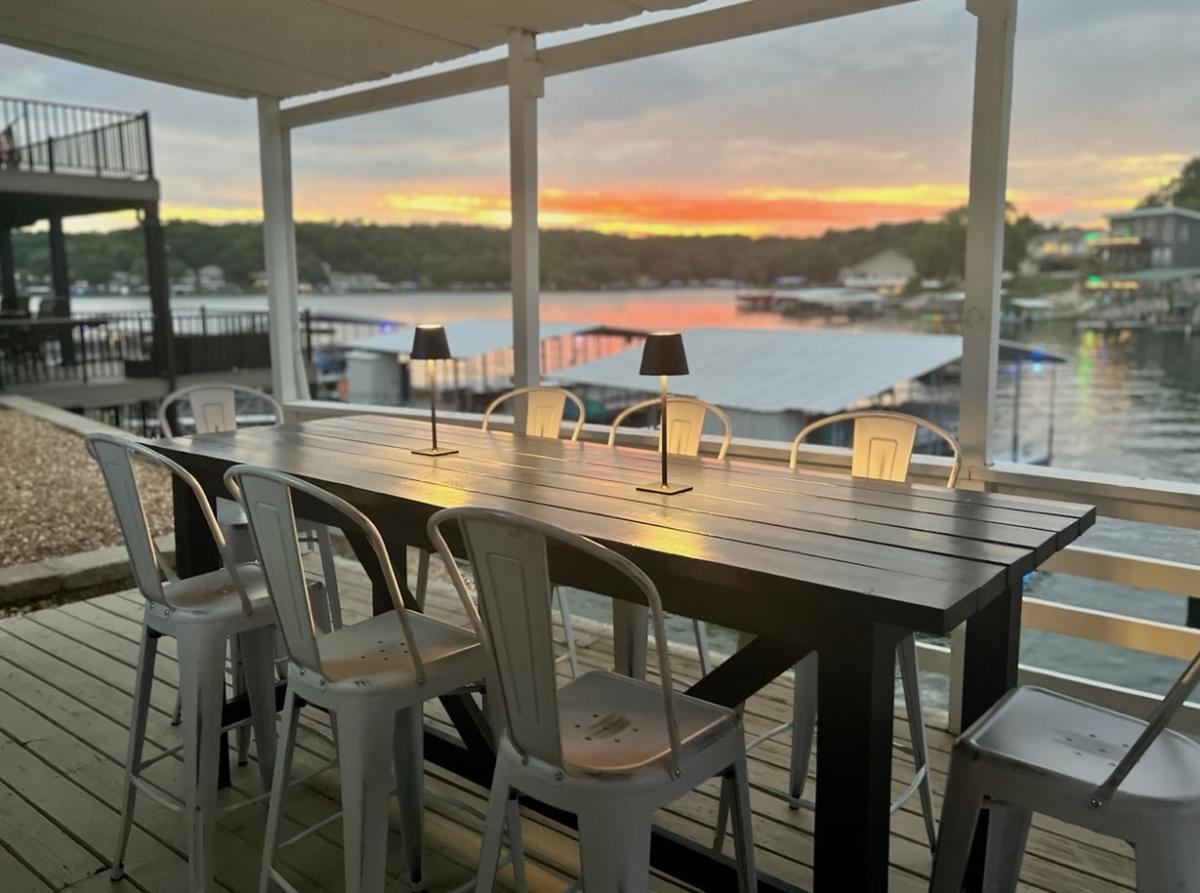
Submitted by Anonymous (not verified) on Sun, 08/27/2023 - 12:42

We had this unused lower deck and this bar height table was the perfect addition. We have place now to hang when too hot or it’s raining. My husband and I built it in one weekend and your plans where great.

Julie Moran

Built from Plan(s)

Comments

Seasonal And Holiday

Modified Simple Modern Outdoor Table and Benches

Submitted by AandTsMom on Wed, 05/16/2012 - 10:21

We wanted two smaller tables and four benches so we can rearrange as needed to make one big or two small tables. We can also move them back and forth between patio and deck. We hoped to have this done in a weekend but it took us two weeks working at night after the kids went to bed. I love how they turned out but I'm not sure I will try another project this involved!

Estimated Cost
$200
Estimated Time Investment
Week Long Project (20 Hours or More)
Recommended Skill Level
Intermediate

Comments

Finns-Dad

Sun, 05/20/2012 - 06:20

I really like the idea the two tables and being able to arrange them differently. Now I have to make more!!! Great job.

Cedar planter boxes

Submitted by JavaJoe on Fri, 06/06/2014 - 20:00

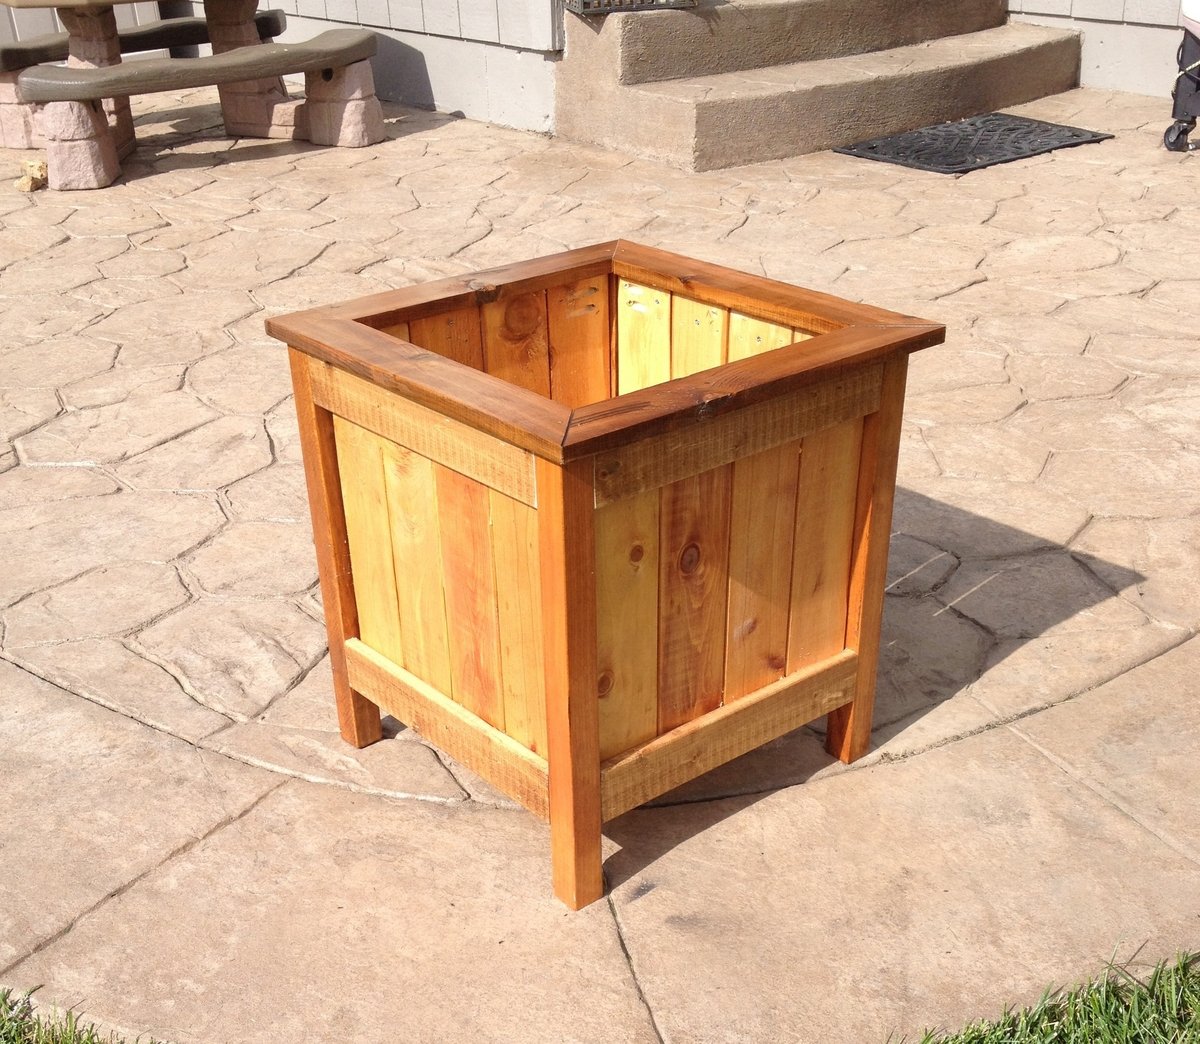
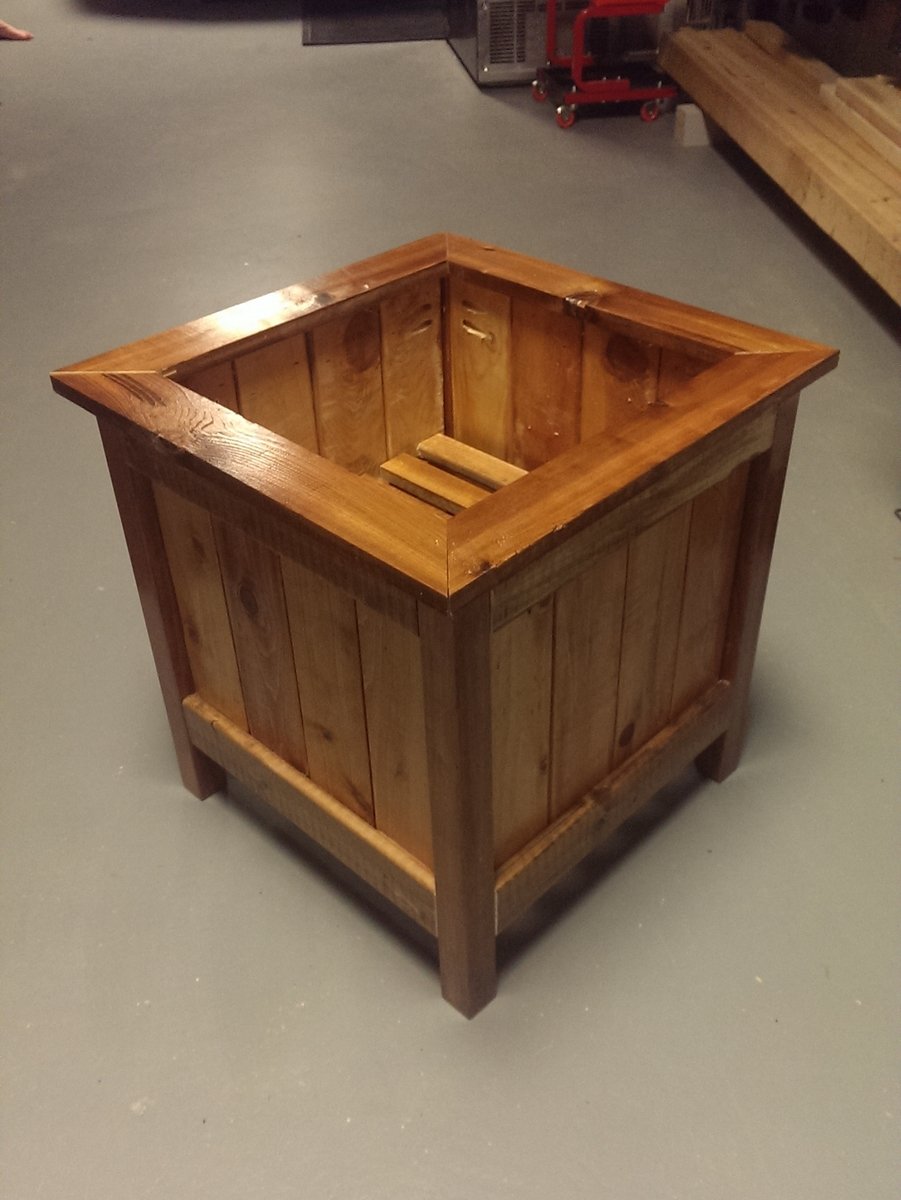
I used the main plan for ideas, but opted to use 3.5 inch pickets instead, which allowed for a smaller planter that wasn't as big. Also chose to miter 1x3s for the top which I think really finishes it off. Sanded everything with a belt sander to 220 grit. Used min wax golden pecan plus three coats of poly inside and out. Finished size was about 17x17. Tile spacers work great to keep the gaps even!

Built from Plan(s)
Estimated Time Investment
Afternoon Project (3-6 Hours)
Finish Used
Min wax golden pecan
Recommended Skill Level
Intermediate

Comments

Narrow Sewing Table

Submitted by WeezyWorks on Tue, 09/11/2012 - 18:06

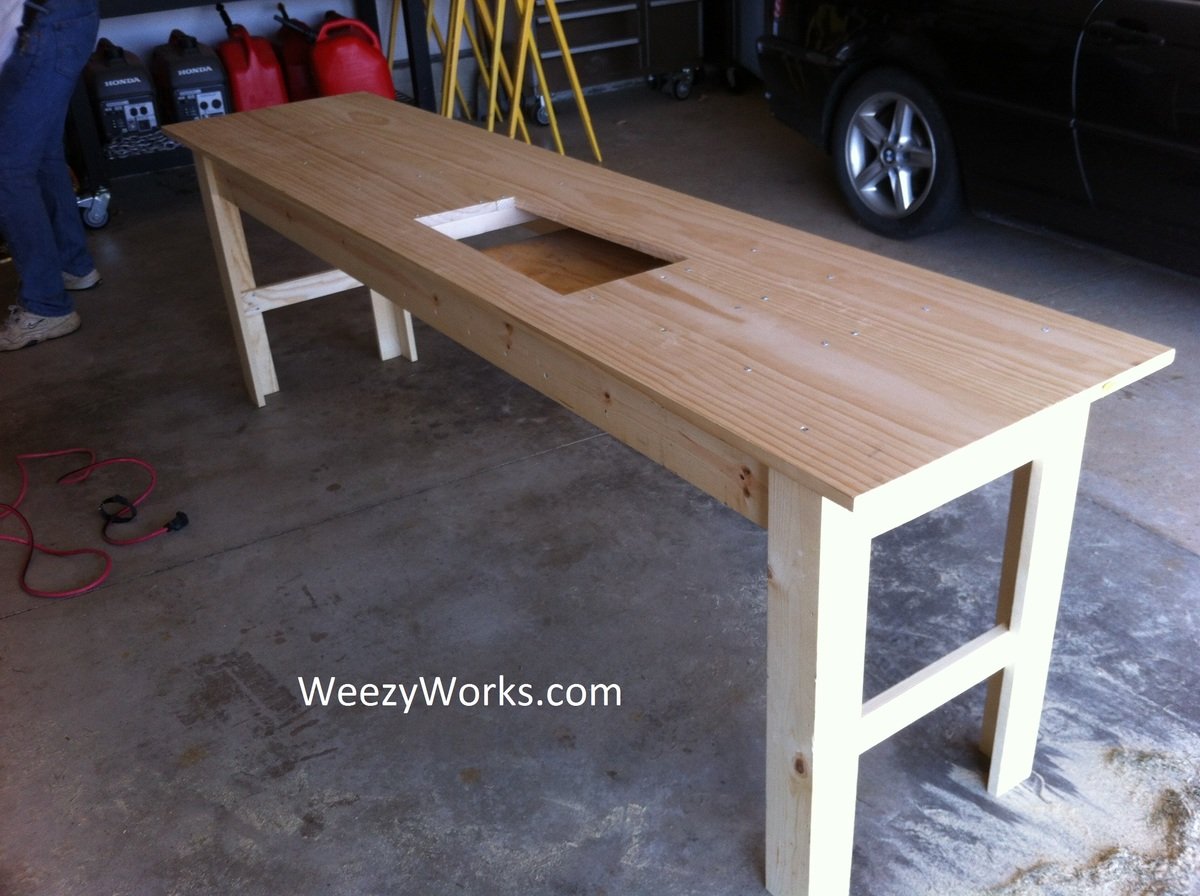
Ive been looking for a sewing table to fit my space. but found none for less than $500 and they were quite small. I found a post at quiltedcupcake.com that linked me to another blog, linking me here. I modified the plan to be about 2 feet wide and cut a hole to fit my sewing machine. There is a support in the bottom to hold my machine level with the tabletop. When I make this in the future, I will splurge on a fine hardwood. This plan was easy to build and looks great! Just what I was looking for :D

Estimated Cost
$125
Estimated Time Investment
Weekend Project (10-20 Hours)
Finish Used
Dark stain and satin polyurethane
Recommended Skill Level
Beginner

Comments

tommirhea

Fri, 09/14/2012 - 09:45

I'm jealous of your organization! I've had a folding table for my sewing table since I started sewing :(

tommirhea

Sun, 09/16/2012 - 10:11

Now, I've just got to make it! I love to free motion quilt and that would make it easier. With each baby I've had my quilting space has diminished (of course it's worth it) but now I think I will reclaim some space ;)

A-Frame Chicken Coop

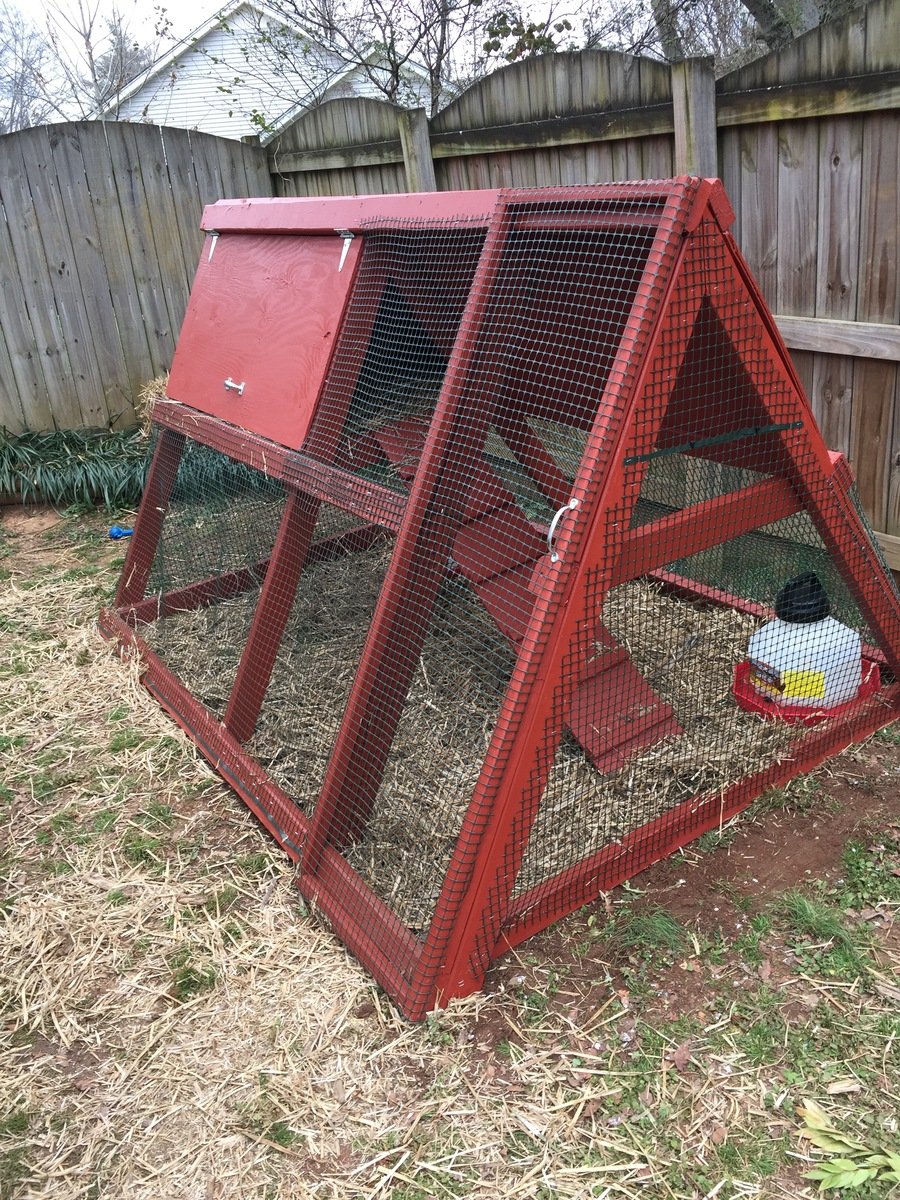
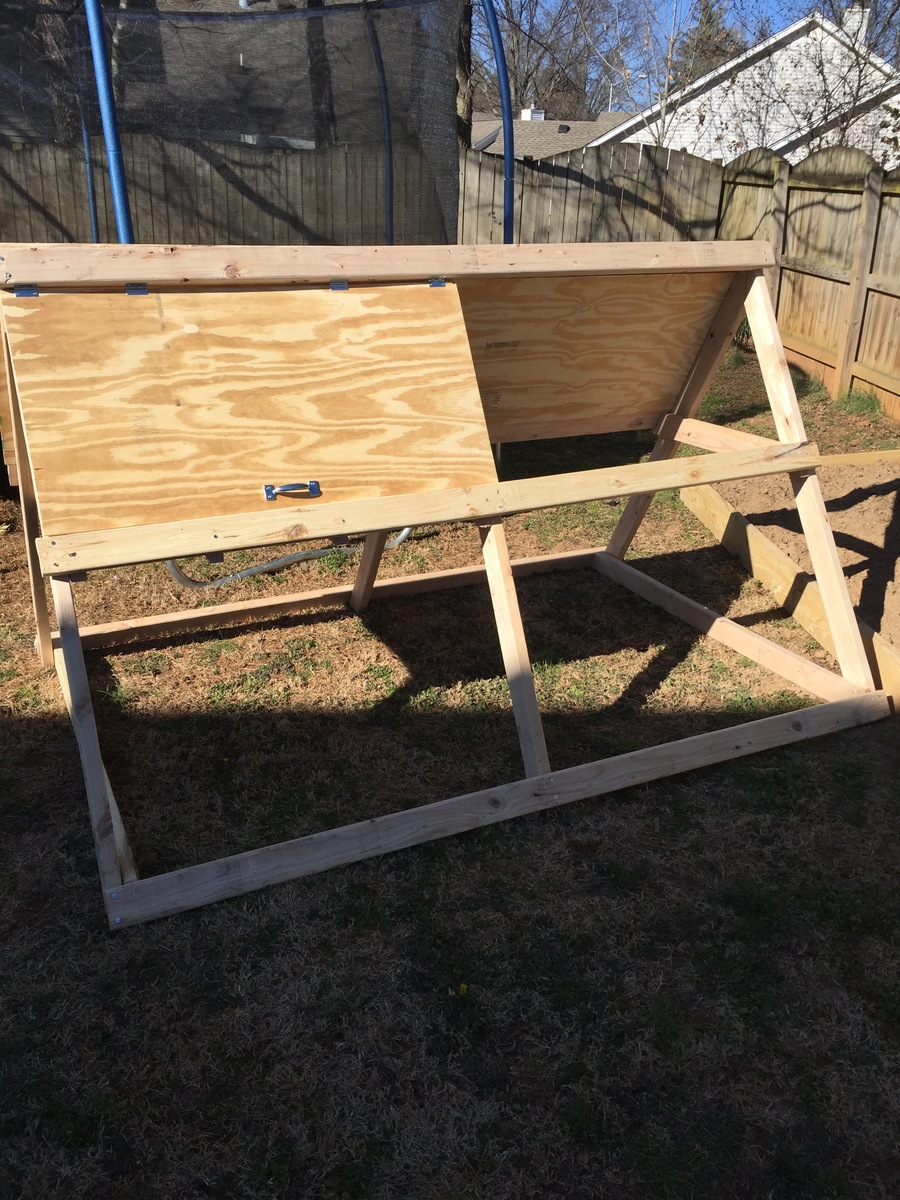
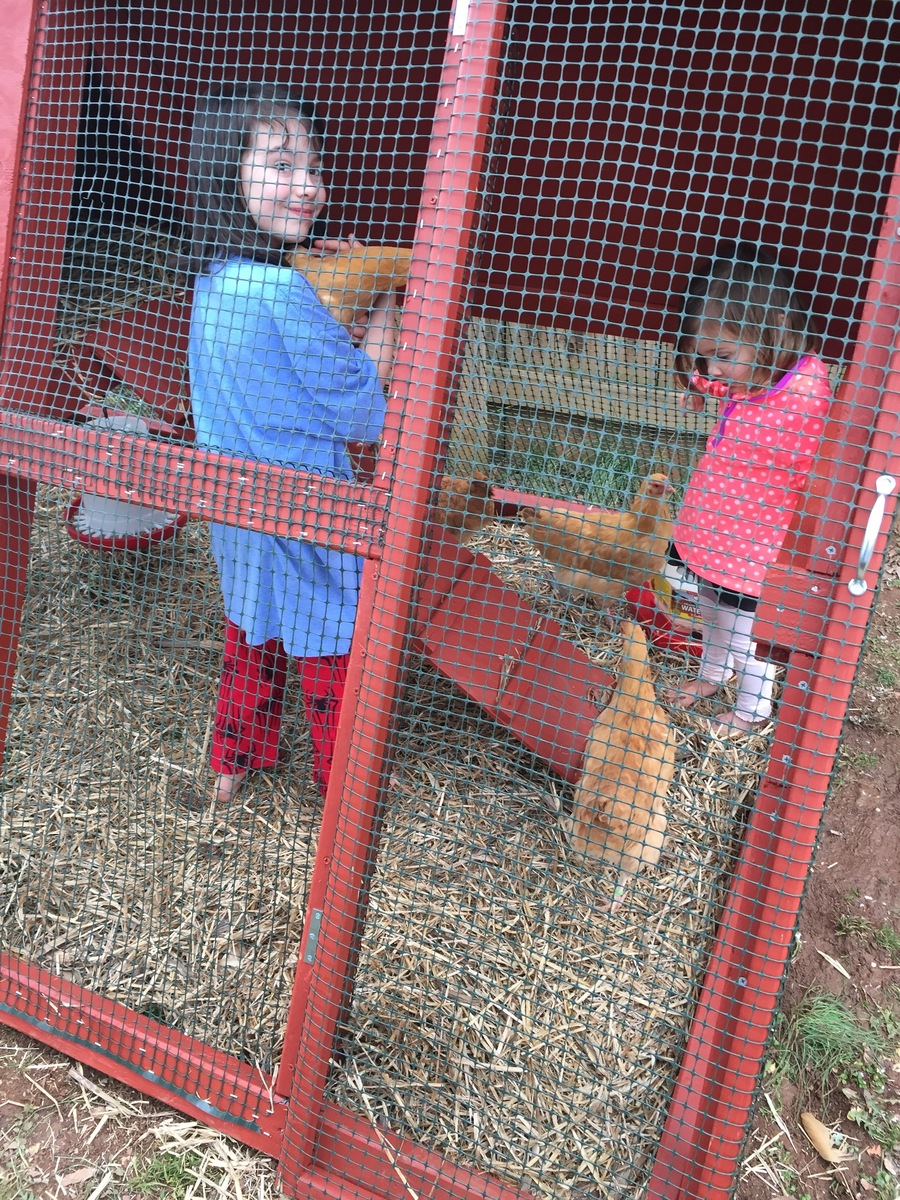
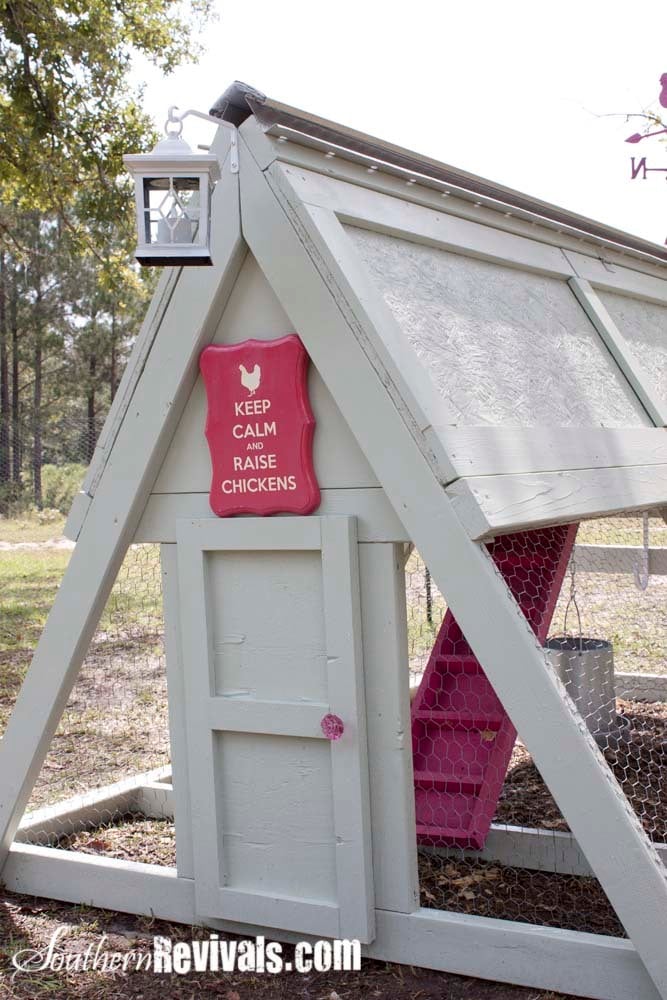
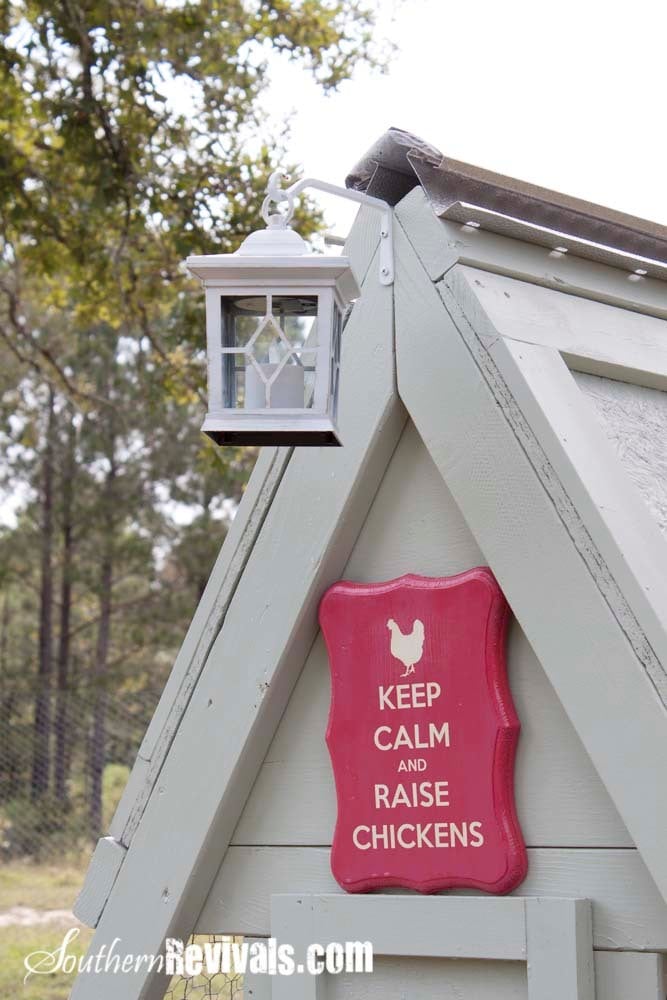
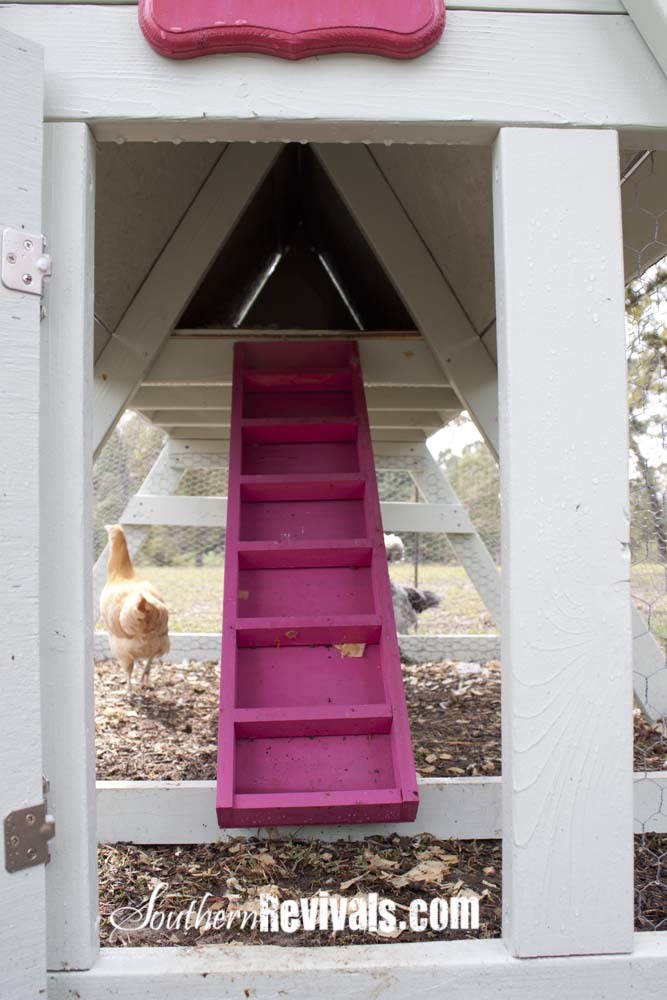
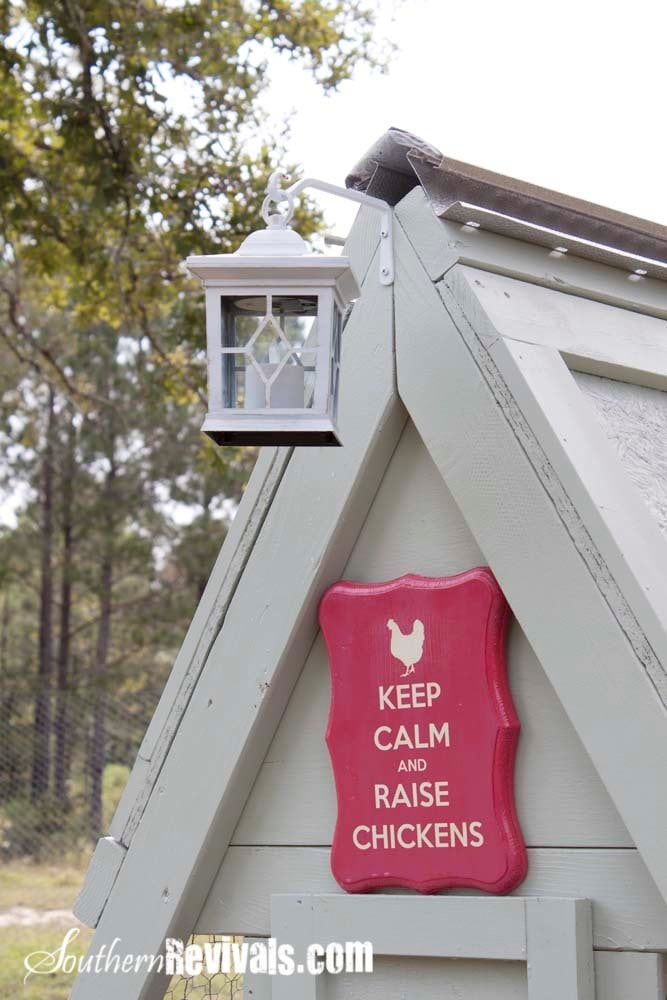
We took Ana's original coop plans and diva'd it up a bit to suit our needs and our climate. We added a pop door and decided to split the roof panels into four, three of which open up. We put the hinges on the top of the roof panels so we could easily prop them open. We also added a brace across the bottom of our ladder for support. Since we added a door I believe our ladder is a bit more steep than in the original plans.

Because we put our hinges on top we added lattice strips inside on the top of the door panels that go just under the 2x4 of the roof peak to keep the rain out. We also used a roof cap for the same reason. We went back and added silicone to the strategic places to prevent water leaking into the nesting box while also being careful not to affect the necessary ventilation.

We used OSB for our roof panels instead of T111 because it's what we had on hand and also because we were going to be painting it.
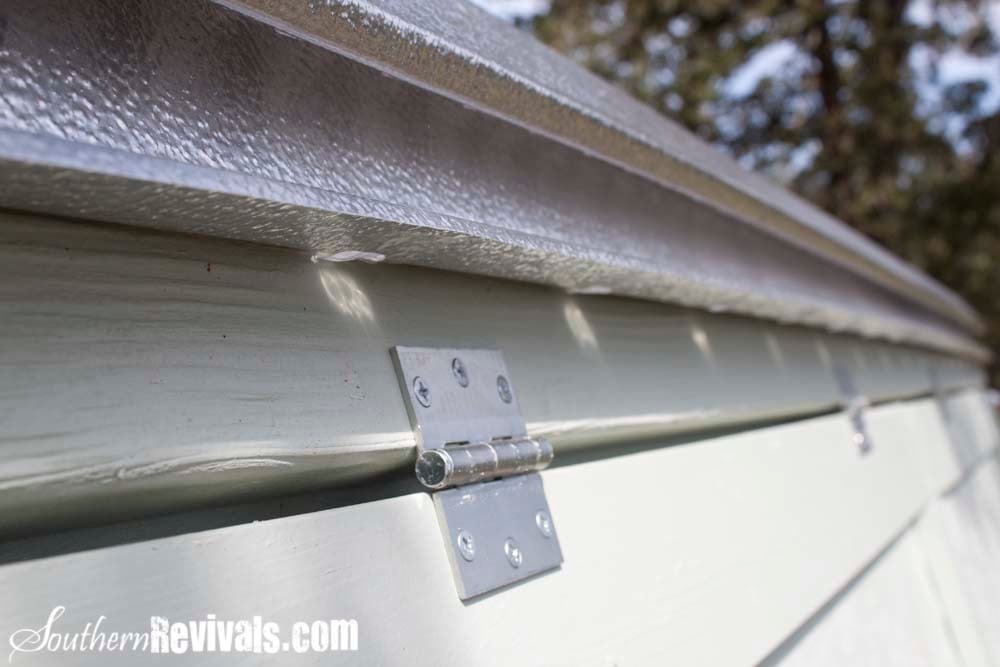
Finally I added handles to each of the hinged panels to make opening easy. And cute!

Built from Plan(s)
Estimated Time Investment
Weekend Project (10-20 Hours)
Finish Used
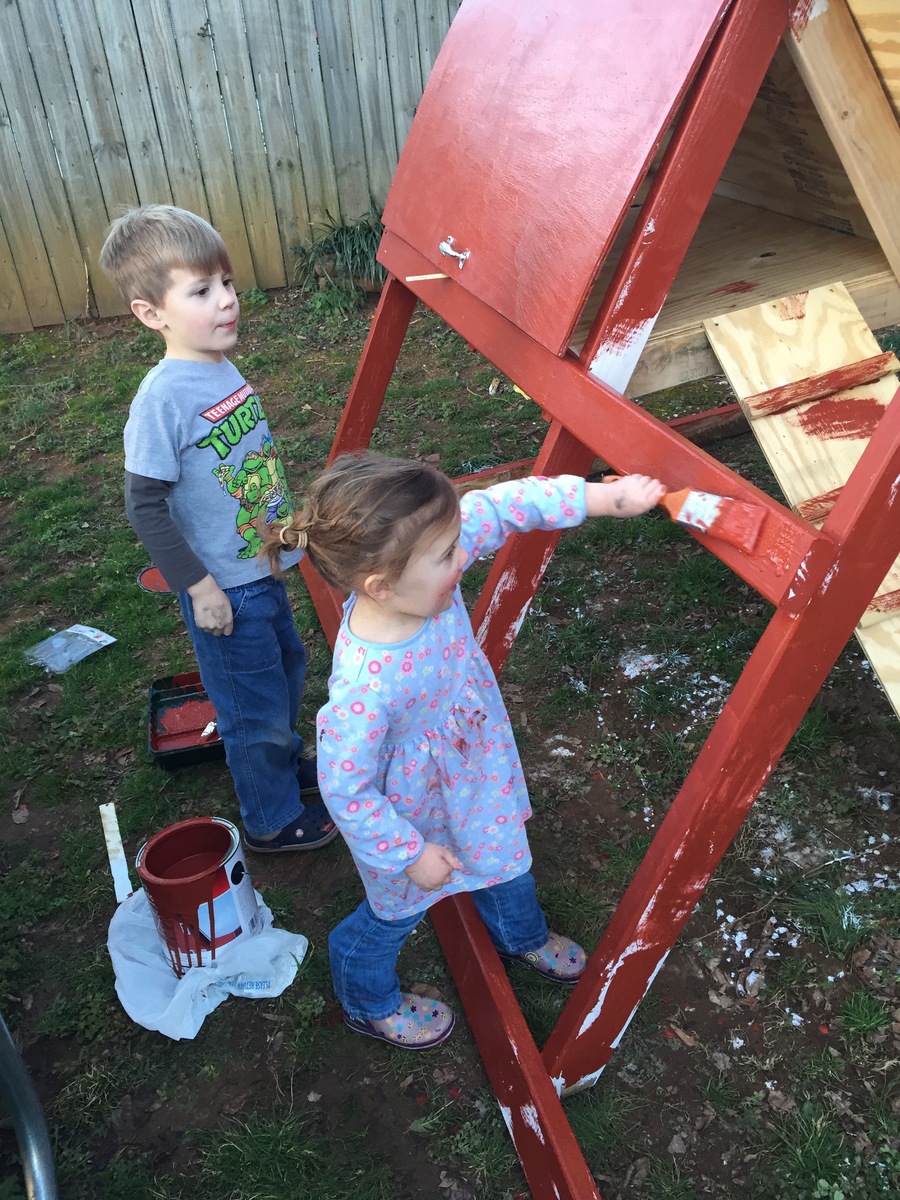
I used a no VOC exterior paint from Valspar (green) that I found in the mistinted section at Lowe's. The pink (ladder) is Very Berry by Valspar and is not an exterior paint.
Recommended Skill Level
Intermediate

Comments

anniejw17

Wed, 02/27/2013 - 11:11

Love your coop! It's so cute! I need to find a weather vane. We ended up adding a roof cap of sorts - just aluminum flashing really. It does still leak in the nest box, though, which just encourages me to change out the bedding for fresh straw, which is a good thing I guess!

Southern Revivals

Wed, 02/27/2013 - 13:24

Yes mine leaked, too. We added the roof cap and some silicone but that still didn't stop it. So I finally went in and added some screen molding behind the panels in the nesting box. It still isn't quite "leak proof" but it is better. I will share if I figure out how to make it leak proof! Thank You!
billd333

Mon, 01/13/2014 - 09:45

These were great plans, thanks for sharing!
I'm new to having chickens so since it's cold now is Massachusetts I'm holding off on getting a couple of hens. The 2 main questions I have are where did you end up mounting the roost? And where did you end up putting the nesting box? I only put a floor on half so was thinking the roost board could be suspended above the ground on the open side. That leaves the 1/2 floor to hold the nest box?? Please any comments on the roost, nest box, watering and feeding systems are welcome.
thx..Bill

Southern Revivals

Mon, 01/13/2014 - 10:03

Hi Bill,

I am actually in the process of writing another blog post about this coop. I have gotten so many questions about the modifications we did and have lived with it long enough to know what I would have done differently. You doing the 1/2 is great and is one of the things I would do differently if we had it to do over again.

I will post an update here as soon as that post is live. In the meantime, feel free to contact me directly at Jamie @ Southern Revivals.com

Thanks!
Jamie

Playhouse

Submitted by Dawnybb on Thu, 11/22/2012 - 09:32

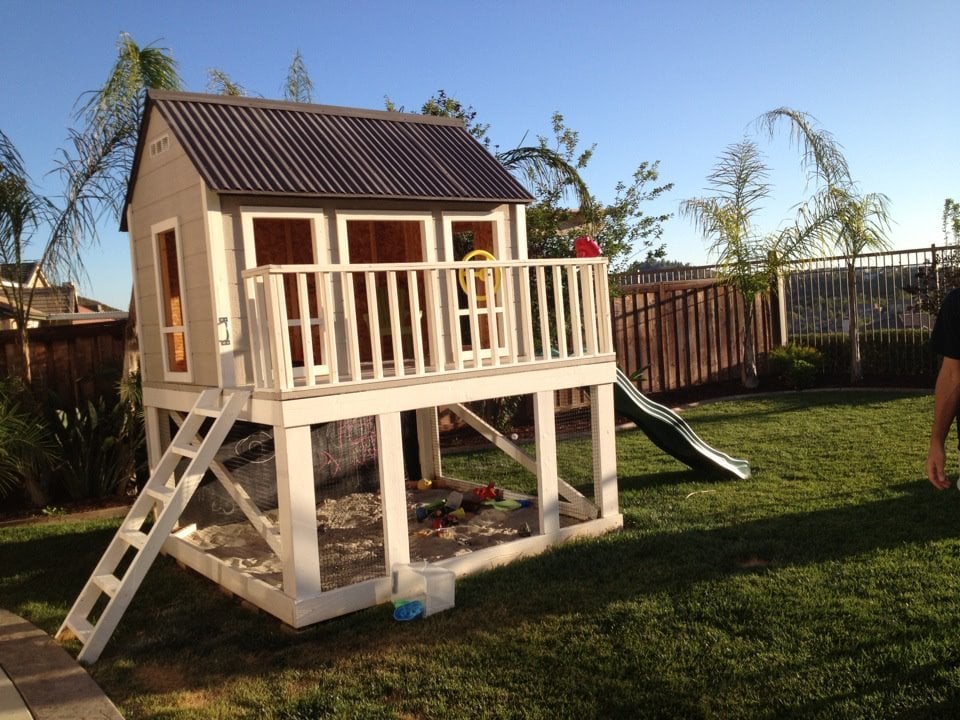
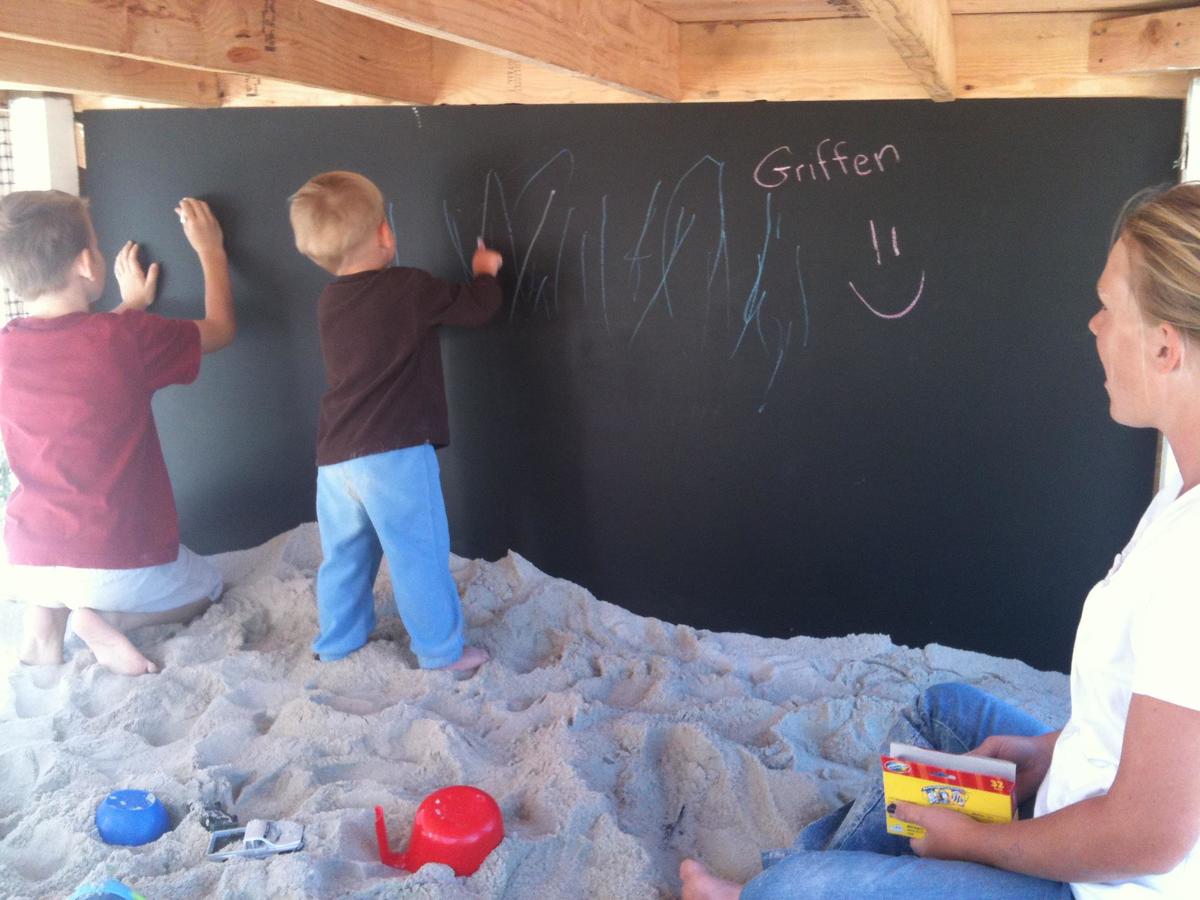
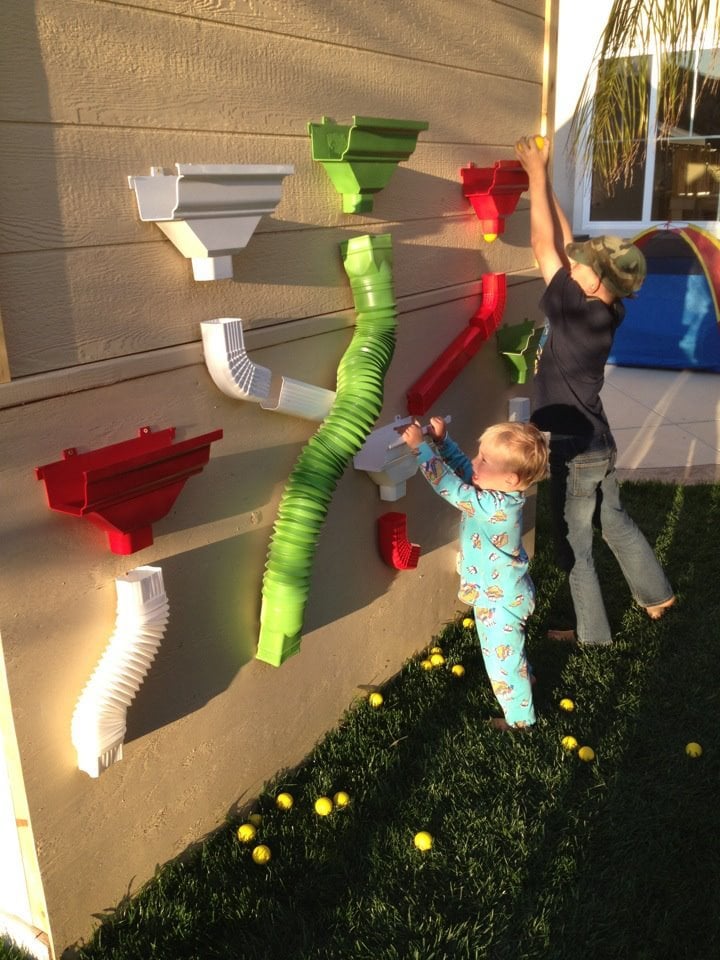
This was so much fun to do! Very easy and I added some personal touches. I made the lower level an enclosed sandbox area with a chalk board on the back wall. On the outside of the back wall, I added a "ball wall" that my kids love. I enclosed the bottom sandbox with plastic "chicken wire" to keep the cats out. :)
Estimated Cost
$500
Estimated Time Investment
Weekend Project (10-20 Hours)
Finish Used
Paint
Recommended Skill Level
Intermediate

Comments

Dawnybb

Thu, 11/22/2012 - 15:34

Thanks! Glad you like it!

The paint was from Dunn Edwards: Roof was "Louisiana Mud", playhouse walls were "Drifting" and then the white was a snow white from Lowe's.
The slide and accessories were also from Lowe's.

m7hennen

Tue, 04/15/2014 - 09:35

I LOVE this! This is exactly what I'd like to build. Do you have plans you can share with us? I think I'd also like to add a couple of swings on one of the sides too. Thanks so much!

In reply to by m7hennen

Dawnybb

Sun, 04/27/2014 - 08:39

I know I messed with the dimensions a bit but I don't remember exactly. I made the playhouse larger (deeper and taller than original plans) . I also cut the roof line on the deck side for more room. I put aluminum over the wood on the roof and then painted. The Ball Wall was made out of plastic gutter pieces that I painted and we used practice rubber golf balls to throw into them. I hope that helps! We sold that house, so I can't go out and measure it :)

eegad1973

Thu, 05/28/2020 - 15:32

You may not get this as this is an old post. Did you dig post holes? I have older kids and I am thinking about building a plan like this but at a 6ft height. Wondered how much it moves around when there are a bunch of kids on there. The house I will build is also 6 ft heigh.

Seasonal And Holiday

Modified desk into makeup vanity

Submitted by jlfreck23 on Mon, 12/14/2020 - 19:22

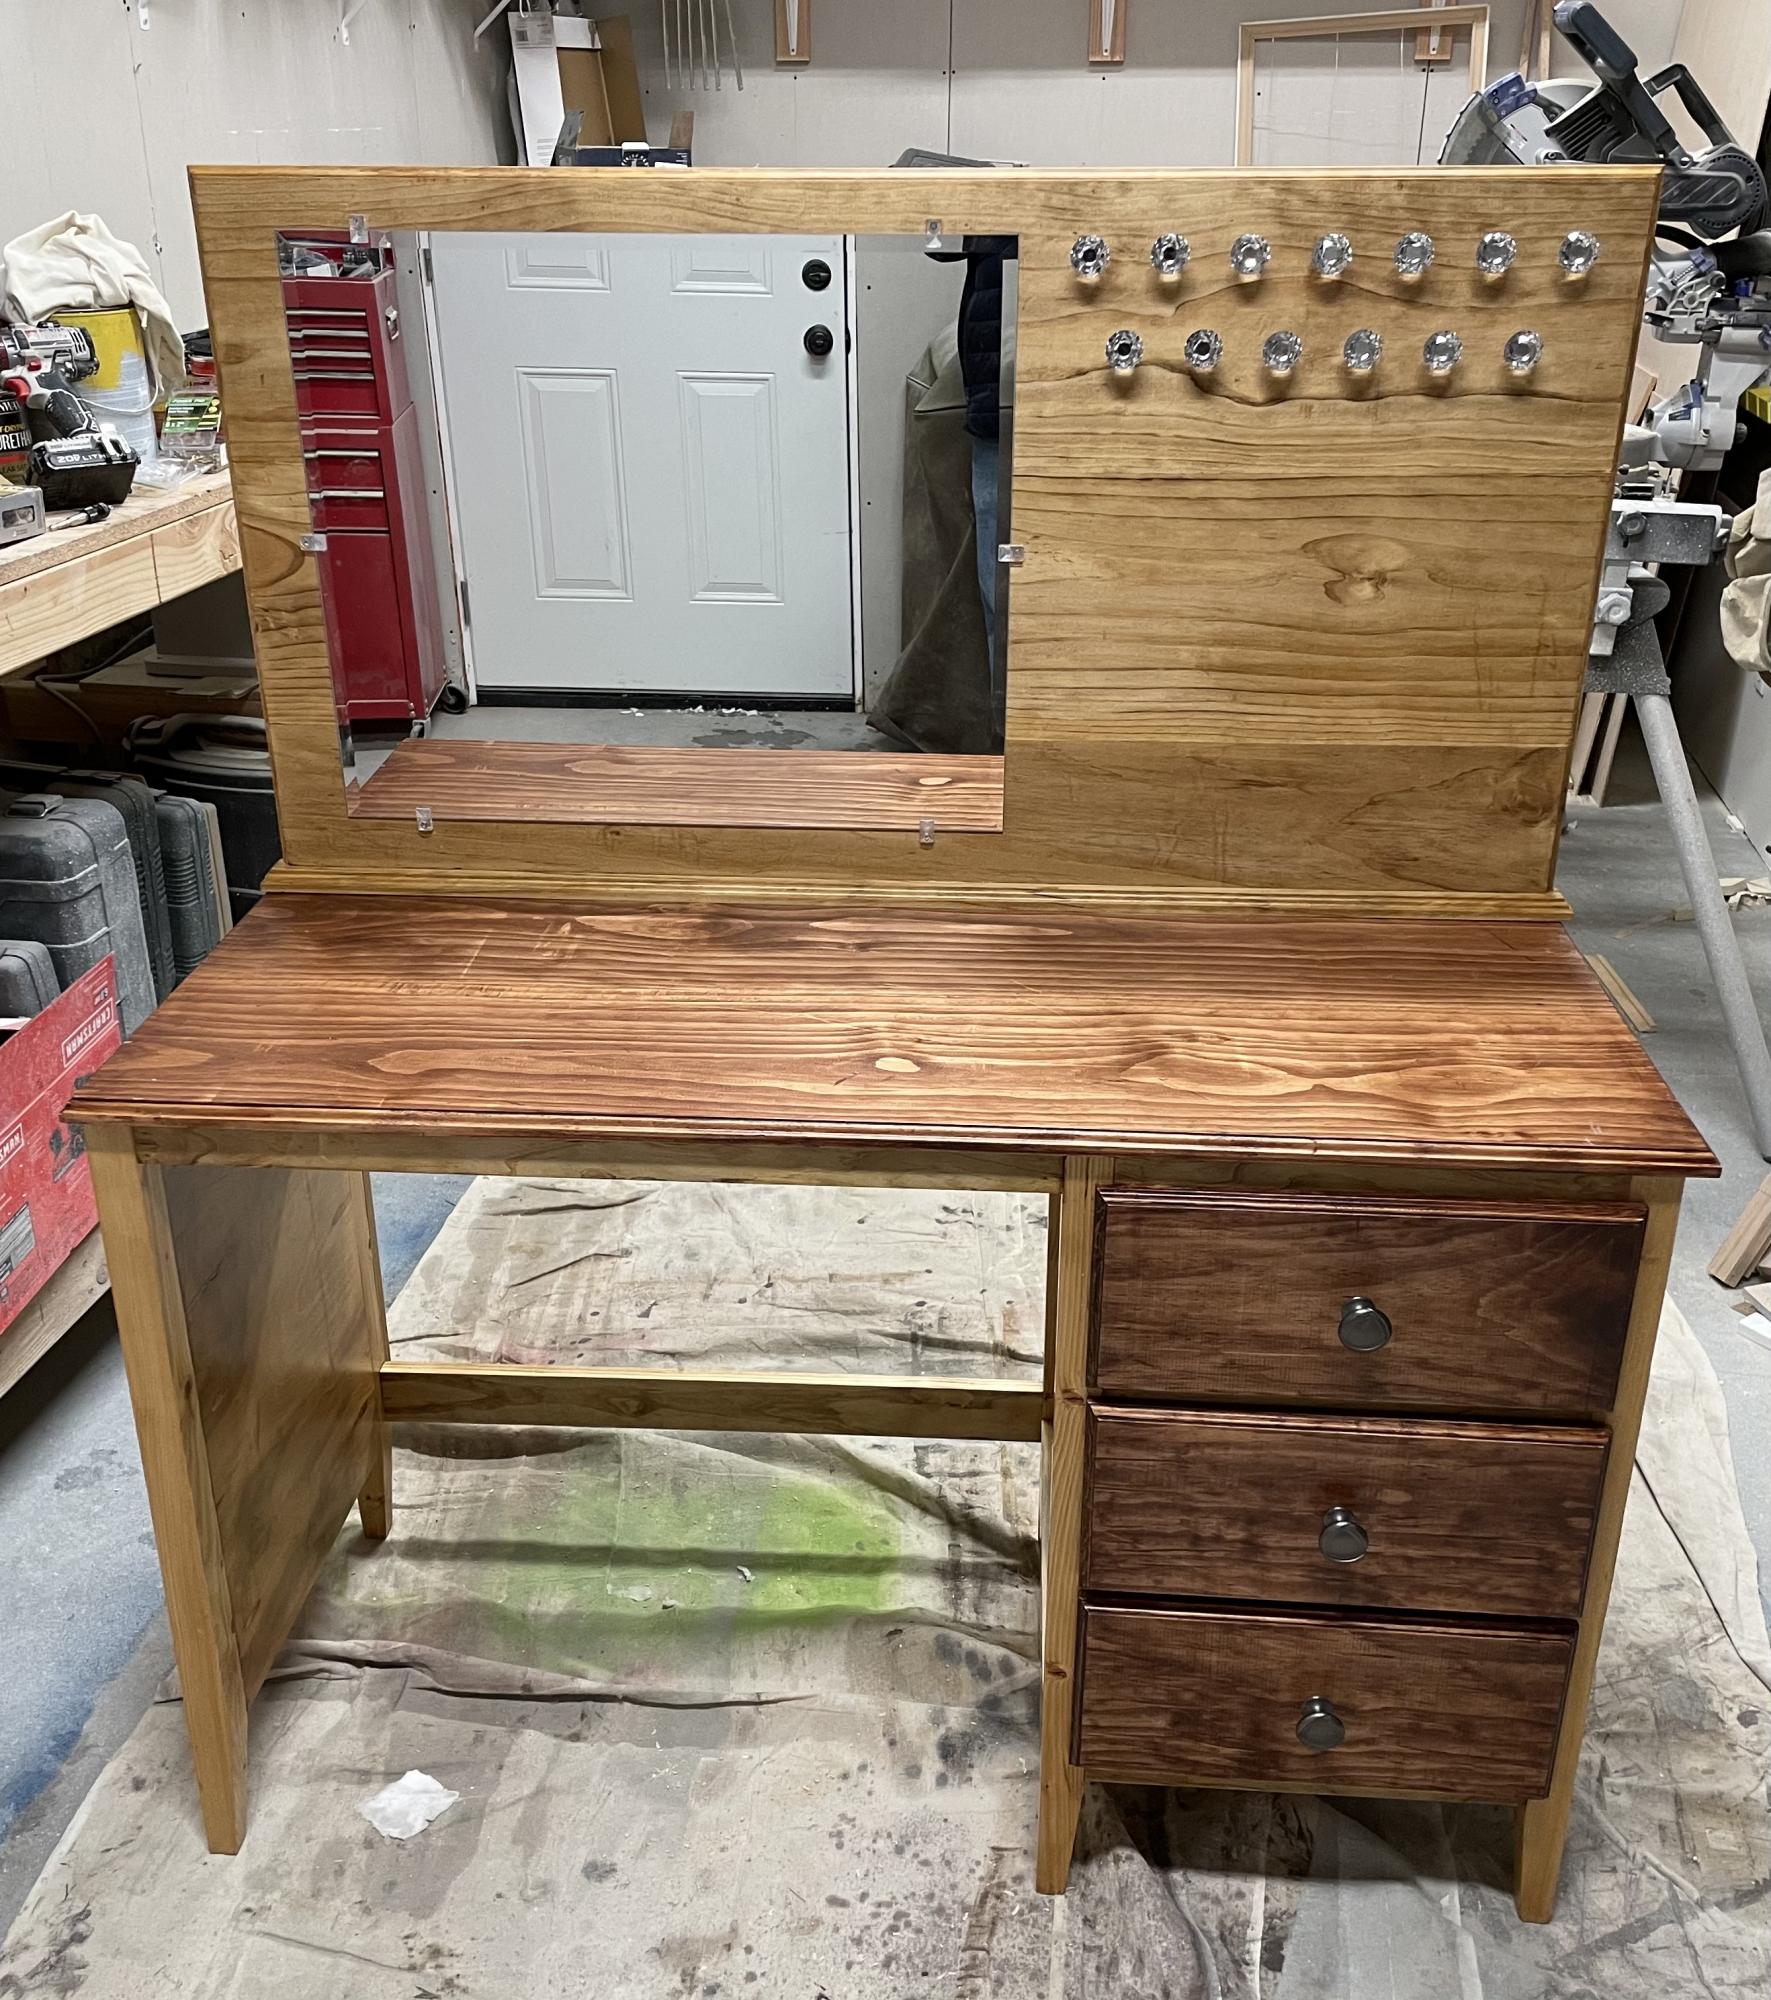
I built this for my adult daughter’s Christmas present. I modified the plan to have three drawers instead of the cubby. I also tapered the bottom of the legs. I added a back piece to hold a mirror. I also added door knobs to the back for necklaces.

The top and the back board are both 4 boards glued and clamped together. I finished the edges of the top, drawer fronts, and the back board with an ogee router bit.

Estimated Cost
$140 (lumber is expensive right now)
Estimated Time Investment
Weekend Project (10-20 Hours)
Finish Used
Mahogany stain on the top and drawer faces. It is a golden oak stain for the base. Finished with a satin polyurethane.
Recommended Skill Level
Intermediate

2x4 (and 2x6) Modern Adirondack Chair

Submitted by HR Dad on Mon, 12/28/2020 - 15:43

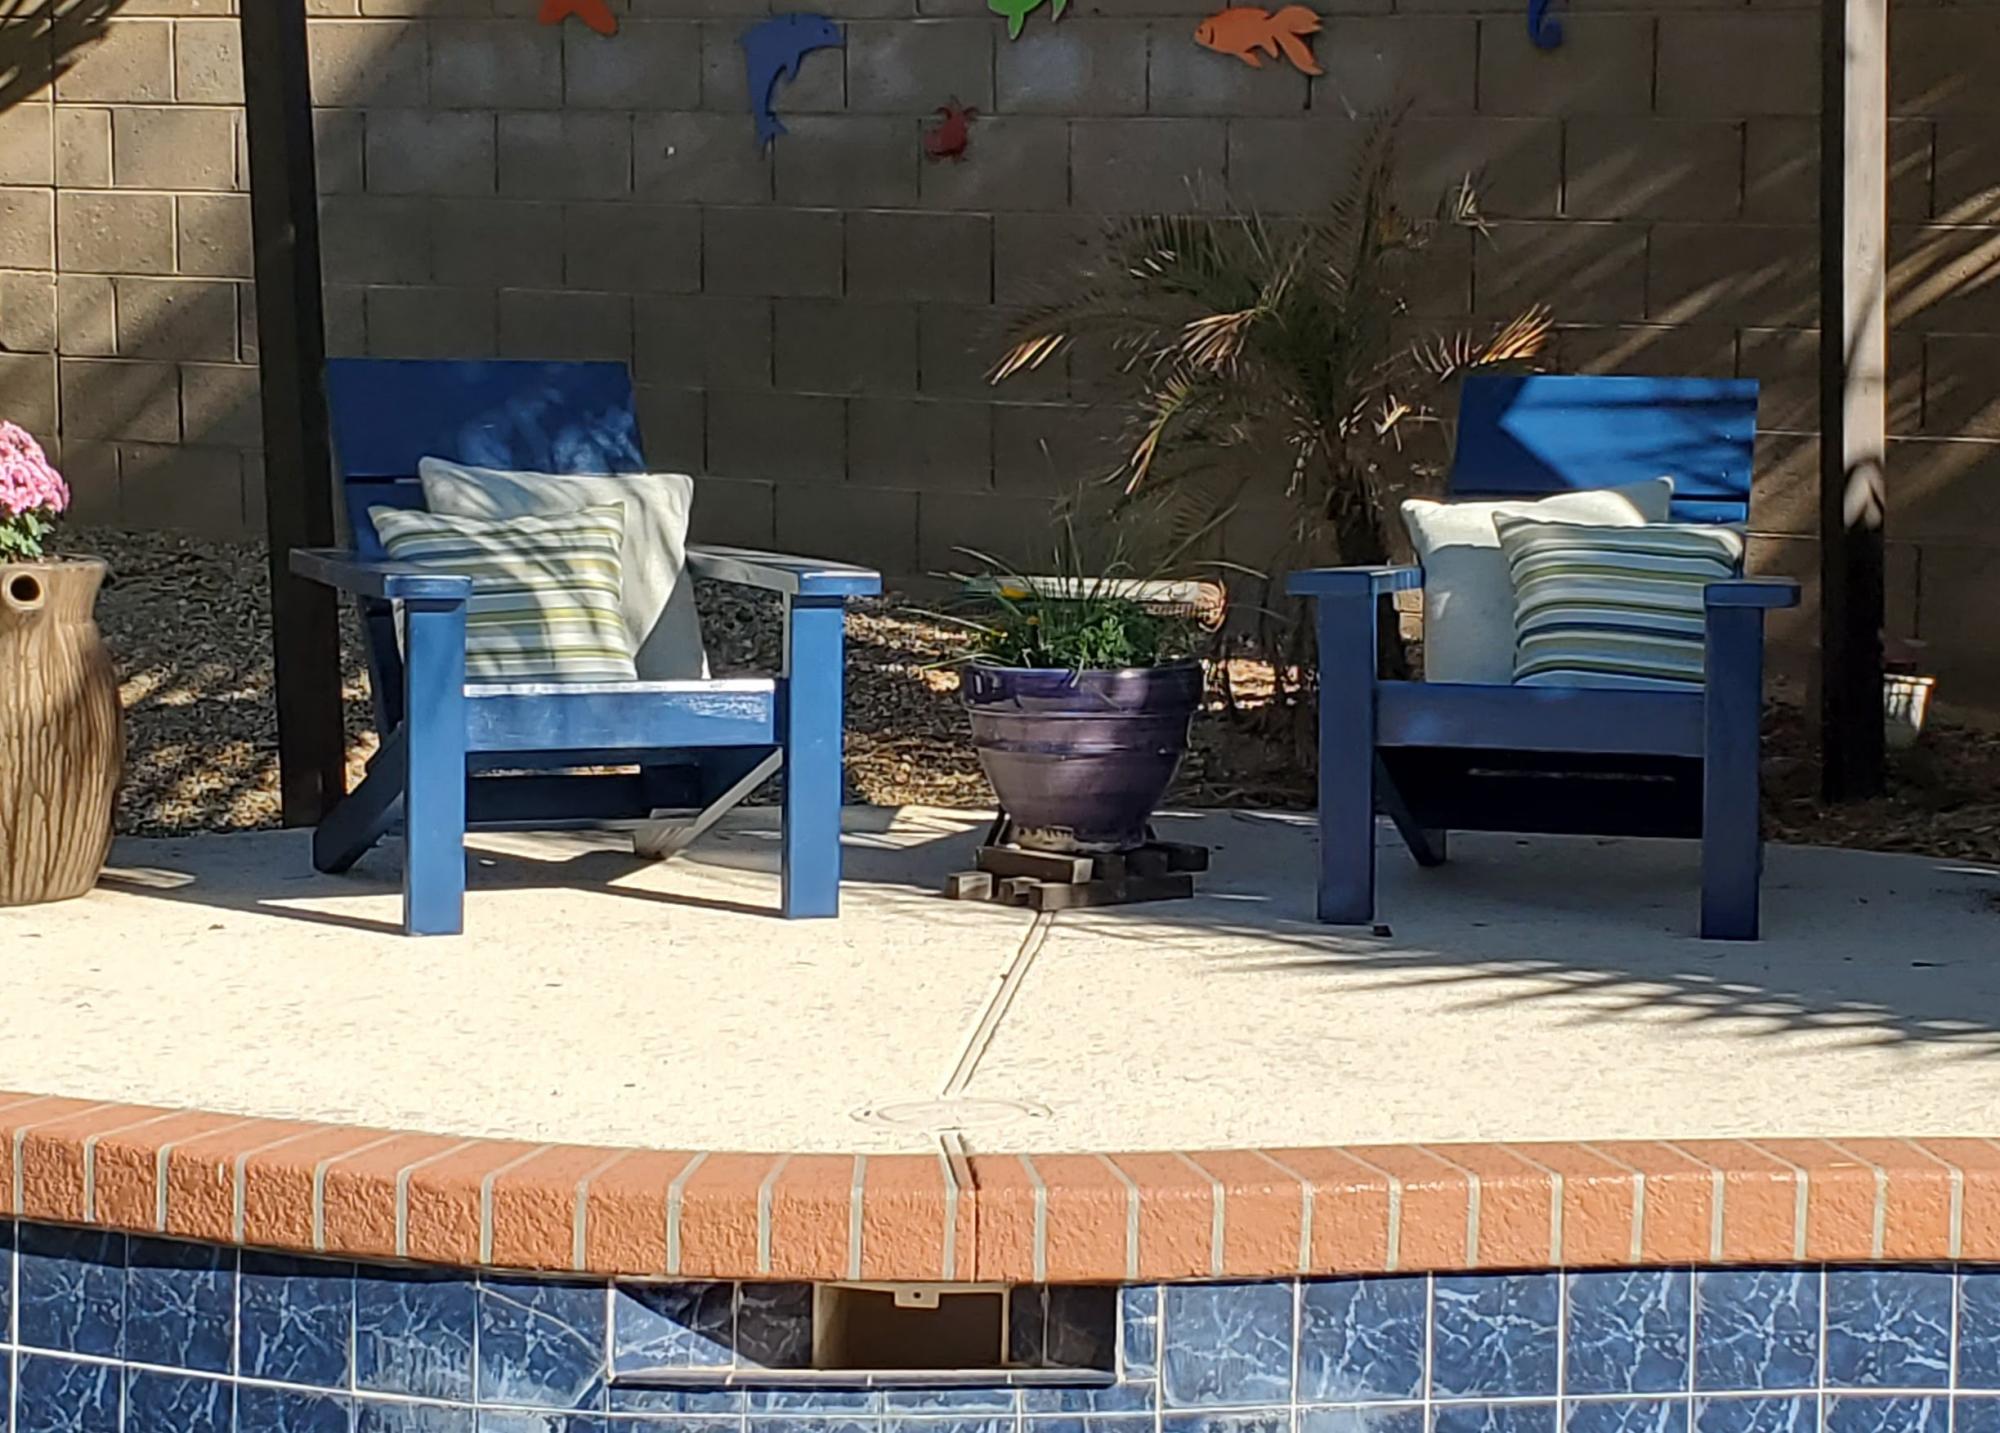
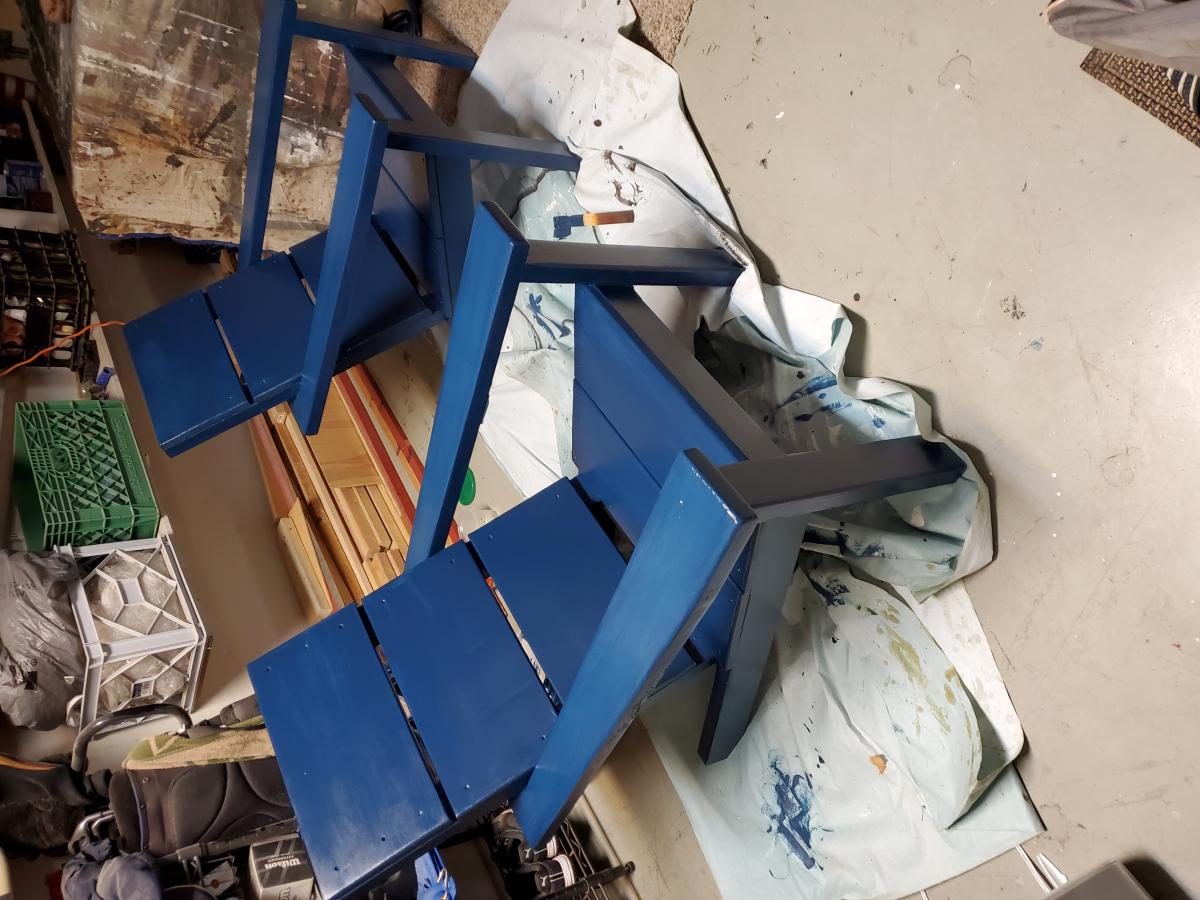
Been wanting to make some Adirondack chairs for years; have about 10 different plans saved that one day I could get to. These 2x4 modern plans made getting them done quickly possible due to simplicity of the cut list and cheap cost of materials. The only real change I made was to use 2x6 for the arms; I cut a taper along outside edge and increased the length of the arms by about an inch and a half to overhang the front legs a bit. Since I just used basic framing lumber, I milled all of the boards first with table saw and planer to make square consistent edges. And, I chose to use pocket screws in as many joints as I could so I wouldn't have screw holes on any visible faces. Add in a lucky find at the big box store paint return; scored this blue exterior paint for $2.00 a quart, and my weekend project turned out pretty good. Now I've got two neighbors that want 'em.

Estimated Time Investment
Weekend Project (10-20 Hours)
Finish Used
1 qrt Glidden Exterior Semi-Gloss; got it so cheap, I used the whole quart. Multiple coats.
Recommended Skill Level
Beginner

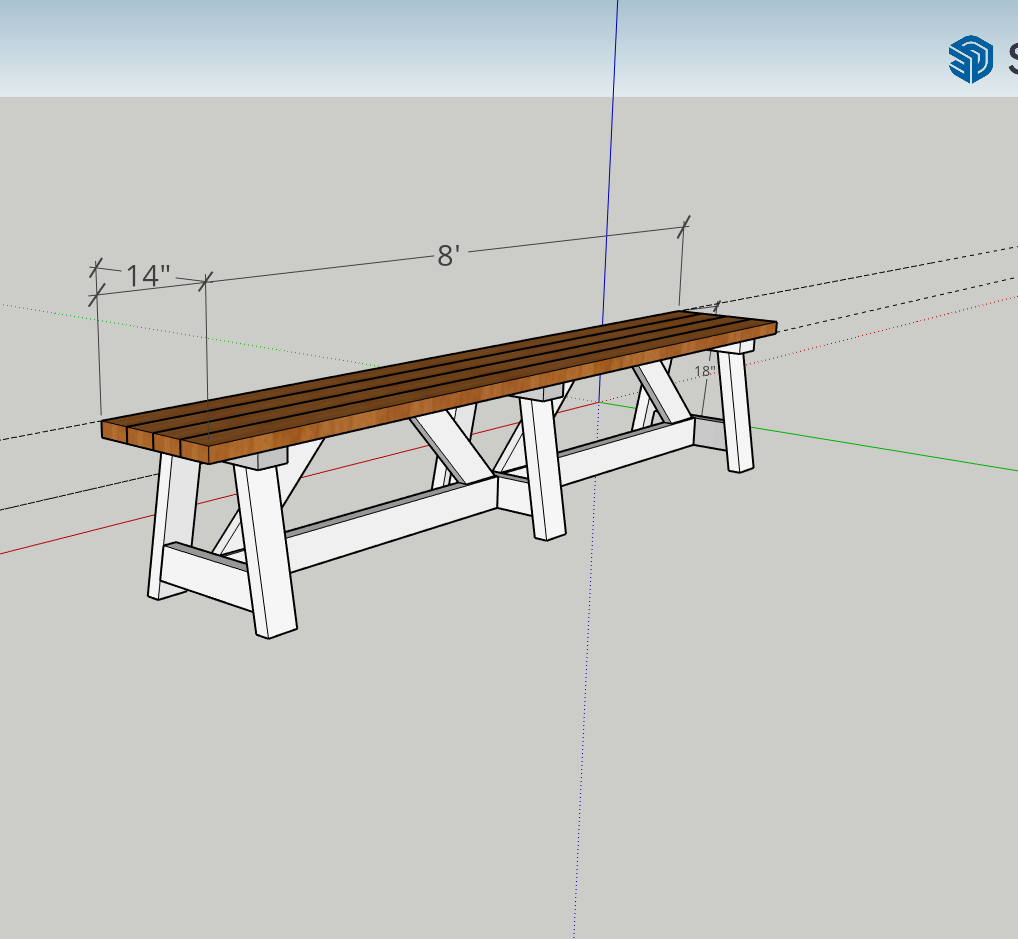
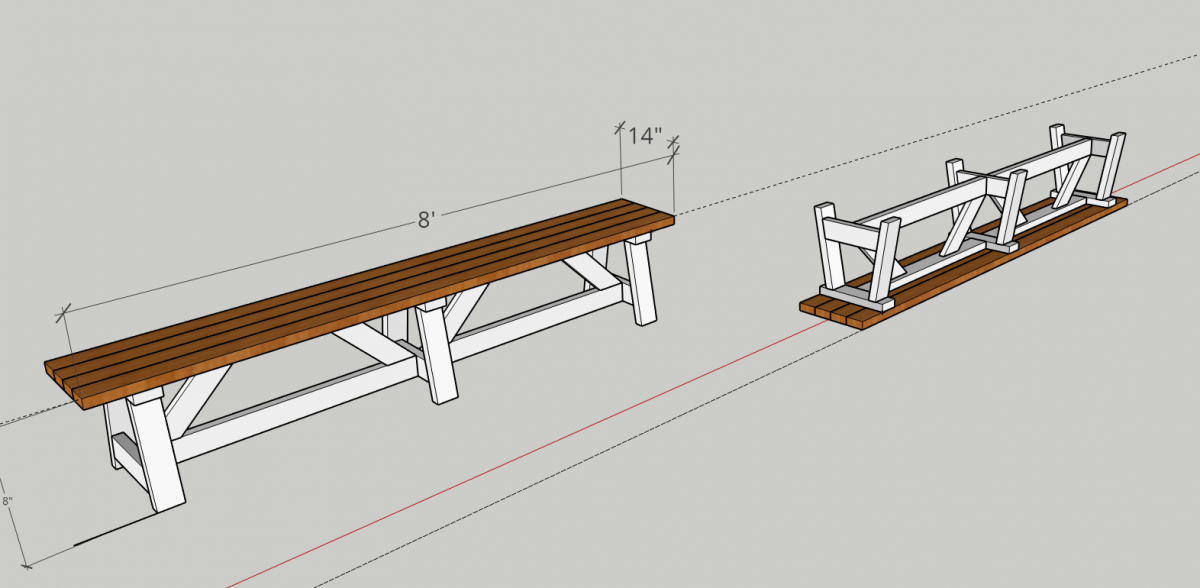
8 foot long truss style farm bench

Submitted by Bigherd on Wed, 04/21/2021 - 05:01

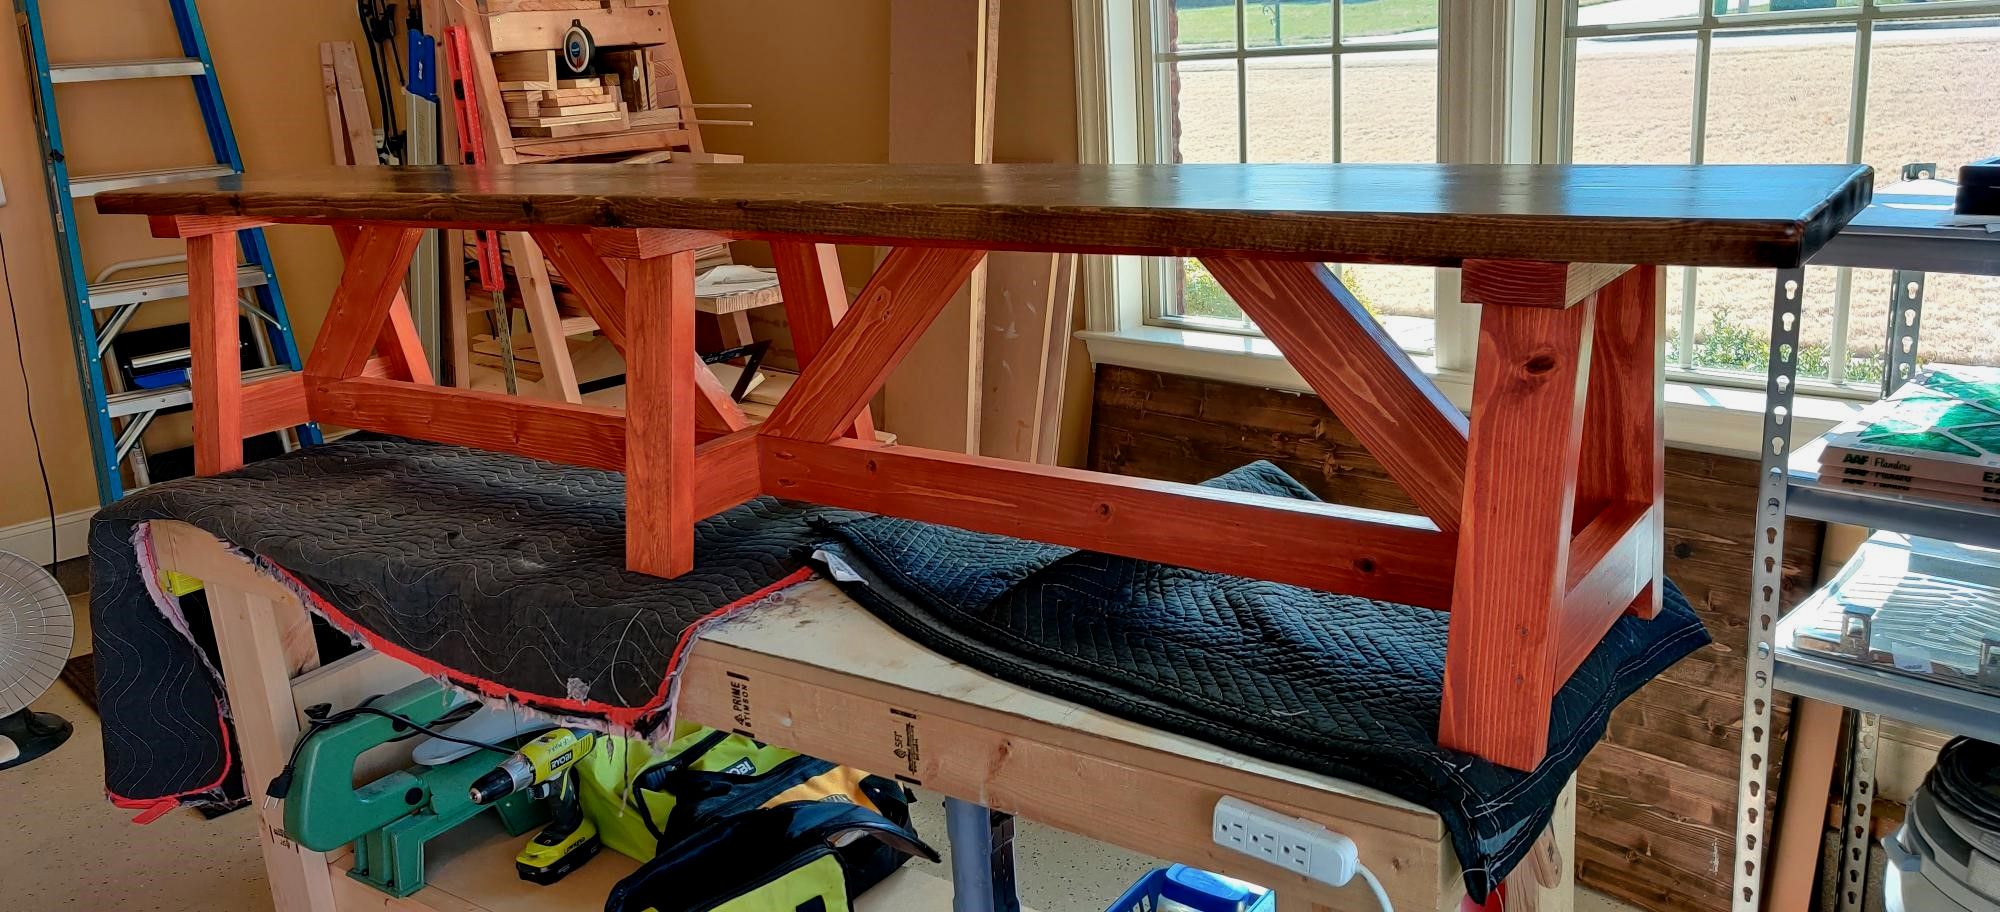
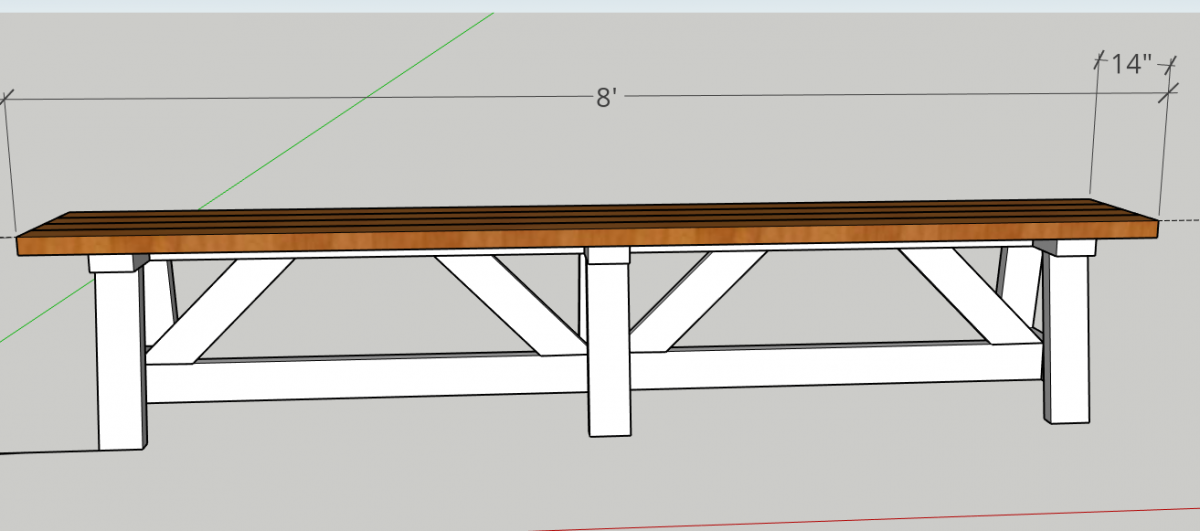
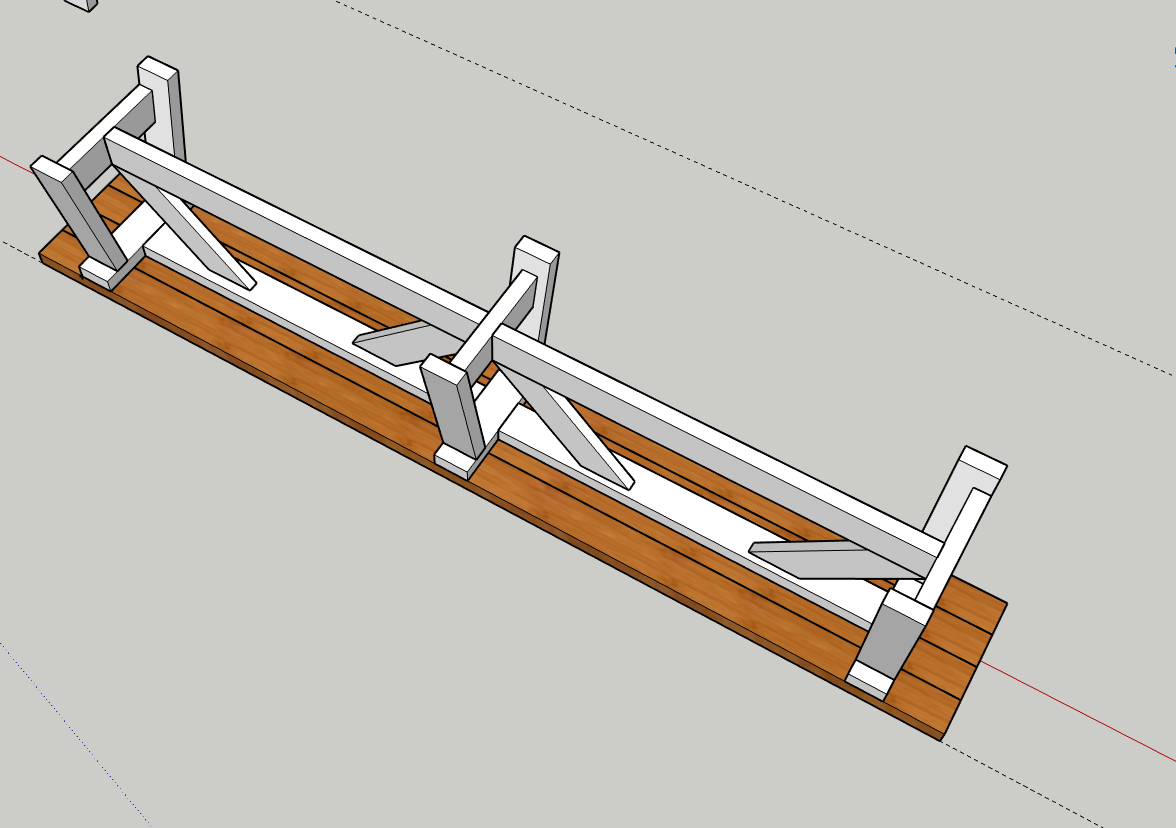
I had a friend that loved the 48" long truss style farm bench. However, she wanted one 8' long. I modified the "2X4 Truss Style Farm Bench" and came up with this design. As you can see, she want a very specific stain color combination.

Built from Plan(s)
Estimated Cost
$80
Estimated Time Investment
Week Long Project (20 Hours or More)
Finish Used
stains and Minwax Polycrylic
Recommended Skill Level
Beginner

Comments

DIY Folding Workbench

Submitted by suzeet305 on Mon, 10/18/2021 - 18:32

I'm a beginner DIYer and I knew one day I was going to have to make a workbench. I made mine 24x48 so I wanted a little more support to hold up the drop down leaf. I searched your site and found another plan with these gatelegs and knew this is what I wanted. I love the way it came out. What do you think?

Built from Plan(s)

Comments

Cedar Chest

Submitted by Keldani5 on Mon, 12/27/2021 - 06:42

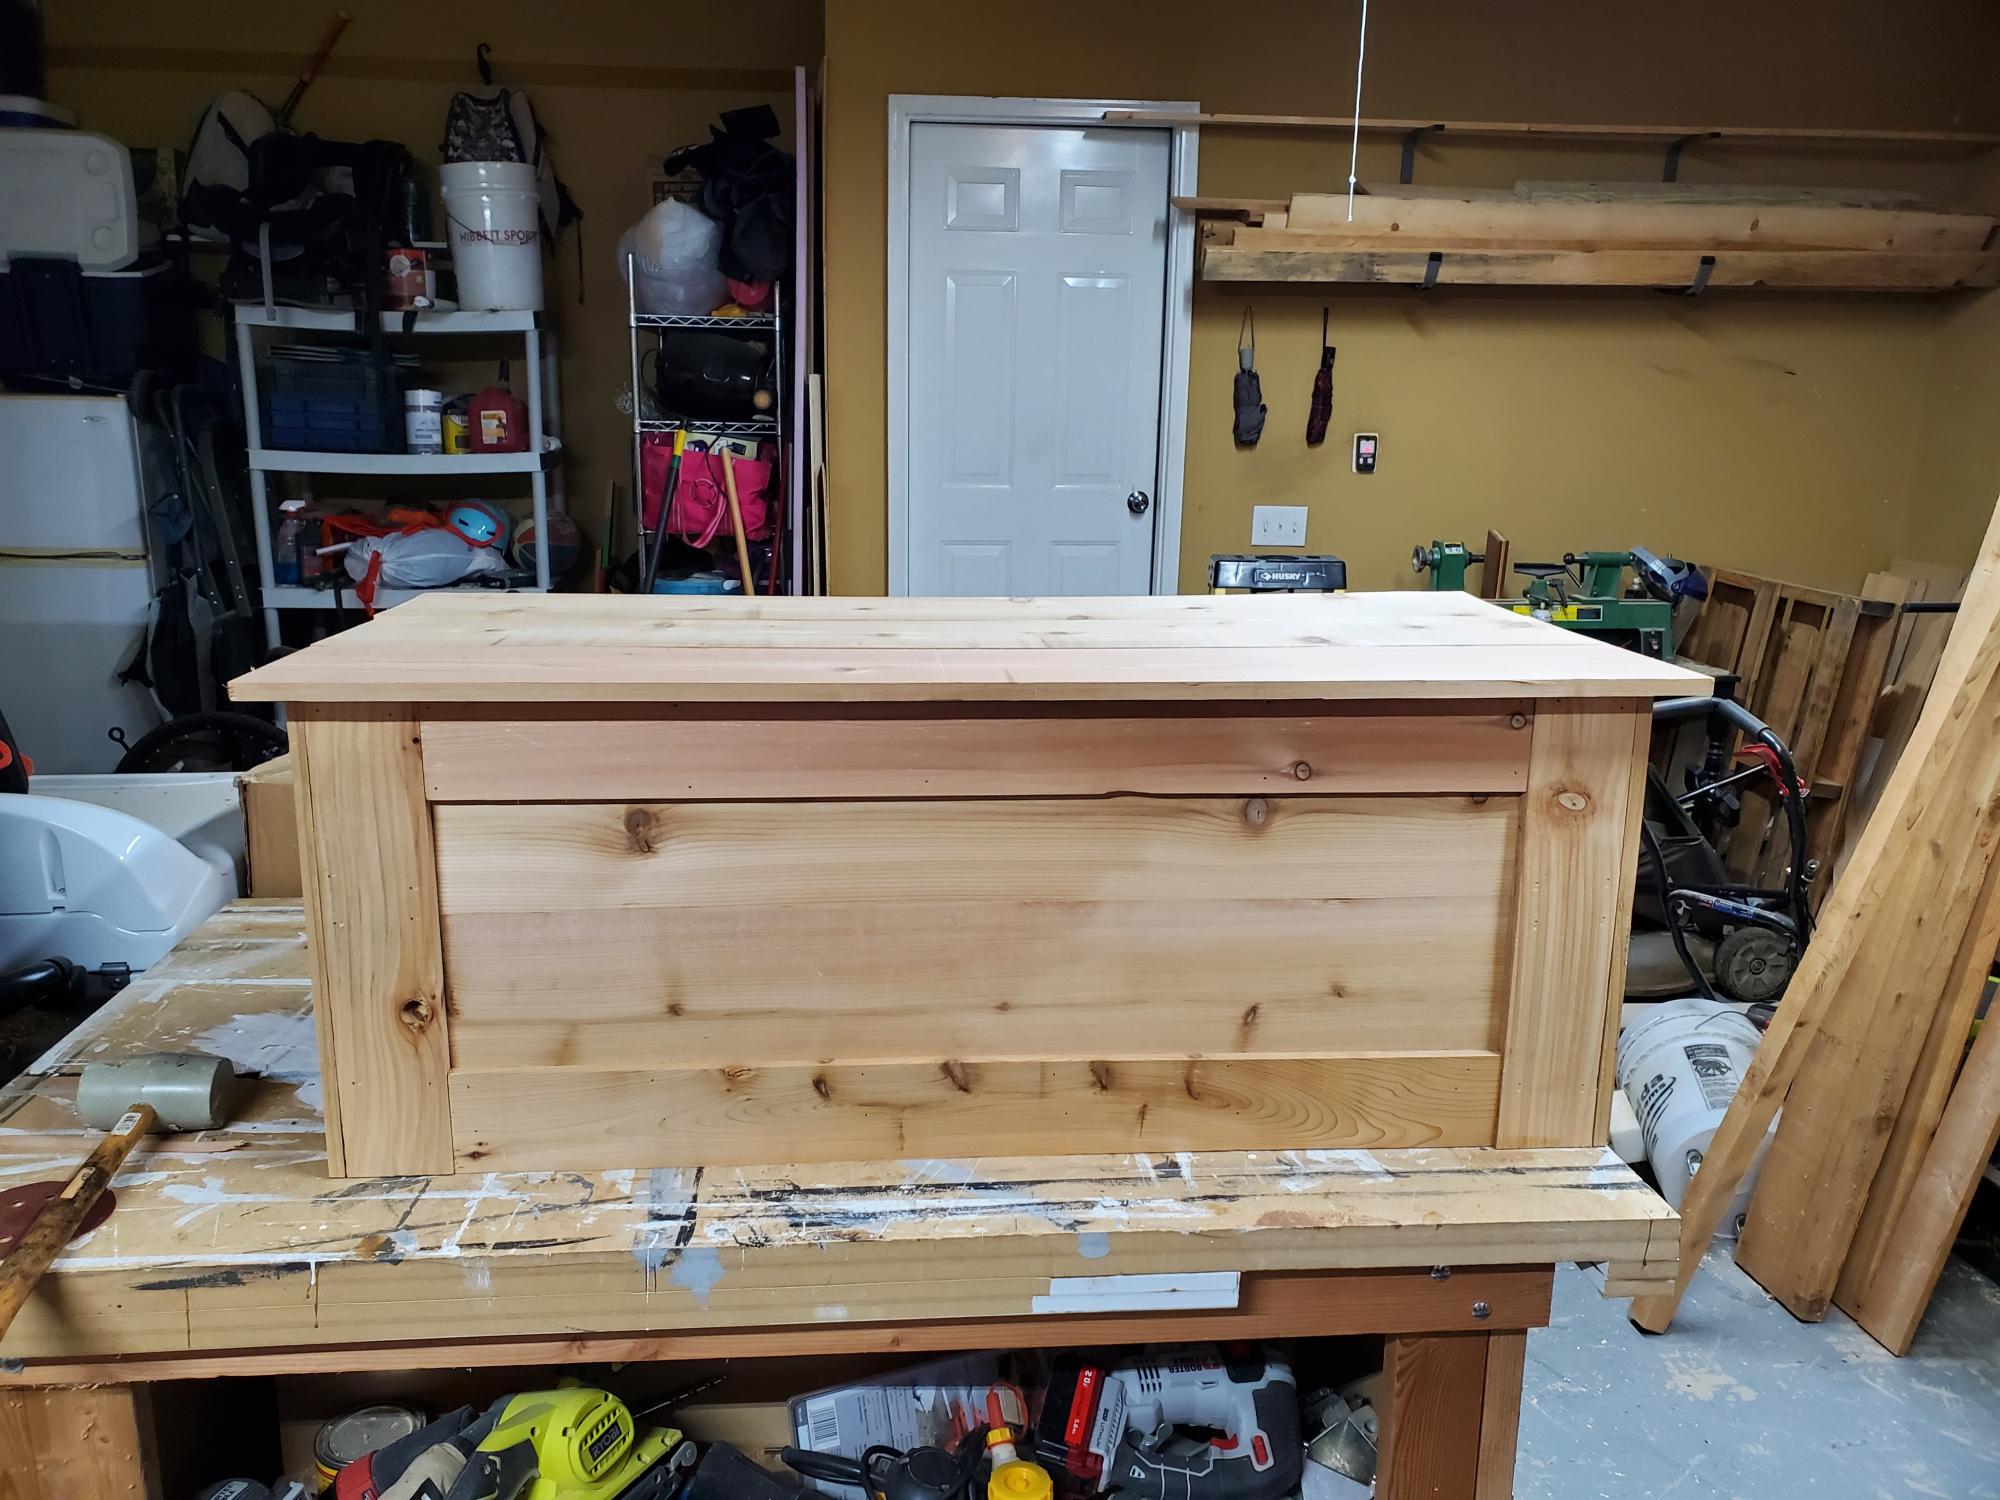
I created this from rough cut cedar I glued everything together and finished it off with brad nails and brass hinges. Then I added a poly gloss on the outside.

Comments

Custom mudroom storage

Submitted by Anonymous (not verified) on Sun, 02/26/2023 - 14:04

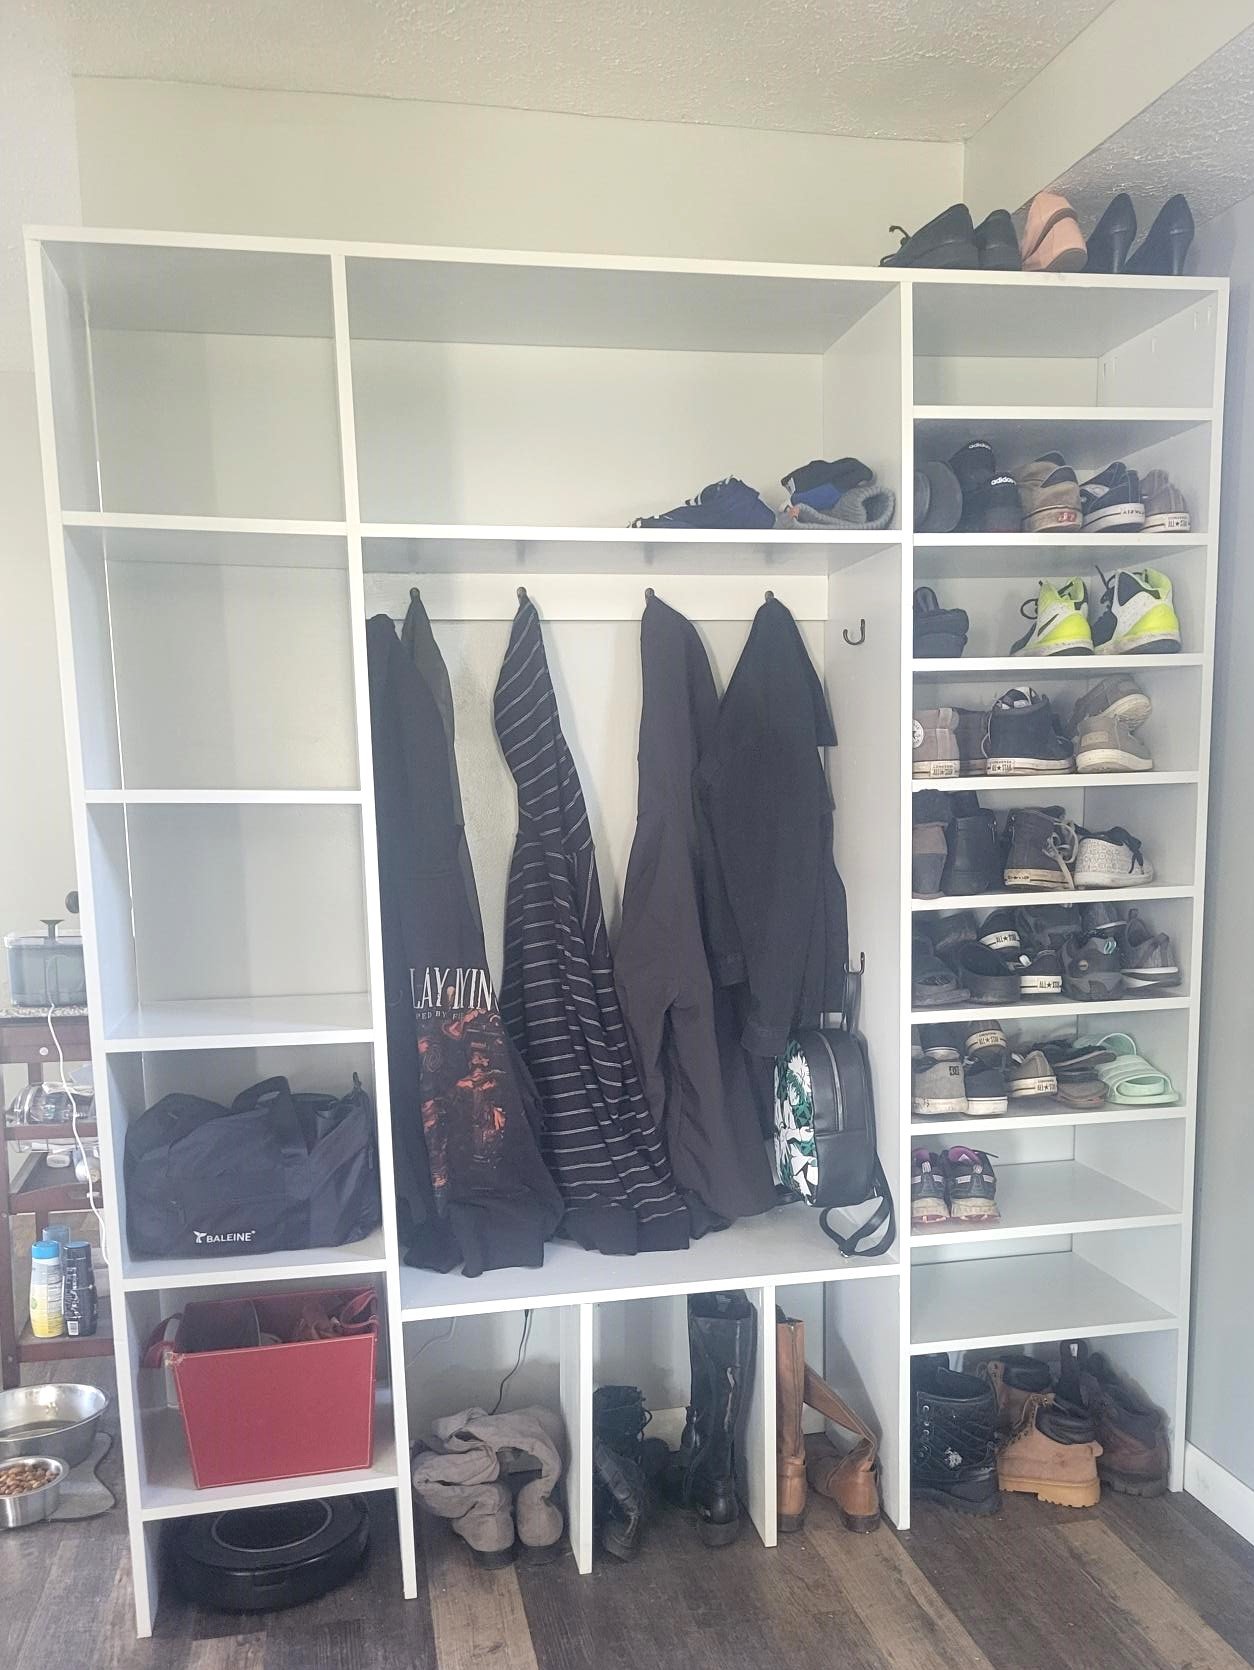
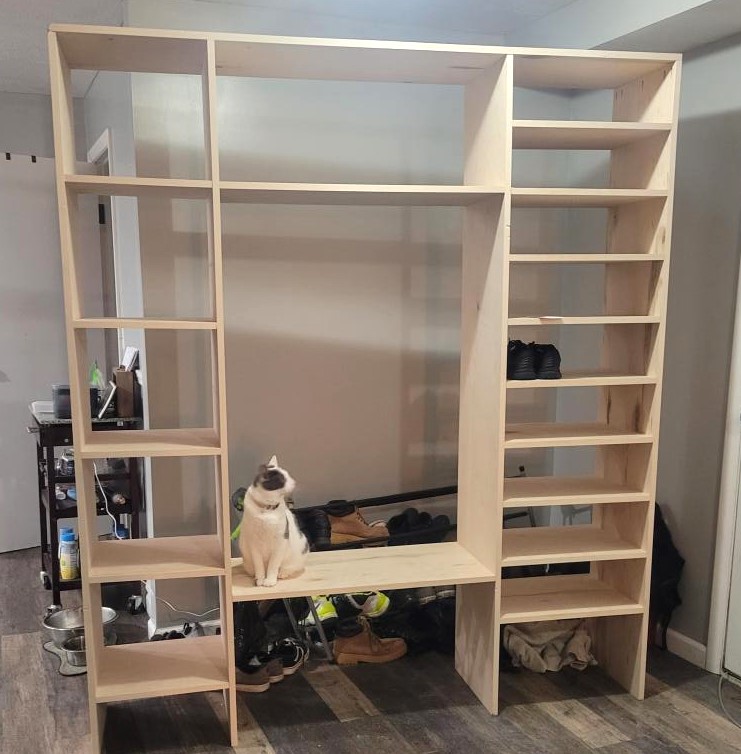
Used this app to build a custom nook for shoes and coats. Its been fantastic and super easy to put together!

Comments

Back